DSC_2127.JPG

Panda My new Panda - and newbie saying hello from Denmark

Introduction

Hi all.

Long time reader, but first time poster. I post in this section, because I'm considering making a build thread for my little new Panda. (Mods - feel free to move)

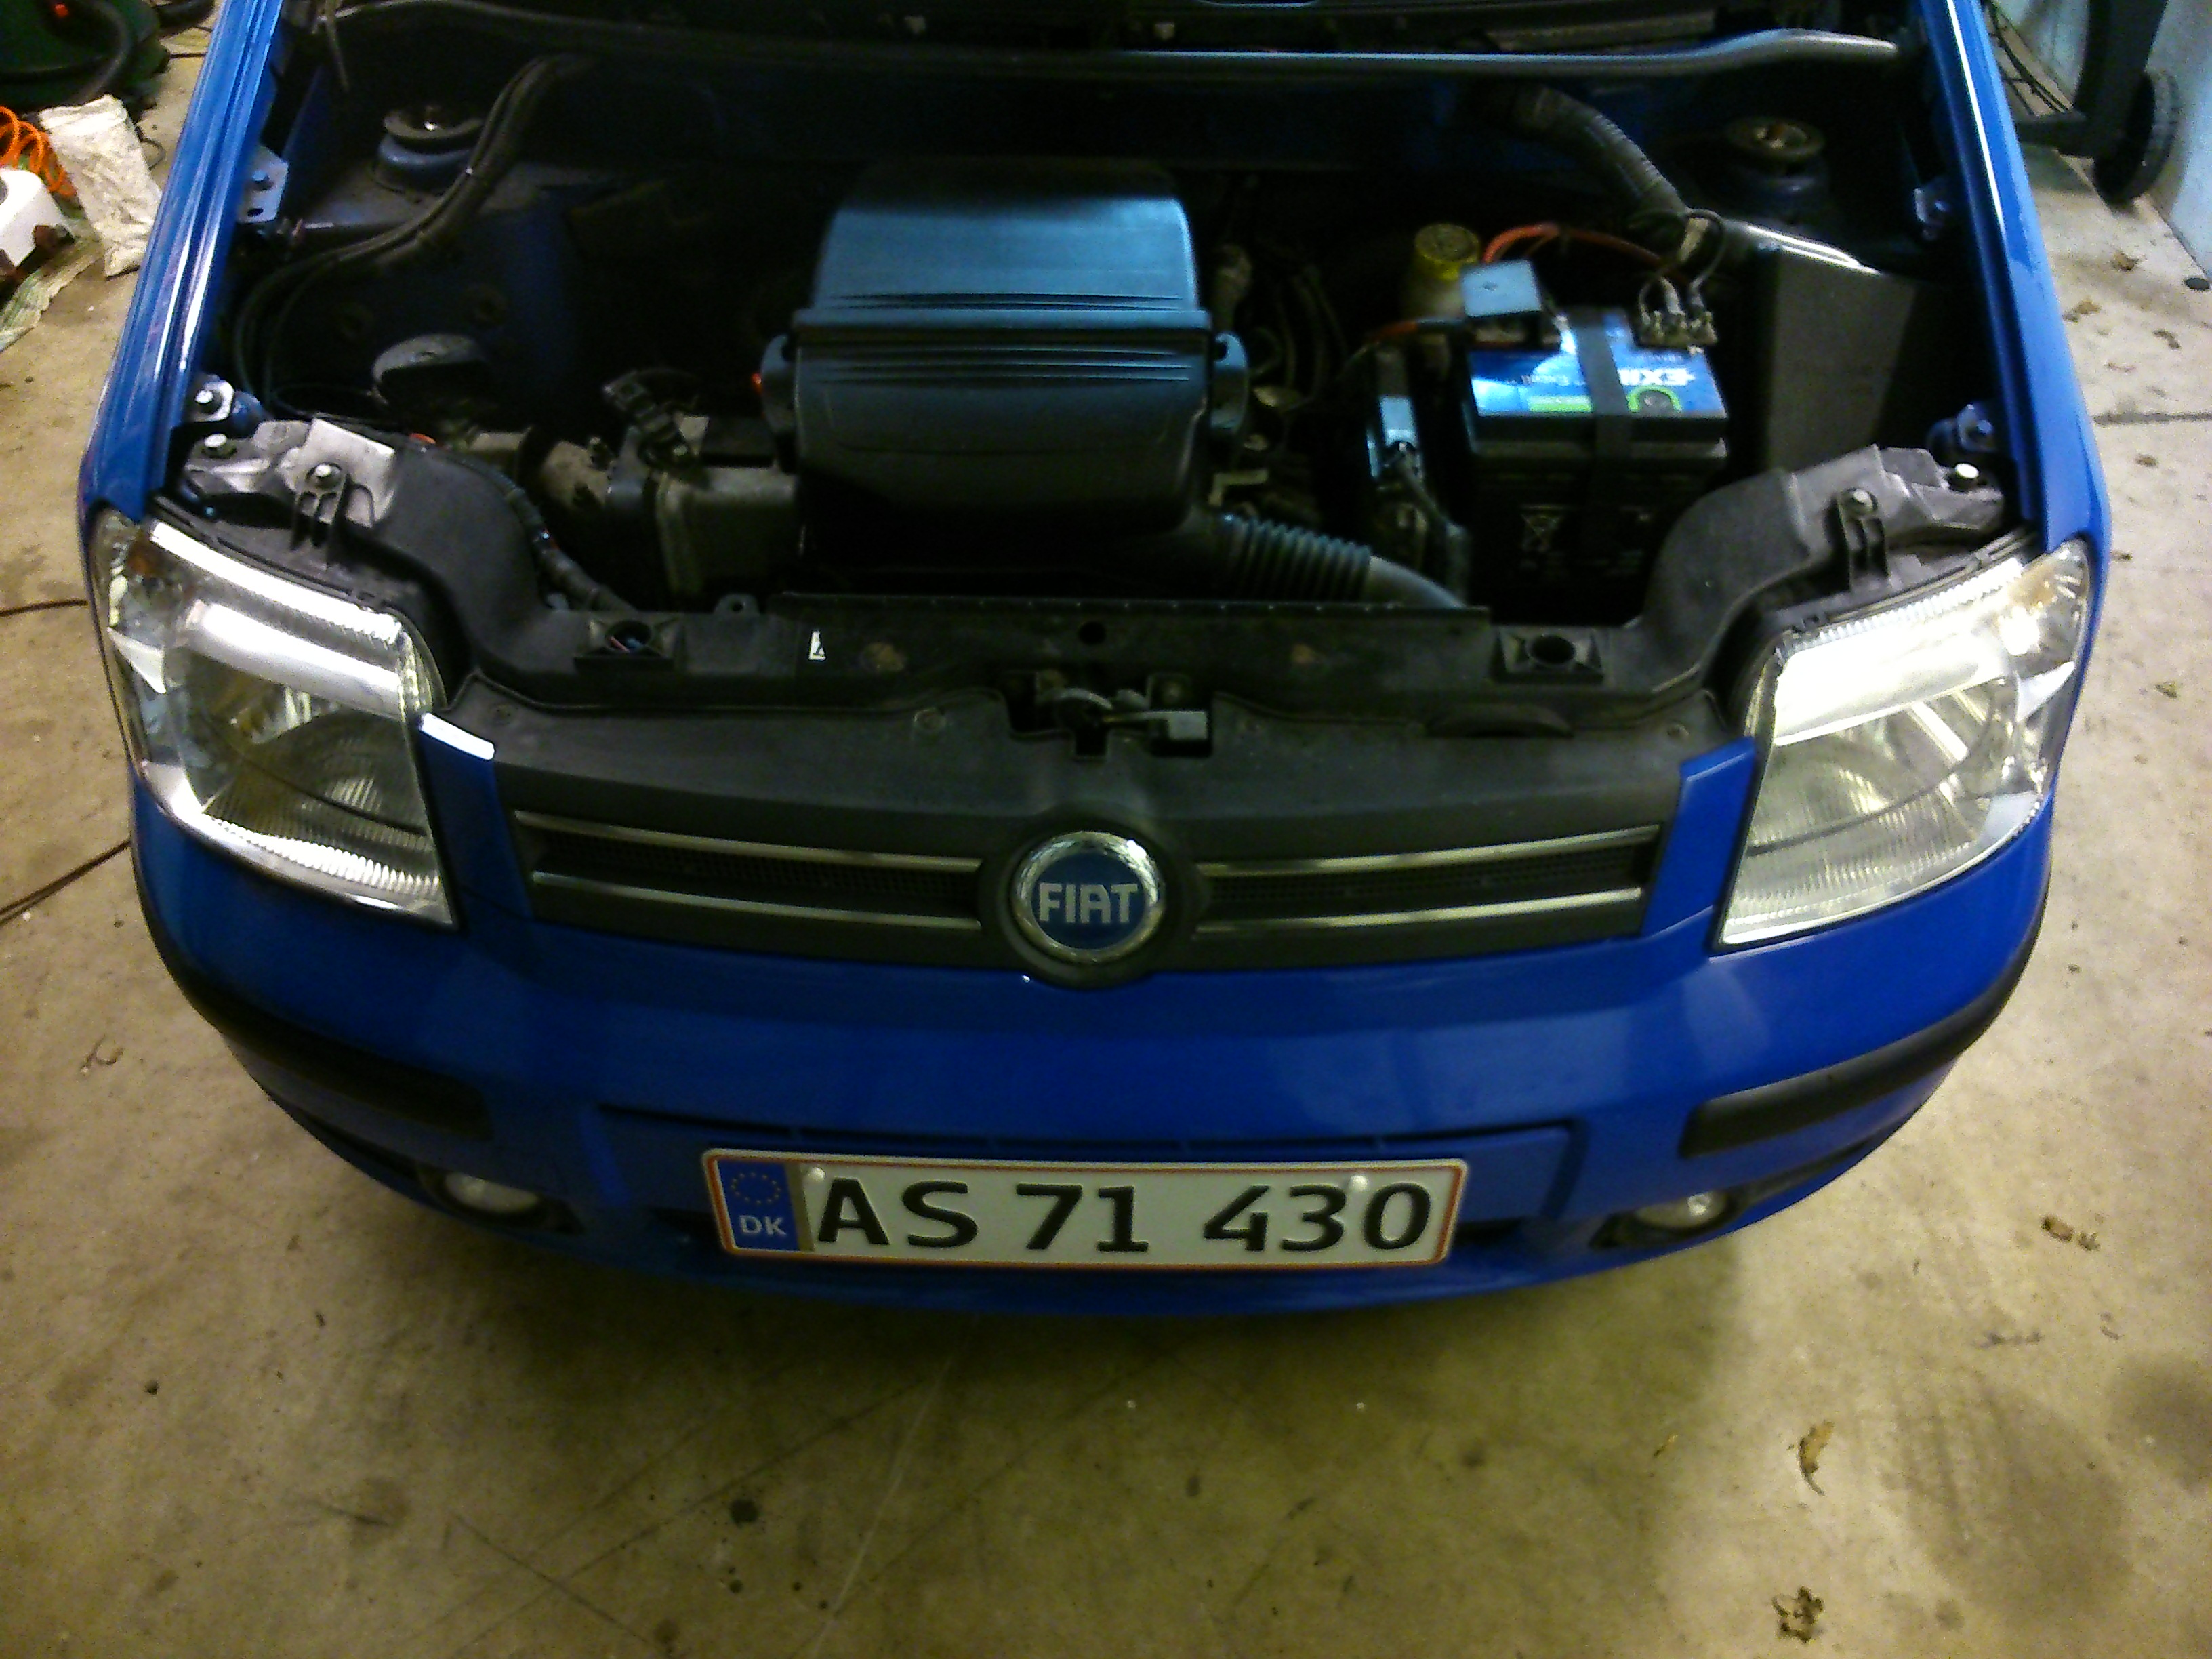
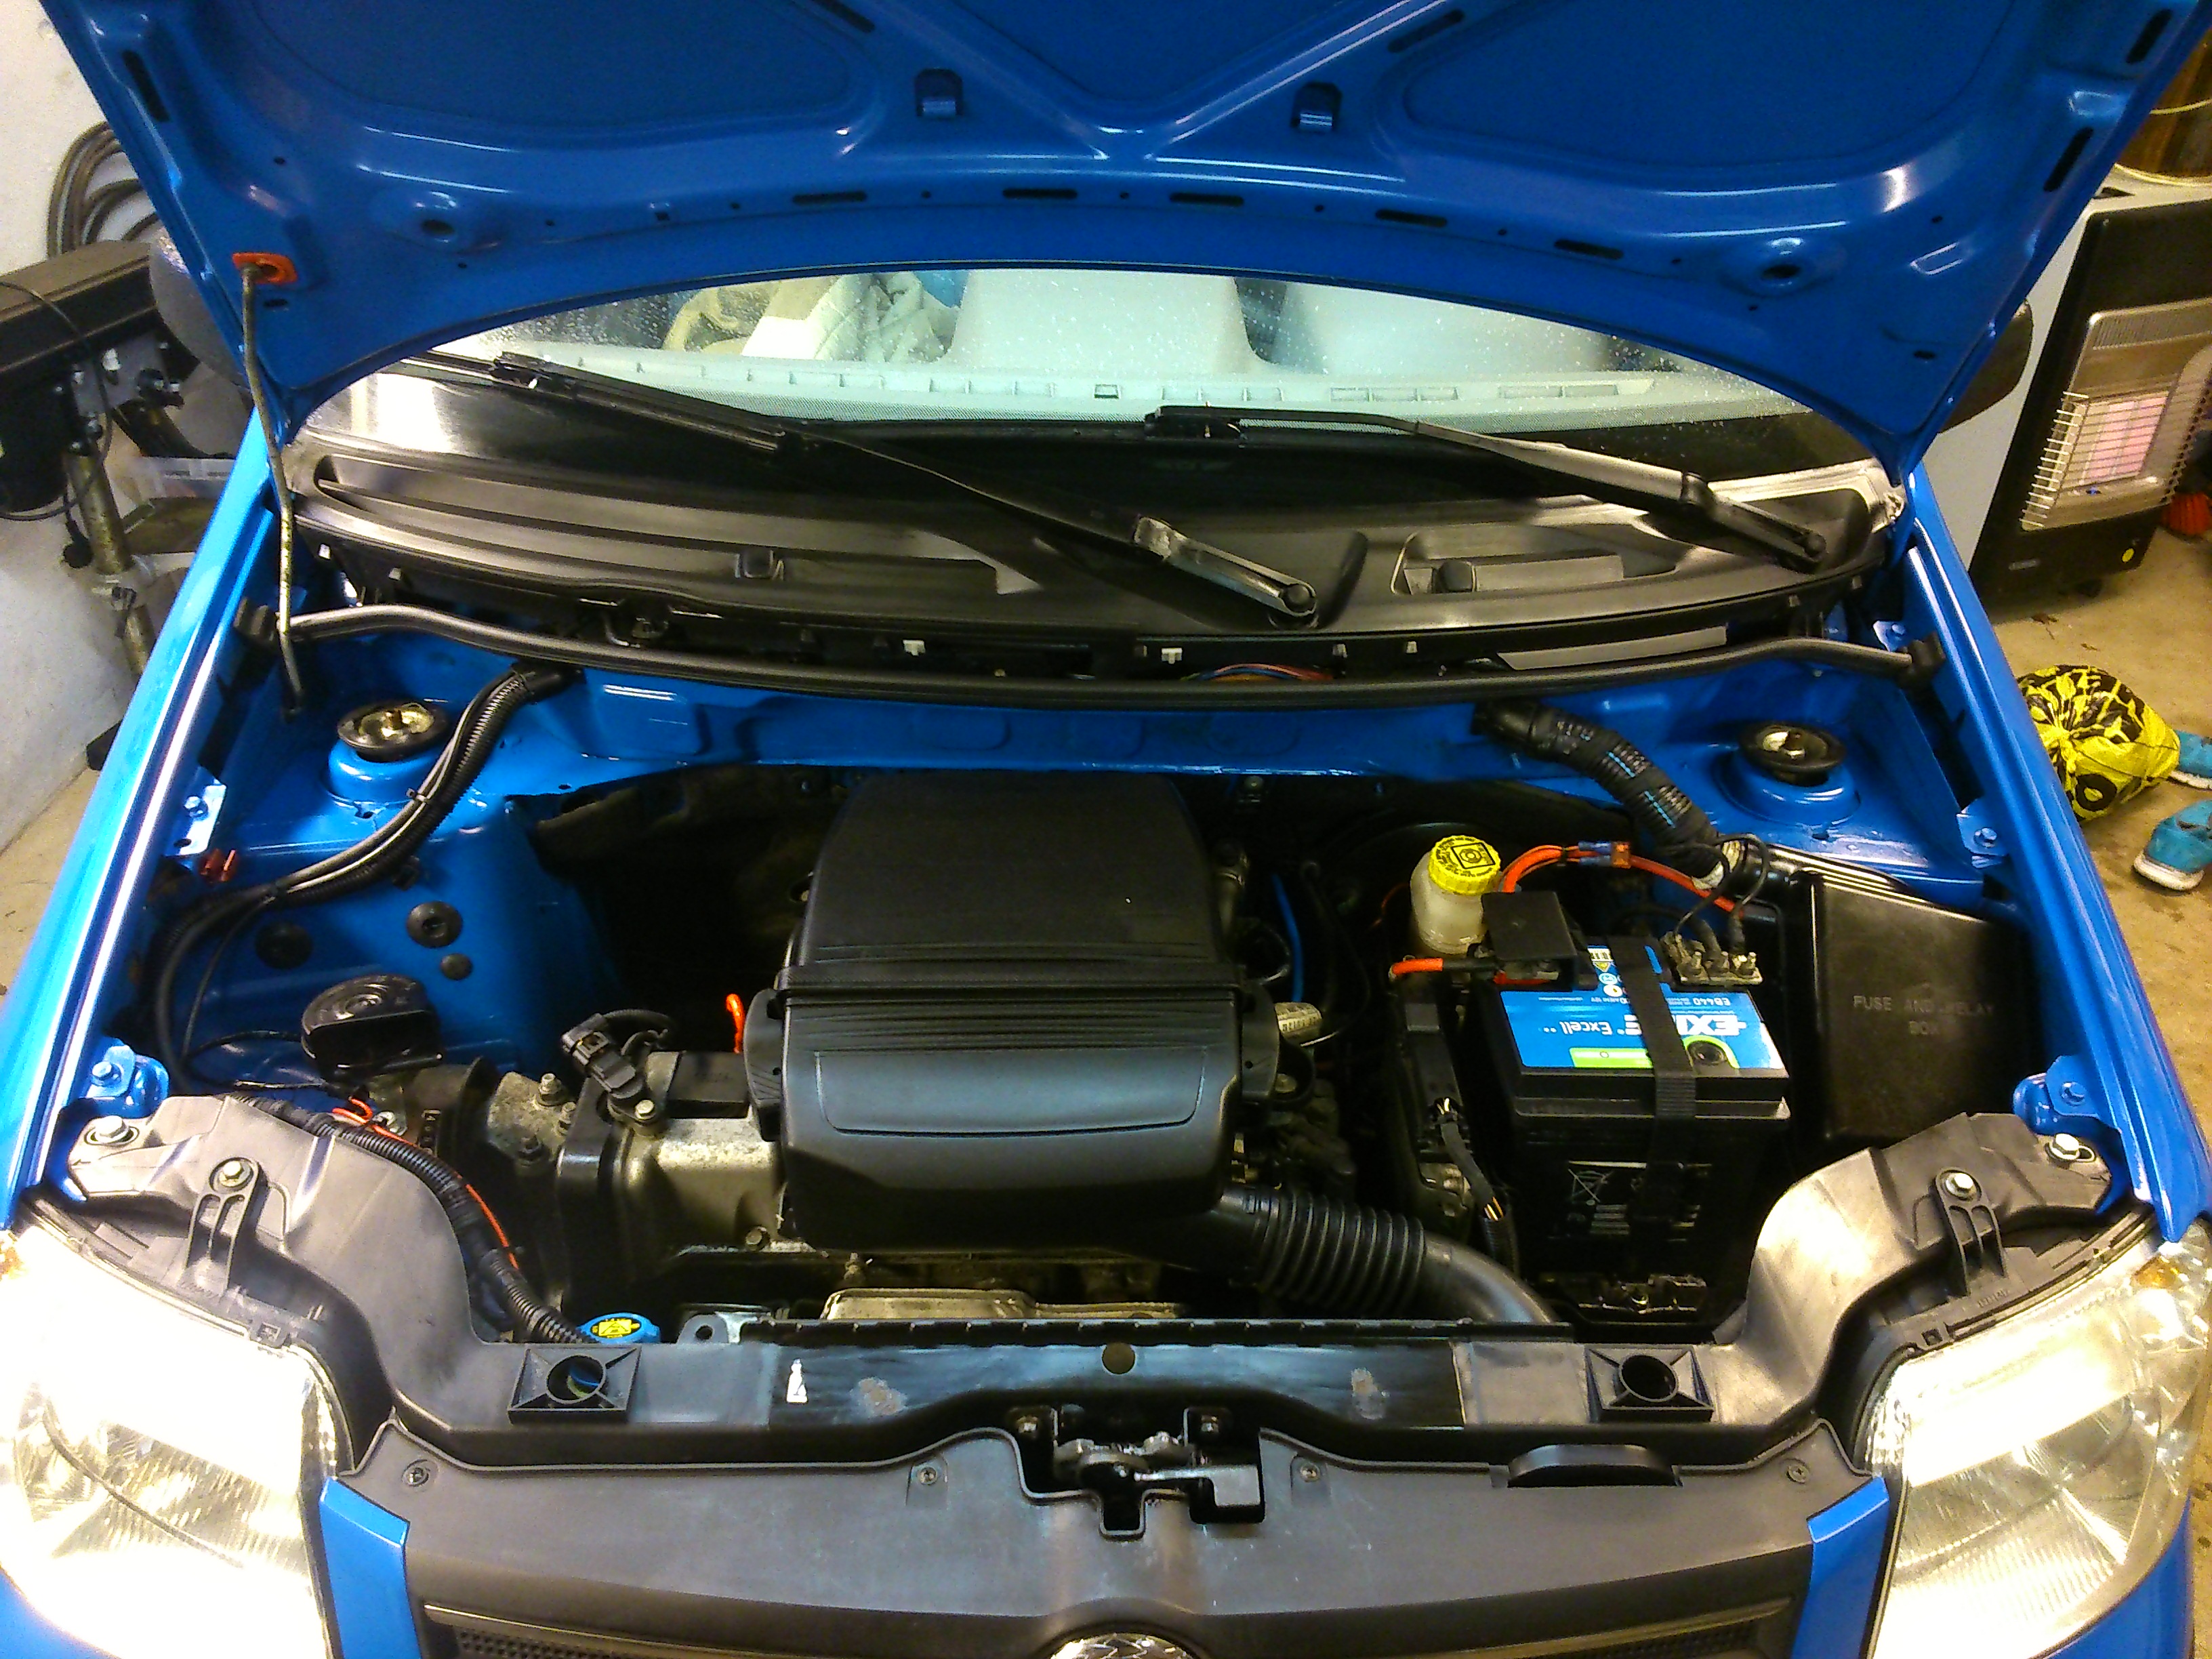
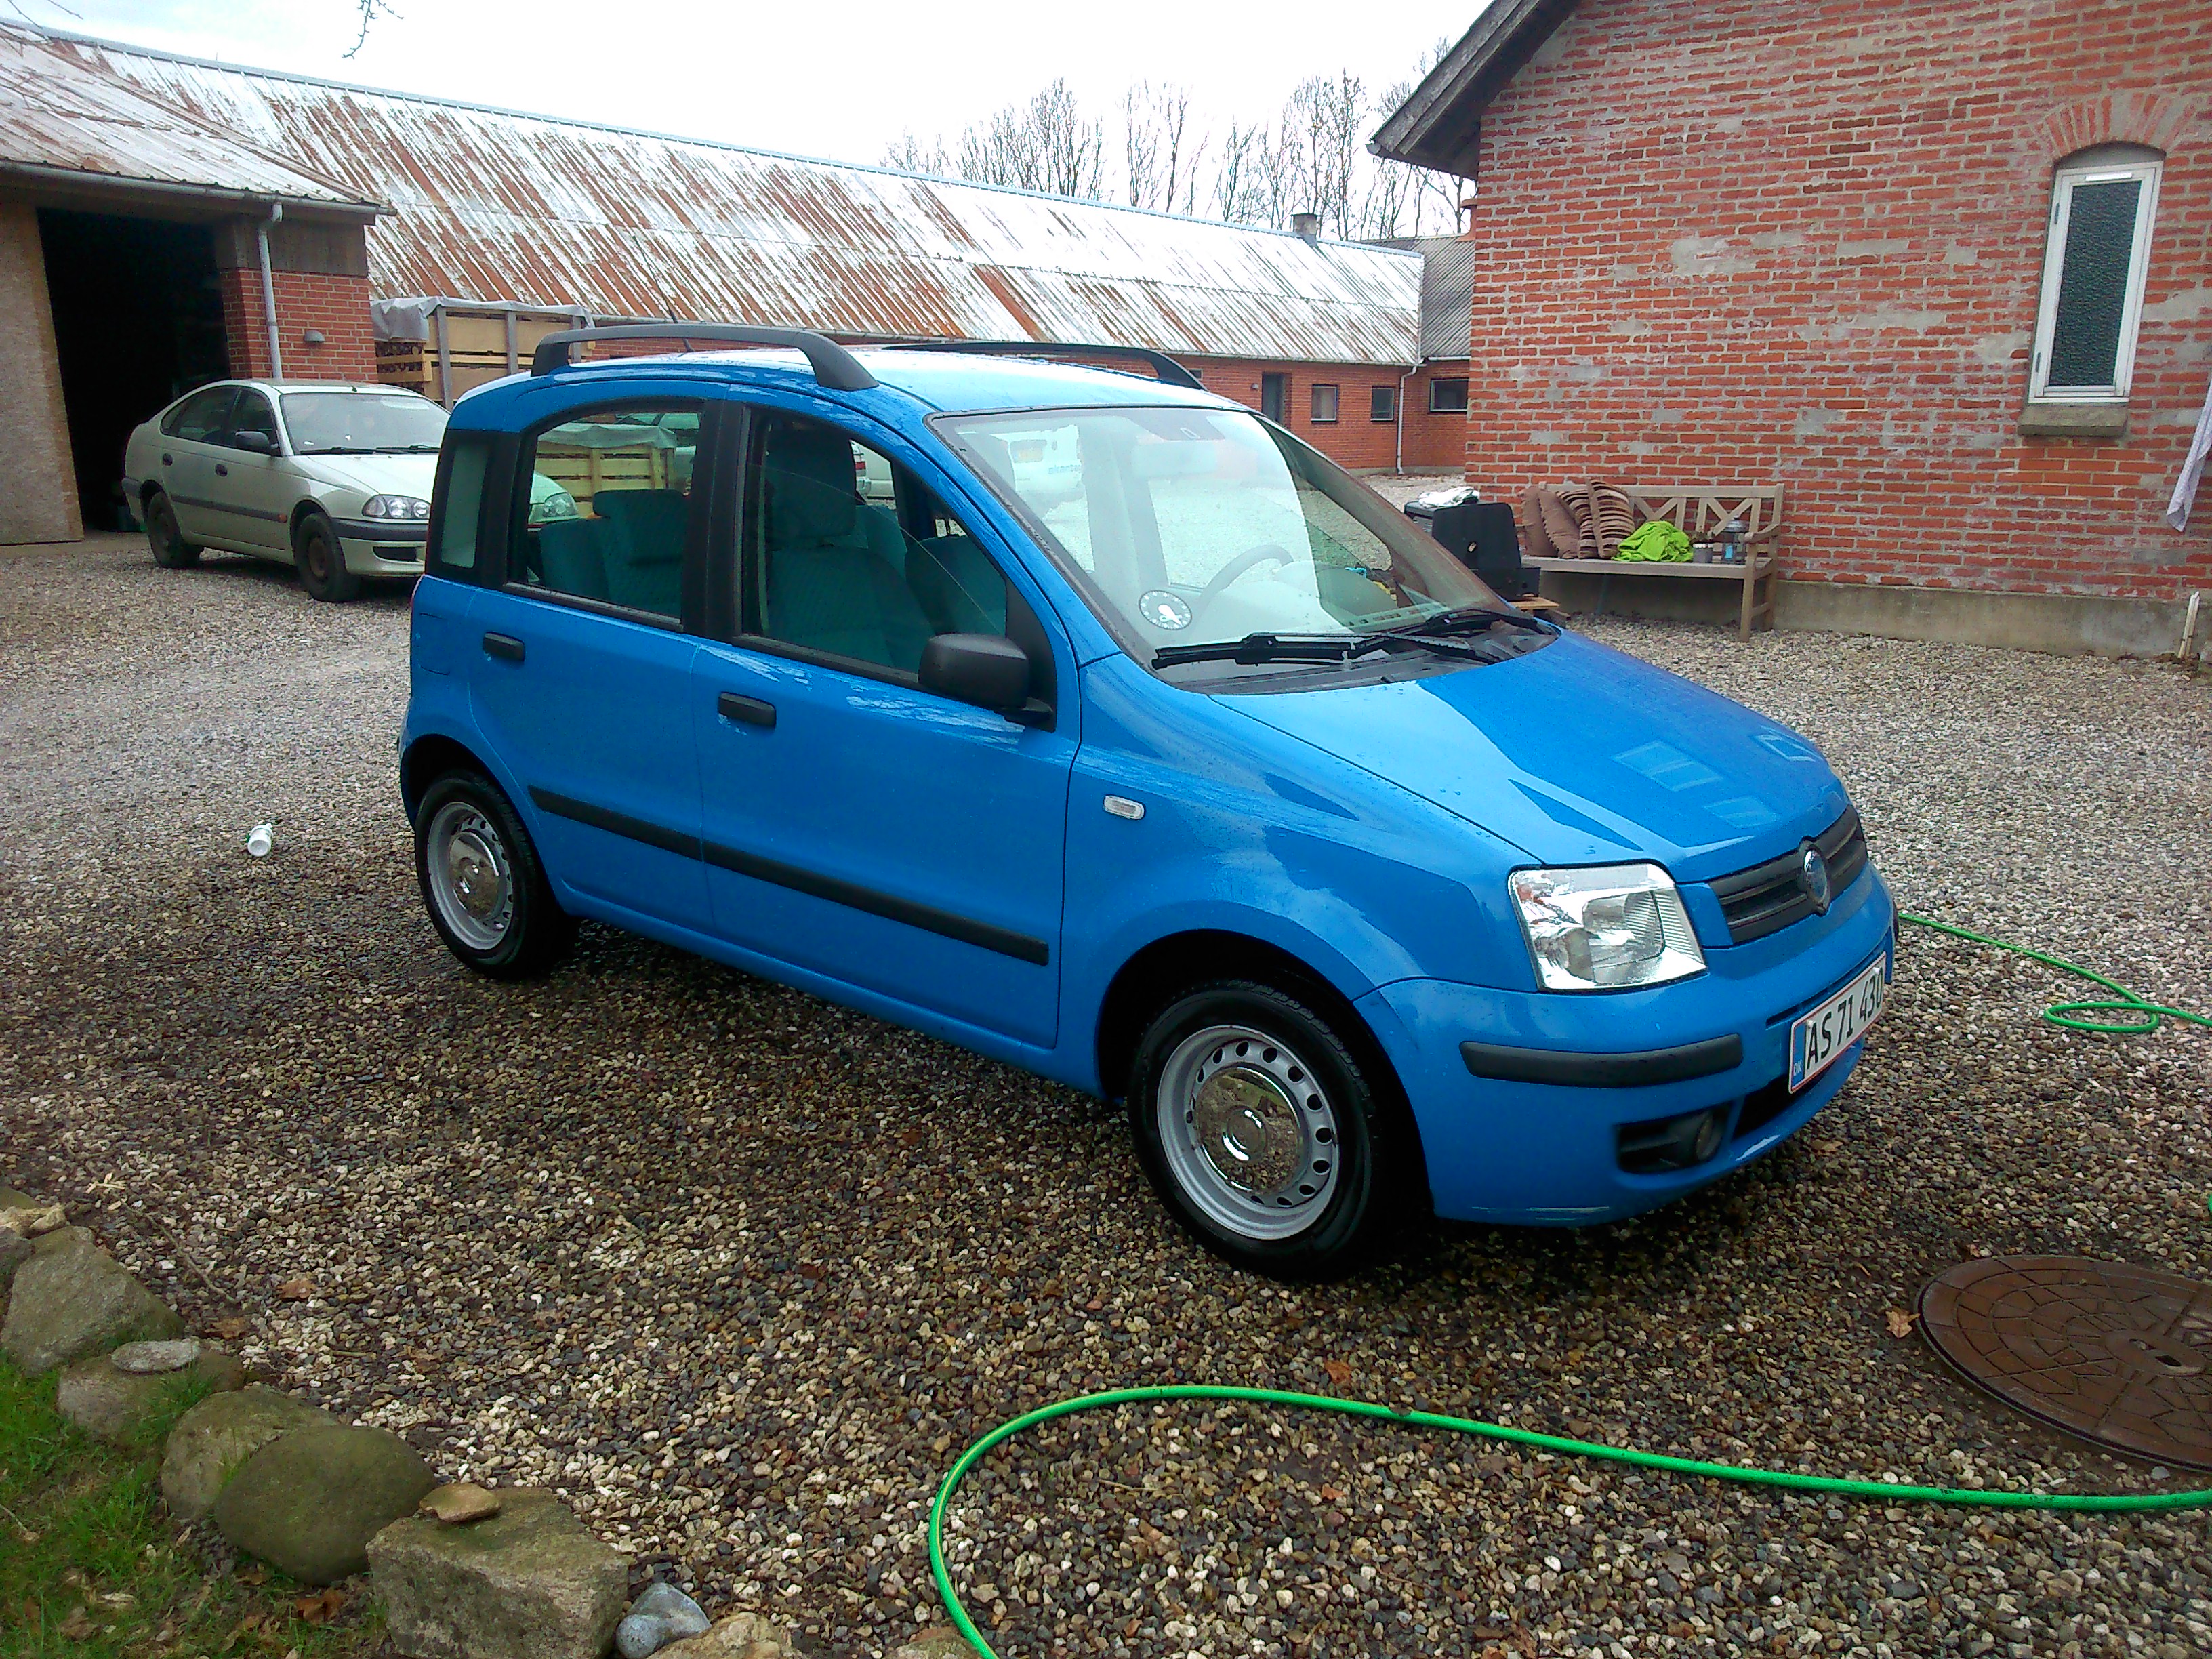
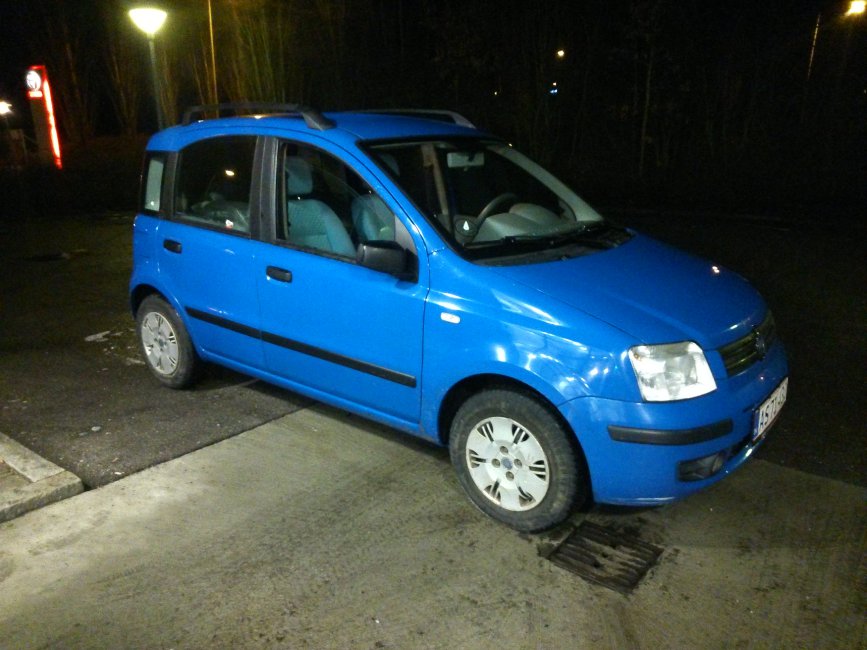
So... I just got myself a very blue Fiat Panda from 2005. What a little funbox to drive around in I haven't had a fiat since my last Fiat 127 10 years ago, and it's like coming home almost. The genepool is very evident.

Here it is, right after i got it:


Well...It seems I can only post pictures after 5 posts (mods can you please free these up?)
Right click, and open in a new tab/window in the meantime

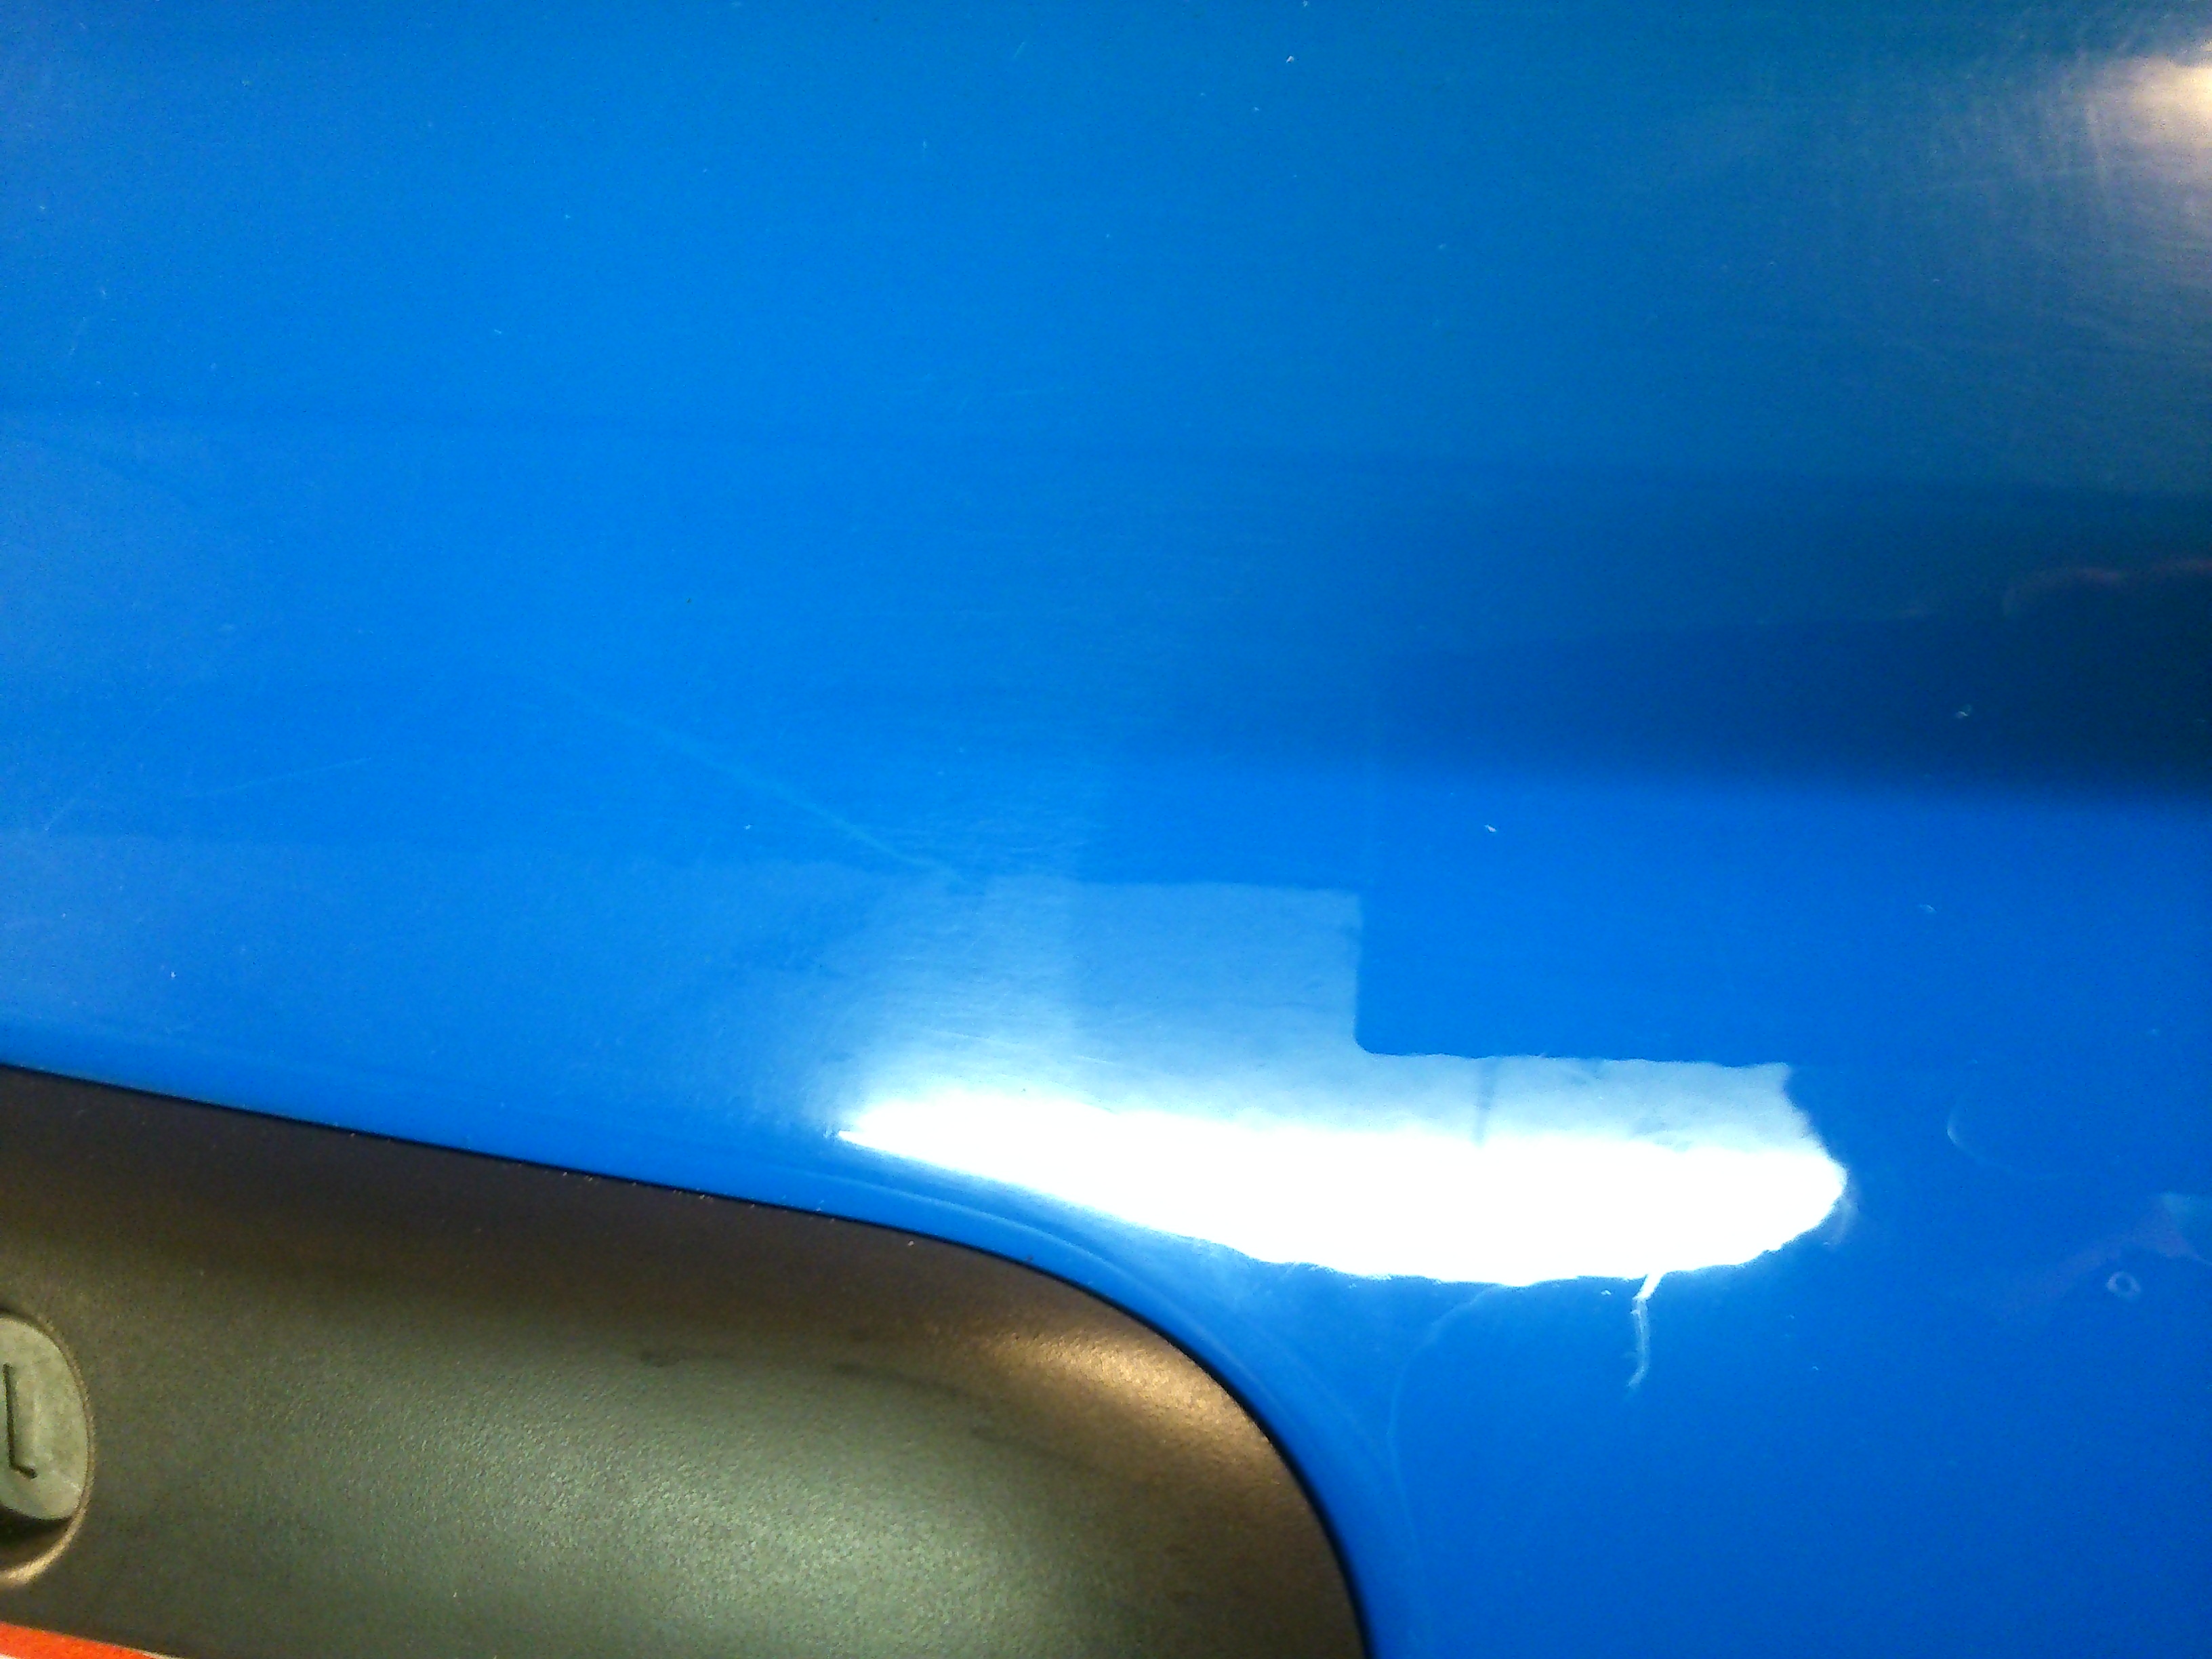
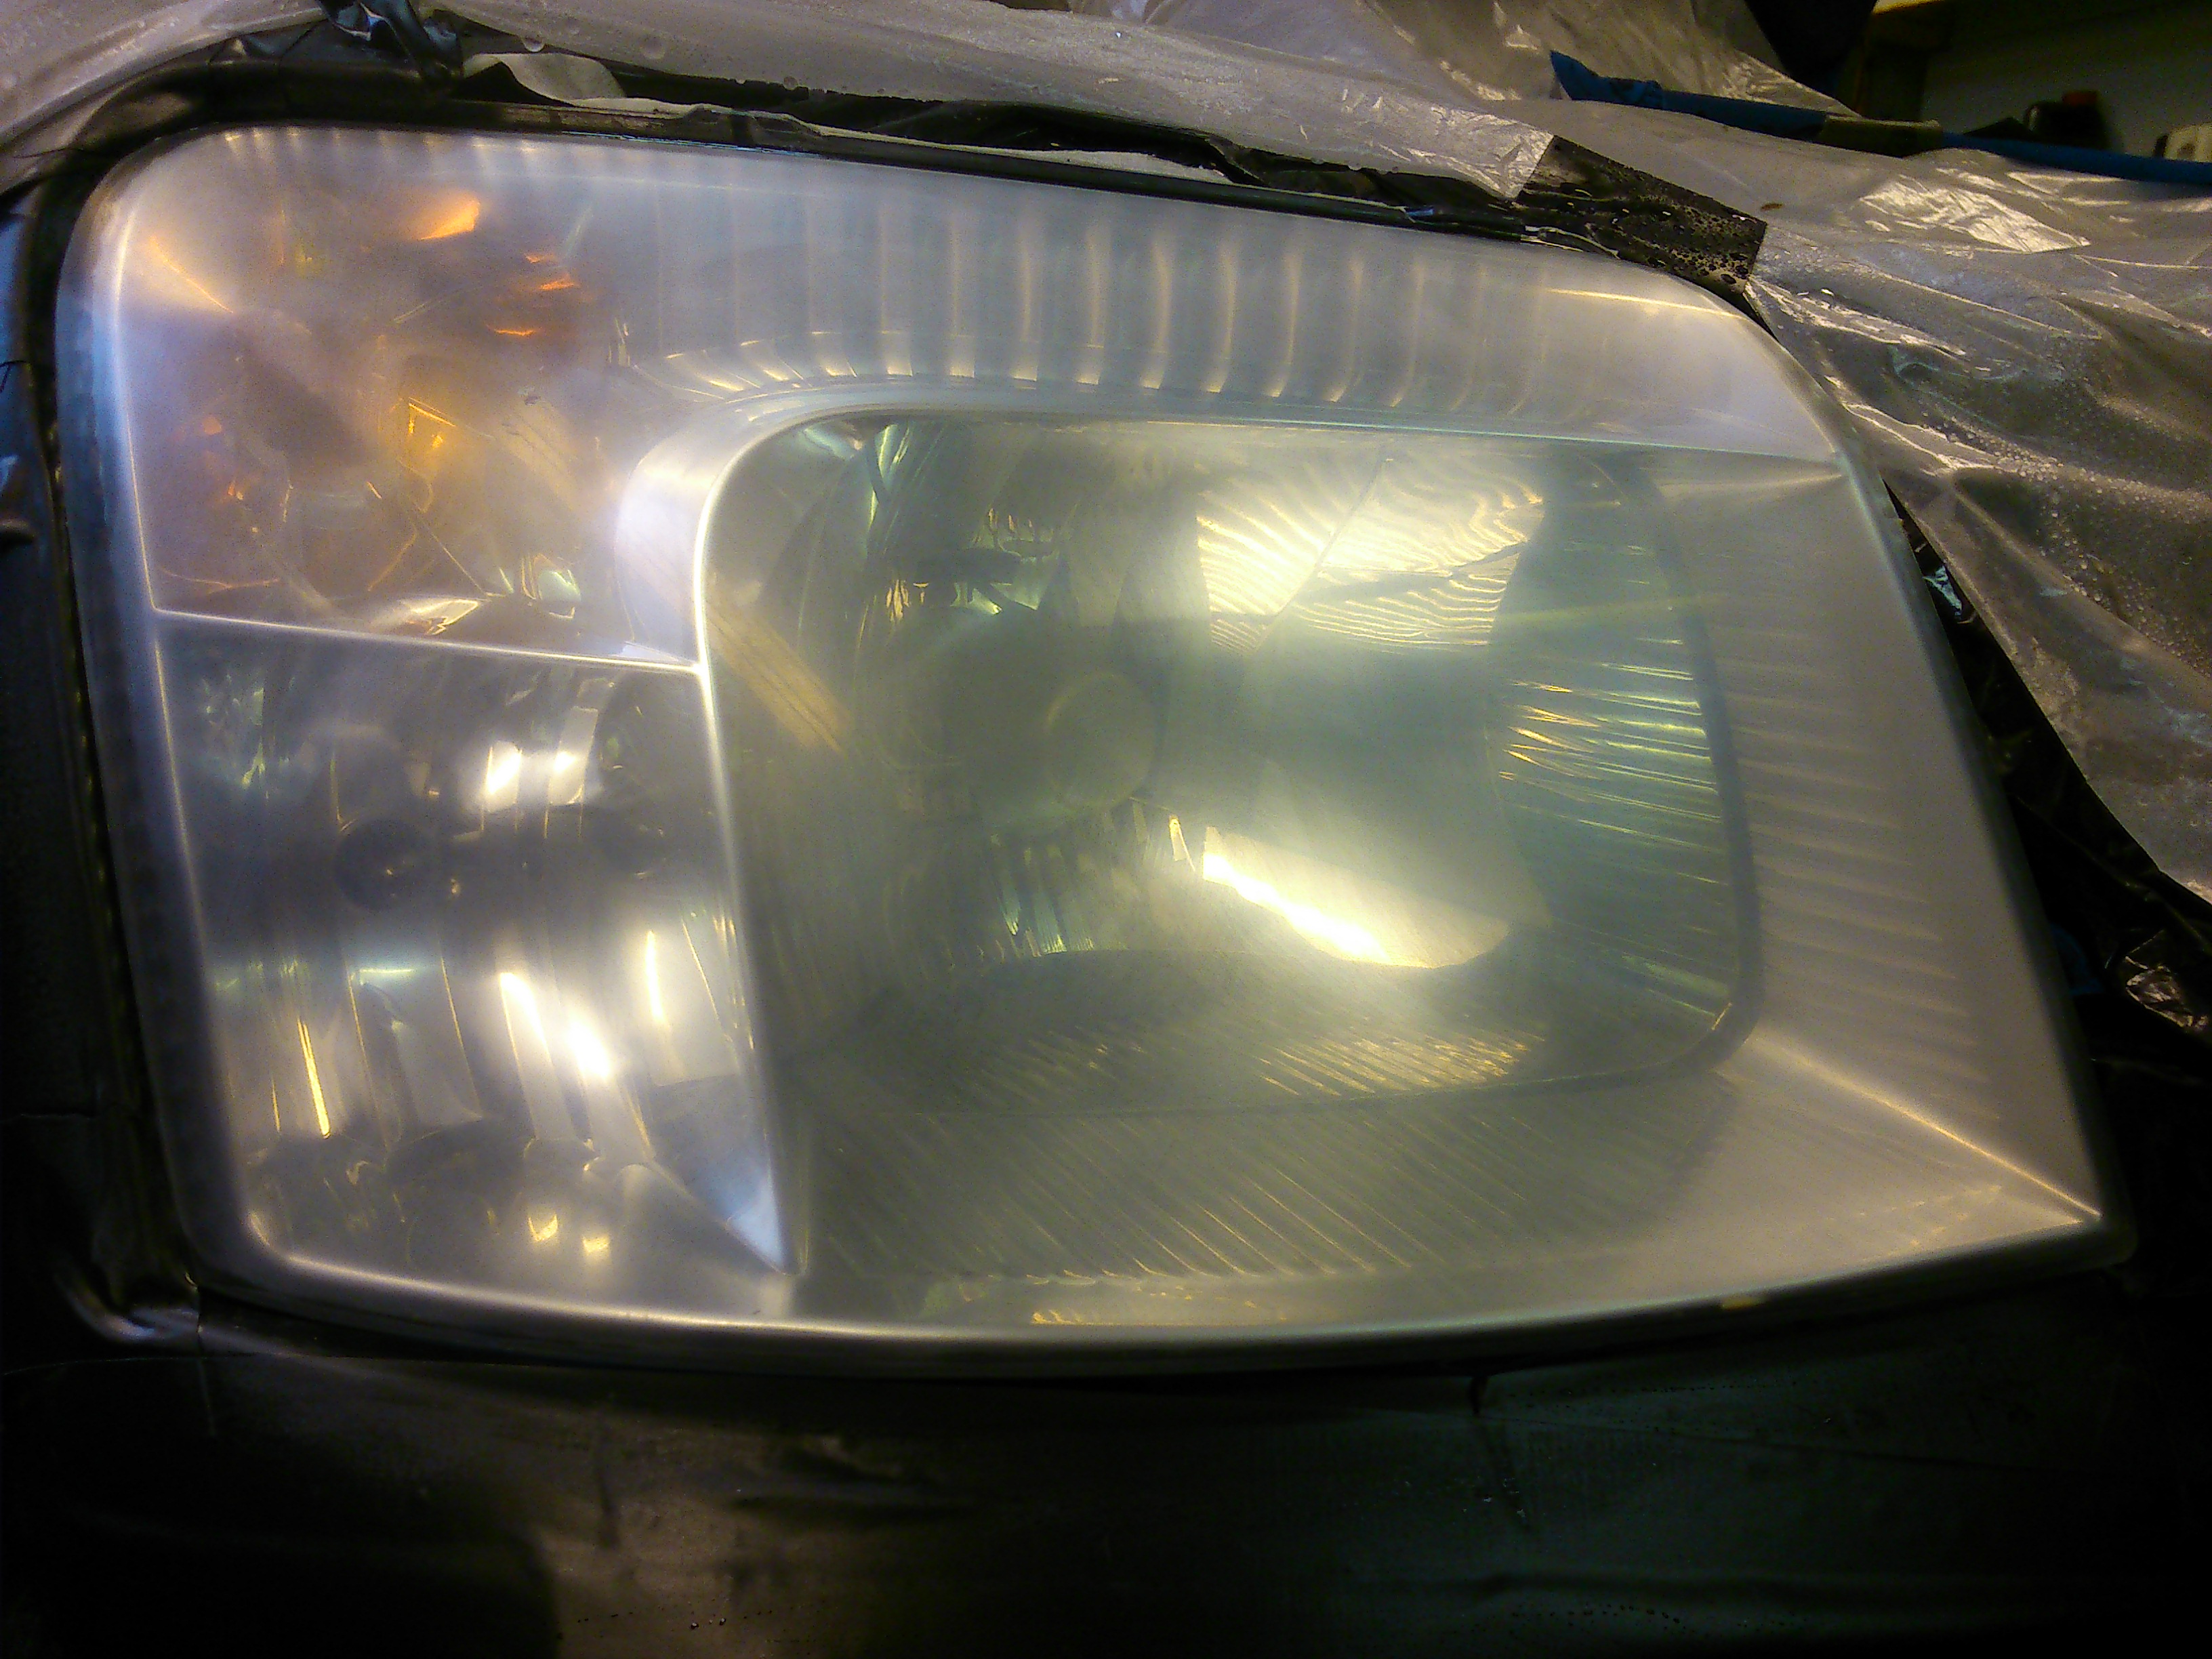
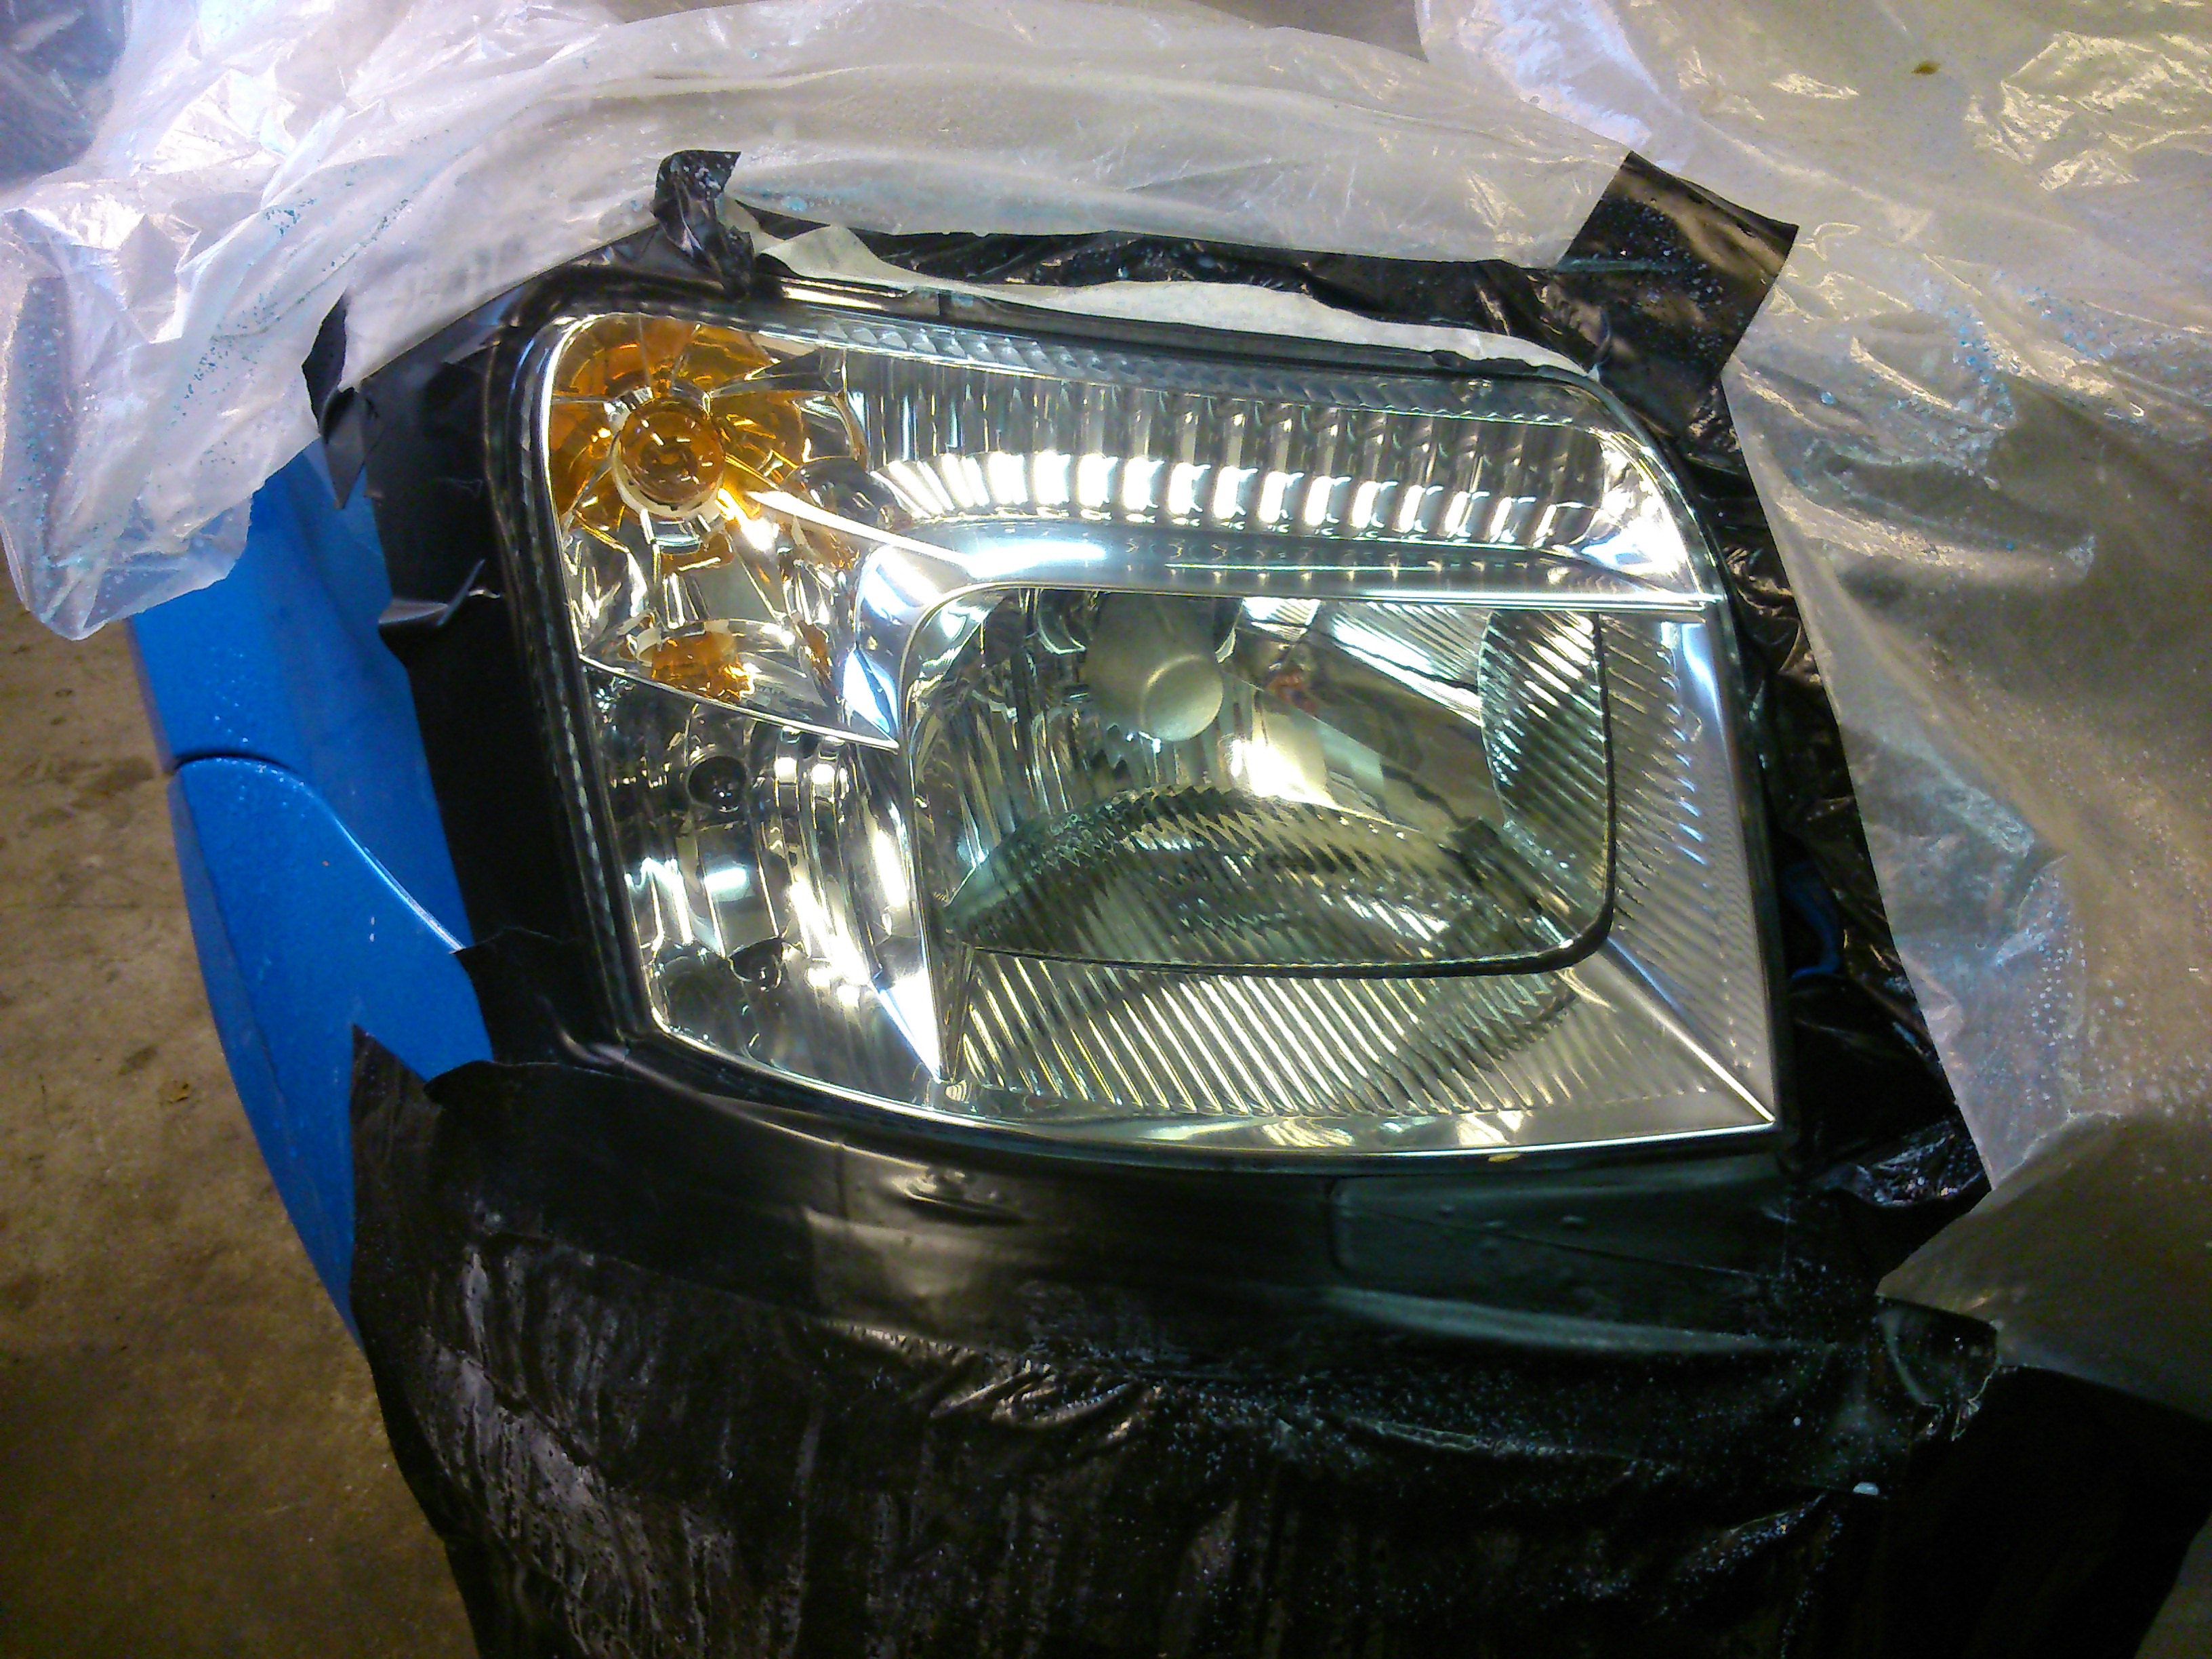
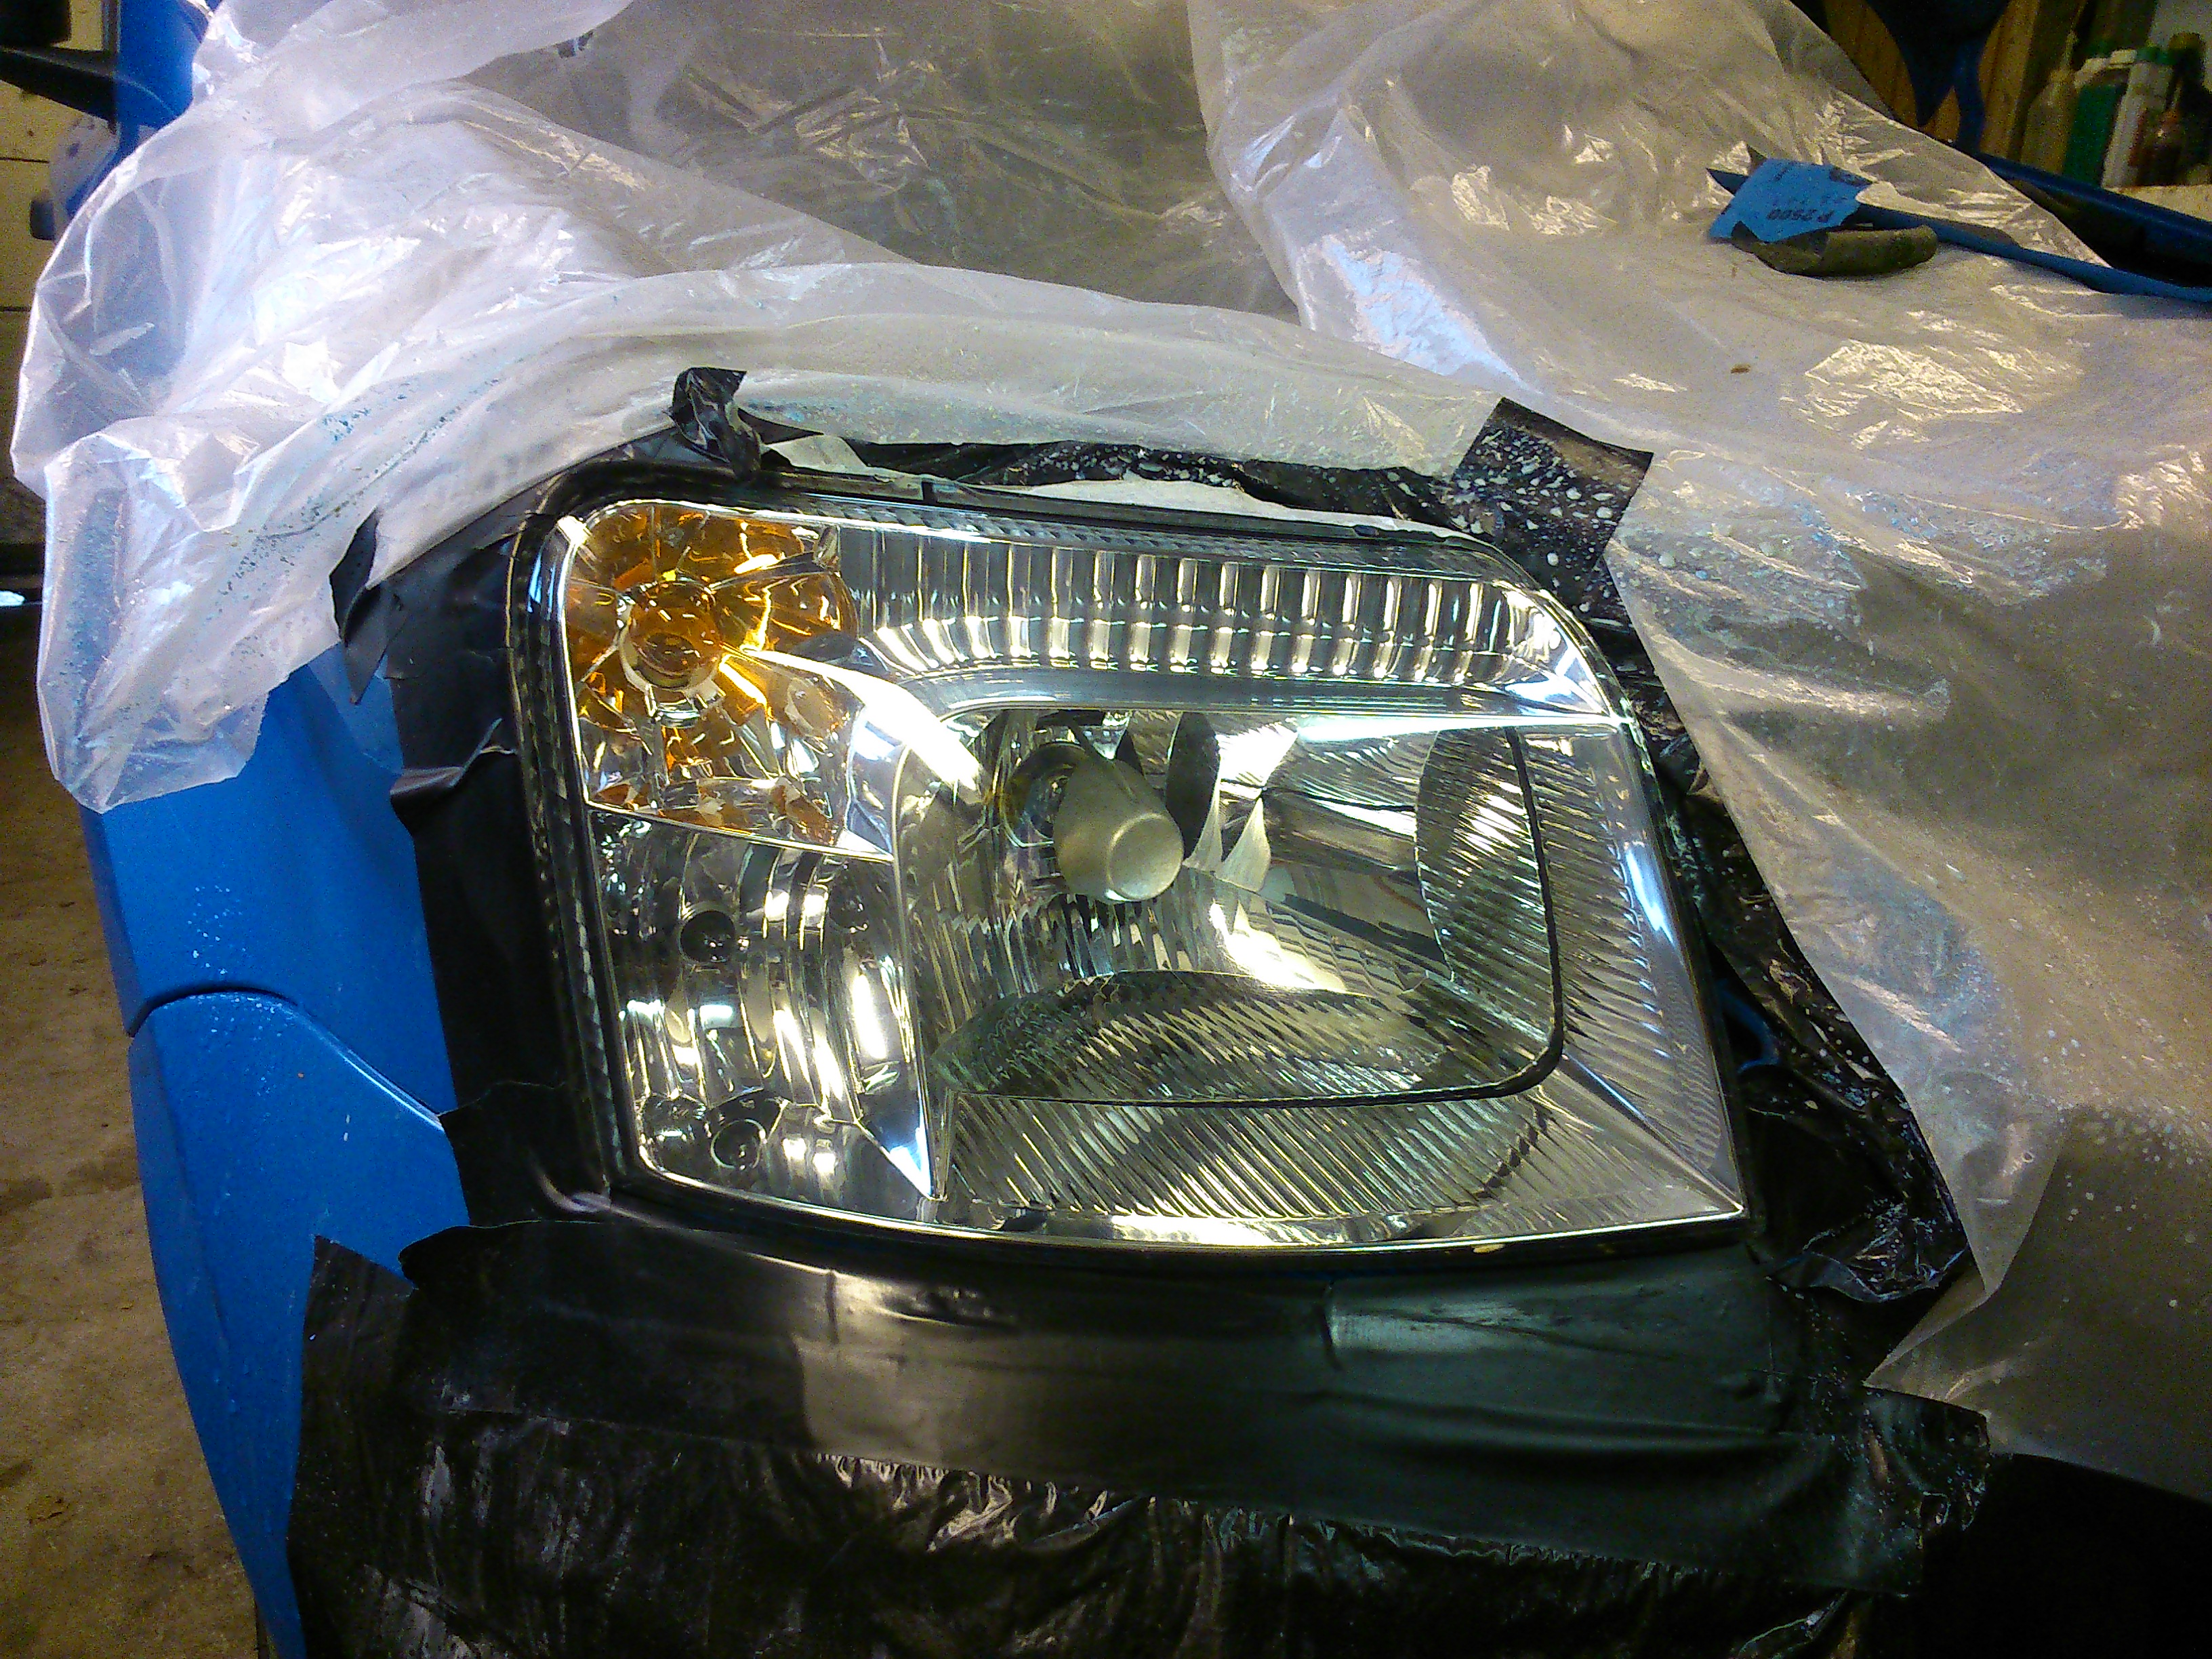
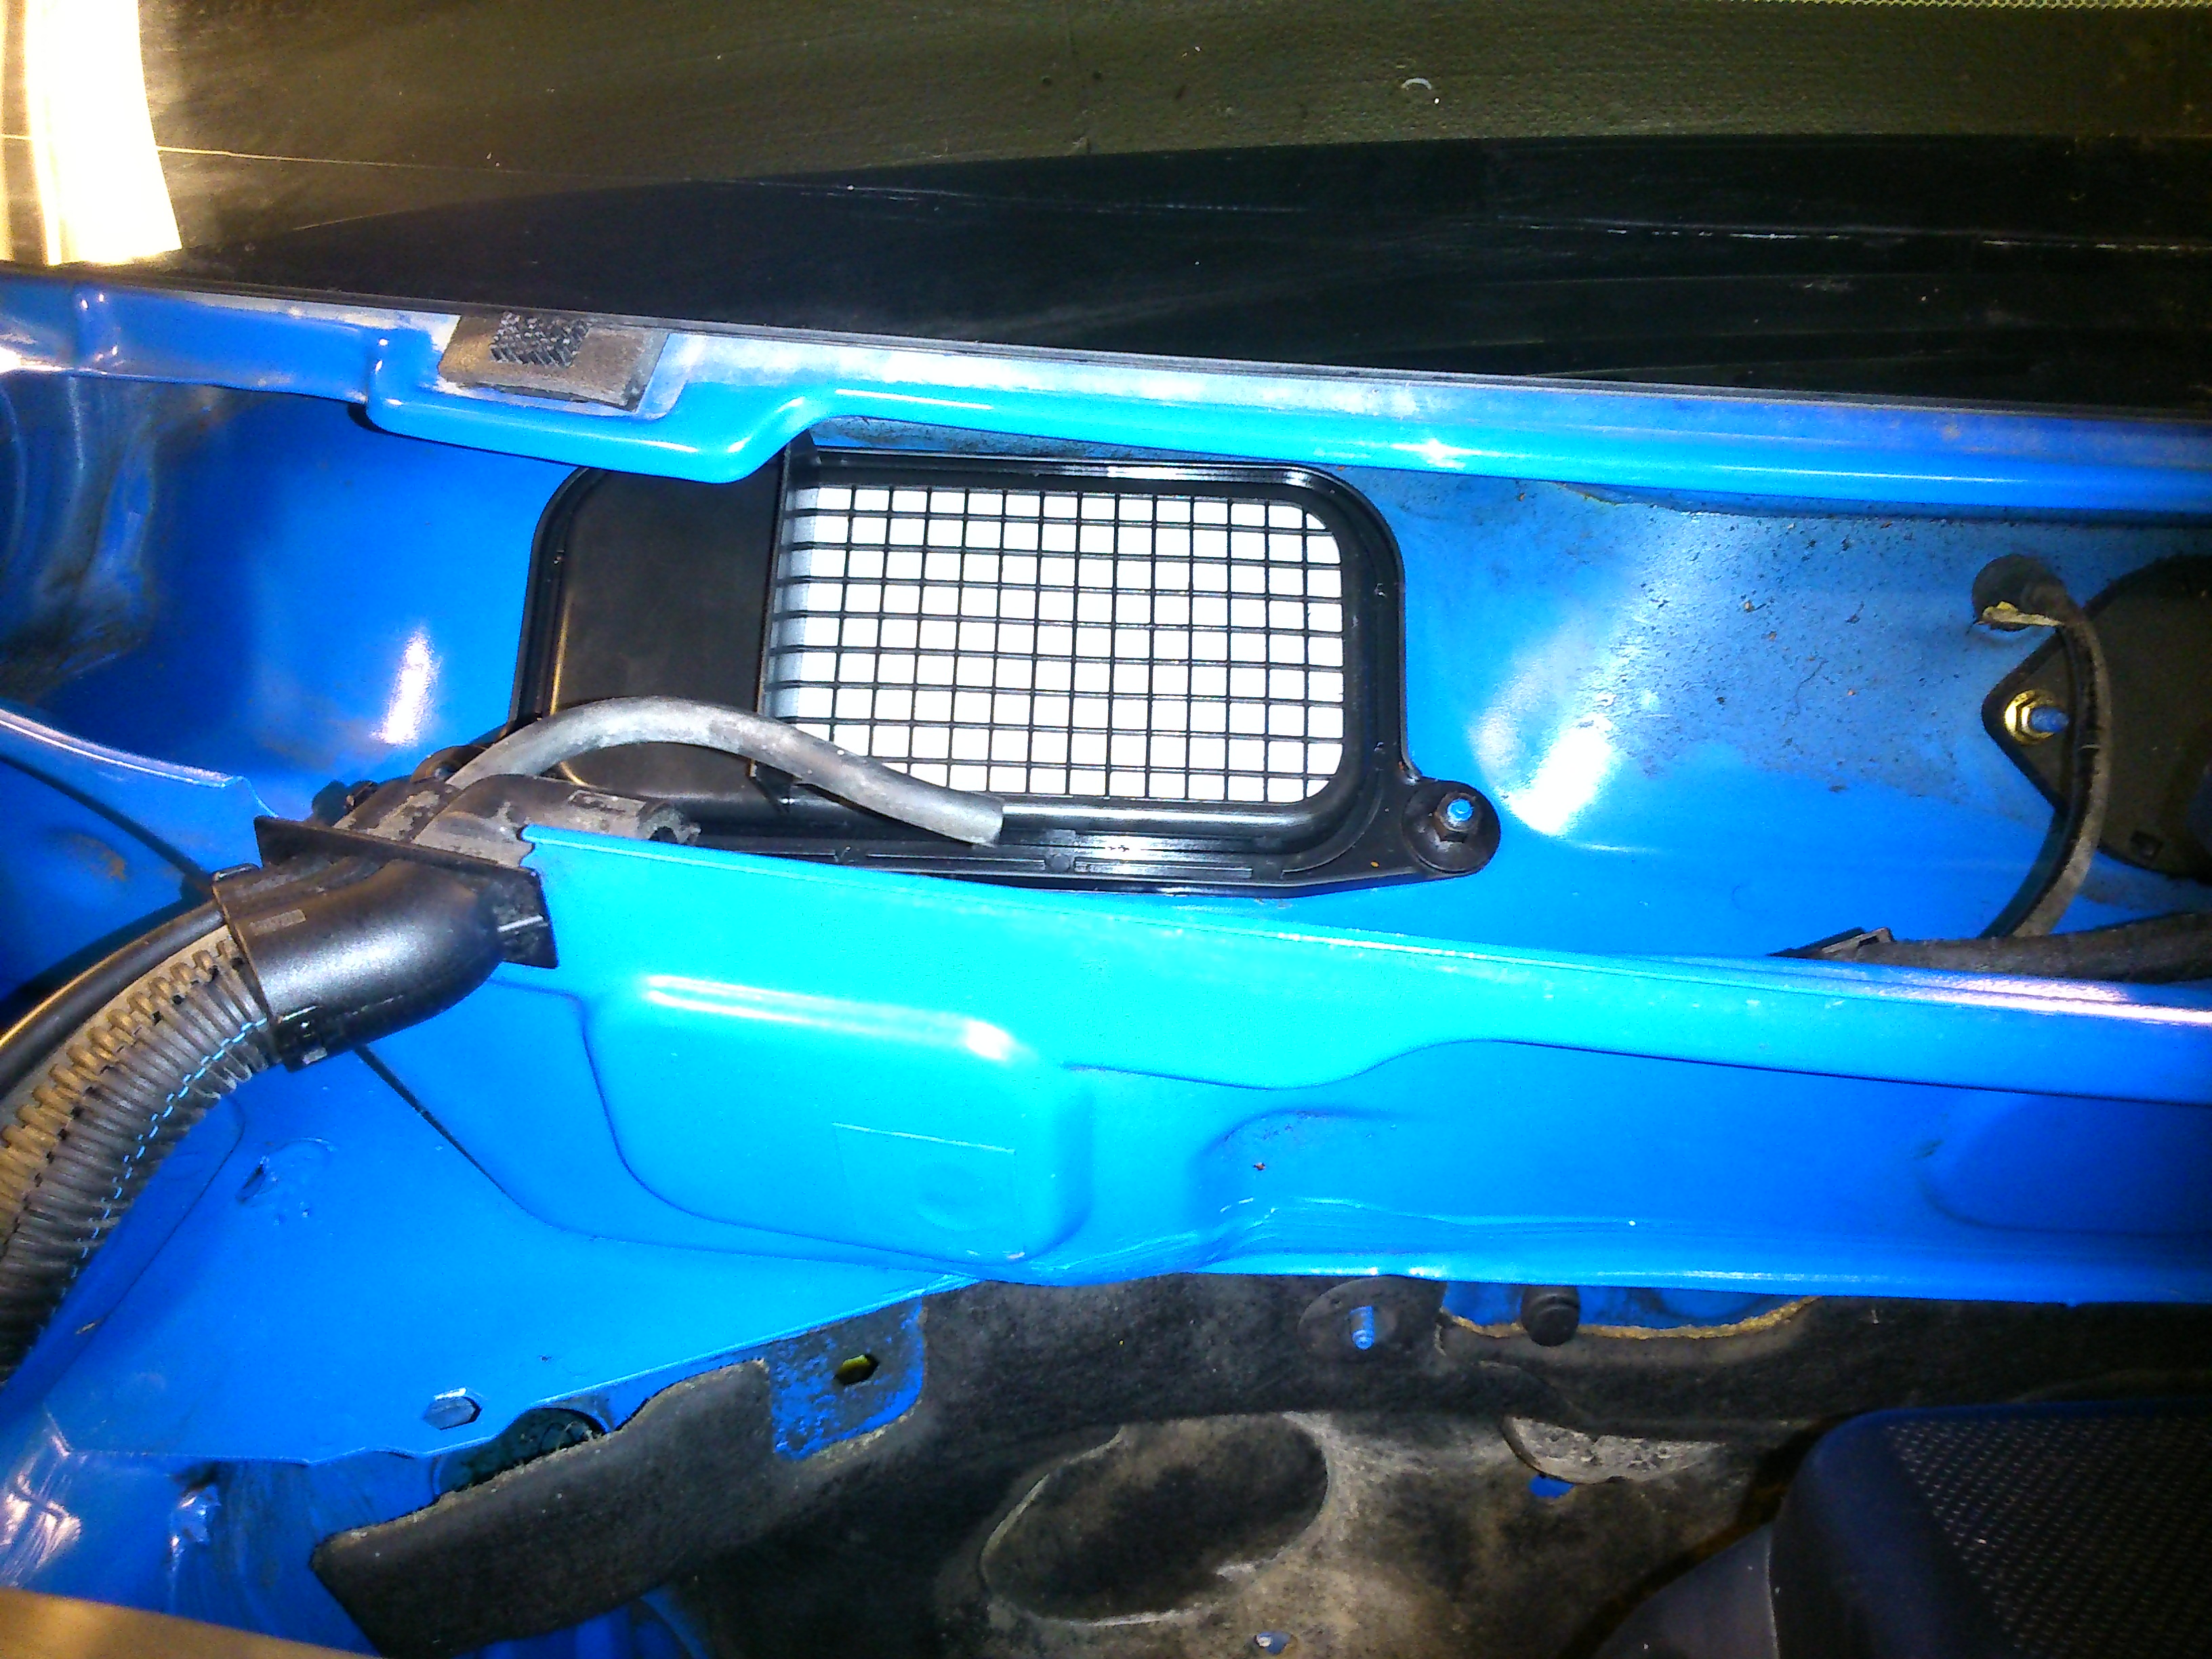
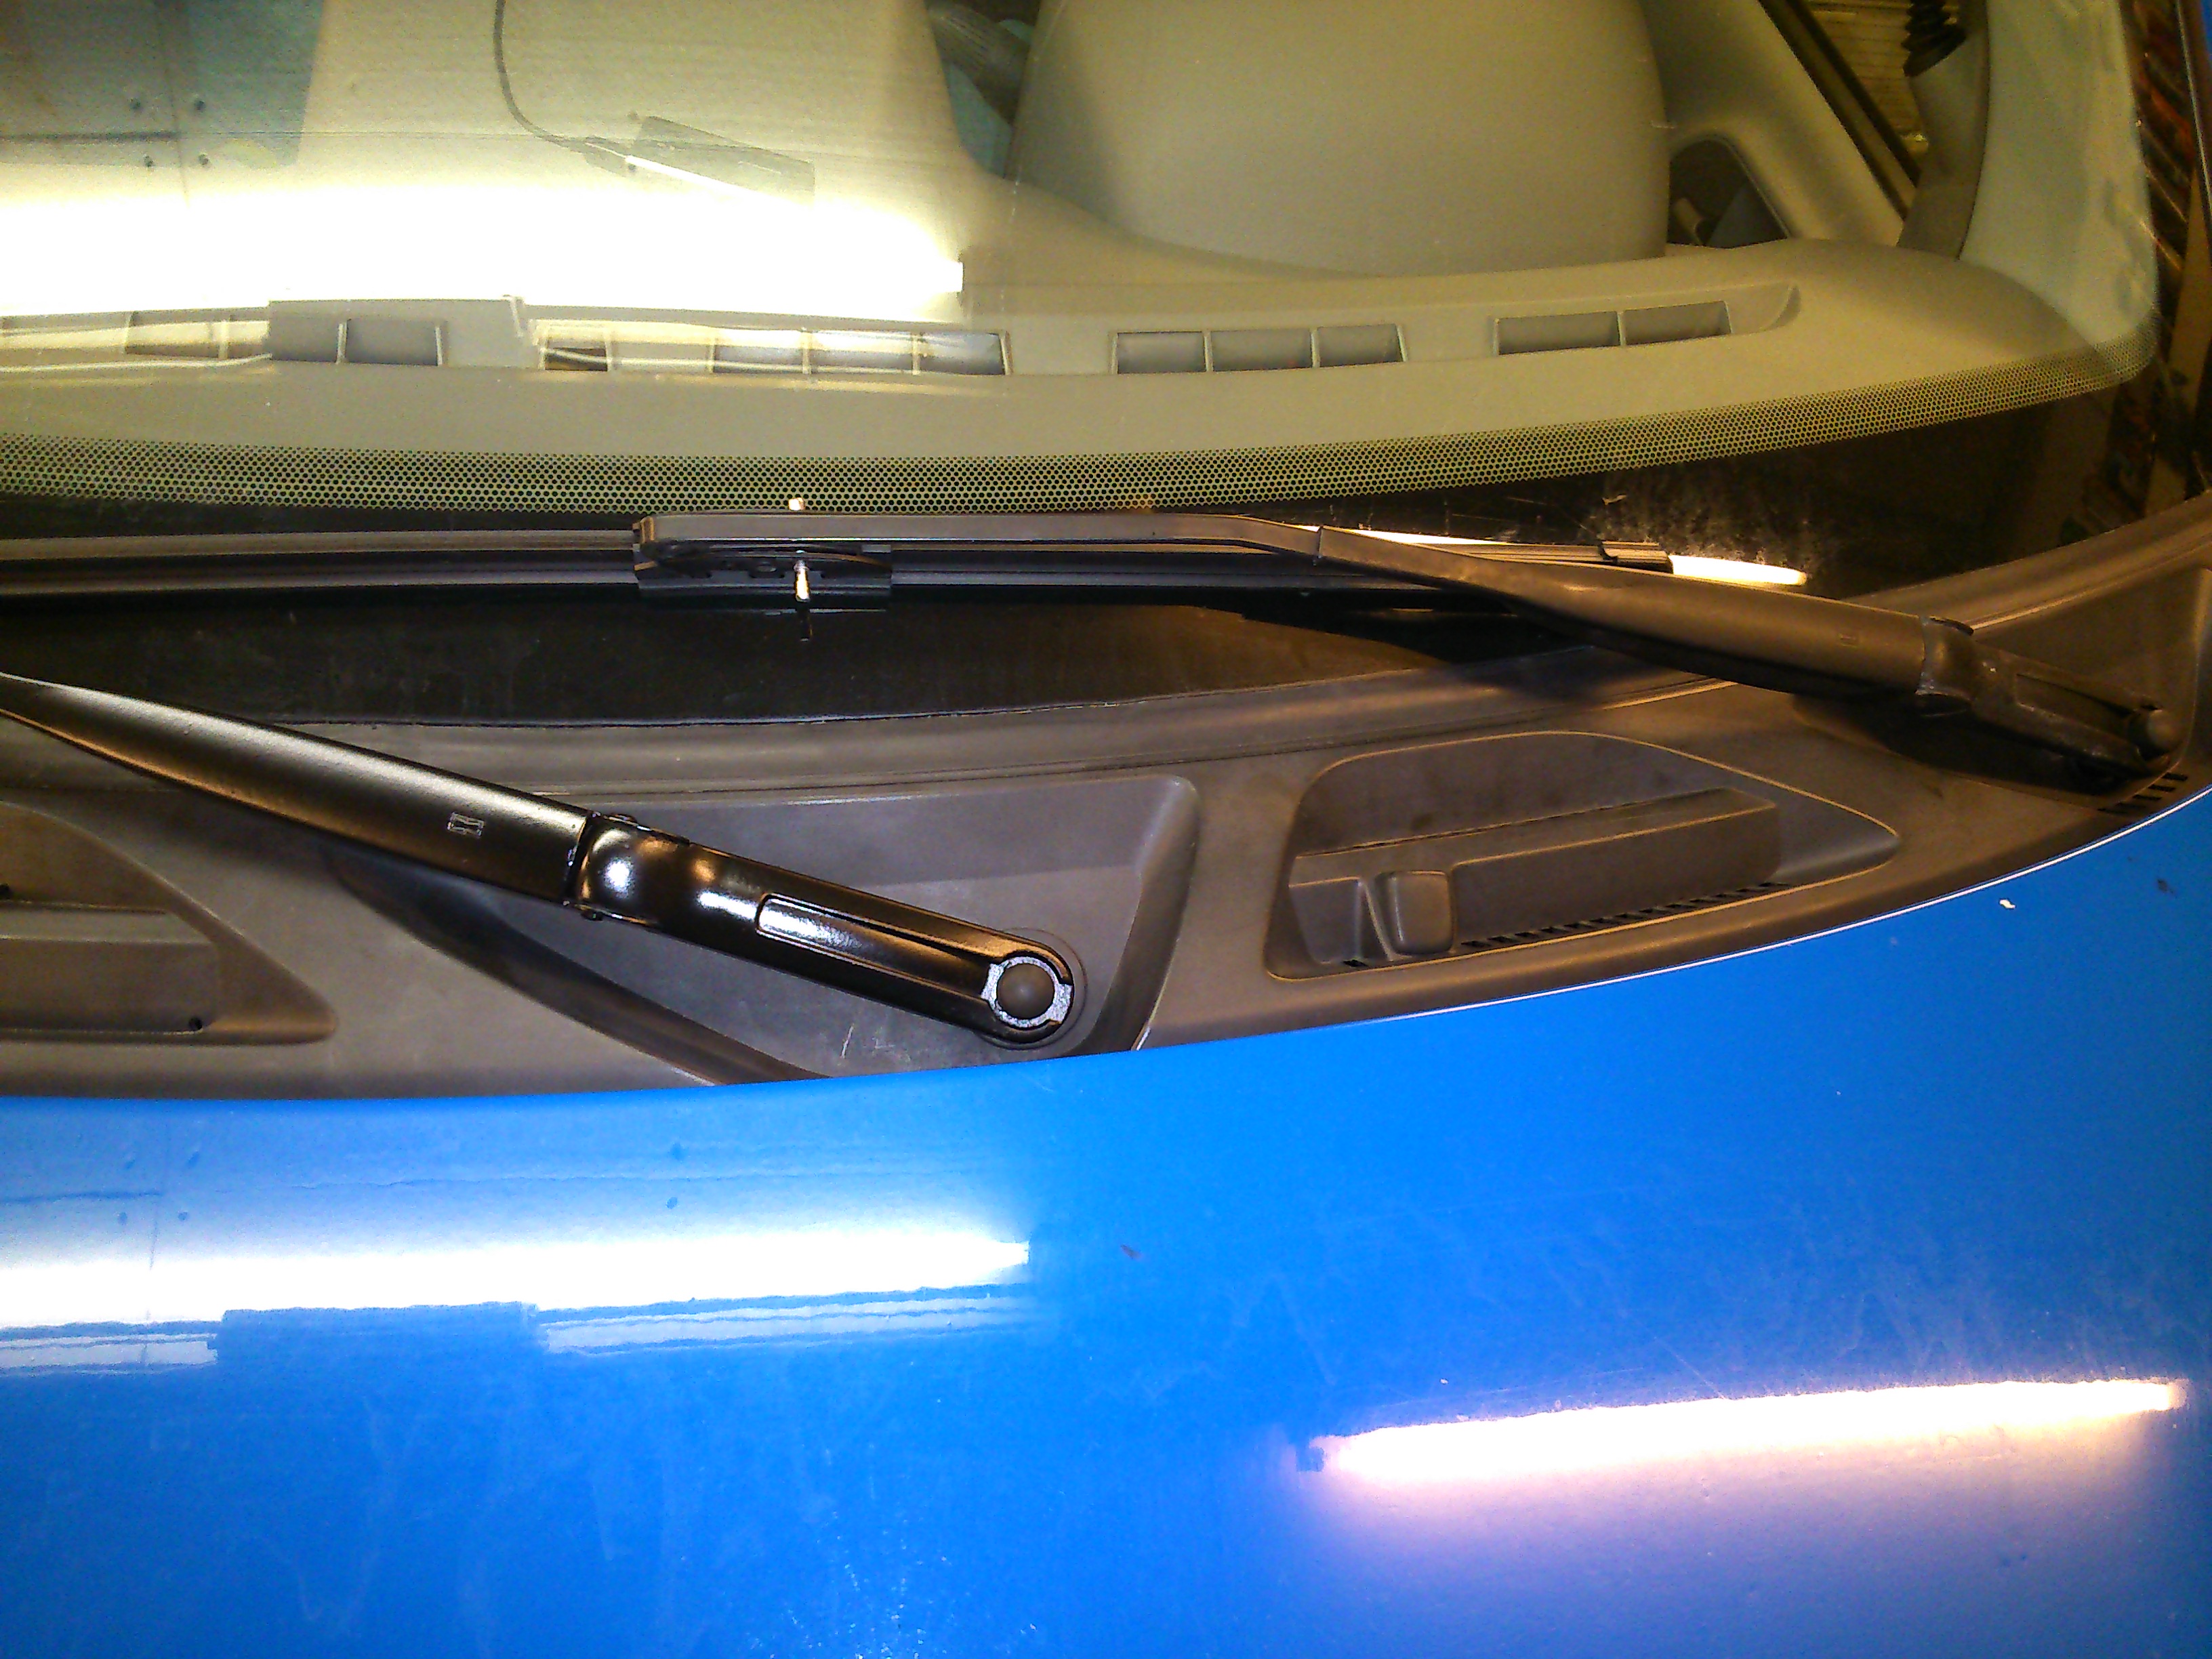
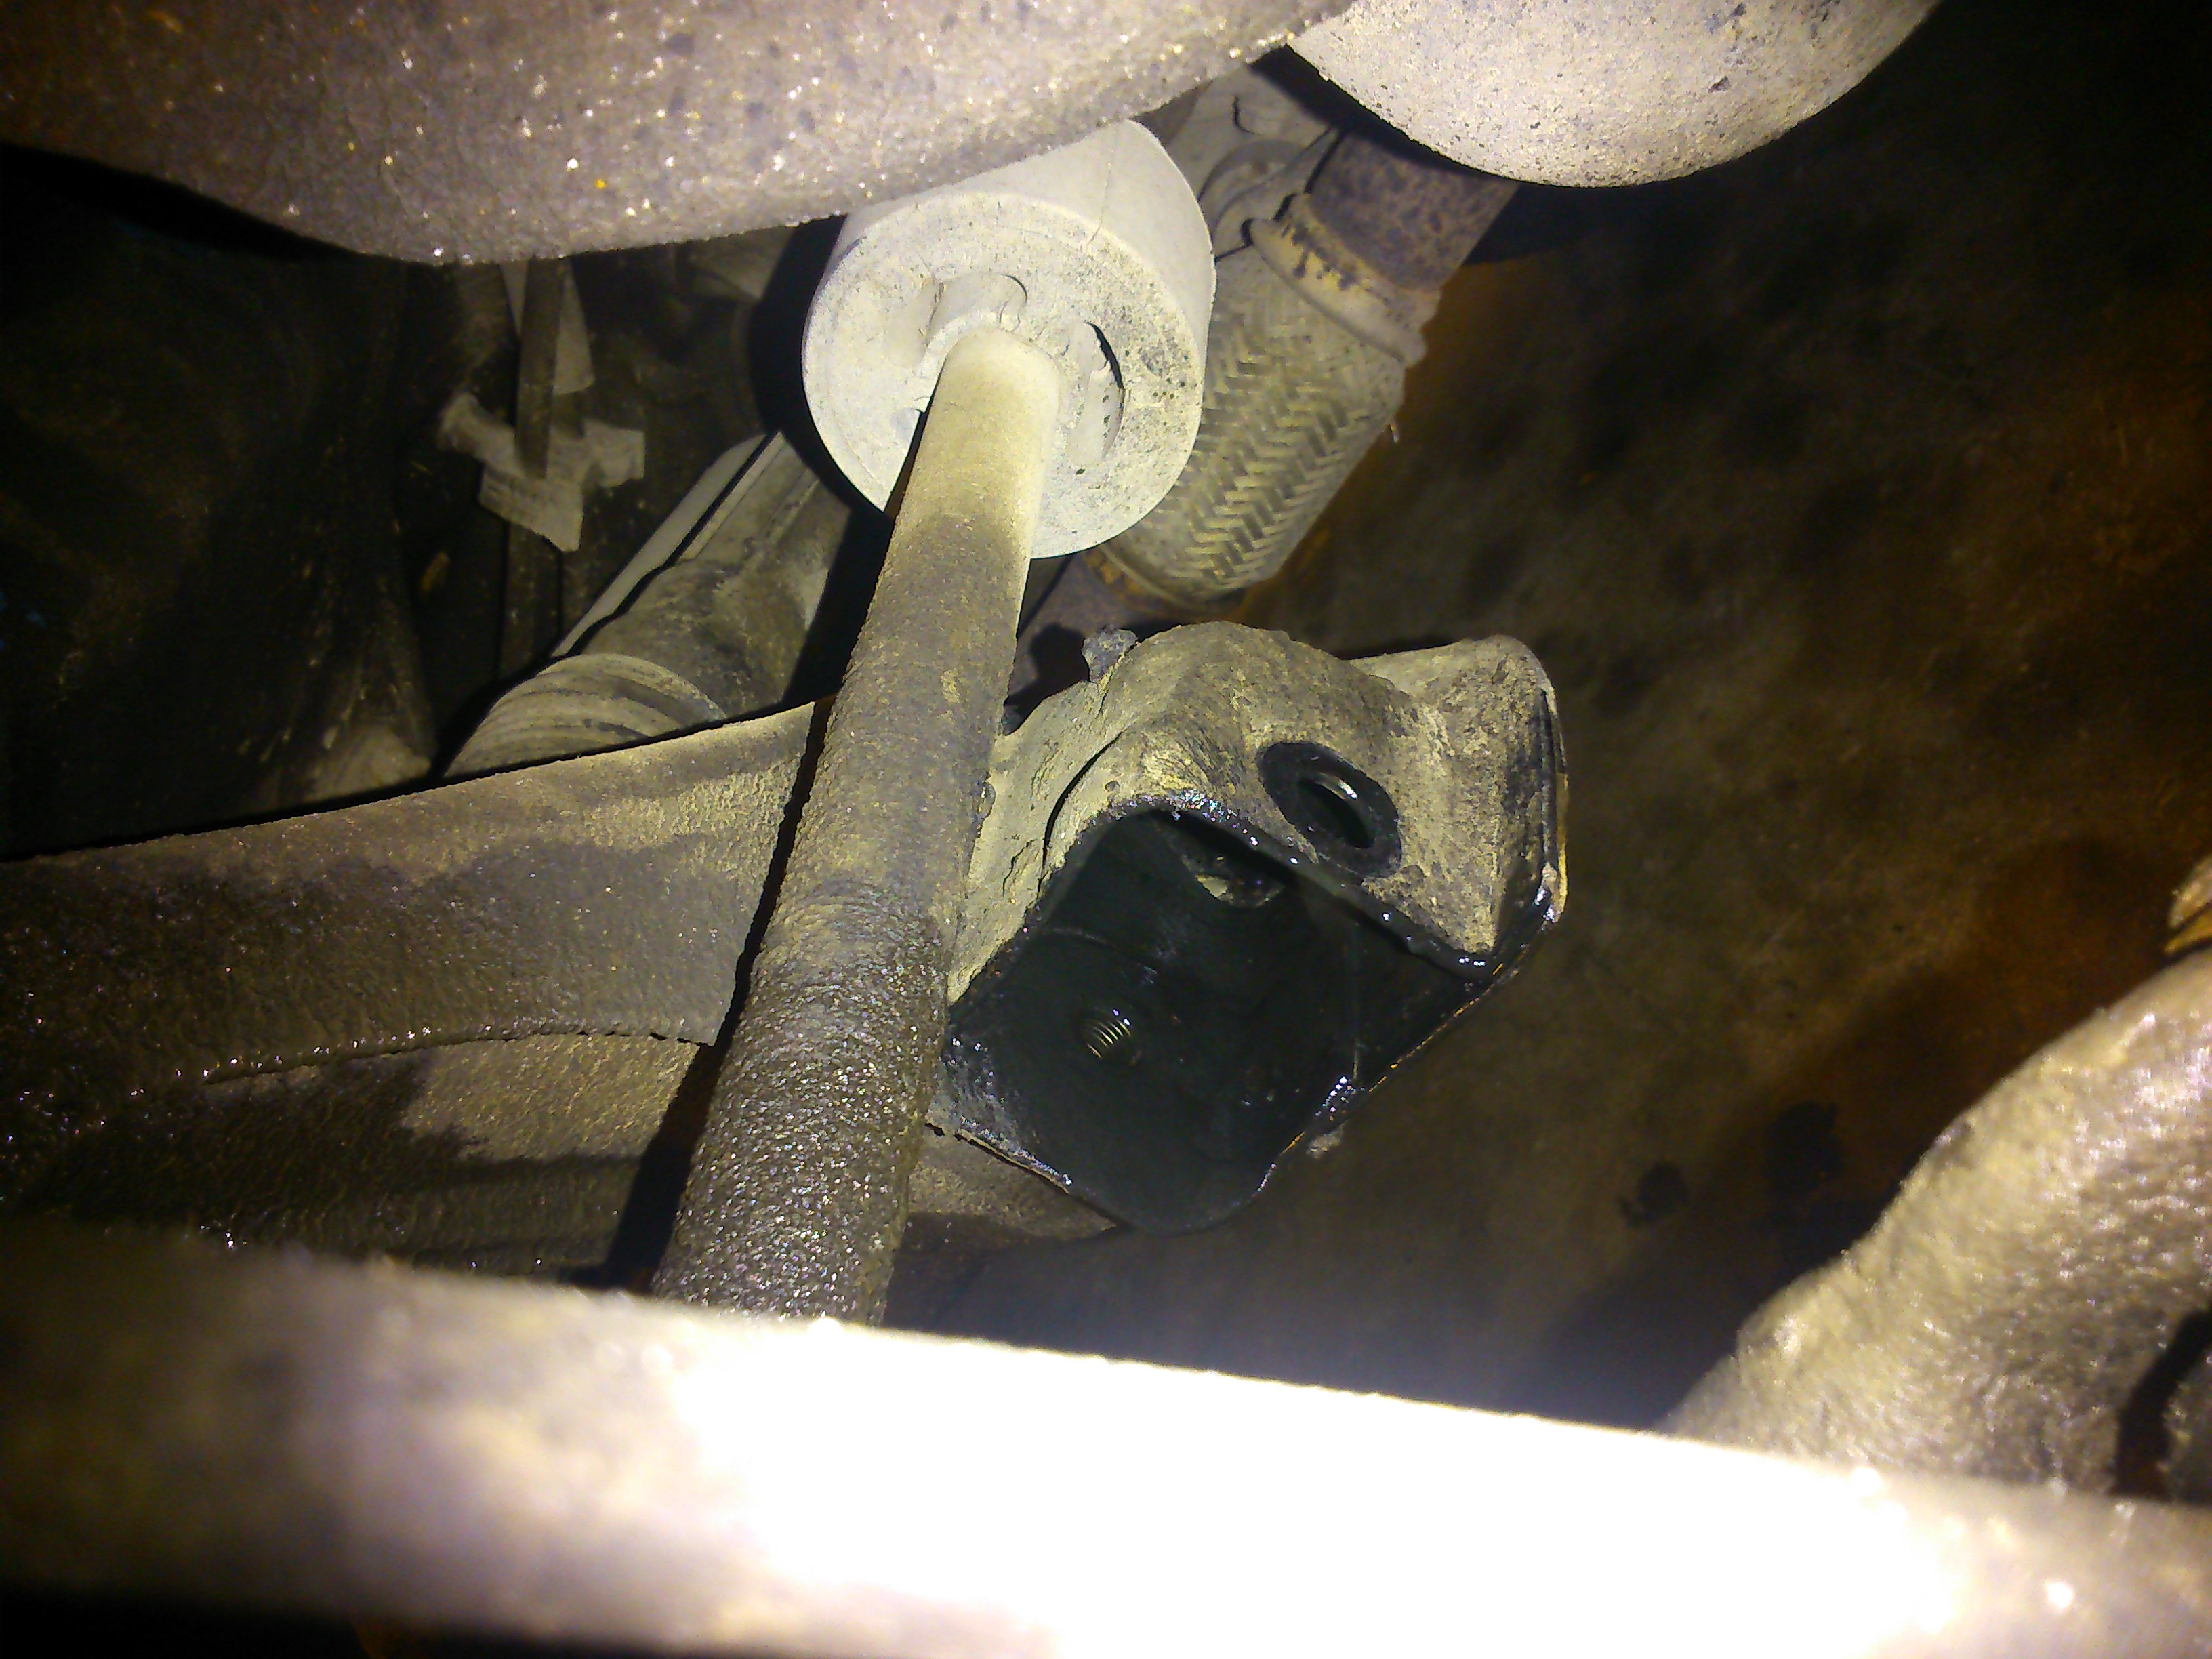
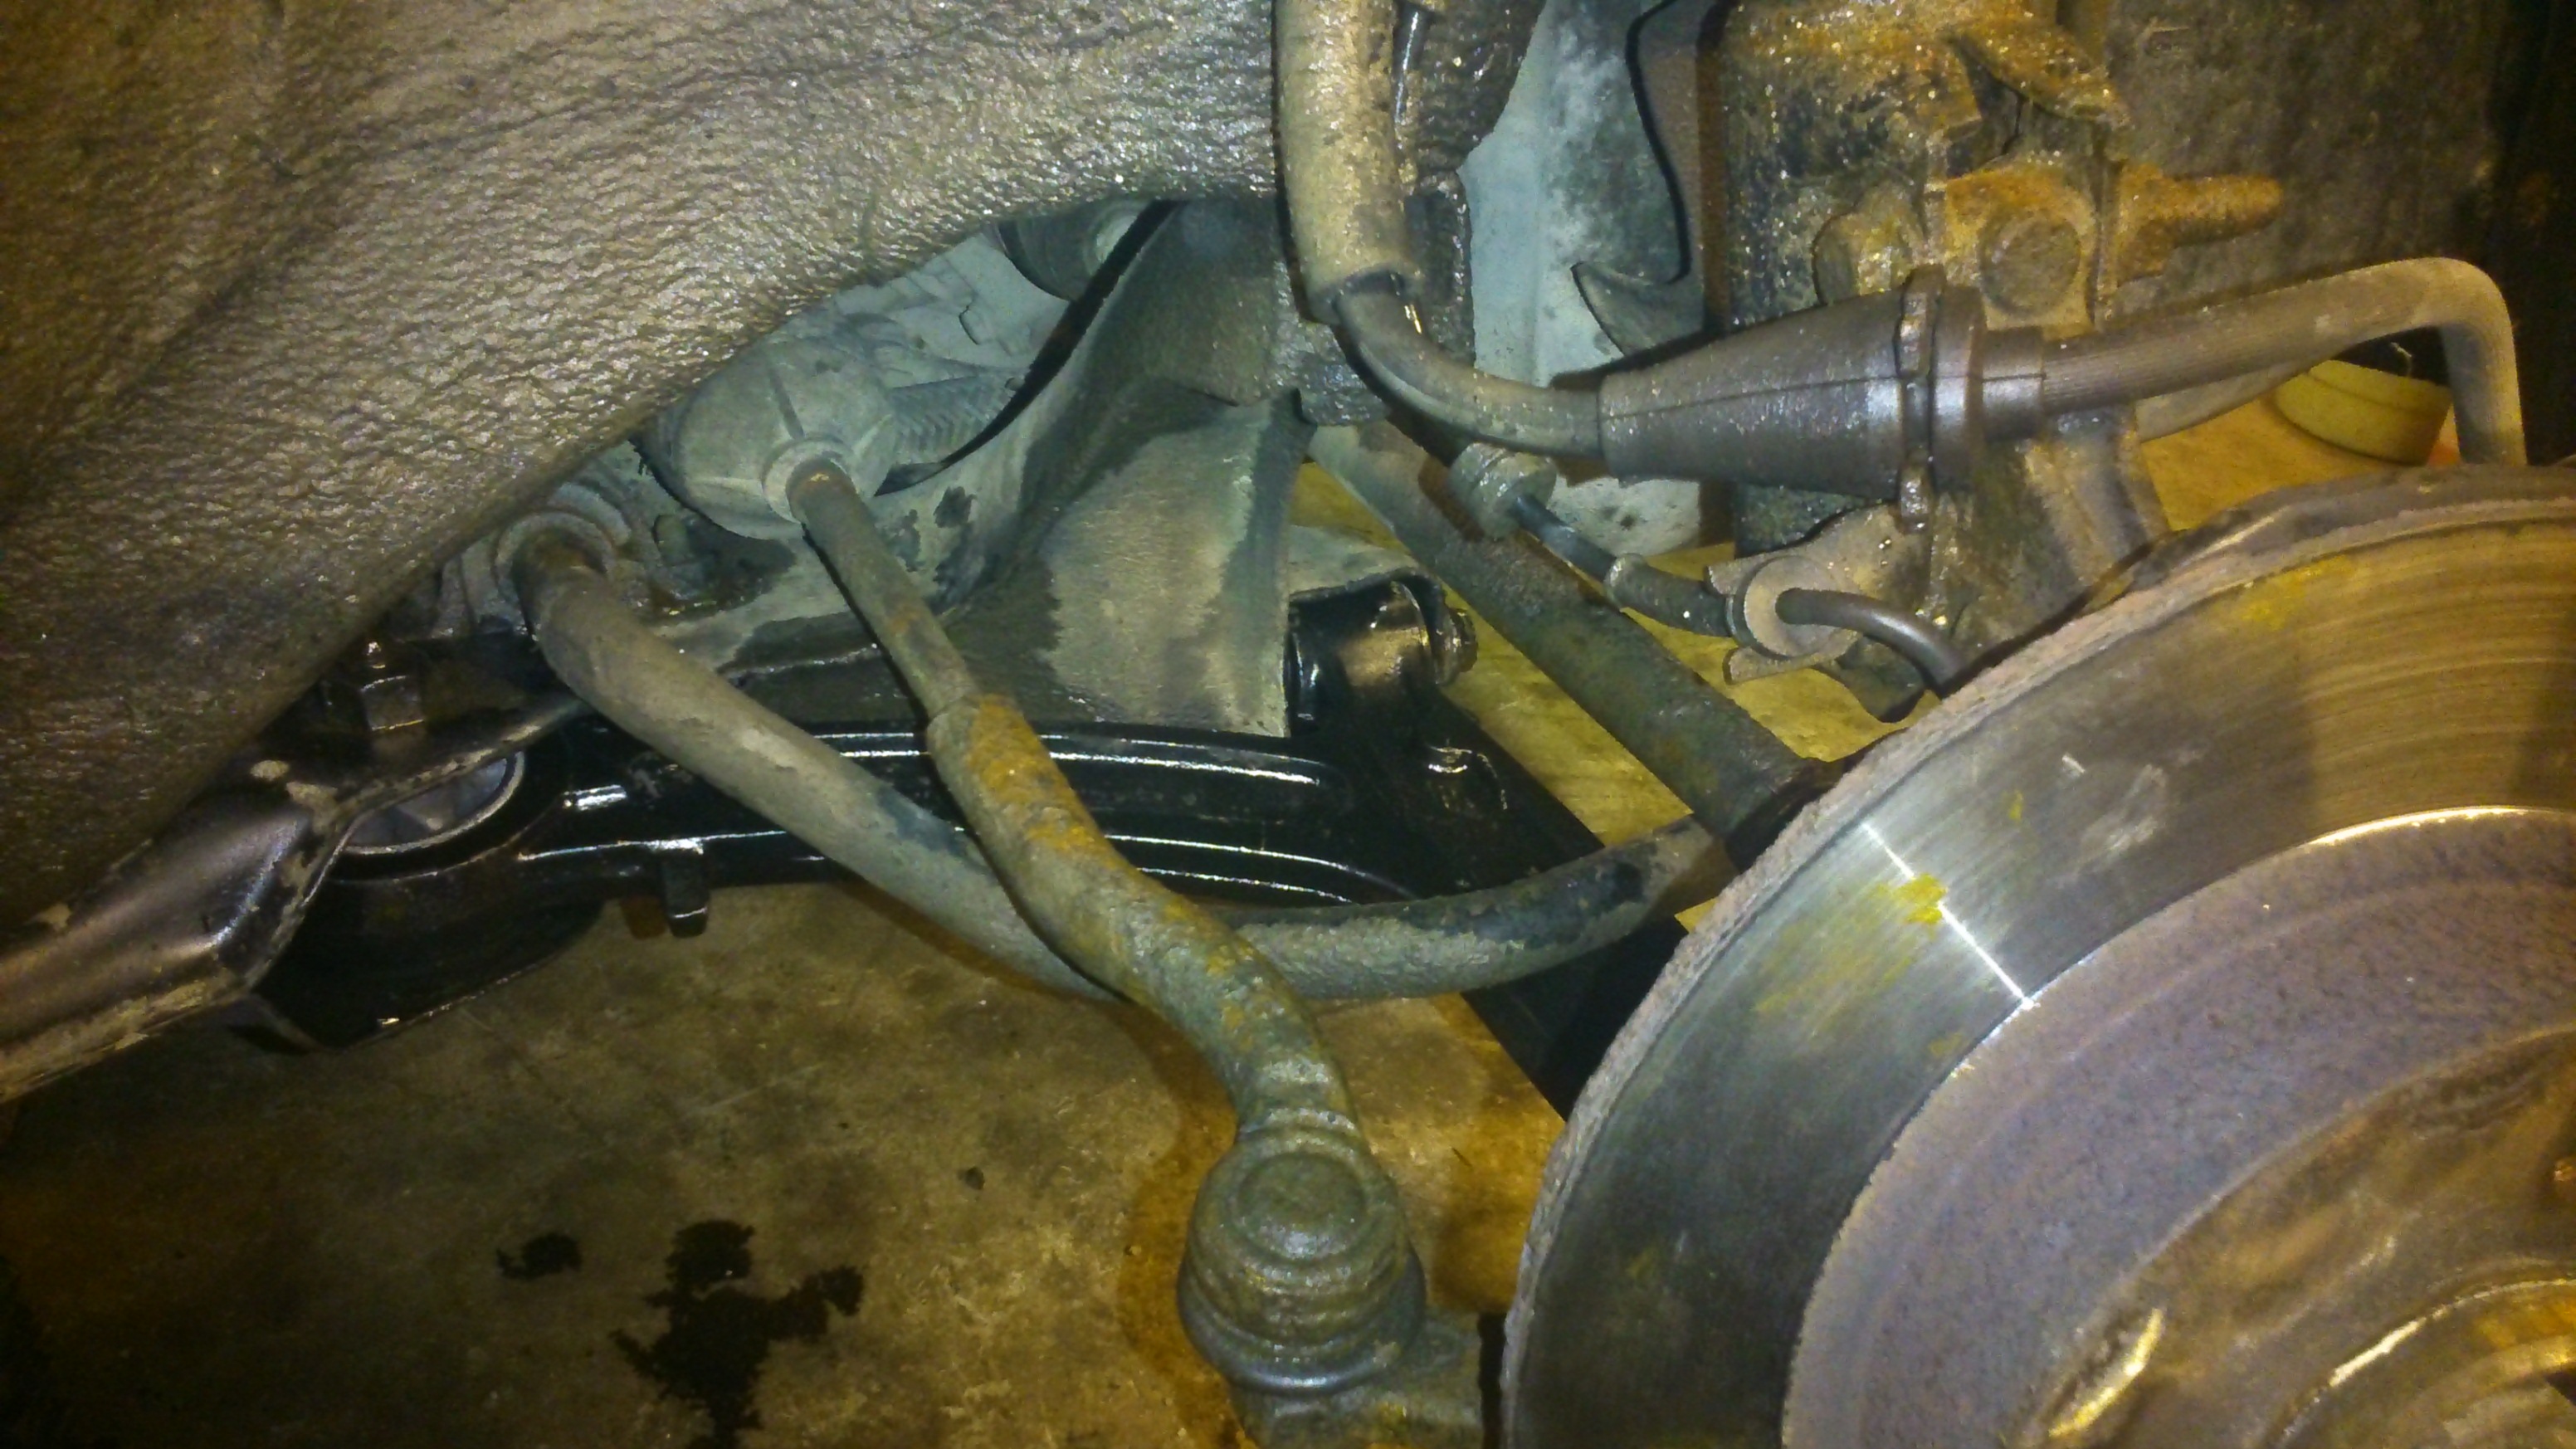
The body is completely rust free, which was a pleasant surprise!
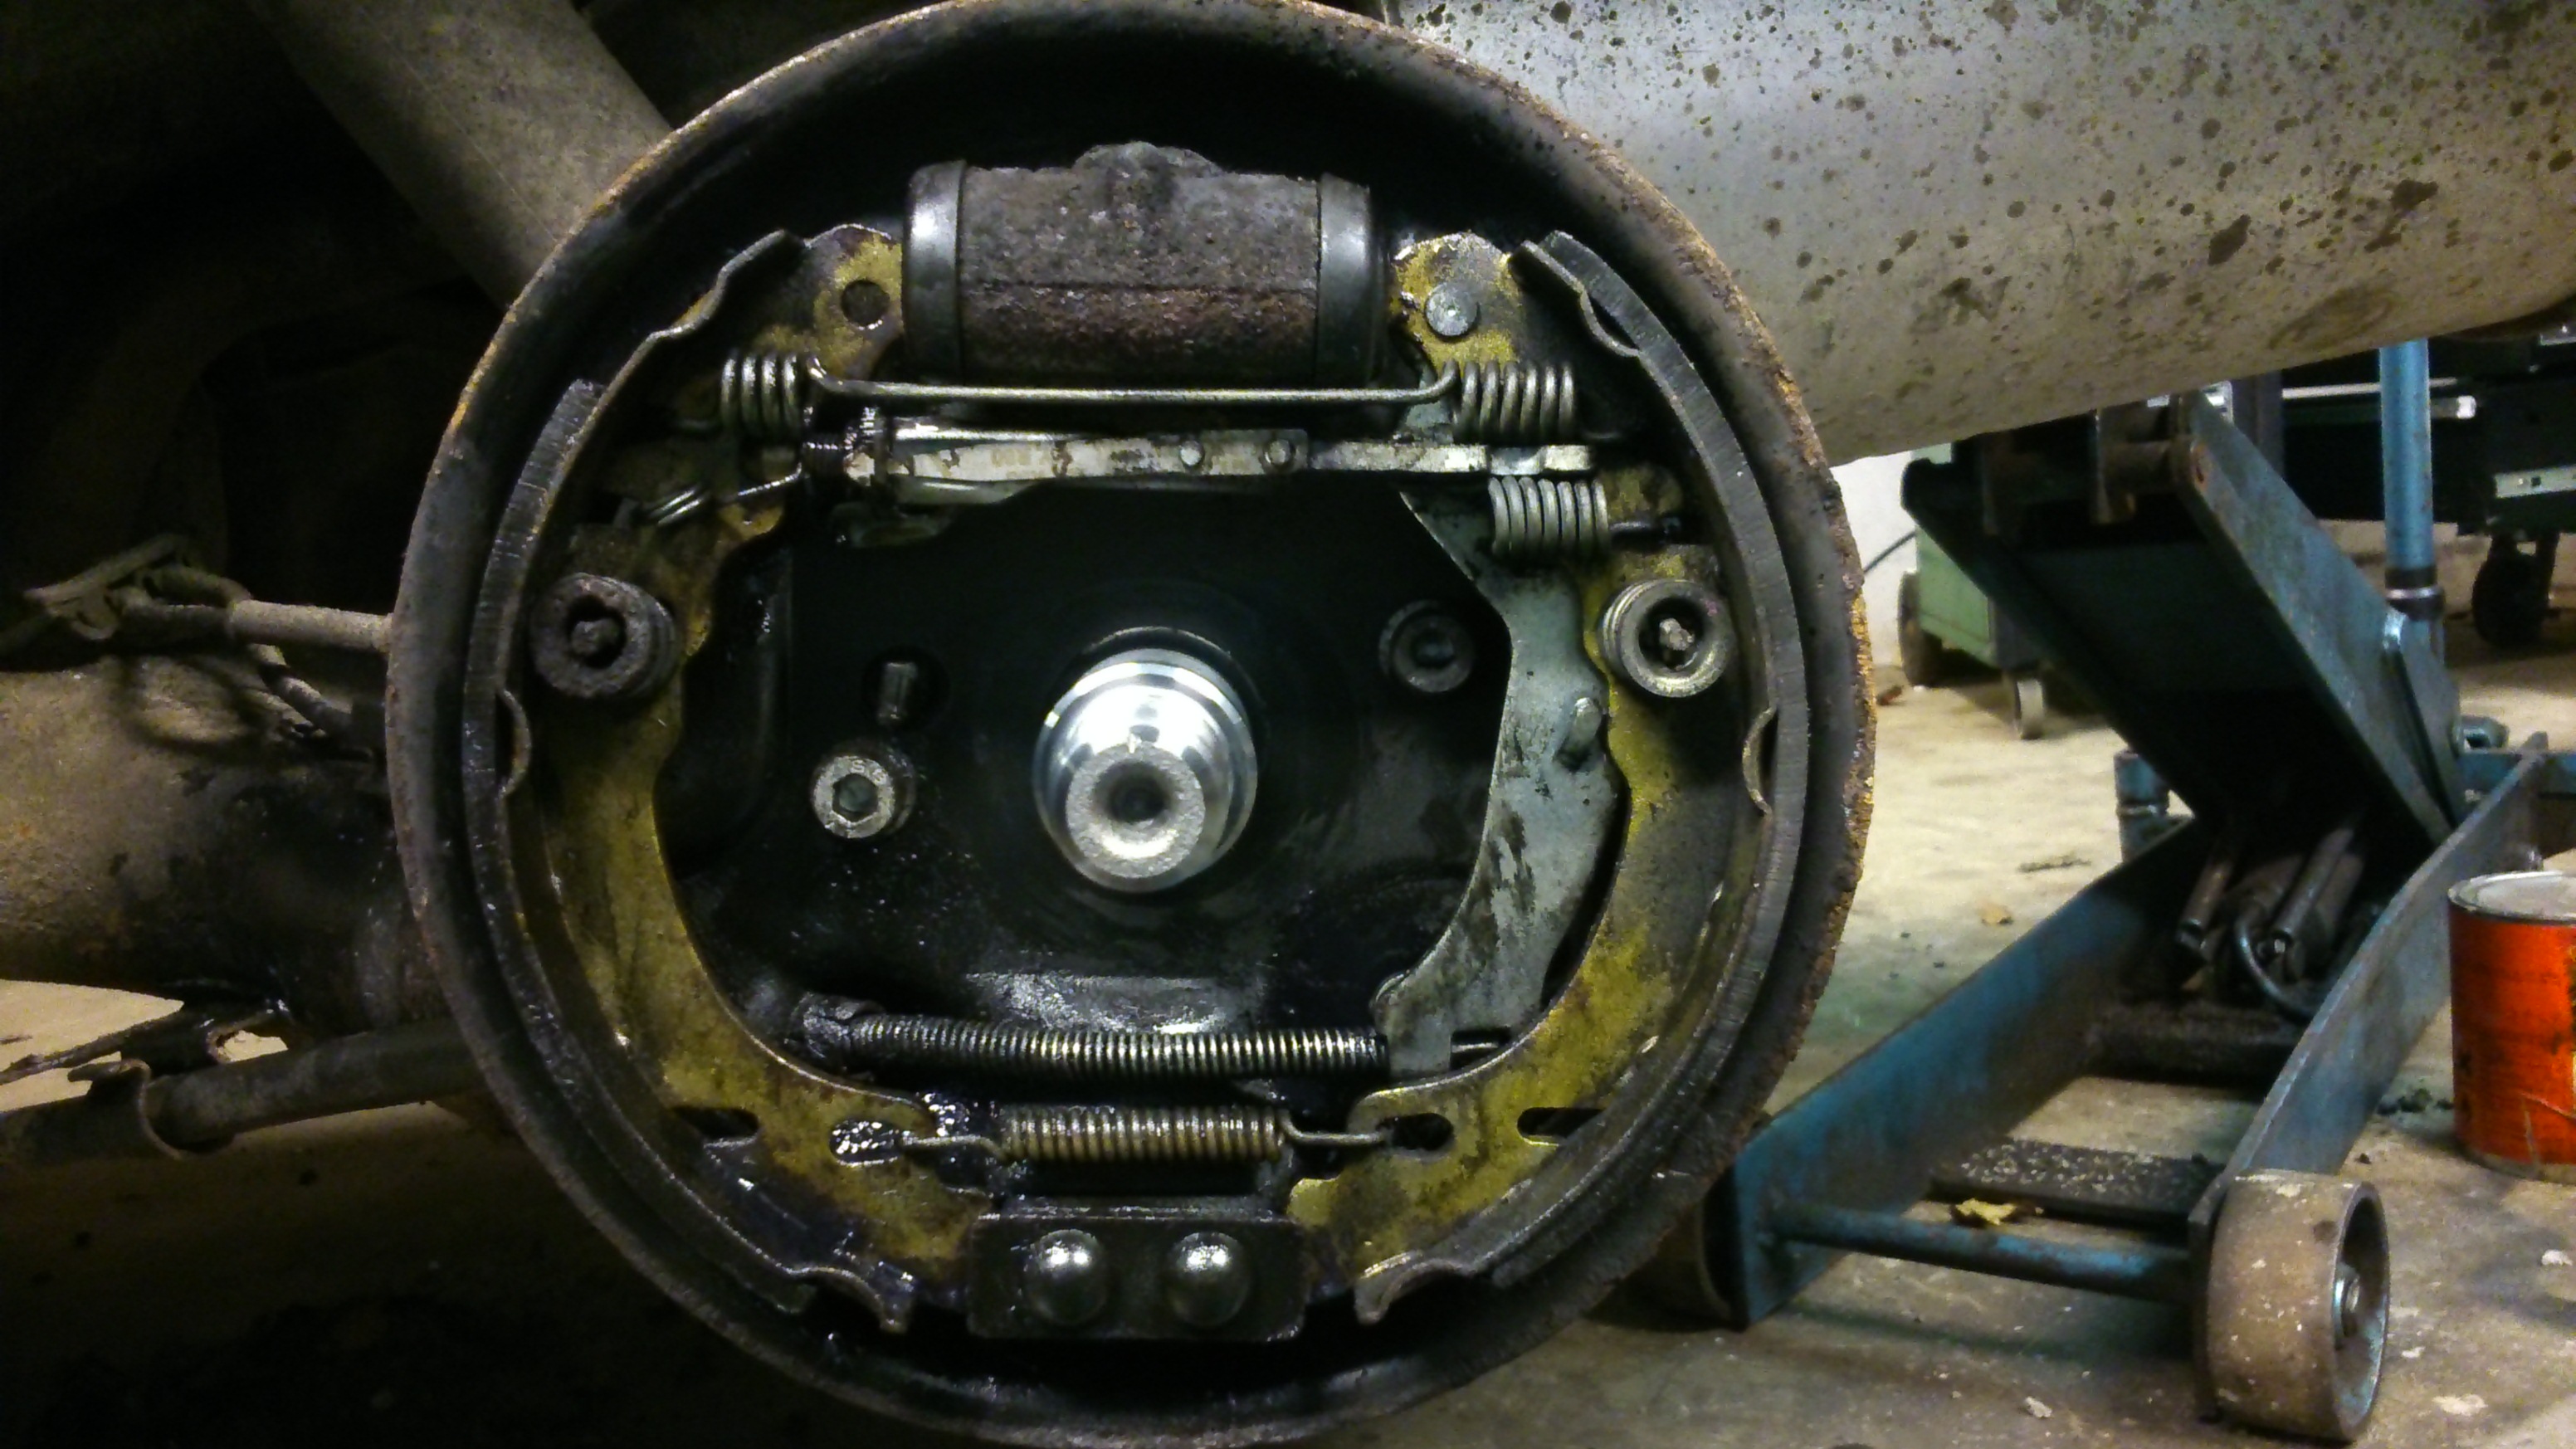
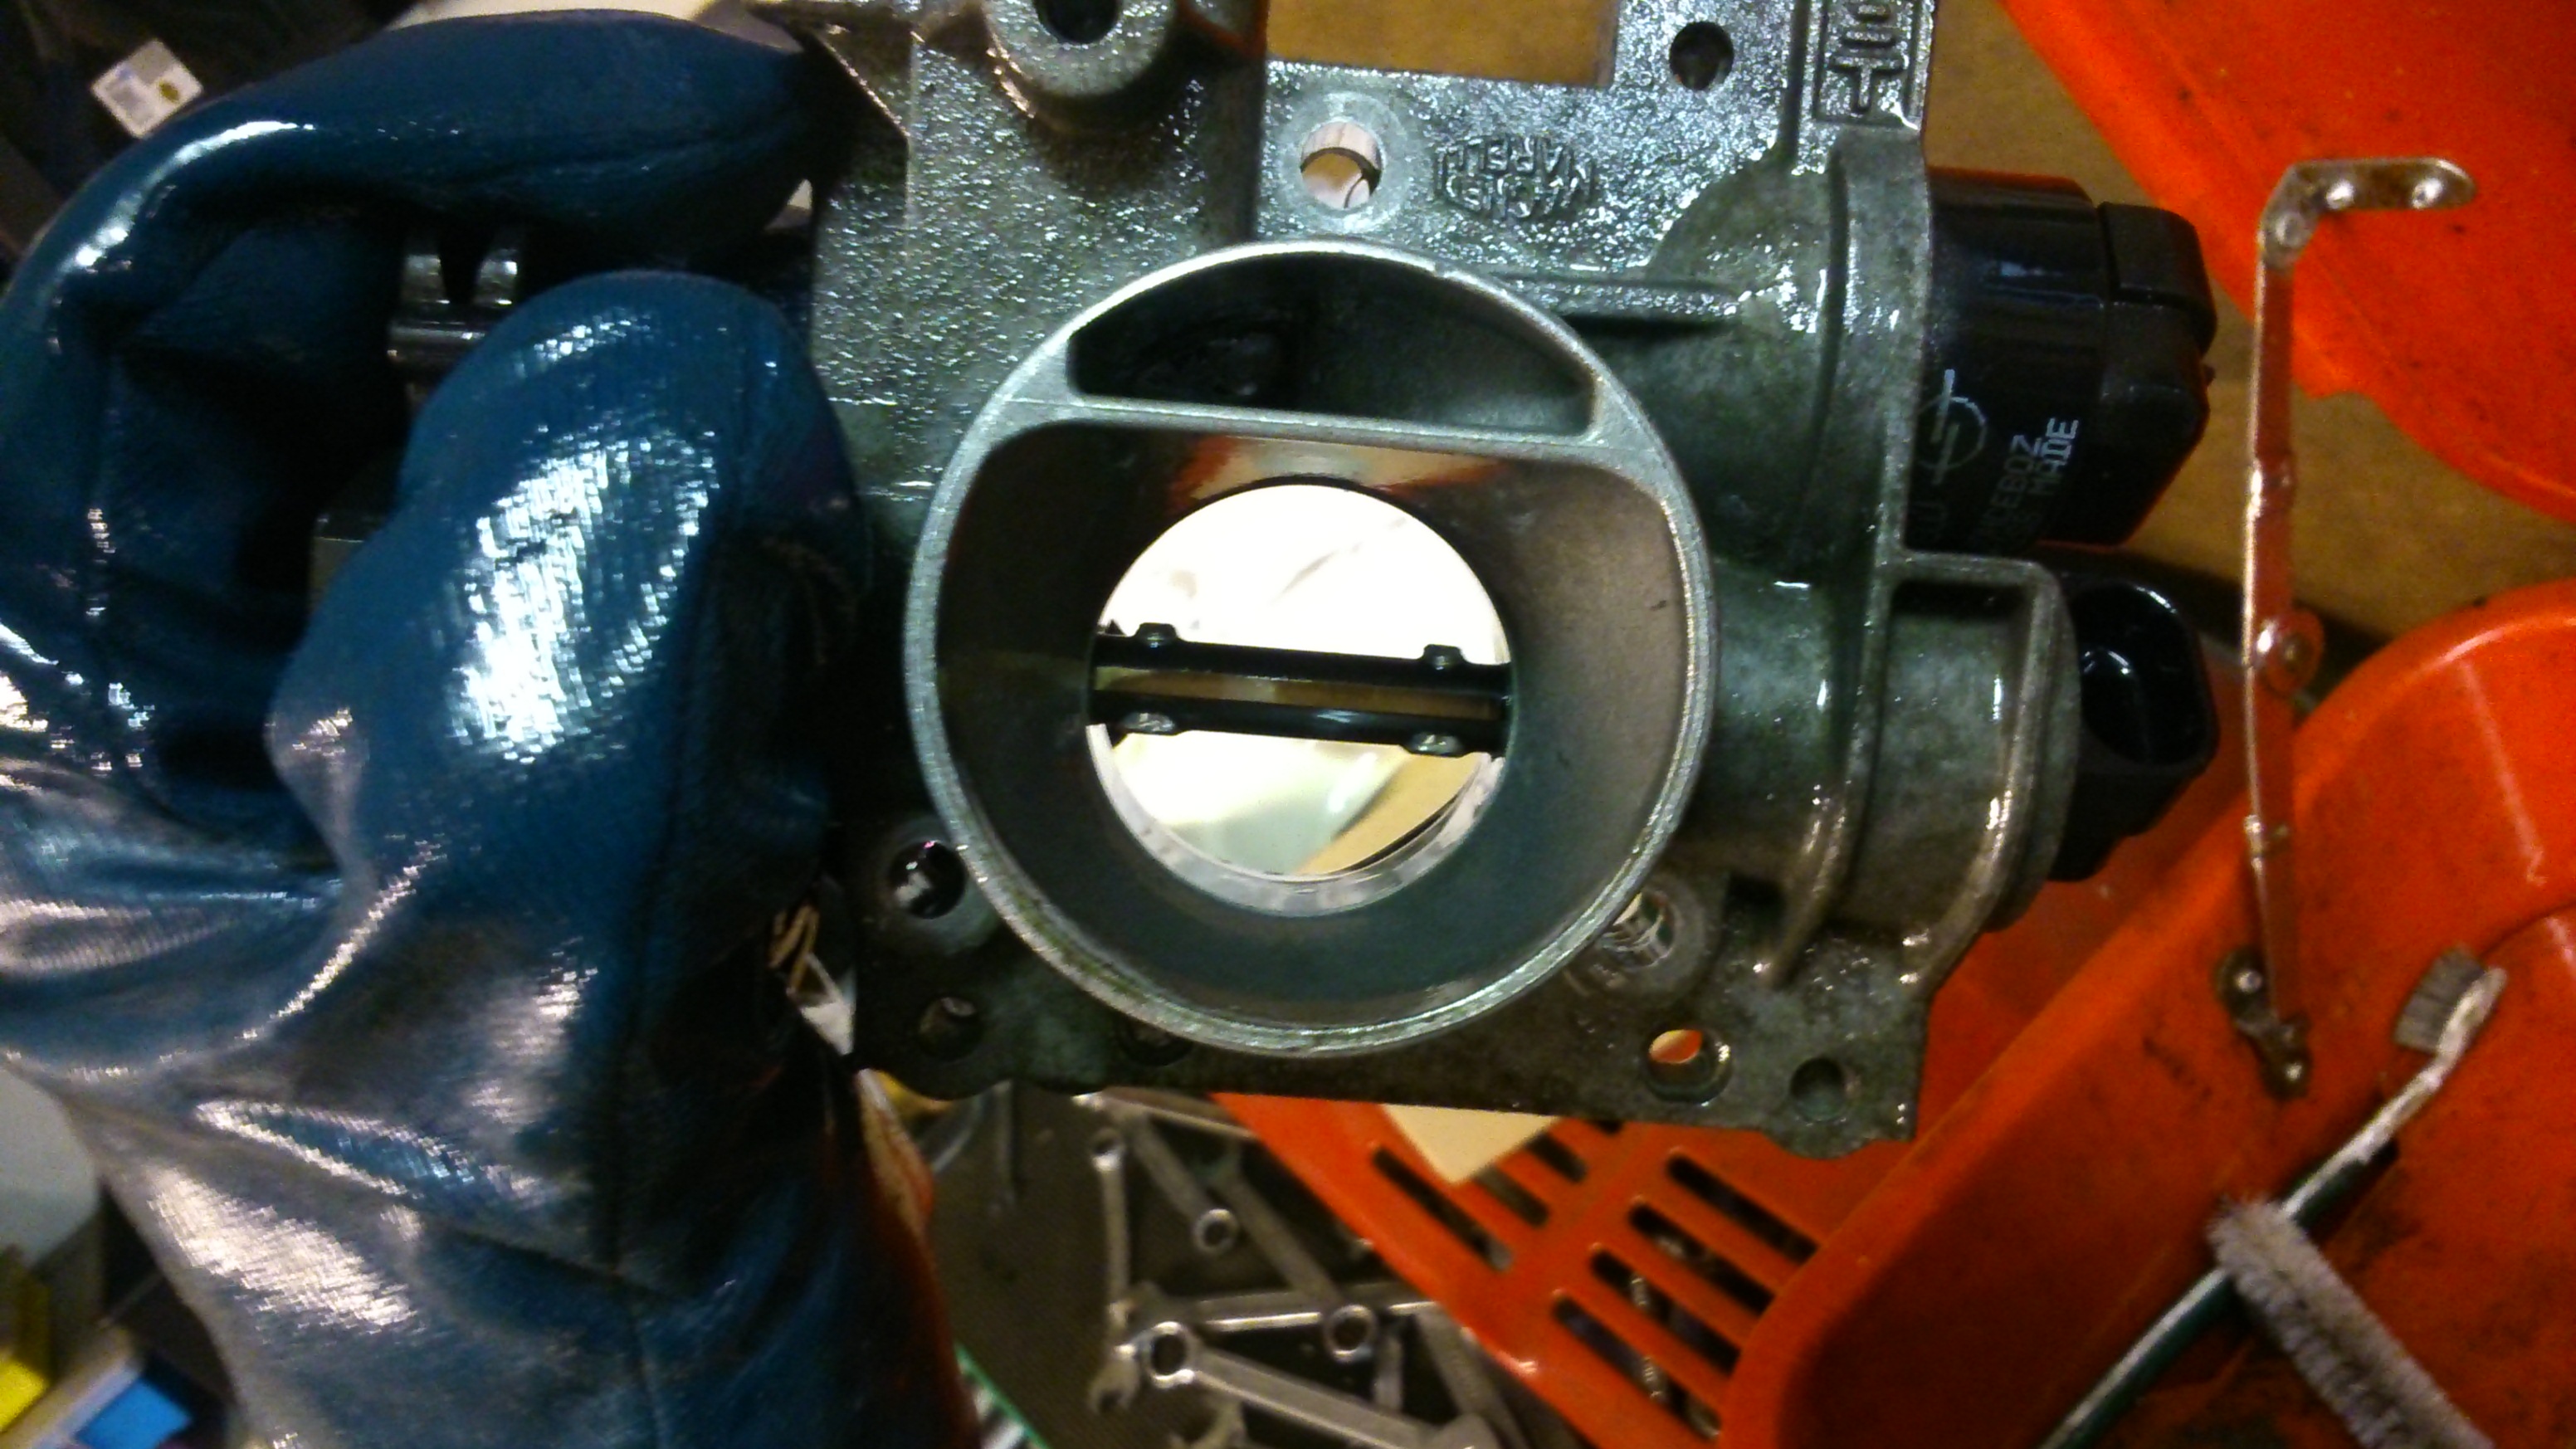
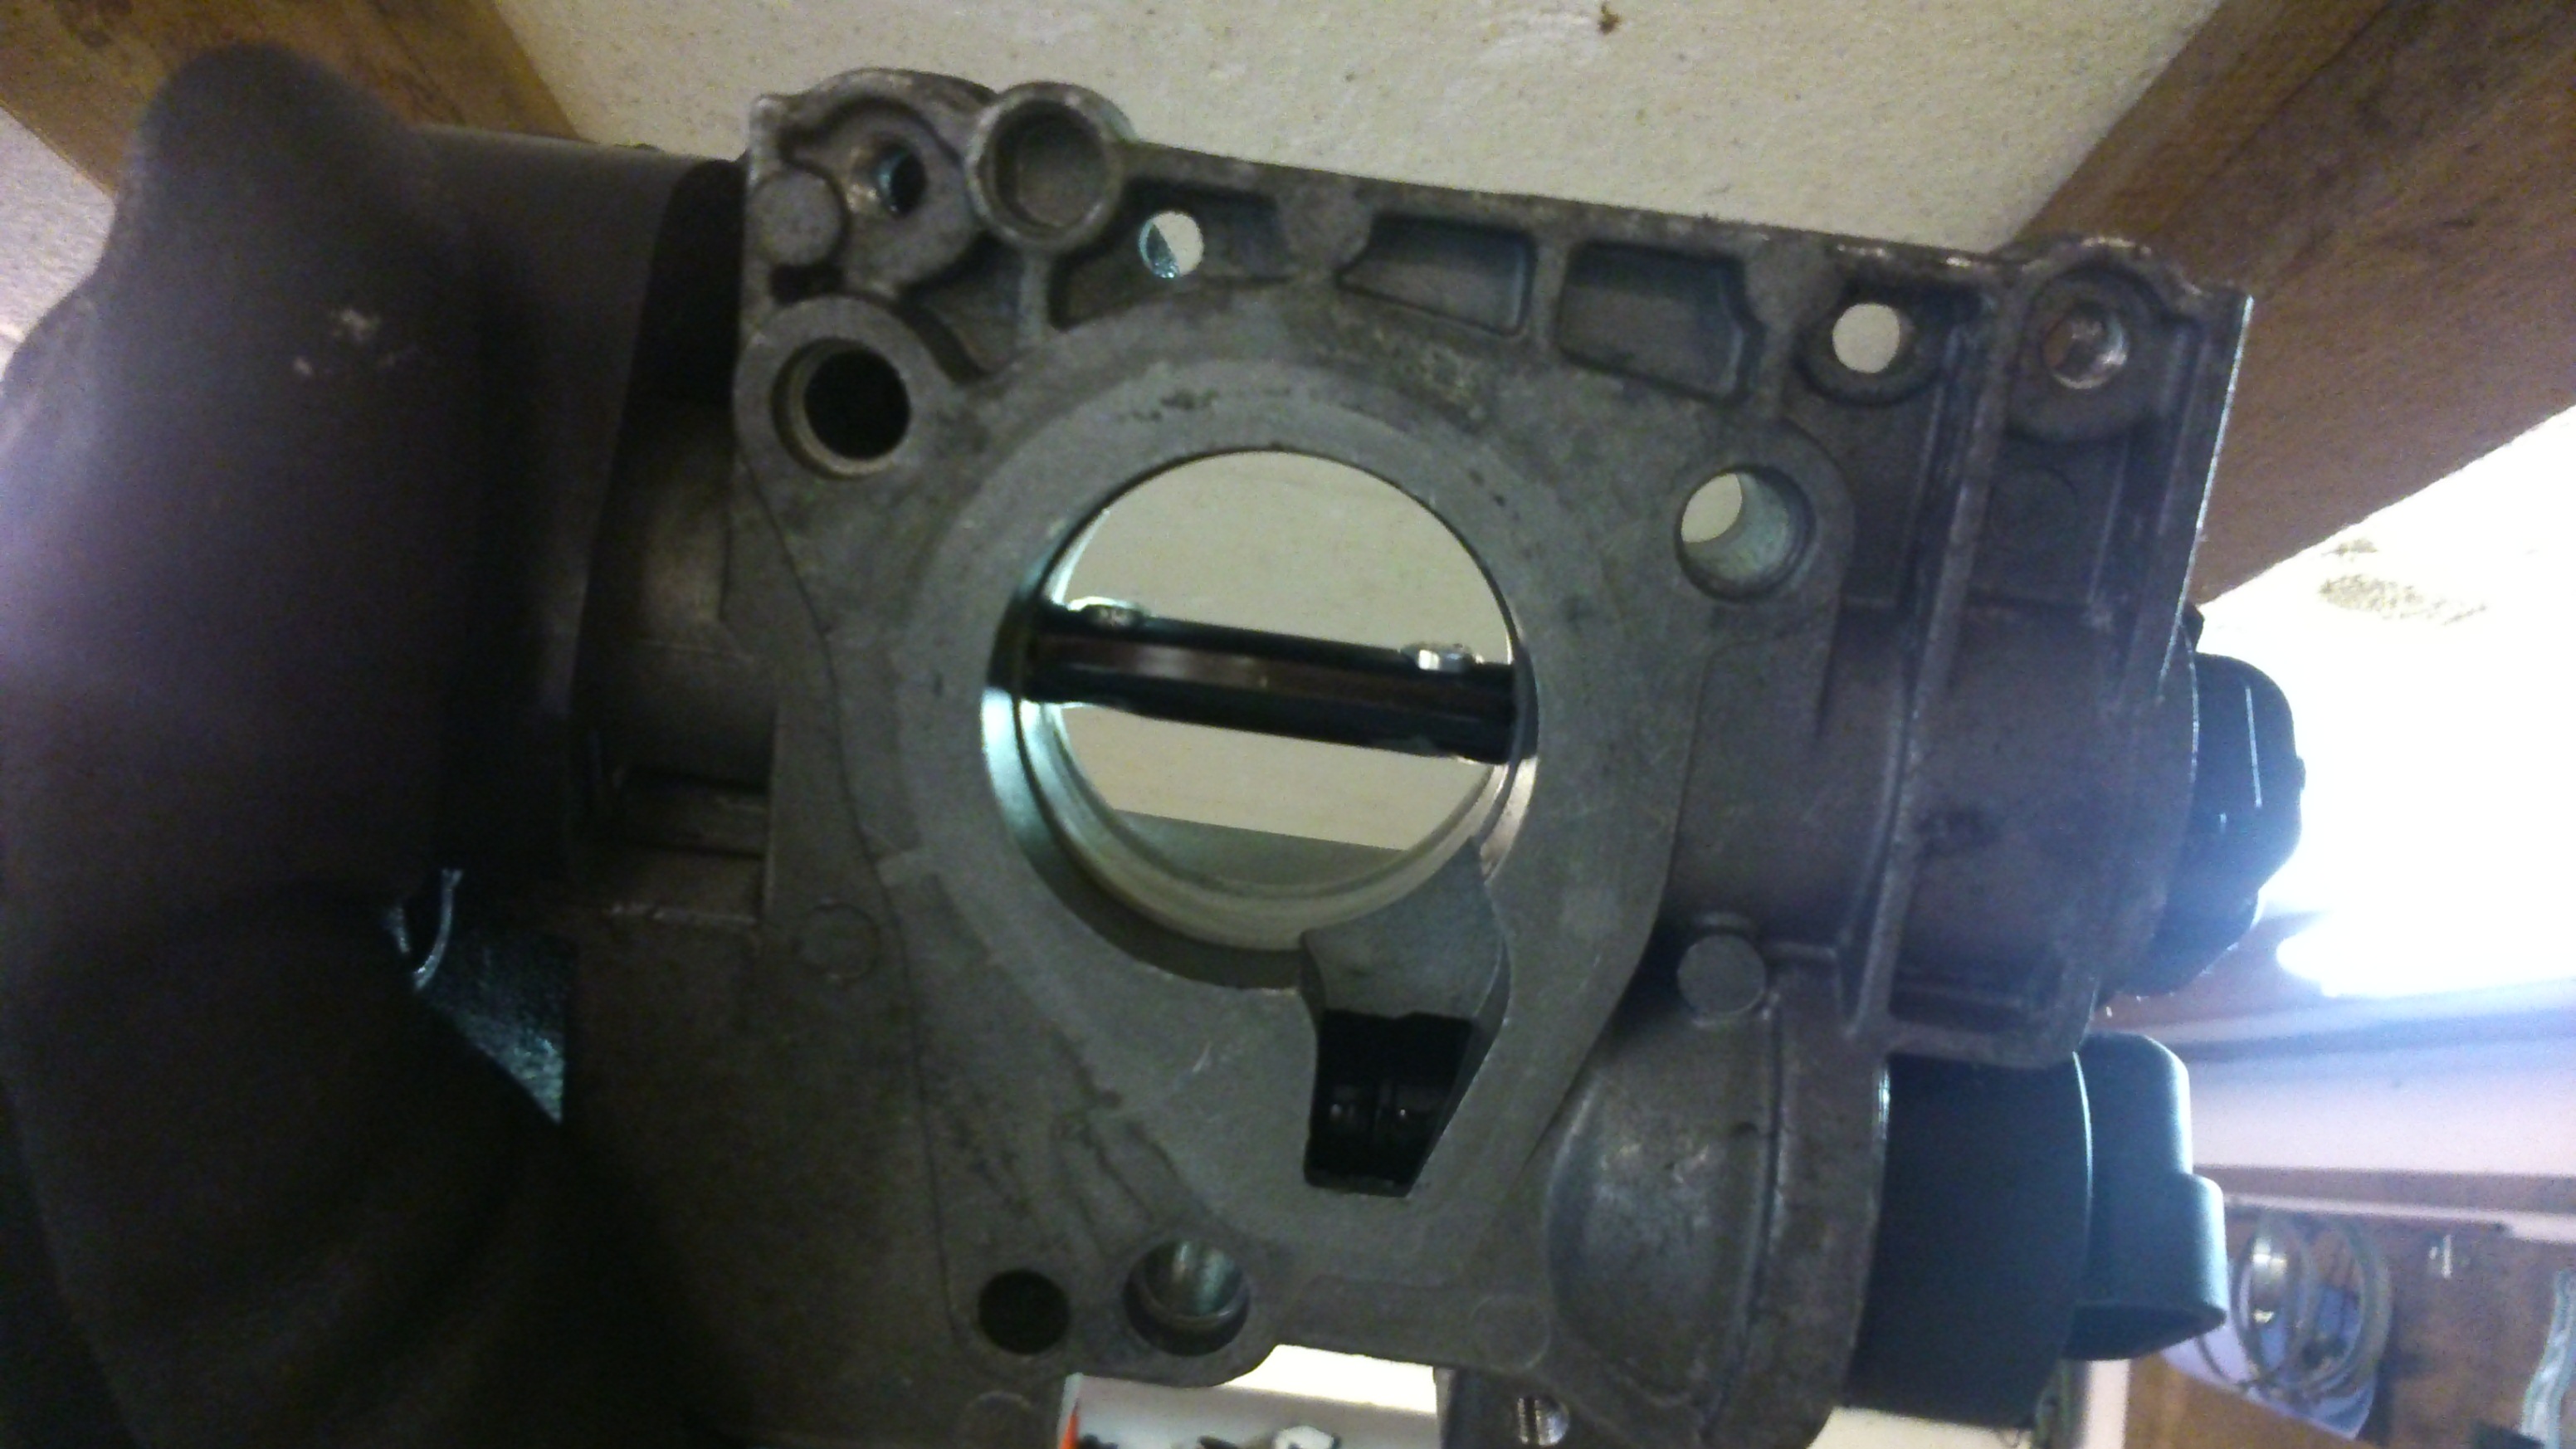
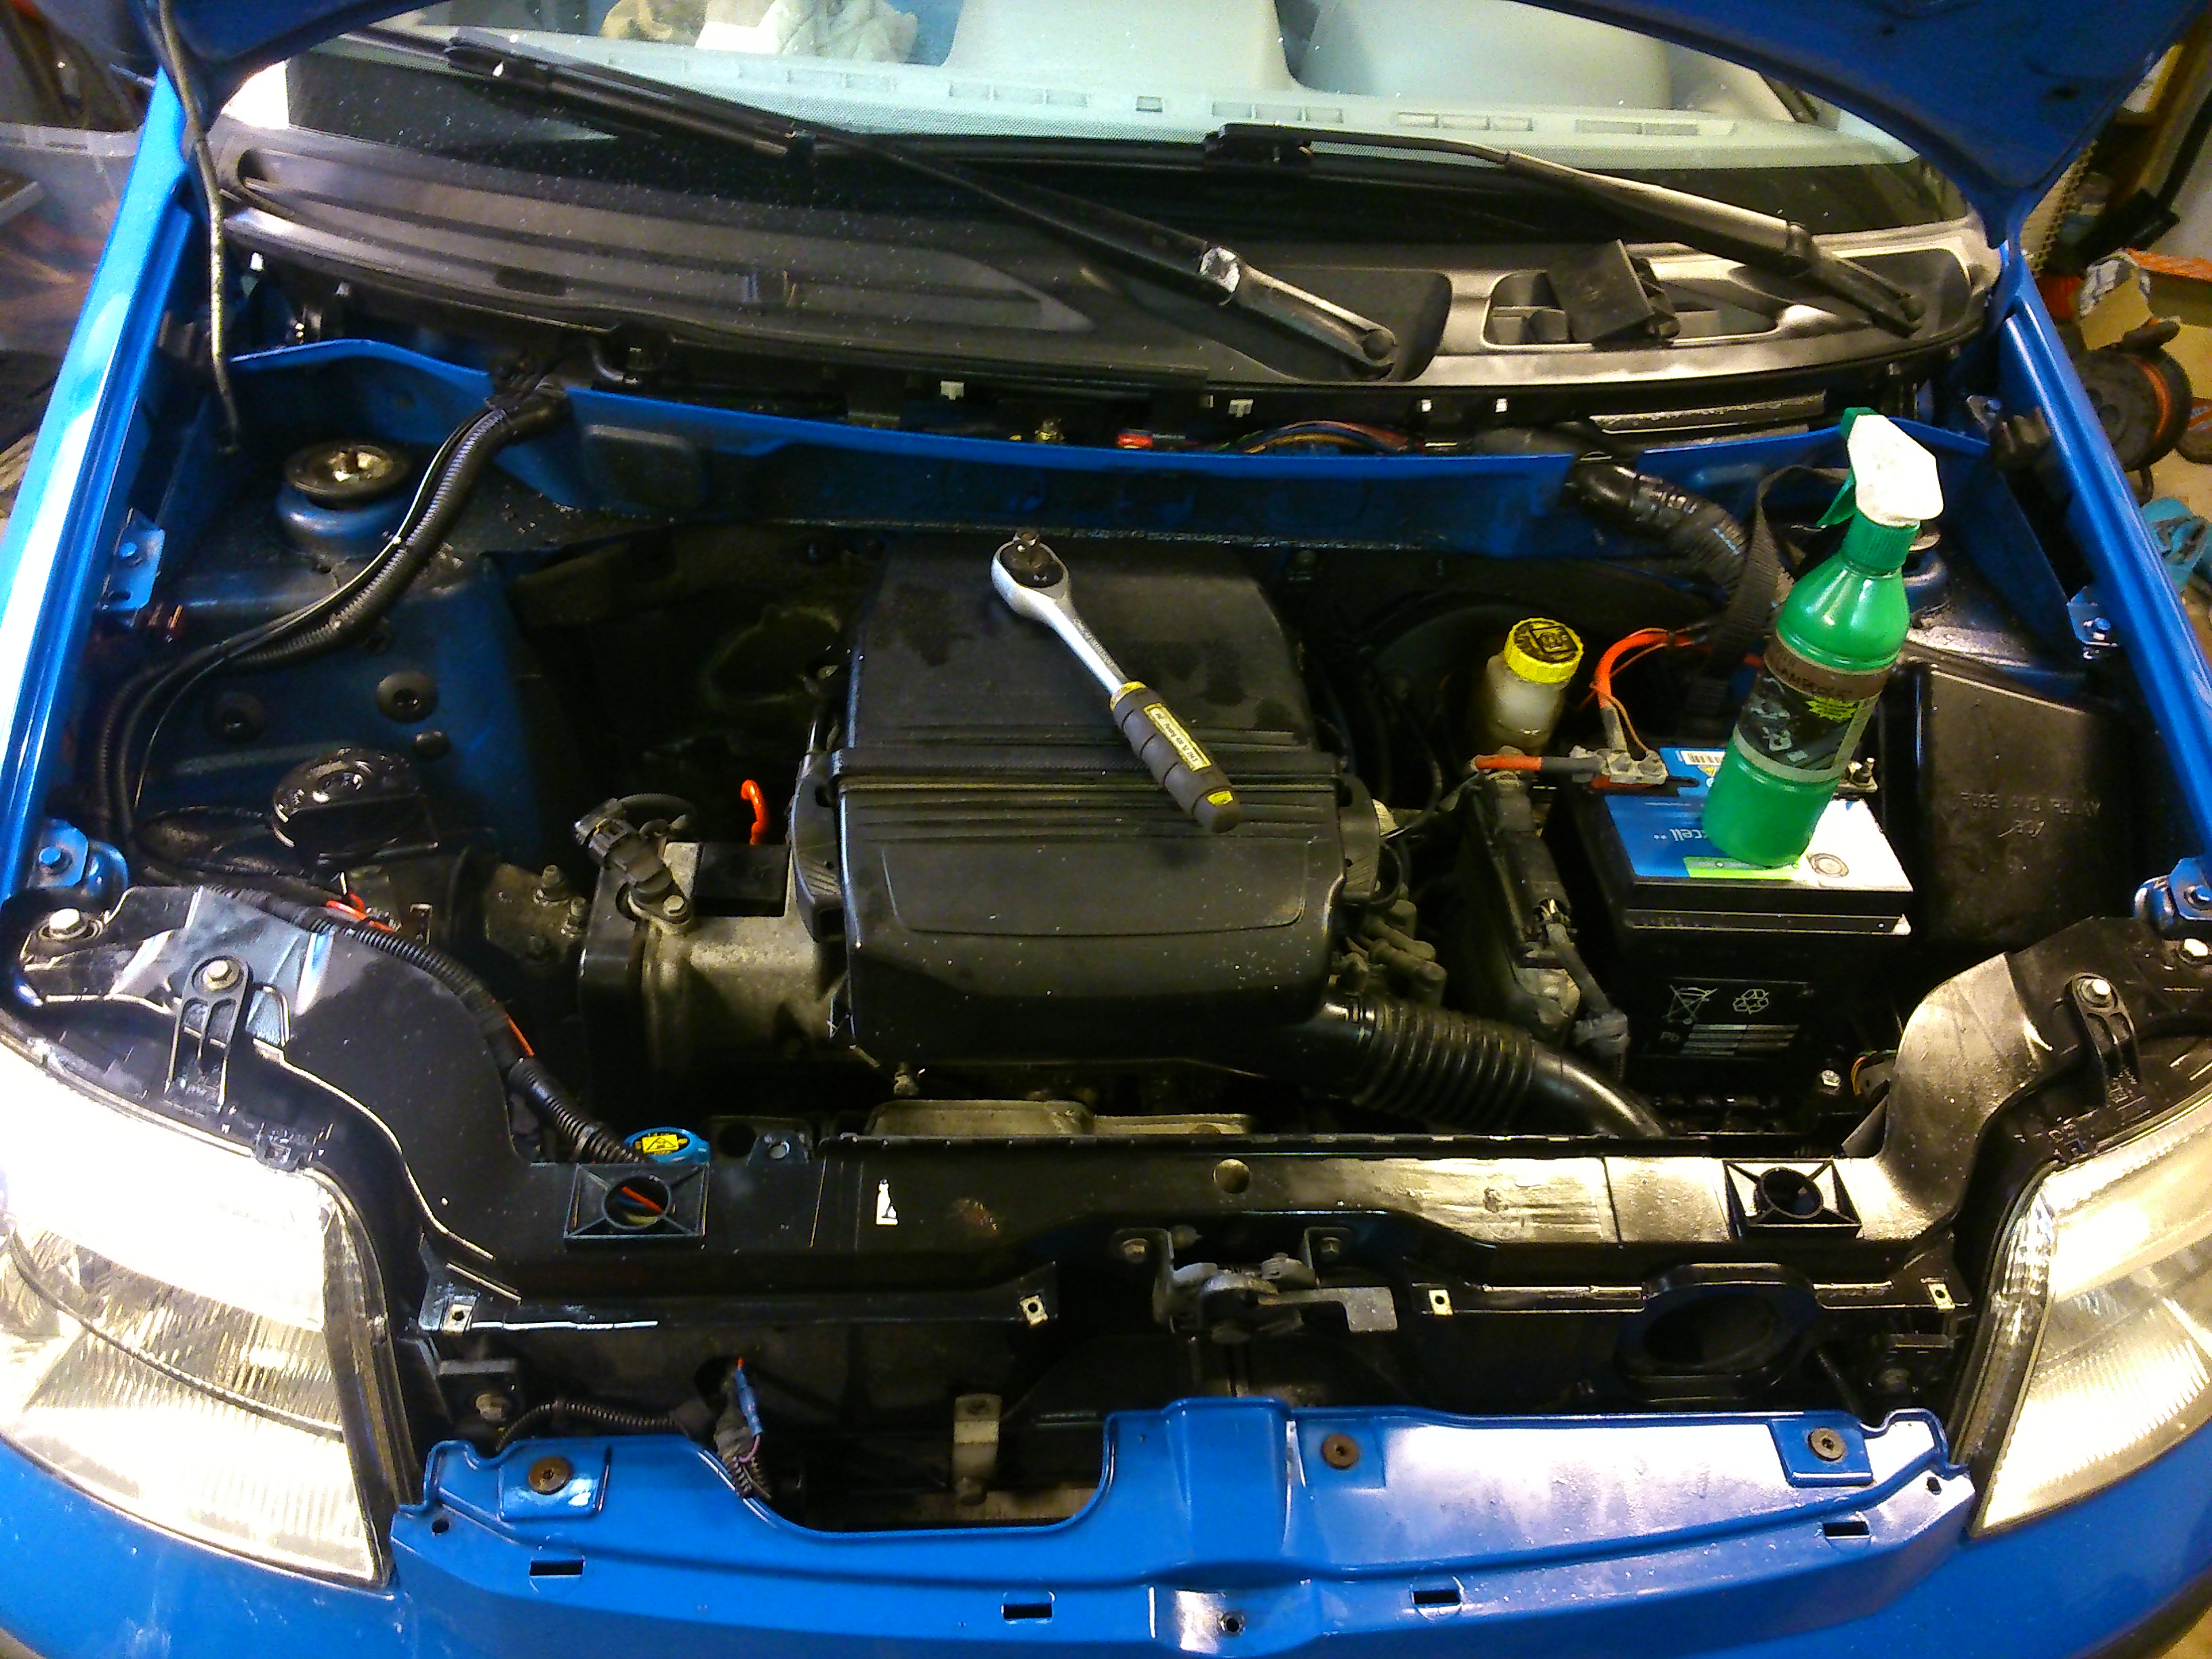
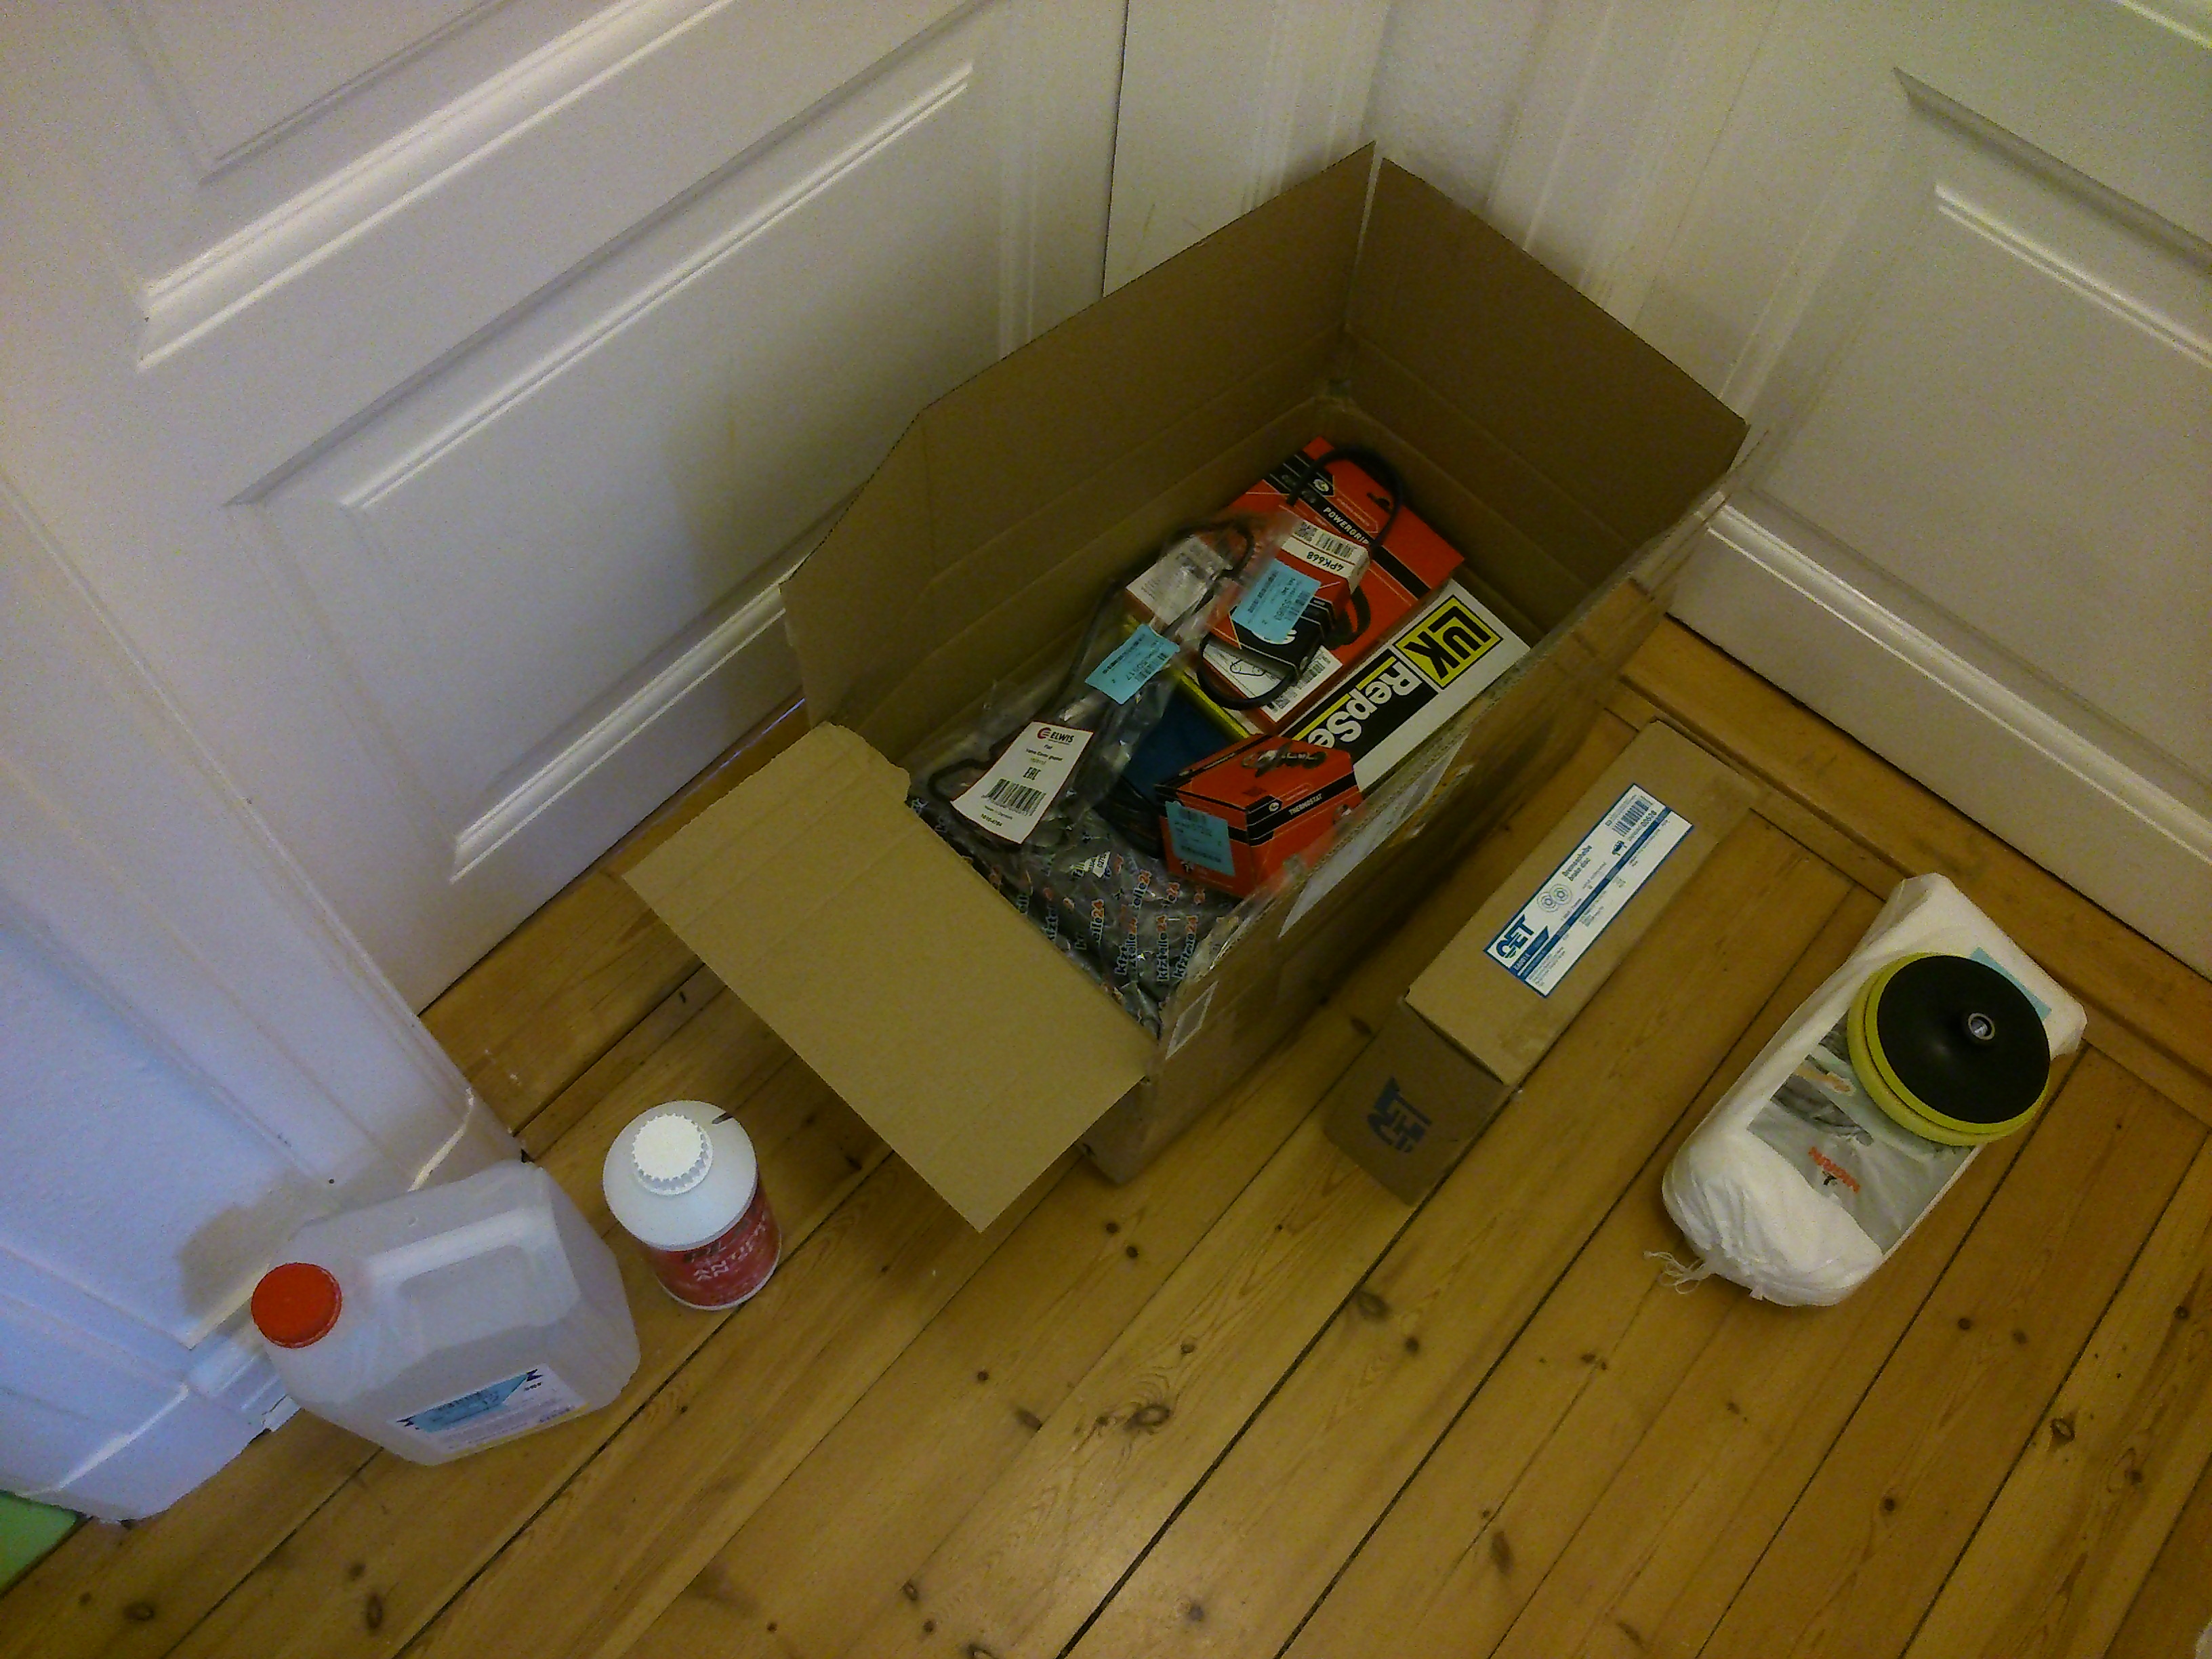
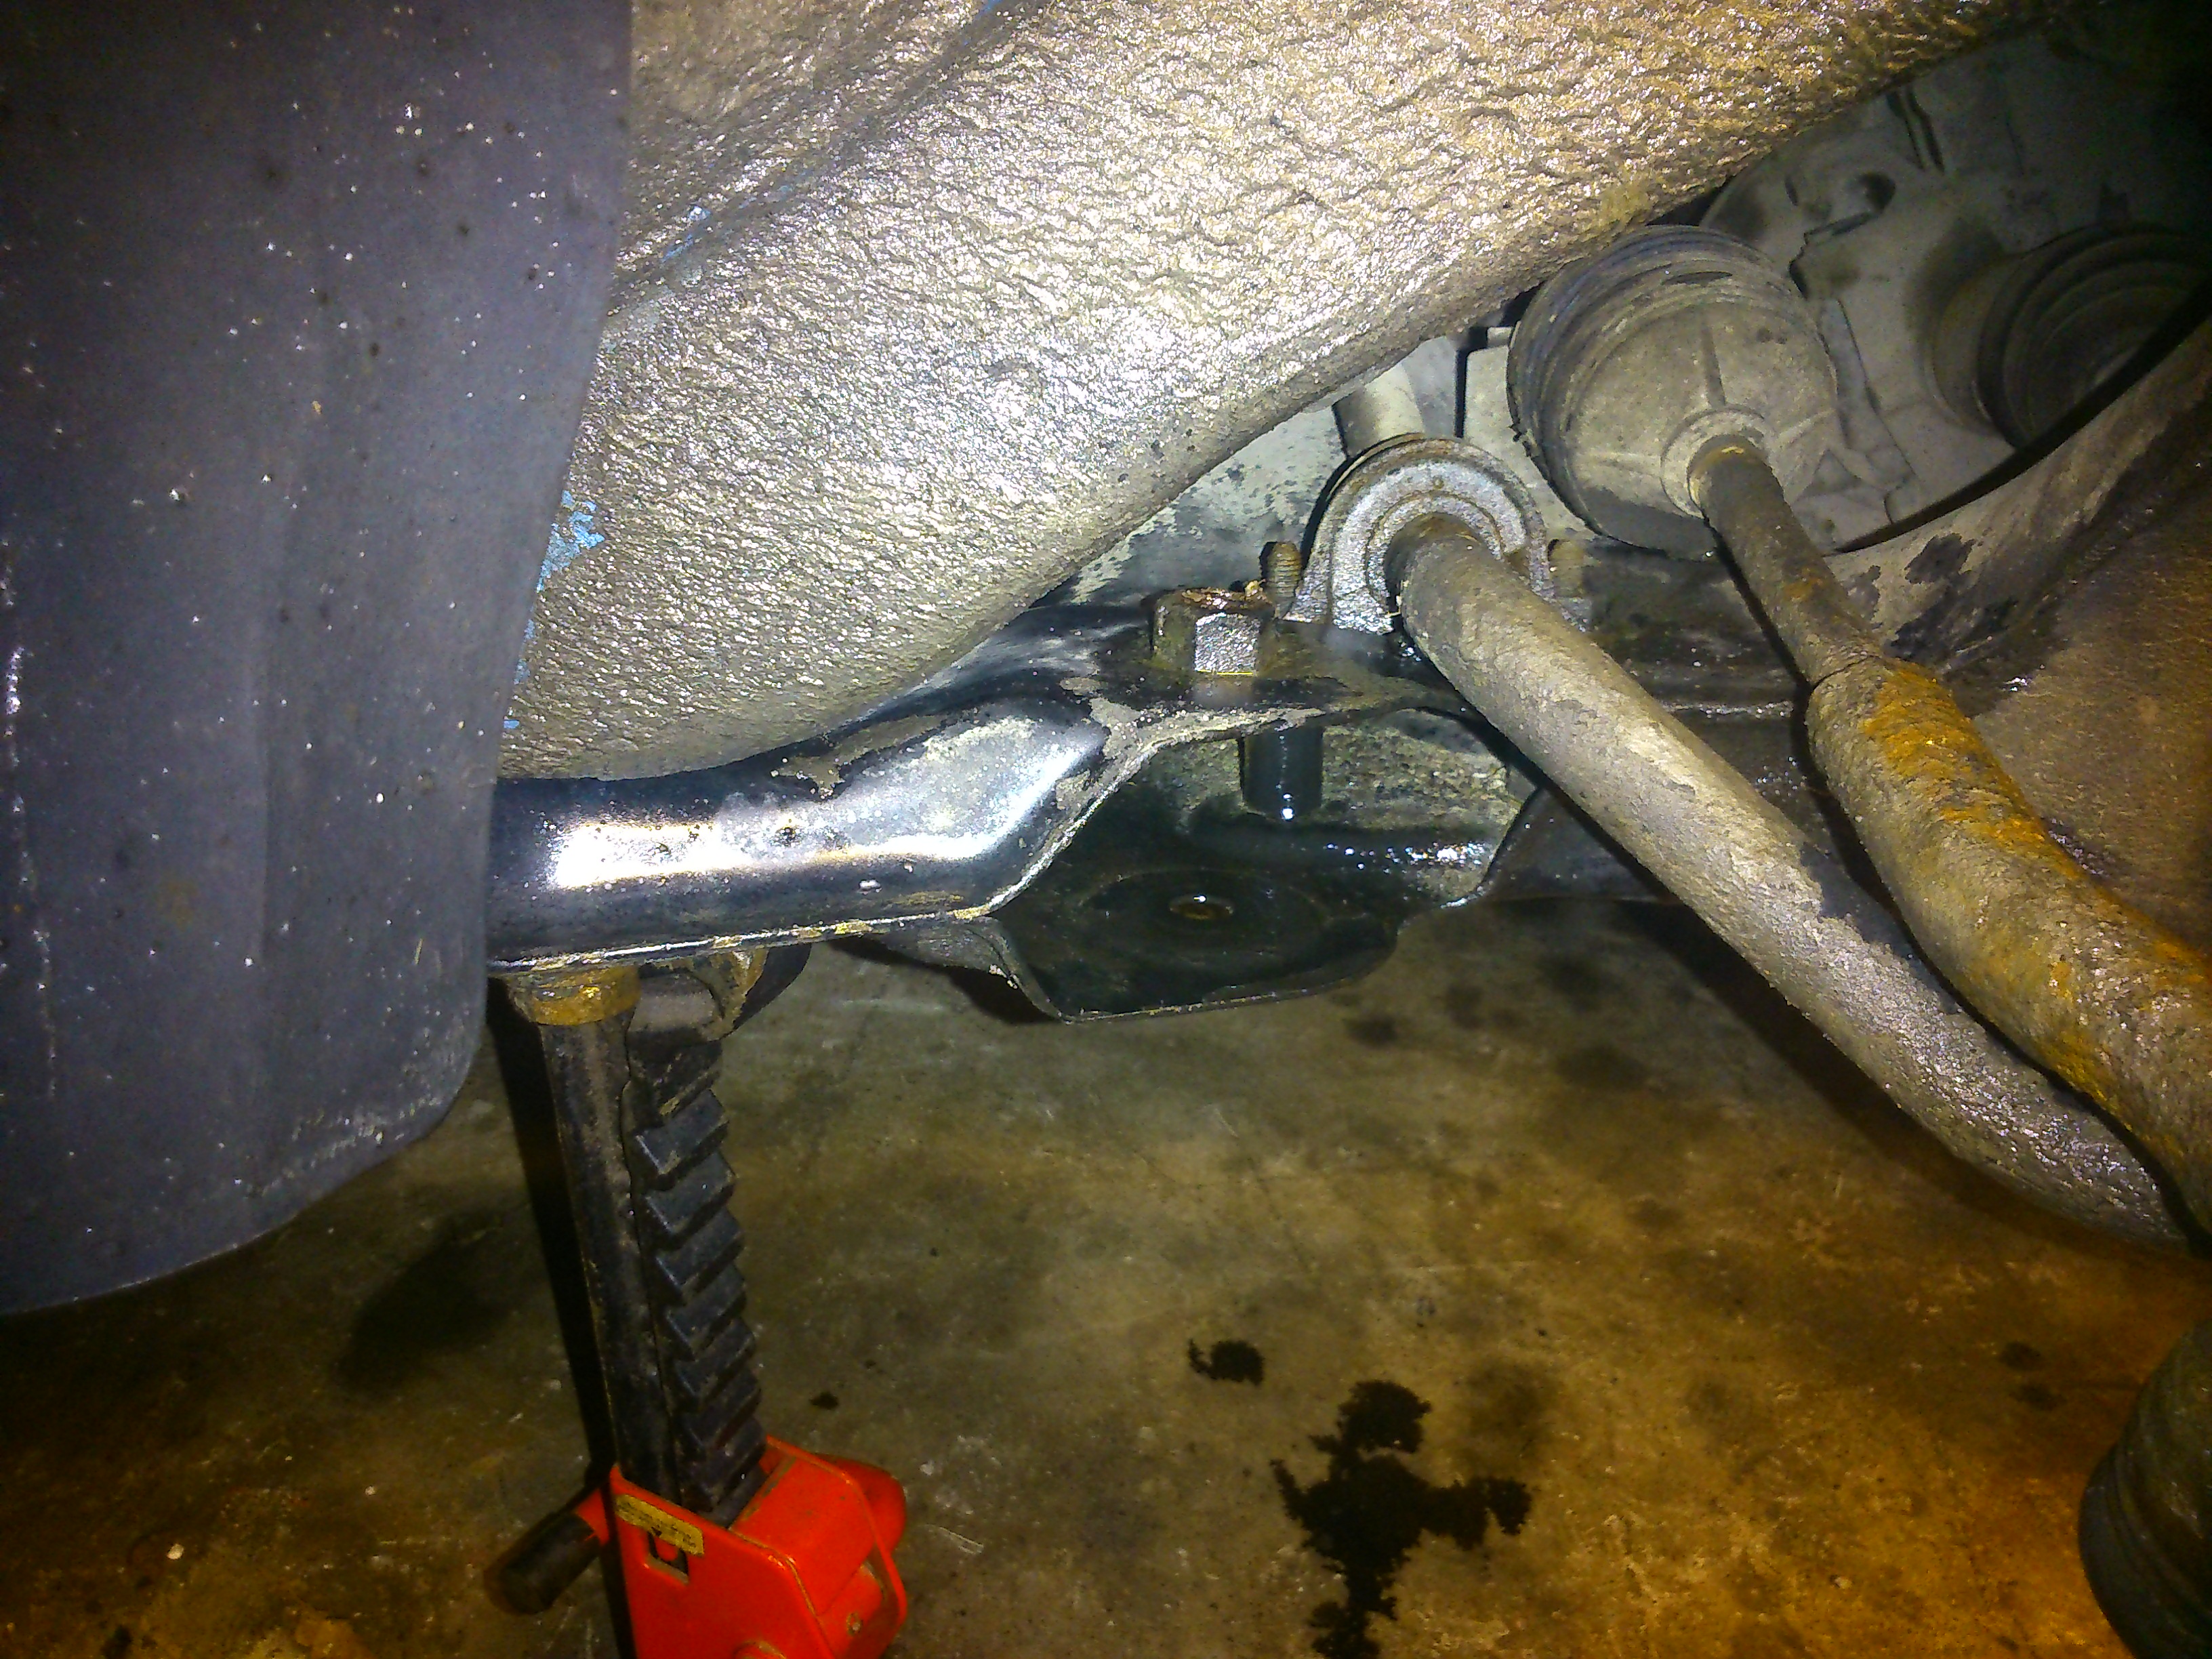
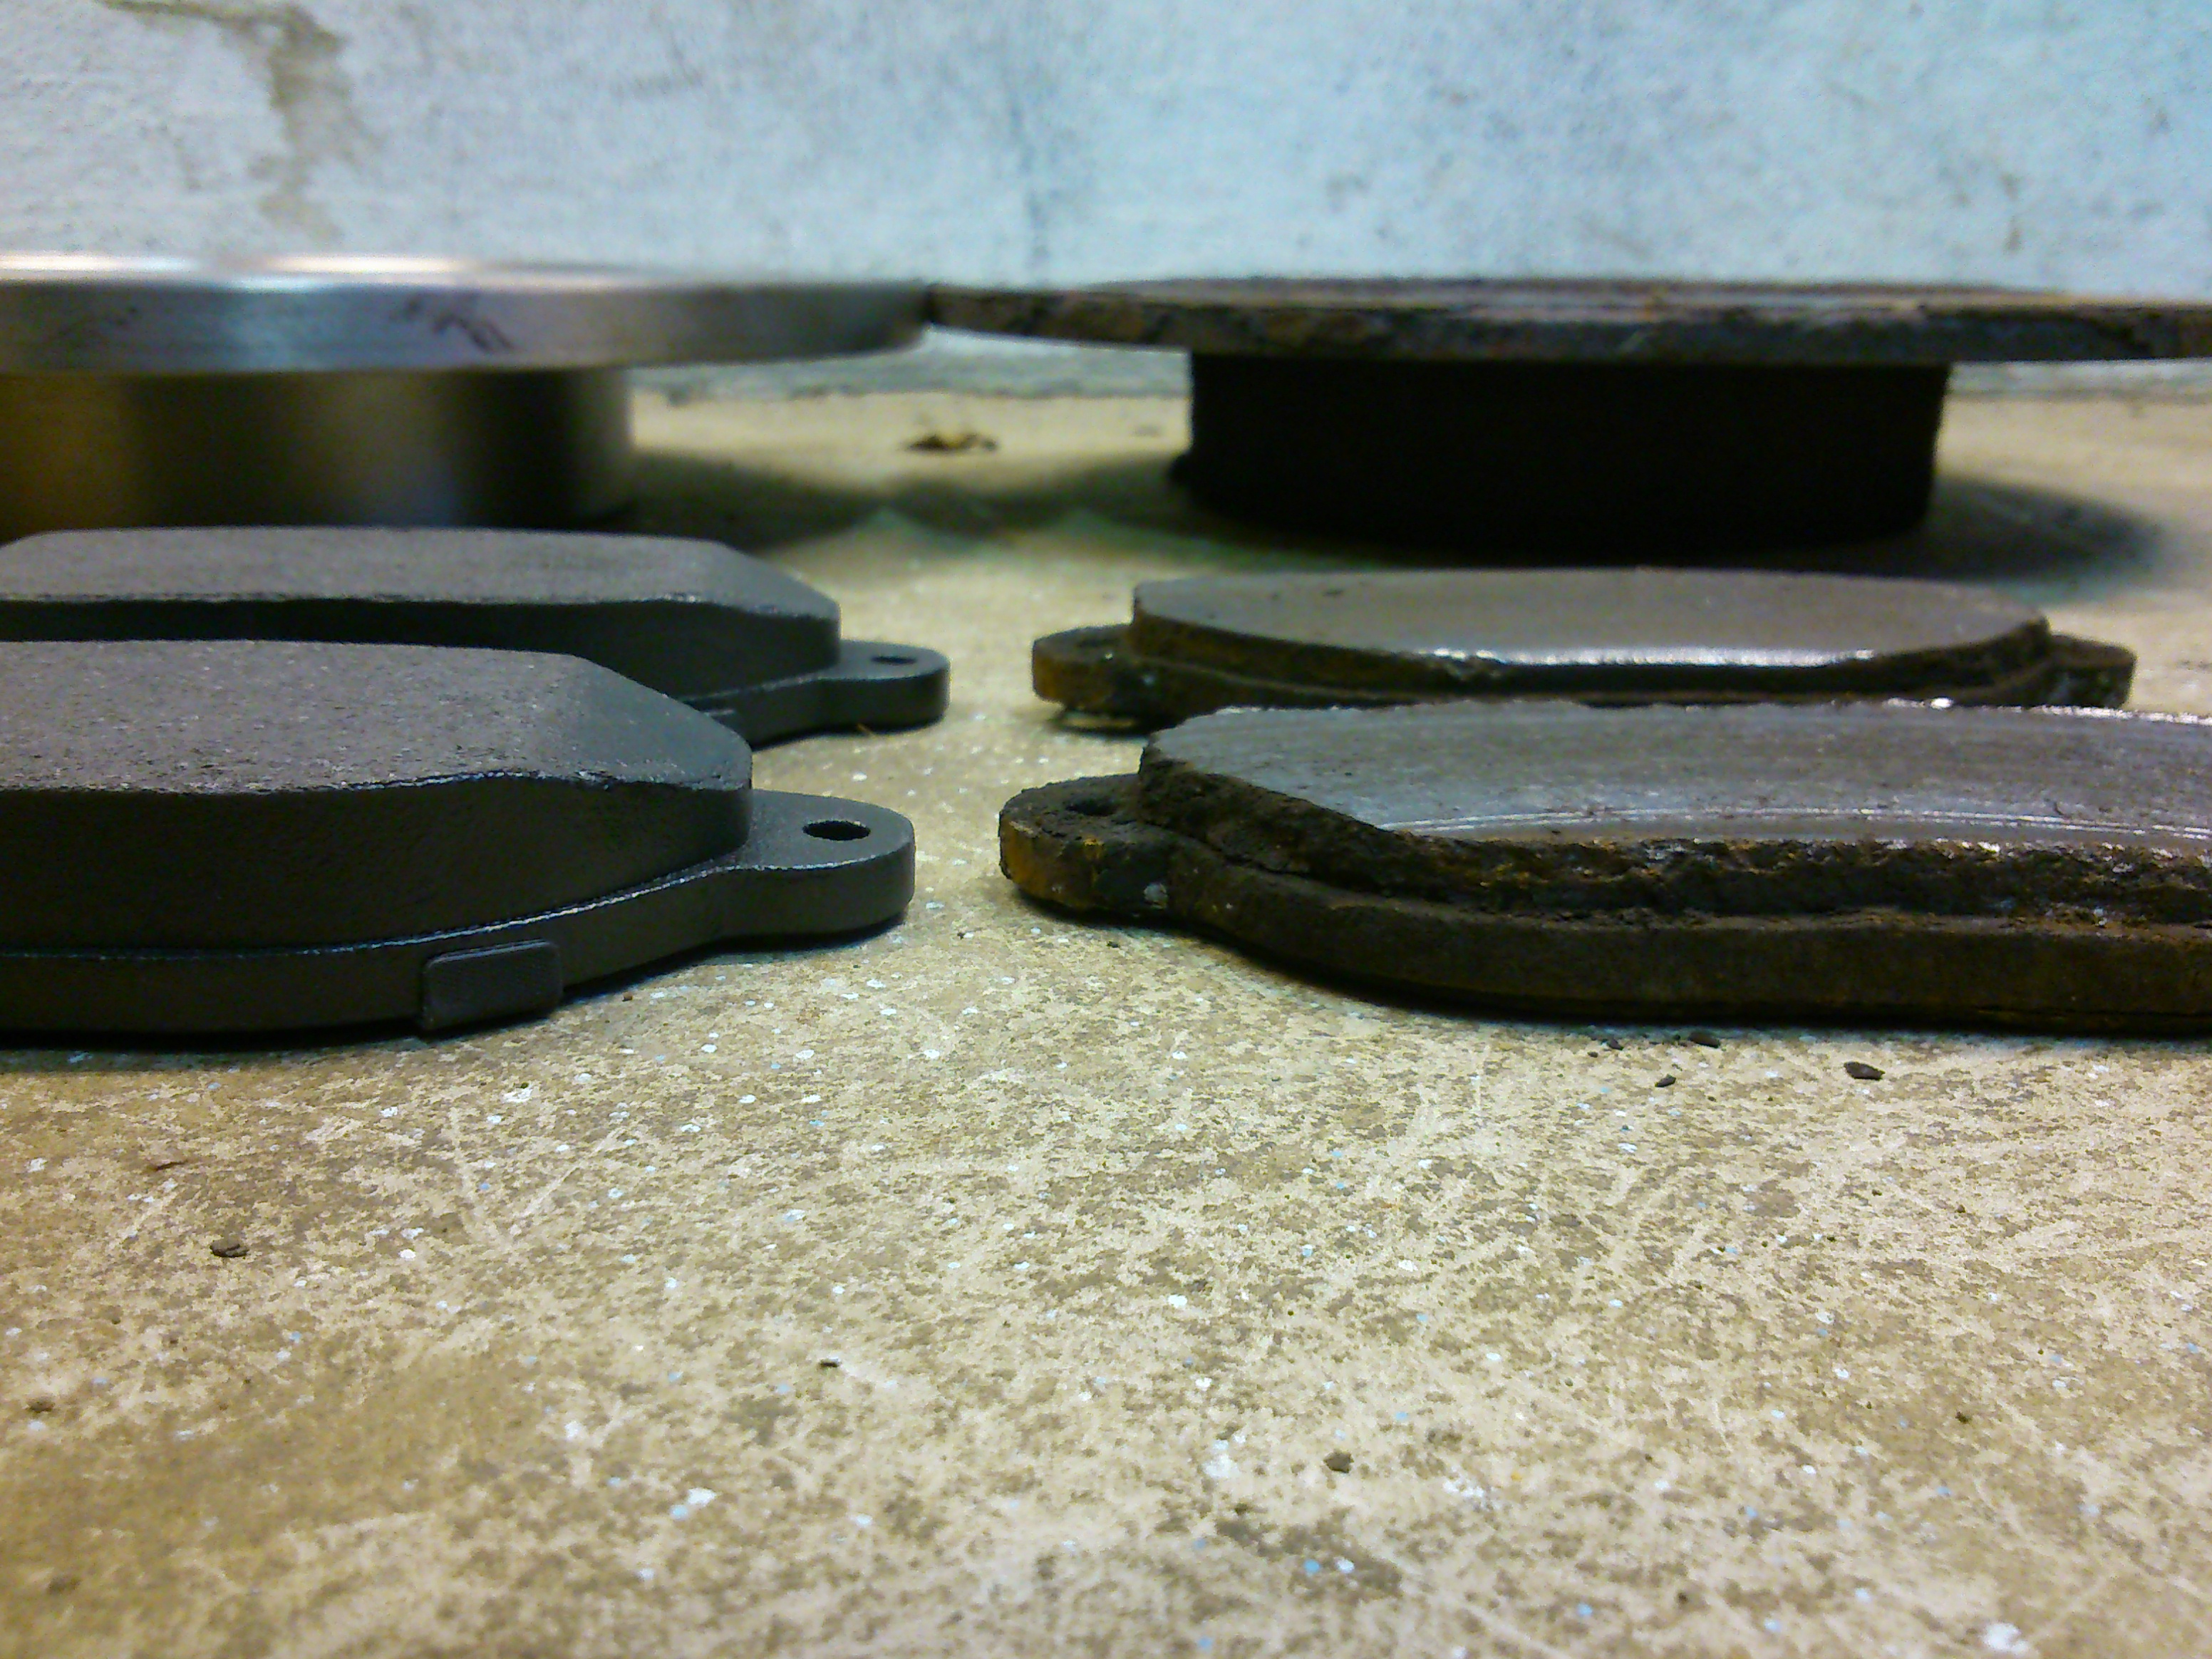
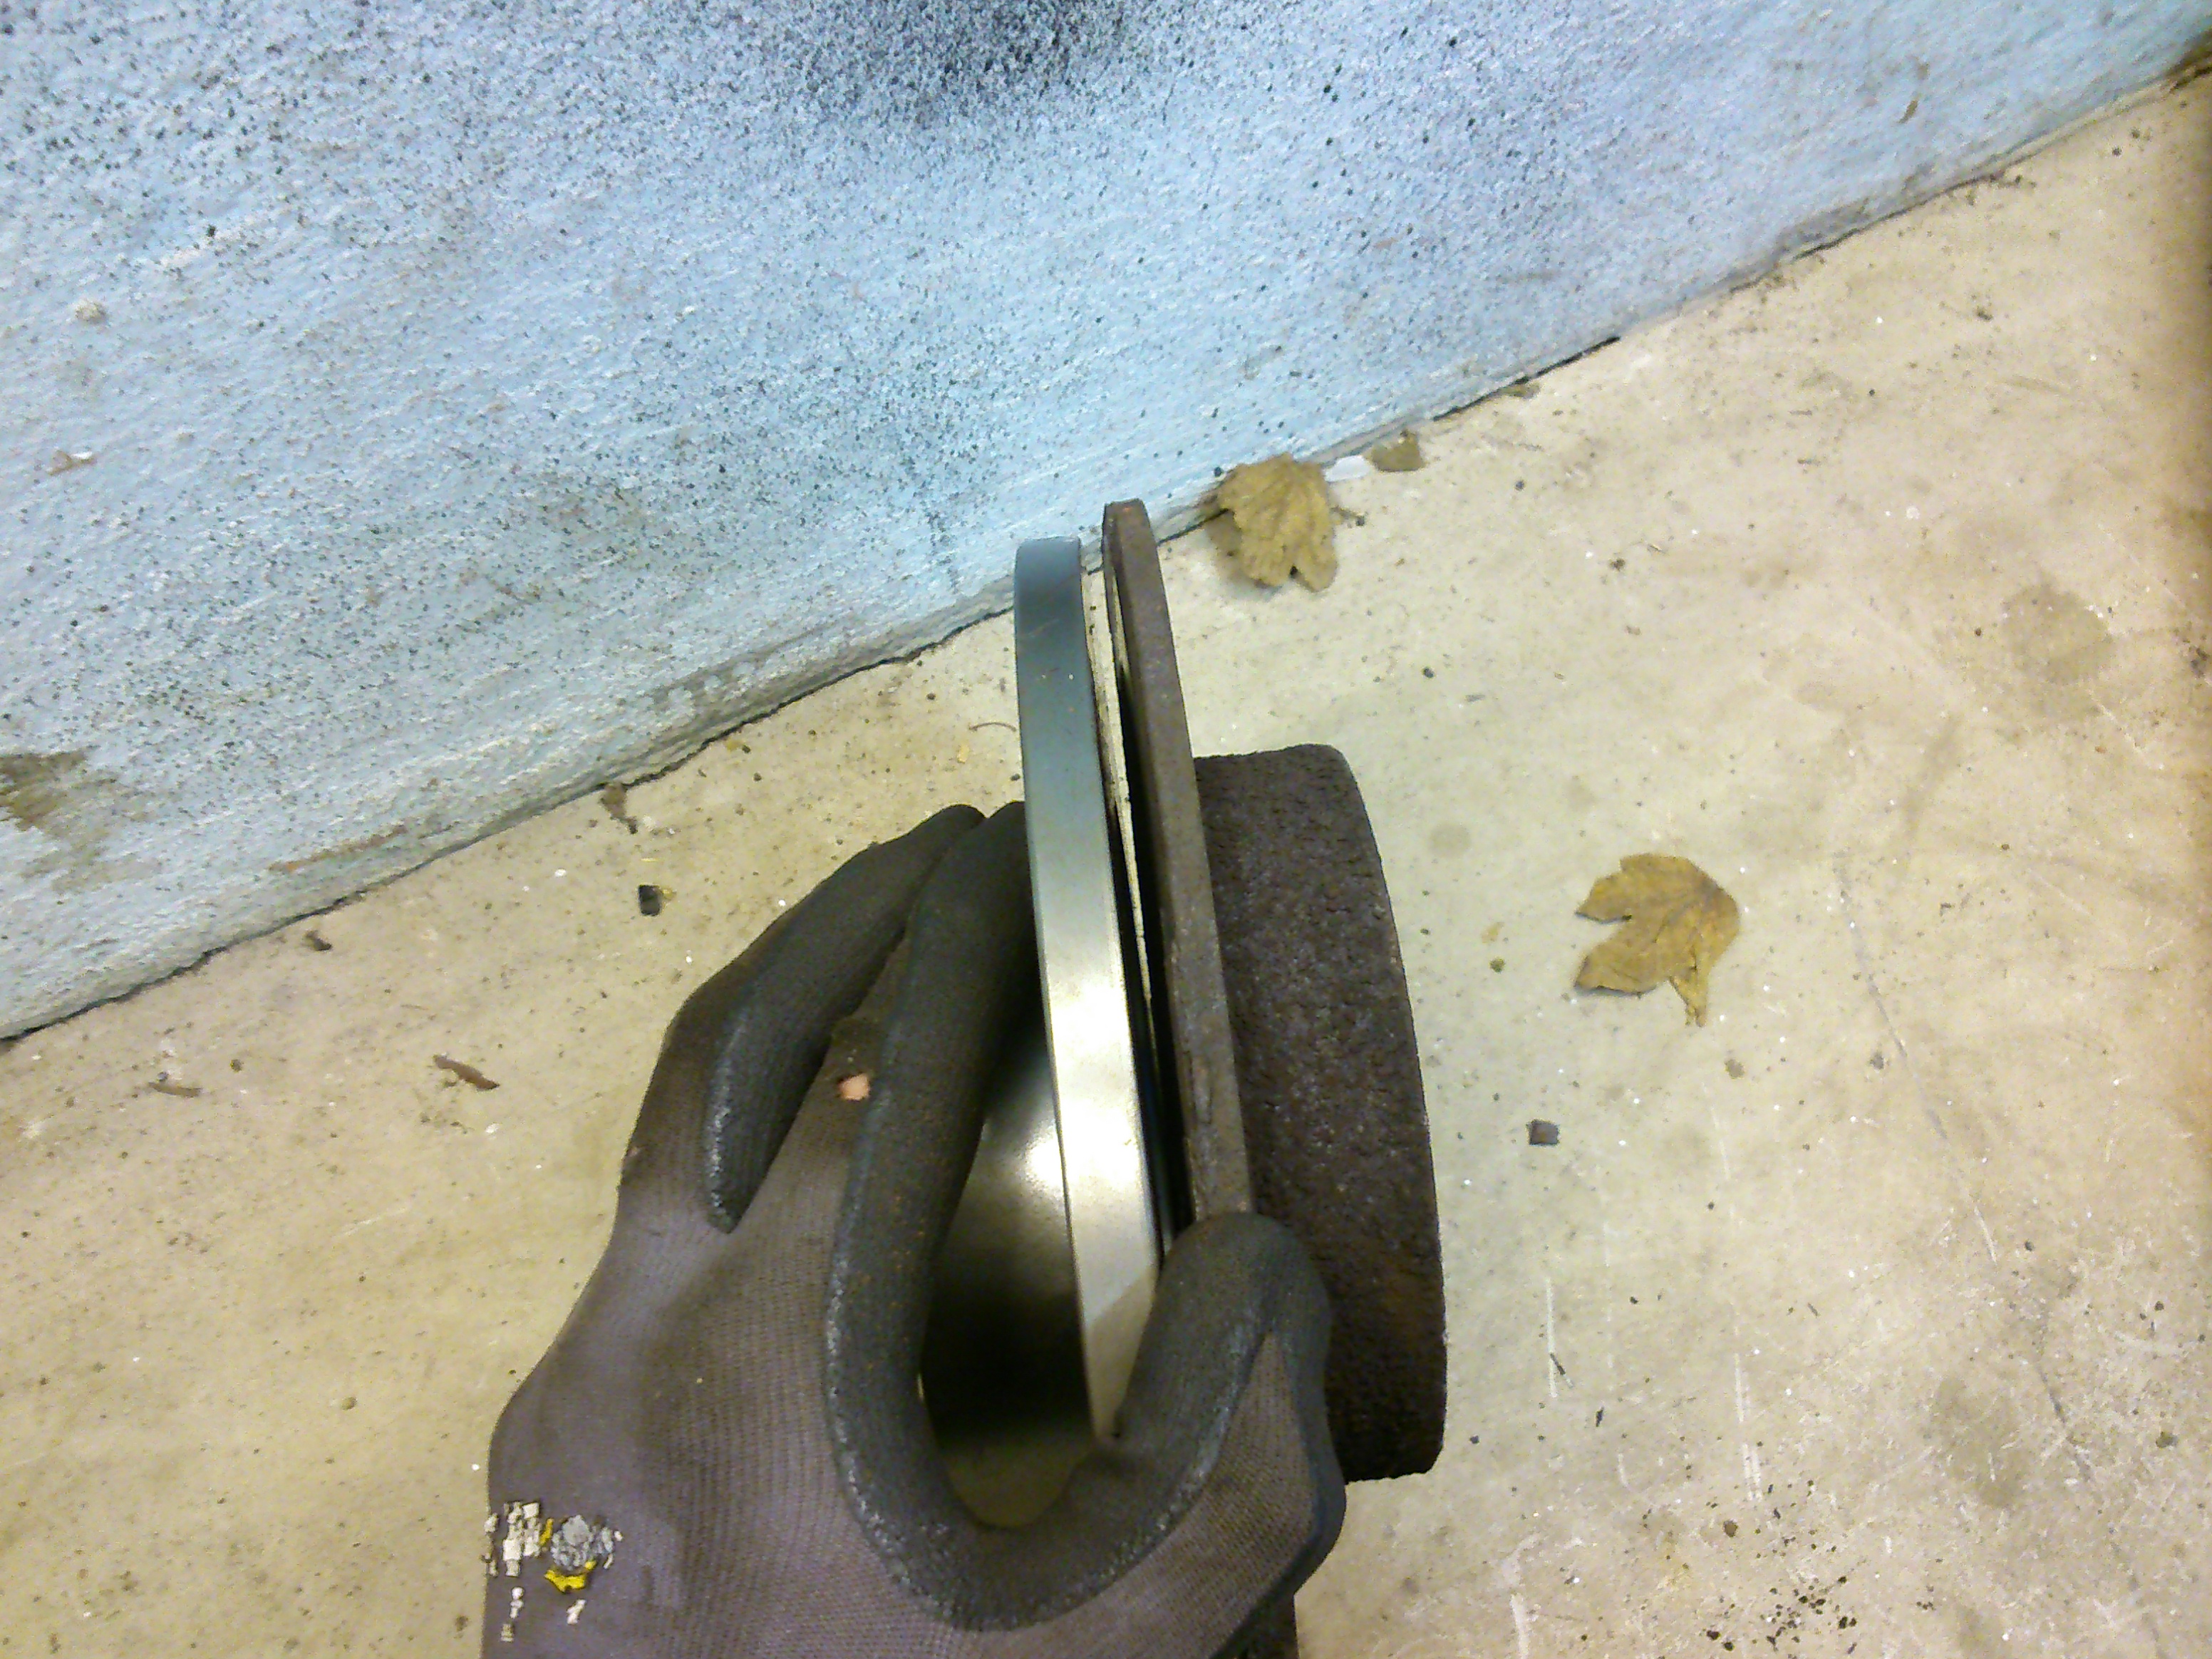
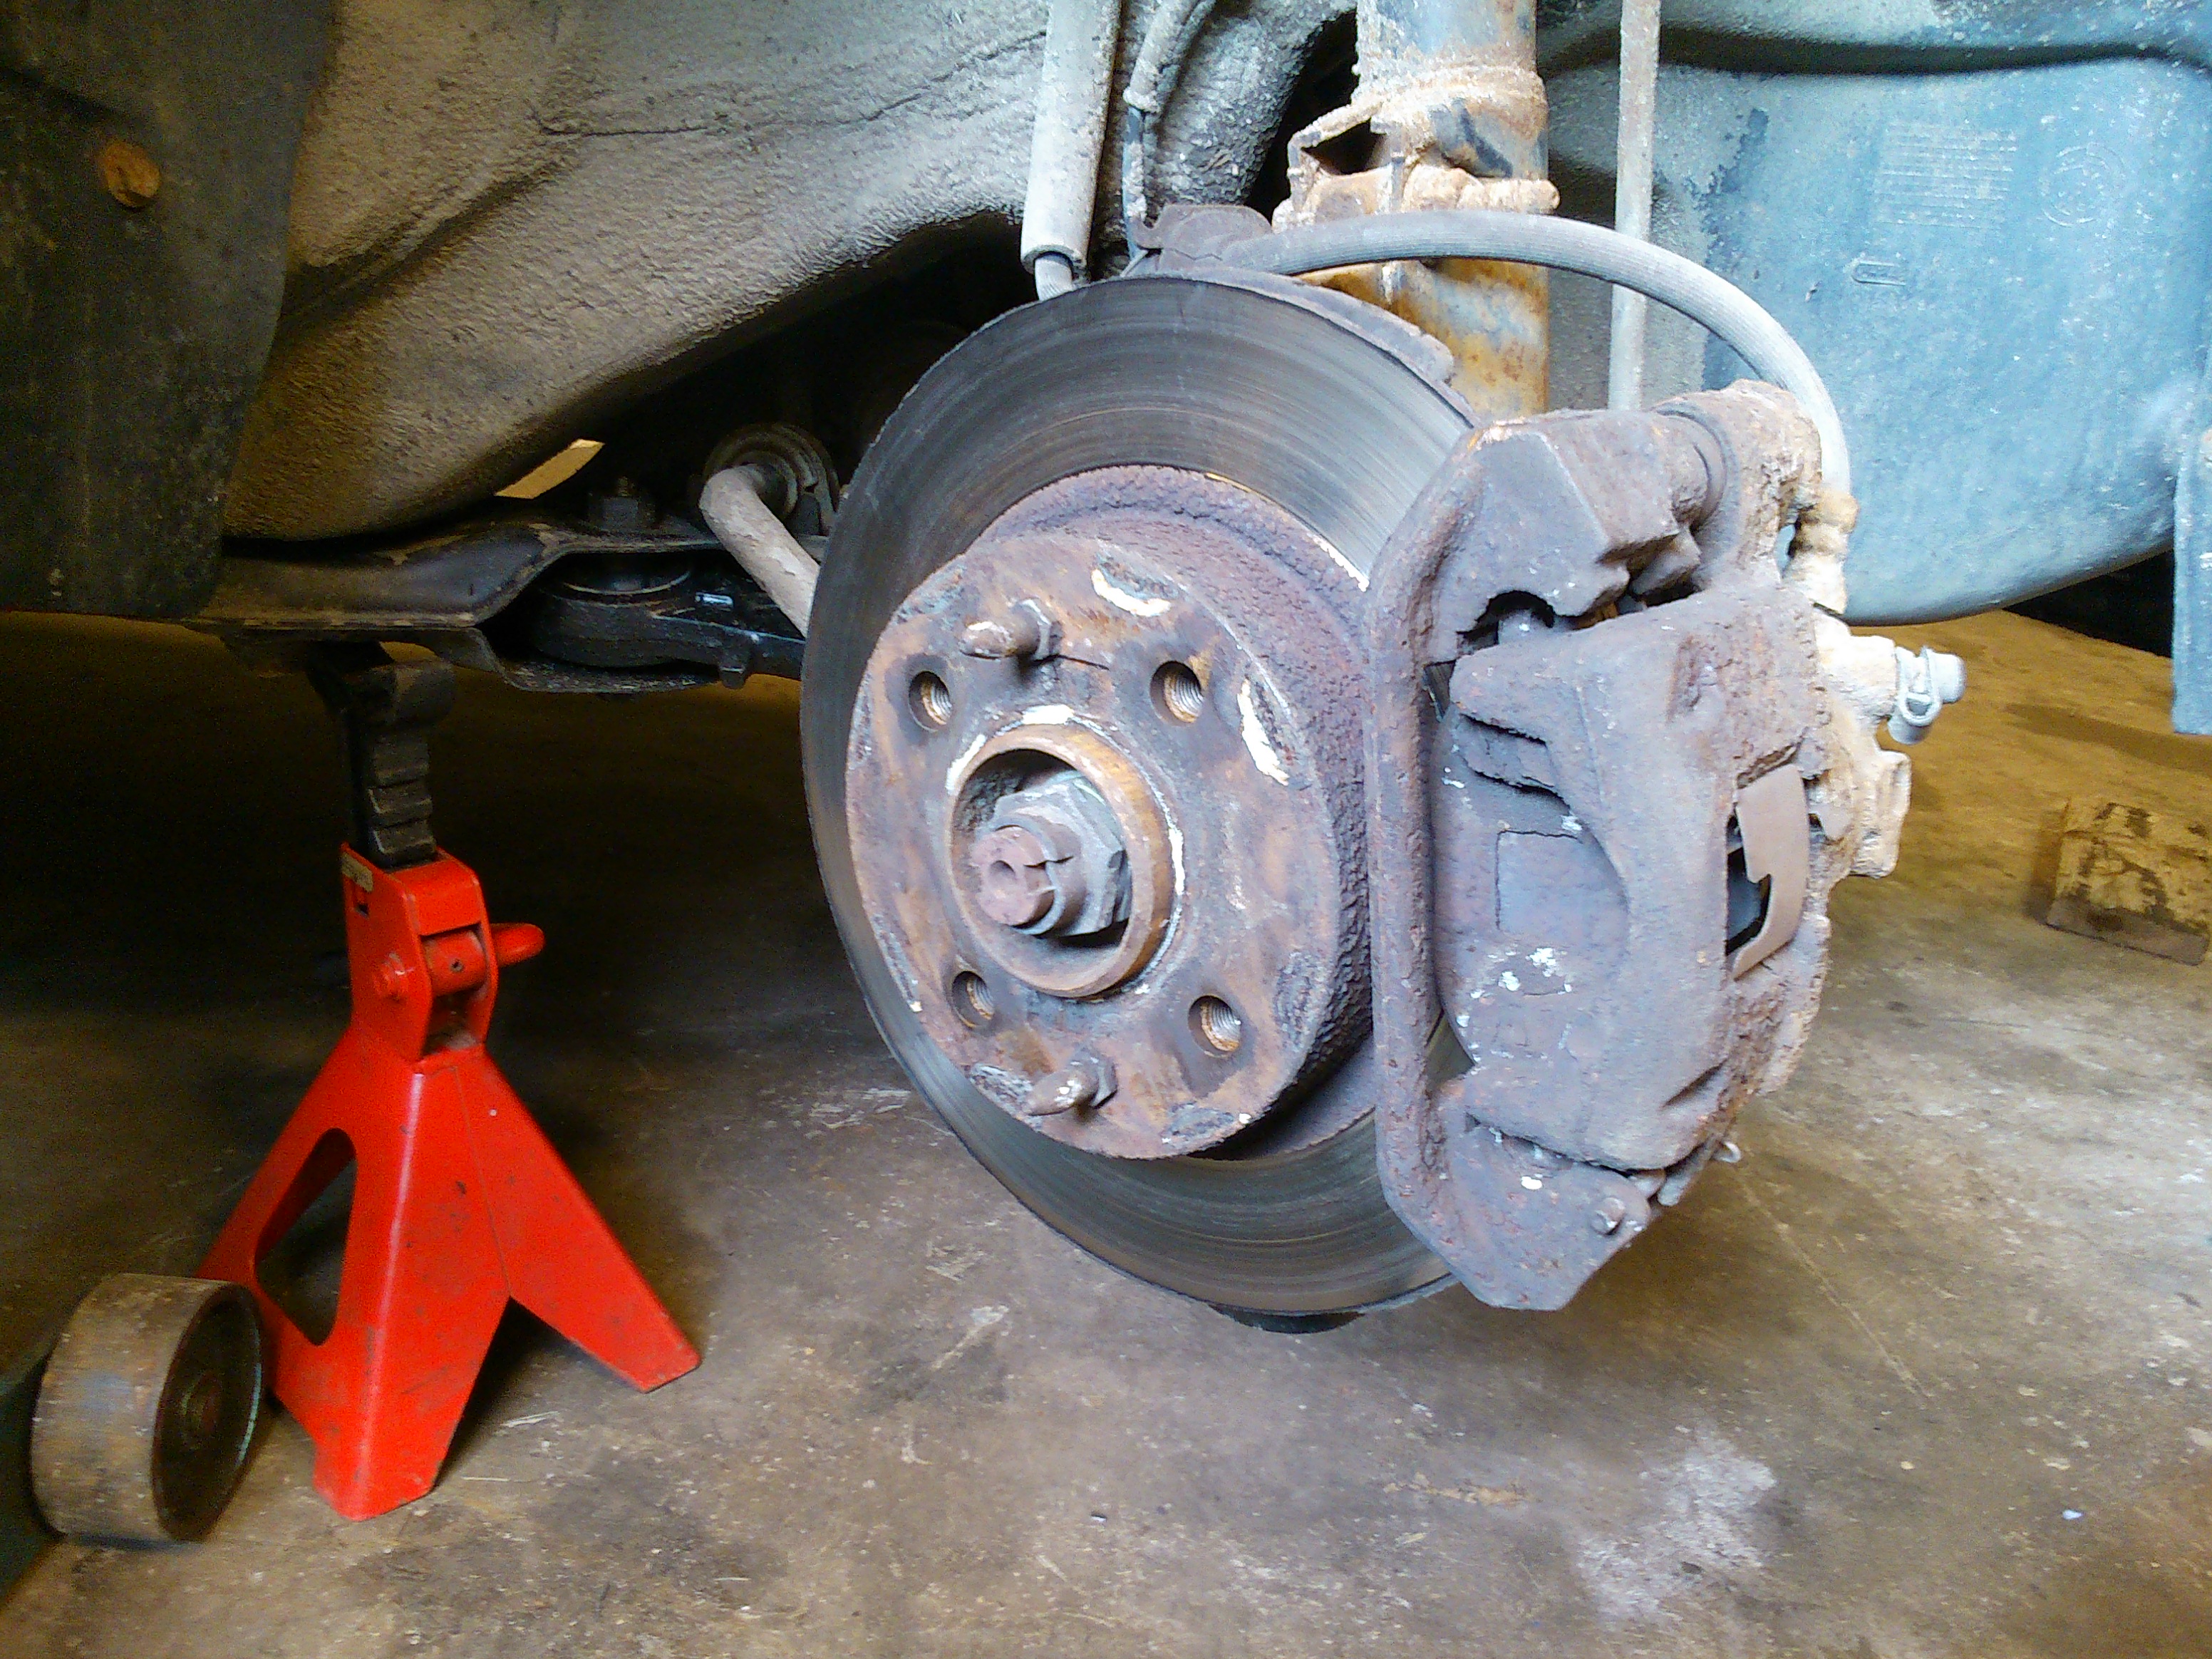
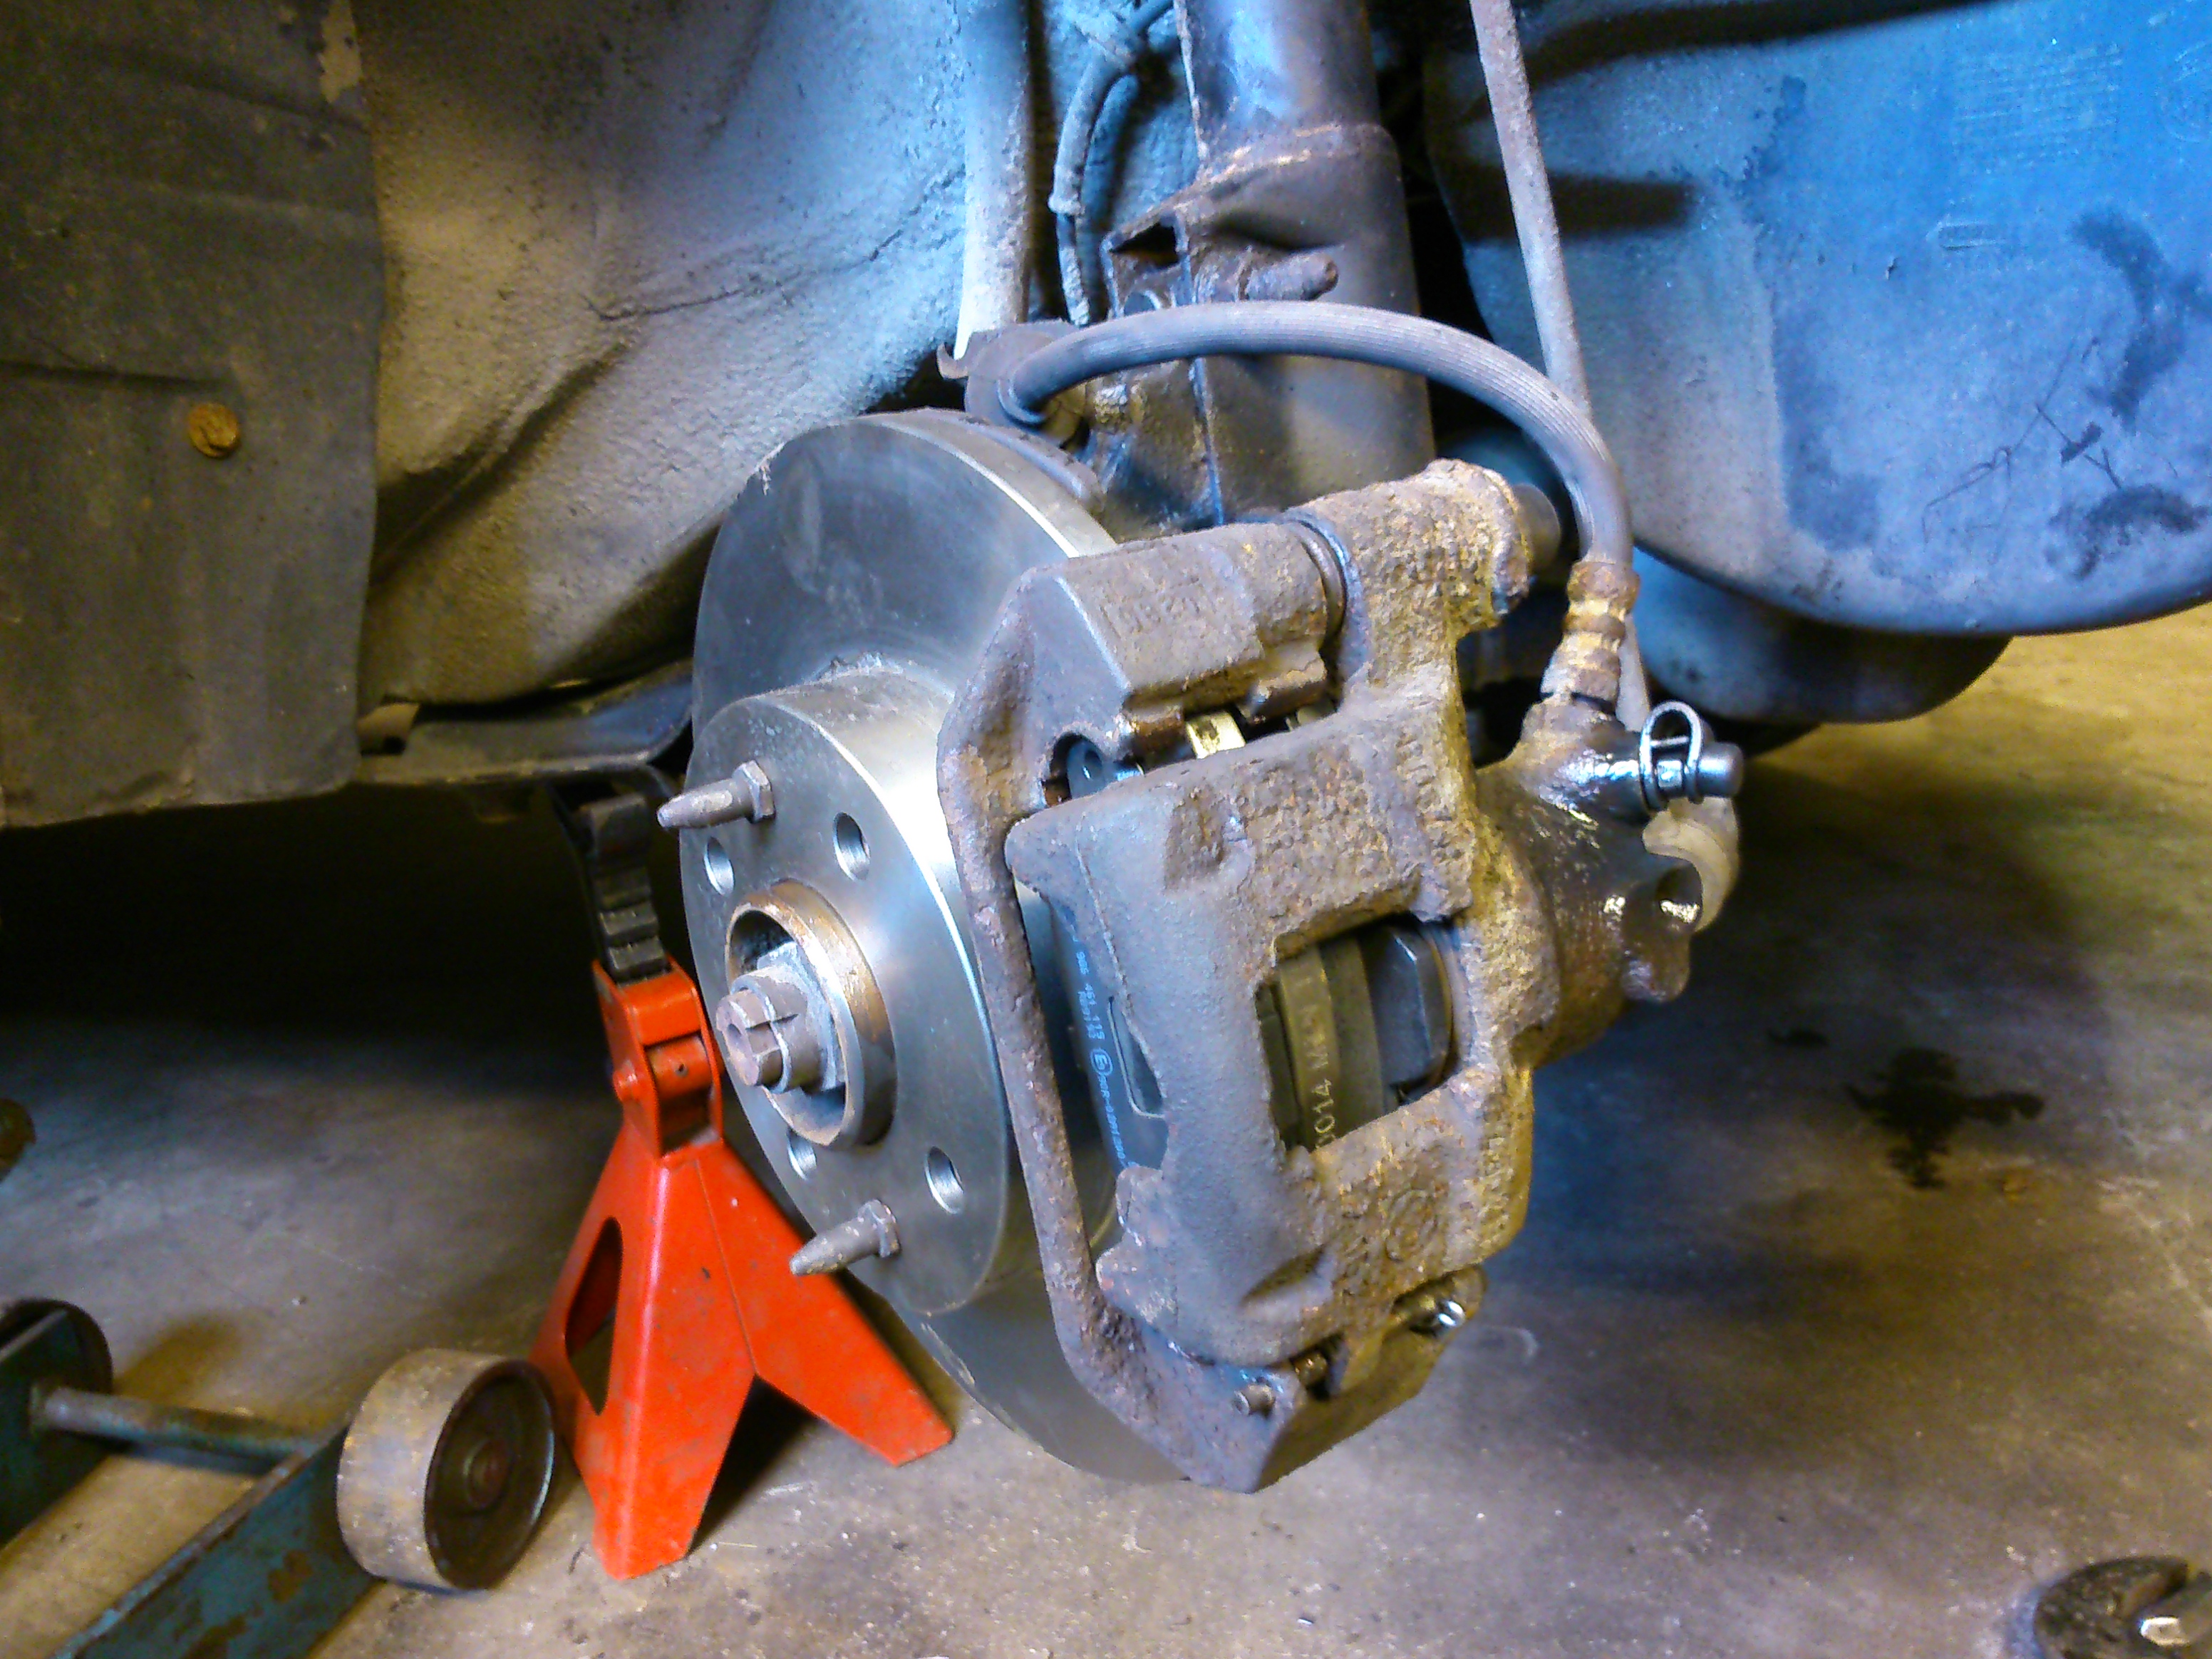
Mechanicly it need a big makeover. Engine and box is fine, and it has 156.000km on it, just shy of 100k miles that is.

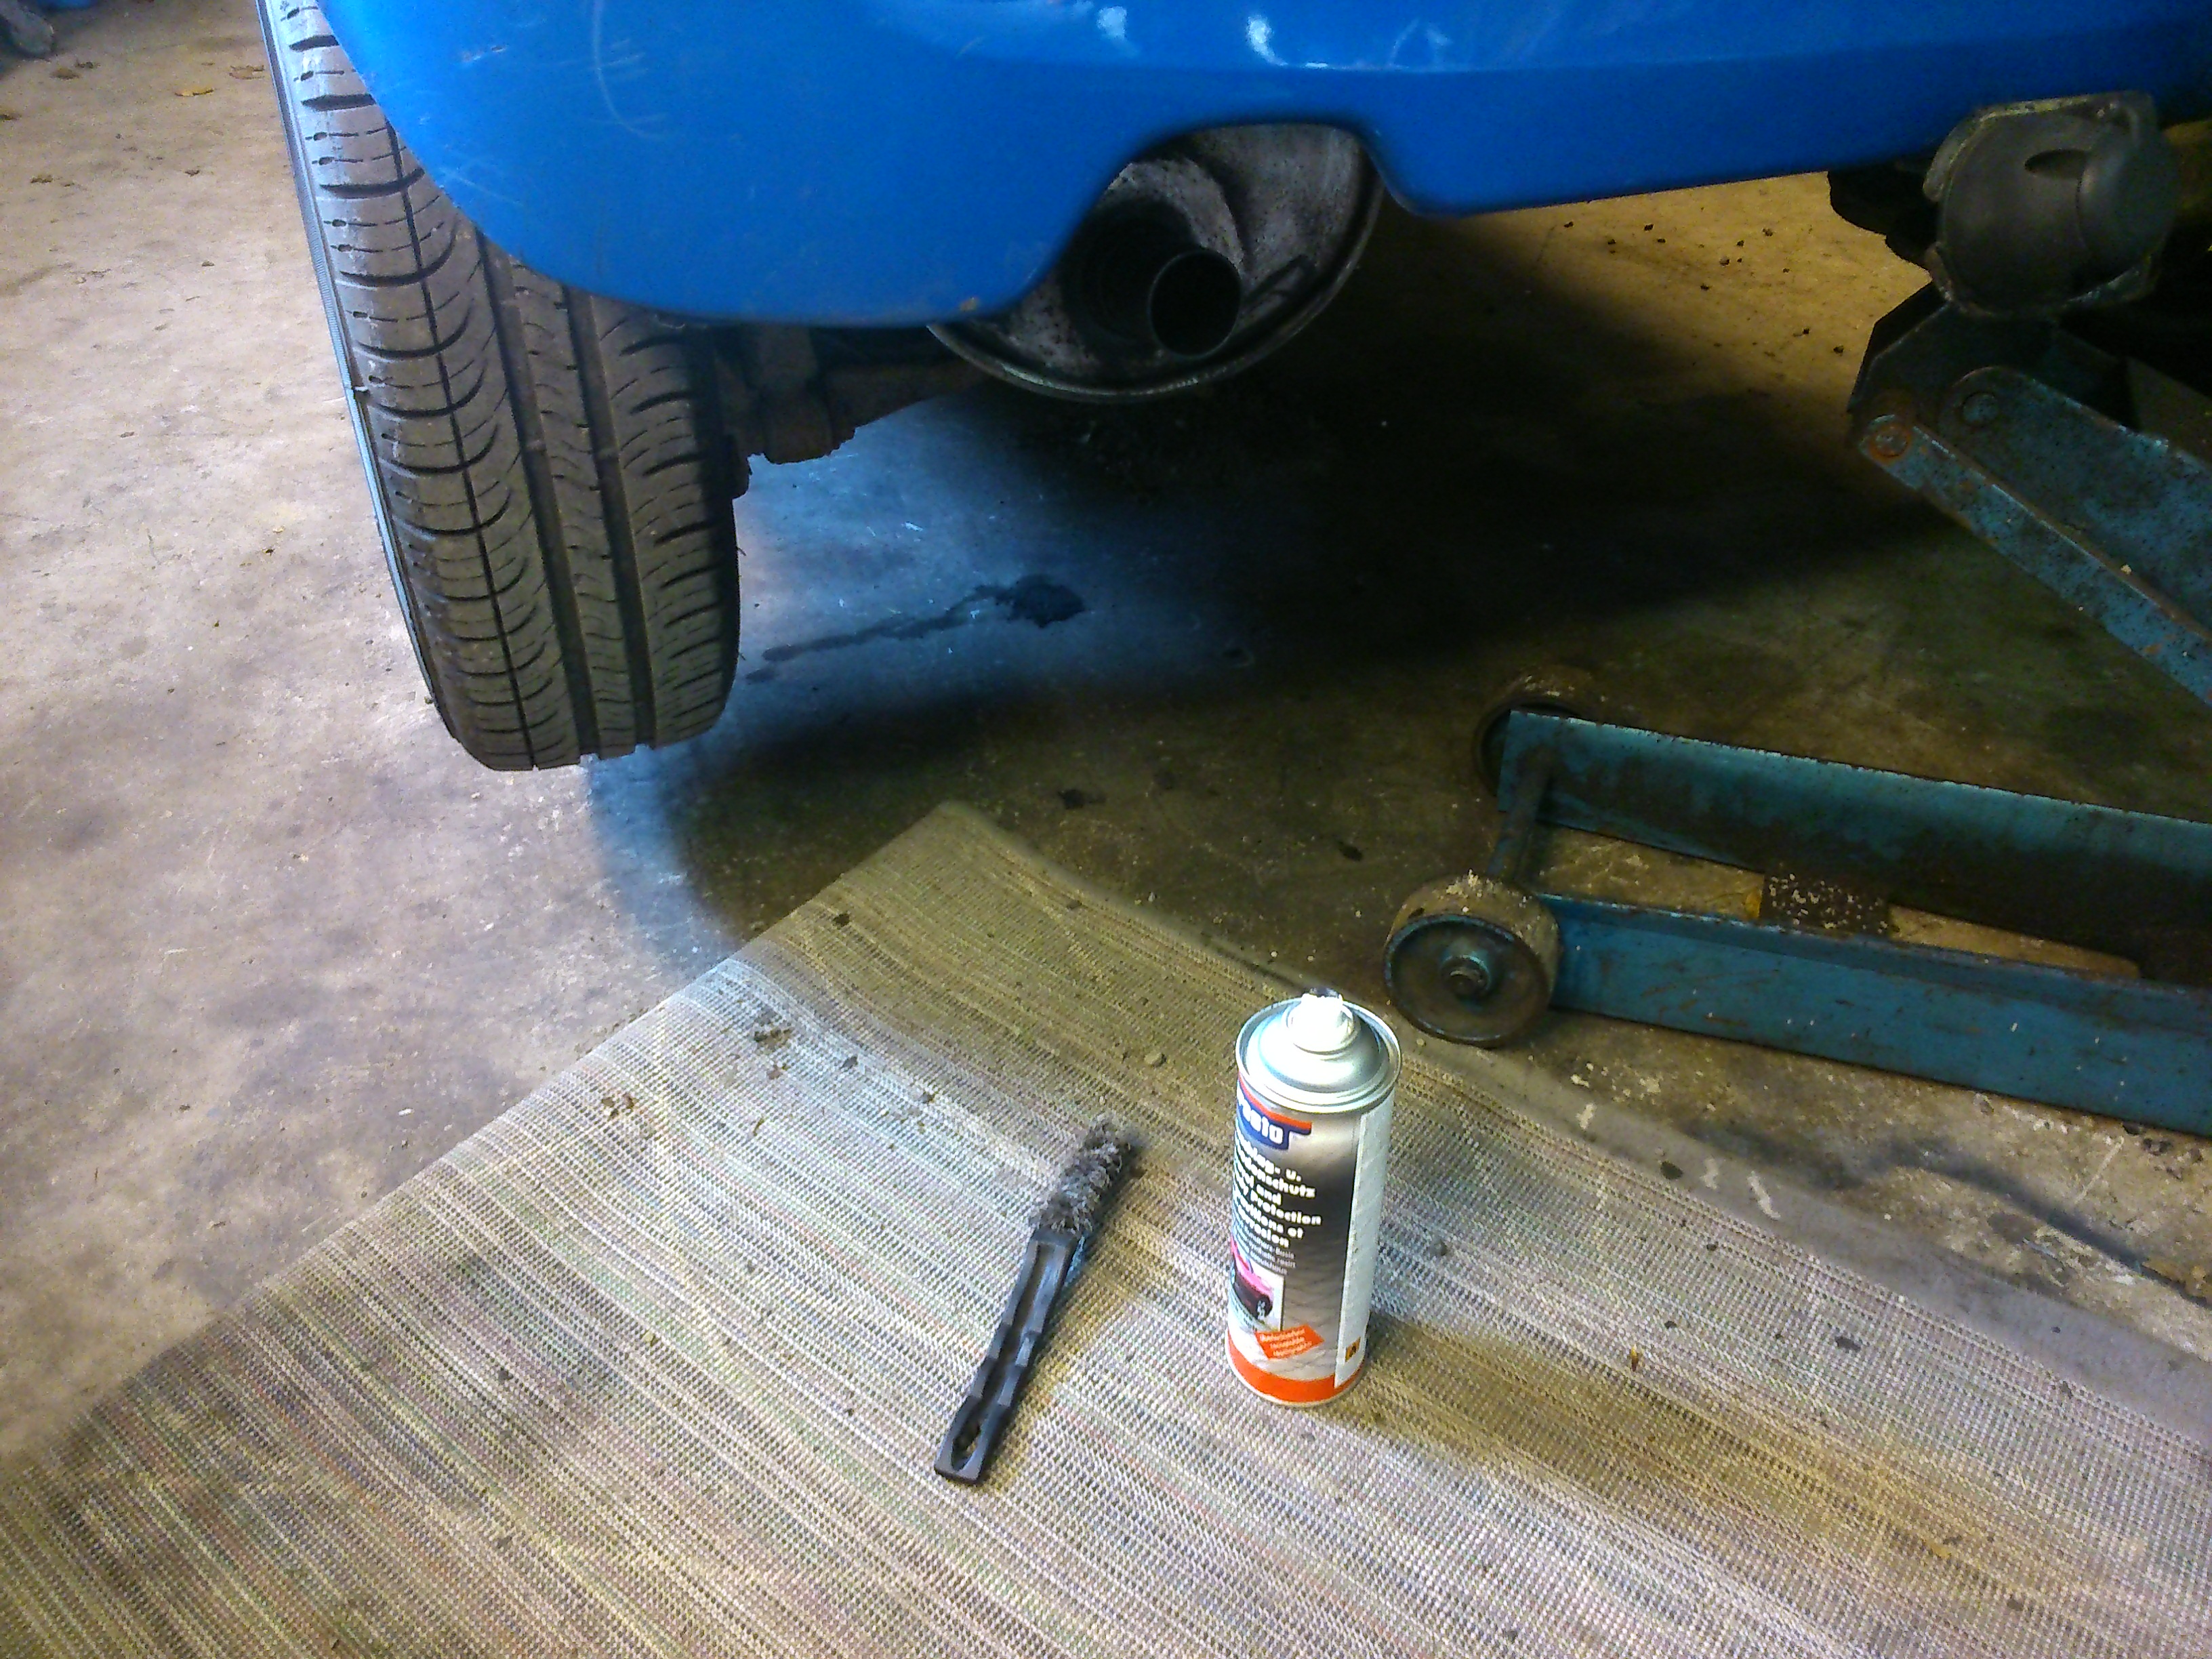
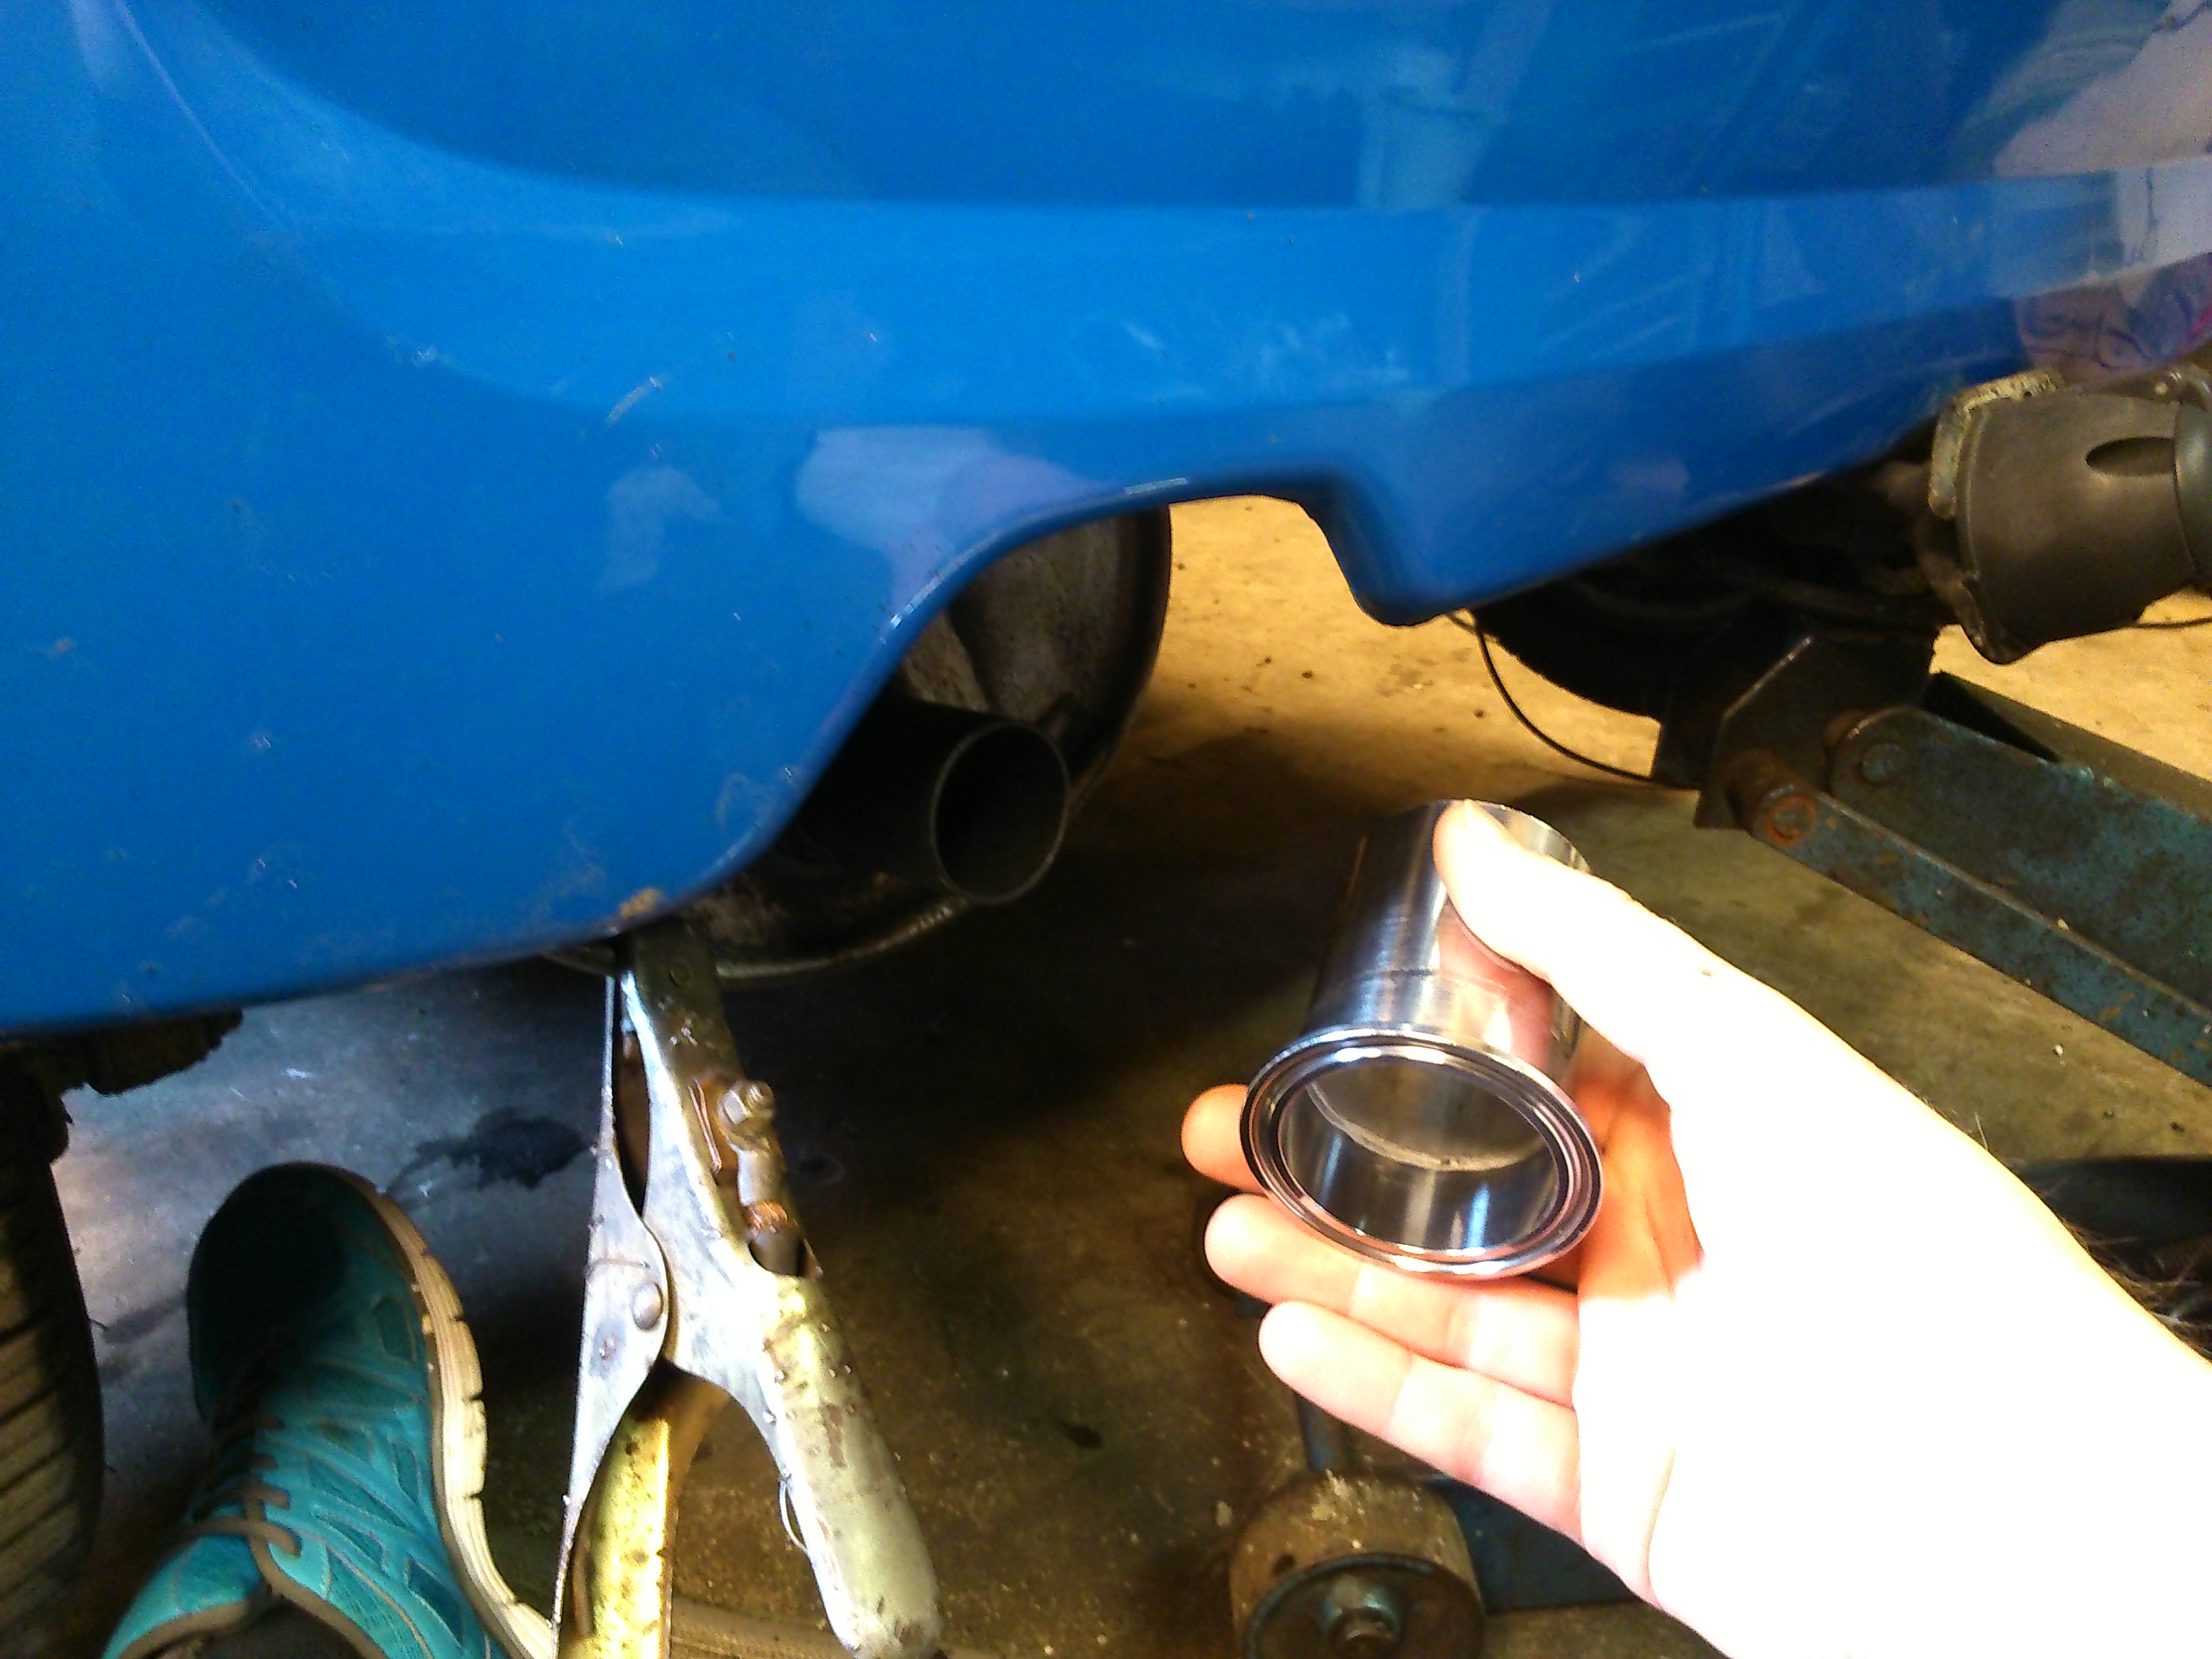
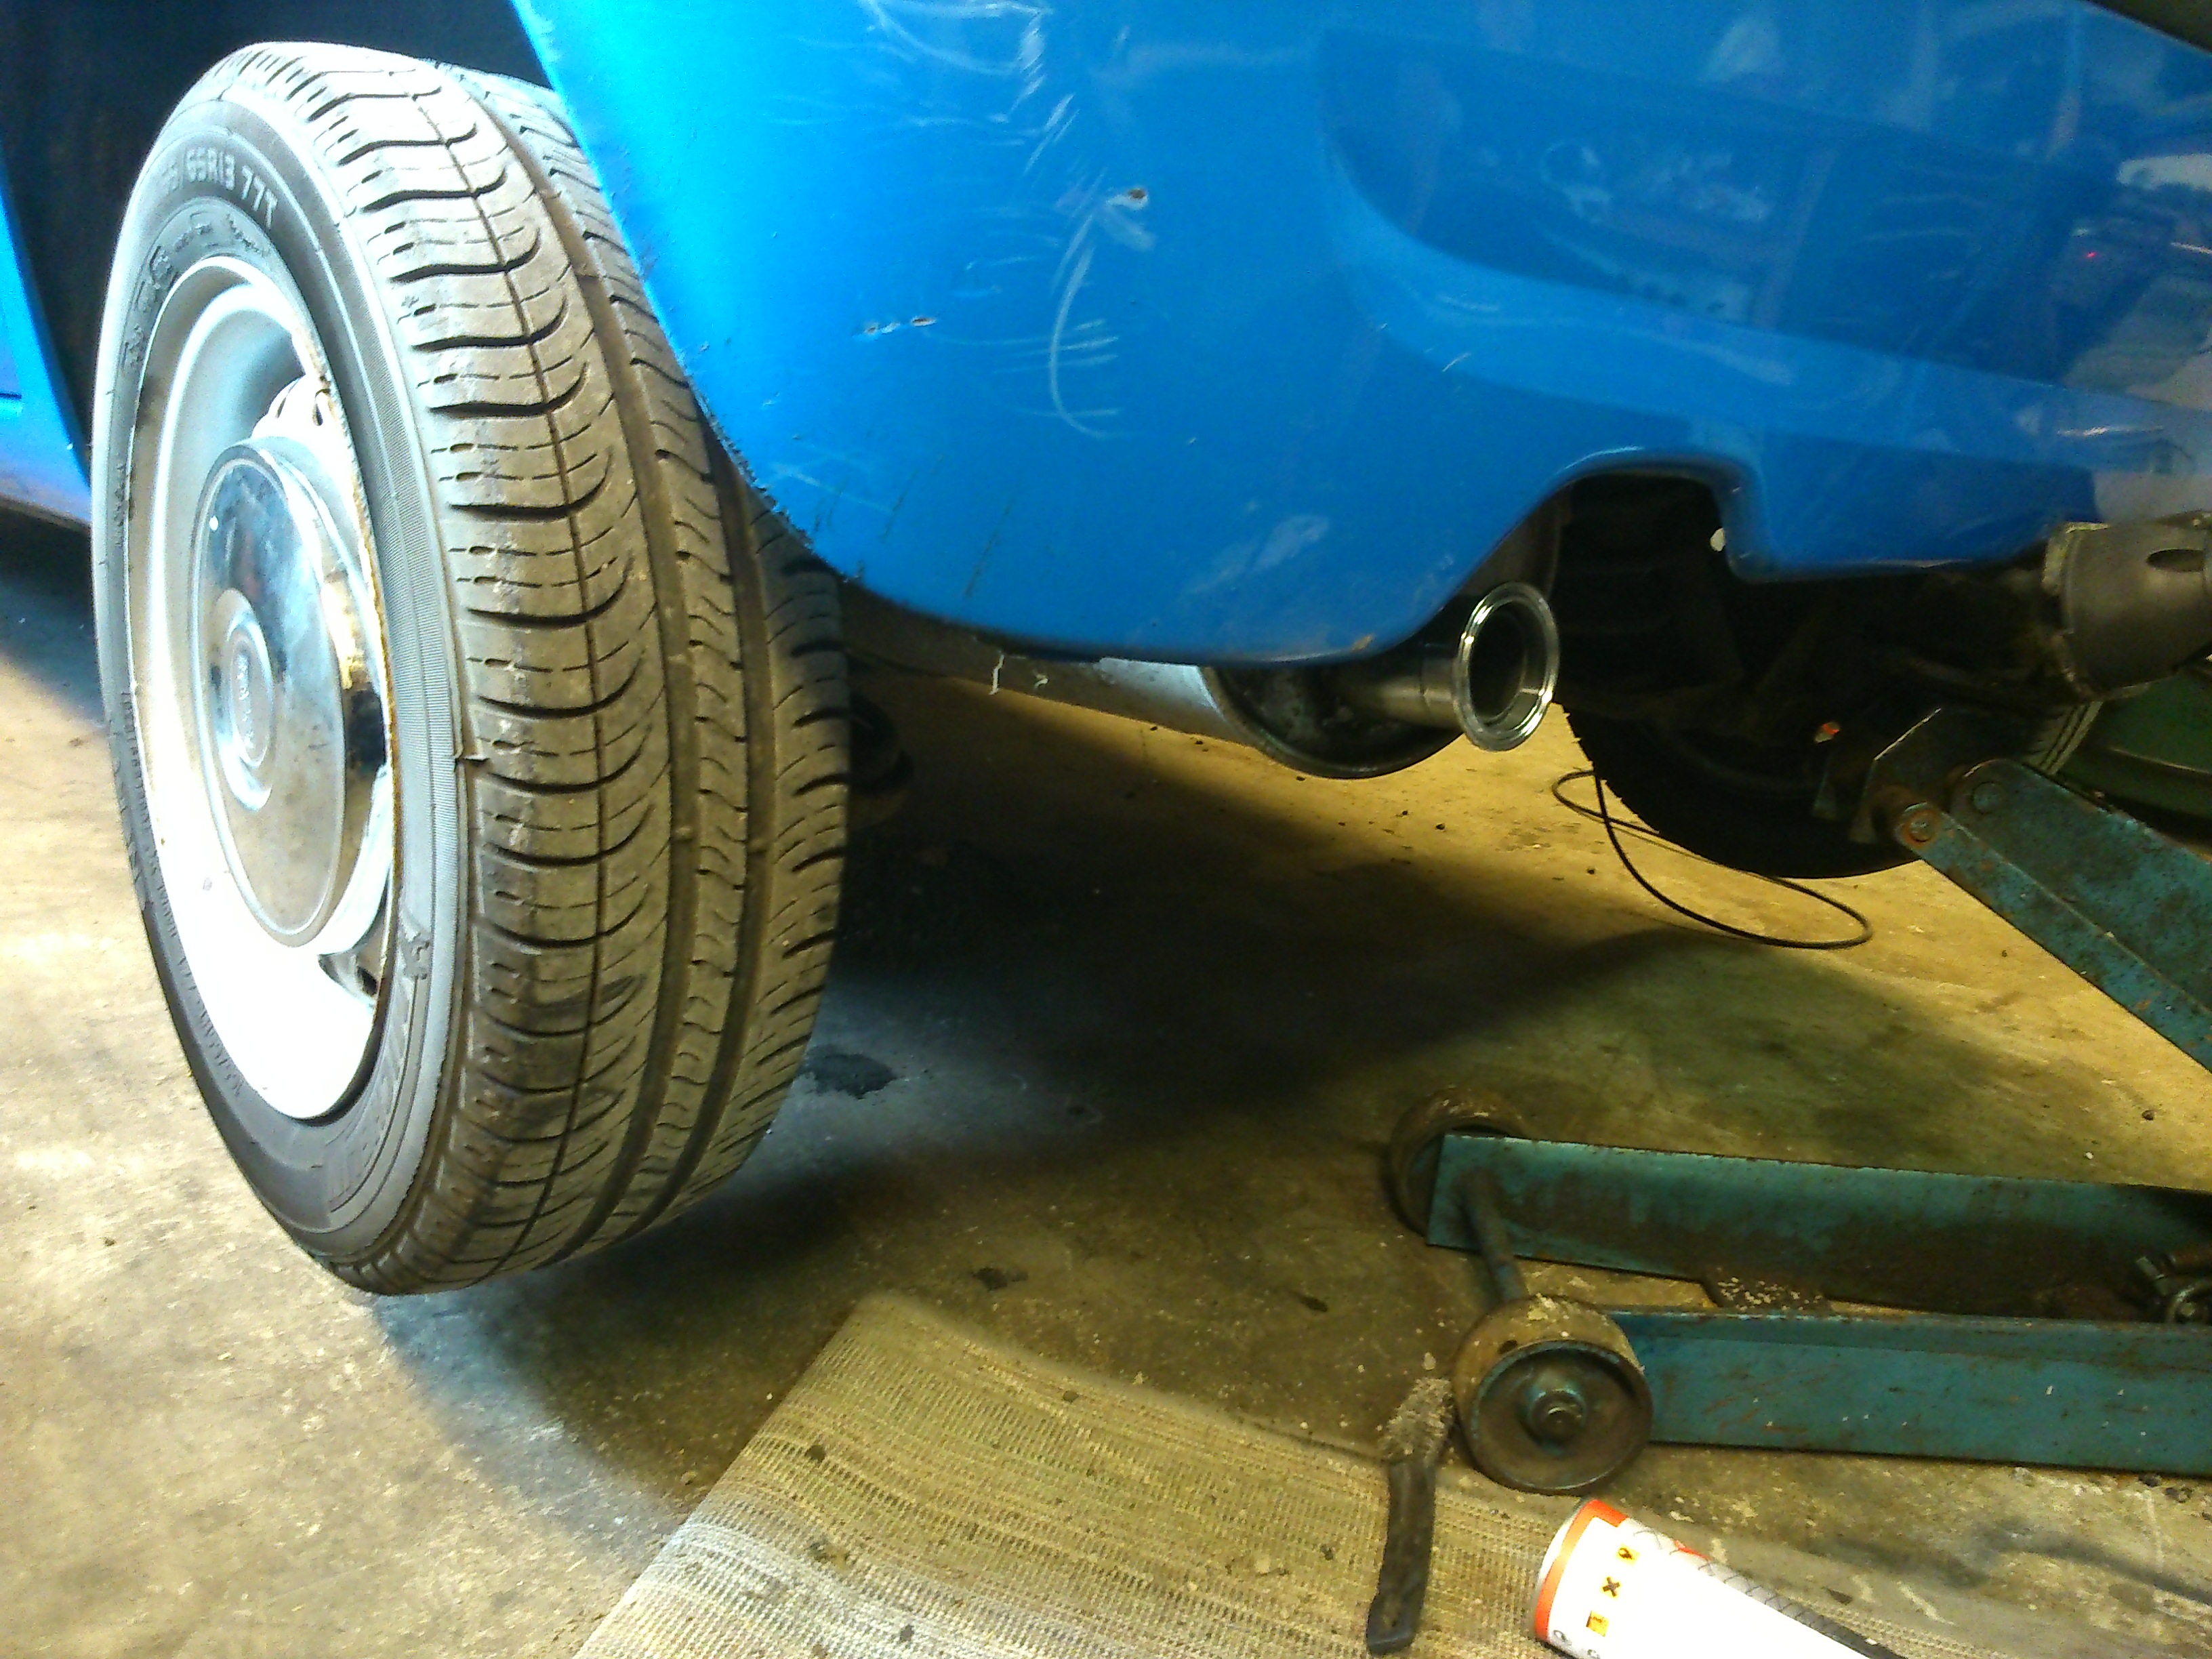
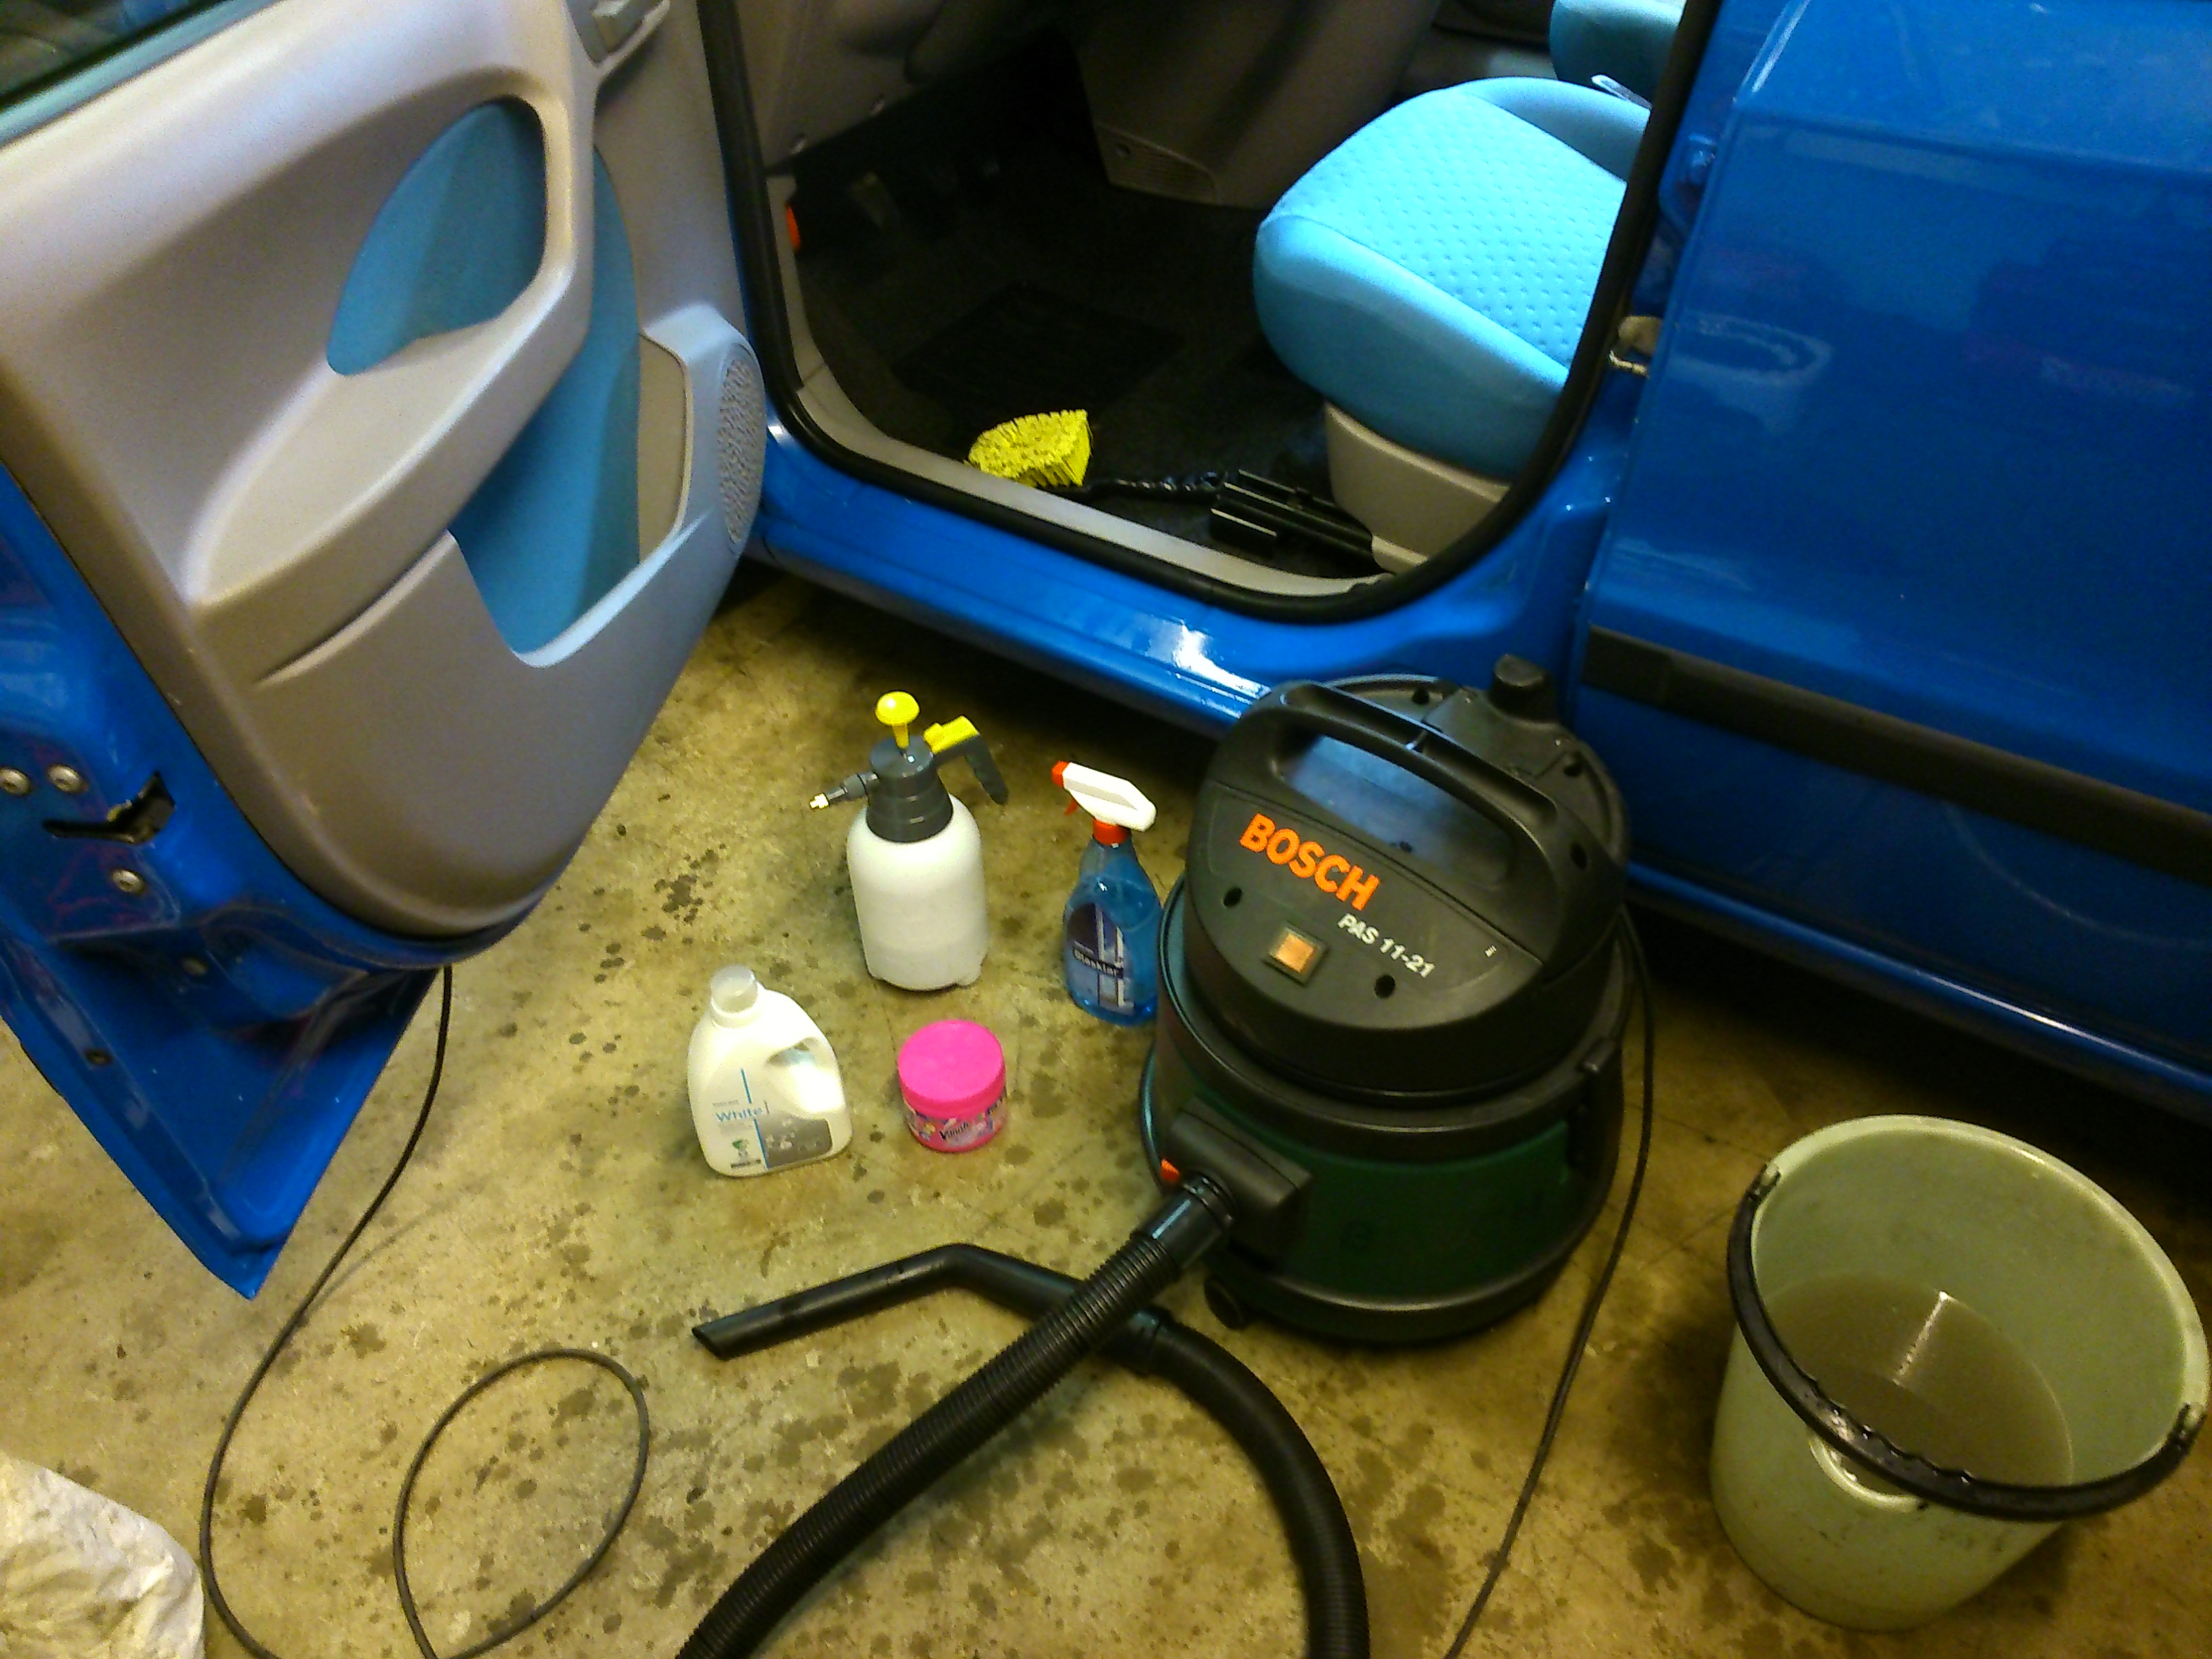
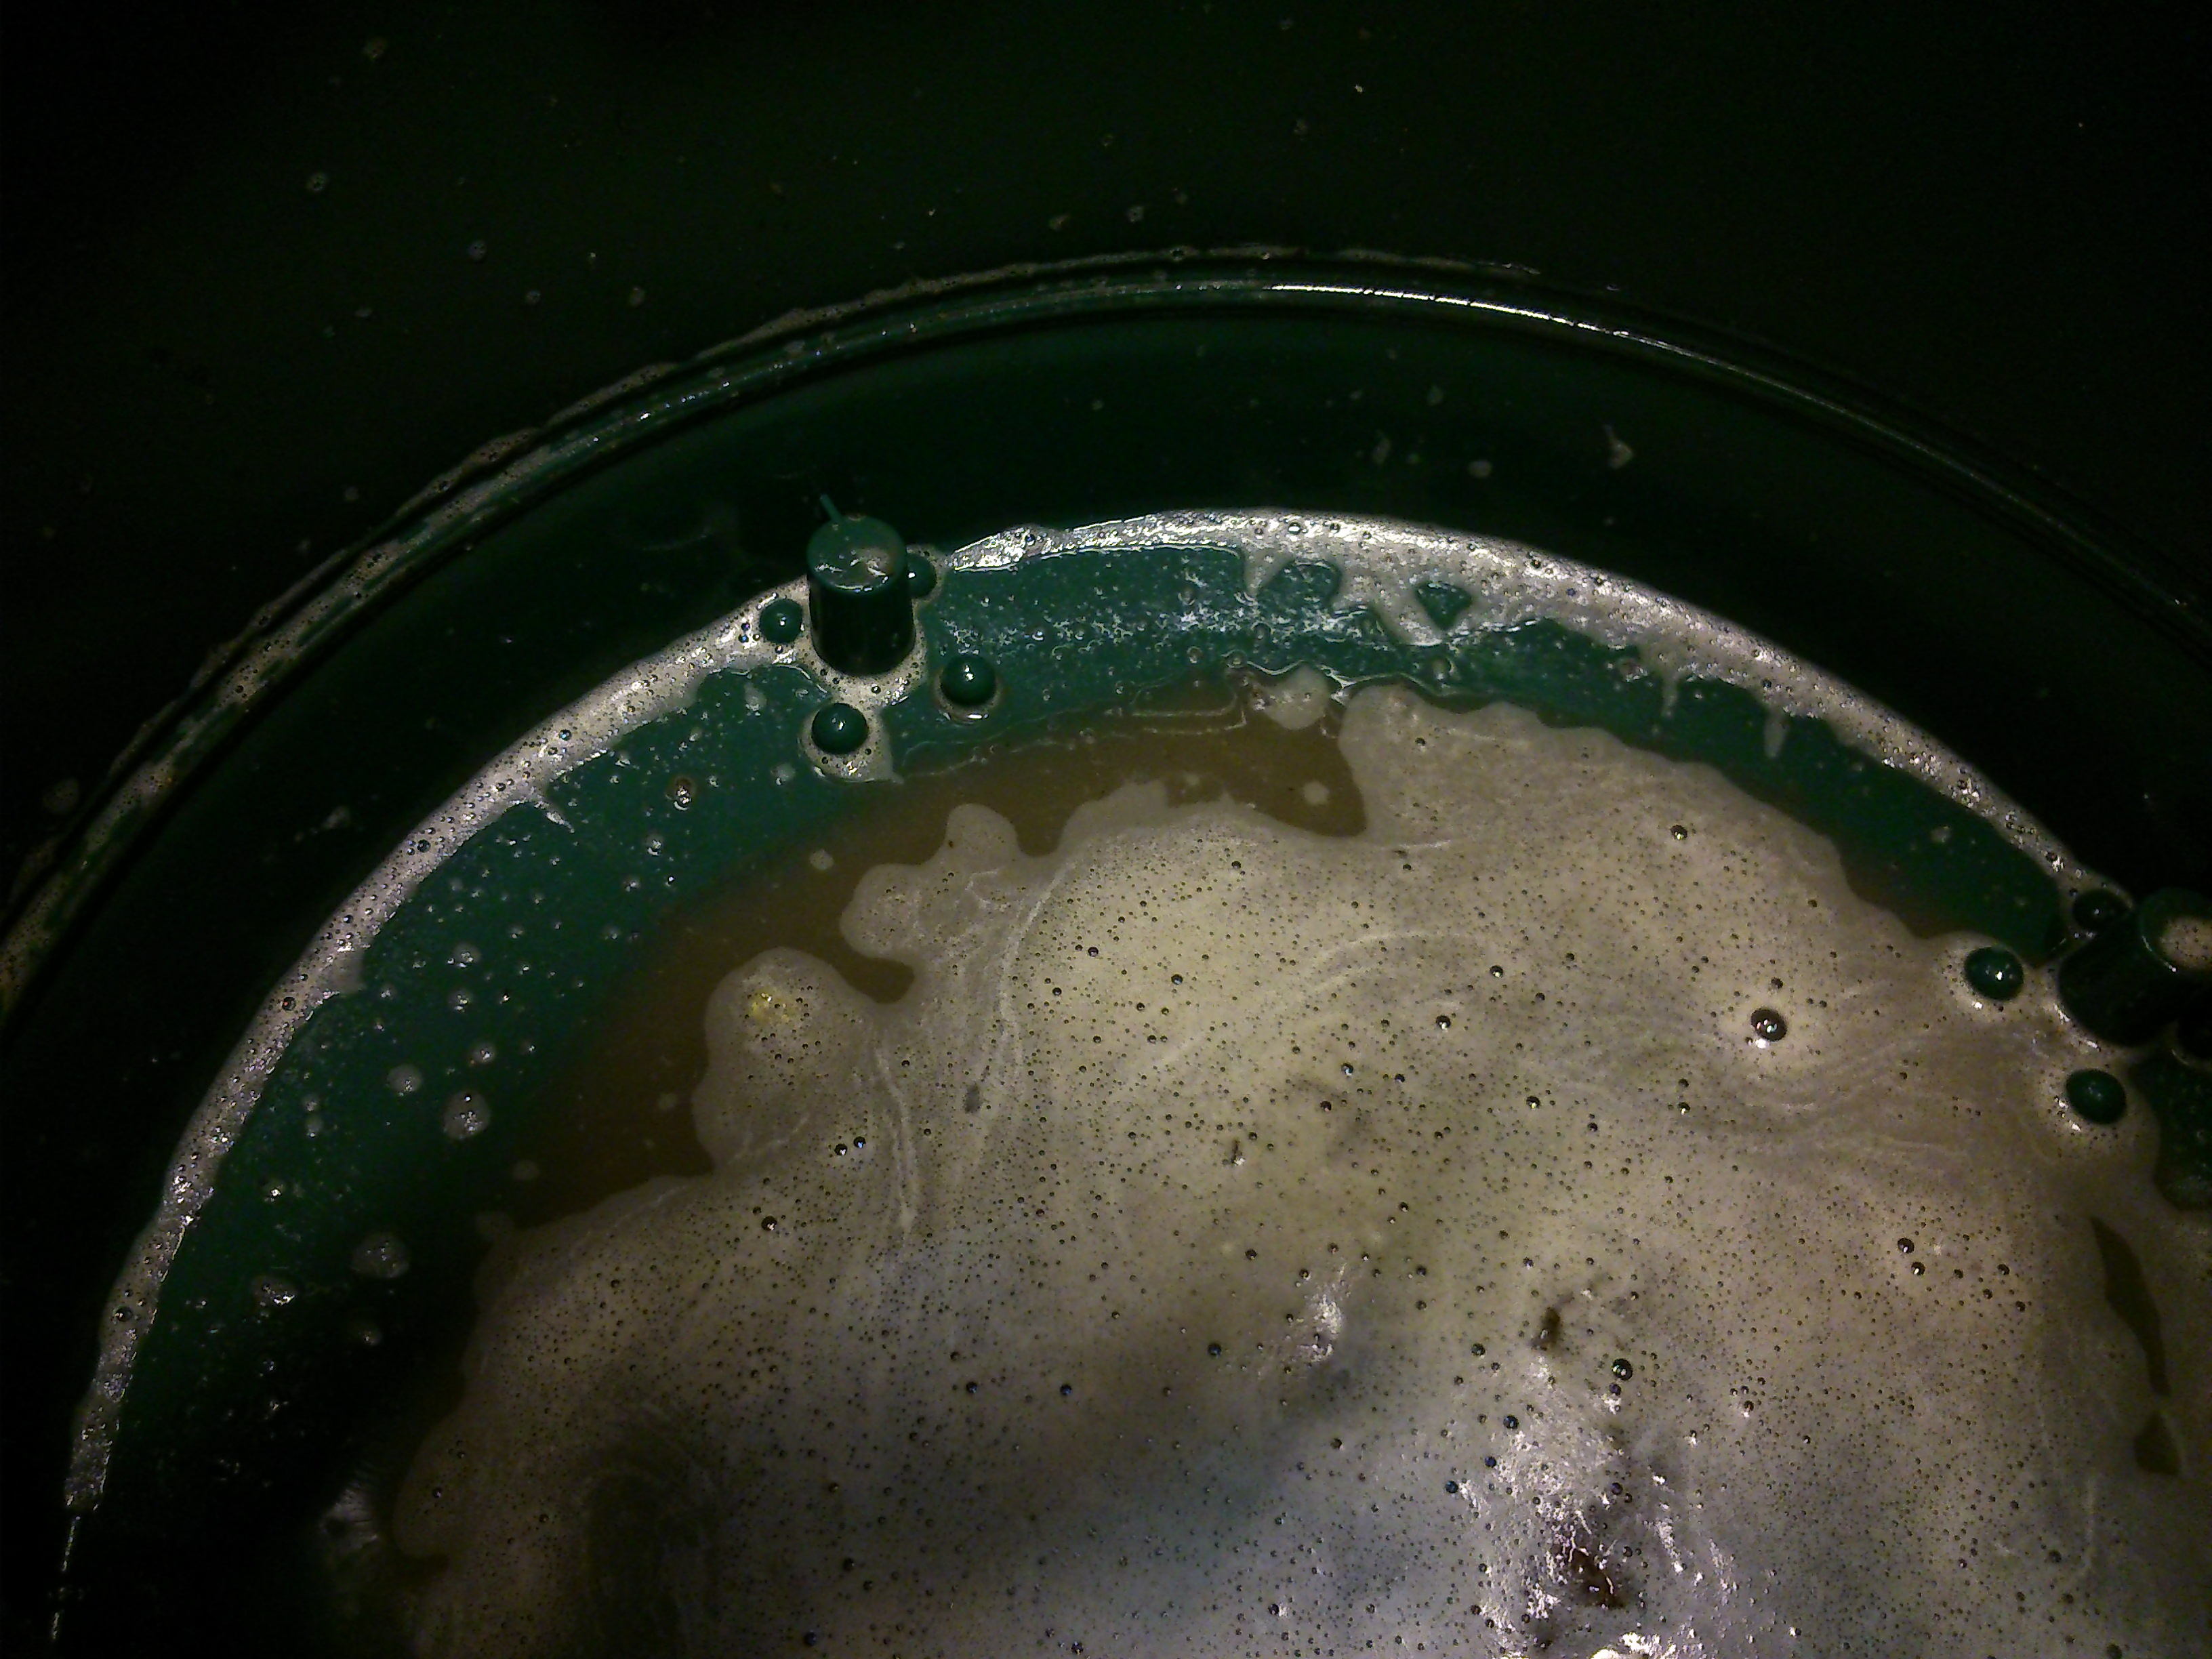
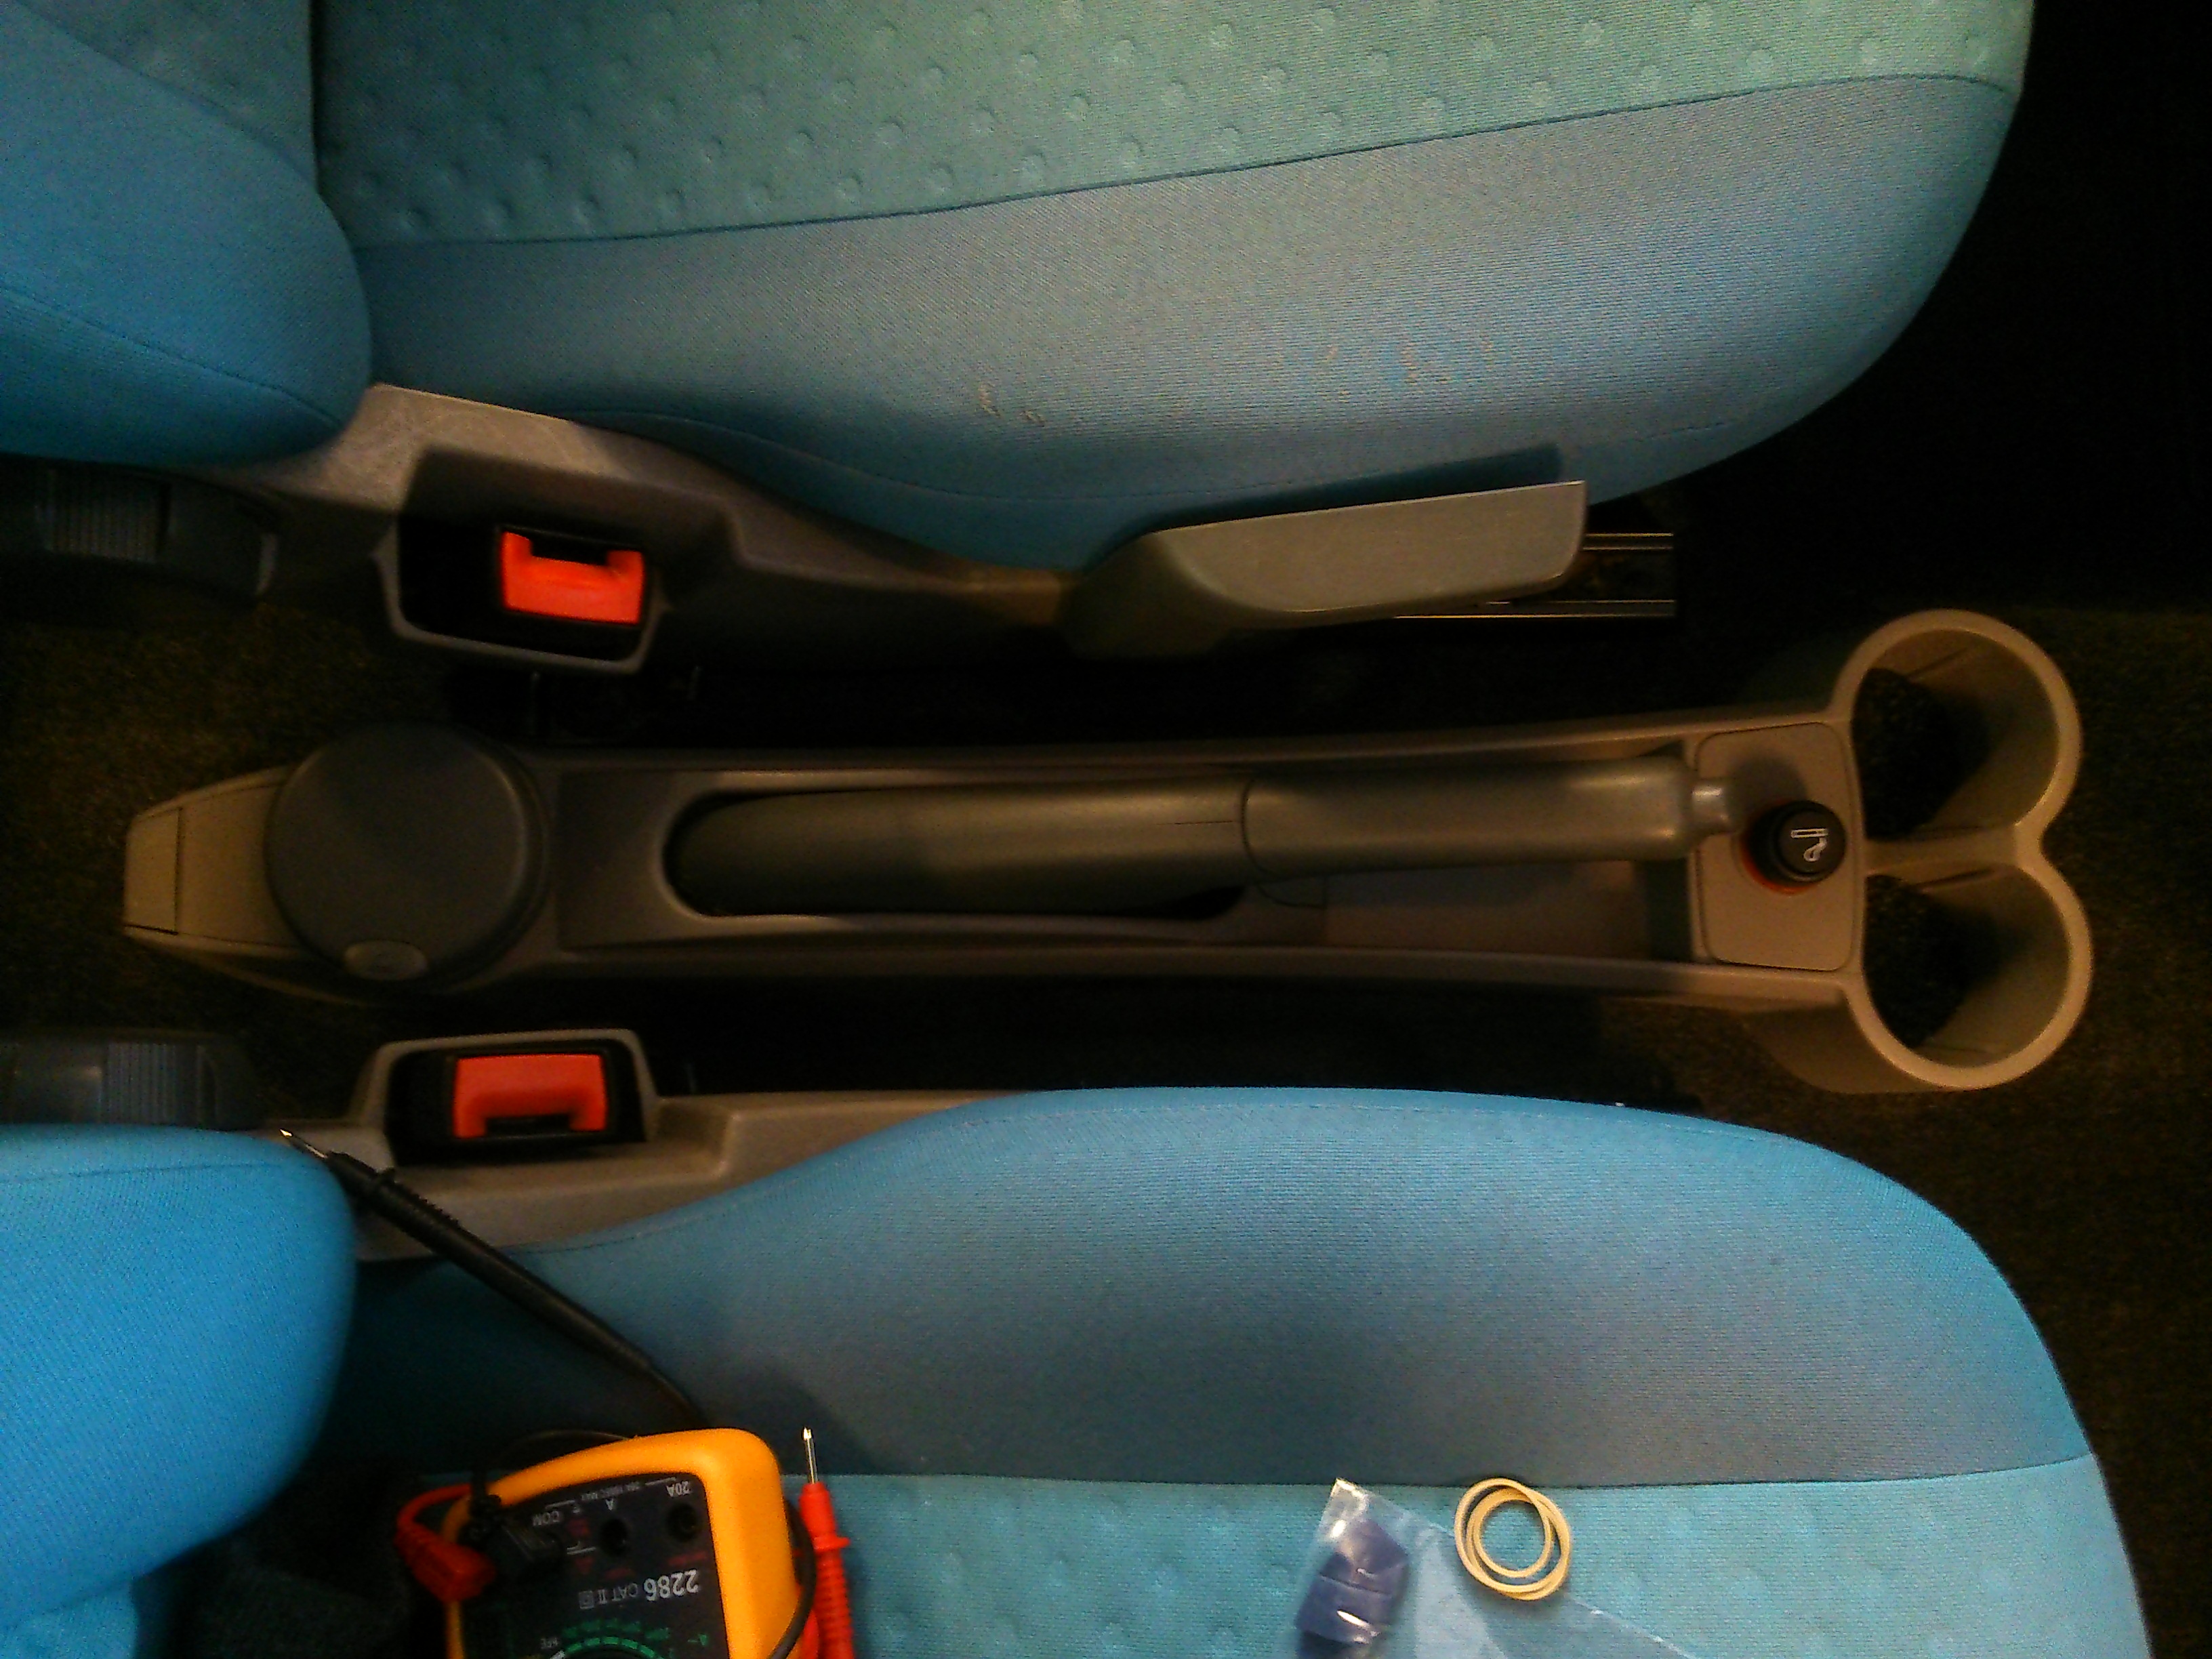
First thing I did was a good wash, and that helped a lot
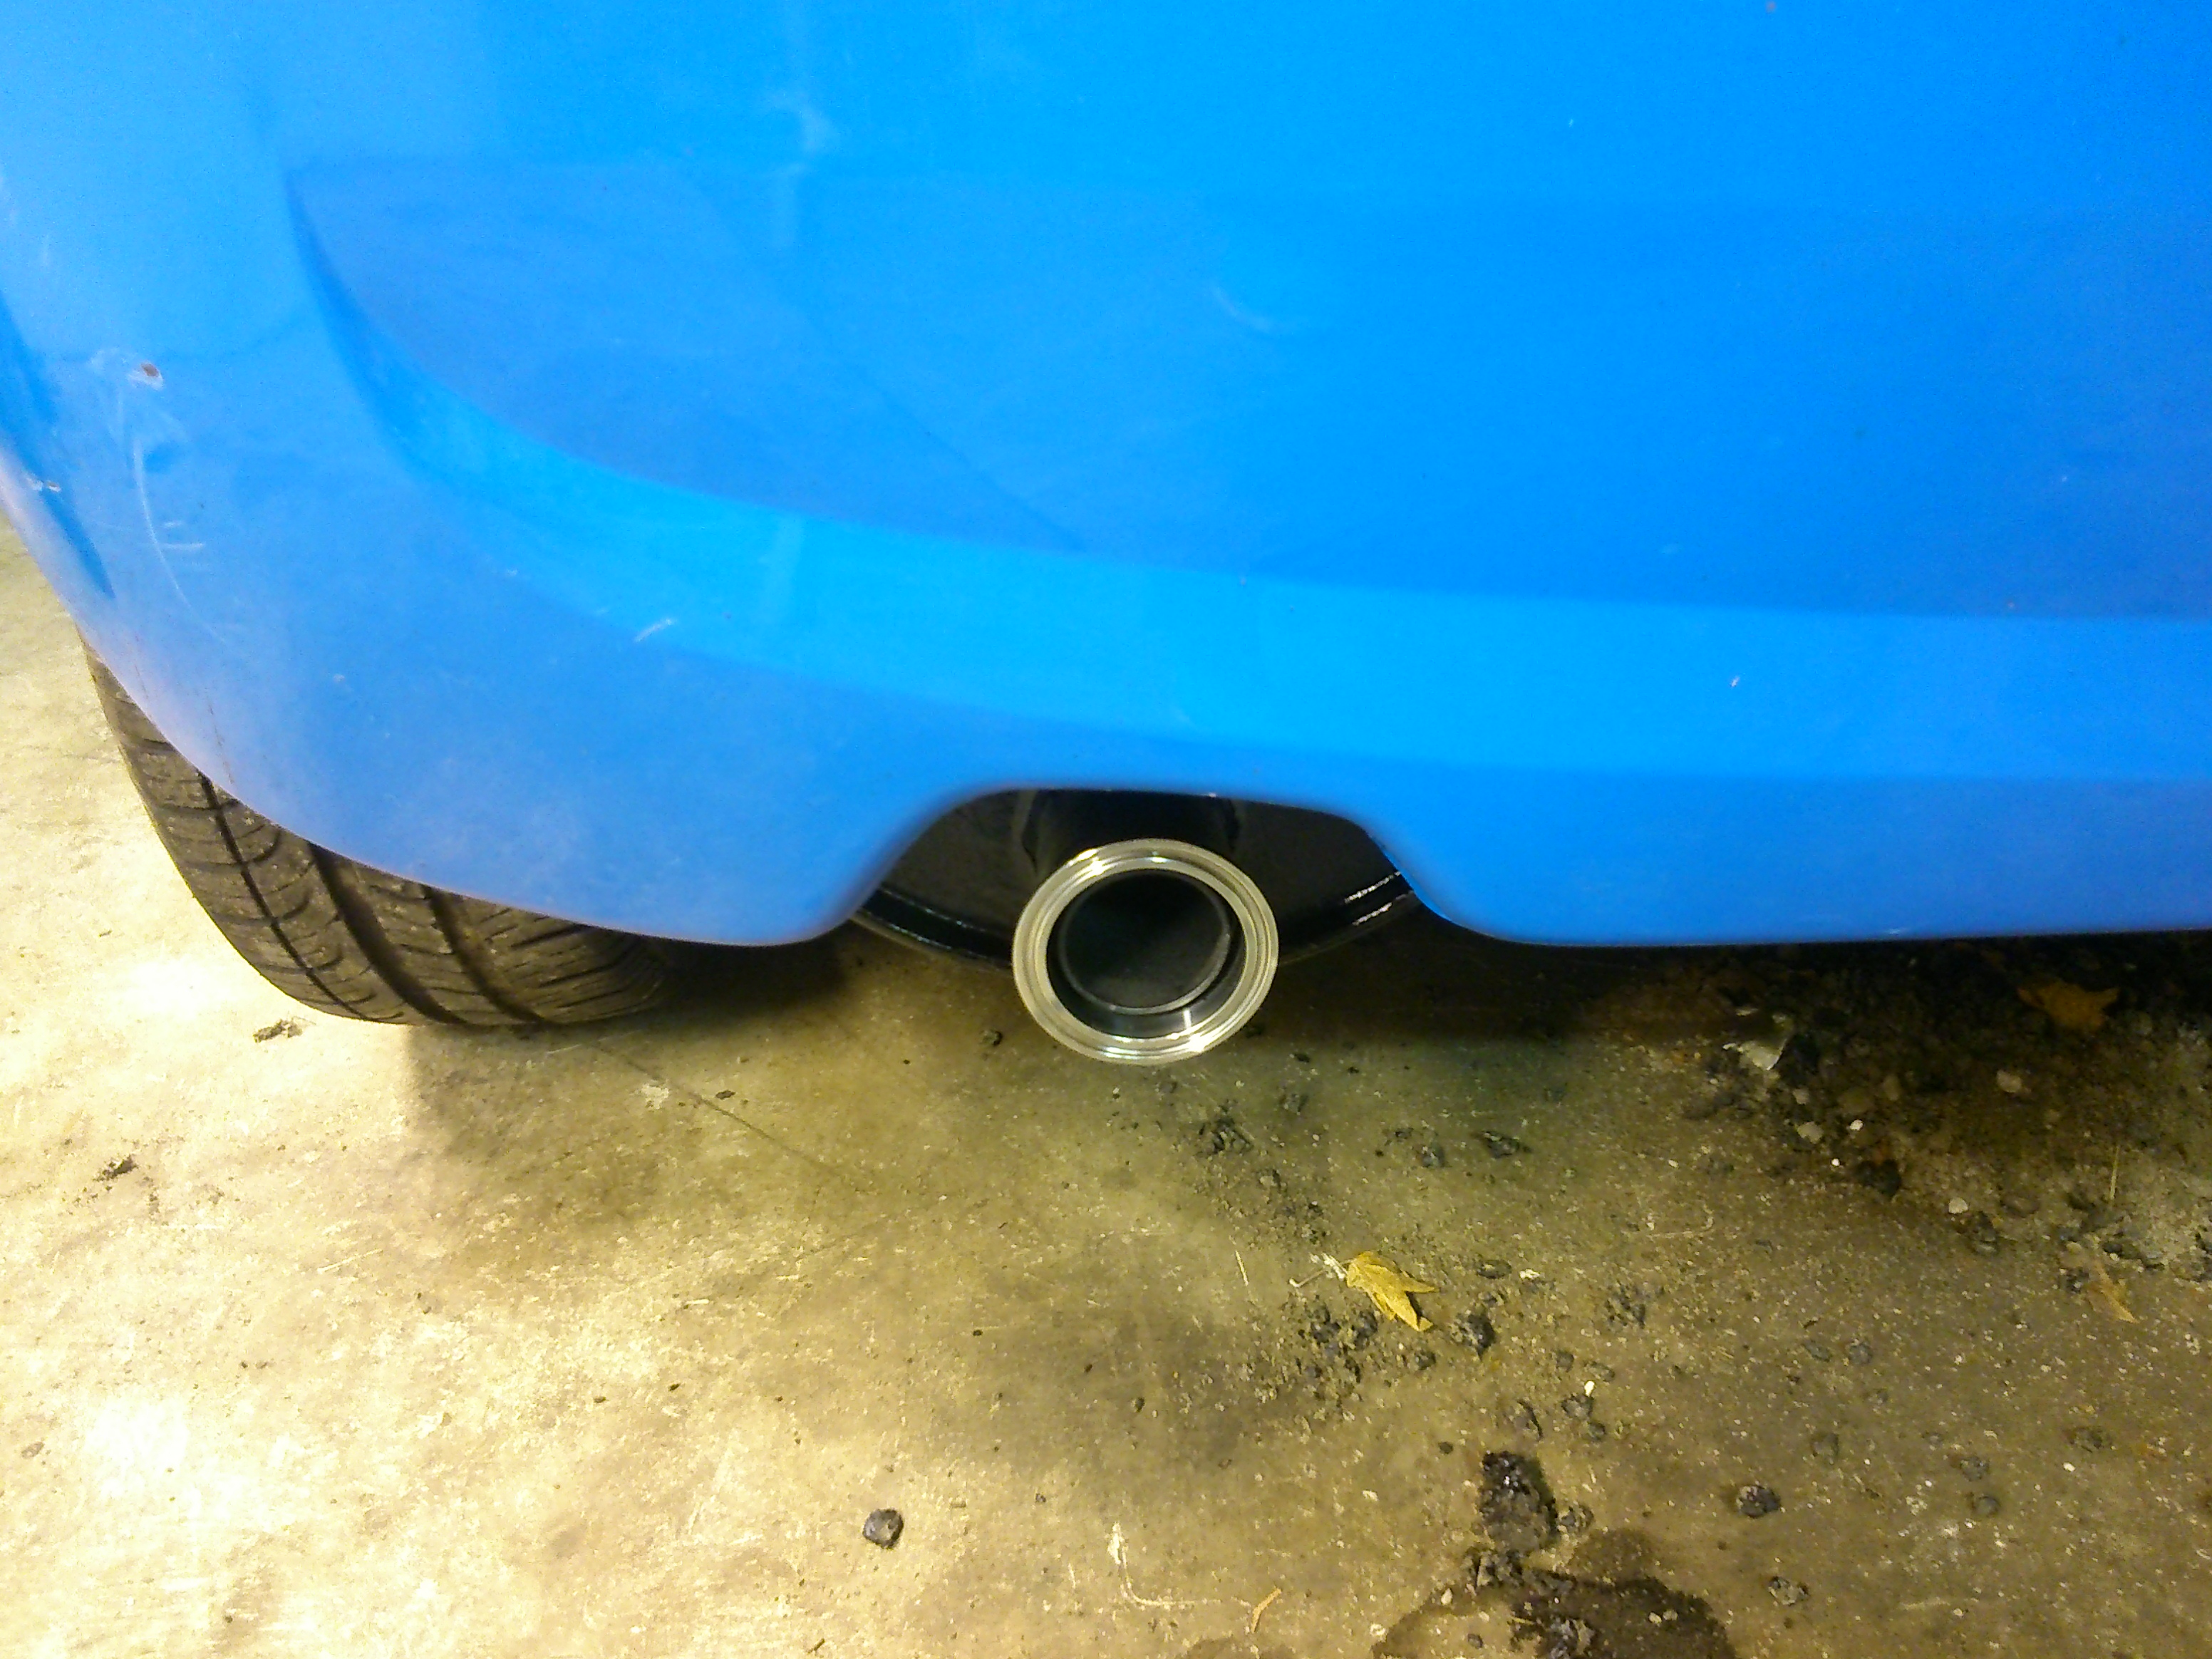
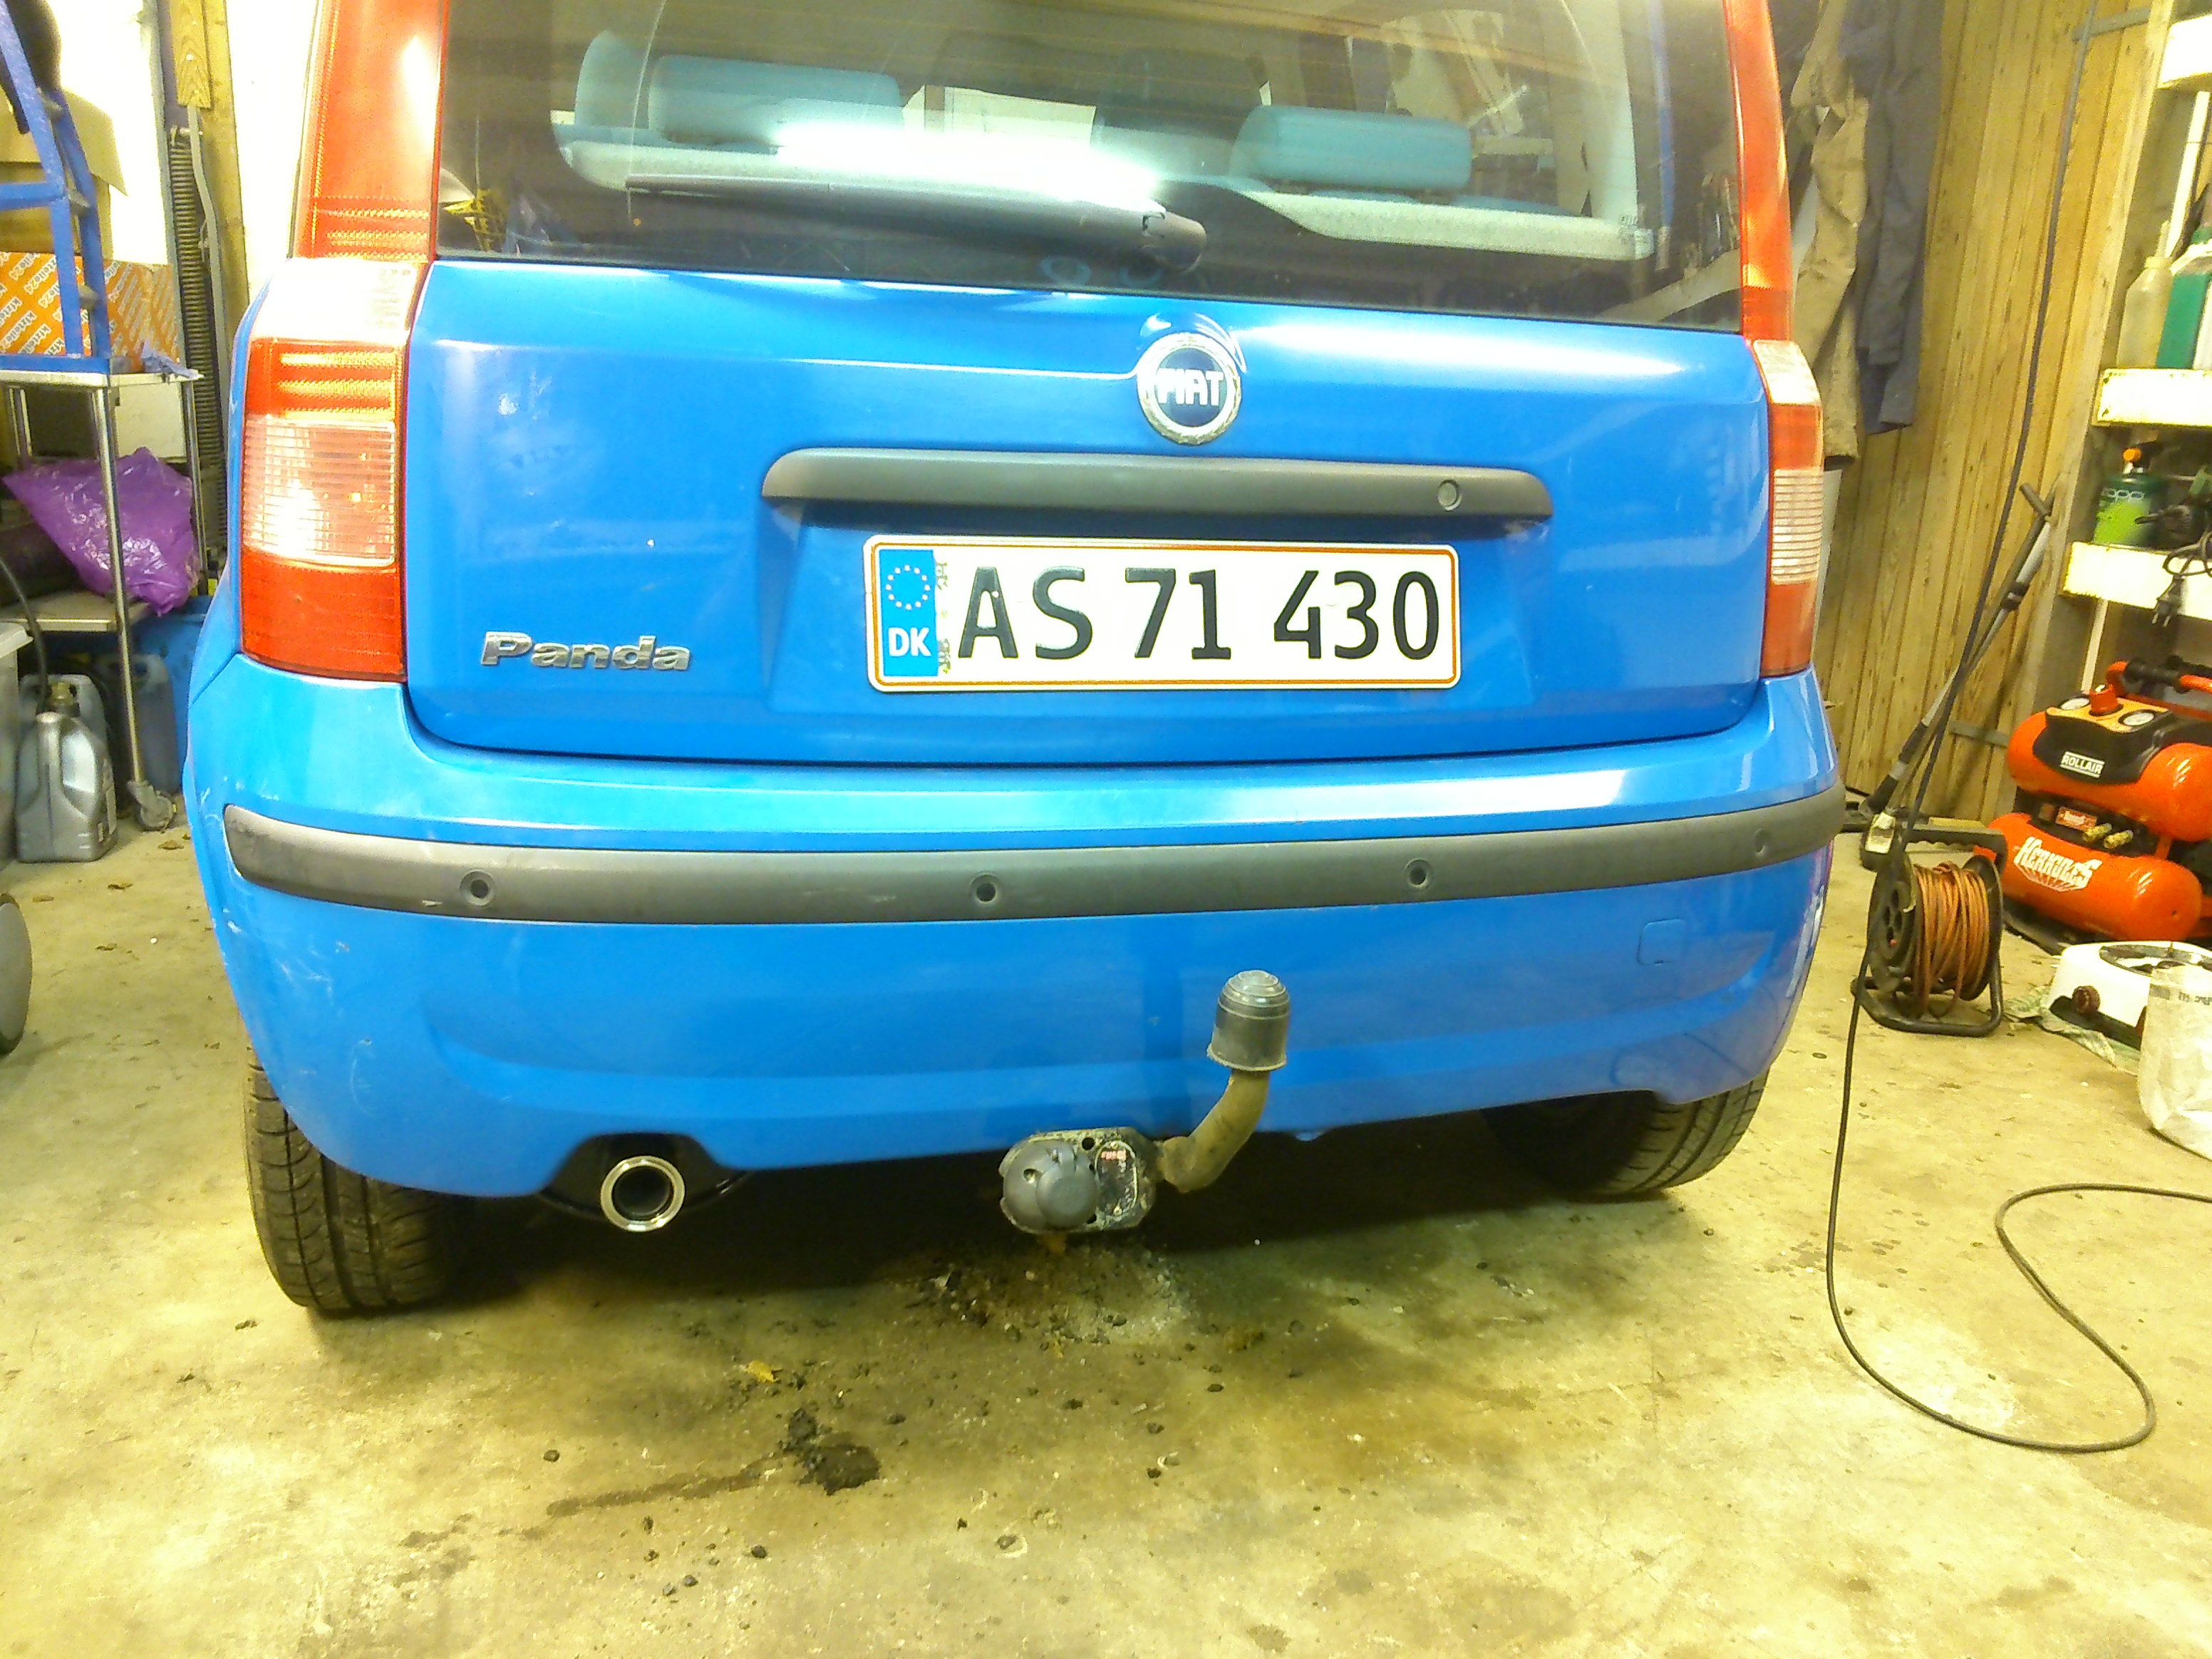
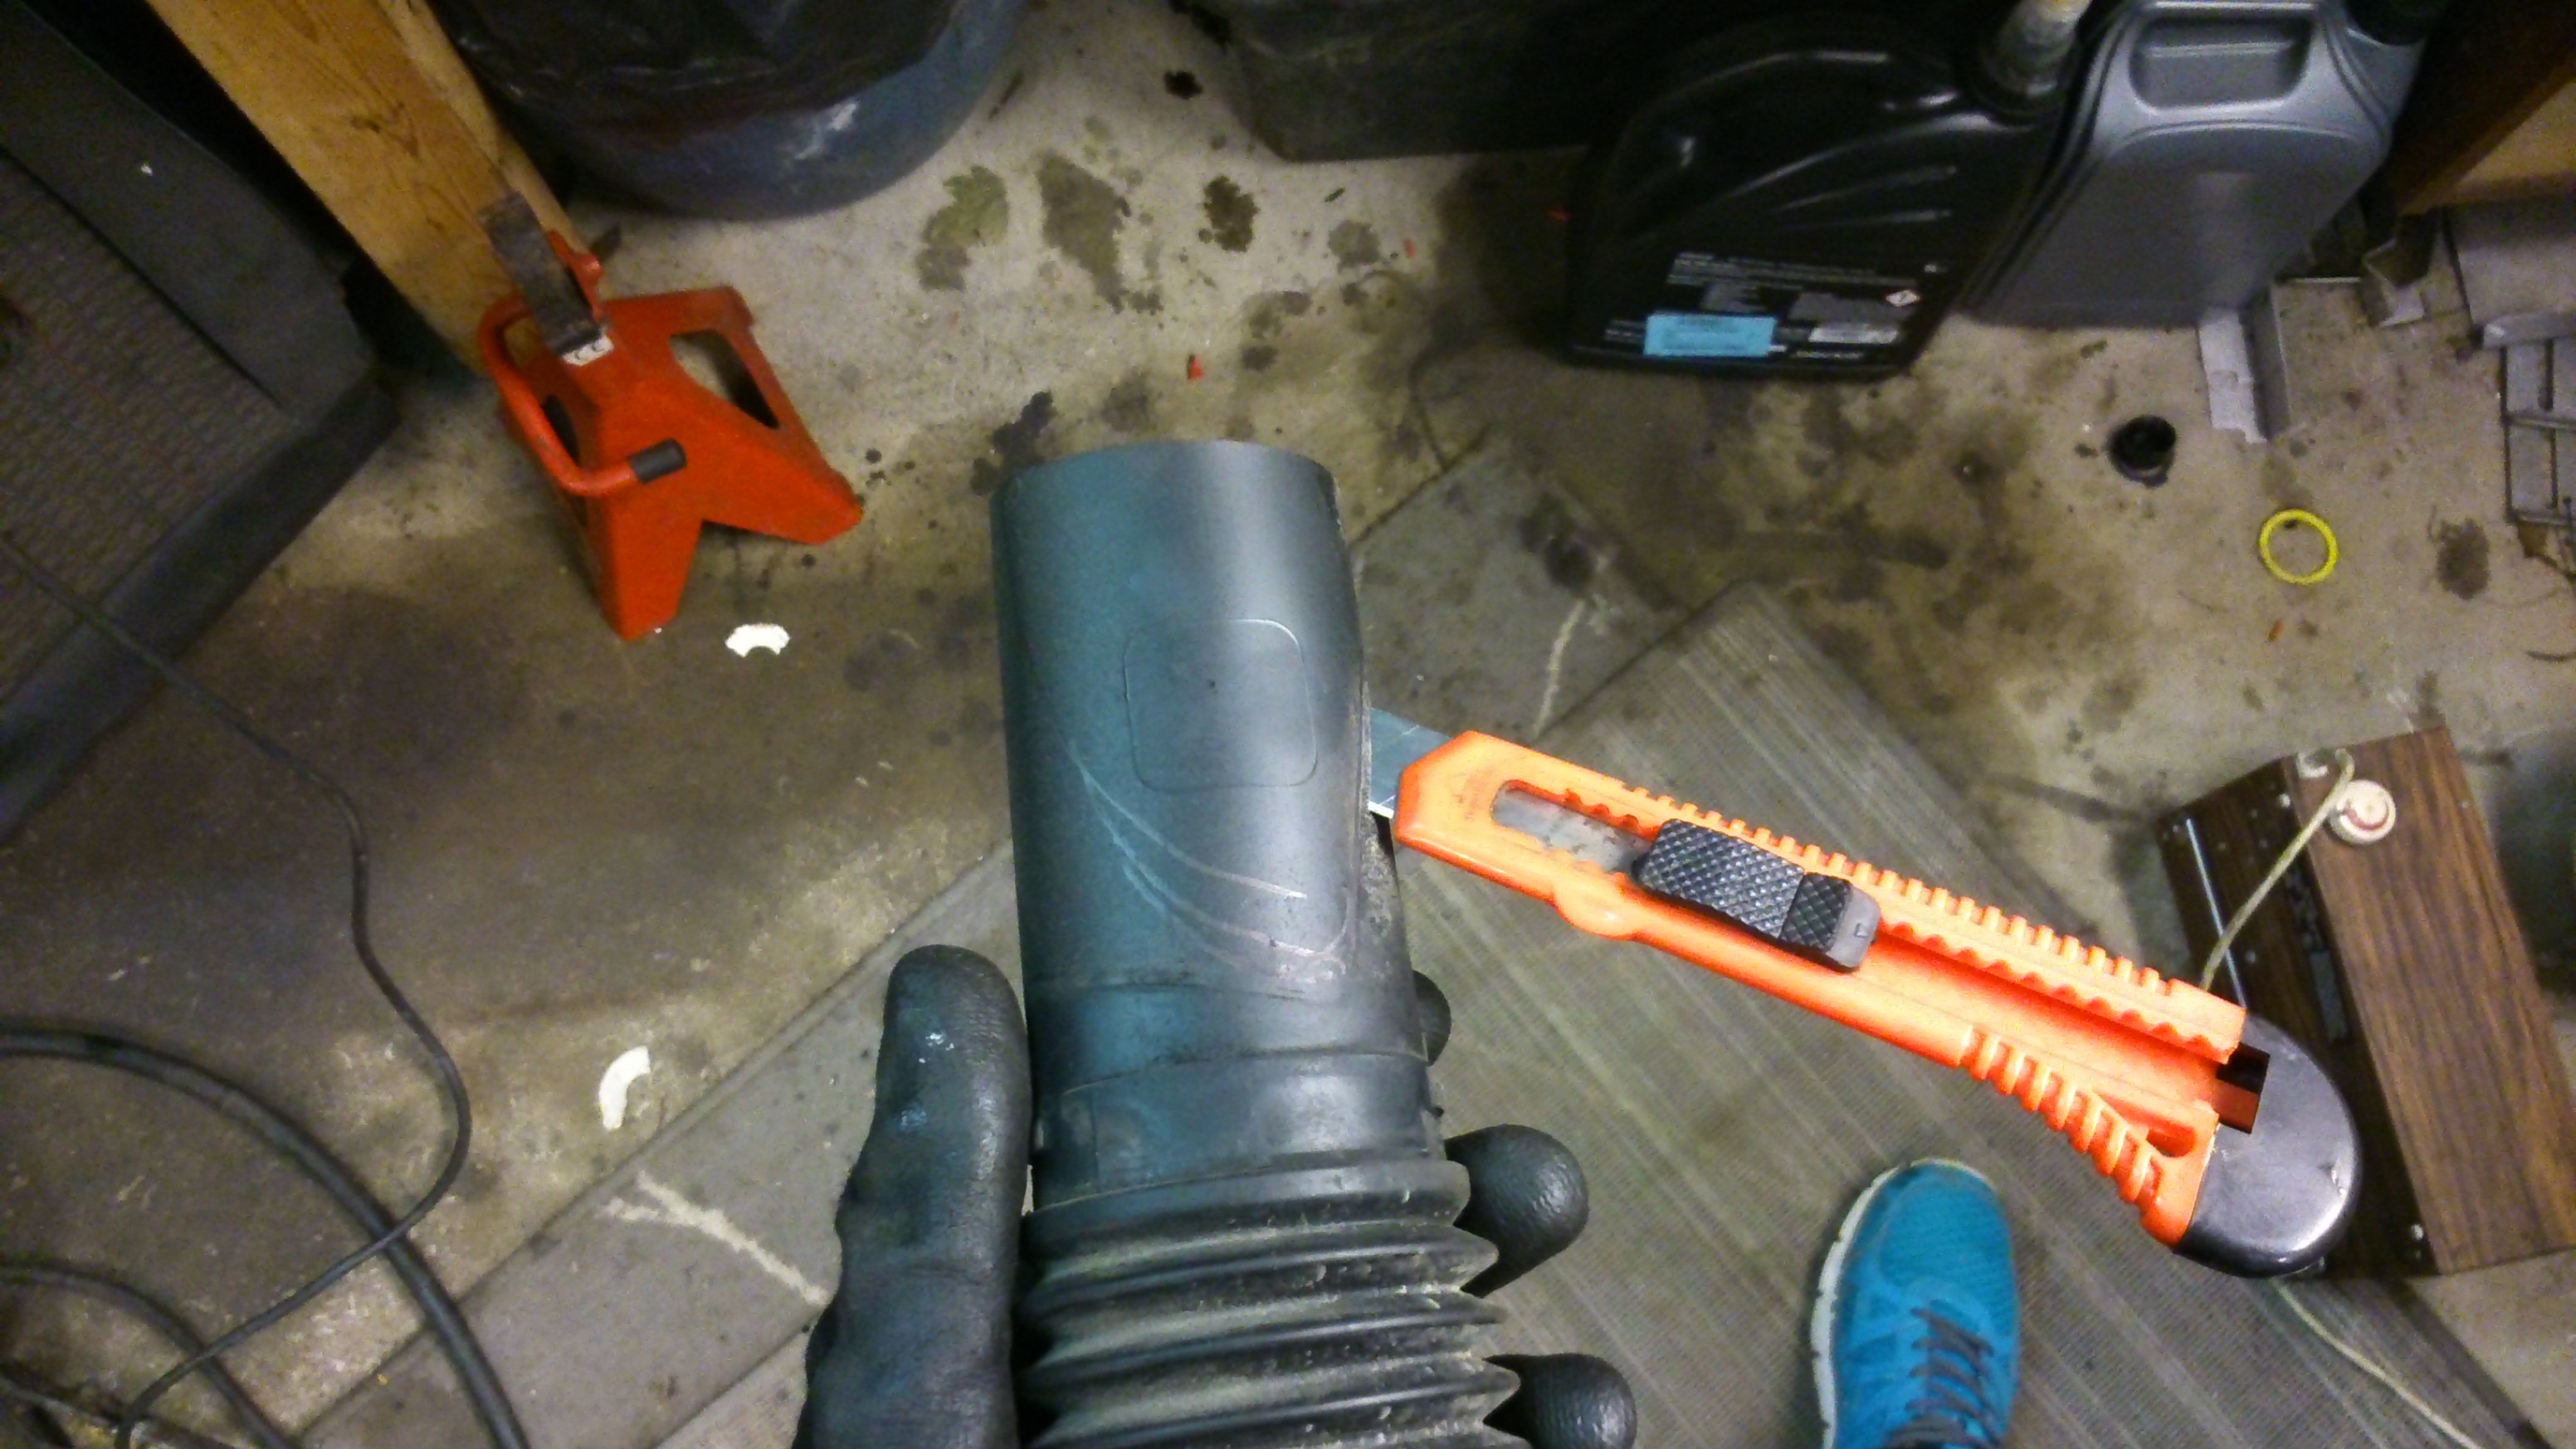
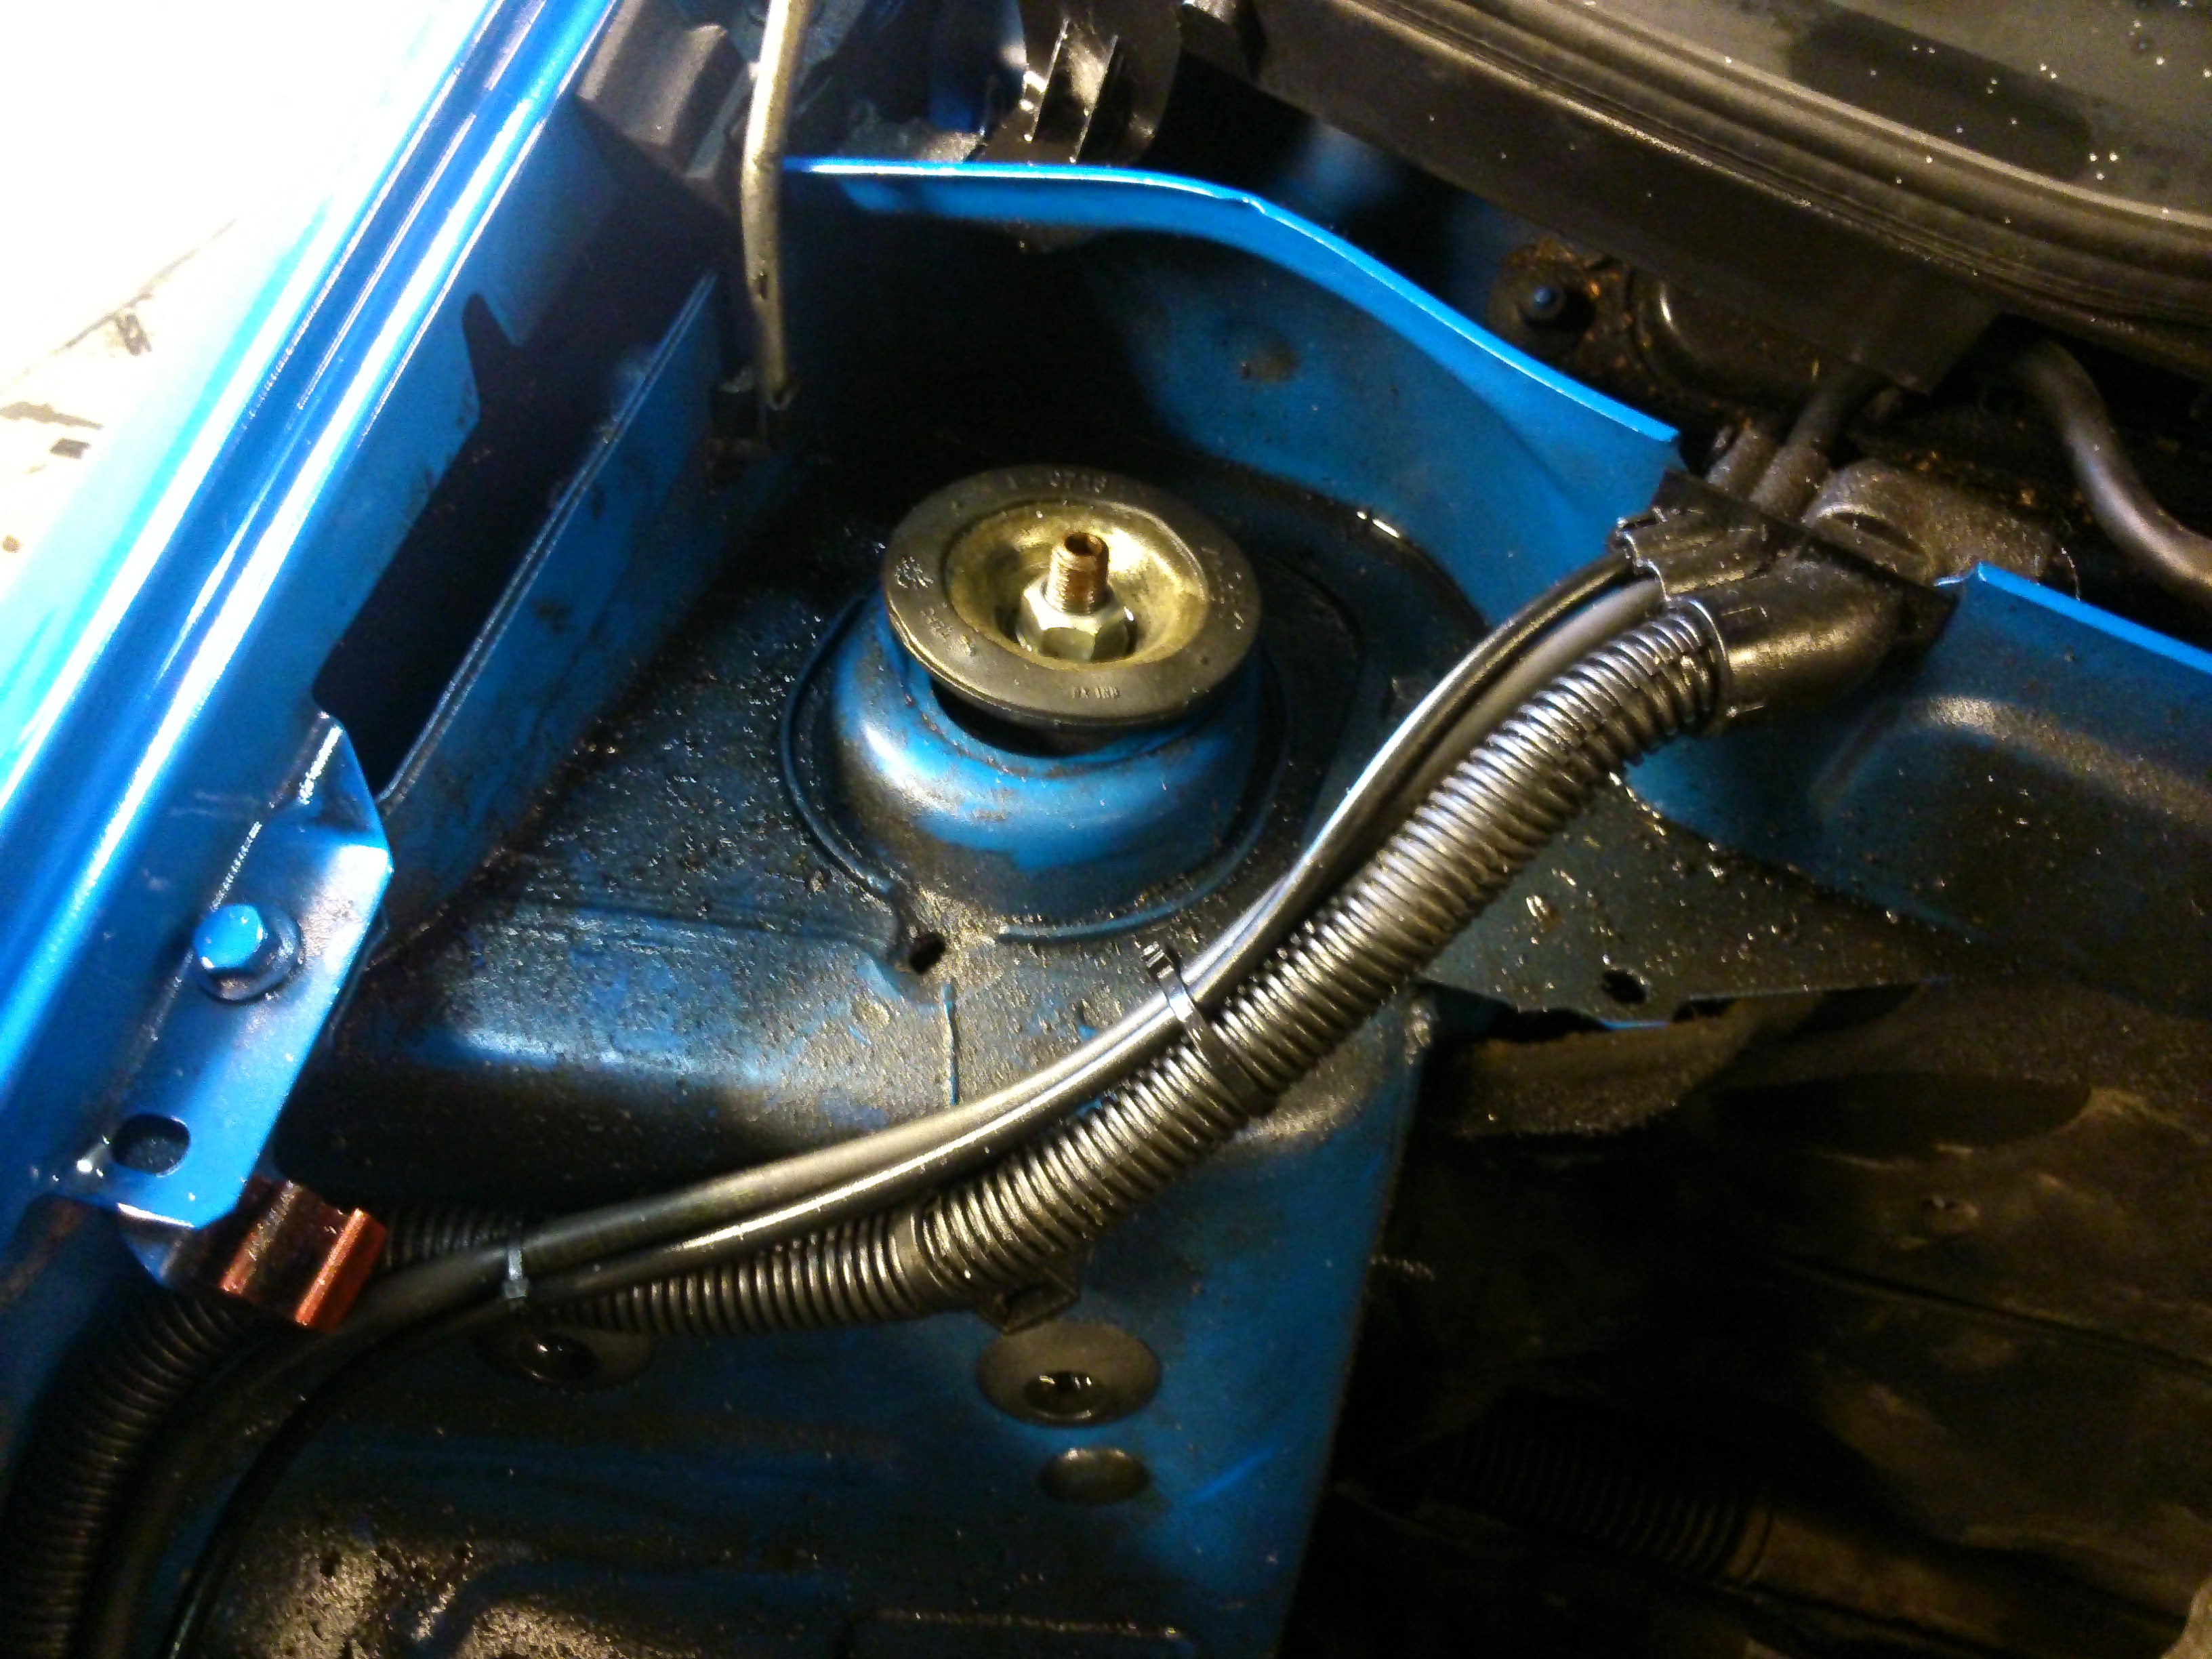
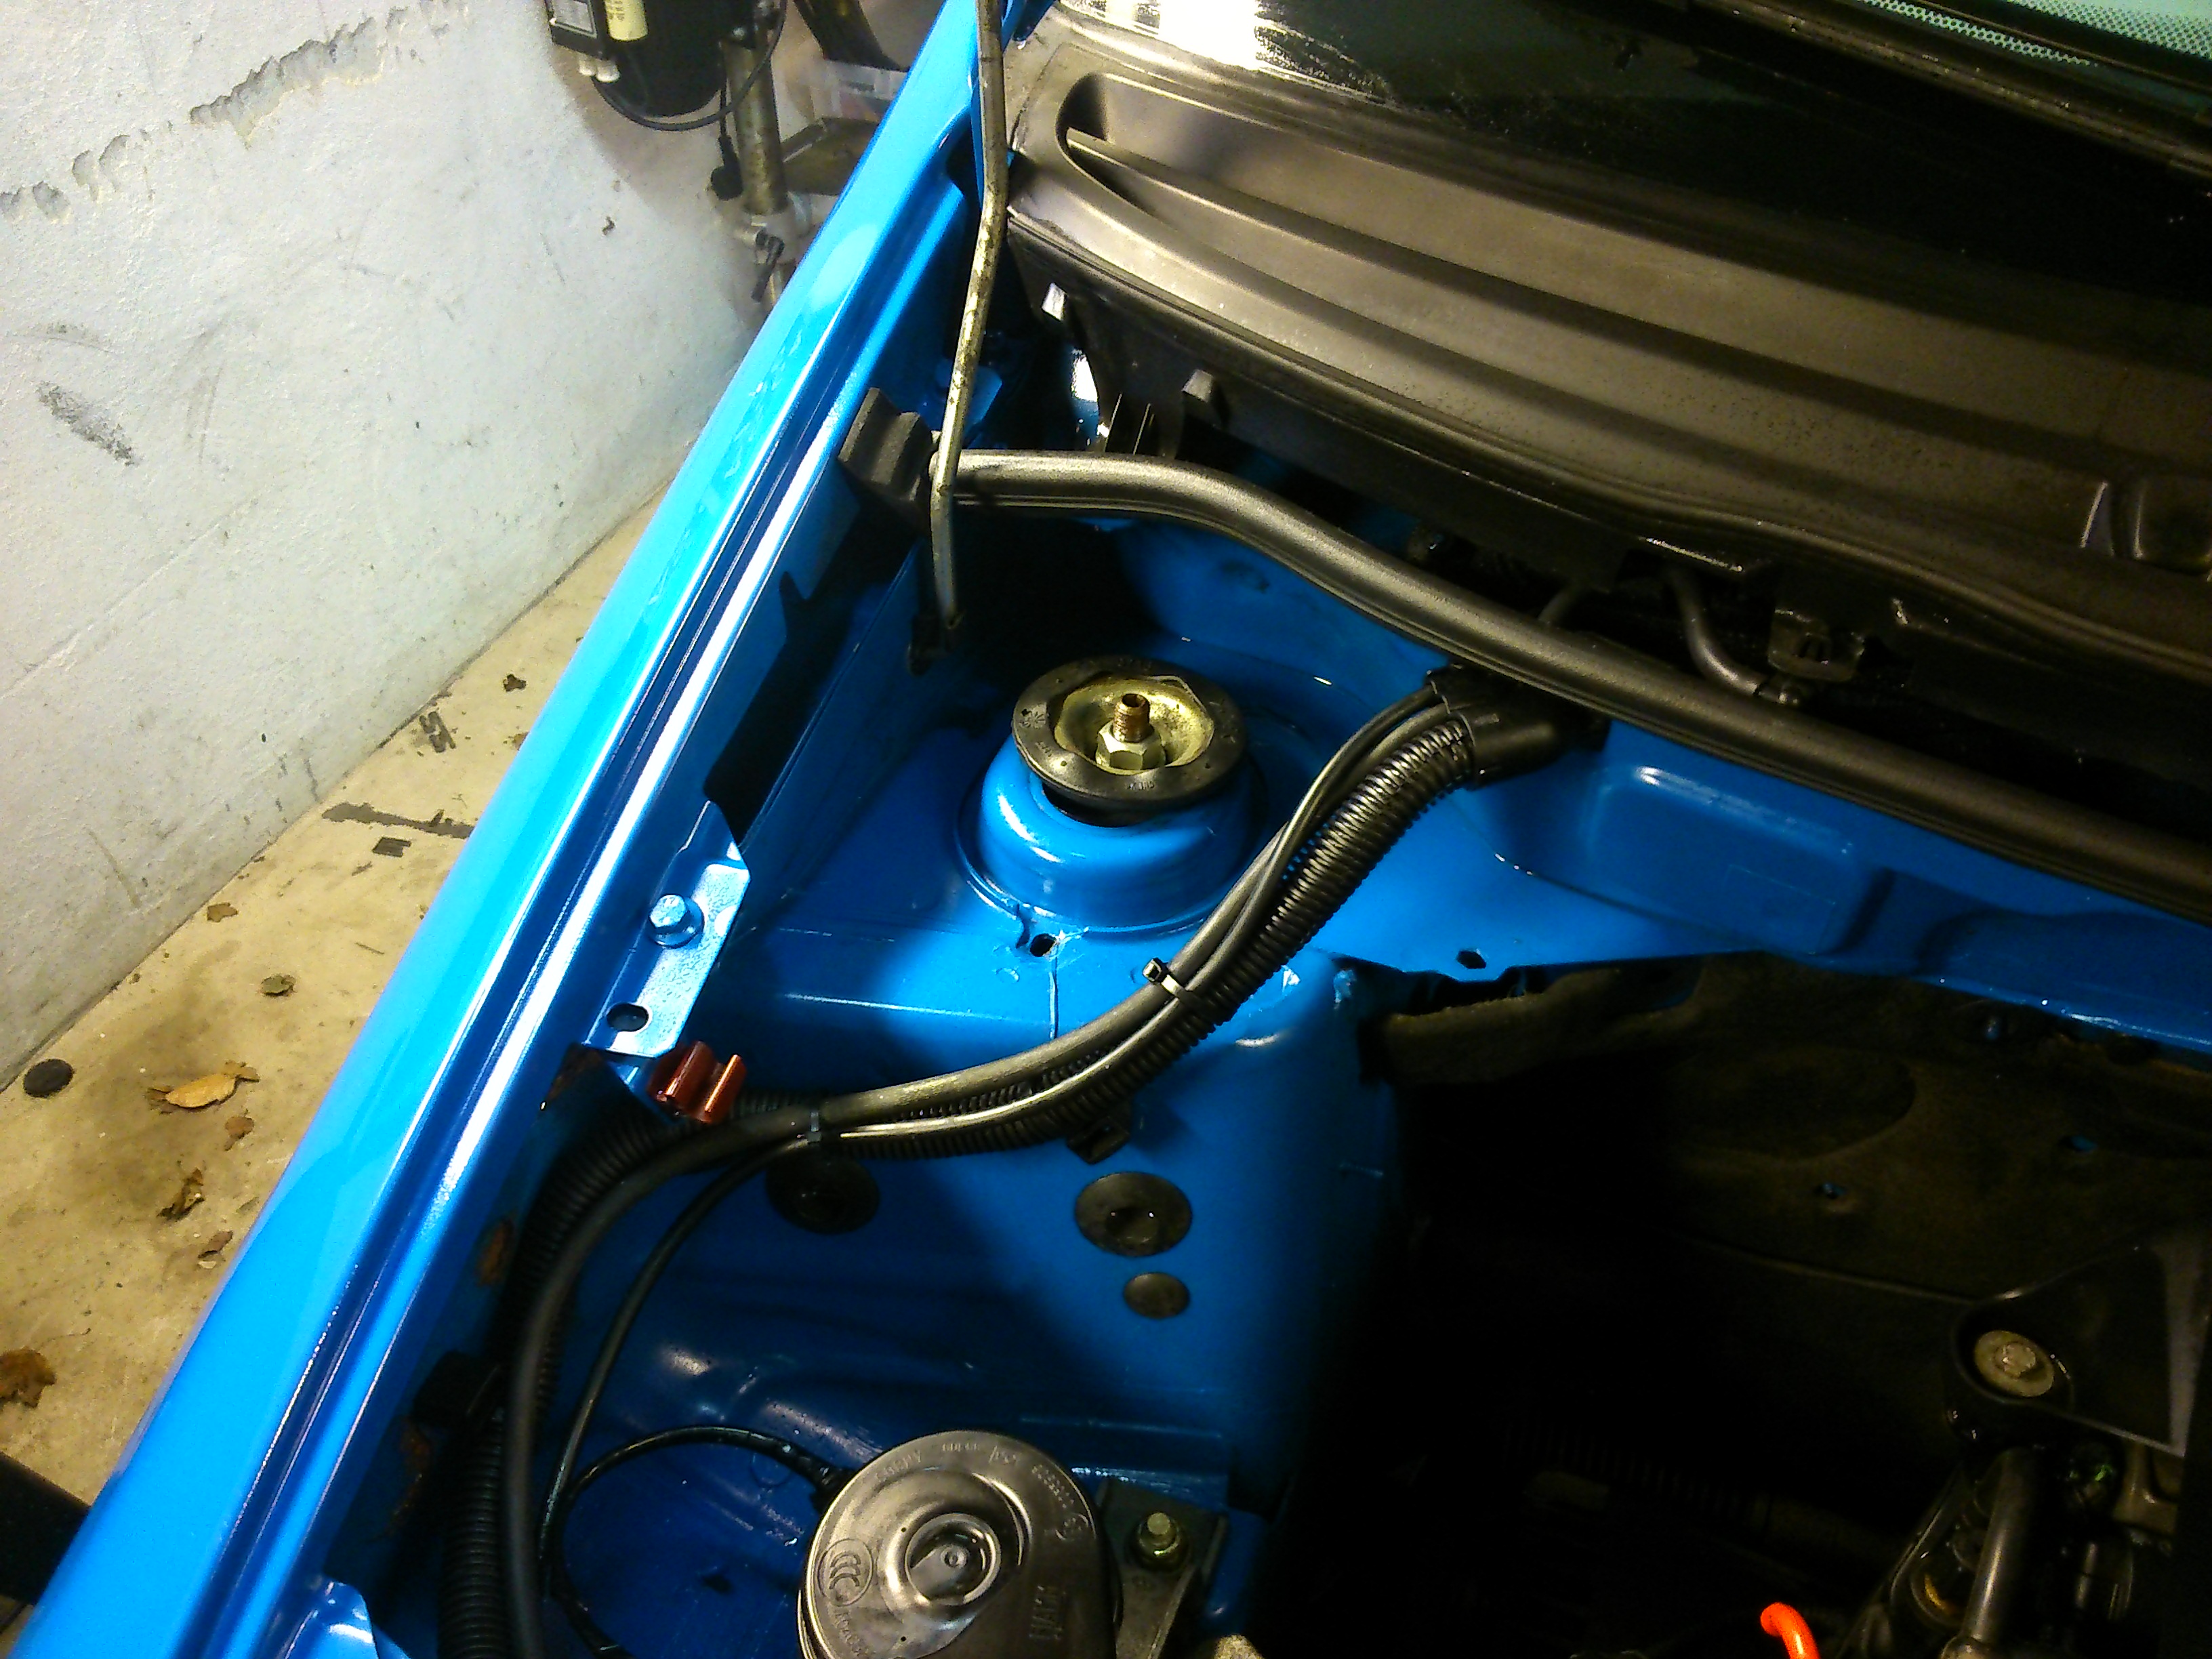
I then relocated the numberplates, and got rid of the dealer frames, for a more minimalistic look. Already I was happy to be reminded of how easy small Fiats are to work on! The inside bootlid cover too under a minute to get of, and none of the clips broke, and it too even less to put it back on. A very nice change to the Peugeots and Renaults I have owned recently.

I changed the oil, and just like my Fiats in the old days, I swear I could feel the engine running a tad better, almost as if it said thank you haha

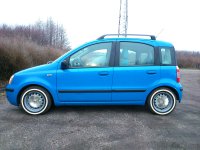
Then I went to fetch my old Fiat 850 5" steelies with 165/65r13, and tried them on. Incredible that they fit perfectly, although they do look a bit small.
They were stored for 8 years, and the tires are from 2003 :p
They havent rotted at all, but they have hardened alot, so there is very little grip from them. I will get new ones this summer.

A pic with them on:


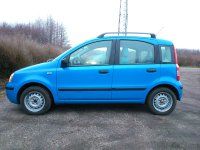
And then a little photoshooping later, and pretty much a picture of what I plan to do to it:


On the photoshop picture, it is lowered by approx. 30mm. 40 would be better, but it will not be a "stanced" car. It has to earn it's keep by being a daily driver, plus I have a kinda crazy plan to race it a bit too, so it has to handle decently too.

Well that's it for my first post in here.
Greetings from me in Aarhus, Denmark
Brian.
As sound as my little Panda is body wise, it helps the mechanics very little.
I was about to order some parts for it, but sadly it has proven to be a bit of a challenge, as there are more choices for each part.
I would really appreciate some help with this!

It needs a new clutch, but it seems there a two types, both 180mm. One of them much cheaper, and marked as a 169AXB1A version. 169AXB1A refers to the body afaik, so i'm non the wiser.
https://www.kfzteile24.de/ersatzteil...z?ktypnr=17628

I have no experience in using ePer, and it confused me, as it seems there were even more options.

The timing belt is either 15 or 22mm, but that should be easy to see, so that is not a problem.

So - if any of you would like to help, I would be very glad!

My panda is from october 2005. It is a 1,2 with abs and manual box.
VIN number is: ZFA16900000474106
 
I got a bit more done today.

Still need help getting the right clutch, so I can get it ordered, but I found out that the timing belt was a 22mm, so that's one less problem.
The rear brakes made a grinding noise, so I was expecting to see worn shoes. To my surprise they were almost like new. I have no idea what caused the noise, but I just cleaned it up a bit, regreased it, and put it back together. Luckily the noise went away (y)


As I didn't have any new parts to put on, I decided to make some myself, and started with a nice little exhaust tip. It is a piece of stainless pipe from a torn down dairy, with a flared end that i thought would look neat.

I gave it a little polish, and prepped the back box for welding and painting.


Done, with the paint still wet. Satisfied with that :)


I engine was a tad rough at light throttle, and even though the thermostat is busted and that is most likely the cause, I thought I would take look at the throttle body anyhow, as they tend to make that kind of trouble too when dirty.
By the looks of it, It had never been cleaned befor :yuck:
I used diesel to soak it, and a brush. Then blew it dry with compressed air.
- Again today, I was so pleased how easy these cars are to work on. I'm sure it was less that 10 bolts to undo, before i had the TB in hand (y)

I did a bit of tuning as well. The screws on the TB plate (what's the word in english?) were sticking out, so I made them flush with the axle. It was something we used to do on mopeds and gocarts, and even though I know it doesn't help the little Panda much, I couldn't help myself :D

Before:


After:


I cut the cold air feed at an angle, to get the air in easier, and "spread out" better.


Last thing I did today was to buff one of the headlights. I just used a small foam pad on a cheap buffing machine. I had no sandpaper, so there were some clearcoat from the factory that I didn't get off. I will re do it again soon, starting with 1000, then 2000, then 3000 grit wet sandpaper. Then buff it with the cutting compound again, and finish with some good wax with an UV filter, so the plastic doesn't yellow over the summer.

It made a nice difference, just with 5 minutes of buffing :cool:

 
I replied in your old thread before finding you had come further along in this one. Nice to see you having such progress on your Panda project! Very nice work.

Keep it up and you'll have the shiniest Panda around these parts in no time!
 
I replied in your old thread before finding you had come further along in this one. Nice to see you having such progress on your Panda project! Very nice work.

Keep it up and you'll have the shiniest Panda around these parts in no time!

Hey, you're the first scandinavian Panda owner (besides myself) I see in here. Welcome!

I'm in Stockholm (or often Gothenburg) Sweden with a 2006 4x4 multijet in Black. After 2 years with my first Panda 4x4 Petrol I decided to upgrade to a newer one, so I'm one happy Panda owner!:)

Blue is a funky colour for the Panda, not a bad catch there! My last Panda did 159k km until I upgraded and was in prime condition so I hope you won't have any issues getting this one into shape!

I think this thread is fine in here, if the mods find it should be moved well then so be it. Anyway, welcome to Fiat Forum! Really happy to see I'm not the only scandinavian caring for these great little rides.:cool:

HI Jaywalk, and thanks for the welcome in my old thread (copied it here, as you can see) I misplaced the old thread, and made a mess with the pictures, so decided to just start fresh.
And thanks for the kind words. Progress is good, as it is so easy compared to most other cars - love it!

It was very random that i got this car, as I was just looking for a bargain, to be honest. After being without a car for about a week, I got a bit desperate, after trawling 1000s of adverts, and went 250km to get this one. I hitched a ride on a website called GoMore, where you can sell your ride, so you can fill your car and save petrol, and spare mother earth a bit (y)
Then took a 5 kilometer walk in the rain, to get to the address :nutter:
Luckily it turned out to be a good example, just in need of a little love, which I will give it :hug:

Some kind of cool that us two, form the entire fiatforums nordic Panda department :D
I guess the panda isn't the most likely candidate for forums, unless it's a classic one, or a 100HP.
I like your 4x4, but surprised to can't get better mileage with it. Heavy foot?
 
Last edited:
I think it looks great, looks like good times are coming with that vehicle!
 
Got some parts ordered today, including new wishbones, front barkes and a much needed clucth :woot:

I also found myself a second hand, but unused set of supposedly 30mm lowering springs :slayer:

I'm looking so much forward to all the new parts, and the difference it will make. one of the rear wishbones bushings have failed completely, and the clutch has started slipping, so I'm counting the days. Sadly it will be a while, because the parts have to find their way to Denmark from Germany, where i order my parts because they are so much cheaper.

The car had a whiff of wet labrador (under the horrid smell of melon car frehner), so out came the wet vacuum, and the the soap. I just make a relatively mild soap solution, and spray a bit a a time. Then I work it in with a soft brush, and let it soak for a good 15 minutes.


Then i use the wet vacuum to get as much soapy water out again. I use the vacuum without any mouth piece, to get as strong a vacuum as possible. I repeat if necessary, and finish of spraying clean water, and sucking that out too. It is very time consuming, and it took me at least 6 hours to do the complete interior. It is very satisfying when it's done, especially thinking of all the human slime I got out, and don't have to sit in anymore :yuck::)


Just for fun I tried my new cheapo polishing machine on a bit of the paint. Turns out nice, but it will be a big job to do the whole car.


So all that took me most of my sunday, and a few hours monday too -phew


At it again today, and I started with this:

I got the new rubber off ebay.co.uk - and it was a very poor fit. The rubber for the trunk button didn't fit at all, so i had to dremel it a lot, to make it fit (n) Ah well, at least i have remote locking now (y)

Next thing was adding at least 10 bhp;) by making a direct cold air feed to the airbox. I just used a dremel to cut out a piece of the blanking plate in the grill.


Then I decided to attack the headlight again, but this time with wetsanding first to get the clear coat off, which had seen better days. I could only get 1000 and 2500 grit sandpaper, which wasn't ideal. I would have liked to start with 600, then 1000, 2000 and 3000. But it worked ot this way too.

Masking up


During and after 1000 grit


After 2500 grit


Then i used a 75mm pad i got for my polishing machine, with some cutting compound which is actually meant for removing scratches from new paint, but it turned out to work fine on plastic too.


To finish it off i buffed it twice with turtle car wax. I don't know if it has any UV protection, so I might have to revisit that headlight again.


I saved the right one for a rainy day, and continued to unmask the front, and clean off the unavoidable dots from polishing. My hands didn't stop there, so I ended up cleaning the whole engine bay :p

I use cheap but very effective oil lamp oil (paraffin). It's really good at dissolving all kinds of oily crap - it just has to soak a while + a good going over with a brush, then hosed off with water, and blown dry ish with copressed air. Earlier I would have used a pressure washer, but I have found out that it's just overkill, and risks damaging something electrical, like a sensor or even worse - don't ask how i know :rolleyes: The only thing I masked off was the ecu. It's always a bit exciting if it starts after washing the engine bay, but it did no problems.


That helped! :)

Uh, and I found out that it's a boy! bit surprising, with such very long and feminine eye lashes


But I don't think there's any doubt - and well hung too :D
 
You've been busy! Wish I had the time / energy.
 
Last edited:
Hi, from England. Must say ,you appear to be doing a great job. It's a shame you don't live in the North East of England !
 
Another Dane here with a 2005 Panda :) Unfortunately I can't do much to the car myself, but enjoyed reading about your adventure with your Panda and I'm looking forward to more Posts :)
 
Glad you enjoy reading about my little Panda pbm77 - theres more to come :)

Some years ago I found this thread: homemade injector cleaner
It makes for an interesting read, and I thought I would share it here. I have done this to three cars now, and the results have always been good. I mix approx 80% paraffin with 20% acetone, and drive it off within a day or two, as acetone is not very kind to rubber - but in this very diluted solution I don't think it's a big risk.
On my panda, I got a steadier idle, and the slight judder I had at constant speed with light throttle almost went away (y)

Please experiment at your own risk ;)

Yesterday evening I spent about two hours in my garage doing some small detail stuff. My garage is about 25km away from where I live, so usually I spend a lot of hours out there, as it's a relatively long drive.
I have rented this little spot for 10 years now, and I just couldn't do without it. It's on an old retired farm, that a couple owns, and they rent out the barn for caravan storage, a bigger workshop with a carlift, and then my little garage. Almost every time, I am served coffee and a variety of snacks, by the wife :yum:
Very nice people they are, and I expect to keep that little place for years to come.

One of the wiper arms had lost some paint, so I gave it a quick sanding and degrease, and 3 coats of matte black.


At some point the horn must have given up, so an aftermarket one is fitted, with a very very beefy mount :eek: I didn't like it, so I decided to find a new spot for the horn, and ditch the mount. I just used an peg/stud on the chassis, which was unused on my car, and made for a plastic nut. I just used a 4mm nut, and with that cut a new thread. Worked a treat :)

Before:


After:


When I ordered up parts (which I'm still waiting for), I was surprised to fint that it is only cars with aircon that has a cabin/pollen filter:confused:. Please correct me if I'm wrong!
All sorts of crap can easily enter the cabin, which means that the fan and airvents are very dirty after 10 years.


I thought about a solution for a couple of days, and found a replacent filter for my vaccum cleaner, and a bag for it too. If the filter didn't fit, I would just cut a one from the bag. It turned out that the replacement filter was the perfect size, so I just used a bit of painters tape to fix it, and then assembled it all again, after a good clean out. So if you want to make an easy diy cabin filter, then just order a replacement dust filter for a miele s710 vaccum cleaner :D


At this point hunger got the better of me, and I put the wipers back on - with the paint still wet :D and called it a day

 
Last edited:
Christmas came early for the bear


The parts came late afternoon, so not much time left to tinker that day, but I couldn't wait so decided to drive out to my garage anyways. I changed the air filter to get started - literally a 30 second job lol

I really wanted to get both the thermostat and the right wishbone changed, but only had time for one job, so I took on the wish bone as the rear bushing had totally collapsed :eek:
The rubber had gone stone hard, and had let go of both the inner and outer sleeve. I don't like the design of the wishbones, and the weakest link i definitely the rear bushing. I have orded some windshield glue (polyurethane) and i will try to fill the gaps in the bushing with that. A DIY poly bushing, but much softer, as the movement of that bushing is essential. I'm hoping that will tighten up the front suspension some, and make it a bit more direct.


None of the bolts were stuck, so it was just a question of taking three bolts out, knocking the balljoint out of the strut and replace. I did a bit of cleaning and wax treatment to the subframe too. The design here too is a bit odd as the subframe is left open, so stones and dirt can get in.


Jobs a good'n :)


The drive home was a joy, and finally i could get a feel for the handling. I raced the b-roads home, giving all the 60 stalions a good workout :D
The spings are soft, and the steeing isa bit too light, but i can live with that. The main thing is is that it is predictable and very responsive - and fun!

A pic after my second good wash, including soaking and scrubbing for 30 min with paraffin and a microfiber cloth to get the tar ad astfalt of the sides. Didn't get it all, but the best part of it.

 
Last edited:
it's been a while, but I've done a few things since last time, even though I got a bit delayed by some things, including two punctures to the same tire, and the wise decision to thread my finger on my model aeroplane propeller :cry:

Sadly my motivation and enthusiasm also took a blow, as the lowering spring i bought second hand hasn't shown up. I bought then from a german guy on ebay kleinanzeigen, which is sort of a private add based form of ebay in Germnay. like craigs list to the americans, or gumtree to the brits, I guess. Paid 55 euros including postage, which was cheap, but as the guy just kept giving me the run around (including faking being hospitalised with two broken legs!), has now just stopped communicating completely, it's a relatively expensive set of ((thin)air) springs. I hate when people pull these sorts of things, and I hate spending my time trying to reason with them.

Anayways... enough about the lying german arschloch, and on to the Panda.

I got my brakes done in front, and I met the first bolt that wouldn't easily undo, holding the left caliper on. It turned out that the calipers were designed in such a way, that i didn't even have to take the caliper off to change pads - yay!

It was about time too, even though the old disks weren't worped at all, but thin as a washer, and the left pads were almost down to the metal on the left.

Old vs. new:


Before:


After:


The new brakes are nice, but I noticed that the level of brake fluid dropped slowly. I thought it was the fronts, but it turned out to be the left drum brake, which had a leak. Got a new cylinder, so that should make the brakes good to go. - And that corner must be cursed or something, as that is where I had the two punctures too :p

I would like to continue this post, but I can't upload pictures for some reason, so that's it for now :)
 
Keep em' coming when you can! Interesting restoration to follow. Sorry to hear about your experience with the german.:(

I had a brake caliper that was at the end of its life when I got my new Panda 4x4 (rear left, the 4x4 has discs all way around). I found a replacement from a scrap yard with what they said only had 45000 km on it, probably true since it did look better than mine that had done 90k then. And it worked just fine and cost half the price of a new one!

Since you're nearby I can send the tip of looking at Bildelsbasen. That's a search engine for Swedish scrap yards.
 
This is the best thread on here in a long while. Really like what you've done so far with the Panda. The work looks to a high level. Will be interesting to see what you do next with it! (y)
 
jaywalk. Thanks :) I plan to keep them coming. I know bildelbasen already, but sadly the postage to Denmark makes it too expensive, but thx anyway.
daveofkent Thanks for the nice words! I've got some styling ideas for it, that are a bit different, so hopefully I can get started on those soon. Still have a bit of changing old for new to do, before though.
A3jeroen Sadly I used my German account. I have had that account for ever, and used it all the time back in the day, when I bought Abarth parts on german ebay for my little fiat 600. The transfers was done i handwriting and fax back then - thank god for the internet.
I have given the seller until 26. of april to give me a tracking number or return the money. If he doesn't do that, I will file a complaint anyway to ebay. I doubt they can do anything, but I'm not giving up that easy - even though i really don't want to spend my time and energy on such things.
 
Back
Top