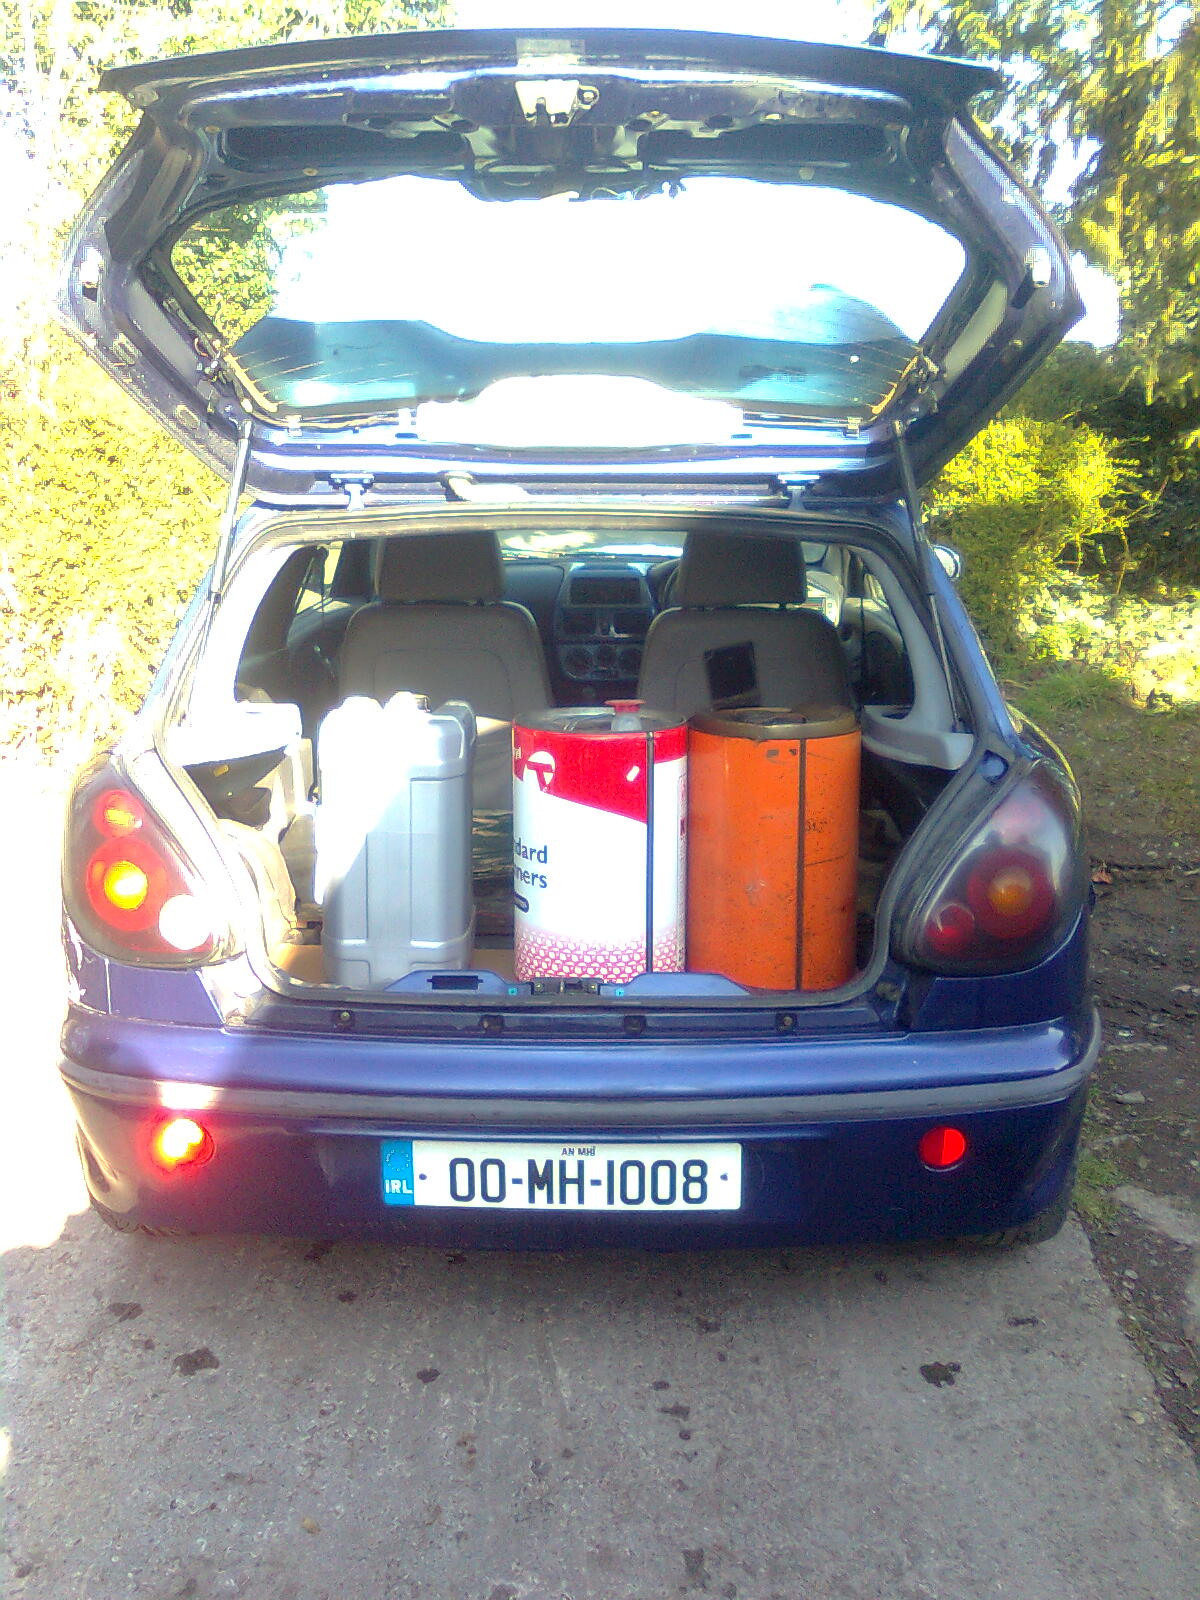
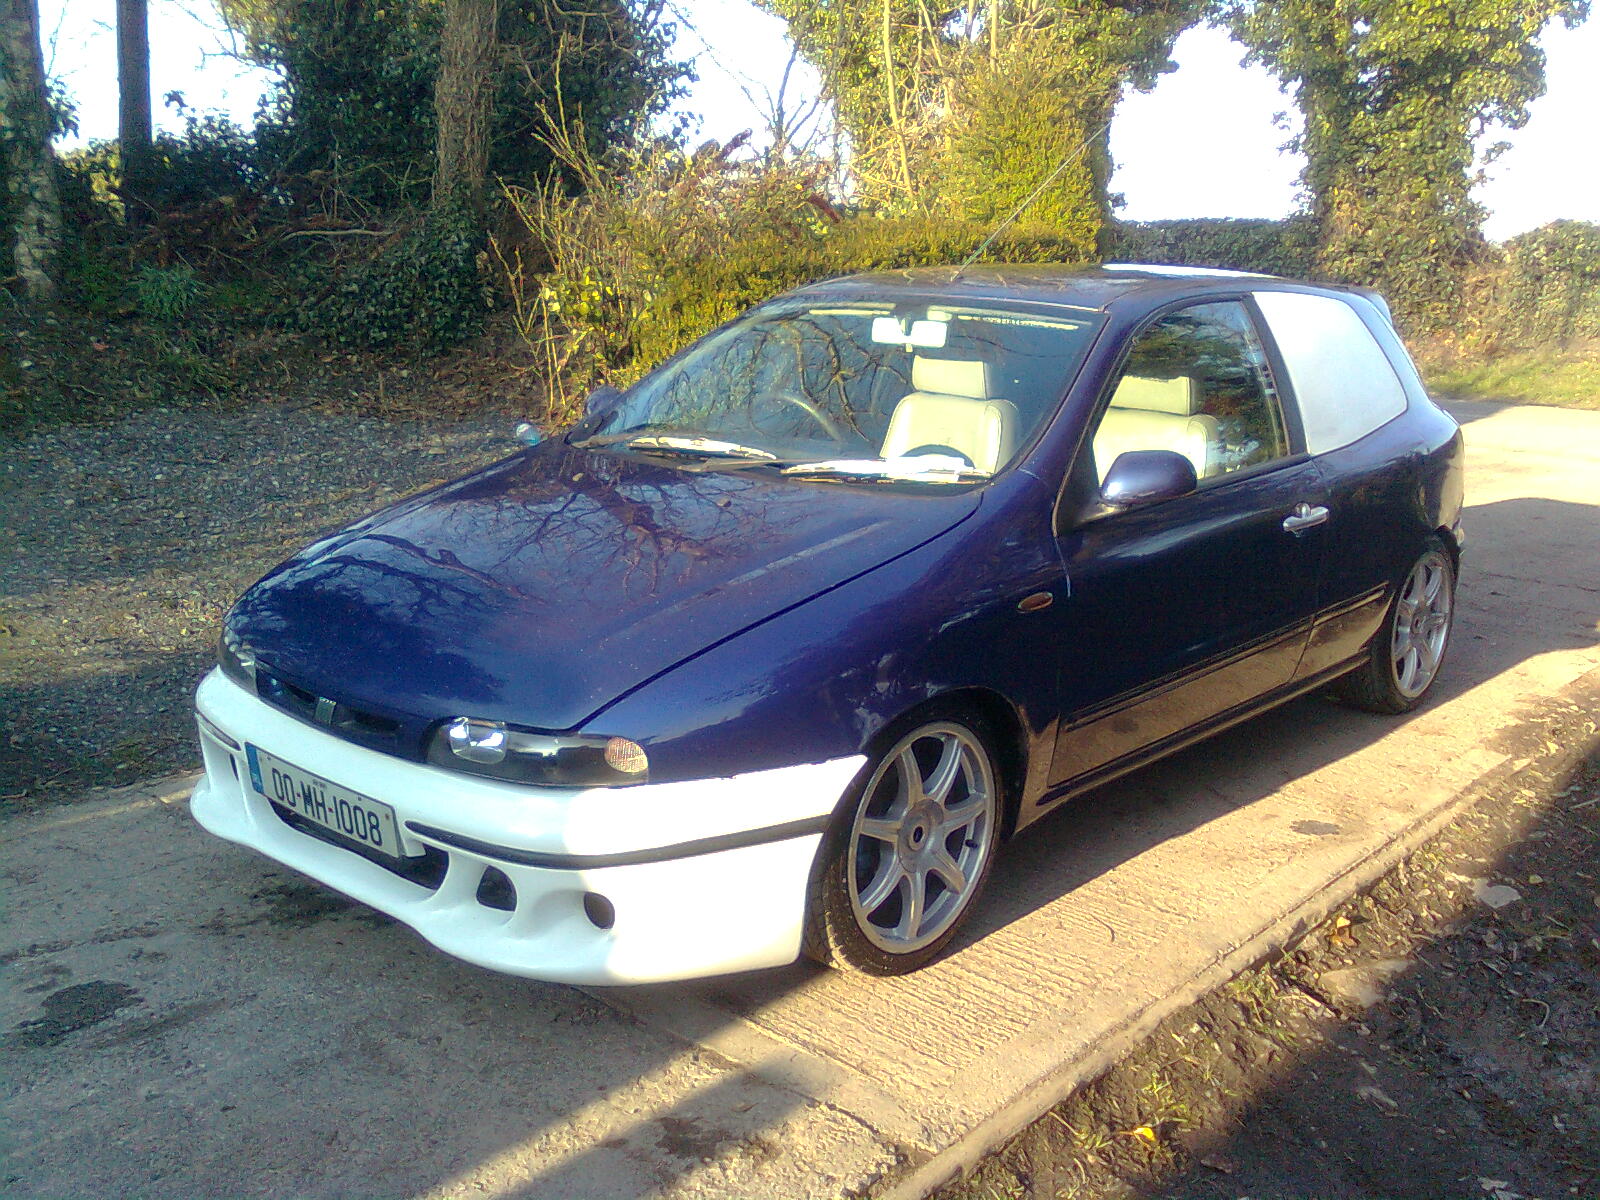
Image0159.jpg

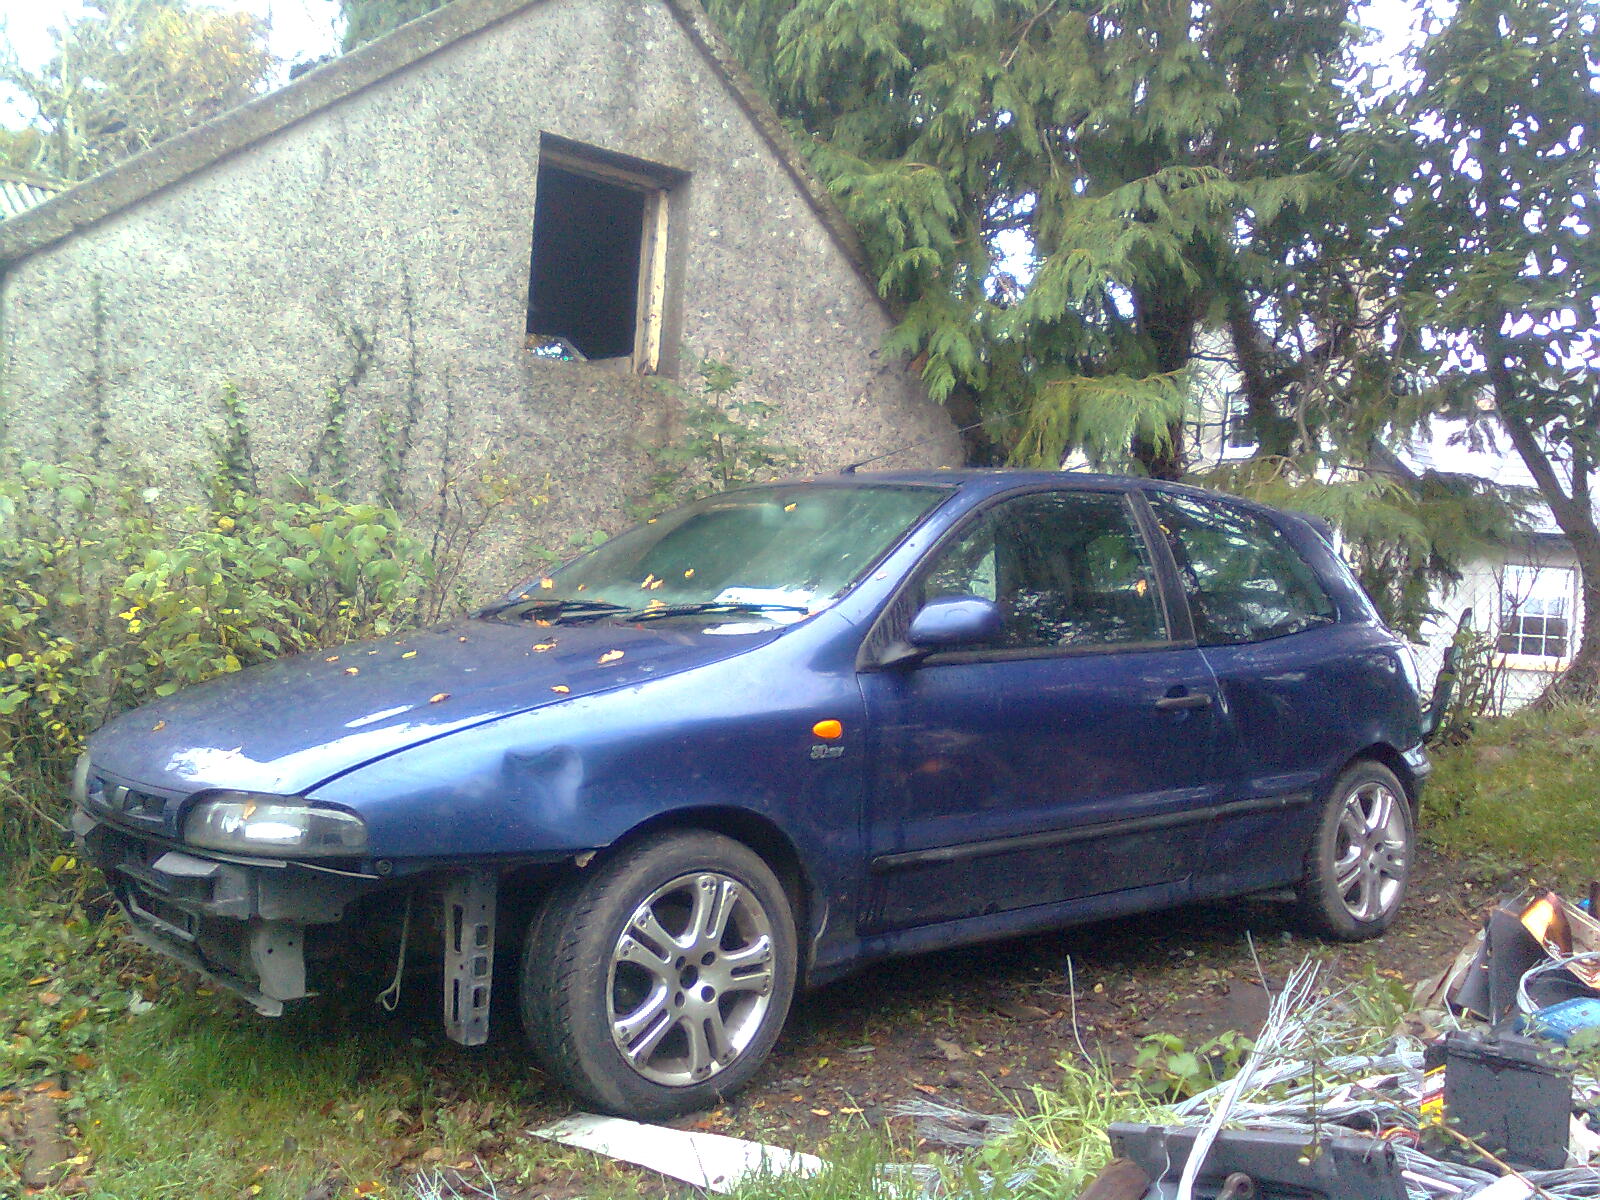
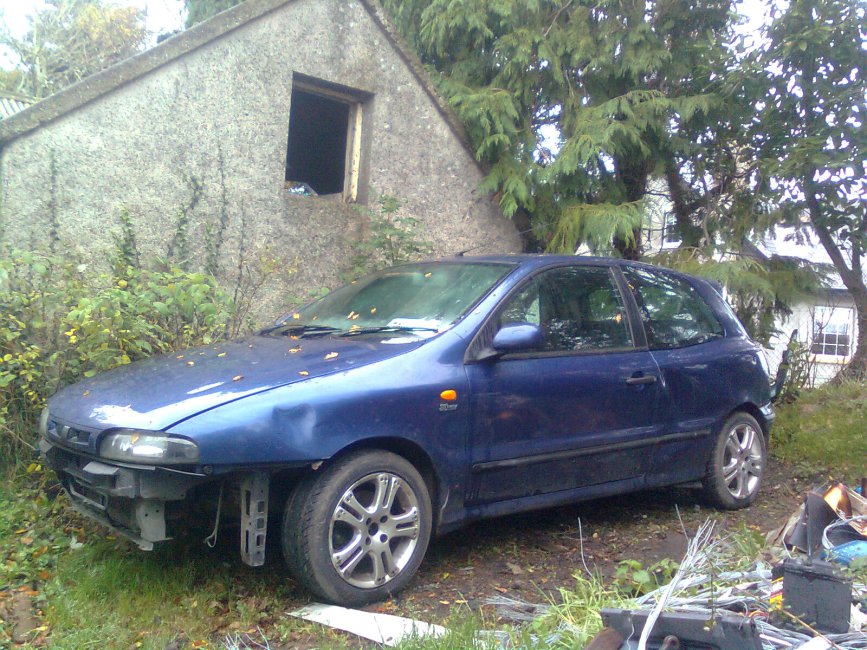
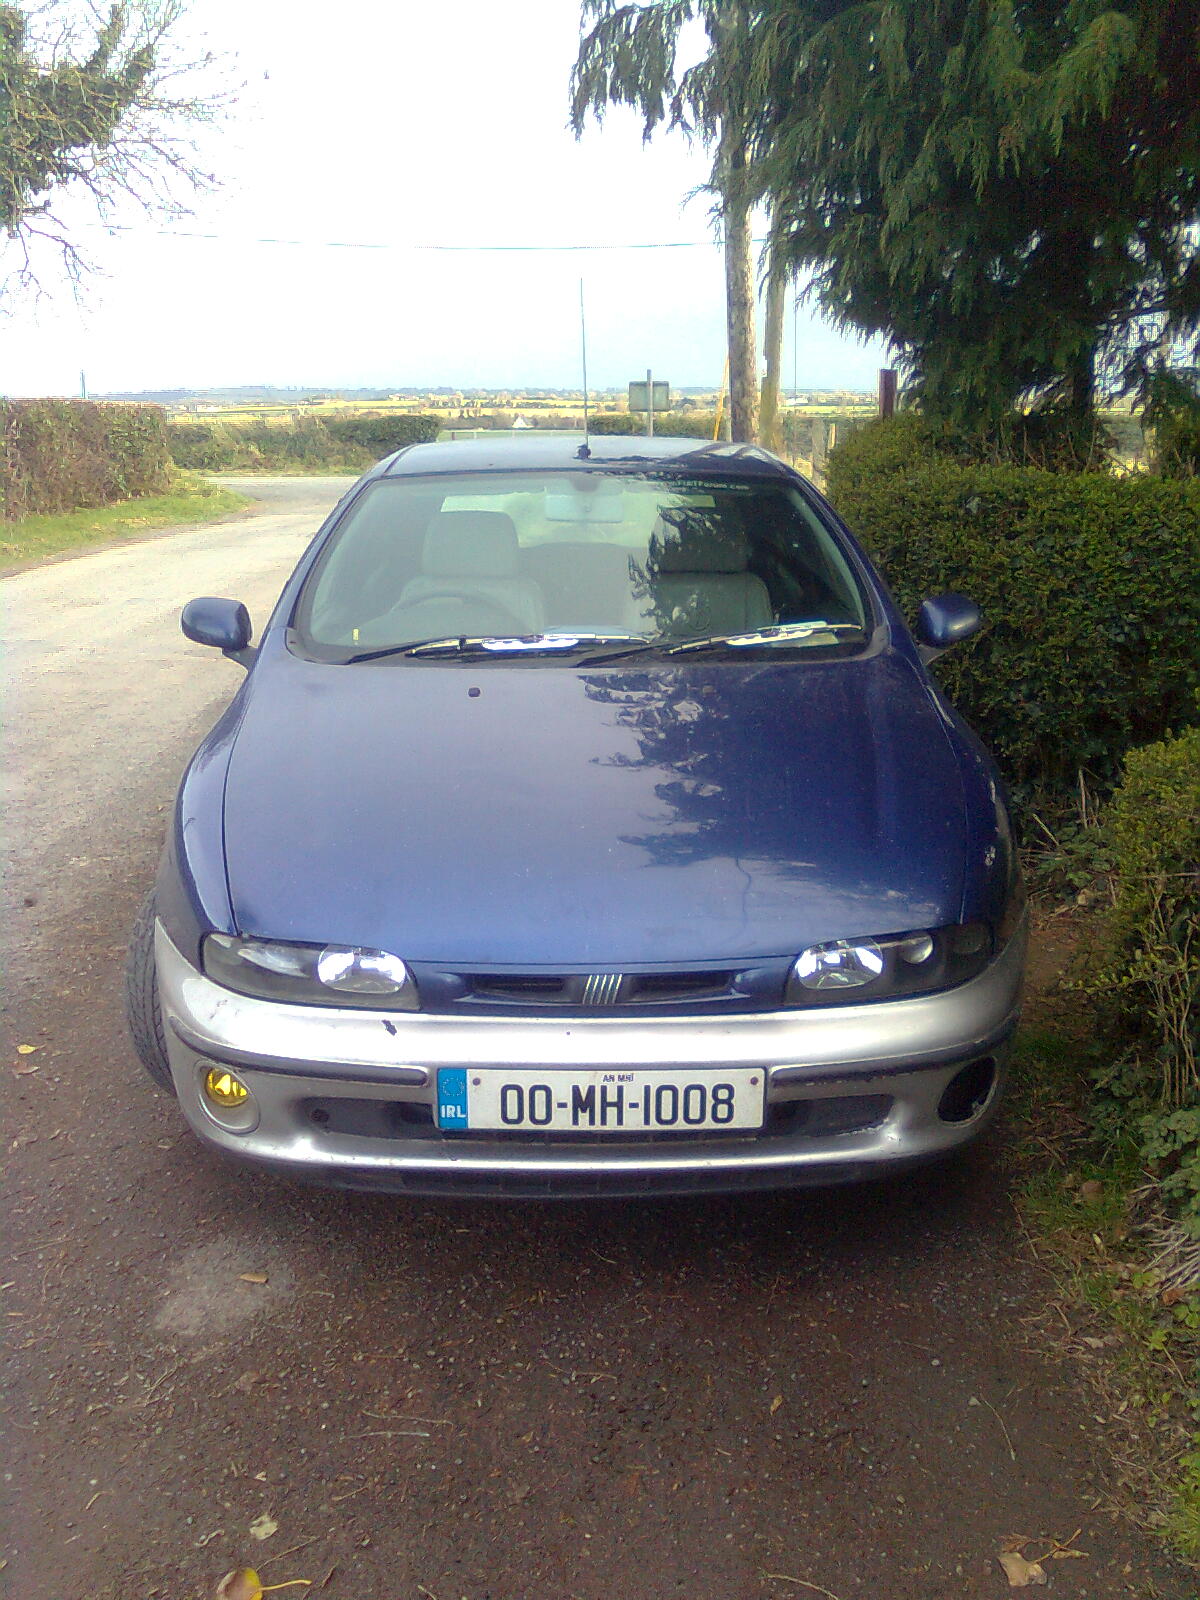
Bravo (Classic) Van with a difference!!!.

Introduction

Heres the replacement for my highly abused yet extremely reliable Bravo.... Another Bravo (y) I'm moving up a year here :D Not going to be bitten like the last time, this is going to have a strip down and re-rustproof with a few bits to be thrown in too (copper lines all round are in the plans). Most importantly, this car is going to be converted to a van and painted black with some "toys" installed... More pics soon! :)

Image0159.jpg
  • Like
Reactions: Joshhh
well im running et 49 with 6mm spacers and need more to look good. so if your urnning 35et then you will want to leave it alone!!! if your running 40 you are running about standard so 10-15max will space it out but measure the gap to the arch so you dont make a mistake or run cool with 10mm.

Yes I think ill experiment with the X1/9 spacers first before i go buy a proper set :)

take a wheel off and clean it, details should be stamped on the wheel somewhere, i never seen an alloy that hasn't...

Brembo's are currently sat in the lounge looking pretty. Still not managed to get these locking wheel nuts off :( i guess i know my AMG wheels are safe lol, can't get them off even with access to a trolley jack, loadsa tools and daylight - don't think some silly chav will manage in the dark, especially without waking me up lol. I'll send some pics when its all sorted ;)

Ive looked before but i guess im not looking hard enough...! What kind of locking studs? Those wheels had locking studs on the Punto but i got them off without the key... ;)

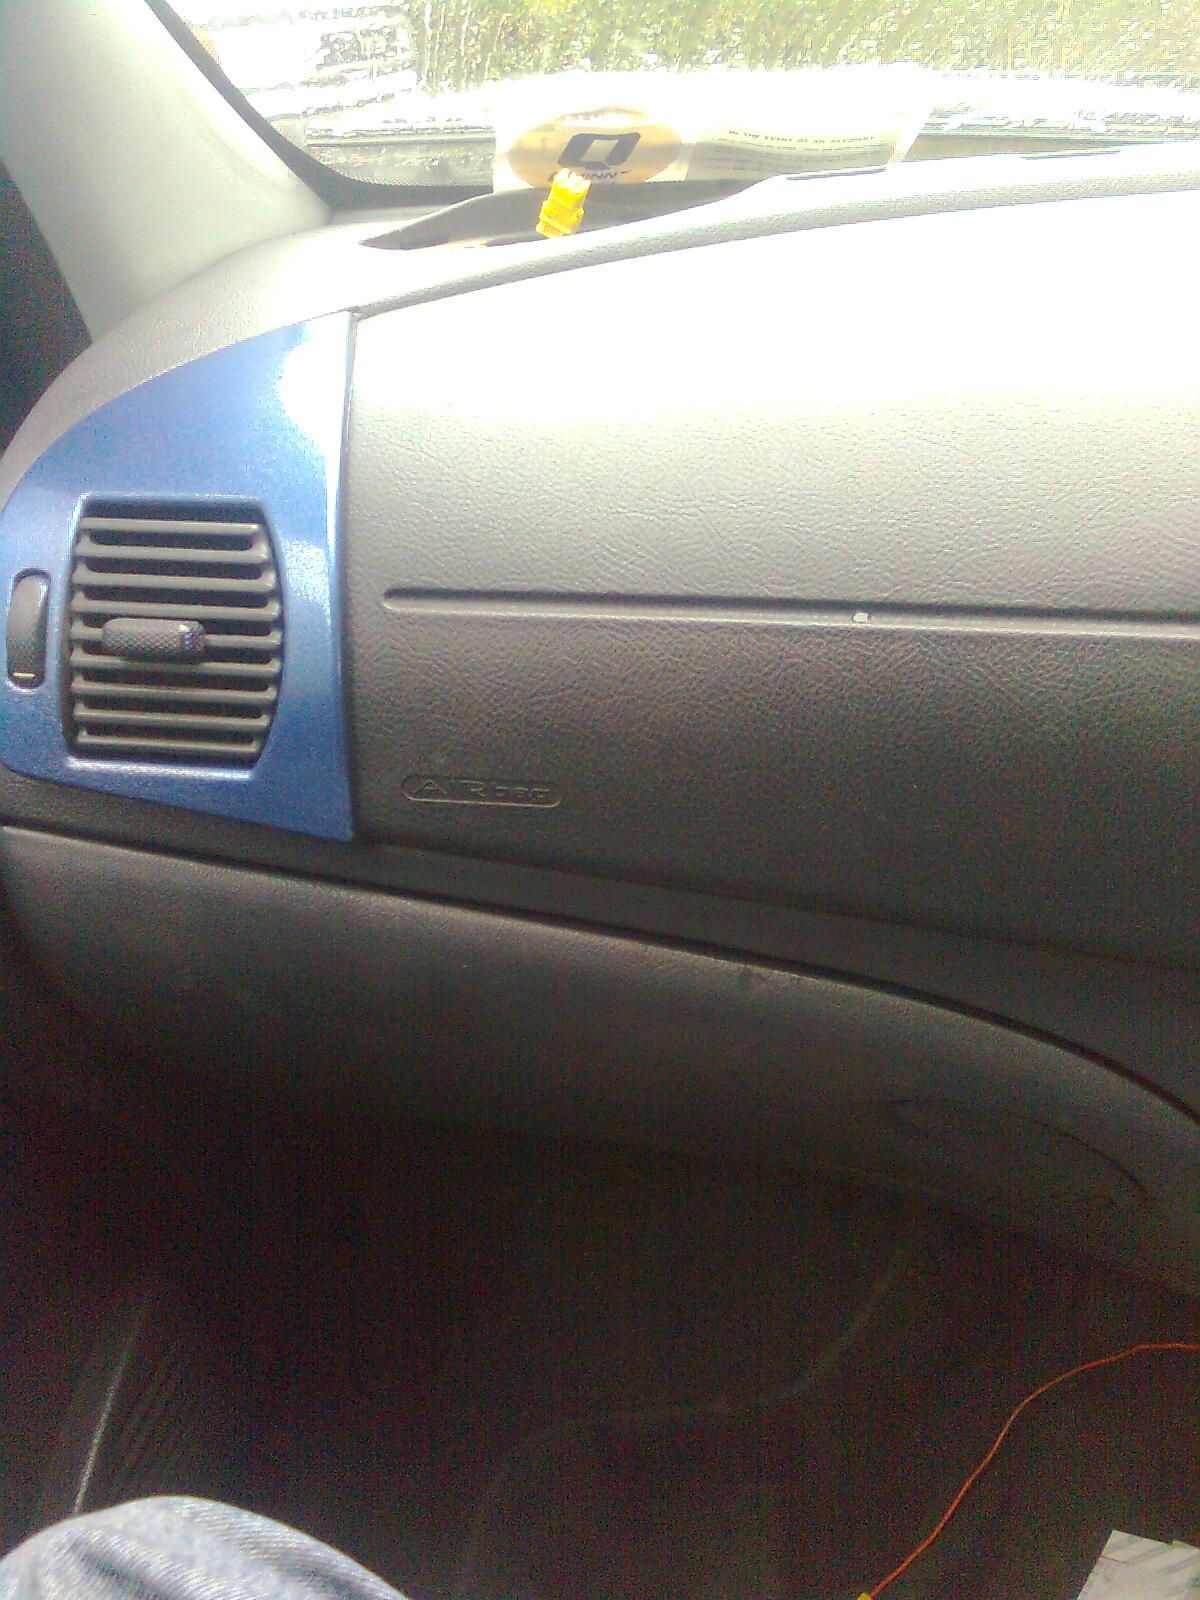
passenger airbag and aircon (y)

upload the vids to youtube and just copy and paste them in here

Mike

The airbag is real, the aircon isnt.... :p when i have the time i will! They aint very good but it gives an idea what the car sounds like :)
 
yeah i've had a few off in my time.. they are completely round with holes. I usually just bang a socket on them with a hammer and undo them but being completely round it just doesn't have enough friction to work, and due to the shape of the head i don't think one of them removers with reverse thread on would work, if that makes any sense to you, not sober
 
ahhh (y) wouldnt mind aircon in mine tbh

Id imagine its a pig to even think of doing a conversion....! :p

yeah i've had a few off in my time.. they are completely round with holes. I usually just bang a socket on them with a hammer and undo them but being completely round it just doesn't have enough friction to work, and due to the shape of the head i don't think one of them removers with reverse thread on would work, if that makes any sense to you, not sober

Ouch! We got them off with a vise grips but that dosent work if you dont have the room... Say no more I know the drill bit youre on about (y) id be worried it would flay the bolt out though...!

As for updates? Not much, time taken up by college :( wait till the summer though... :D

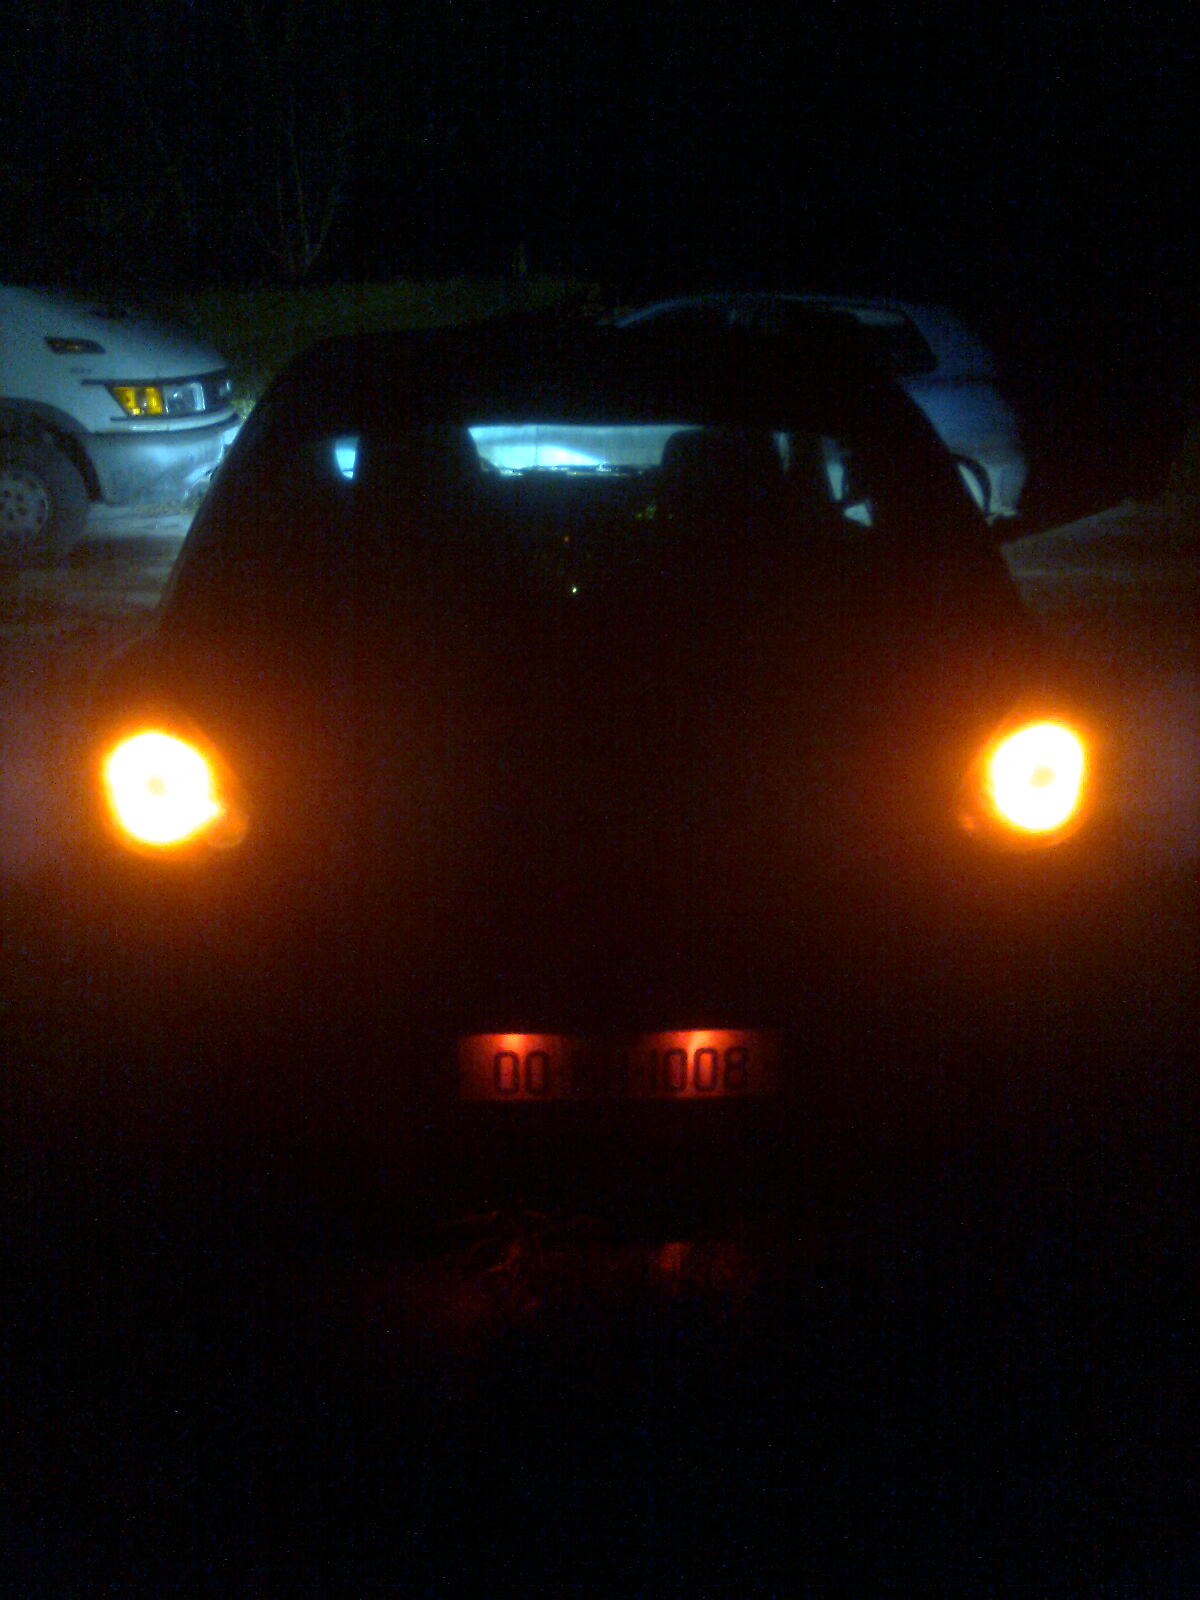
Remember my number plate lights blew? Red 501s to the task (y)
Image0597.jpg


And thats all ive got done in the last few days, I got everyones hopes up for 2 leds :eek: Ive the day off tomorrow and as that pesky stepper motor isnt connected, time for an experiment Ive been wanting to try for years with these cars... ;) also going to attempt to sort my fuel problem with a grinder if I have time :ROFLMAO: stay tuned... :D
 
You know what, time for an update :D

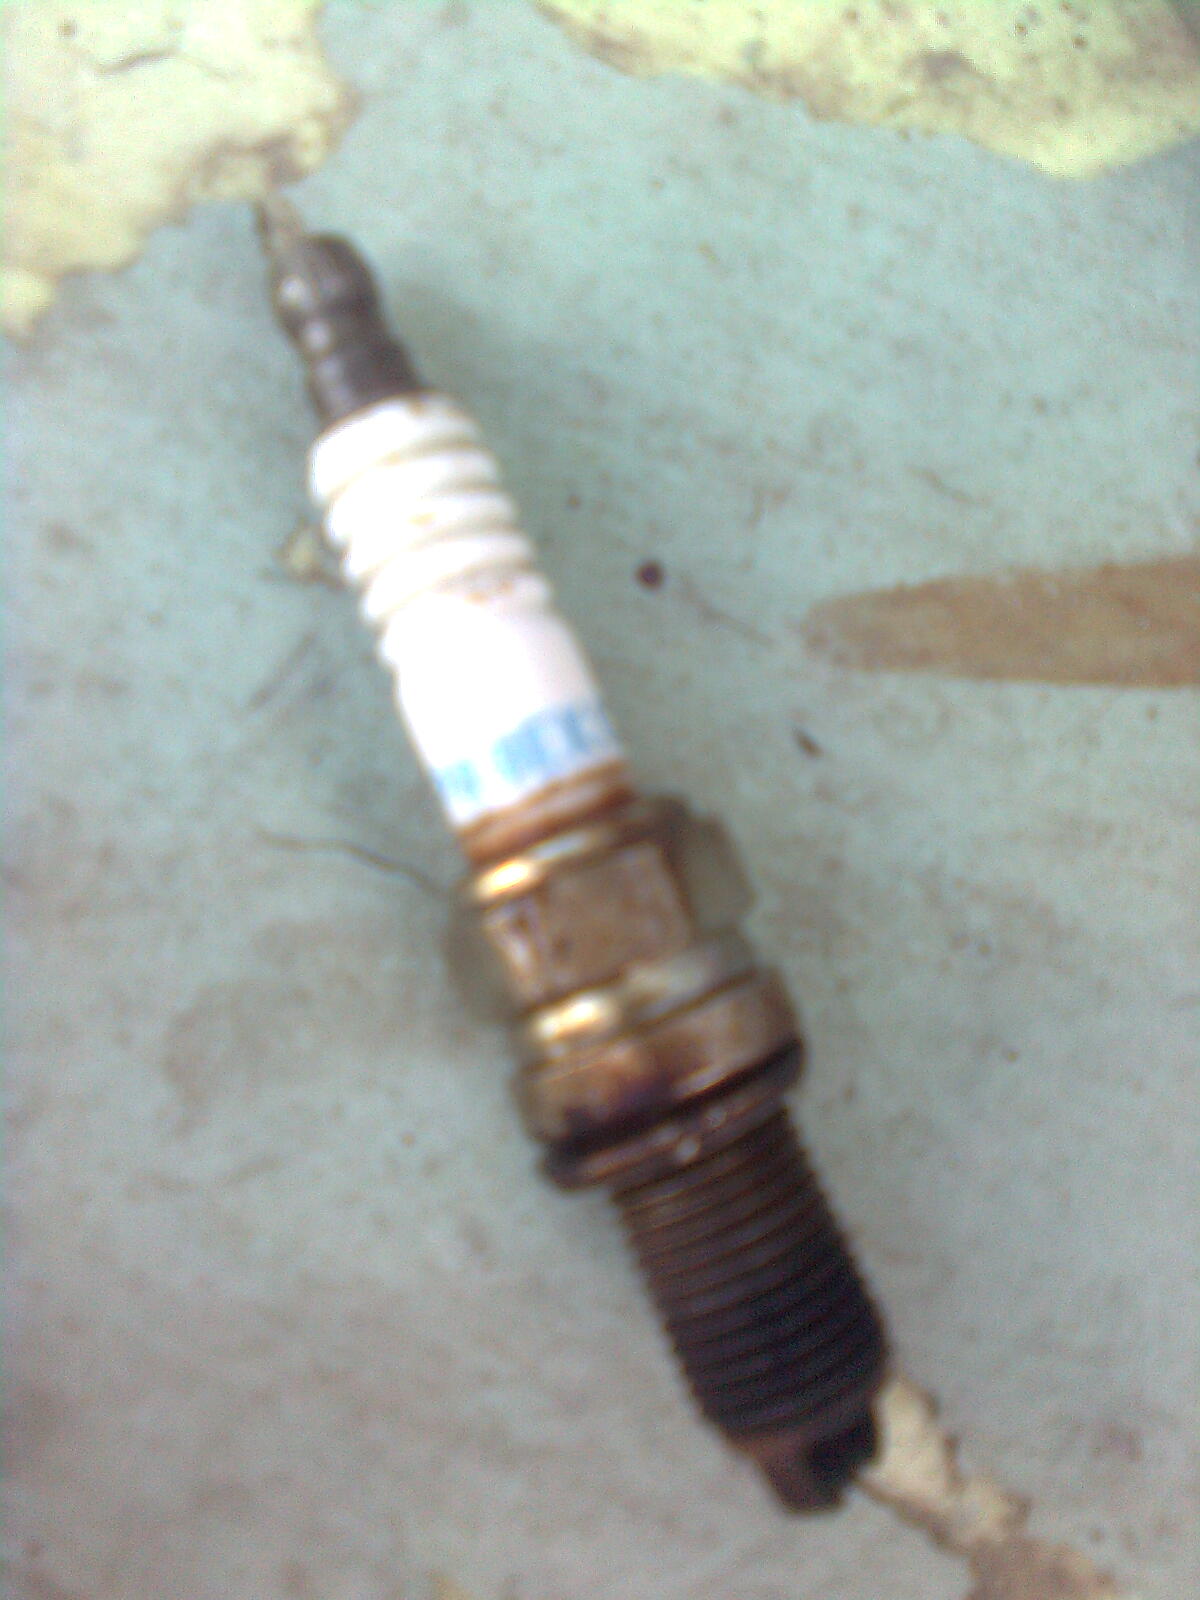
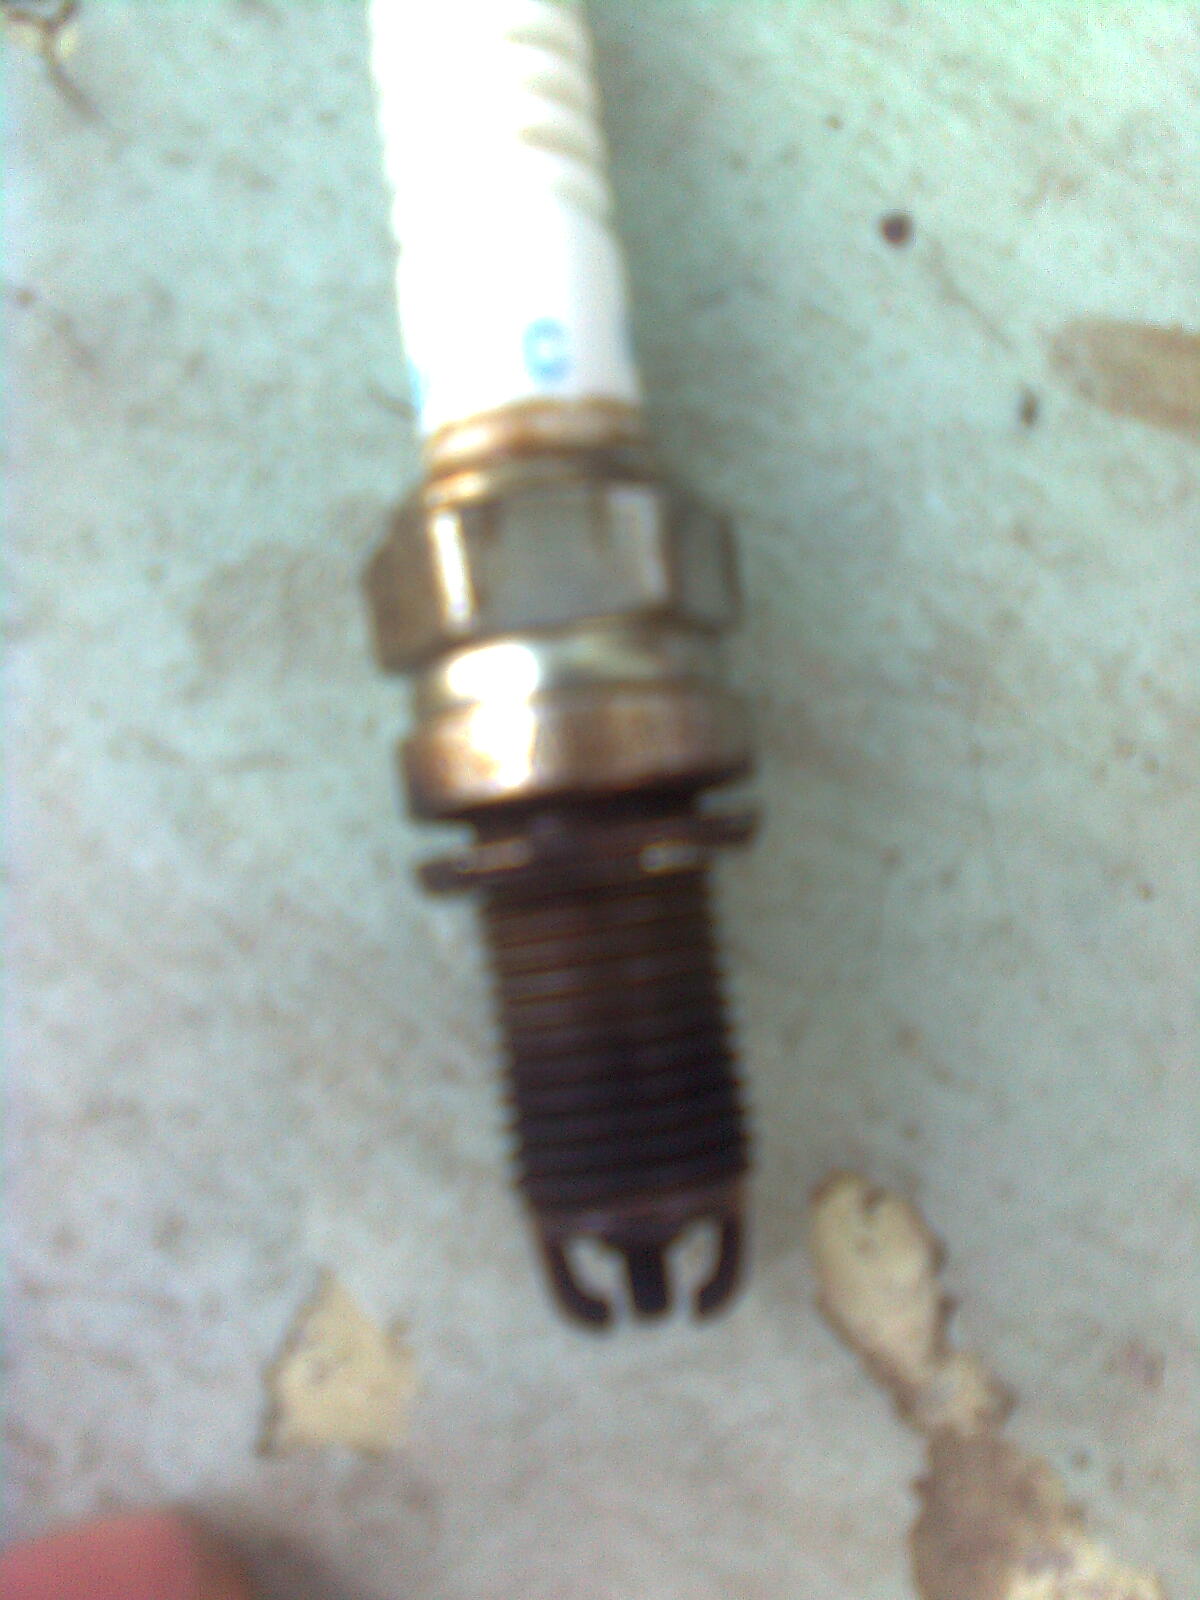
First things first, gawking through other mm threads I've noticed that a few people have been given the wrong plugs for their engines (Punto btw)

These are the plugs the 1.2 16v (Bravo and mk2 Punto) take:
Image0598.jpg
Image0599.jpg


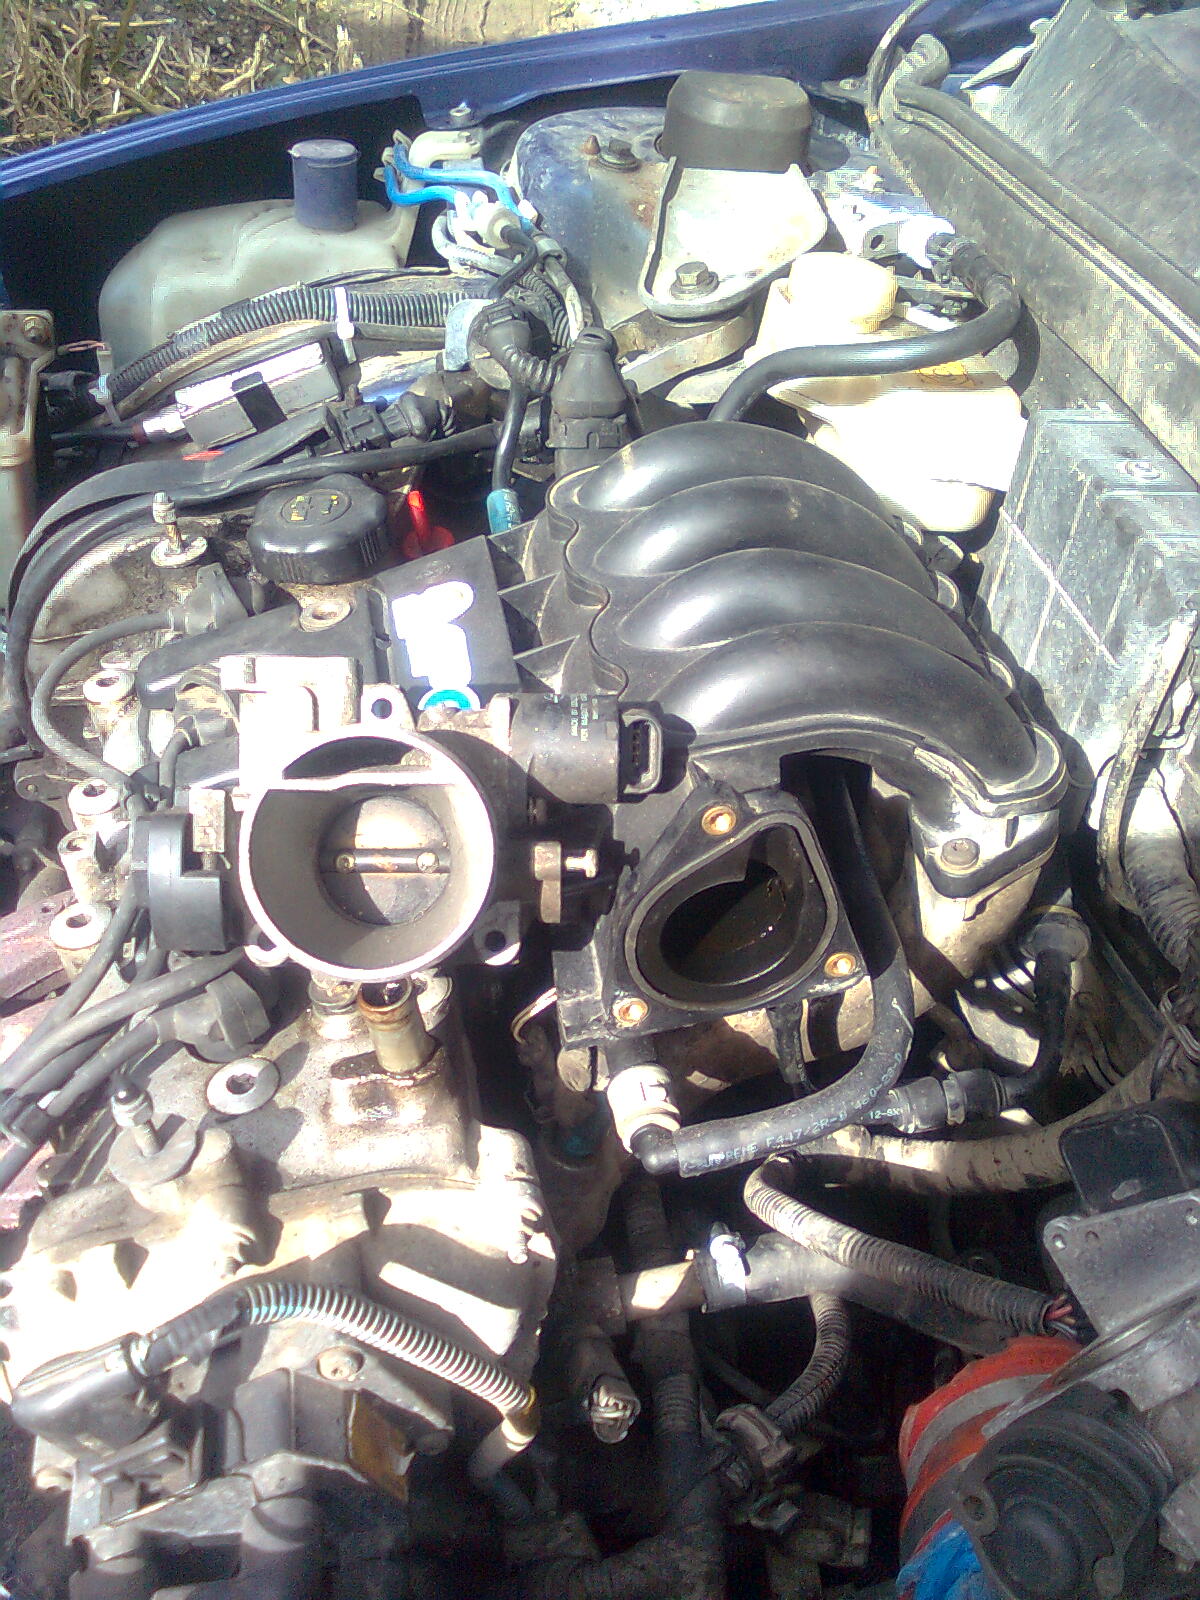
Now for my experiment. Been waiting years for this :D
Image0600.jpg


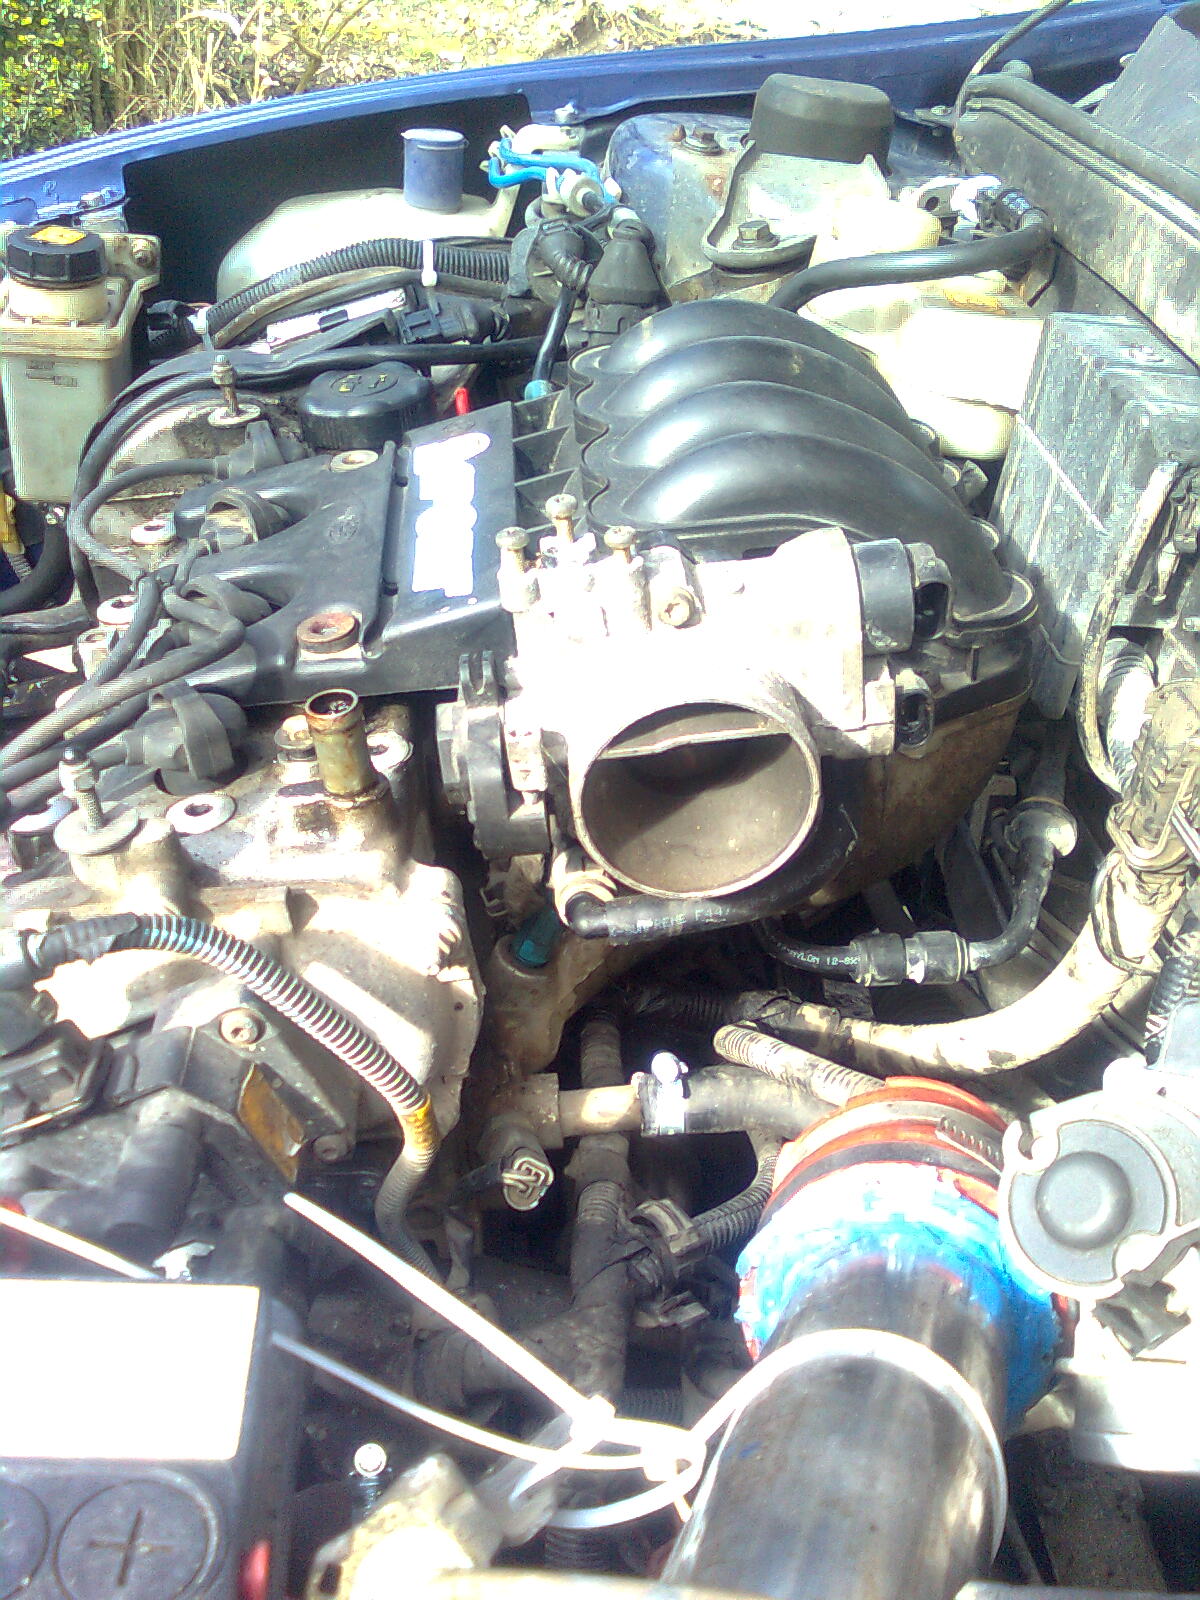
Looks even better on the manifold...
Image06011.jpg


And do you know what... It works perfect (y) well, ish... I just need to sort the solenoid for idling. Control the idling from inside the car without the accelerator...!

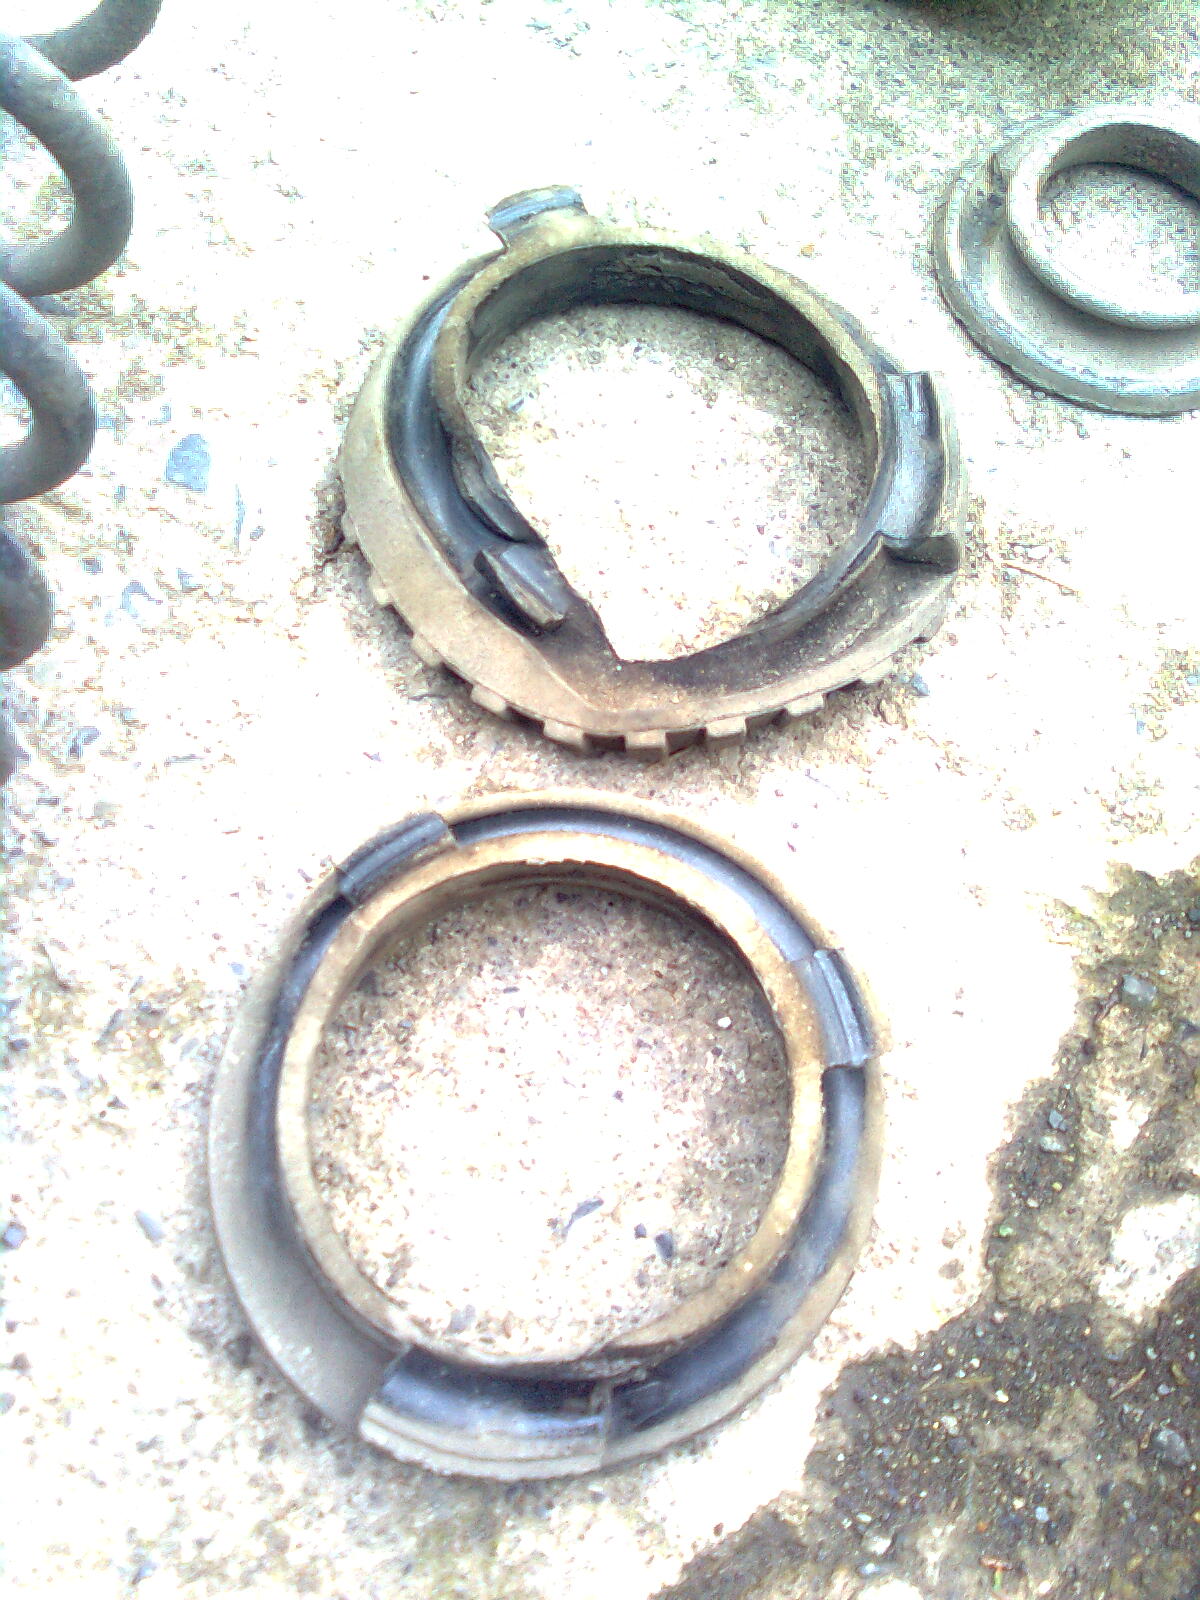
Now Ive been having fuel problems (n) so I came to the conclusion it was the springs making the car sit crooked, giving a false reading... Off with the springs and an angle grinder to the rescue :) but its still not sitting right, needs more work... Found my rubber covers were poorly, sourcing a new set wasnt difficult!
Image0602.jpg


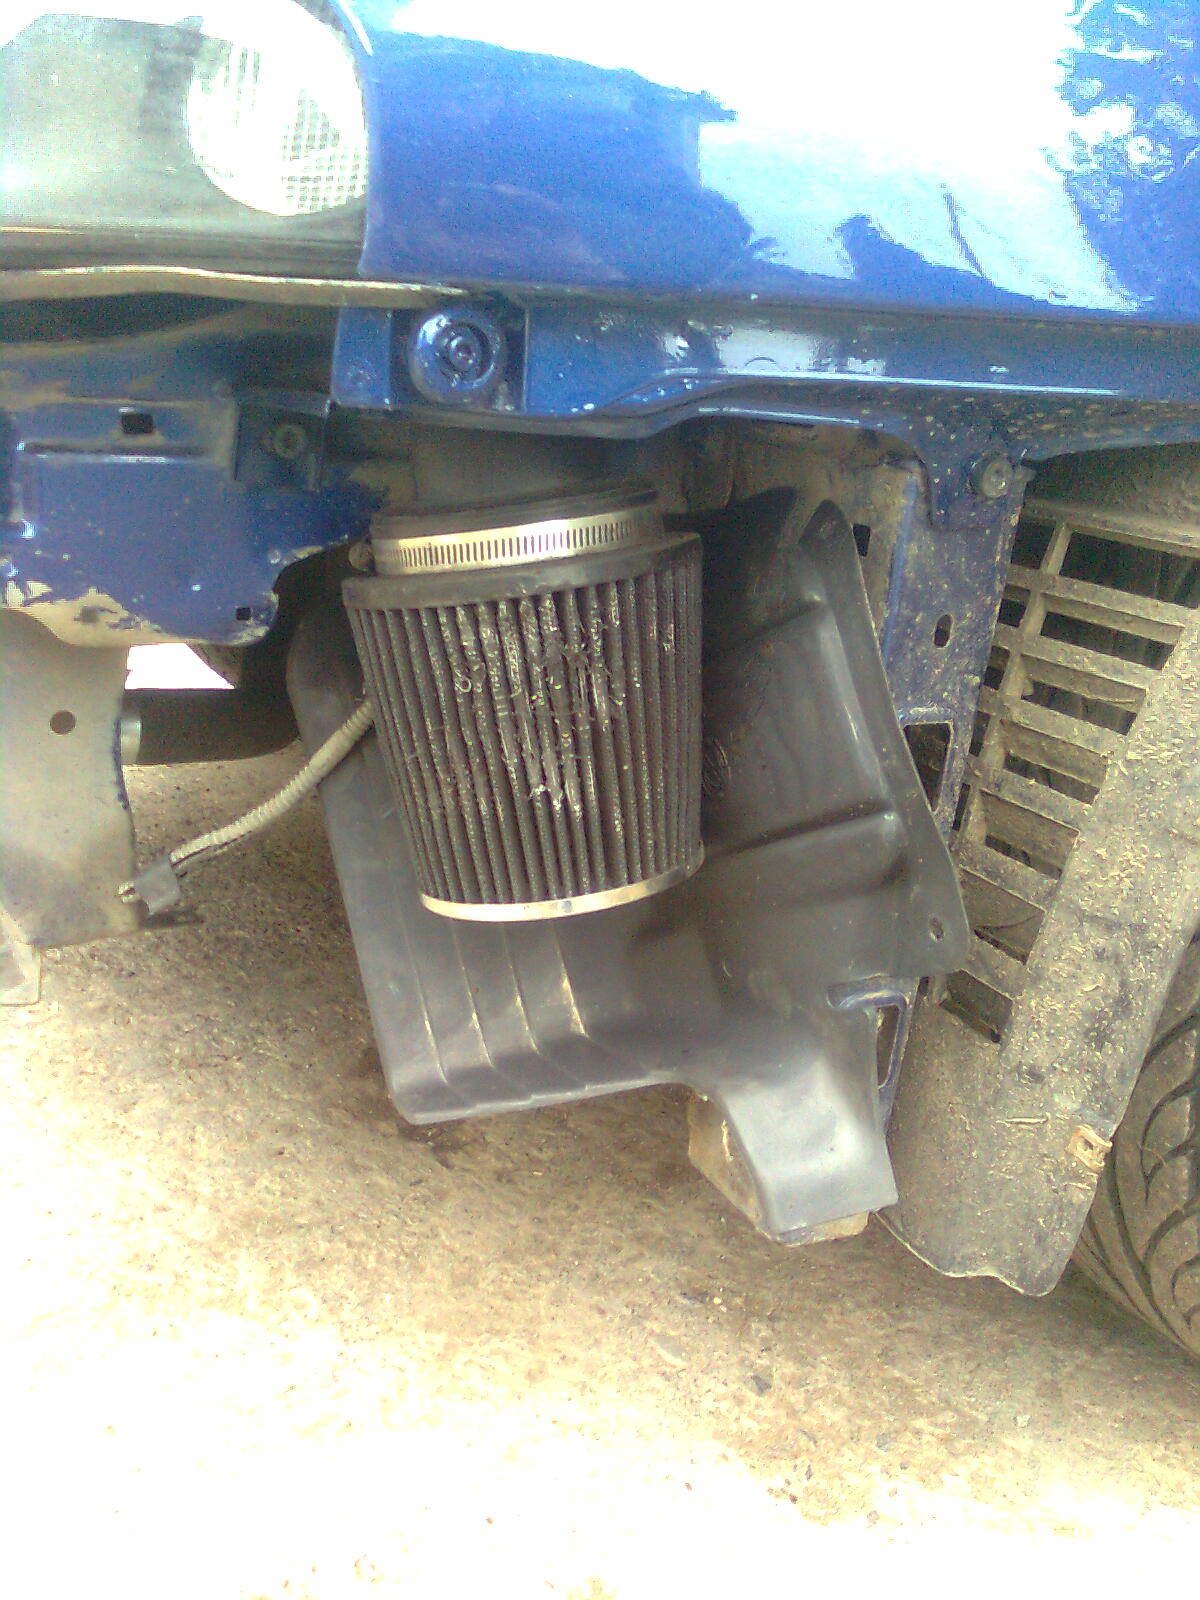
I was afraid of dirt and water from the wheel destroying the k&n, so a rummage in the inventory got me a dust guard from a mk1 Punto that was the right shape :)
Image0603.jpg


It works and seems to be acting as a channel as a secondary purpose, which means extra louder roar :woot:

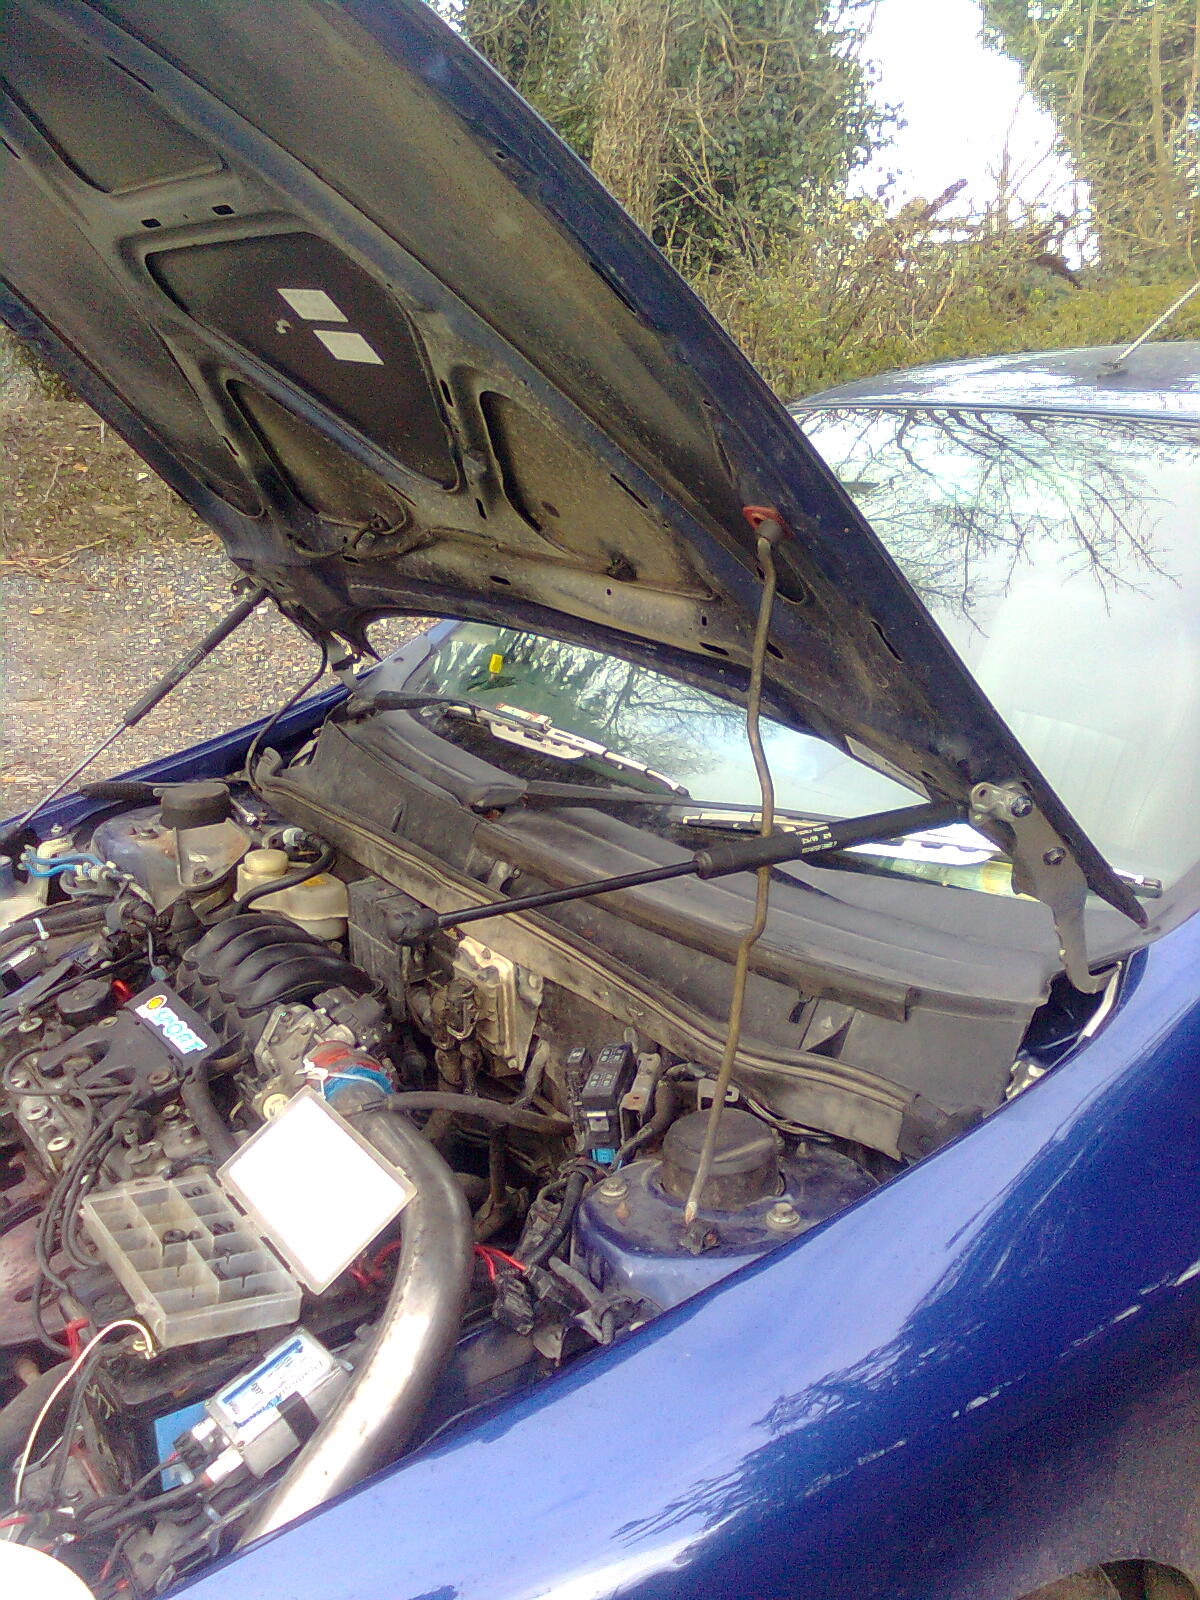
Then it hit me, bonnet lifters are a must!!!! :idea:
Image0604.jpg


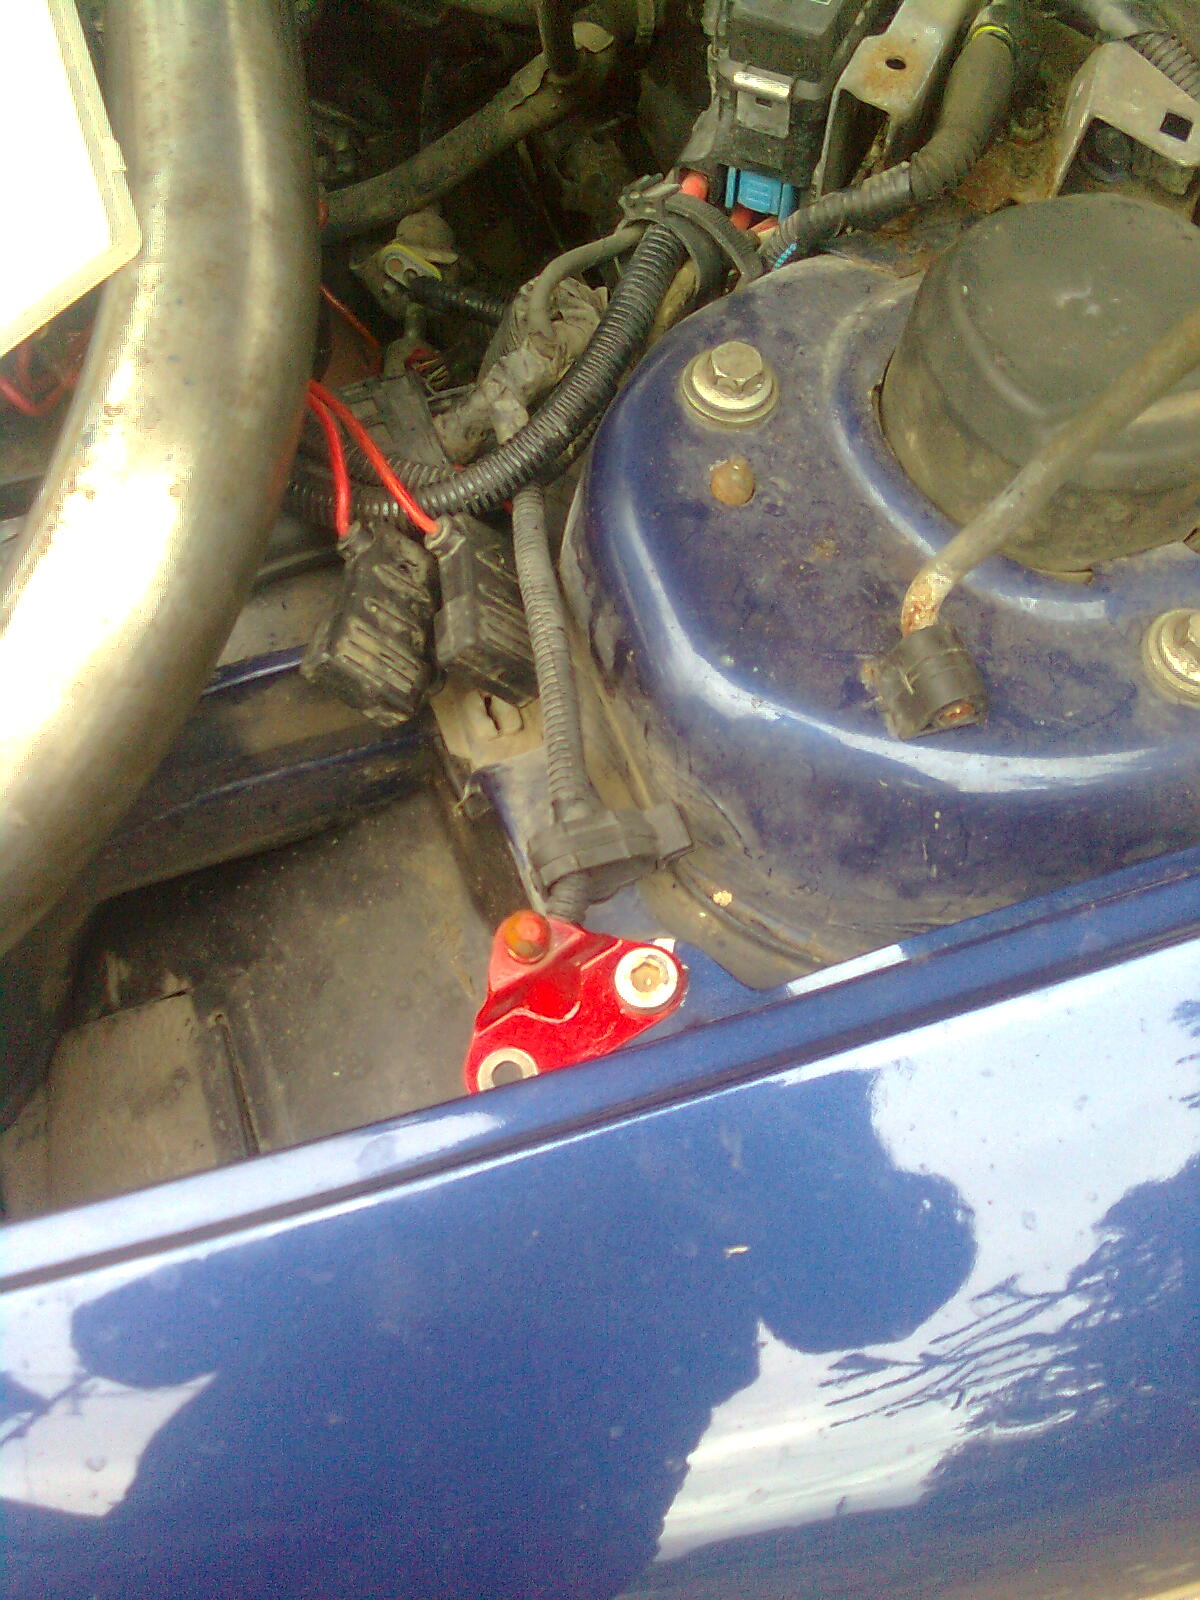
Mounting plate from a bootlid...
Image0605.jpg


And the finished result :cool:
Image0606.jpg


It sure was great, untill i had to close the bonnet :cry: oh well back to the drawing board... :rolleyes:

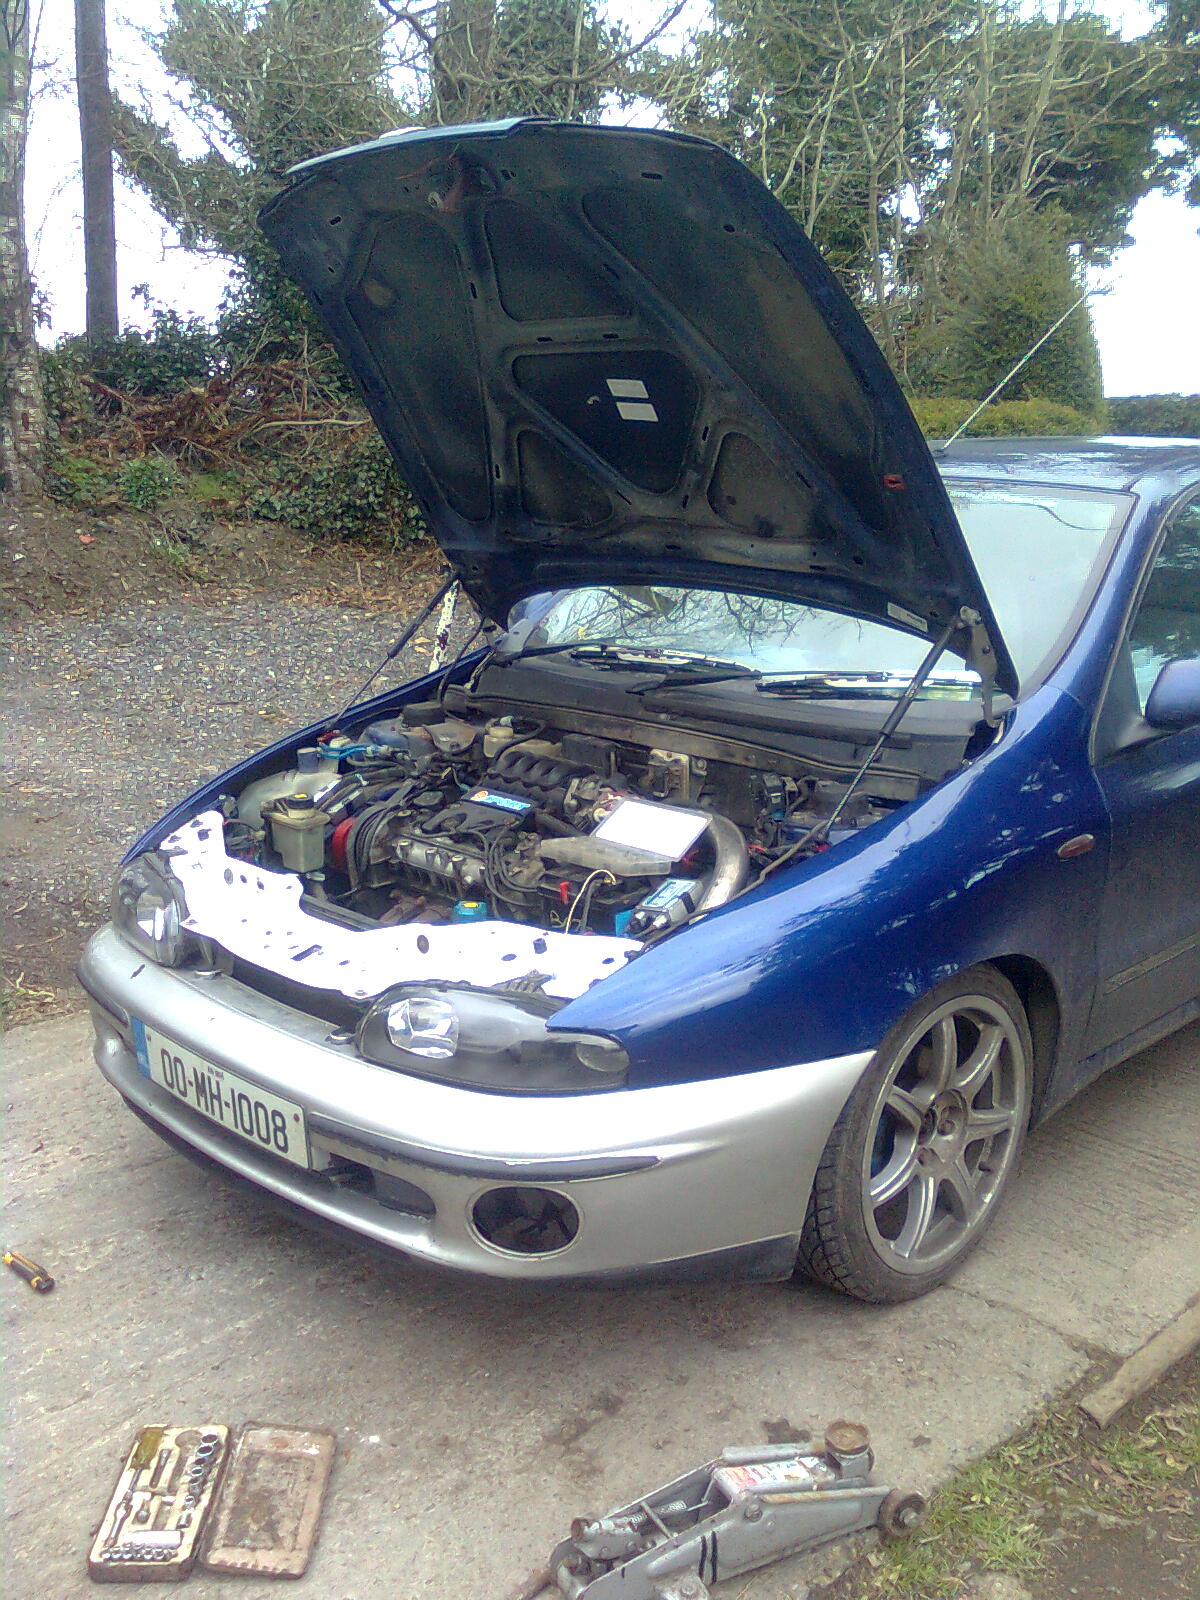
Other bits and pieces were tightened, overall improving the car. So as she stands at the mo (y)
Image0607.jpg


Hmmm have to think what to do for the next major update...! :yum:
 
keep trying with the bonnet struts, they are soooo nice. :D

With several bonnets to choose from, I'll get it eventually (y)

wanna part ex with mine ? ;) i could live with 15bhp less :) haha, honestly its come along nicely, thats a good idea for the induction kit...spose thats where i went wrong with mine:doh: that TB been ported, looks like you shaved a few mm off that ?

Cheers! Yes id say it has slightly more than the 82bhp from the factory... ;) Nope its a standard 1.2 tb from a mk 1 Punto ELX (my dads old car which had a very very sad ending :cry:) can't port it as I havnt a buterfly to stick in it when ported (n) it seems to work much better than the 1.2 bosch tb too :D just have to figure out how to work the idling motor, bracket for the tb and it will be permanently installed (y)

is that the tb off the 1.6? i know there are a few larger ones that are a straight fit on the 1242.

keep it coming fella loverly work! :)

Thats the eventual plan, when funds permit :cry: I'll get a 1.6 tb and polish it up well :D not interested in power, yet... ;)

Small update time, not a major one dont worry!

On a quick note, I have to use 2 keys to start the car after changing the ecu and code box. The 2 keys also open the boot. And theres a certain way to unlock the steering. I'm going to have some fun if someone tries to start the car themselves :ROFLMAO:

Woke up to find my heater worked on full tilt only :mad: not to worry I had a new resistor in stock and duly fitted it (y)
Image0612.jpg


Tips:
  • take out the glove box when doing this for extra room,
  • a good screw driver is your best friend
  • and dont do it in the rain!!!

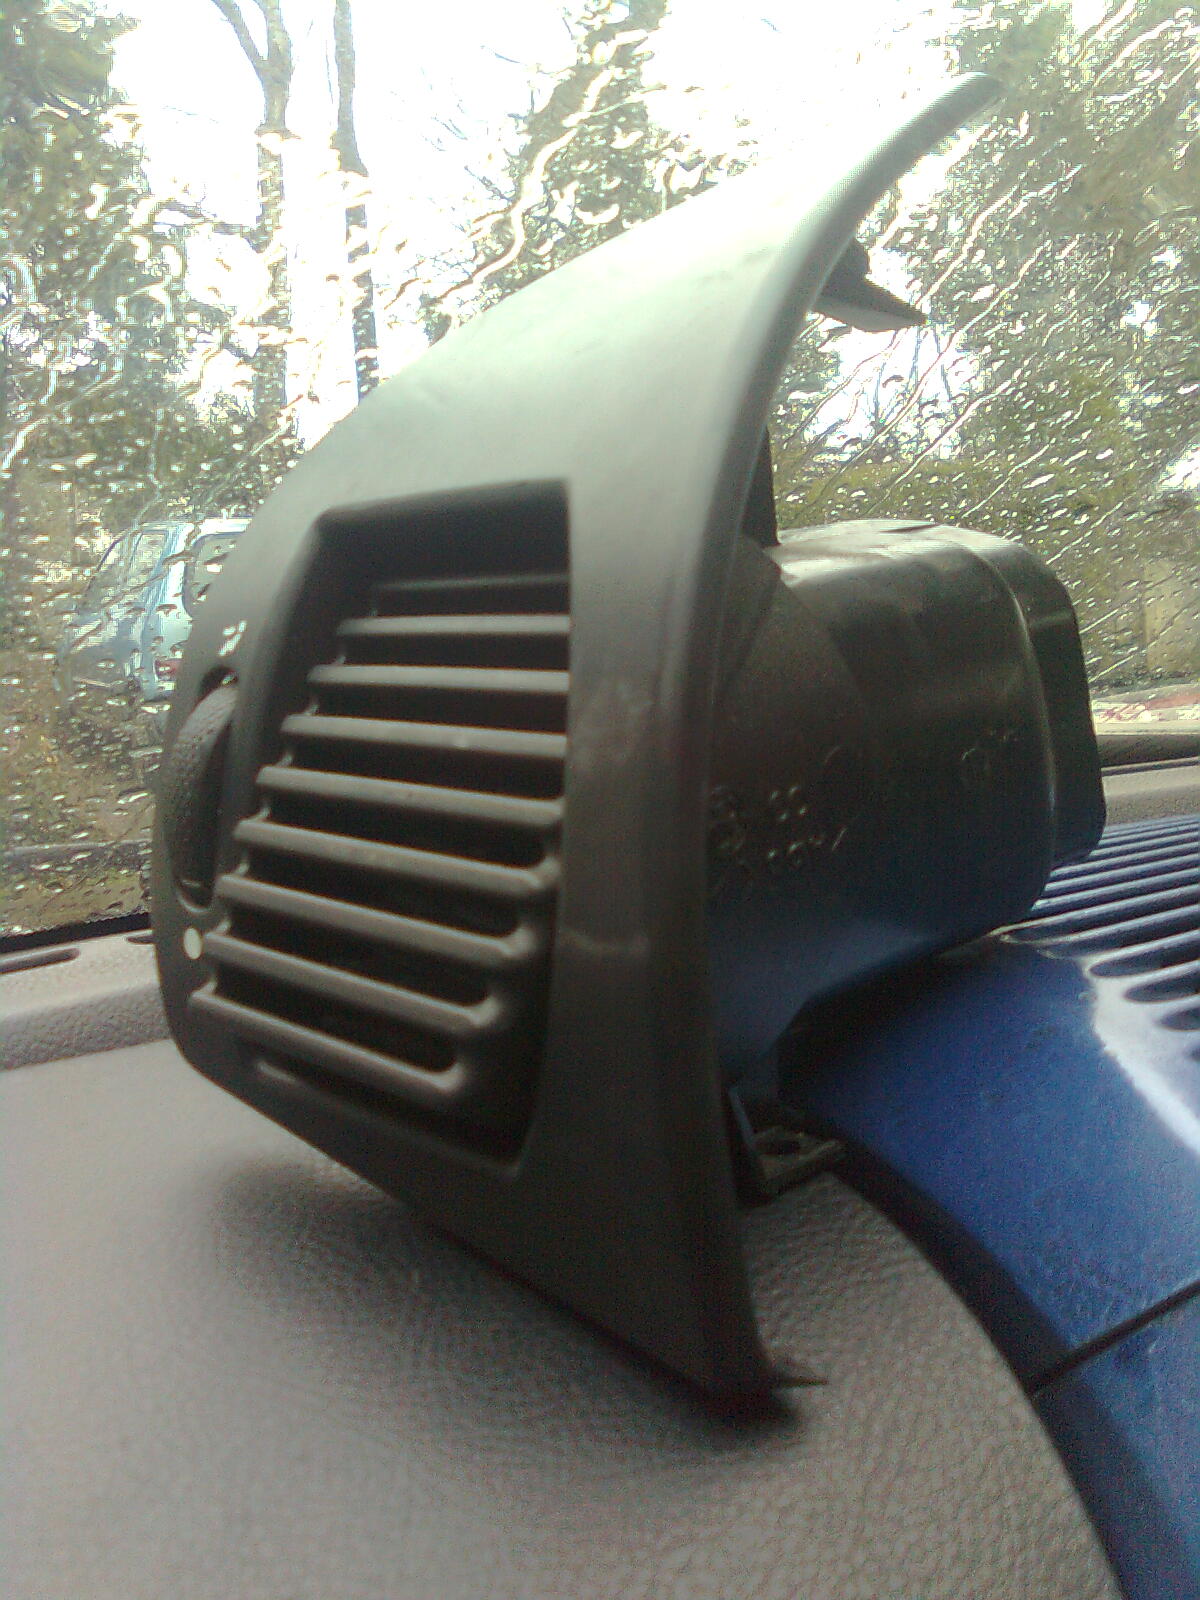
Now my interior is still crabby as I have a few more things to do... So time to put the glovebox and passenger vent back in :) The standard air vents are drab and the only Trofeo vent I had got destroyed in a crash (n)

So to the drawing board :)

We start with this
Image0614.jpg


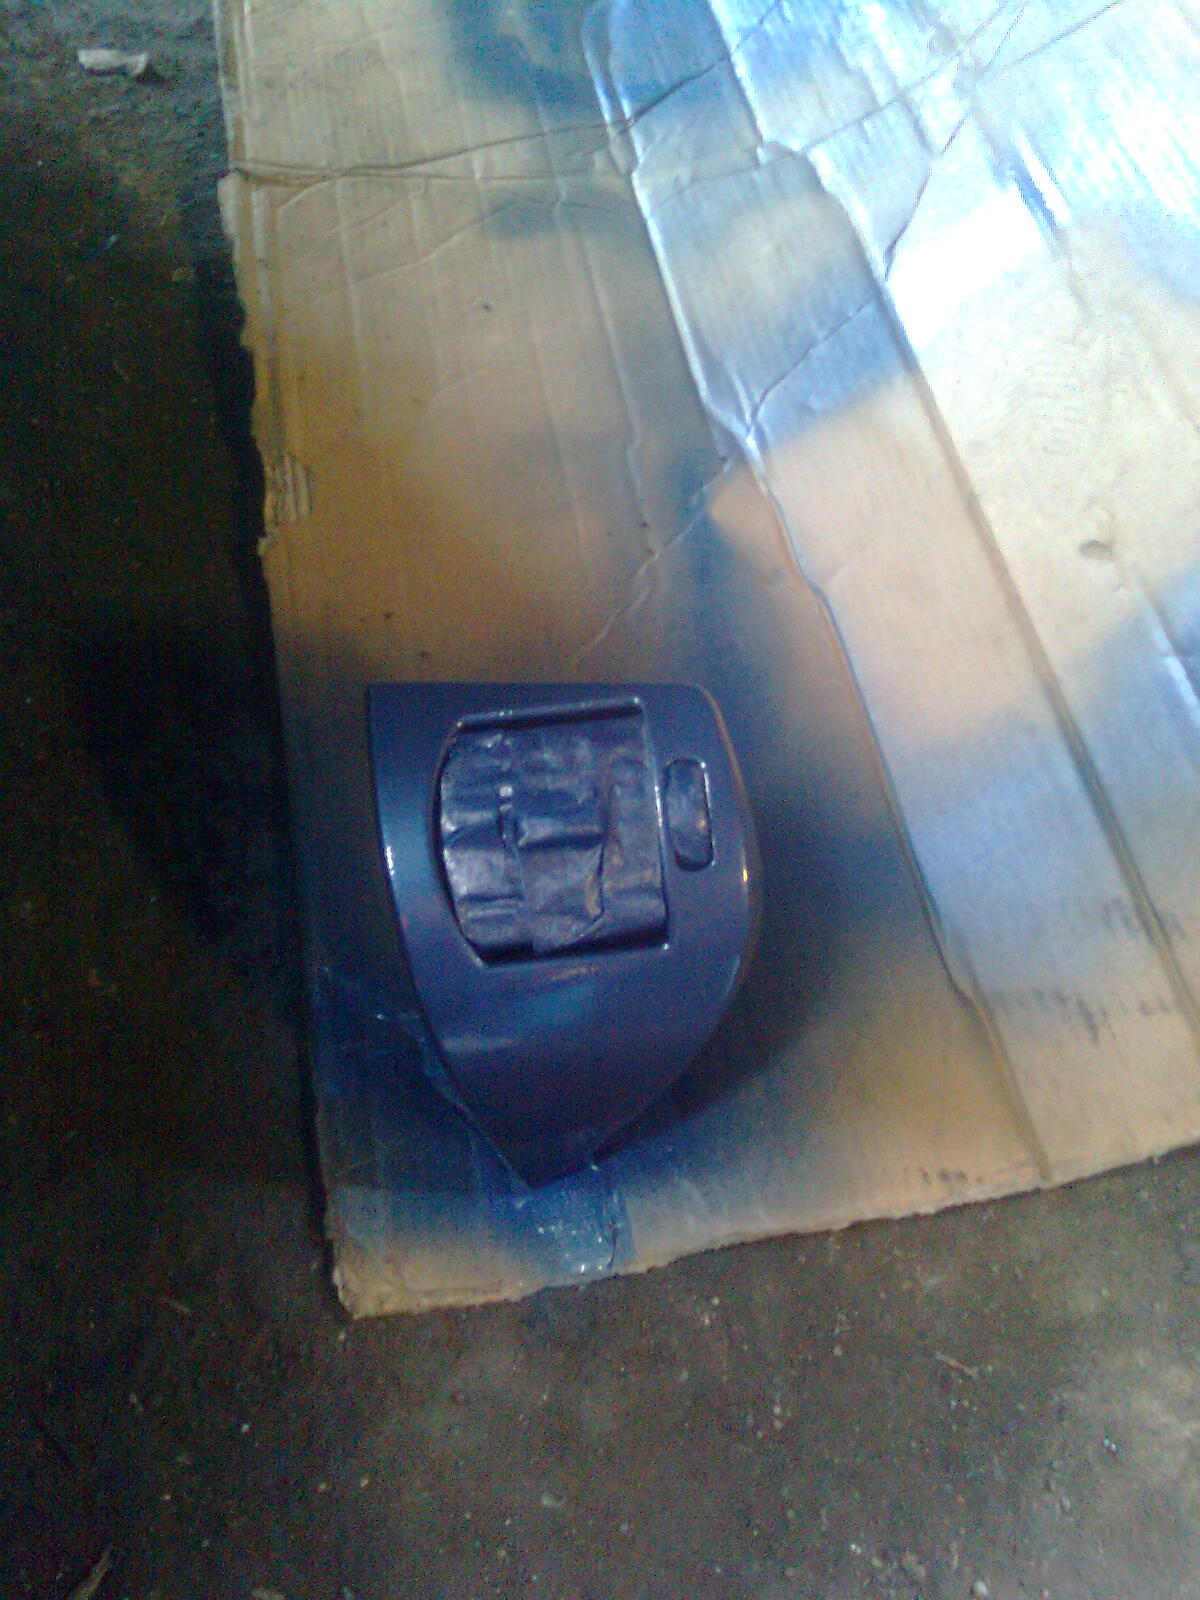
Patch it up, tape it and prep it...
Image0610.jpg


Spray it...
Image0611.jpg


Bit of laquer...
Image0613.jpg


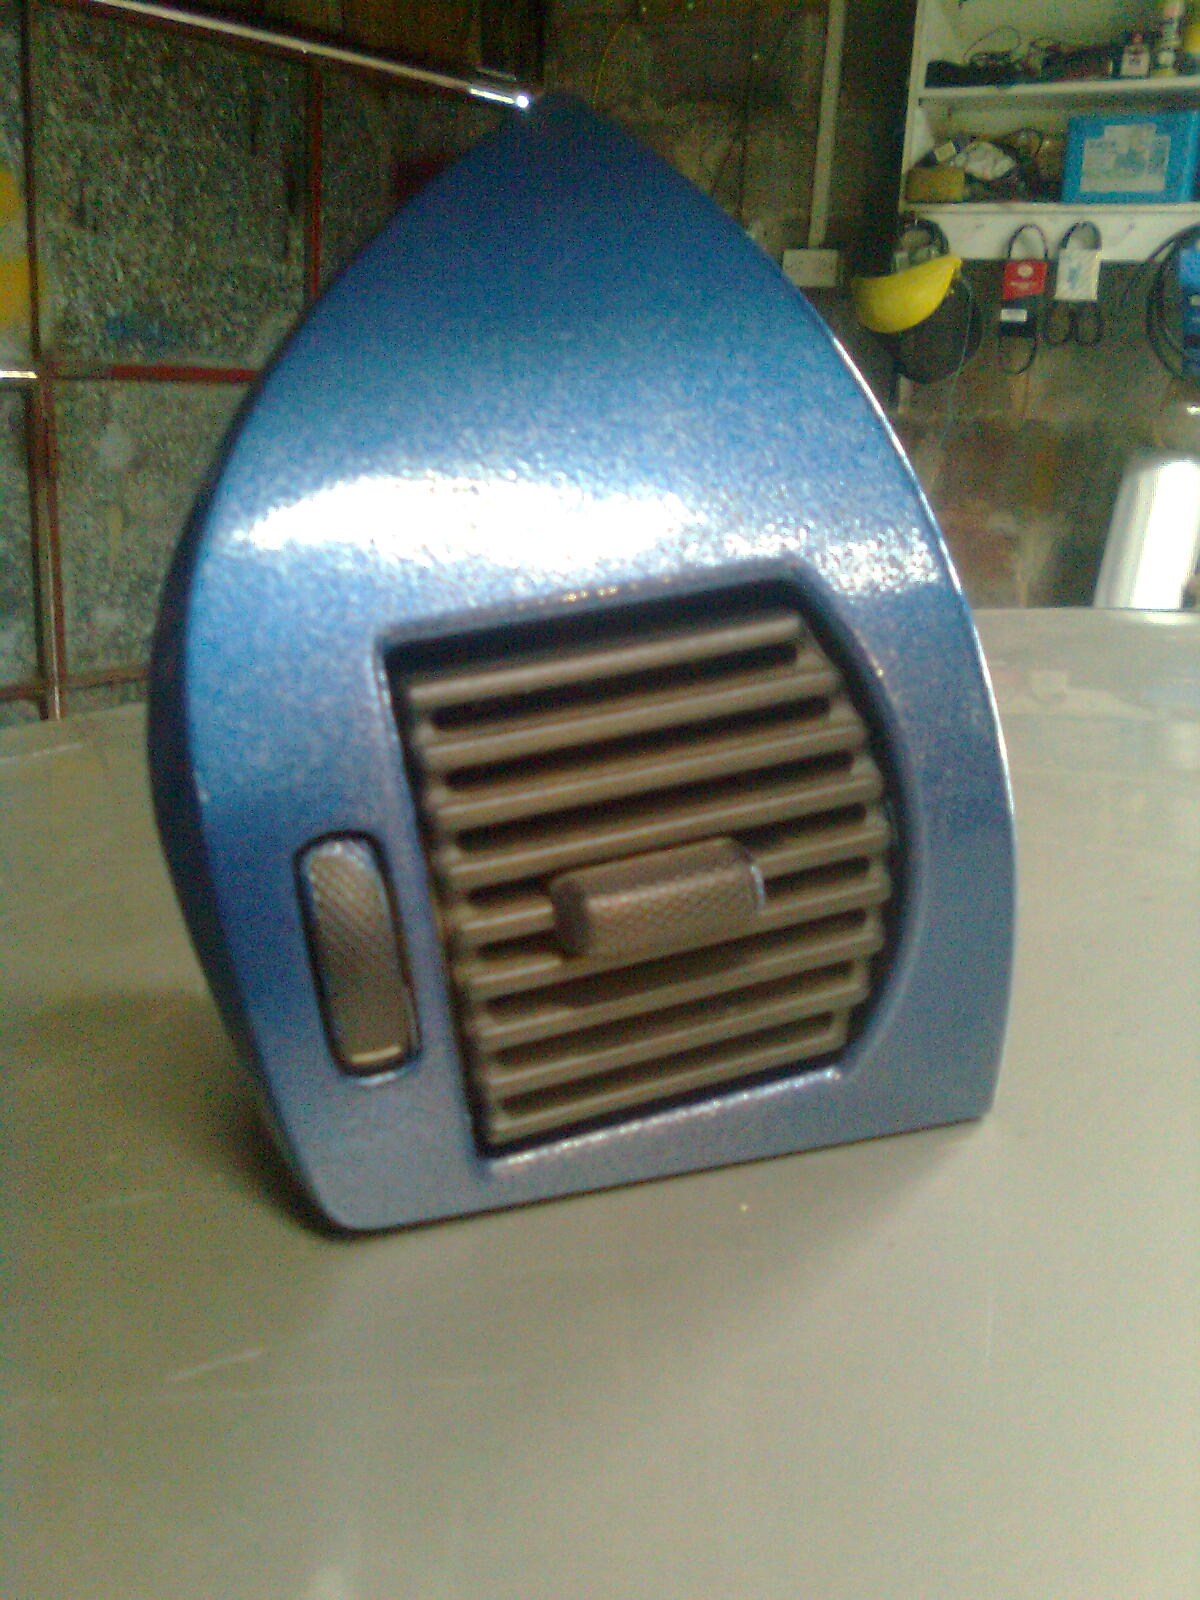
And fit it. Job done :cool:
Image0615.jpg


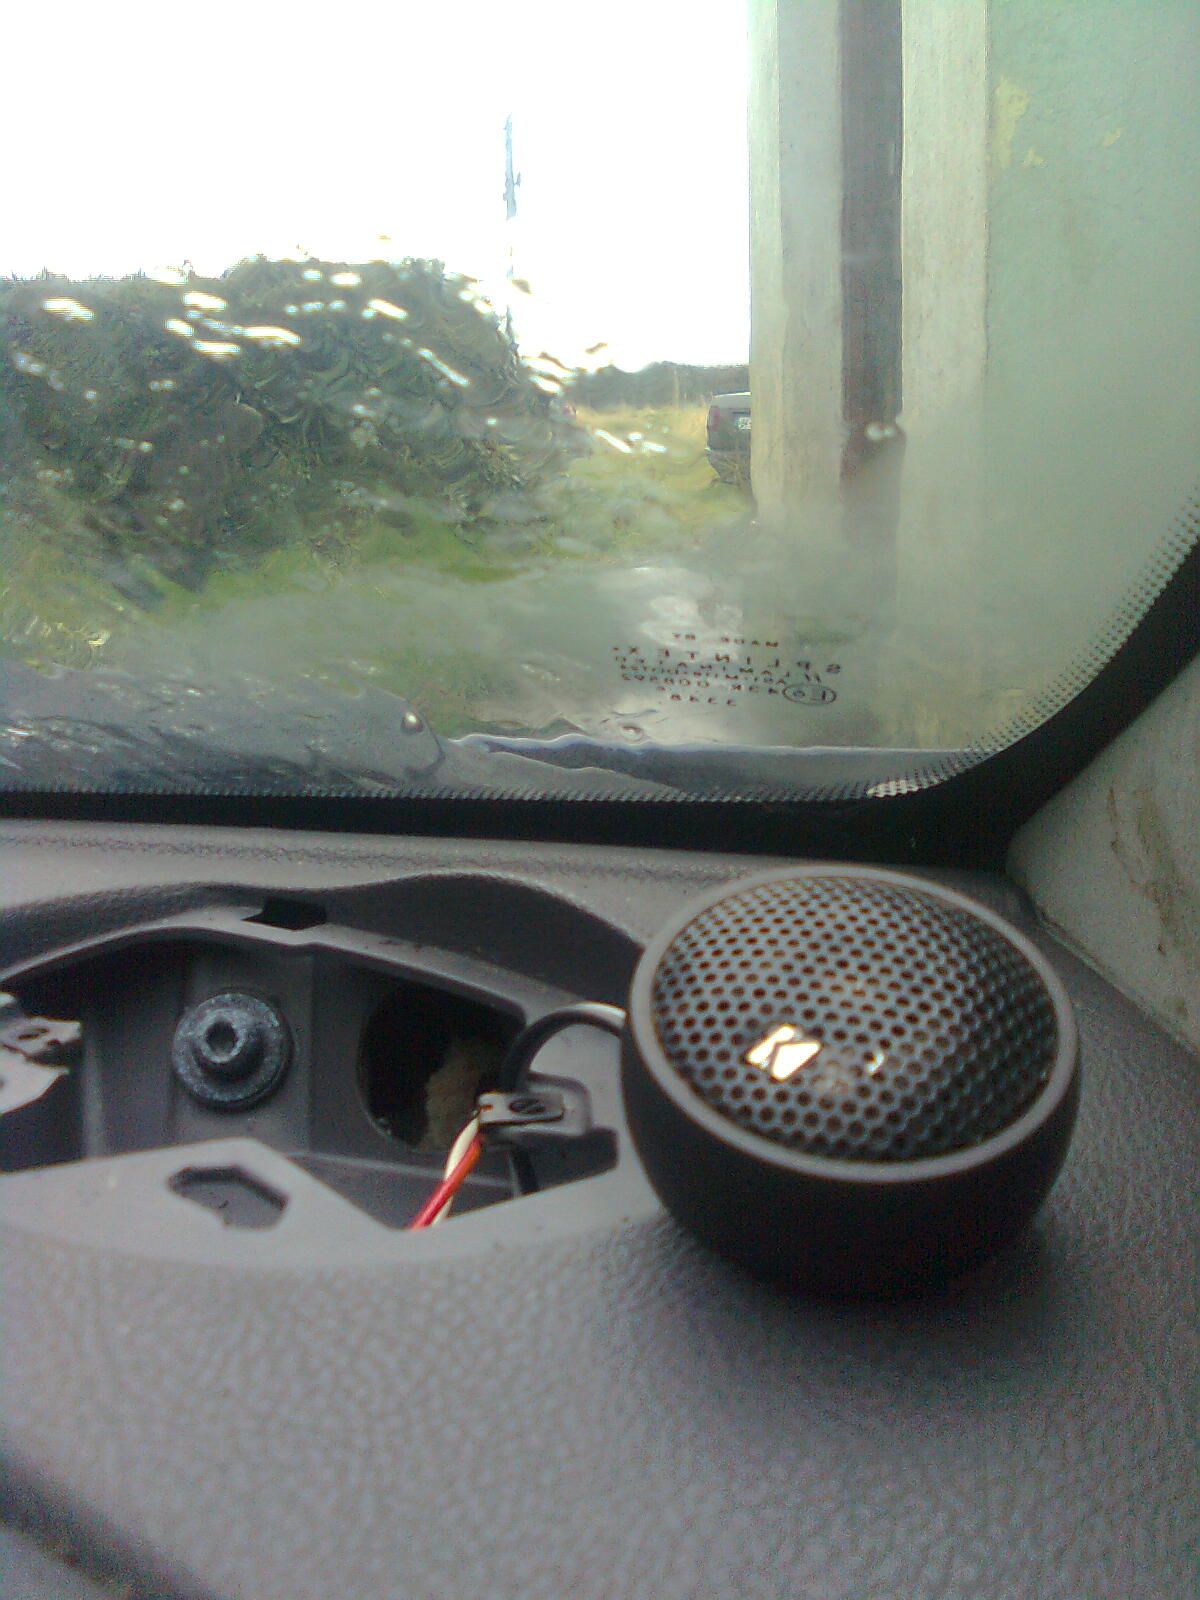
Finally before the rain truly got on my nerves, I fitted the aftermarket tweeters. Just need to make brackets for them and job done (y)
Image0616.jpg


Got plans for tomorow, will we get them done? Only one way to find out...! (y)
 
Probably one of the most enjoyable threads I've read in a while;) Looking forward to see how she turns out...
 
get the engine + electrical parts running sweet and then make it look good.

how did you get the gap right between the bonnet and the wings? I have a huge gap.. 6-8 mm
 
Probably one of the most enjoyable threads I've read in a while;) Looking forward to see how she turns out...

Cheers! Shes far from finished, plenty more left to do :D

get the engine + electrical parts running sweet and then make it look good.

how did you get the gap right between the bonnet and the wings? I have a huge gap.. 6-8 mm

Its running grand apart from the stepper motor, which will get the bin the min Ive figured the wires for the idling actuator :D As for the wings, theyre off a Marea and fitted well on the donor car, maybe the wings are pulled out...?

Speaking of the tb, this is my problem....

Edit: Whoopie dasies, almost forgot!!!

Grille is in need of reworking. Should I:
  • Leave it blue and debadge
  • Silver debadged
  • Black debadged?

Was thinking of silver mirrors but thats too conspicuous and looks a bit naff :yuck:
 
Last edited:
ive got a full set of some phoenix gold tweeters,brackets wires etc,just unsure where to put them.Was thinking of putting 2 just above the rear seats in the corners (top of standards?)
 
think of your sound staging. tweets should 'sound' asif their on your bonnet so where they are in the dashis perfect, then you want loads of midbass 'sounding' asif its in your front doors. then bass from the rear.

tweets at the back will shatter the set up and wont sound good imo, if your ones in the dash are good ones they will be enough
 
the reason why i was thinking of putting them in the rear is for the 'sound',rather than just base coming from the rear? :confused:

The speakers in the dash have pretty much had it,they pop when i turn the sound up lol
 
Cheers for the comments! Theres still lots to do so expect a good few more updates :D

what boot lifters are they off?

Theyre off another Bravo and when I get them working right I'll put it up here how do fit them :)

I didnt intend this to be my update...

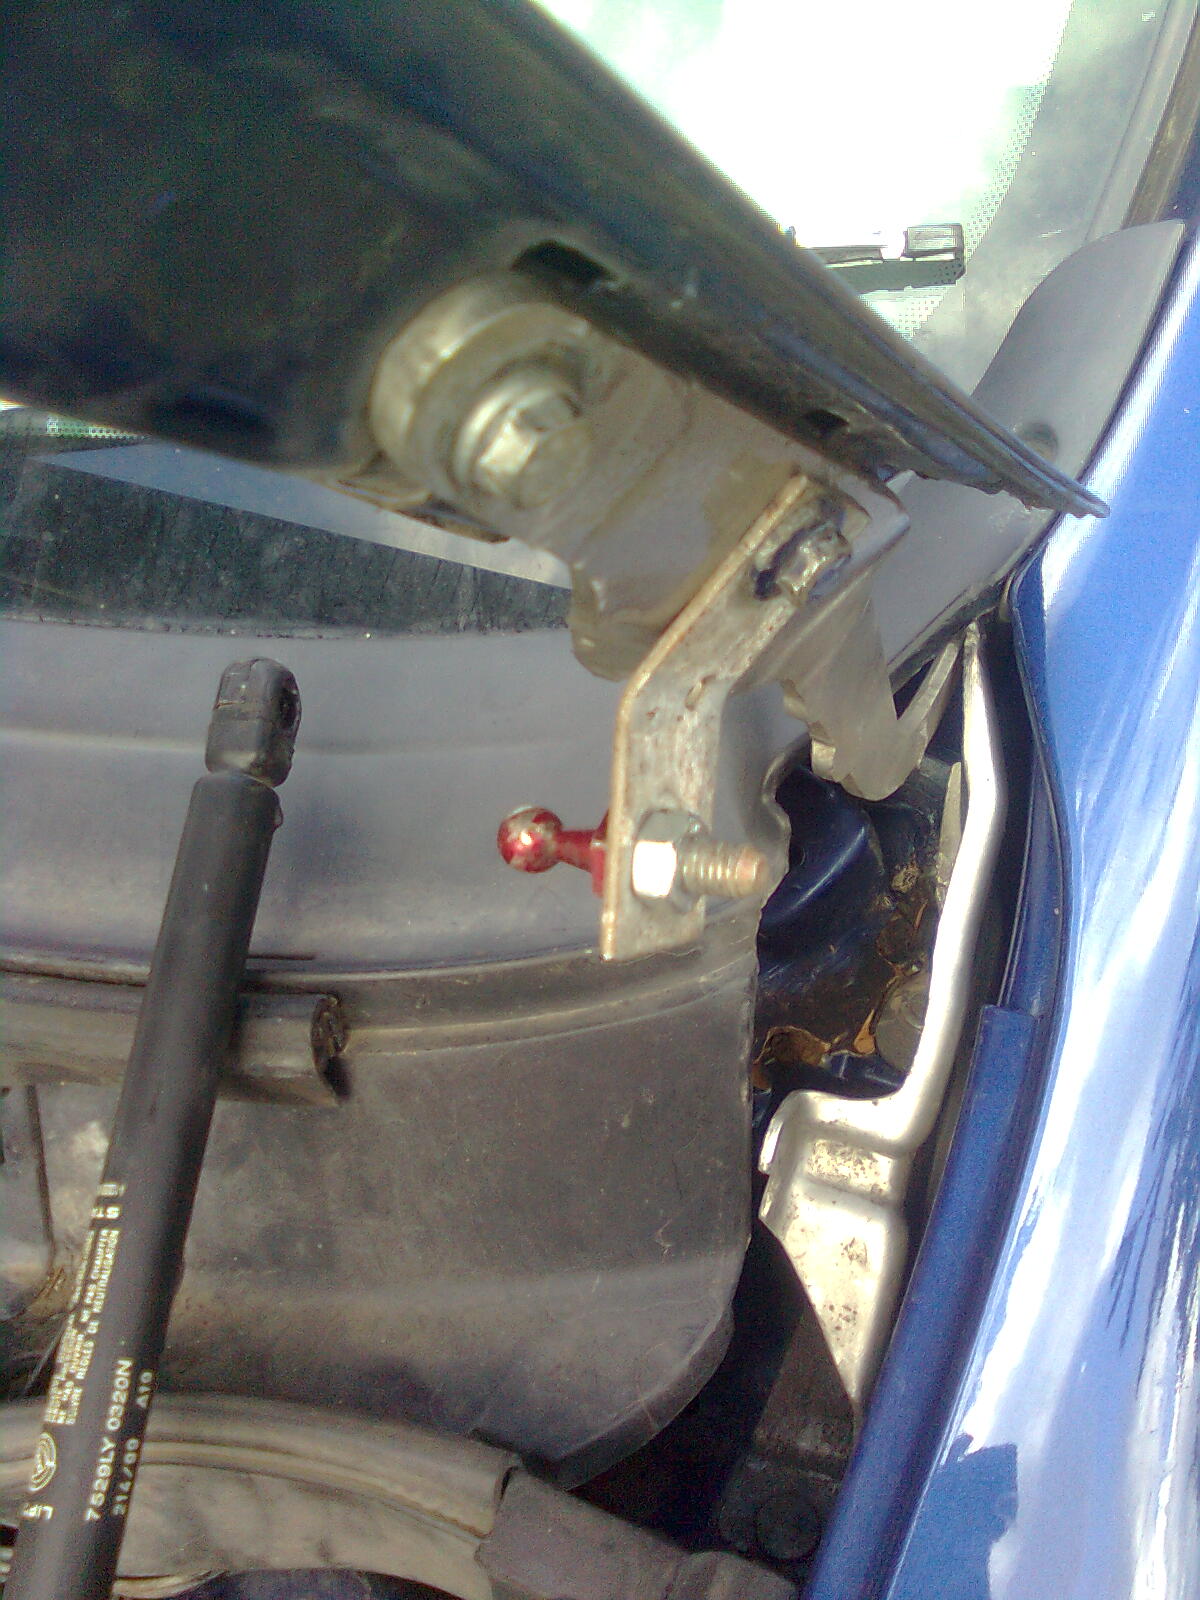
First things first back to the bonnet lifters ;)
Image0618.jpg


Custom brackets :cool:
Image0619.jpg


And you know what? They... STILL catch the bonnet! :doh: Oh well, to the drawing board yet again... :rolleyes:

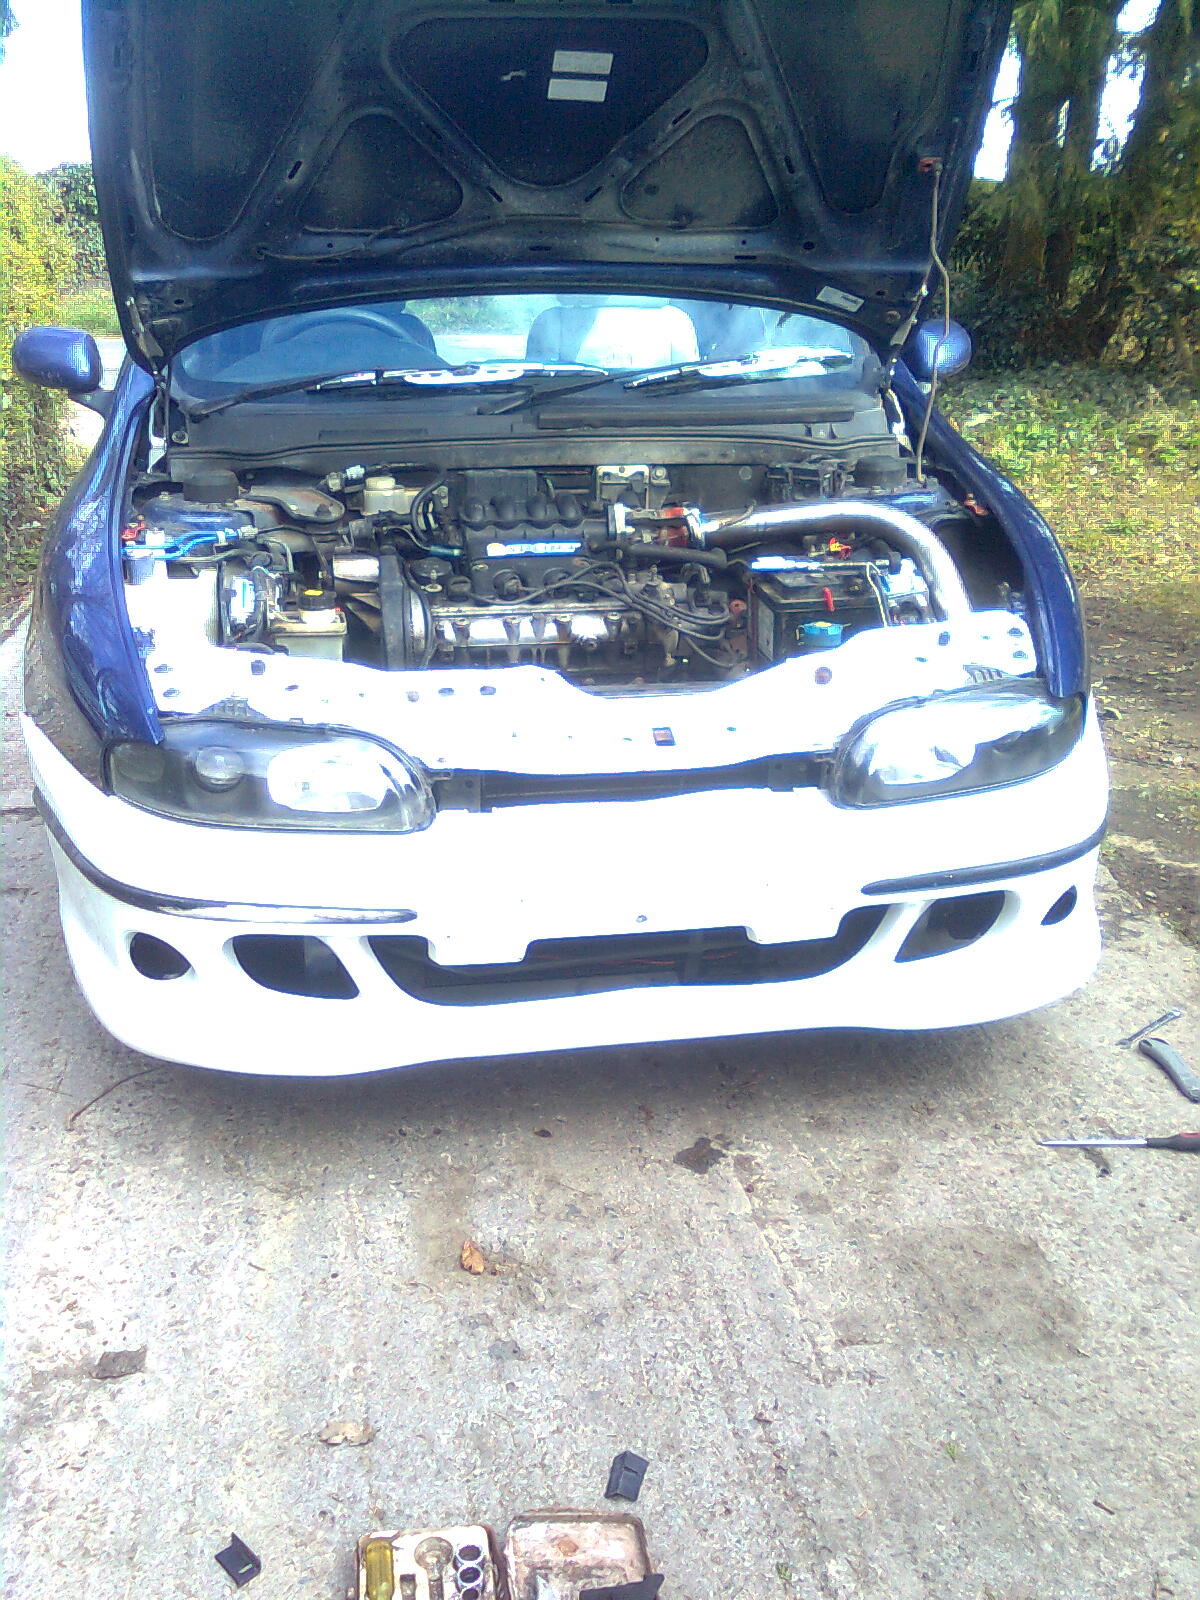
Suddenly, Abarth bumper :D
Image06201.jpg


It dosent fit due to the Marea front. But its only temporary...

It was such a nice day, decided to test the cardboard in the boot...
Image06212.jpg


And then I cleaned the car :)
Image06221.jpg


Then tango the tyres and fit the centre caps...
Image06231.jpg


Finally, shine it up well :)
Image0624.jpg


Ahhh that'll do (y)

Soooo why is this an update? First, after the car dried, I seen where I cleaned the wing. Laquer has gone rough :cry: Second, because the car is so low, the Abarth bumper scrapes off the road. This also means that the exhaust is low to the road. It colided with the road, breaking the backbox :mad: But more sinister is number three. Remember I boiled the engine...? As a direct result of that, I think the hg is gone :cry: Great :mad: I've noticed it in driving too, its not as lively as it used to be...

Gloom and doom? Not realy. I'm quite annoyed about the wing, well done me :bang: but as for the head, I have a few to choose from. Gives me a chance to put in some hot cams... ;) But untill I have the time to sort that, I'll continue on making this look respectable. Stay tuned...! (y)
 
Last edited:
Back
Top