Good grief thats a lot of comments in a day!

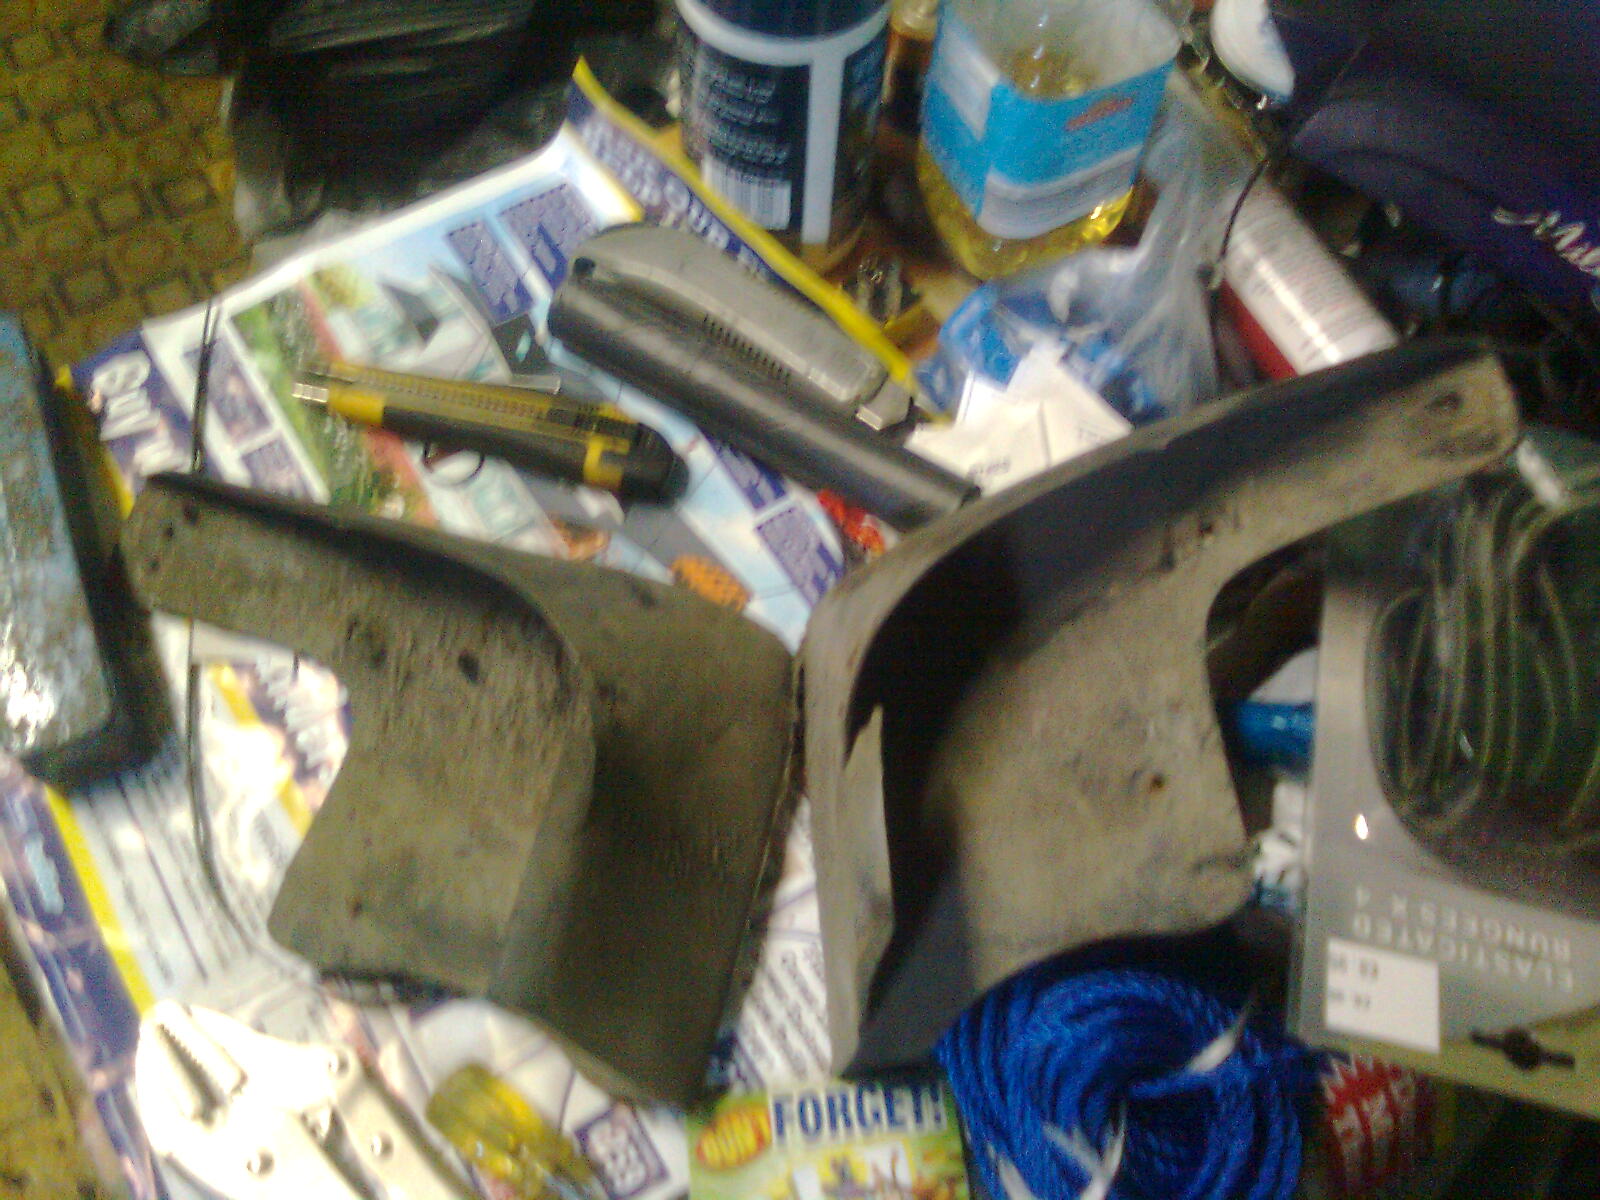
that brought back some memories of when i took my dash out :O i lost some screws in the process
worst bit it putting it back, fiddly job imo !! but good luck anyway on what ever else needs doing
have you thought about white dials ?
When screws were lost, not a problem here, some needed replacing anyway... White dials are as rare as hens teeth here. Tried fitting a Marea speedo once, the plugs were totally different!
taken a few dashes out in my time, never had to put one back in yet though - i imagine its a complete nightmare though - i never managed to get one out yet without breaking at least 1 of the mounts - i guess its easier when you know where they are however lol.
These dashes are by far the easiest ones to take out, very straight foreward and few bolts holding it in. My 5 series, surprisingly is also simple to take out but the dash loom is wrapped round the mounts like ivy, a true disaster
anything else was a total nightmare, I took out one from a mk 1 Punto and I swore never again
Don't even mention Subarus.... :bang:
im sure ur trying to gain a world record form the number of times u have taken apart and put back together the car. lol. coming along nicely tho.
have the van window panels been lacquered or polished down? they look matt compared to the rest of the paintwork.
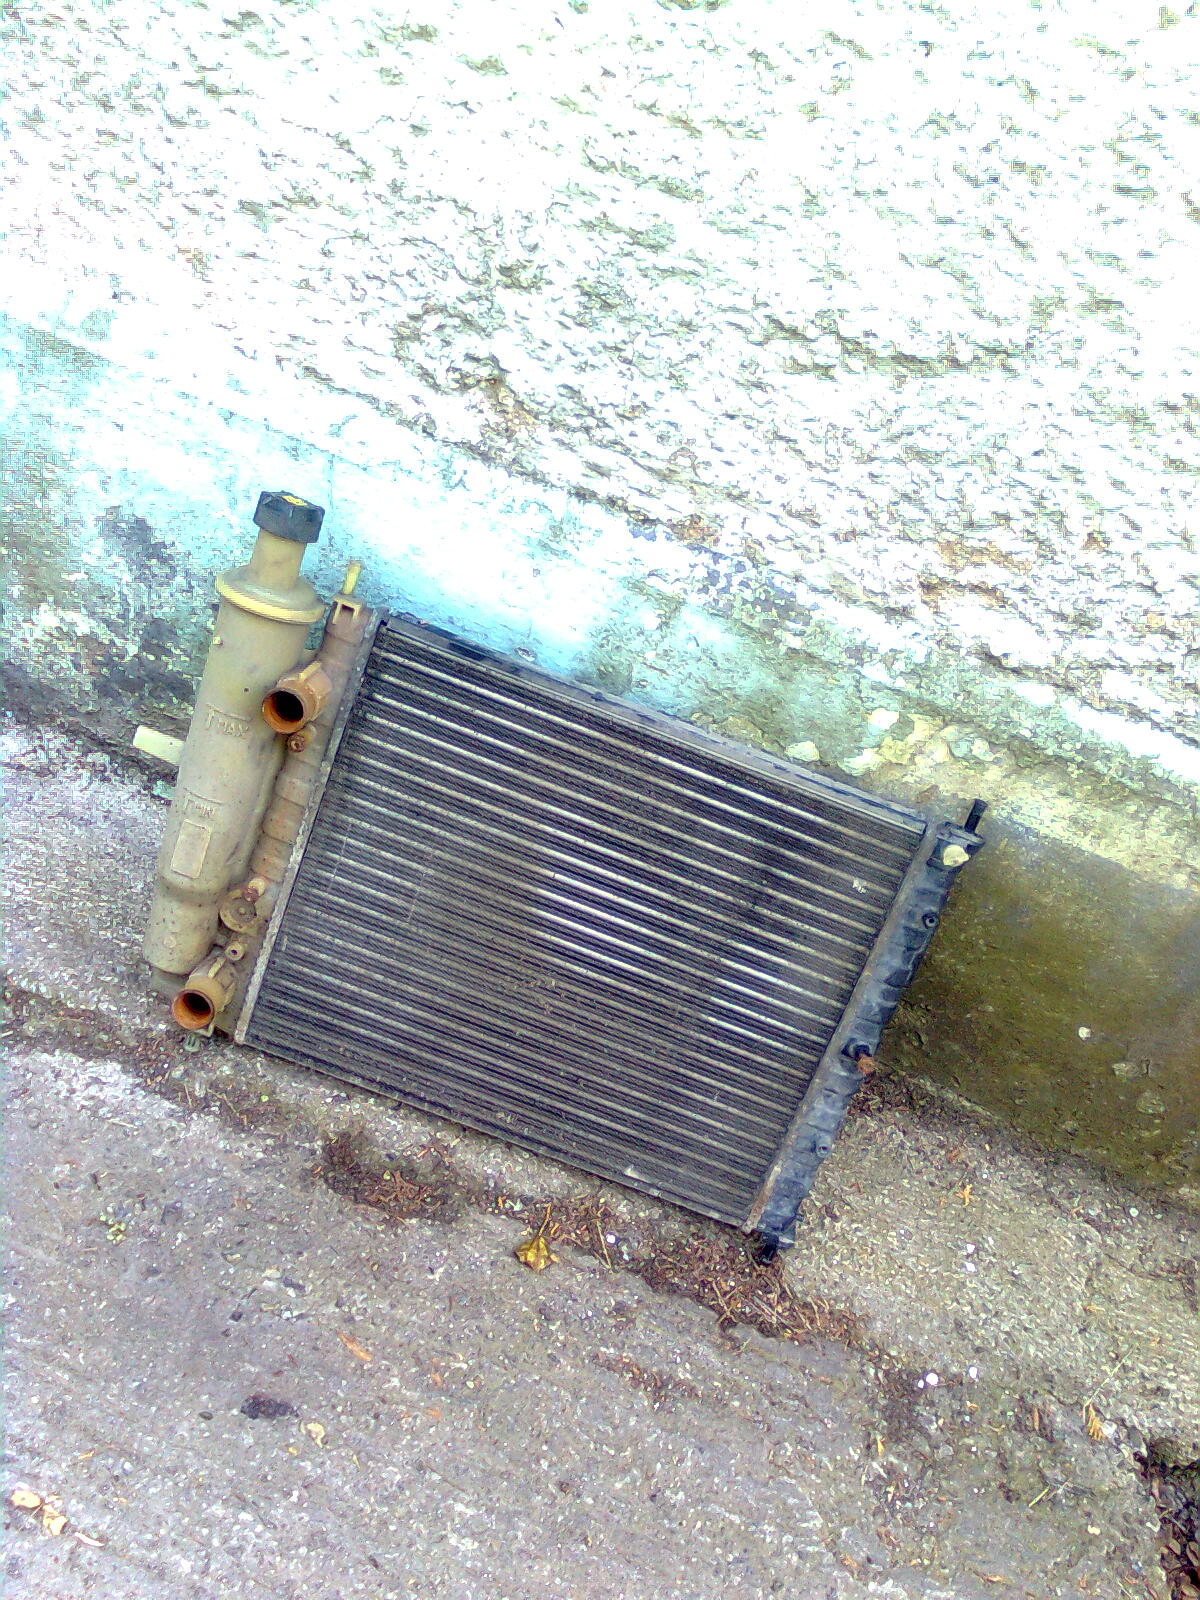
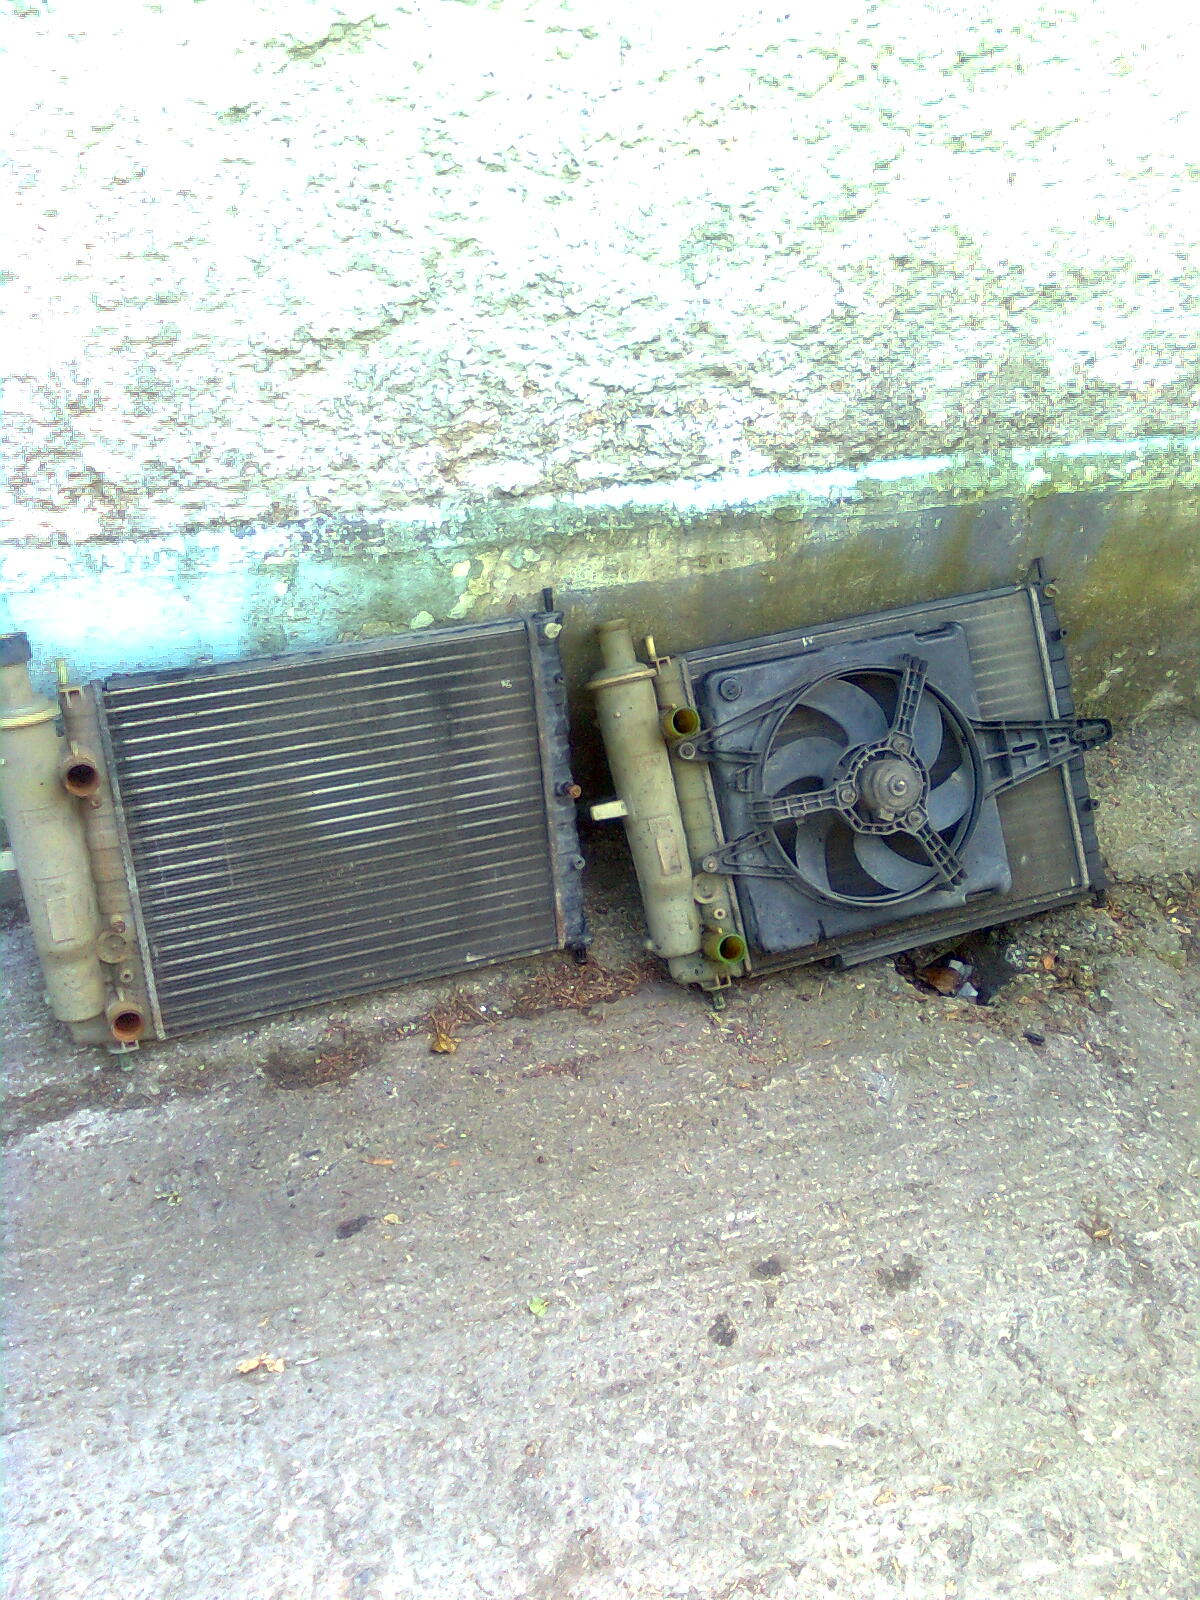
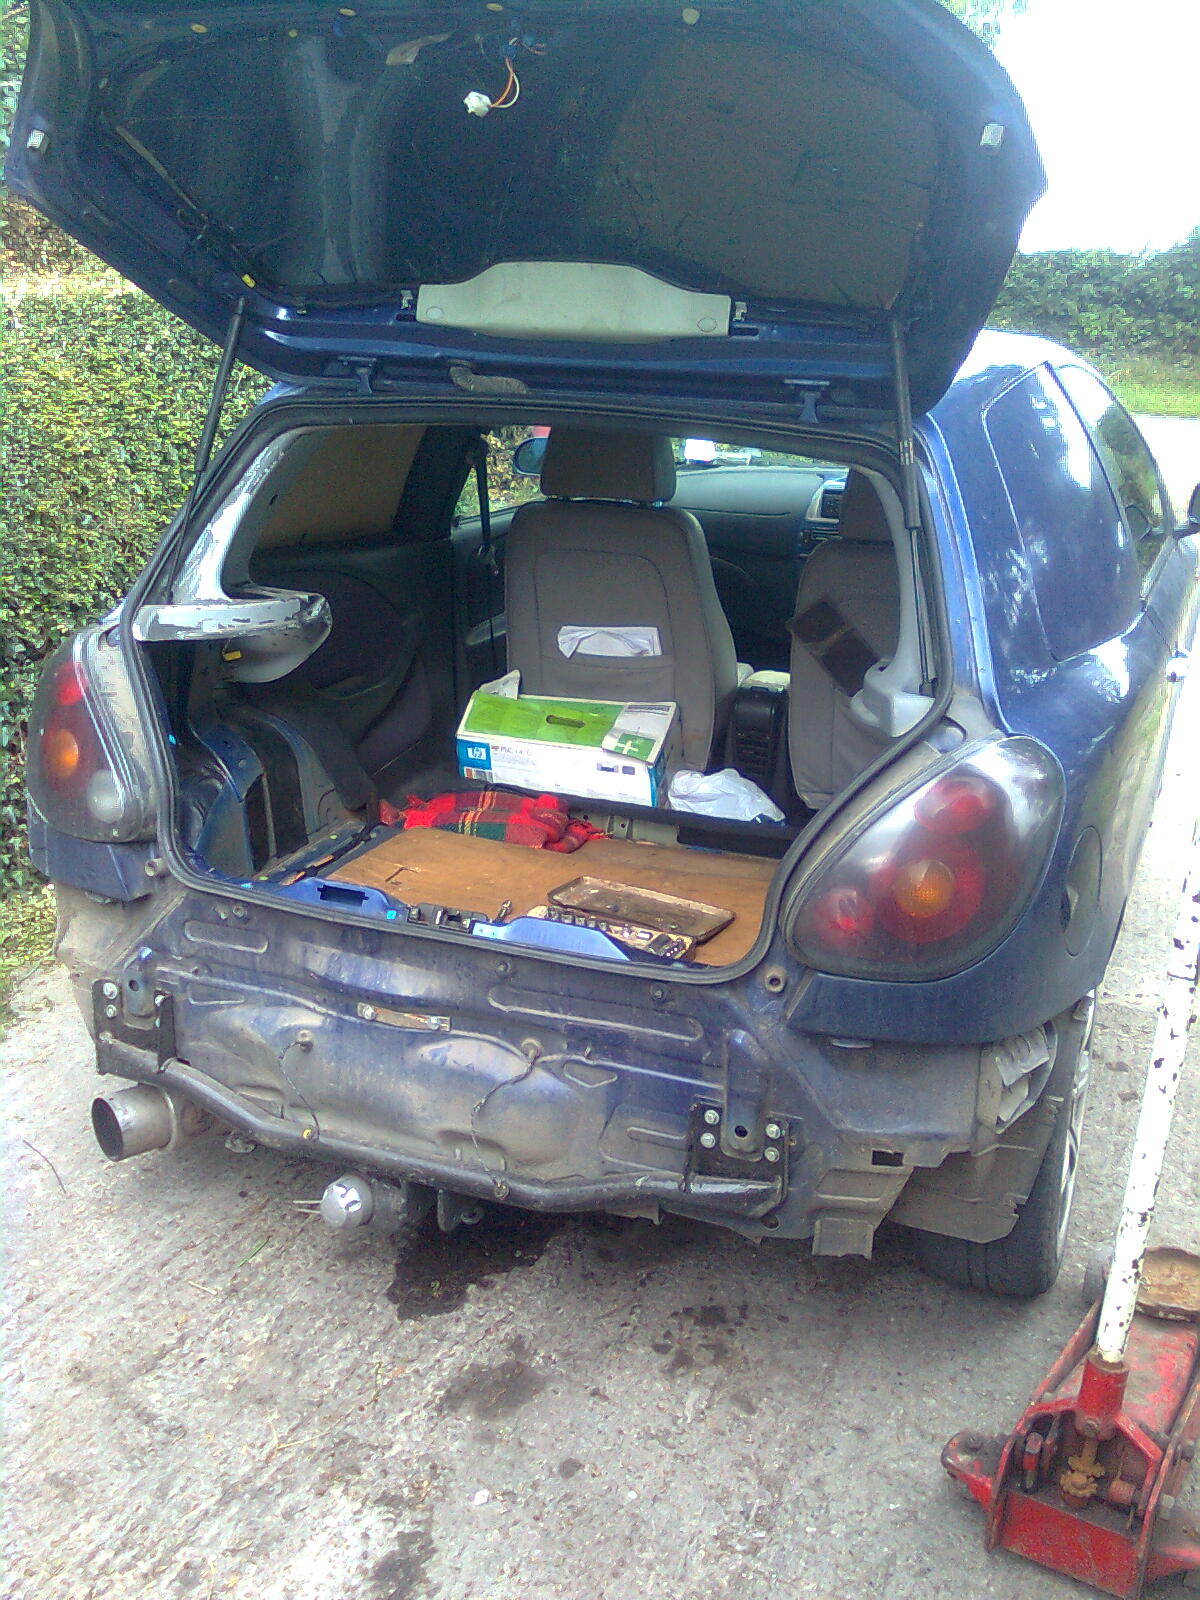
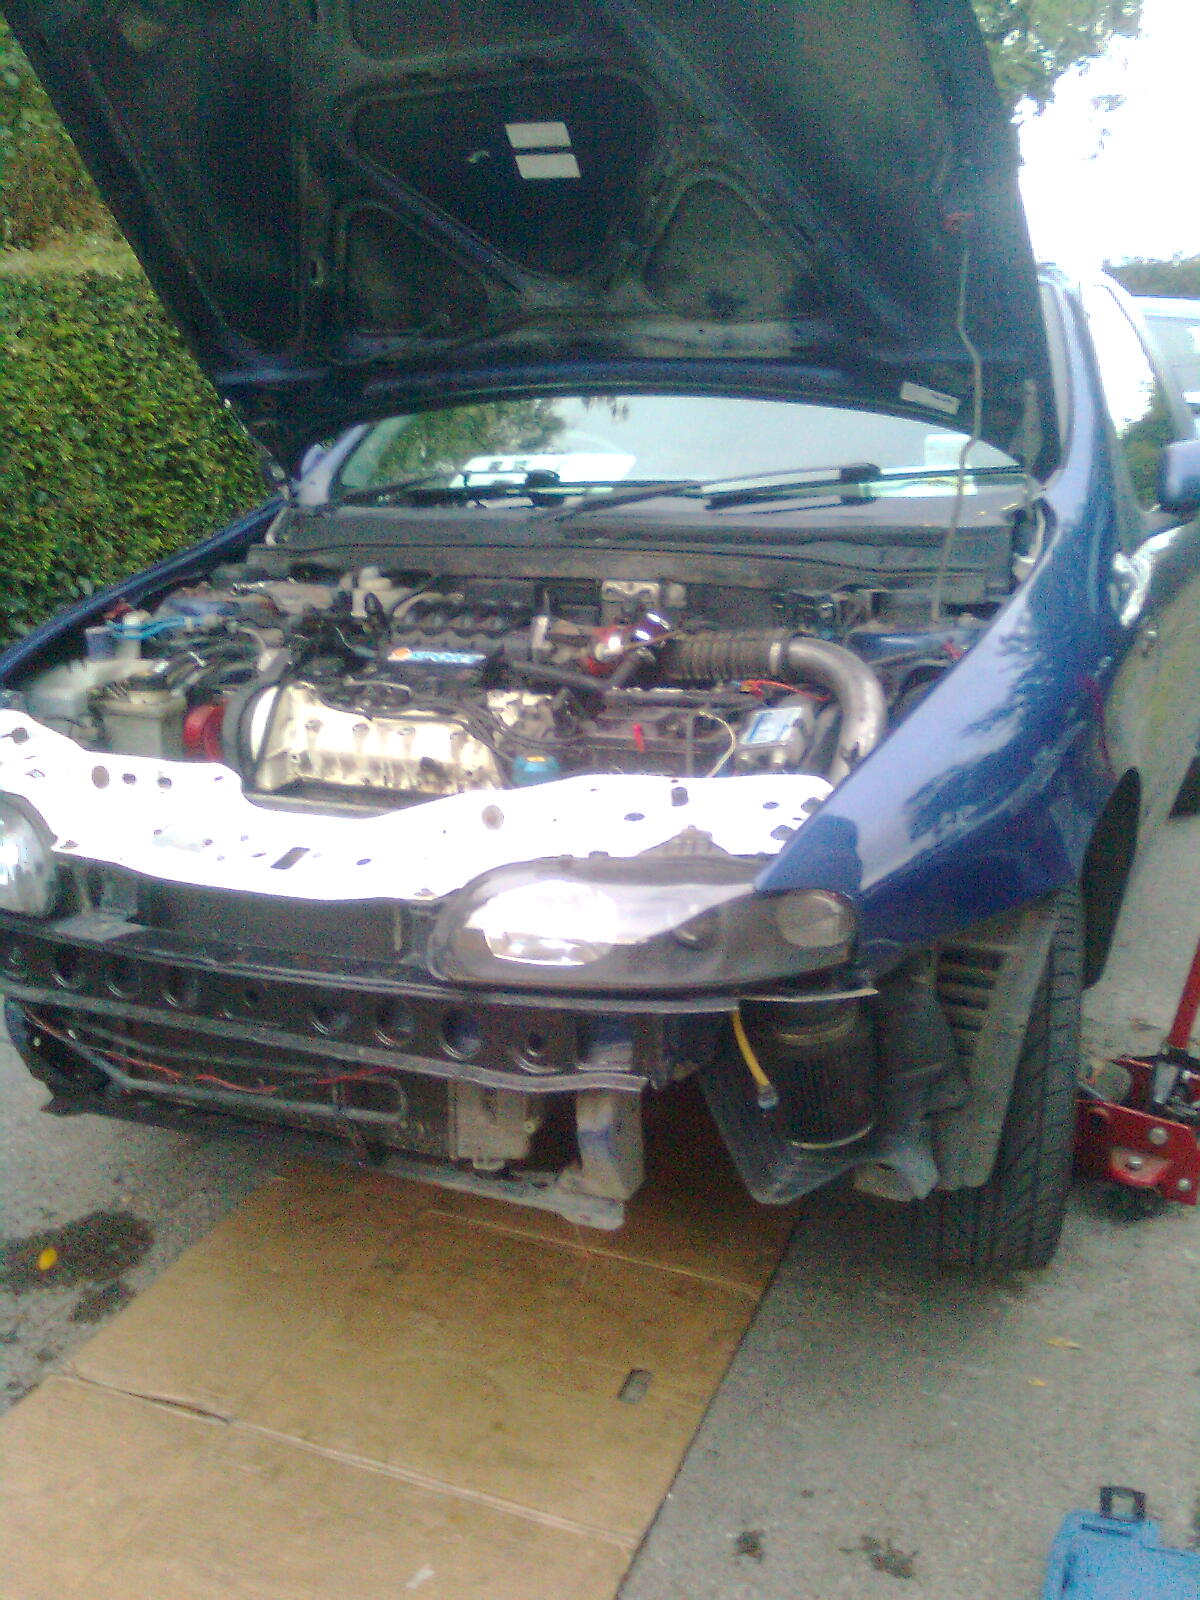
The subframe, dash loom, brake master cylinder, servo etc, windscreen, boot, some brake lines and the carpet are all the parts that haven't been disturbed, but I will get round to them all
At the moment after 3 attempts to spray the panels in Irish weather we gave up for a while (the paraffin heater is also broke), kinda adds to the crappiness of a general work van image...
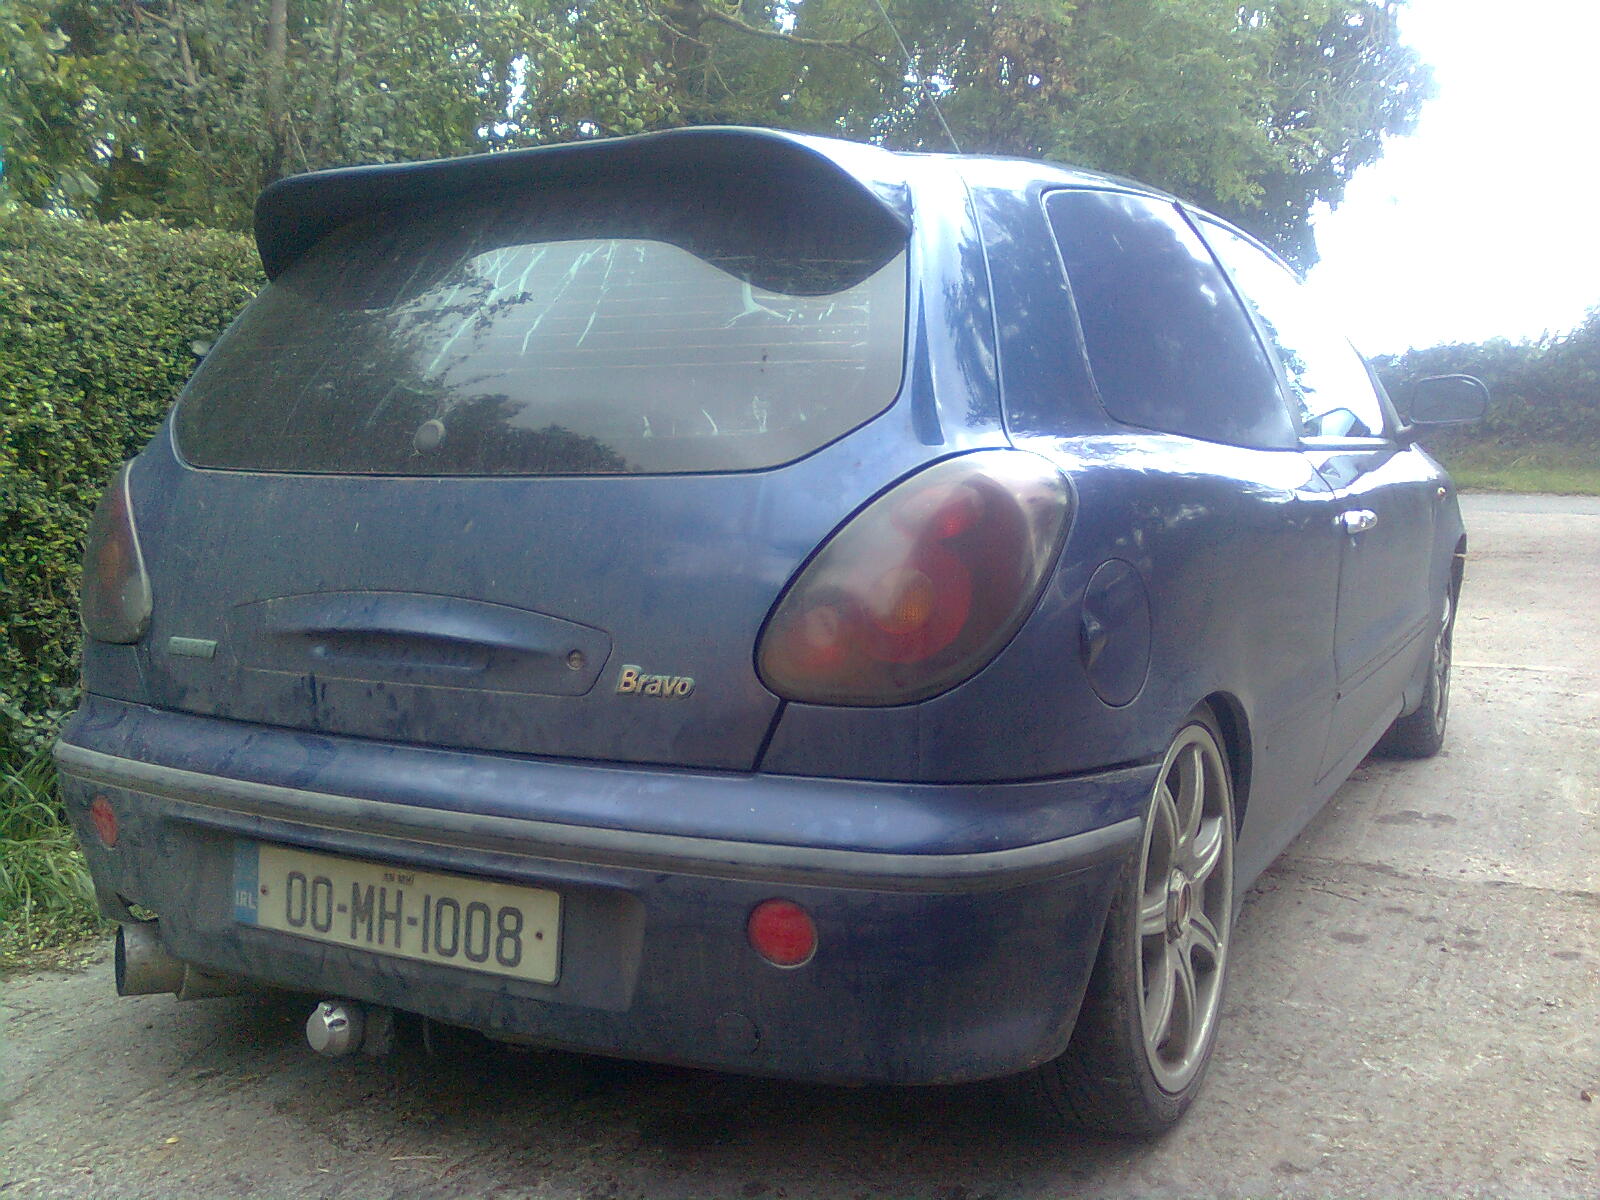
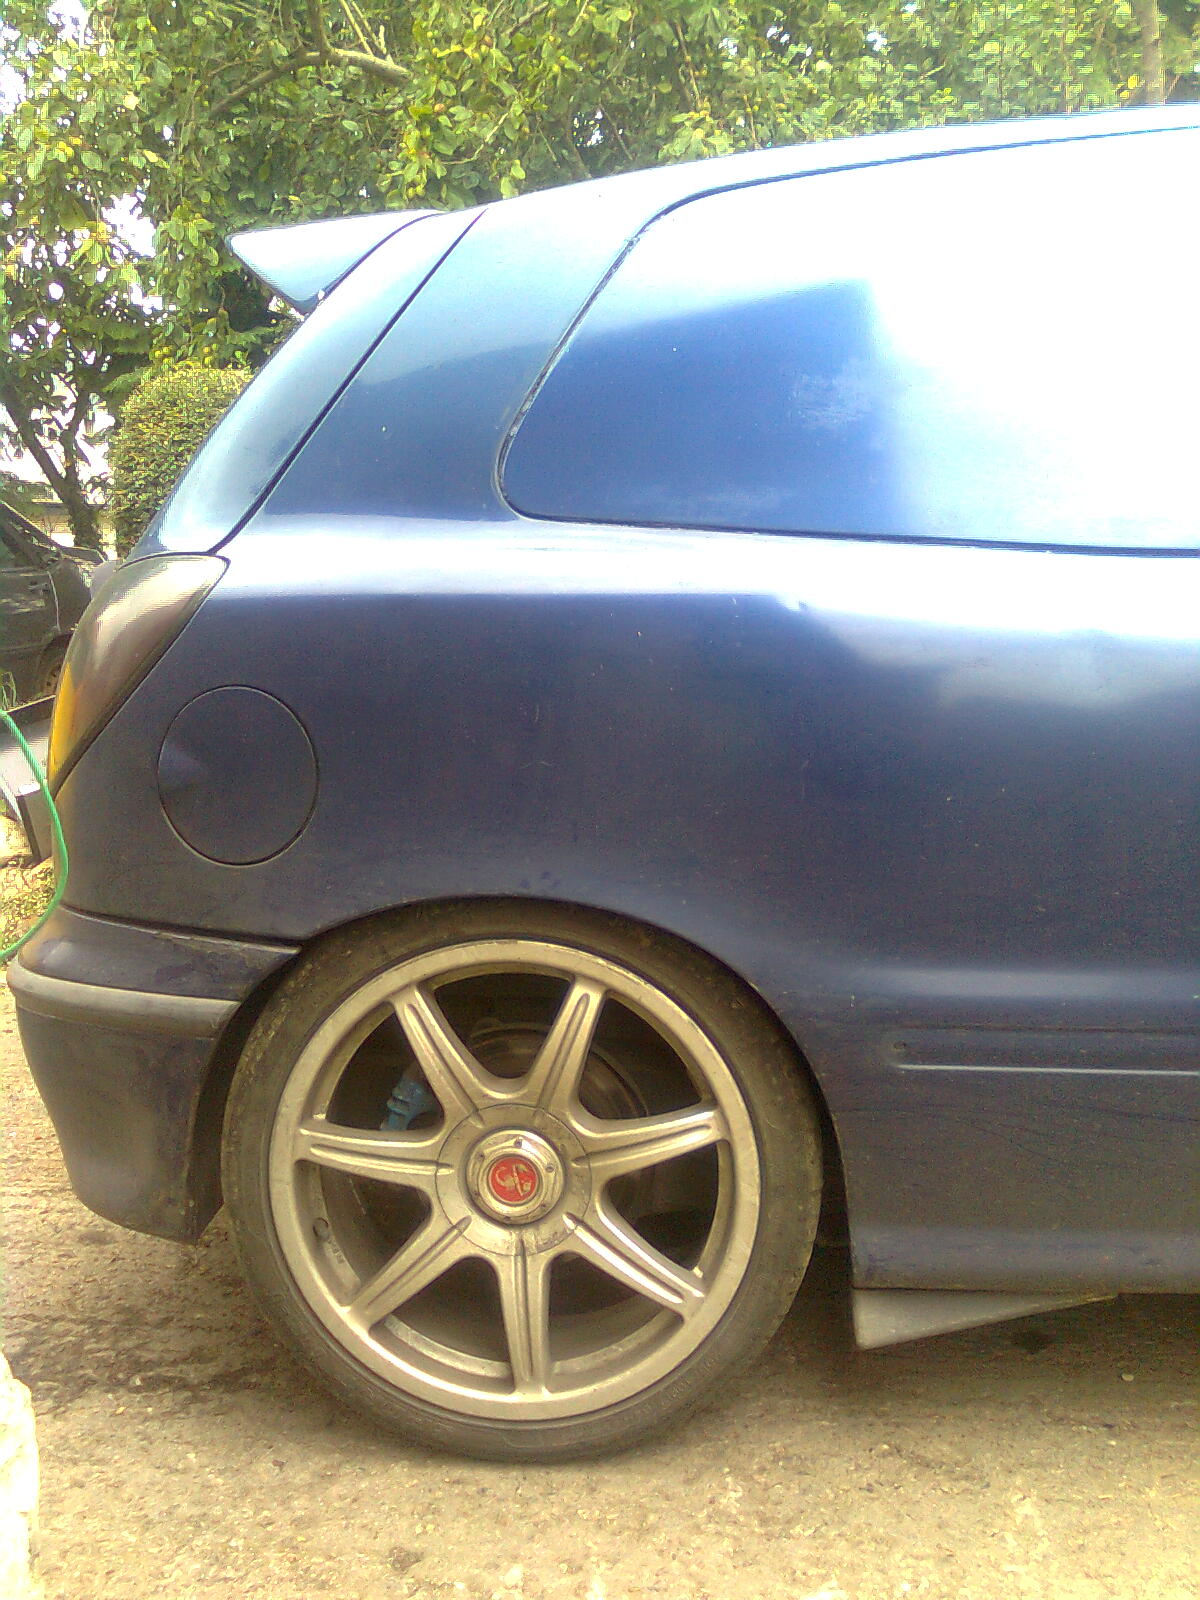
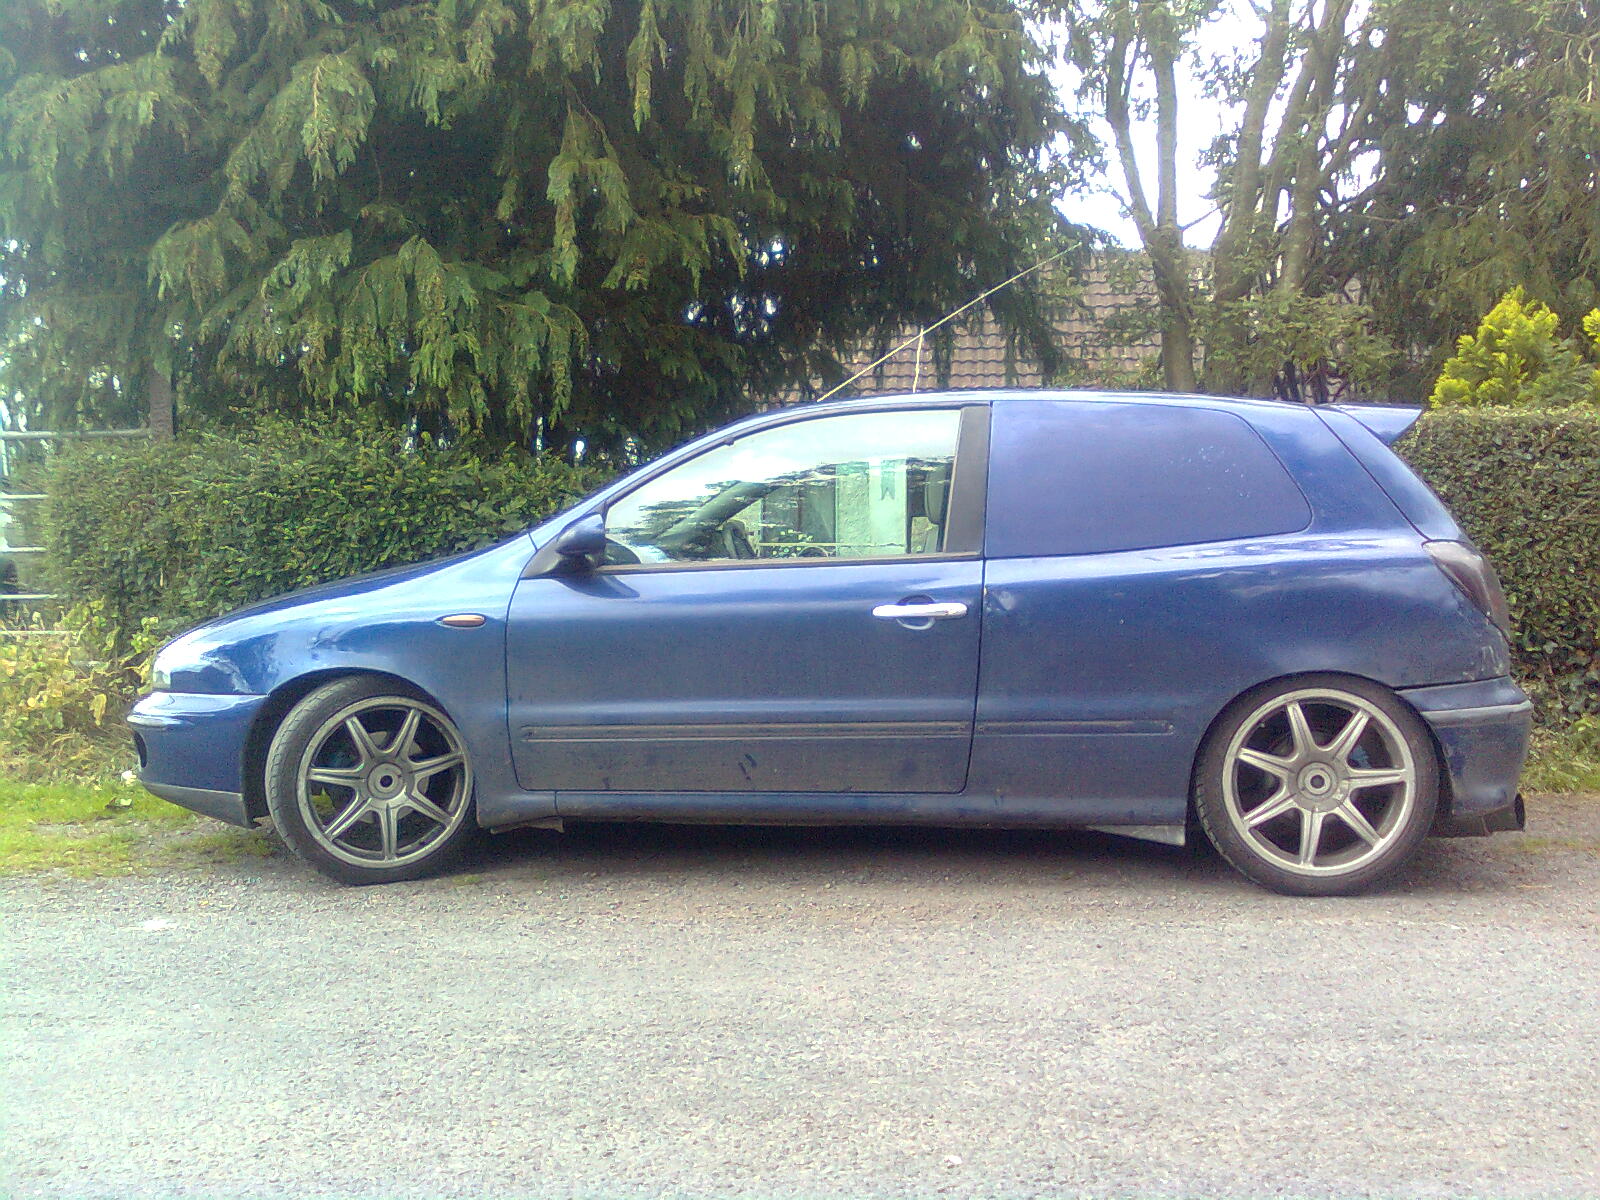
eventually the whole car will be resprayed in blue, not black like I said on post 1, the blue has grown on me
but all dents will have to be ironed out first before that
Ahh I want a passenger airbag!
I have a passenger bag lying about...! You'll need the module and wiring for it, personally I prefer the lovely space for people to use but I kept the bag this time
why do you intend on crashing? lol
Spot on, don't find out if they work like I did years ago...!
Nice pics MB I havnt seen much under the dash, your pics answer all the questions I had. The heater box is massive haha!
Glad to have helped! Its not very difficult to remove, just time consuming and a bit fiddly. 2 people are preferable on re installation just to position it but the rest is straight foreward. Just remember where each plug goes
I like the baby changer table.
i hate the baby changer haha, it looks silly
Eh....! Where! I don't have kids!!!
Cheers for the comments everyone I really appreciate it!
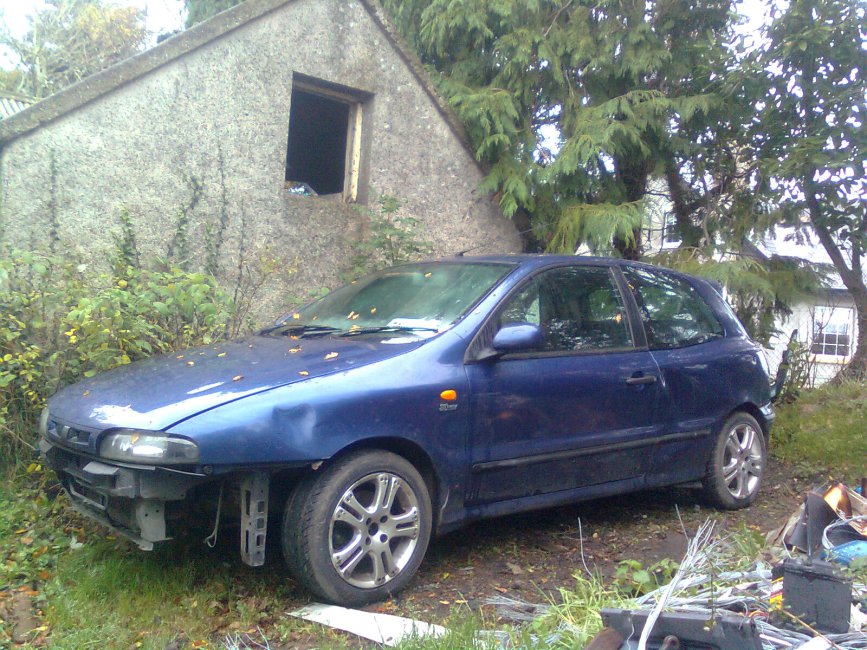
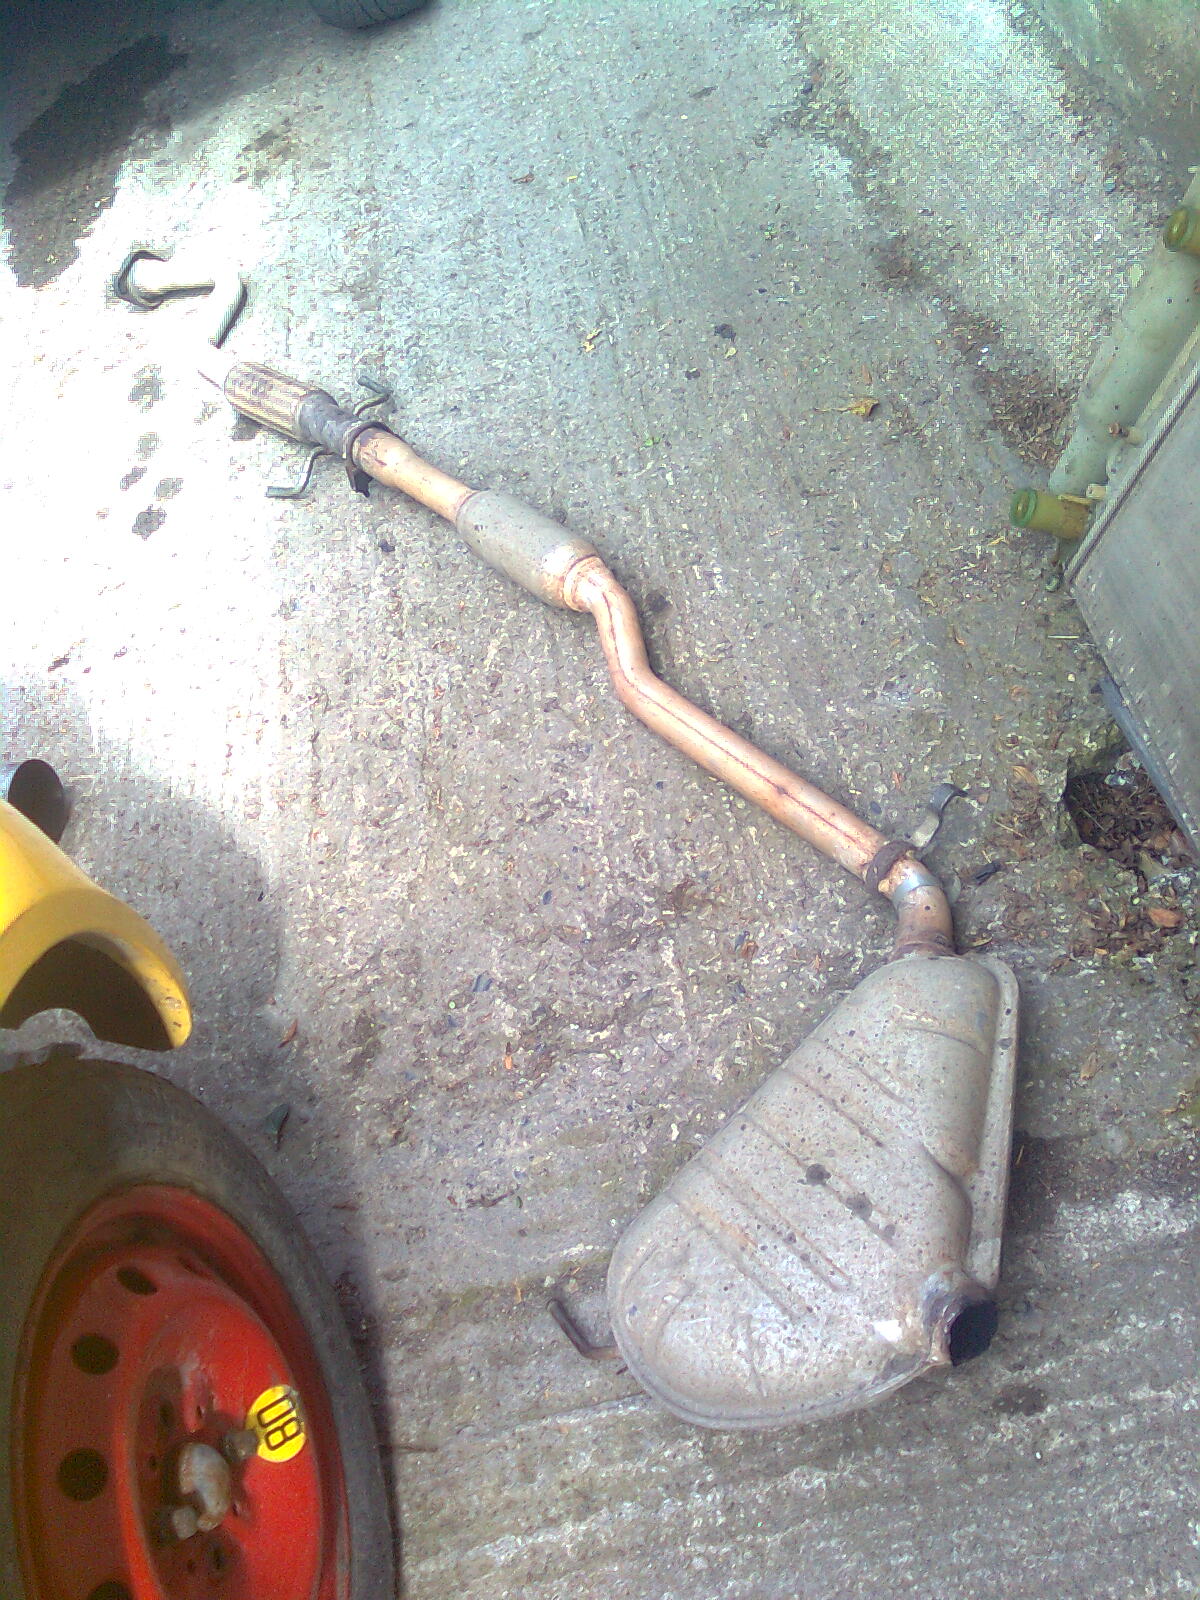
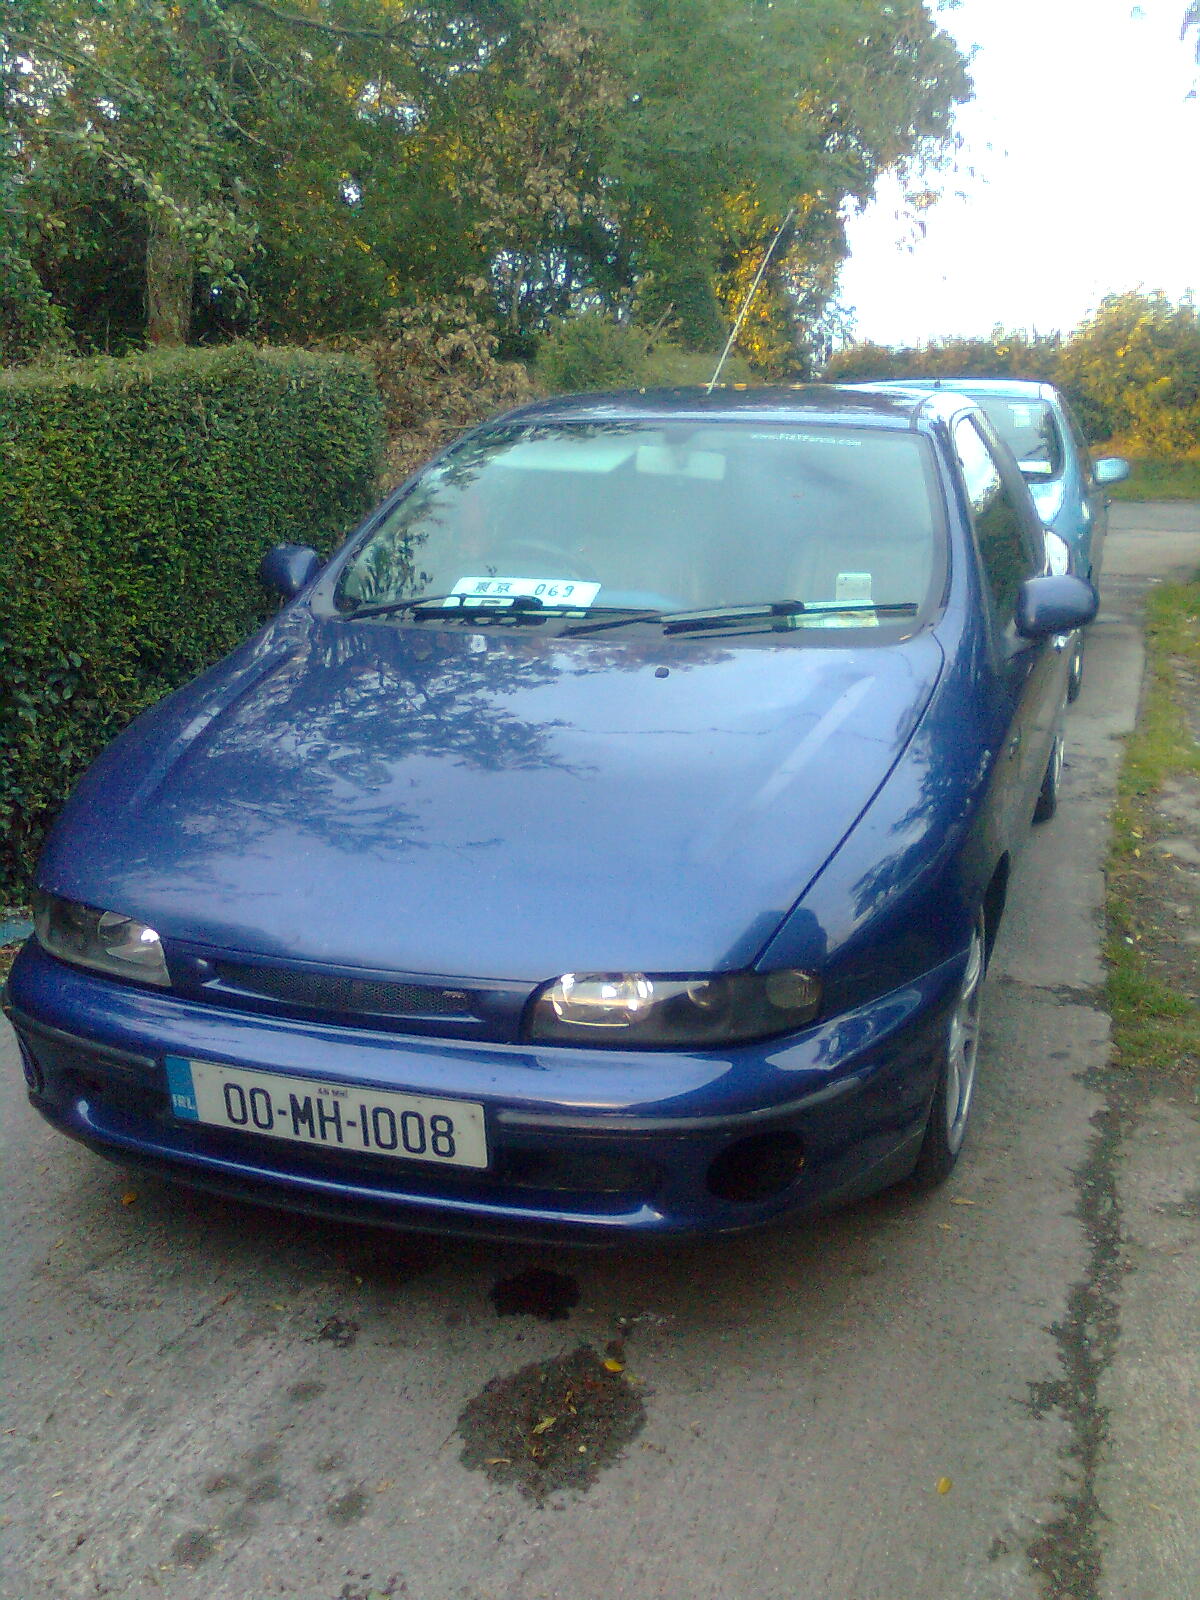
I've been very busy the last 2 days rackin' up the miles on this van but I can say its going very well thankfully
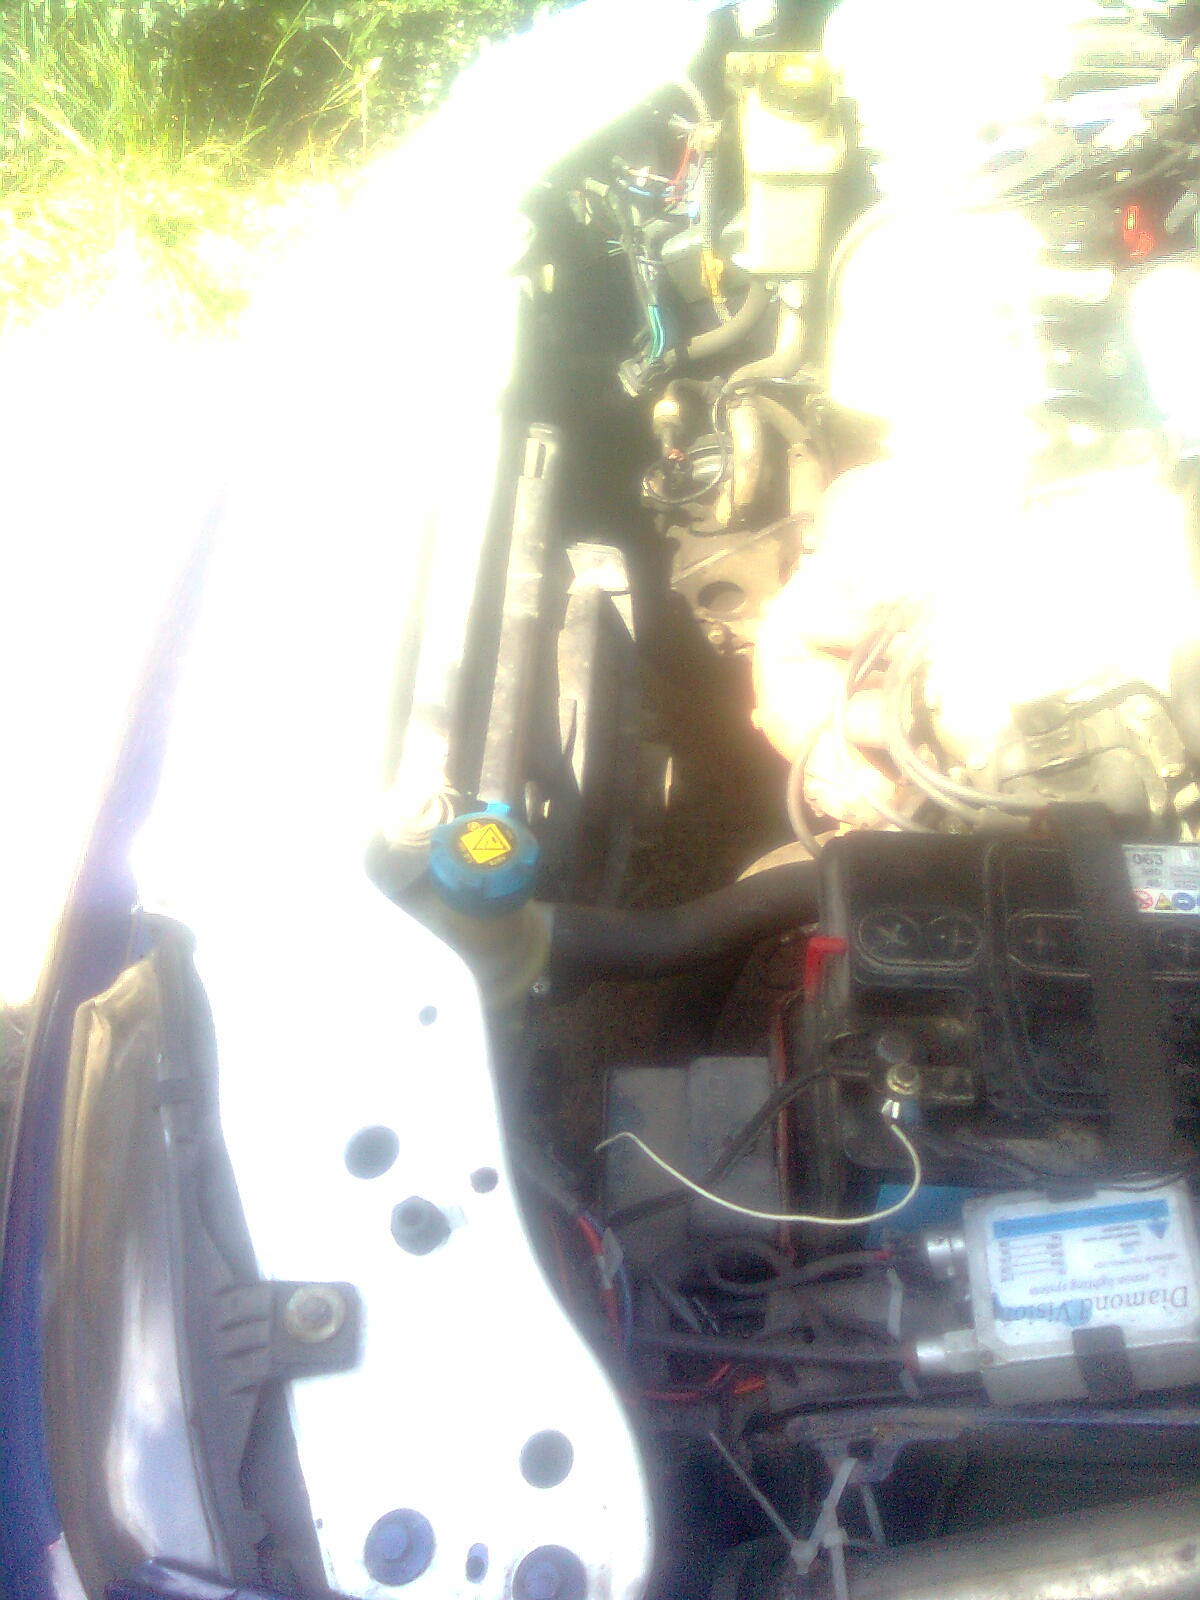
no noises out of the dash, a little bit of air is still trapped but I'll get round to that tomorrow
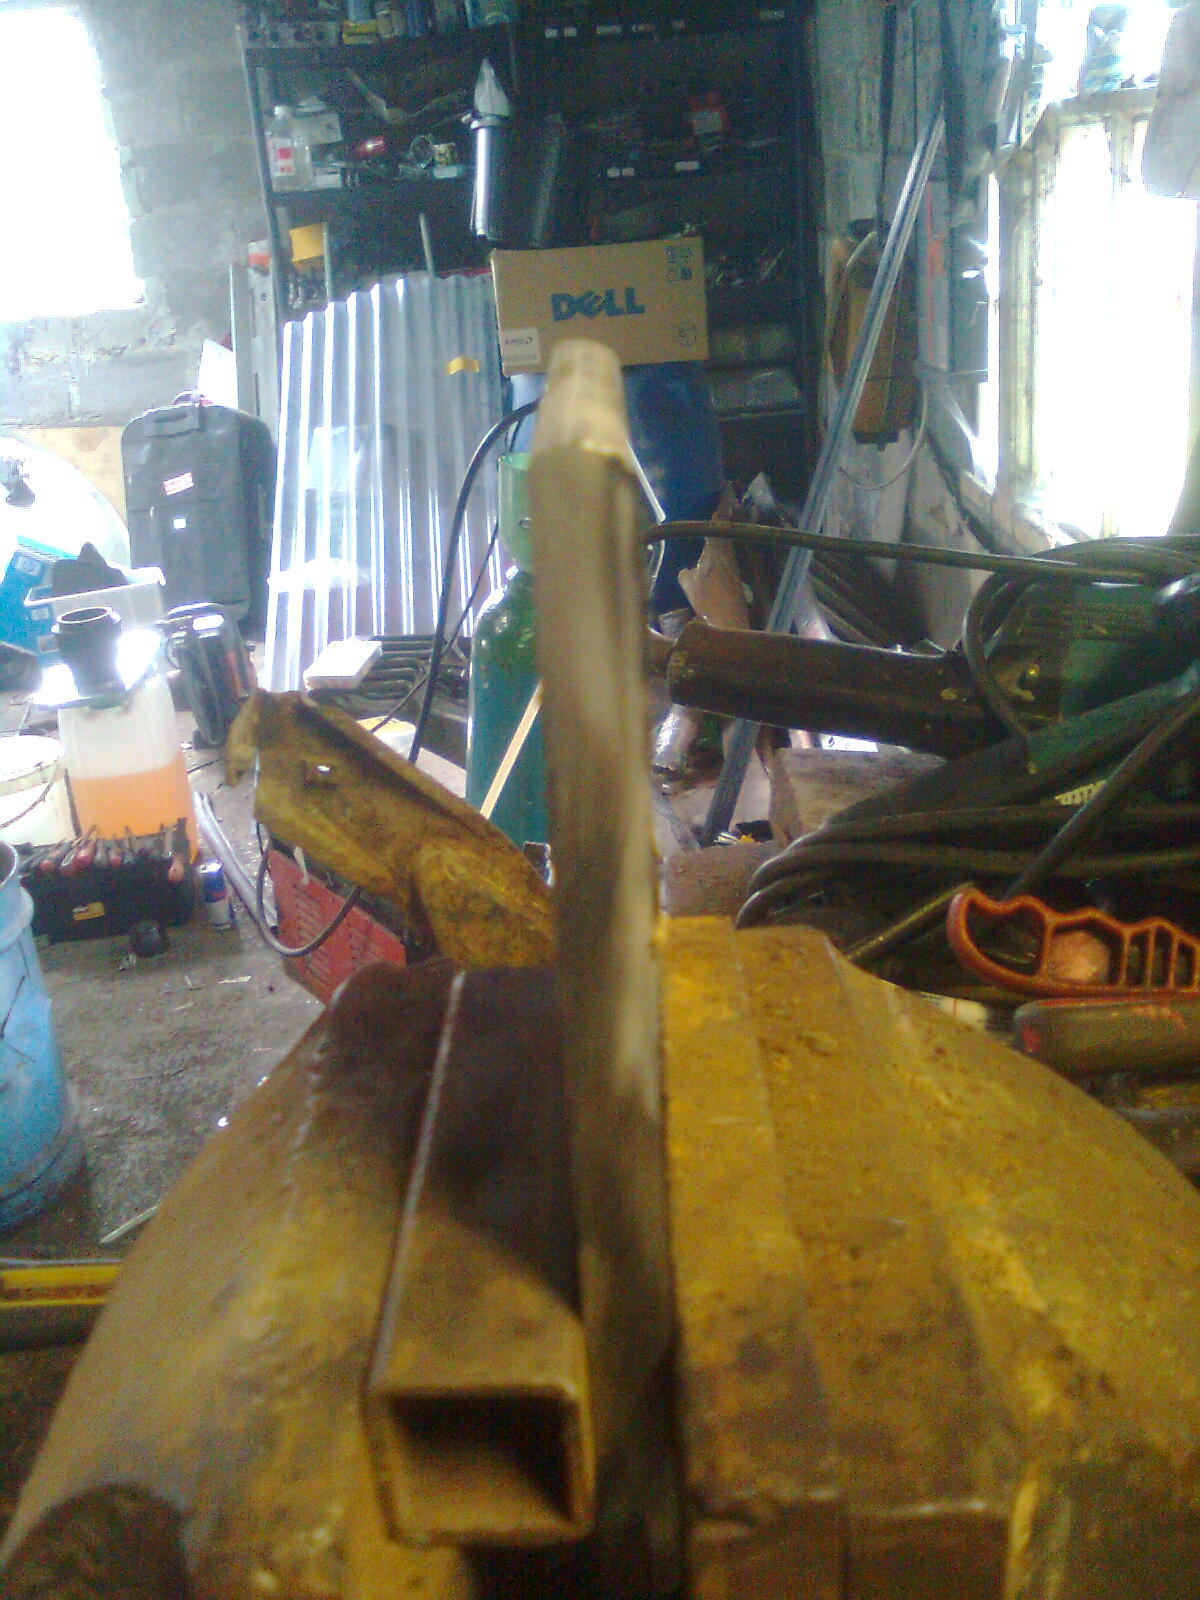
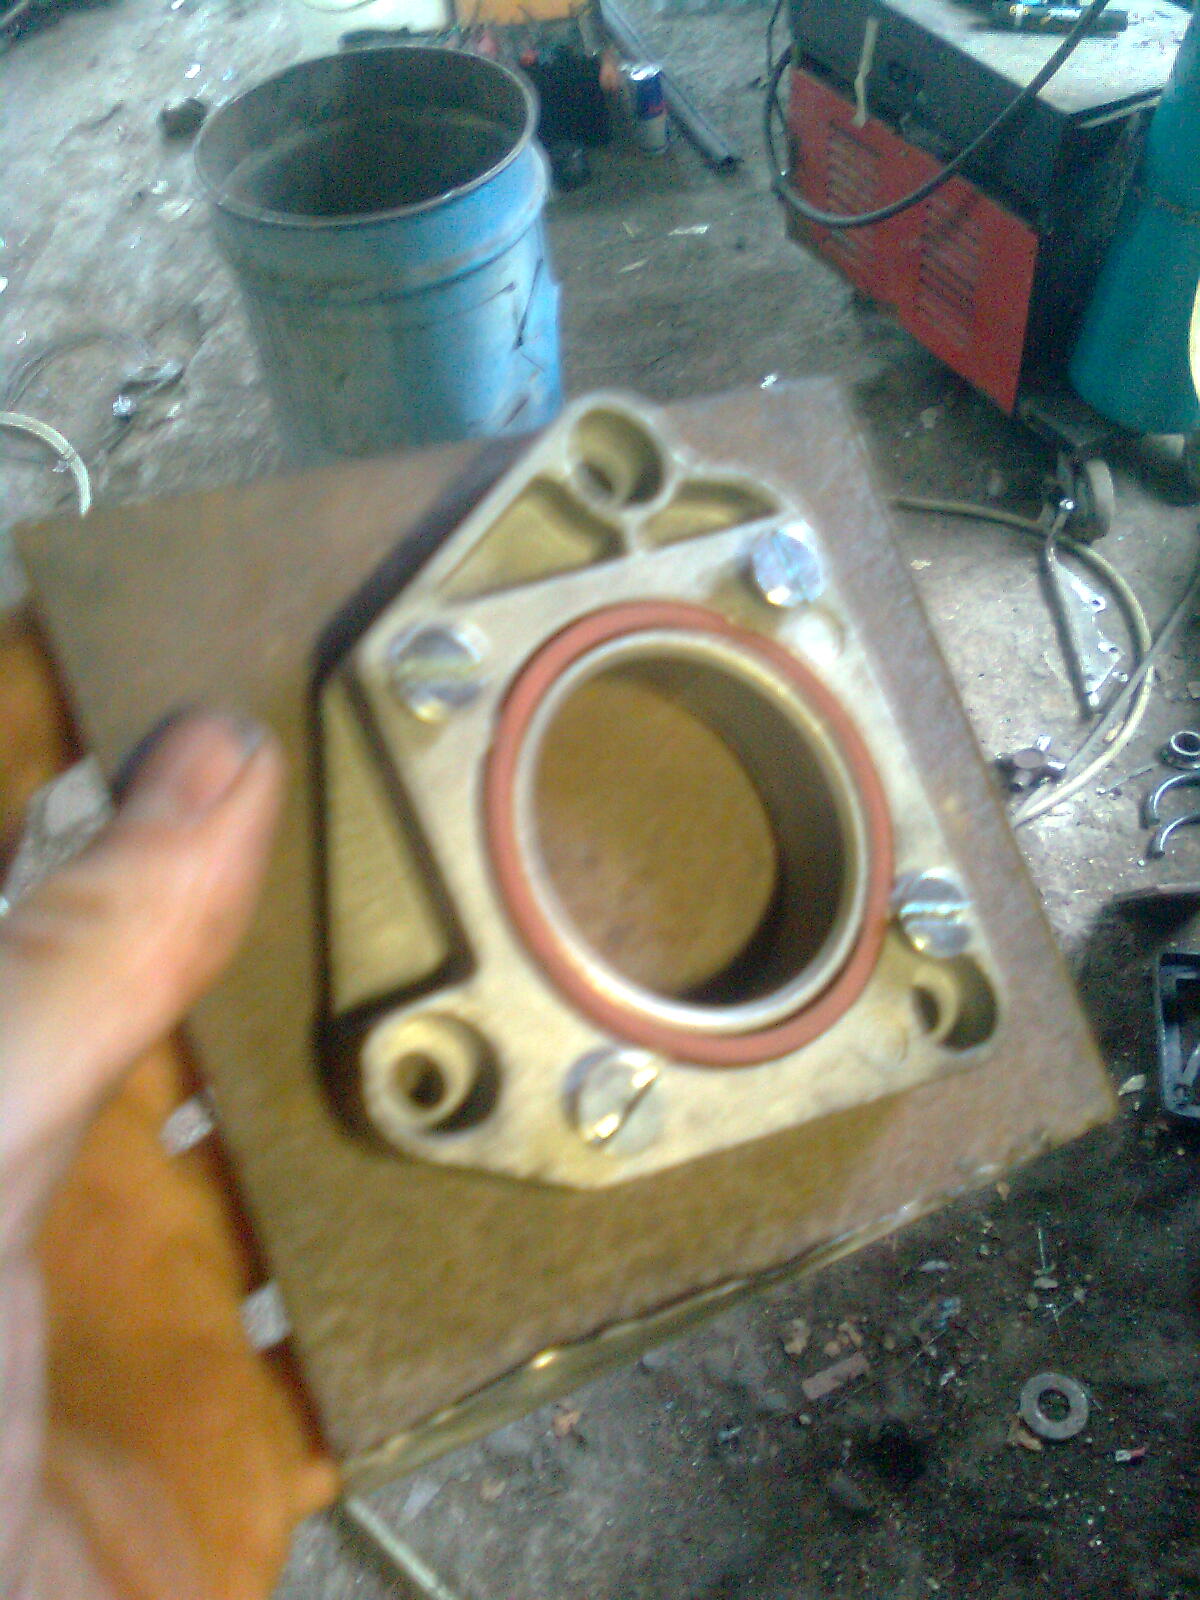
I got fed up of my temp gauge not working
so I attempted to fix it
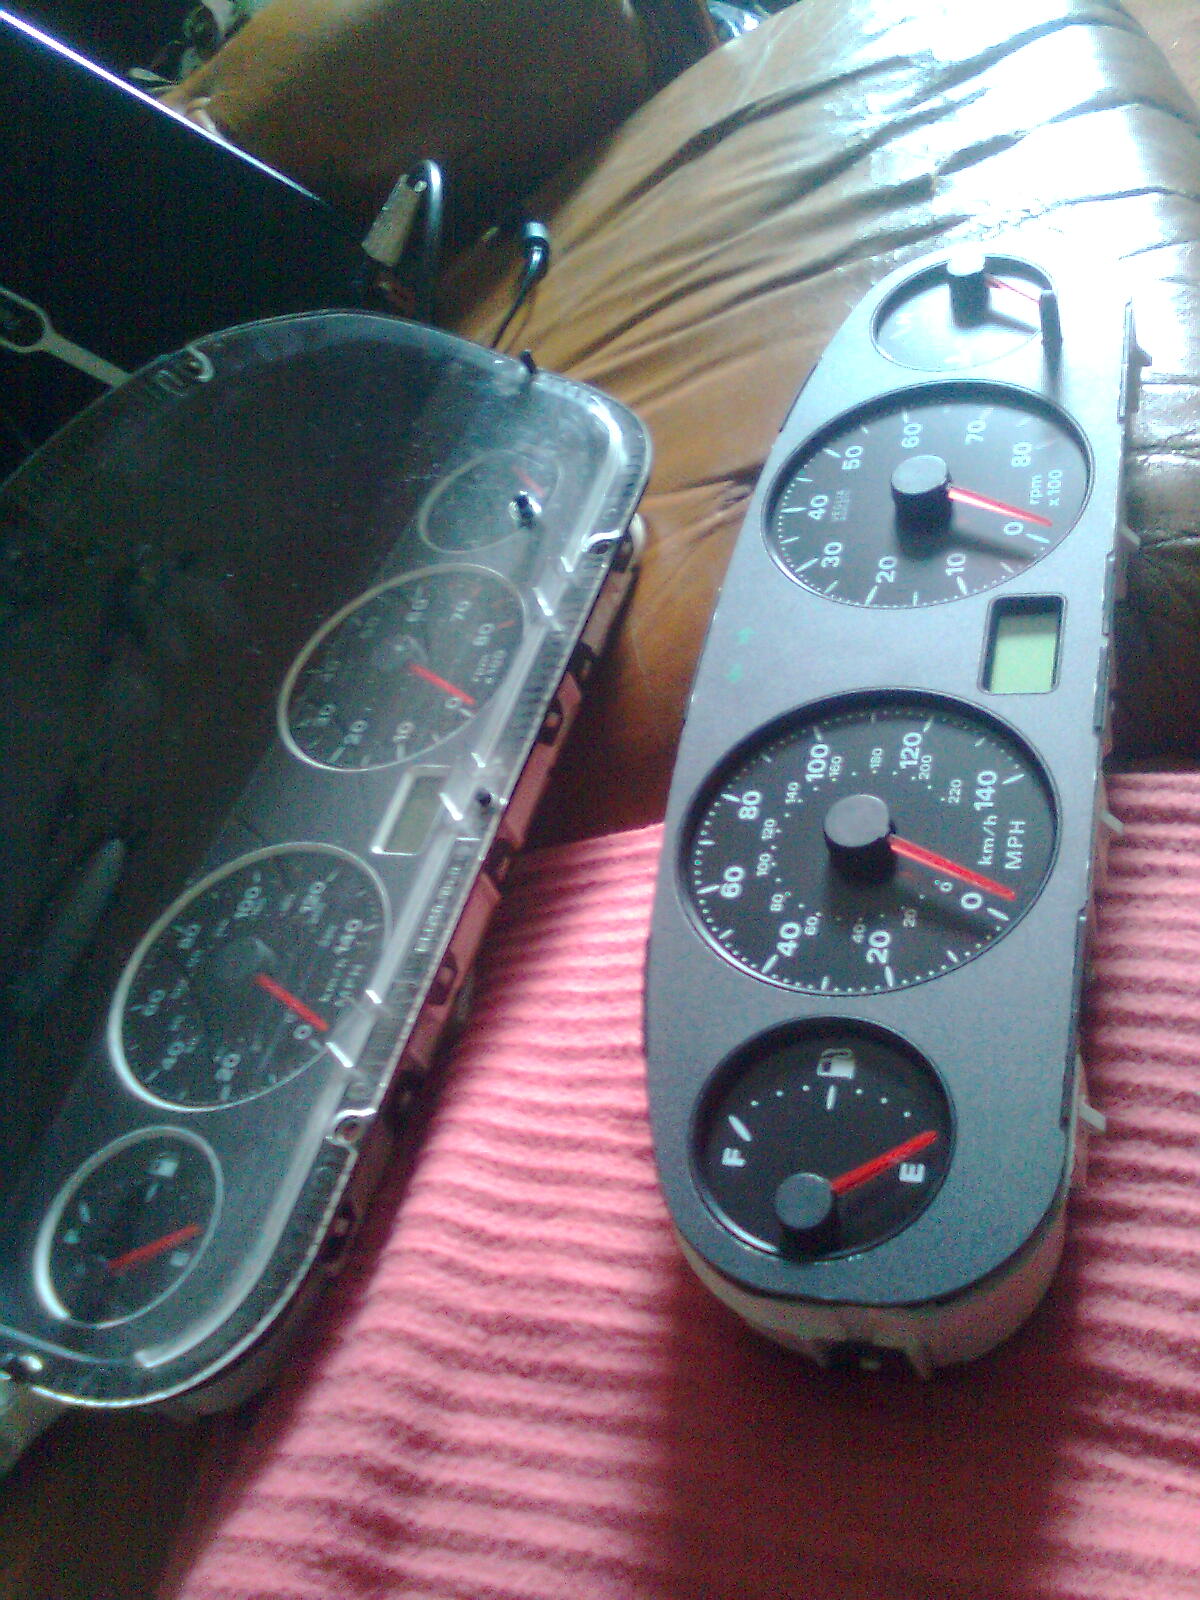
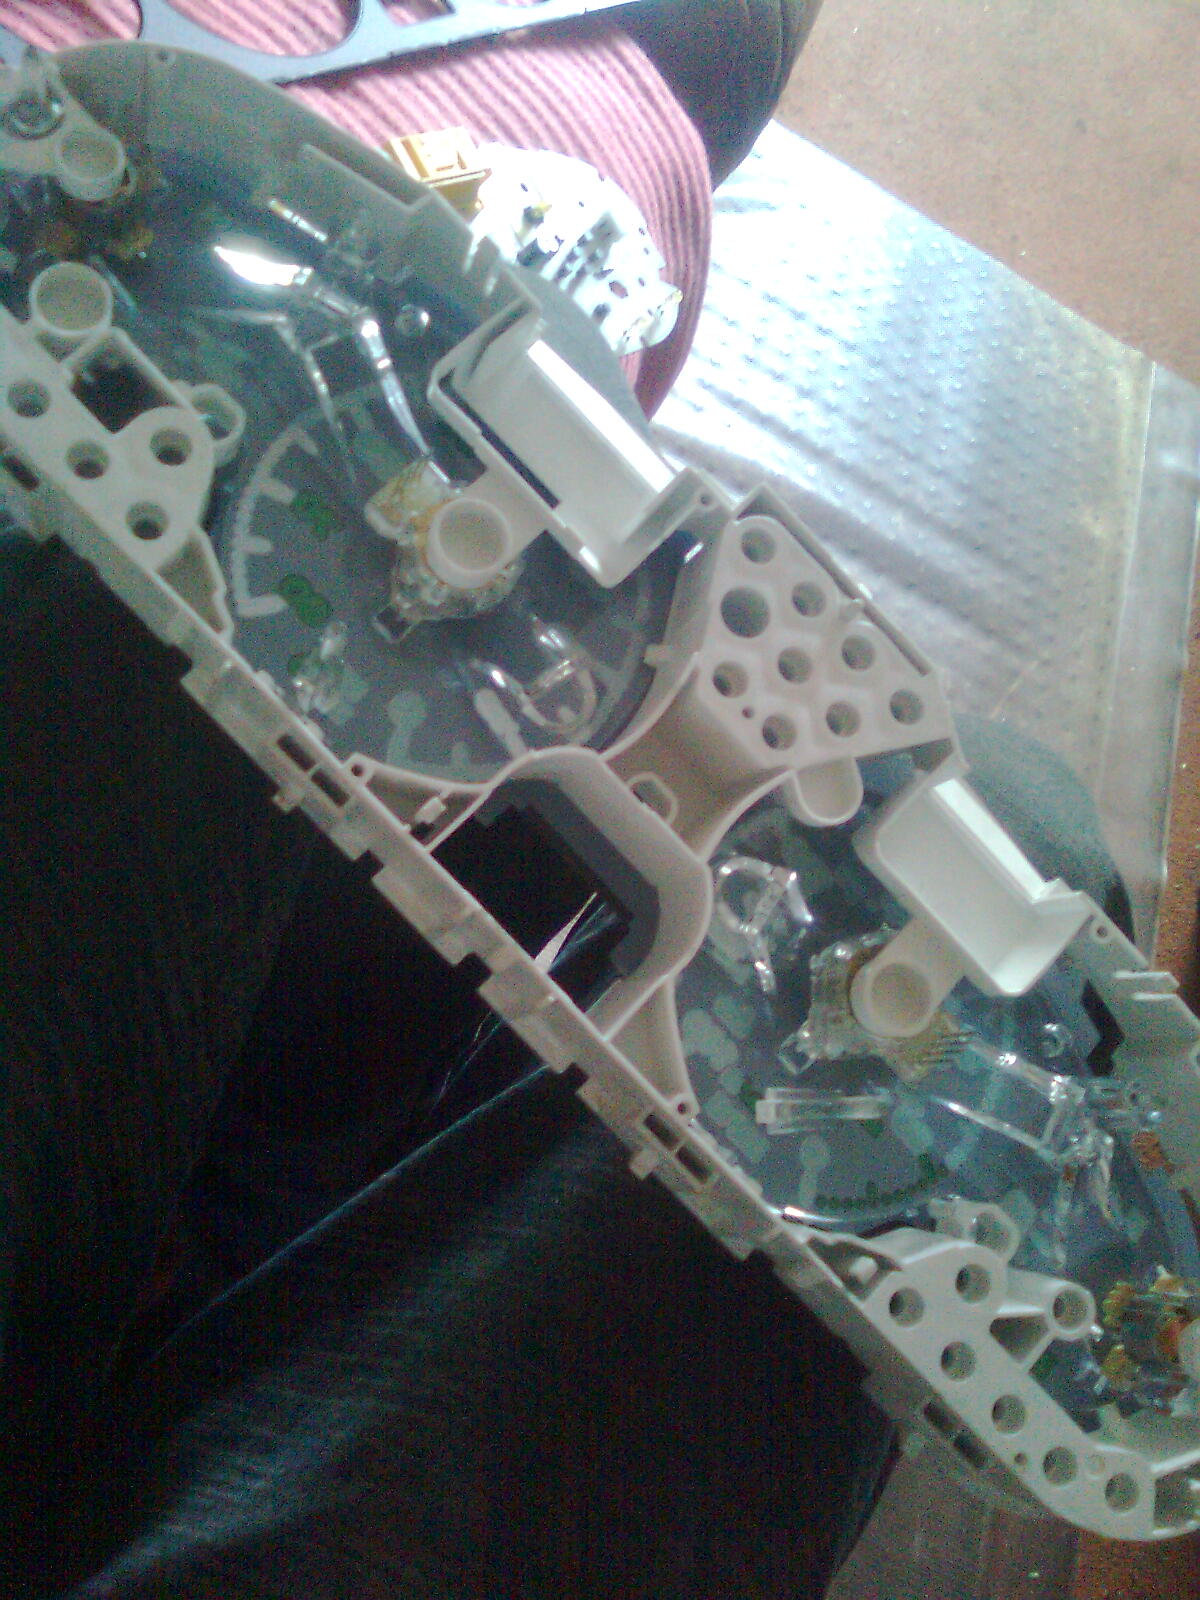
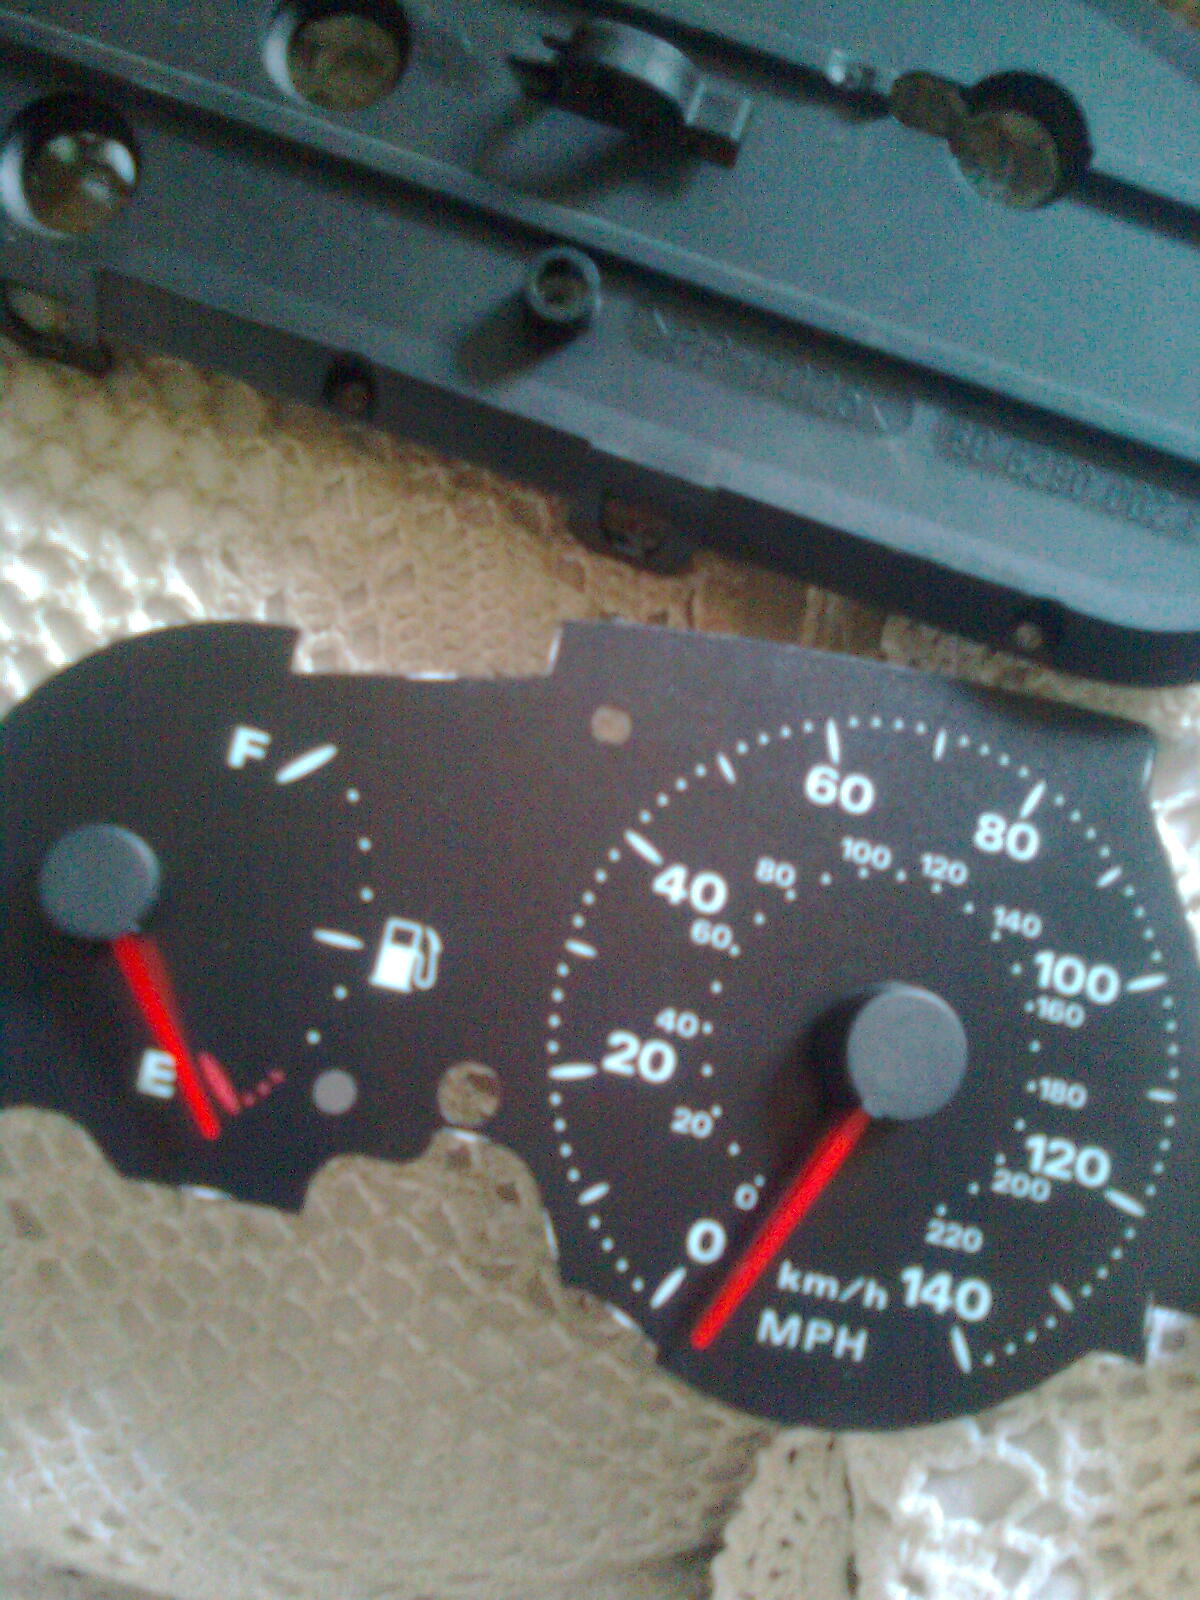
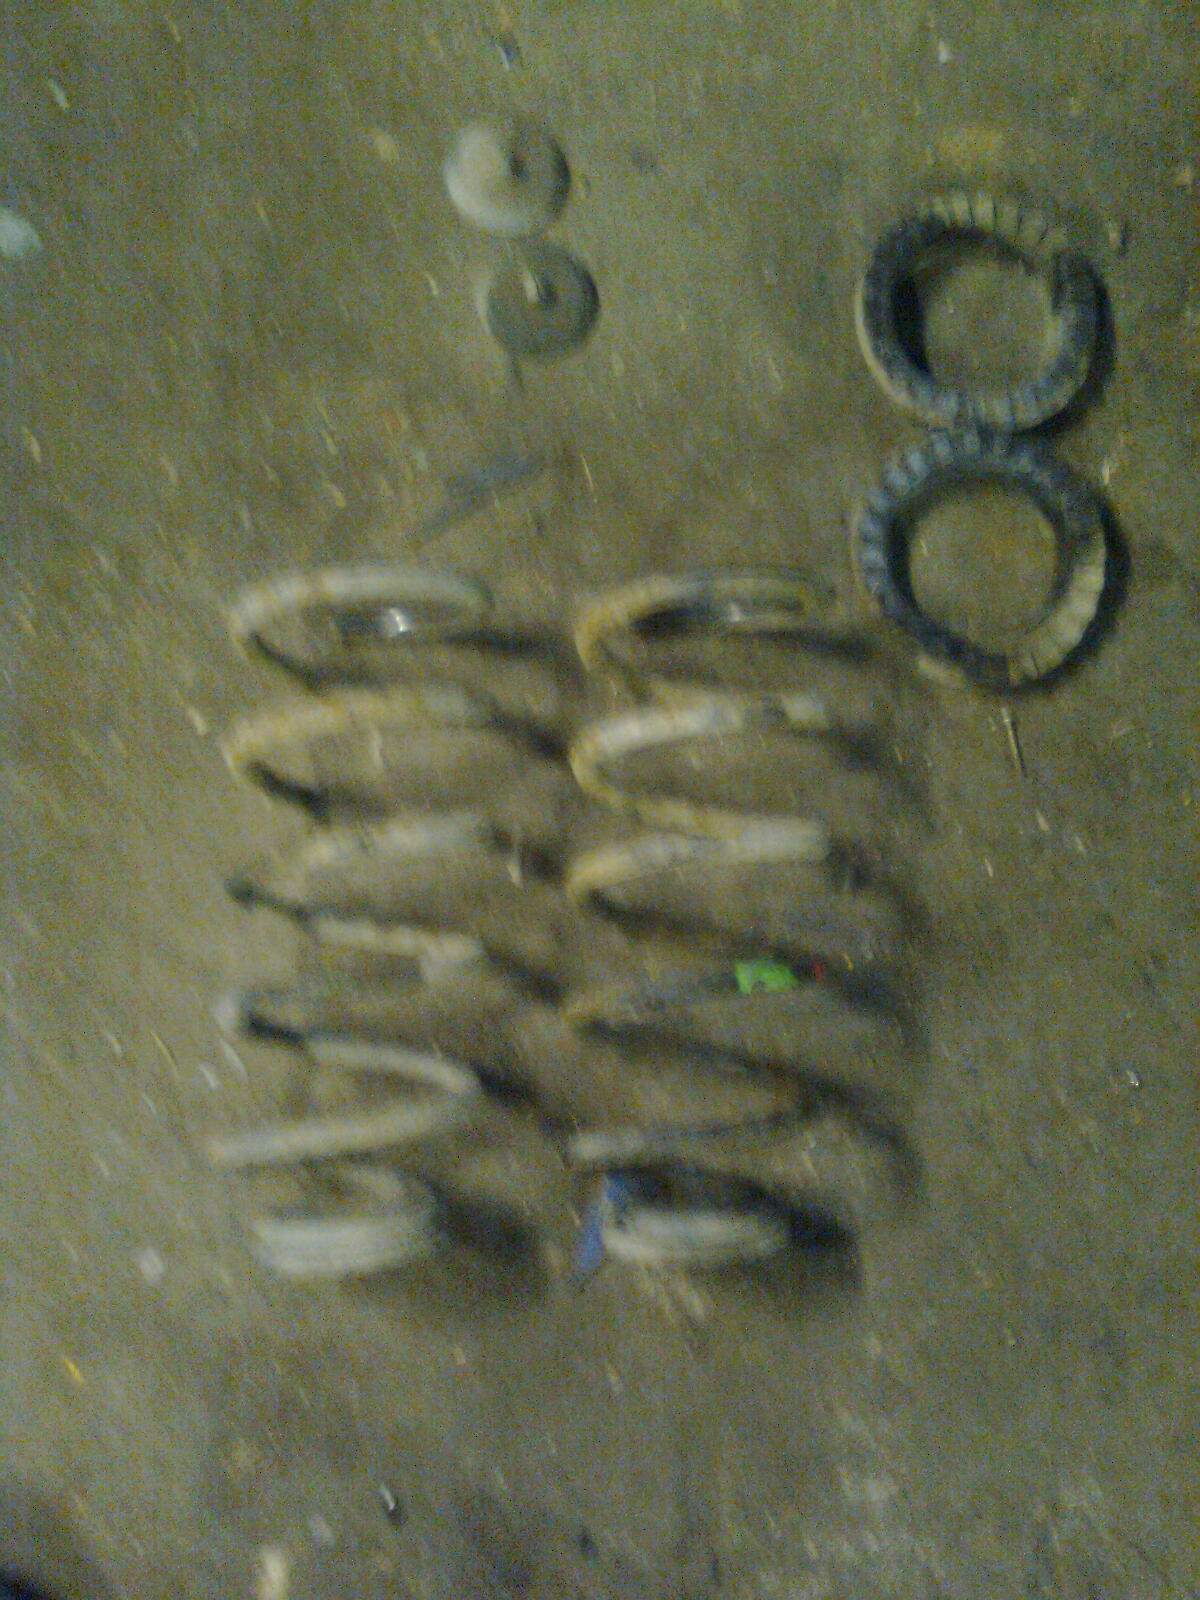
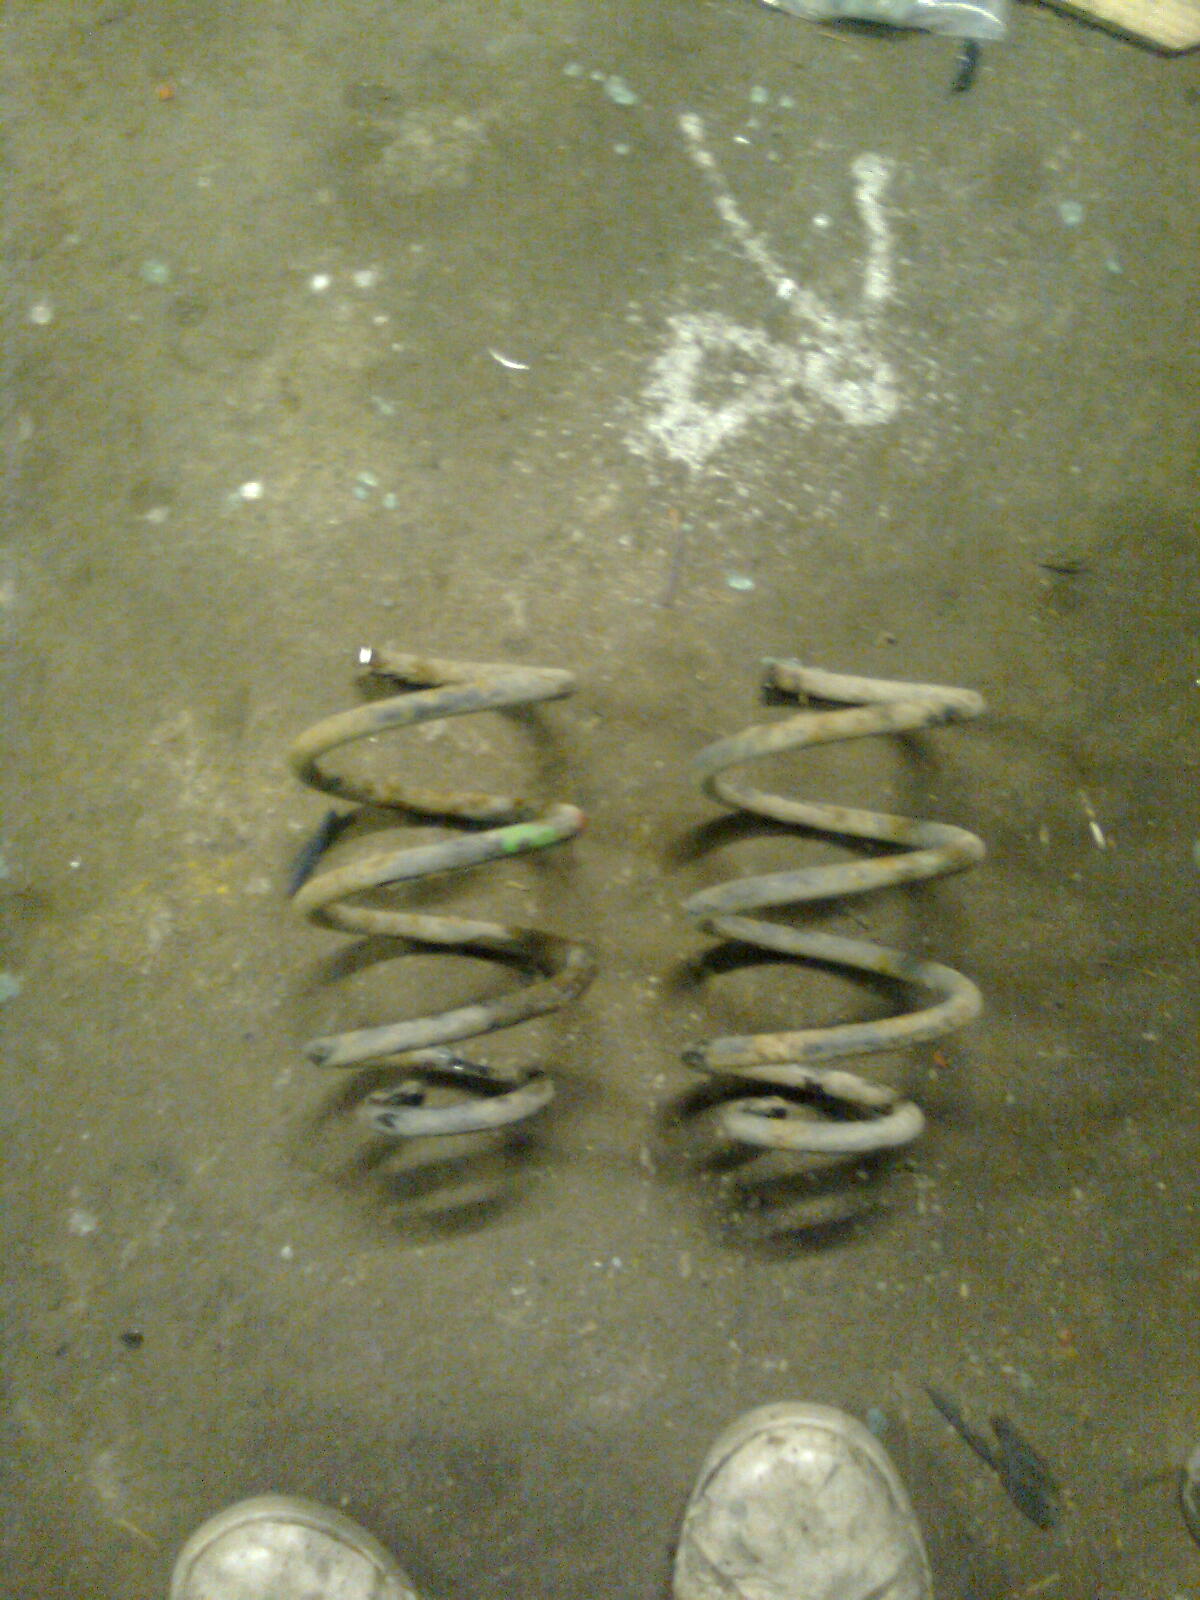
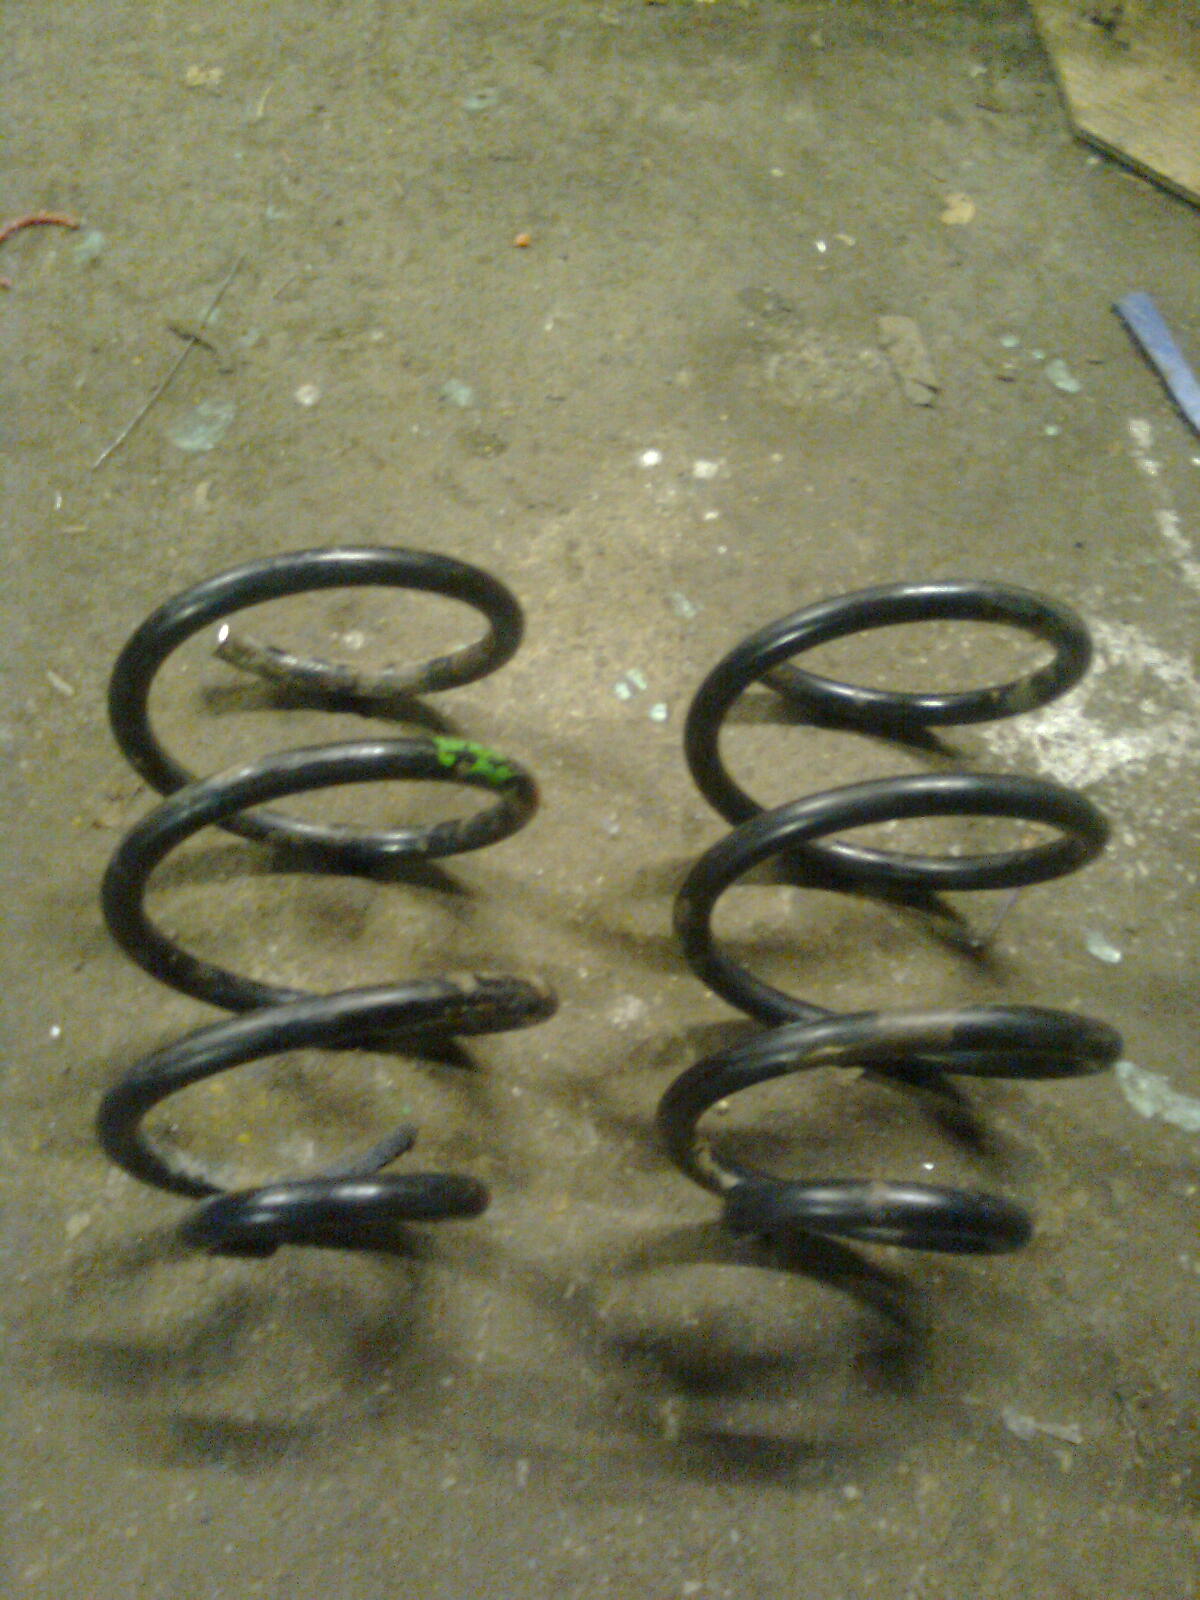
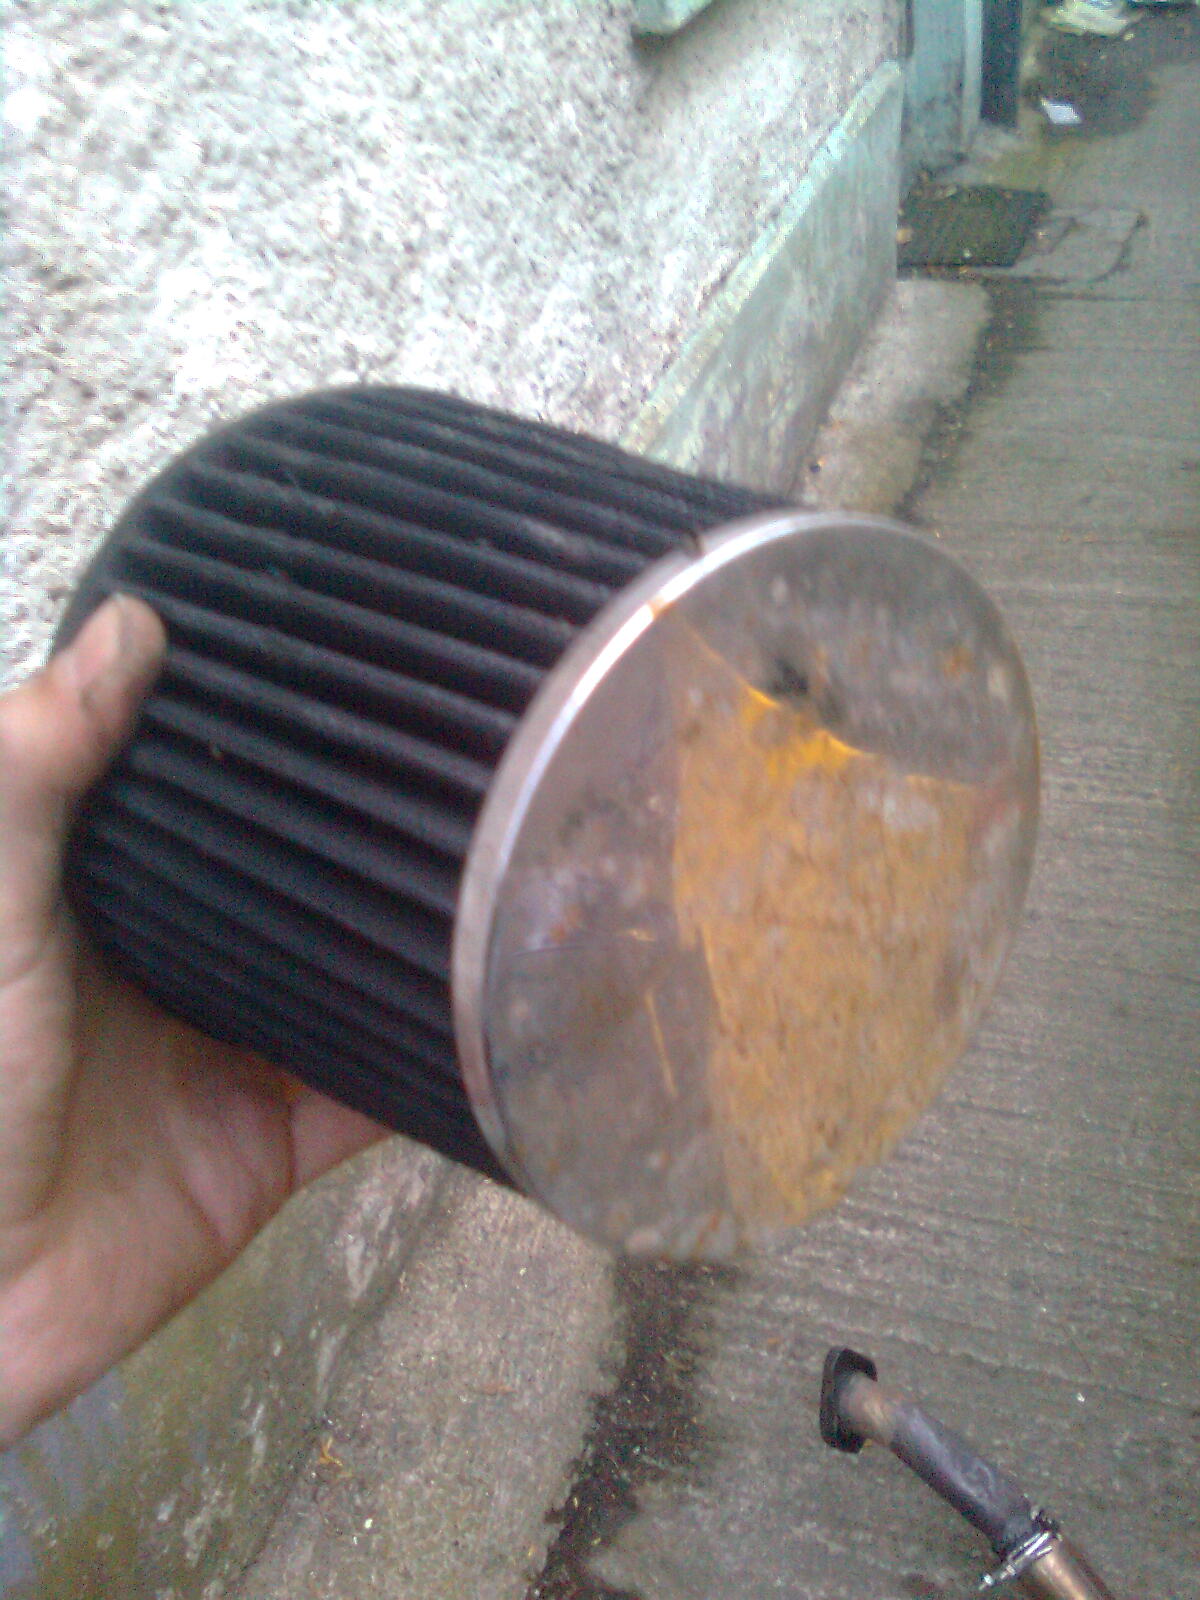
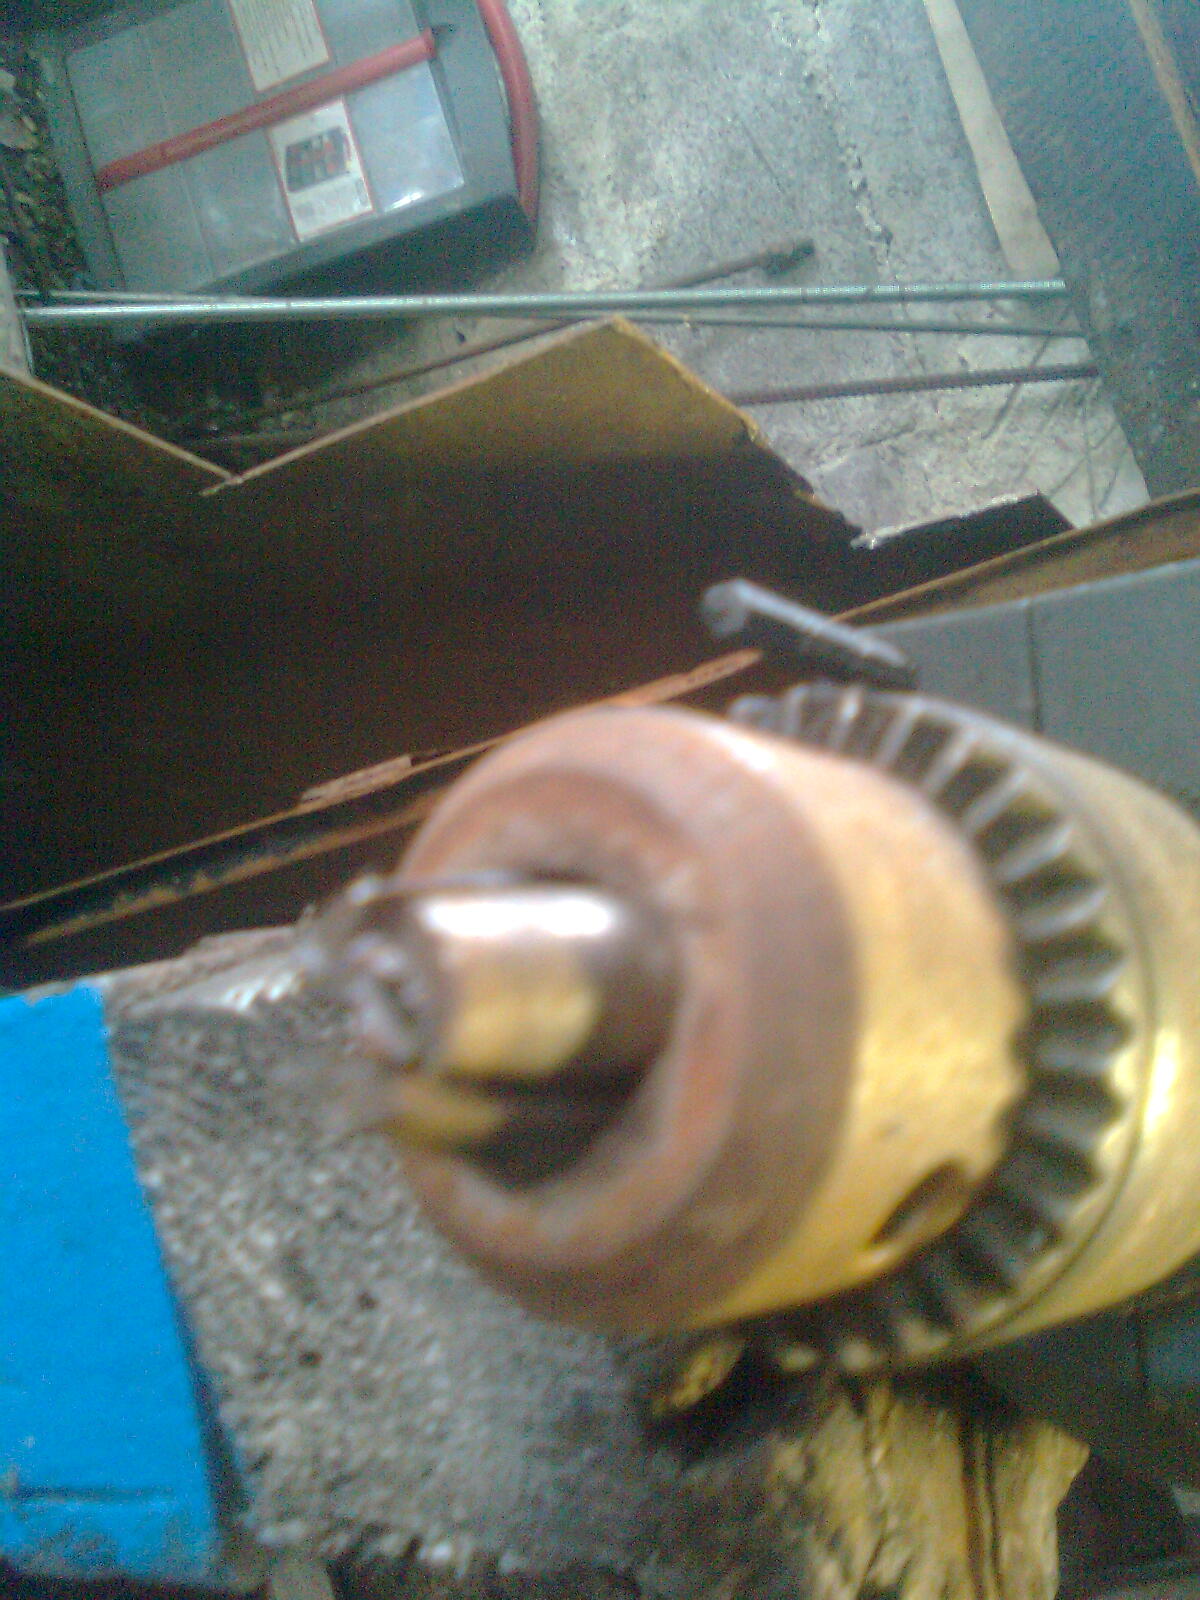
I have many of these... Theyre easy to strip but take care when dismantling, one wrong move, bye bye speedo board
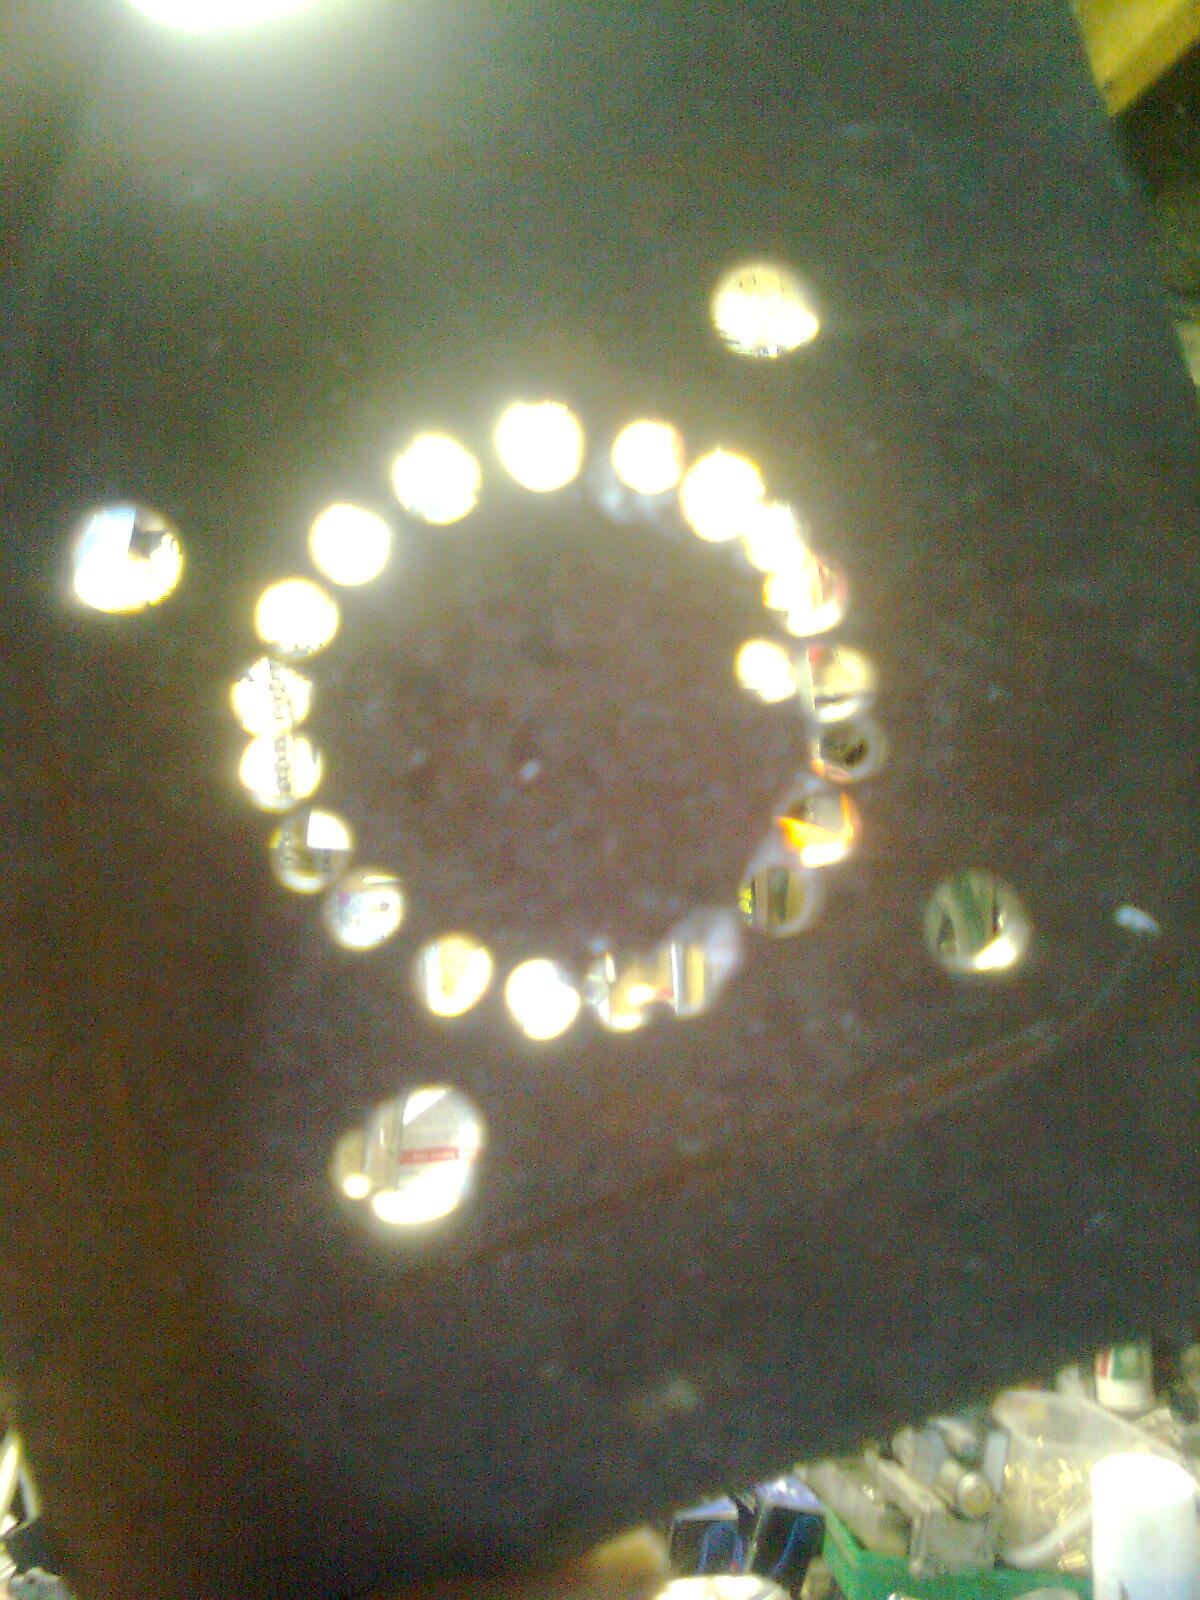
Eventually...
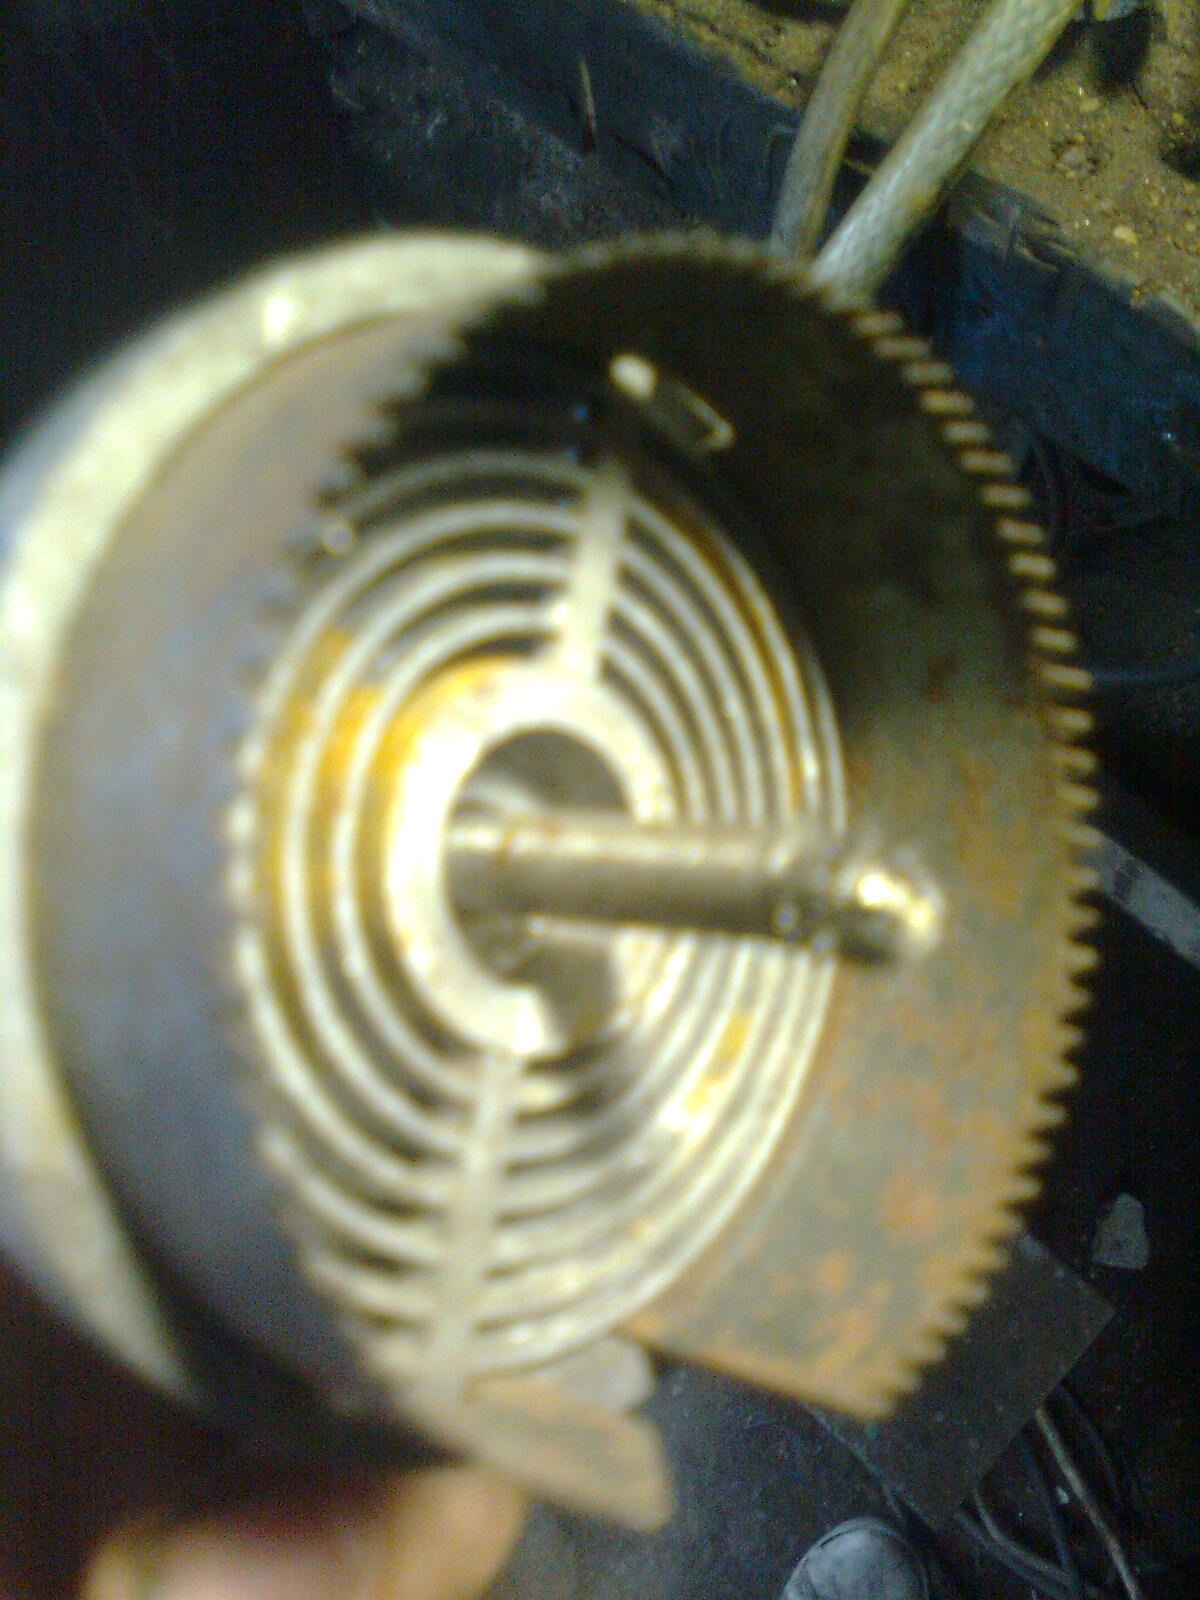
There are differences between speedos. Little differences. This is the "new" set of clocks on my old board
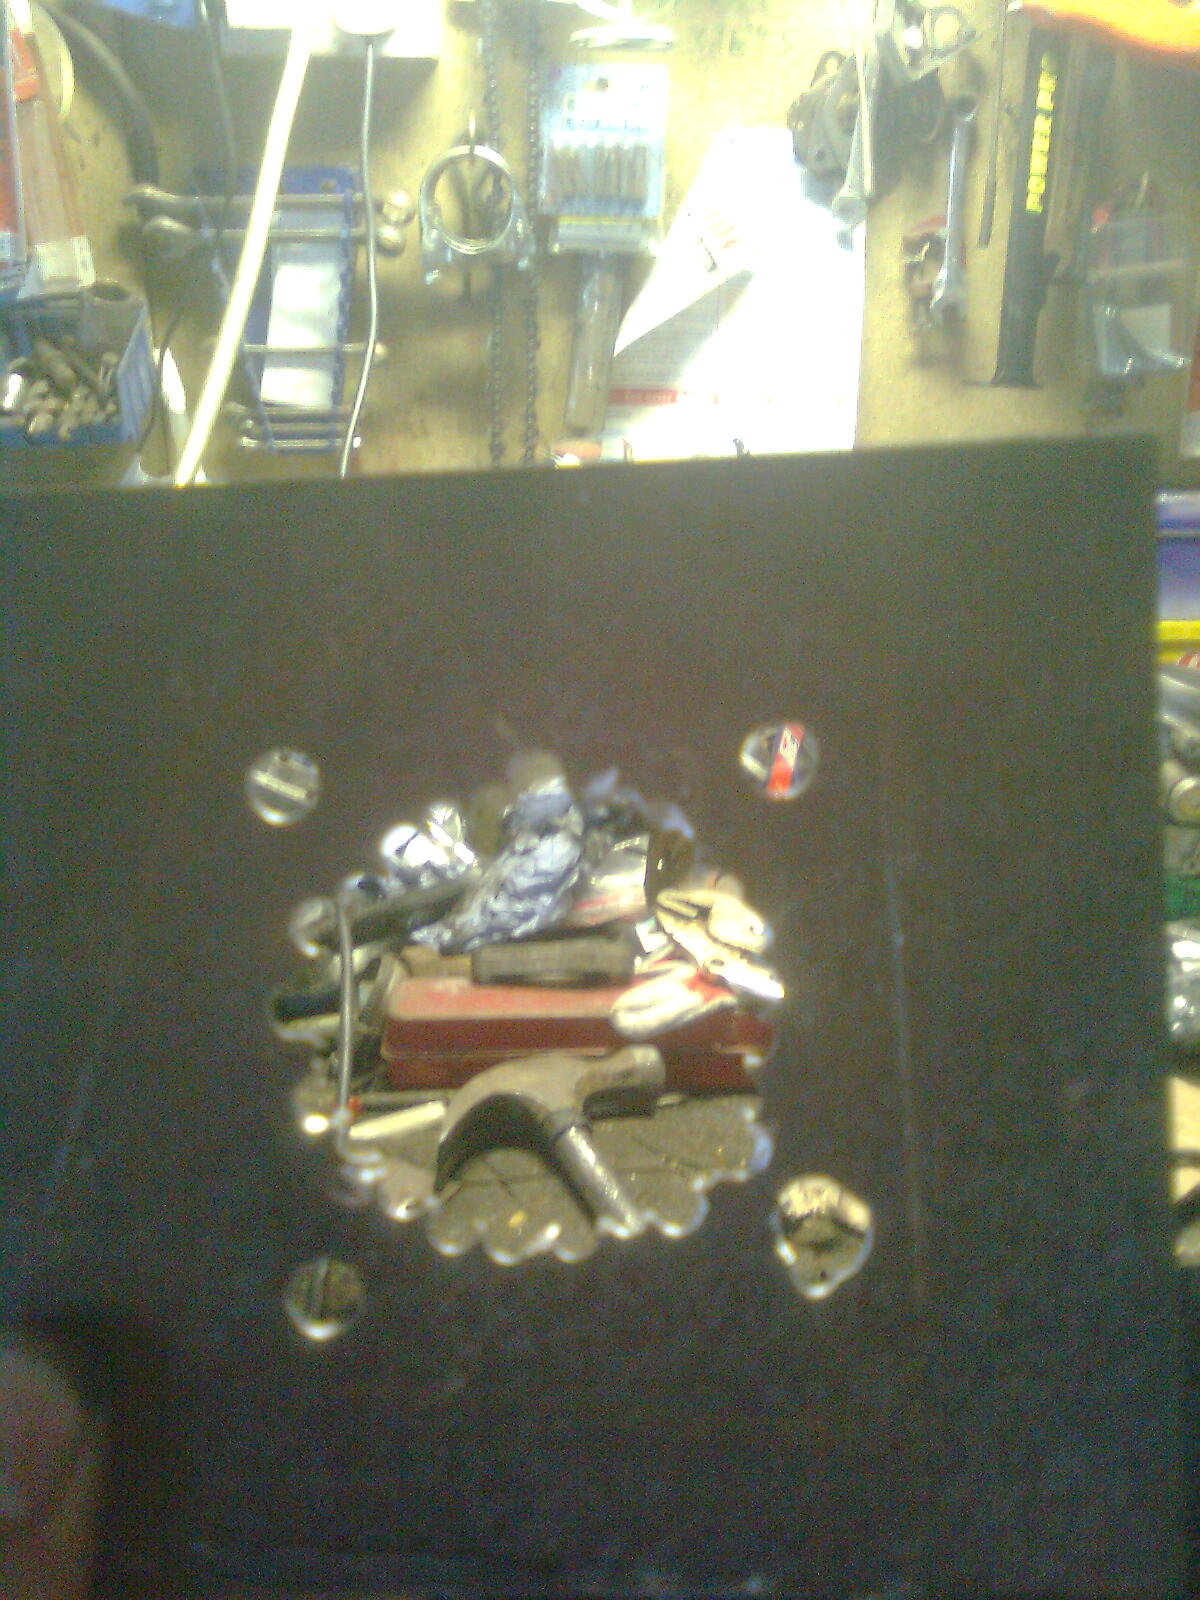
Compared to the previous set
Anyone spot the difference?
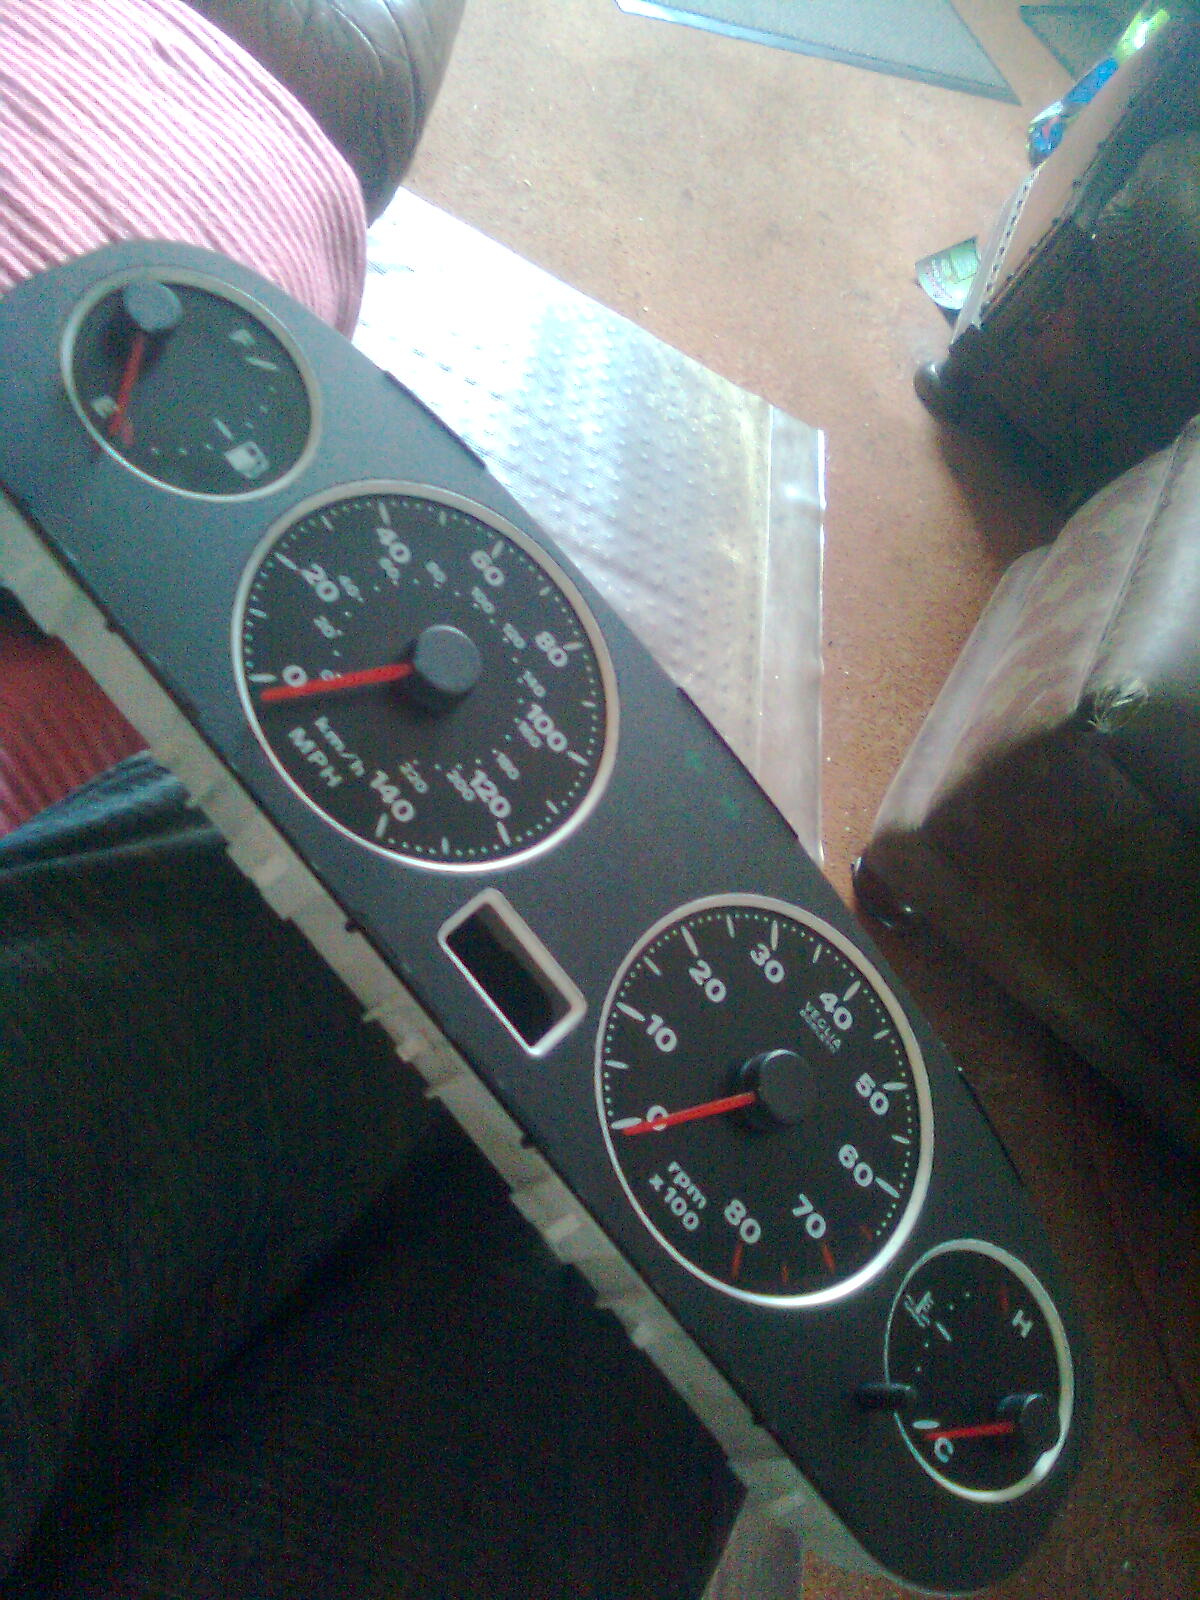
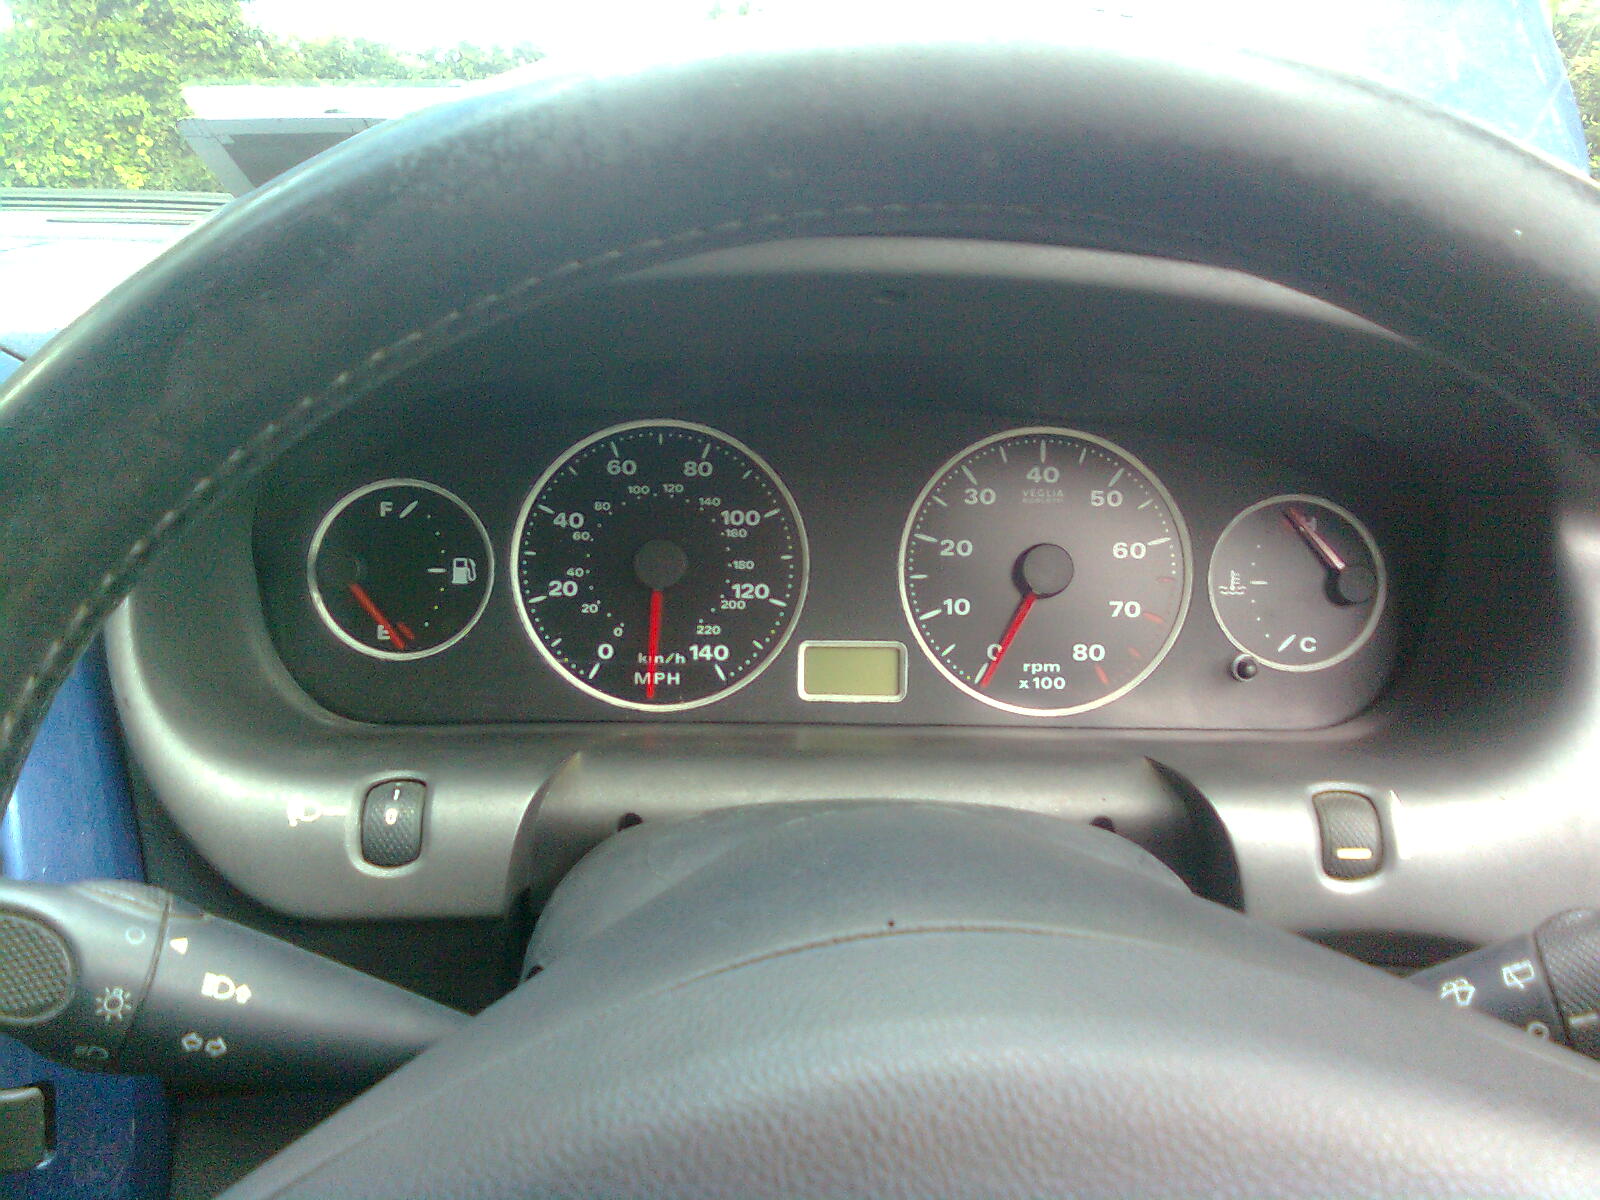
Alas, I tried the clocks but they didn't work very well. The engine is off and the key is out in this pic :bang:
So I reverted to the old clocks. Oh well...
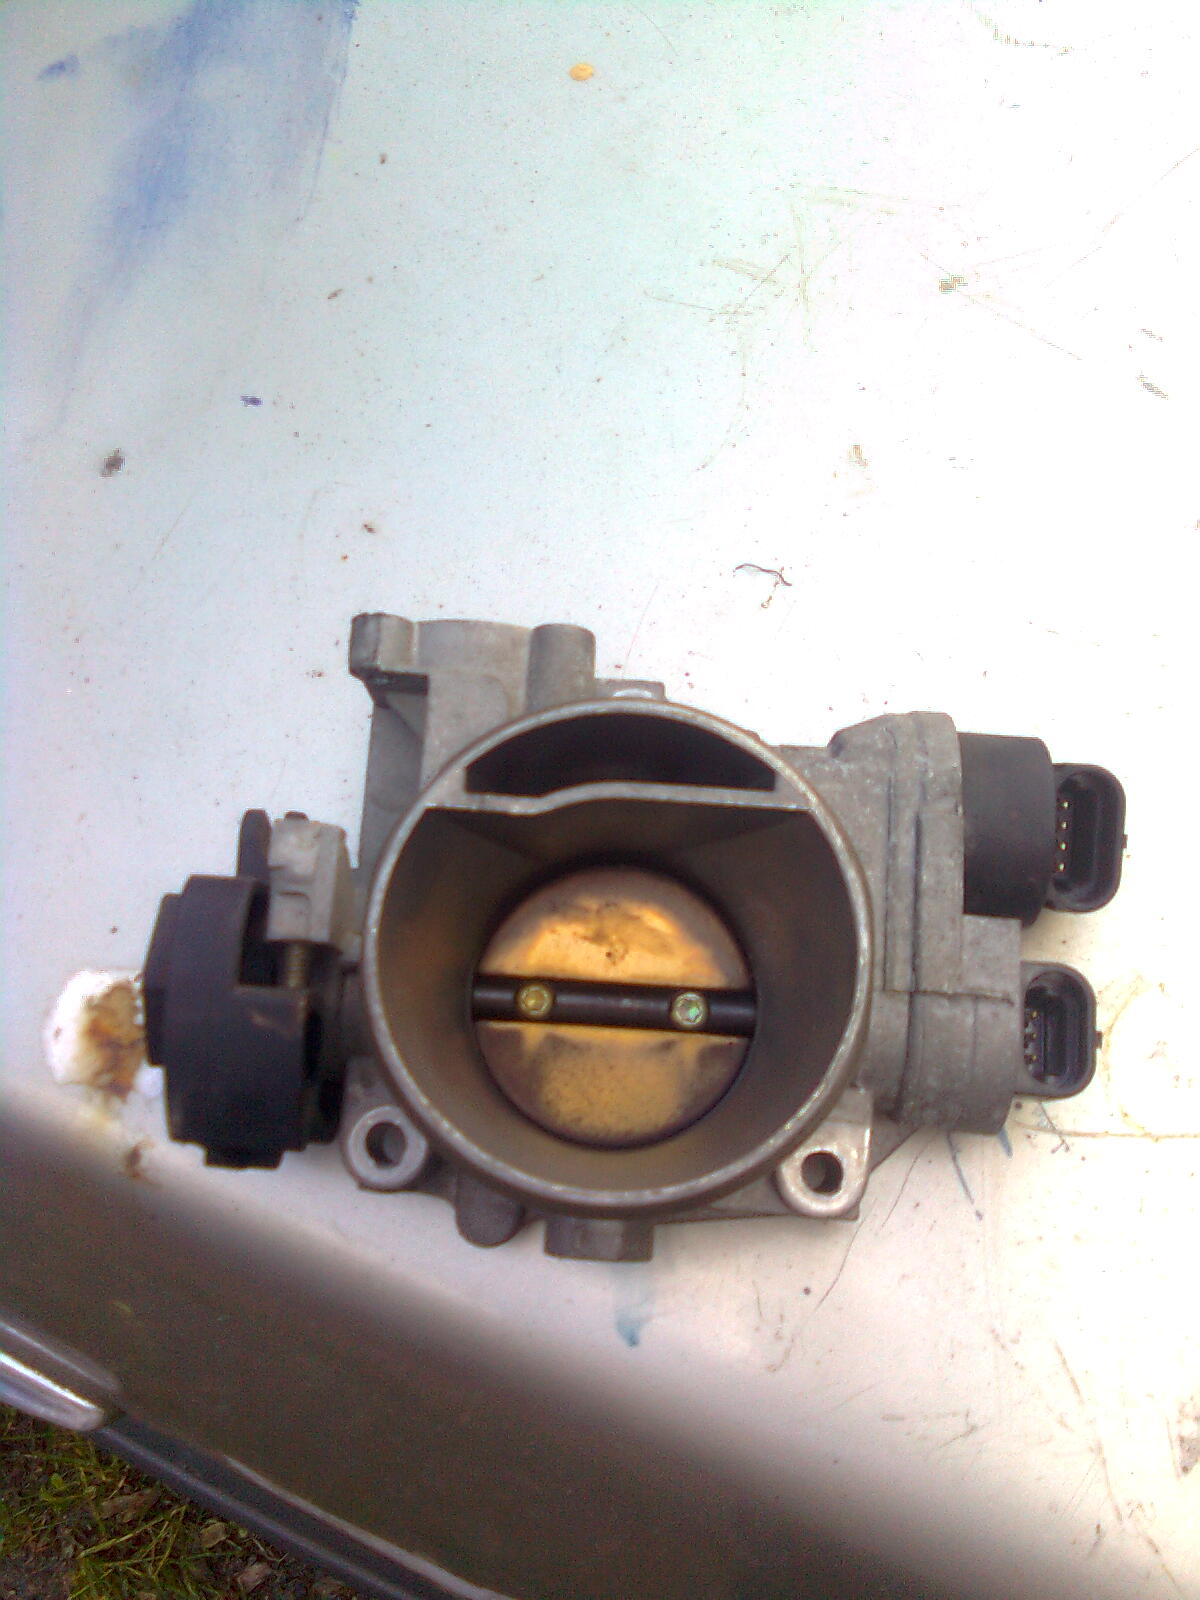
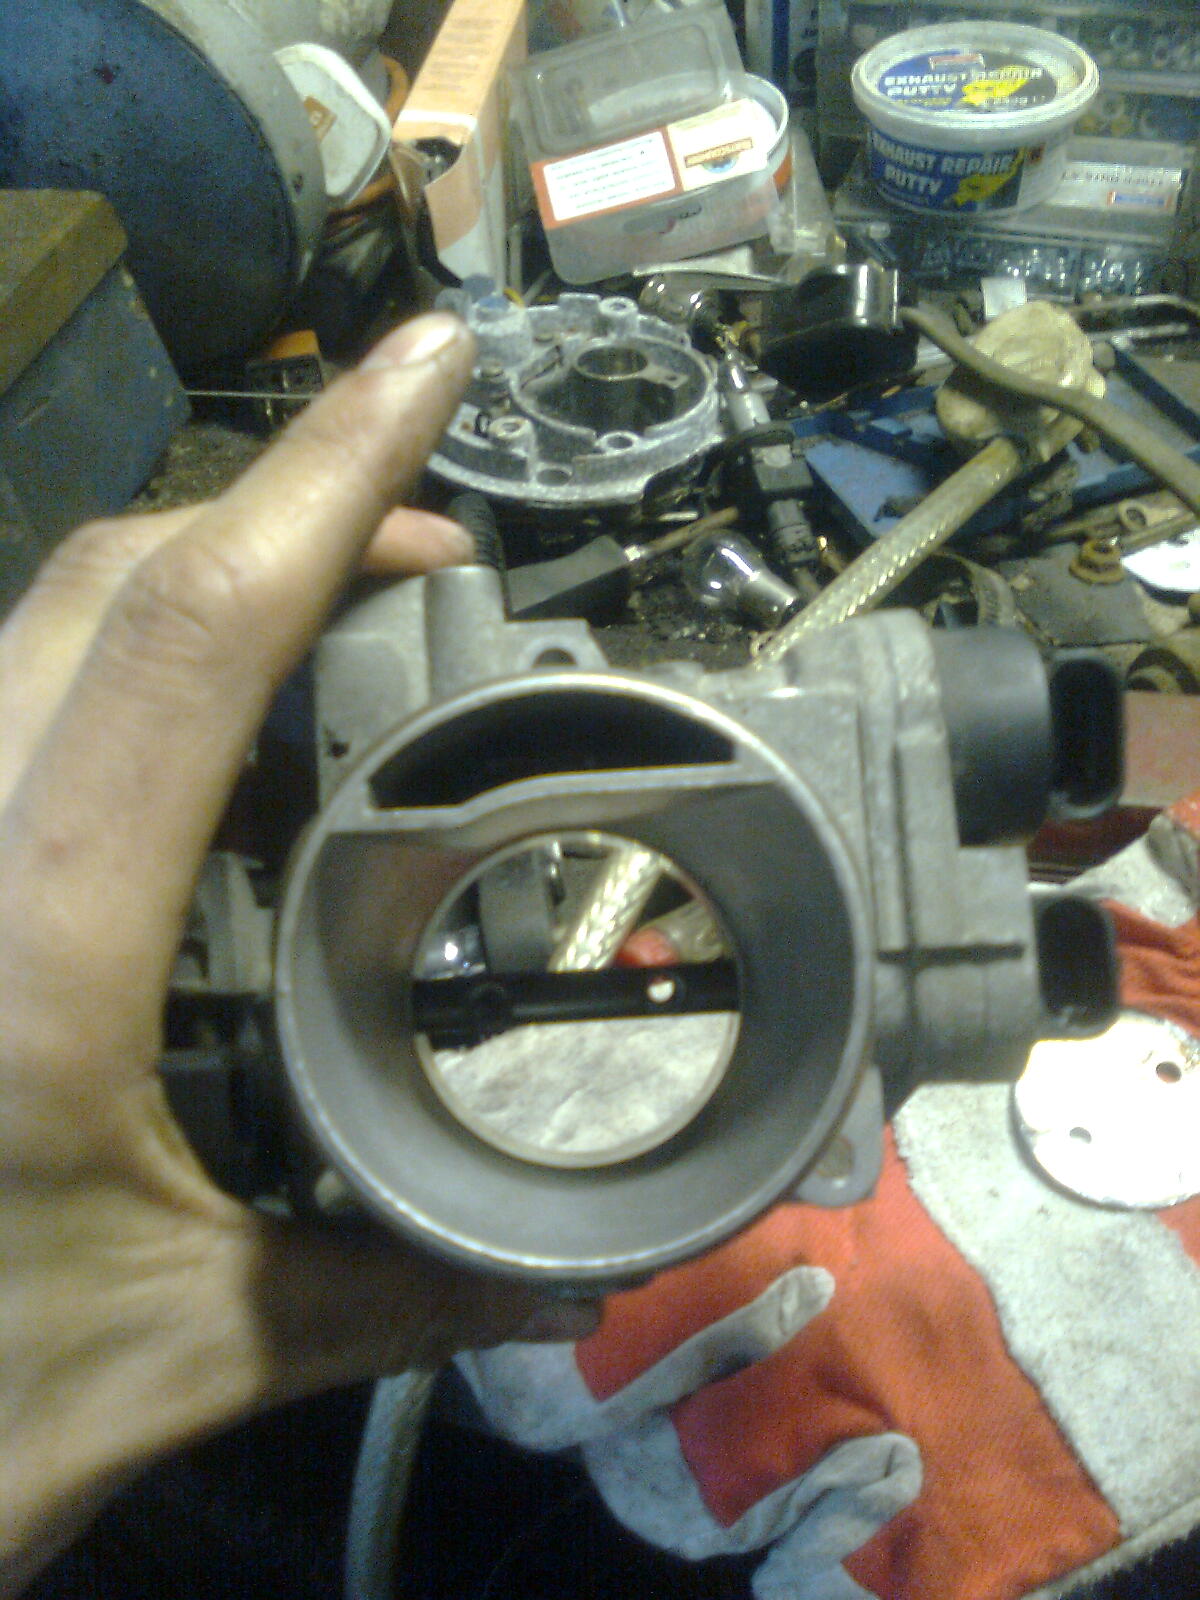
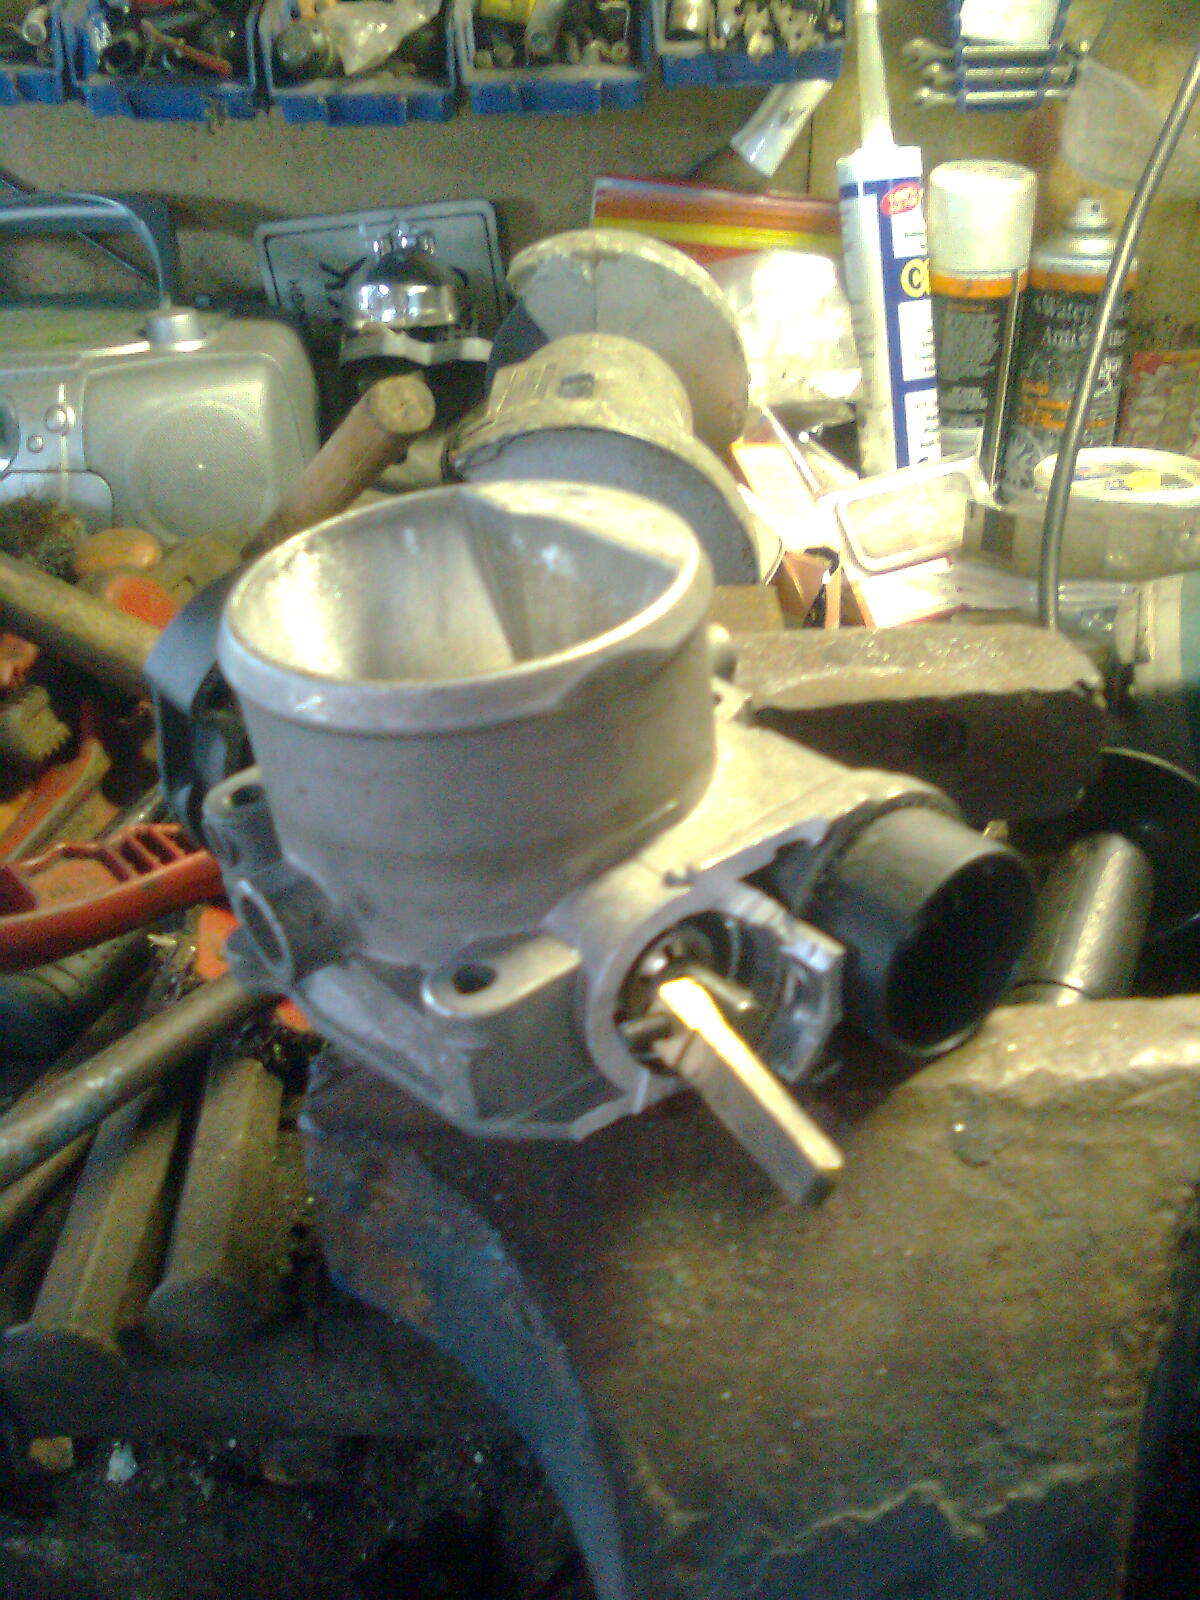
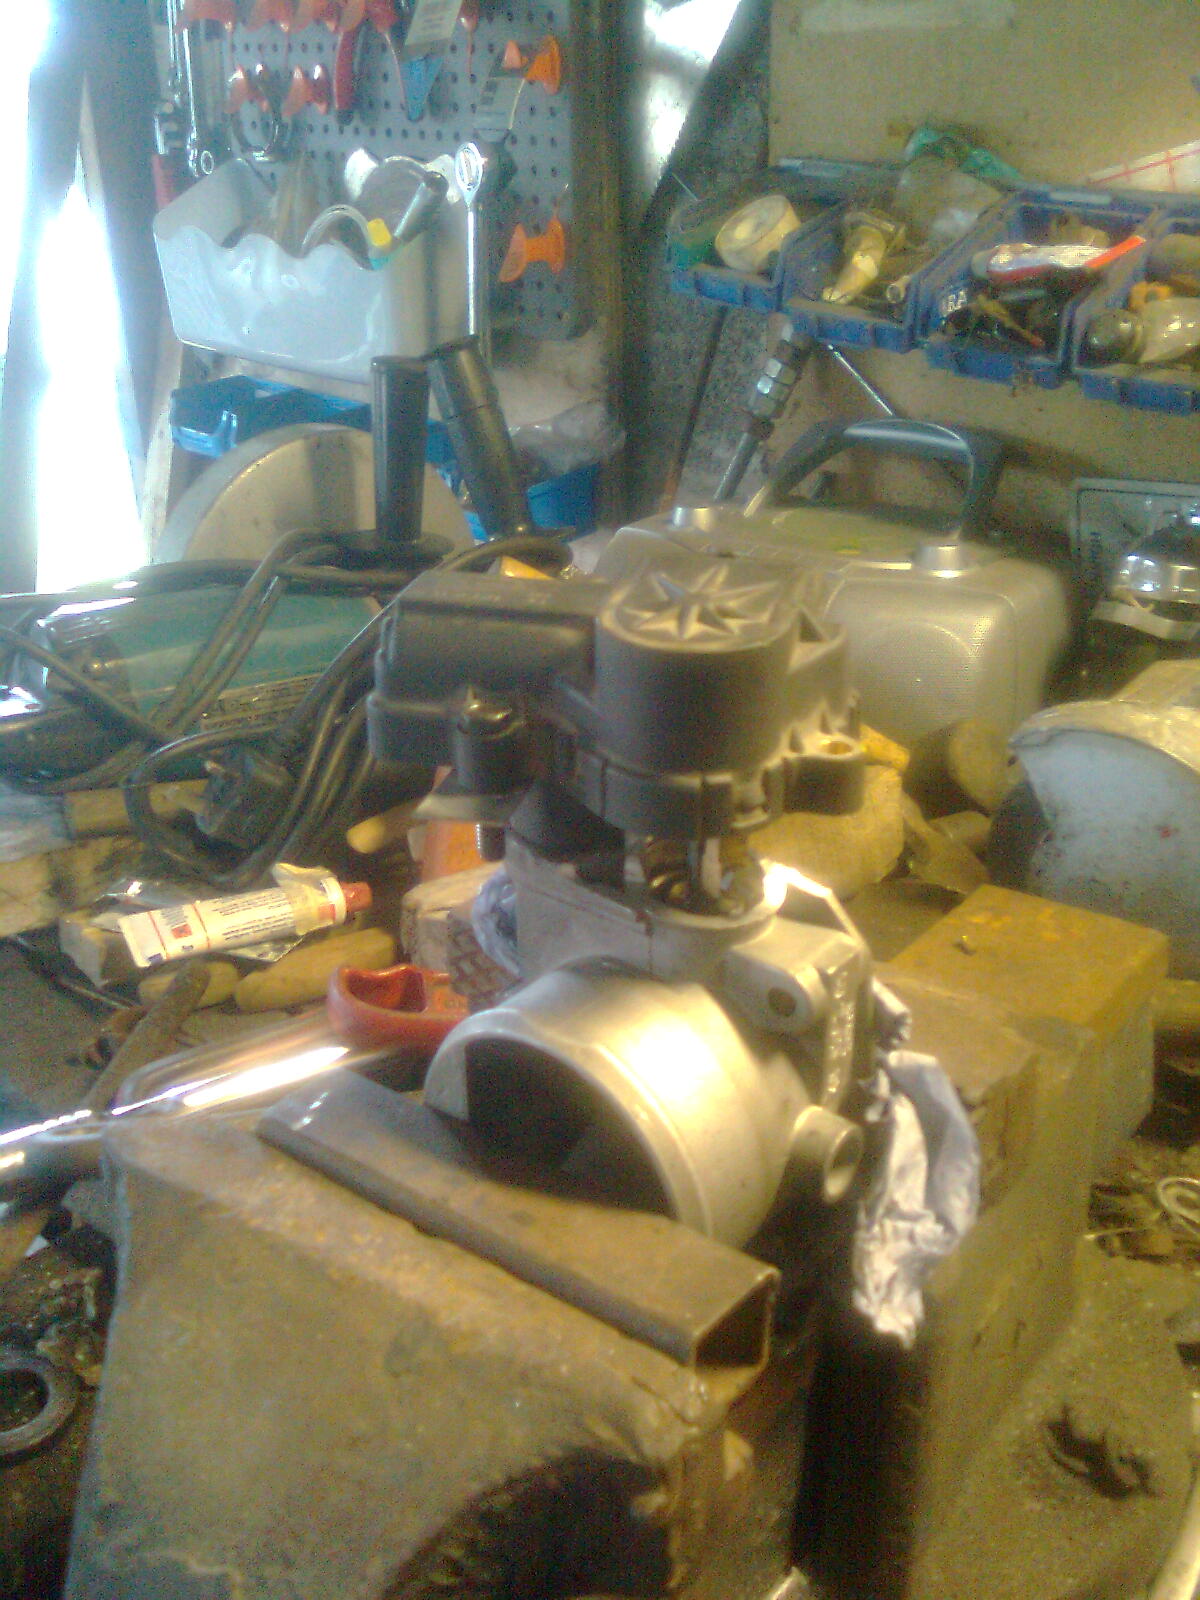
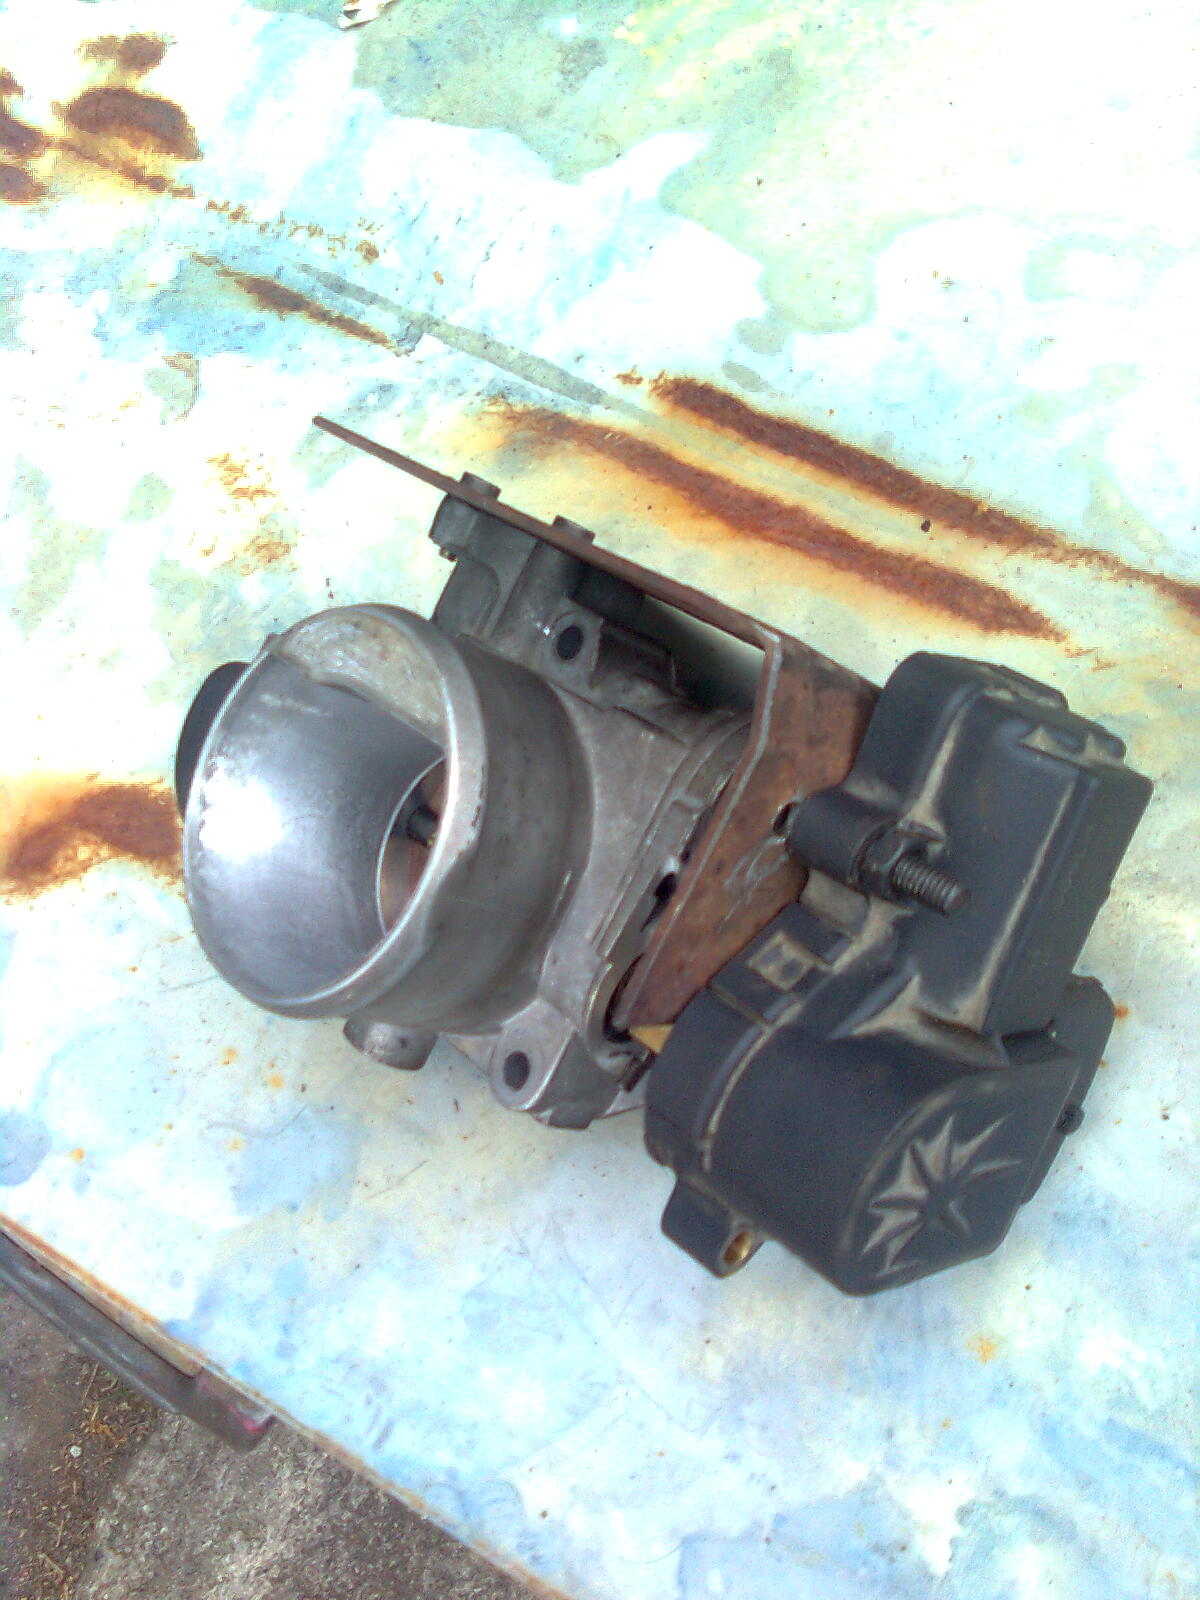
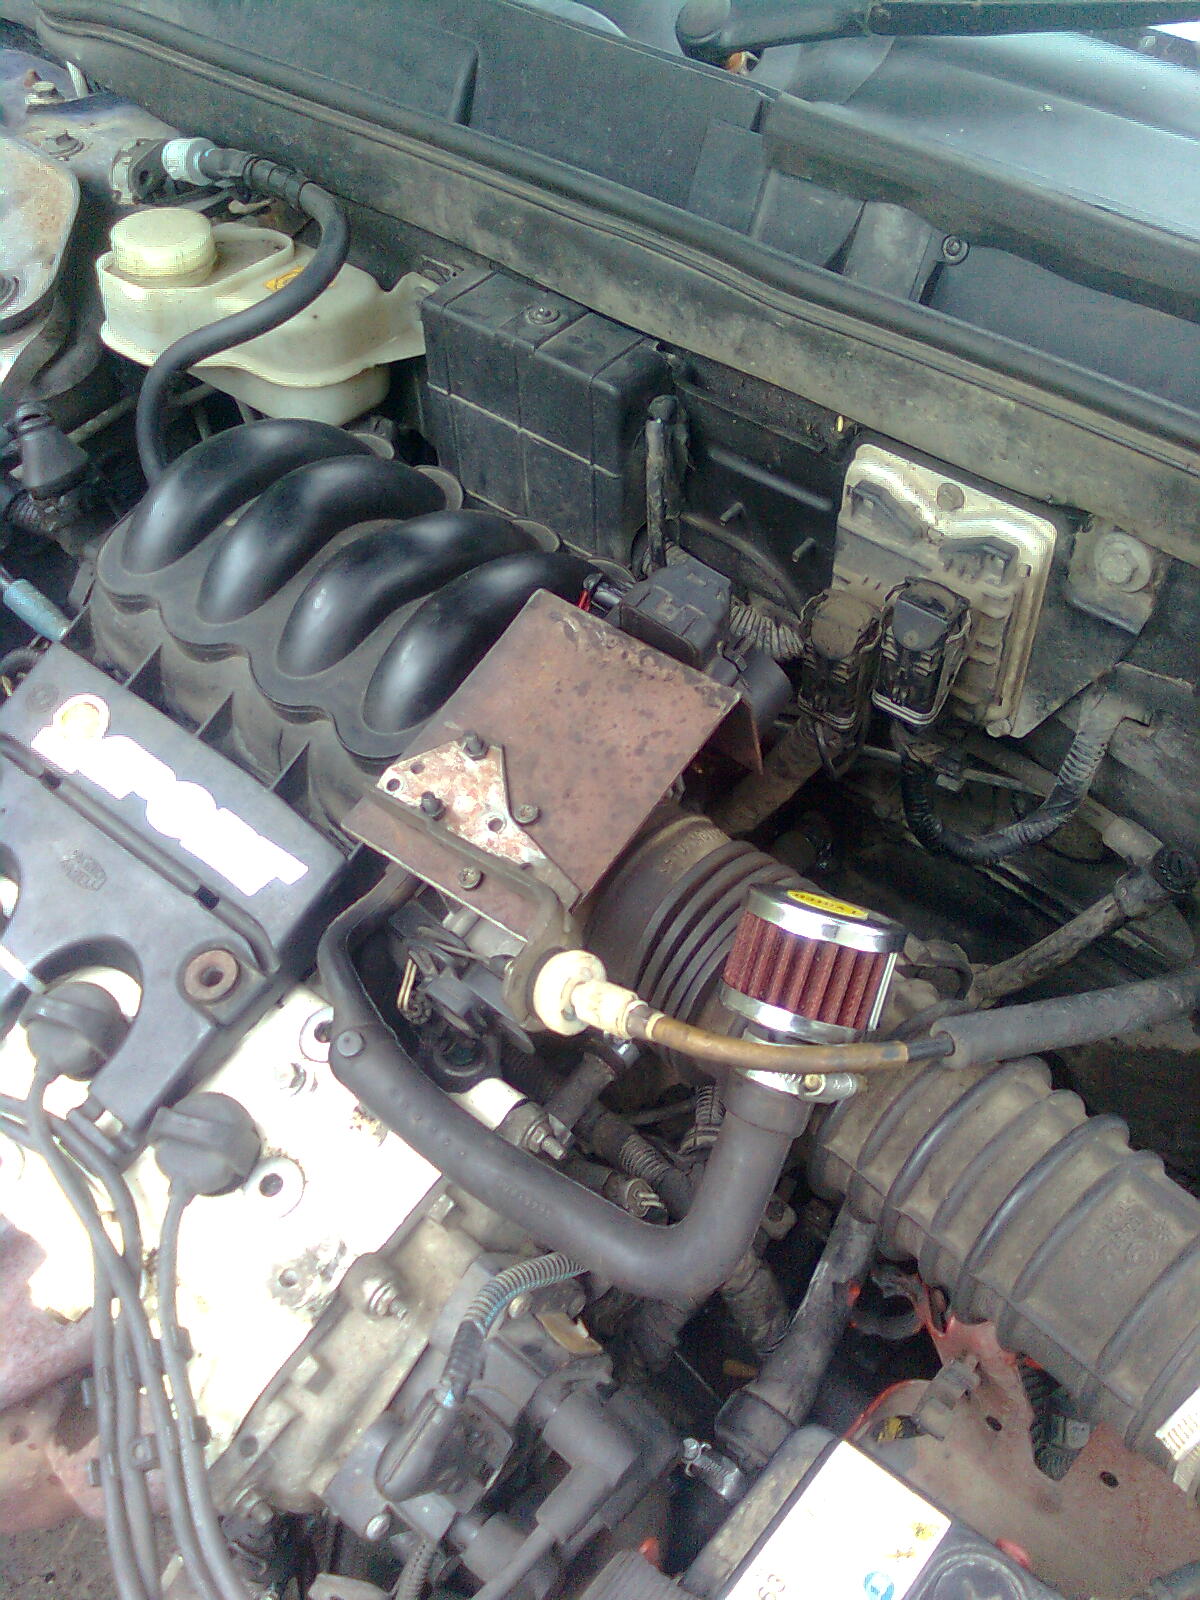
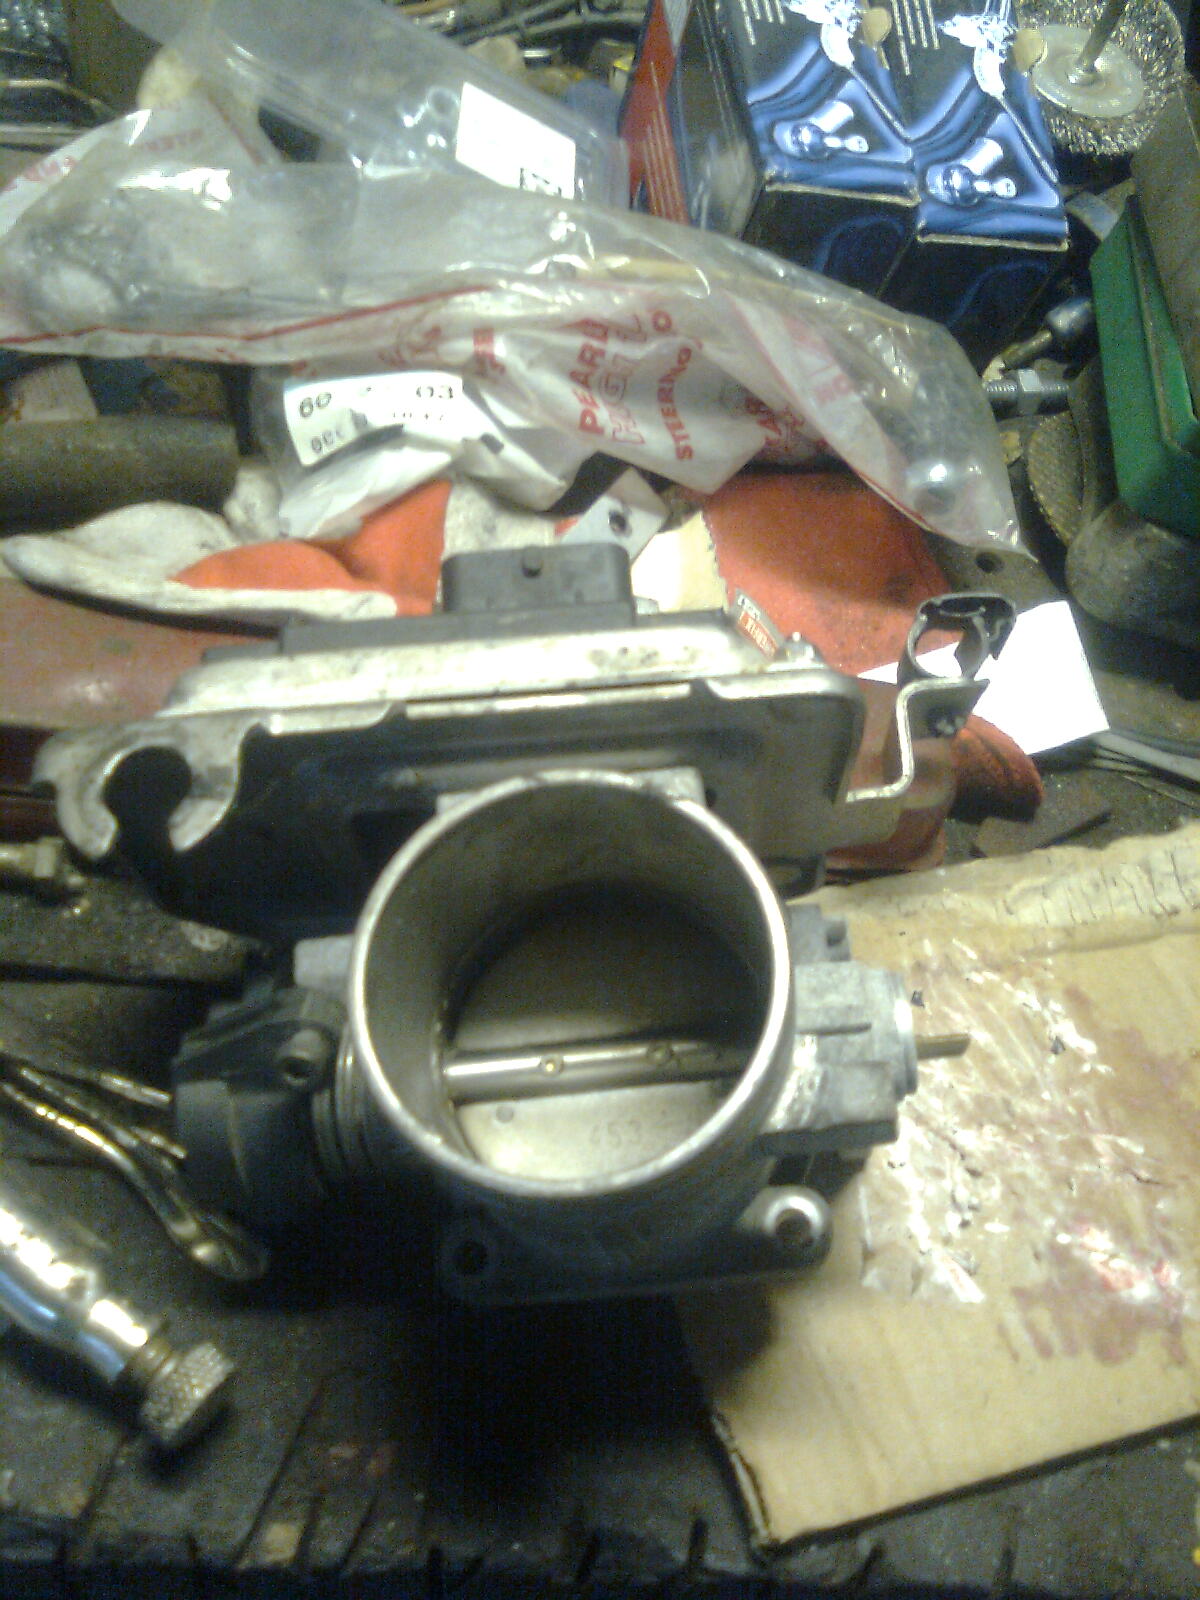
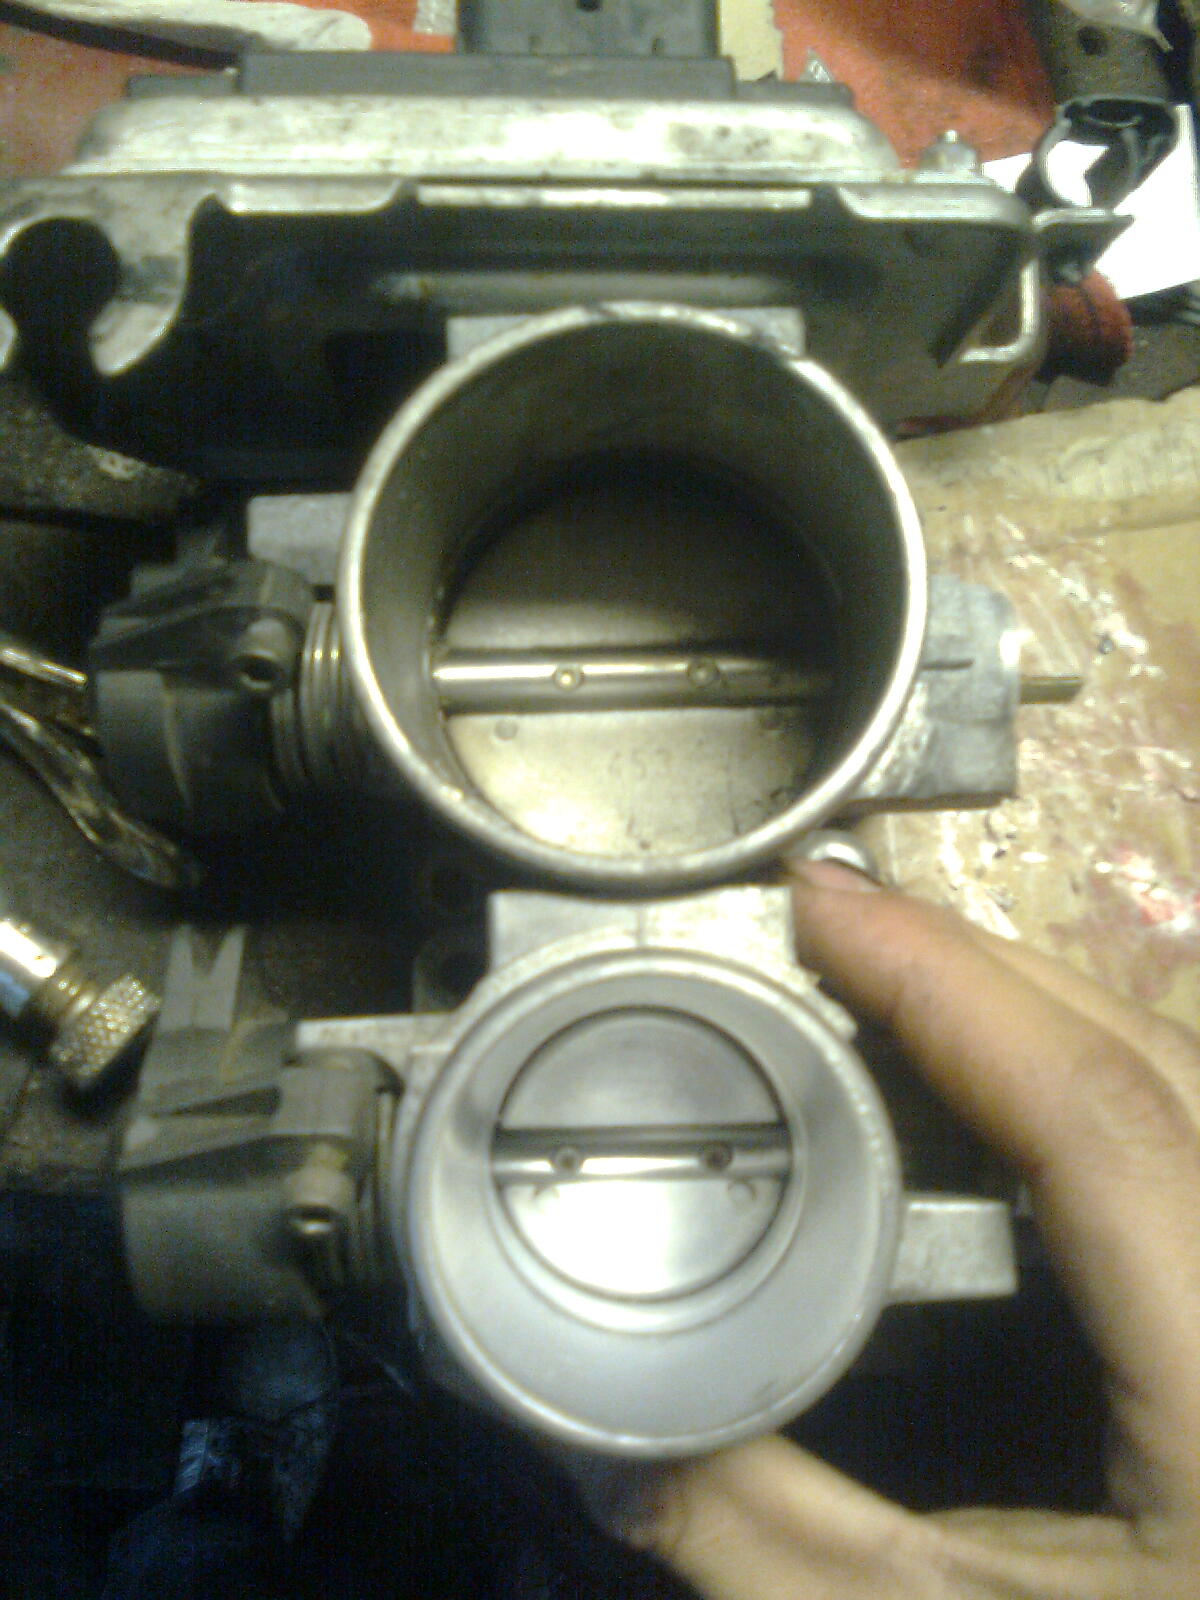
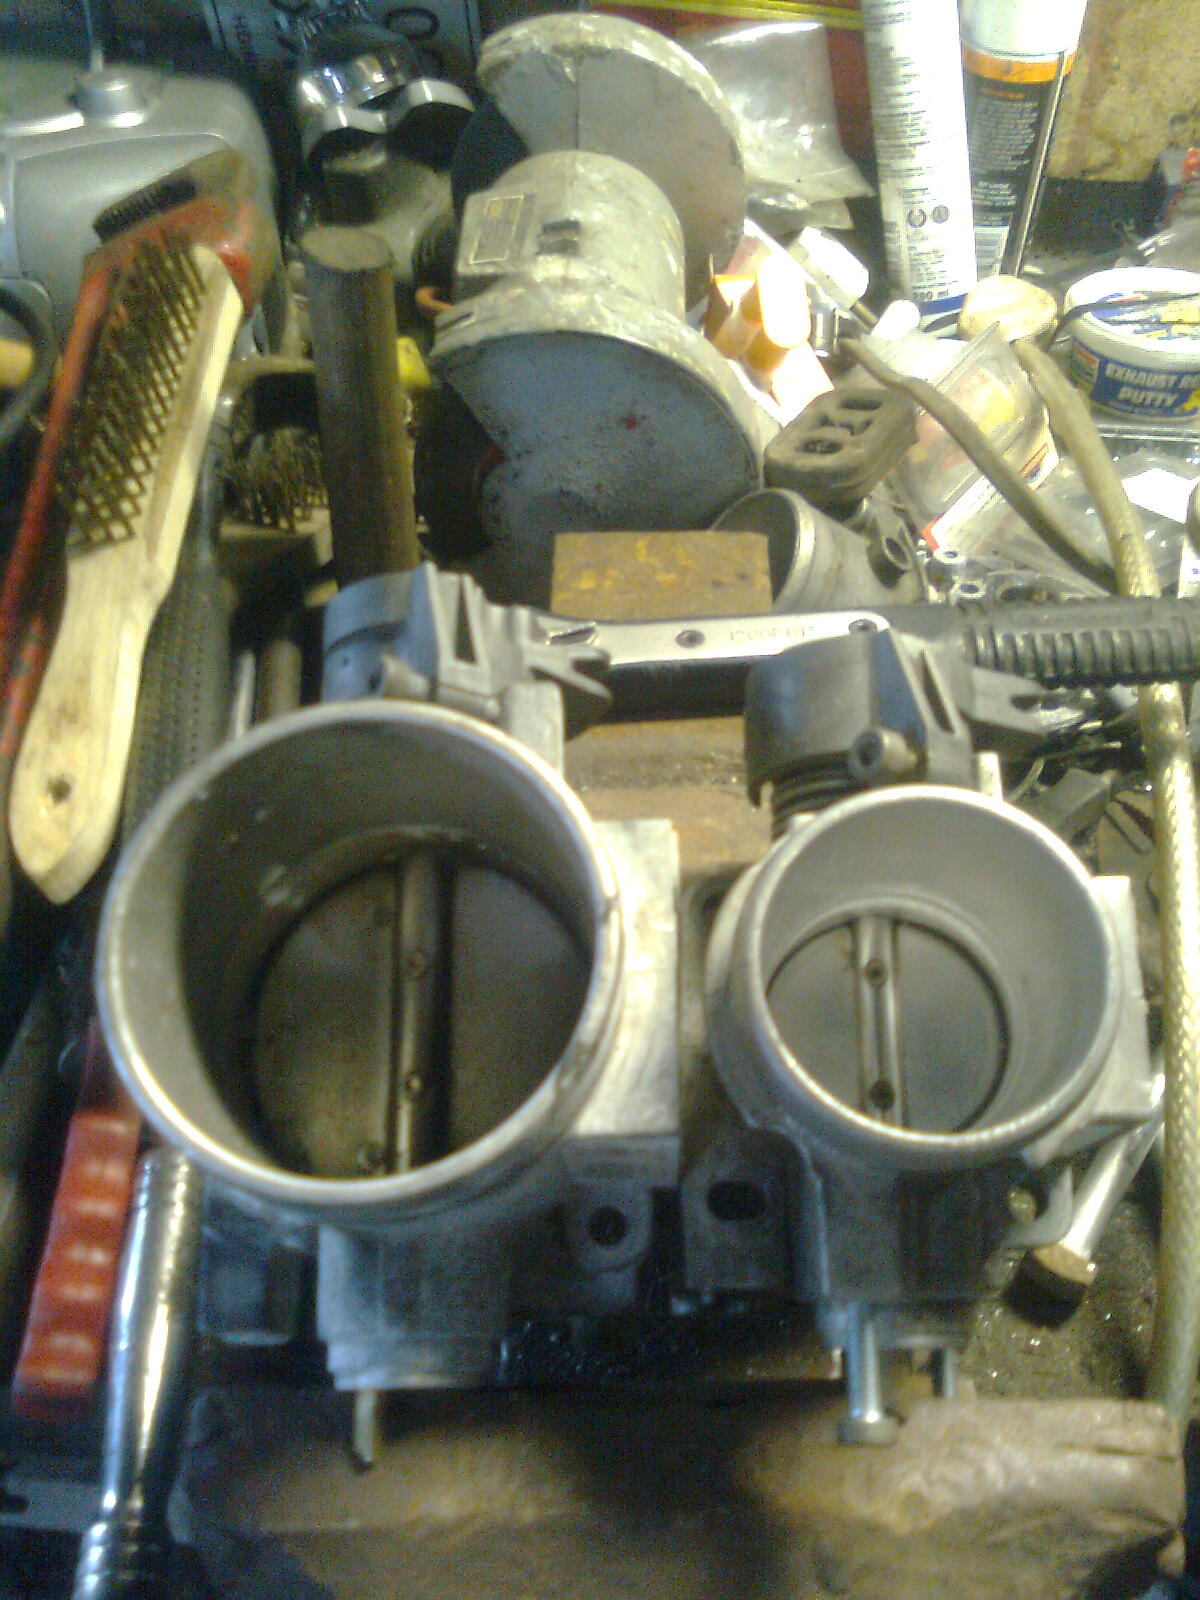
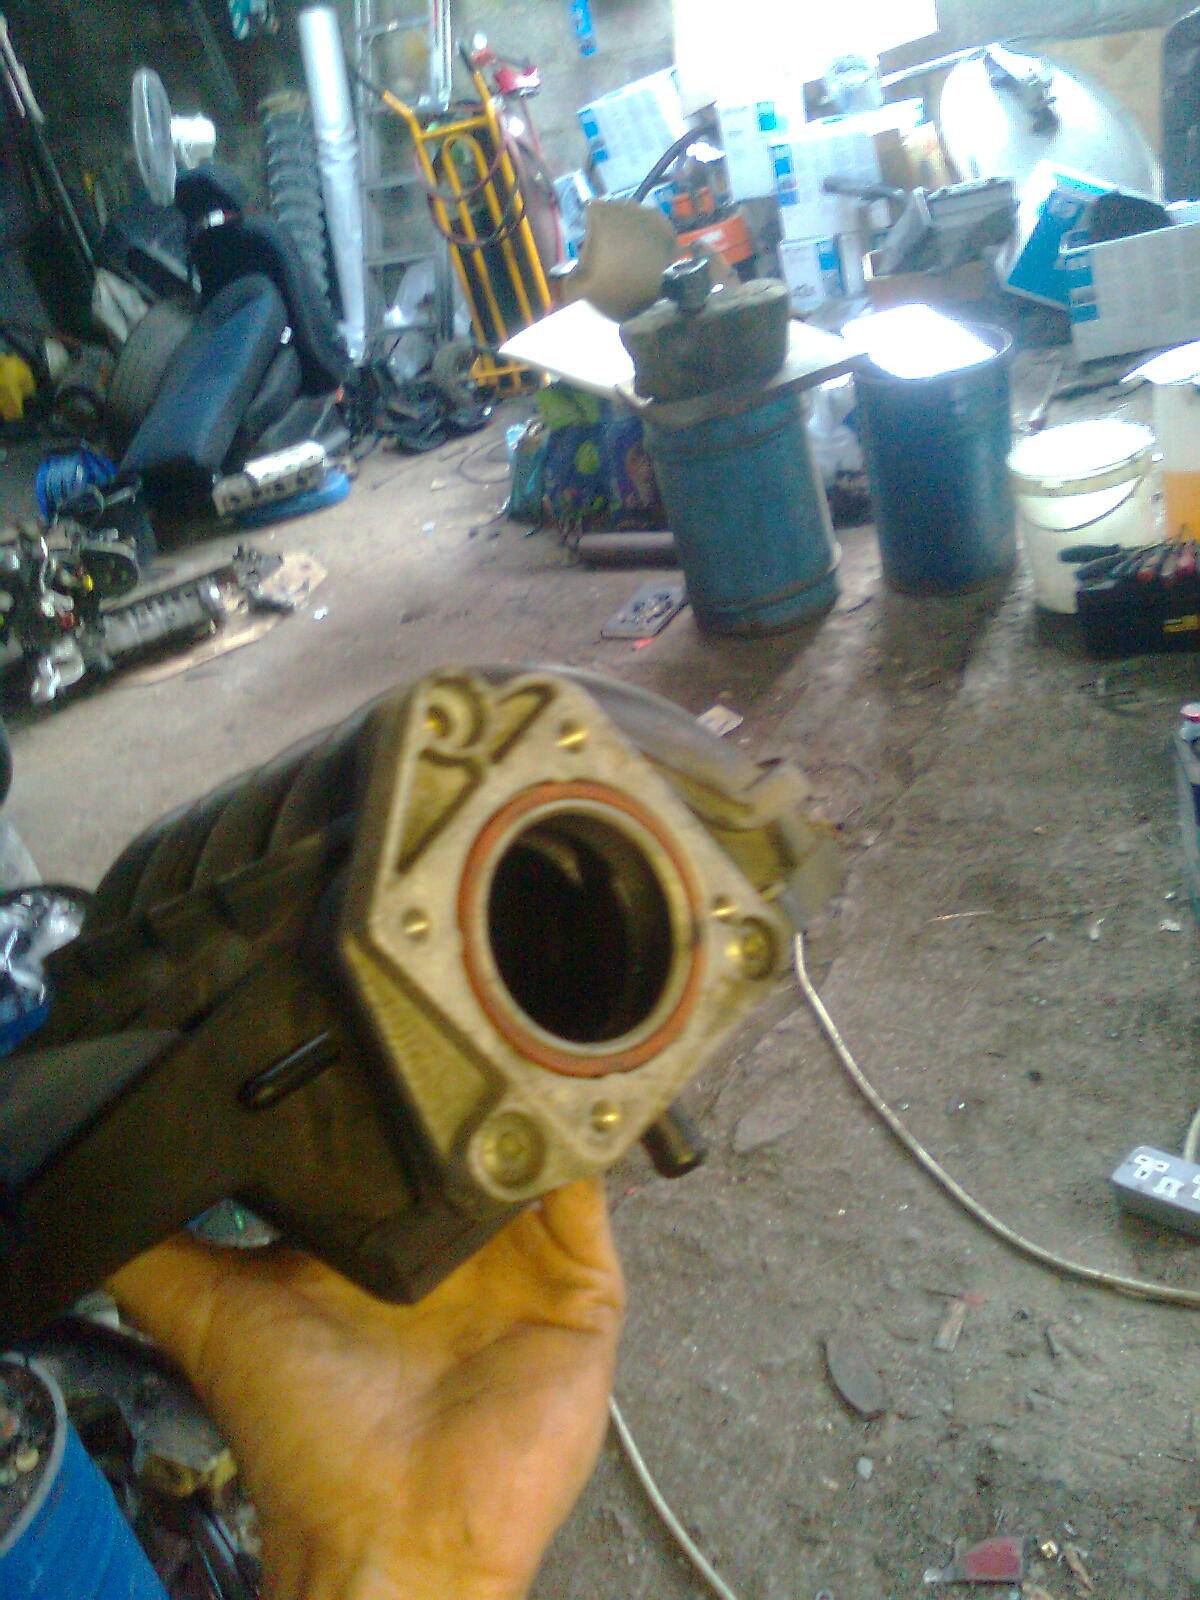
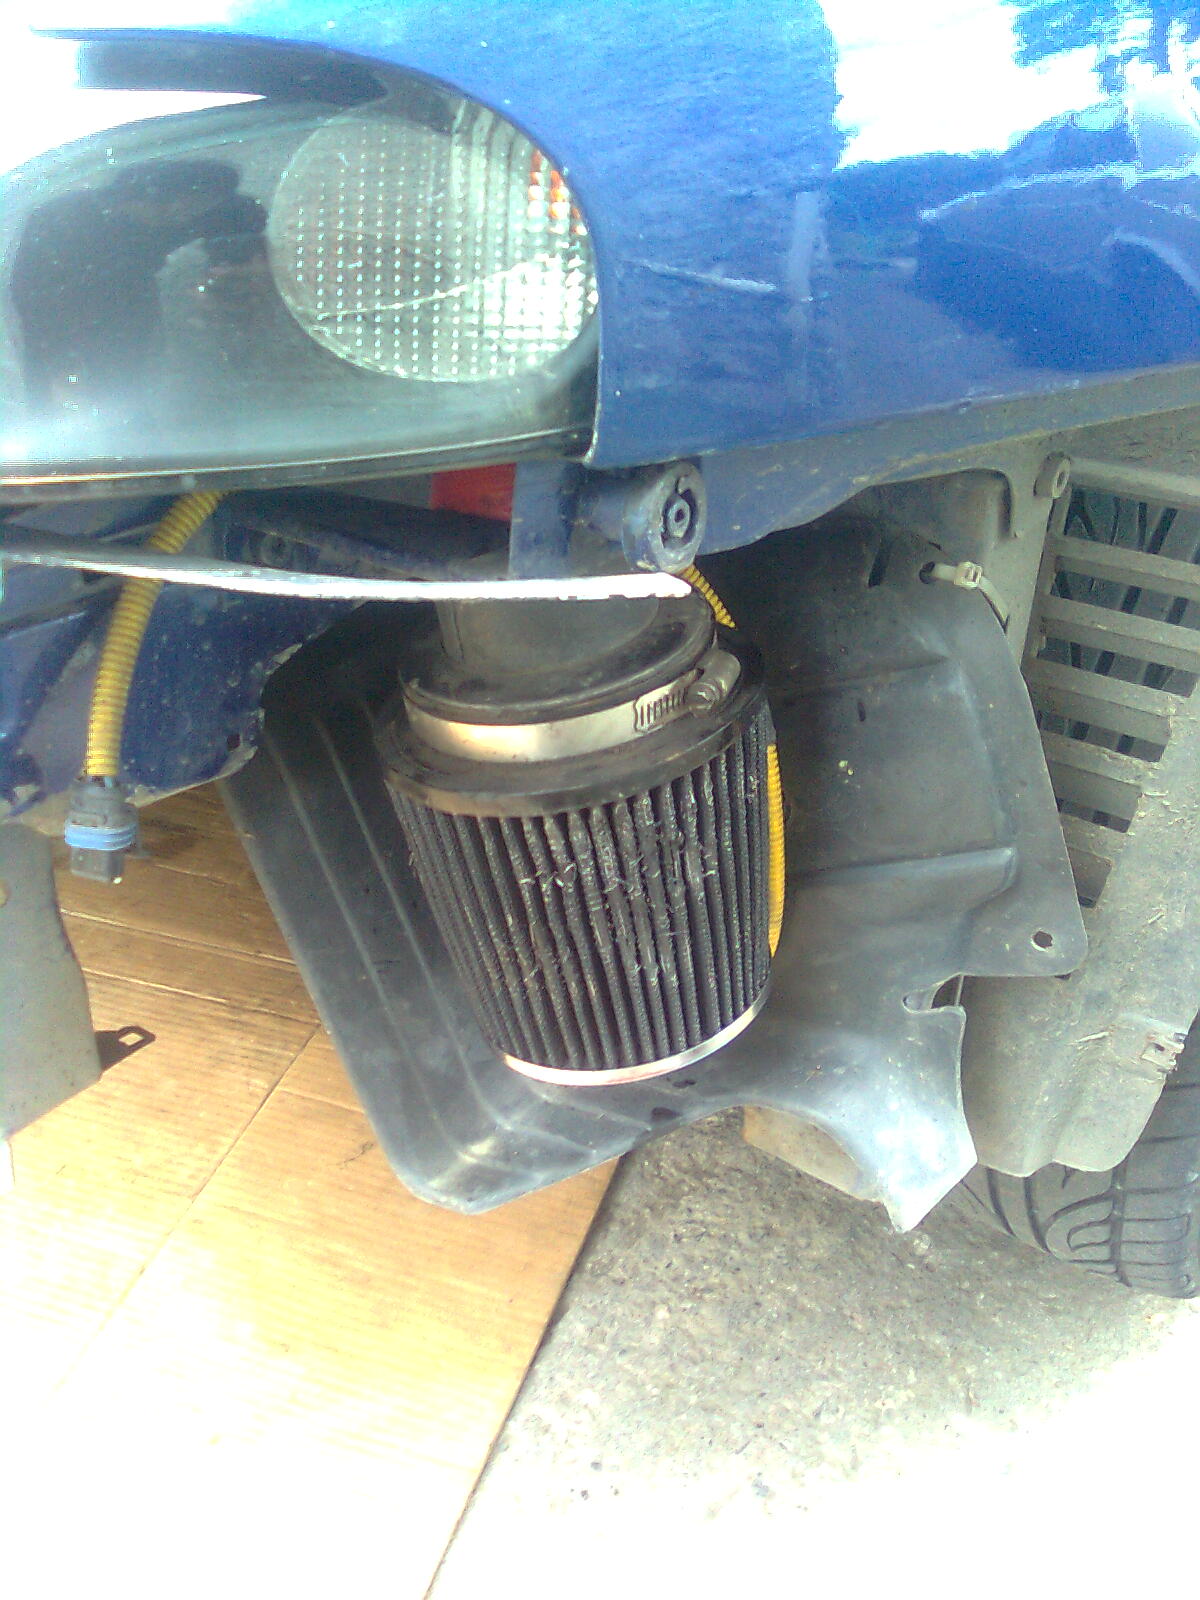
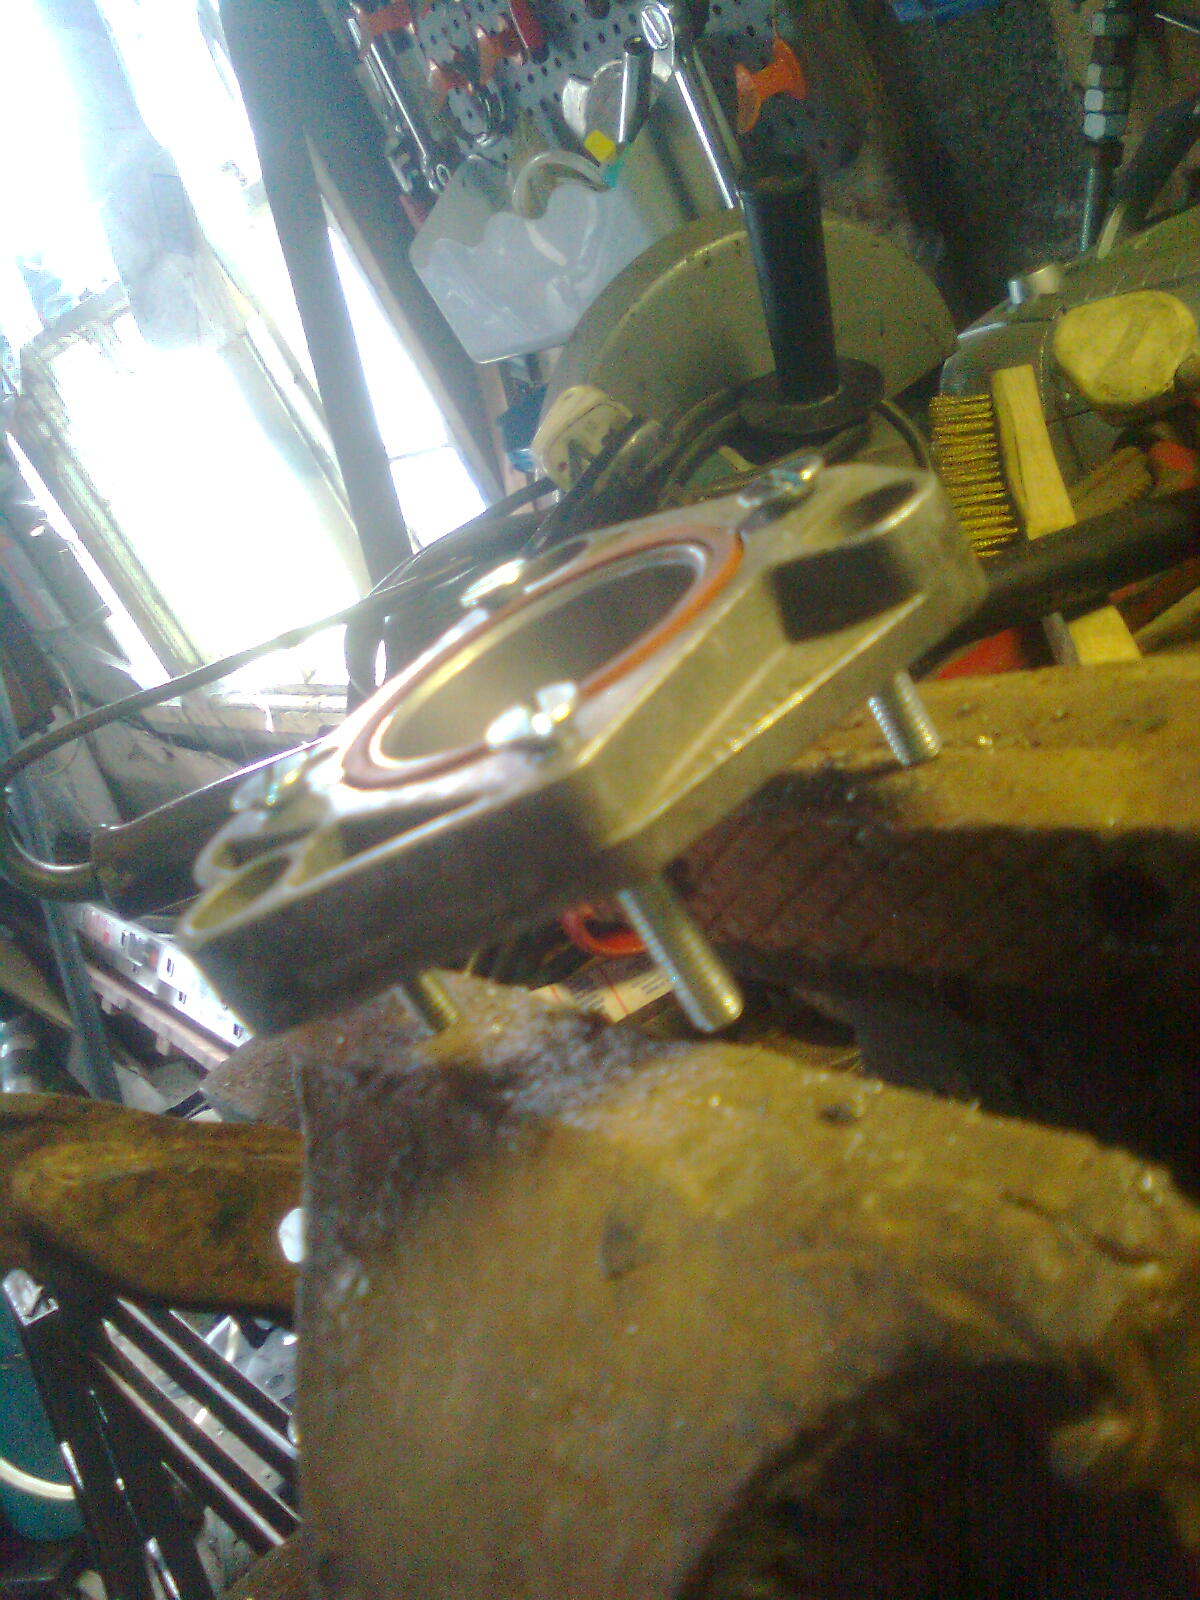
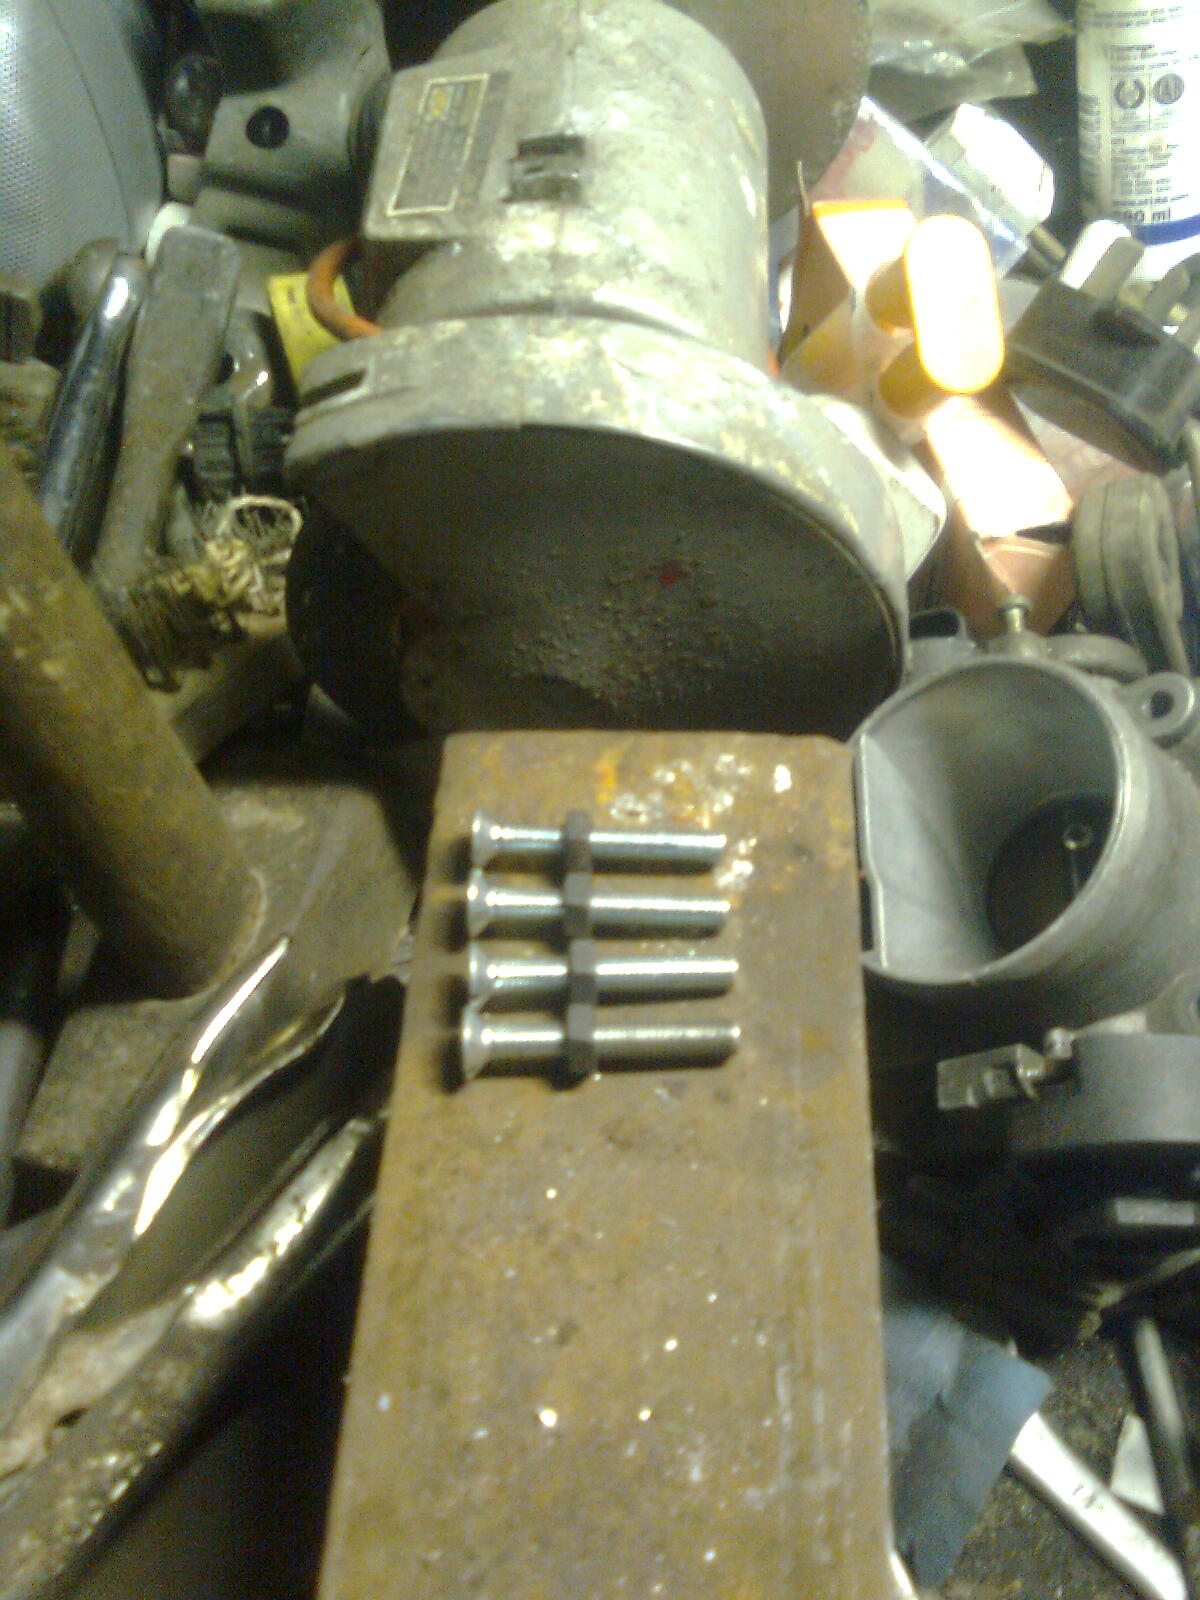
Now I've uploaded more pics of my tb I'll be custom fitting
Here it is again from a few posts ago
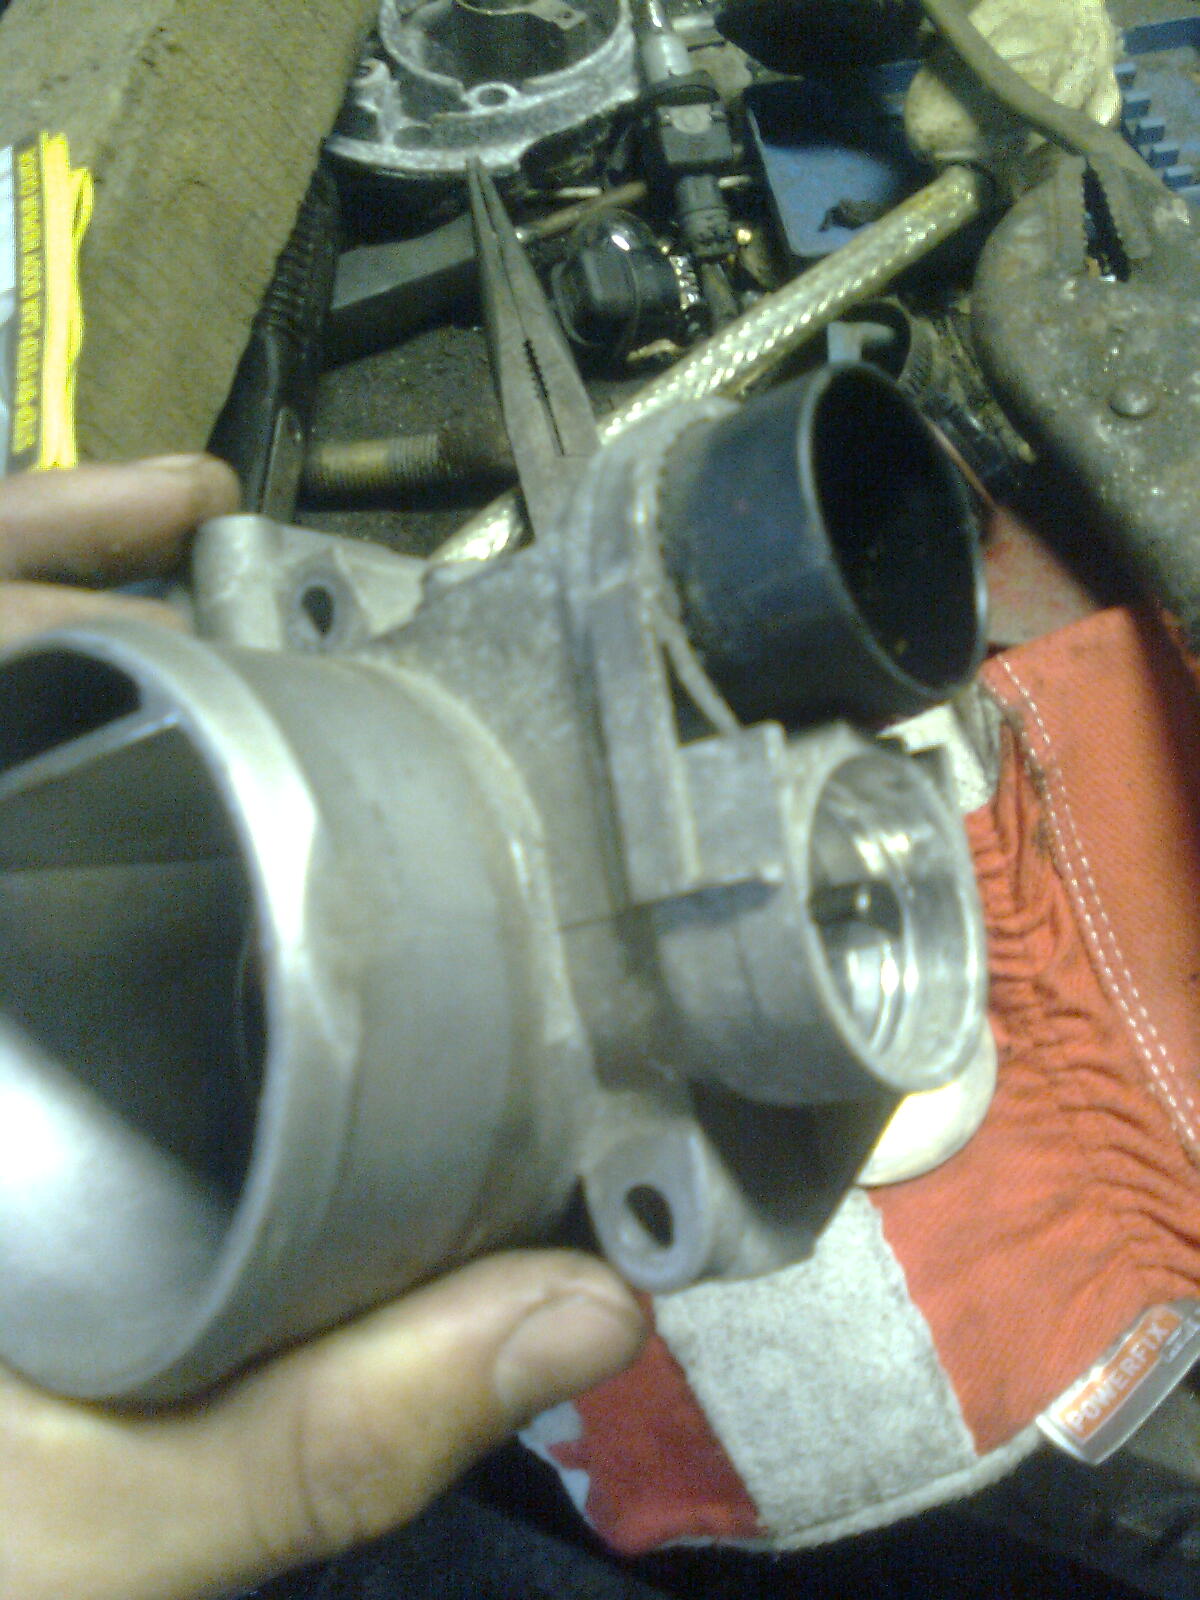
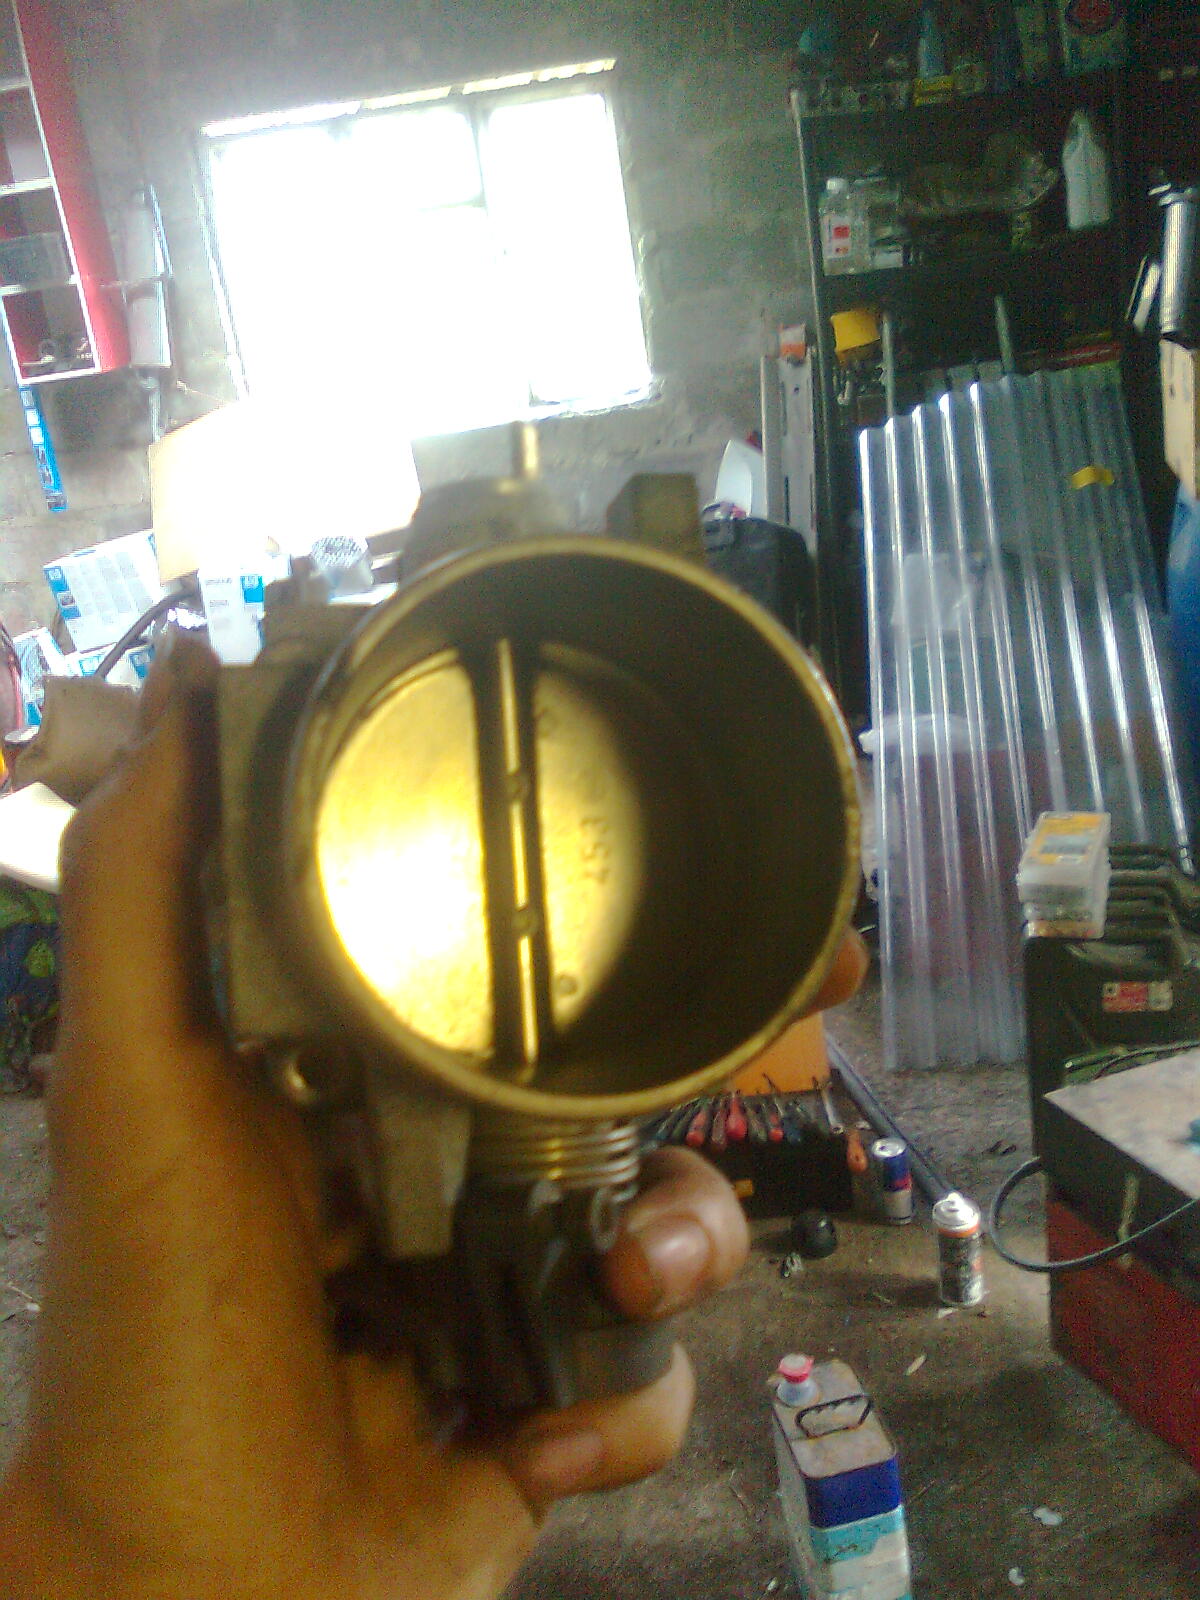
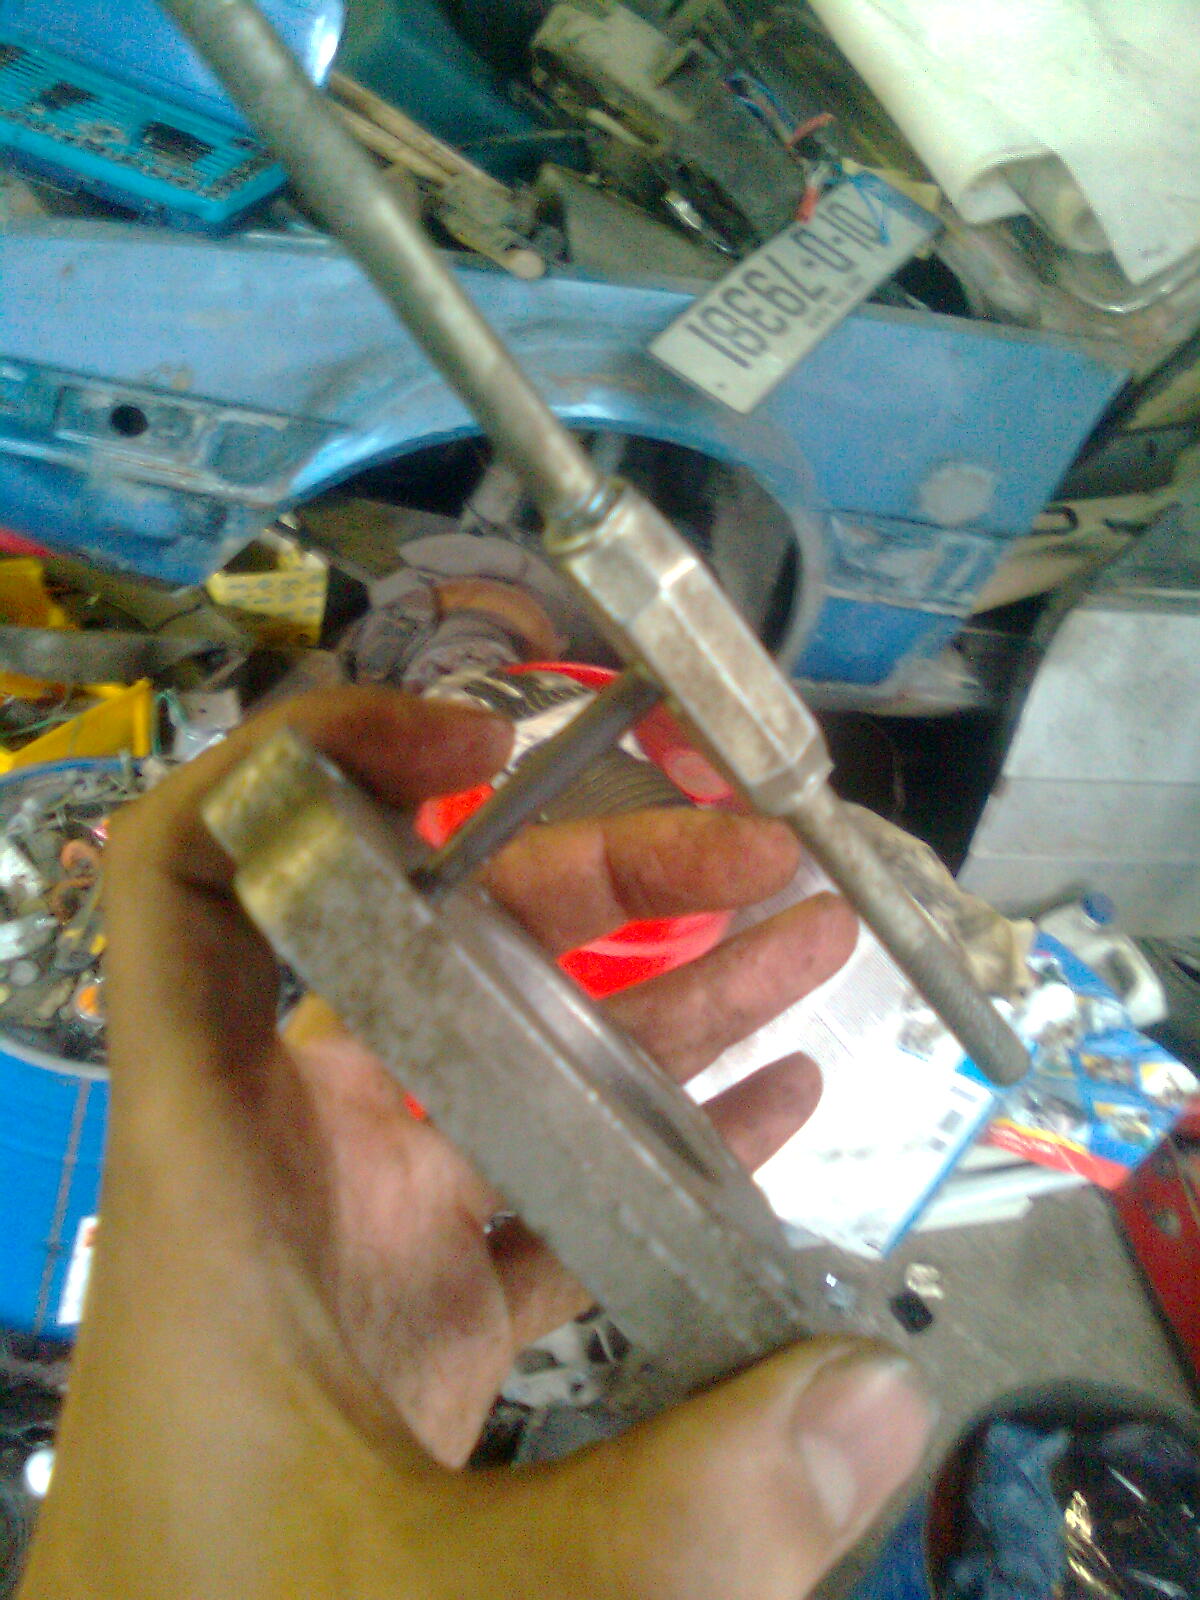
Out with the butterfly
Cleaning time!
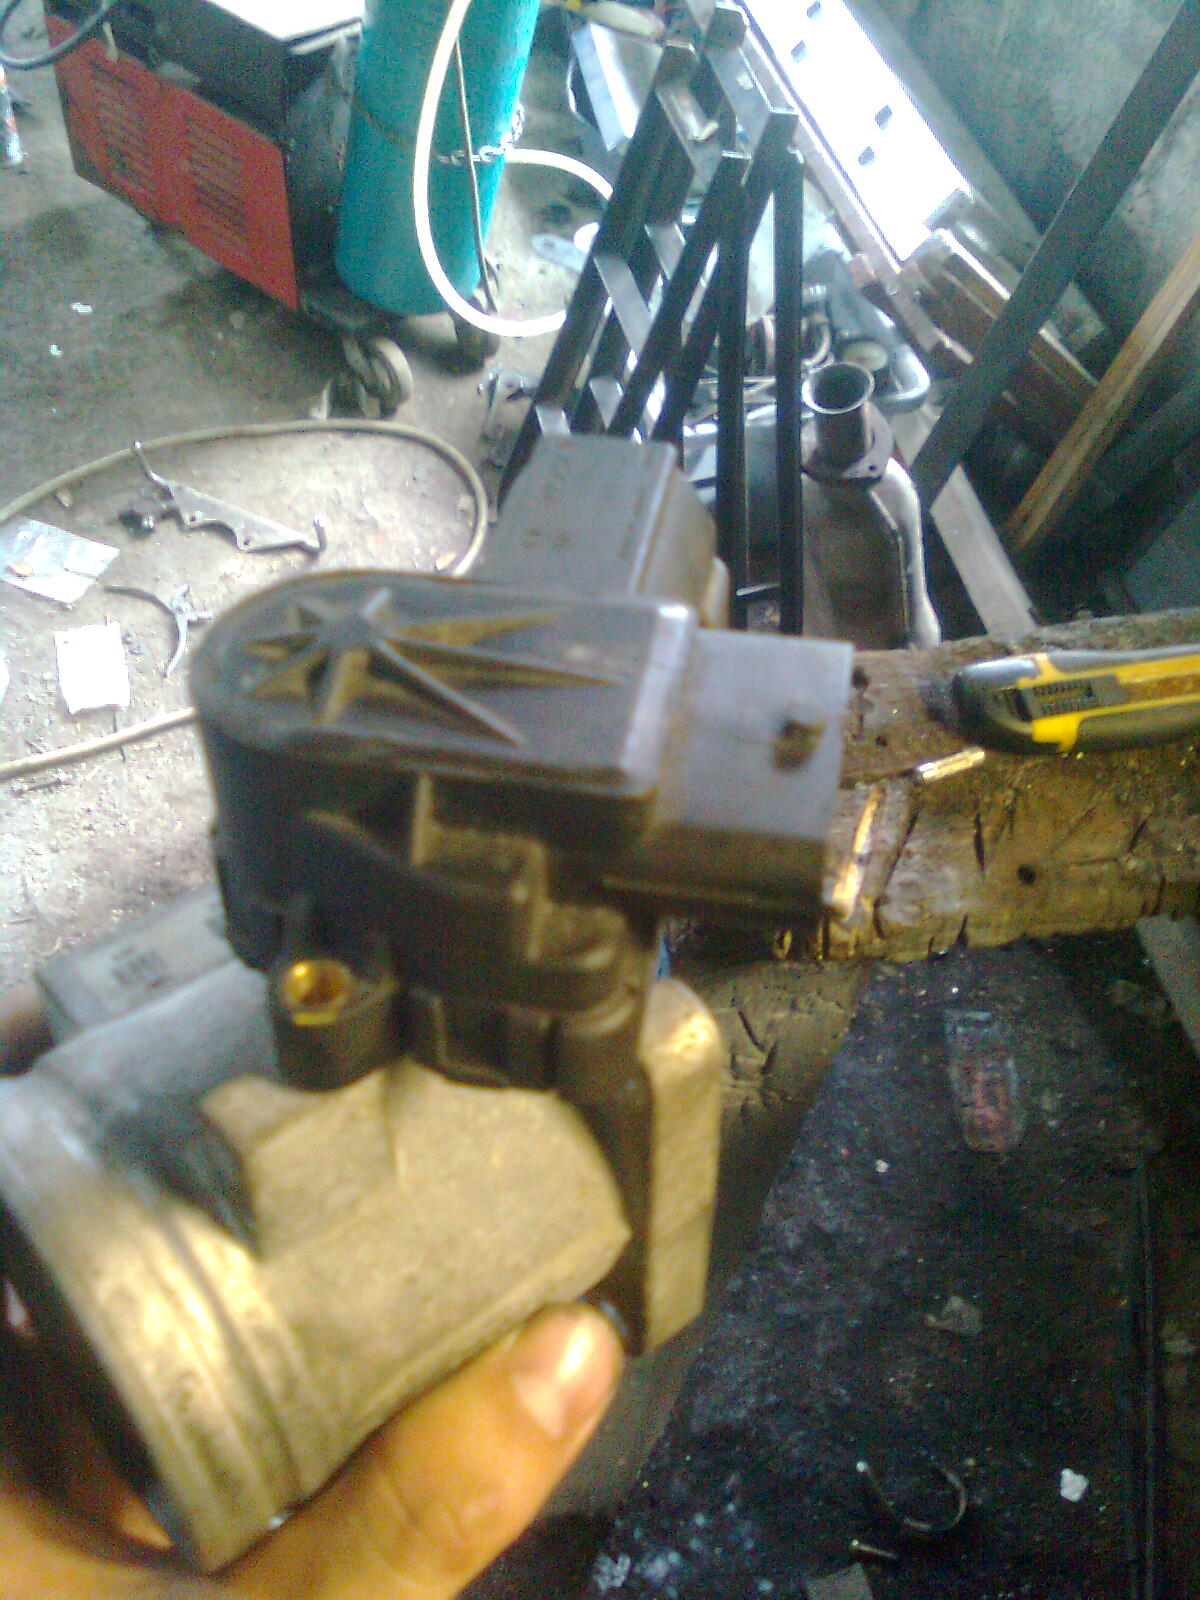
Sensors I need not
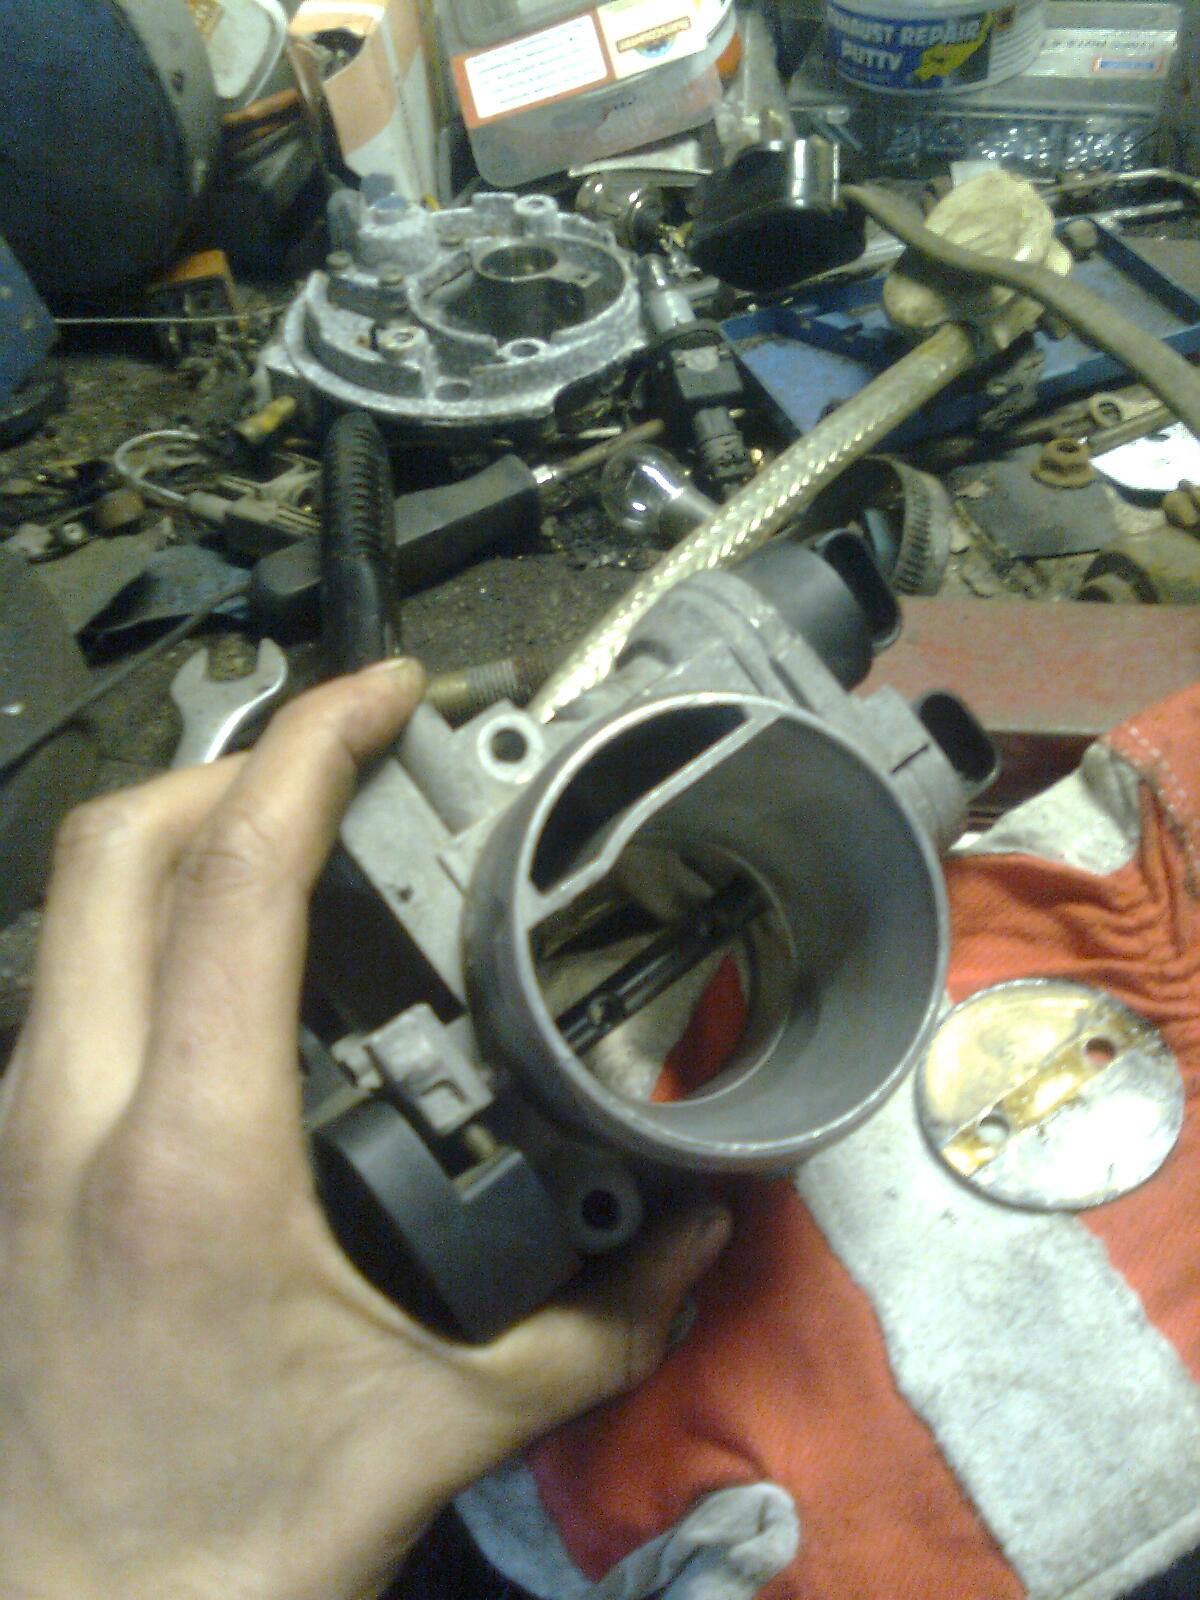
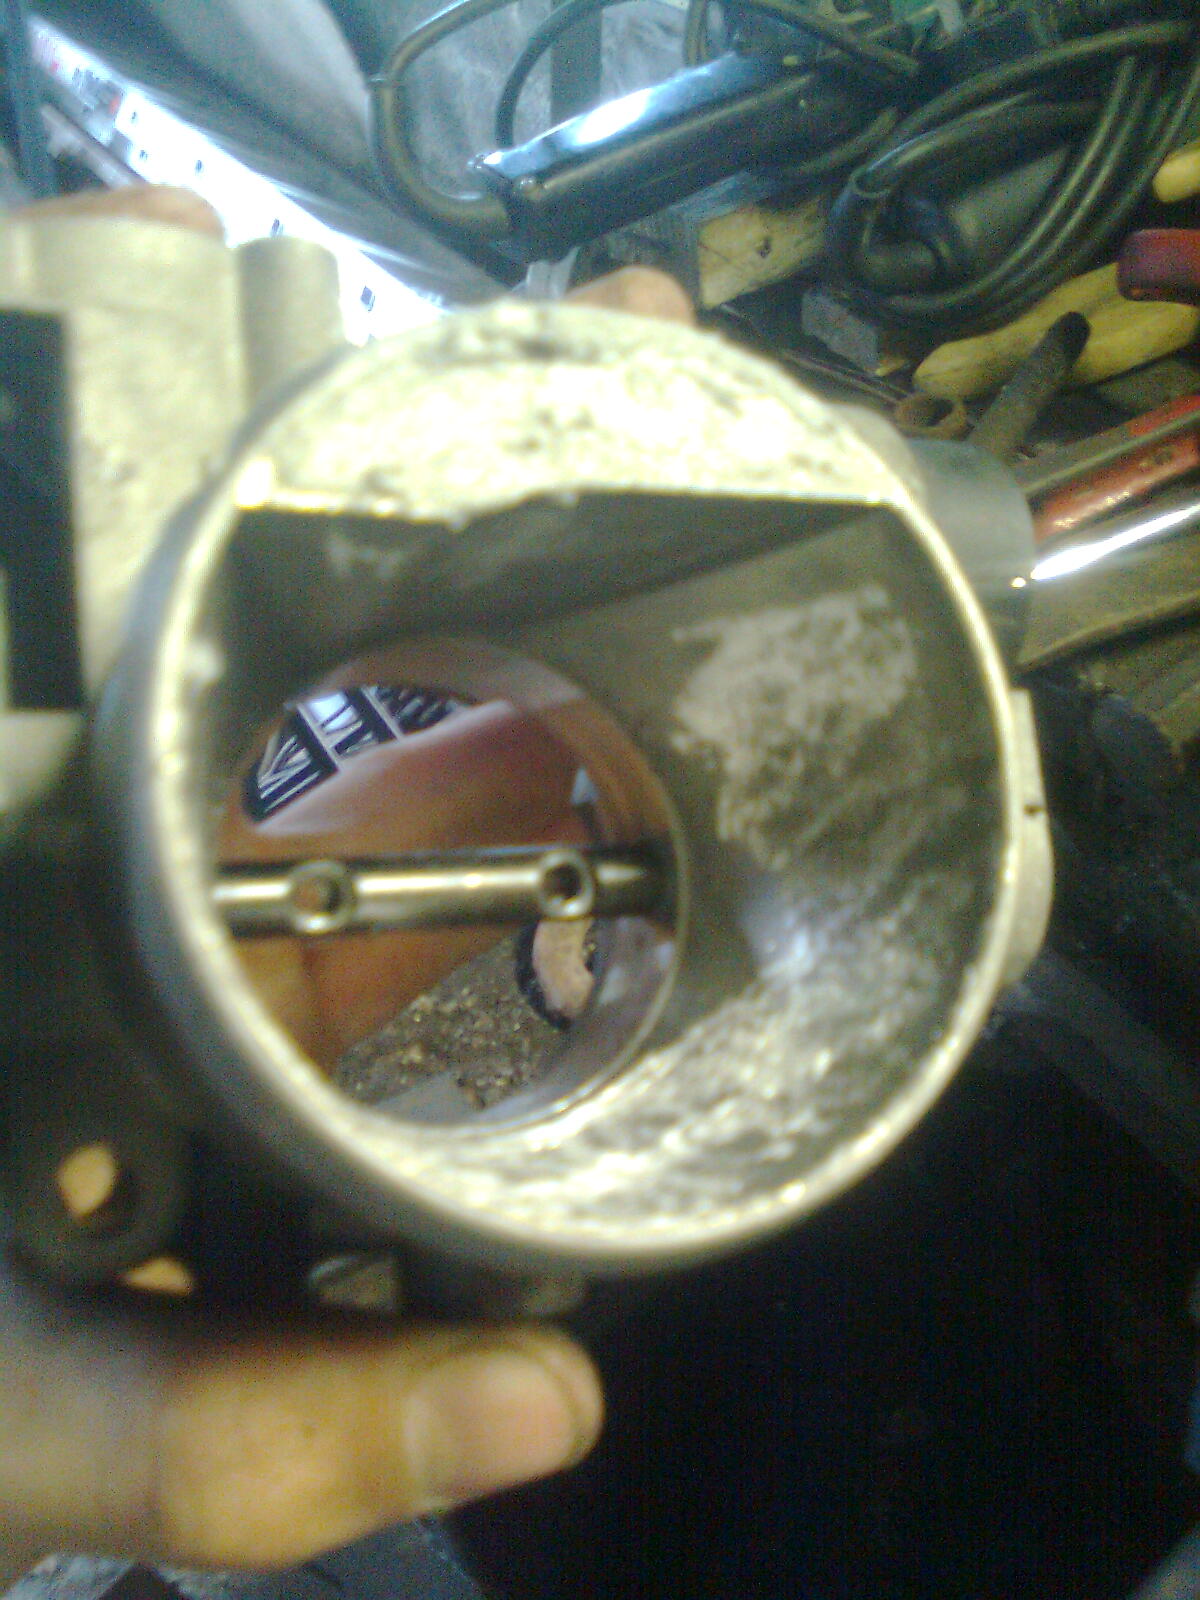
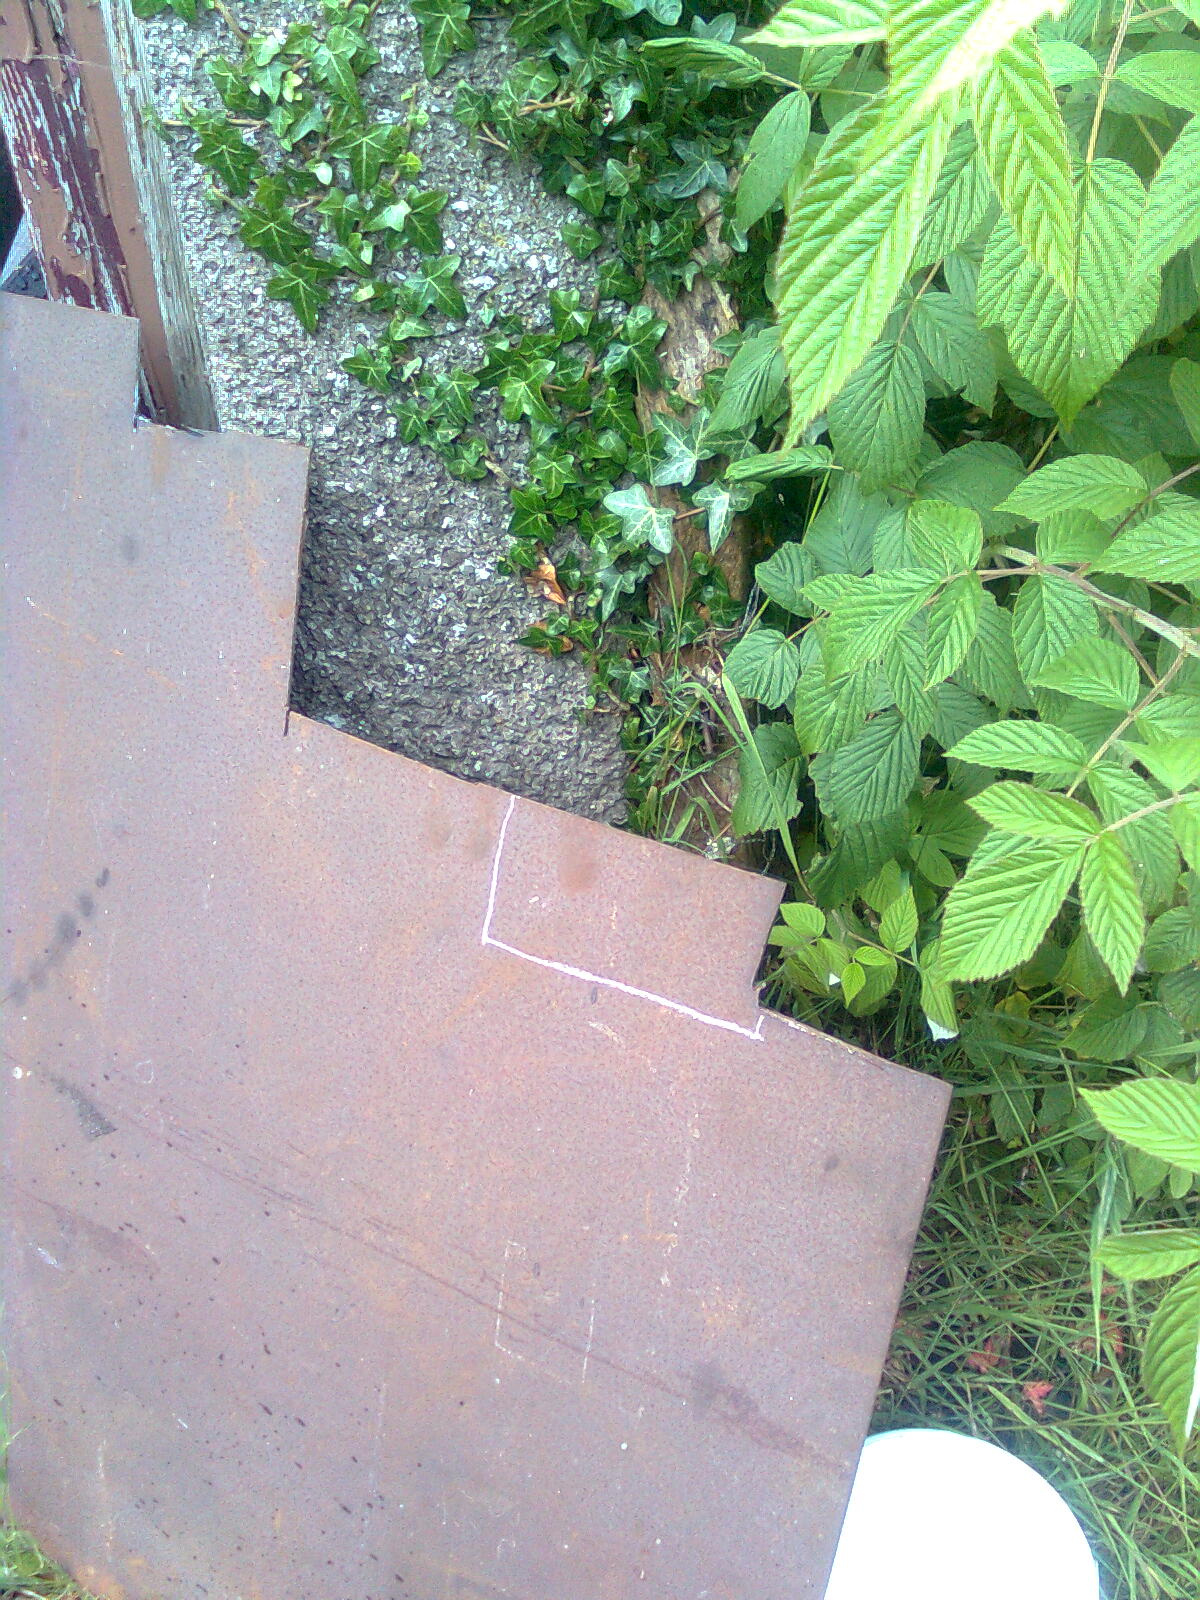
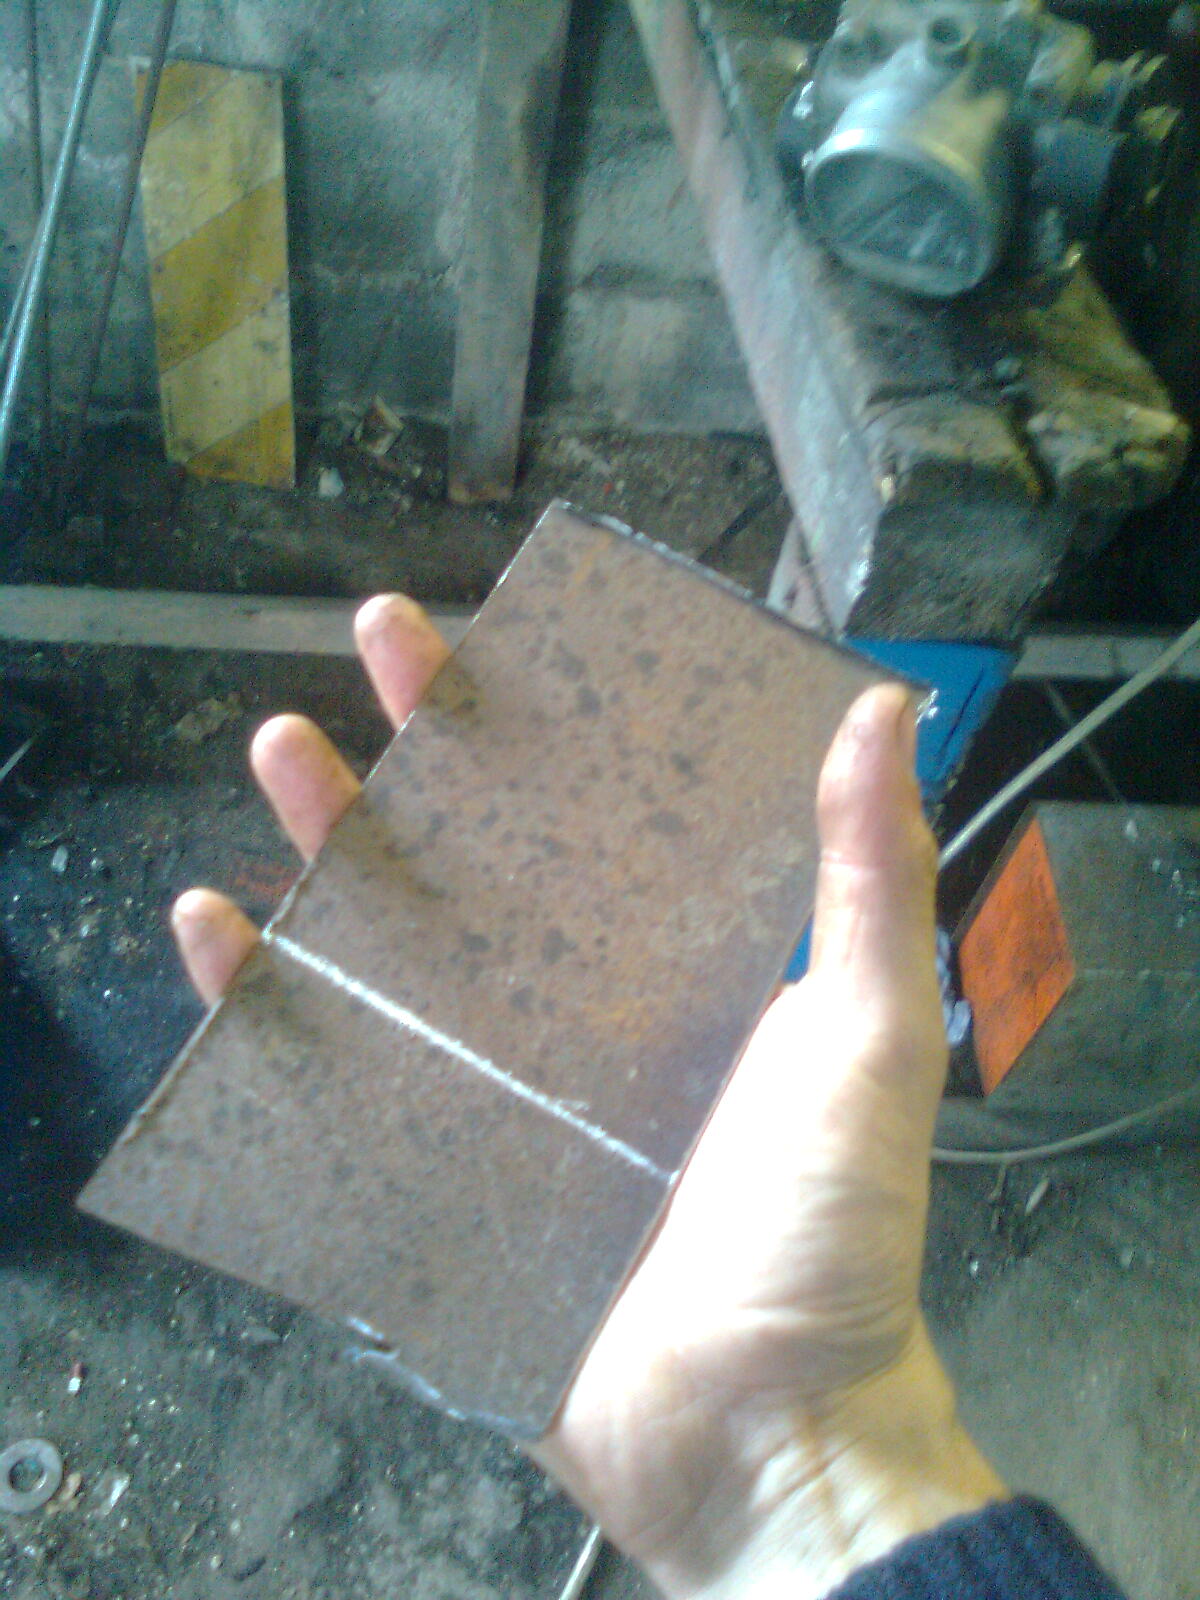
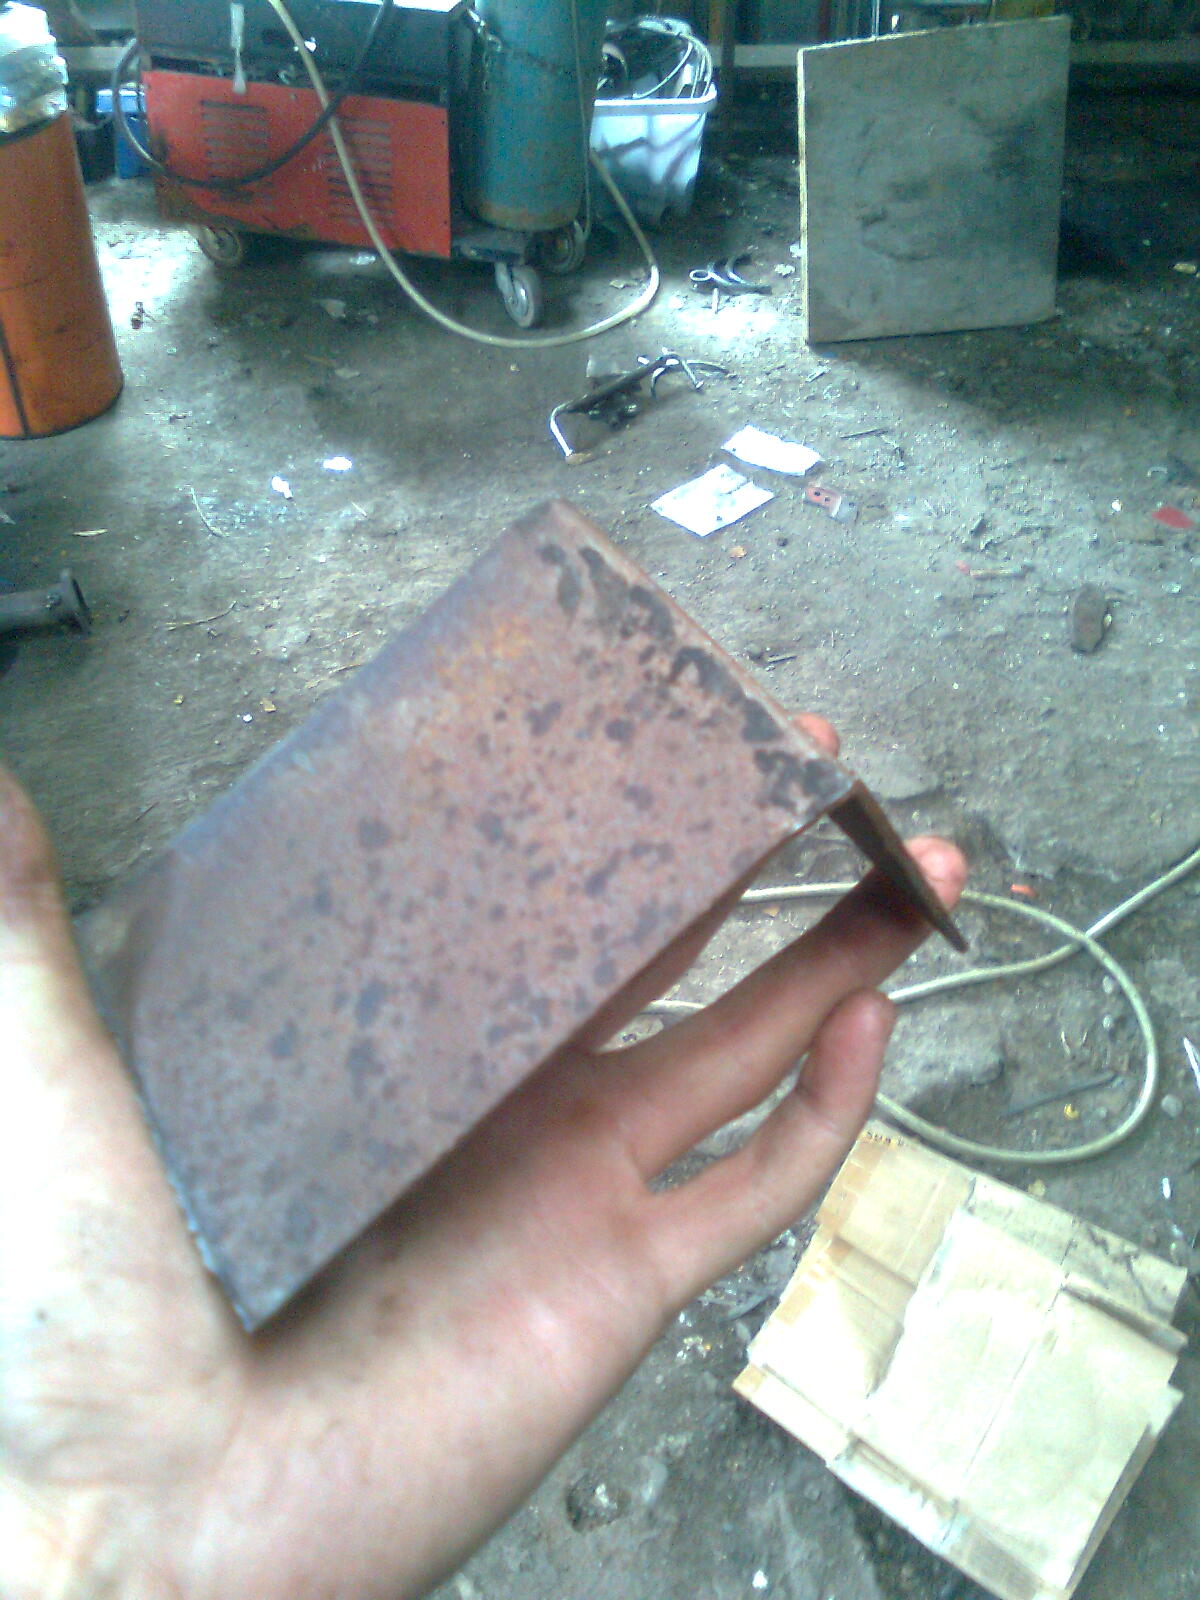
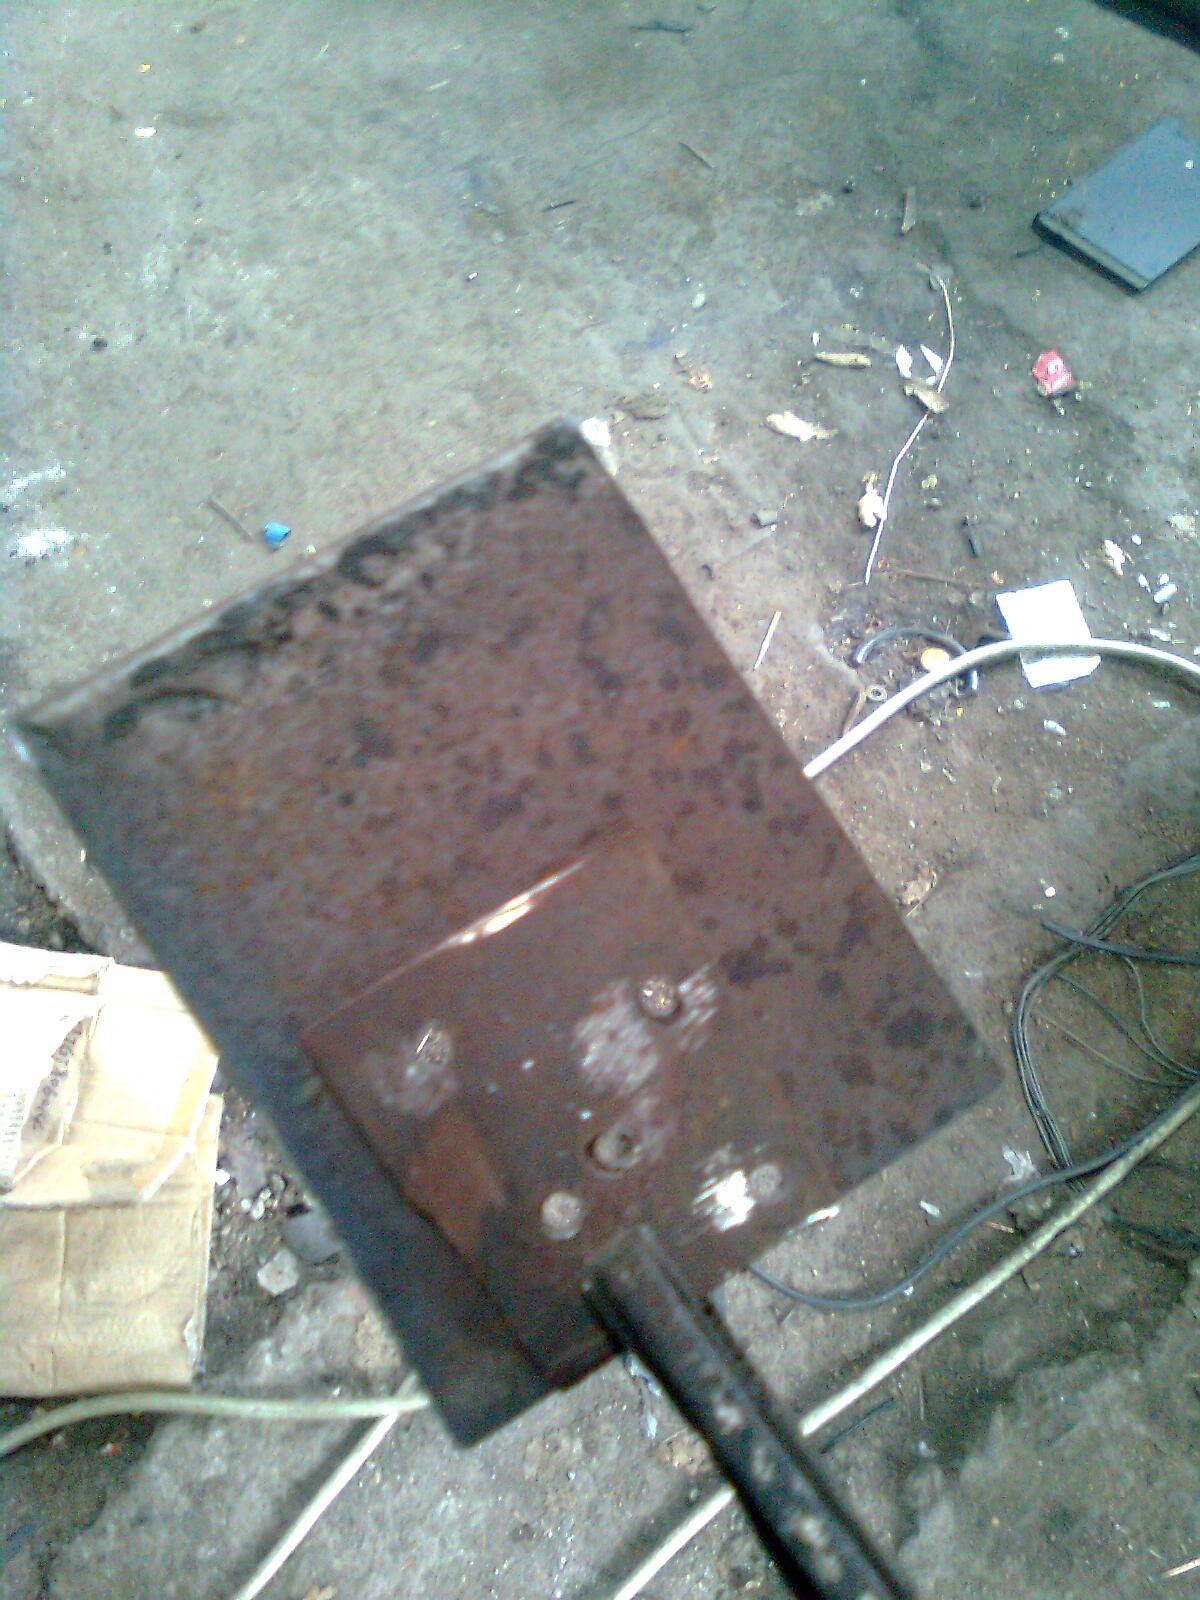
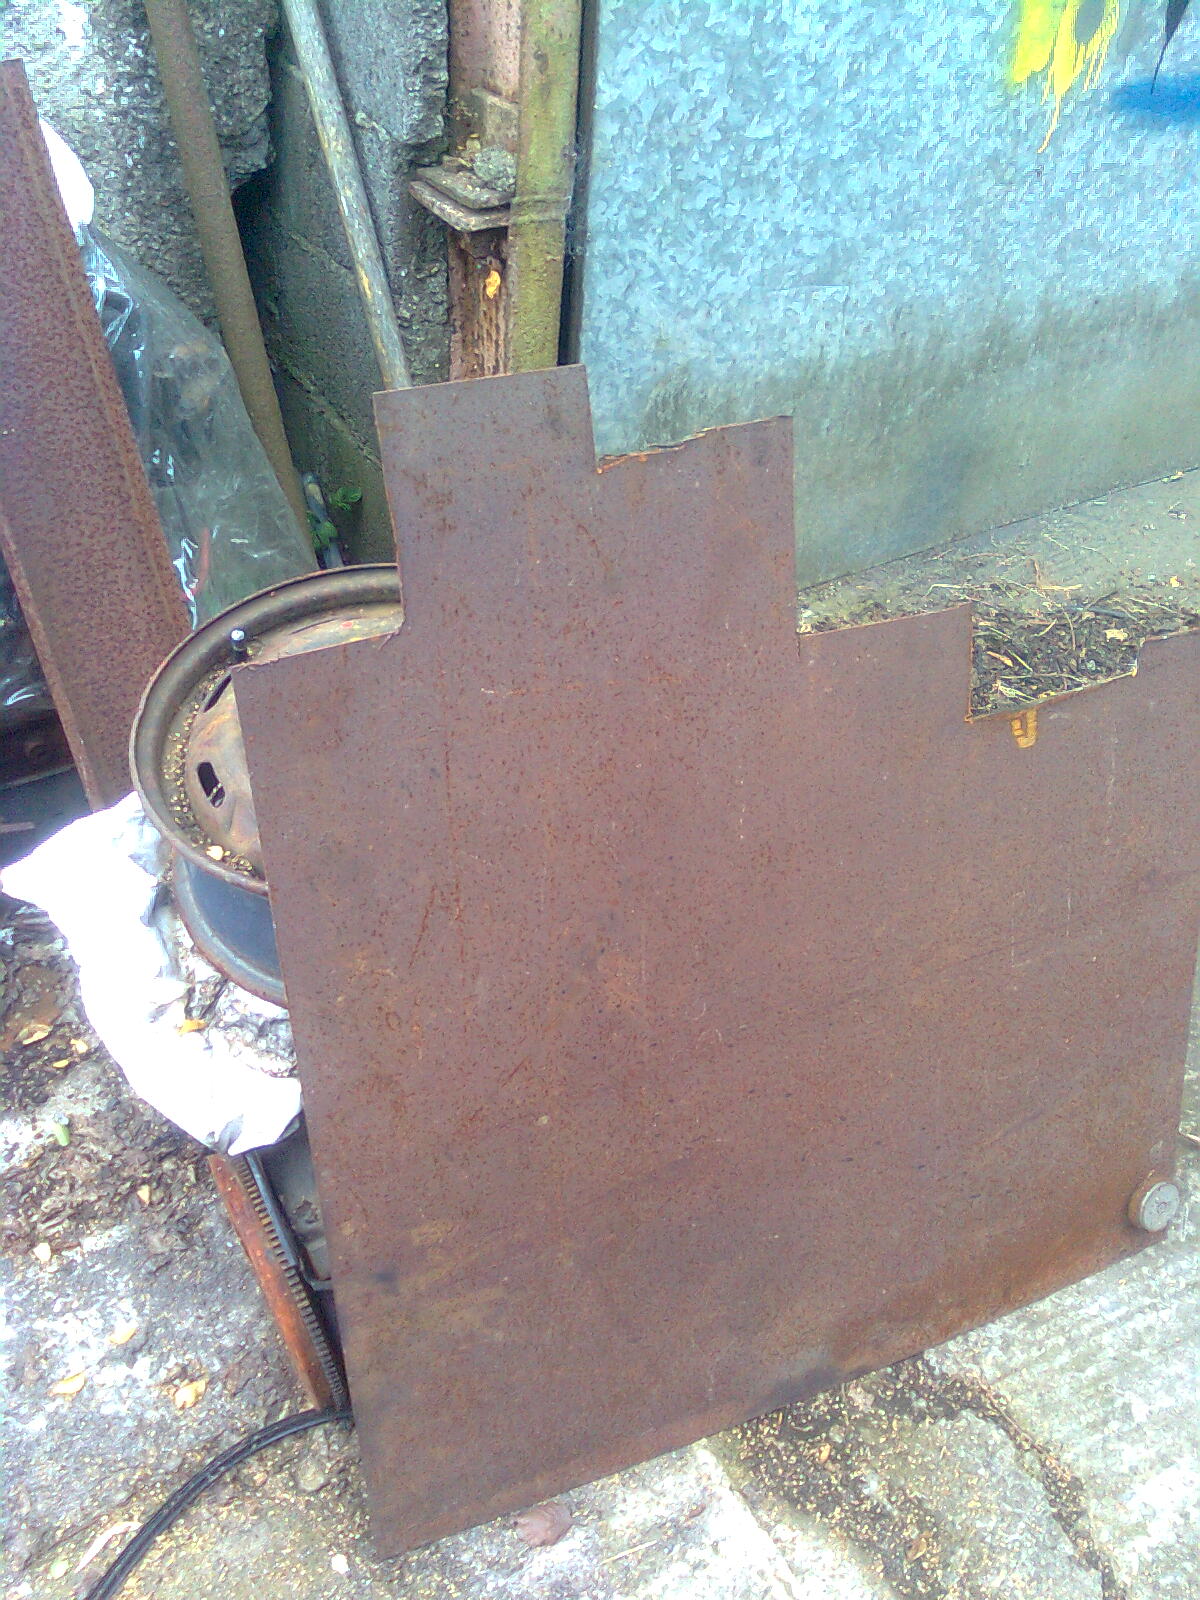
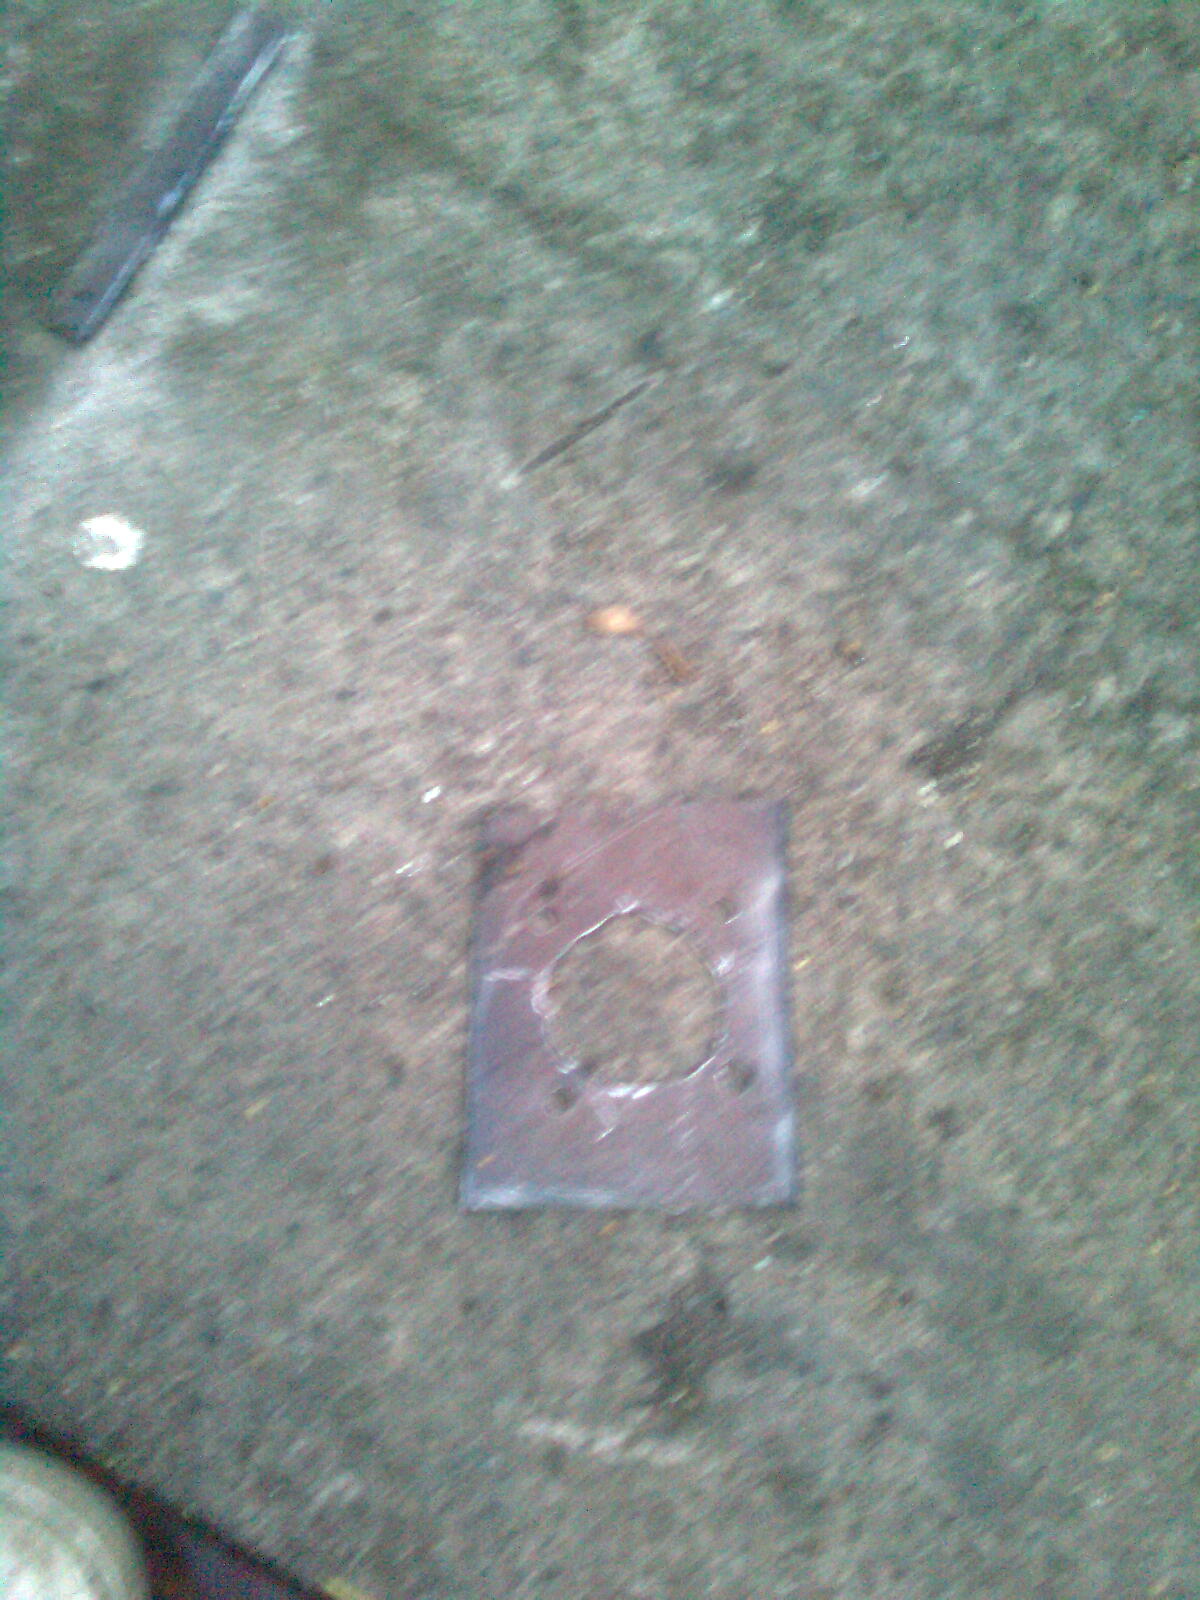
And I filled in some holes...
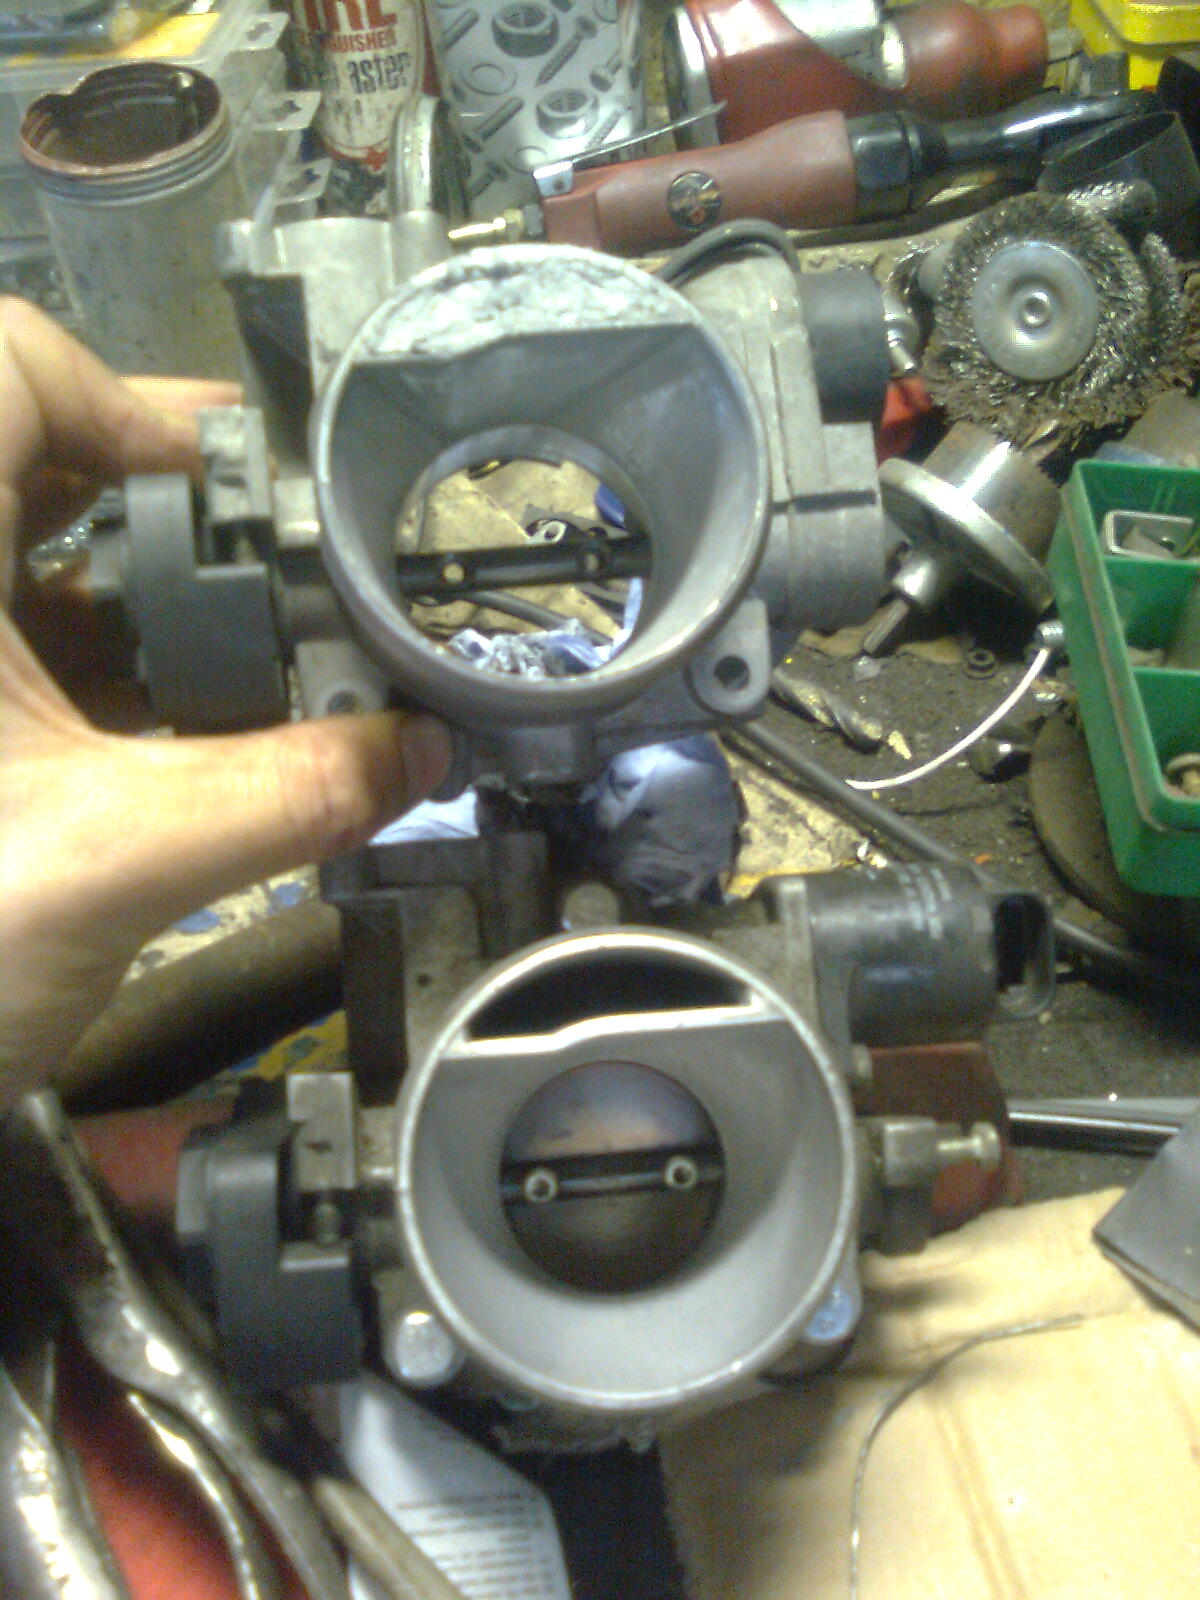
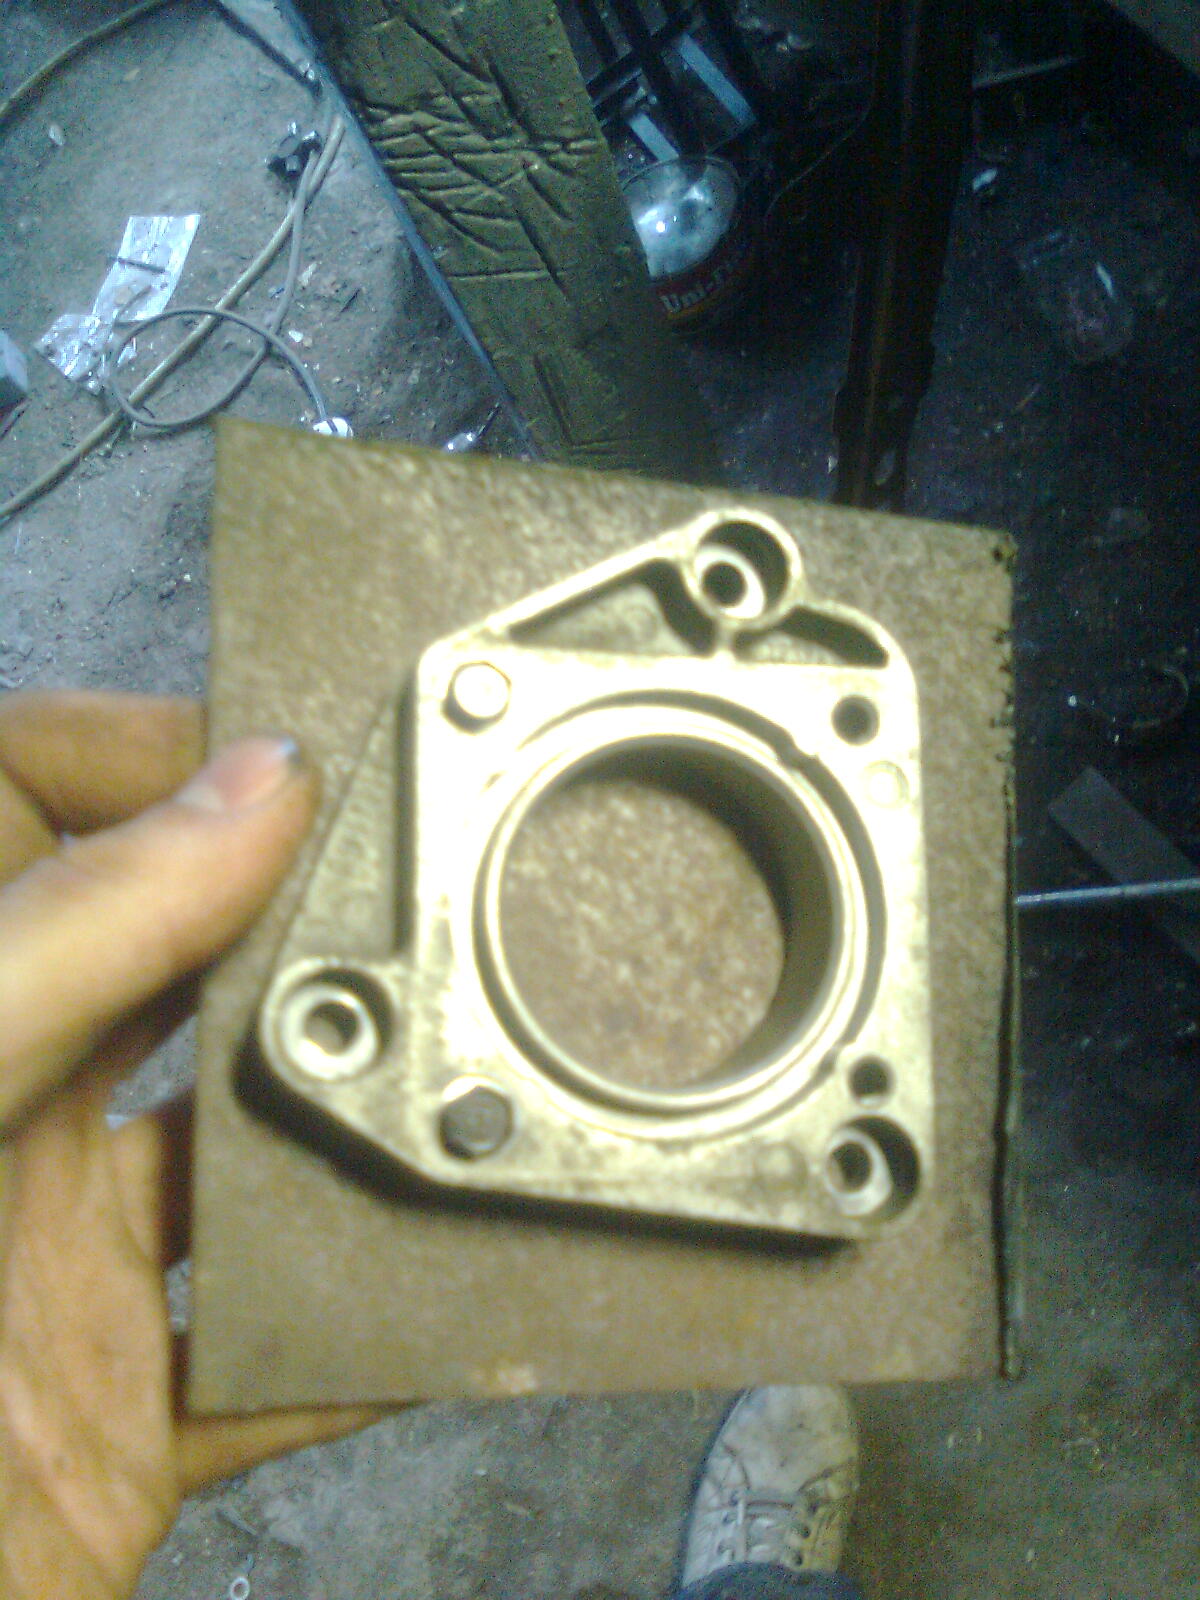
And that as far as I got for the moment. Punto 1.2 tb vs Marea 1.6 tb
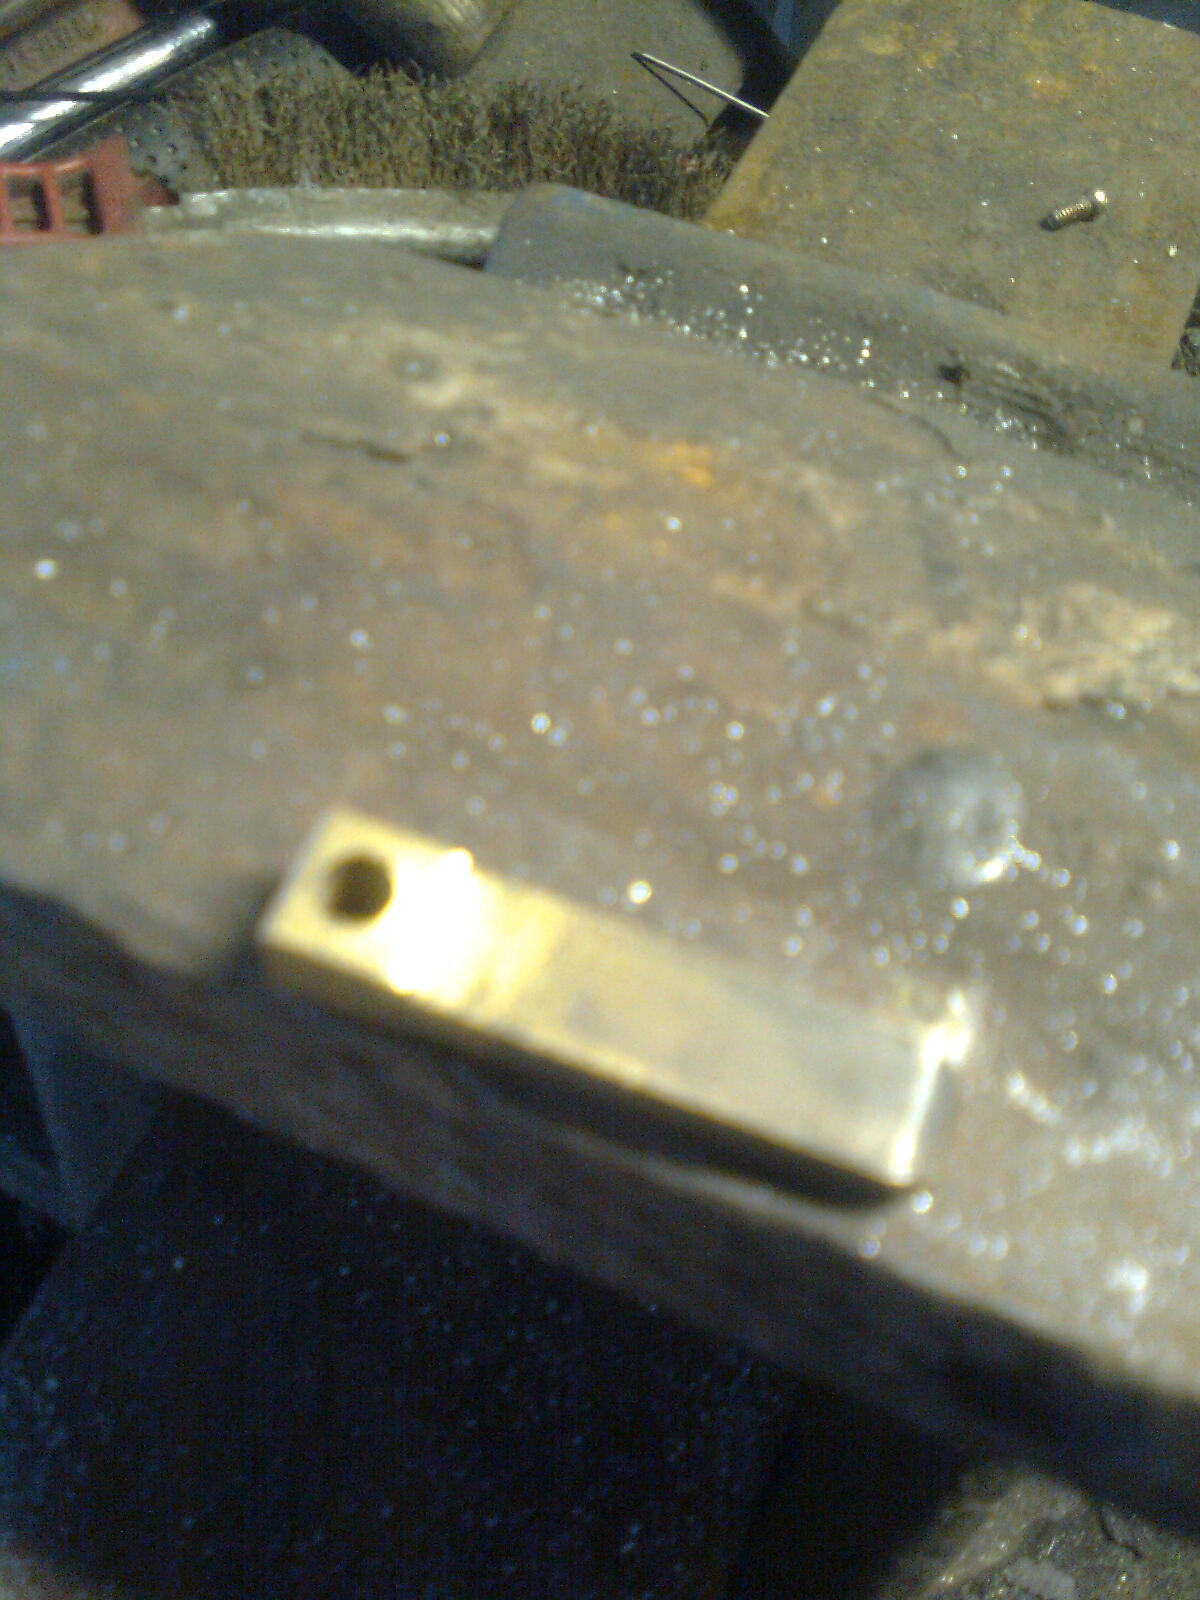
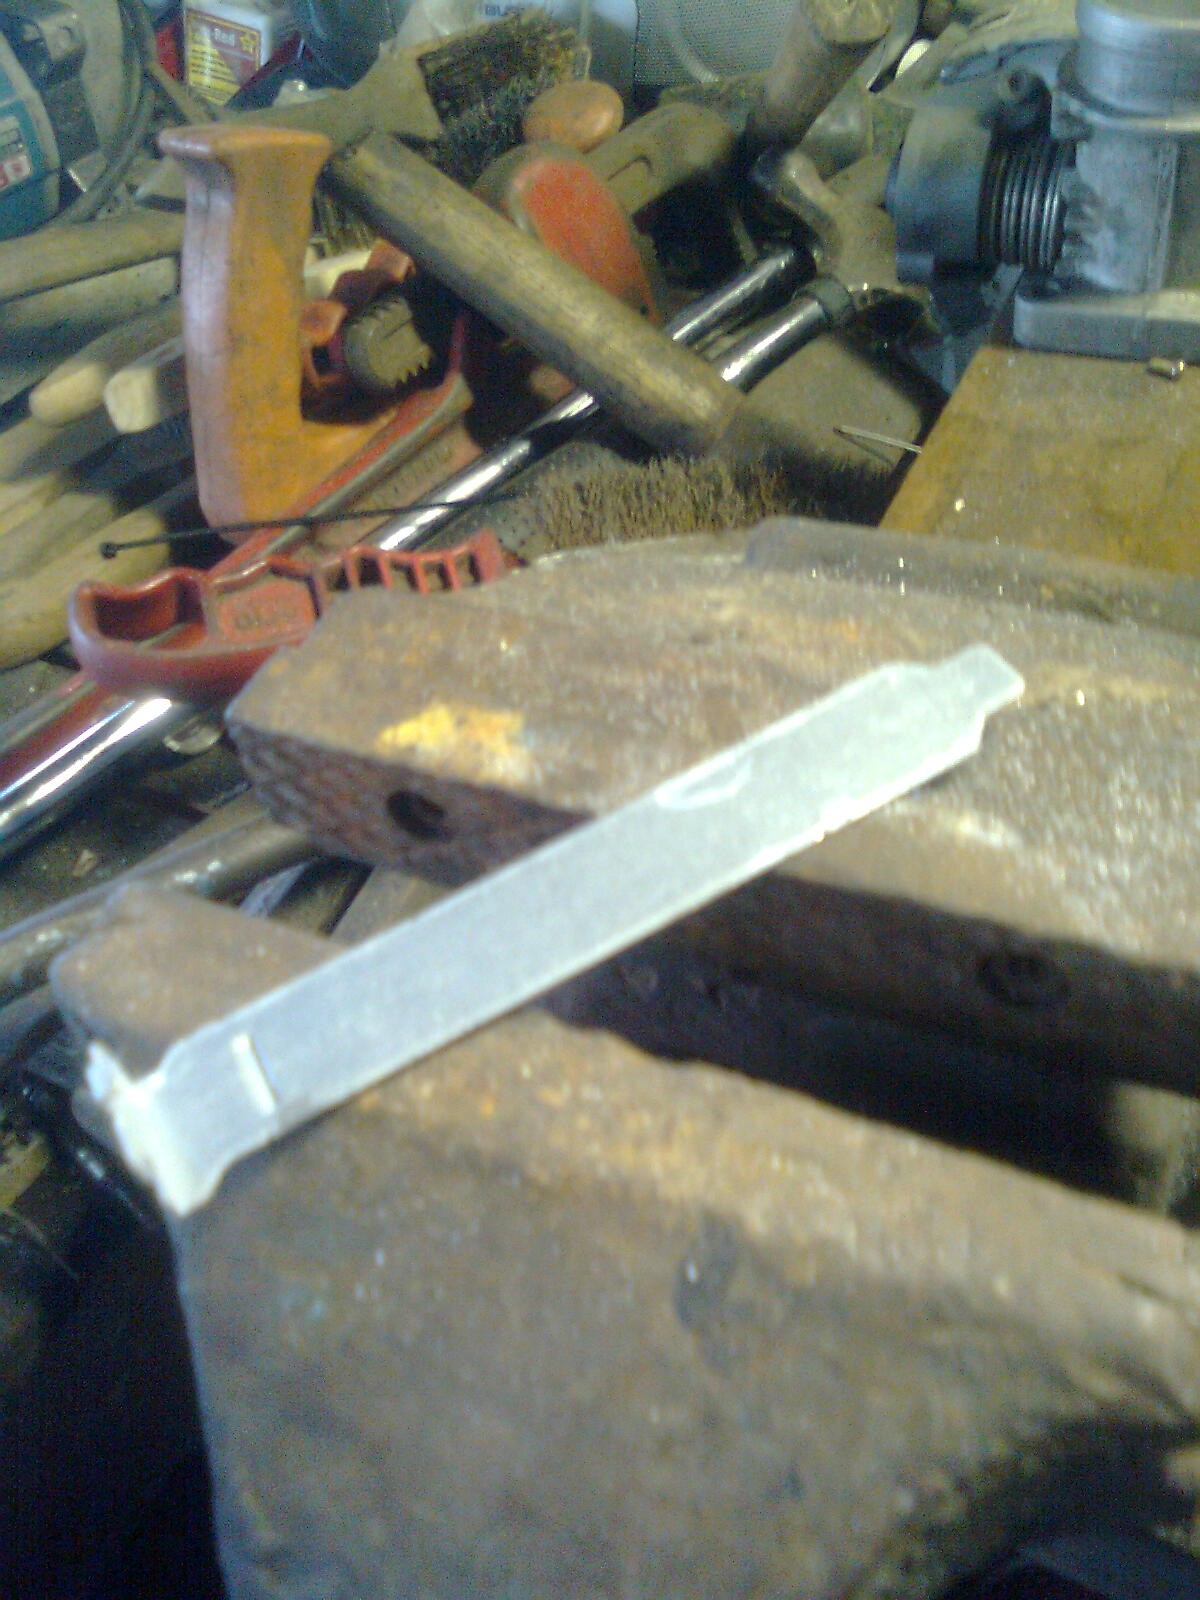
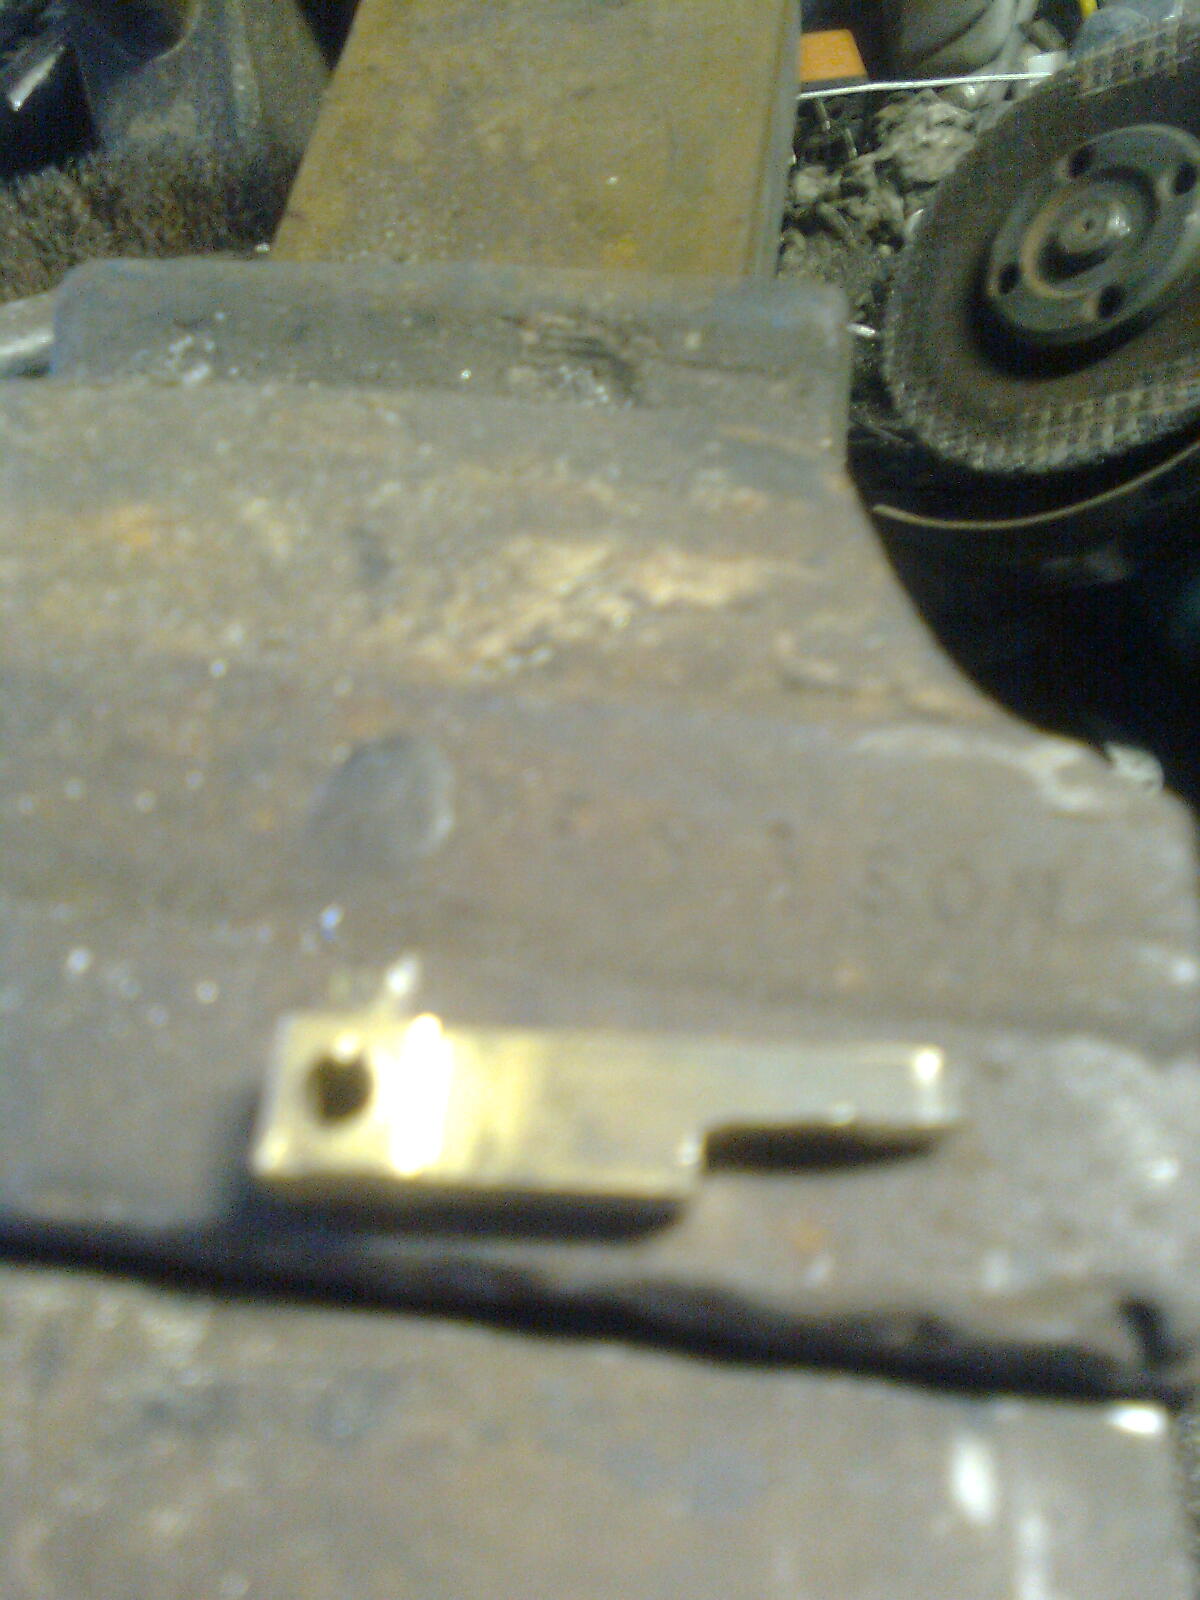
I'll have to make a bracket for my stepper motor, racking my brains how to do that
But keep watching, once funds permit I have my eye on something for this van...