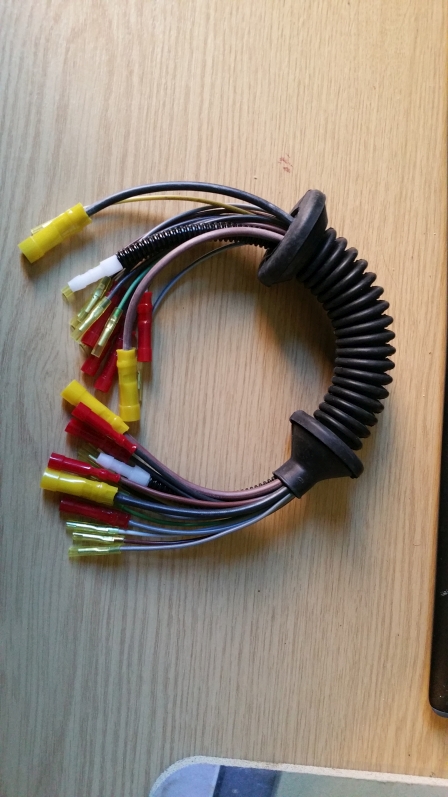
So, last weekend I had a chance to fit the hatch wiring section. It was out of stock for a week or so but the German company that supply it were very good and kept me in the loop by email, and it eventually arrived a couple of days earlier than they originally said it would be back in stock.
Looking at the German page mentioned above (
http://www.heckklappefiat500.de/) showing step by step pics, I don't think you need to go to the lengths of removing a load of interior trim, and I think their step of slicing wholesale through the wiring either side of the gaiter is a mistake.
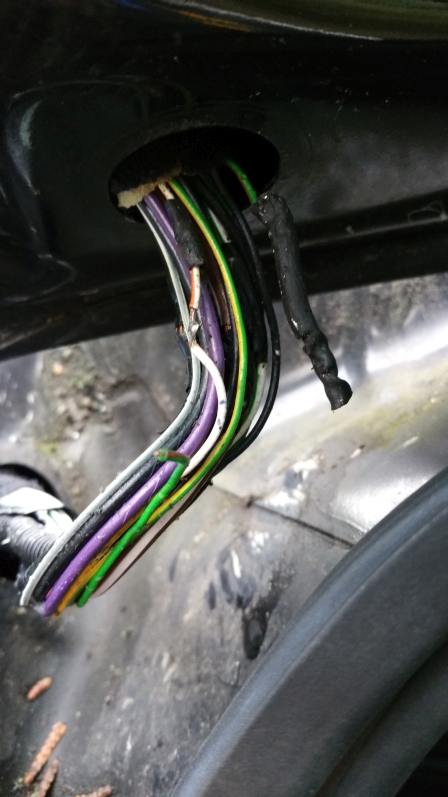
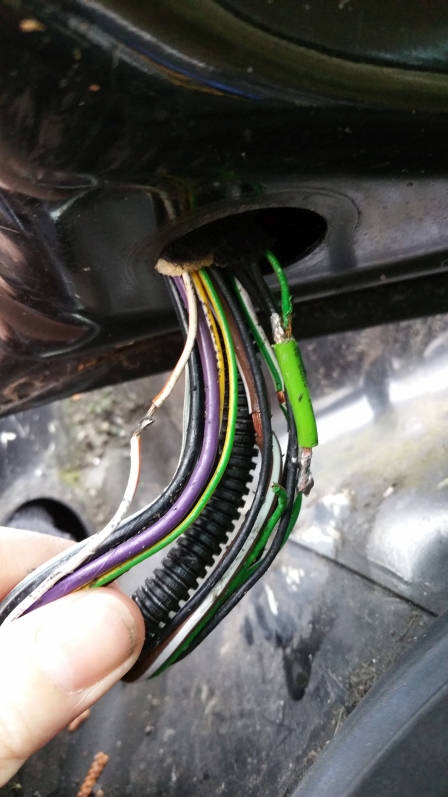
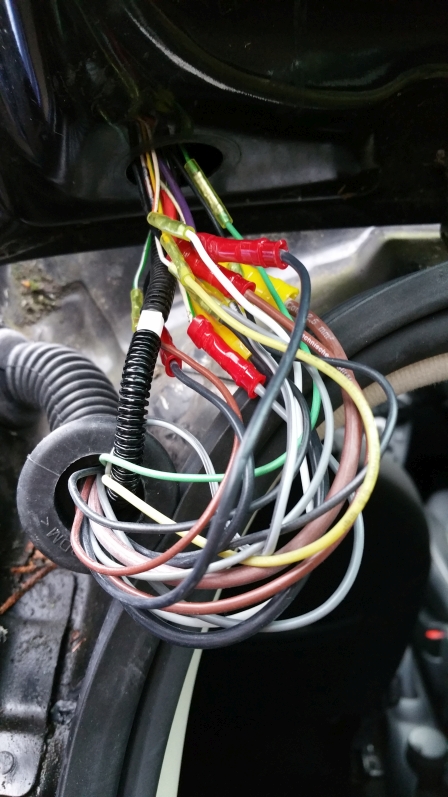
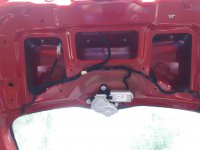
I sliced down my gaiter and exposed the wiring, which has been patched up a couple of times and looked extremely second hand.
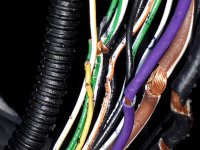
The colour codes on the patch kit don't match up with the car's wiring, but I started with things like green/green where there was a match, and made sure a corresponding thickness of wire was used. I also did ONE WIRE AT A TIME. Reason being: for example there are 2 tiny black wires. If you chop through the whole bundle, how do you then know which of the tiny black ends poking out of the hatch matches up with which end poking out of the body? And you don't need the multimeter shown in the German page to find the corresponding cable ends either end of the patch for the right wire. Simply tug one end and you'll see which other end moves.
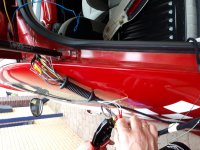
So, I supported the patch on the boot stay and started with one wire at a time.
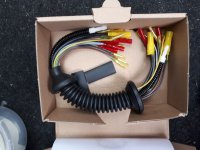
The crimp connectors are OK but not fantastic quality and I found it a little tricky to expose just the right amount of wire, then twist it tightly enough to fit into the connector and hold it in exactly the right place while crimping.
One of my tiny green wires was not crimped correctly, and the wire pulled out from the connector as I hadn't held it properly in place. At this point the other half stepped in with his box of spare connectors (which are useful to have on standby as you can't un-crimp the connectors easily so if you screw up you'll need a spare) to rectify my ****up and re-crimp the bits he thought my girly hands hadn't done tightly enough. He pretty much took over the job, (which I was a little annoyed about because I'd wanted to do it myself, but knowing everything was done up man-tight made up for it) and described it as "A bit like amateur bomb disposal".
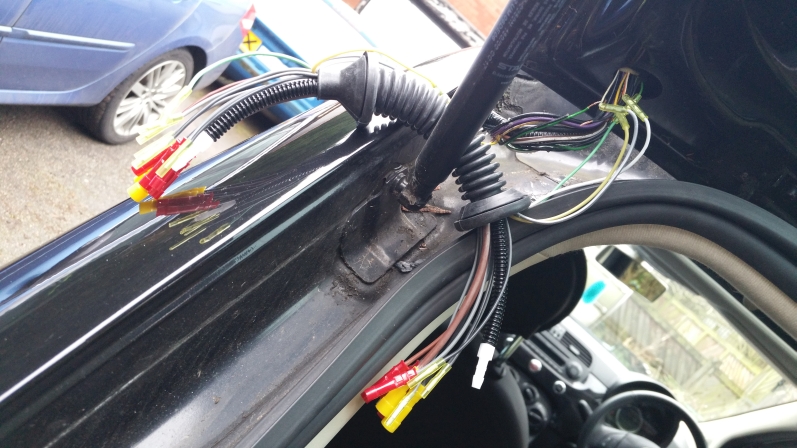
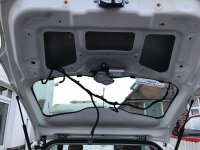
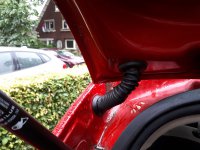
Eventually all the wires and the screenwash tube were connected
Since we didn't chop out the whole section of wire and the old gaiter there was a lot of slack because you effectively have the existing wire length plus the patch section. Which I don't think is a bad thing as it gives the wire room to stretch and move with the hatch's movement. Simply stuff the connectors into either side of the bodywork one by one and reconnect the gaiter and you're good to go.
A quick test drive showed no issues and the wiper arm is behaving correctly again. I did think I'd killed off the rear wash wipe until I realised that I was pressing the trip computer reset button on the end of the stalk like a complete moron. I've only had the car since 2009 but obviously my brain had decided to revert to some time in the dark ages when I had a car with the washer on the end of the stalk. And no, I'm not blonde....
I do wonder what the heck all those wires DO. I mean, there's only the boot light and handle and the wash/wipe in the hatch. It can't be that complicated surely! Also the kit had one more wire than needed but we just pulled it out of the bundle rather than leaving it dangling in the gaiter. Maybe a minor model difference somewhere?
The kit cost £38.95 inc P&P which I think is well worth it to future proof the hatch wiring and save multiple trips to a garage. I doubt it would cost a huge amount to have someone do it for you if you're not confident with wiring.
Hope that helps!