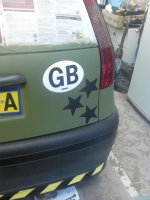
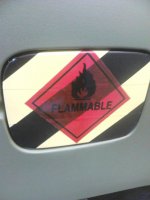
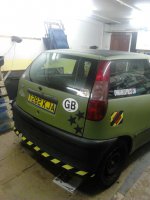
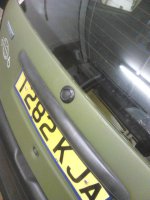
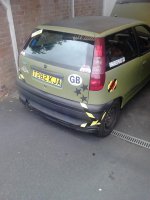
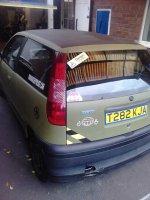
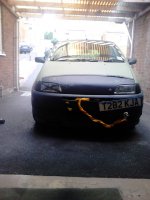
314015_263000770481284_675395348_n.jpg

Punto (Mk1) Work in Progress...

Introduction

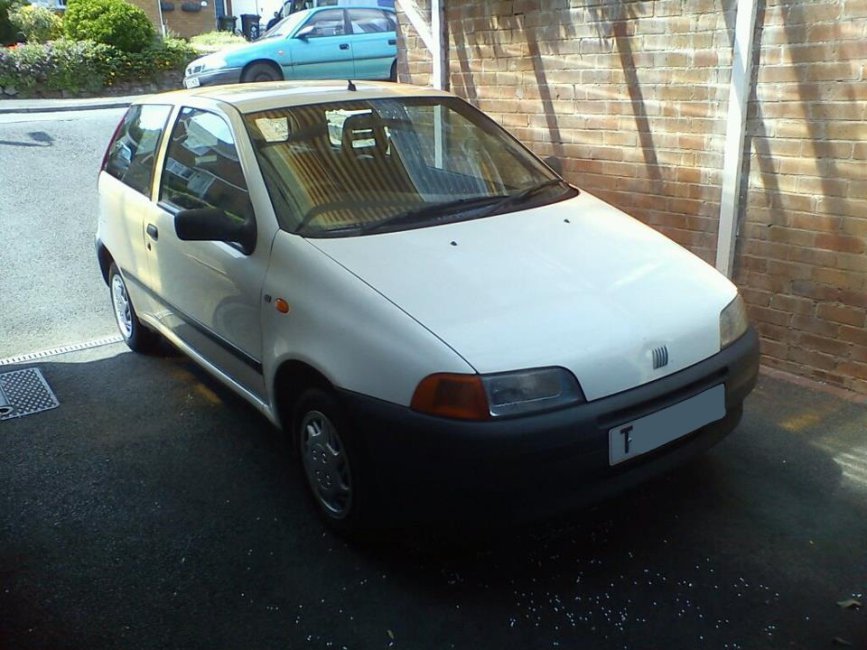
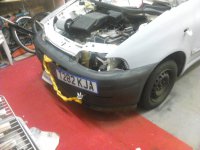
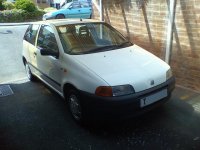
When i first bought the Punto s 60 before work begun it was plain white as you can see,
314015_263000770481284_675395348_n.jpg

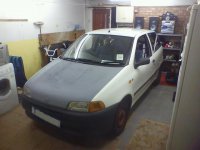
I then went on to giving the car a "ratted" look by primerring the bonnet and sloping the number plate, but then found out it looked to tacky.. i removed rear windows to clear around the rubber seals where there had been mold growing and all clumps of dirt,
376705_266670873447607_1862422885_n.jpg

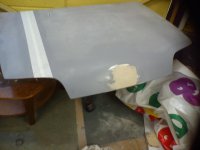
i took the bonnet off again and sanded the primer so it was smoother and then thought, "ahh peoples been painting there cars with rollers" so id give the Punto a better look and paint the bonnet matte black, with emulsion paint!! firstly filling the bonnet badge and sanding it smooth.
283861_270360743078620_1928088637_n.jpg

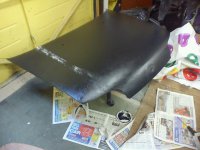
finished sanding the filler smooth as i could then i started to roll! but also removed the washer jets which i didnt do when primering :bang: CLOGGED JETS
394488_270756536372374_1294261651_n.jpg

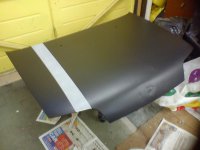
half way through i forgot i had masking tape on the bonnet so its going to end up having a primerd stripe down the bloody thing, ahwell be a one of a kind also it would go with the jets (y)
319388_270787036369324_493743956_n.jpg

i thought it actually looked alright when i removed the tape :) but the filler is still noticeable ahwel what the heck! its a project nothing to worry about maybe having to lacquer the paint after though as it is only emulsion paint for walls so will have to protect it,

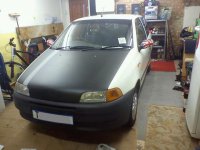
Fitted the bonnet back on to the car and it looks quite nice in my opinion :D also fitted a black sun strip for £10 from halfords but sadly im going to have to down size my wipers or the arms!!
582577_270847593029935_1486036587_n.jpg

[AIR FILTER]
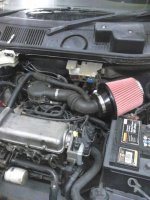
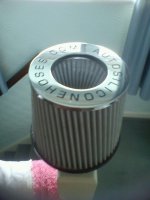
i thought the Punto needed a new filter, so i got one off amazon for.... £8.75 better than paying £26 from hellfrauds!!!
540250_267971666650861_1078064683_n.jpg

Loook at the bloody size of it!
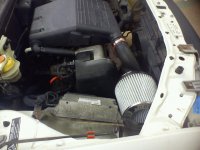
time to fit it in the engine bay, firstly i removed the old paper filter out of the airbox and had to cut the air-intake pipe to place it on the end its a tight fit but its in had to cut it down alot and repair and tape it to strengthen it.

Its in! :slayer:
217651_268099096638118_1030722563_n.jpg

Also added a black tail pipe so that it stuck out abit more and gave the car a better look and sloped the rear number plate
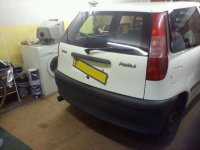
539029_264448203669874_1413589046_n.jpg

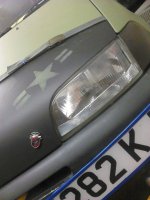
got a bit childish with the Punto_s badge.. aha no body moan but i thought it was funny most likely going to get a warning about this (n) also added stickers under it to underline the badge and added a GHIA Badge
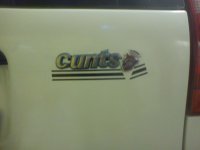
DSC00103.jpg

oh also wired in some house speakers in the boot no need for a subwoofer or amp im happy with how it is,
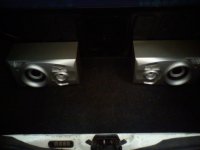
304752_270852343029460_83246606_n.jpg

(UPDATES TO COME WHEN MORE WORK HAPPENS)
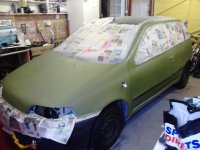
Right the cars going to be changing colour as i think its looks tacky :(

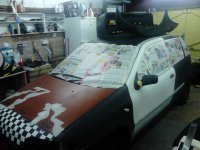
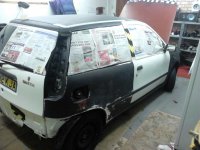
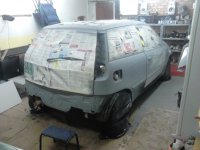
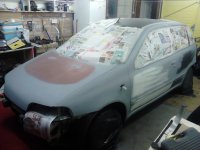
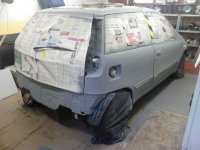
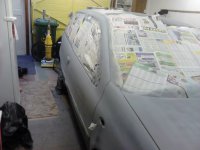
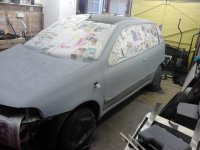
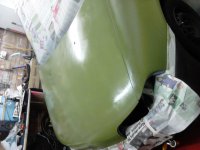
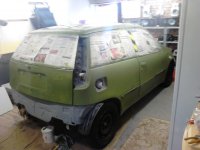
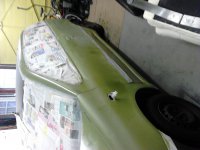
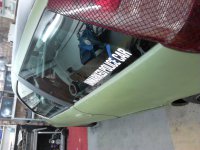
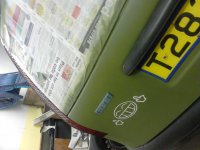
so started to mask the car up news paper and masking tape does the trick..
masking up key holes and rub strips windows also..

1.jpg

ignore the flame stencils on the bonnet there not happening it was just an idea.

was originally going to remove the rub strips but there a pain in the ass to get off IMO, so i had to glue one back on ended up using spray on carpet glue and it does the trick

2.jpg

sanded some rust off of the car that had built up on the surface of the arch and under the doors then slapped some cure rust on it,

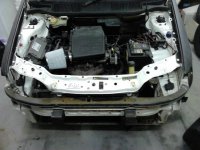
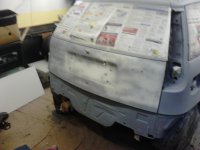
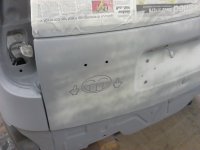
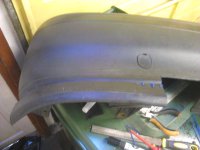
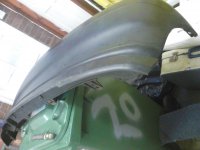
also removed bumpers front and back also lights all the way round.

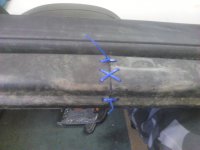
on which i found the "crumple zone" on the front was rusty so on goes the cure rust to stop it from rusting more,

4.jpg

i may paint over it but may not as the bumper just sits over it and cant be seen
 
Right Mass Update.

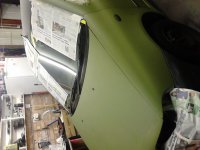
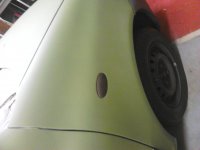
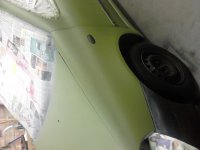
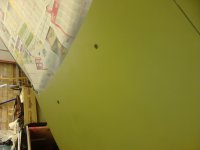
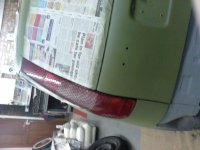
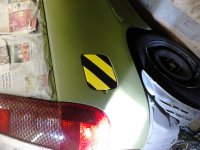
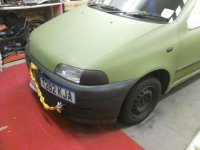
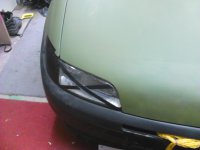
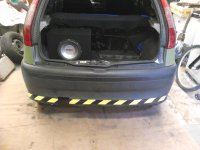
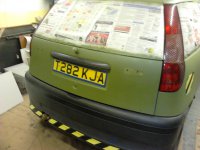
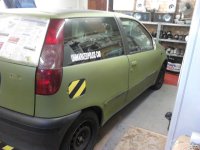
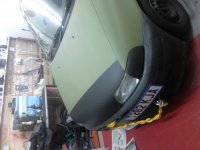
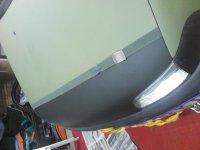
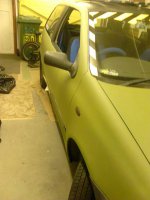
Car has now changed colour and shall upload all photos of it below!

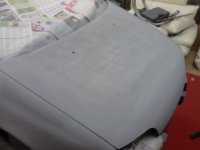
Punto being Primered all over part from roof and roughing up the paint work

1.jpg 2.jpg

3.jpg 4.jpg

5.jpg 6.jpg

7.jpg 8.jpg

Bumper attachments e.g splitters and what nots.

9.jpg 10.jpg

11.jpg 12.jpg

13.jpg

Starting to roller.

14.jpg 15.jpg

16.jpg 17.jpg

Paint drying up.

18.jpg 19.jpg

20.jpg 21.jpg

22.jpg 23.jpg

24.jpg

Bits and bobs.

25.jpg 26.jpg

27.jpg 28.jpg

29.jpg 30.jpg

31.jpg 32.jpg

33.jpg 34.jpg

35.jpg 36.jpg

37.jpg 38.jpg

39.jpg 41.jpg

Oh and gluing the rub strip back on :bang:

40.jpg

Still not finished as still having to touch areas up with a smaller brush e.g rear windows ect,
 
i tend to agree but only because i think the rat look isn't done properly 99% of the time.. Too many folk have seen a decent rat at a show or online or in a magasine and thought that looks easy when actually alot of time and effort is needed to put into one to make it a proper rat..

As you know it should look like its about to fall apart and rot away but a proper rat should be proper good condition underneath it all. For me this project still lacks the under pinnings of hidden shiny bits and big spec suspension and engine etc but its defo heading in the right direction and certainly isn't just a rusty rotten car thats bumming a scene for all its worth. Plenty of attention to detail so far, and as i already said it takes alot of time to build a proper one, its needs just as much thought and vision as a true show car to pull off right, just the outside finish isn't to the same standard if that makes sense
 
Last edited:
i forgot one thing.

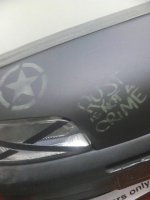
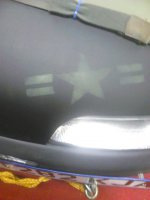
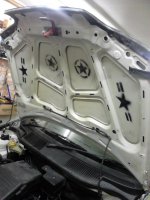
also spray painted stencils under the bonnet but hey theres the original colour :D

1.jpg

took off the driver sides rear door card today to put in side speakers " i know some of you will hate me for it, but i couldn't stand the plastics keep braking on the rear either side of the parcel shelf well where its meant to be..

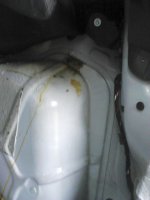
anyhow i found rust/rott :bang: FUDGE!

2.jpg

Oh look its only a little bit :)
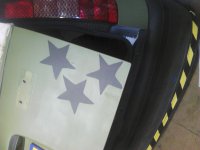


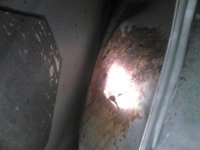
wait a moment...


3.jpg


yeah oh dear, well im not doing anything to that im just covering it in cure-rust hoping it wont get even worse :mad: should be MoT worthy as they cant see that.. but its risky..

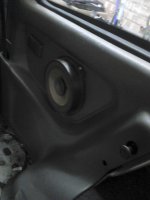
right so as ive said im putting in side speakers i have fitted one today but have broken my last spade connector so the other will have to wait :)

4.jpg

probably looks tacky to all the fiat supporters but at the end of the day its my car and i like my music.
 
Still painting areas and adding bits too it..

started around the back window with a fine brush and dabbed under the window..
looks a tad better but not completely covered, ah well...
wiper arms back on though,

1.jpg

toying with the idea of getting a rubber "wiring" grommet and de-wipering the boot.. Opinions??

also found a place to put the old ford ghia badge.. why not :D

2.jpg

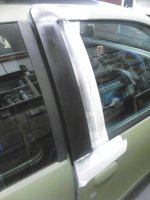
i have been neatening up the black areas of the car with a can of matte black.. doing the door pillars as shown

3.jpg 4.jpg

the wing mirrors are finally back on after sorting out the paint behind them and taping the passenger side one back together :bang:

5.jpg

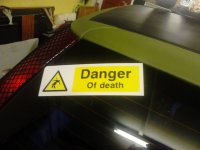
i have also added another sticker which maybe suiting for this car (y)

6.jpg

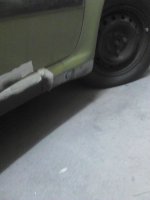
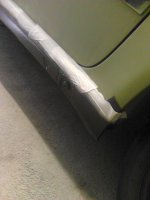
and re doing the sills in matte black to cover up the primer also which IMO looks a tad nicer...

7.jpg 8.jpg

now doing the passenger sides and shall upload pictures of that when it is done.
 
Few bits and bobs..

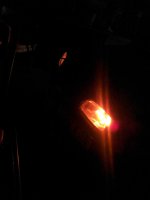
Amber side lights for the evil effect :D

1.jpg

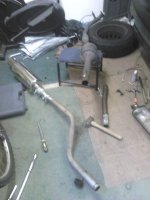
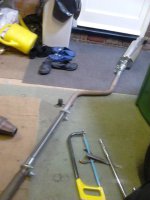
i have taken the exhaust off again for more messing around..

2.jpg 3.jpg

Yep i've ripped the center box out ;) hopefully it shouldn't be too loud

4.jpg 5.jpg

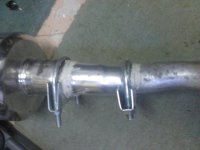
straight pipe put in 1.75" bore 500 mm length yes this is a tad shorter but ill make it fit! also caked it full of gasket maker so it doesn't blow "touch wood"

6.jpg

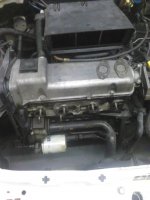
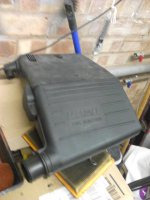
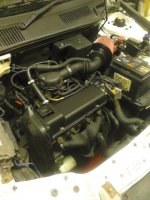
took out the old air / throttle box,

bought a fiat seicento 899cc air system off of ebay (y)

7.jpg

fitted lovely even removed the rear breather as the system came with a linked one so it fitted so much easier!

8.jpg

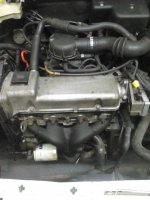
cleaned up the cam cover a bit also cut the plastic cover at the box to fit around the filter as I've cable tied it to it to stop it from moving..

painted the manifolds black to neaten it up aswell,

9.jpg 10.jpg

and managed to fit the seicentos box in to i can run a air intake line easier!
just waiting for the ducting to come aswell as a few jubilee clips and then the intake shall be finished (y)
 
Little Update...

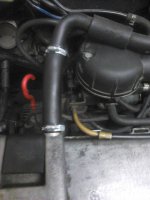
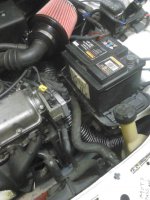
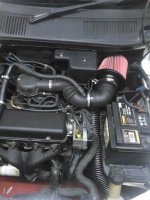
fitted jubilee clips around the cam-breather and also fitted an air-intake ducting from the side to the box sat in the bay

1.jpg 2.jpg

also done a bodge job of de-wipering the rear using a grommet and some leccy tape yes its a bodge job as ive stated (y)

3.jpg

And also got the car out the other day just to try it out on the drive...

4.jpg 5.jpg

6.jpg

Bad news... it doesn't fit up the drive with the laguna splitter screwed to the bottom :bang: BUGGER!

SOO... I may have to cable tie its so it flexes more but literally it might just get ripped off dont help with the different wheel sizes i suppose (n)

Also manged to start it up with hardly any petrol


Sorry about the voice going on about The rev counter warning light... Also after reving it alot i started to bellow out white smoke from the engine bay.. popped the bonnet and couldn't see where it was coming from..
any who.. what do you all think?
 
Little Update...

fitted jubilee clips around the cam-breather and also fitted an air-intake ducting from the side to the box sat in the bay

View attachment 119654 View attachment 119655

also done a bodge job of de-wipering the rear using a grommet and some leccy tape yes its a bodge job as ive stated (y)

View attachment 119656

And also got the car out the other day just to try it out on the drive...

View attachment 119657 View attachment 119658

View attachment 119659

Bad news... it doesn't fit up the drive with the laguna splitter screwed to the bottom :bang: BUGGER!

SOO... I may have to cable tie its so it flexes more but literally it might just get ripped off dont help with the different wheel sizes i suppose (n)

Also manged to start it up with hardly any petrol

Fiat Punto 1.2 Straight Piped. - YouTube

Sorry about the voice going on about The rev counter warning light... Also after reving it alot i started to bellow out white smoke from the engine bay.. popped the bonnet and couldn't see where it was coming from..
any who.. what do you all think?

I llike it!
 
thanks :) always nice to know somebody likes your car...
sadly i may scrap it, as I've got bored of it and its a pain in the back side to get parts for
also just seems to keep having problems creep up on it

>.< i really don't know i want to keep it but i want to get rid of it too.
 
Forget what i said about scrapping it...
just a moment of realization i bought it for a project, no point in stopping now is there..

so i'm keeping the car ;) For now

a little update

1.jpg 2.jpg

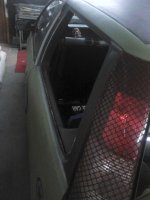
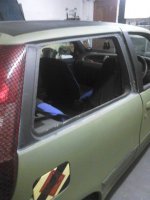
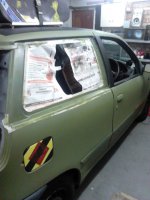
Rear windows back out again -_- just so i can paint around them when i get the time.. actually thought about getting van panels but yet again that'll be a totally different kettle of fish,

3.jpg

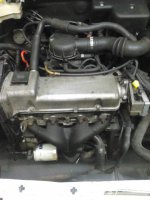
i was looking at my cam/rocker cover thinking
eww doesn't that look a bit raw and tatty? so i took it off..

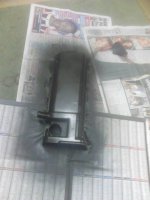
4.jpg

sanded it a bit, then applied 2 coats of heat proof black paint... shame it marks easily ah well also looked at the gasket on it

(n) theres a little nick in it.. so i wonder if that's why i was getting white smoke in the engine bay? anyway ill replace that at a later date.

5.jpg

fitted back on with old gasket just cleaned it up a bit.. looks much neater eh?

6.jpg

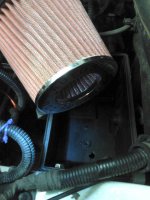
back to my induction.. using a PVC 90 degrees elbow Guttering pipe a few jubilee clips and leccy tape i have made a elbow for the induction, i had to cut slits in it to clamp it down but hopefully its tight enough fit to work.. not to sure about this as the twin cone on the filter is basically eating the sound deadening but i think it shouldn't effect the working of the air filter... should it?
 
Right back on about the roof racks...

been looking around eBay , gum-tree and local buy and sell pages.. nothing popped up apart from £70 roof racks so i thought sod it i wont bother!

actually im going to go back to my original idea of bolting it on.. yeah i know there's going be holes i know it may leak... that's what silicone sealant is for..

i shall try and do a neat job of it though :)

1.jpg

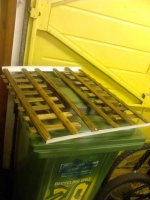
i built the pallet out of a bathroom seal and picket fences what were lay around doing bugger all.. this shall be the basic base of the pallet / roof tray

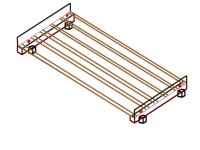
Rack.jpg

hopefully it'll looks something like i drew up earlier, the sides aren't going to be that tall as you can see in the "mock up" as the bathroom seal is quite small and there the sides of it

2.jpg

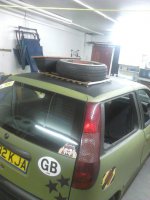
this is what it looks like on the car yes its a bit small but it doesn't really matter but it shall stand slightly higher than that aswell
 
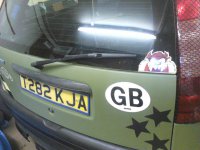
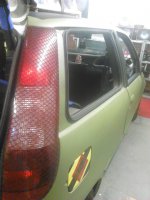
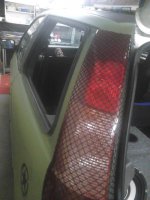
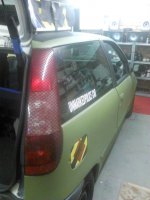
Finally i got round to painting the rear window shutts of the "Military" Punto (y)

so hopefully that'll mean no more green painting! i hope :D

1.jpg 2.jpg

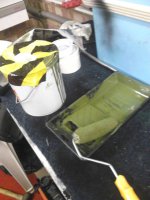
Now hanging up my roller and sealing the tin.. for now

3.jpg

Roof Rack to follow up!
 
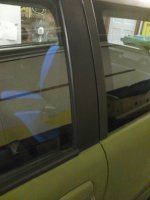
Right then paints dry around the windows...
wish i never used Pound Land masking tape :bang:
got a lovely stripe down the side of the car now! BUGGER!!

Ah well time to fit the rubbers back on and the windows back in place

1.jpg 2.jpg

3.jpg

few other bits need to be painted but i cant be blessed to do so.. its a Rat look so it doesn't really matter
 
Back
Top