IMG_01991.jpg

Panda (Classic) Project Fallout

Introduction

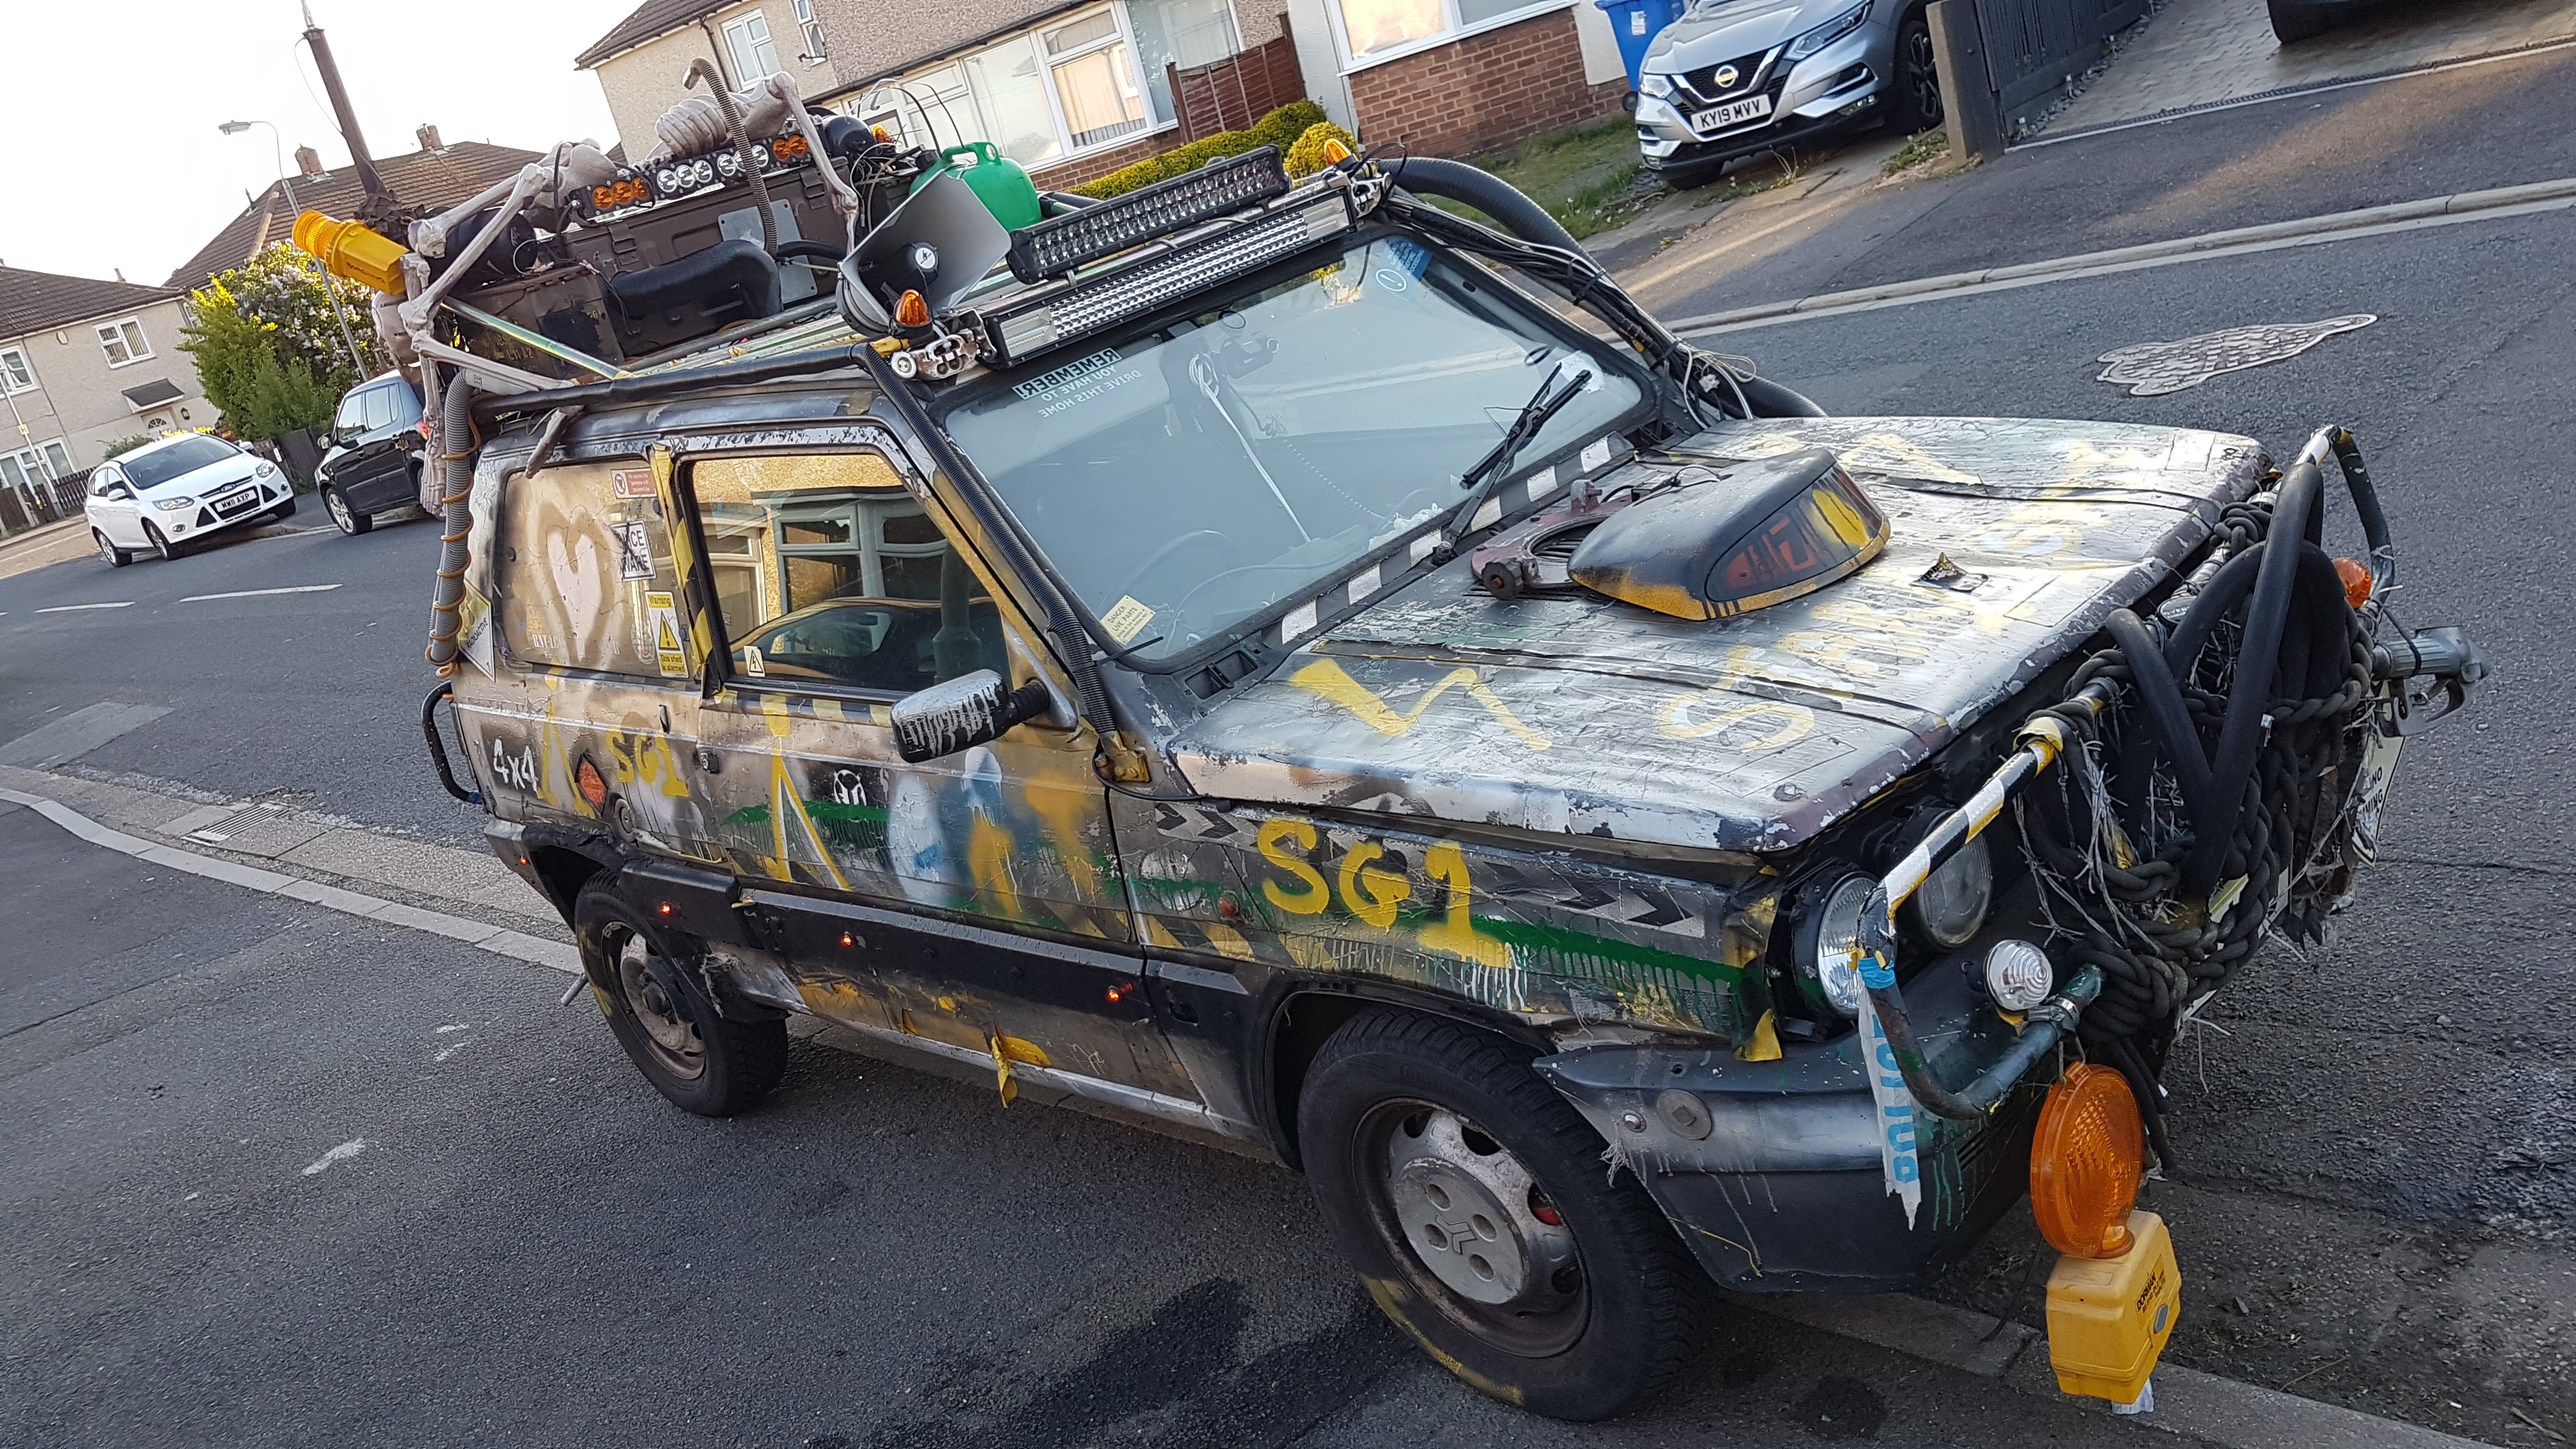
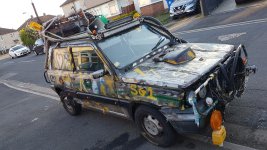
let me introduce to you, the free panda 4x4 which was first spotted >>Here<<.
First off however, here is the plan:

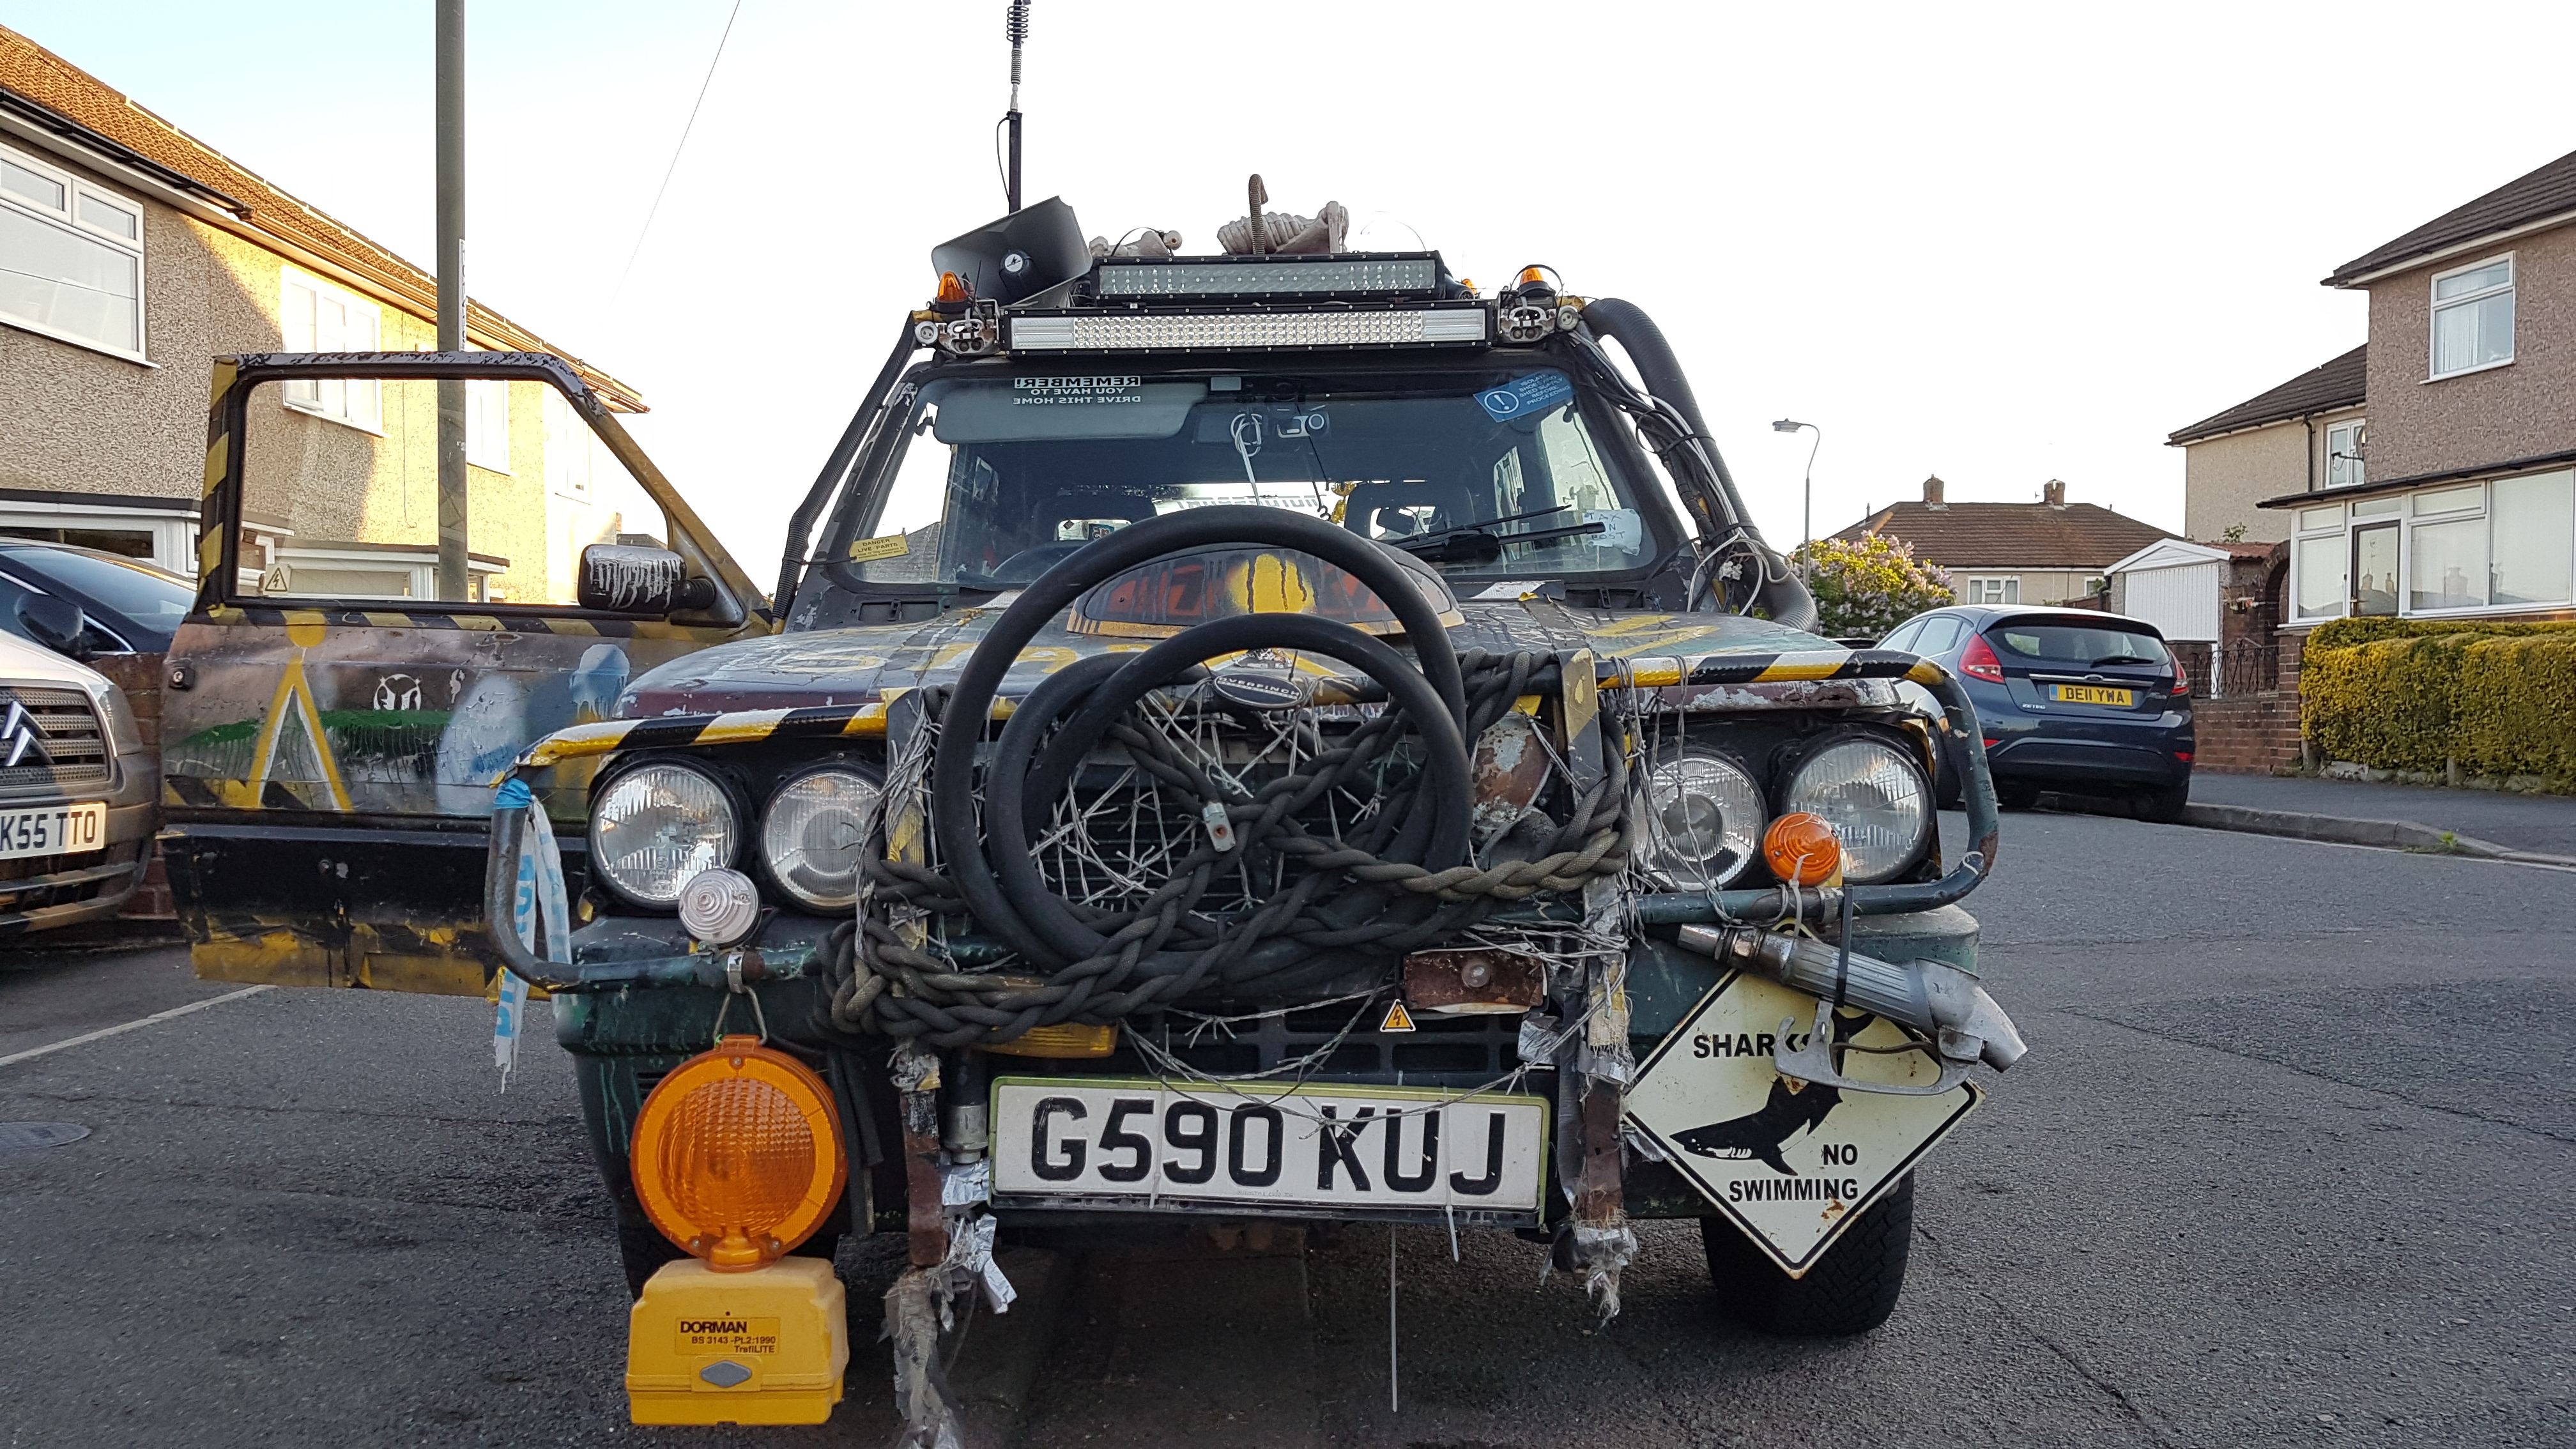
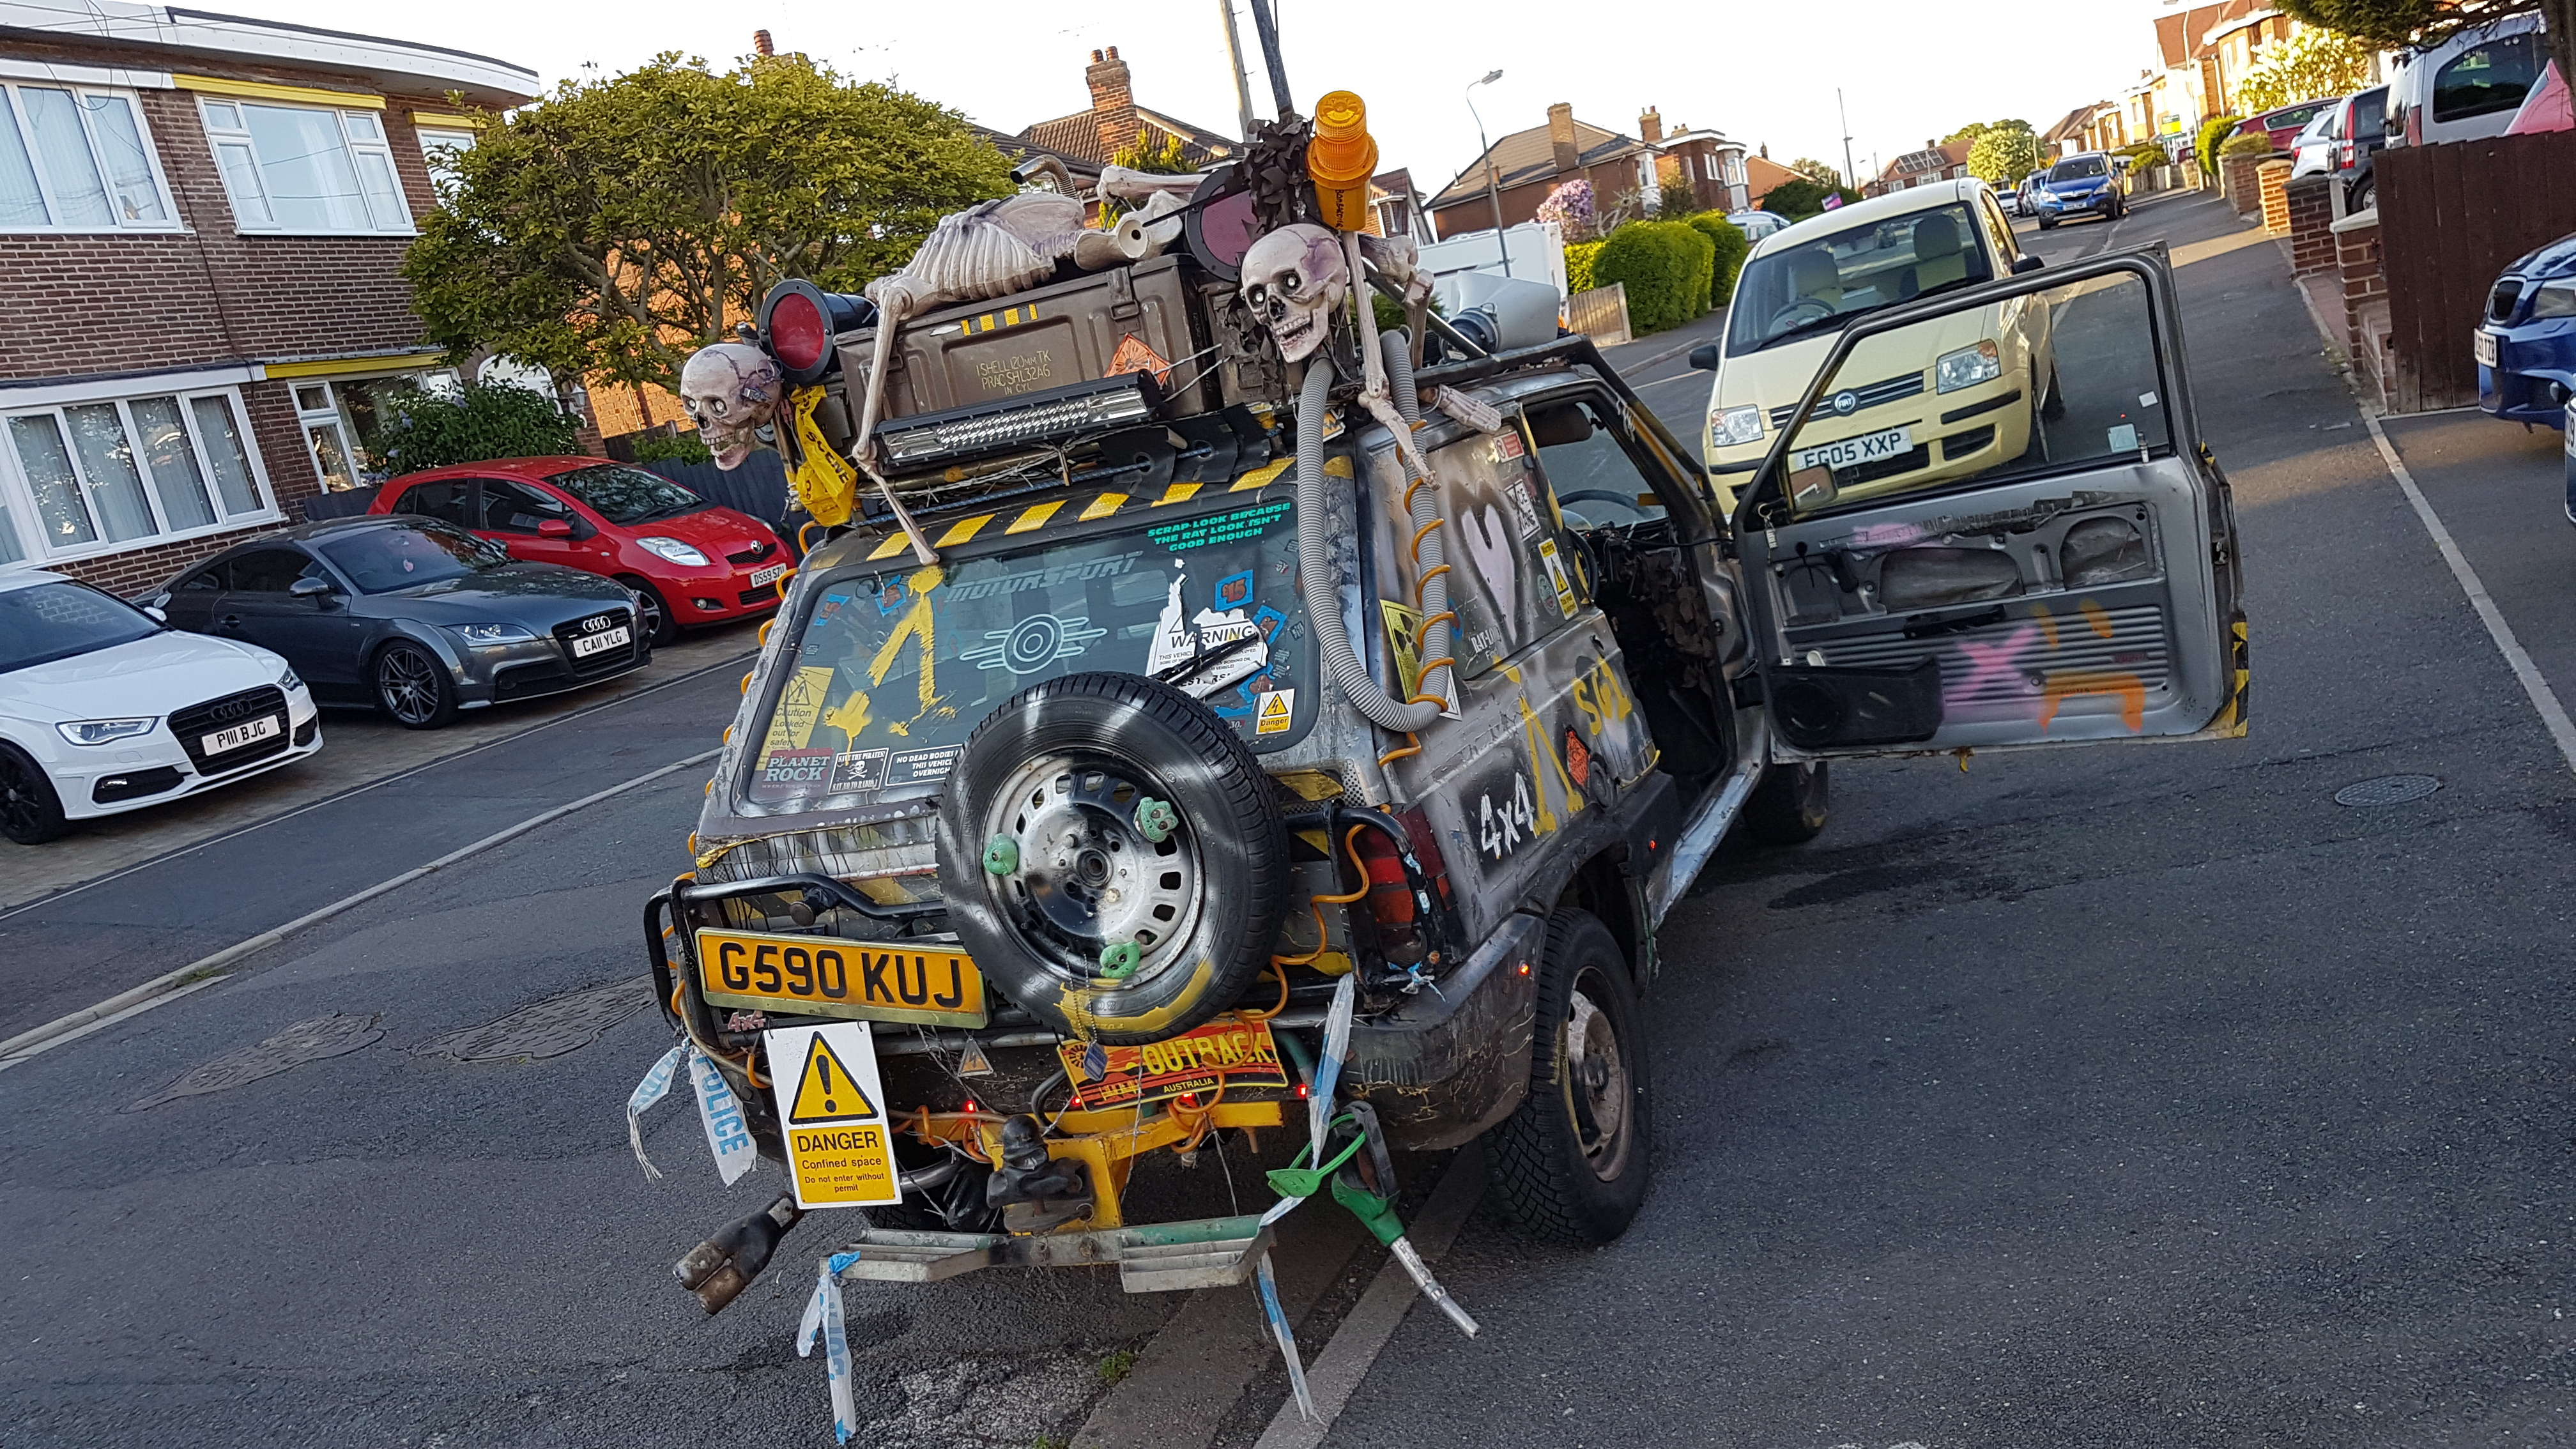
i will (some how) make the panda look "Post Apocalyptic" yet keep it in a road legal state (so no spikes, sharp rusty edges sadly). We have all seen mad max right? all wanted to replicate a mad max style car?
well let me be the first to attempt this with a fiat panda 4x4.

if anyone here has seen the TV program "Defiance", you surely have seen the epic Doge Charger that looks post apocalyptic. i will be trying to aim for the same theme. with such things as an external roll cadge, external metal mesh / grills covering the windows, custom bull bar, reinforced rear bumper made from tubular metal, custom twin output exhaust, and many many more.

this project is going to be undertaken as cheaply as possible (excluding parts necessary for a safe road going vehicle). reusing as many things as i can find (in scrap yards, freebees), true to a real post apocalyptic constructed vehicle. i will also be taking the "rough is best look" (please note, i say Rough not Rat!) the panda its self of course will undergo all the rust prevention Talon went under when i got him.

anyway, i will leave you a few seconds to build up a mental picture of how a panda 4x4 could look in a post apocalyptic landscape while browsing some of these Pictures.......


ok.. that should do.

First off. i need to get the panda all well and good.
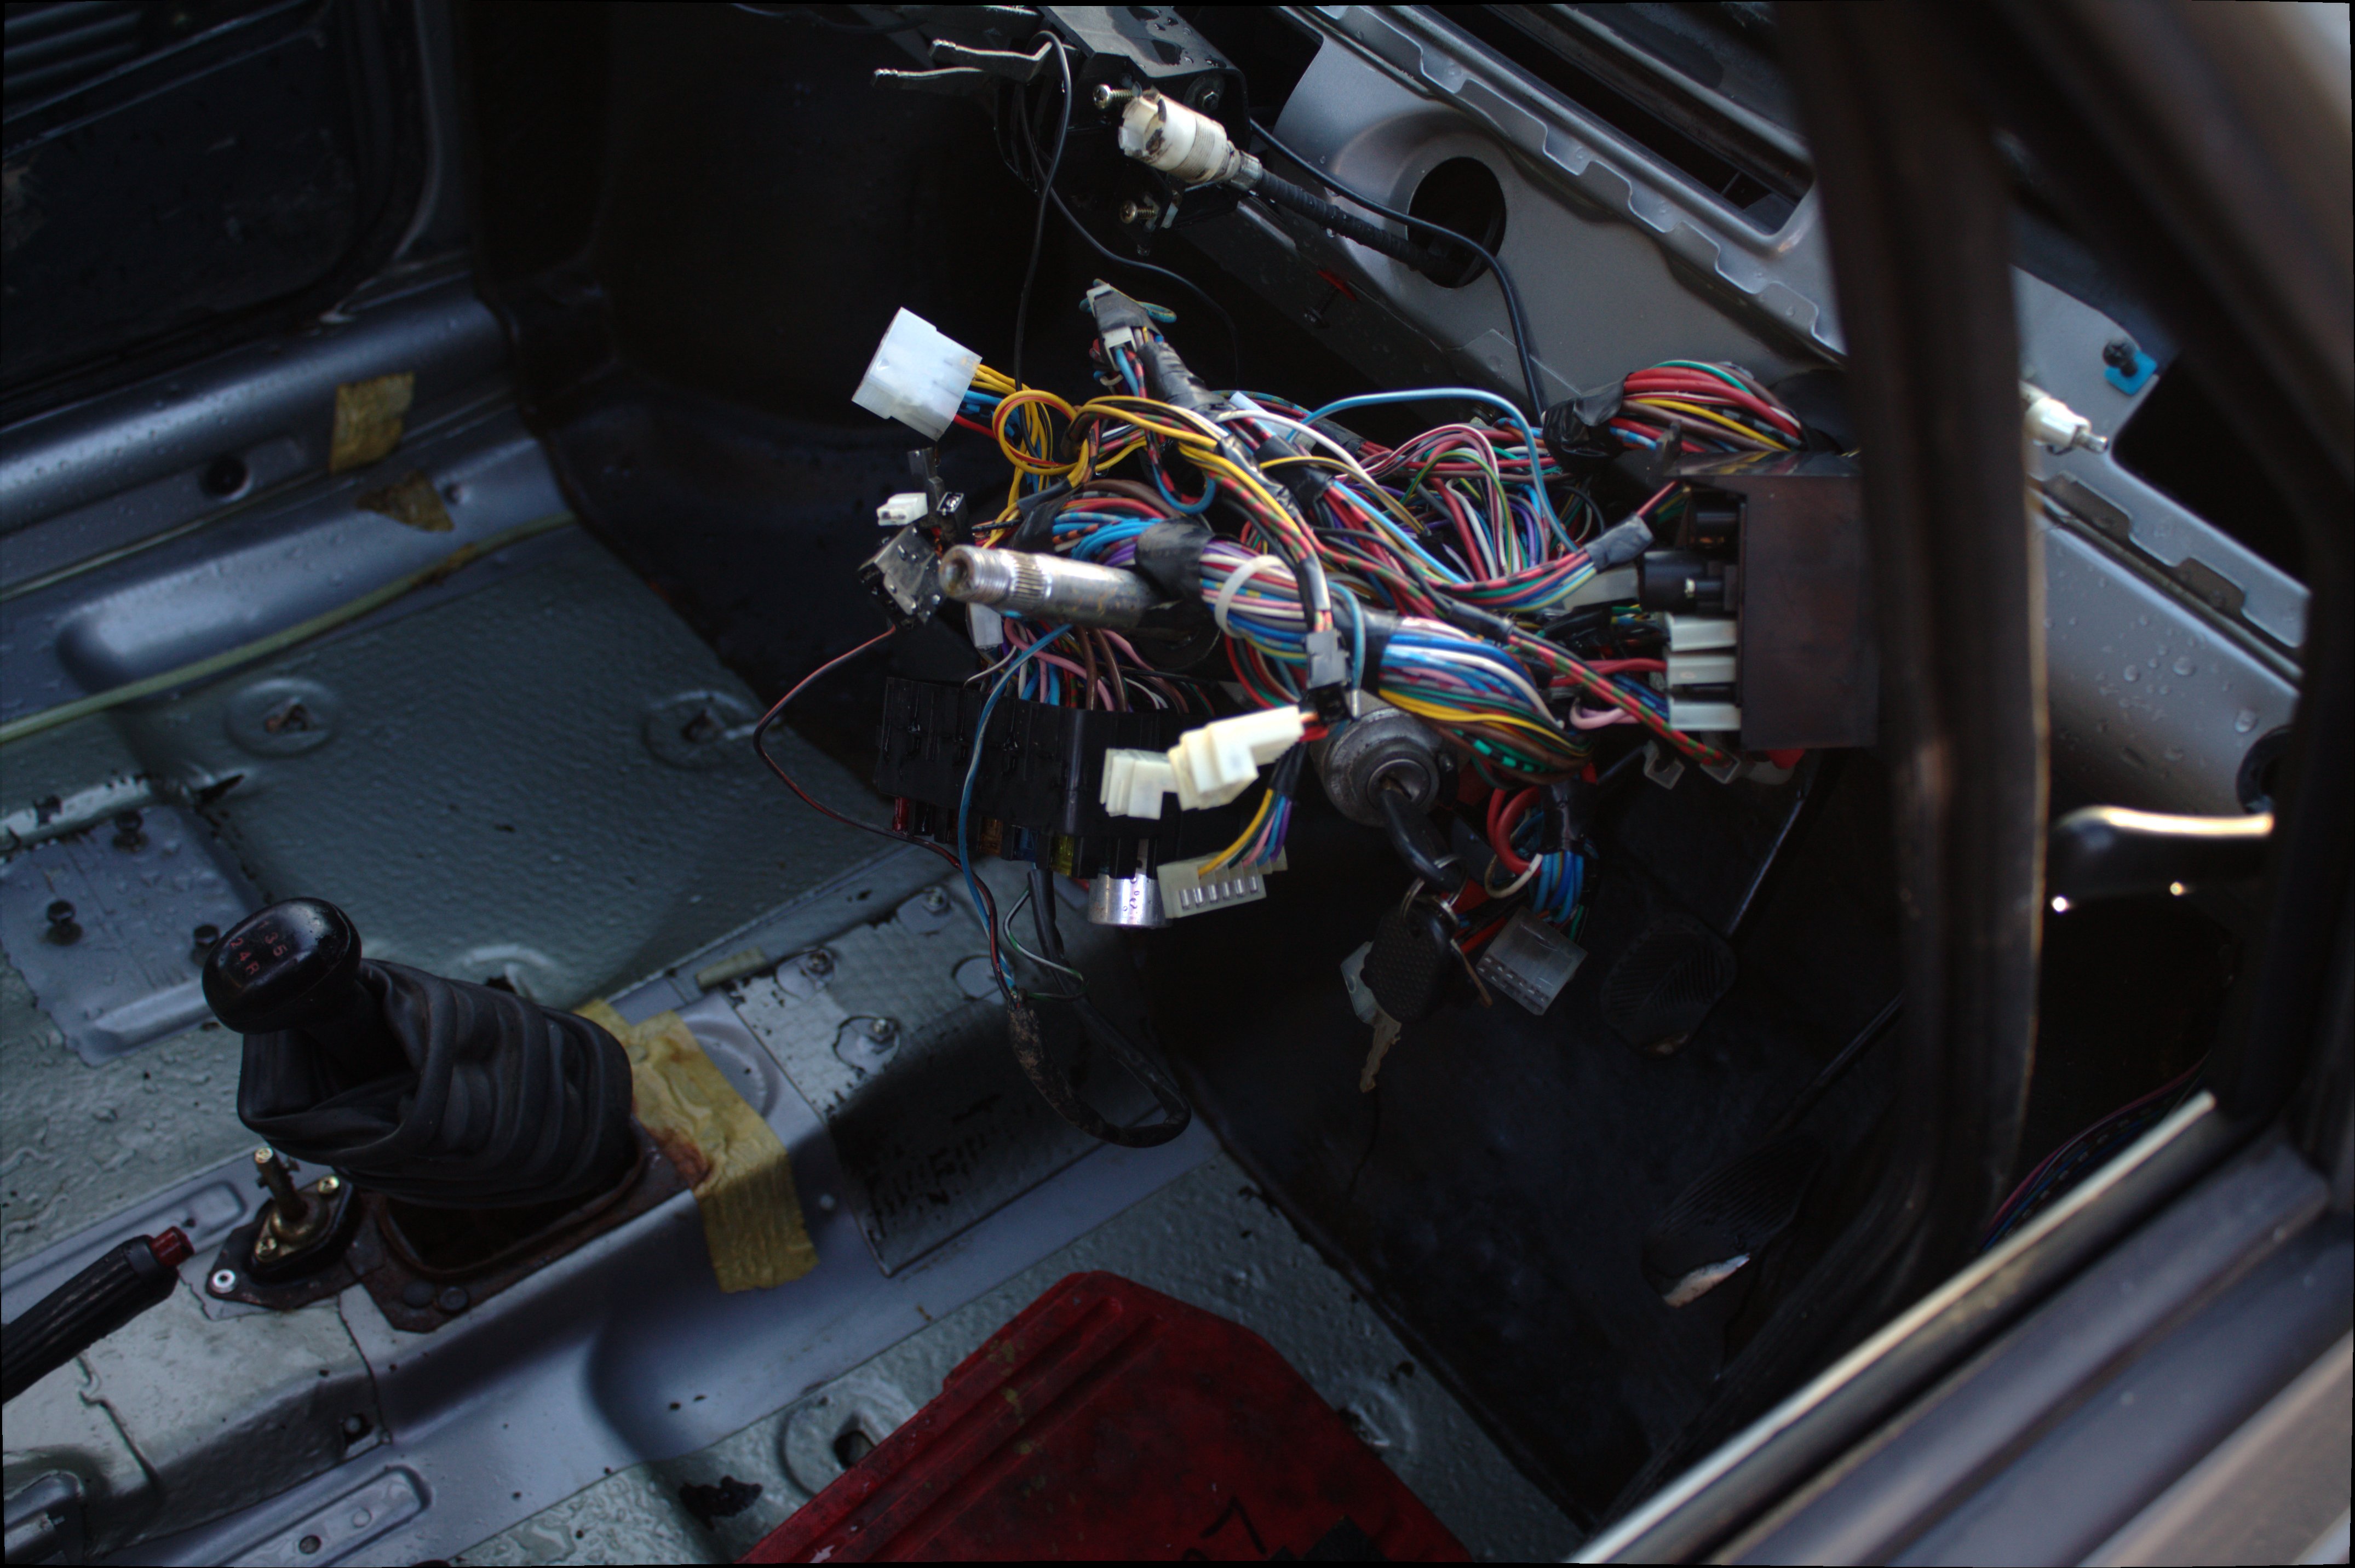
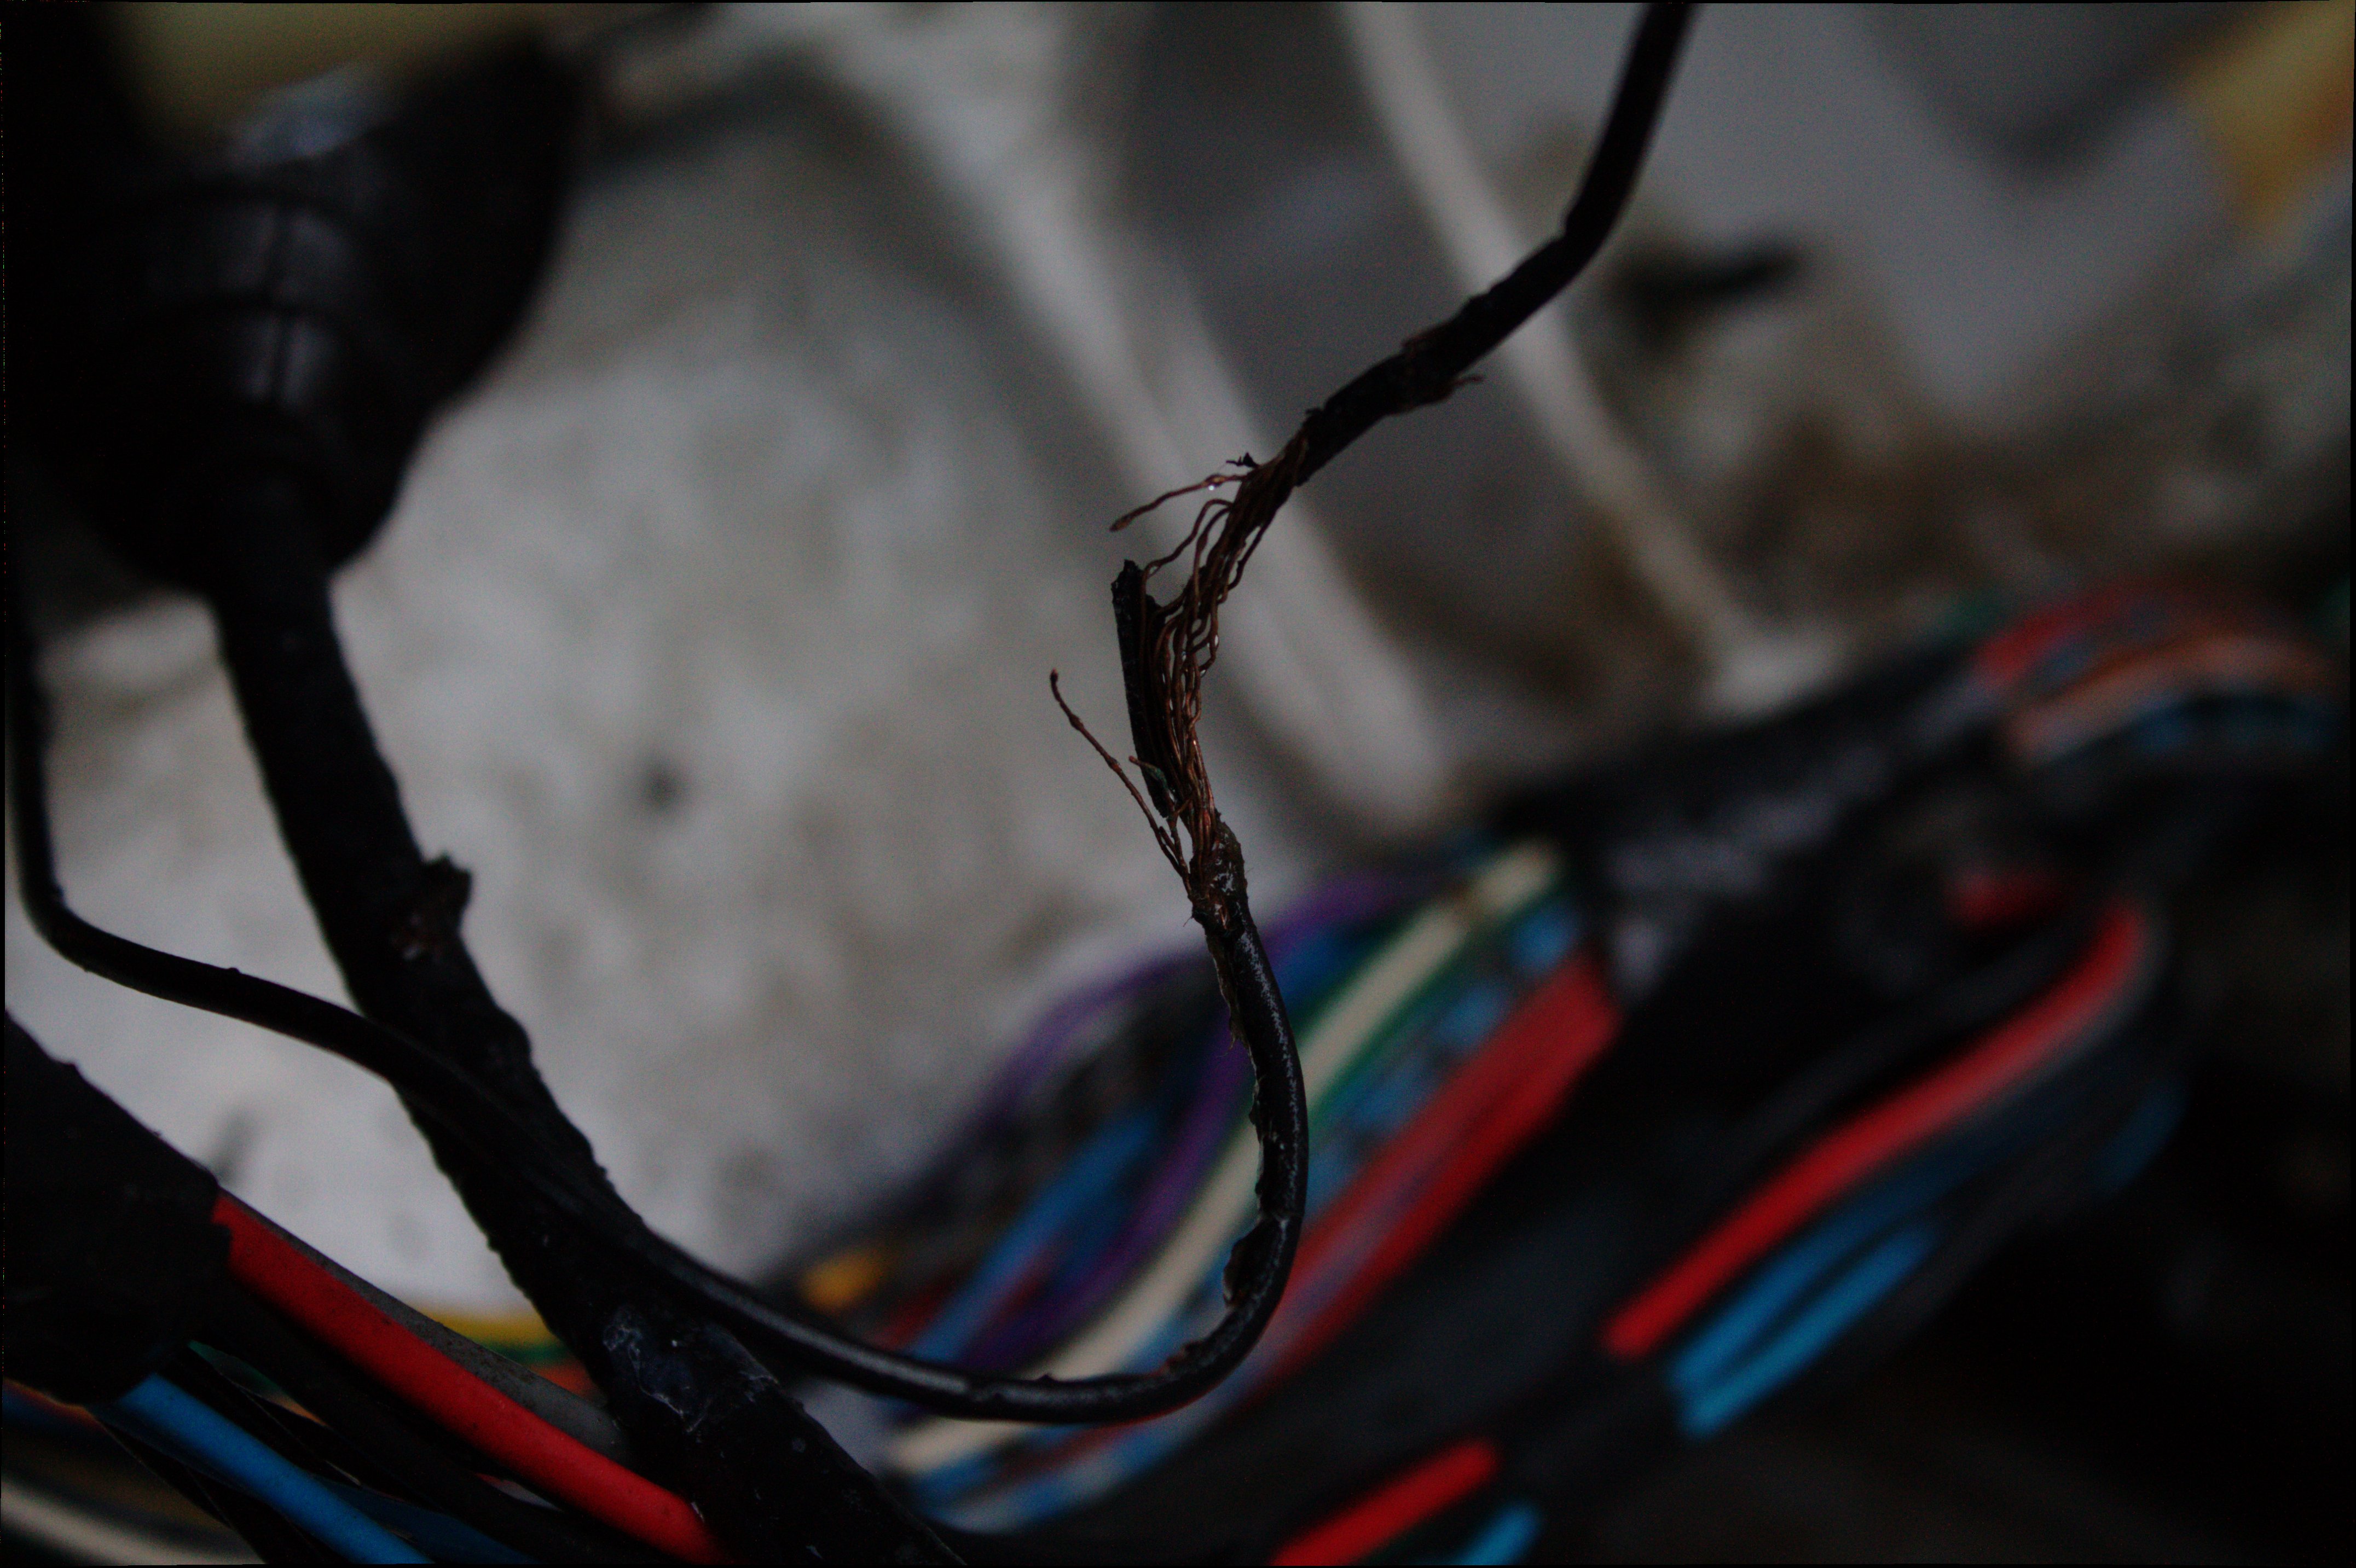
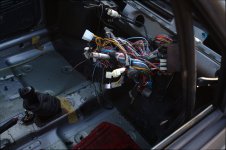
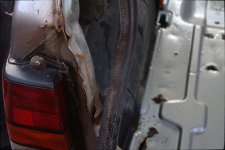
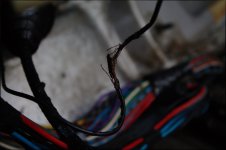
a few things are broken... the exhaust, the front suspension on the passenger side, both rear dampeners are rusted out, the doors are shot but i will try to fix them, the gear stick is really loose and all the roller bearings have dropped out, the wiring is a mess (mice attack!), there are no brakes.. and i mean no brakes, and lets not forget the underside rust.

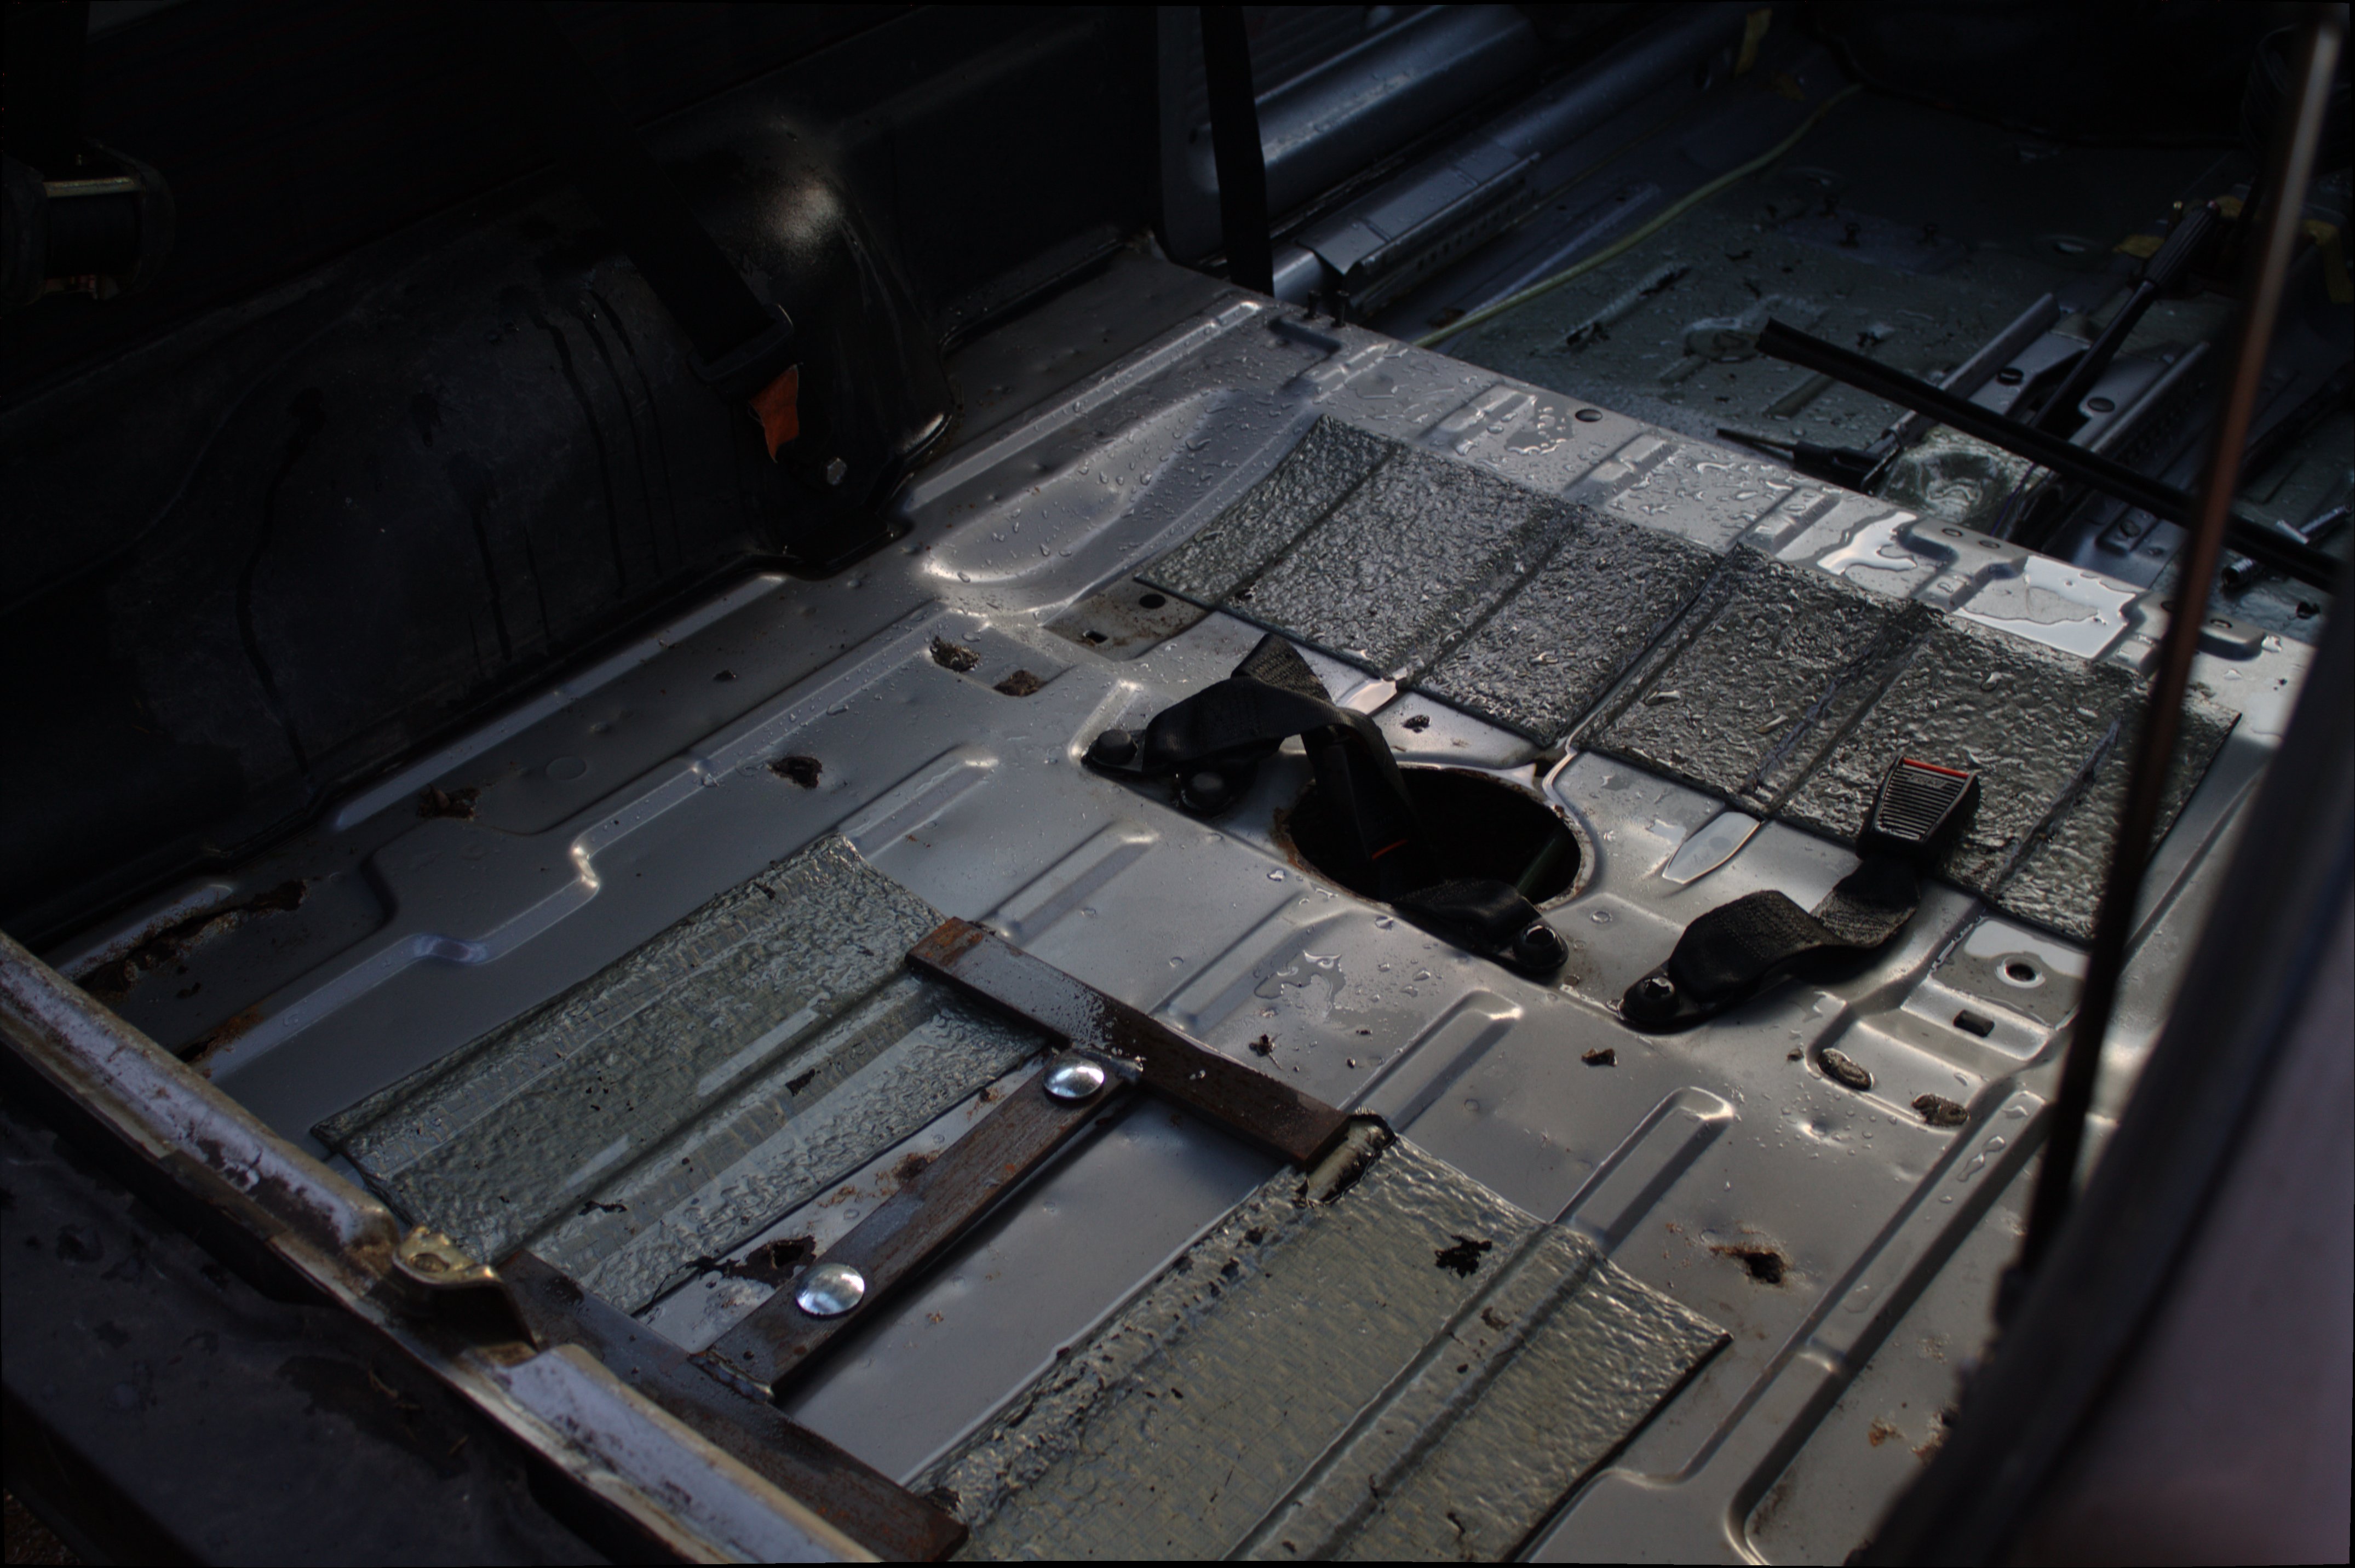
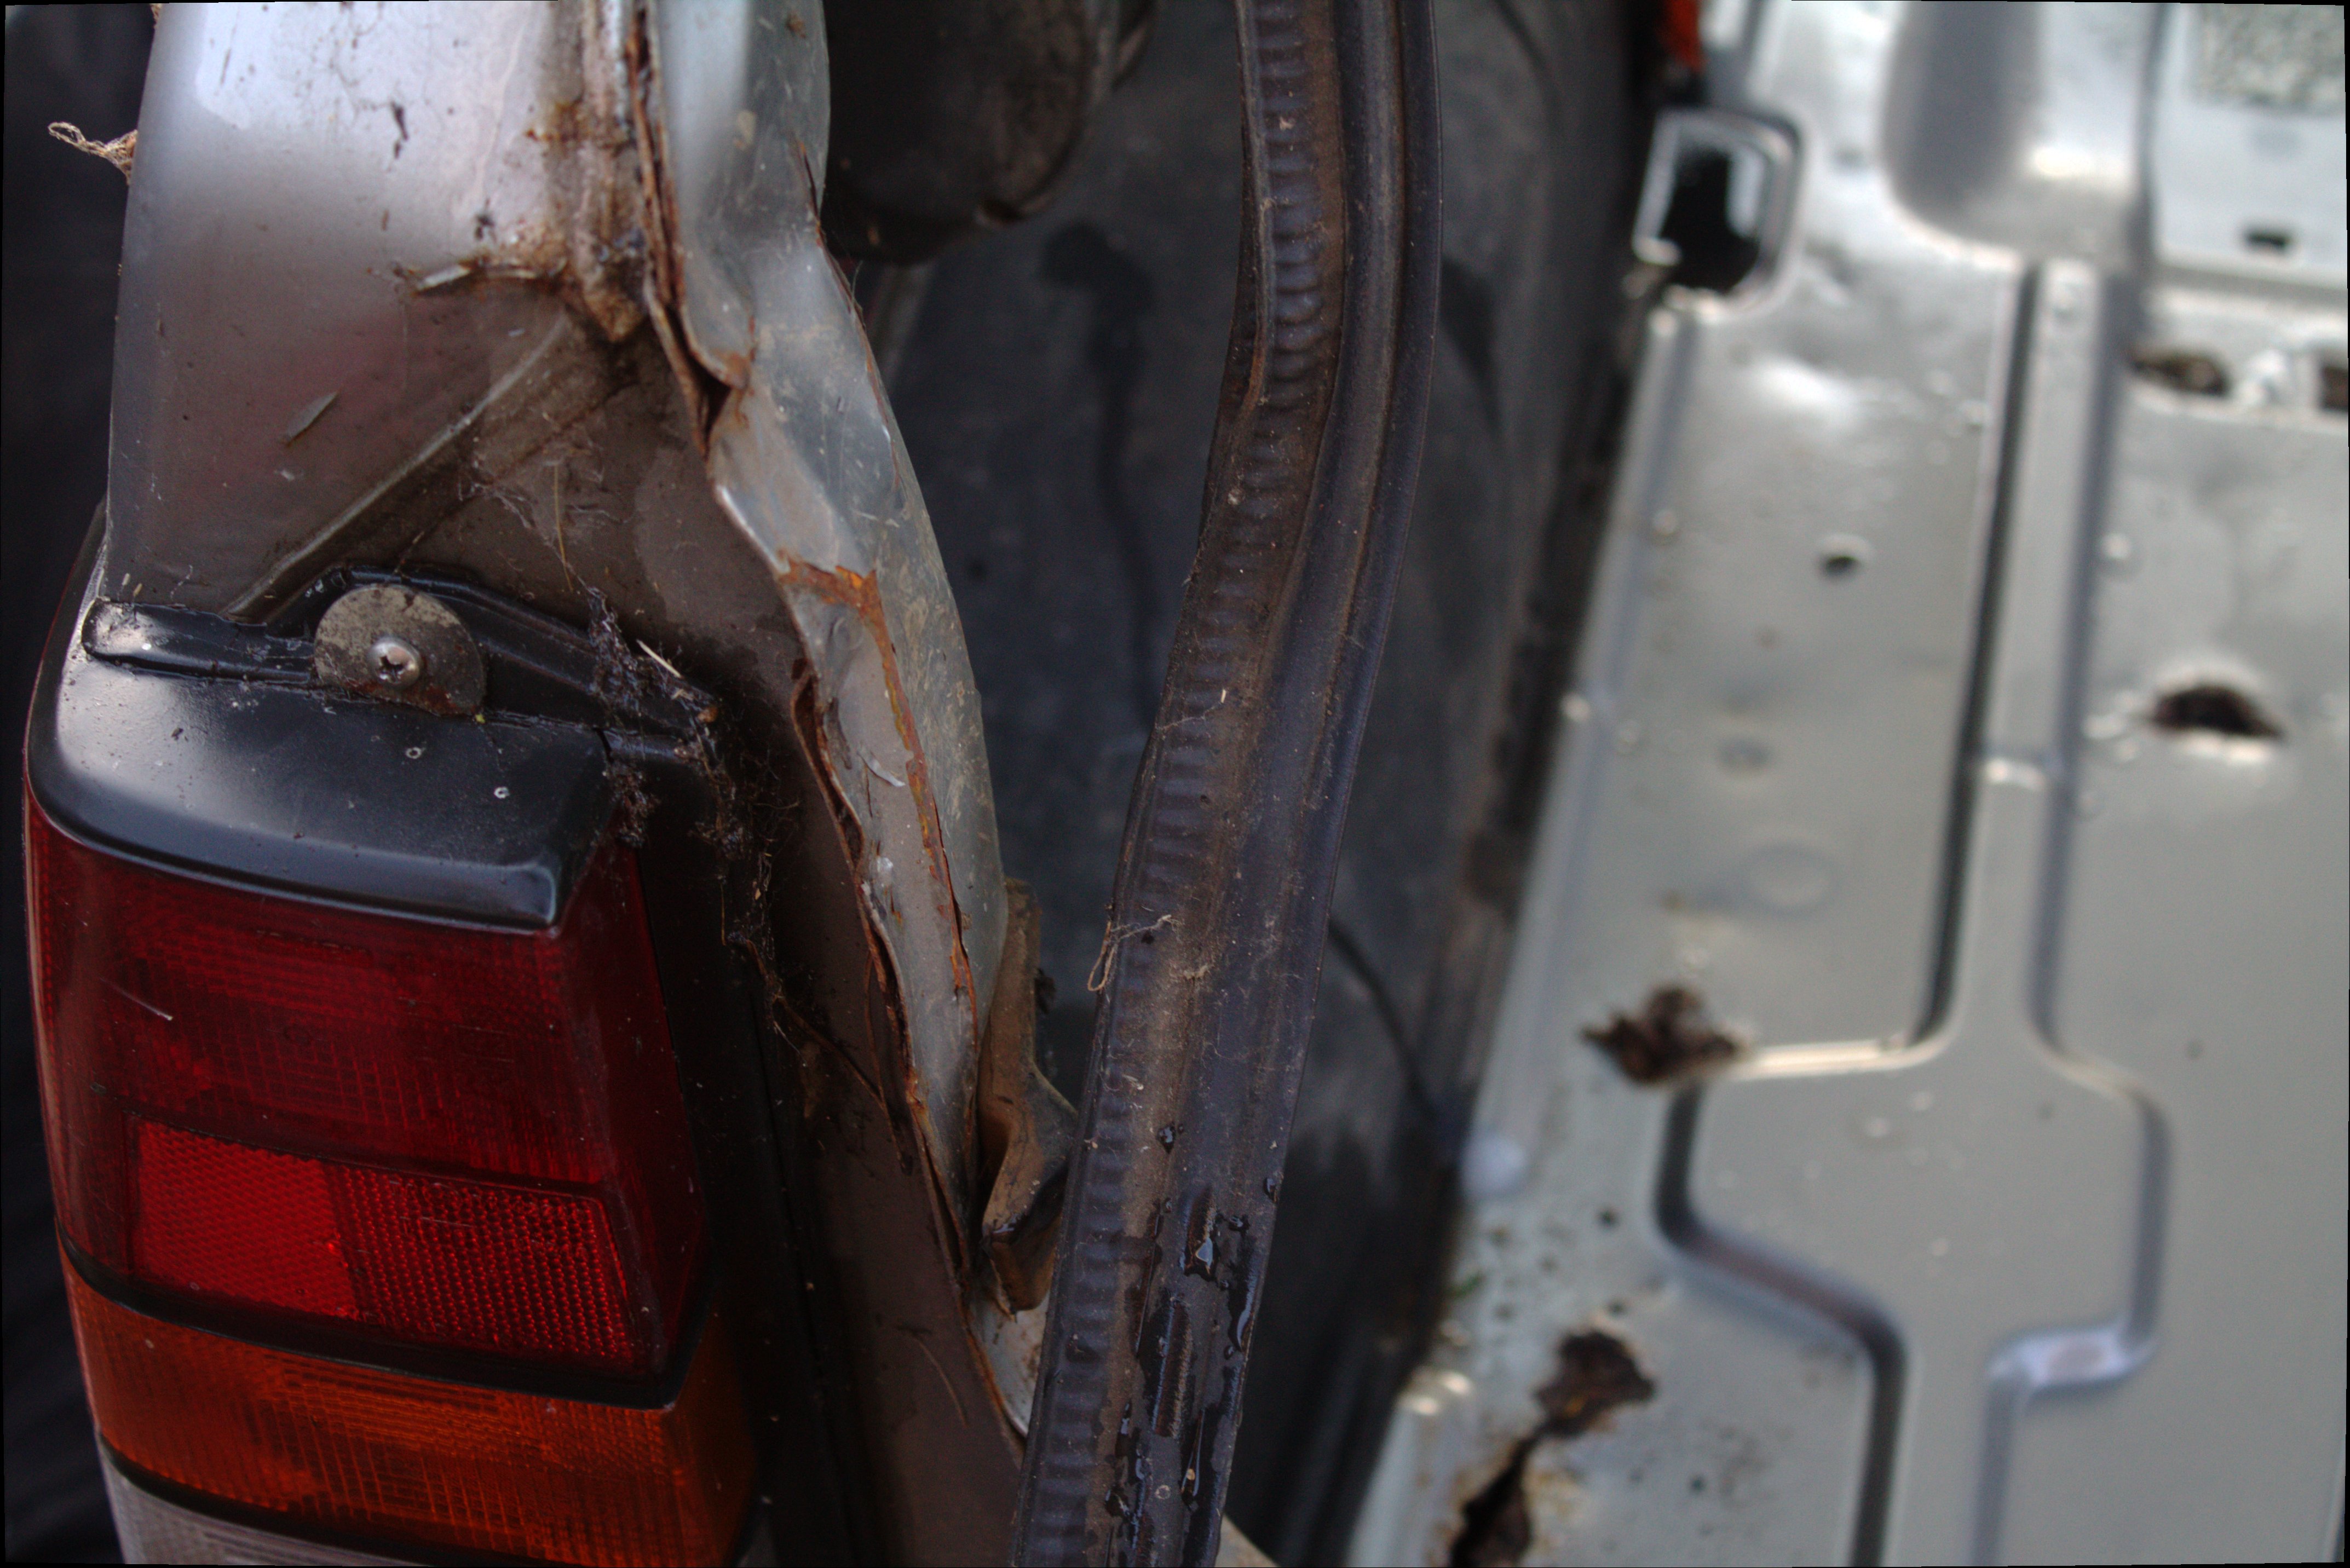
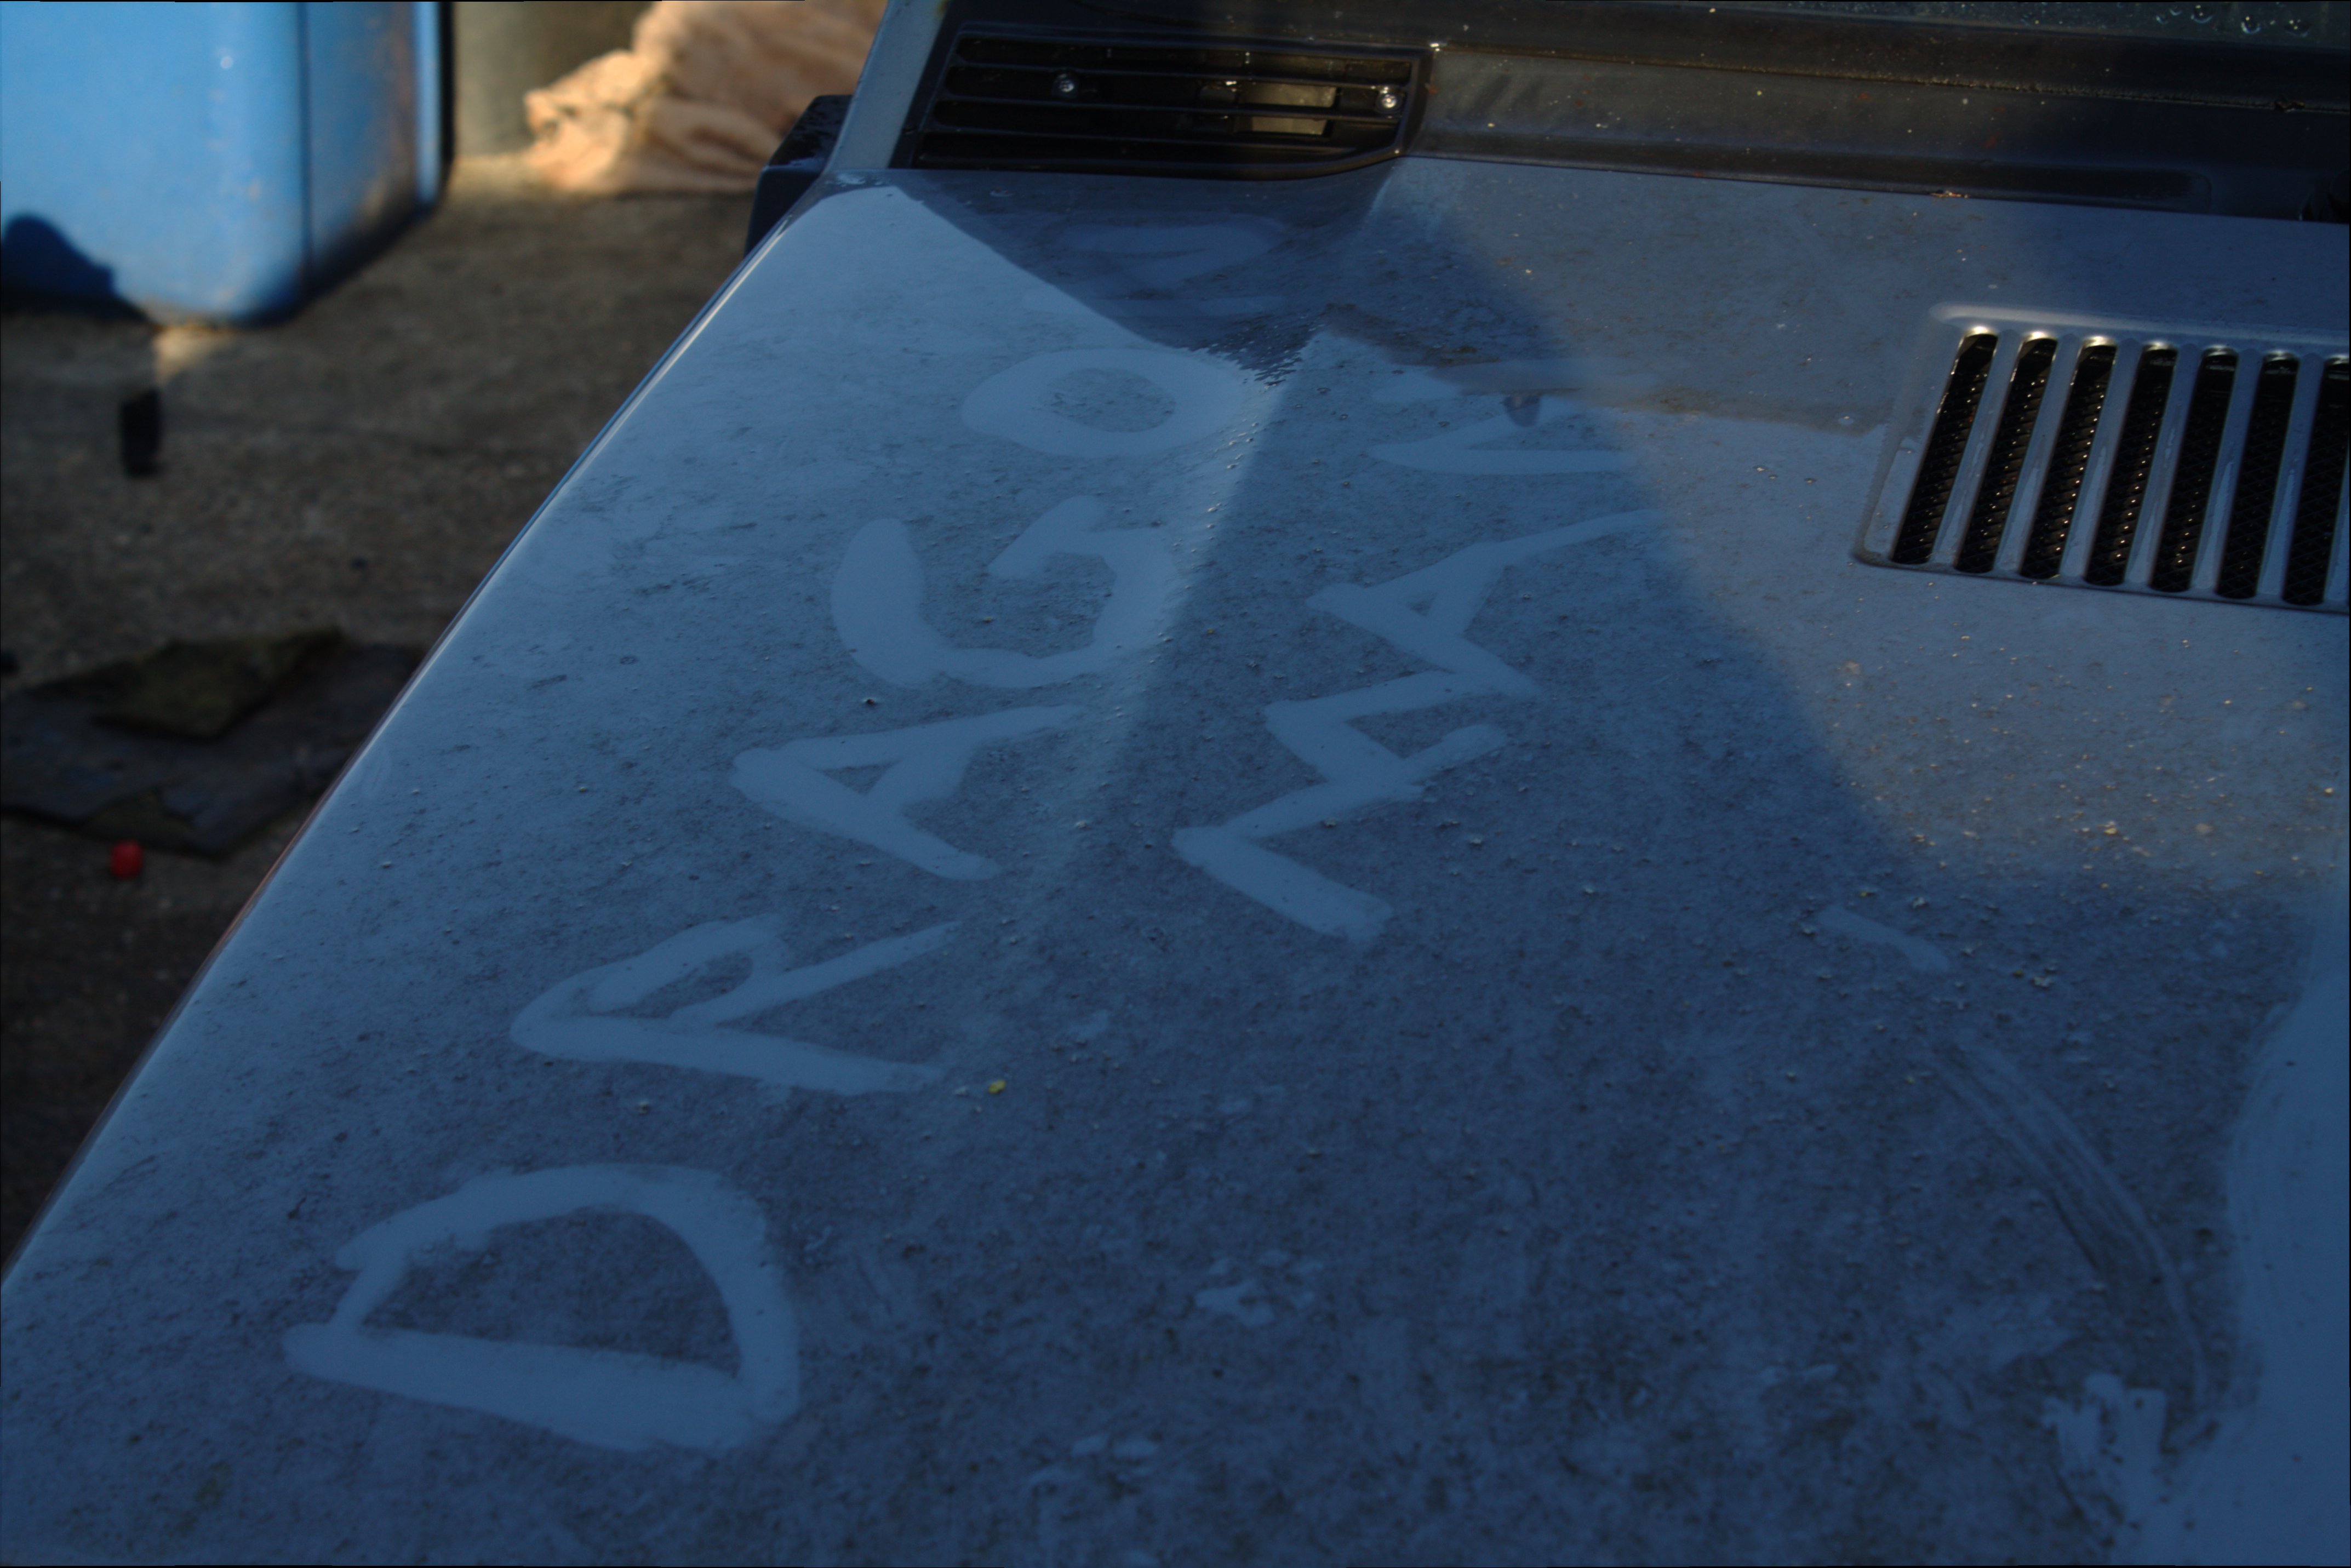
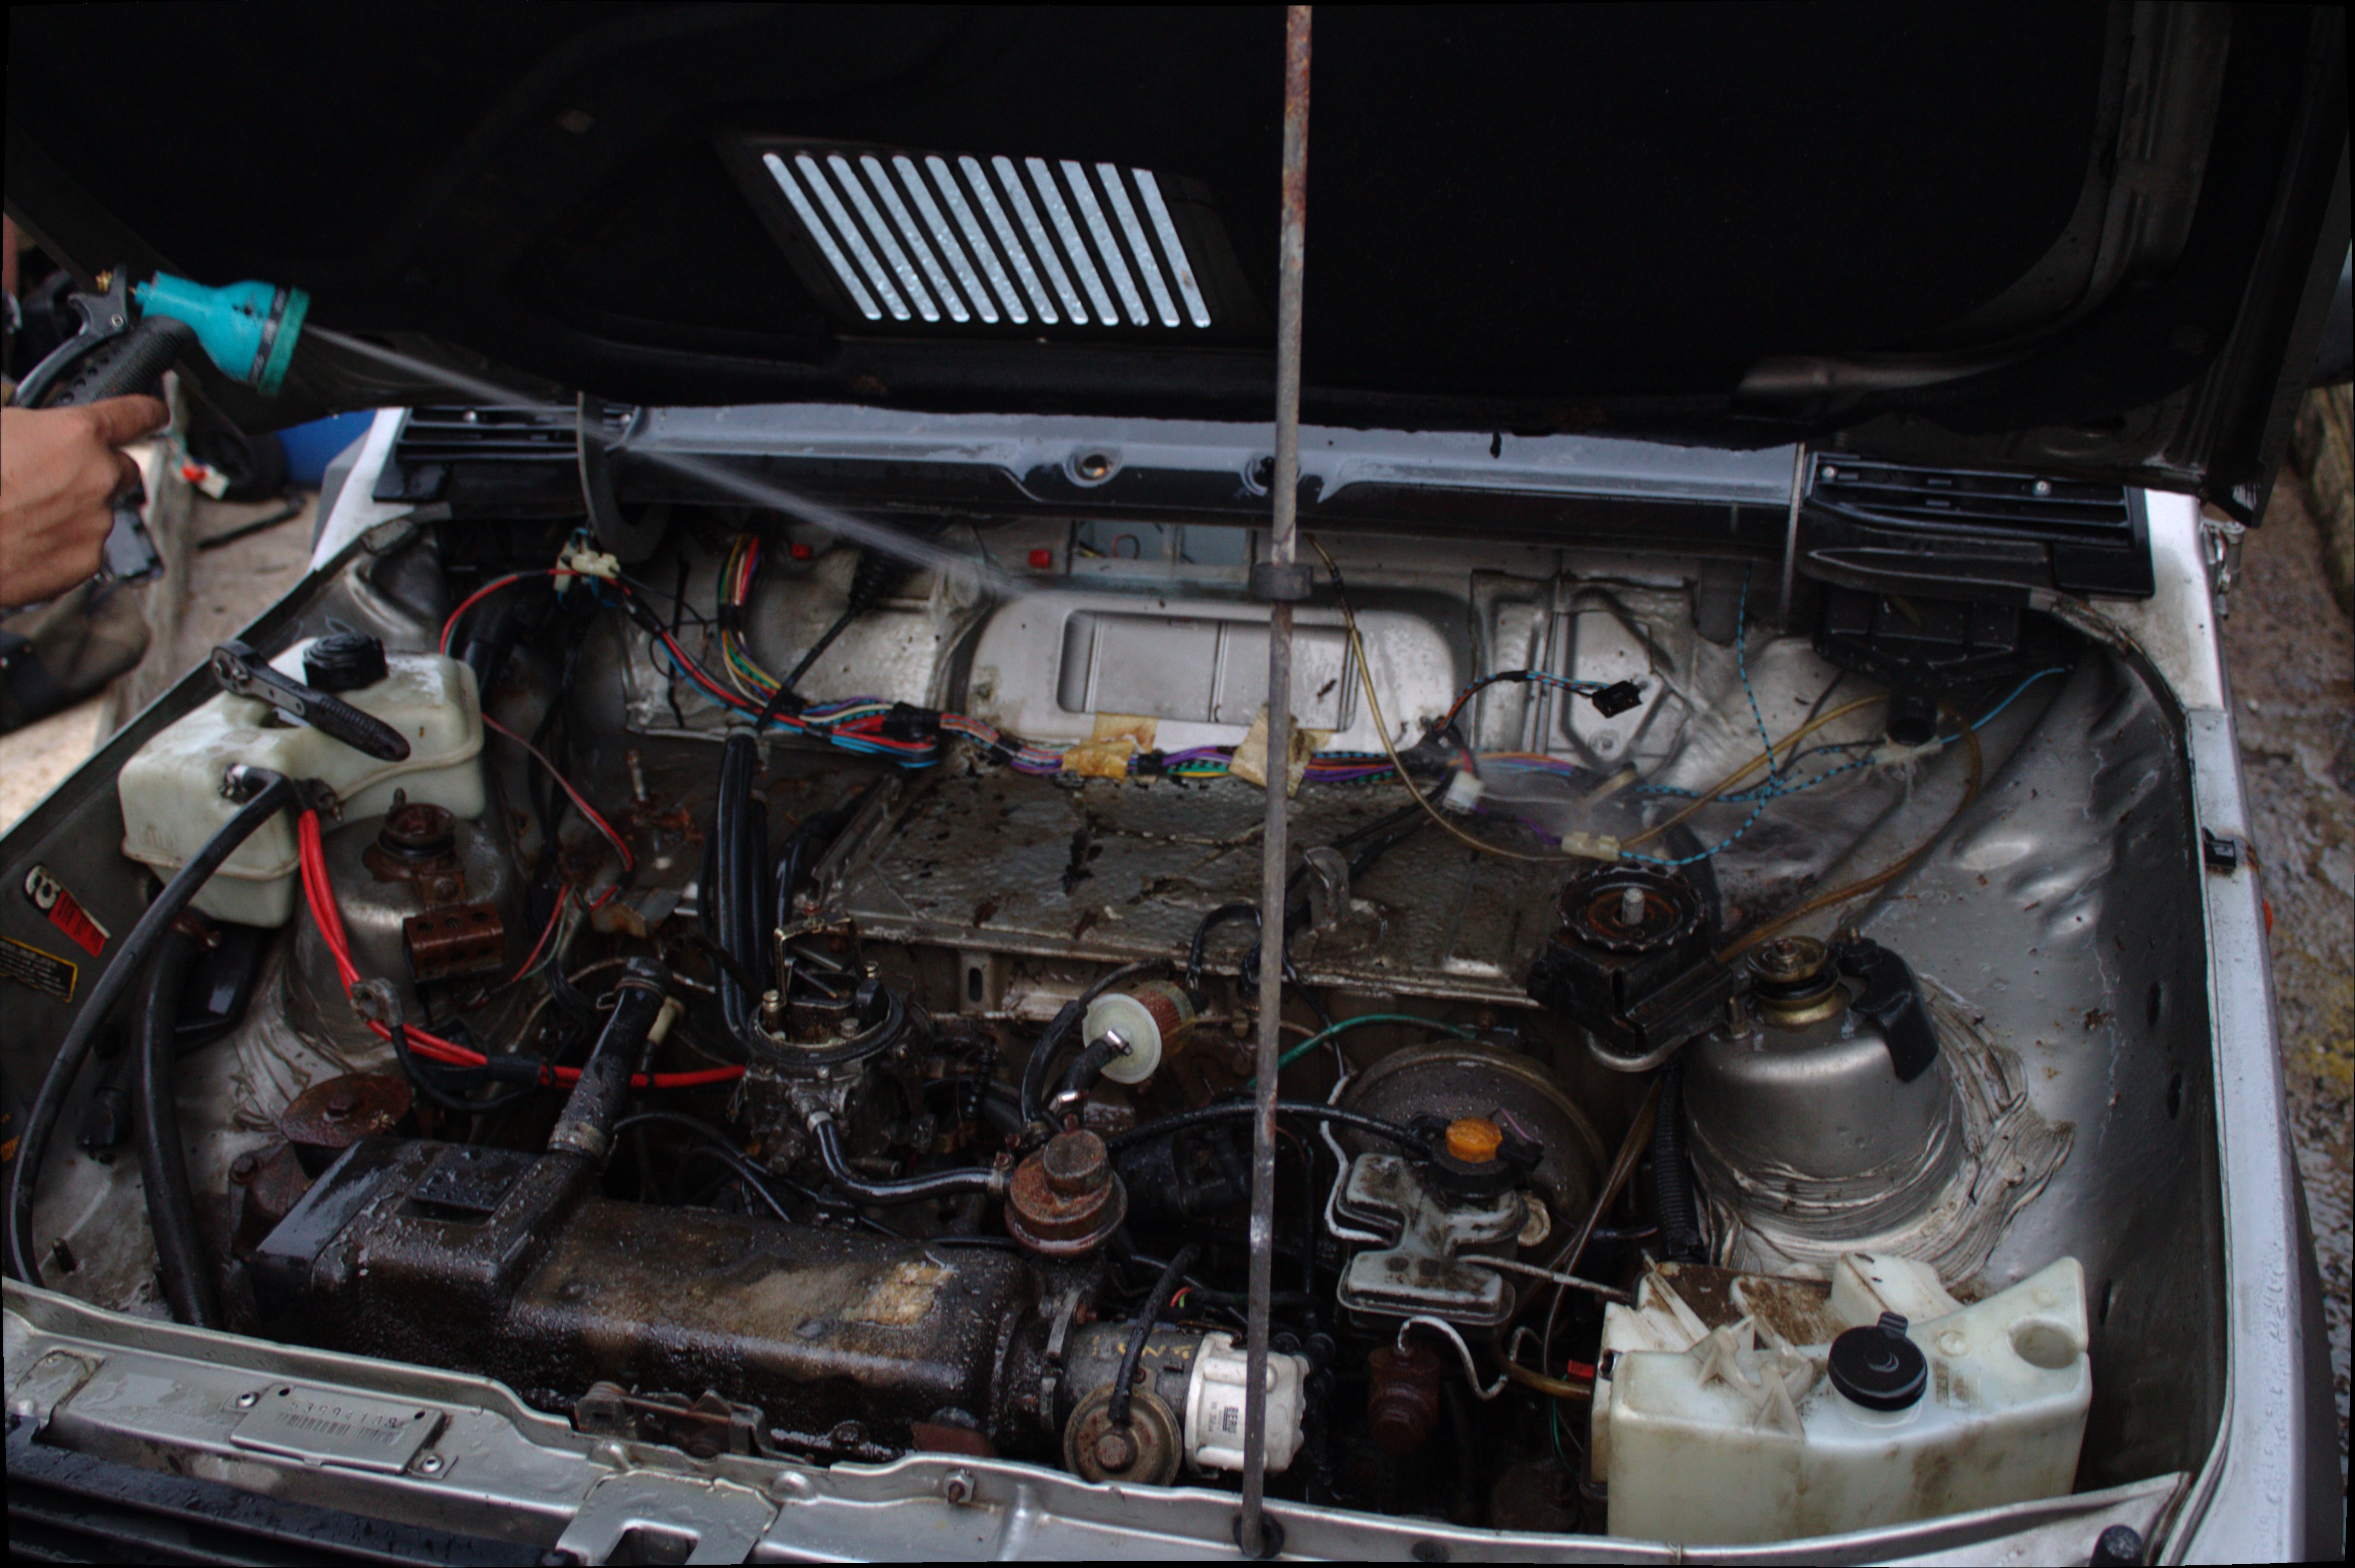
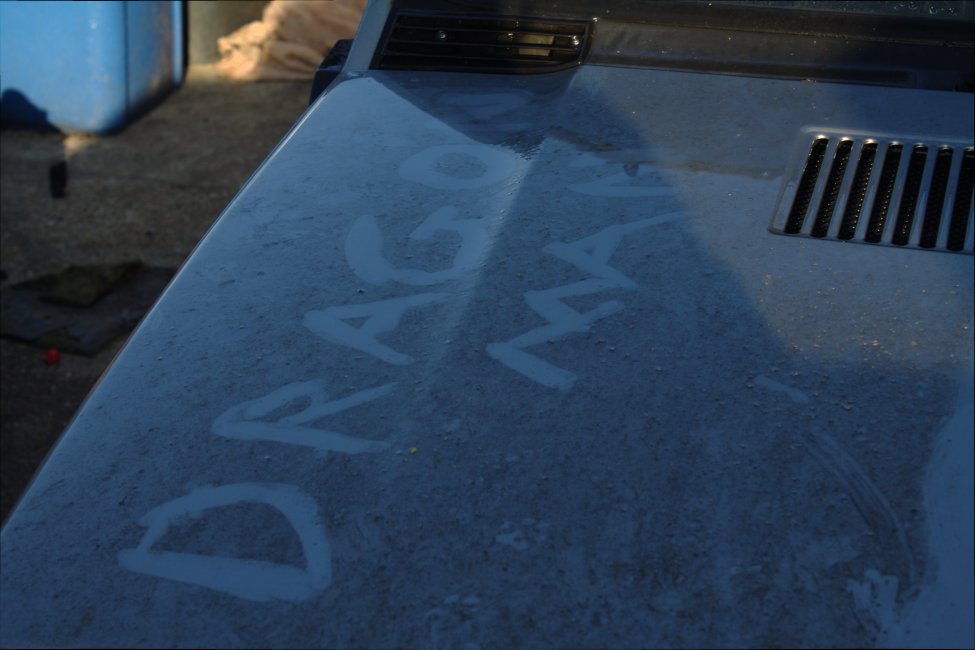
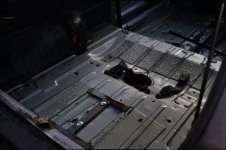
so today i started by stripping out everything inside the car to get a good look at the floor pan and clean it all out (Dragon Man style!) i found the usual rust: the boot floor is a mess, but easy fixable, a seam has gone just behind the drivers seat anything forward of that seems to be OK, and the back of the sills are just gone so i will need to rebuild that.

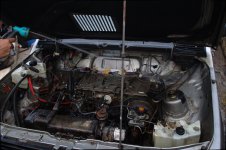
the engine runs.. the vac advance line has split so its a bit rough on tickover but it seems good. the fuel tank seems good.. all the 4x4 stuff seems good.

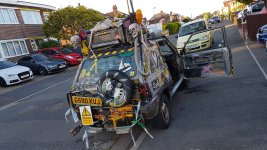
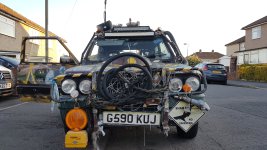
i have go a few pictures took free by a professional photographer! (or should i say someone with an epic camera :p)

Here are a few picture, but please check out >This Album<


like i say, check out the photo album.


i will be keeping >Online video logs< of this, so keep a look out on Youtube too.
here are some videos, both are long but the second one is longer!

Project Fallout a panda 4x4 turned post apocalyiptic - YouTube

Project Fallout Panda 4x4 What to do Post Apocaliptic looking Panda! - YouTube


keep watching guys.. the jet wash will be coming out later today!


Edit:

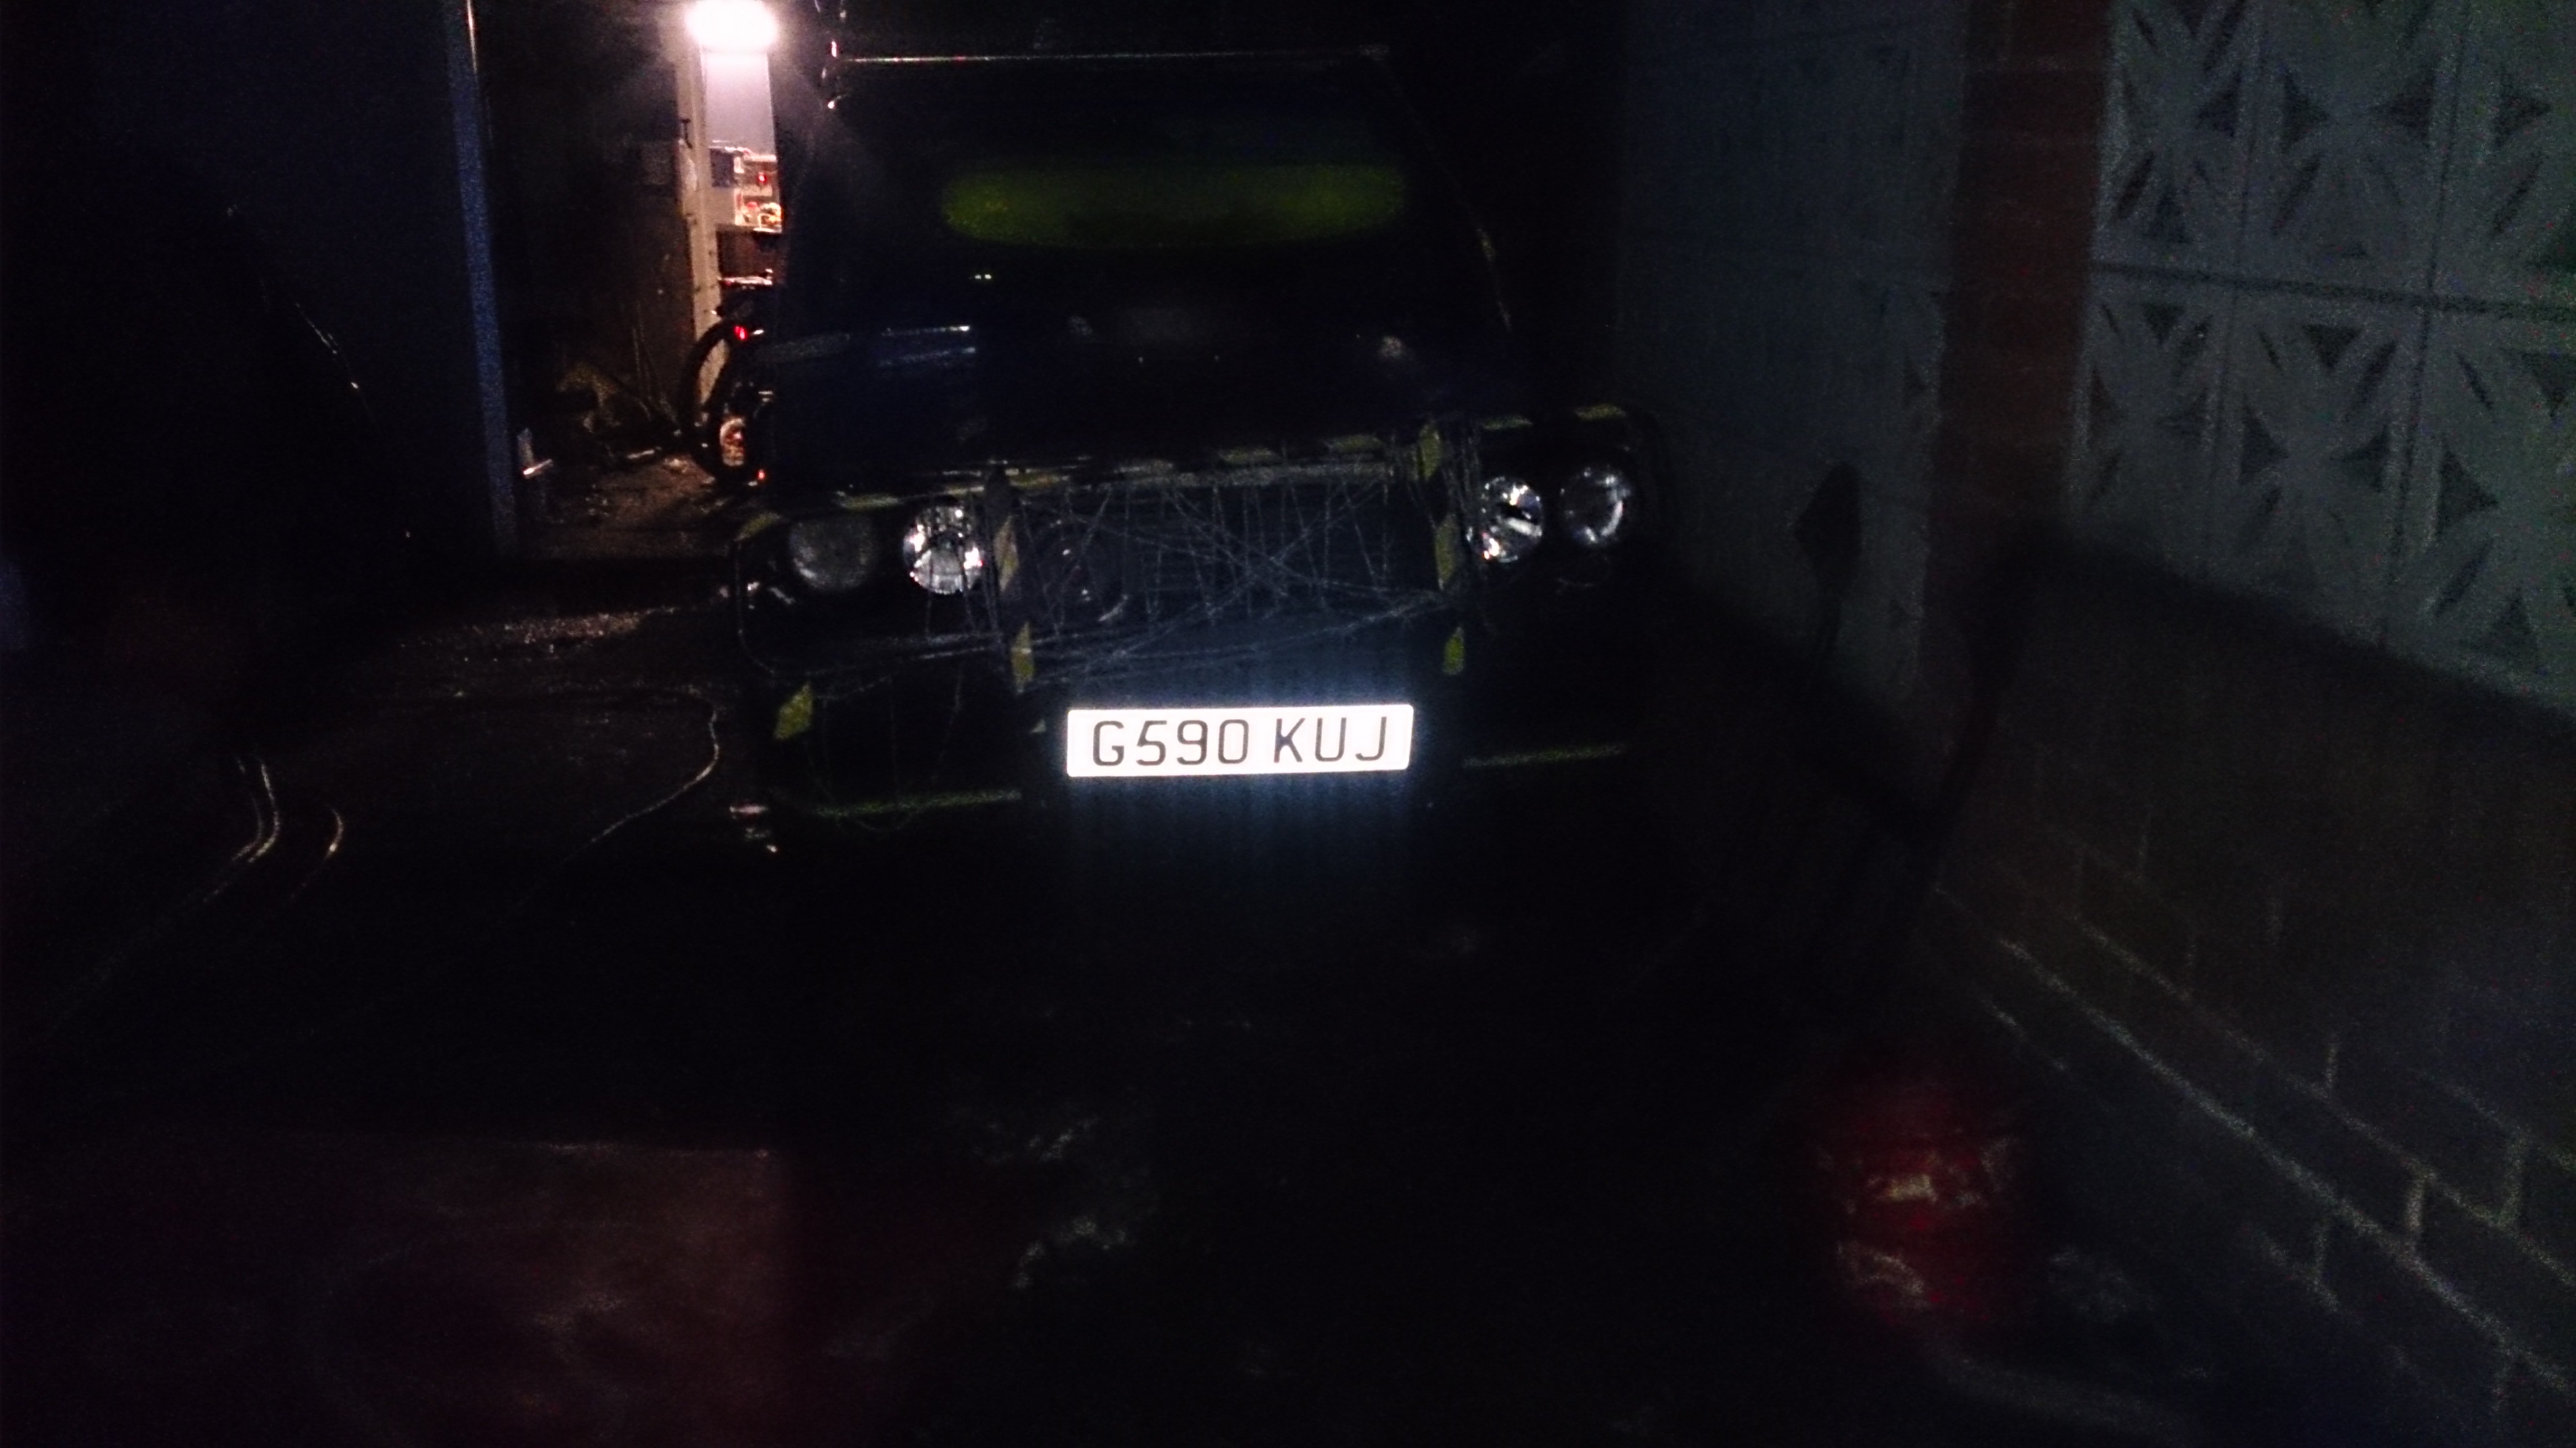
This is how it looks now: :eek::eek::eek: :slayer::slayer::slayer:


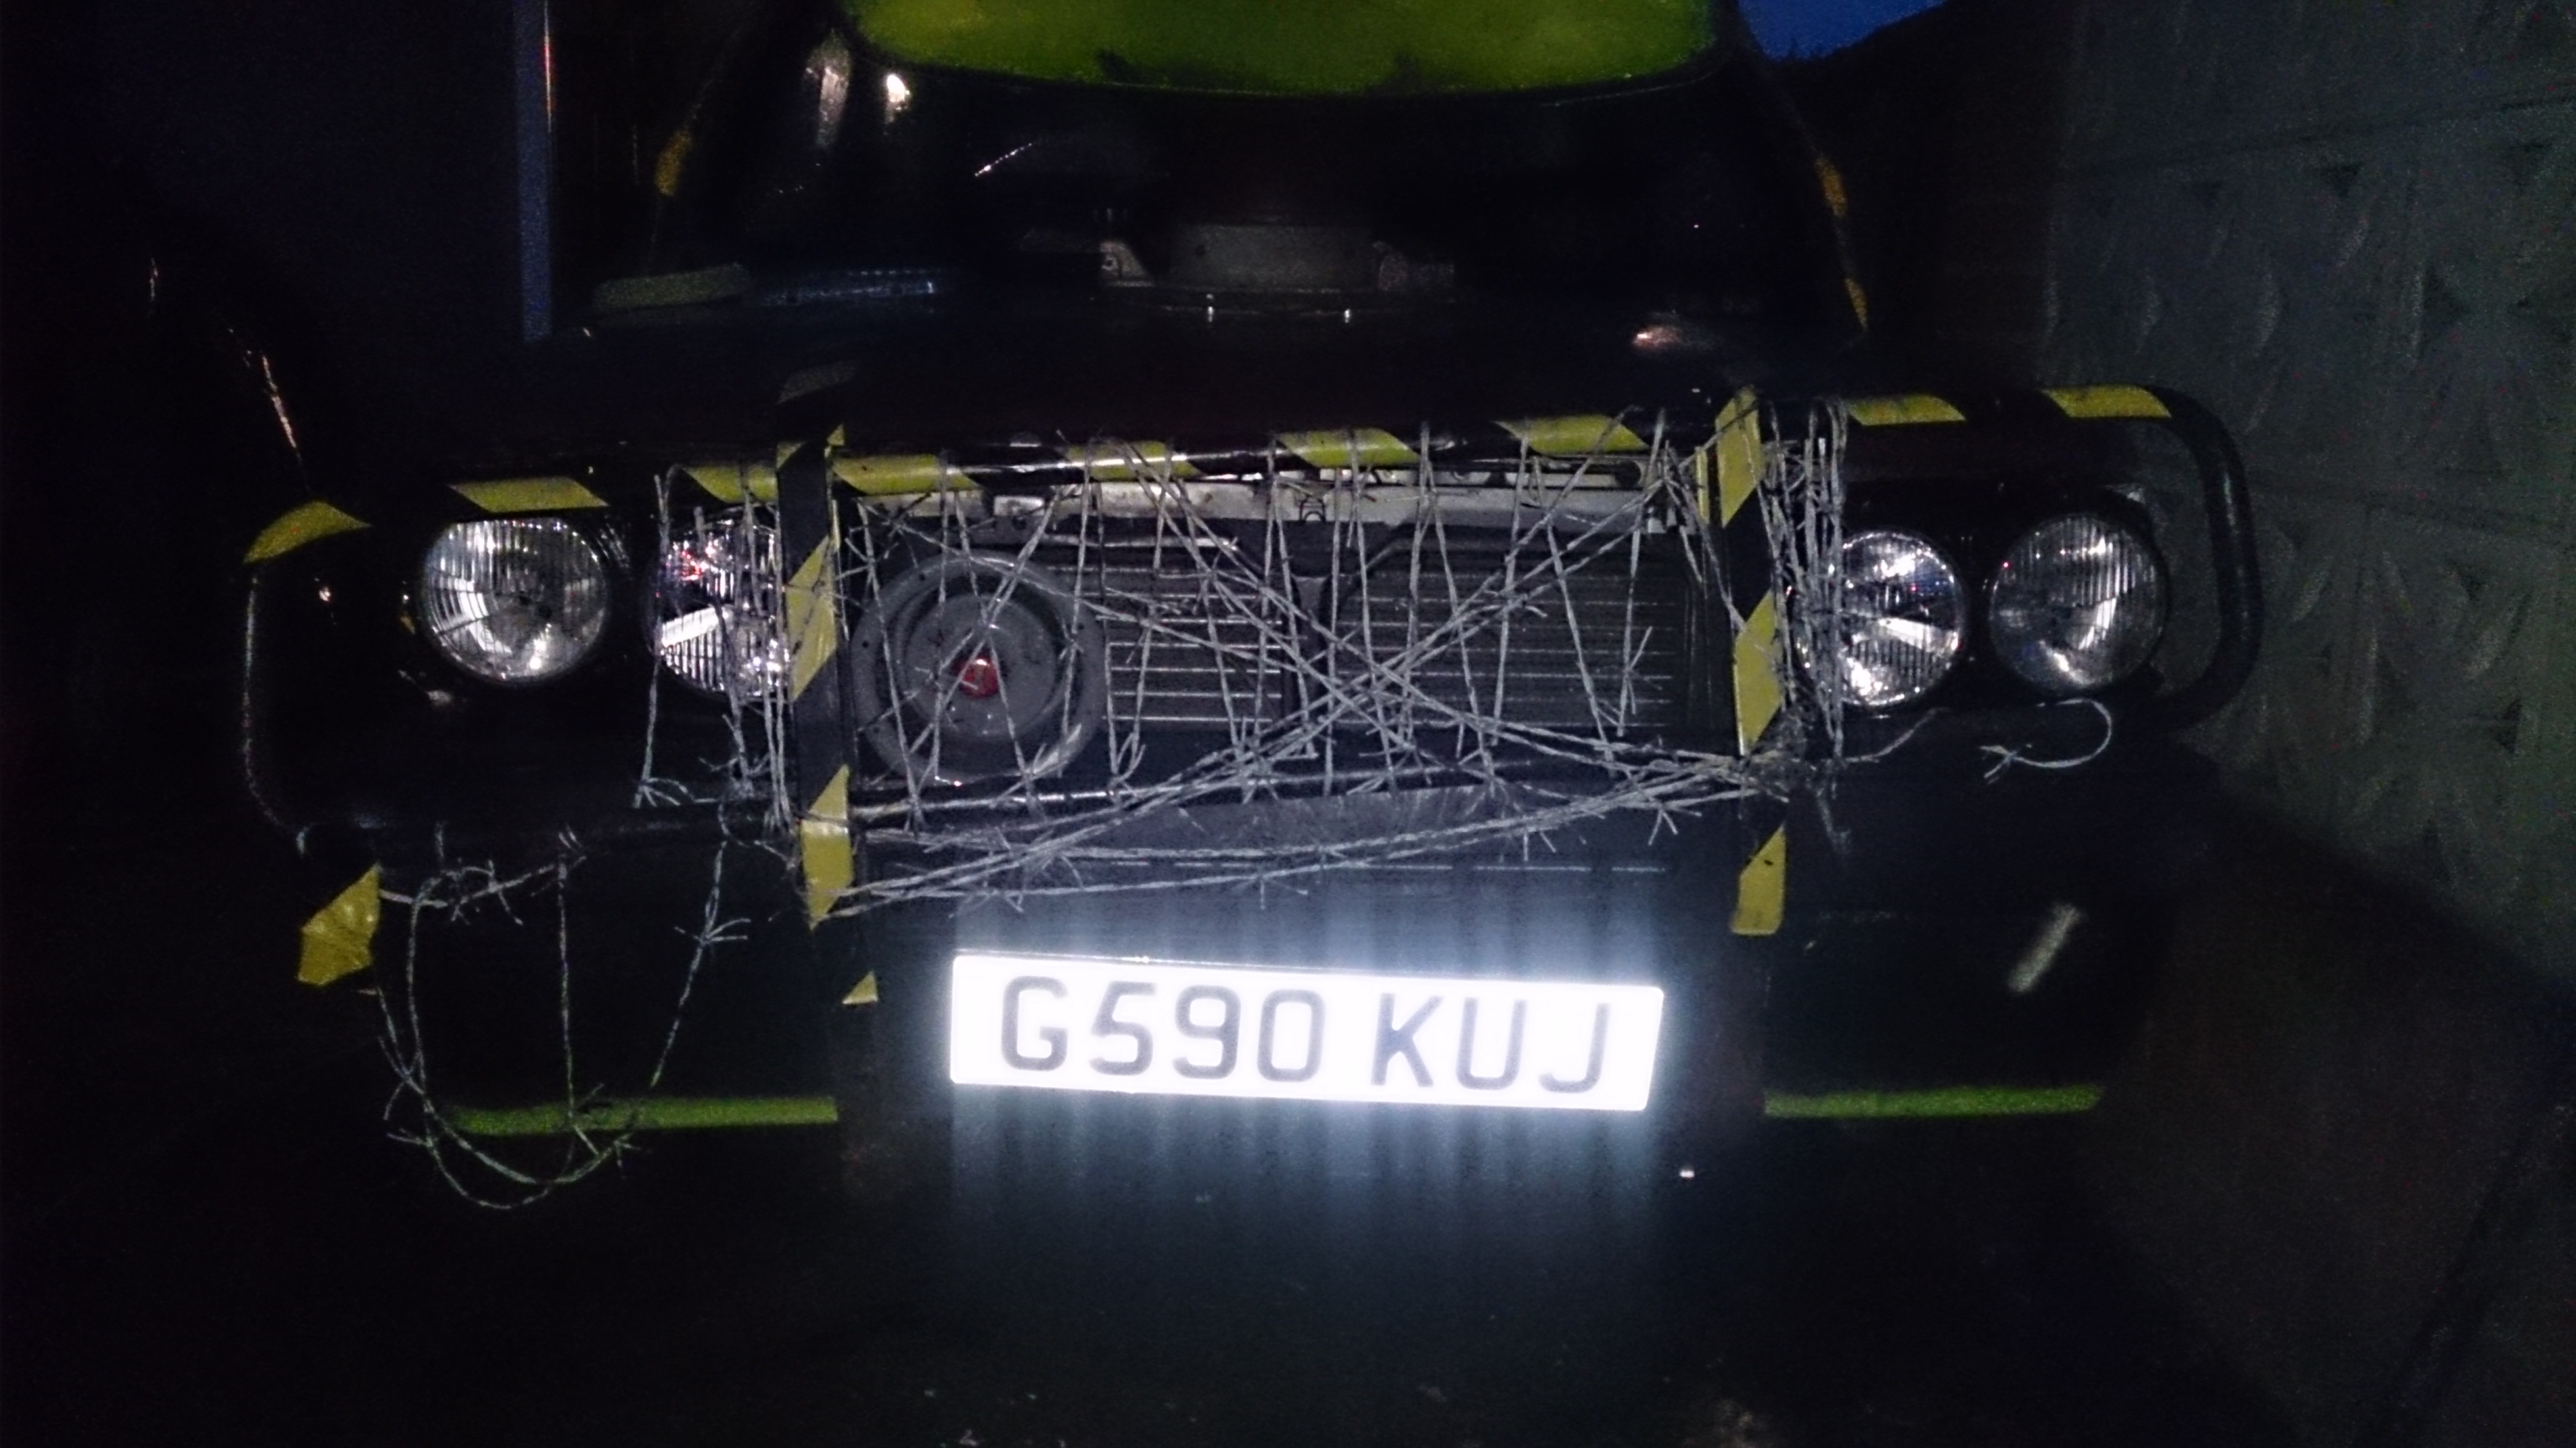
the best of it is.. the lights are not wonky.. the bull bars and bent bumper make it look like they are :D the lights are not lined up yet as i have no bulbs to stick in them.. but i will follow a online guide as to how to do it.. or do it while the guy is MOTing the car using his beam pattern optics.. he is a sound bloke and has let be done it before on the marbella when i had the panda headlamps in it
i was told that the high beam spot lamp can point anywhere to the front, its the low beam ones that need to not dazzle. i will however adjust both sets to give the best results.

great to see you about the forum again vmanc :)

i am going to wire these headlamps up so that the outer ones turn off when the main beam is turned on... however with a relay i may make it so that both can be turned on if i want. ill see how they preform..

i know on original panda headlights, having dipped beam on while full beam is on does not really do much besides light the floor up..i kinda expect the same with this.
 
They're main beam / driving lights, John is referring to using them all as dipped beam.

no no.. i dont want to use them all as dipped. that would be pointless as each round headlamp only have 1x single filament bulb so when i switch to main beam.. nothing would happen.

here i am talking about a pair of twin headlamps;

when on dipped beam. only the 2 outer lights would be on (as these 2 lights are designed with dipped beam pattern in mind) all other lights would be off.

when on high beam i would have liked it so that ALL the lights were on.

however as i am unsure with regs, i will make it so only when high beam are on ONLY the 2 inner headlights are on. the 2 outer lights would turn off (the side lights would still stay on though as they live in the outer lights)

what i would like to see is pictures or a video of a ford capri under going a bulb check. then i would know how the headlamps are wired in.
 
I would assume you'll find the outers are the headlights (i.e. twin filament with dip and main) and the inners are auxiliary driving lights, it's the way all these twin light grillles work on old VWs, Beemers etc, just like fitting MEPs favourite spotlight grillles, the inner lights are as well as the headlights, not instead of.
 
when on dipped beam. only the 2 outer lights would be on (as these 2 lights are designed with dipped beam pattern in mind) all other lights would be off.

when on high beam i would have liked it so that ALL the lights were on.

Oh right, I misunderstood the first time. With that you'll be fine then, its what most OEM setups do when you've a twin bulb setup for dipped and main beam (y)
 
I would assume you'll find the outers are the headlights (i.e. twin filament with dip and main) and the inners are auxiliary driving lights, it's the way all these twin light grillles work on old VWs, Beemers etc, just like fitting MEPs favourite spotlight grillles, the inner lights are as well as the headlights, not instead of.

they take a H1 bulb.. and only has 3 wires going into it. one earth, one to the side light and one to the H1... :/
 
actually they take a H7 bulb.

so here we have a few pictures of both sides fitted!


but before i can get them to light up i need to do some wiring..
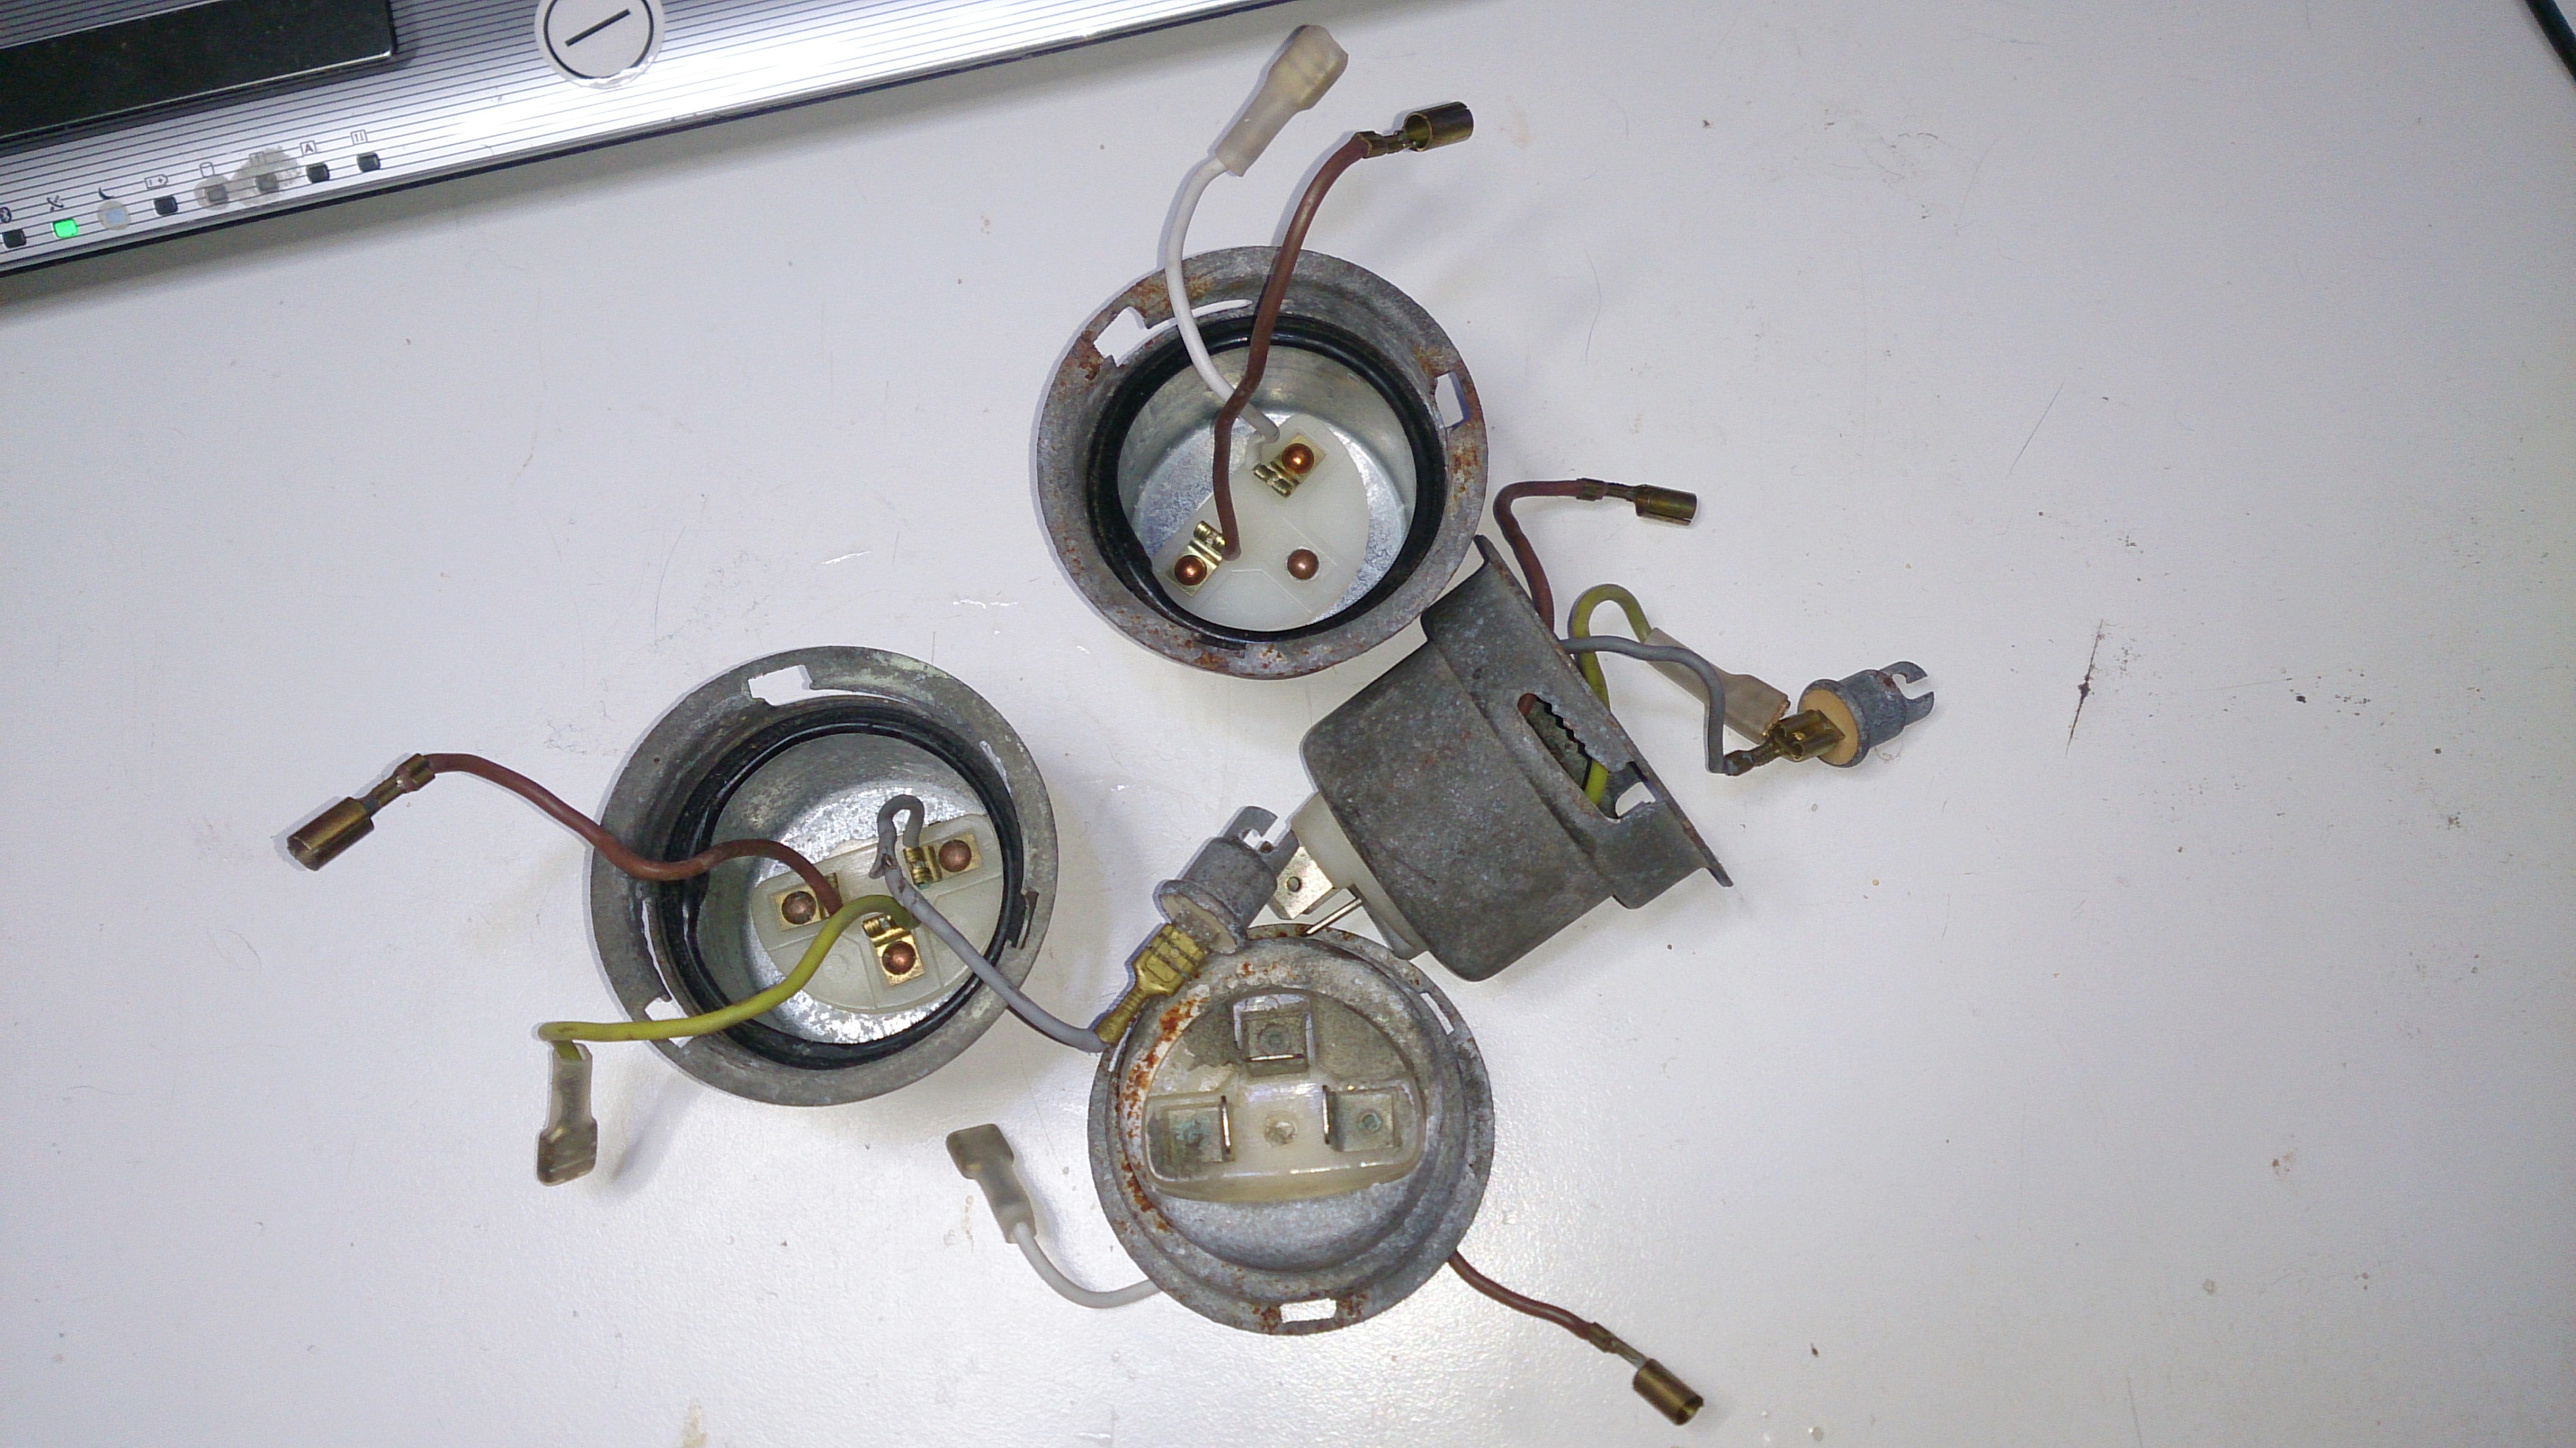
most of the insulation on these has all split. so i think ill replace it all.

from the input connector it takes the same fitment as a H4 bulb. only how normally you have one wire for low beam one wire for high beam and an earth, on this you have one wire for the side light bulb one wire for low beam and an earth.

getting myself some nice "warm white" LEDs for the side lights. i have a few H7 bulbs somewhere.. they take the same as my twin amber beacon that Talon has on his roof so i can just pinch the bulbs from that if i have to.


i did have thoughts on going full LED. you can get some pretty awesome H7 LED bulbs now that really throw out some light. almost rivalling the "HID" lights.

i just have to decide on what i am doing about the indicators. need to think of a way of how i can get them to work with the car but still look good.

these modern DRL ones look pretty good. they take 2 inputs.. one is a live from an ignition live or DRL live. the other is a live from the indicator. when the indicator comes on it turns off the DRL and makes it flash amber. as soon as the indicator is cancelled it will then turn the DRL back on.
best of it is, it does not have to be wired into an ignition live.. i could wire it into the side lights or have it on a separate switch.


i do have a pair of side indicators from off a Suzuki Carry/Bedford Rascal van. with some higher powered LEDs they would make pretty good front indicators mounted to say the bumper.

so many choices..


i am open to ideas?
 
yes it is a shame.. a HID and LED are both completely different yet have the same rules.


well i have repaired all of the old wiring, now i just have to make up some adaptor cables to convert the pandas H4 connector to work with the newer lamps.

as for side lamps i am thinking of getting some of these:
http://www.ebay.co.uk/itm/Car-CREE-...-Lamp-White-/221778753719?hash=item33a30b38b7

i have the same style bulb in the back of Talon as a Tail and Stop light. they are much more brighter than original bulbs and not broken since i have had Talon road going. they did however cost me £15 each at the time!

of course.. theres not much point of having them in fallout when its not road going so Talon will be making use of them till the insurance runs out on him.
 
Last edited:
This post contains affiliate links which may earn a commission at no additional cost to you.
well its the time of year where i dont really want to be working on cars much so the old grey'un has been a little neglected. at the moment its turned into a storage place (great place to store christmas presents without them being found by family.. with it being locked and hooked up to the house alarm)

i have given it some love.. i did notice that its not been running well at all.. in the past few videos you can hear when i had it running that it was shunting.. the vacuum gauge was telling me that the vacuum was not very good so i put it to a bad pipe and sure enough the little pipe that goes from the back of the manifold to the MAP sensor was completely snapped off, the rubber L bit just perished completely.
well i fixed it using some silicone vacuum hose.. so back to running well and good.

i did change the HT leads around as i was getting fed up with constantly getting nipped by high voltage while working in the engine bay when the engine was running. that also helped the engine's smoothness on tick over.

even with all them faults, it still started as good as if it was in daily use!
(i had to move it to make way for the 3 wheel 7 seater electric vehicle mini project ;))

heh.. my mum wanted to spray paint some picture frames gold.. so now fallout has a little gold paint on the bonnet too. (more paint less rust!)

i'm pretty sure it has a bit of a leak around the swirl pot.. its on the pipe that exits out of the pot to return to the main tank, it just needs the hose clamp tightening up.. or the end of the pipe cutting off and re-sitting.

tyres are holding air.. though one of them seems to have issues with the valve seat. it has held air ok though now for well over 3 months so i think maybe it has seated.

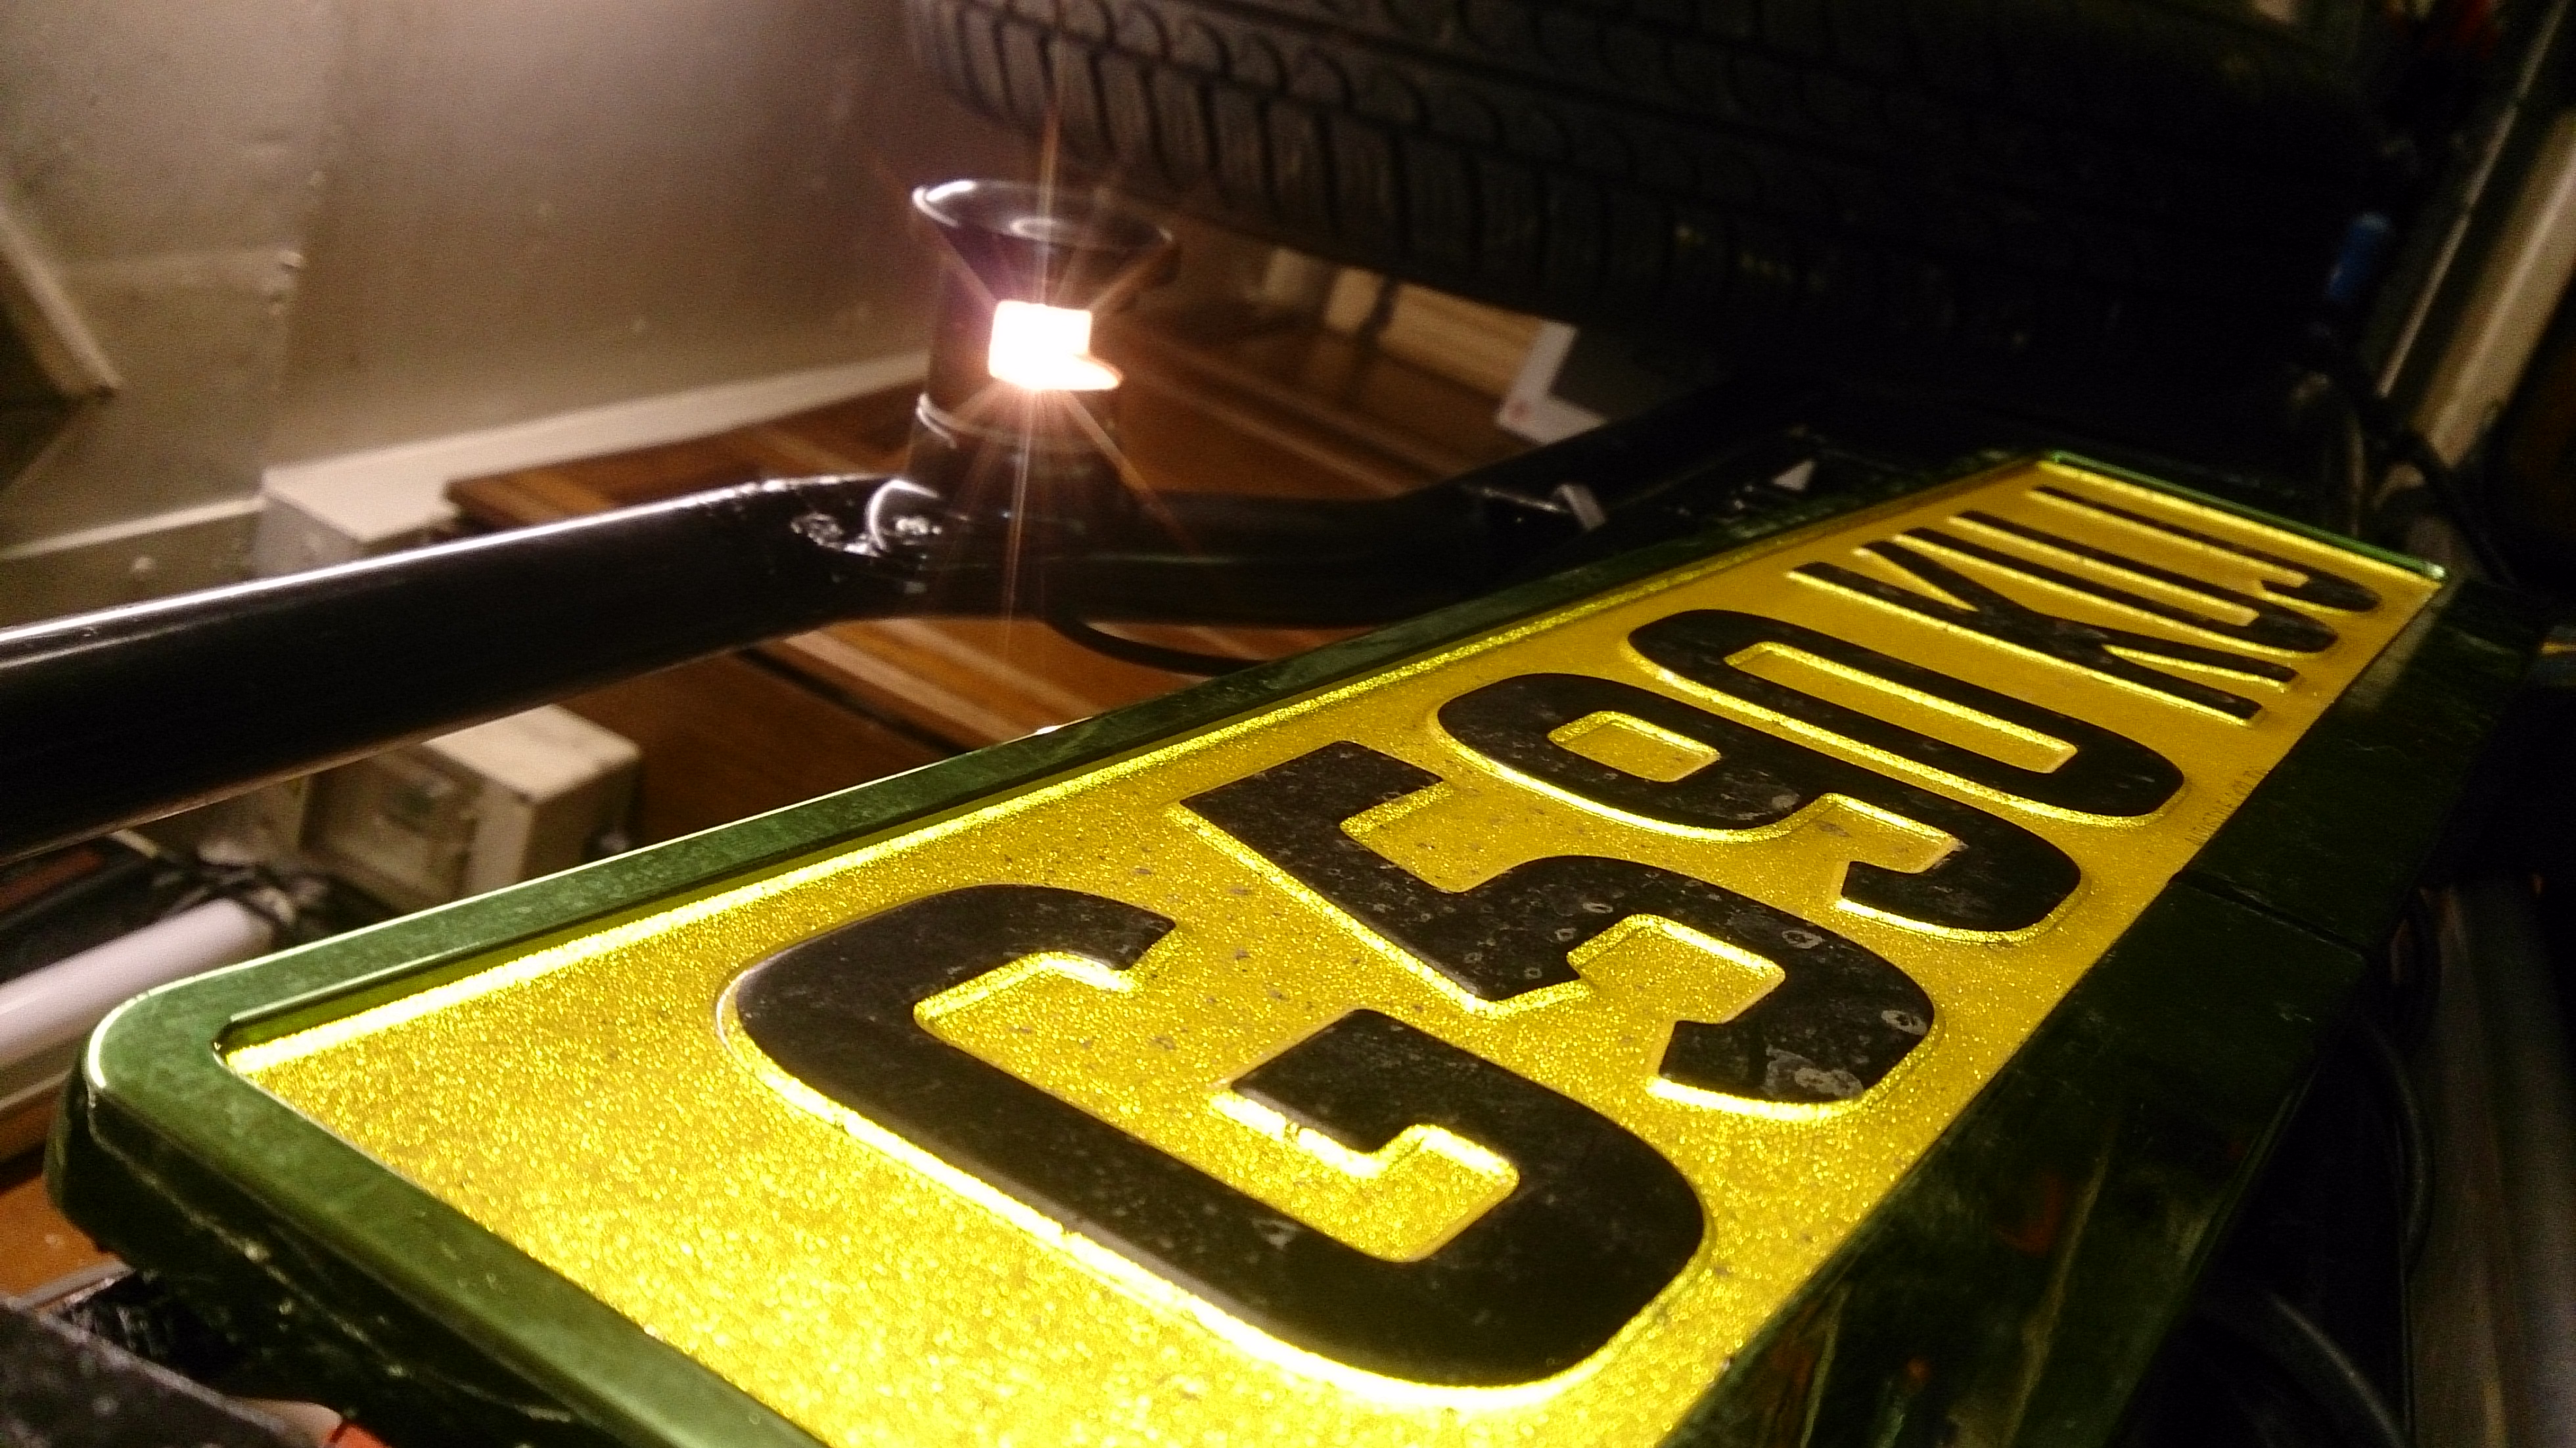
i need to mount the rear number plate.. i want to put it up on the roof rack but the traffic act says that it can be no higher than 1.5 meters from the road height.. i think the panda may "just" be in tolerance of that.. i will have to check though.. if not i will make a little place for it to go on the rear "bumper"

also want to stick a tow bar on this thing.. i STILL have not found where i put the original one it came with.. it will turn up.. one day..

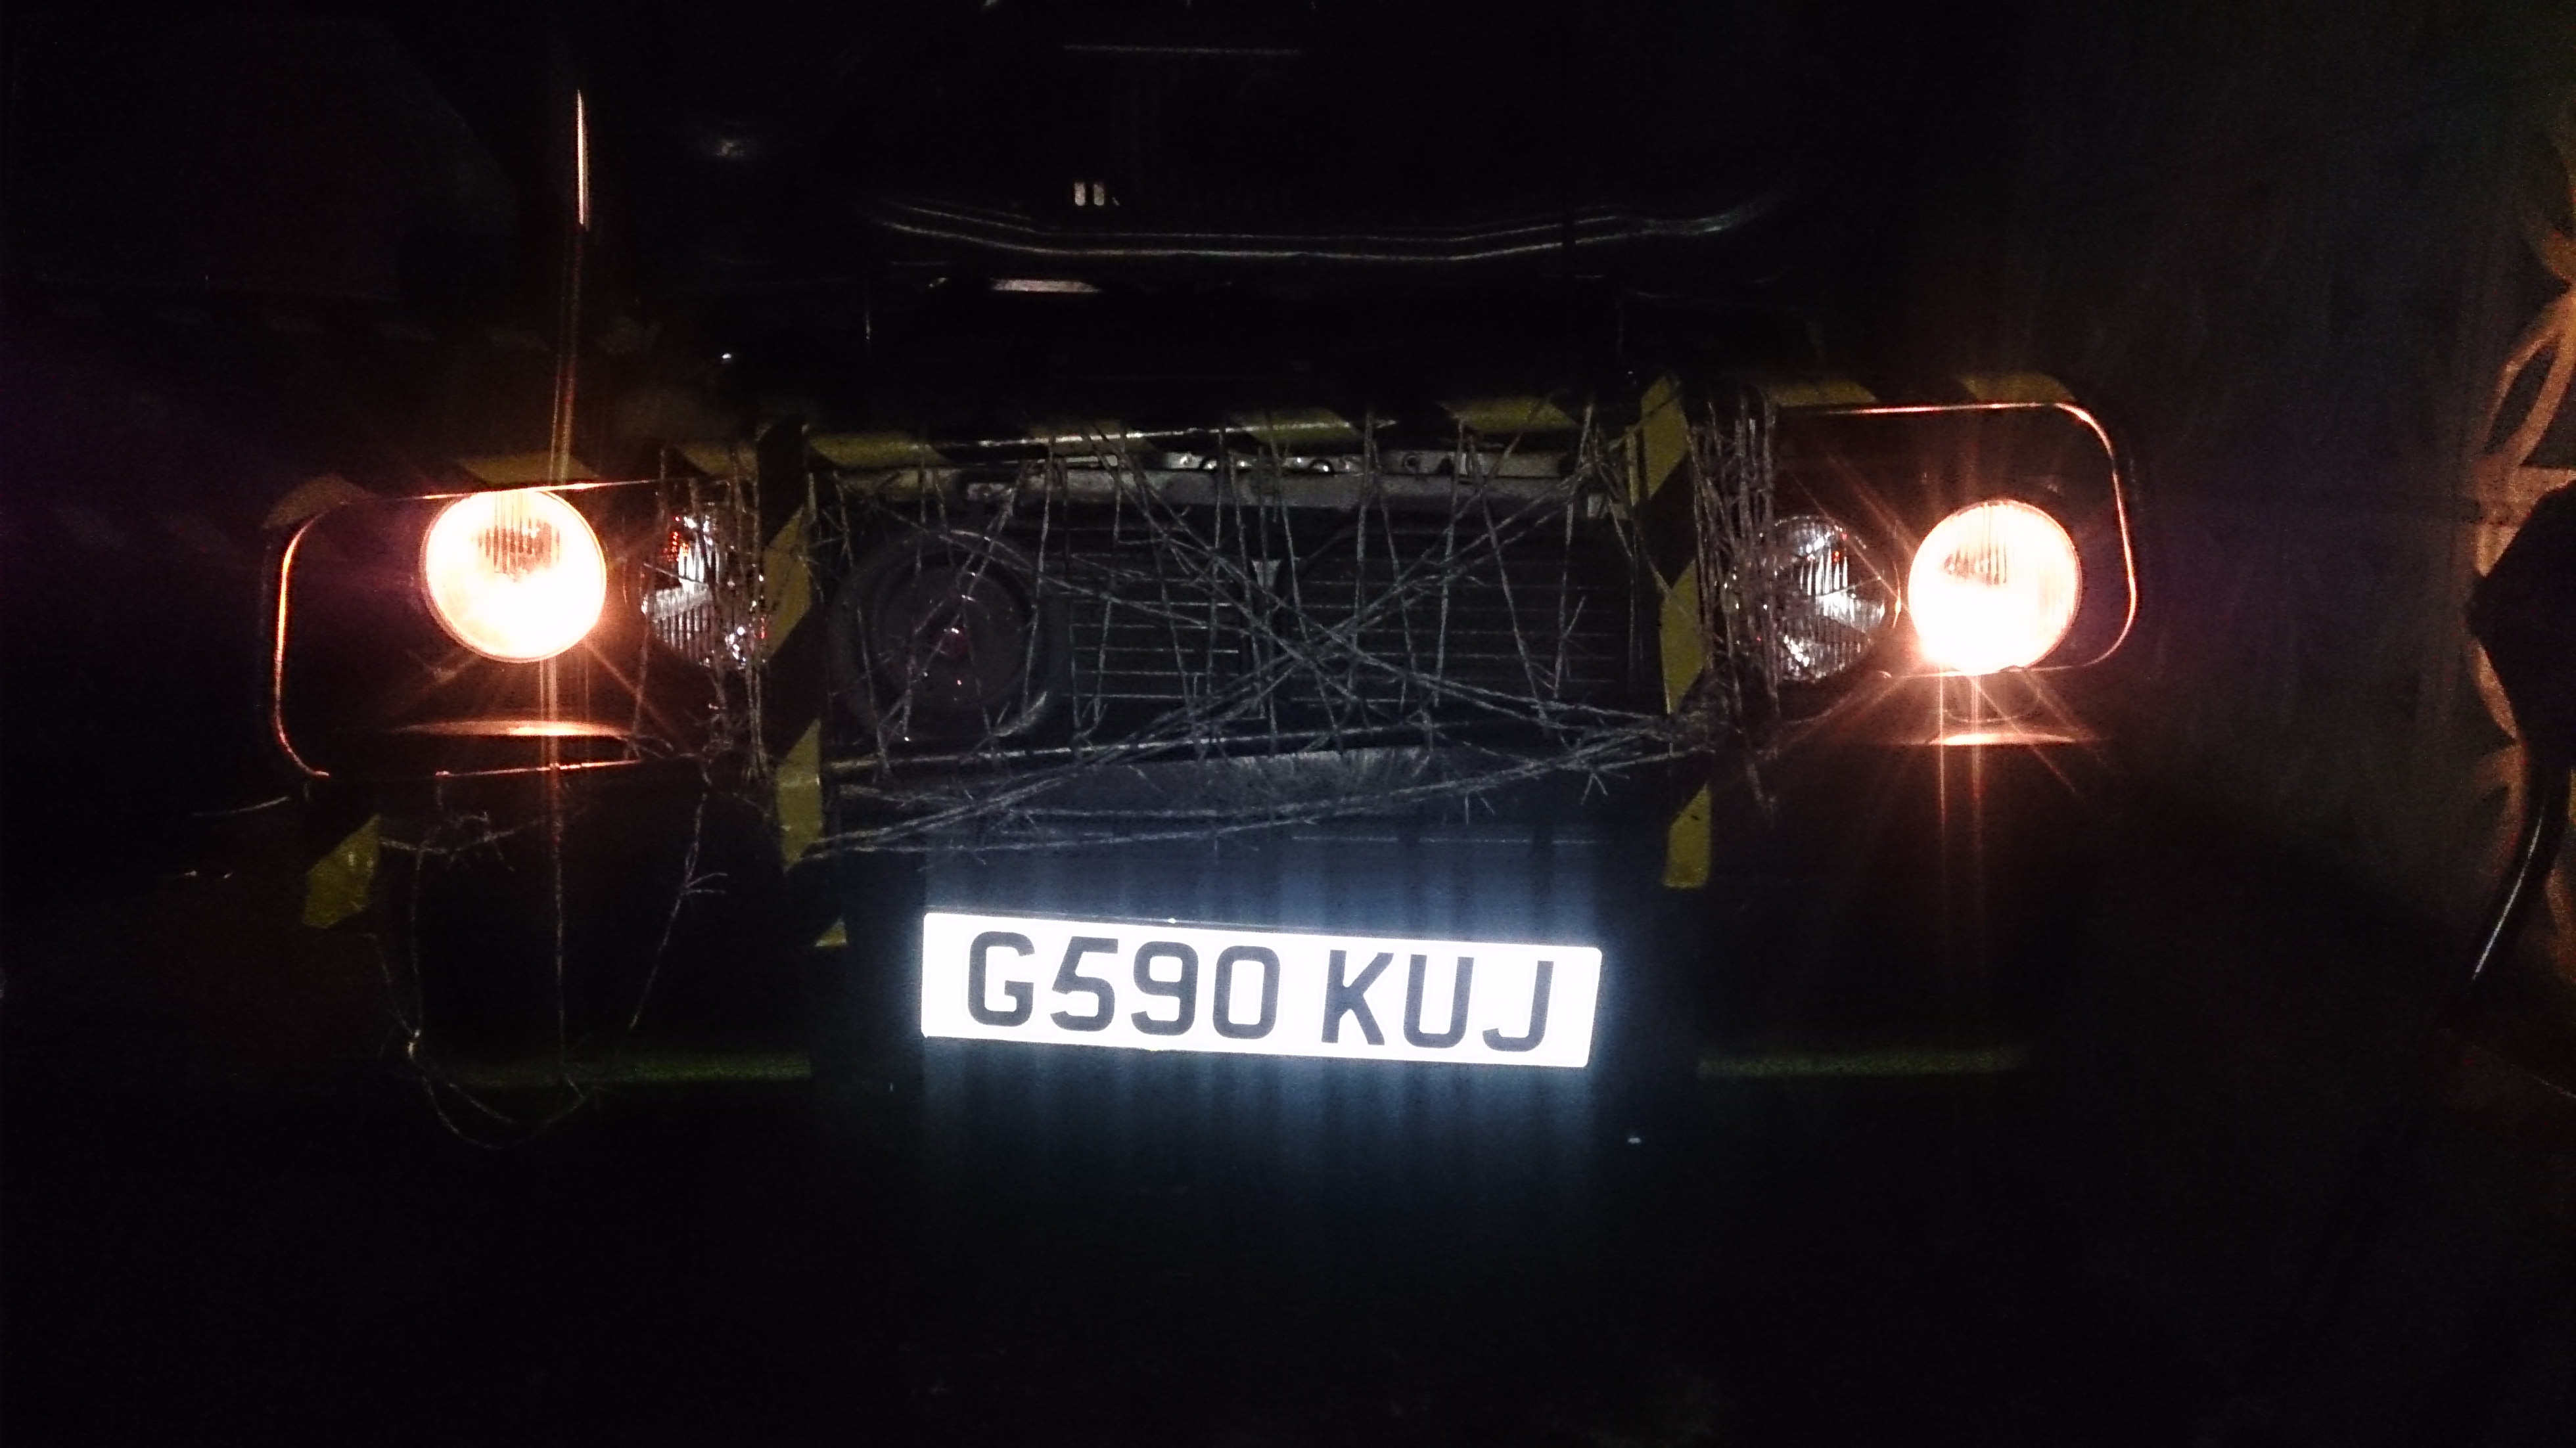
you guys may have seen this on facebook but this is the side lights working:

 
Last edited:
John
Happy Christmas to Derby et al.
Question for you.
Is fallout ever going to be road legal, or is he just an arts project on what can be done?
A sort of post apocalyptic panda on what you can achieve on minimum financial input.
With all the flooding I reckon a 5ft snorkel should be the next addition!
Dave
 
hey Dave, yes some day fallout will be on the road.. sadly as i get money it goes on more important things.

this is the basic list that fallout has:

fallout jobs for MOT only:
headlamp beam adjustment
tape in rubber floor or make hooks so keep it away from pedals
fix mount pass side front bumper
do something with rear bumper
number plate lighting and fixing
clear roof rack
do something with front grill?? may not be needed with having bull bar.
tape over the door rust points with hazard tape.
clean windows
check window washer fluid.

other jobs..
water seal HT leads..
find gearbox breather and feed into car at roof level (diff done)
water proof CODE box (or move to roof level)
prop shaft balance and install
window grills and bars
water proof airbox
cut snorkel to size and fit
add more random paint...

suspension lift bits needed:
gearbox flange
spacers for rear axle and front struts
mod some 4x4 wheel bearing hubs for correct camber (drill out and re-weld holes)
get some 2 wheel drive rear dampeners
fit skoda springs to 4x4 struts

pray fallouts gearbox is a good one.. its never been tested under load.

if i had some cash to spare and if the weather was nice, i would do some more work on it.
 
Last edited:
well i have been playing

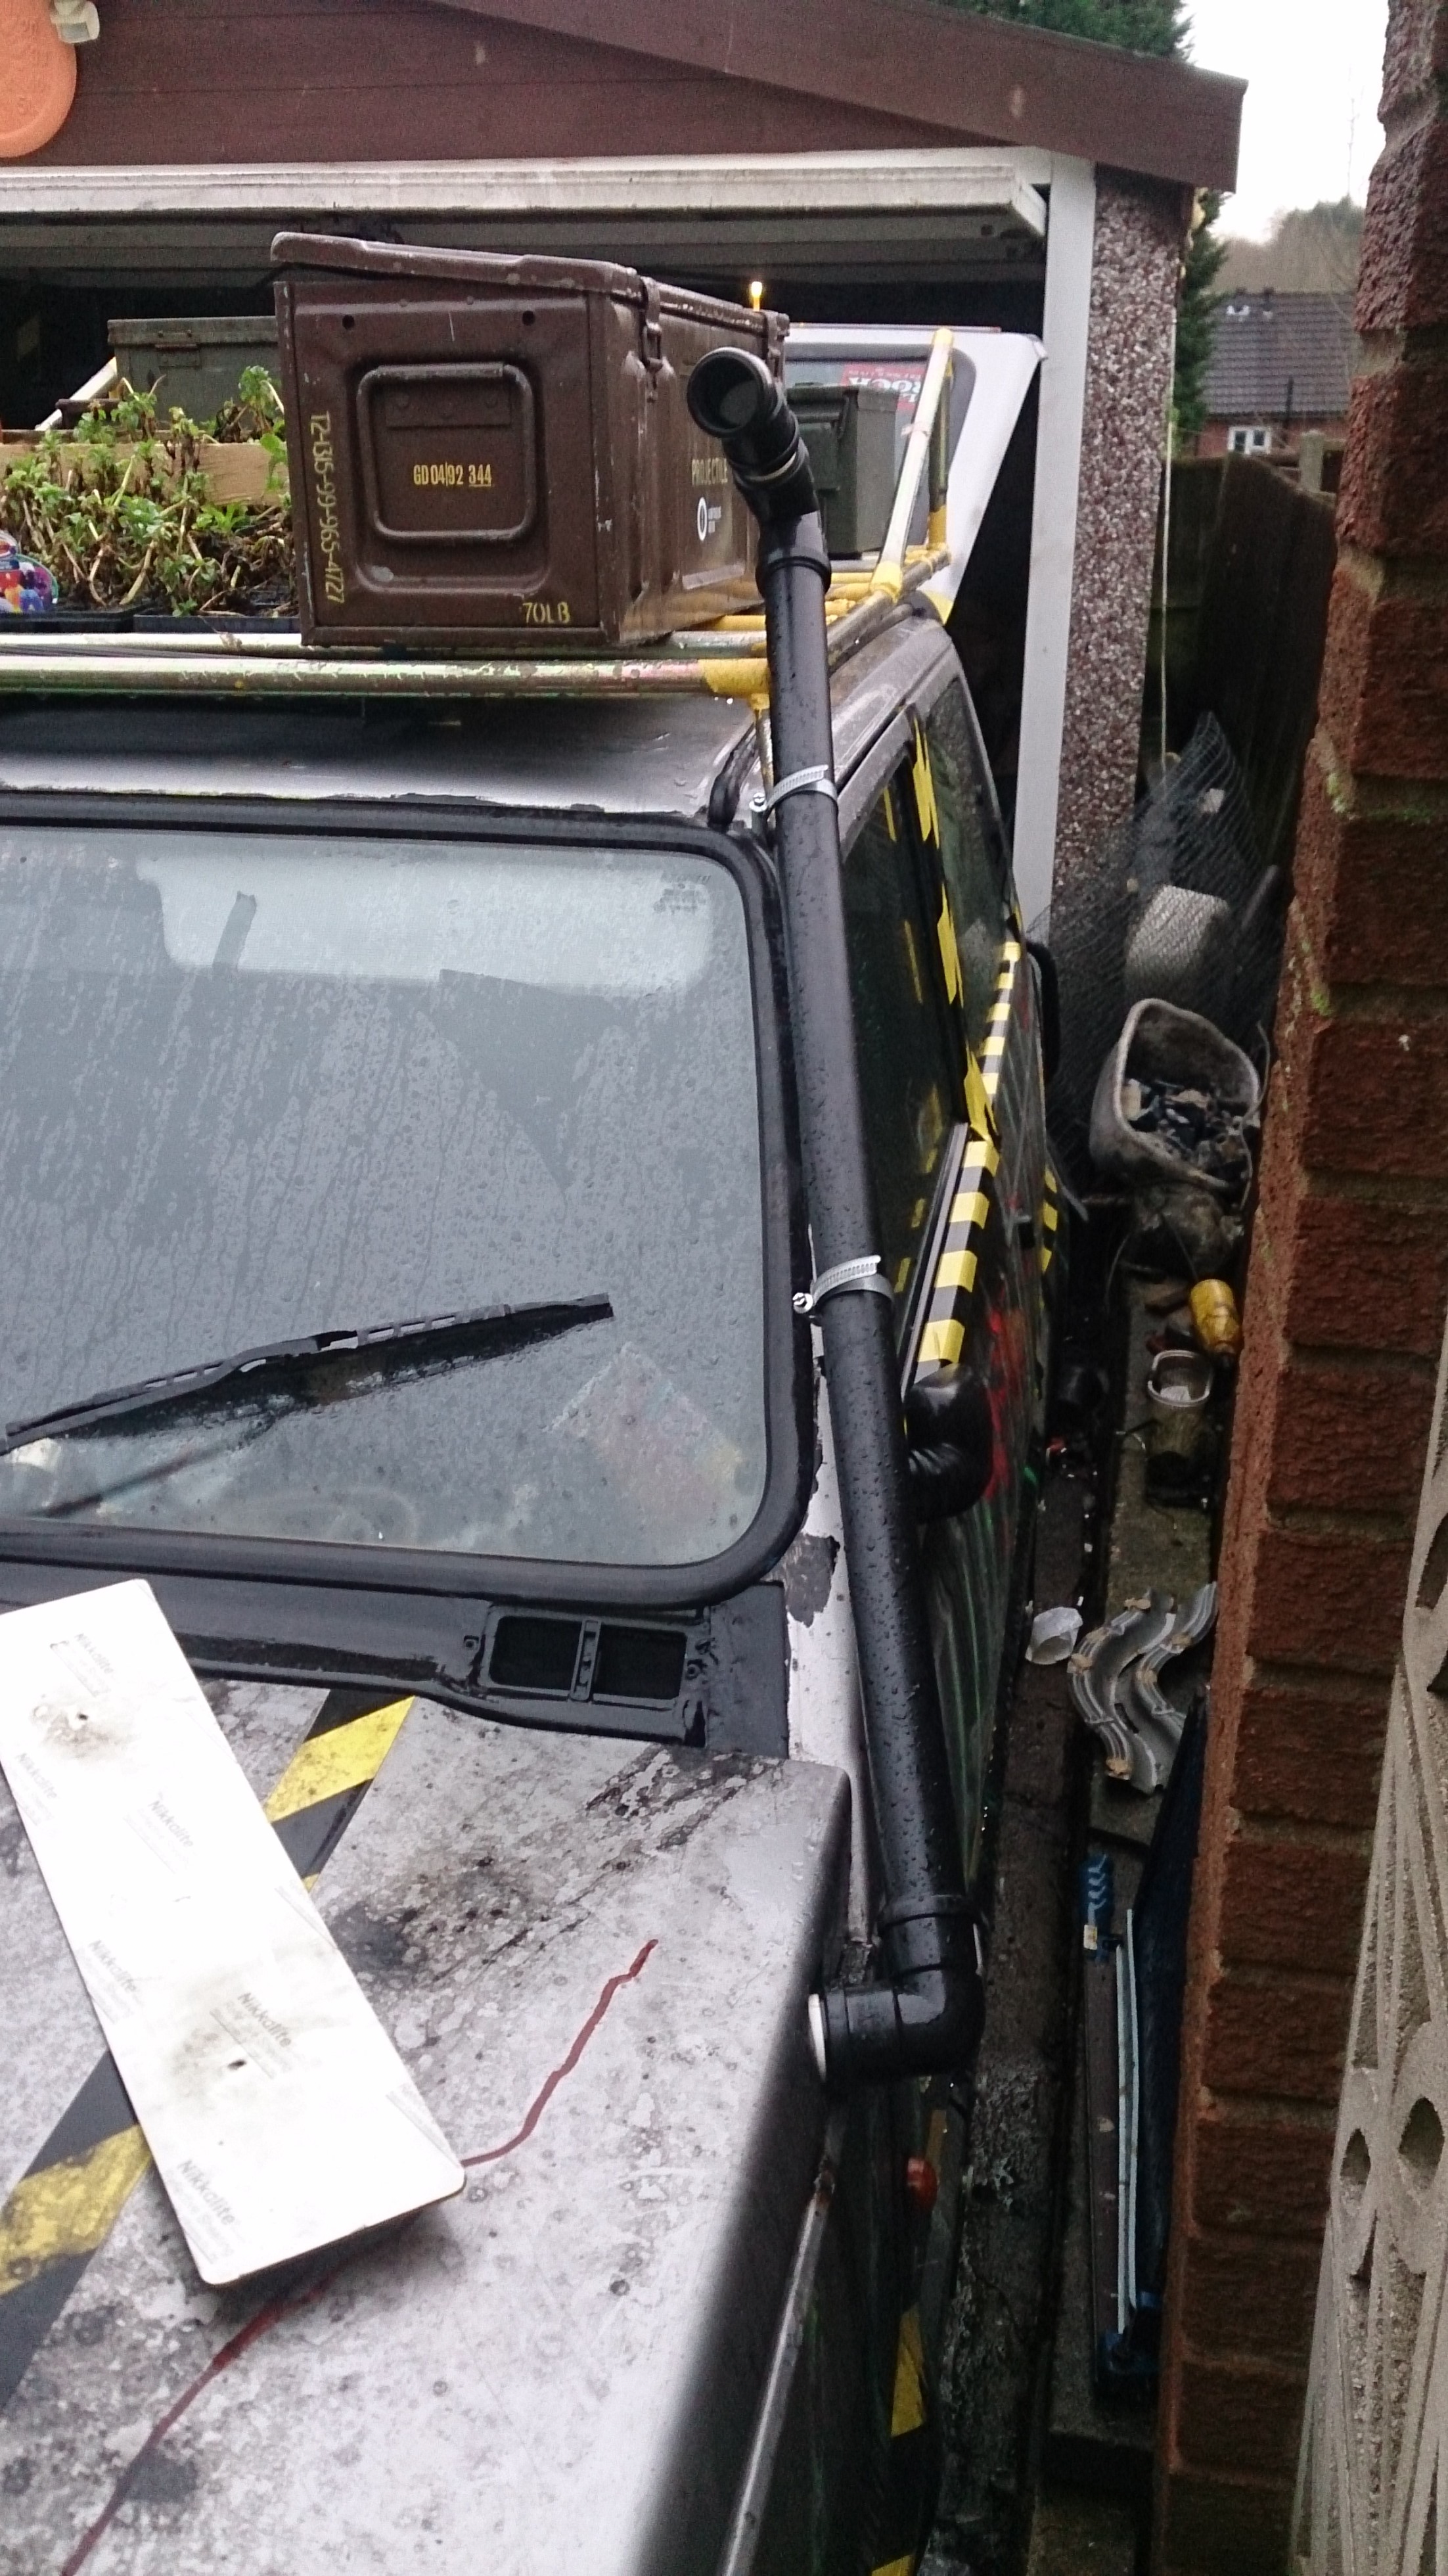
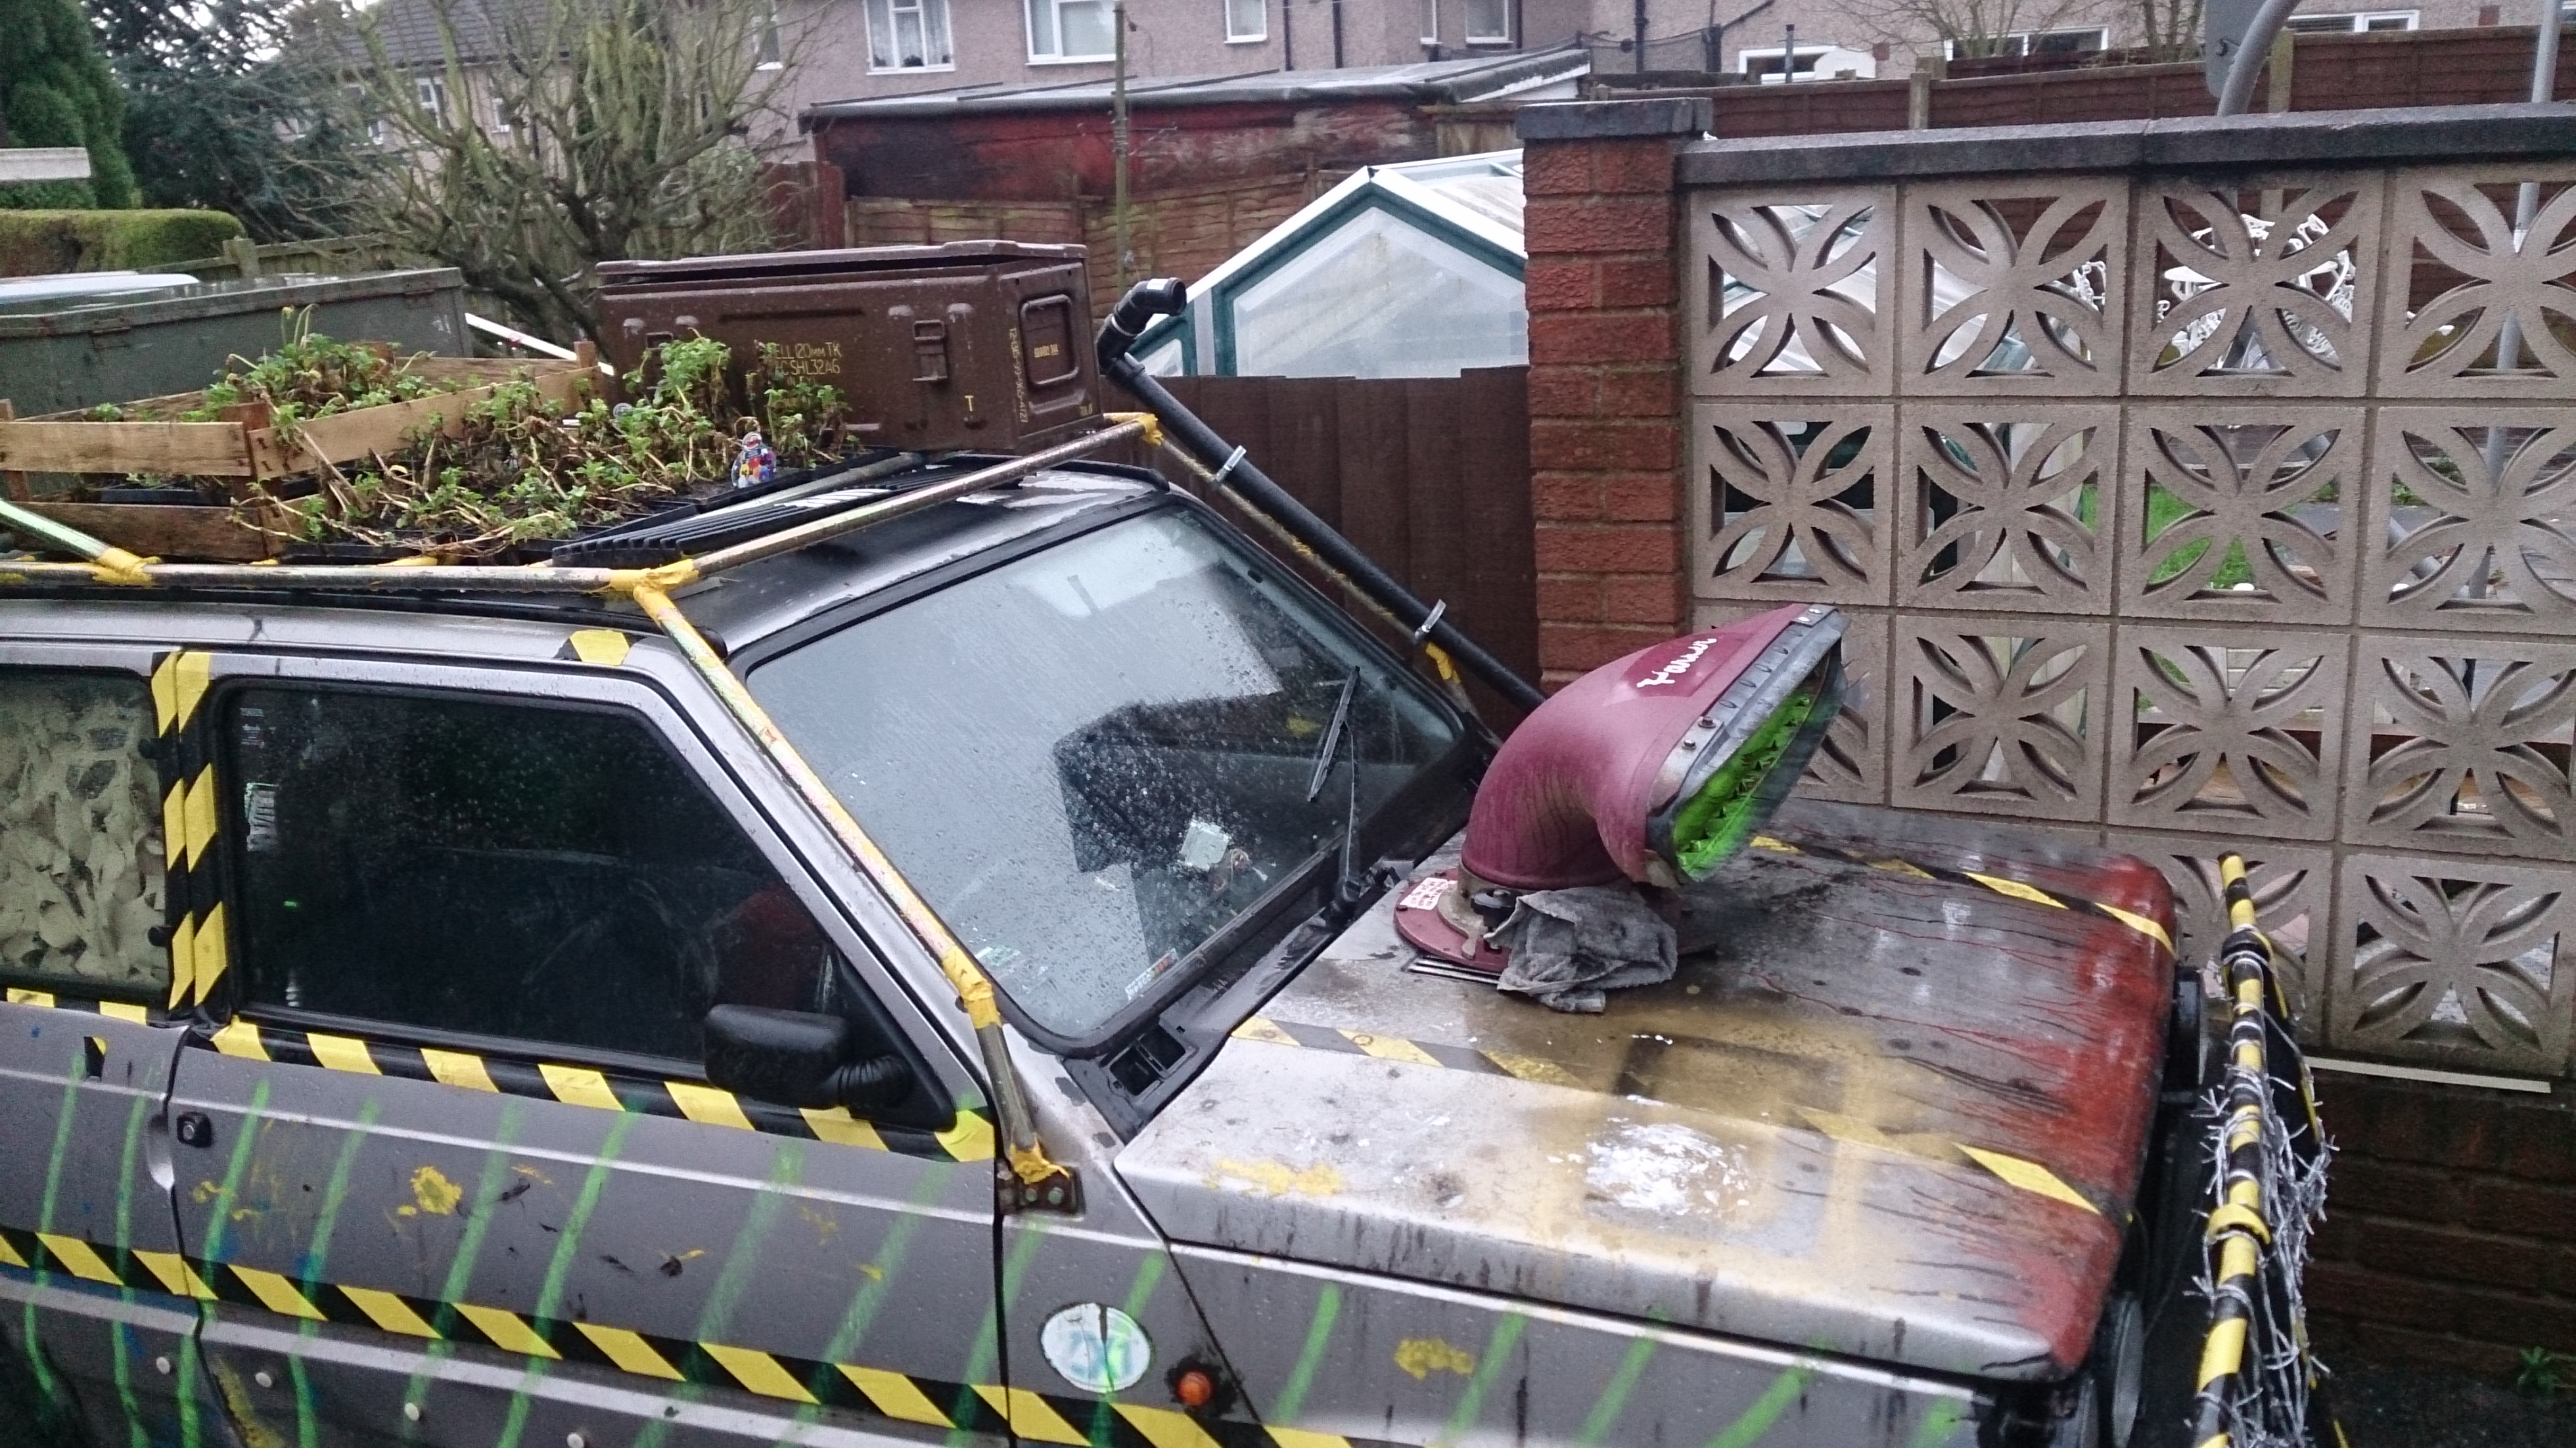
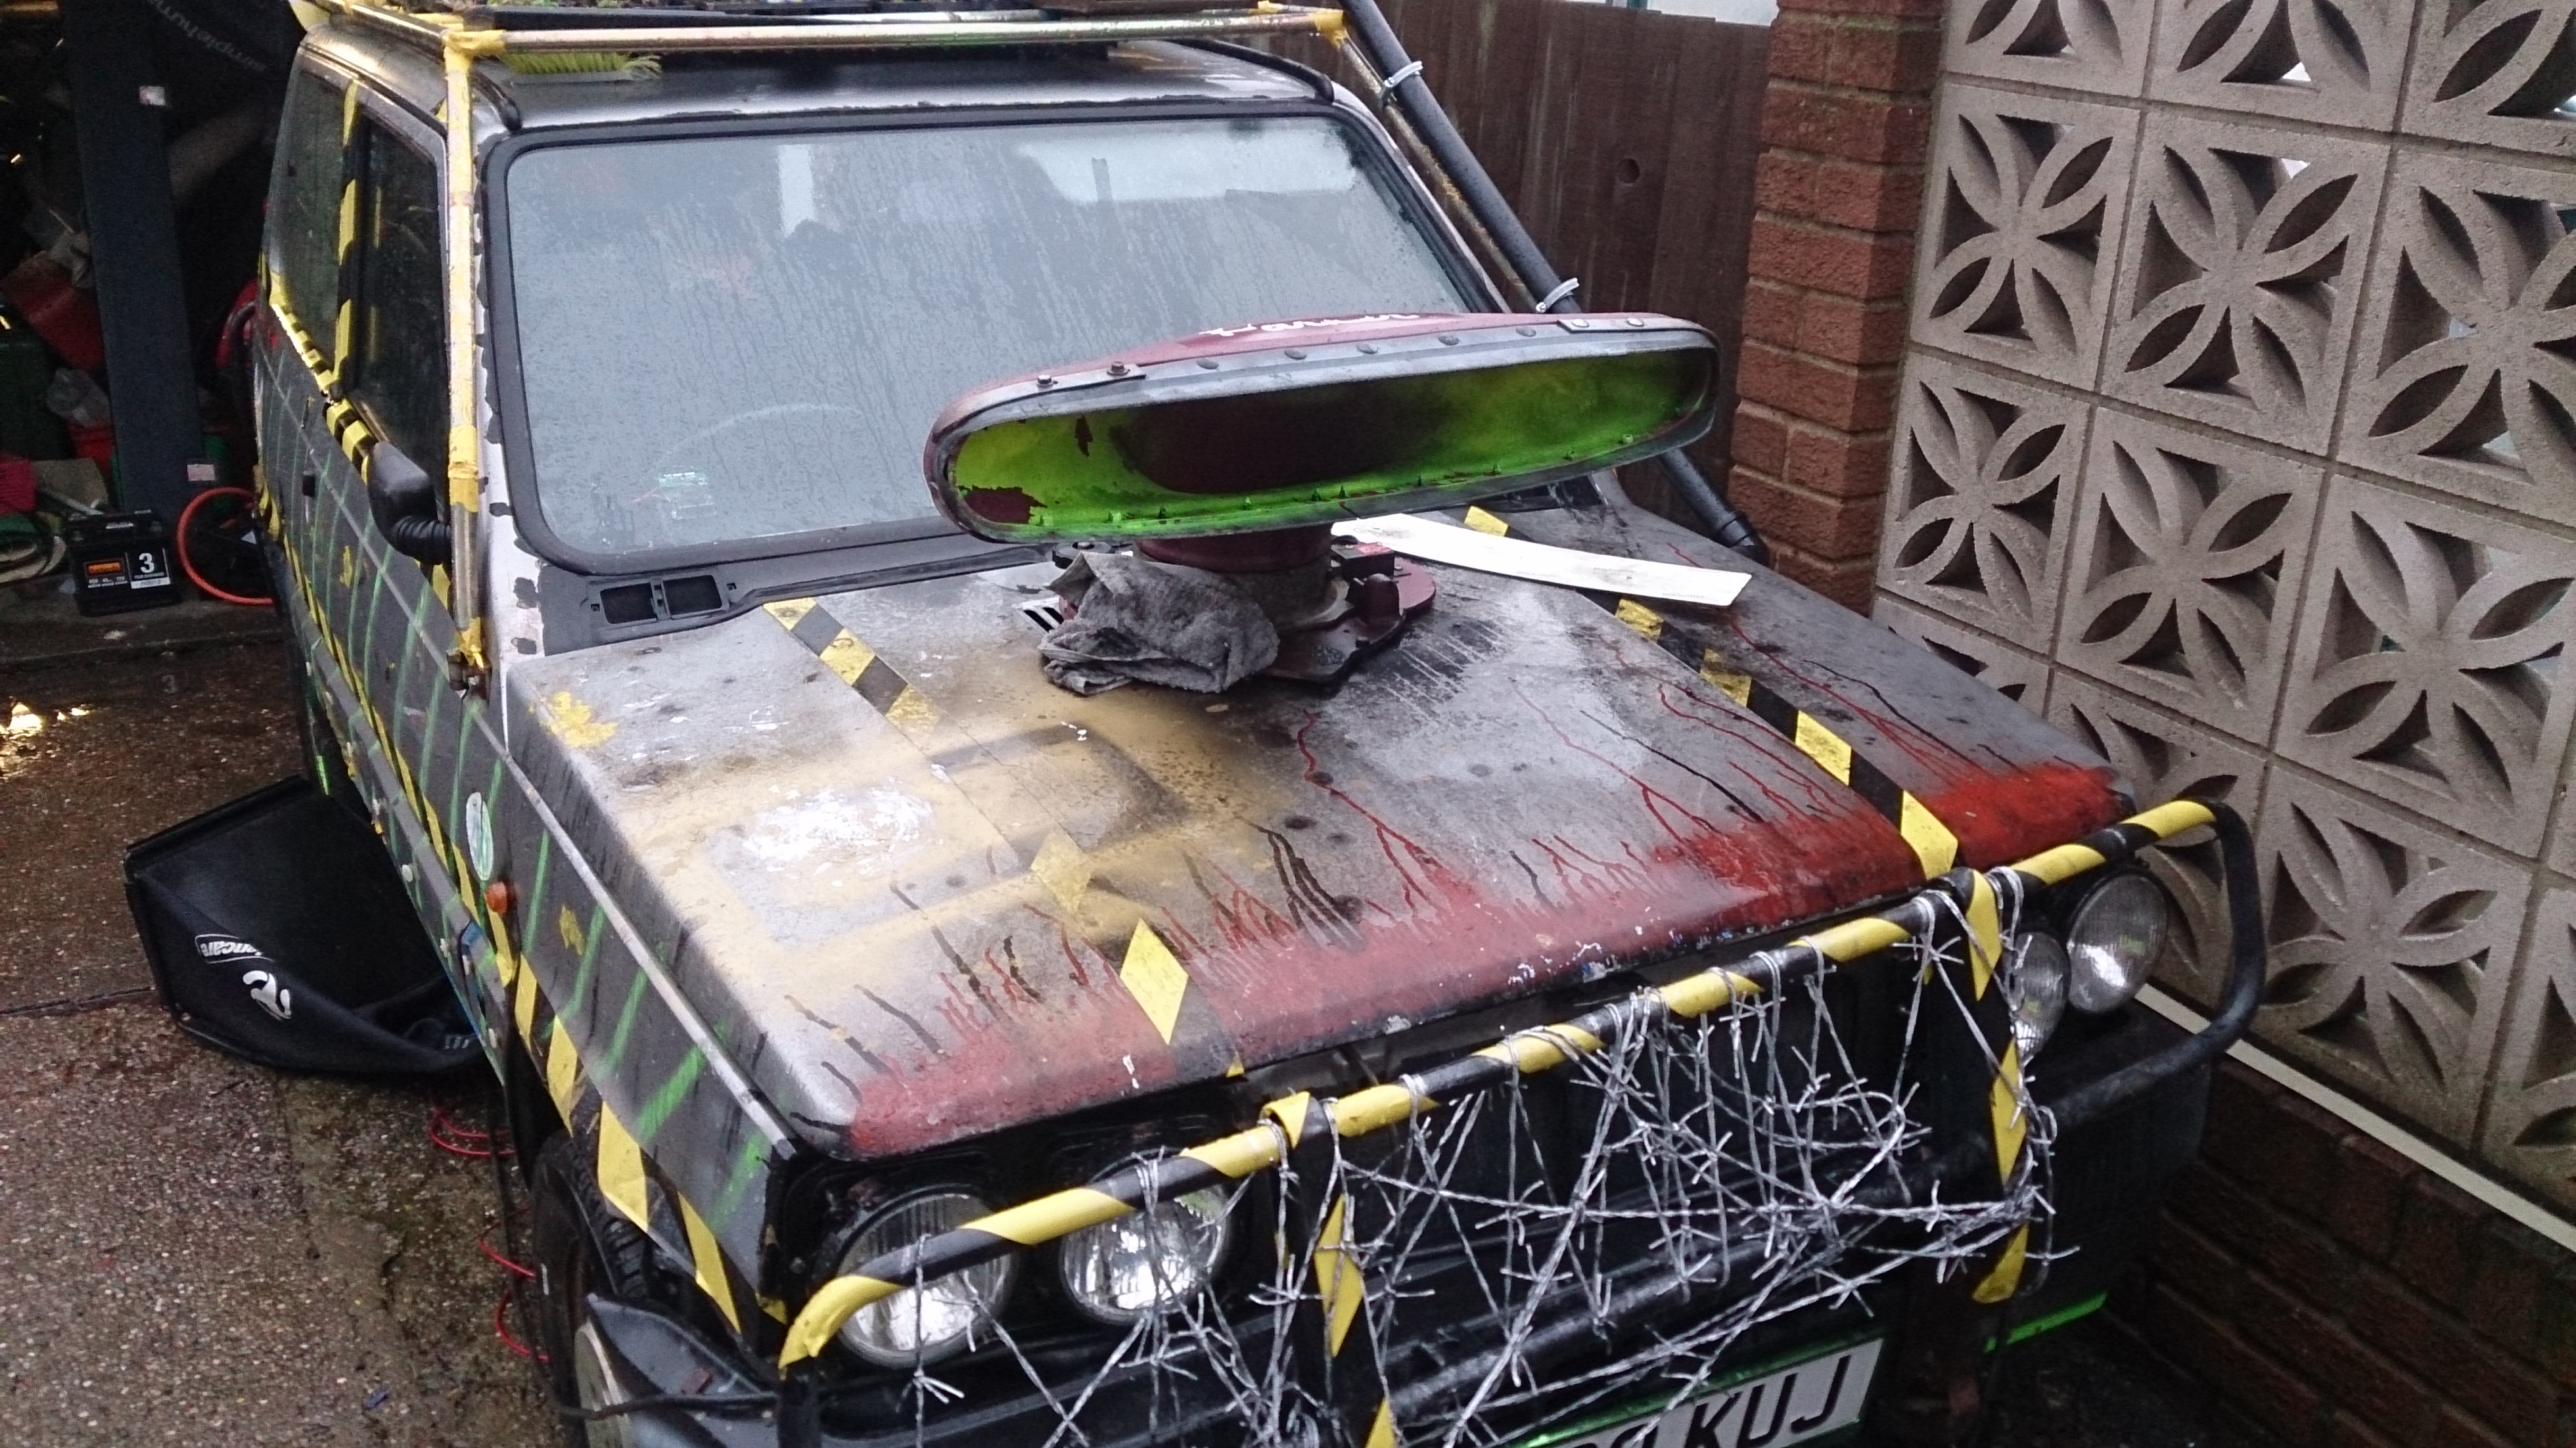
i bought the pipe a while ago just to see how it went. turns out, it went well and fits to the style of the car really well :D


the top bit of pipe with the 90 and 45 degree bend can be turned around to make the pipe point backwards and sit at the same hight as the roof. its just turned up for looks at the moment.
i do need to get hold of some 40mm hose to connect it to the air box.. i also need to do way more stuff to the air box to make it water proof as it does not make a very good vacuum when the engine is running :/


the bonnet is a mix of what happens when you mix black chalk board paint with a bucket of water and then throw it over the bonnet. the effect is very good.. however the gold is where my mum spray painted a picture frame on the bonnet after i told her that the car needed as much paint as possible!

dont mind the plants on the roof rack... well being as it has turned onto a garden ornament i may as well make it try to blend in >_<
 
Last edited:
when i get the suspension lift i hope i will ;)


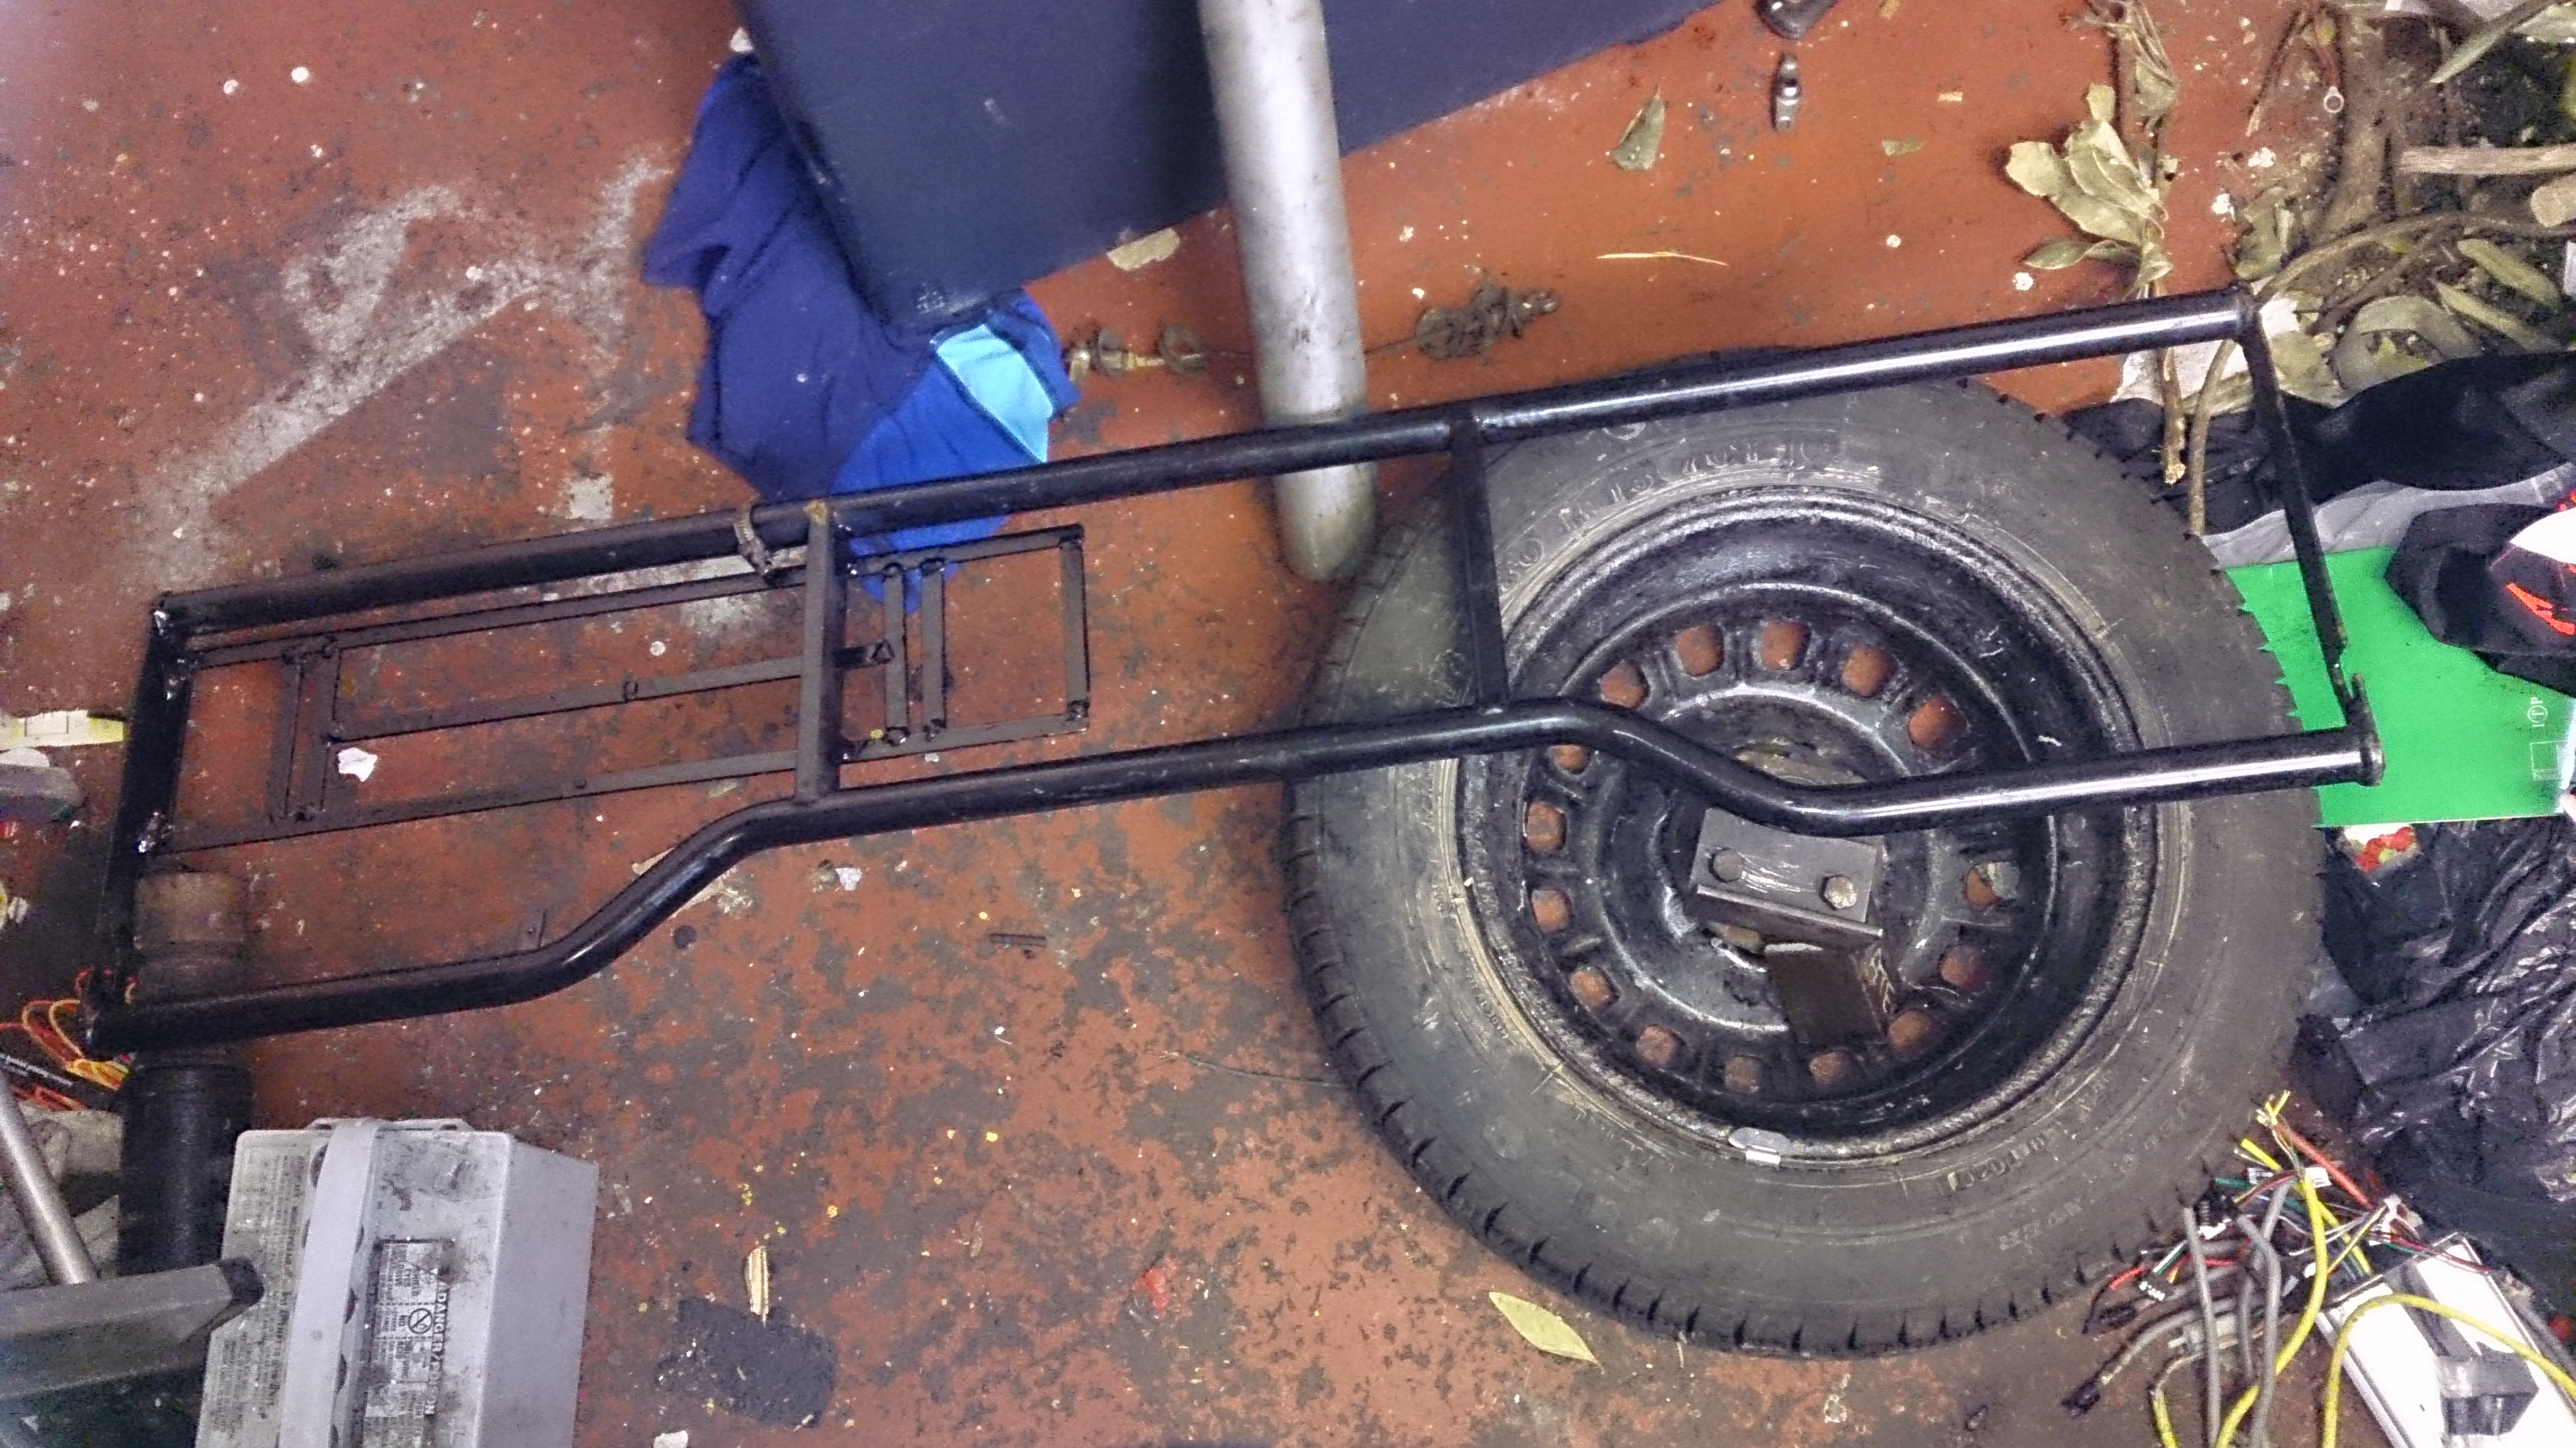
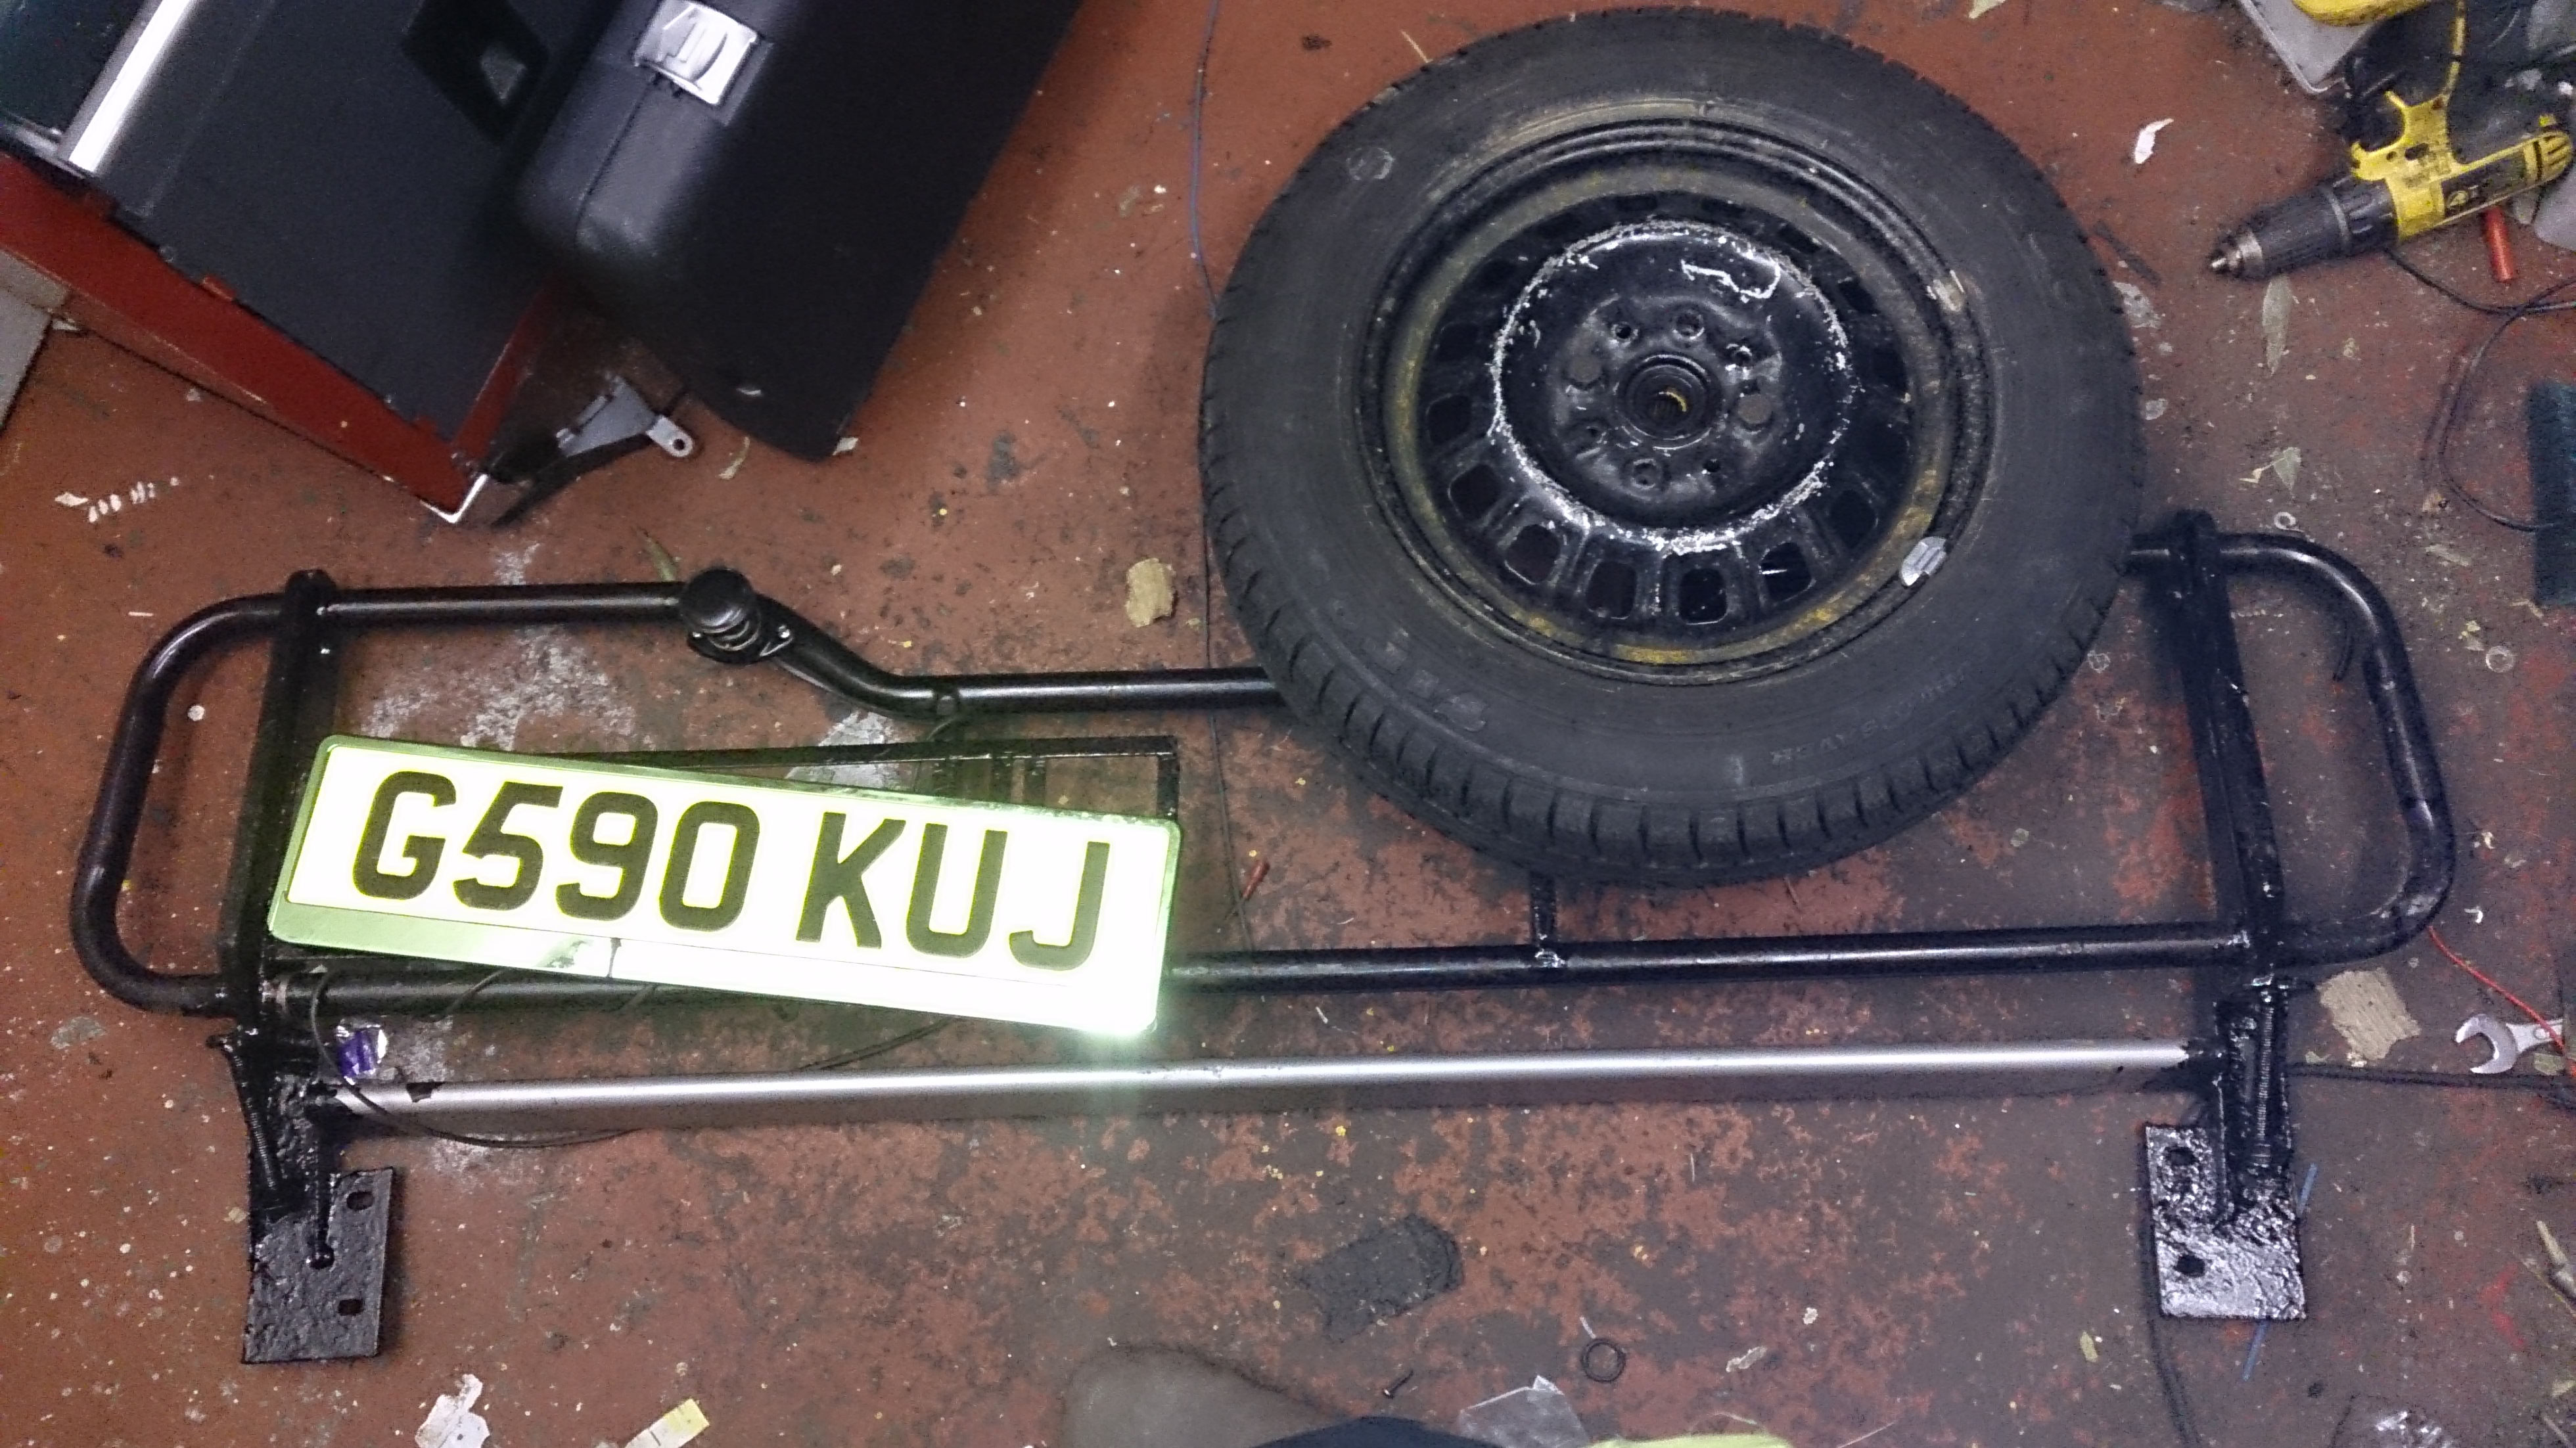
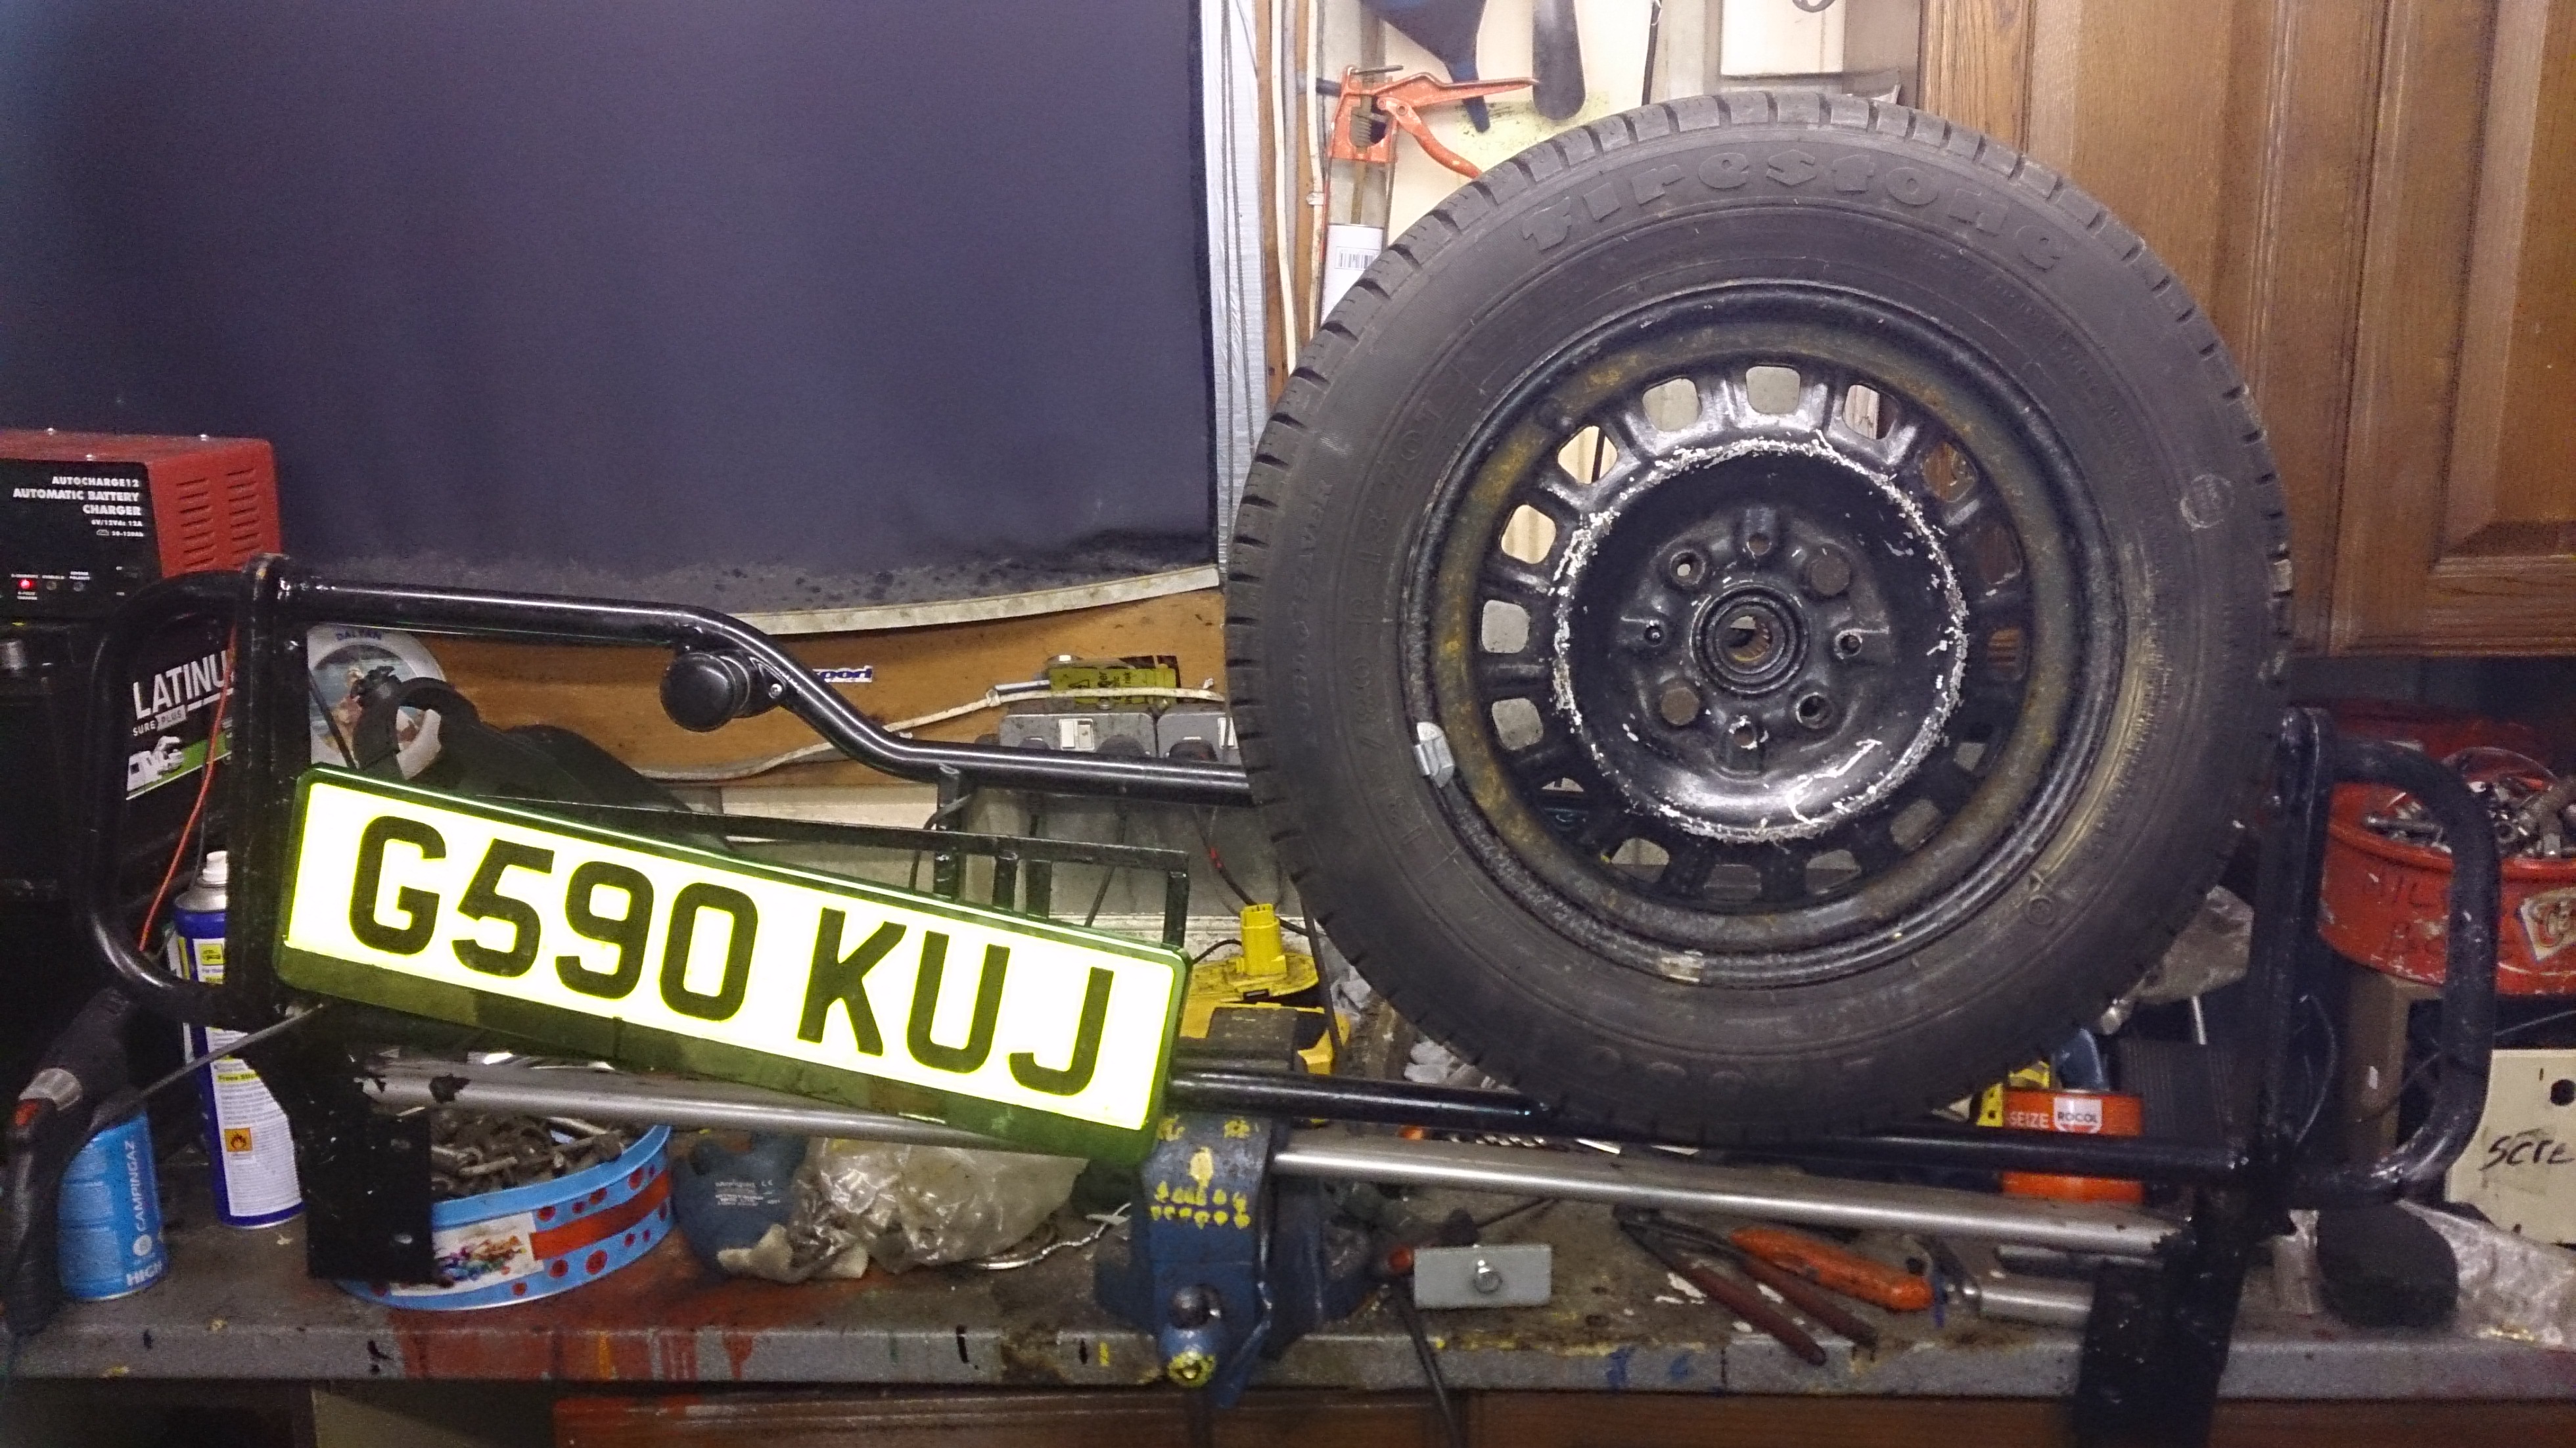
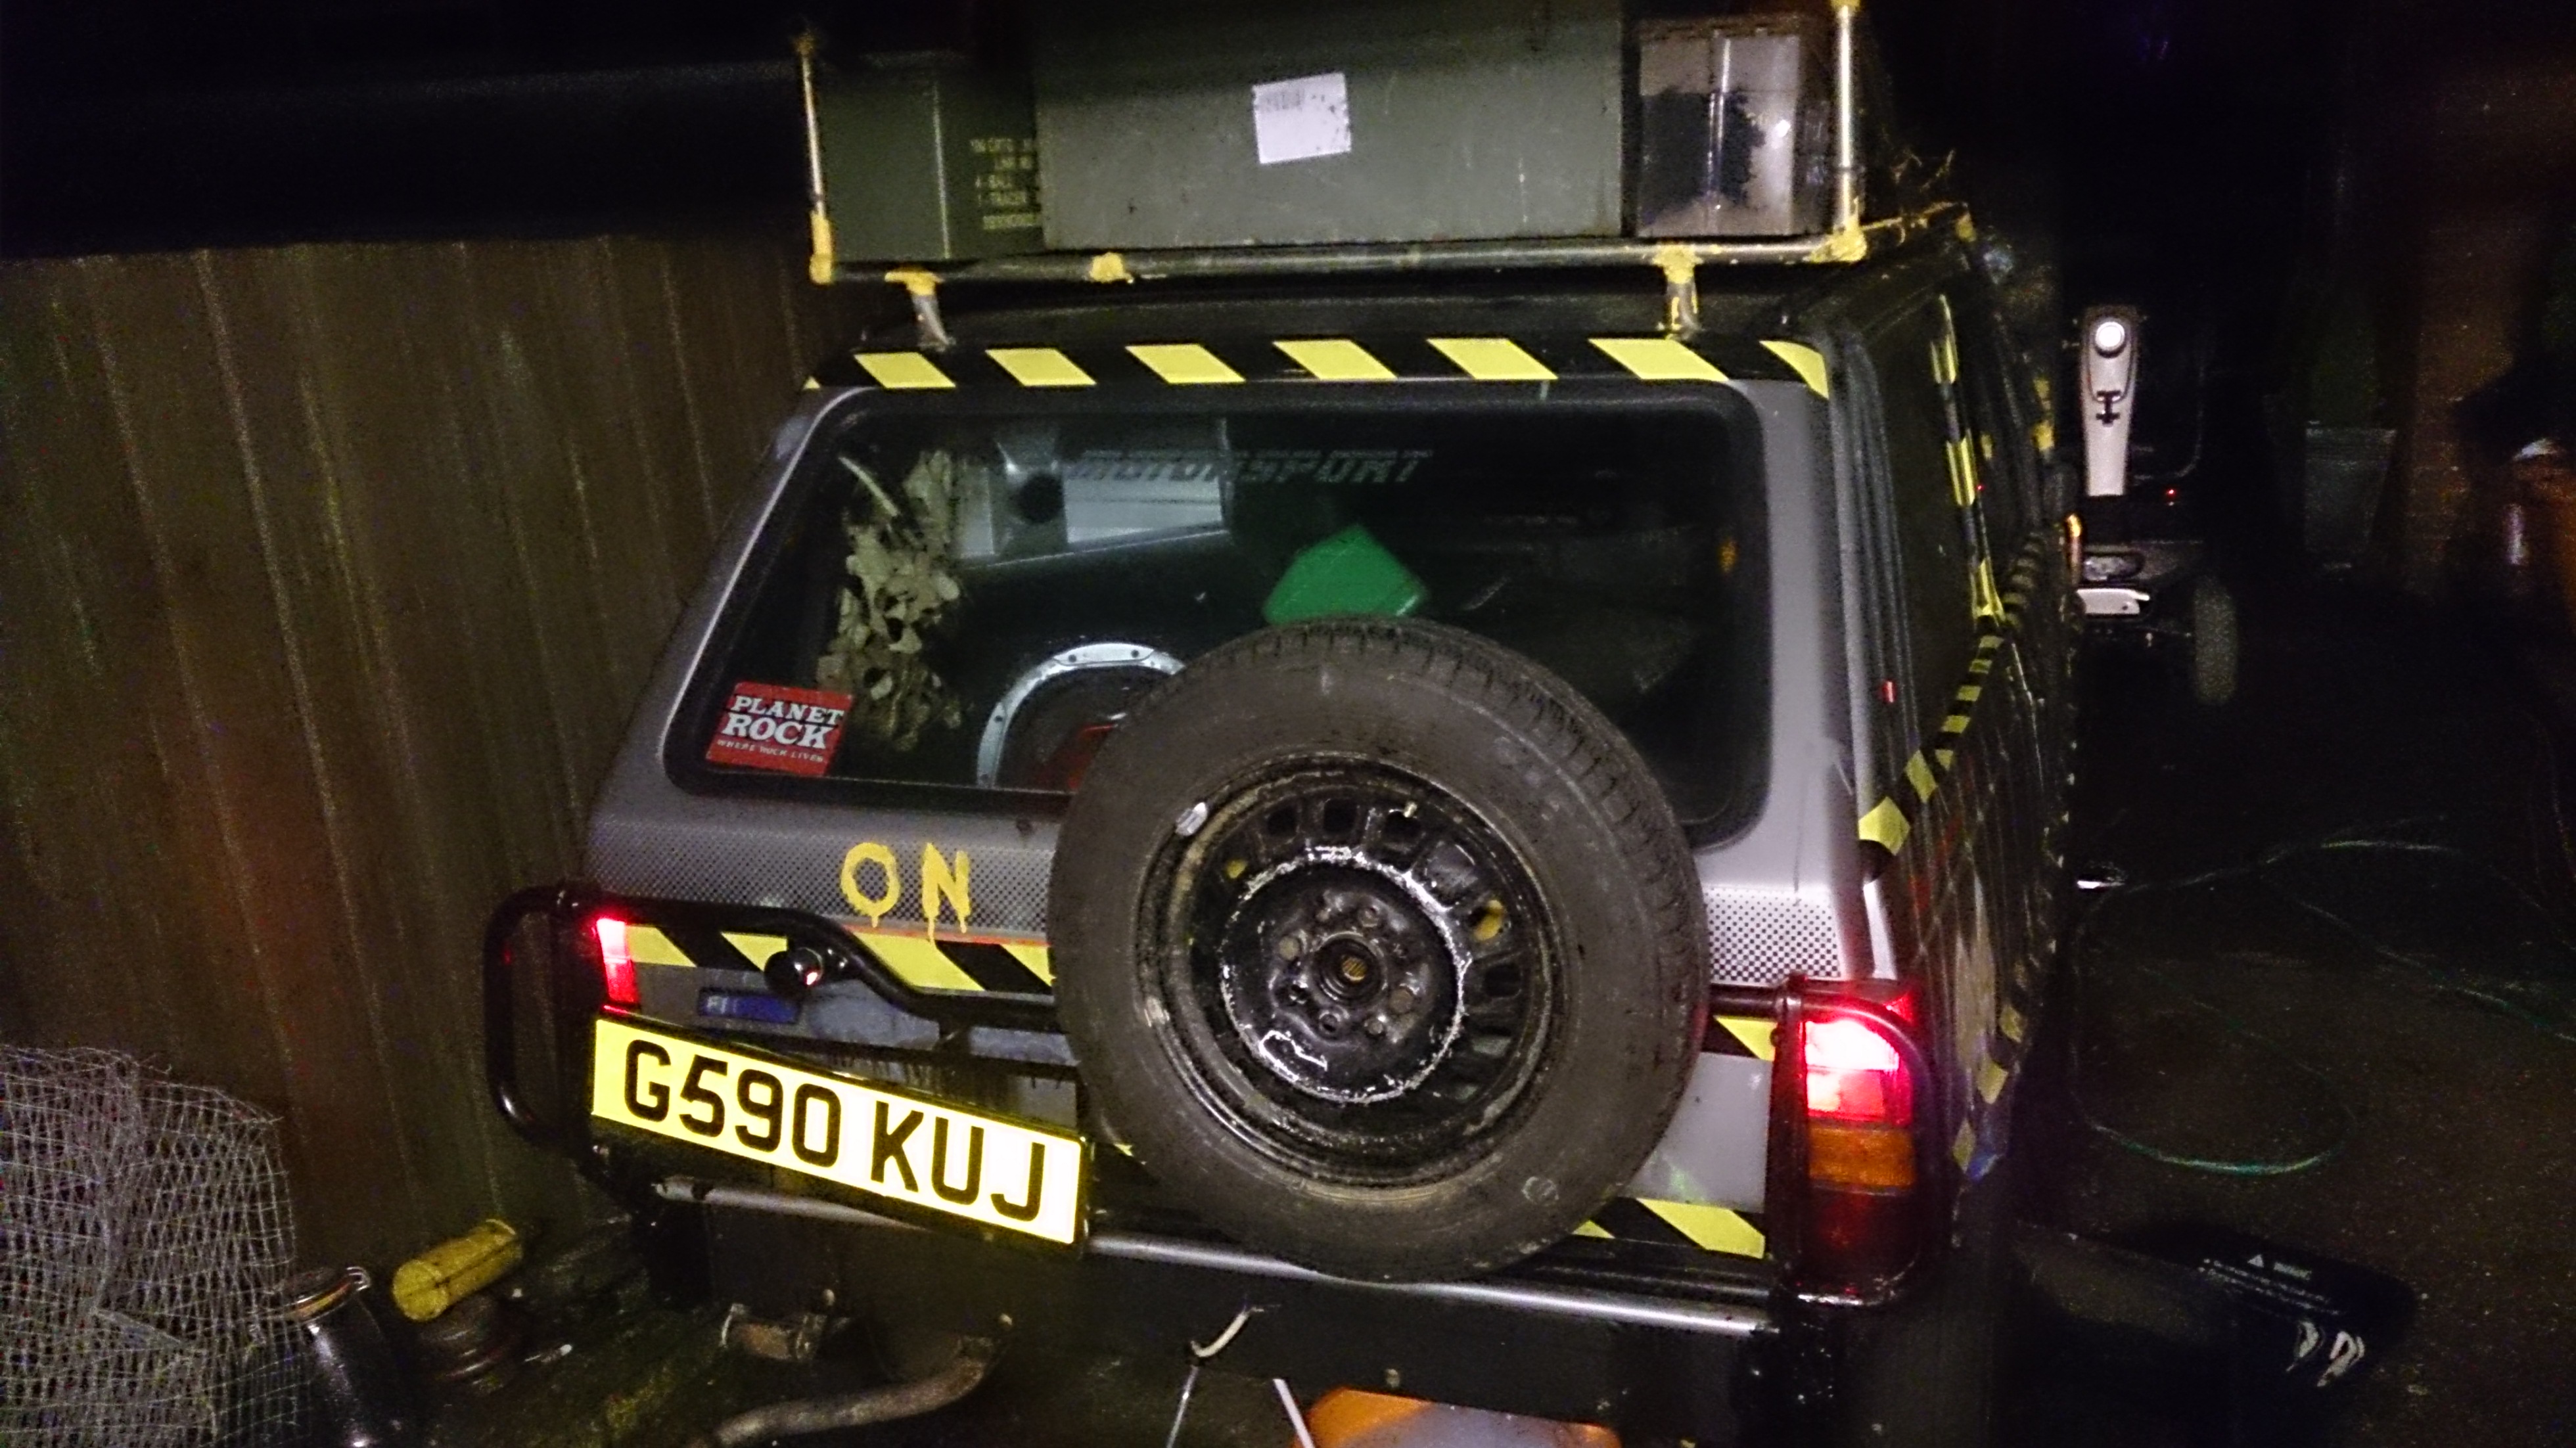
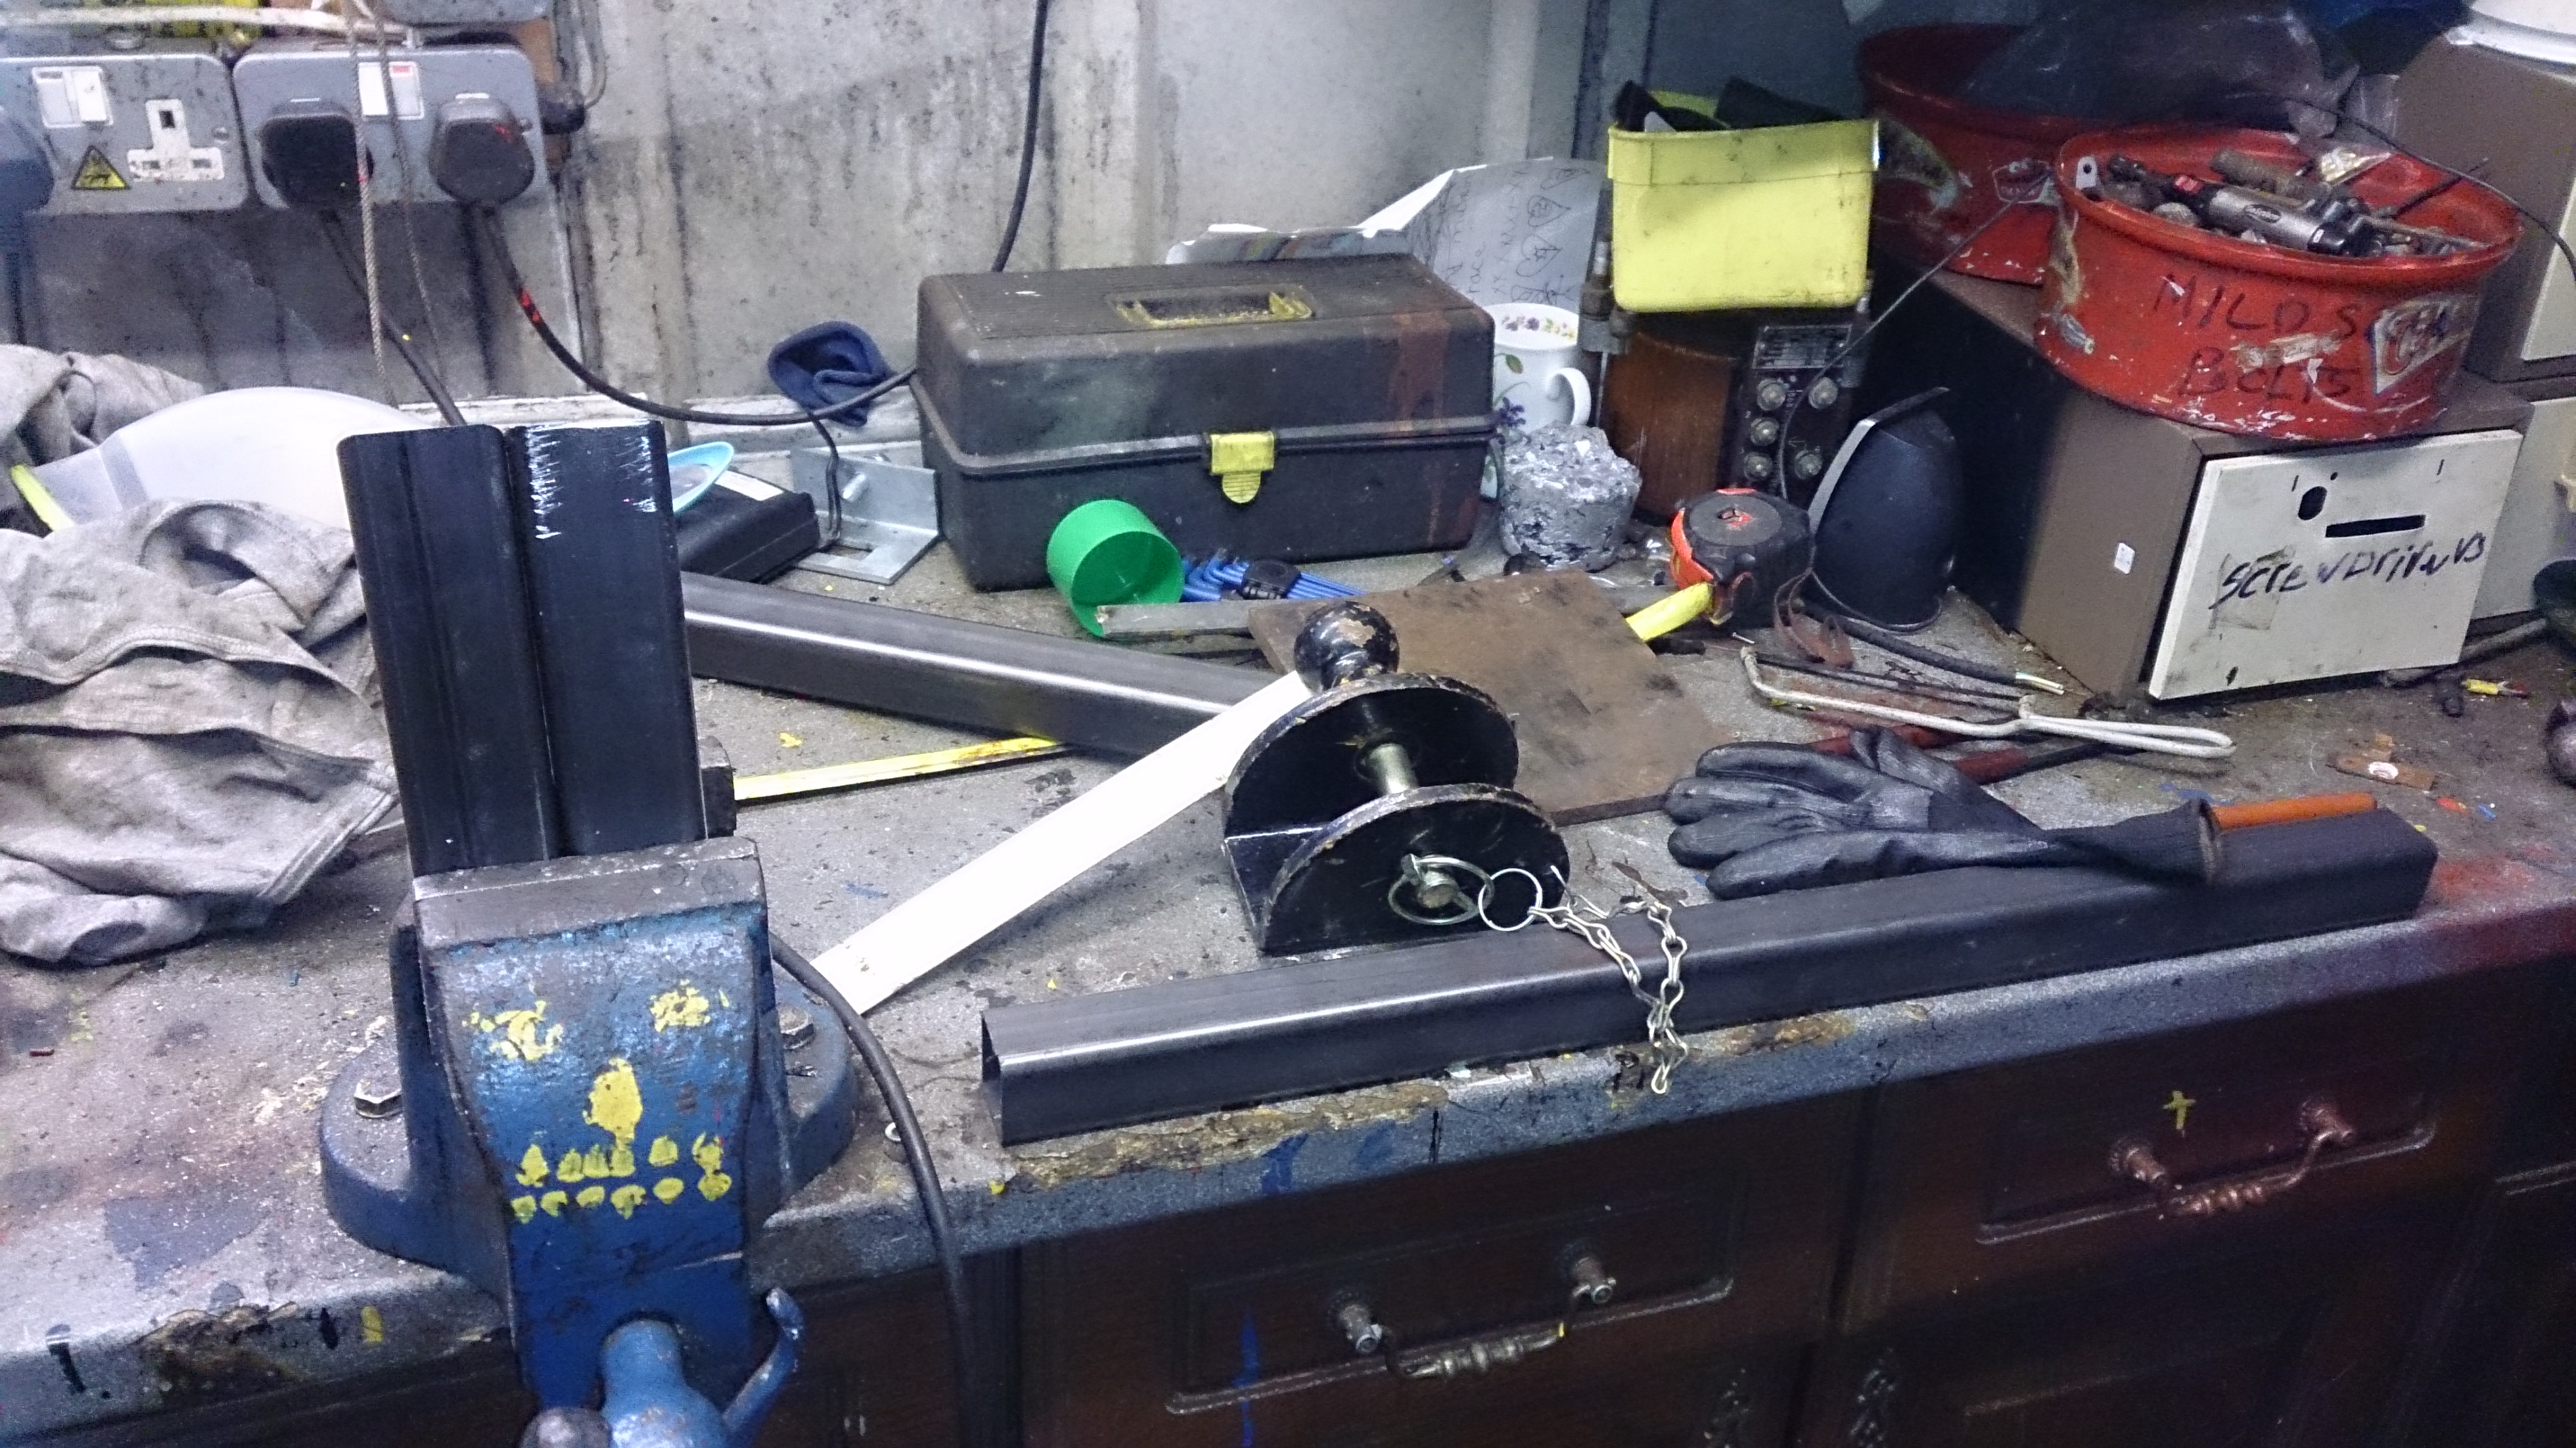
anyway in my free time for the past day or so i have been busy with that rear bull bar

well this is the result:


yes the spare wheel turns as its been mounted on a very gritty wheel bearing i re-packed with grease to make it free again :D

now i do need to make some kind of locking catch for it.

i thought that if i went over any big bumps at speed it could lift the bar up and cause it to swing down. not that much would get damaged as i designed it so that the tyre would act as the resting point when it was in the open position.

im pretty sure i could make a catch by using a rear seat catch or something like that.. should be easy to make..

let me know what you think...
 
Last edited:
Back
Top