Far too complicated
Option 1
Looks in better condition than this, yes it's the rears but it's far more current, still working a couple of years later, A good clean up,
 www.fiatforum.com
Option 2
Or cut the old ones off

Strip a few mm

And Crimp some new ones on


Option 3
Or go to the scrap yard and cut a similar connector off take a couple of terminals out and graft them onto you connector as per instructions above, except using second hand parts
Option 4
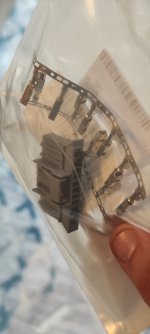
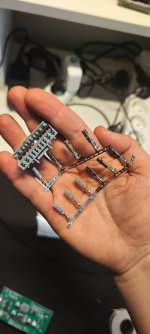
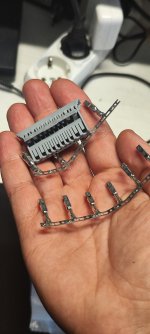
Or buy the kit 71745167
Option 5
Take it to an auto electrician, shouldn't be more than 1/2 Hour
All of which would see the light working as they should
Lets not bodge things
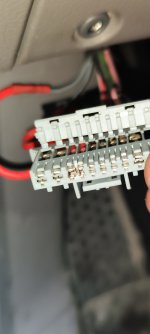
Your lucky the BSI is still working these have a working current of 30A and a working temprature of 105 degrees centigrade it a multi layer PCB if one of the middle tracks burnt out it would be a nightmare

Option 1
Looks in better condition than this, yes it's the rears but it's far more current, still working a couple of years later, A good clean up,
rear light cluster repair | FIAT Panda (Mk3)
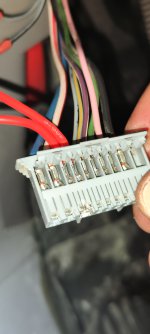
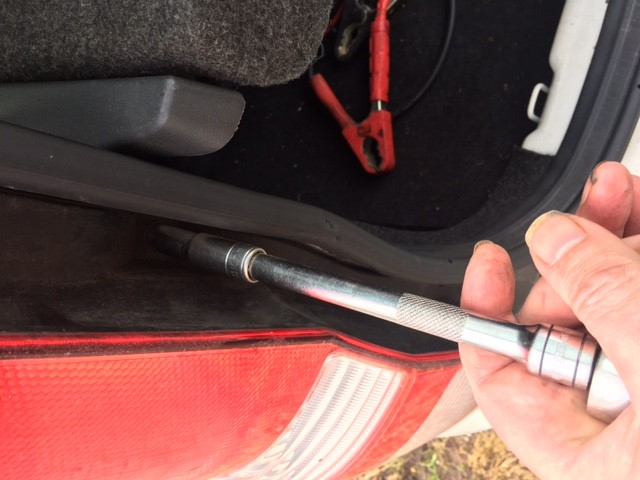
pretty self explanatory this one was flashing double speed when using the brake 10mm socket is so much easier press here to release the connector above done forget to clean up the other half. Scrap with a screwdriver blade is normally enough above, Line up these First.
Option 2
Or cut the old ones off
Strip a few mm
And Crimp some new ones on
Option 3
Or go to the scrap yard and cut a similar connector off take a couple of terminals out and graft them onto you connector as per instructions above, except using second hand parts
Option 4
Or buy the kit 71745167
Option 5
Take it to an auto electrician, shouldn't be more than 1/2 Hour
All of which would see the light working as they should
Lets not bodge things
Your lucky the BSI is still working these have a working current of 30A and a working temprature of 105 degrees centigrade it a multi layer PCB if one of the middle tracks burnt out it would be a nightmare
Last edited:
")