General Bambina 1966

Currently reading:
General Bambina 1966

Hi Tim,
I would definitely not use heat on any suspension or steering components but if you have then you will need to replace the seals..
See if you can find an anvil or solid vice and don't be scared to use the biggest hammer you can find and hit it hard- you should be pretty close to getting it off now! If in doubt i'm sure if you take the steering box into a steering or suspension specialist they should be able to pop it off for you.
Good Luck!
 
Thanks Damon500

Good advice. Hadn't thought about the implications of heat. But I've got all the seals to replace anyway. Box is now at a friends who is the service engineer at a truck servicing depot. That should sort it!

Pictures going up soon.
 
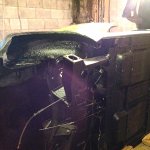
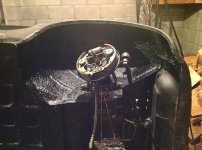
As promised, and very late, some up to date pics. Car's still on it's side, but all welding and undersealing is done. New brake pipes and hoses on. Front king pin assembly on. Brake drums halfway done.

Just wanting get the wheels back on to get it right way up. Then panel beating.

Also, the thread on one of my stub axles is damaged. Any advice on how to fix?

Regards – Tim
 

Attachments

  • general1.jpg
    general1.jpg
    506.4 KB · Views: 63
  • general2.jpg
    general2.jpg
    382.1 KB · Views: 56
Looks great Tim- good job! hopefully my Giardiniera restoration will get to your stage soon when I stop finding more holes to weld...
Repairing the thread on the stub axle can be tricky as there is a left hand thread on the right? hand side (can be identified by the notch on the nut faces) and I doubt you would find an anticlockwise thread die nut very easily.
You could use a correctly sized thread file to clean up burred sections of the thread but bearing in mind that this thread is all that is holding the front wheel on I would suggest replacing the stub axle if in any doubt.:)
 
Hi Damon. Thanks and the good news is (stupid me) didn't realise it was a reverse thread, so infact thread is ok.
Interesting though that the nuts that go on top of the spline were pretty munted. As if someone had cut a big notch out of the top of both. I've bought 2 new ones, but wondered why this would be. I don't think wear would have done that. Almost like it was cut for a split pin. But there's no hole for a split pin.
Anyway, the brake drums have been a real mission. Got to work out a way of fitting the two at the bottom (bearing in mind the car is on it's side) before I put the wheels back on and flip it over. Then we're in to panel beating. I'll probably lose the car for months so a chance to look at the doors and boot lid.
Must put some other shots up of reconditioned and re-bored engine etc.
My end result (at this stage) is for an ivory (just off white) exterior finish with red interior. Maybe red in engine and bonnet bays plus a racing stripe and number. And I like the picnic hamper look on the back. All that's a long way off.
 
Hi Tim;
The reason that the 'hub adjusting nuts' have a section missing is that, having adjusted your bearing loading, to lock the nuts in position (by using a thin drift rounded off at its end), you deform the unthreaded end of the nut into the slot on the stub-axle.:D
 
Hi Hobbler. Useful to know and highlights my complete ignorance where this project is concerned. However, I've decided ignorance is sometimes a useful thing. After all, I wouldn't have started without it!
So how do I adjust the bearing loading and also deform the nuts? I presume they act like a split pin and lock into the stub axle?
 
Hi Tim,
No worries- happy to help. From memory there is a frightening technical procedure for adjusting the bearings with a large collection of special factory tools...
In reality the best way is to grease up the bearings, fit a new nut and screw up until it touches, pop the wheel back on with the grease cap off and then tighten until the wheel begins to bind when spinning. Then you can back off the adjustment until it has some play and retighten slowly till the play is just eliminated. Then hit the nut with a hammer and chisel above the slotted section until it forms a tight fit in the groove and refit the cap.
Unless your kingpins have been rebuilt you will probably have some play in the kingpin bushes- if you grease the kingpins before adjusting the bearings this will help- don't confuse this with the wheel bearing clearance. To tell the difference feel if the brake backplate is moving too - if so that is wear.
Keep up the good work!:)
 
Thanks so much Damon. Done all the greasing already. Kingpins have been taken apart, cleaned and re-assembled, not really rebuilt though.
I'll follow your instructions to finish off.
Wish I had more time to spend on this...
 
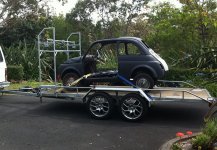
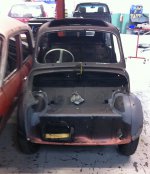
Here's a pic of my 1966 Bambina off for panelbeating.
That leaves me with lots of bits to play with. Engine tinware is all repainted along with various other black items.
In the meantime, the car came with a Lucas Voltage Regulator. I guess this is not original. I have 2 or 3 original ones. Should In replace the Lucas with one of the Italian ones, although they're not in such good condition. Any thoughts anyone?
Happy New Year to all.
 

Attachments

  • bambina.jpg
    bambina.jpg
    102 KB · Views: 54
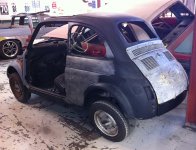
Hi Folks. At the panelbeaters, some work on dents done along the side and front panel removed.

Another month probably.
 

Attachments

  • IMG_0773.jpg
    IMG_0773.jpg
    351.7 KB · Views: 45
  • pb.jpg
    pb.jpg
    353.6 KB · Views: 44
Visited today. Horrendously slow but some work on roof where sunroof bolts on. The holes had rusted out. Also some work on the front passenger side wing at the bottom where it had rusted through. Will visit again at the end of the week.
 
Hi Tim,
I take it they are fitting your car in around their main stream work? That's the only trouble with bodyshops, a lot of them take ages on restoration work as it always gets pushed to the side. Keep on at them and ask for a deadline.
This type of work does have a habbit of being very slow & then all of a sudden you get a call to say "Its finished".
Keep up the good work.

Sean
 
That's what happened with mine it only need a repair panel on the rear wing but had to go back to bare metal because of a previous dodgy paint job. It was agreed to fit it in around other work to keep the price down but progress was very quick at first but tailed off but every two weeks or so they made some big progress. In the end it took 5 months.

Tony
 
Thanks folks. I was getting the feeling it was a common thing. Just very frustrating. A good 4 months so far.
Have worked on lots of parts in the meantime. Had lots of fun finding a Dellorto FZD 32.26 then tracking down missing part. Just missing a rod and lever now, which might have to be made from scratch – over to a friend.
Might be time to have a look at the gearbox and clutch in more detail. Have already upgraded to thicker axles. Have only ever driven my 500-F in first gear.
The garage is full of shiny sprayed parts.
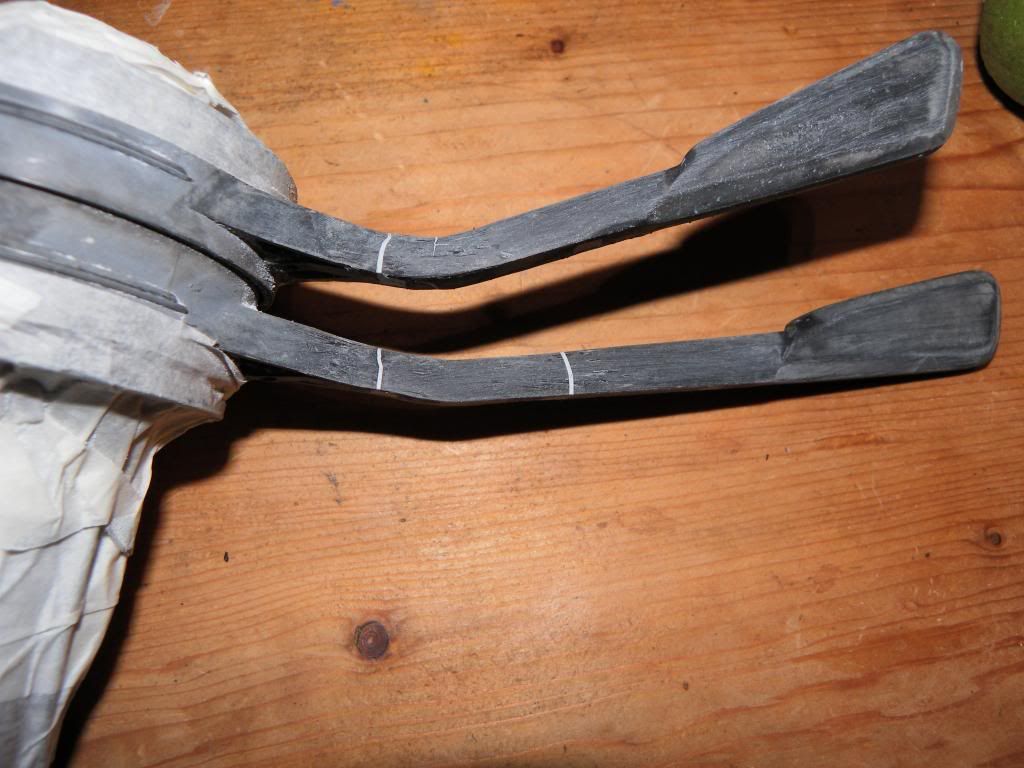
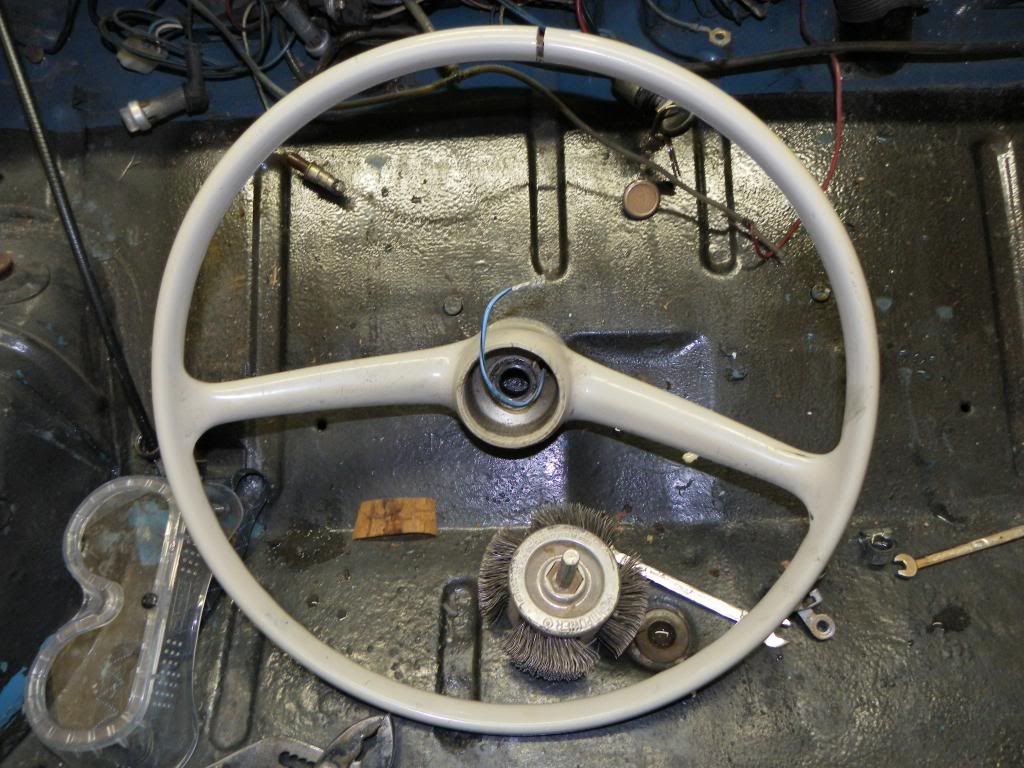
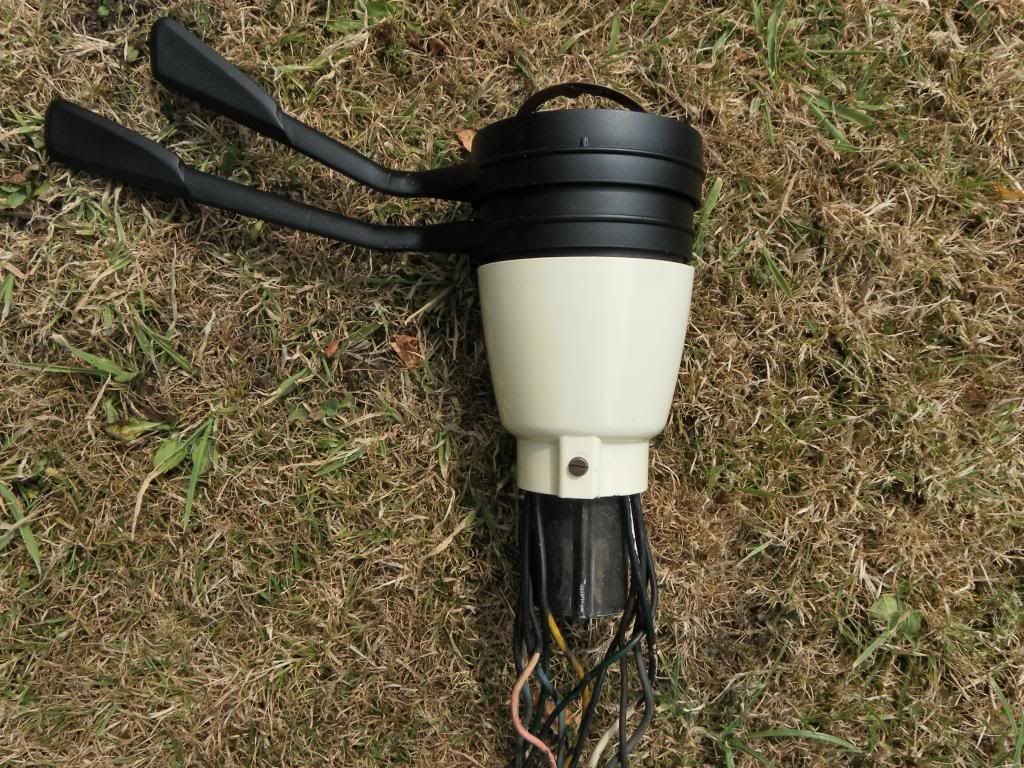
Not sure yet whether to replace steering wheel which is cracked around base, not too badly. Also steering column and levers look a bit tired.
 
The garage is full of shiny sprayed parts.
Not sure yet whether to replace steering wheel which is cracked around base, not too badly. Also steering column and levers look a bit tired.

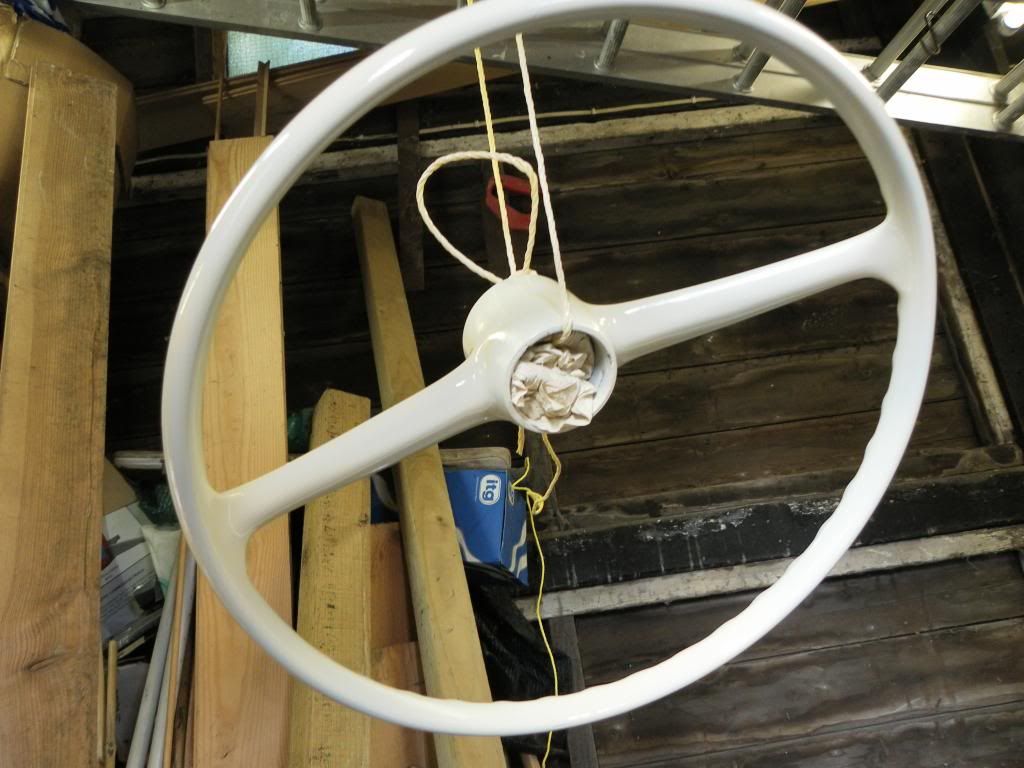
I had the same problem with my steering wheel and levers both were cracked. I filled them with epoxy filler and resprayed them.


Hey thanks Vitesse, they look great. What paint did you use? I've been told most paint is likely to rub away with constant touching as on the wheel.
 
Hi, I refurbished my Berkeley wheel in the same way and sprayed it with 2 pack paint which stood up well.
 
I used a paint called Plastikote as the name suggests it is specifically for plastic. I think I should have shares in the company the amount I have used!!!

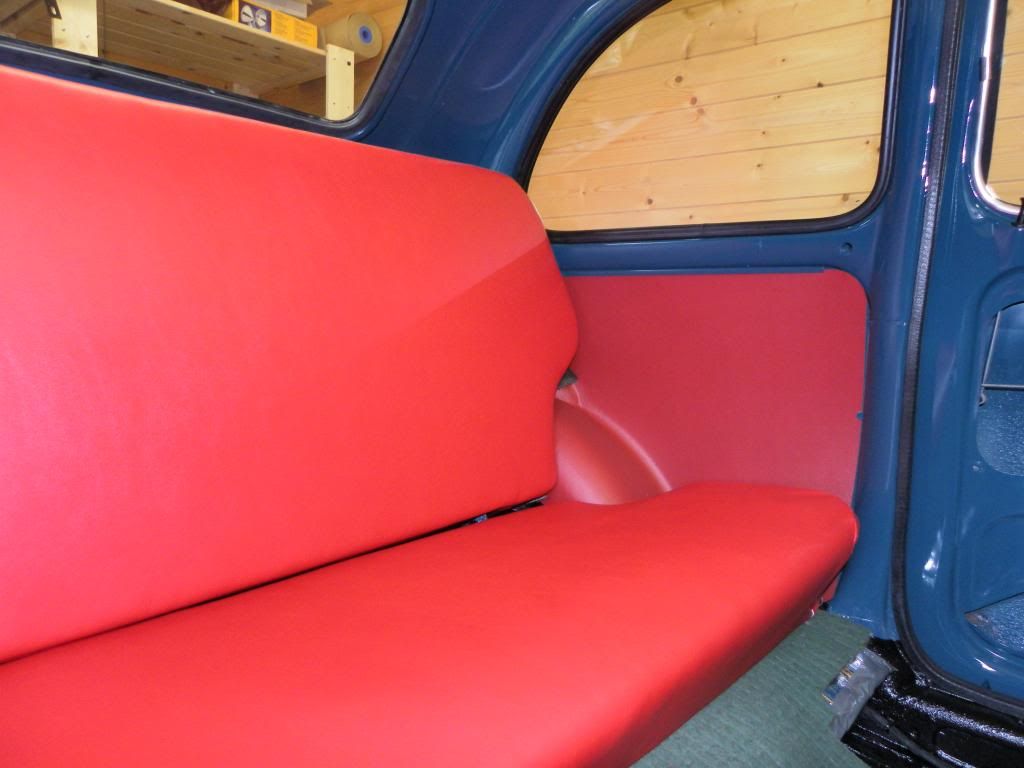
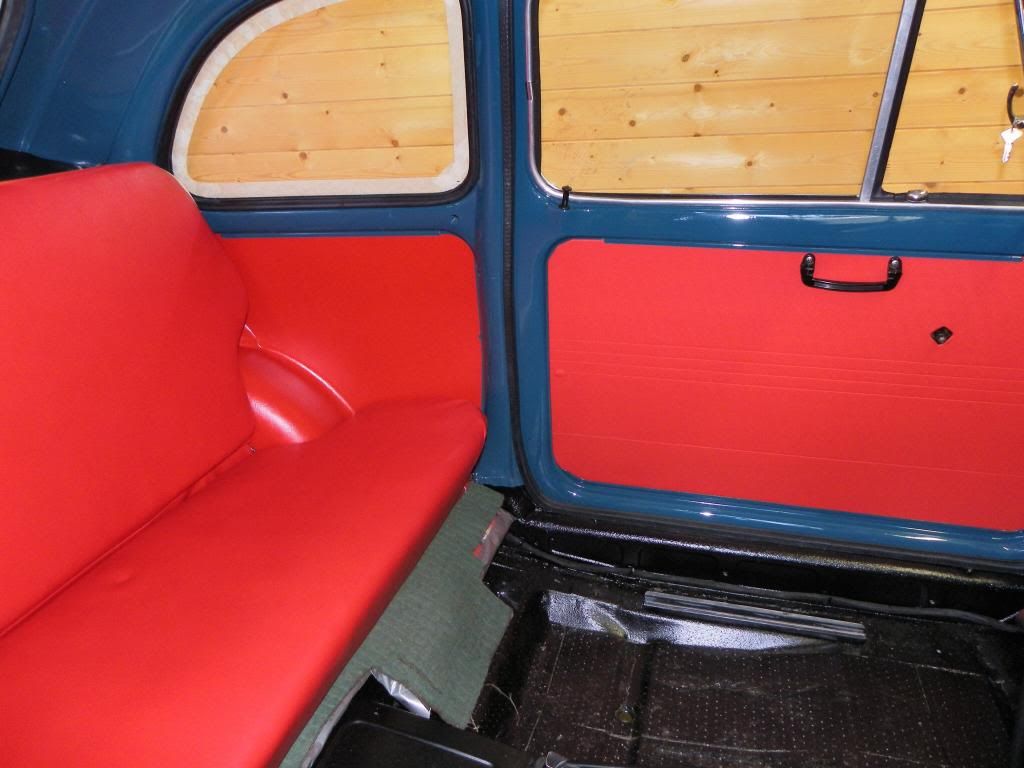
During my recent rebuild I put in a new interior, the seats and door cards matched really well but the rear panels over the wheel arches were a much darker shade of red, nothing a bit of Plastikote couldn't solve.


Back
Top