Eyup lads and lasses, a post about painting wheels - bet you've never seen one of these before... 
Well a few people have been in touch with me regarding getting wheels refurbished as I have previously offered my services on this matter, so here is the lowdown...
I have just received this set of MK1 4x4 wheels from my Italian contacts and am currently in the process of refurbishing them so I will outline the process for you using these as an example...

This set in particular are not too bad for rust and paint loss but it would still be unwise to just paint over the top of what is already there are any blemishes would show through within a matter of days when using them regularly. So I have sent them off to my man for sandblasting, which is a process that is highlighted in the title, blasting sand at them to removed all paint and rust back to the metal. This process can be applied to car bodies and structural metal but is NOT advisable on body panels as it warps them and generally makes a right mess.
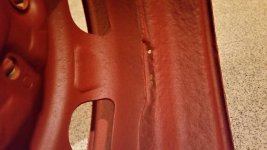
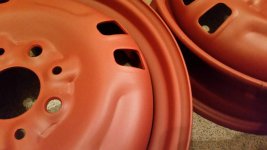
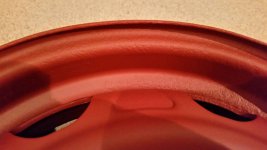
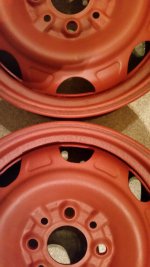
The primer is then applied immediately after to avoid corrosion...


...As you can see the metal finish is now smooth and 99% pit free. The primer used in this case is Red Oxide/Red Lead Primer - it's not only a proper farmers primer ( ) but it's also one of the best all-round rust inhibitors.
A good start point is key to a good end result.
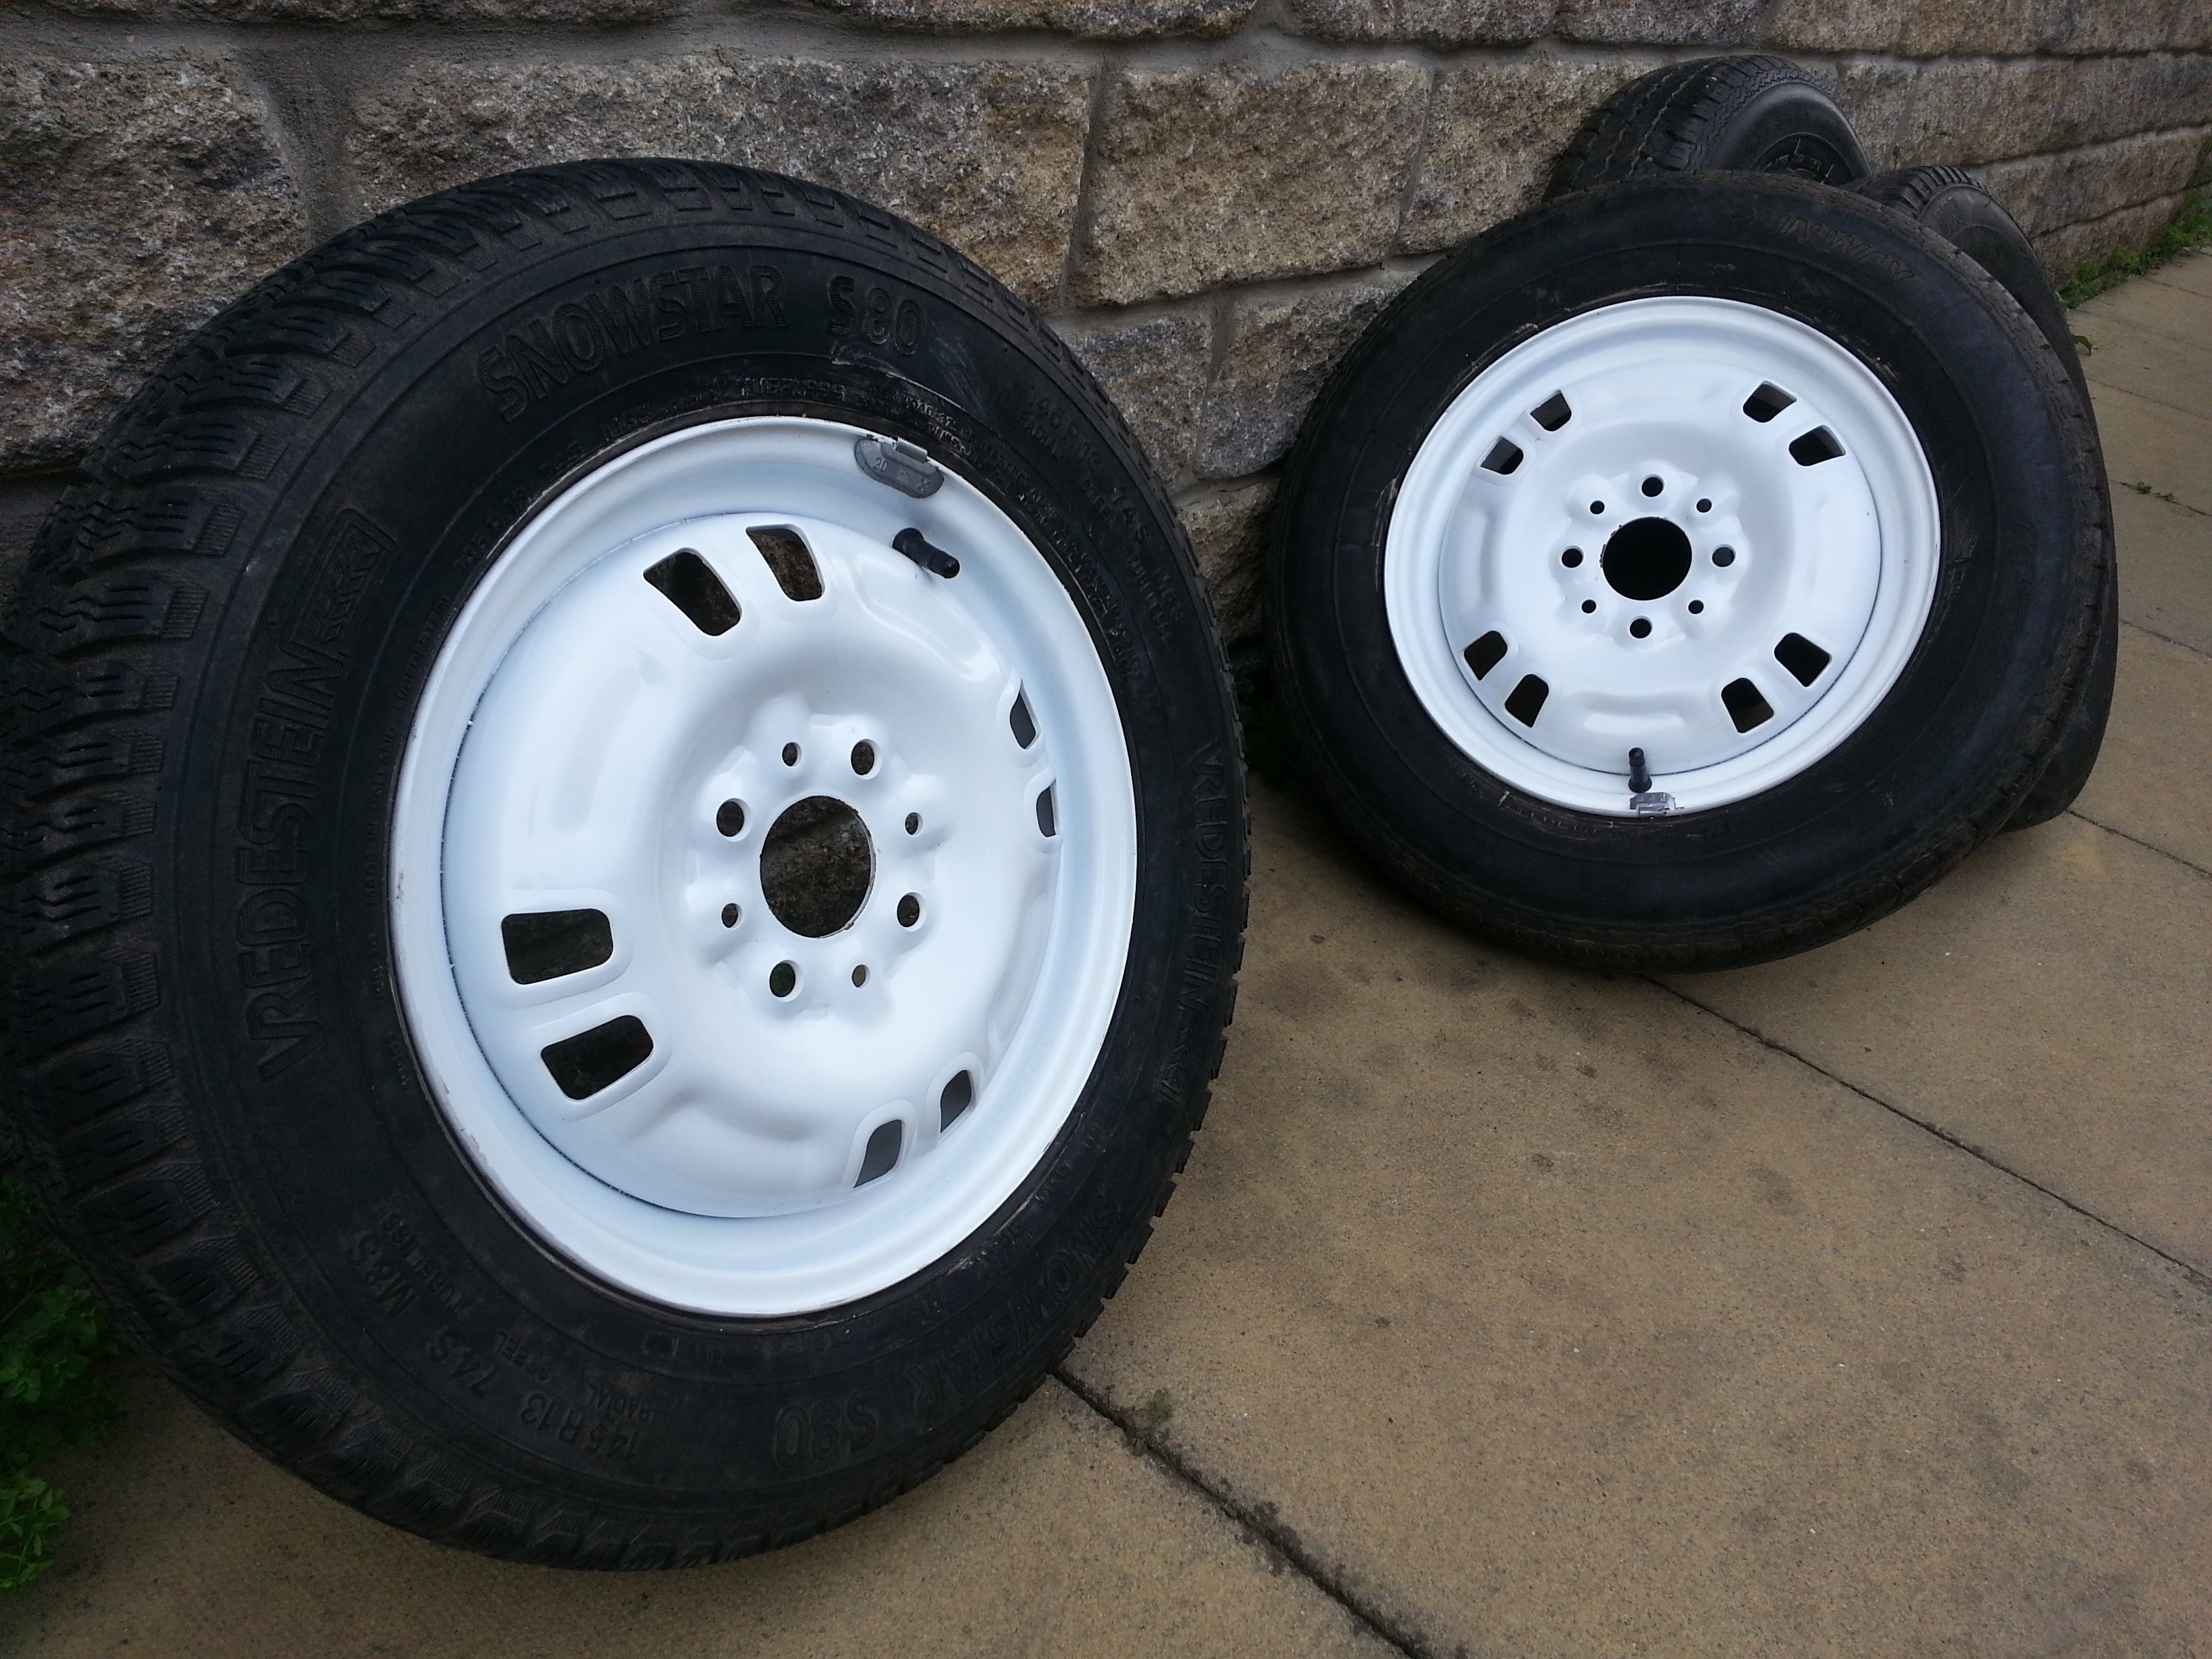
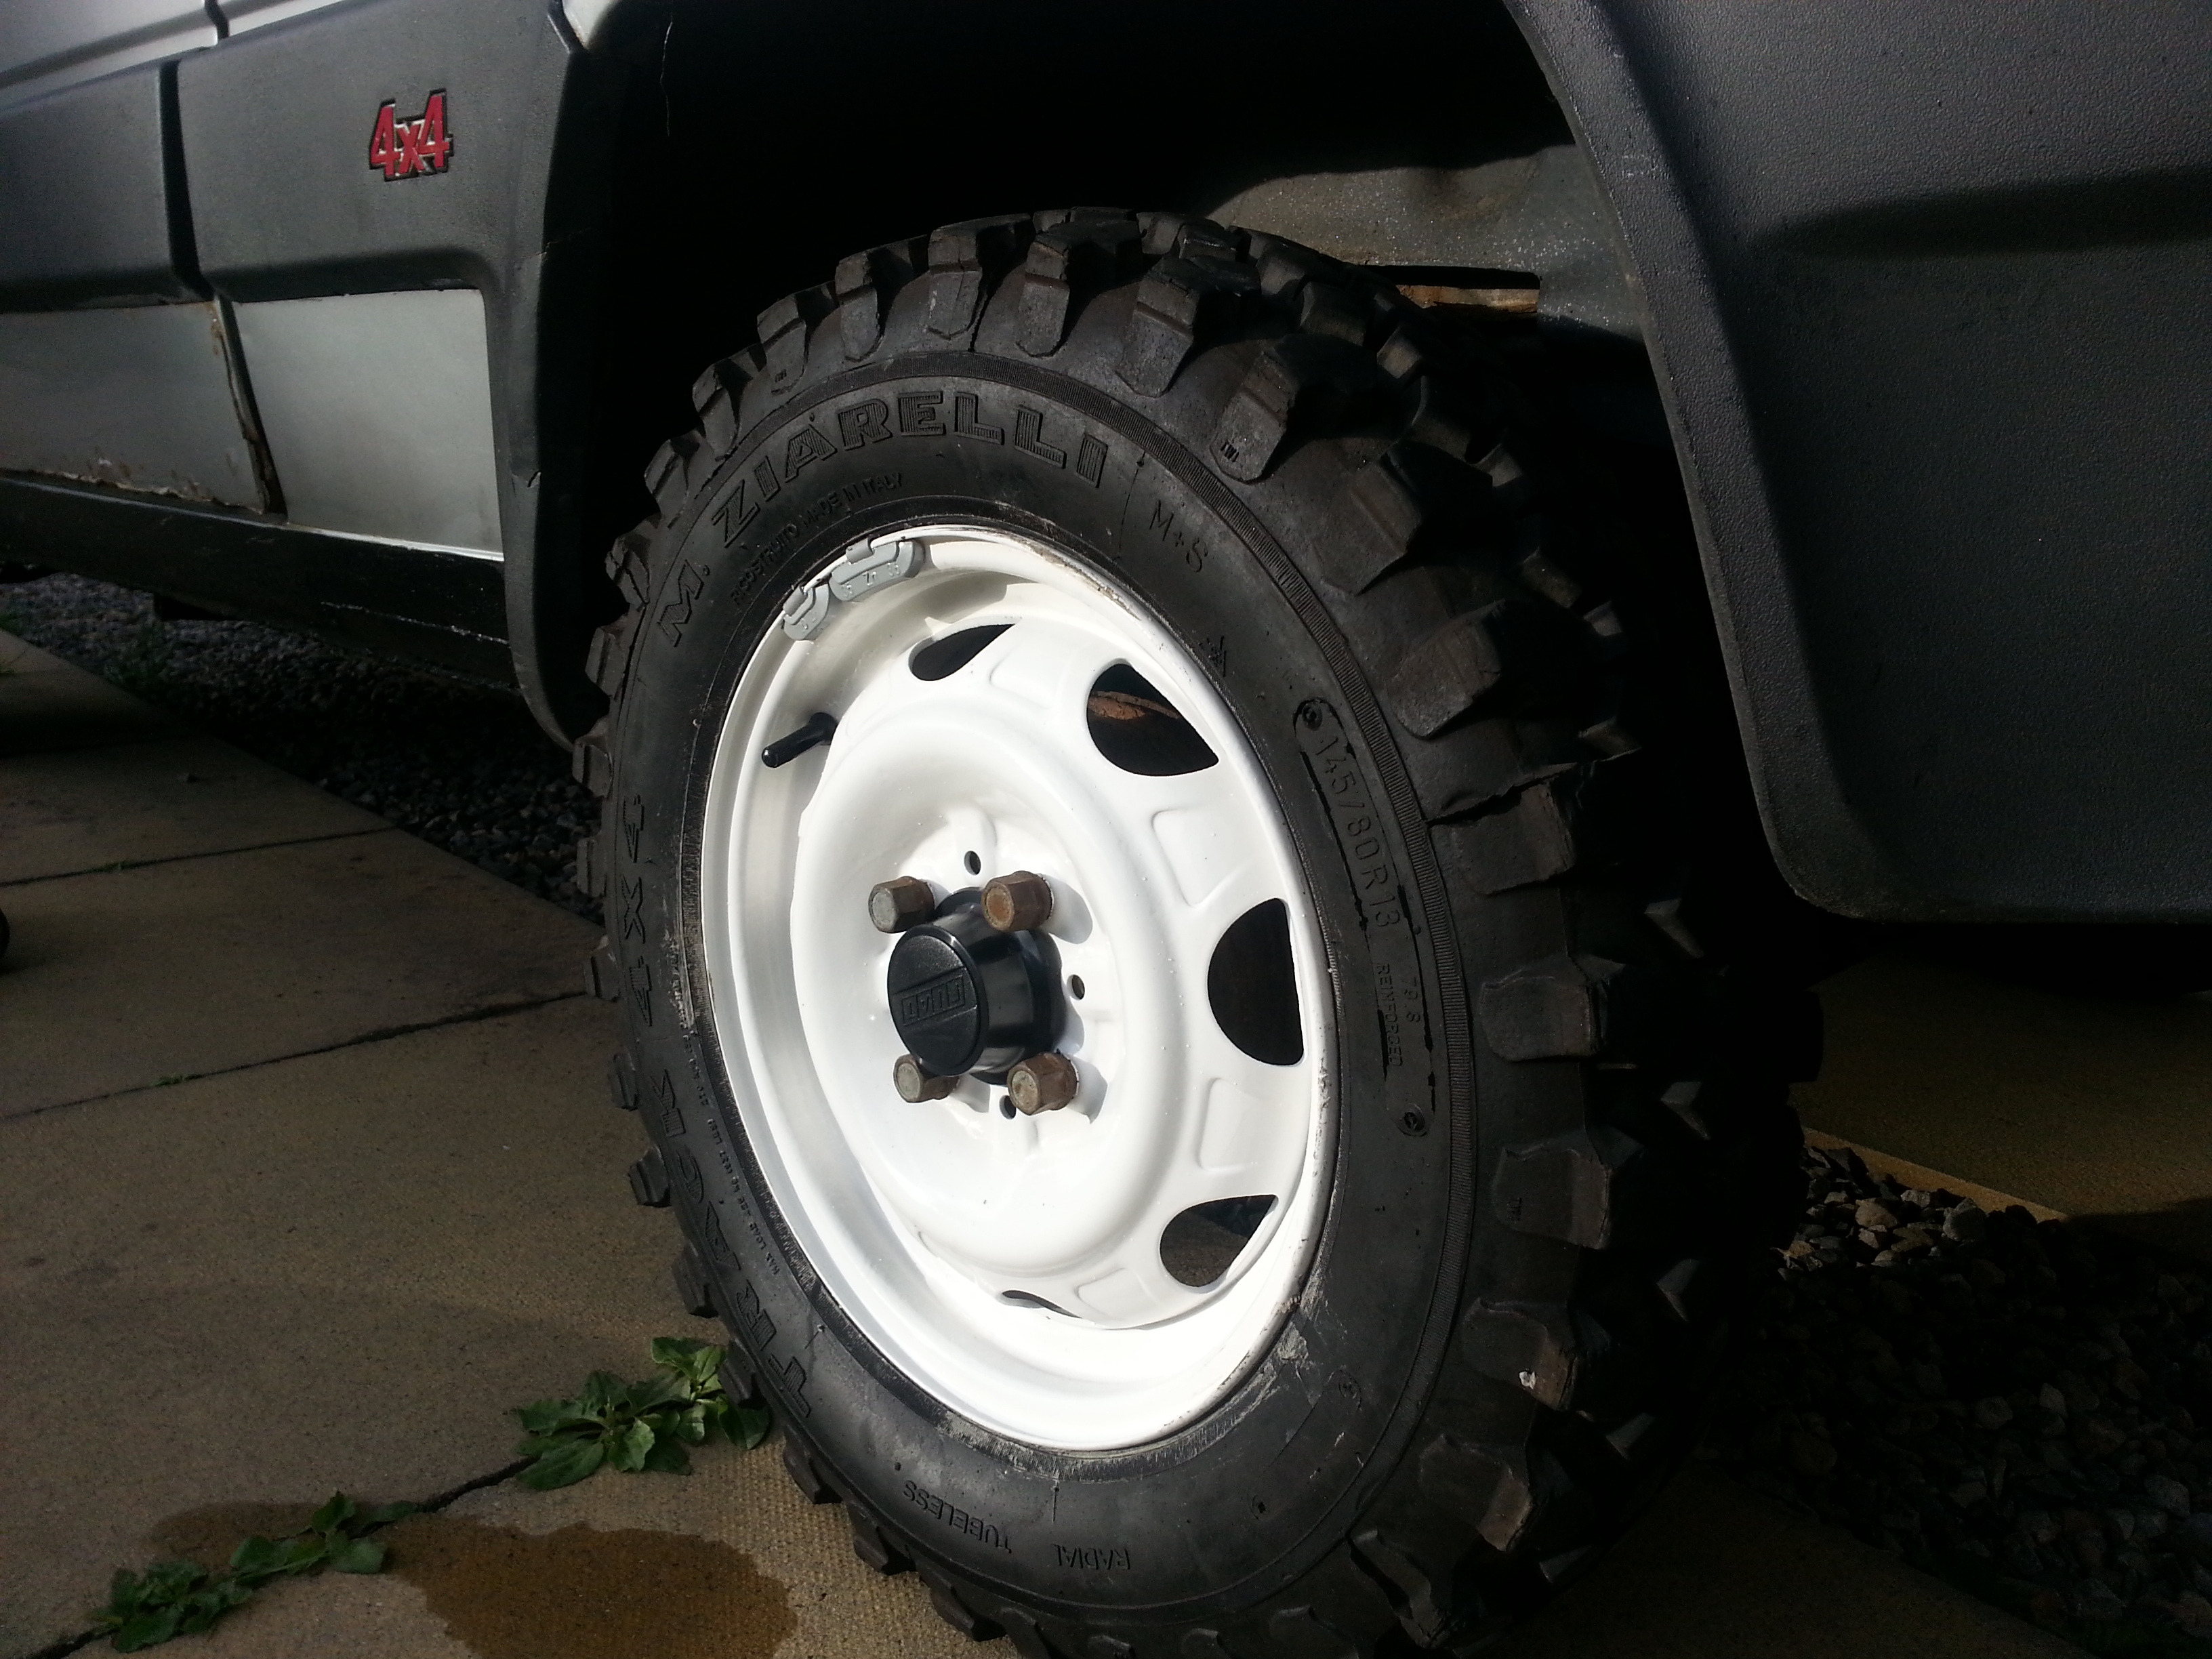
Next I've added the gloss paint, three light coats front and back followed by 2 heavy coats to avoid runs and misses. In this case I've gone for white but the same process applies for any colour apart from chrome (this is an entirely different process from start to finish.)
To finish it's 3 coats of lacquer and after two days drying time in a warm environment they are ready for tyres.

I will post fully finished pictures when I get the tyre on
The last set I did were well rotten and I wasn't sure if they'd pull through but will adding slight skims of filler to the very bad pits and an extra couple of coats of gloss they came out fab...
Before...

...and after
So as I have said to members that have already contacted me, I am prepared to do the work for you up to which ever stage you require. Prices are as follows...
Steel Wheels 13" - 16"
Sand Blasting + Primer - £7.50 a rim (£30 set of 4)
The wheels are sent away for this process.
If you want them back at this stage that is no problem or I can do the work for you to finish - you must then either provide the paint or I can get it for you and I won't charge you for the work as I'm good like that (Pandarers offer only )
Powder coating (a different process to provide a similar finish - better for alloys)
Steel wheels 13"-16" any colour (not chrome) £75 set of four
Alloy wheels 13" - 15" any colour (not chrome) £90 set of four
Please message me for further details or if you'd like me to get some done for you.
You must either bring the wheels up to me or post them through if I am doing the work, or simply follow the guide to get the results yourself
Well a few people have been in touch with me regarding getting wheels refurbished as I have previously offered my services on this matter, so here is the lowdown...
I have just received this set of MK1 4x4 wheels from my Italian contacts and am currently in the process of refurbishing them so I will outline the process for you using these as an example...
This set in particular are not too bad for rust and paint loss but it would still be unwise to just paint over the top of what is already there are any blemishes would show through within a matter of days when using them regularly. So I have sent them off to my man for sandblasting, which is a process that is highlighted in the title, blasting sand at them to removed all paint and rust back to the metal. This process can be applied to car bodies and structural metal but is NOT advisable on body panels as it warps them and generally makes a right mess.
The primer is then applied immediately after to avoid corrosion...
...As you can see the metal finish is now smooth and 99% pit free. The primer used in this case is Red Oxide/Red Lead Primer - it's not only a proper farmers primer (
) but it's also one of the best all-round rust inhibitors.A good start point is key to a good end result.
Next I've added the gloss paint, three light coats front and back followed by 2 heavy coats to avoid runs and misses. In this case I've gone for white but the same process applies for any colour apart from chrome (this is an entirely different process from start to finish.)
To finish it's 3 coats of lacquer and after two days drying time in a warm environment they are ready for tyres.
I will post fully finished pictures when I get the tyre on
The last set I did were well rotten and I wasn't sure if they'd pull through but will adding slight skims of filler to the very bad pits and an extra couple of coats of gloss they came out fab...
Before...
...and after
So as I have said to members that have already contacted me, I am prepared to do the work for you up to which ever stage you require. Prices are as follows...
Steel Wheels 13" - 16"
Sand Blasting + Primer - £7.50 a rim (£30 set of 4)
The wheels are sent away for this process.
If you want them back at this stage that is no problem or I can do the work for you to finish - you must then either provide the paint or I can get it for you and I won't charge you for the work as I'm good like that
(Pandarers offer only )Powder coating (a different process to provide a similar finish - better for alloys)
Steel wheels 13"-16" any colour (not chrome) £75 set of four
Alloy wheels 13" - 15" any colour (not chrome) £90 set of four
Please message me for further details or if you'd like me to get some done for you.
You must either bring the wheels up to me or post them through if I am doing the work, or simply follow the guide to get the results yourself
Last edited: