Do Nuova Pandas rust? Probably. No there is one little problem with the 4x4, and that is the amount of plastic that has to come off if you are going for a professional job. And having counted lots of different clips, screws and plugs, I have decided to try myself. I suspect that the pros simply tear everything off and use their own clips to get everything back, at least sort of judged by the gaps and rattling locaris I have experienced on other cars. Having examined the factory rustproofing, I decided it was time to add a little of my own stuff. In a few months this car will be soaked in salty water, snow and dirt. The gravel sprinkled on icy roads (at least here in Norway) effectively sandblasts the underside. Rustproofing is best done when it has been good weather for a while, and a warm sunny day is perfect. The equipment is simple; disposable gloves and goggles, clothes near its lifetime, a thin penetrating oil, and som thick black stuff for the underside. There are probably hundreds of brands, chemical bases, theories and methods here, but my own theory is that they all beat salt. So I buy the first can I find which comes with a long straw.
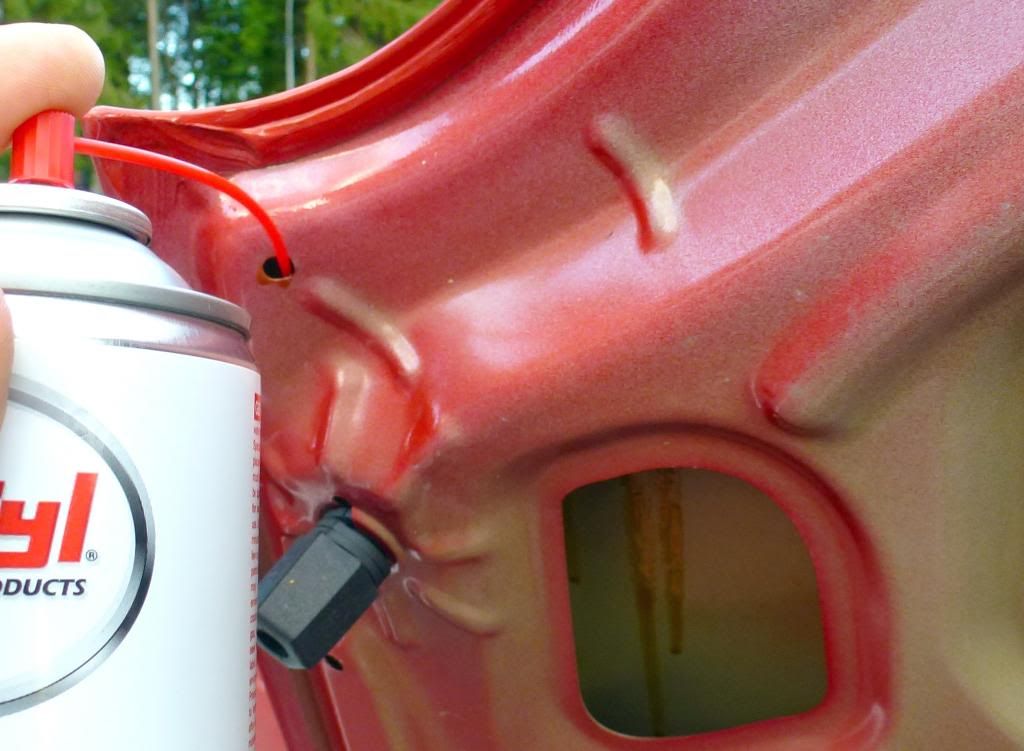
The bonnet is easy, lots of holes for the straw, be sure to cover the all ends and edges.
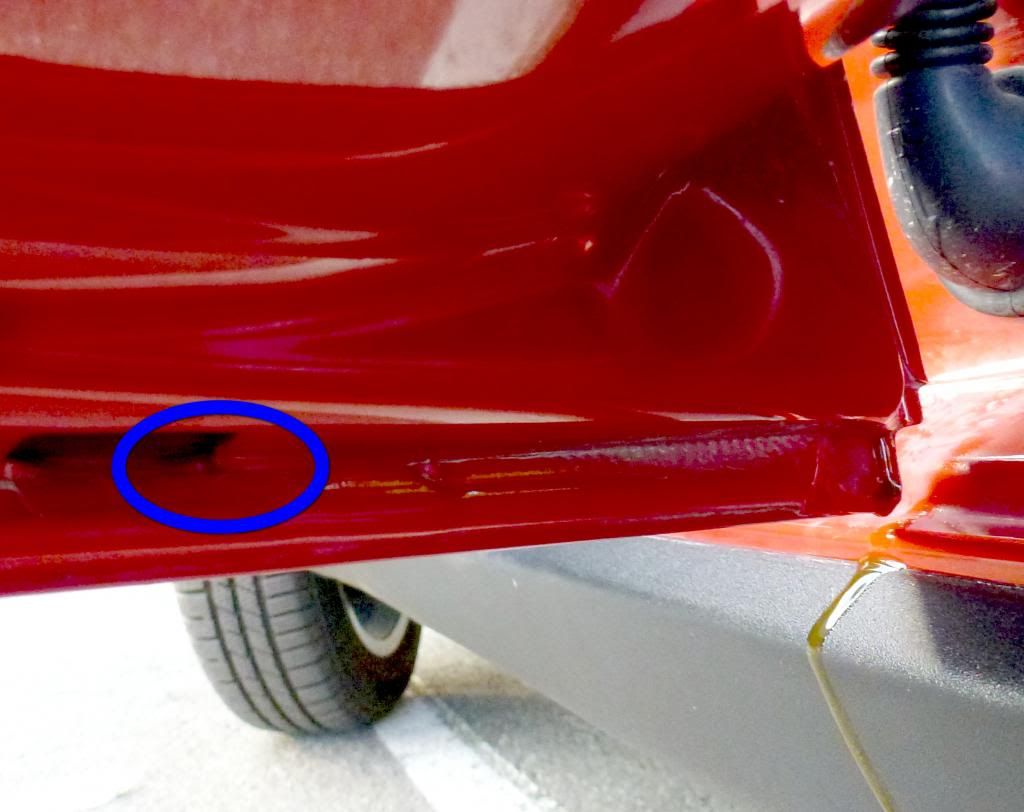
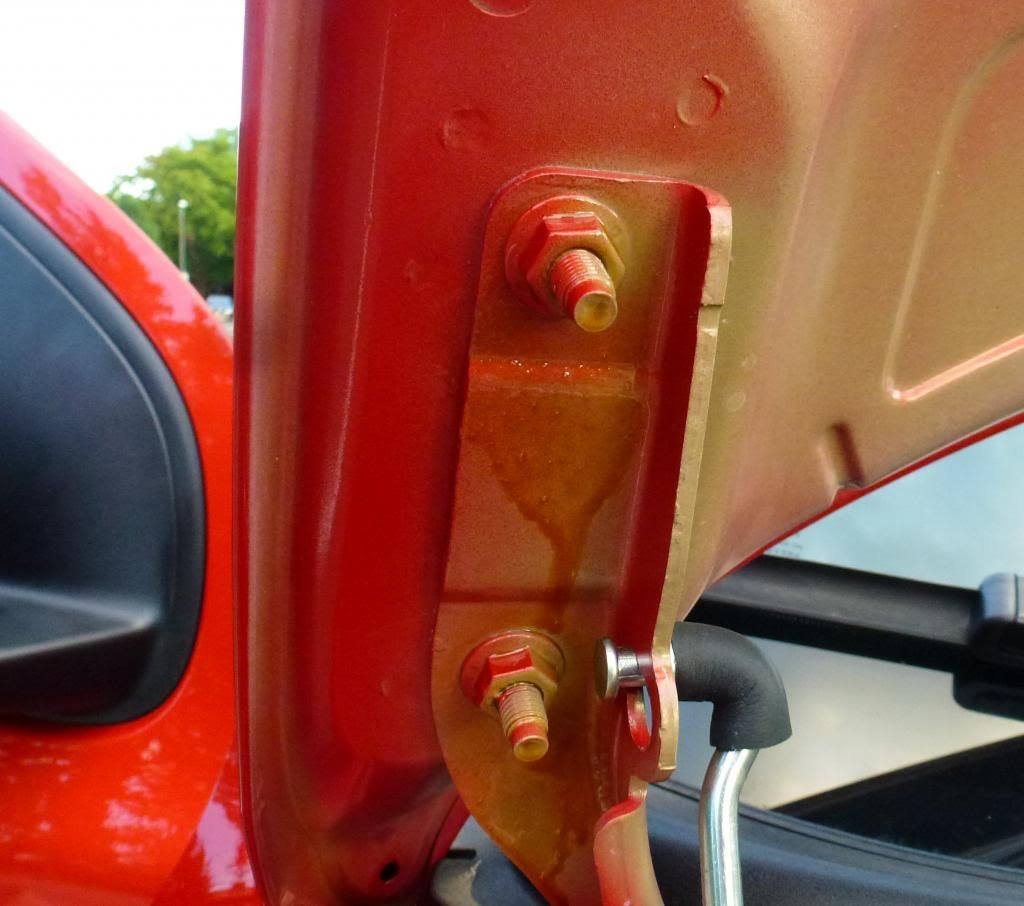
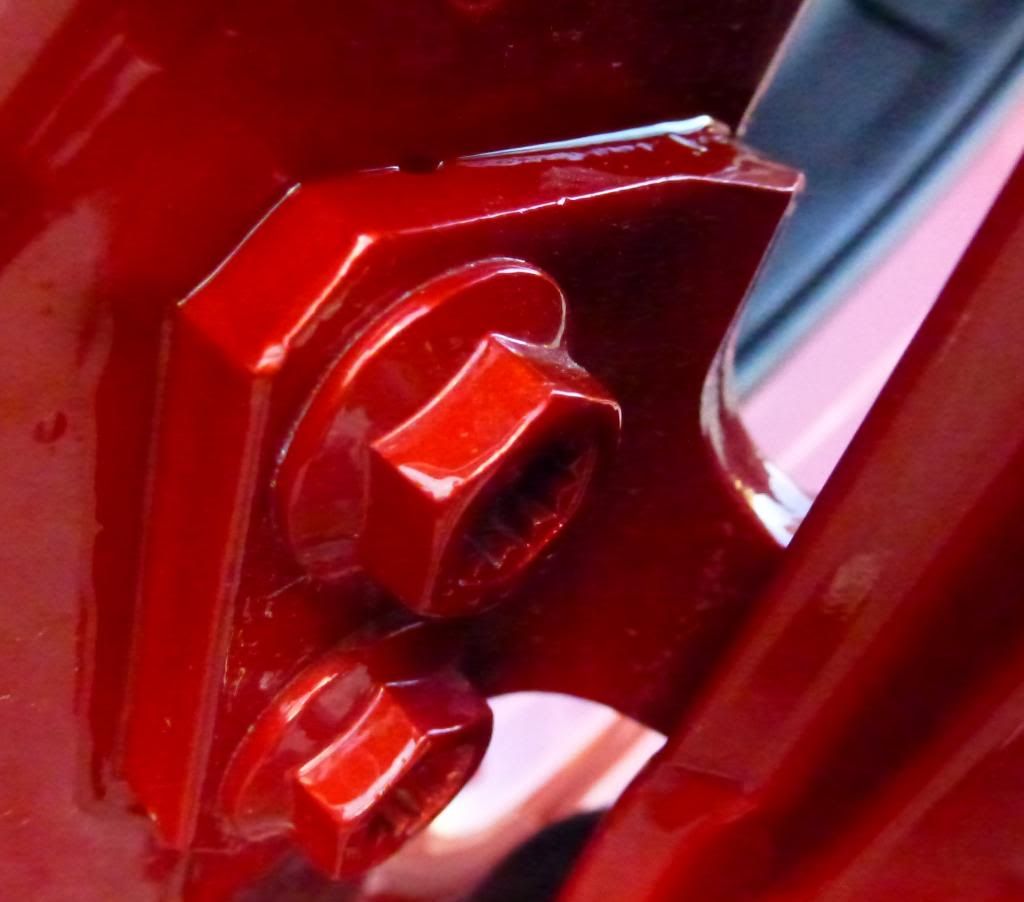
Same with the doors, spray in the holes and the oil will exit the corners. Panda owners care about the environment, so I use a sheet of plastic on the ground for the dripping oil.
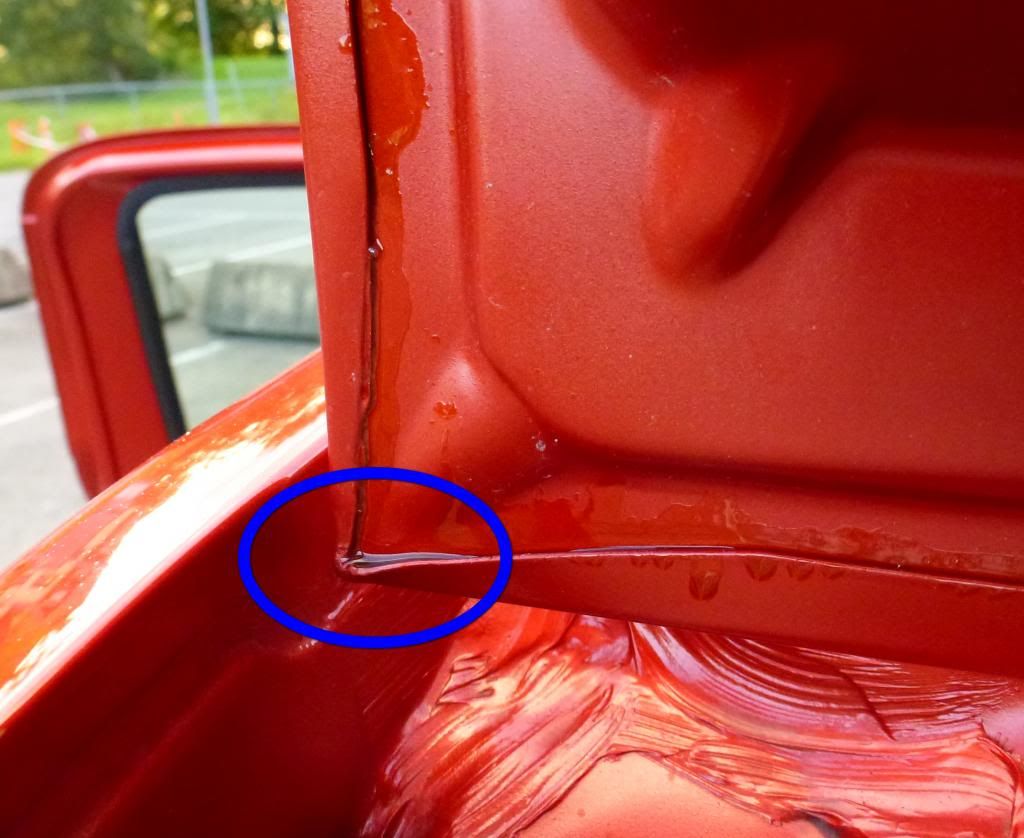
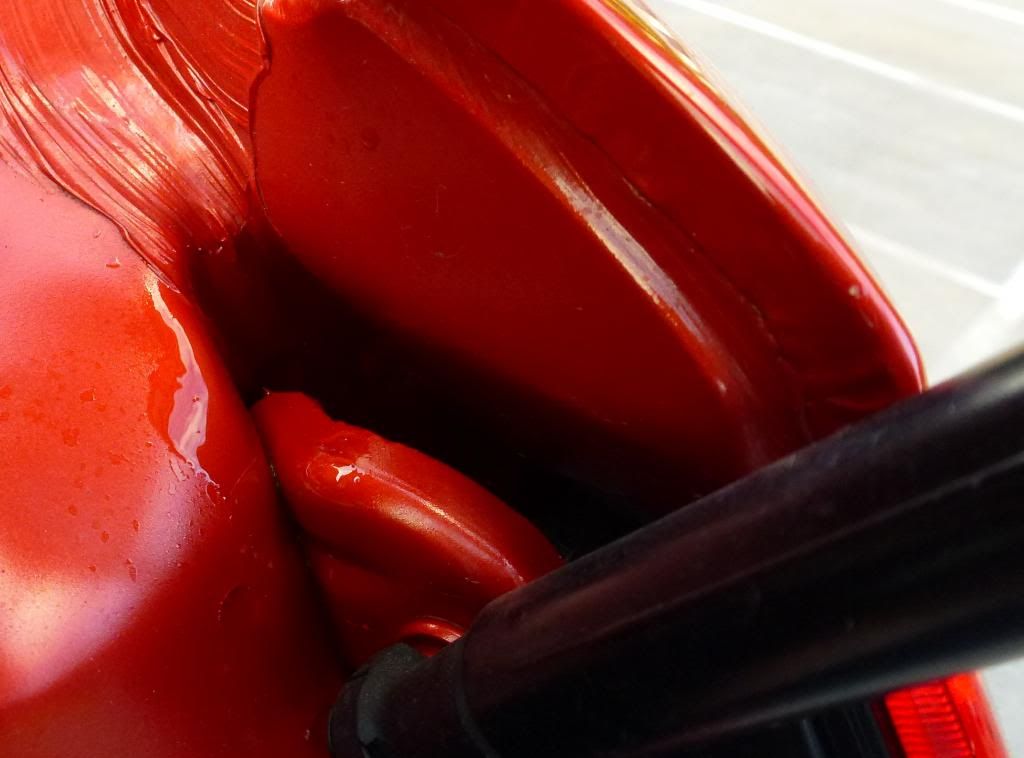
The upper edge of the tailgate is designed to collect water as a surprising amount of oil disappeared here.
Lots of places to spray, but avoid blocking drain holes so dont use too much either.
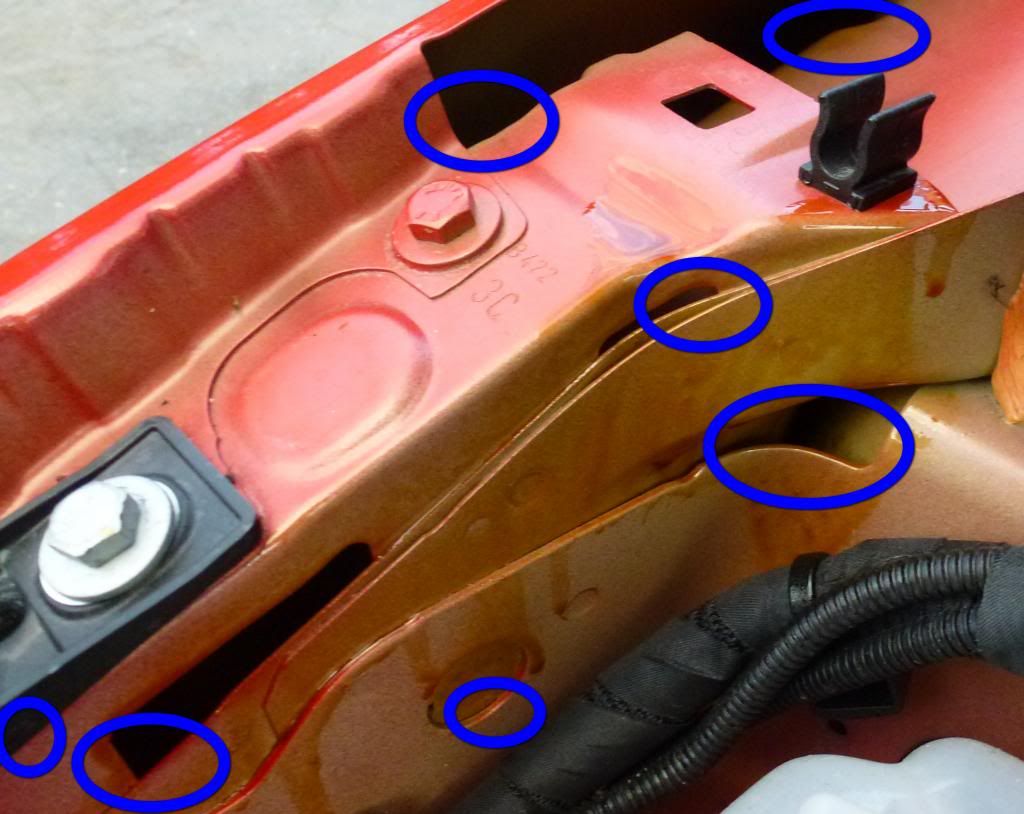
In the engine compartment there are lots of holes, welds and gaps and places to oil. Theres a little clean up to do when you are finished, but its a part of the job.
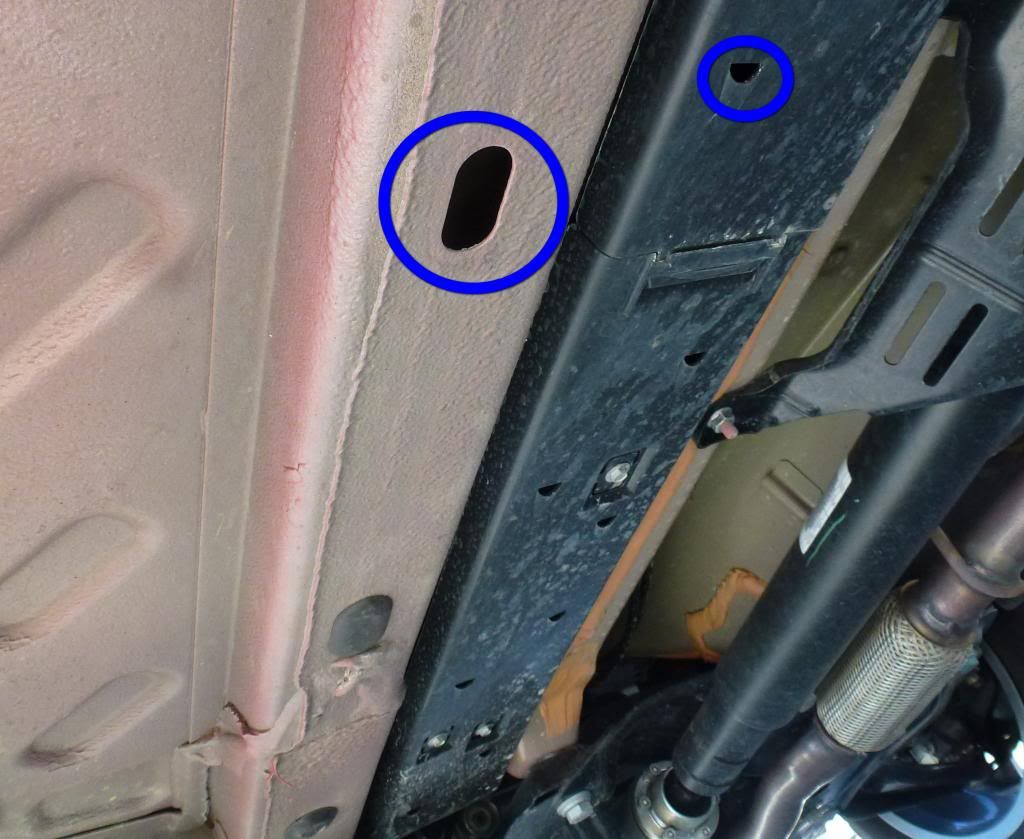
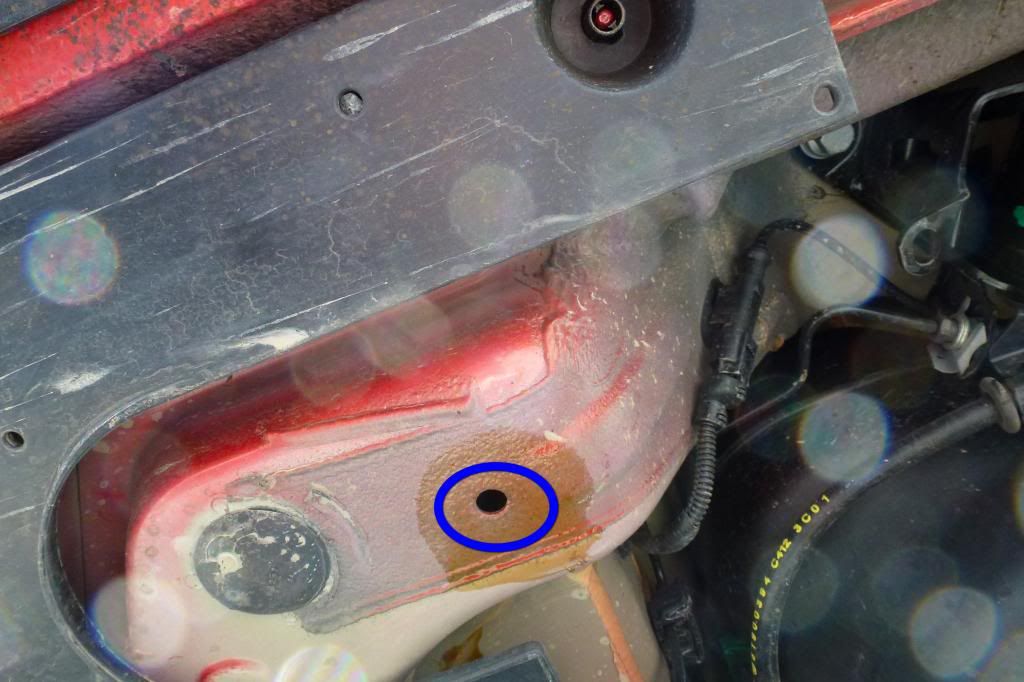
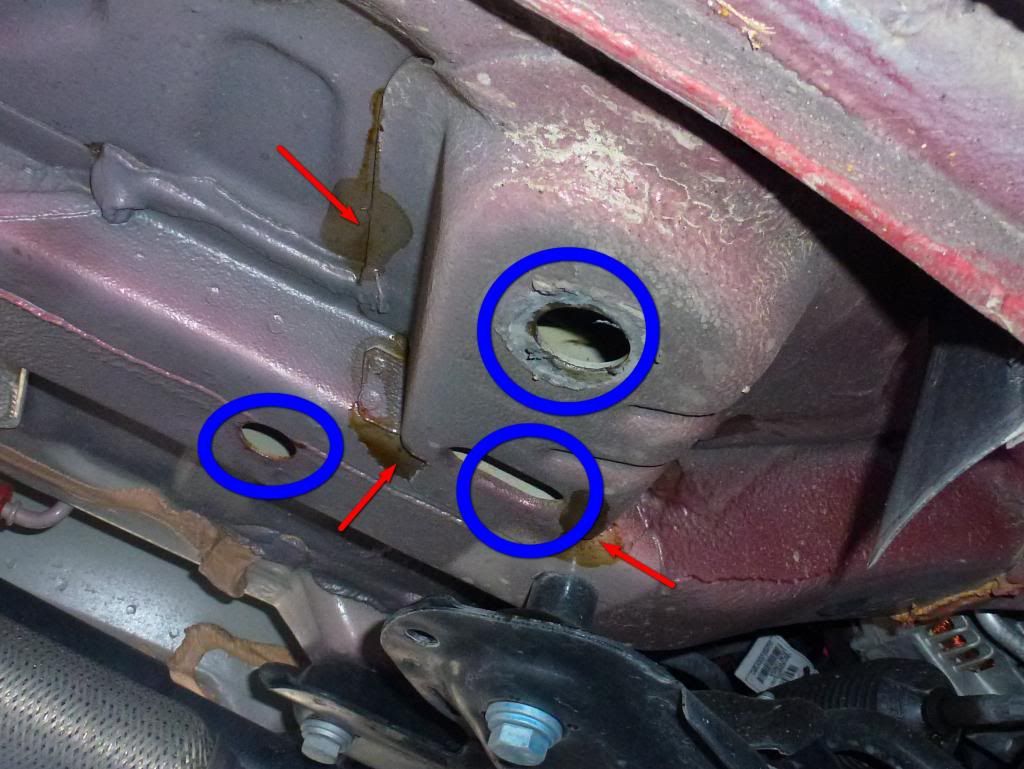
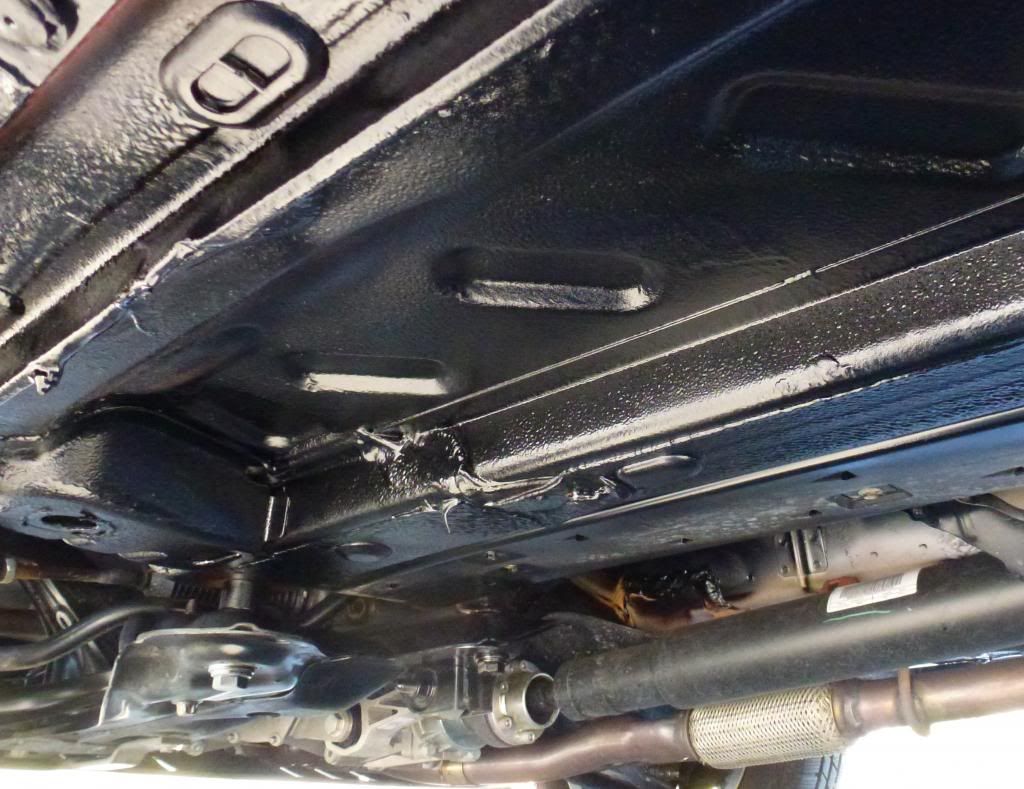
In lesson 2 we are going under the car.
The bonnet is easy, lots of holes for the straw, be sure to cover the all ends and edges.
Same with the doors, spray in the holes and the oil will exit the corners. Panda owners care about the environment, so I use a sheet of plastic on the ground for the dripping oil.
The upper edge of the tailgate is designed to collect water as a surprising amount of oil disappeared here.
Lots of places to spray, but avoid blocking drain holes so dont use too much either.
In the engine compartment there are lots of holes, welds and gaps and places to oil. Theres a little clean up to do when you are finished, but its a part of the job.
In lesson 2 we are going under the car.
")