T3wsndo.jpg

Panda (Classic) Engelbert the H reg Dark Green Sisley Progress Log

Introduction

https://www.fiatforum.com/panda-cla...ng-h-reg-sisley-needs-home-5.html#post3514984

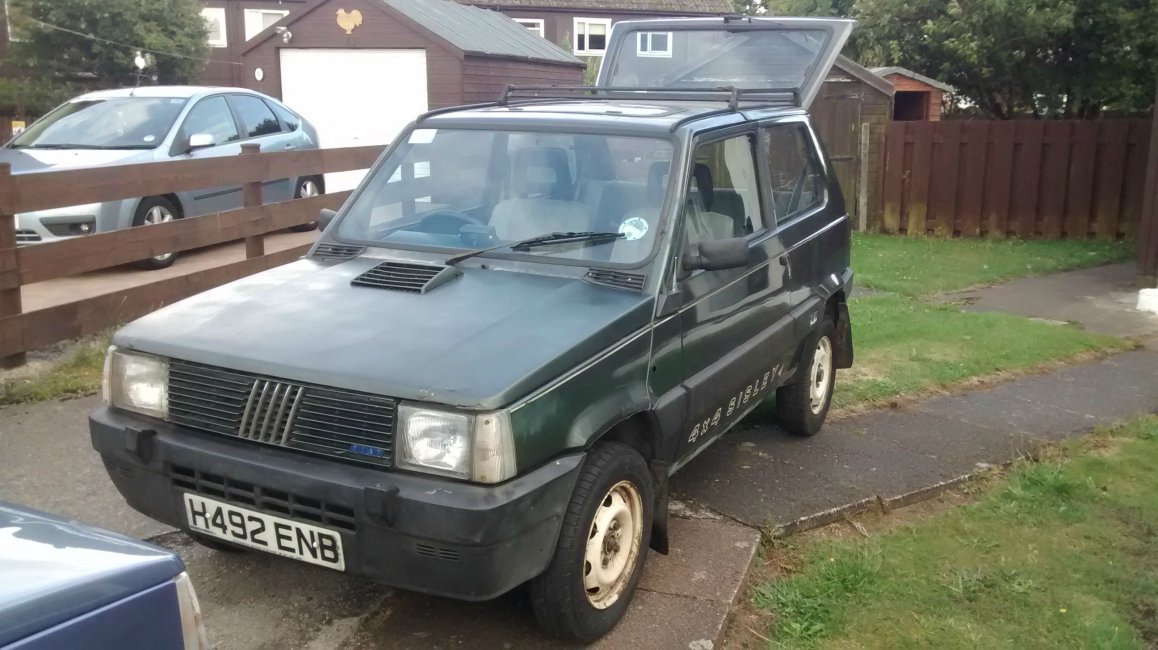
So today I took delivery of the above mentioned Sisley, who I have decided to name Engelbert after the last 3 letters of his numberplate (I always name my cars in this way). All is explained as to how he came to be in my possession from the above thread so I wont touch on that too much here but will say the seller is a very kind lady. She was understanding about the transport frustrations I had and was very honest about the condition of the car.

This first post is going to be very pic heavy by the way!! I got it and did a quick assessment (I will do a more in depth assessment tomorrow) but I am extremely pleased with the condition generally, it obviously will need work but I am prepared for this (hence the project log). It has every sisley extra apart from the grille badge and is missing two centrecaps and the horn push (I am not counting the compass in this), though I wasnt expecting there to be as much of the sisley trim etc as there is! I am in the process of compiling a list of required items too.

Required Items/work required

Side repeater indicator
Front part of Airbox assembly (or new clips)
two sisley centrecaps
Front grille sisley badge
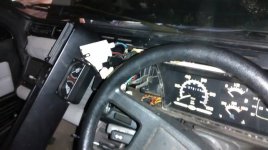
Instrument surround (See photo)
possibly bonnet vent (there is a small crack in this but I actually dont think it matters too much)
Possibly new bonnet or just work to the bonnet
Rubber headlamp rear cover
Rubber boot seal
Refurbish wheels and new tyres
Sisley Horn Push
New Battery
Aerial
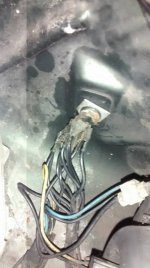
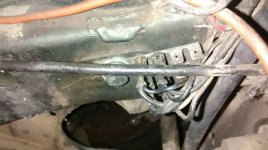
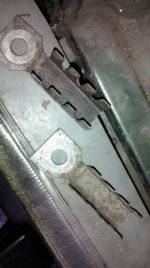
Wiring repairs (wiring next to battery at least)
Repair front seat fabric
Under bonnet screwdriver
wirebrushing and undersealing, possible welding at points
Front bullbars
rear bullbars Palio I havent forgotten about this, but will wait till funds are more available if thats cool?
Obviously a stripdown and recommissioning generally of the engine is required as it hasnt run in 4-5 years


The general condition is pretty good indeed, though some rust curing and prevention will obviously have to be done. But I gave it a quick clean and it has come up very nicely, I am struggling for things to say about it as I have so much swimming in my head at the moment with it, im overwhelmed, need to sleep to digest it all! I will let the pictures and videos do the talking (still need to upload videos)
Just ordered a switch unit, almost certain its a member on here I bought it from too.

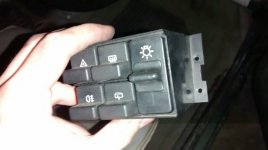
I dissambelled the dash today, partly because I need to as its broken anyway and has to be replaced, and partly because I wanted to remove the switch unit to see any obvious problems, nothing is obviously wrong apart from the headlight part of the switch feels loose/broken inside when using the mechanism, and for the price of a switch off eBay is worth replacing to eliminate the possibility. Also the points are out of their bath, wirebrushed and put back together. Going to test with a battery in after I get the switch. I also checked the wires and cleaned the connections of the headlight washer bottles, in case those were the problem.
 

Attachments

  • 1407699519097.jpg
    1407699519097.jpg
    37.2 KB · Views: 33
  • 1407699529621.jpg
    1407699529621.jpg
    59.9 KB · Views: 36
  • 1407699546021.jpg
    1407699546021.jpg
    60.9 KB · Views: 32
  • 1407699558731.jpg
    1407699558731.jpg
    67.9 KB · Views: 34
  • 1407699571450.jpg
    1407699571450.jpg
    67 KB · Views: 35
So updates since the last time I posted are that the new headlight switches unit arrived, the buttons are a different shape (cubes rather than having the sticking out parts) but reckon I can just switch the buttons round since they aren't the problem.

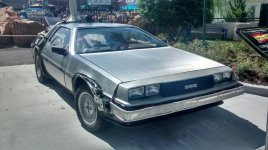
I'm still in Florida at the moment on honeymoon, surprise surprise I haven't seen any pandas but I did see a bttf delorean so that's close enough :ROFLMAO: I can't wait to get back and get back onto this :)

When I left the engine is nearly ready to be tried after I get the fuel hose, coolant put in and oil changed. Obviously reassembling the dash will help :ROFLMAO:

When I left though I was having trouble removing pretty much every external bolt and screw, does anyone have any tips for removing corroded bolts on the sumpguard? Also I tried to remove the roof rack and some of the Allen head screws are rounded off.
 

Attachments

  • 1408554454215.jpg
    1408554454215.jpg
    77.6 KB · Views: 32
Ah the joys of rusty bolts! Can't help with the roofrack but the sump guard bolts are a captive square head bolt. They regularly snap on me, I couldn't find a place to get any more in the end so I had some new ones made. They are now basically a 35mm long, 13mm headed bolt with the top chopped off and welded to an 18mm x 18mm piece of square steel plate. You will see when you get the sump guard off how they slide into their captive area. Only tip I can give you to get them off is keep spraying them with penetrating fluid or WD40 a couple of days before you attack them, you stand more chance of undoing them in one piece then! The prop shaft central support guard with the two tripod bushes has the same design of fixings.
 
Ah the joys of rusty bolts! Can't help with the roofrack but the sump guard bolts are a captive square head bolt. They regularly snap on me, I couldn't find a place to get any more in the end so I had some new ones made. They are now basically a 35mm long, 13mm headed bolt with the top chopped off and welded to an 18mm x 18mm piece of square steel plate. You will see when you get the sump guard off how they slide into their captive area. Only tip I can give you to get them off is keep spraying them with penetrating fluid or WD40 a couple of days before you attack them, you stand more chance of undoing them in one piece then! The prop shaft central support guard with the two tripod bushes has the same design of fixings.

Thanks man, that helps! :)
 
Also found out it was registered in December 1990, I wonder if it was a Christmas present for someone?

This got me thinking if only cars could talk? Think about all the life changing experiences people have in their cars, all the laughing, crying, joking, getting good news, bad news, learning to drive, having a last drive before you sell it, having your first drive in it, imagine what stories the cars could tell! Especially cars our ages :)
 
WD-40.. then undo it till it gets tight. then tighten it again.. then undo it till it gets tight.. then tighten it again.. keep doing that for ages.

the 4x4 centre mount is the same.

also make sure you wire brush the threads first.

and for the love of the gods when you put it all back together


Copper Slip!
 
I am back from Florida!! :) Had a great time but eager to get back into working on my pandas!

So I started by dismantling the headlamp switch which came out of the sisley only to discover that it was only a very small part of it which seemed to be at fault, so I partially dismantled the switch I got off a panda which was breaking on ebay (think its a member on here who gave me a very reasonable price, listing and quick postage! So thanks!) and used the parts off of it to make the original one work as the switch unit I got off ebay was from a newer car and had different style buttons as well as being a slightly smaller unit (the details are in the youtube video I am uploading right now)

So hopefully should be an easy fix, the switch certainly feels as if it is working properly now but I am yet to reassemble it as I am waiting for the instrument surround that AndyPanda4x4 has kindly agreed to send me in return for some beers when I take Engelbert on one of his fantastic 4x4 outings in the future!! Top class guy :)

I will edit this post with the Youtube video once uploaded (having to upload from my phone as I have lost the cable to attach the phone to the computer)

Also in the video I attempt a Dragonman-esque "Hey there guys and girls" It does not come off naturally in my accent, and I will refrain from imitation in the future :ROFLMAO:
 
I'll get the bits to you ASAP mate, I still haven't got that indicator off Buff yet - useless I am! Keep the progress reports coming man, glad you guys had a good do in the US of A :)

I forgot to say when I tried the indicators I could see the missing one shining through the hole, so it's in the inside of the panel! I should only need the orange cap :)
 
So todays progress (which is a mixed bag) is as follows:

Put a battery in to test the electrics again now that they are all hooked up again after the rewiring and fettling the hedgehogs, and more of the electrics work (as you will see in the video that is linked) however the 4x4 engaged light doesnt come up on the dash anymore (it did before) and the windscreen washers dont operate, no clicking or noise from the motors at all. (I didnt test the washers before so dont know if this is new or not, although it sounded like the headlamp washer motor was whirring the last time due to the faulty headlamp switch which is now replaced)

But everything else works! :)

I also bought a new horn push from Dragon-Man, its the one off bex so is the correct sisley horn push, I am very pleased with it indeed :)

So does anyone have any ideas regarding the 4x4 light not working anymore, and the washers?

kZctrsX.jpg


Back
Top