T3wsndo.jpg

Panda (Classic) Engelbert the H reg Dark Green Sisley Progress Log

Introduction

https://www.fiatforum.com/panda-cla...ng-h-reg-sisley-needs-home-5.html#post3514984

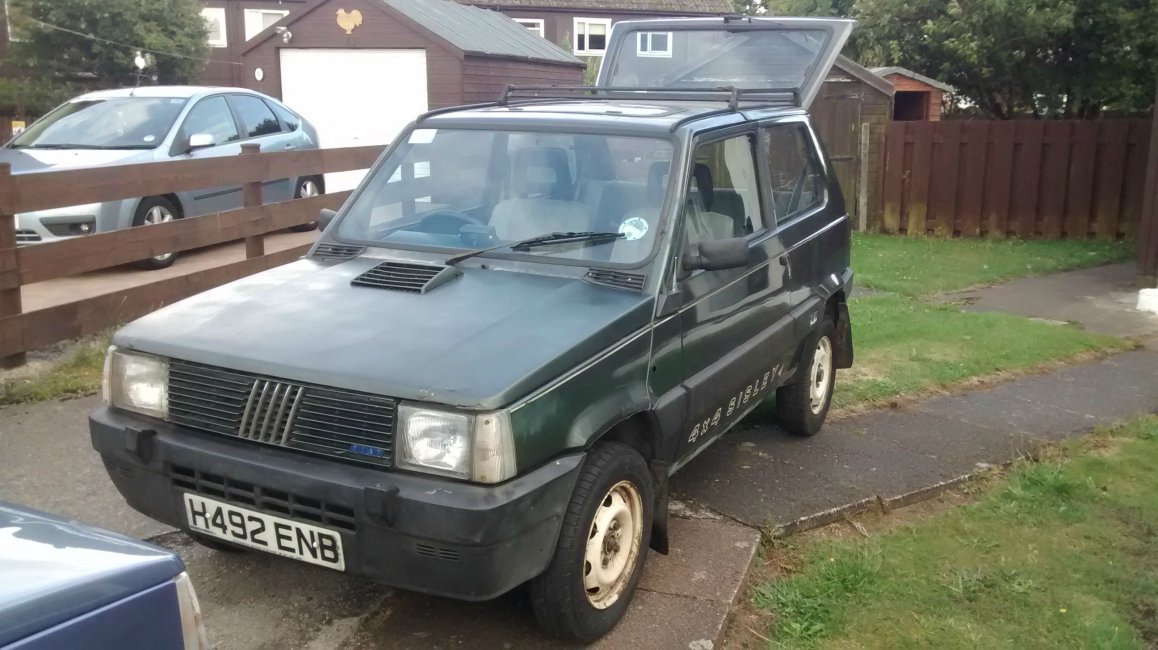
So today I took delivery of the above mentioned Sisley, who I have decided to name Engelbert after the last 3 letters of his numberplate (I always name my cars in this way). All is explained as to how he came to be in my possession from the above thread so I wont touch on that too much here but will say the seller is a very kind lady. She was understanding about the transport frustrations I had and was very honest about the condition of the car.

This first post is going to be very pic heavy by the way!! I got it and did a quick assessment (I will do a more in depth assessment tomorrow) but I am extremely pleased with the condition generally, it obviously will need work but I am prepared for this (hence the project log). It has every sisley extra apart from the grille badge and is missing two centrecaps and the horn push (I am not counting the compass in this), though I wasnt expecting there to be as much of the sisley trim etc as there is! I am in the process of compiling a list of required items too.

Required Items/work required

Side repeater indicator
Front part of Airbox assembly (or new clips)
two sisley centrecaps
Front grille sisley badge
Instrument surround (See photo)
possibly bonnet vent (there is a small crack in this but I actually dont think it matters too much)
Possibly new bonnet or just work to the bonnet
Rubber headlamp rear cover
Rubber boot seal
Refurbish wheels and new tyres
Sisley Horn Push
New Battery
Aerial
Wiring repairs (wiring next to battery at least)
Repair front seat fabric
Under bonnet screwdriver
wirebrushing and undersealing, possible welding at points
Front bullbars
rear bullbars Palio I havent forgotten about this, but will wait till funds are more available if thats cool?
Obviously a stripdown and recommissioning generally of the engine is required as it hasnt run in 4-5 years


The general condition is pretty good indeed, though some rust curing and prevention will obviously have to be done. But I gave it a quick clean and it has come up very nicely, I am struggling for things to say about it as I have so much swimming in my head at the moment with it, im overwhelmed, need to sleep to digest it all! I will let the pictures and videos do the talking (still need to upload videos)
It also shows the rust damage to the drivers side inner sill, does anyone have an opinion on this? How difficult/Best way to repair etc?

This is just my personal opinion. The bit you can see under the car thats rusted badly is the floor panel rather than the inner sill. To fix it properly i'd cut the outer sill off, replace the lower extremity of the inner sill that is hidden inside, replace the edge of the floor and then weld the repaired or replaced outer sill back on. It may sound pessimistic but its possible it needs doing along the entire sill. That might sound a little extreme but if its failed to that extent round the jacking point its unlikely the rest of the sill doesn't need a similiar amount of work even if it looks superficially better. Sorry that doesn't sound very encouraging :( Others may disagree but the only way to get at the inner sill effectively is to cut the outer off. I could do a diagram if it helps. Its eminenetly fixable (y)
 
Last edited:
This is just my personal opinion. The bit you can see under the car thats rusted badly is the floor panel rather than the inner sill. To fix it properly i'd cut the outer sill off, replace the lower extremity of the inner sill that is hidden inside, replace the edge of the floor and then weld the repaired or replaced outer sill back on. It may sound pessimistic but its possible it needs doing along the entire sill. That might sound a little extreme but if its failed to that extent round the jacking point its unlikely the rest of the sill doesn't need a similiar amount of work even if it looks superficially better. Sorry that doesn't sound very encouraging :( Others may disagree but the only way to get at the inner sill effectively is to cut the outer off. I could do a diagram if it helps. Its eminenetly fixable (y)

Thanks Kris, new sill and welded floorpan looks to be the best option really I reckon.
 
Thanks Kris, new sill and welded floorpan looks to be the best option really I reckon.

I hope I don't sound like the prophet of doom. You could potentially put a patch over the damaged area and pass an MOT with a bit of underseal applied but it would ultimately be a fix that lasts a year or two at most.
 
I hope I don't sound like the prophet of doom. You could potentially put a patch over the damaged area and pass an MOT with a bit of underseal applied but it would ultimately be a fix that lasts a year or two at most.

No you don't sound like the prophet of doom, putting in a new will and floorpan welding actually sounds pretty positive to me, cheers :)
 
Ok so todays jobs were putting the rubber headlamp rear cover on, sorting the wiring next to the battery and testing the electrics. Which I did, but before I say the results I want to clarify something which my dad said I should make clear which I perhaps haven't already:

This is a car which I seem (at the moment as far as I can tell) to have caught just before the rust issues etc make it unviable as a project, and I seriously hope that this is the case, but make no mistake this will be a long road to go down, and I hope I can save it, I am prepared to do a lot of work and spend a lot of time on this car, but it wont be done anytime soon, and a lot of the work required is a new experience for me and is a steep learning curve, so if I make mistakes or get things wrong then please understand that this may happen from time to time as I learn new things, help and advice is obviously appreciated.

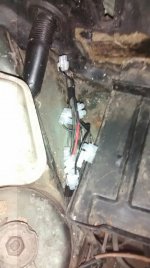
So now that's out of the way (as per the video I am going to post up once it is uploaded in the morning) I repaired the section of frayed wiring with new wires and connector blocks where required. This went well (and was the first time I have repaired this much wiring so I am very pleased) and on testing the electrics everything worked apart from the dipped beam (I couldn't test the full beam for obvious reasons) as when I tried to select dipped beam there was a buzzing sound from the engine bay, (this can be heard in the video) though I think that at least partially the switch is at fault as there is A LOT of play in the slider, and I don't think the switch is connecting properly, though I will remove the switch to confirm/hopefully repair or replace the switch. But everything else works, so I am taking that as a very big plus!! :)

The battery securing thread sheared off somehow so I will have to weld a new thread on, as this is an MOT requirement.

cSdX6uf.jpg

QetlLru.jpg

baOUIA0.jpg
 
Last edited:
Regarding the rusty sills I have to agree with Freddy and Kris.

Have a look back at the Bucket thread and Gavin's Sisley thread to get an idea of what you need to do.

You're right to take your time and do things right first time, then when it's finished you can spend your time enjoying it rather than having to re do stuff.

Thanks man, I actually am really enjoying working on it though which helps :)
 
dangerous words those.. i enjoy working on pandas, and im sure vmanc does too.. and anyone else who has multiple pandas..
those words mean that you'll be getting another hahaha.

the electronics look simple enough, if its black, earth it. :D

Yep, already done :) trying to upload the video is actually harder today for some reason :ROFLMAO:
 
here is the fabled video!


I took off one (meant to take off four but it was harder than expected with rusty bolts) wheel arch trim and looked inside, looks perfect in there. I tried to remove the other 3 but got nowhere, too tired after work so will have a rest and return to it tomorrow. I removed the 1 remaining front mudflap as the clips were absolutely shot and the flap wasnt much better, I have set it aside for now but is likely destined for the bin.

Tried to remove the roofrack and met with much the same thing from a couple of the bolts, so I am calling it a day for just now, I will go out later and wrap the wires from yesterday up together with insulating tape and go to sleep praying for more energy tomorrow :ROFLMAO:
 
the noise when you put main beams on sounds like the headlamp washers.. that should only come on when you wash the front window with the lights on though.. theres a longish relay on the side of the fuse box that may be sticking..

with light bulbs, id recommend putting a dab of copper slip on all the bulb contacts. just to stop them randomly and very annoyingly, loosing connection.

the stud that holds the battery in snapping off sux..

if that happened to me, i would cut up a stainless steel bolt, and weld that in its place.

the switch may be shot.. it is common for them to go. i'd recommend re-wiring the headlamps to run through relays rather than the original switch.. the difference it made on your cars brother ( ;) ) was very impressive.

hmm i'd keep hold of the mud flaps.. they are super rare.. damaged or not they may come in handy for what little space they take up.

dash lights.. good work.. not sure why the door light wont work.. that must be a live wire issue.. or the bulb has blown. the door light works by switching the earth on a panda. so one position on the light switch should have worked if the bulb is fine and its getting power.

id really be tempted to change the timing belt over.. it may look good, but you never know. its an easy ish job. 16mm socket to slacken off the alternator belt, 10mm spanner to take off the bottom pulley, and a 13mm spanner to take off the tensioner pulley.
just dont move the top and bottom timing belt pulleys and you should be fine when replacing the belt.

dont forget to check the bottom ball joints for play. get a crow bar of a hefty flat blade screw driver and jam it between the arm the ball joint is bolted to and the hub carrier.. then give it a good push downward. if it moves, it will need replacing. you could leave it for the MOT guy to check though, but why risk a fail.
they can be a pain to do sadly, as you have to take the hub carrier out. check the videos on fallout if you wanna see what you have to do.

hope some of this helps ;)

i have a white board in the garage with a list of all the jobs i need to do on our cars.
talon has a few but its all cosmetic. the marbella has none. fallout has.. many. so many i have had to use the marbellas space on the white board.:rolleyes:

helps me keep on track of things. also you get great satisfaction when you wipe off a completed job :D

Cheers, we seem to be thinking along the same lines :) regarding the wiring I am going to clean up the hedgehog I was working with before and check out the other one on the engine bay too. Thanks for the tip on the relay, I need to check under the dash roll again as I only looked at it briefly before, seems to be a lot of wires cable tied under the dash roll, but I haven't seen the actual fuse box yet. I figured sorting out the frayed wiring next to the battery was a good place to start :)
 
fuse box is right next to the bonnet opening lever. on pandas you can actually pull it off so you can get access to it better. it can be hard to get it to slide back on again though.

heh check the rear leaf springs too make sure they do not have any leafs that have snapped.

Thats where it is on PTP, I am wondering if its hiding under the carpet as its quite loose in that area, to be honest I havent had a proper rummage there yet, was concentrating on the obviously broken wires first :)
 
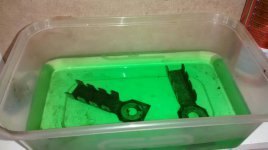
Fusebox was there :ROFLMAO: saw the relay next to it, all looked ok :) I've currently got the points sitting in a 24hr rust killing bath to clean them up (already wirebrushed but didn't think it was enough) just eliminating things till I find out what the electrical problem is, and cleaning the points is an easy one to do, and in practise is good to do anyway :) had a look under all four wheel arches and they all look great :) the fuel filler pipe looks great too which is a bonus as AndyPanda4x4 will agree I'm sure :) thankfully it only seems to be the drivers sill at the moment which is the main problem area rust-wise. I'm going to remove the towbar tomorrow too as I doubt i will use it and removing it at least for a while will be good for the aforementioned electrical problems elimination list (however remote the possibility)

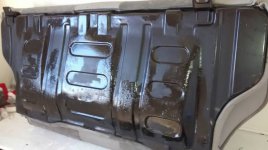
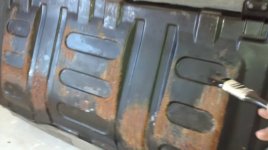
Also painted the underside of the rear seat with direct to rust hammerite (after a poke with a screwdriver it is solid)

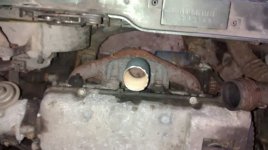
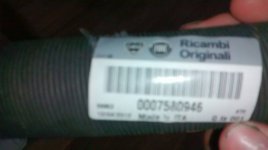
Added the hot air uptake pipe (bought NOS from parts world, couldn't resist, and yes I know its just piping) I know that lots of people think these are unnecessary, and that may well be true, but I intend to use this car (sparingly) in winter, so could be handy. Plus stops anything falling into the manifold.

I feel as if I am progressing rather slowly, but just tackling whatever job I feel like one at a time is good for me just now, I am getting married on Wednesday so as you can imagine things are a bit hectic right now!
 

Attachments

  • 1407606429157.jpg
    1407606429157.jpg
    43.4 KB · Views: 37
  • 1407606442052.jpg
    1407606442052.jpg
    59.7 KB · Views: 34
  • 1407606452341.jpg
    1407606452341.jpg
    42.6 KB · Views: 29
  • 1407606462061.jpg
    1407606462061.jpg
    49.9 KB · Views: 31
  • 1407606472992.jpg
    1407606472992.jpg
    29.8 KB · Views: 30
  • 1407606482053.jpg
    1407606482053.jpg
    61.7 KB · Views: 39
Added the hot air uptake pipe (bought NOS from parts world, couldn't resist, and yes I know its just piping) I know that lots of people think these are unnecessary, and that may well be true, but I intend to use this car (sparingly) in winter, so could be handy. Plus stops anything falling into the manifold.

I feel as if I am progressing rather slowly, but just tackling whatever job I feel like one at a time is good for me just now, I am getting married on Wednesday so as you can imagine things are a bit hectic right now!

Congrats! Hope it goes well - are you travelling by Panda? (y)

You clearly haven't driven a 4x4 in the snow. It's impossible to use it sparingly - I use tankfuls of petrol every time it snows - just driving round in the snow finding the worst roads I can & rescuing unfortunate Audi drivers! I did over 100 miles one day and never got more than about 5 miles away from home :eek: Fun though!!! ;)

Unfortunetly not travelling by panda, I did suggest a roadtrip to Italy as the honeymoon but it was sadly vetoed by my better half :ROFLMAO:

I'm looking forward to using Engelbert in the snow, or using him at all even to be honest! As I said progress does seem to be slow but I have done something every day since I got him, however small a task! A cumulative effect should start to happen :)

On the subject Is there a guide for replacing the gear linkage bushes anywhere? I havent been able to find one, and the Haynes manual is next to useless under that section! I really need to get the porter manual sooner rather than later!
 
I hope it goes really well... -- congratulations to you both...! :woot:
congratulations to you both.
I assume the good lady shares your enthusiasm for old Panda's?
Otherwise just be careful not to neglect her if you get my drift! It's a fine line!
On your videos I think I am listening to the late and much-missed Colin McRae!
It seems to me you have a fine car there that will re pay all your efforts .

Thanks codger, the good lady doesn't quite share my enthusiasm, but she likes that they make me happy :)
 
Back
Top