T3wsndo.jpg

Panda (Classic) Engelbert the H reg Dark Green Sisley Progress Log

Introduction

https://www.fiatforum.com/panda-cla...ng-h-reg-sisley-needs-home-5.html#post3514984

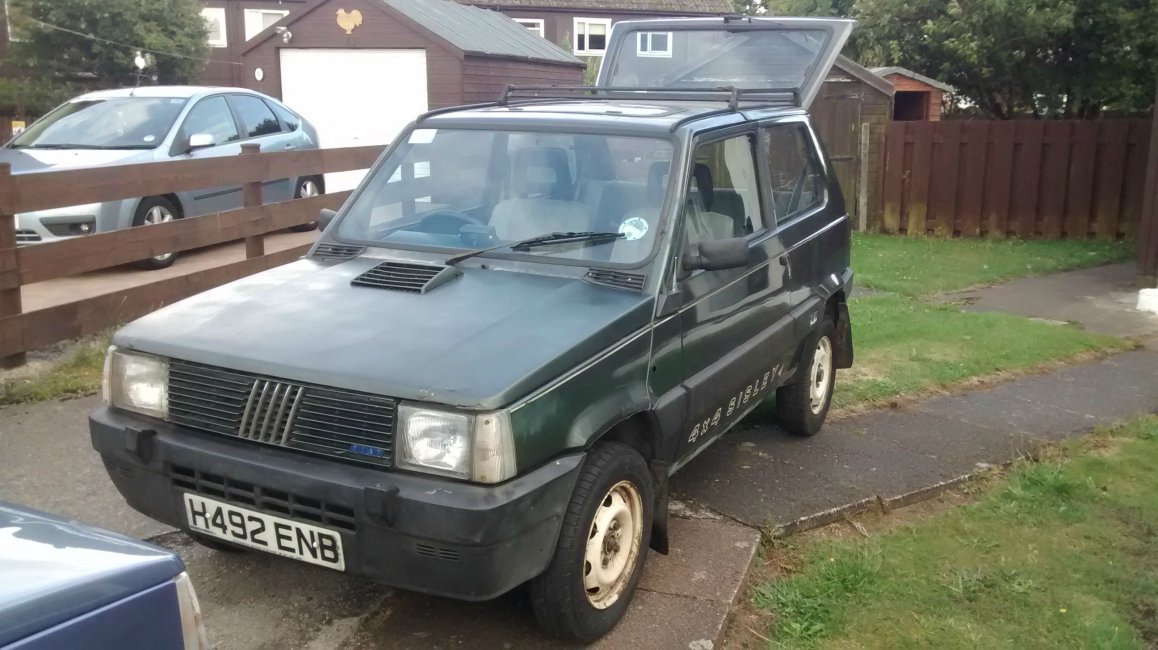
So today I took delivery of the above mentioned Sisley, who I have decided to name Engelbert after the last 3 letters of his numberplate (I always name my cars in this way). All is explained as to how he came to be in my possession from the above thread so I wont touch on that too much here but will say the seller is a very kind lady. She was understanding about the transport frustrations I had and was very honest about the condition of the car.

This first post is going to be very pic heavy by the way!! I got it and did a quick assessment (I will do a more in depth assessment tomorrow) but I am extremely pleased with the condition generally, it obviously will need work but I am prepared for this (hence the project log). It has every sisley extra apart from the grille badge and is missing two centrecaps and the horn push (I am not counting the compass in this), though I wasnt expecting there to be as much of the sisley trim etc as there is! I am in the process of compiling a list of required items too.

Required Items/work required

Side repeater indicator
Front part of Airbox assembly (or new clips)
two sisley centrecaps
Front grille sisley badge
Instrument surround (See photo)
possibly bonnet vent (there is a small crack in this but I actually dont think it matters too much)
Possibly new bonnet or just work to the bonnet
Rubber headlamp rear cover
Rubber boot seal
Refurbish wheels and new tyres
Sisley Horn Push
New Battery
Aerial
Wiring repairs (wiring next to battery at least)
Repair front seat fabric
Under bonnet screwdriver
wirebrushing and undersealing, possible welding at points
Front bullbars
rear bullbars Palio I havent forgotten about this, but will wait till funds are more available if thats cool?
Obviously a stripdown and recommissioning generally of the engine is required as it hasnt run in 4-5 years


The general condition is pretty good indeed, though some rust curing and prevention will obviously have to be done. But I gave it a quick clean and it has come up very nicely, I am struggling for things to say about it as I have so much swimming in my head at the moment with it, im overwhelmed, need to sleep to digest it all! I will let the pictures and videos do the talking (still need to upload videos)
Not been around much lately but boy have you been making good progress with this (y) really good to see you bringing it back to life again, I'm sure all the hard work your putting in now will stand you in good stead for years and years of happy 4x4 pandering :D Good luck with the welding too, I'm sure once you get the hang of it you'll actually start to enjoy it!
 
Not been around much lately but boy have you been making good progress with this (y) really good to see you bringing it back to life again, I'm sure all the hard work your putting in now will stand you in good stead for years and years of happy 4x4 pandering :D Good luck with the welding too, I'm sure once you get the hang of it you'll actually start to enjoy it!

Hey man, you really think so? Thanks!!

I wish I could go faster with this, but I am doing the best I can :)
 
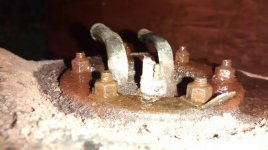
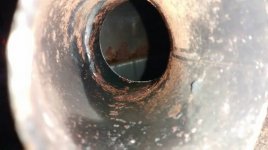
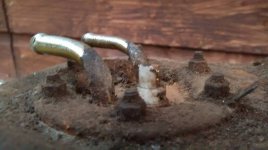
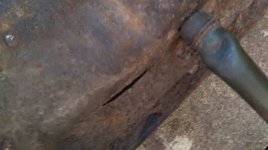
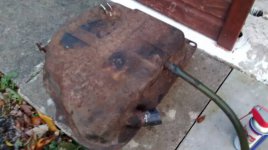
Managed to get the fuel tank off today, it put up quite a fight for my dad and I! A load of filthy fuel came out of it, much more than I thought was in there. Haven't tried removing the plate for the fuel pipes yet, having had virtually every bolt head round off or shear so far I am taking my time with wire brushing and using WD40 on these ones, so hopefully I can remove them without destroying them. And the 3 bolts holding the tank on sheared of course despite using WD40 over the course of the last few months and 2 weeks more intensively, so that's another bridge to be crossed later. The tank seems to be rusted around the middle on the inside from what I can see so far. I will use paraffin on the inside, then probably fuel tank sealant like dragonman.
 

Attachments

  • 1416158293150.jpg
    1416158293150.jpg
    61 KB · Views: 21
  • 1416158304184.jpg
    1416158304184.jpg
    46.6 KB · Views: 21
  • 1416158314154.jpg
    1416158314154.jpg
    50.5 KB · Views: 20
  • 1416158324597.jpg
    1416158324597.jpg
    47.6 KB · Views: 21
  • 1416158333484.jpg
    1416158333484.jpg
    56.6 KB · Views: 21
Haven't tried removing the plate for the fuel pipes yet, having had virtually every bolt head round off or shear so far I am taking my time with wire brushing and using WD40 on these ones, so hopefully I can remove them without destroying them. .

Cameron, is worth geting a bottle of PlusGas - that sh**t does work.
Dremel with small steel wire wheel and clean of the bolts back to thir original glory, soak in PlusGas and give it a go.
 
yep i will be along to view the video..

the small nuts at the top should come undone easy. they are brass so dont corrode.

once the fuel sender is out, flush it with the hose pipe. water sits at the bottom of the tank under the fuel. condensation appears above the fuel, it is what rusts the tank around the seam. (its why i keep my tank full at all times)

once it is dried out, i would recommend using fuel tank sealant. just because future proofing.
tanks are a pain to get hold of. 4x4 carbed ones are impossible less some one is breaking a panda.

in saying that, fixing them is not that hard if you can weld.

for the outside of the tank, i would wire brush it like mad, and hammerite it. then once that is dry i would paint it with tetroseal. dont bother with the hammerite underseal it peels off after a few months. totally useless.

looked like you had fun getting it off heh. just use big washers to fix it to the car.. if you have a tap and dye set, run that along the threads of the support studs. makes it a hell of a lot more easy to get it all smooth again, and works better than the wire brush.

come time to refit it, you will have fun again. that green pipe at the top.. oh its fun.

dont forget to inspect and under seal under where the tank sits.. may as well do it being as it is off.

Cheers mate :) there does appear to only be one small cut which may need welding, but not sure how far it goes yet so might not have to. Feels like a good leap forward in terms of progress anyway :)
 
the small nuts at the top should come undone easy. they are brass so dont corrode.

Don't bet on it. I have a spare tank with 6 sheared bolts testament to that! The brass nuts have possibly been replaced in the past.

Also I came here to second the Plusgas or simply a Penetrating Oil. I can't actually think of a situation where WD40 is my go to oil.
 
Don't bet on it. I have a spare tank with 6 sheared bolts testament to that! The brass nuts have possibly been replaced in the past.

Also I came here to second the Plusgas or simply a Penetrating Oil. I can't actually think of a situation where WD40 is my go to oil.

I would love to defend it as I have used it on every car I have had so far and it has worked like magic, but I've come to the realisation that against the kind of corrosion this car has its not up to the job.
 
I would love to defend it as I have used it on every car I have had so far and it has worked like magic, but I've come to the realisation that against the kind of corrosion this car has its not up to the job.

It's alright as a general oil, technically I think WD40 is a penetrating oil, but there are better ones (even WD40 make a more specialist one). Plus gas and the like is just much thinner. It might just be me, but you can even see it spread over parts better than other oils when you apply it.
 
Last edited:
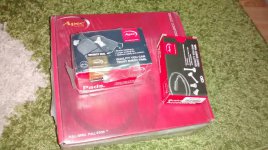
Got the brake discs and pads in today, annoyingly they came with a fitting kit which wasn't specified in the advert so I had ordered one separately.

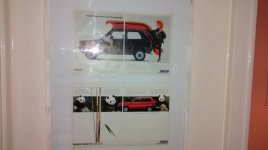
It was my 26th birthday on Tuesday, and as part of my birthday my lovely wife has got some old fiat panda adverts and put them in a frame. Looks great I think :)
 

Attachments

  • 1416514499870.jpg
    1416514499870.jpg
    33.4 KB · Views: 26
  • 1416514508171.jpg
    1416514508171.jpg
    87 KB · Views: 28
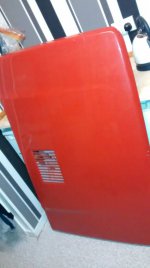
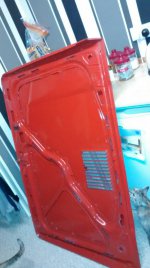
The bonnet arrived today, its in quite good nick apart from a couple of chips at the front. I have a few options and I was wondering opinions?

1- Leave it red and dont worry about how it looks

2-use carbon fibre vinyl wrap

3-pay a company to paint it

4- paint it myself

I would like to paint it myself, but past endeavours have not gone well due to rushing. This would be the first time I've done something this big, and never done a complete respray before (only repairs) so what kind of sandpaper do I use to get it back to primer coat? Does anyone have a rough guide for doing the process with halfords spray cans?

And for comparisons sake what would be a rough price for a company to spray it?
 

Attachments

  • 1416610900856.jpg
    1416610900856.jpg
    38.7 KB · Views: 18
  • 1416610910128.jpg
    1416610910128.jpg
    57.4 KB · Views: 16
The bonnet arrived today, its in quite good nick apart from a couple of chips at the front. I have a few options and I was wondering opinions?

1- Leave it red and dont worry about how it looks

2-use carbon fibre vinyl wrap

3-pay a company to paint it

4- paint it myself

I would like to paint it myself, but past endeavours have not gone well due to rushing. This would be the first time I've done something this big, and never done a complete respray before (only repairs) so what kind of sandpaper do I use to get it back to primer coat? Does anyone have a rough guide for doing the process with halfords spray cans?

And for comparisons sake what would be a rough price for a company to spray it?

Here you go Cameron - the answer is lots of light coats apparently, which explains why I never did it well (not tried for 20 years, but always plonked a load of paint on at once! :bang: ).

http://blog.micksgarage.com/2013/05/how-to-guide-spray-painting-with.html?m=1

I wouldn't leave it red - definitely! I'm not a big fan of wrapping something like that & don't think its the look you're after for Engel.

If you have a bit of time & patience it's worth having a go yourself I'd have thought. The cost will depend on your location & type of garage - a back street paint chap might do a deal for a bit of beer money - dunno really £50-£100 depending on who you ask? (y)
 
Back
Top