IMG_1874.JPG

Panda (Classic) My Sisley, Panda 4x4 - division north

Introduction

As mentioned before, I'm starting new thread for my recent purchease.
Bought it from forum user, deposit was place without seeing the car first, went all the way down south with rest of the cash and A-frame in boot.

First summary of the car is ( 1 is very poor, 10 is perfect):

  • Originality - 6,
  • Bodywork - 7,
  • Engine - 6,
  • Gearbox - 5,
  • Interior - 5,
  • Structural rust - 8,
  • Visible rust - 8,
  • Previous owners maintain - 7
Plan for the car is to keep it road worthy and in good mechanical nick, join Panda 4x4 UK club and have some play with other Northern forum members.

As it is now, I'm not willing to make any statement what needs to be done as I had only spend about 2h last week by checking and looking at the car in more details way.

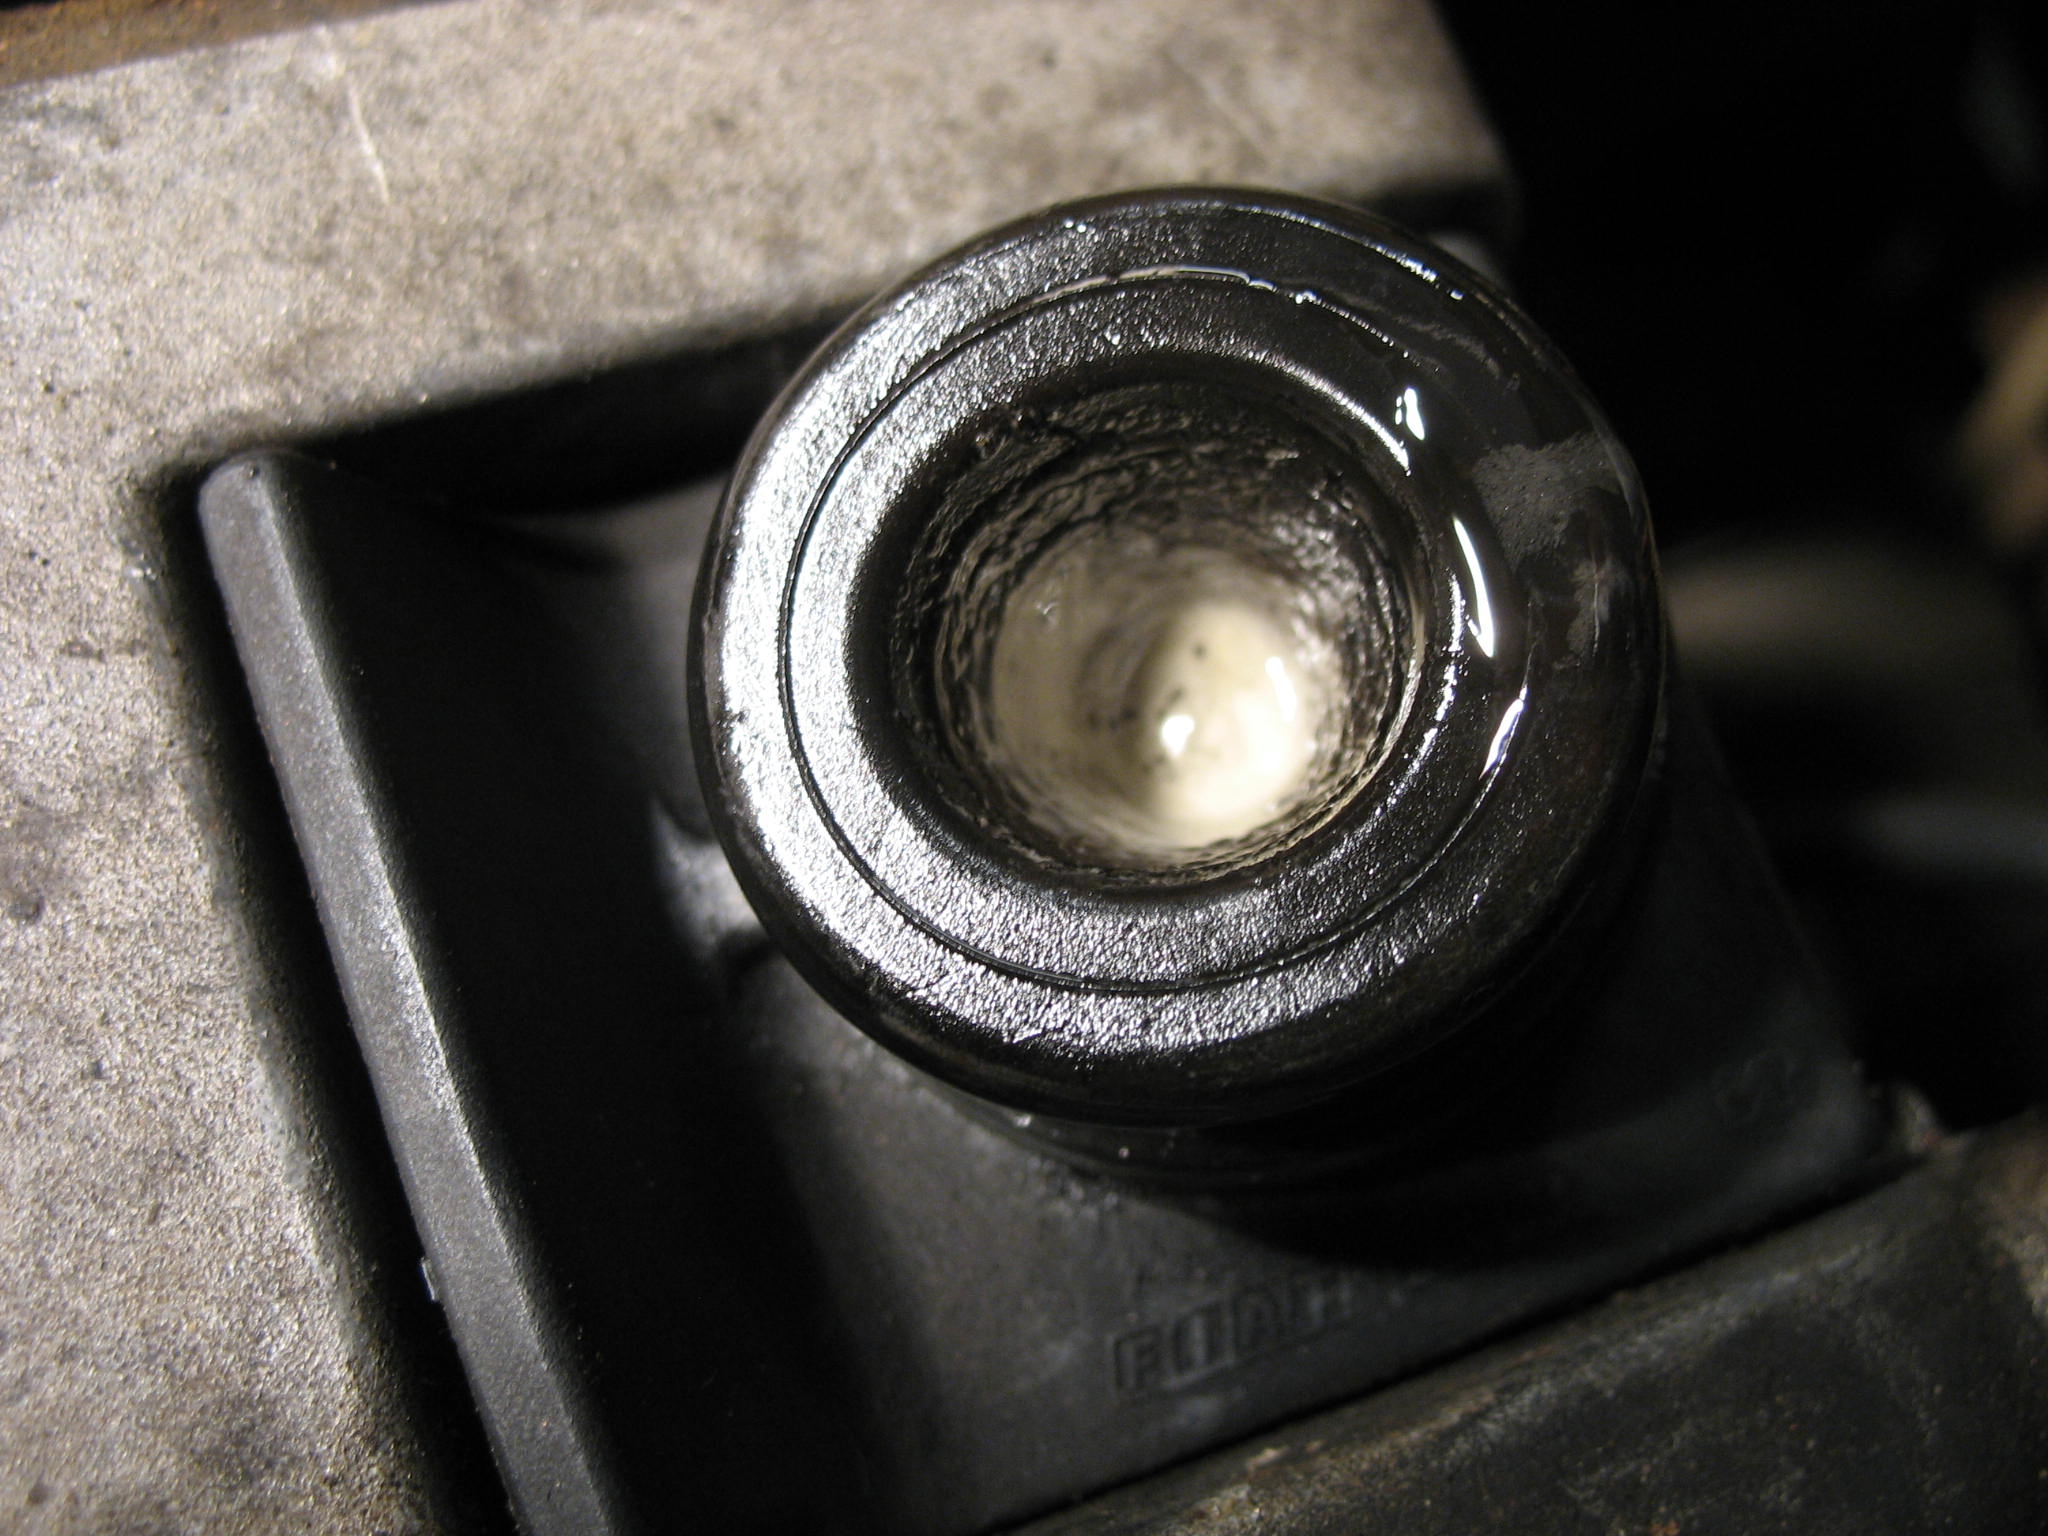
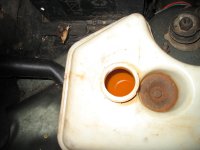
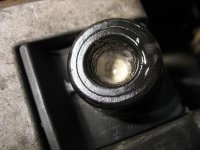
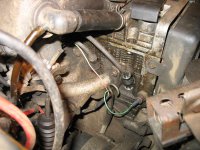
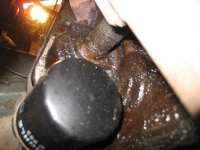
That is my bigger worry for now - bloody milky coolant and a bit of mayo under the oil cap.
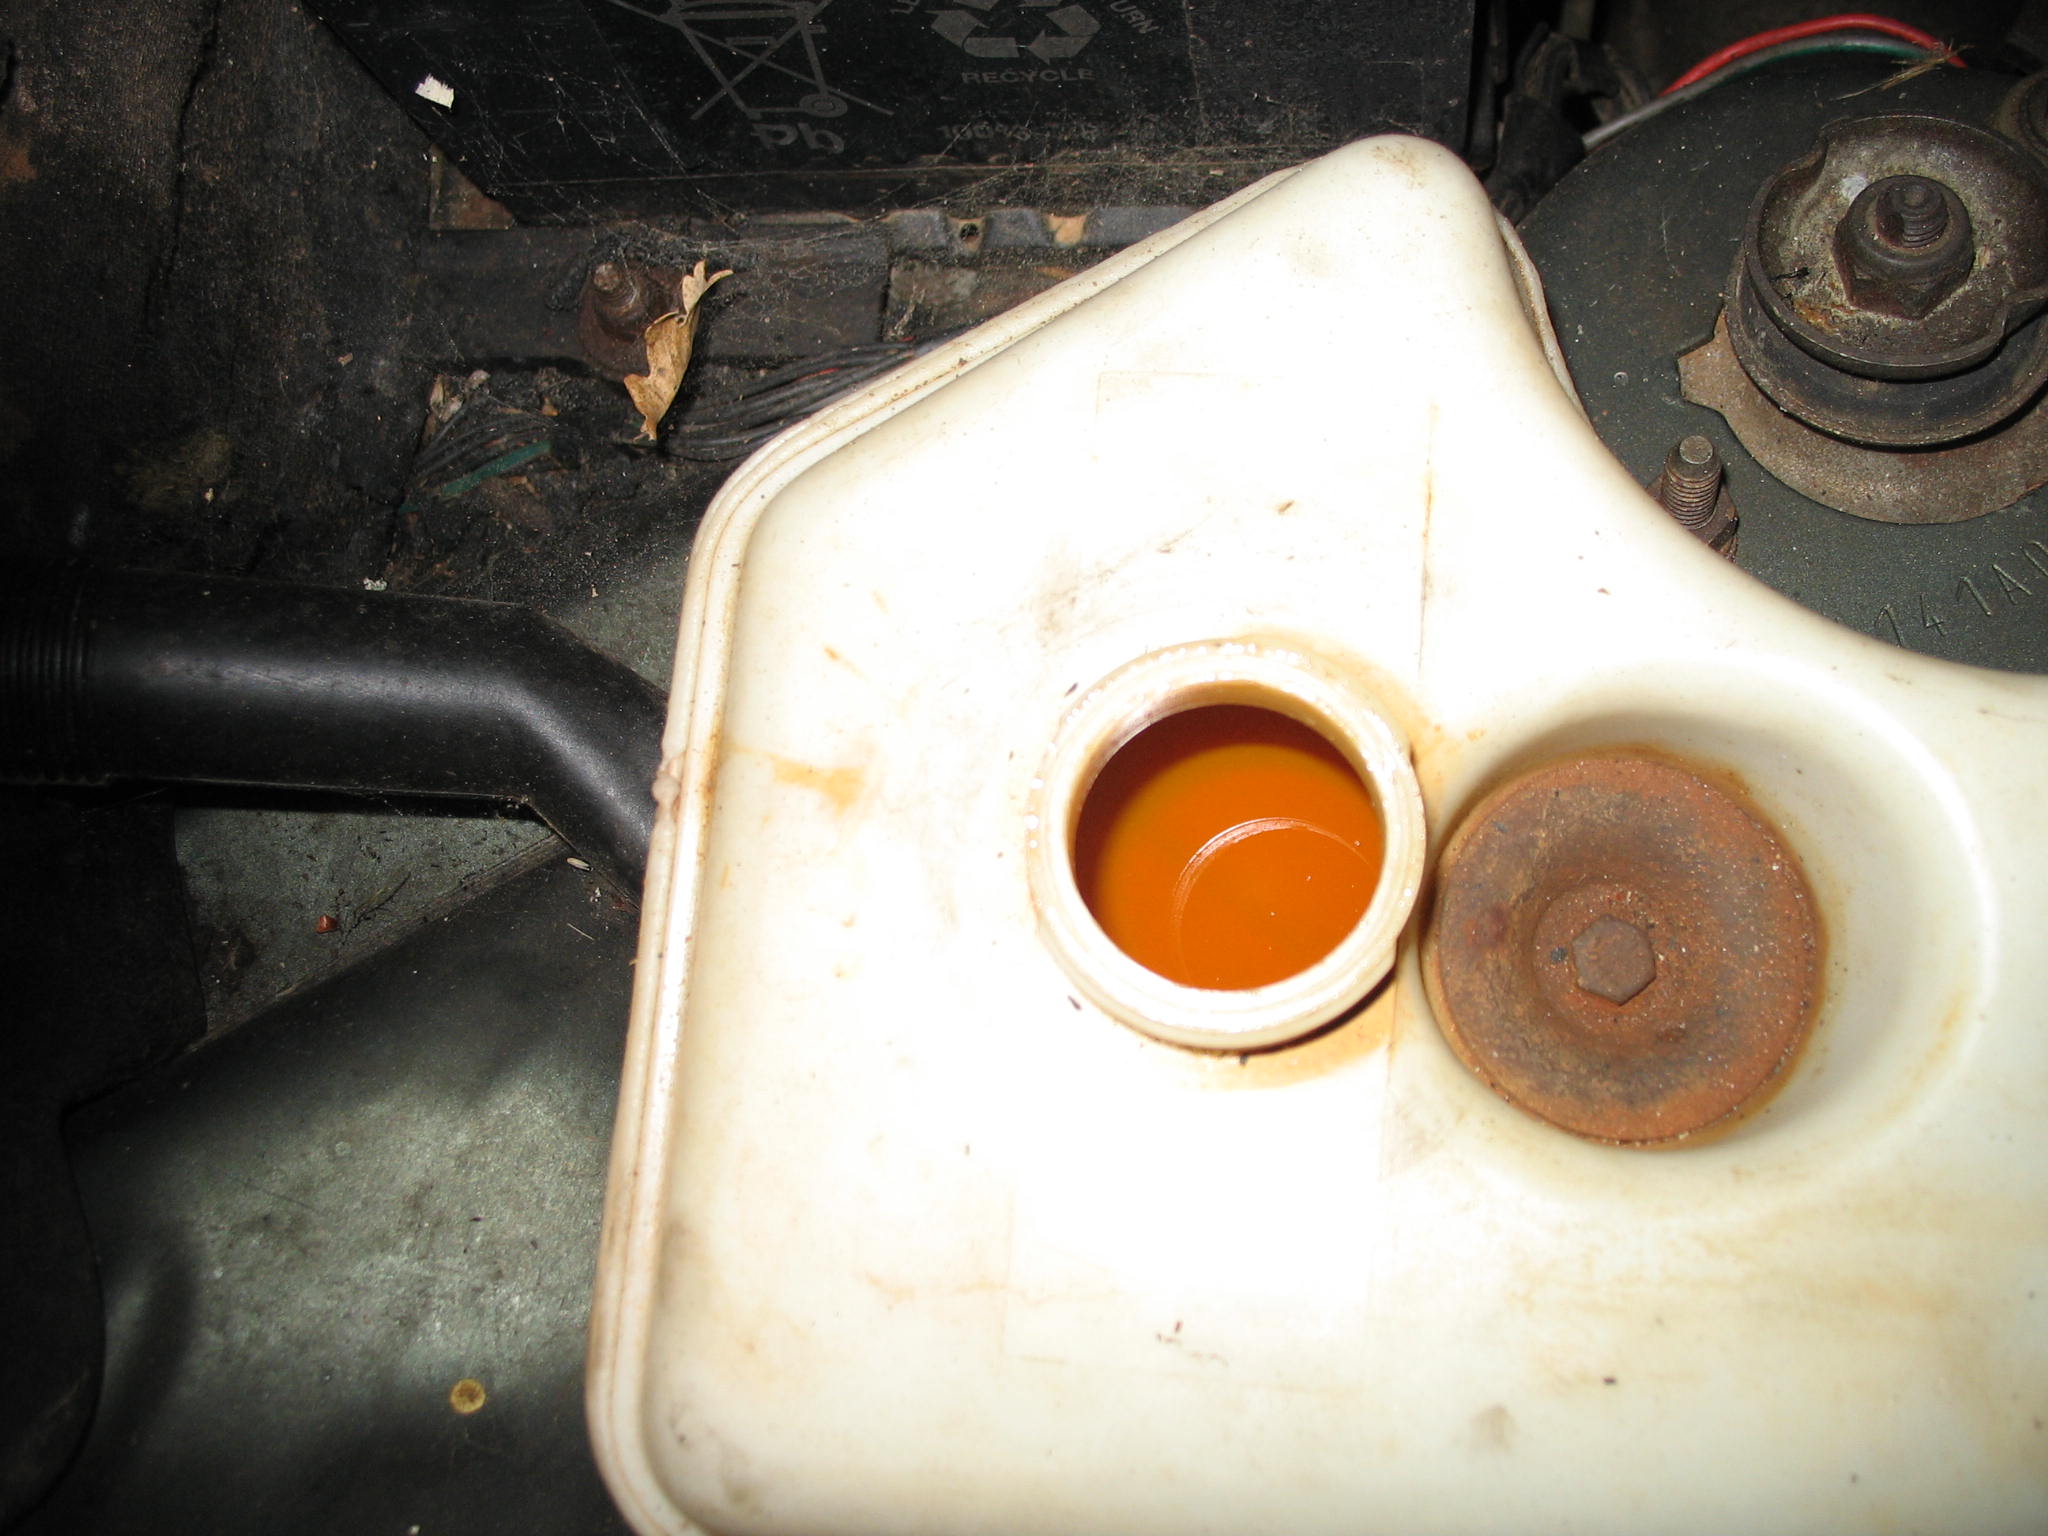
IMG_18771.JPG

IMG_18843.JPG


How can I confirm my head gasket theory not having coolant presure test kit???
@CLS - your not the only one - aparently it is bloody hard to buy cheepo 4x4 without blown thru head gasket.

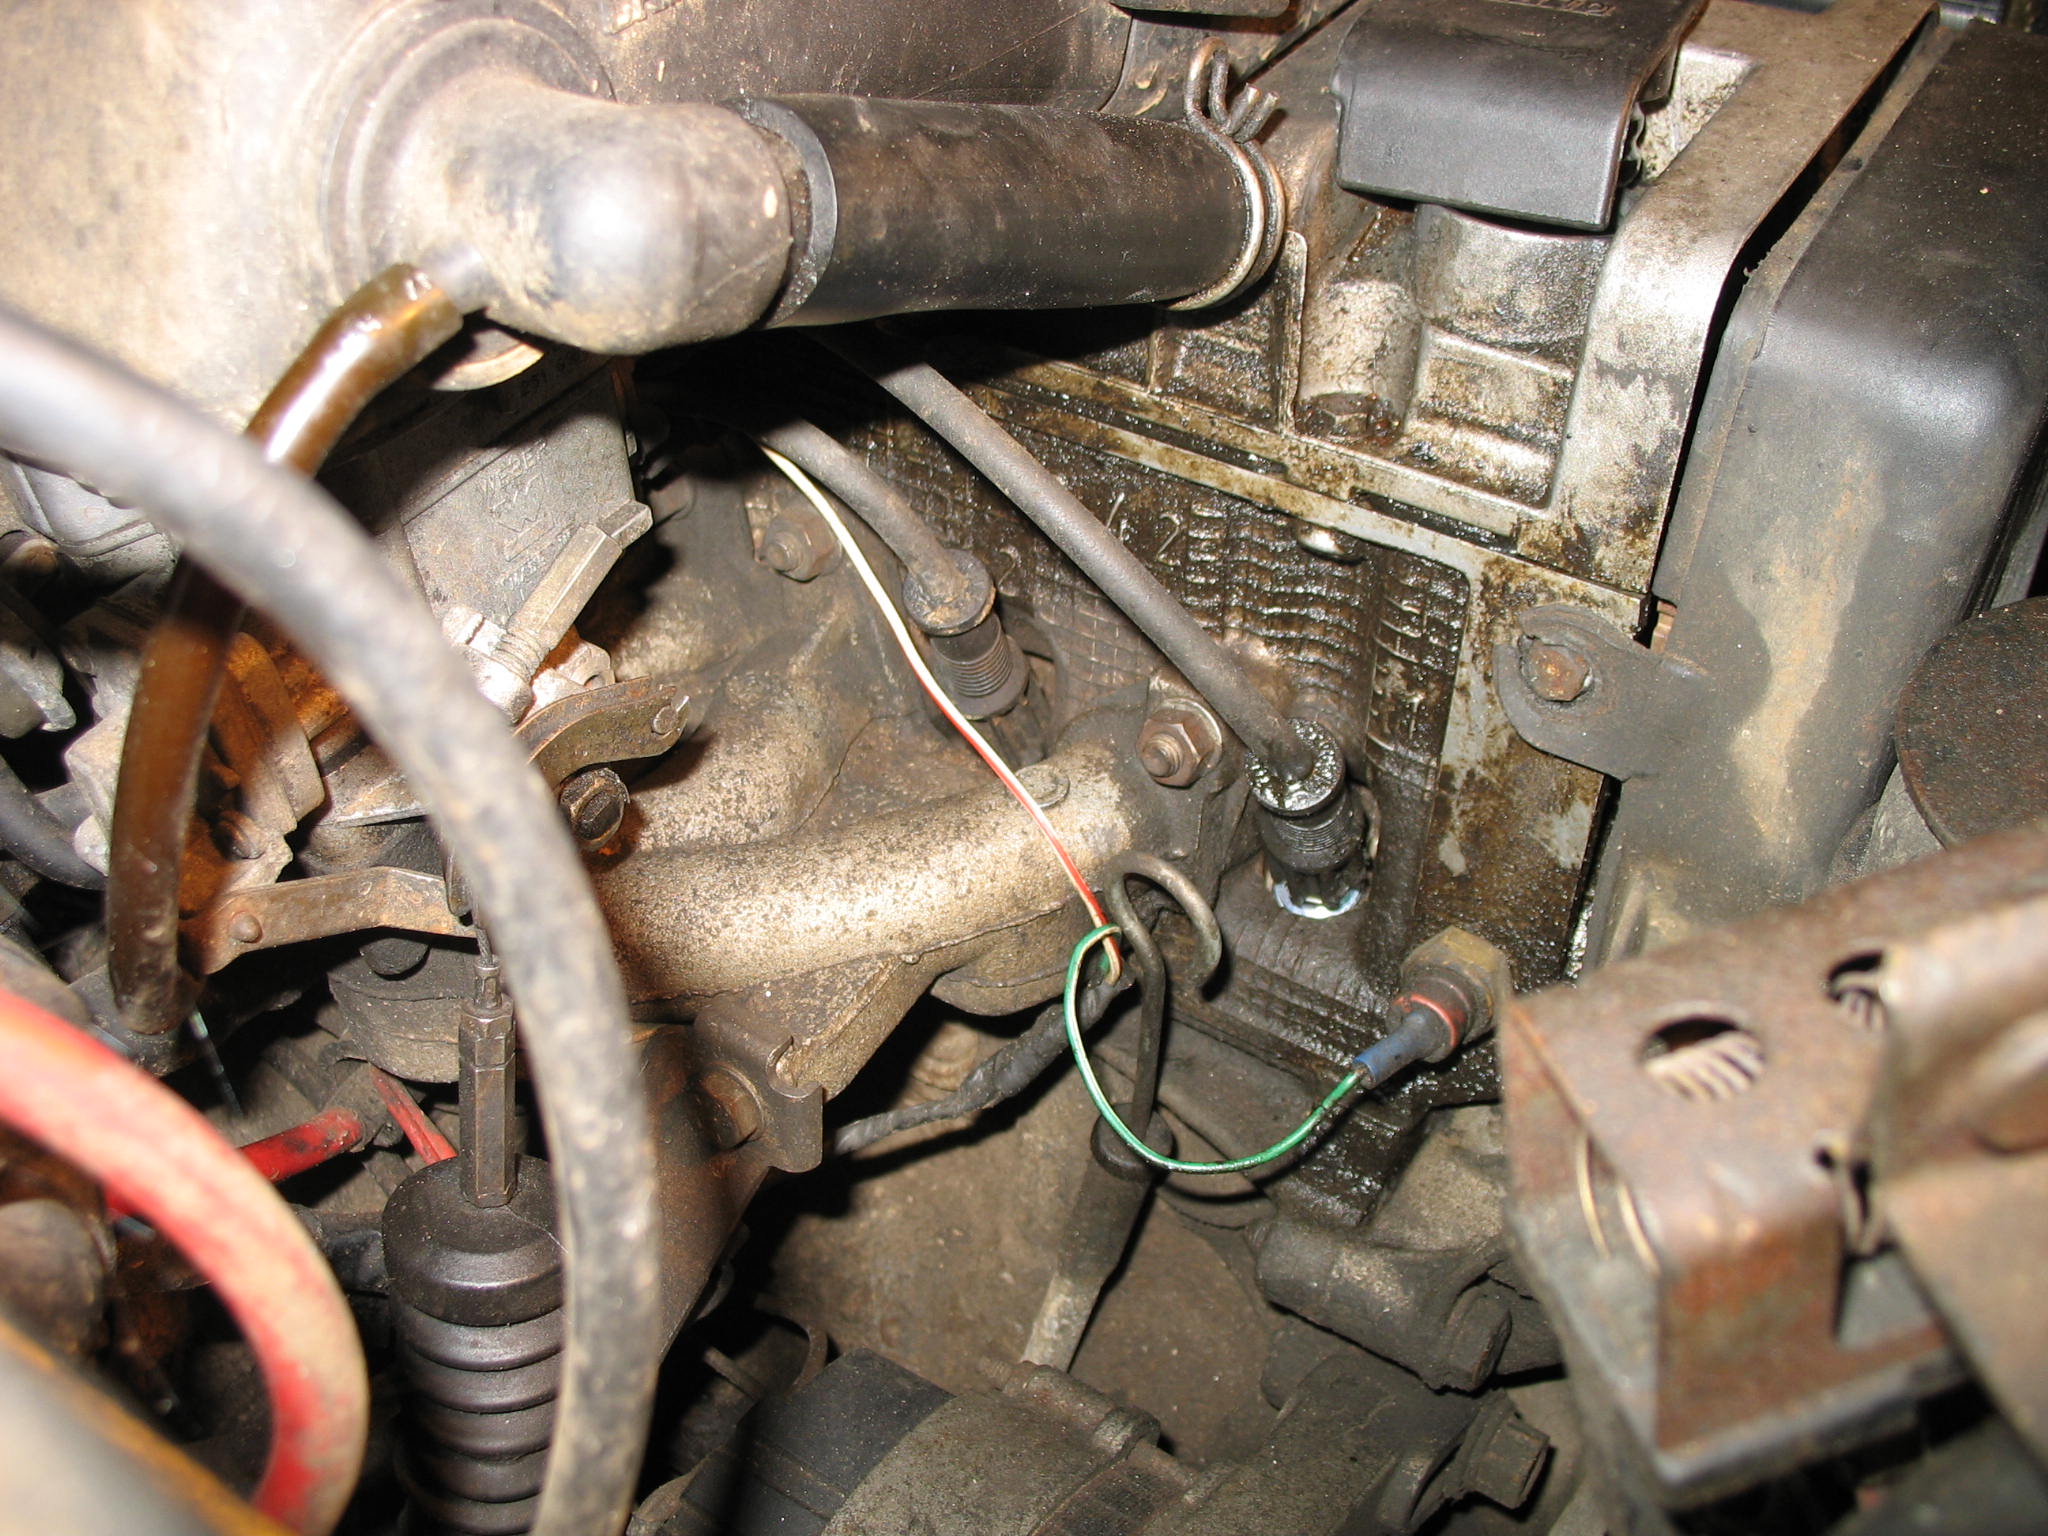
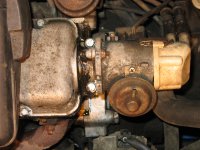
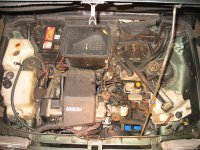
The rest of the engine bay seems to be fine,
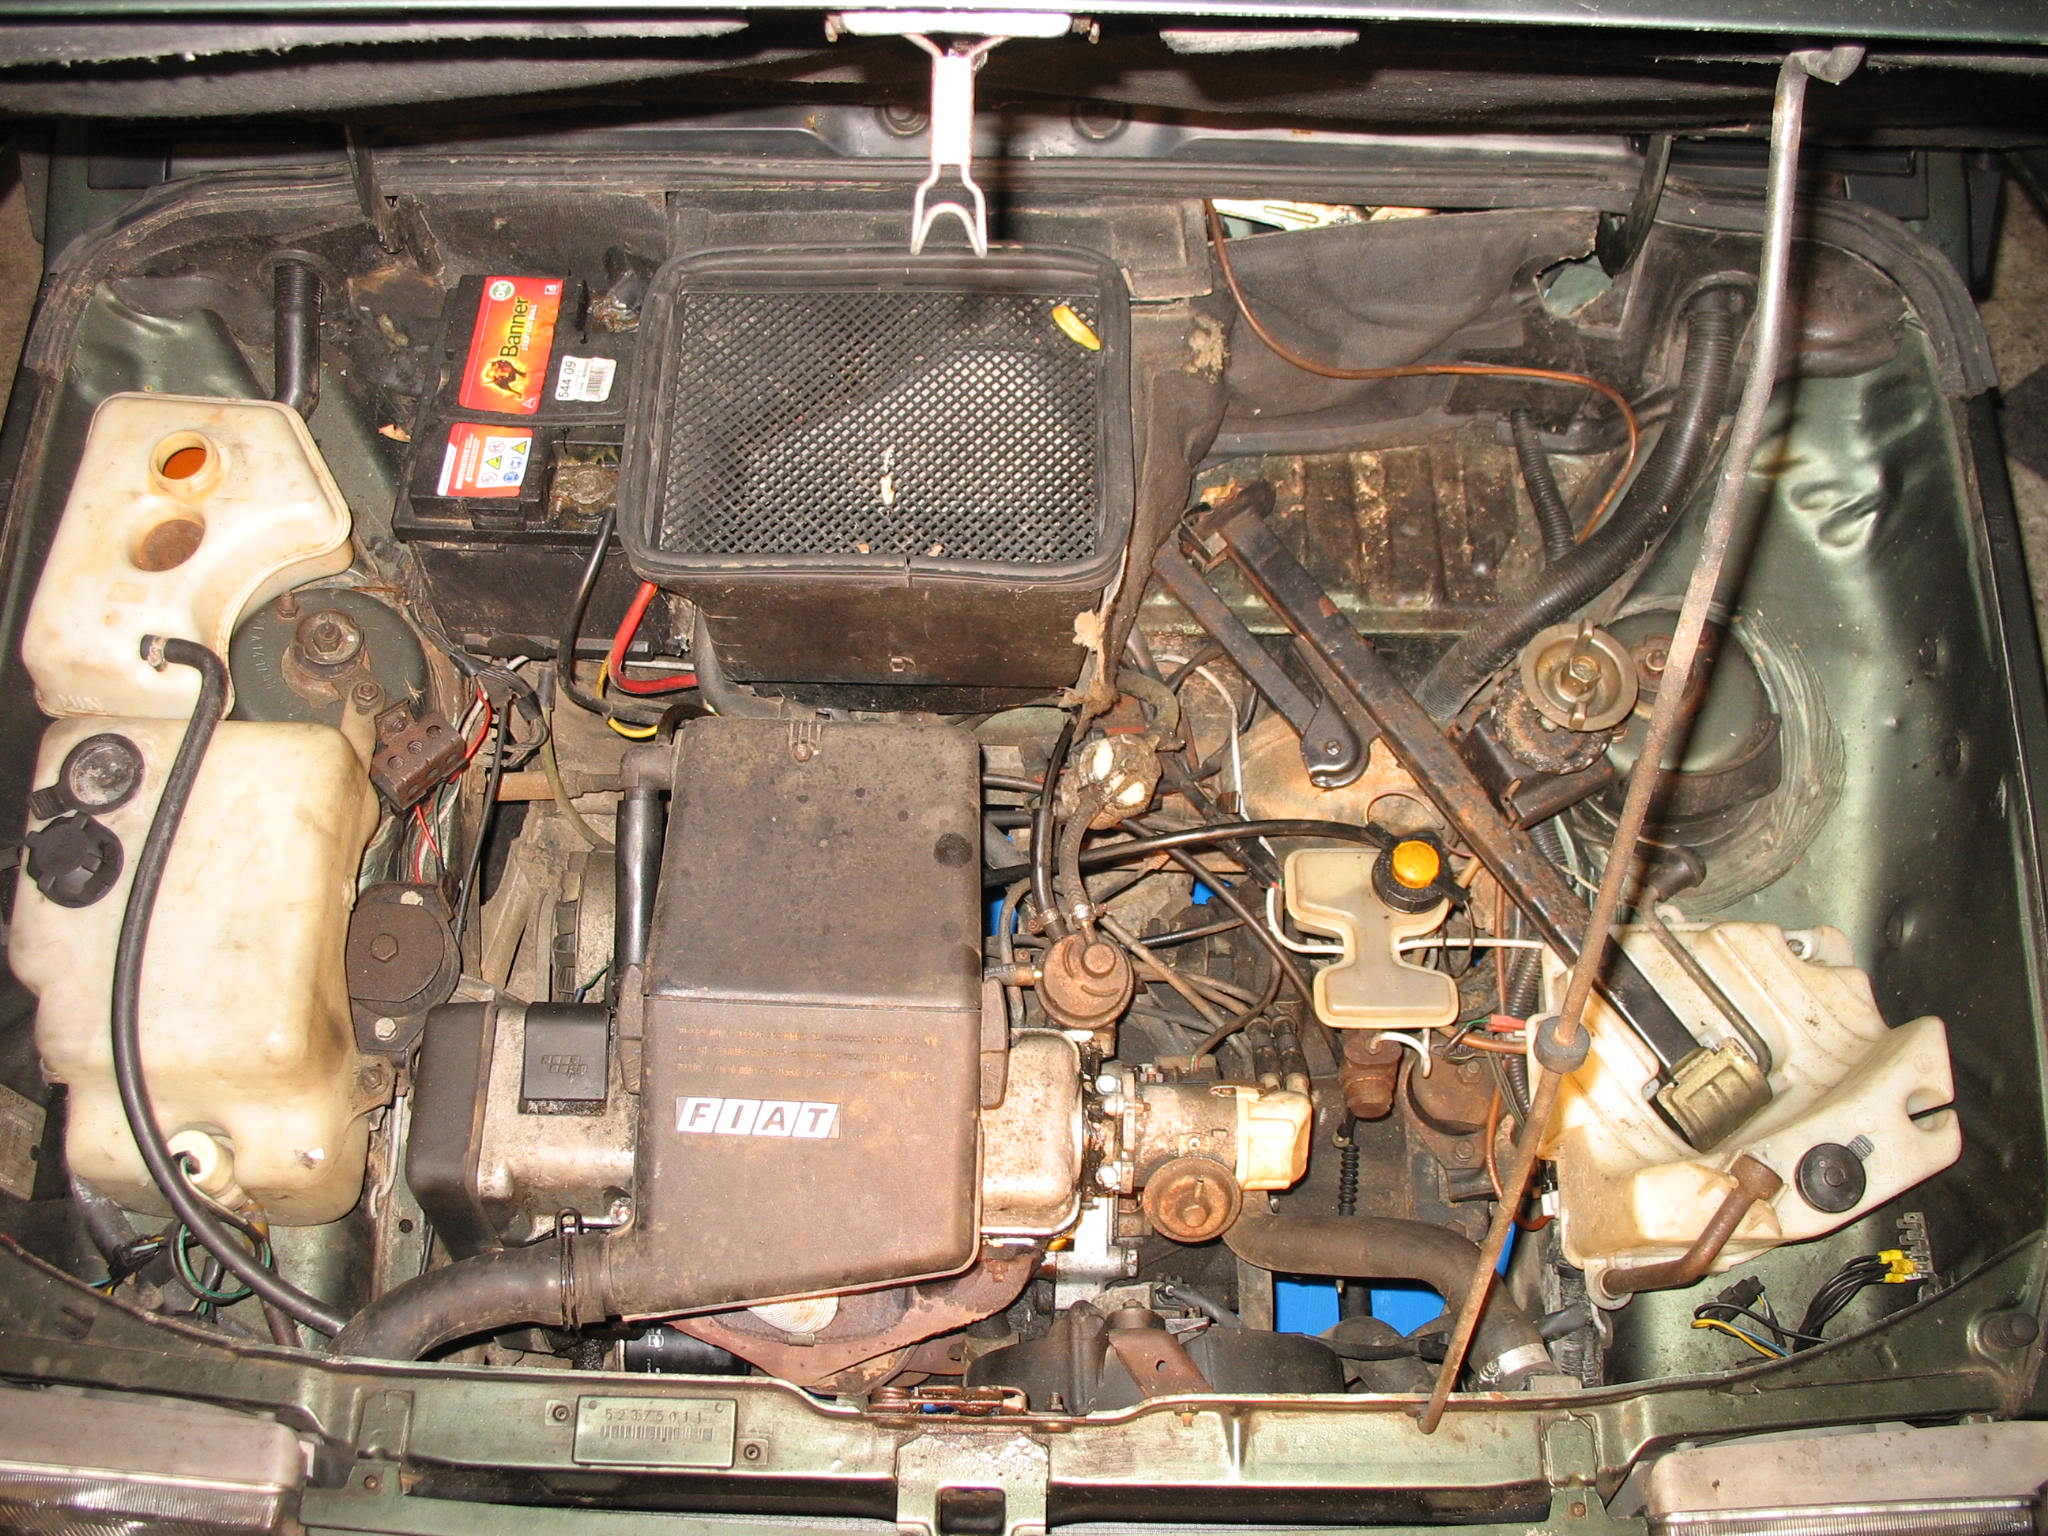
IMG_18791.JPG


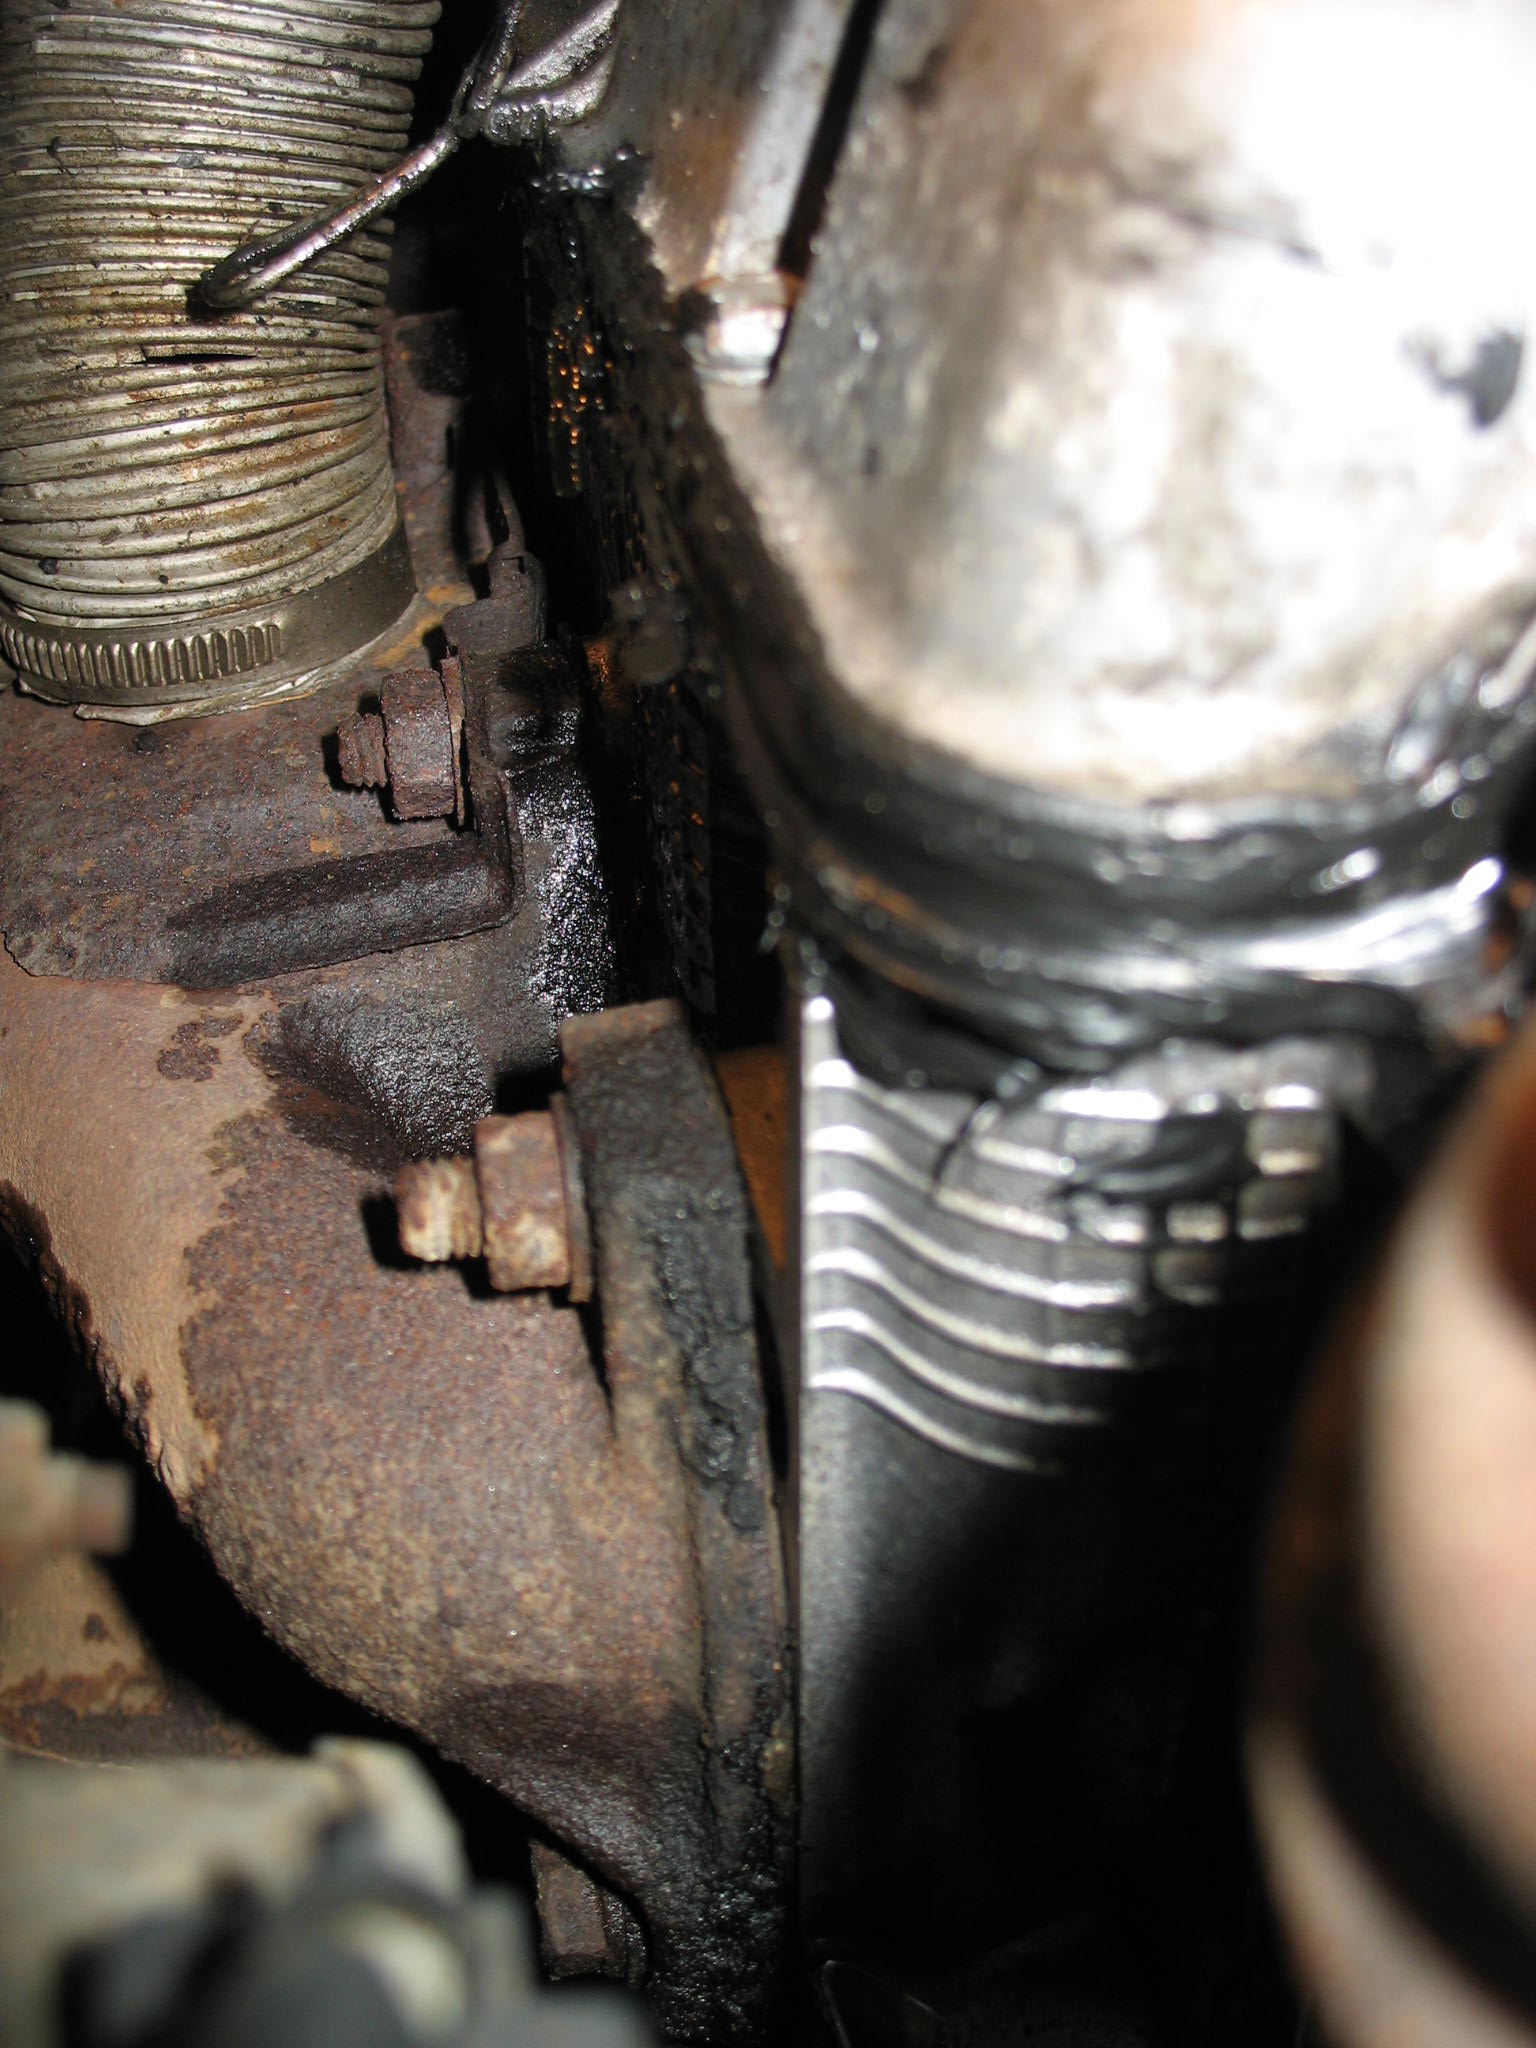
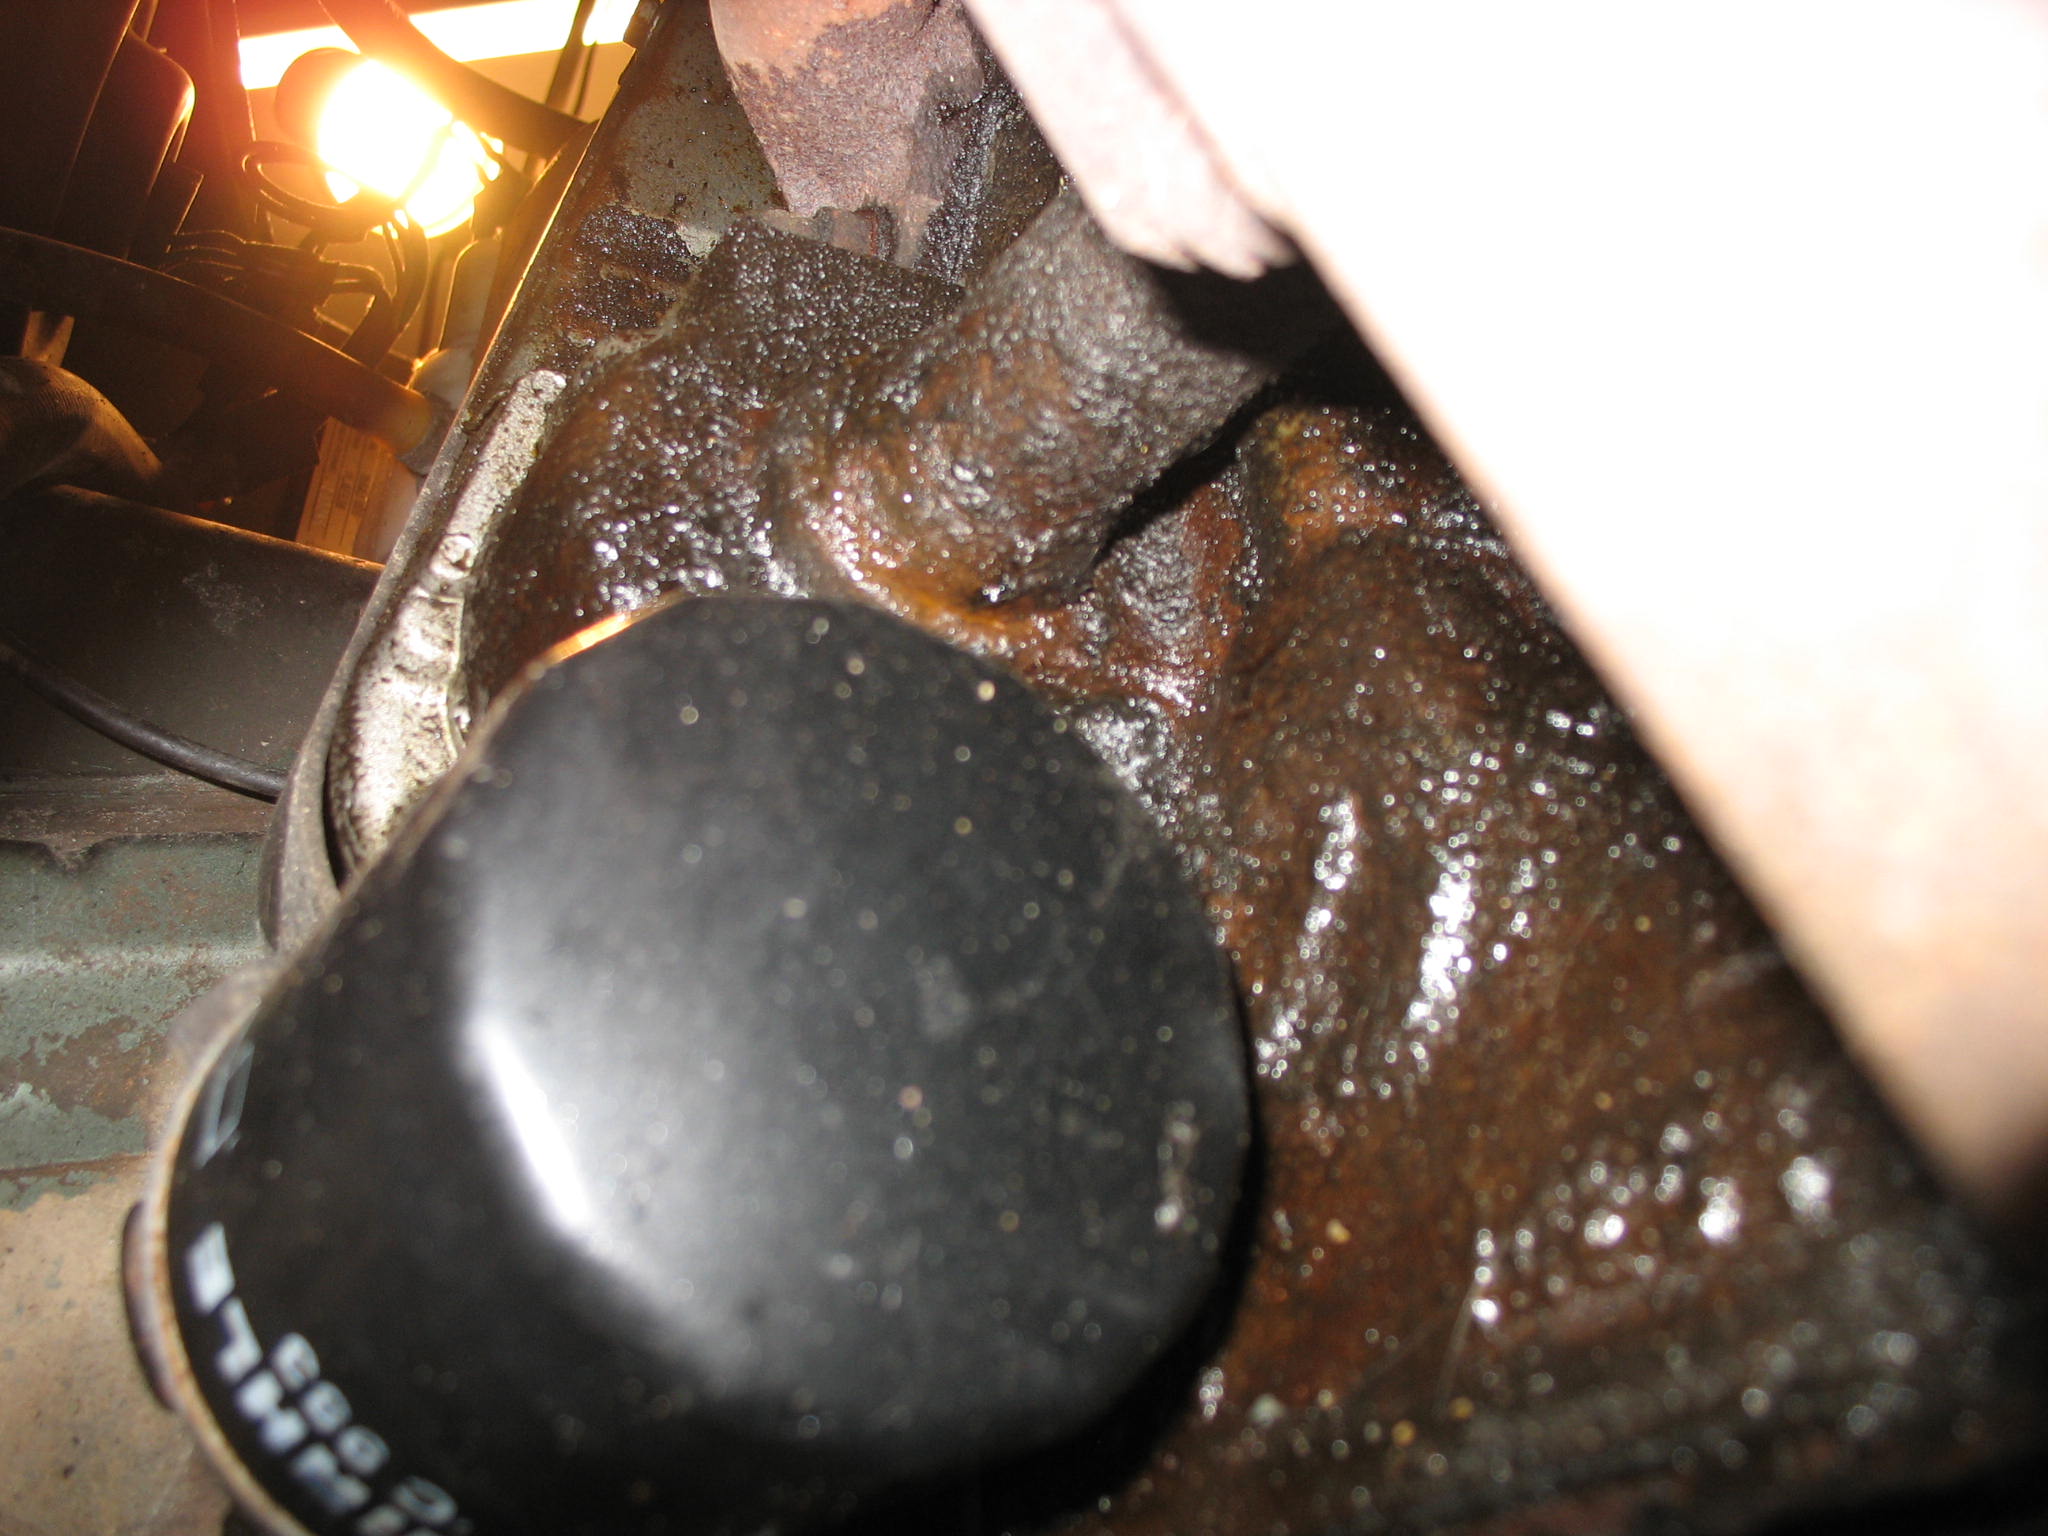
Did somebody in here mentioned a black silicone gunk as a fast repair?
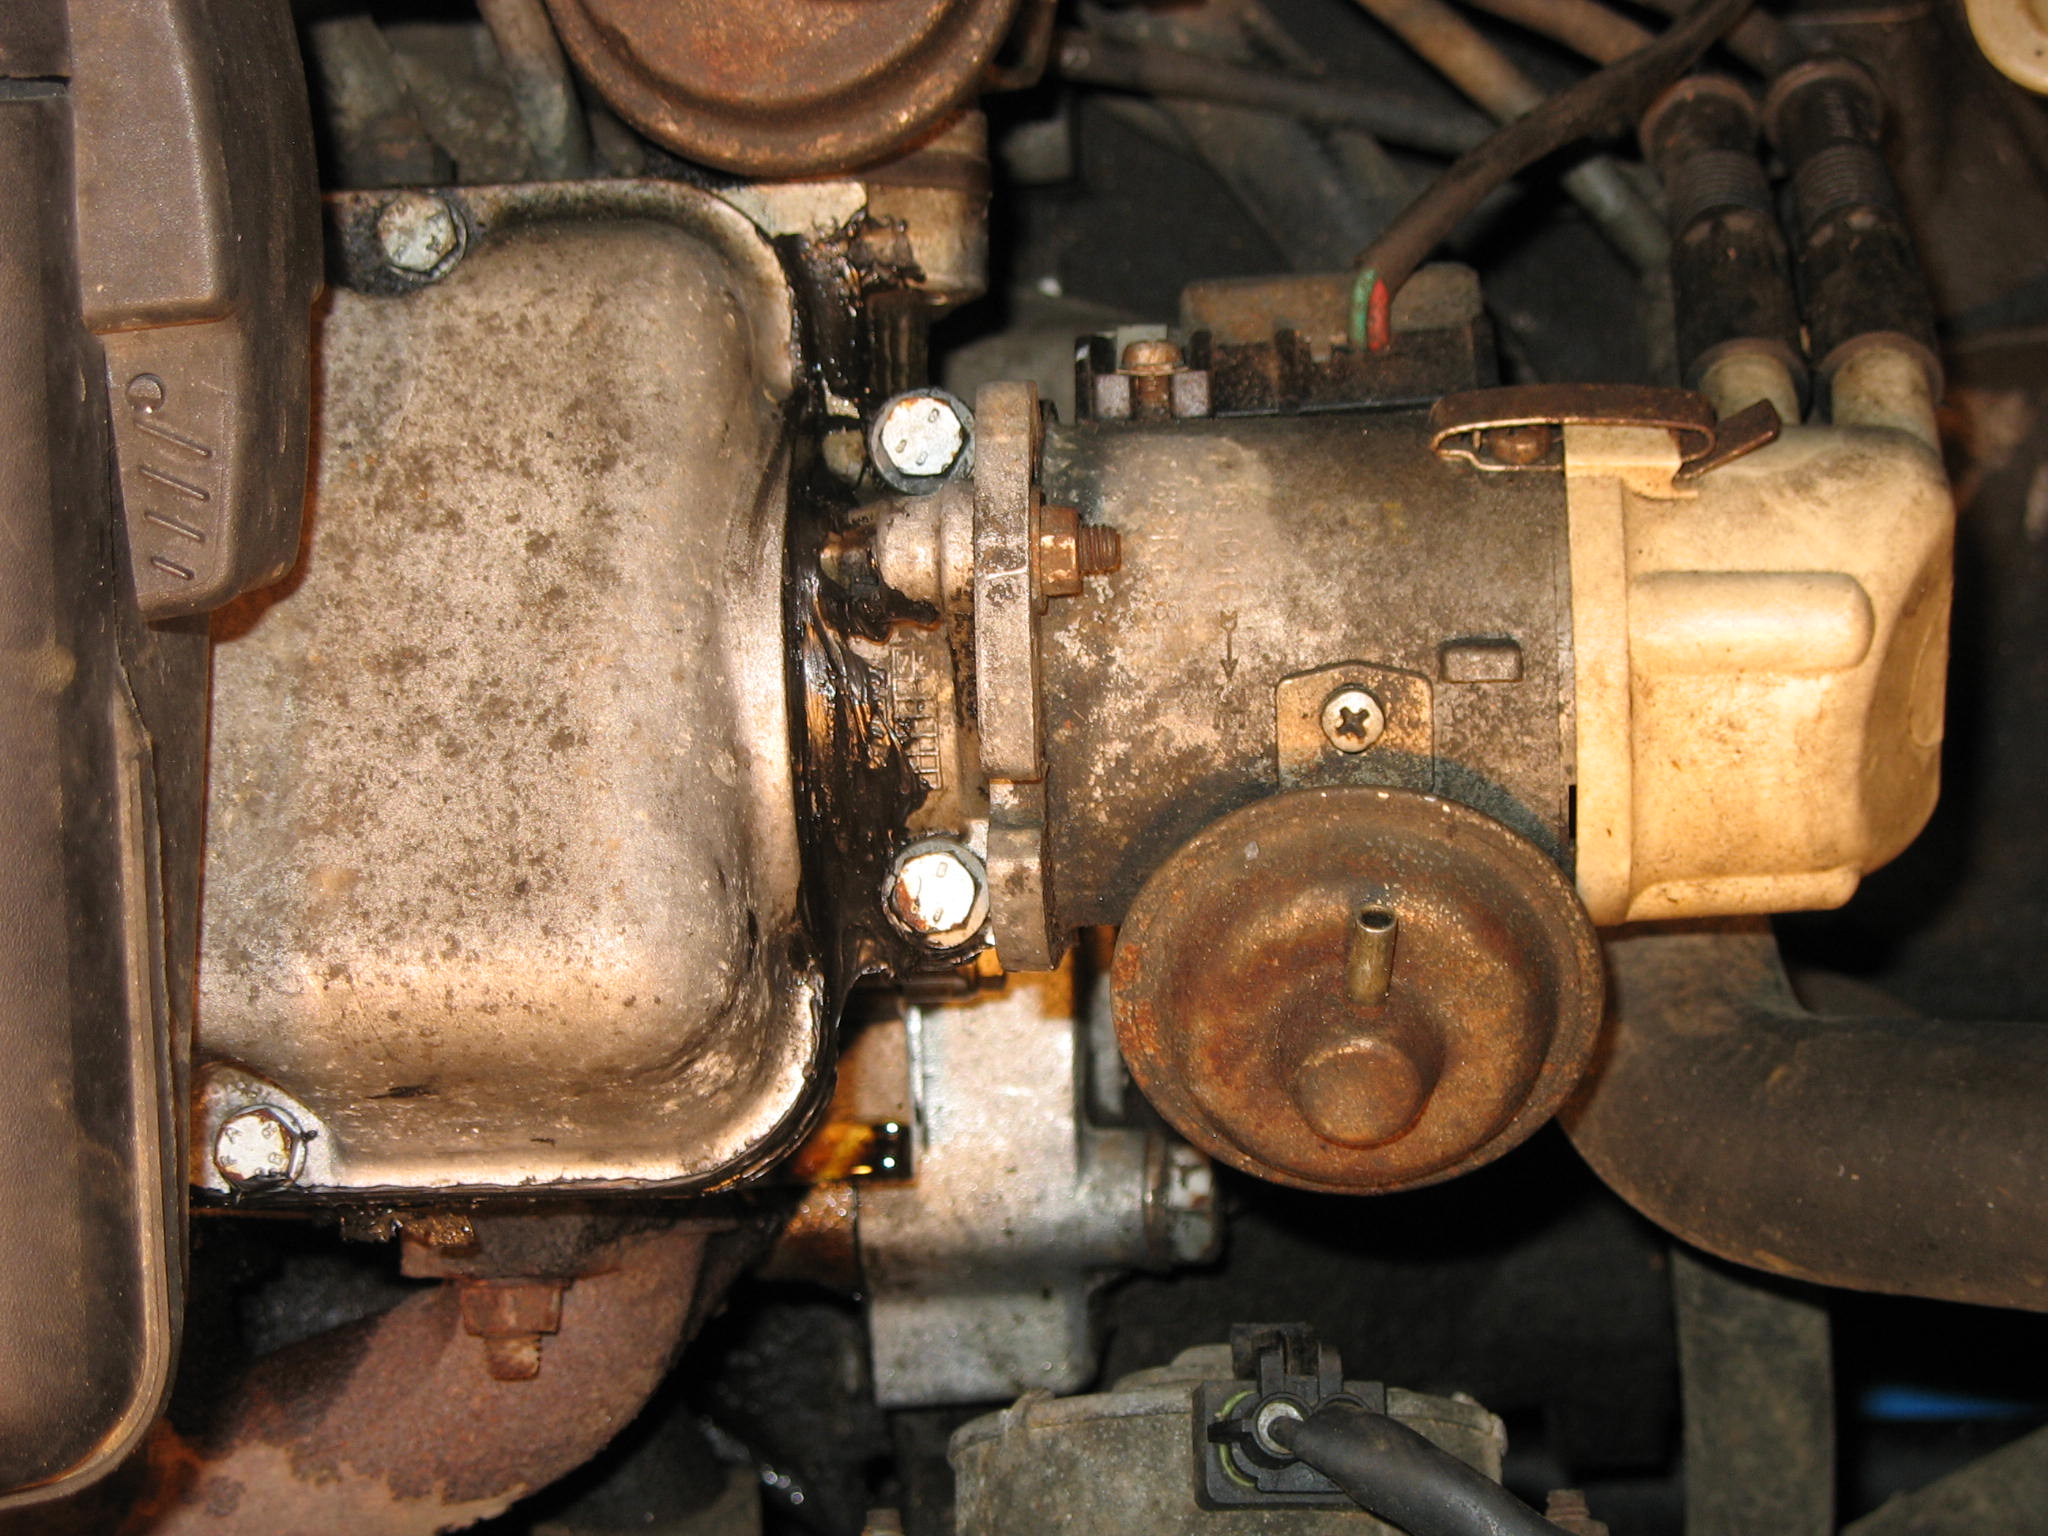
IMG_1878.JPG


IMG_19241.JPG


IMG_18862.JPG


IMG_18821.JPG


IMG_19311.JPG


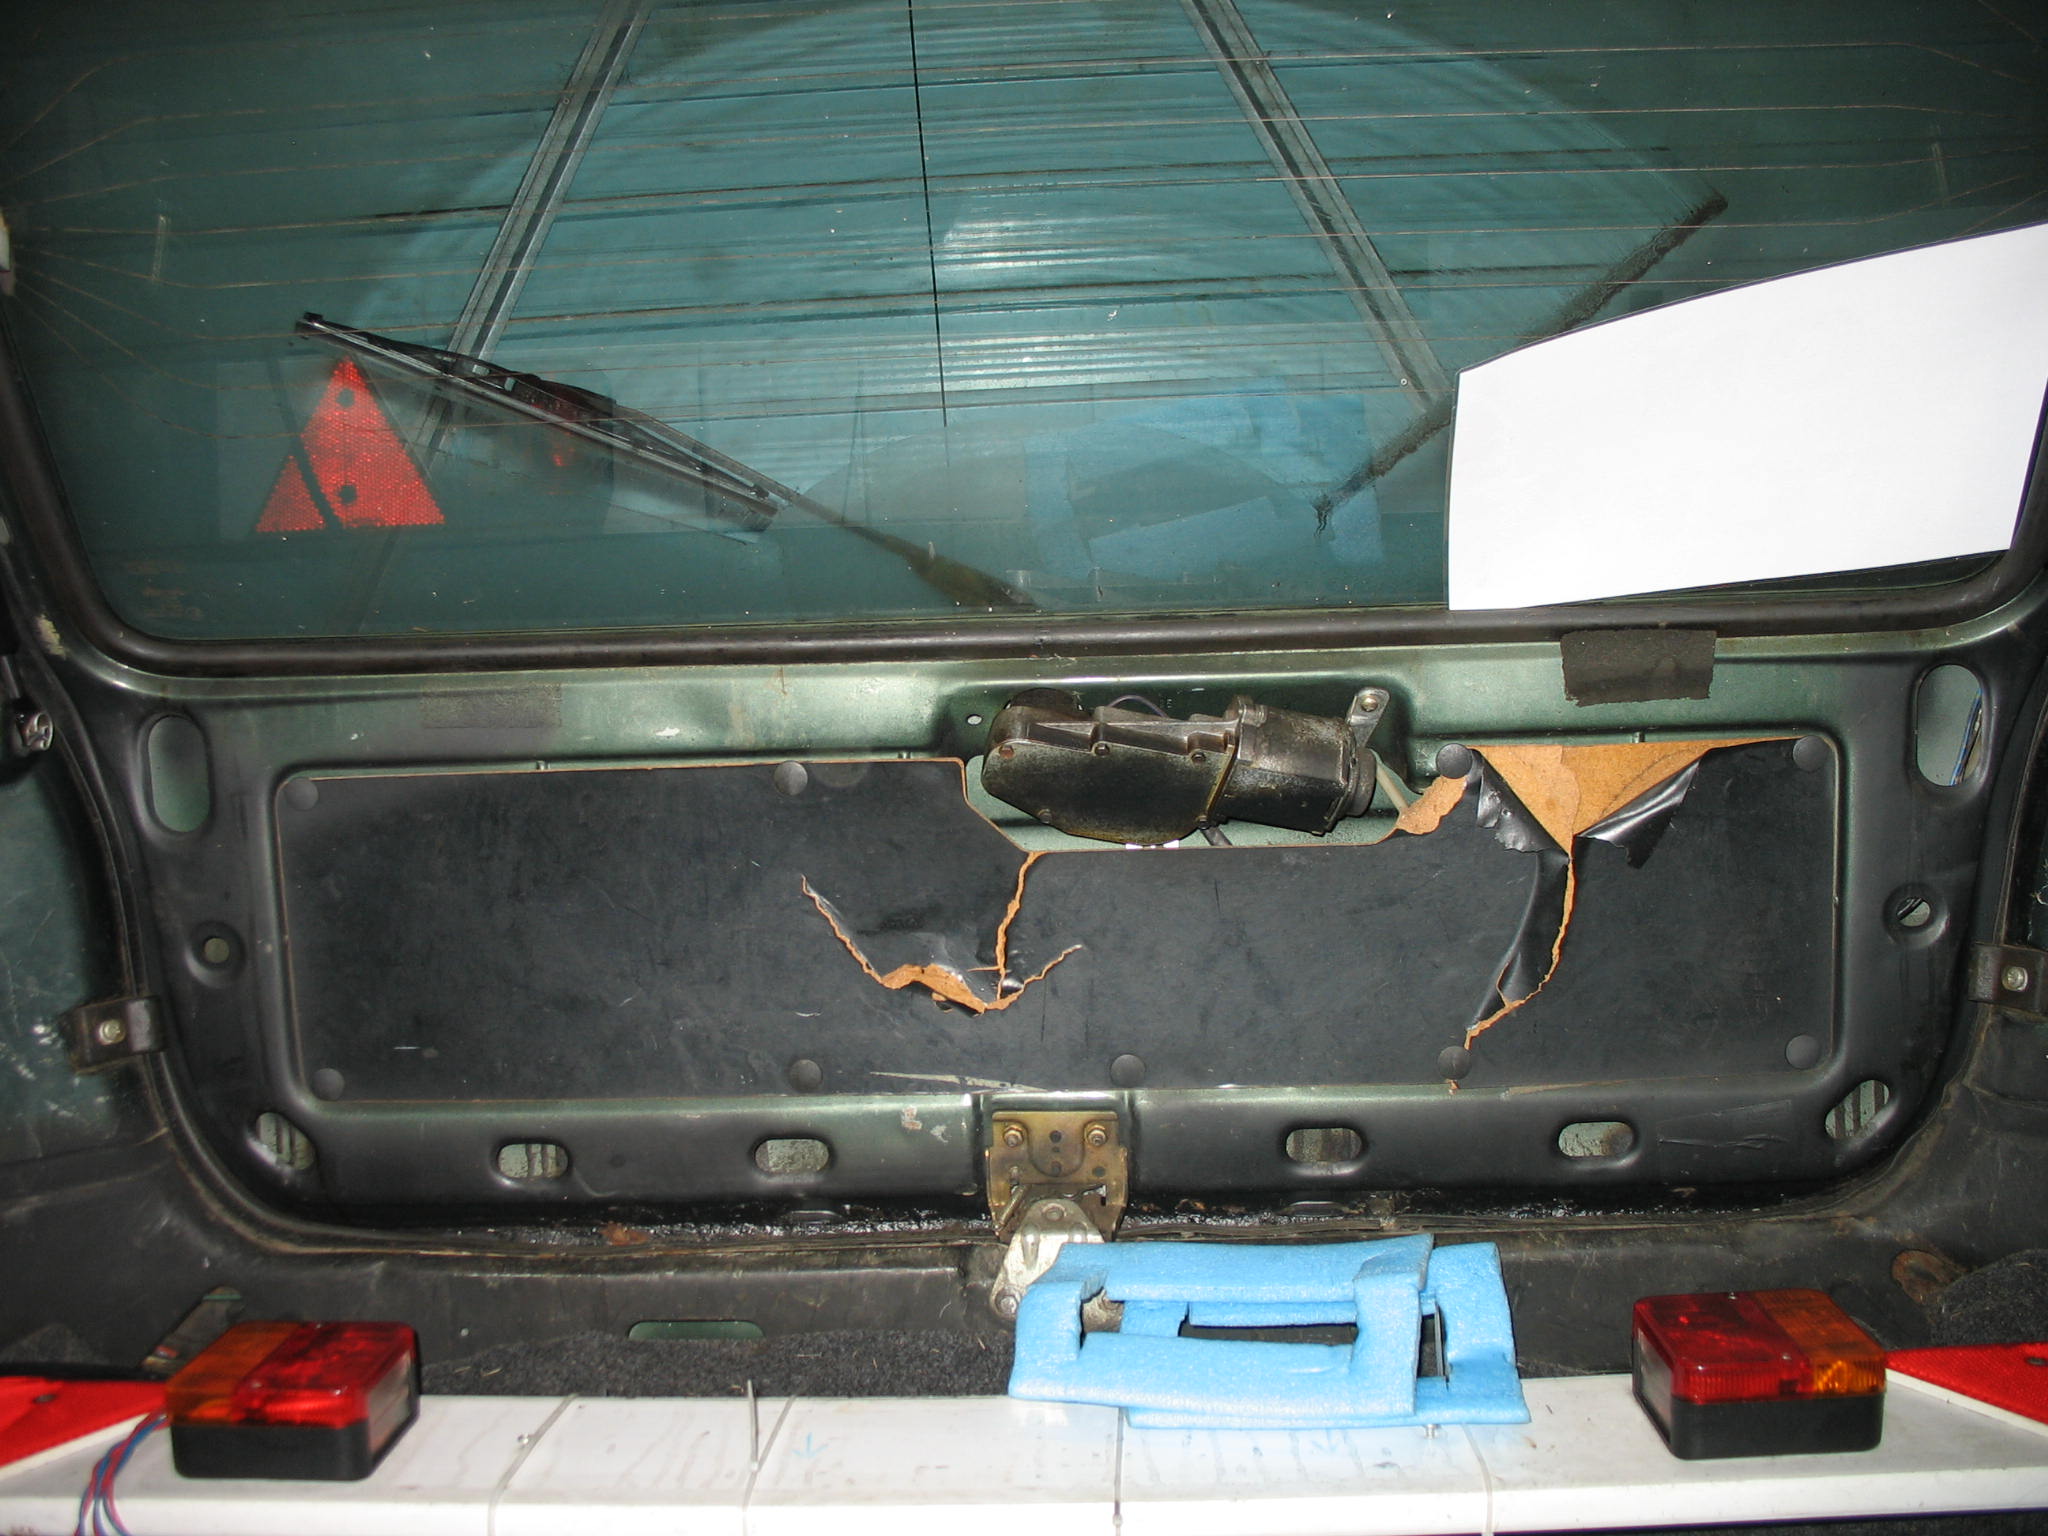
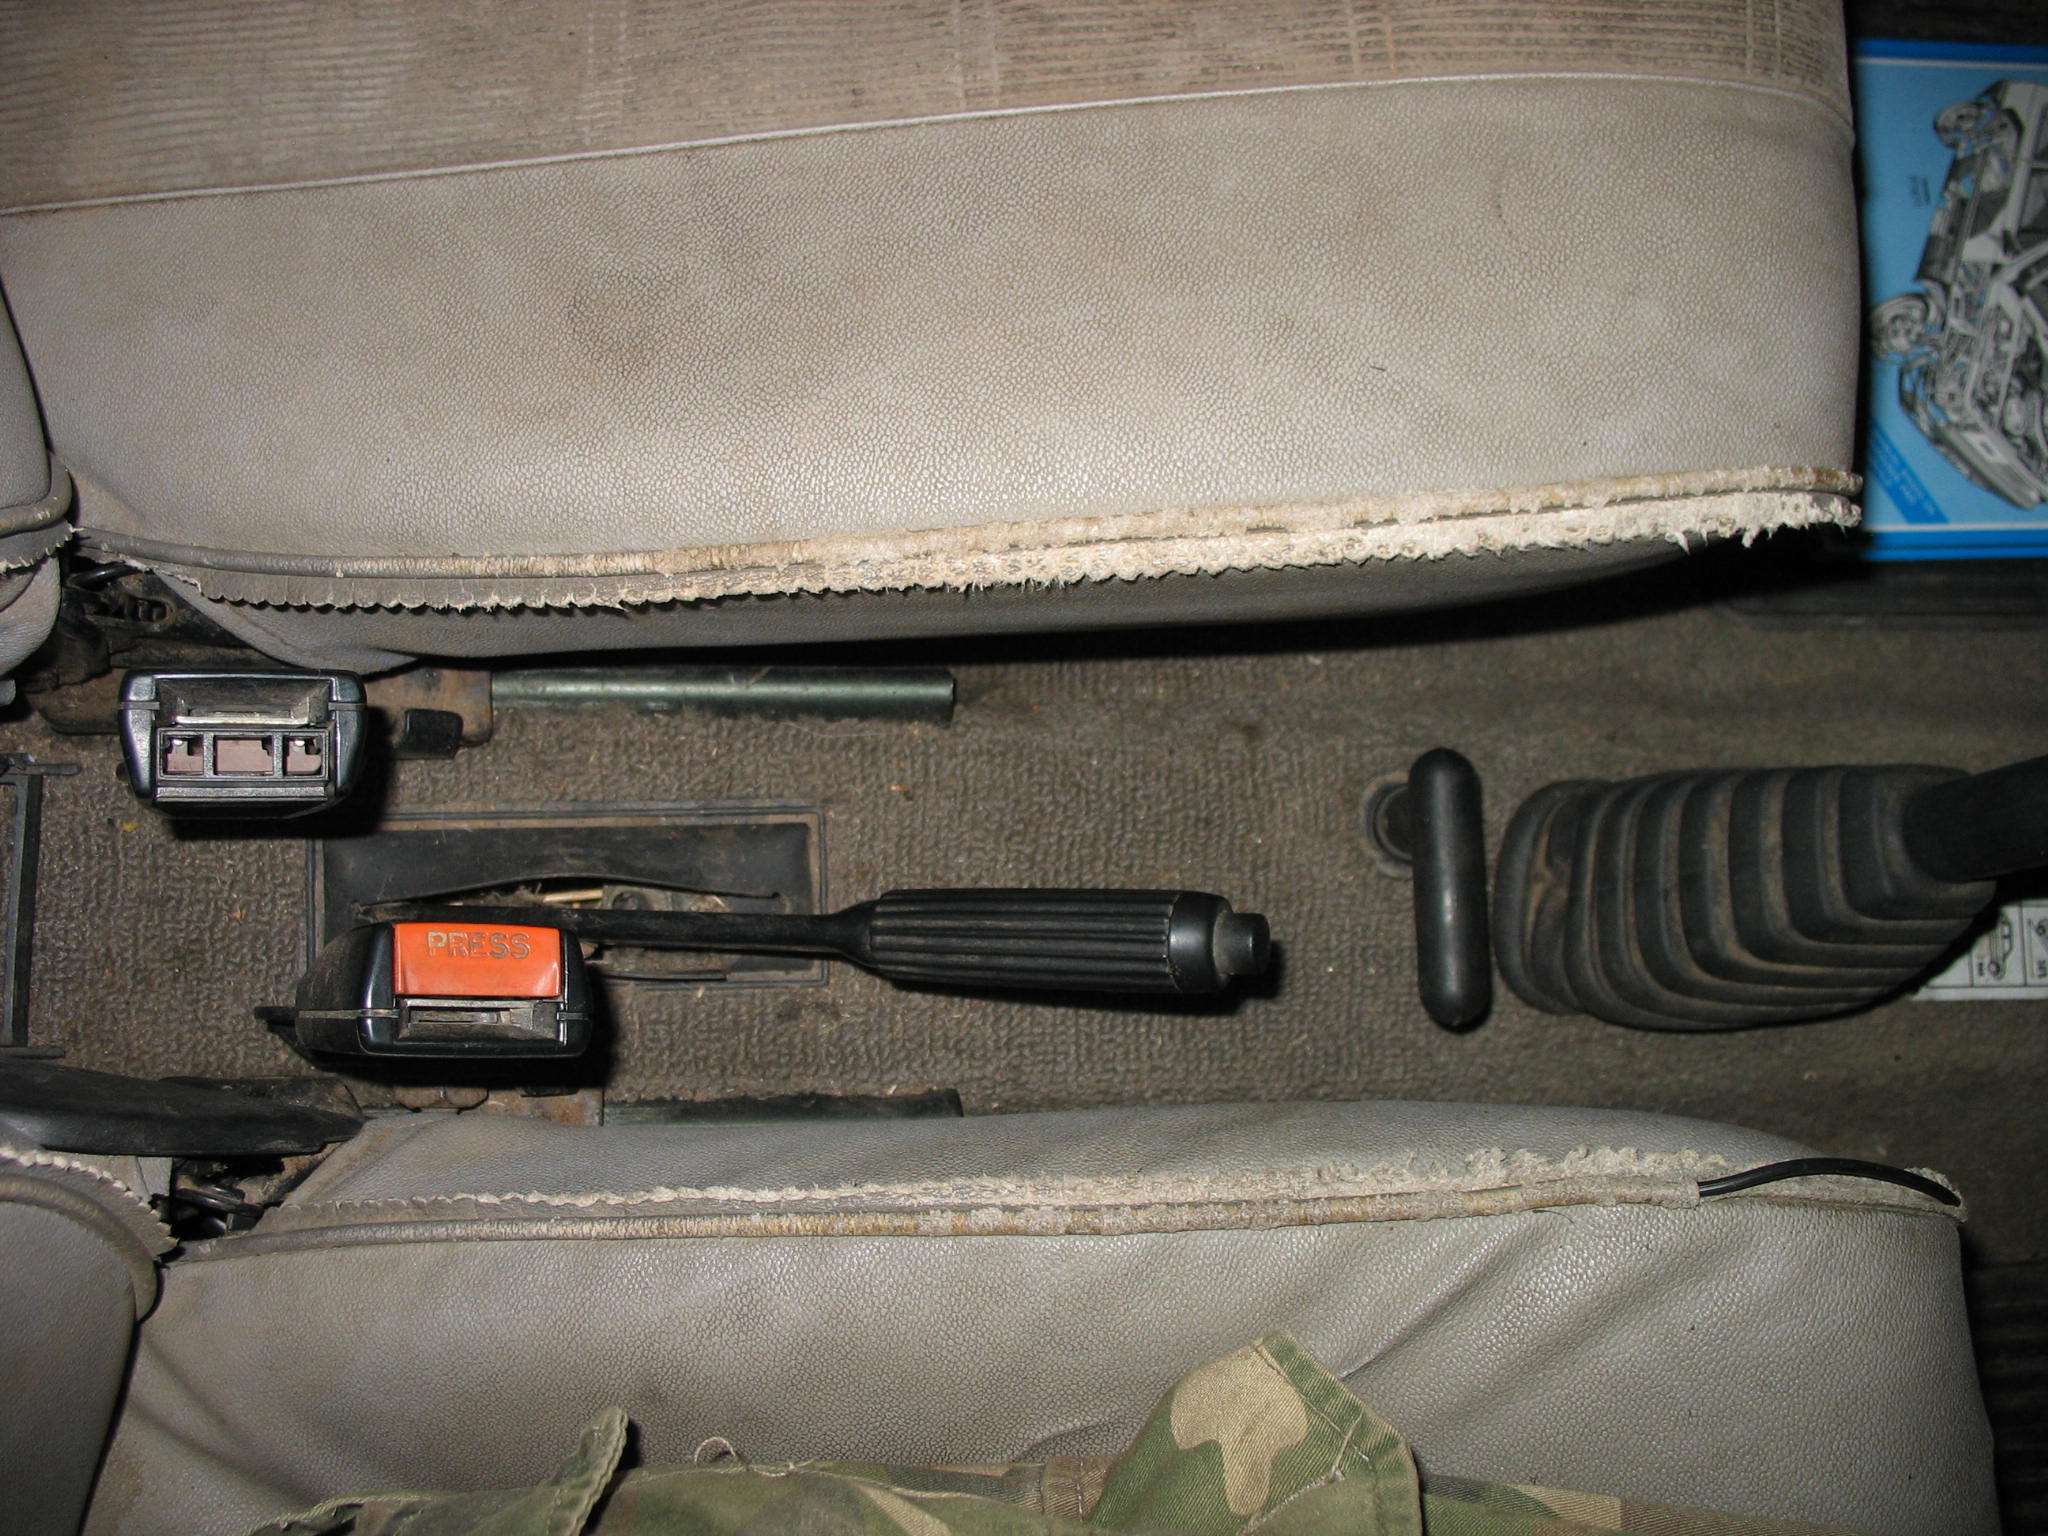
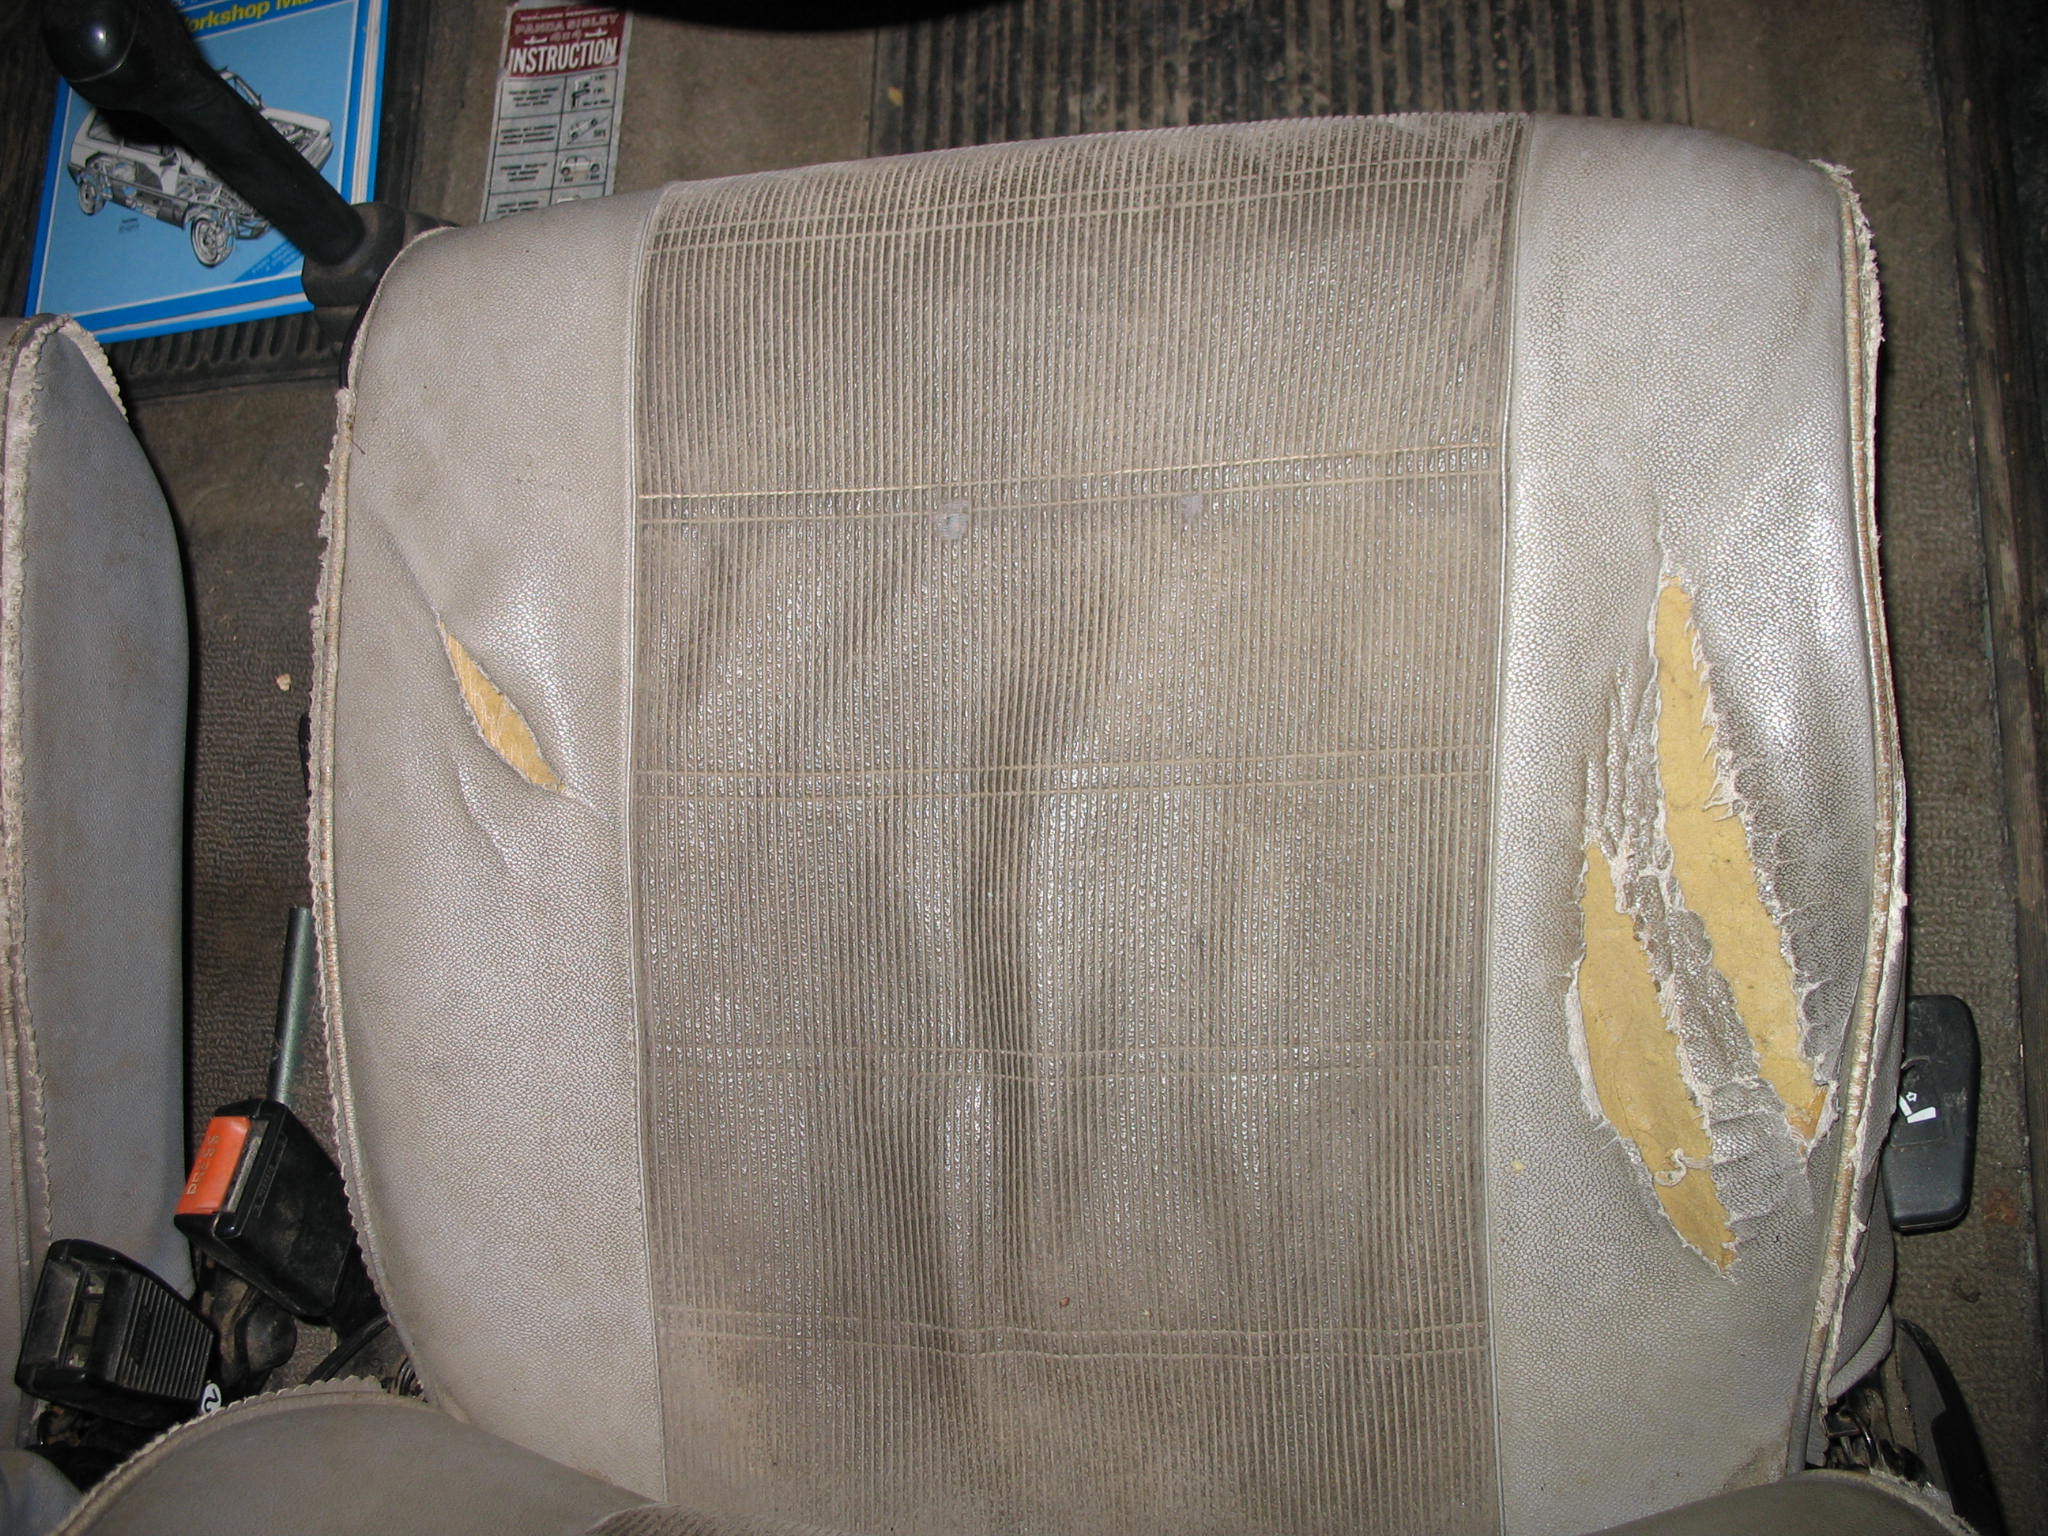
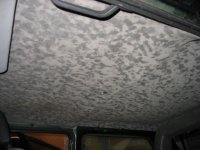
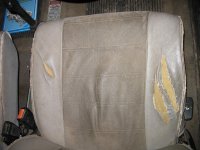
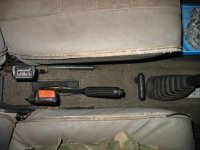
Interior as you can expect from car been used on a farm
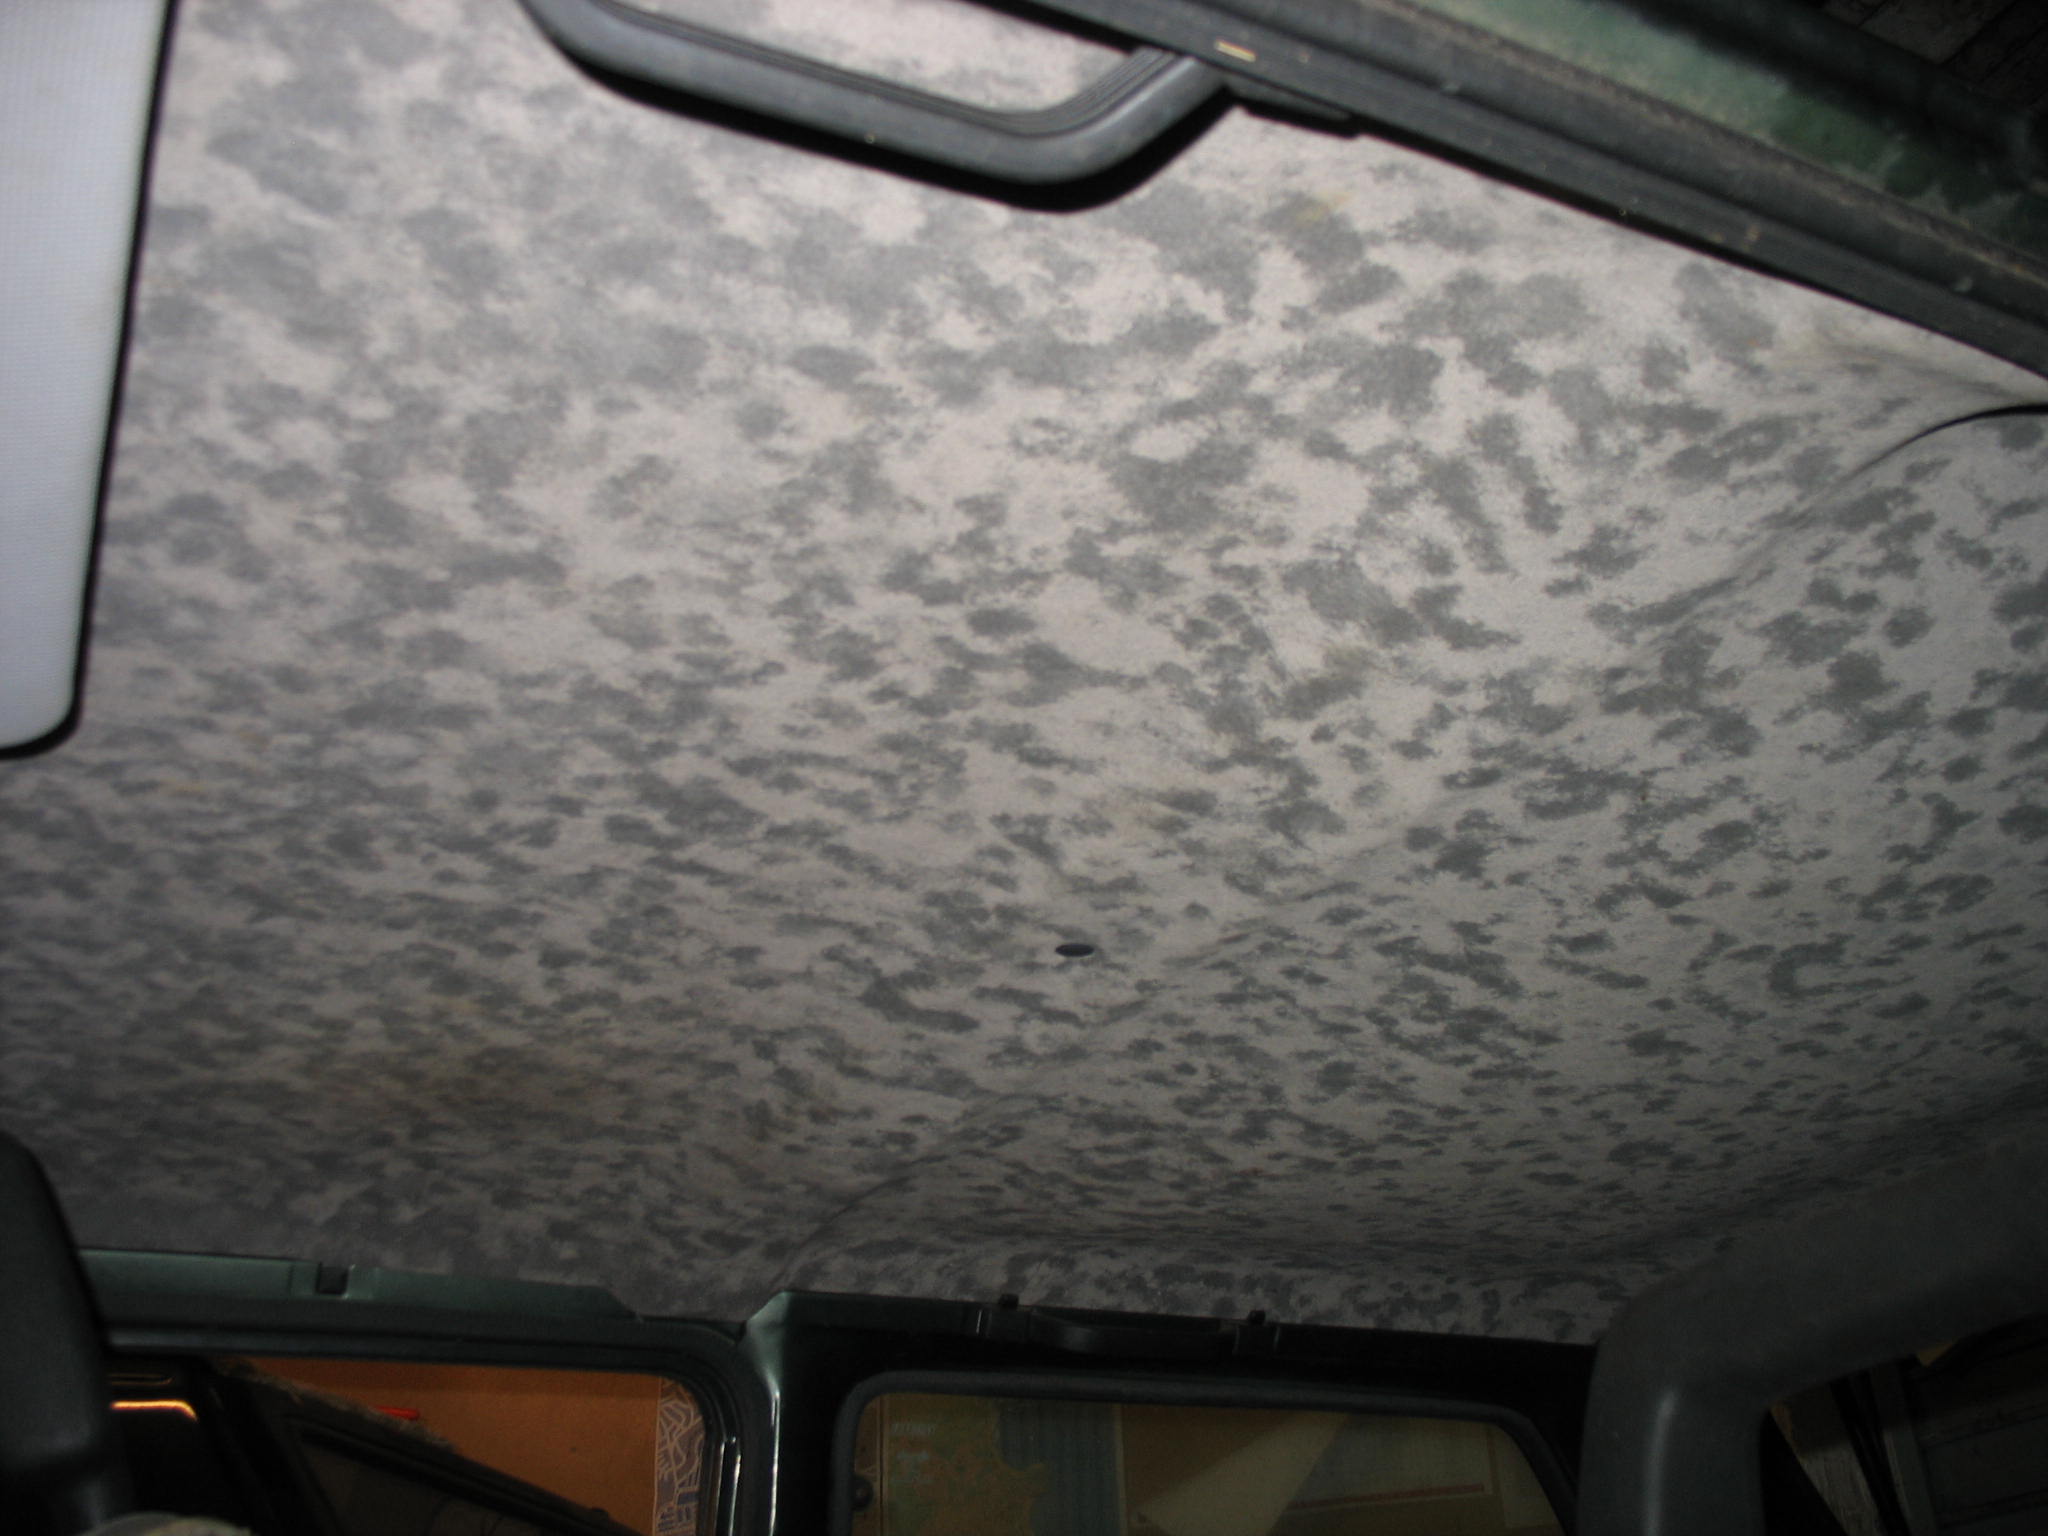
IMG_19102.JPG


IMG_18901.JPG


IMG_1874.JPG


IMG_19373.JPG


IMG_19364.JPG


IMG_19384.JPG


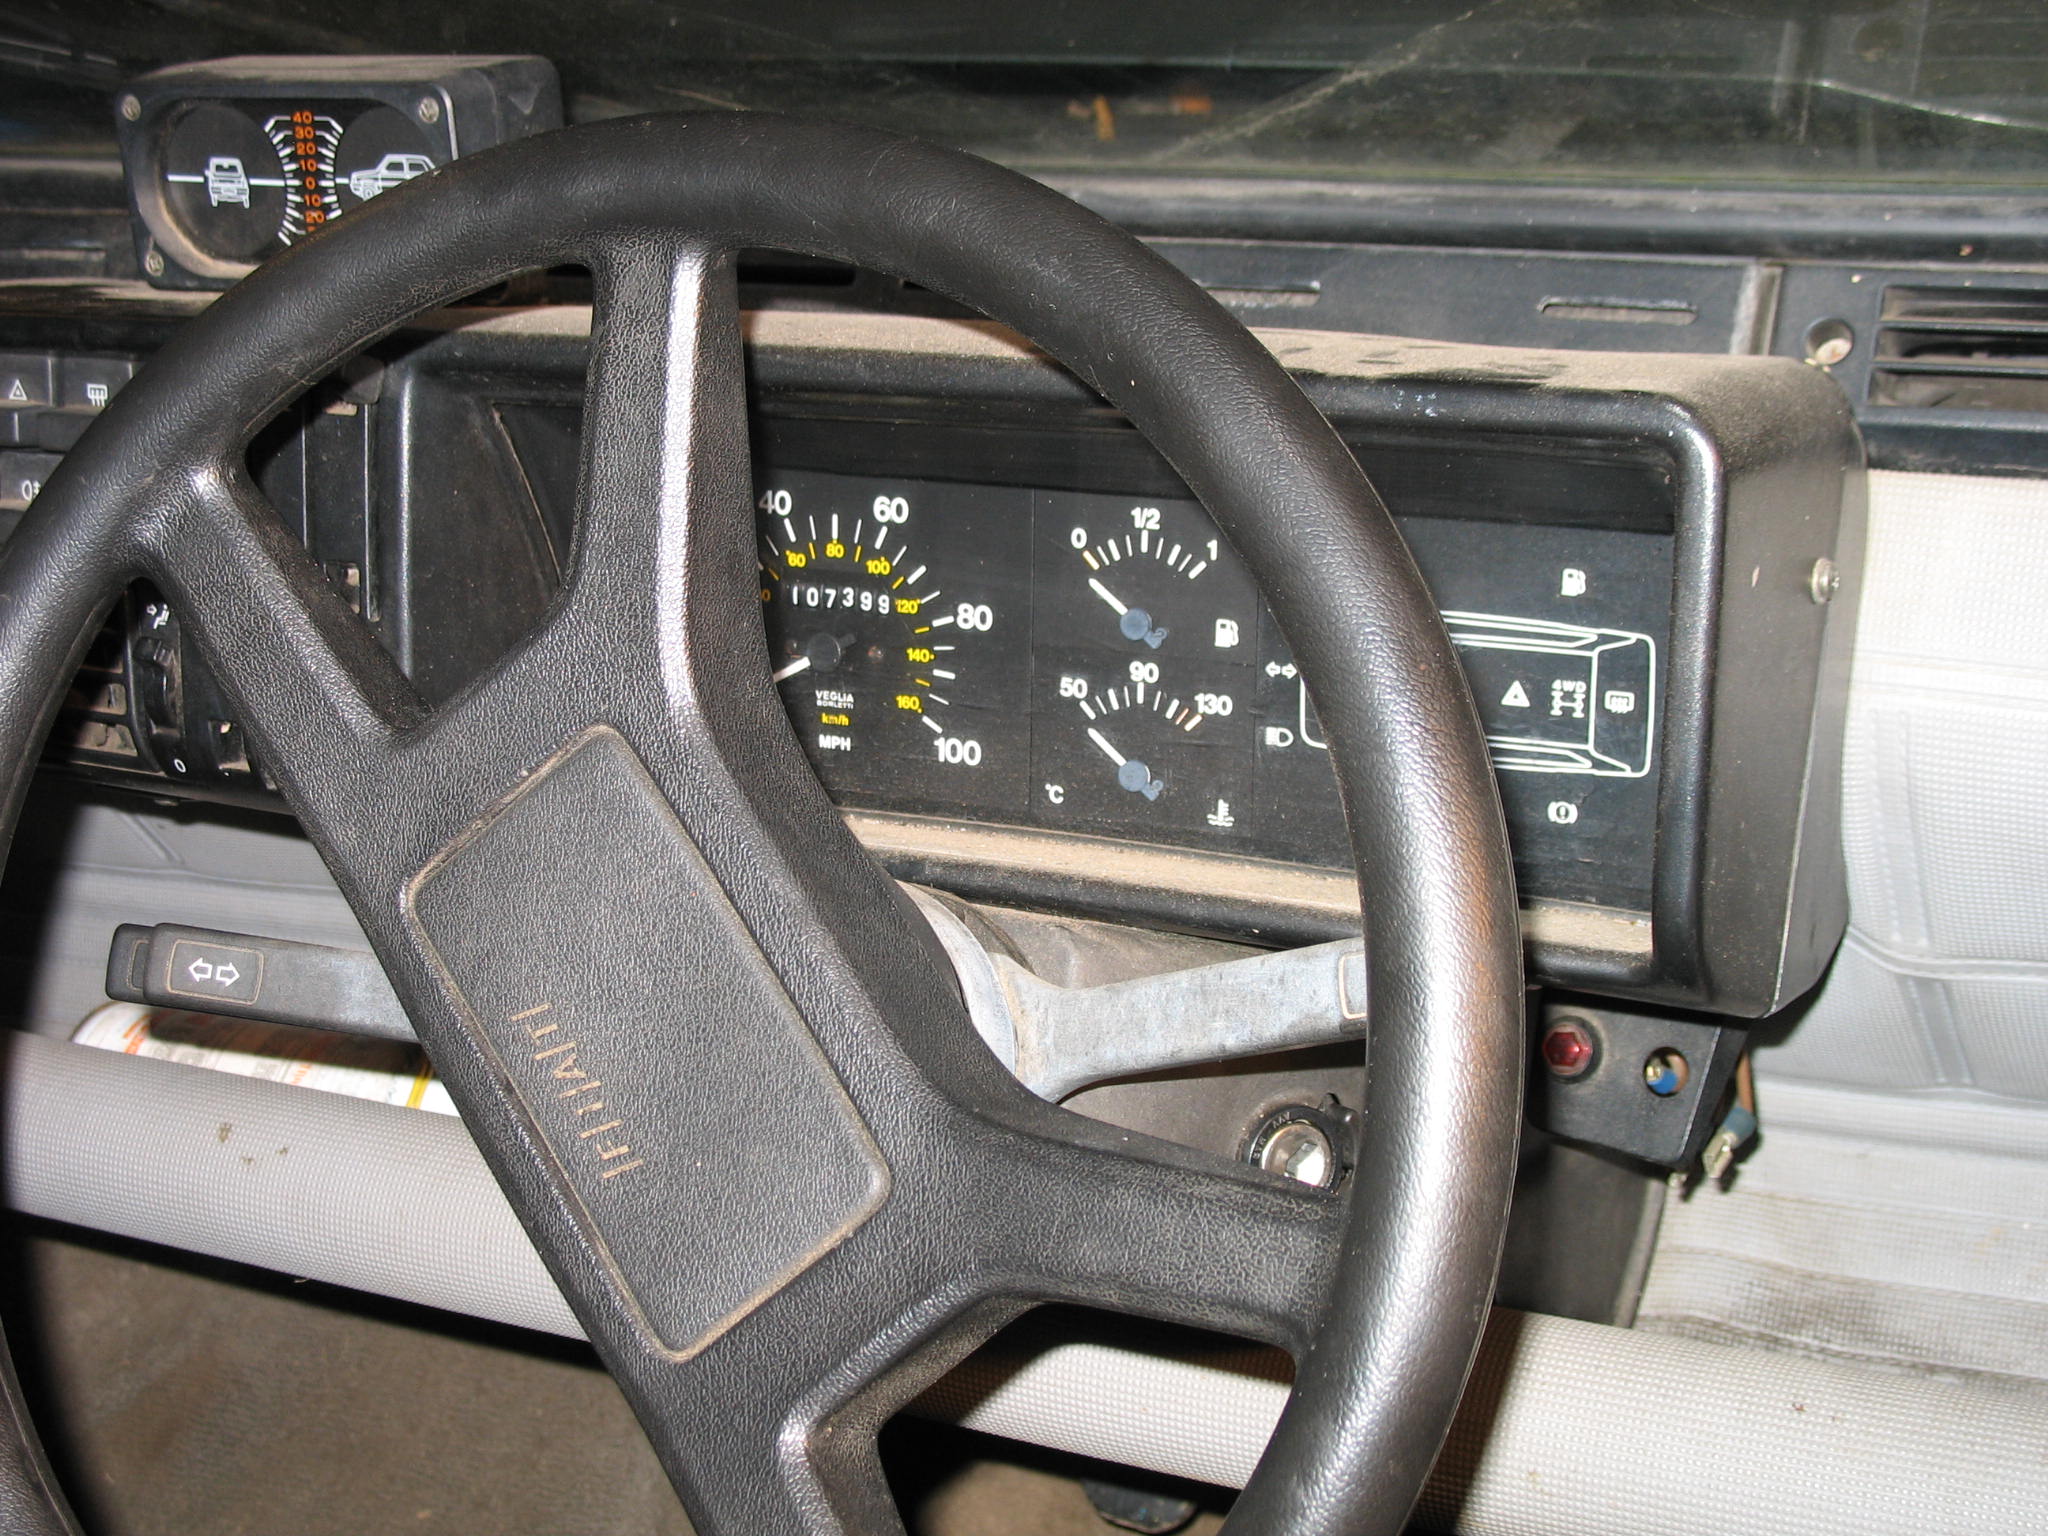
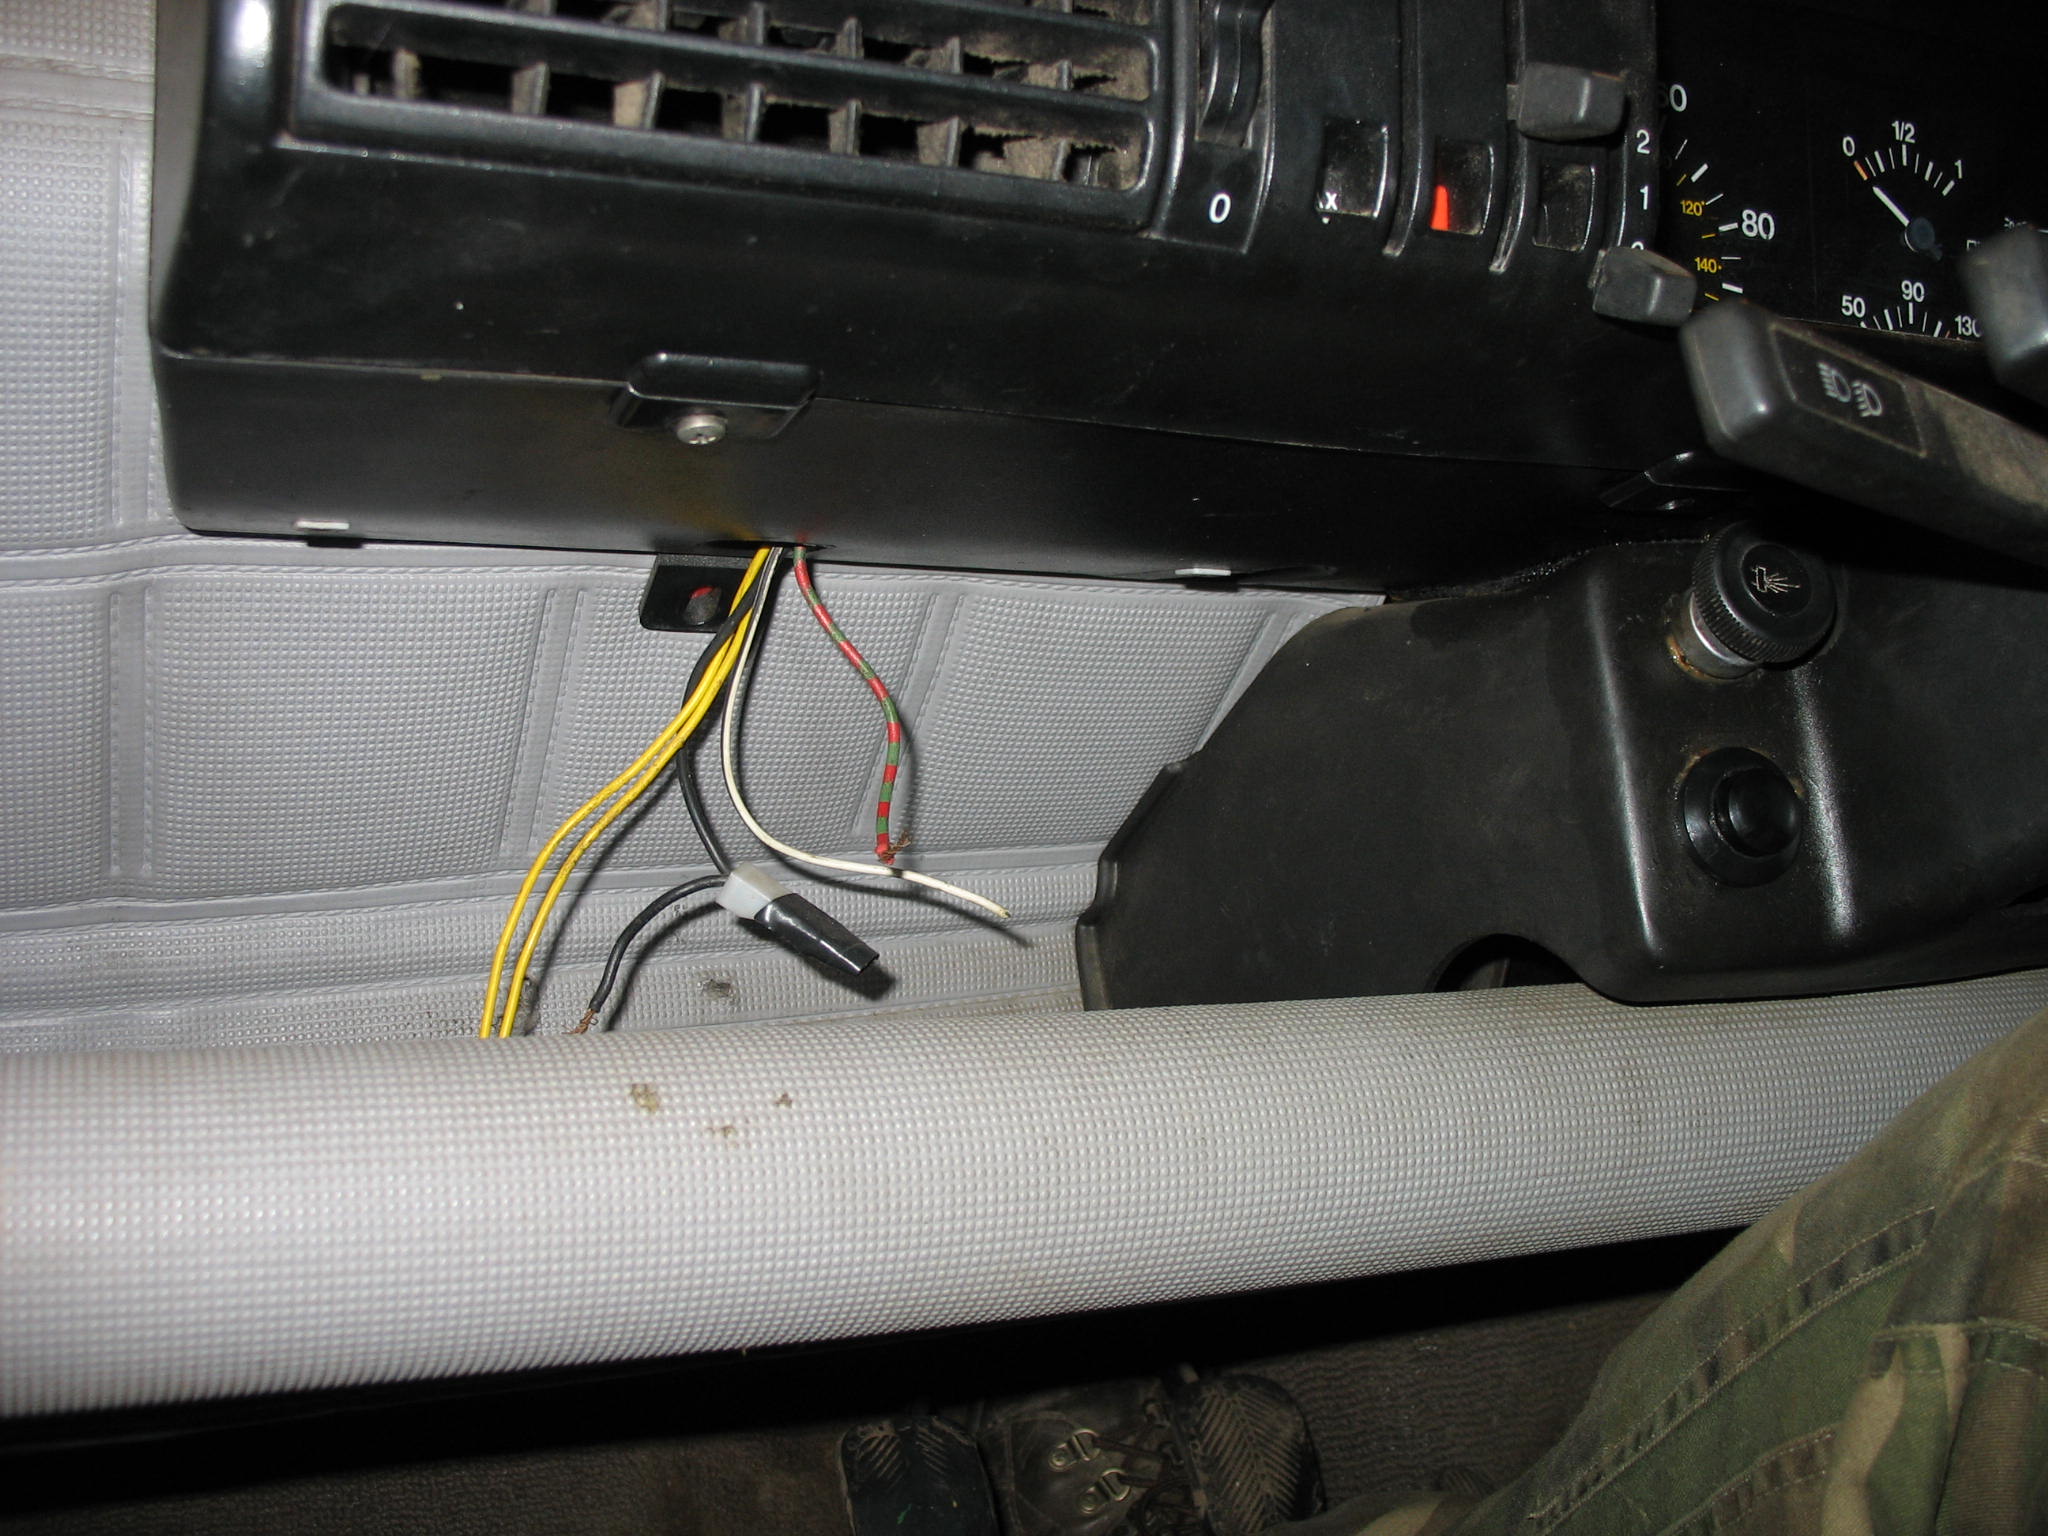
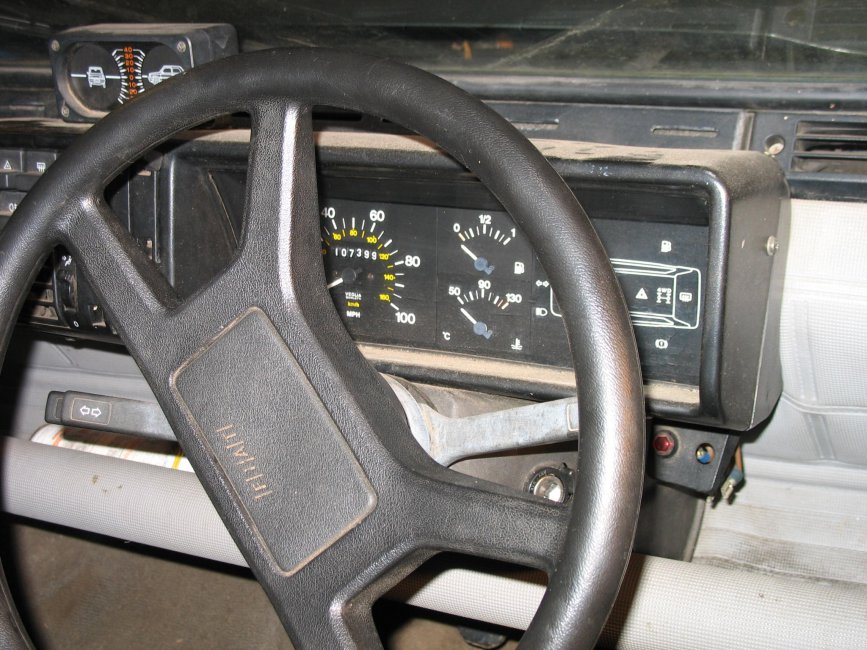
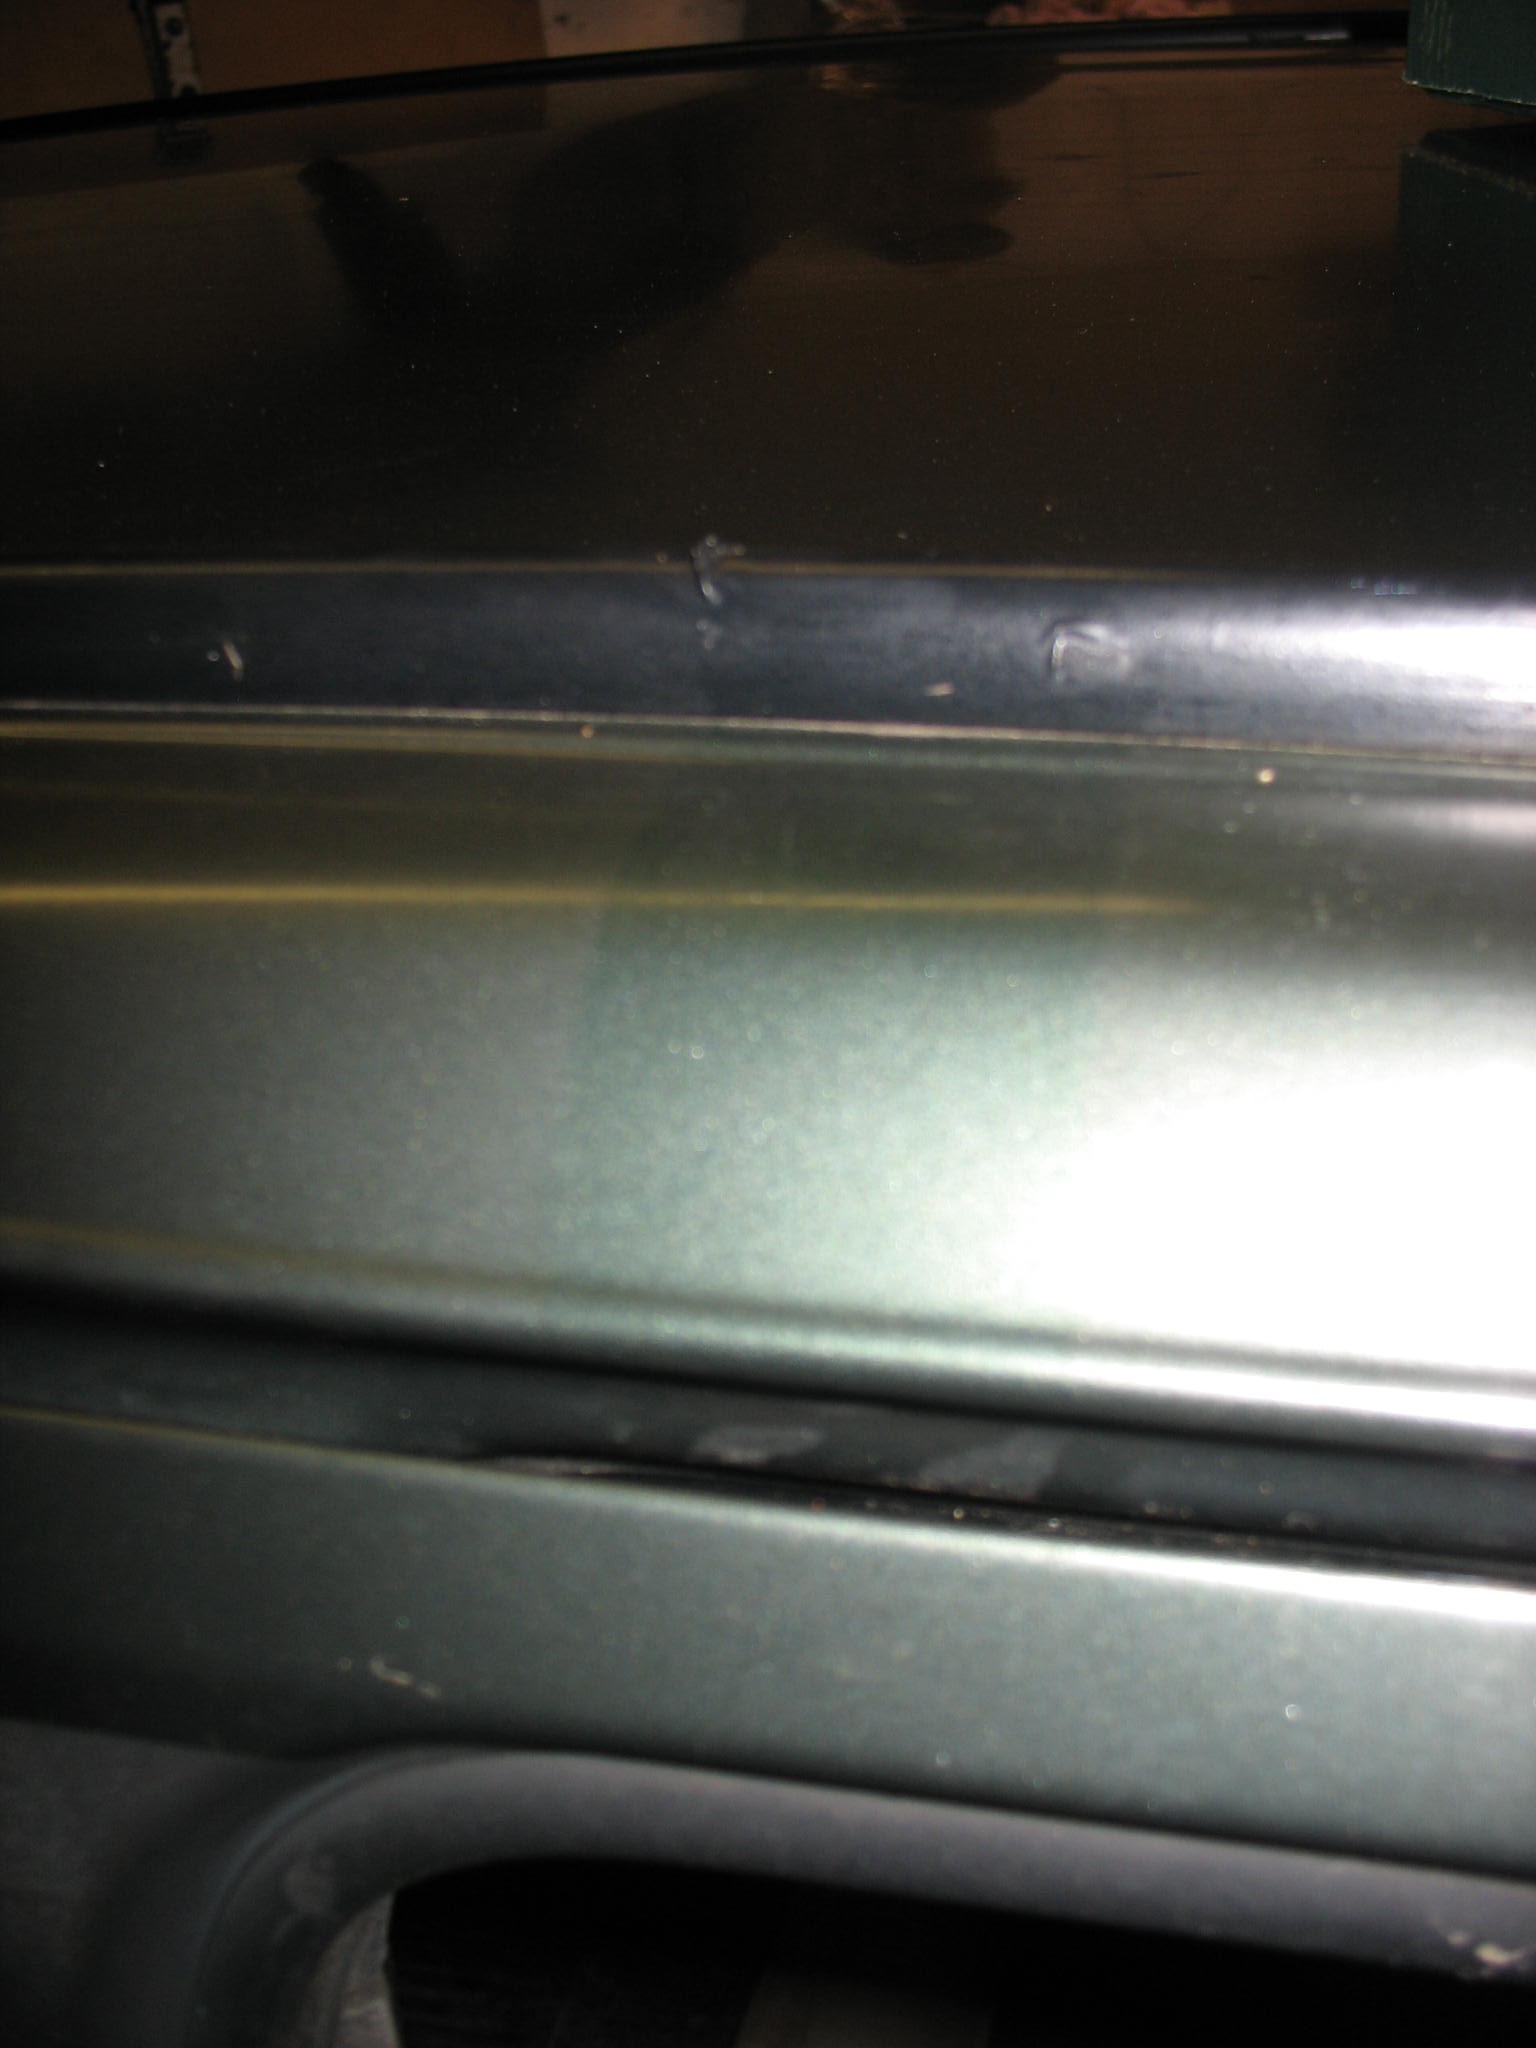
Not the geniune steering wheel and speedo, which does not make much difference to me at all. Roofrack presence evidence
IMG_18931.JPG


IMG_19081.JPG


IMG_1915.JPG


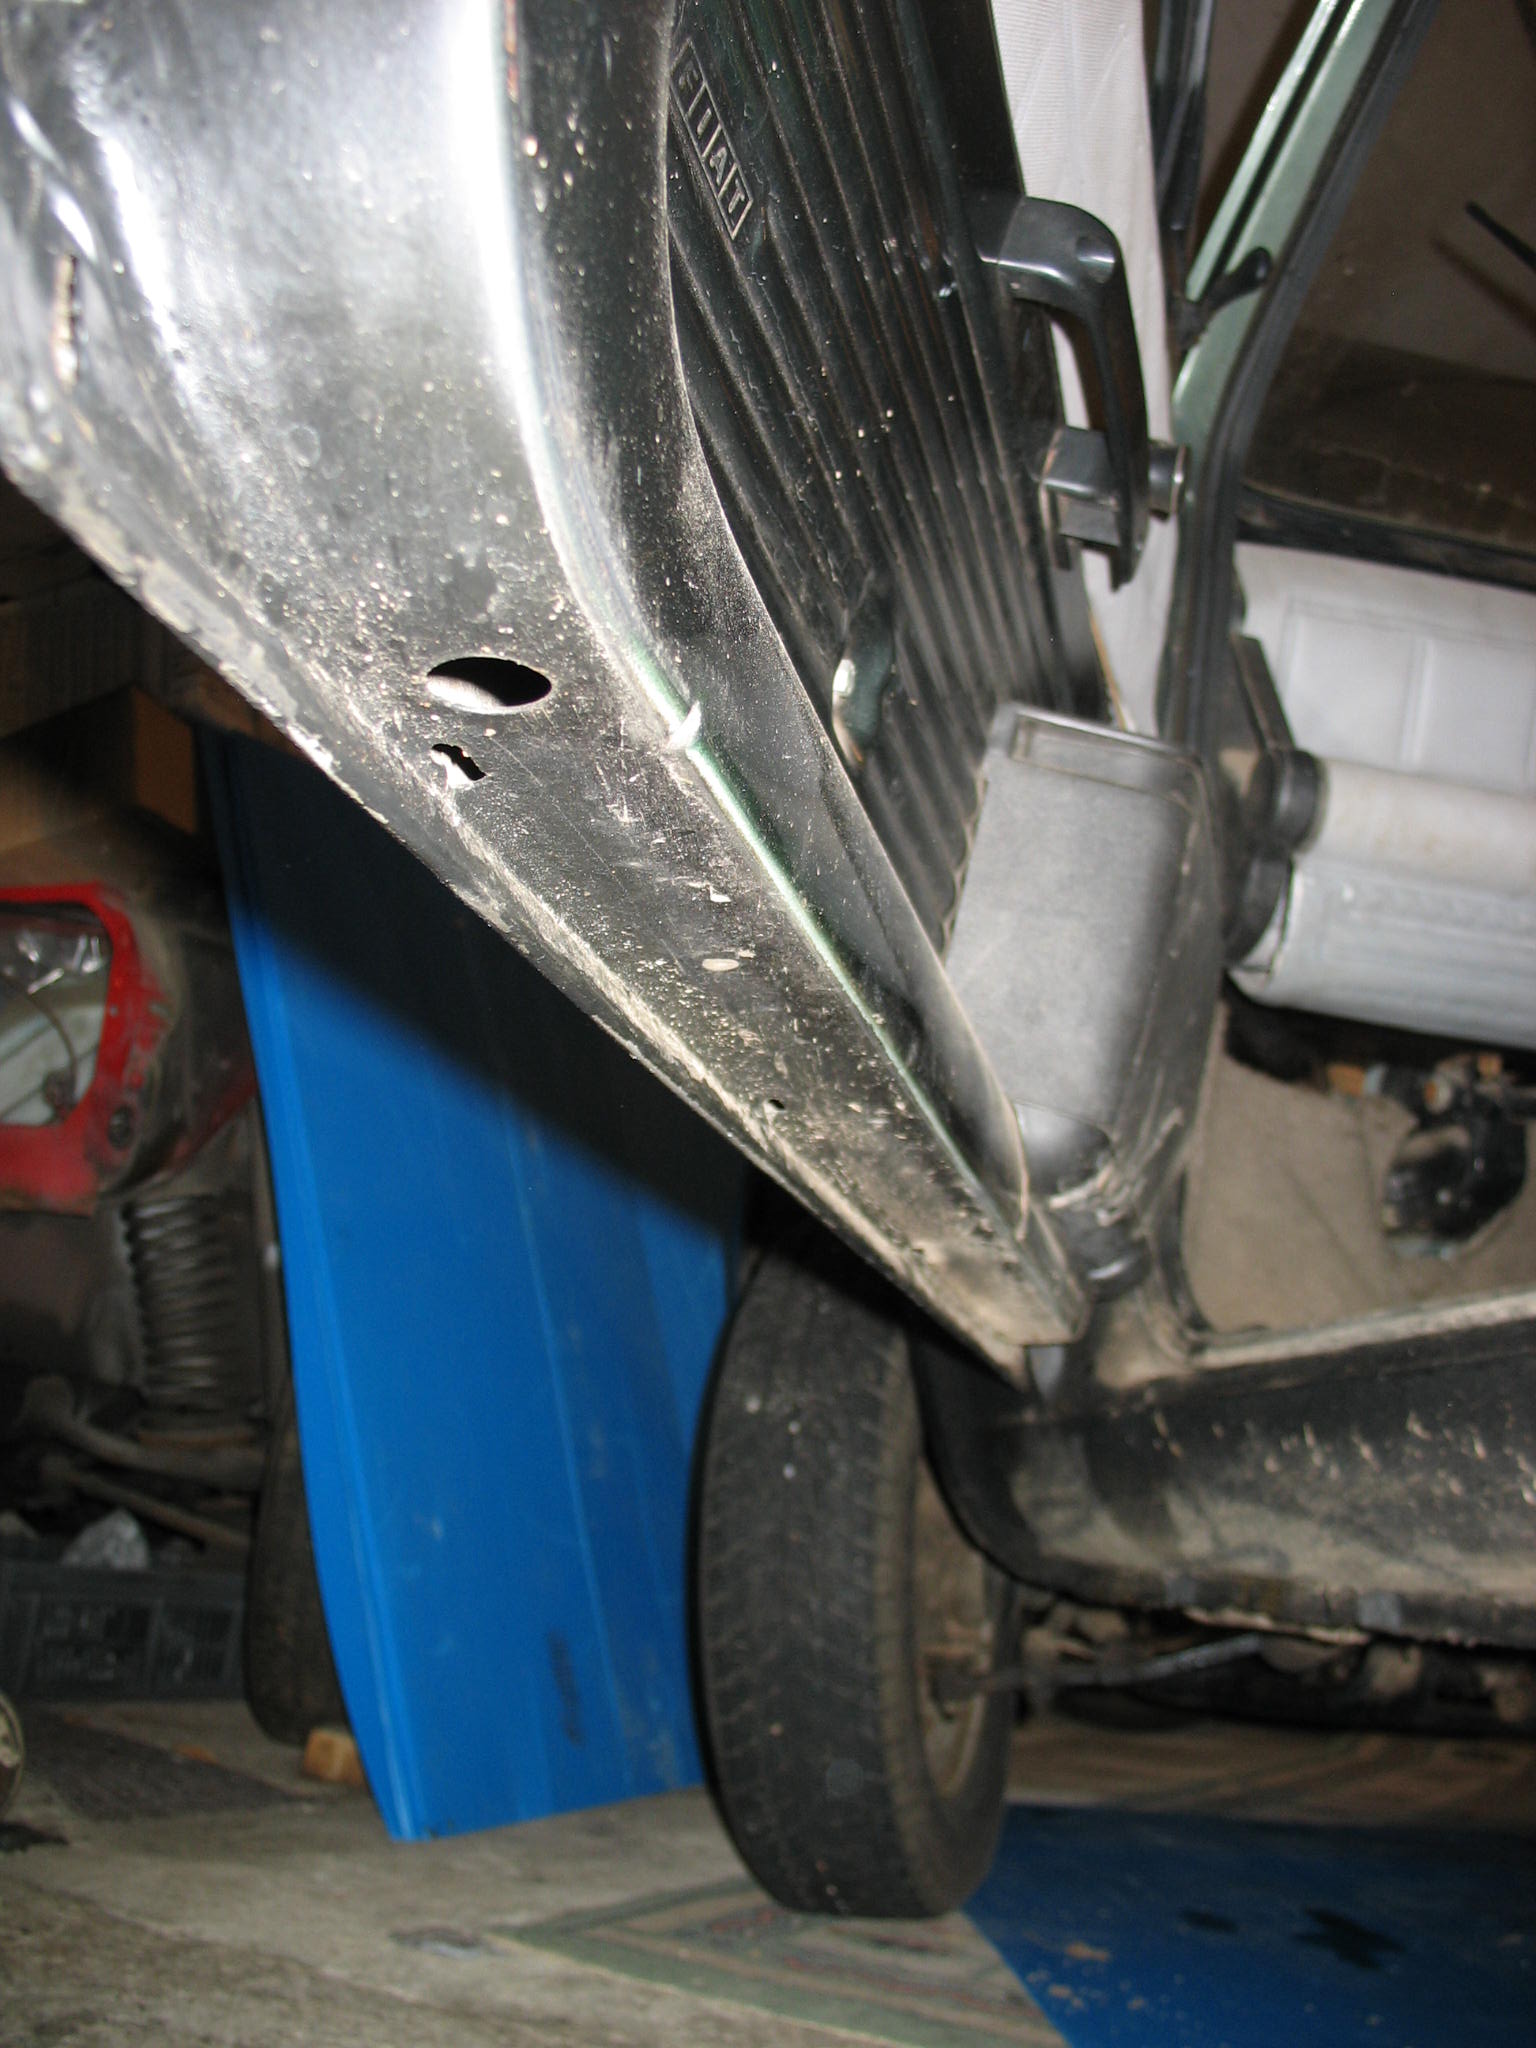
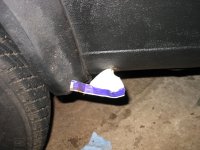
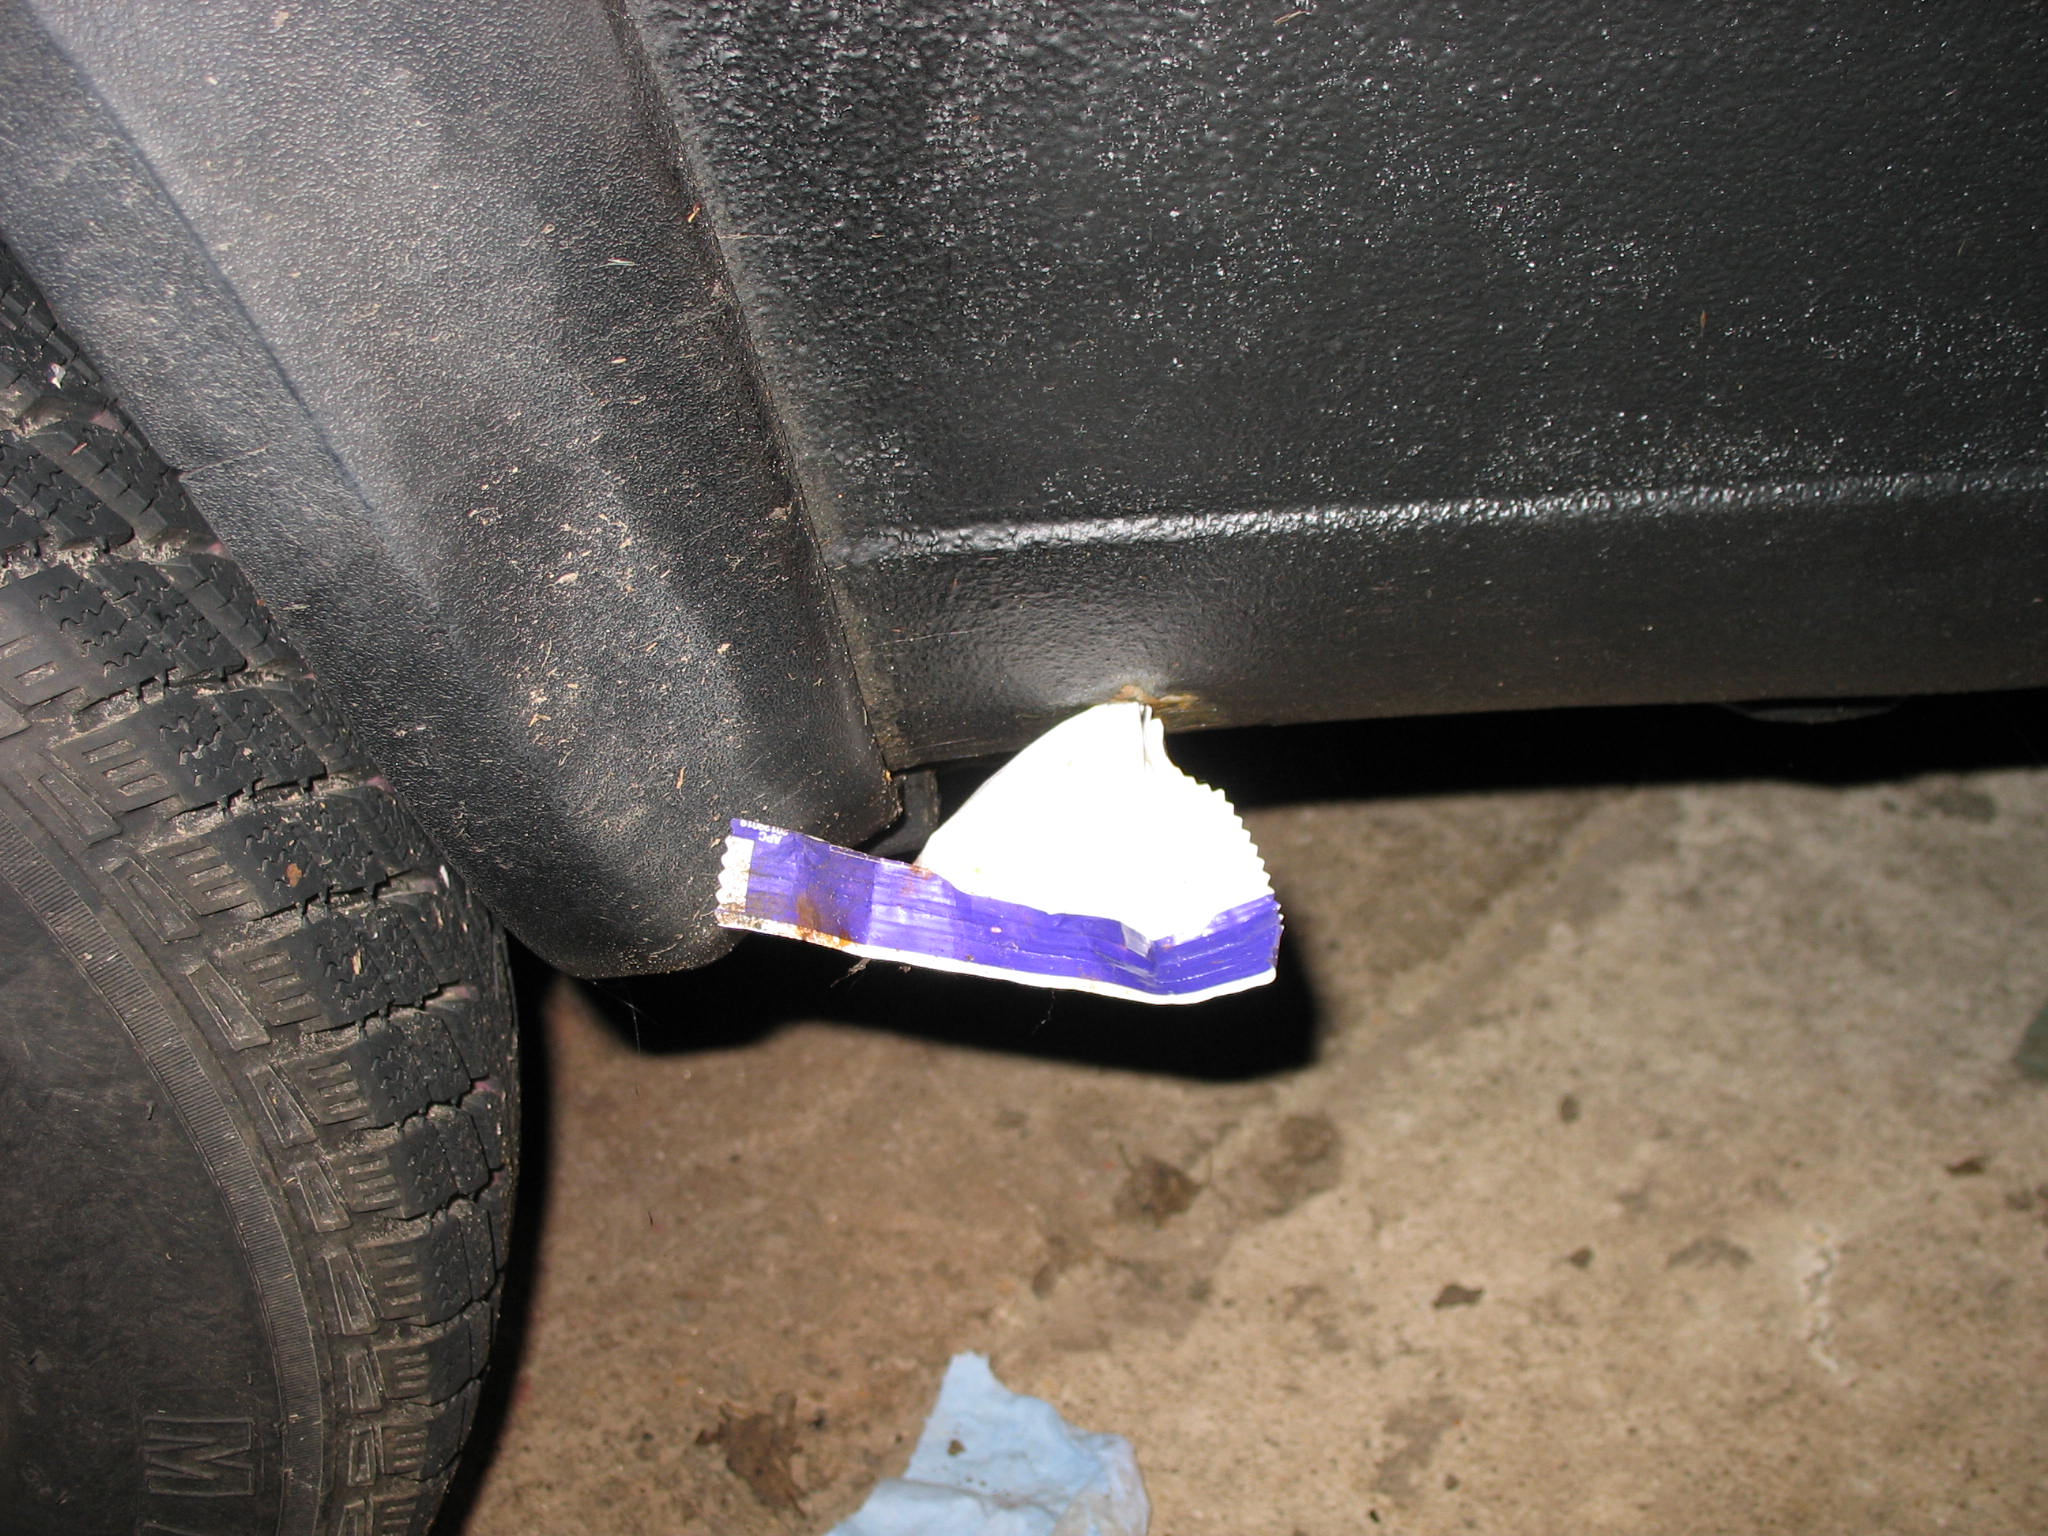
I dont want to know how this happened.
IMG_19191.JPG


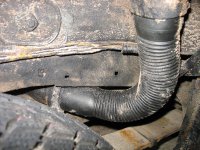
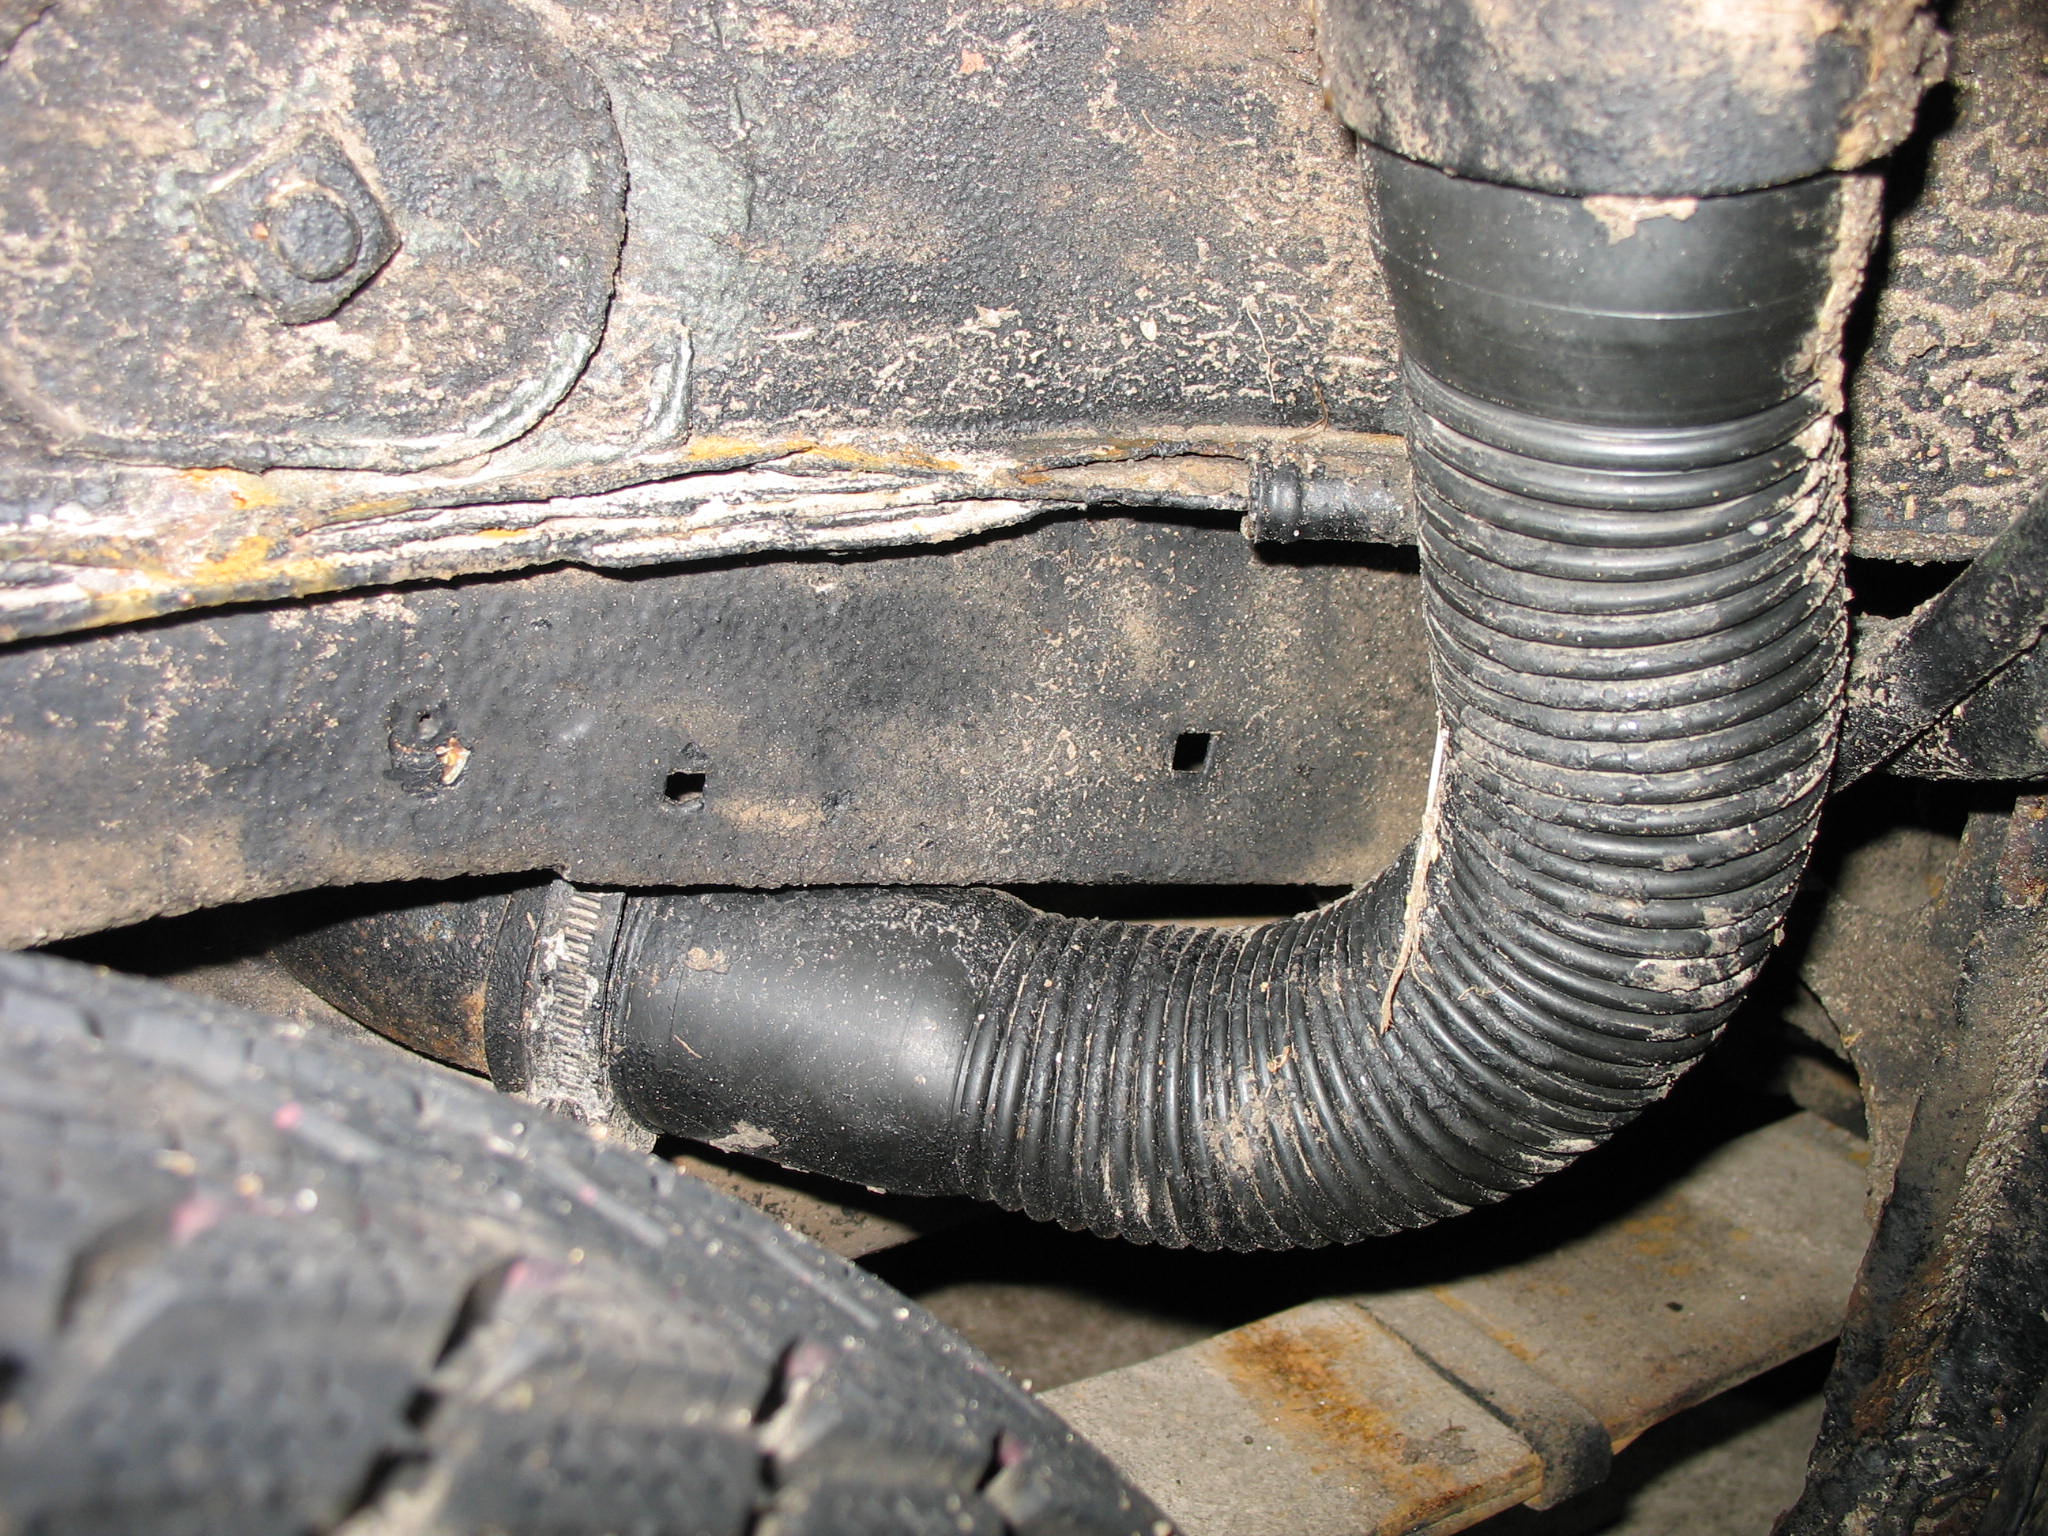
Filler pipe still untouched, what sort of DIY protections do you recon?
IMG_19202.JPG


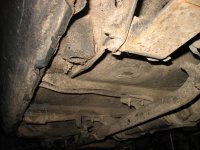
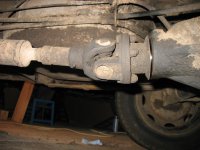
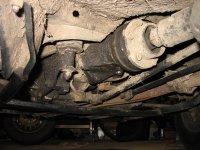
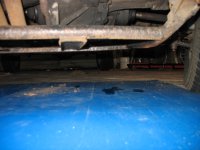
And time for the bad boy
IMG_1946.JPG


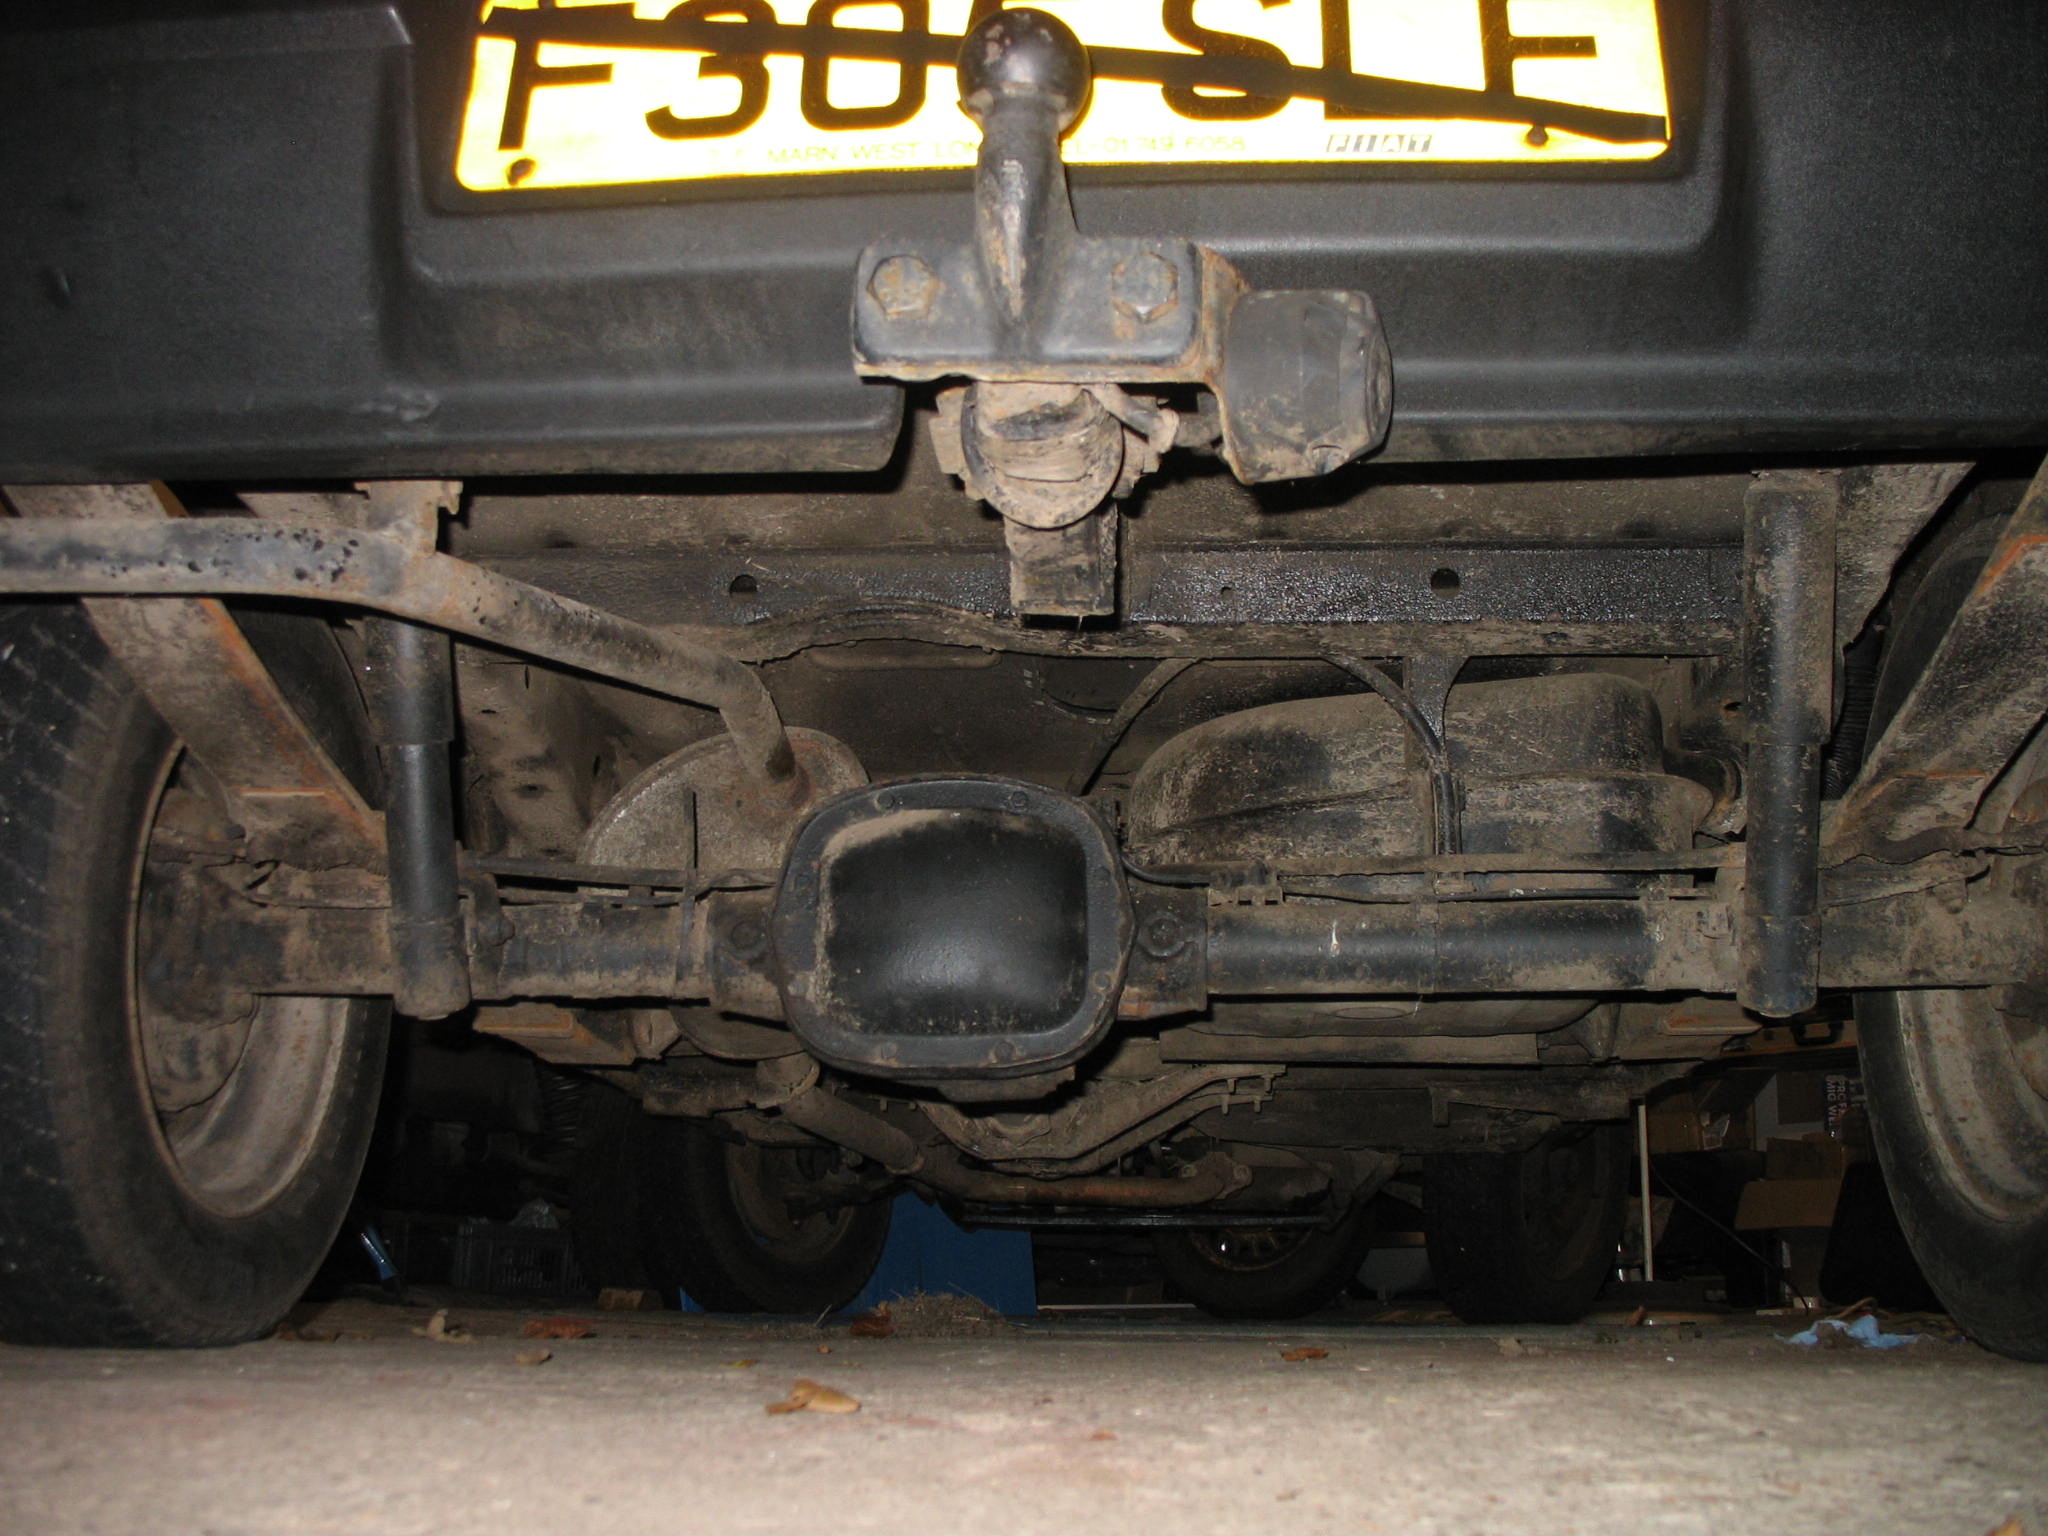
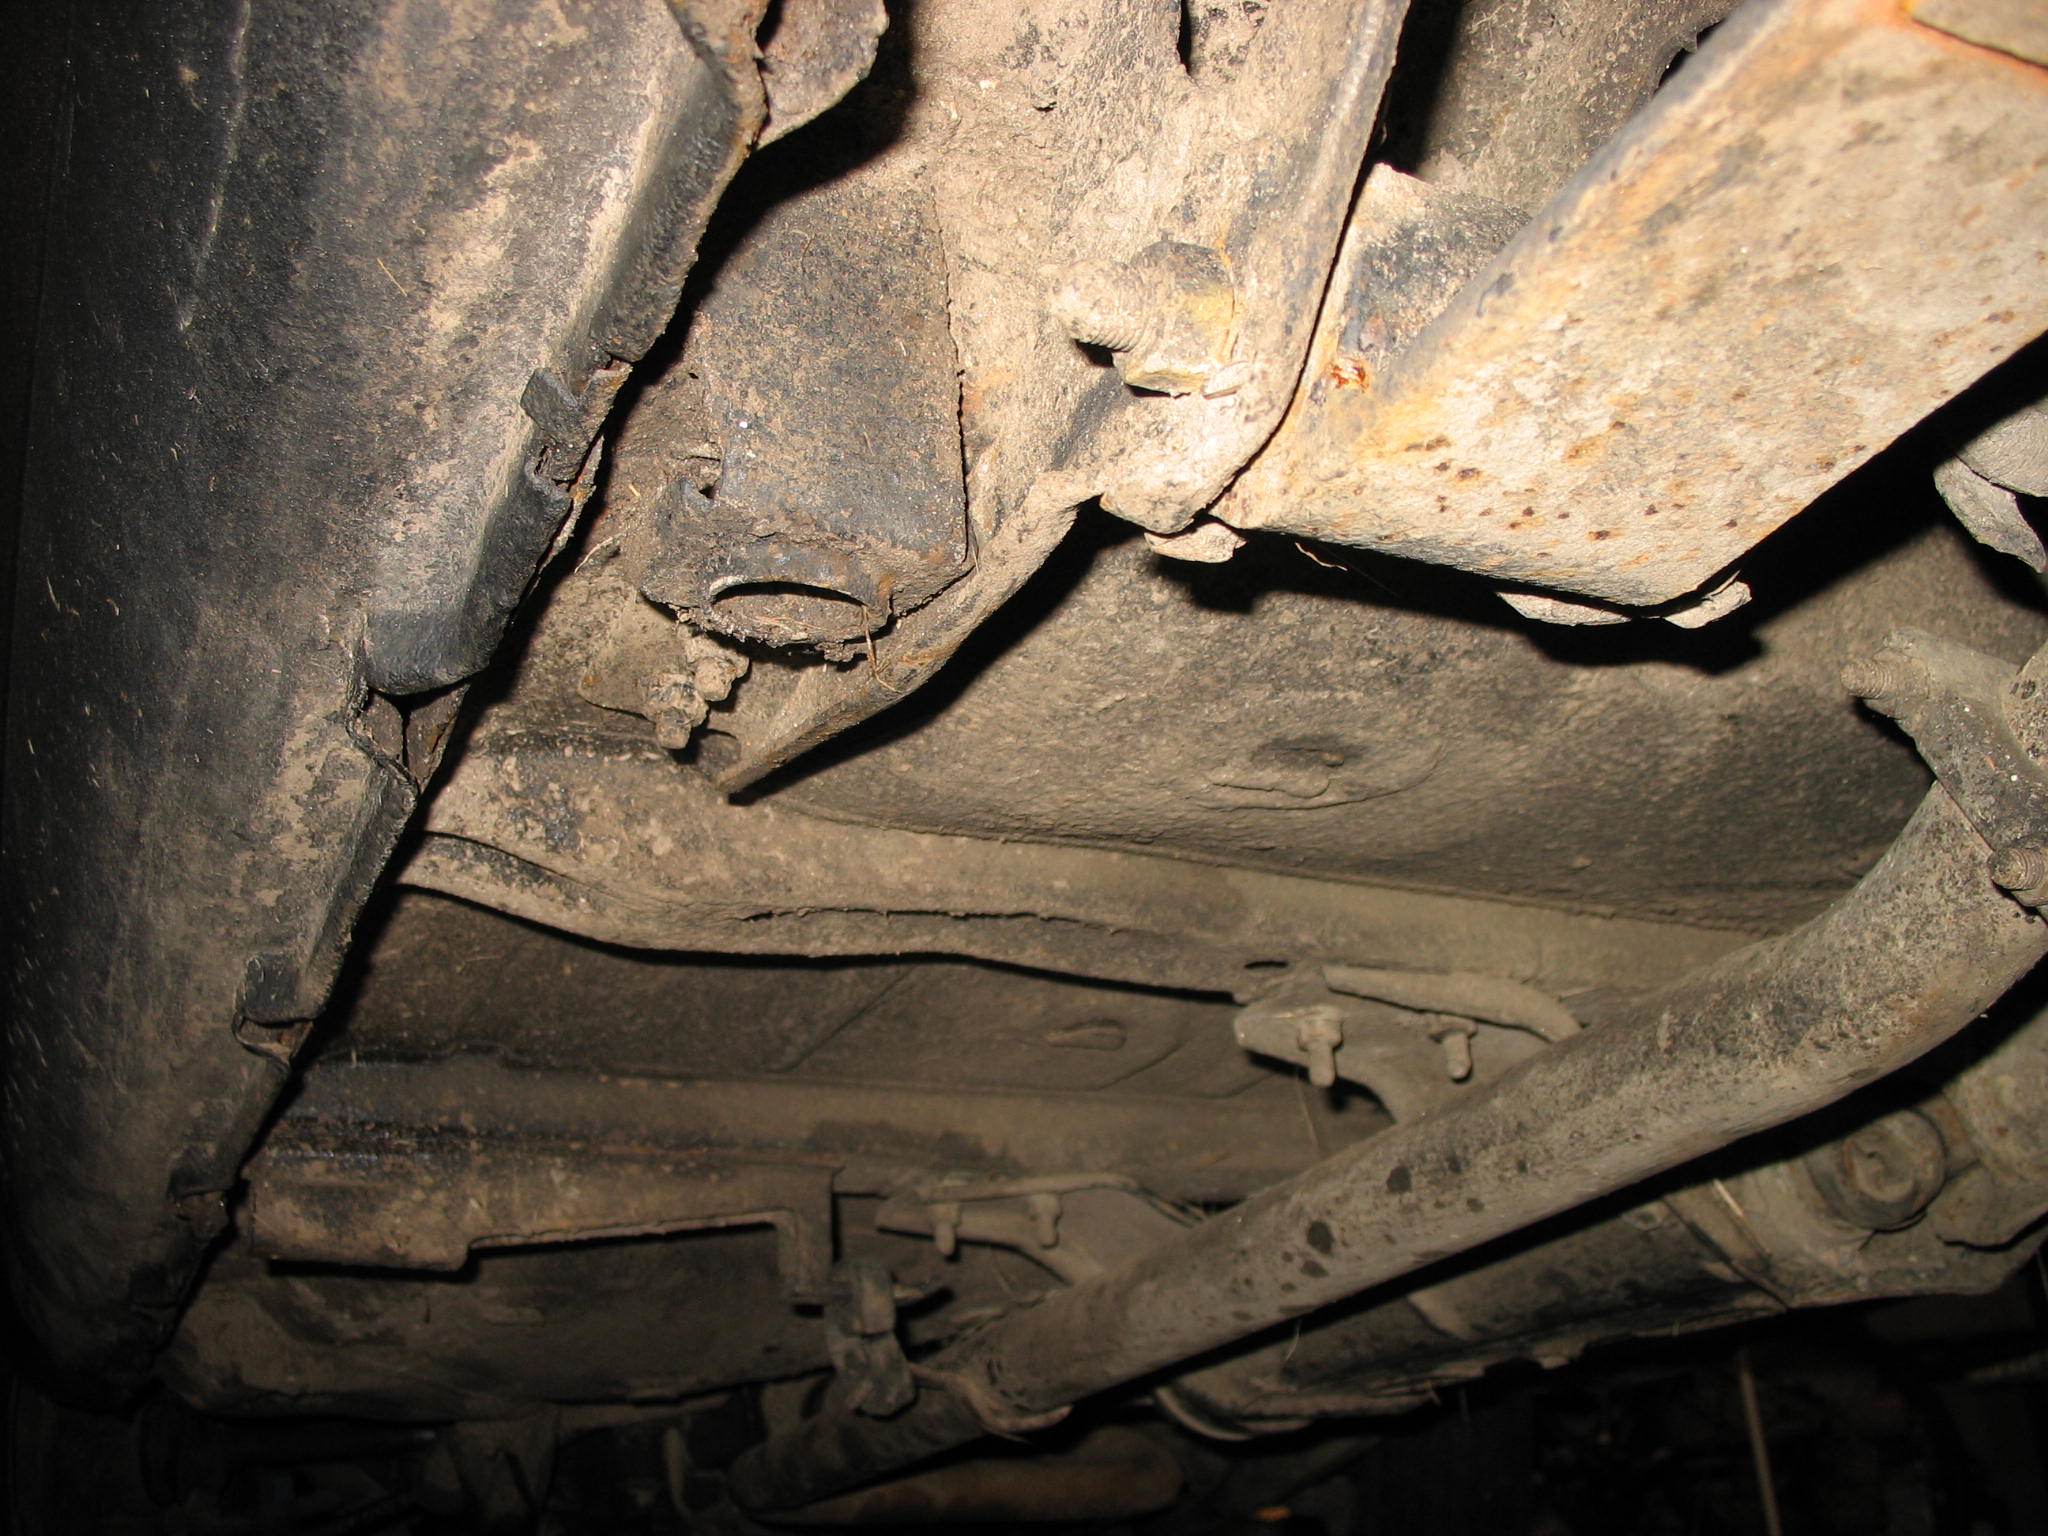
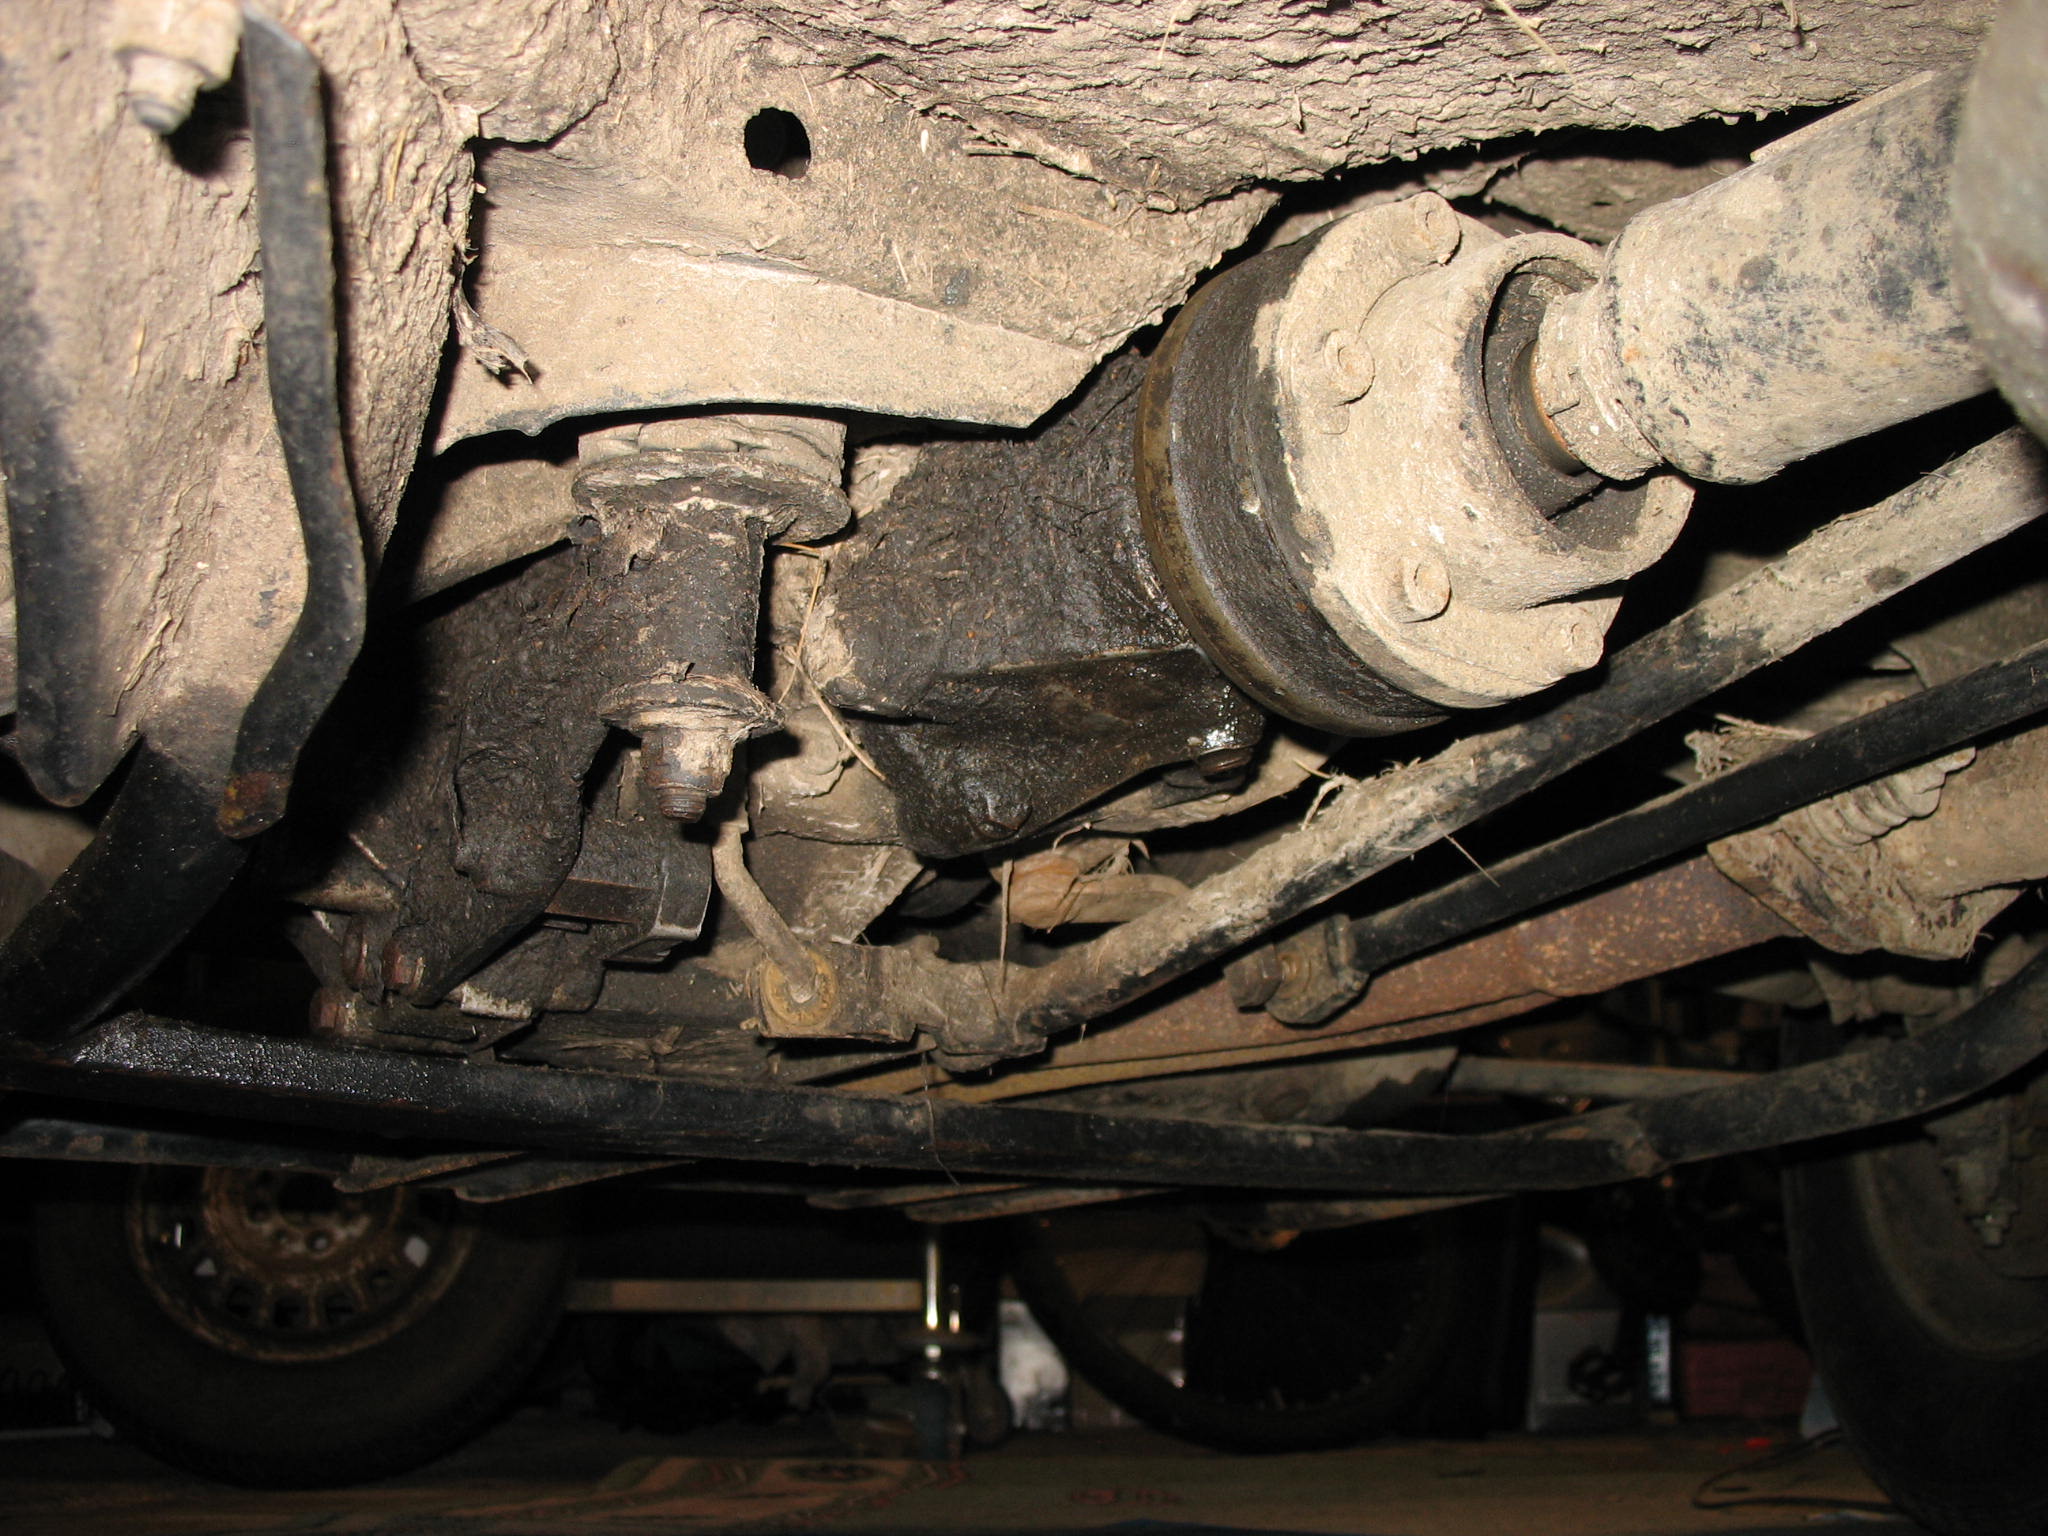
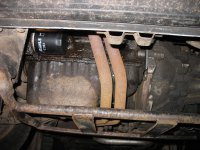
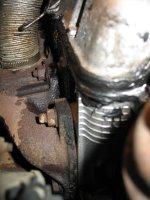
Is that gap between the propshaft and diff is normall?
IMG_19042.JPG


IMG_19022.JPG


IMG_19061.JPG


IMG_19442.JPG


IMG_19353.JPG


Dear FFCP section members, any comments, suggestions and observation are more than welcome, especcialy regards the 4x4 drive train i.e. leaks etc.
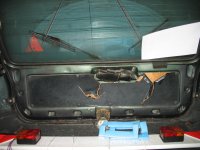
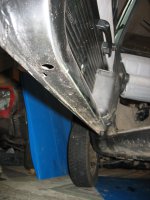
The hole was at the rear/boot cross member, not my fault. Size was less than pees size, so I'm confused.
Tommorow rear bearings and diff seals.
 
I do need to use it on the road as much as I can, just to mimic next week usage.

This is going to be interesting - who's preparation timetable/brinkmanship/engineering, equation will produce the most interesting travel challenges en-route next week?

Jacob's point - no substitute for testing - is right, but at least some of us have blown that opportunity (for excellent reasons of course) so this is going to be an extended test run with limited back up.:eek:

Can't wait to get on the road now. - Well done Jacob.(y)
 
Yep, full year of pandaring.

I'm getting there slowly, diff job was delayed by wax job to all cavities and full floor.

Just to catch up with photos

I couldn't resist so filler was applied to smoothed horizontal weld.
IMG_29553.JPG


Sadly only about 40% of my welds look like this handsome
IMG_29501.JPG


This was tackeled befor MOT, opposite side had tiny hole next to old mot job.
It does look small

IMG_29612.JPG


but on the back side

IMG_29623.JPG


as usual CUT and PASTE technique
IMG_29634.JPG


IMG_29652.JPG


IMG_29662.JPG


IMG_29672.JPG


IMG_29683.JPG


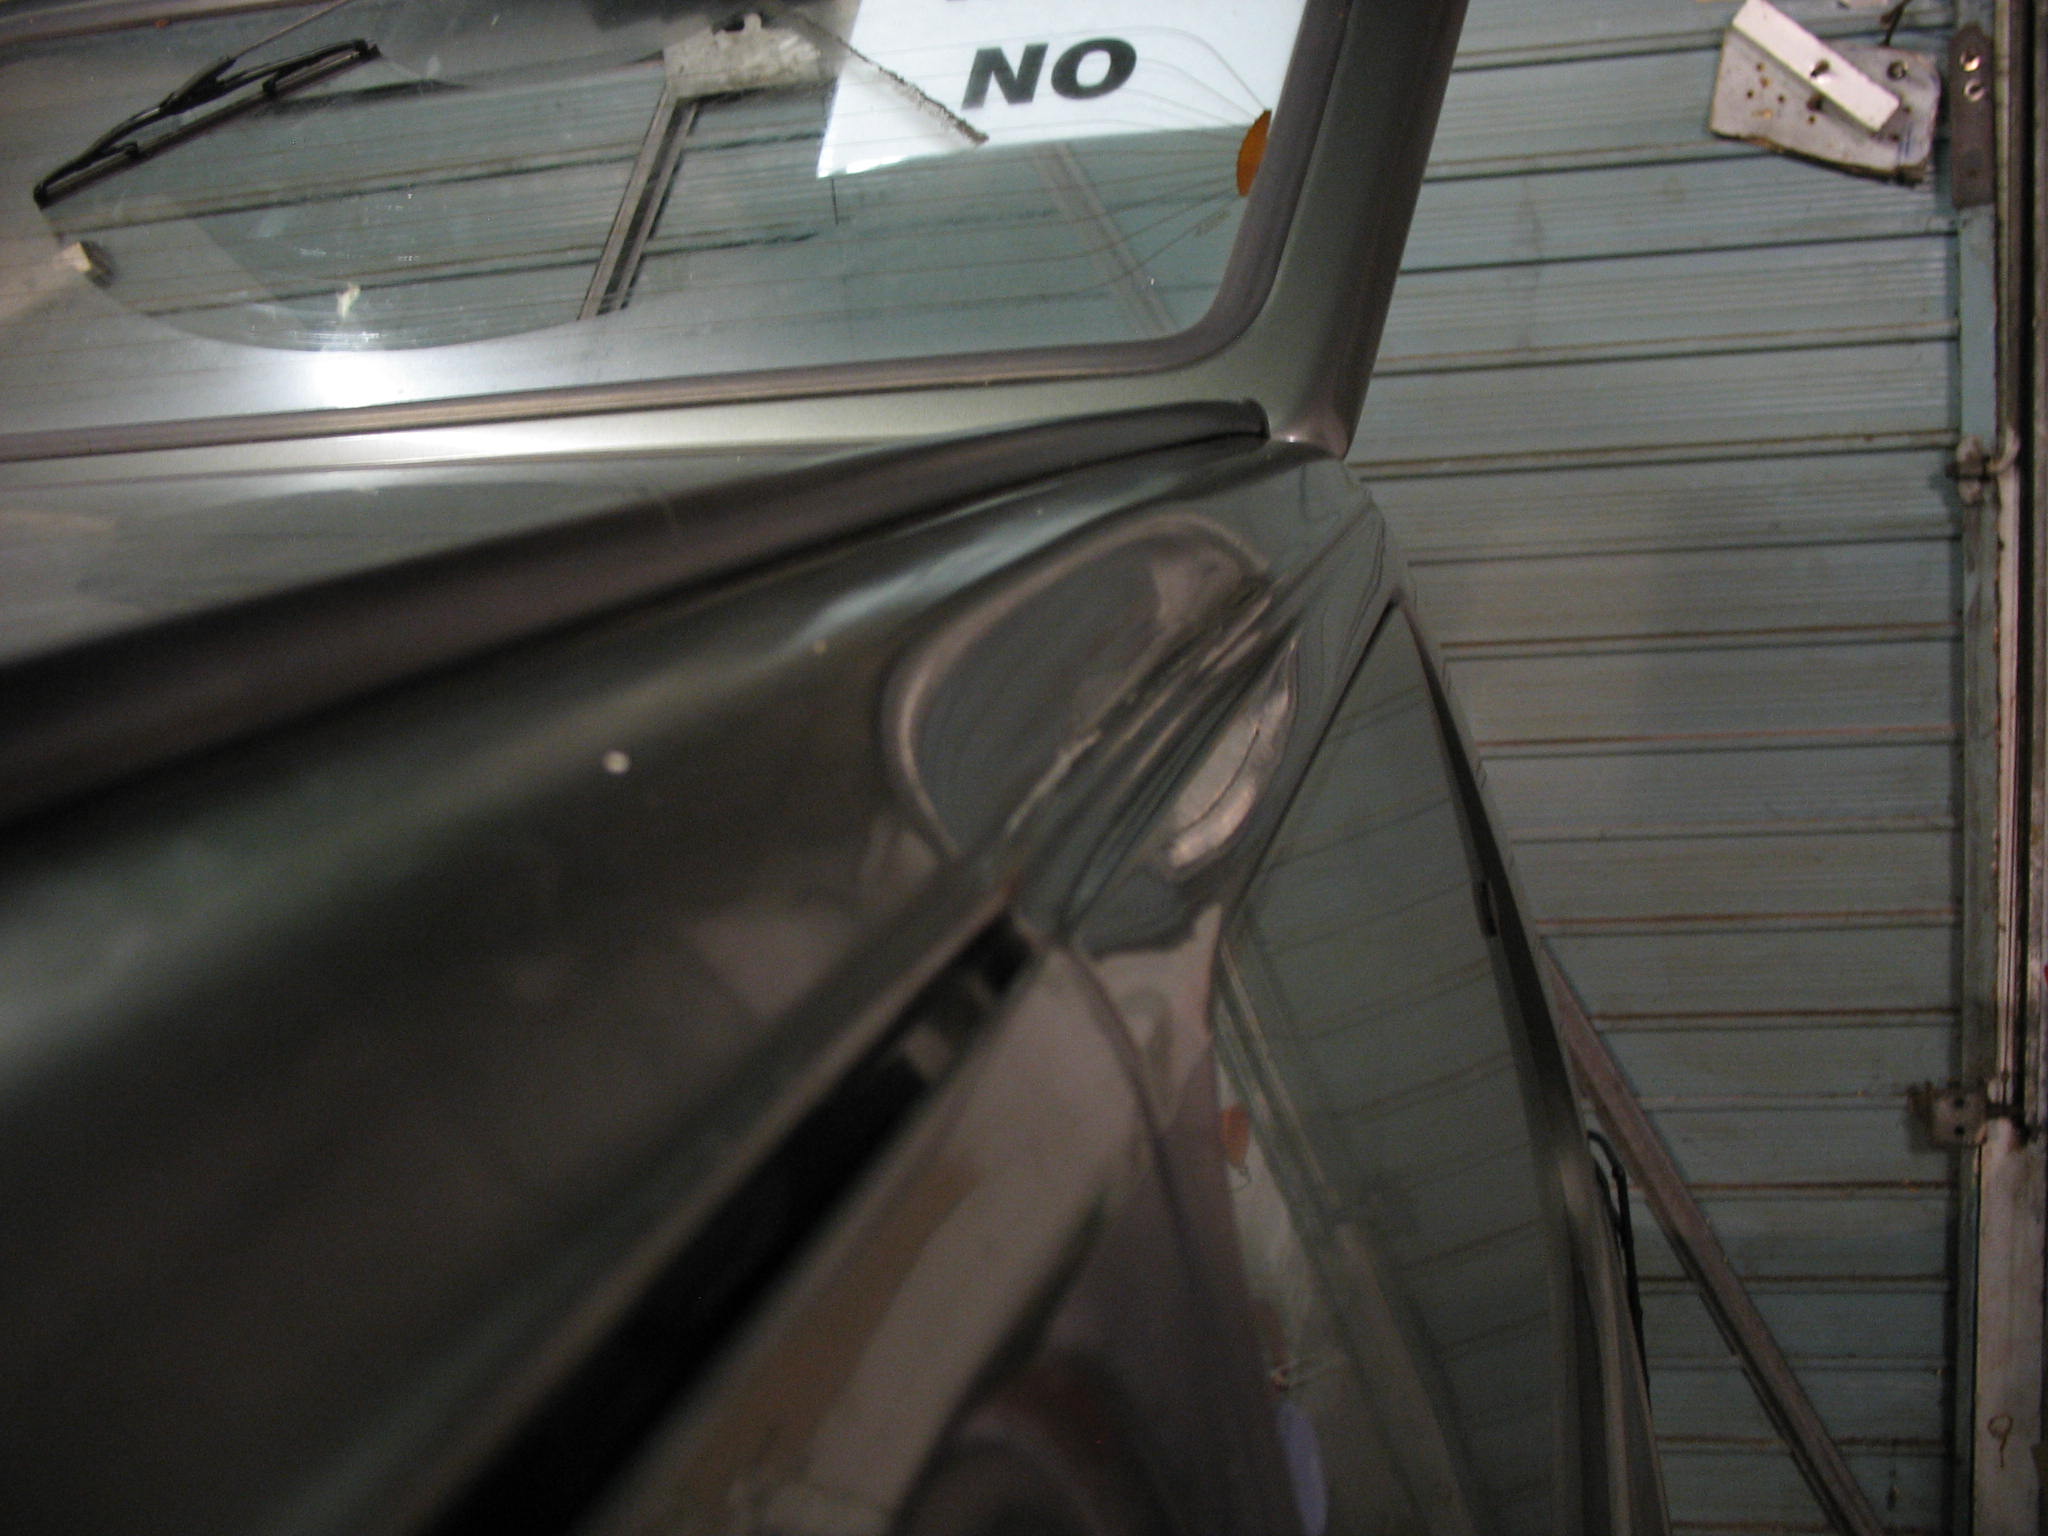
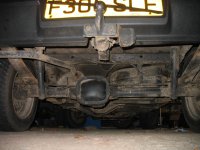
Unfortunately by looking round the whole rear suspension and chassis structure I can say that this panda was involved in an accident! Impact went into n/s rear wheel, above shackle show it clearly. Opposite shackle is the same - skewed, lack of 5th 4x4 steel rim and other repairs just proves it.

While the rear bumper was off i've done my fetish - DOME NUTS all over!!!!
Small thing but make huge difference in two years is the bumber need to be taken off again.
IMG_29732.JPG


This is new to me,
IMG_29831.JPG


1500 Lumens each at 1.75A consumption, proper wiring still need to be done as this was just a test.

And this is my happy Sisley
IMG_2988.JPG


As you guys can see, Black Panda was given the Weeler wheels - temporally, as Sisley need the M+S Marshall tyres.

And now i do need second set of weller wheels
IMG_29951.JPG


155/70R13 perfect tyre size

IMG_30001.JPG
 
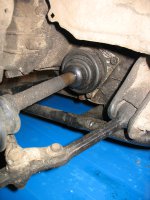
Rear bearings and axle seals done, front bearings both done. Front ones had barely any live left- deffo not enough for Italy. Still some odds bits to look at.
 
Some more photos from Sunday, Mnday and today

IMG_30033.JPG


IMG_30055.JPG


Diff gear oil
IMG_30043.JPG


As the breather valves are on order i've done some DIY high level vent

IMG_30064.JPG


Front new bering and nut

IMG_30113.JPG


As we will have pretty much stuff inside the car , to prevent any possible damage been done to fuel pipe DIY external protection done from galvanized tin steel sheet and number of zip ties.
IMG_30073.JPG


Had pair of the Assistant/ suplementary springs sat on the shelf - so to improve the ride with load they were fitted

IMG_30222.JPG


IMG_30232.JPG


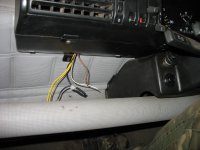
Auxilary Spot lamps relays/wiring and rad fan override located at the top of strut.
Had none of the micro relay sockets/bases so the std 20A realey were used ( way over the actual current conumption)

IMG_3014.JPG


Spot 1 - Spots in stand by mode trigered by High beam stalk switch,
Spot 2 - Spots on/off,
Fan - Rad fan override function.

IMG_30151.JPG


Cabin switch box hardly noticible

IMG_30201.JPG


As you might notice the dash vinyl is "back to gray", thanks to my lovely wife the whole interior been steam cleaned

IMG_3016.JPG


Best steam cleaners
IMG_30241.JPG


Cigar socket and radio pod need to be mounted and wired, with few additional sockets as well.
 
Back
Top