Panda_clx_sr_011.jpg

Panda (Classic) Project Panda-looking Pandas.

Introduction

Ok Gavin here we go ;).

With Gavins (Palio) consent this thread will chart the progress of a little project I'm carrying out for him. It's basically two matching Pandas made to look like Panda bears. These will then be used as company cars by Gavin and his business partner to also promote their new business venture.

Now Gavin is well aware that this could easily turn into being two tacky cartoon style wouldn't be seen dead in cars, so my initial brief stated that my design had to be tasteful and suggest Panda rather than be in your face. Also, there were to be certain engine and interior upgrades to make them more pleasant to live with on a regular basis.

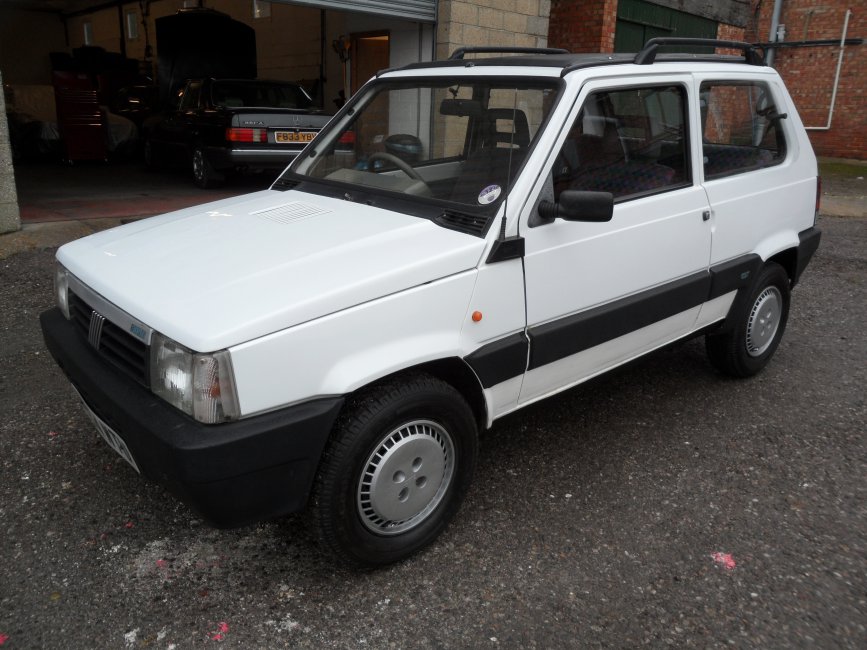
Well I have submitted and had approved a design so it's now full steam ahead with the first car. The basis for this is the white clx I recently picked up from David (Fiat Nutter)............
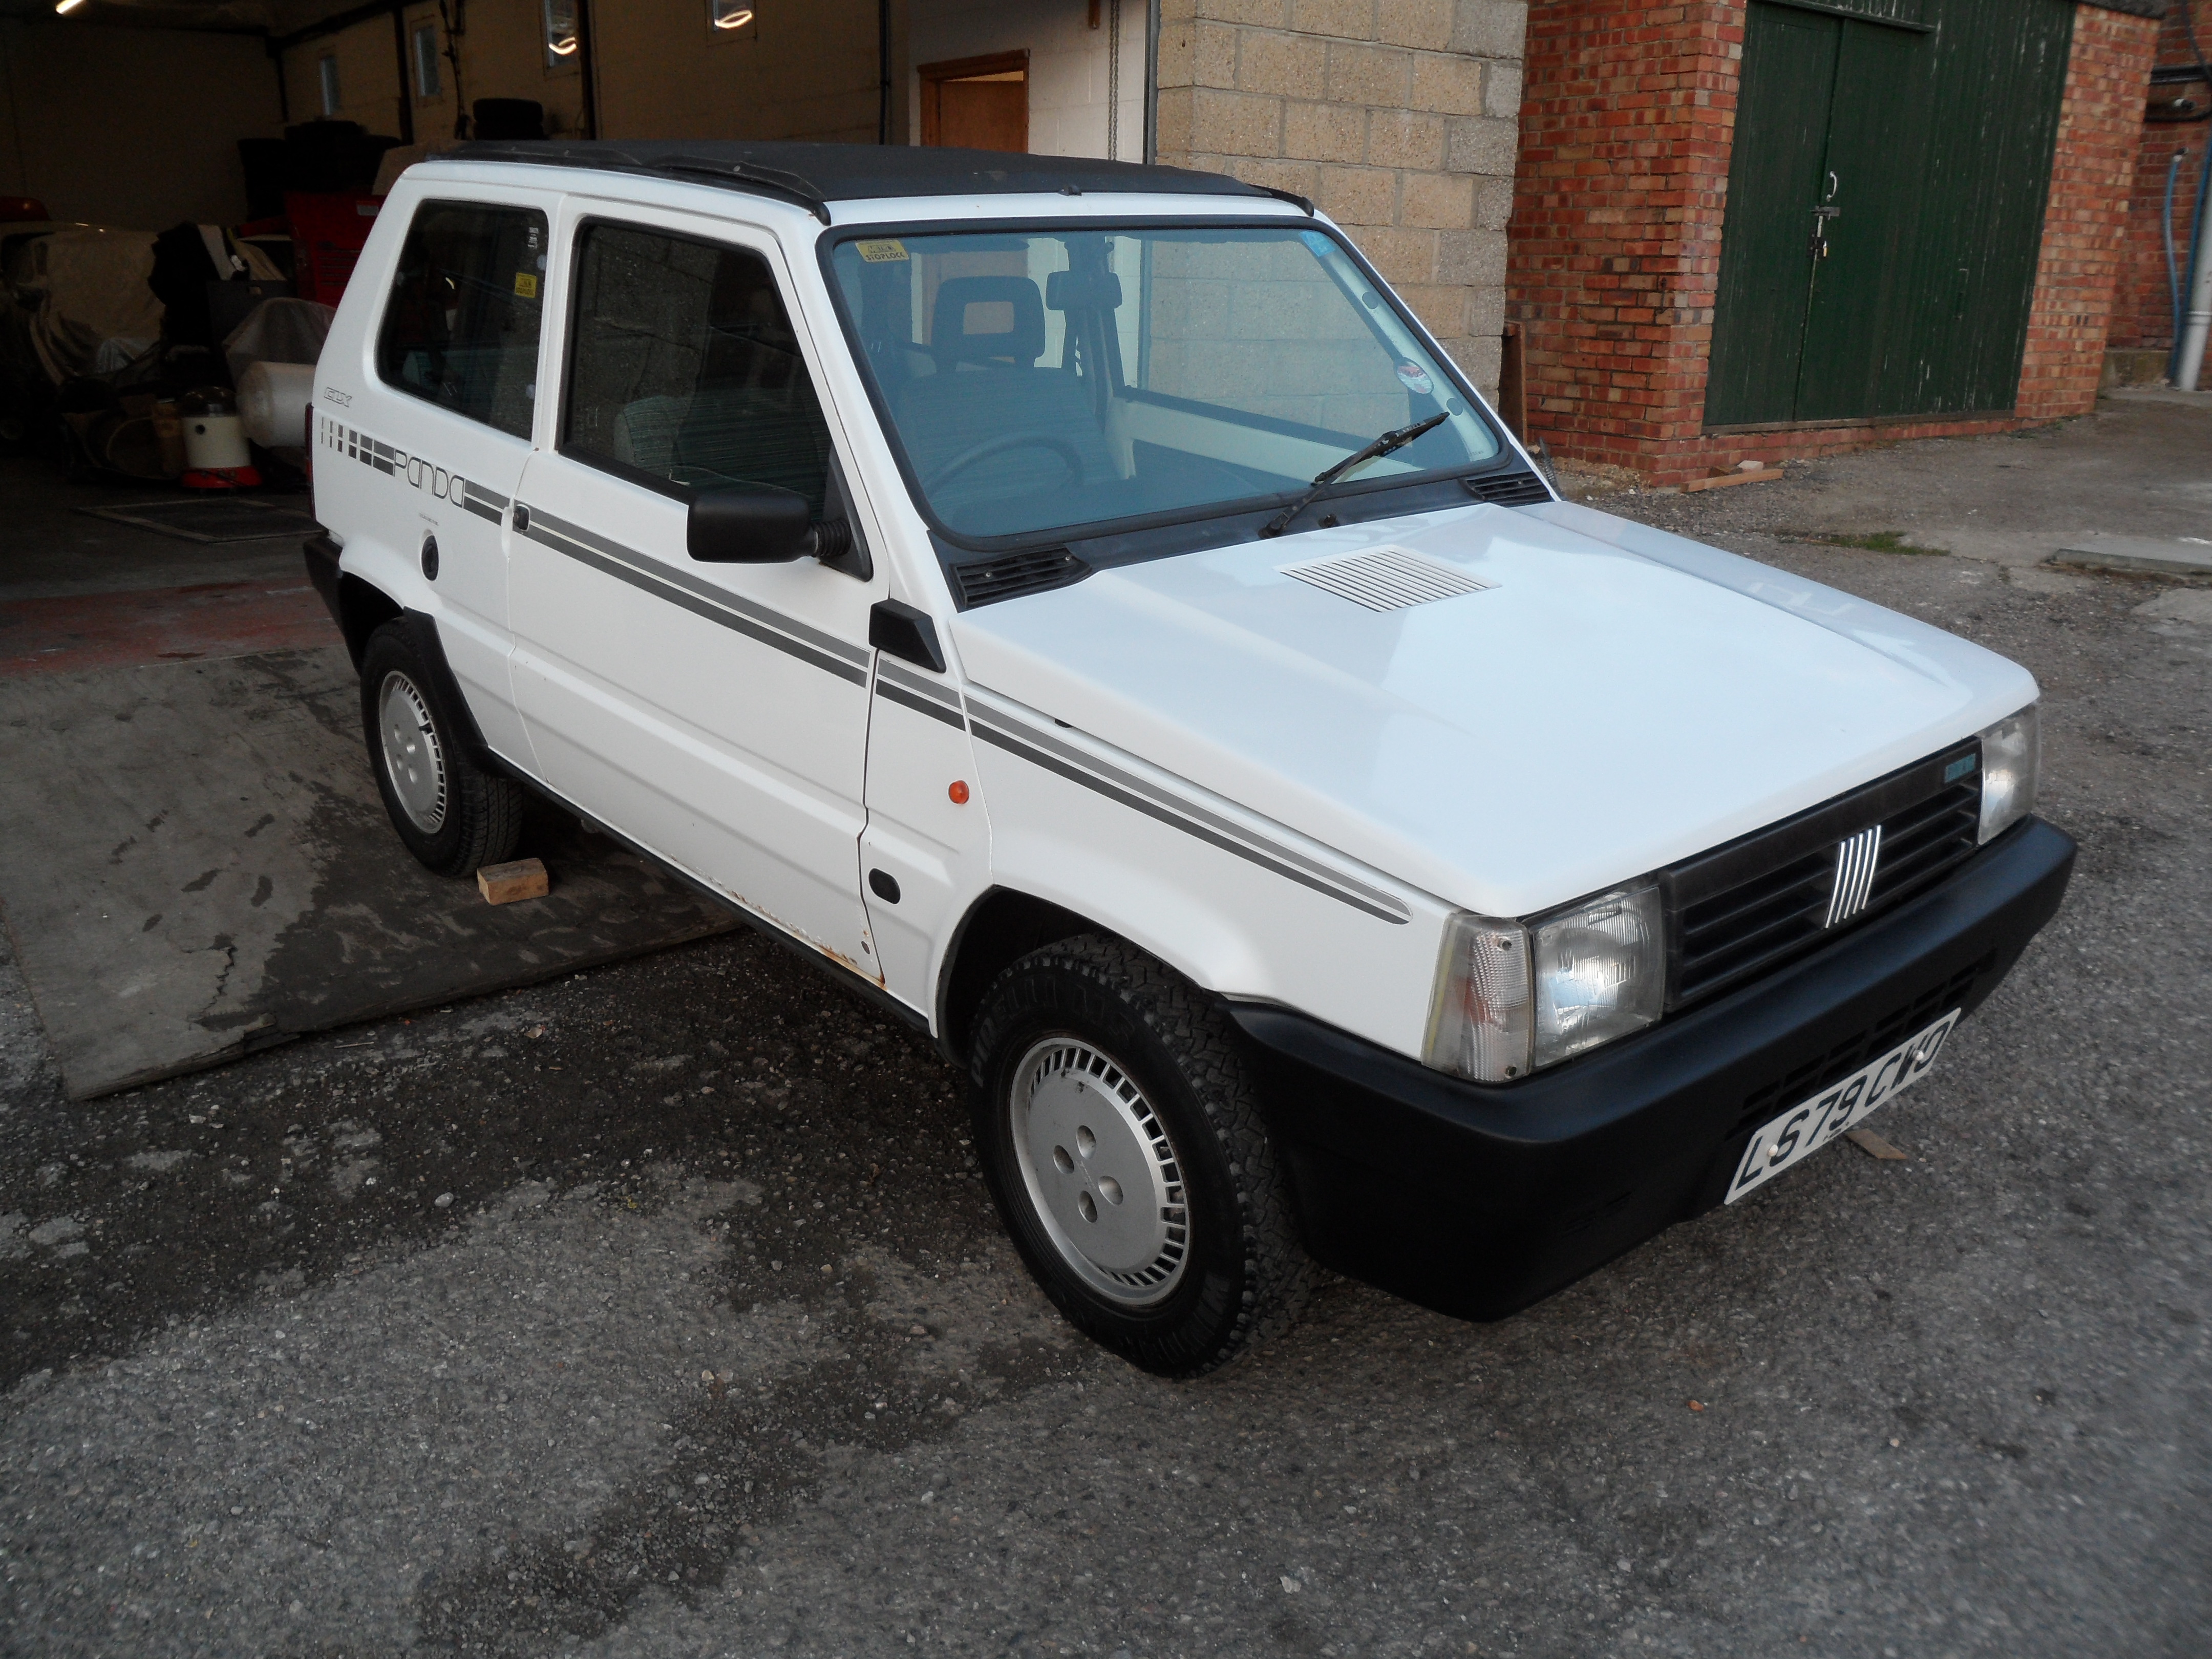


Second car may be this one that I already had..............
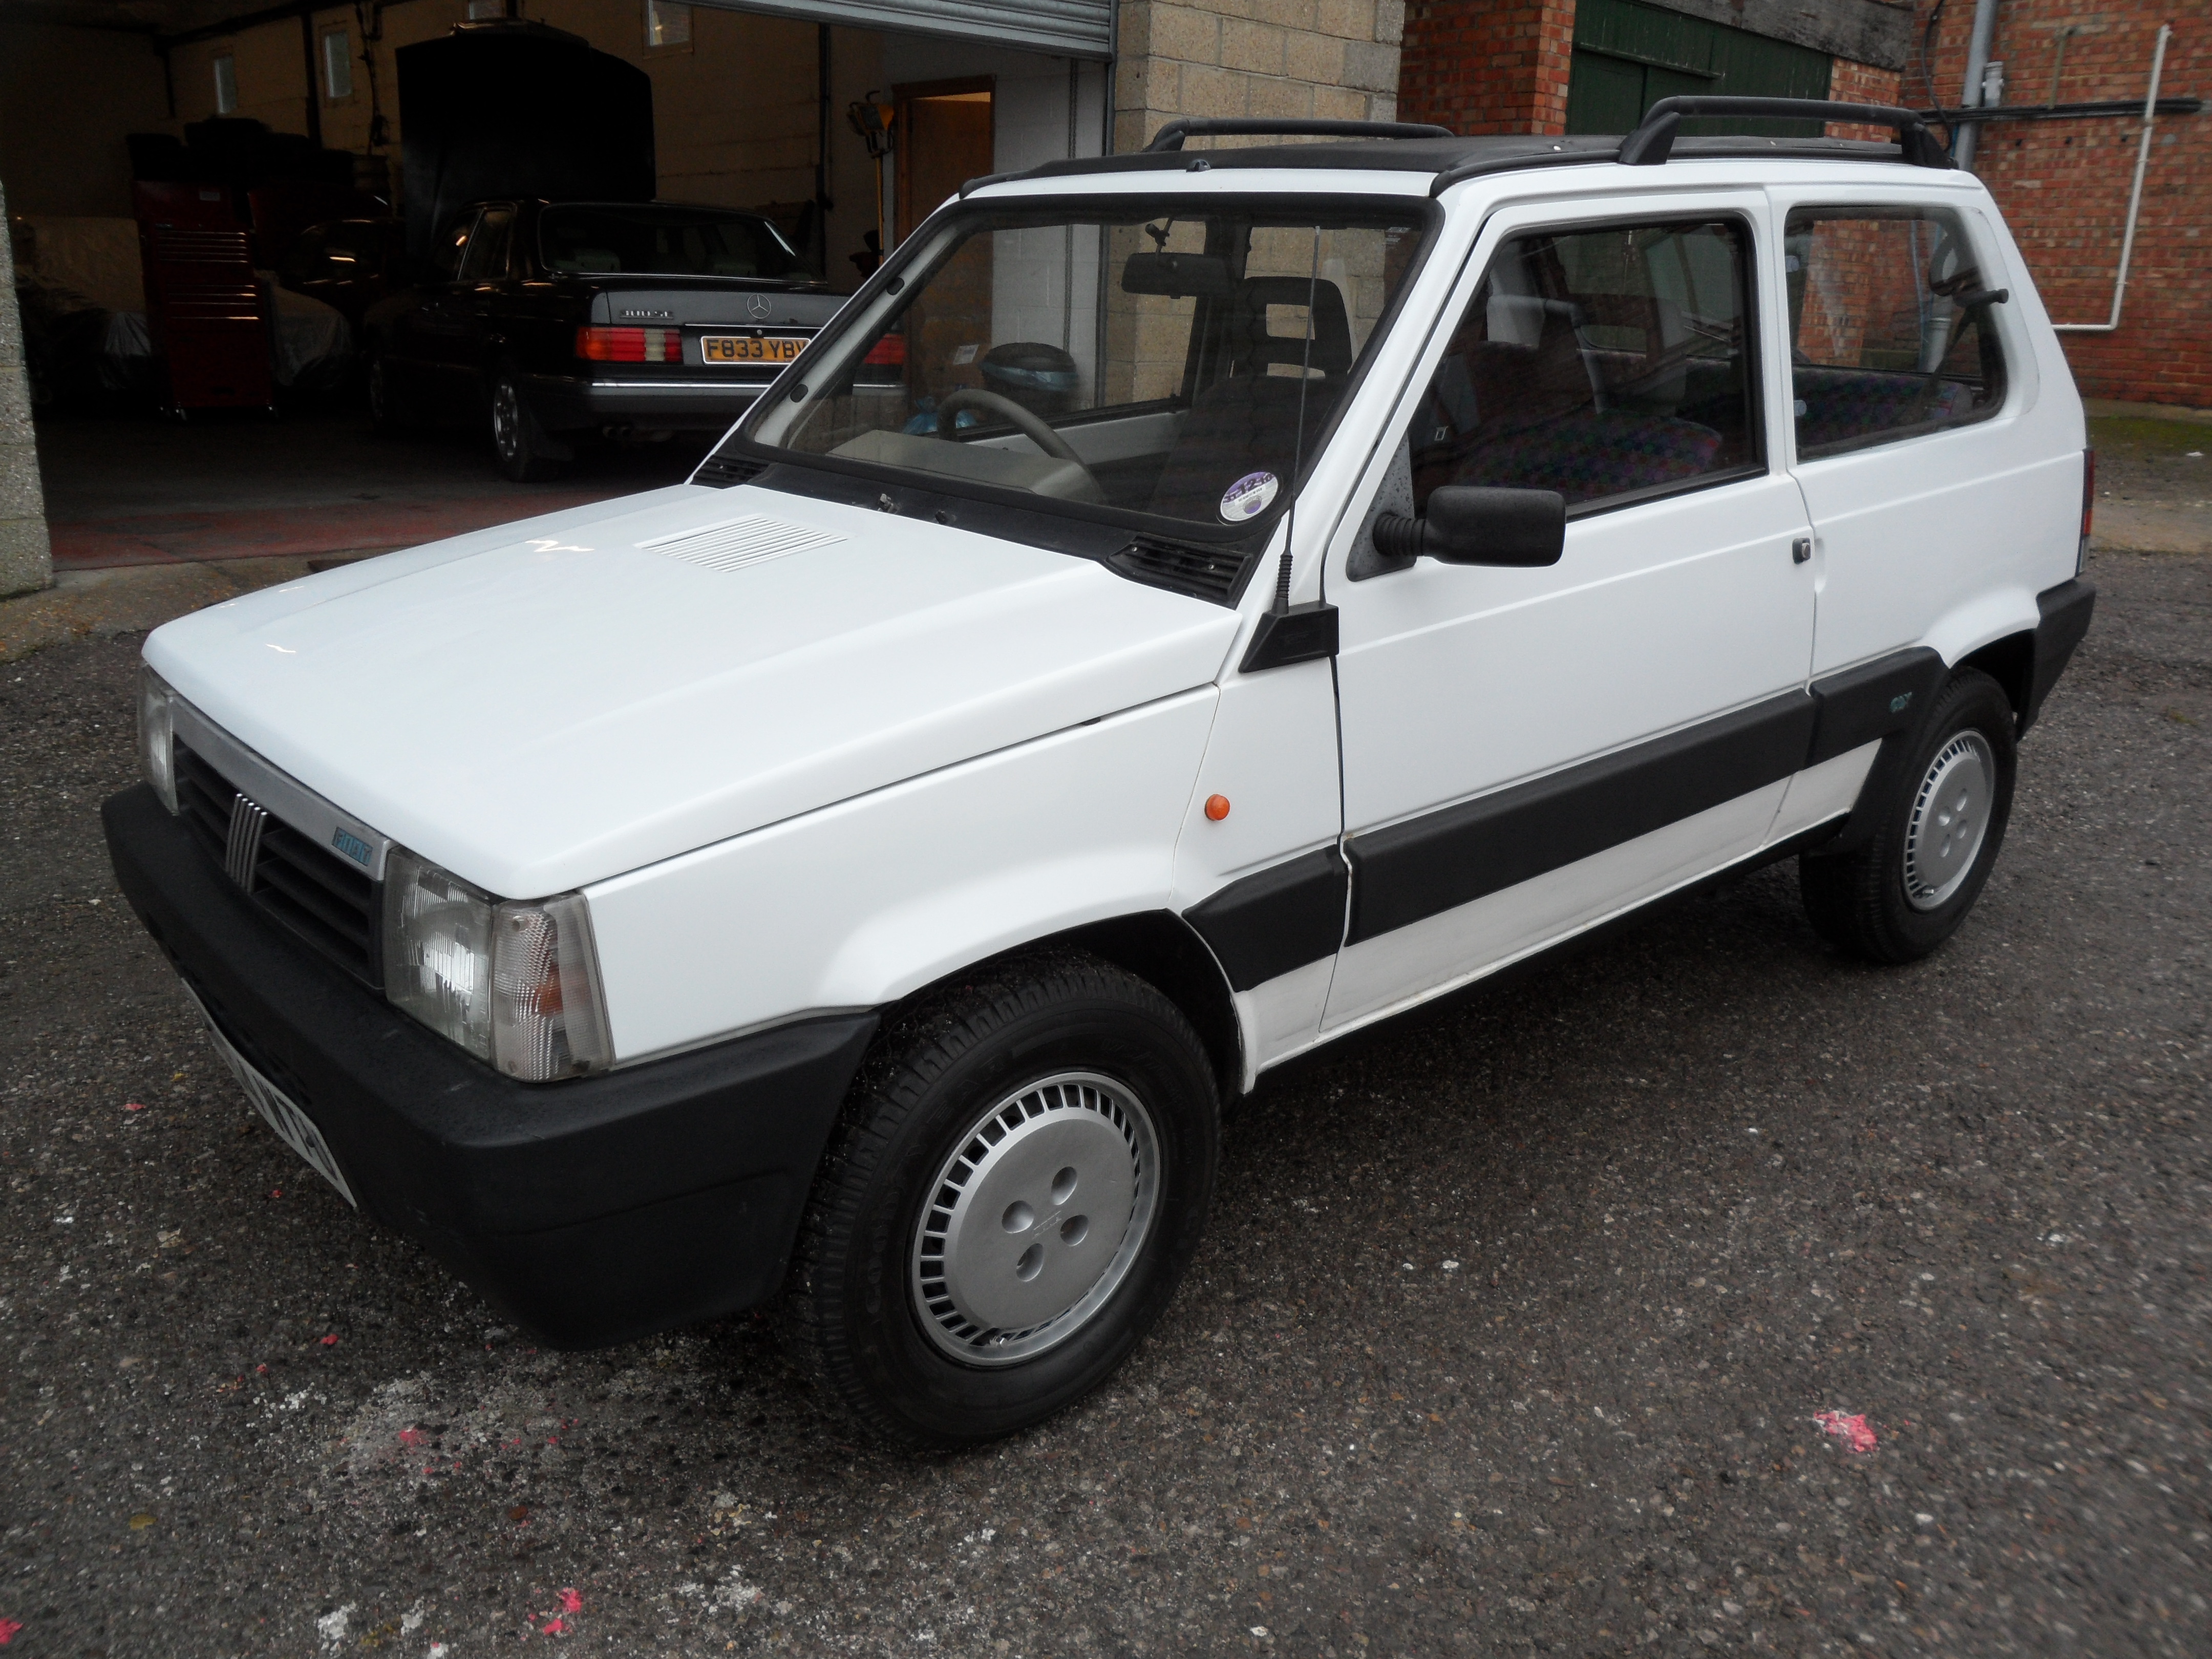


But may not.
Well it's looking like Panto! will be finished soon (Vernon's doing 16 hour shifts :worship: ), so wish me luck next week - we've just compiled a list of modifications to notify to the insurers - there's a few, but at least some of the panels are original!! :eek:

I guess I'll soon find out whether a Panda with lots of modifications with a request for a high agreed value falls within the criteria of something Mr James would like added to my classic policy! :chin:

Watch this space.........
 
Try Flux Direct they didn't hesitate when I told about my MGB. ;)

Yes thanks, they will be on my list if I hit problems.

Peter James are great for my other classics (inc the Coupe), but I don't know what they will make of this one. It's usually less than £30 for a Panda but I'm not expecting this one to be so cheap. If they will insure it, I'll just add it to the policy as the other (ahem, I think I've lost count!! Is that a really bad sign??!! :bang: ) ones are all on one really good policy. (y)
 
Made some progress on a very important part of the build today, providing clearance between the engine and bonnet with the air filter looking engine cover/intake silencer/resonator/thingamy-jig fitted.

When I first put the bonnet on and tried to close it I could see it hit the engine with at least an inch to go. It was the bracing under the bonnet that was in the way so a section of this had to go. Pete was in with me too so I left it to him to cut out the necessary section on a scrap bonnet.

With this modified and fitted things were still very close so we had to pinch some more space from somewhere, otherwise there was a danger that the engine would make contact when it rocked.

A few millimetres were gained by shaving the rubber mountings of the cover itself. This gain was increased to about a centimetre by spacing the engine mountings down a little. This is what we had............


While I was working on the mountings Pete modded the actual bonnet.......


This will now need finishing in white of course but at least we now had sufficient clearance. Not an easy pic to take but hopefully you can see the end result.......


:worship: :worship:

Wow, now I see why everyone said it was impossible......... :eek:

"Limited Editions Unlimited, making the impossible possible" :idea:

:) very impressed with that Vernon :)

Glad for the extra space, as I am expecting that the engine may be rocked during use! It's not going racing or anything, but the intention is to use it "normally". My definition of normal may not entirely be the same as other people though....... :eek:
 
Popped down to Vernon's today (with spare front seats for Hal/Fallout(?); and roof bars for Panto, from Palio...) -- on the way to somewhere else (which is where I am now...). :)

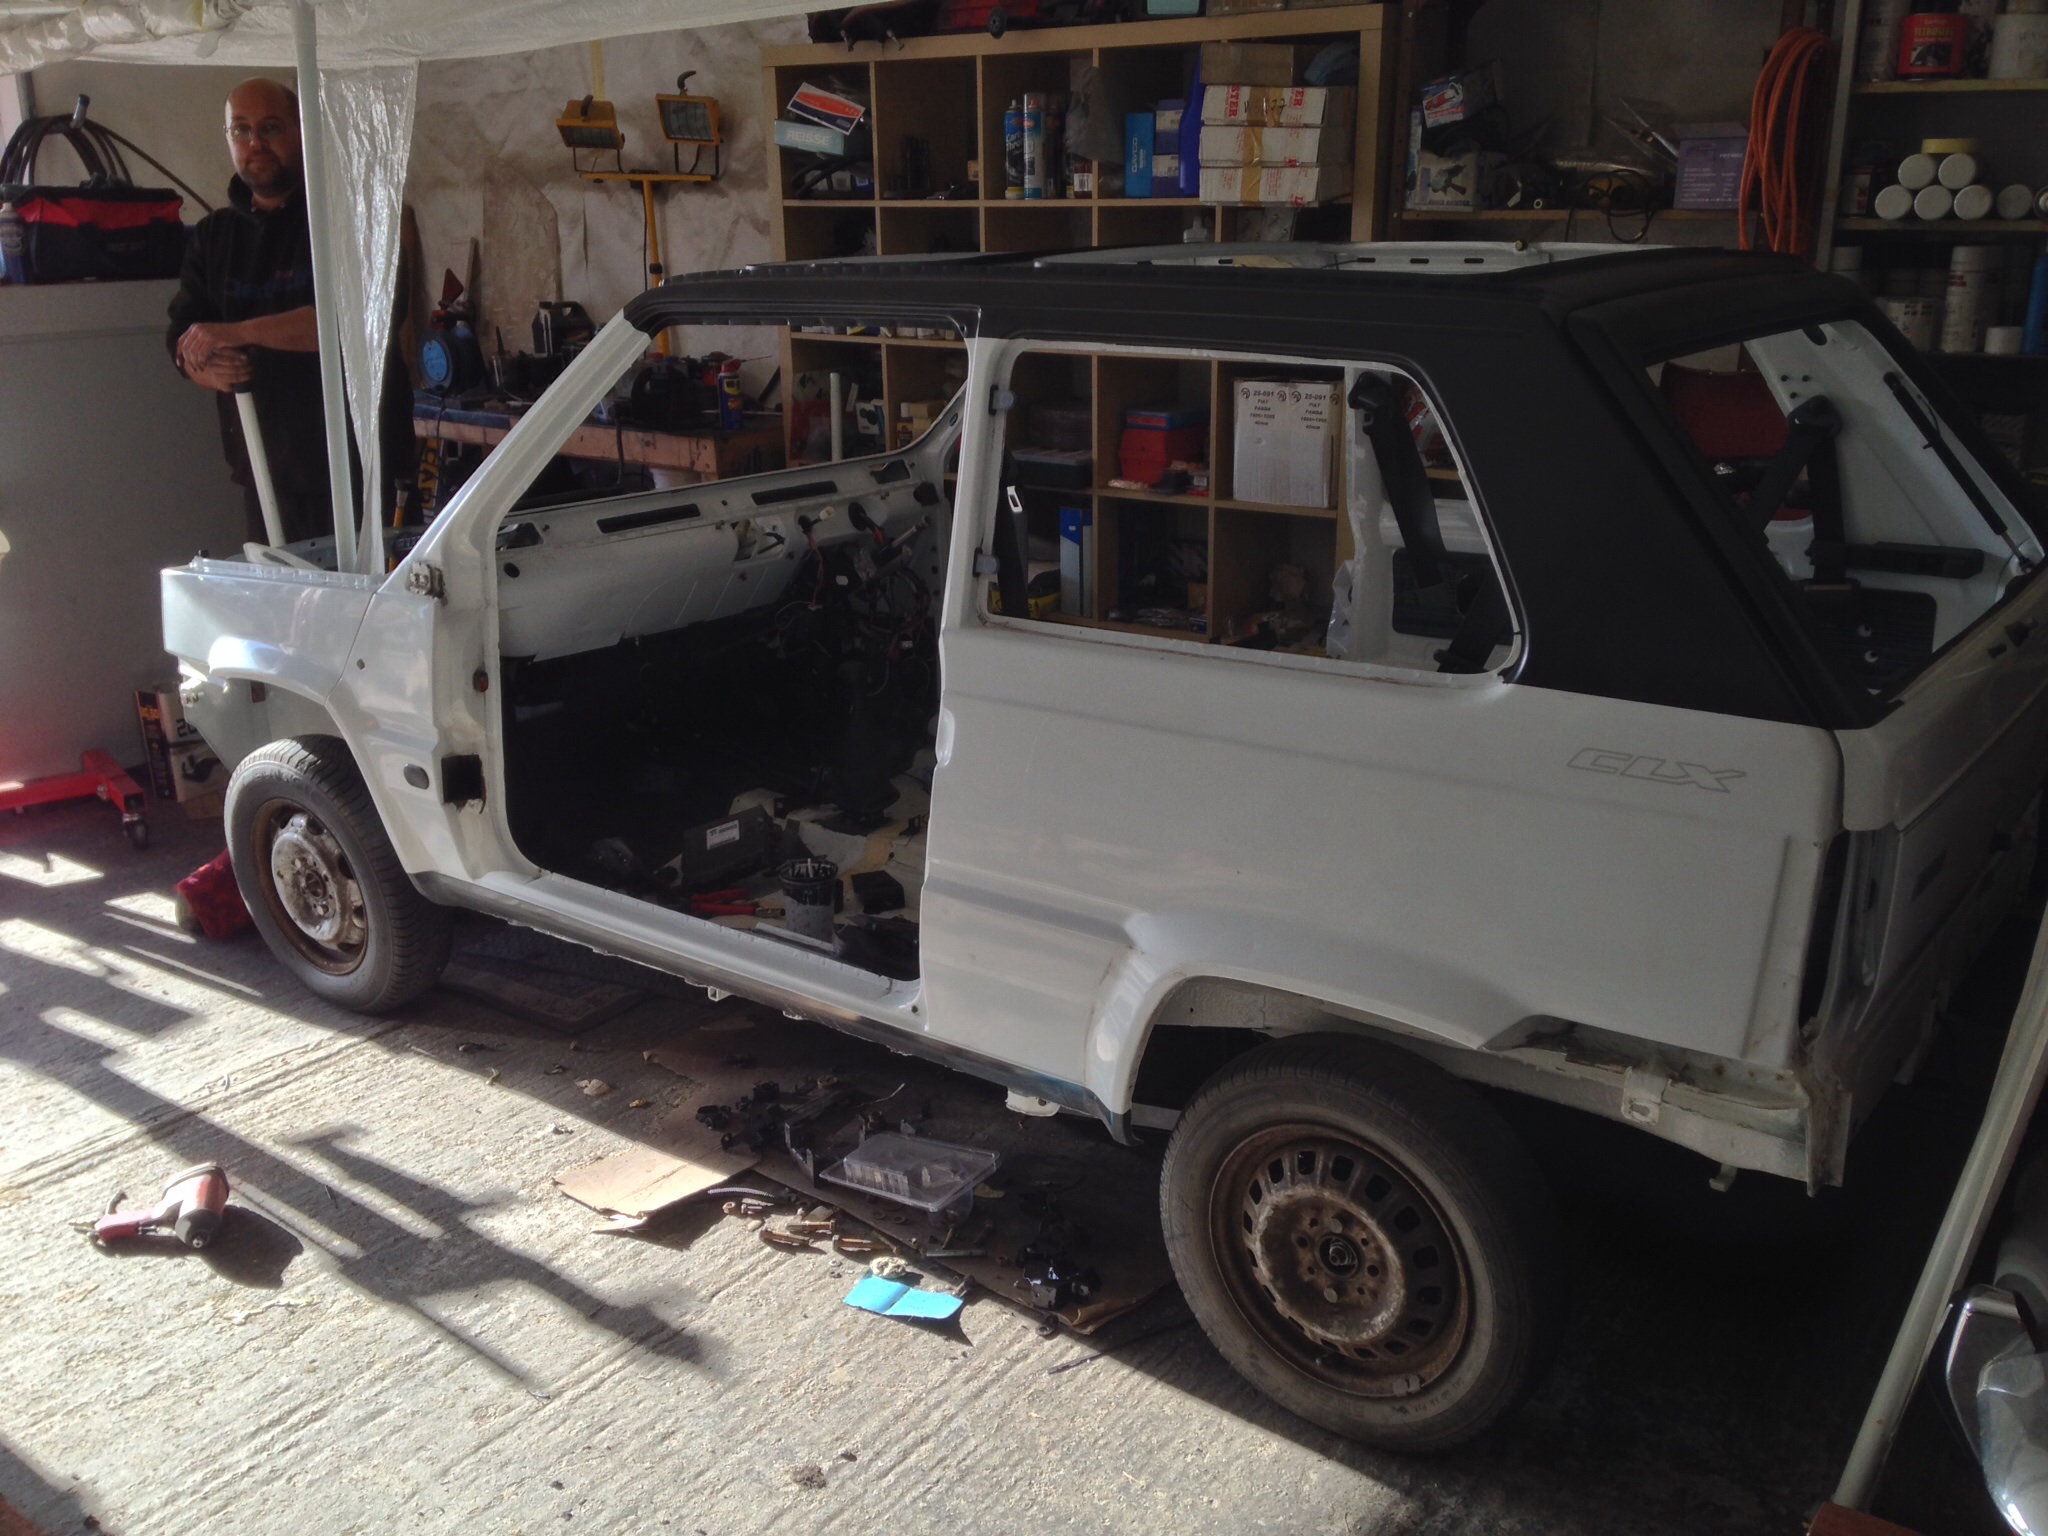
Panto continues to progress apace, as well... -- so much so that he is now resting on his (temporary) wheels for the first time in about 18 months or so...! He also has a complete wiring loom -- just waiting for everything to be plugged into...! There's also oil in both the engine and the gearbox (although I must apologize for being too helpful: and therefore leading to a small spillage of the latter...)! (y)


After checking that they do actually fit with a pair of sunroofs (thank you, purple haze, for the loan of the Bianca...!); VmanC then 'trial fitted' the roof bars to (meaning rested them on top of) Panto -- and very nice they look, too...! :cool:


Looking good...! :worship:
 
Panto continues to progress apace, as well... -- so much so that he is now resting on his (temporary) wheels for the first time in about 18 months or so...!

You neglected to mention that the only reason he's on his wheels is because the axle stands holding him up were needed so he had to go on 'any old steelies' laying around... :p
 
You neglected to mention that the only reason he's on his wheels is because the axle stands holding him up were needed so he had to go on 'any old steelies' laying around... :p

I know.... :eek:

But, not so long ago, he was still on the 'rotisserie' -- so the fact that you can actually fit wheels is a major step forward...! (y)
 
More progress today.

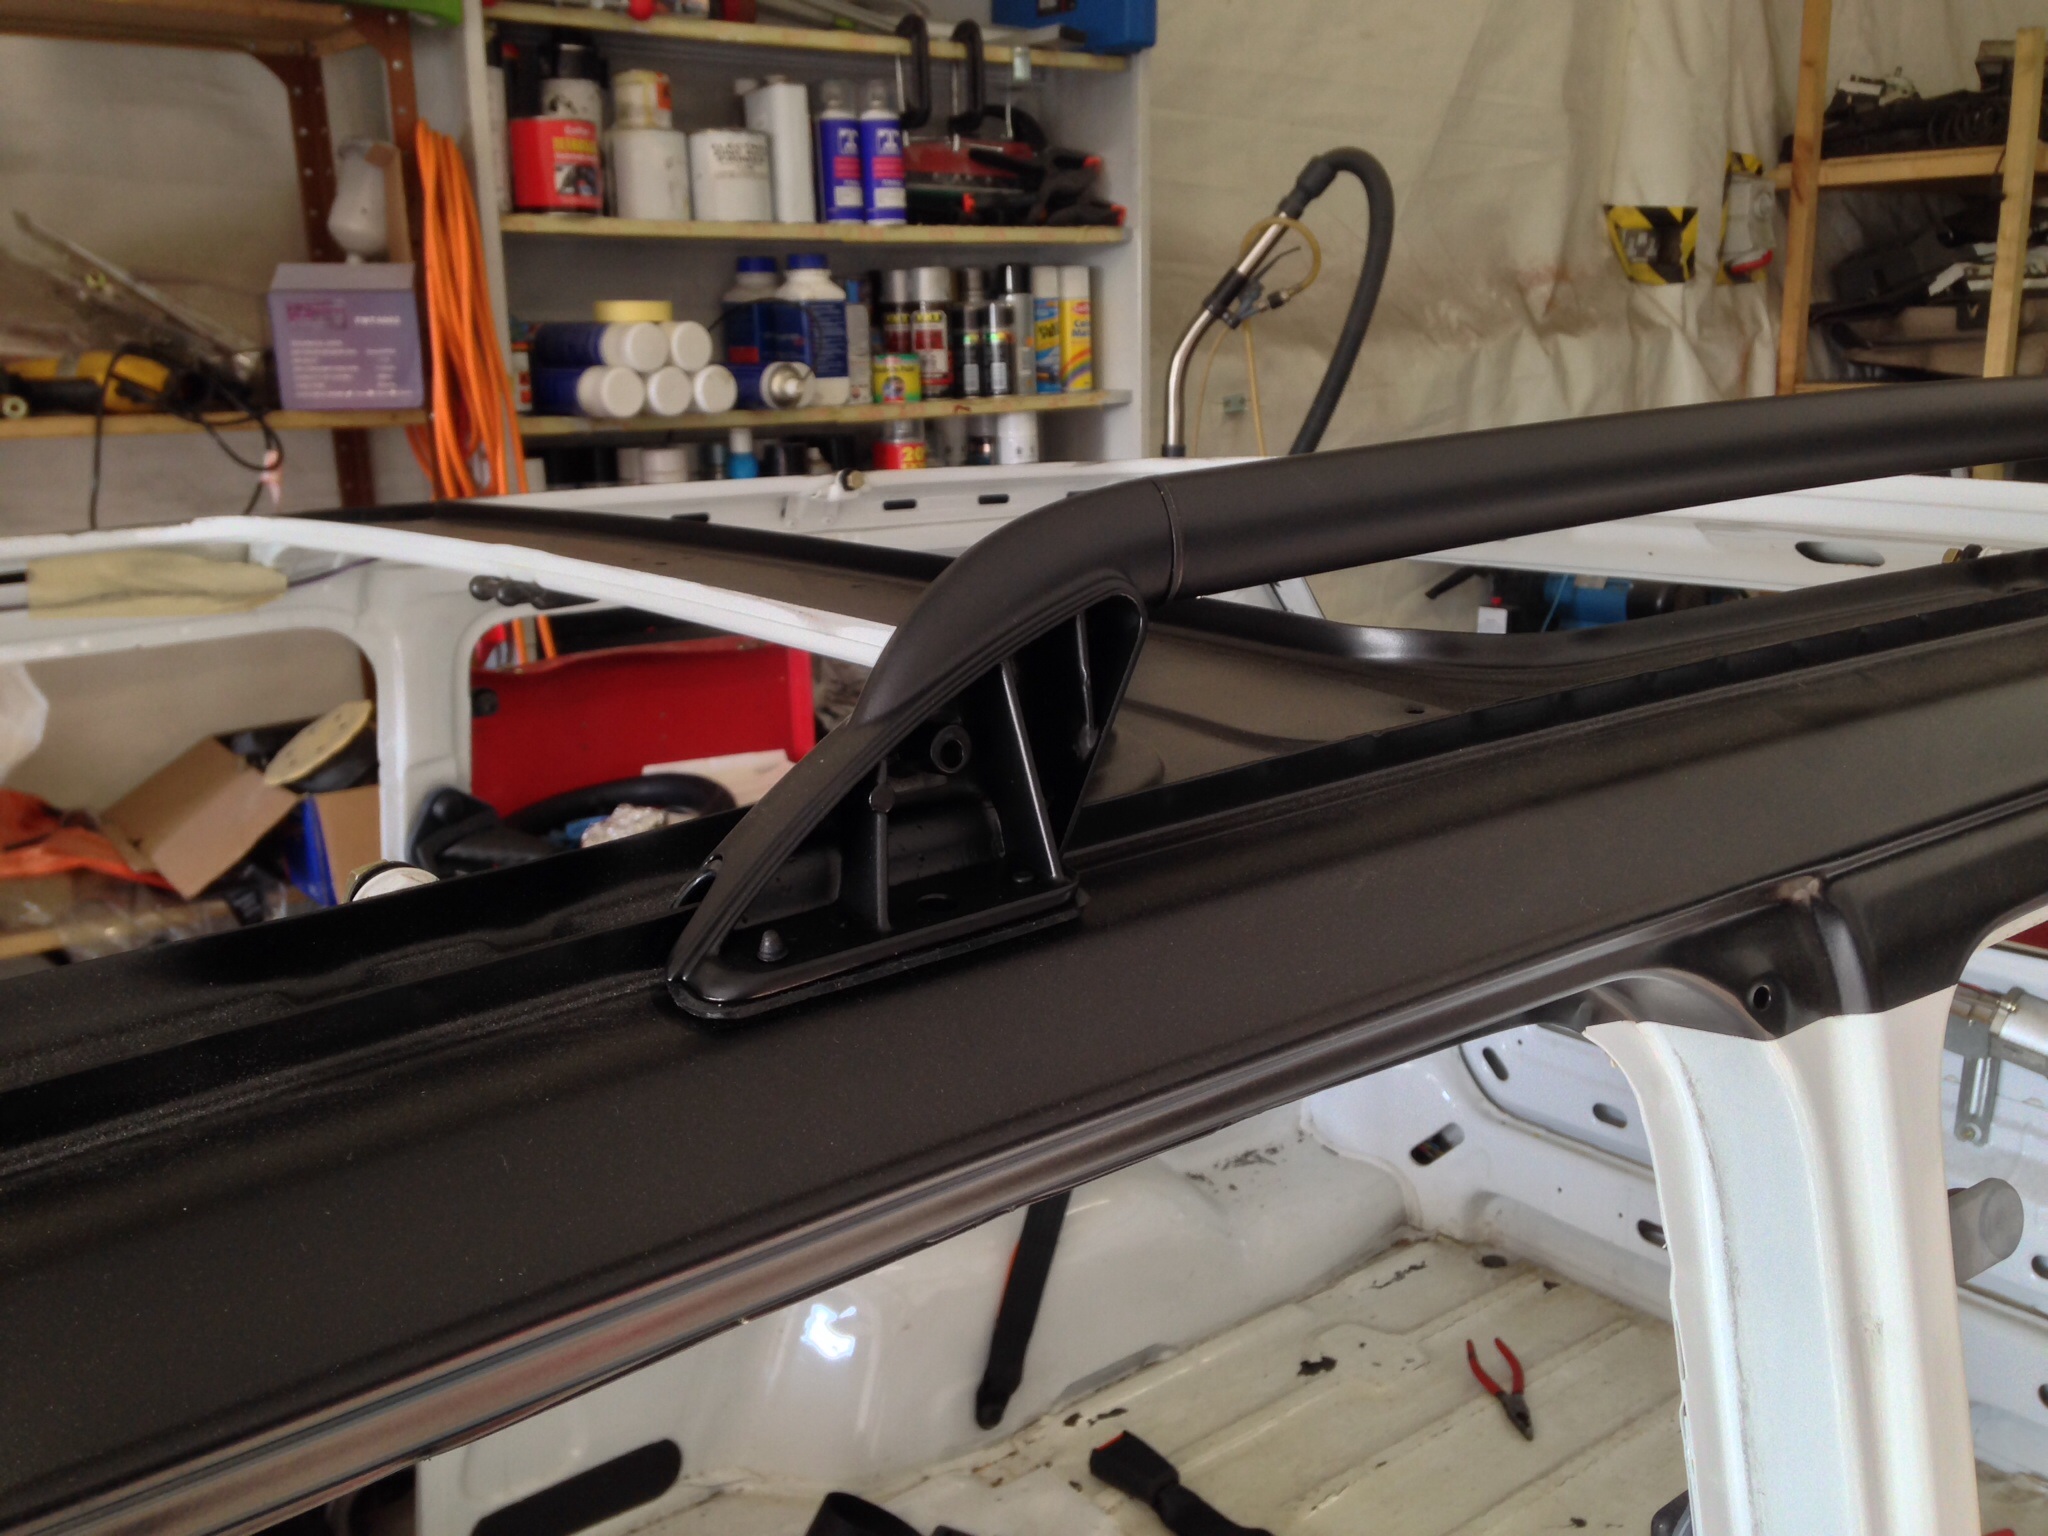
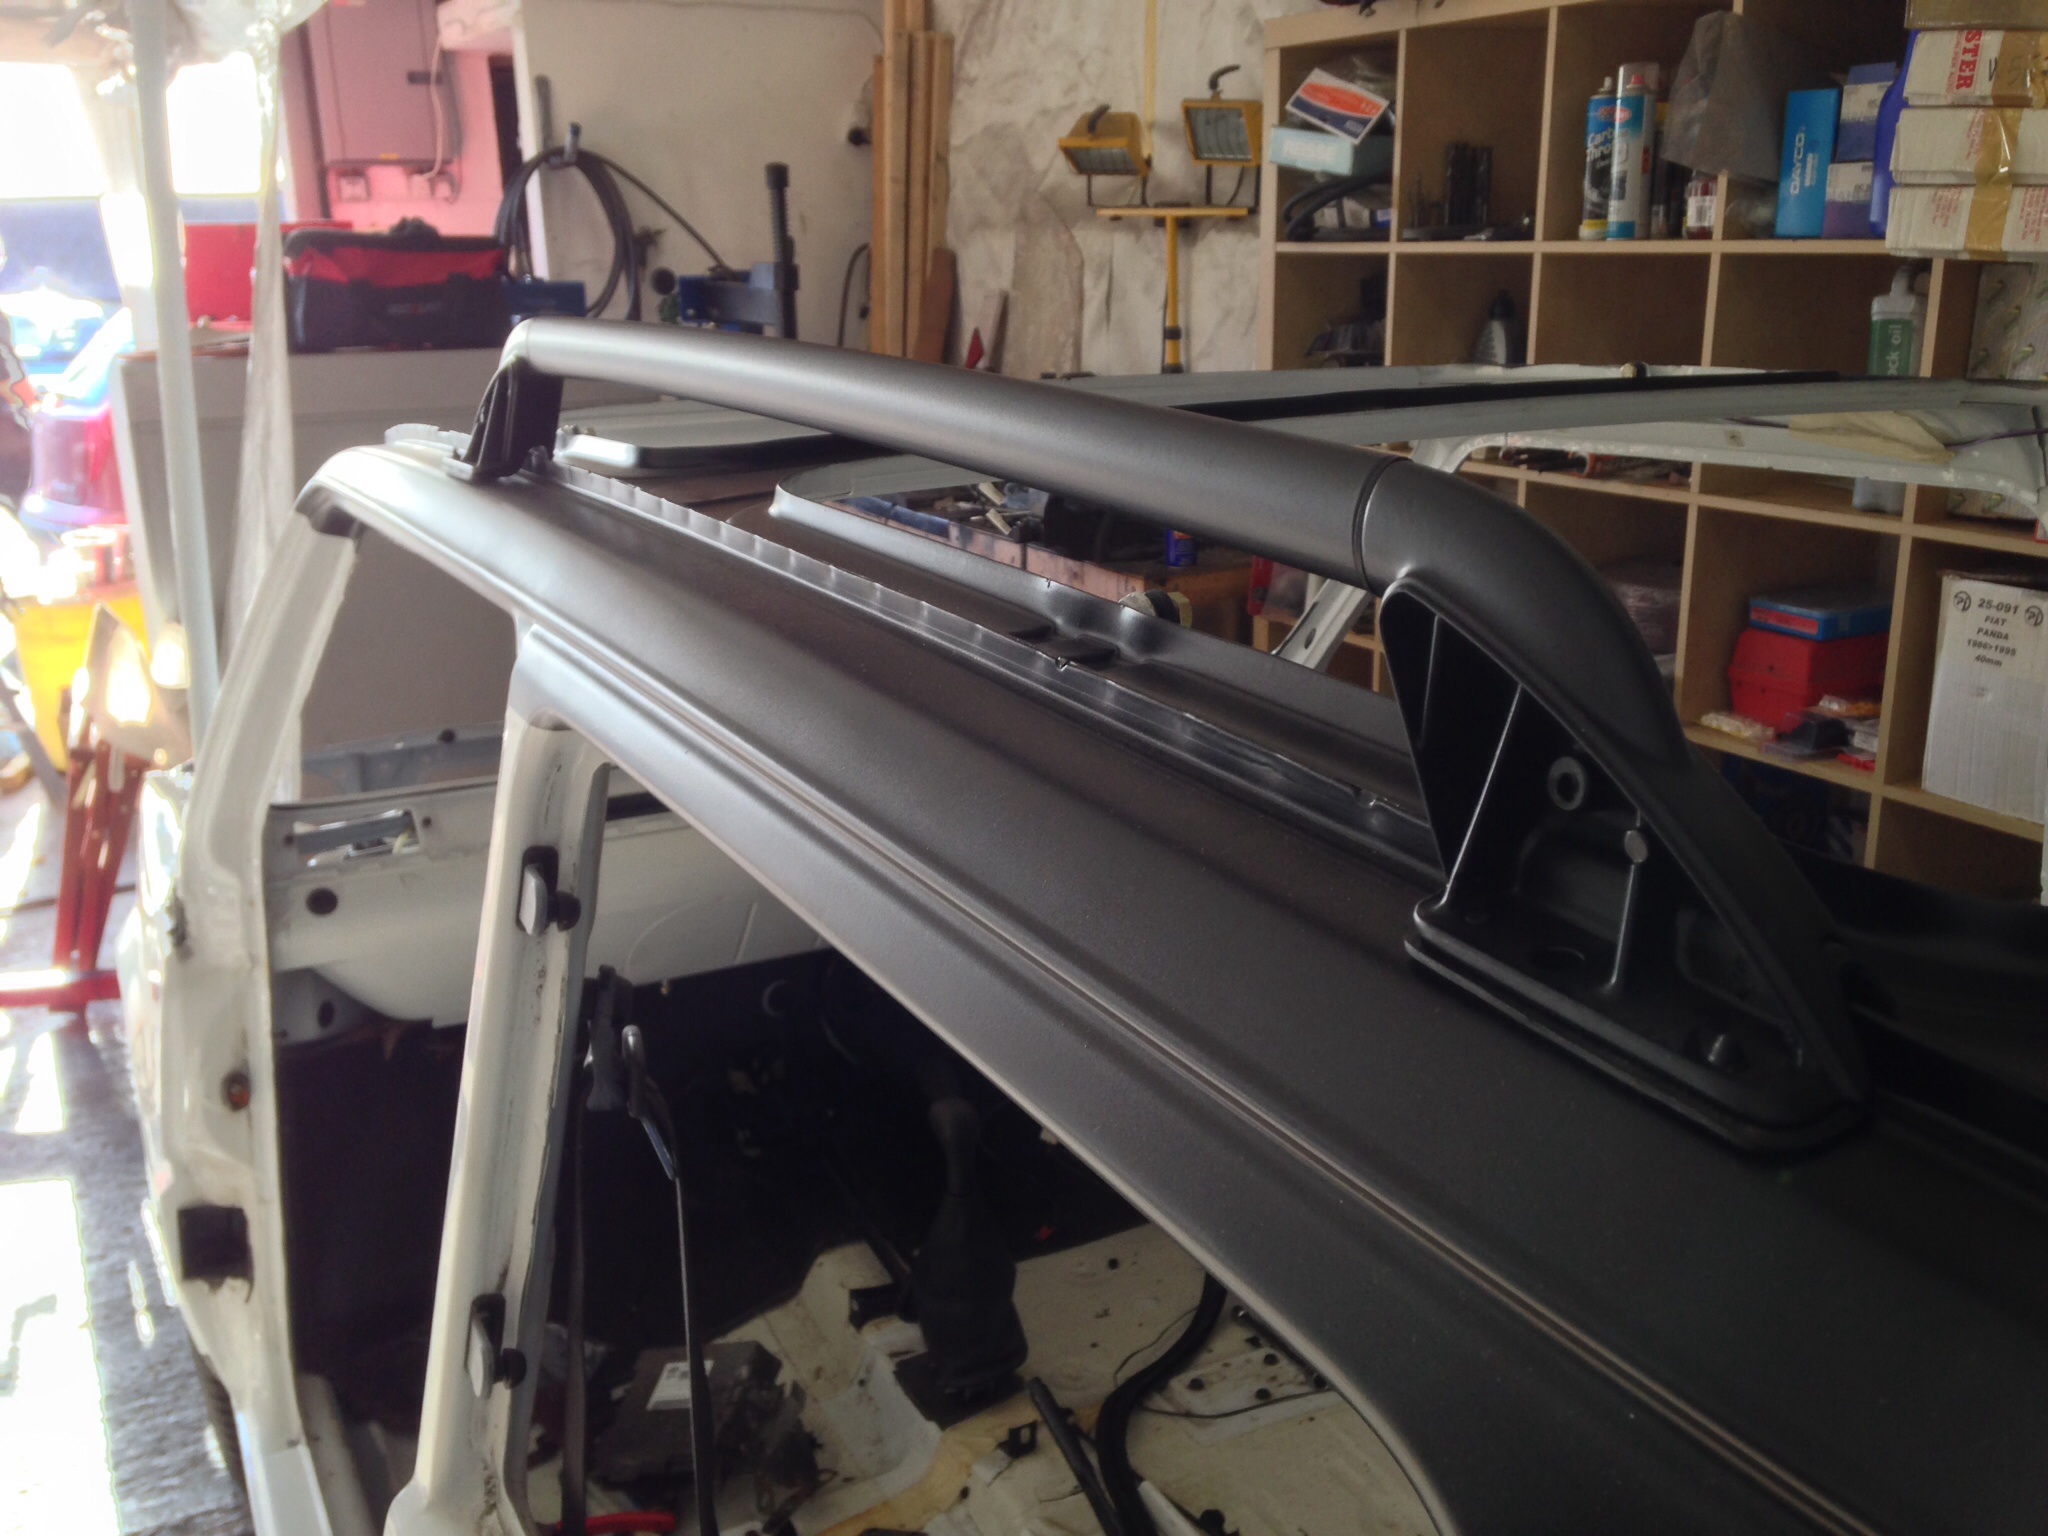
As Homeward went to the trouble of bringing down the new roof bars from Gavin it would have been rude not to fit them.


For those that might be wondering how these are fitted, above are the covers that hide the bolt at each end and the captive nuts that sit inside the box section which runs down either side of the roof.


These are the slots that the captive nuts fit in to to give the bars the correct positioning on the roof. You need to drill the holes so that the bits that stick through the slots end up central in the slot, this allows you maximum adjustment in case you don't drill the holes in quite the right place.


This is where I drilled the back holes, seemed to allow everything to line up nicely...........


Job done.

Gavin, who'd have thought six months ago when you were getting nowhere finding a second hand set that you'd end up with new ones! :)


Also today, the John Ashley exhaust manifold arrived. :D

I have to say that John has been very helpful and cooperative in the making of this. It took a while as they are very busy but it's here now.

The main problem is that they build these manifolds to fit a Punto but the 16v engine in a Panda only gives a space of 4.5" before the manifold hits the radiator. John was able to build me one that hugs the block a little closer so it now protrudes by 5.5".


In order to gain the necessary clearance we will mount the radiator as far forward as possible, as in this pic..........


The rad. would normally sit where the holes are but now will sit on the ledge just in front of them. Unfortunately the wiring loom is mounted along this ledge so this has to be re-located. At first I was going to run the loom under the brackets that normally hold the radiator but realised that it would be exposed a little to the heat from the manifold. My solution was to run the loom inside the front panel, as below........


I did have to cut off the headlight plug in order to feed it through, then re-attach with some solder and heat shrink.

The manifold will eventually be ceramic coated but we wanted to make sure it would fit first.
 
Looking fantastic(y) Can't wait to see it at the NEC.

Not looked too closely at a Panda headlight plug, but you can usually remove the 3 terminals from the plug with a small enough screwdriver and some paitence, would save cutting the loom if you have to do the same thing again:)


:bang: That's exactly what I do to the rear wiper motor plug when pulling the loom out of a tailgate, why didn't I think of it this time :bang::bang::bang:
 
Back
Top