Technical Project Bucket.

Currently reading:
Technical Project Bucket.

Vern,
What I want to know is how many bits have you nicked off Bucket to save other Pandas in the many months since you stripped her.
Question is?
Can you find them again!
Dave

It's more like what parts have come from other cars to go on Bucket! All the parts from Bucket that we are re-using are safely boxed up don't you worry. :nono:
 
Didn't she say she wanted a lightweight.
It's already been dipped to get rid of the rust of so will be 25kg lighter.
And Verns only putting on 2 layers of paint, part worn tyres and alloy wheels.
Oh and he did empty the ashtray.
Dave
 
I've been deliberately keeping quiet about Buckets progress as I wanted to surprise Julie with it at the recent Classic car restoration show at the NEC. Now that Julie has seen him I can bring this thread up to date, but it may take a couple of evenings.


This is the Mk1 Punto 60 engine we're using in Bucket ready to be spruced up. It's an SPI unit and was chosen because of it's simplicity, reliability, and extra power and torque.


That's it for now, will load some more pics and continue soon.
 
Time this evening for another installment........


The gearbox has been fully reconditioned and painted.


I had a new gear linkage in stock so this was fitted too as it's a part that often wears and gives a sloppy gearchange.


Engine and gearbox now re-united.


Bucket will have raised suspension as Julie likes the high driving position. To ensure that the front drive shafts don't operate at too sharp an angle I've dropped the engine/gearbox assy. by using 18mm spacers on the mountings. I will be doing the same to the centre support plate on the propshaft to help that run at a normal angle too.
The lowered engine also ensures that there is plenty of room under the bonnet for the Punto air filter.


Back in the engine bay at last.


Most of the other components fitted too. :)
 
Oh vernon, you have let me down.

Firstly I spot a speck of dust.

Secondly I am sad I will never be able to fund a panda to the same exquisite level of excellence you are putting into bucket. She is a lucky girl.

However I do happen to have a spare kidney if you need one.

Anyway just seen dippydaves red 4x4 if he can revive that like Lazarus, then mine is a piece of cake.

Now where did I put the plasters.

Great work Dave

Thanks Dave, you're too kind.

Kidneys are performing well at the moment but I'll keep your offer in mind. ;)
 
May as well continue the update while I'm here.......


The roof lining has been recovered in black material, with squares of felt used to make a chequered pattern. Those of you who have been around here for a few years will remember I've done this before on Charmania.

Also, here is the final result of the frenched in badges........


I think they've come out very well. I appreciate opinions will vary, but Pandawoman liked the result. Phew!


Edit:

Forgot to mention, before the lining was refitted I stuck Dynamat to the inside of the roof. It's going all over the floor too, as well as areas of the doors and side panels. The effect is to cut out drumming of these panels to create a quieter more refined, well as refined as a Panda gets, environment.

 
Last edited:
Tee hee, it was my idea in the first place to French in the badges.
Well done Dave.

Vern
One question.
How many of buckets parts are original?
I guess about 7
6 pieces of glass and the body shell.

Dave
 
Oh vernon, you have let me down.

Firstly I spot a speck of dust.

Secondly I am sad I will never be able to fund a panda to the same exquisite level of excellence you are putting into bucket. She is a lucky girl.

However I do happen to have a spare kidney if you need one.

Anyway just seen dippydaves red 4x4 if he can revive that like Lazarus, then mine is a piece of cake.

Now where did I put the plasters.

Great work Dave
i can forgive vernon for not doing the dusting as he is doing such an excellent job....i know i am probably soft in the head for spending so many pennies on bucket , but i prefer to do that rather than buy a newer car. call me old fashioned but i like to see a proper engine under the bonnet and i like to do the driving. i just don't like newer cars that try to drive for you with all that semi automatic nonsense.
 
download.jpg


The roof lining has been recovered in black material, with squares of felt used to make a chequered pattern. Those of you who have been around here for a few years will remember I've done this before on Charmania.

Erm... Excuse me, I was sold Char' as a unique one of a kind Panda, now you're just flaunting her style off to everyone else :rolleyes: ;)
 
Erm... Excuse me, I was sold Char' as a unique one of a kind Panda, now you're just flaunting her style off to everyone else :rolleyes: ;)

Surely you don't expect me to keep coming up with new ideas? ;)


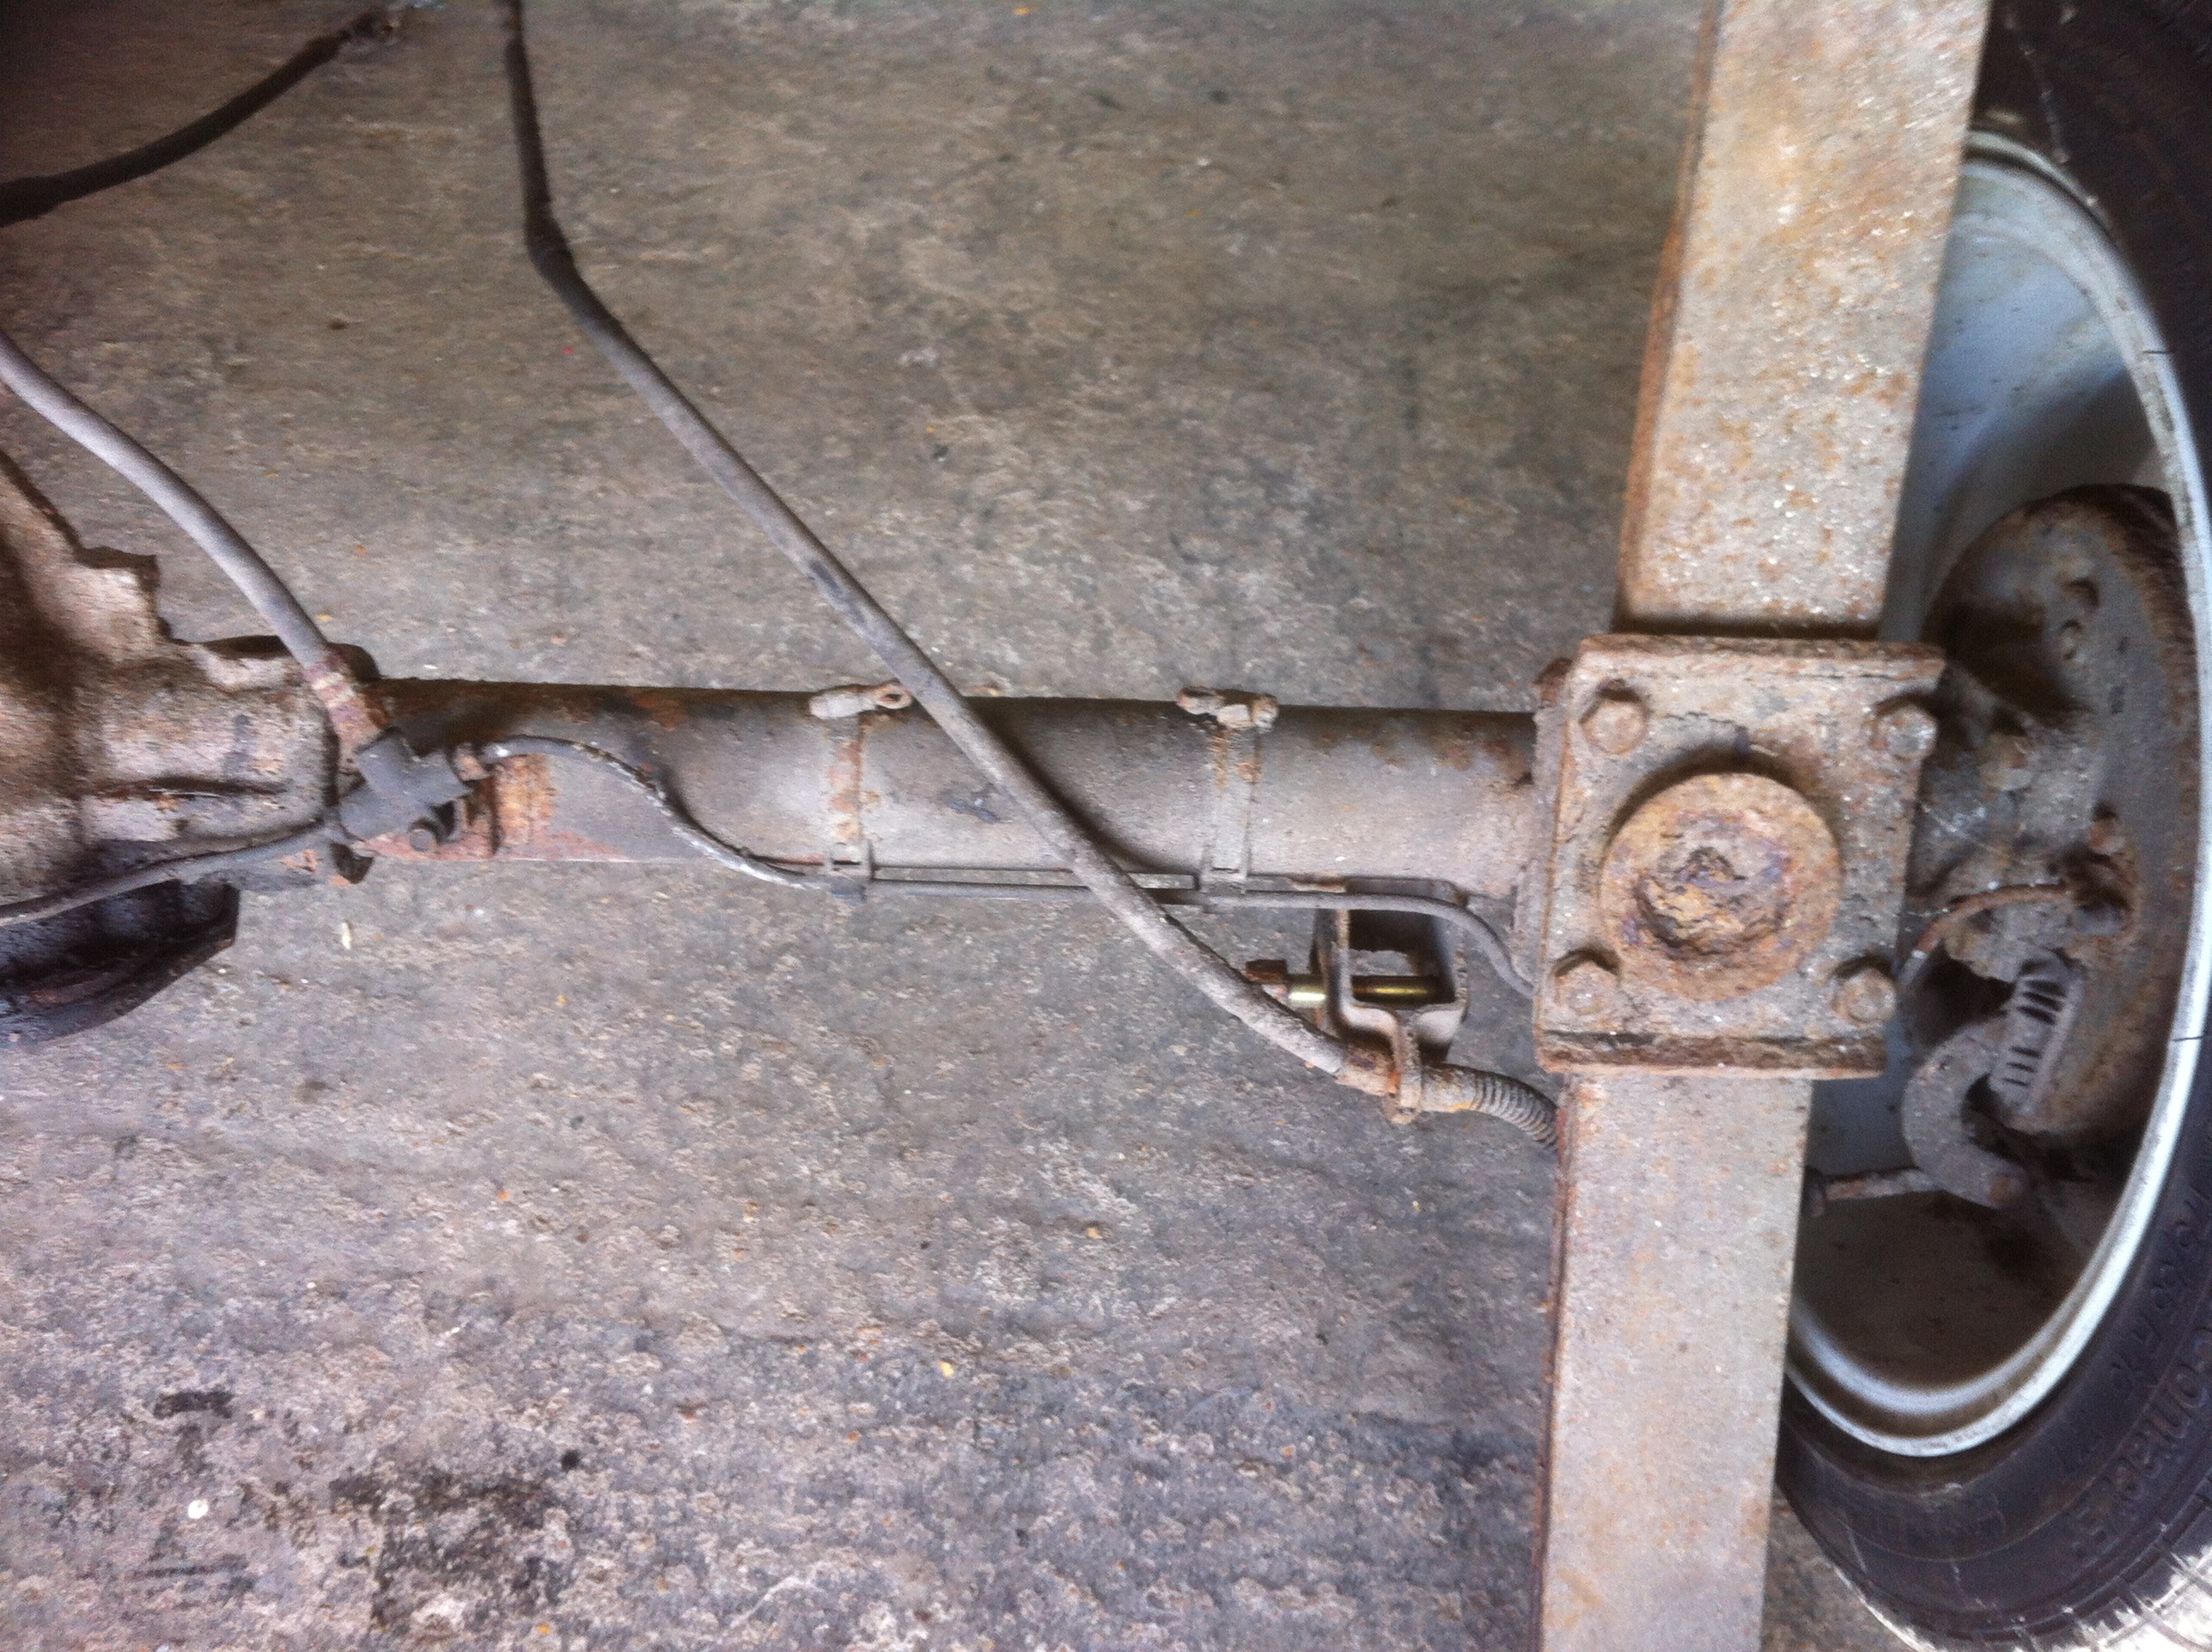
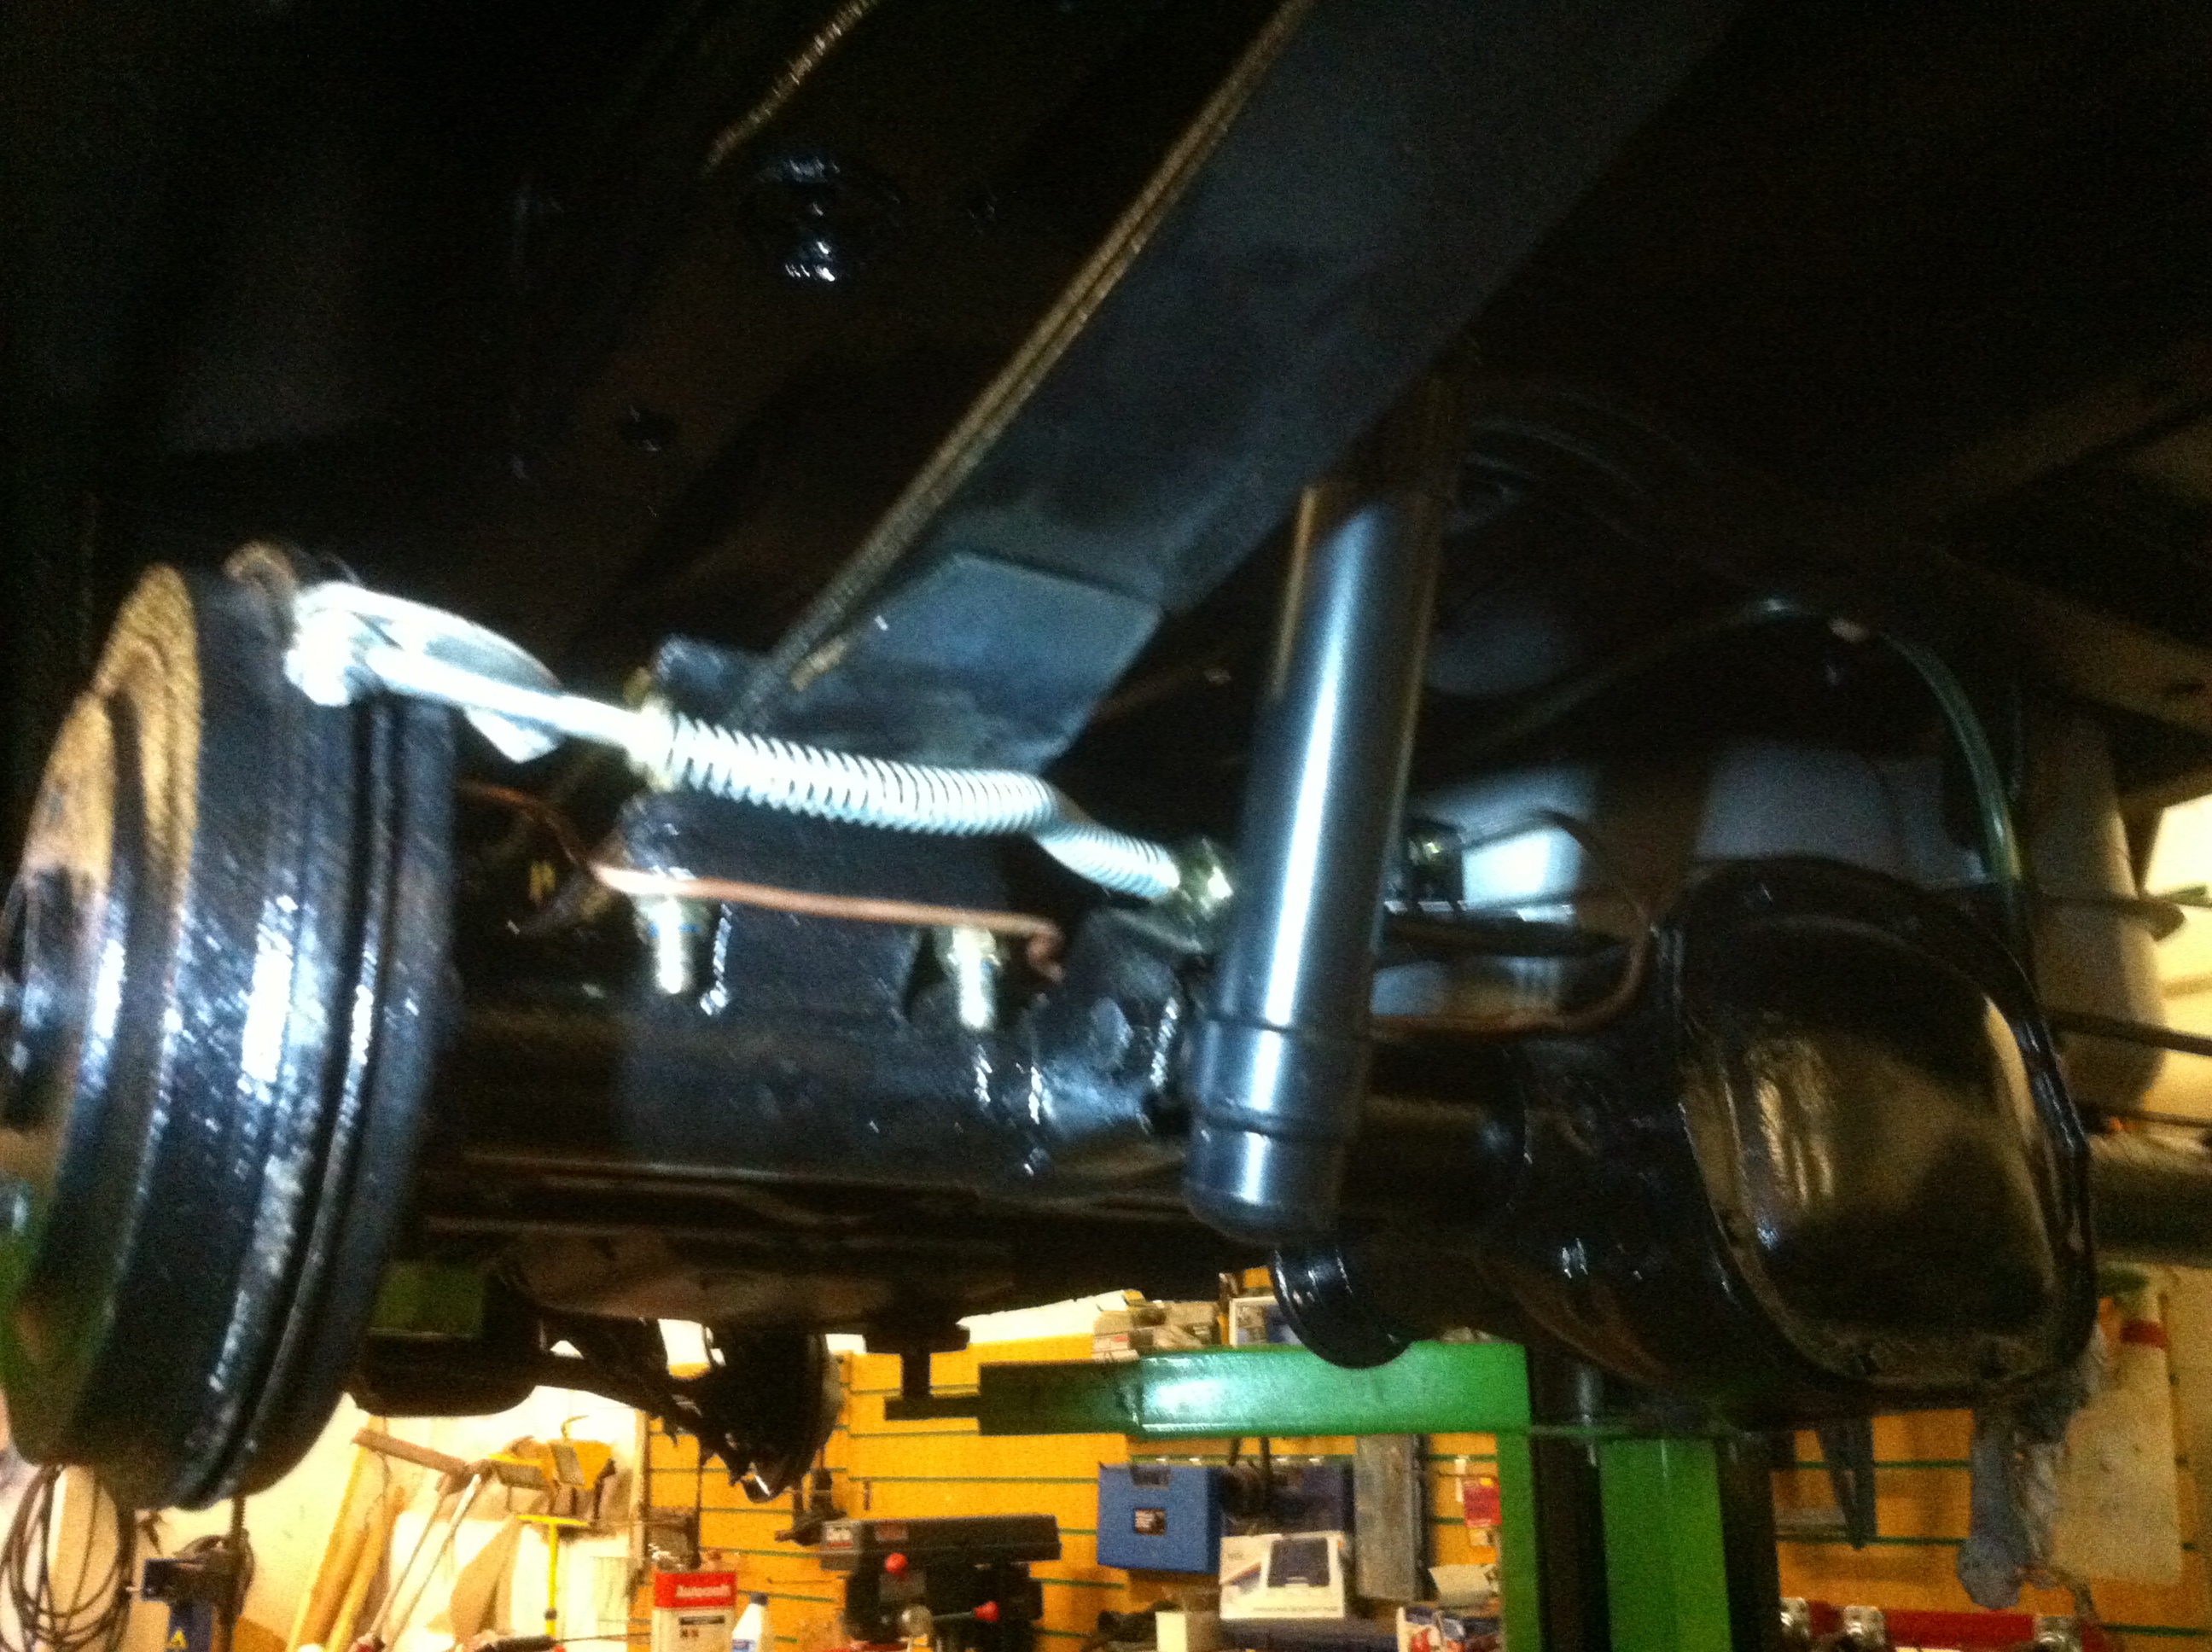
The back axle and leaf springs were sand blasted, coated in zinc primer, then painted black. All the suspension components were given an extra coat of black paint as the one they come with when new doesn't last very long.


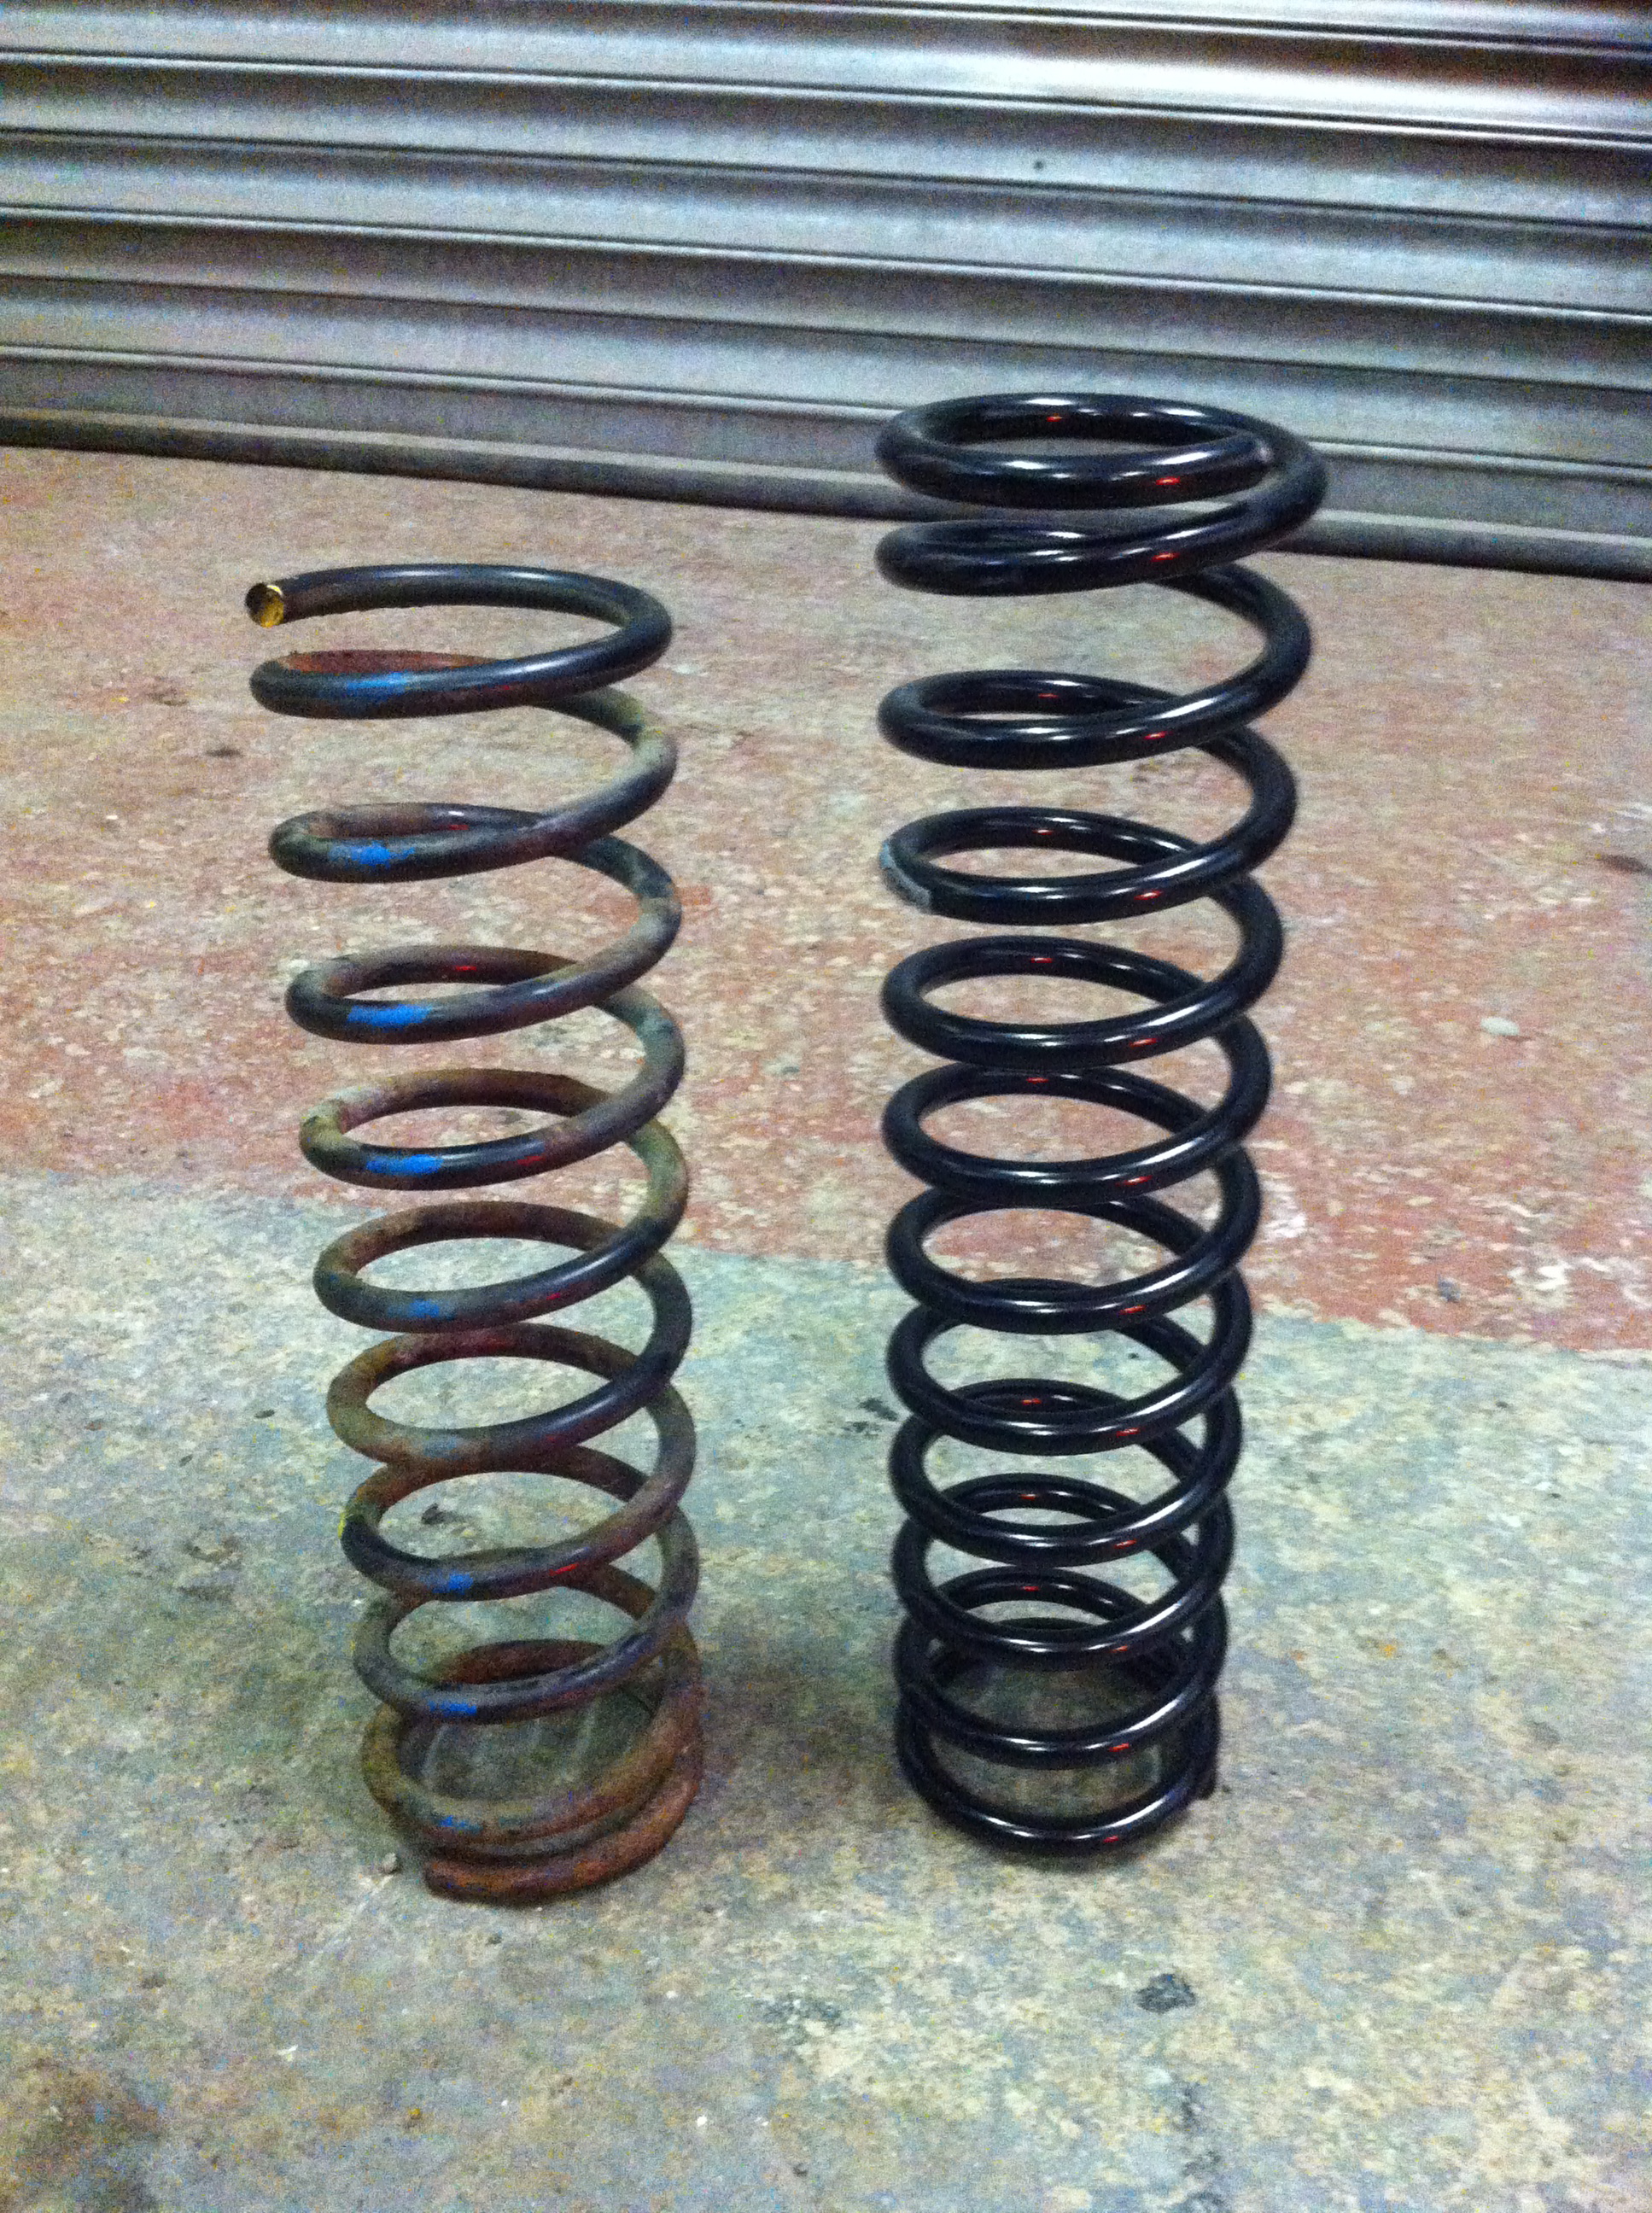
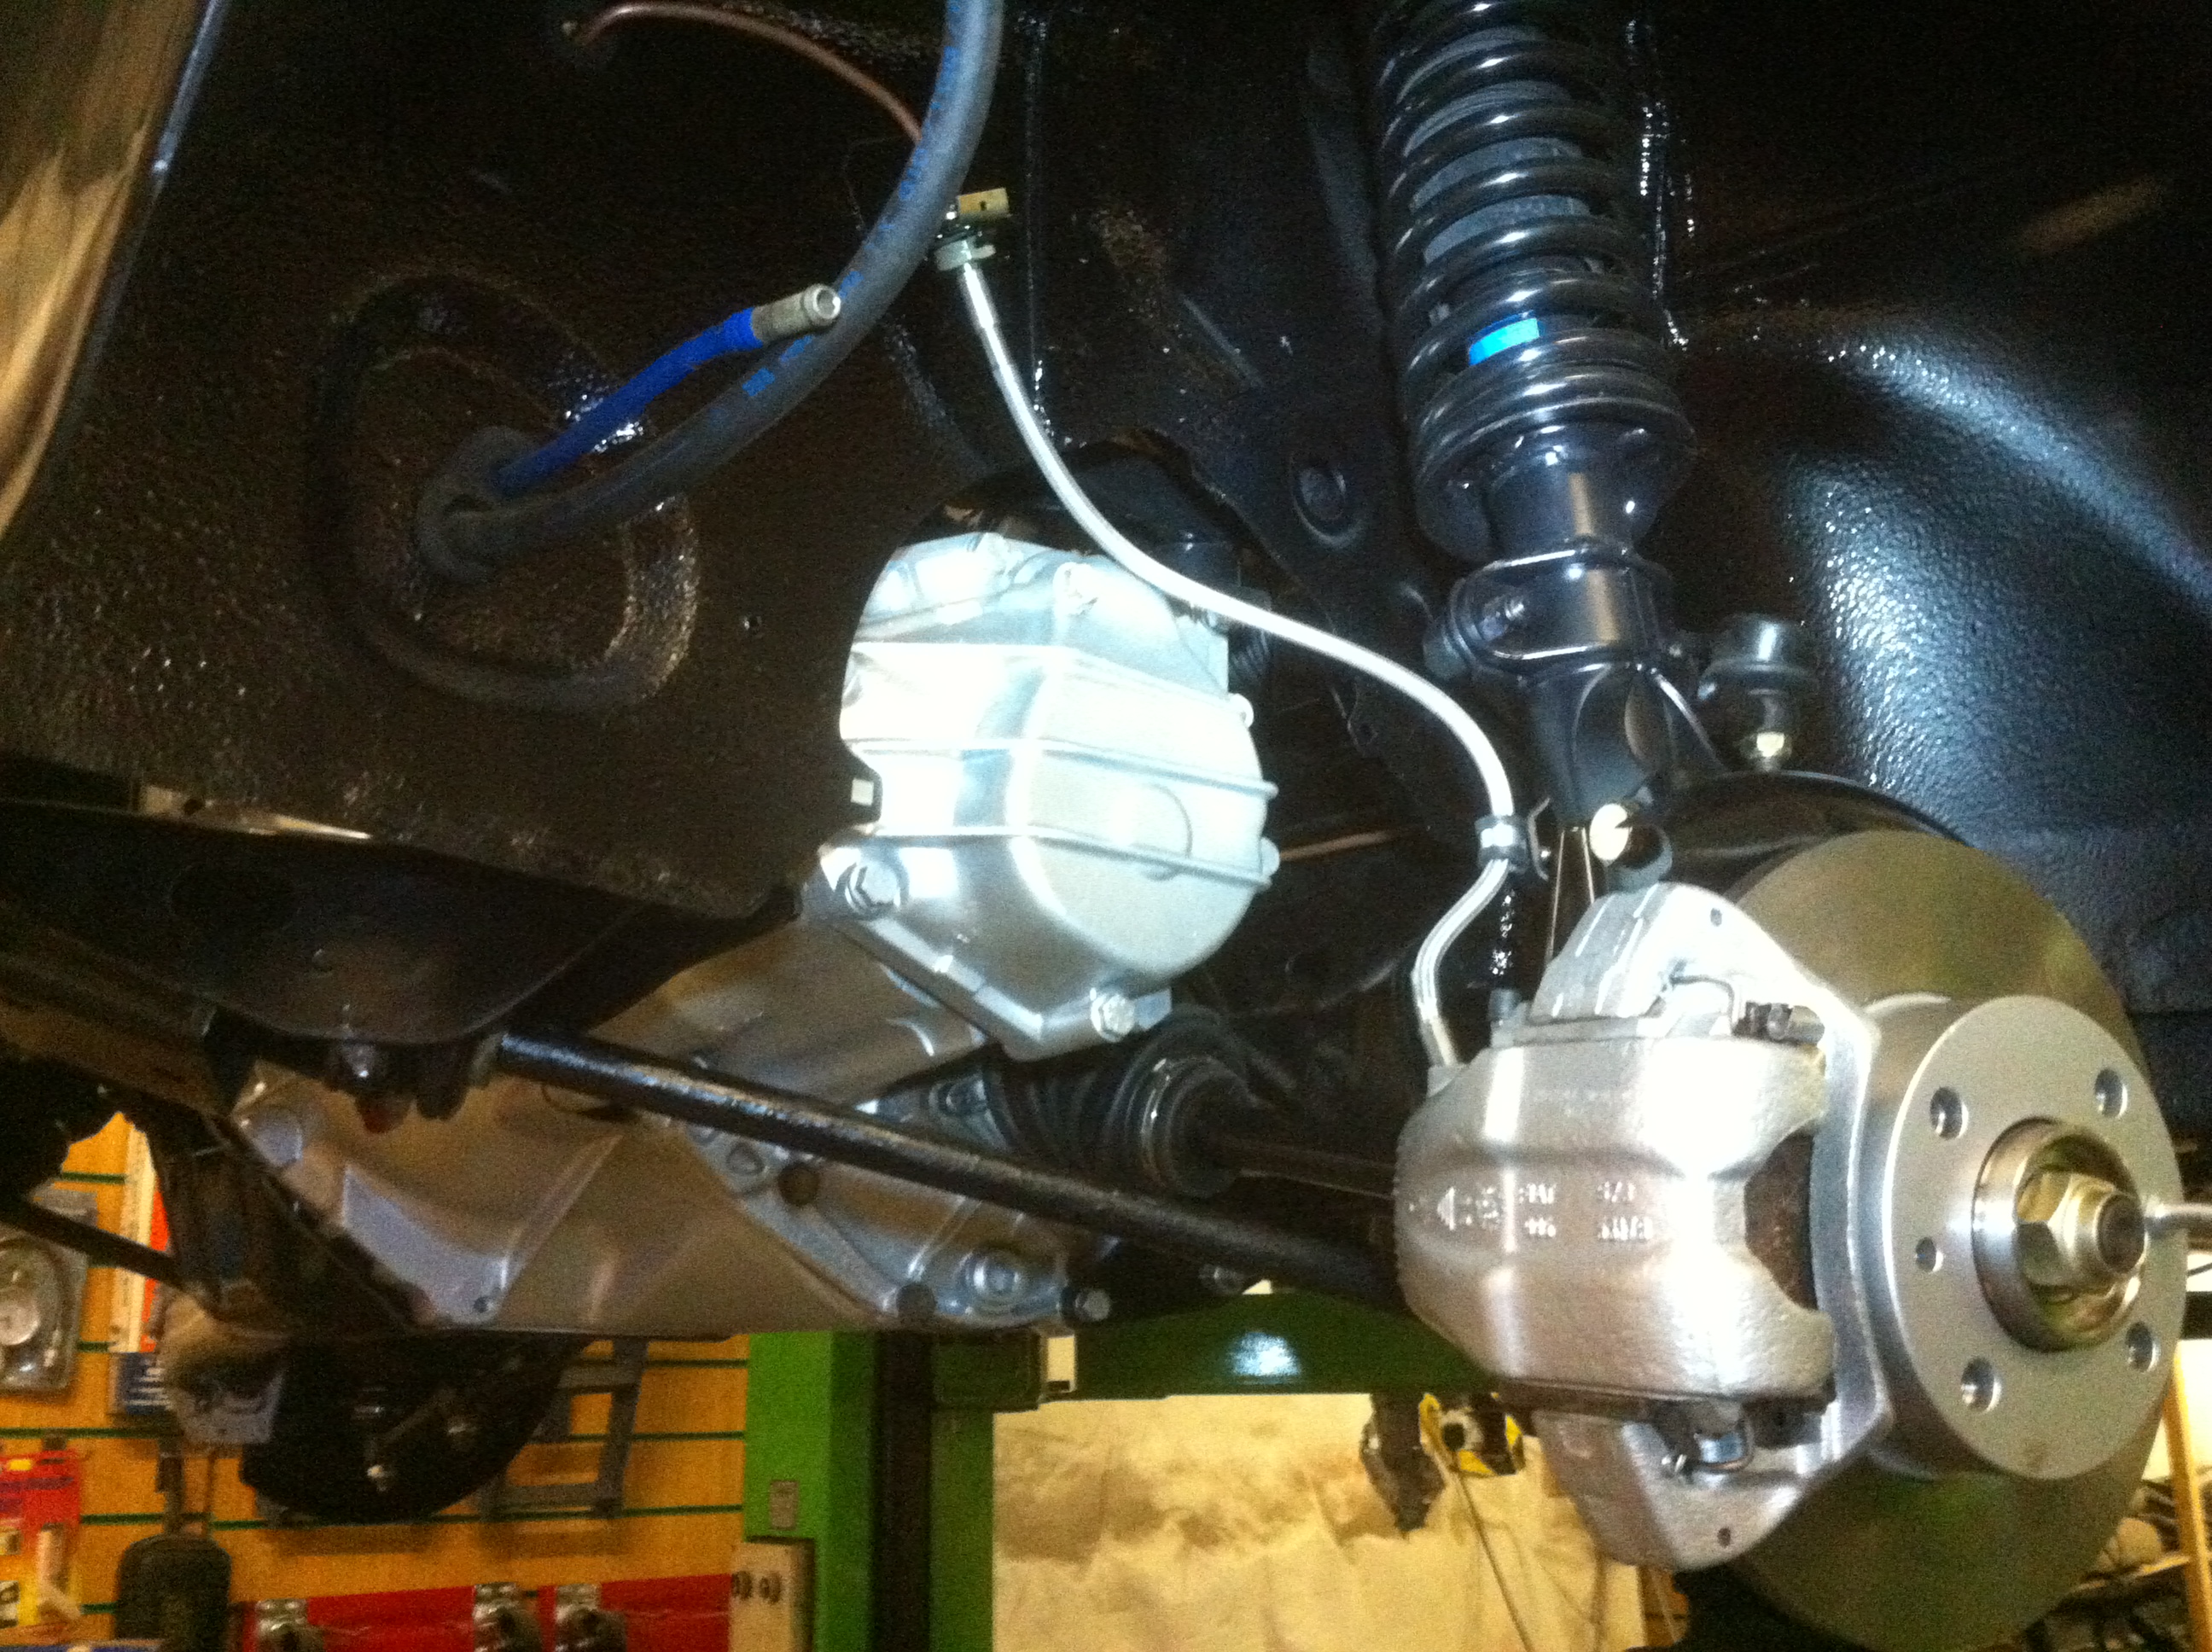
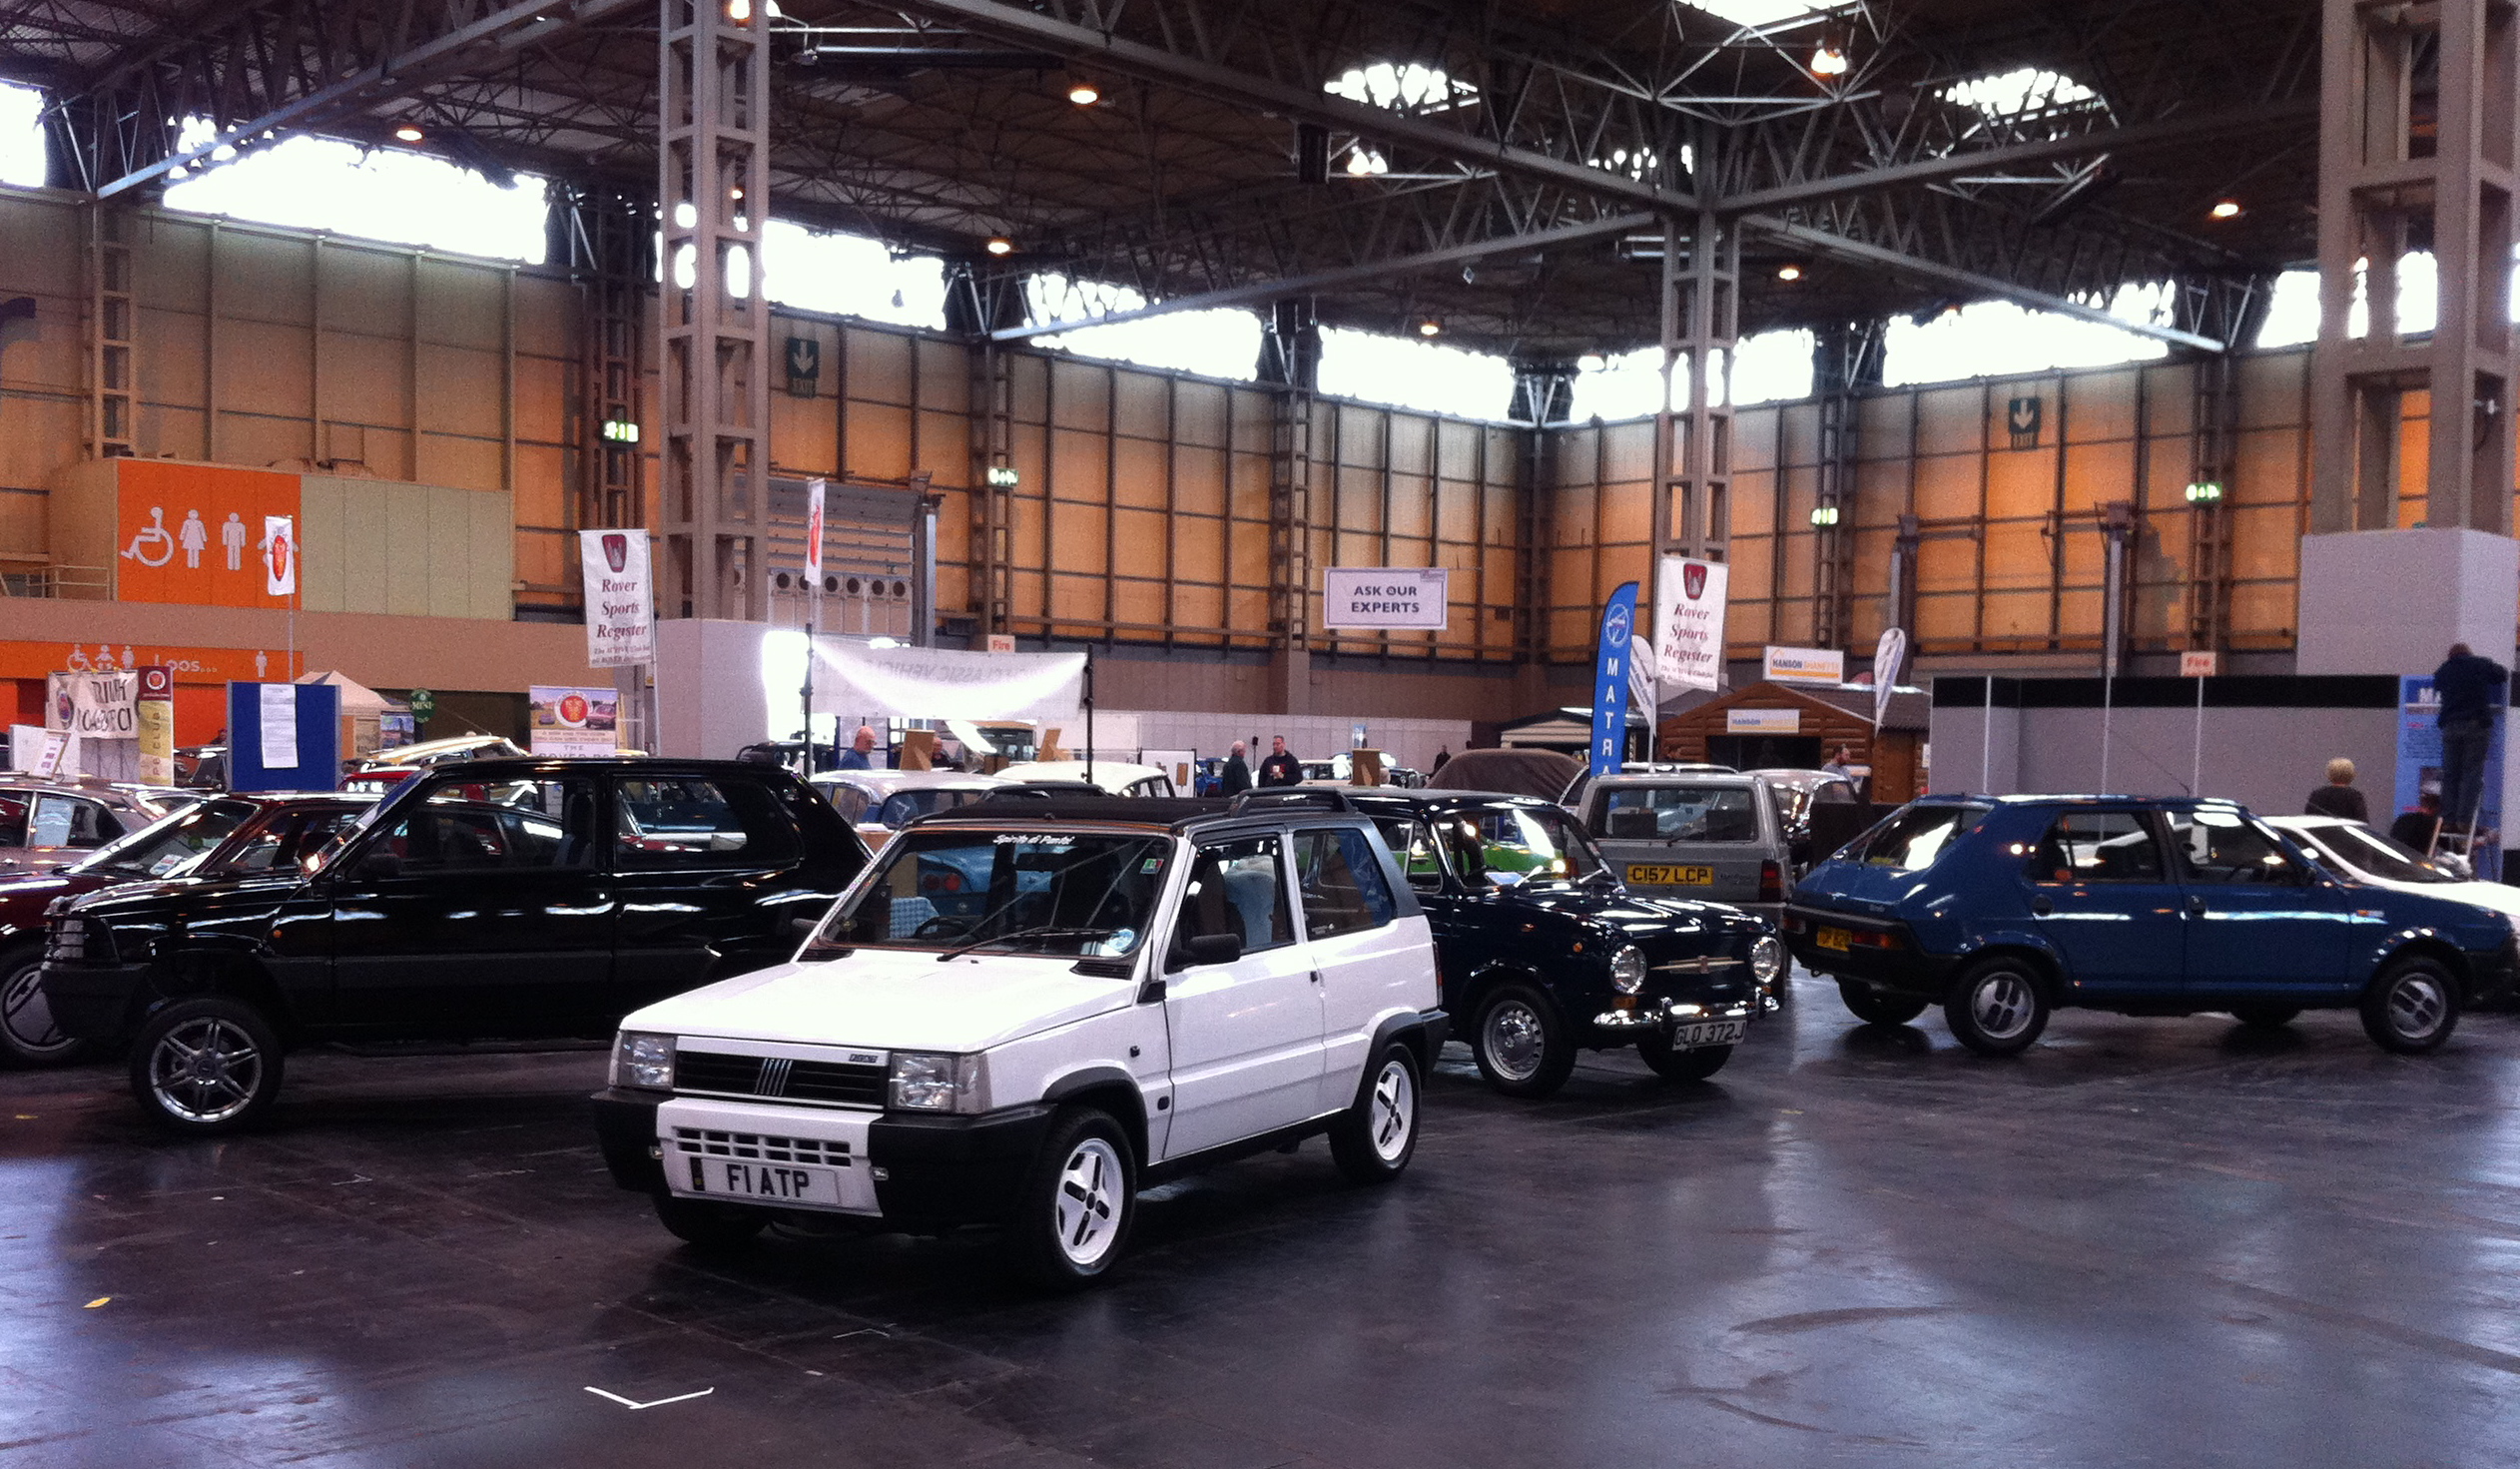
I had it on good authority that Skoda Felicia est. rear springs (pre 99) were the ones to use for raising the front suspension, but once fitted I found that they put the shock absorbers to their full extent. Once we had cut a couple of coils off however, they were fine. Good enough to tow Bucket to the NEC anyway, I've yet to drive him on the road as he's not been mot'd yet. Nor does he have an exhaust system.
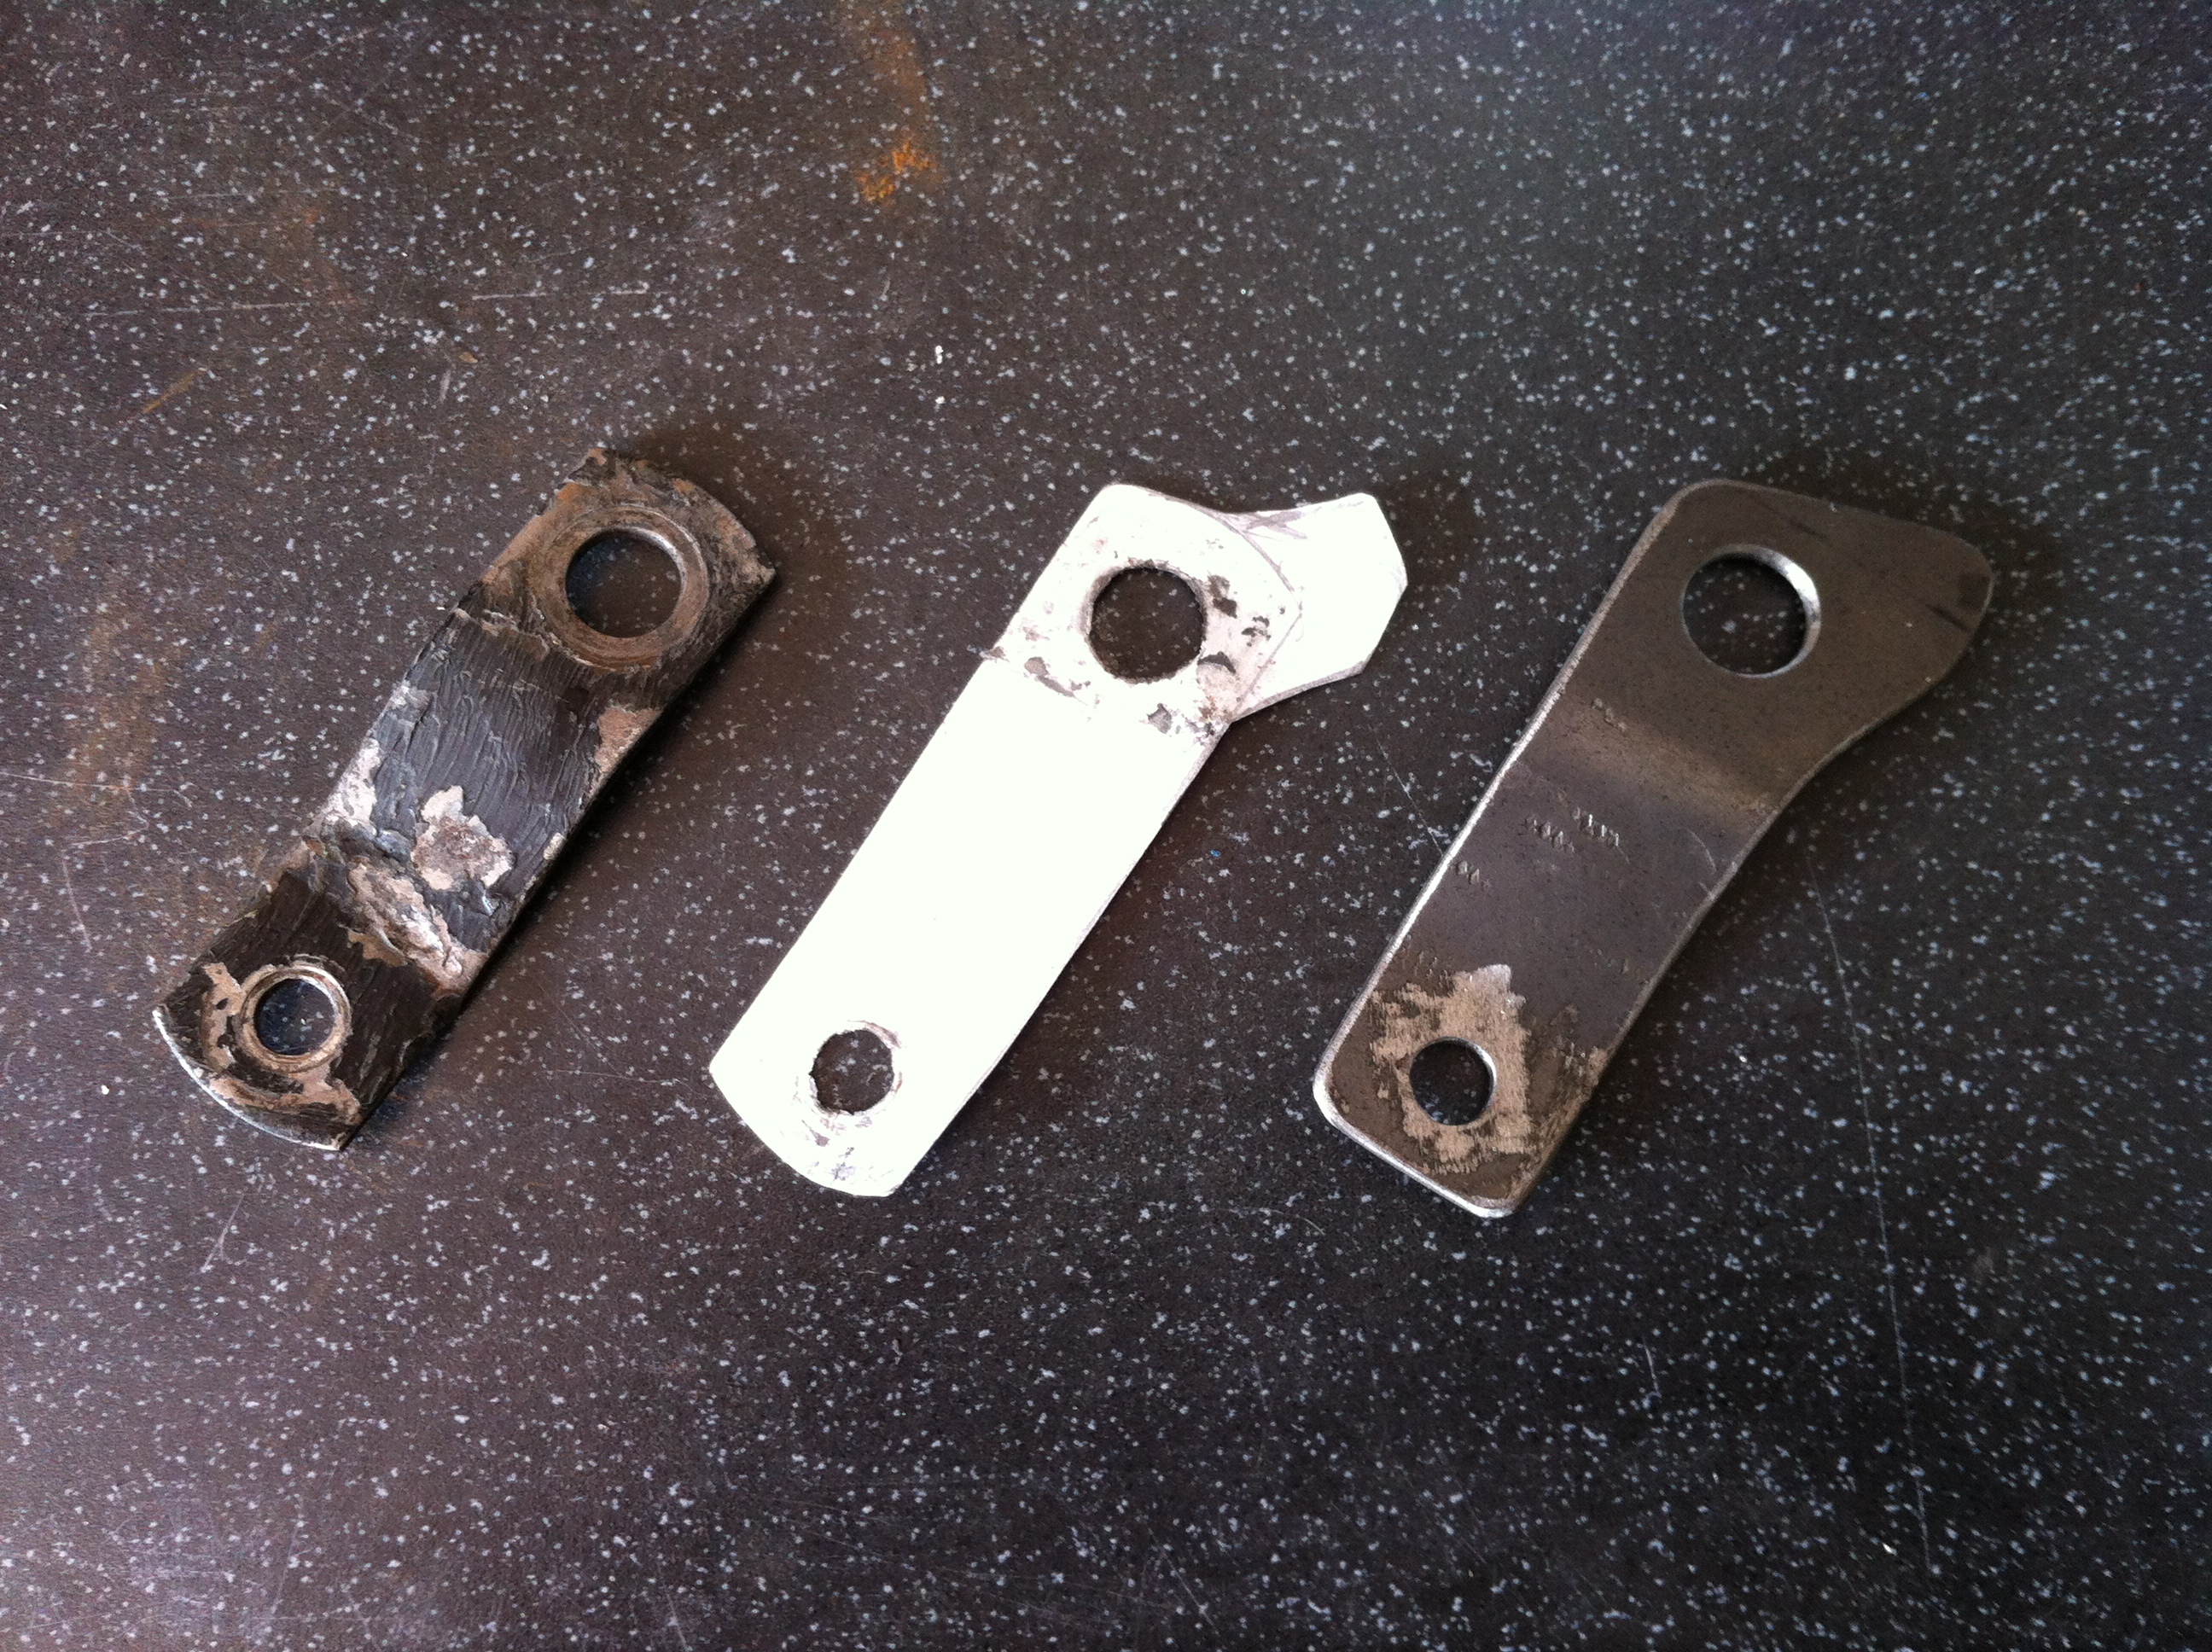
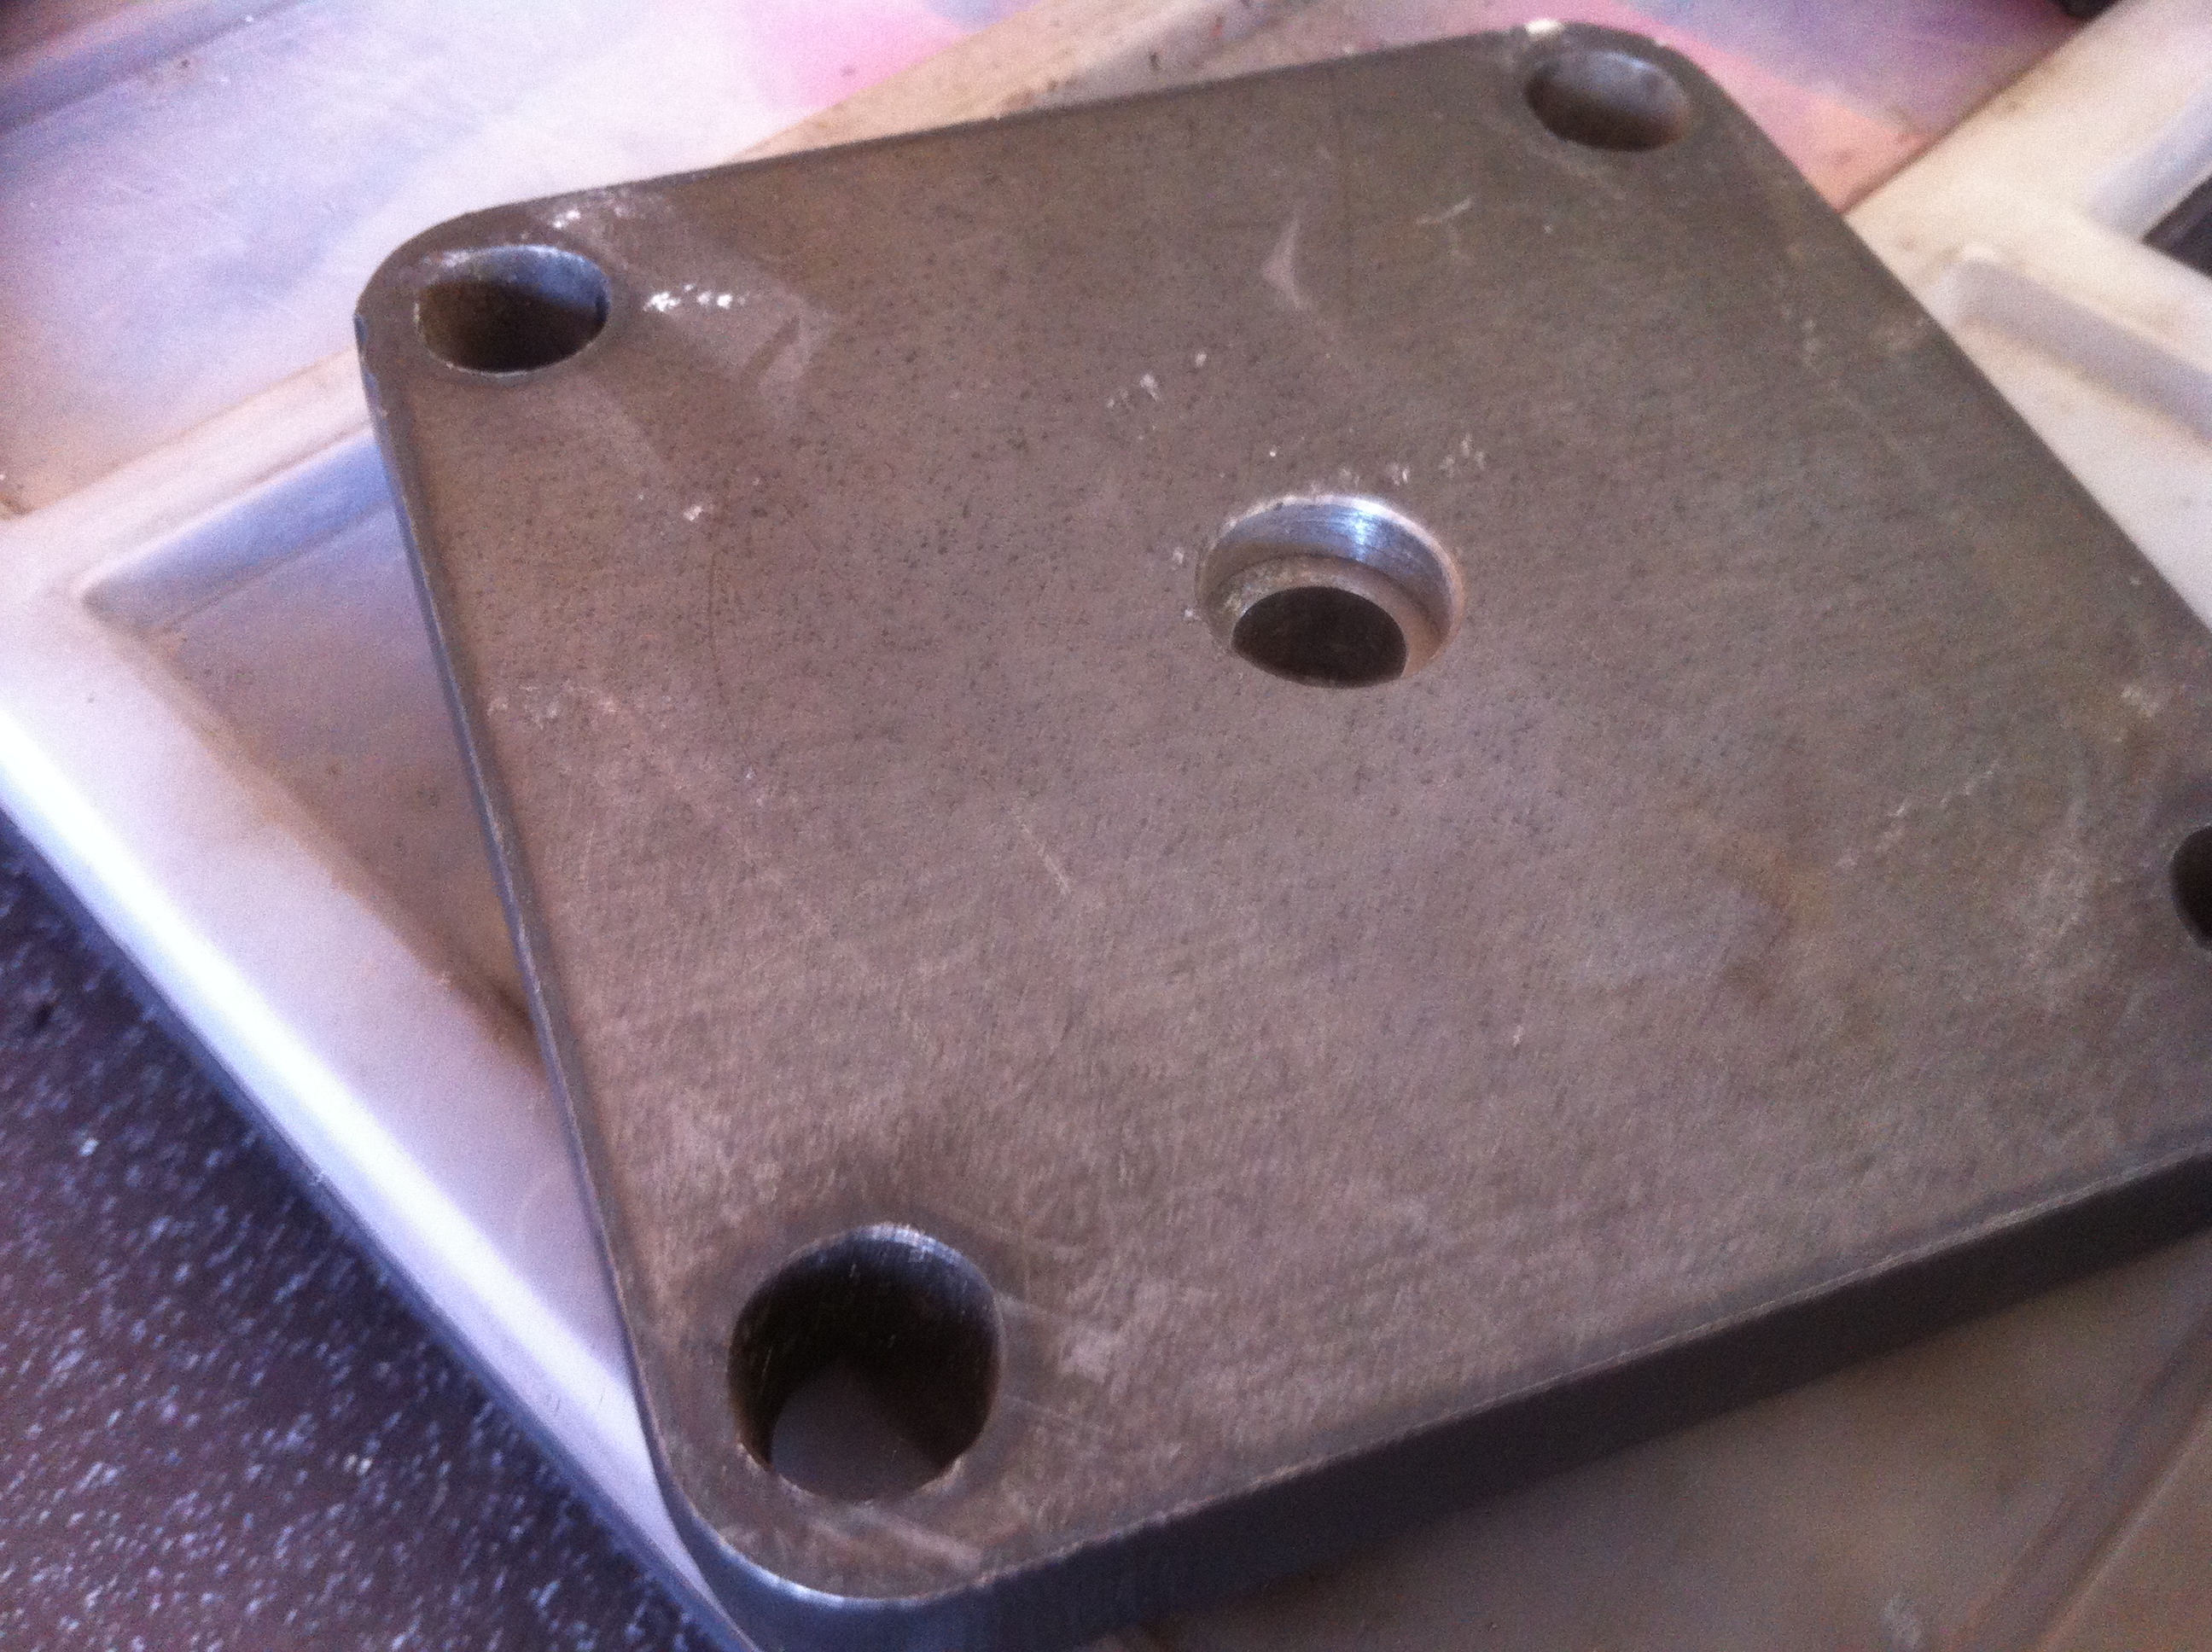
The rear suspension has been raised using a custom 12mm spacer block between the axle and the leaf springs and bolted down using new high tensile bolts.

Brakes have been overhauled and painted, and now use goodridge hoses.


The fuel tank is a later inj. type from Germany fitted with an internal pump/sender unit to suit. This tank also has two holes for the breathers that are connected to the charcoal canister so I had to canibalise a plastic tank from a Panda clx to get the necessary valve/ connectors. I found these to be very difficult to remove from the plastic tank and cut them out in the end.

Now we all know how the 4x4 tanks rust, so rather than rely on the one coat of silver paint they come in I covered it with the same stone guard the underside of Bucket is protected with. Then once dry the tank was repainted silver over the top.


The tank wasn't a straightforward fit to the floorpan either. It sits too high and the inlet tube fouls on the chassis. To overcome the issues we spaced the tank down about 20mm and changed the angle that the filler neck exited the tank, making it point down a little more. The plastic filler pipe has a larger bore than the neck too so we had to use a double rubber ring to make up the difference, a piece of air filter inlet hose came in handy here.

Finally Bucket could be put back on his wheels and pushed out blinking into the daylight again......

 
Last edited:
Well Bucket made it to the NEC for The Classic Car Restoration Show, not finished but as a 'work in progress' exhibit.


Julie seemed very pleased with how he was turning out, her only advisory was that the tyres needed to be chunkier. The rims are 15" x 6" so had to have 175 55 15 tyres to allow clearance, and that size only comes in normal road tyres so to find chunkier tyres that would still fit was a tall order. I was able to get these though......


They are 185 55 15's. Unusually low profile for an offroad tyre but they did fit, well almost. They fouled on the leaf springs at the back and on the tie bars at the front when on full lock......


The rears were easily fixed with some 16mm spacers, but the fronts needed more thought. We needed to limit the full lock to a point just before the tyres started to rub on the tie bars. I managed to do this by designing new tie bar to track control arm brackets......


From left to right we have the original, a paper test bracket, and the finished item. With one new bracket each side the hub/bottom ball joint carrier now makes contact with the extra metal on the bracket before the tyres touch. This means we can keep the wheels and chunky tyres. Hooray!
 
Propshaft has now been fully rebuilt, new cv joints, uj's, support bearings and support plate.


Propshaft runs nice and straight thanks to the central support plate being lowered the same amount as the engine/gearbox......


Going back to the rear axle, pics of the spacers that lift the rear end.......


One more axle mod. .........


It is supposed to be a Panda, can be easily changed if it's not quite what you had in mind Julie. ;)


Rear of interior is now sound proofed......


You've probably already noticed the new stainless steel exhaust system.......


Julie (Pandawoman) wants a quiet exhaust note so I've tried to fit as big a silencer as possible. To do this the silencer runs across the back of the car just behind the back bumper. At the moment it still has a Ferrari-esque rasp so a larger one is being made that's another 140mm longer, hopefully this should give the required note.


The above pic shows another couple of additions - roof bars and side window wind deflectors.

Still more to go but the end is in sight now. :)
 
aaaaaaaaannnnnnnnnnnnnnnnnnnnnnddddddddddd jealousy mode well and truely activated. Loving this panda more and more.

On the exhaust front, could you not fit a resonator further forward to quieten it further, thats if its not got one already that i can't see in pics
 
Back
Top