panda.jpg

Panda Panda 100HP project (cooperman style!)

Introduction

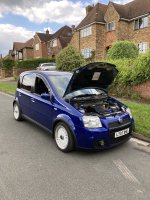
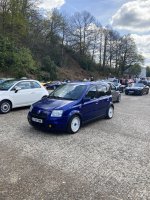
Right thought I would start a thread as there are a few mods happening to my panda and wanted somewhere to have them all in one place! I have owned my 100HP since 2010 and love it! She gets serviced at fiat evry year and had belts and water pump replaced last year. I wanted to start modding her but not go OTT as been there and done it before! Hopefully you guys like it!
So this is what I have done:

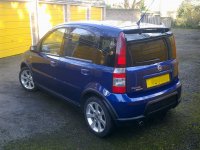
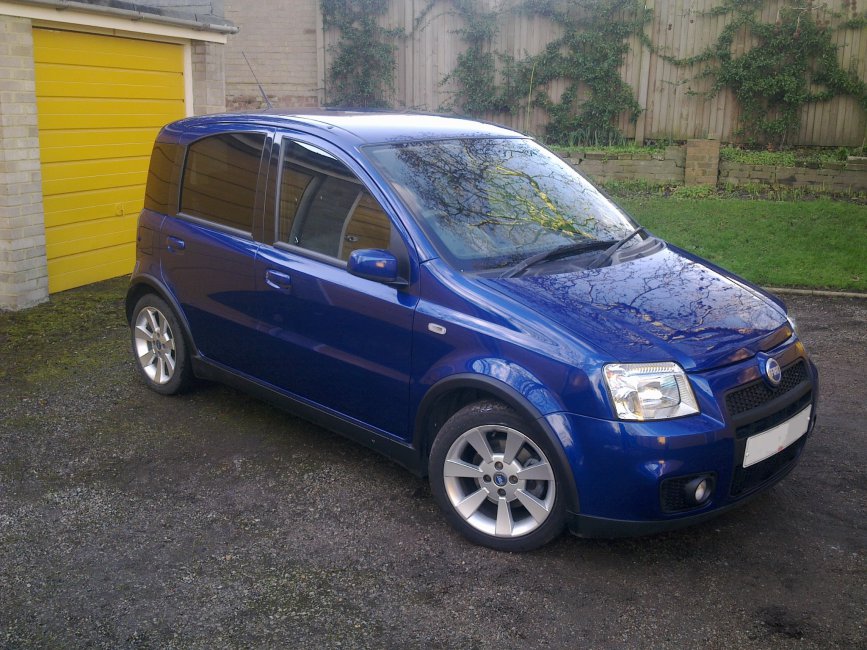
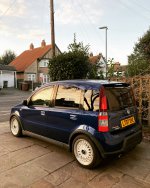
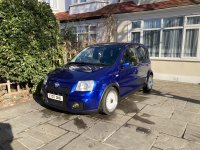
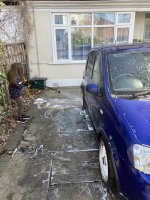
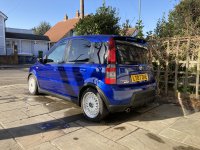
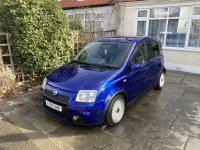
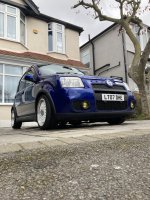
Day one cleaned!
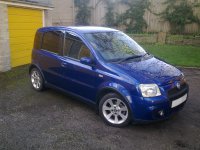
panda.jpg
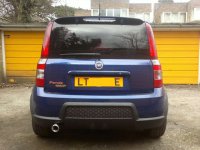
panda rear.jpg

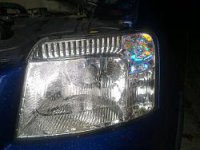
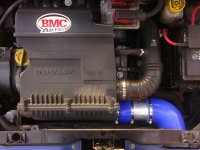
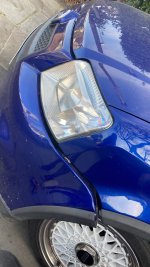
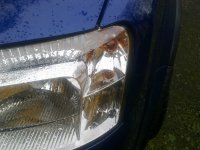
BMC Panel filter replaced and clear indicator bulbs front and back fitted:
Before
panda orange bulbs.jpg
After
Panda cleat indiactor bulbs.jpg

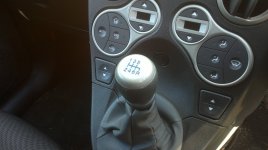
Gear leaver blue detailing done with touch up pen:
gear leaver.jpg

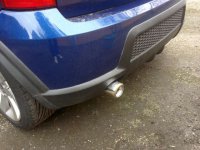
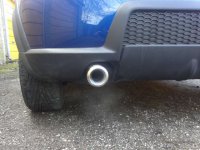
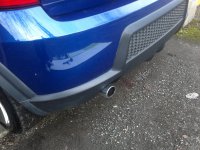
Ultersport rear 80mm back box fitted, with multi hole exhuast rubber to space it away from the bumper:
Before
009 (2).jpg
After
011.jpg
Panda new exhaust rubber 27213.jpg

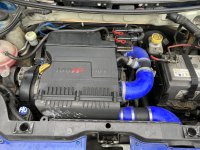
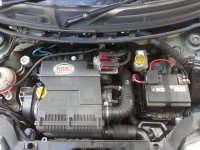
Home made induction mod give great induction noise over 3000rpm!:D here is the link to how I made it https://www.fiatforum.com/panda/319449-100hp-induction-mod-under-30-a.html:
Before
019.jpg
After
028.jpg


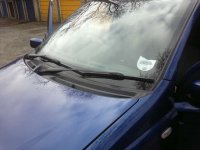
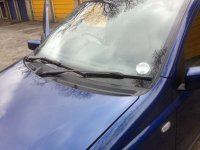
New tax disc holder fitted:
Before
008.jpg
After
tax disc after.jpg

Pressed metal plates (Yes I know the legal issues with these before everyone starts kicking off!:devil:) but wanted to have a clean look!
Front
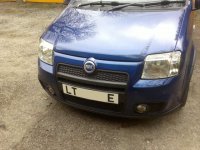
metal front plate.jpg
Back
rear number plate.jpg

Really happy with the way the car is coming on! The rear end is looking nice and fat, will be looking at getting a silver rear fog light bulb to balance up the lights and looking at spacers the same as Demi has to fill the arches a bit more. All 4 tyres will be getting replaced also for Toyo T1R's as got some cheap front tyres put at the mo and had enough of them!! Lesson learnt!
Unless the mid box is looking tired, you can get exhaust flexi sections that clamp on. Have look on eBay.

Don't forget a support clamp under the engine is needed to avoid the catalyst cracking at the outlet pipe weld.
 
This post contains affiliate links which may earn a commission at no additional cost to you.
Unless the mid box is looking tired, you can get exhaust flexi sections that clamp on. Have look on eBay.

Don't forget a support clamp under the engine is needed to avoid the catalyst cracking at the outlet pipe weld.
cheers bud, it’s the flexi has blown so this could be perfect!
 
This post contains affiliate links which may earn a commission at no additional cost to you.
Cheeky little upgrade for the panda van, the original BMC panel had been binned by one of the previous owners in the last few years so thought she deserved a little present.
 

Attachments

  • 0C3EF438-2BDC-4406-B439-56AF1D2DD6E7.jpeg
    0C3EF438-2BDC-4406-B439-56AF1D2DD6E7.jpeg
    2.1 MB · Views: 54
The eBay example has a number of sizes. You'll need to measure up. DO NOT use stainless as the ferrous pipe either side will rust rapidly. BUT check the whole system it might be telling you its time for other stuff to fall off.
 
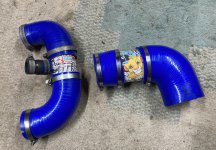
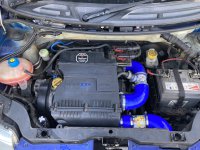
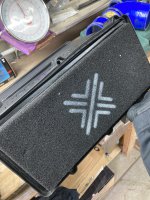
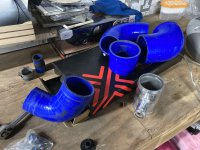
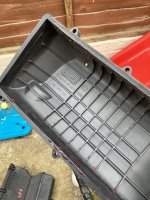
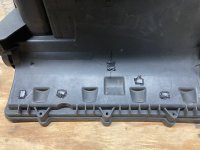
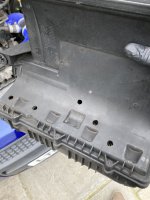
Airbox restoration yesterday, took all the pipes off and cleaned them, found some bright spark had drill holes on the air box on the engine side! 🤦🏻‍♂️
I changed the red painted logo to blue and had to give a nod to her sticker bomb past! 😂
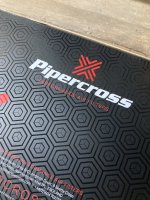
New pipercross filter fitted also.
 

Attachments

  • DCD7AD68-605C-42DA-B83F-E36C54C87BFF.jpeg
    DCD7AD68-605C-42DA-B83F-E36C54C87BFF.jpeg
    3.8 MB · Views: 74
  • B2661D4E-6A0F-4331-927A-ED744E23FC8F.jpeg
    B2661D4E-6A0F-4331-927A-ED744E23FC8F.jpeg
    3.4 MB · Views: 73
  • CA5BA75E-BF18-4883-8D6C-1CAE268CE55D.jpeg
    CA5BA75E-BF18-4883-8D6C-1CAE268CE55D.jpeg
    2.5 MB · Views: 72
  • 22B3E5F3-C96E-4124-AFB0-A4EC3E9ED77A.jpeg
    22B3E5F3-C96E-4124-AFB0-A4EC3E9ED77A.jpeg
    3.4 MB · Views: 71
  • 7120C7C6-5794-4286-8175-48B2279CCB5A.jpeg
    7120C7C6-5794-4286-8175-48B2279CCB5A.jpeg
    1.7 MB · Views: 68
  • E77B2B47-D098-4505-8855-88D8103840B0.jpeg
    E77B2B47-D098-4505-8855-88D8103840B0.jpeg
    3.4 MB · Views: 71
  • 420DC80F-21D1-4DC8-BAE1-422074F411F3.jpeg
    420DC80F-21D1-4DC8-BAE1-422074F411F3.jpeg
    4.2 MB · Views: 83
  • 38B49A73-CC5F-4BDA-95CA-E95FA705A4F7.jpeg
    38B49A73-CC5F-4BDA-95CA-E95FA705A4F7.jpeg
    1.8 MB · Views: 80
The pandavan had its first visit to the local garage today, the past few years MOT’s kept showing a blown flexi pipe, also she was sounding like a tractor So I wanted to get the middle section of exhaust changed.
while she was in there I got a pressure test done on the water system, a lot of the pipes had been replaced but I found I was still having to top up the water system, the garage found one of the clips hadnt been seated correctly on one of the pipes and was letting out a small amount of water Which they fixed.
The exhaust is now sounding better i am a happy panda owner!
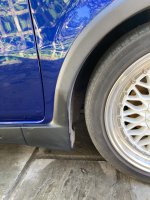
next job getting the tyres axel matched instead of side matched, wheel arch liner renewal, bumper refit, and wiper front scuttle refurb!
 

Attachments

  • 9B9EDEF7-D7BC-46CA-AA4E-DCB13CFF4866.jpeg
    9B9EDEF7-D7BC-46CA-AA4E-DCB13CFF4866.jpeg
    1 MB · Views: 61
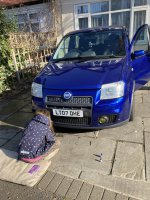
A busy day during the school holidays and a chance to enrol an extra pair of hands!
First job was refit the front bumper, it’s still not 100% but it now has a bolt holding it on instead of cable ties! 🤦🏻‍♂️😂
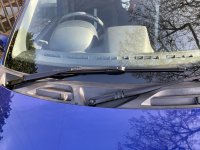
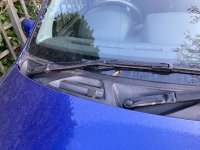
Next job was take off and repaint the wiper arms, a nice easy job, I also cleared out the drainage channels but I now need to order some of the front scuttle clips as they seem to fail apart if you touch them!
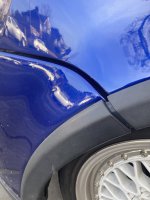
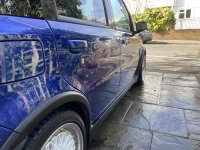
Then it was time to give her a clean, we then touched up all the stone chips (there is lots!) and then refurbished the black trim!
All in all really happy how the pandavan is coming back to life new on the shopping list is some tyres and tracking! 💙🐼
 

Attachments

  • D39E9832-6F58-4C3B-8303-A726768DC820.jpeg
    D39E9832-6F58-4C3B-8303-A726768DC820.jpeg
    4.8 MB · Views: 85
  • 2AFB8BBE-DAF8-4290-BA9E-254EA13ADBC9.jpeg
    2AFB8BBE-DAF8-4290-BA9E-254EA13ADBC9.jpeg
    1.6 MB · Views: 63
  • F813A71E-C906-4186-B649-B2C99739E730.jpeg
    F813A71E-C906-4186-B649-B2C99739E730.jpeg
    2.7 MB · Views: 65
  • FE762321-D8B0-4B65-B30C-0A15ACE36116.jpeg
    FE762321-D8B0-4B65-B30C-0A15ACE36116.jpeg
    3.4 MB · Views: 69
  • 33C9FC84-D877-4592-8343-7938094C2A0F.jpeg
    33C9FC84-D877-4592-8343-7938094C2A0F.jpeg
    3.9 MB · Views: 82
  • 4F9775C9-1155-4E1B-8064-83A5C918CAE5.jpeg
    4F9775C9-1155-4E1B-8064-83A5C918CAE5.jpeg
    2.6 MB · Views: 74
  • F63D2E83-42BB-4AF4-8209-D4883E43455A.jpeg
    F63D2E83-42BB-4AF4-8209-D4883E43455A.jpeg
    837.4 KB · Views: 67
  • 357B018E-F84E-42F8-934B-39EAC2A7EAFF.jpeg
    357B018E-F84E-42F8-934B-39EAC2A7EAFF.jpeg
    1.8 MB · Views: 71
  • BDADE400-AF57-4E33-8FB9-026DD198875D.jpeg
    BDADE400-AF57-4E33-8FB9-026DD198875D.jpeg
    1.3 MB · Views: 67
  • 445966CC-C73E-4ED1-8DED-34942F200501.jpeg
    445966CC-C73E-4ED1-8DED-34942F200501.jpeg
    4 MB · Views: 76
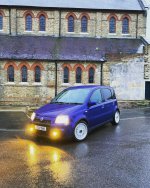
what the weekends were made for!! Giving the car a good clean! I’m going to clay bar it again in the next few weeks but in the mean time it was just a standard wash then of cause it rained later on in the afternoo! 😭
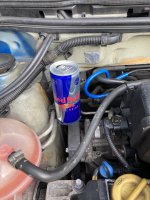
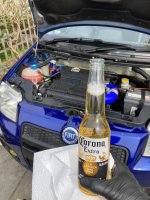
I had to put the Red Bull can back! Haha going to do an engine bay refresh before autoitalia I think!
 

Attachments

  • 60CF39A8-571D-40B3-ABB1-CC9B903E25F7.jpeg
    60CF39A8-571D-40B3-ABB1-CC9B903E25F7.jpeg
    774.2 KB · Views: 70
  • BC8F05B5-B832-4228-A7C1-A5A1258297FF.jpeg
    BC8F05B5-B832-4228-A7C1-A5A1258297FF.jpeg
    1.5 MB · Views: 64
  • 993FD0EB-AA70-48A6-A297-0DB8A9411113.jpeg
    993FD0EB-AA70-48A6-A297-0DB8A9411113.jpeg
    944.1 KB · Views: 64
  • 3CE27A09-D7E3-4A89-A05E-A9052B71952A.jpeg
    3CE27A09-D7E3-4A89-A05E-A9052B71952A.jpeg
    1.2 MB · Views: 58
  • 999F3B2C-D95F-4F33-9550-9A9D66D7EA3A.jpeg
    999F3B2C-D95F-4F33-9550-9A9D66D7EA3A.jpeg
    1,011.6 KB · Views: 67
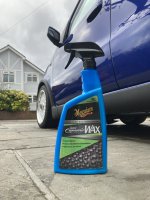
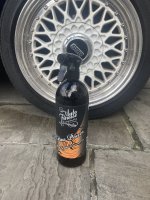
I had some time today so did a deep detail on the pandavan, it’s amazing the products that are available now to help you shine up a car.
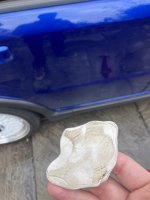
I did clay bar the car probably about 8 years ago so it was in much need of going over again and it always amazes me how much dirt it picks up.
Next job will be a full front and rear suspension renewal!
 

Attachments

  • 2529F2A3-61DF-49AB-AB99-5D4F6FF87A59.jpeg
    2529F2A3-61DF-49AB-AB99-5D4F6FF87A59.jpeg
    861.1 KB · Views: 57
  • 2236FC9B-6758-43EE-B2A7-89C31F87F36B.jpeg
    2236FC9B-6758-43EE-B2A7-89C31F87F36B.jpeg
    660.9 KB · Views: 56
  • 76F83A96-E621-4B7D-8757-A1E6B775A520.jpeg
    76F83A96-E621-4B7D-8757-A1E6B775A520.jpeg
    582.2 KB · Views: 59
  • 9295A01E-77EE-4755-9D67-3DAADED04D8C.jpeg
    9295A01E-77EE-4755-9D67-3DAADED04D8C.jpeg
    374.9 KB · Views: 55
  • 11EC1661-46A9-4F94-9BF1-B36B5D8E2ED8.jpeg
    11EC1661-46A9-4F94-9BF1-B36B5D8E2ED8.jpeg
    852.1 KB · Views: 57
cheers bud, yeh got the rear seats how did you fit yours?

Apologies mate, should have replied earlier.

Did you get all the 595 brackets with them?

You'll just need to make up some new striker plates for the catches to clip to, M12 nut and long bolt does the trick. I'll find the topic that was put up and link to it
 
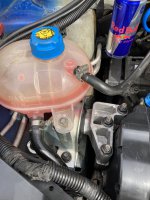
Make sure your cooling system vent hose is not pulling on the reservoir. My rubber pipe has always had the same clip positions at the back of the engine but lack of freedom had snapped off the spigot pipe. A new tank had to be fitted. The pipe was repositioned so there's no pull at the tank end.
 
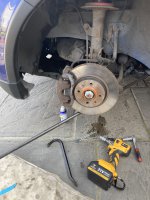
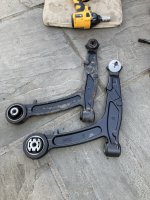
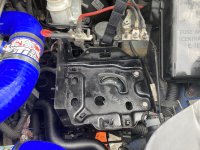
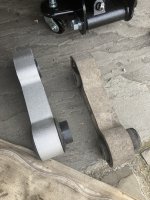
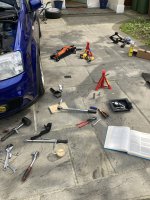
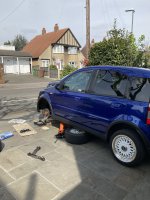
Wow what a day! So I replaced my lower front wishbones and the 3 engine mounts today, it took around 7 hours but was a really enjoyable job list and I had a little help from the Haynes Manual especially for the torque settings.
Few things I noticed along the way:
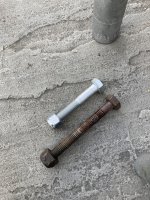
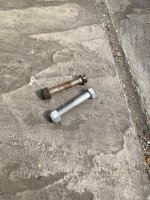
The left wishbone came off fine, a big bar helps! it was the wrong wishbone and they had used some random long bolt for the pinch bolt!
I then did the gearbox engine mount, nice easy job with the mount showing bad cracking, while the battery was out I took the opportunity to spray the battery tray, I set the radio code before I disconnected the battery! 😂
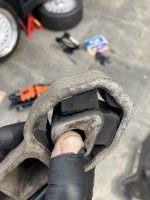
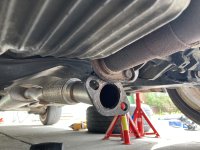
The gearbox dog bone mount was abit of a pain to get to, I had to drop the middle section of the exhaust to gain access to remove the front bolt lucky this has been replaced a few weeks ago so the bolts undid fine on the exhaust, the old mount had a lot of cracks in it.
This is where the fun begins, the right wishbone had been put on with with arms like the hulk!!
I broke my 18mm socket trying to undo them but lucky my neighbour had a spare one.
Lots of WD40 and a little heat from a heat gun and the rear bolt undid!
Again the pinch bolt was just a random bolt, also while taking off the wheel one of the wheel bolts is a short standard one so I have ordered a new one as I run 10mm spacers on the front.
The old engine mount was rubbish, I’m sure the engine is now sitting high with the new mount in.
I haven’t been able to drive him as I’m still awaiting the coil packs from my breakdown yesterday but overall really happy with how his coming back to life! Next tyres and tracking!
 

Attachments

  • 0E56F605-CDE8-48FD-9872-89520D8B8A4C.jpeg
    0E56F605-CDE8-48FD-9872-89520D8B8A4C.jpeg
    1.8 MB · Views: 58
  • F19B79E4-44BA-4B50-9DBC-FF0AB991A49D.jpeg
    F19B79E4-44BA-4B50-9DBC-FF0AB991A49D.jpeg
    3 MB · Views: 59
  • EEF13BDD-0AAC-4F1C-BAEA-165F0004F2ED.jpeg
    EEF13BDD-0AAC-4F1C-BAEA-165F0004F2ED.jpeg
    3.4 MB · Views: 58
  • C6AE8978-9A9C-4740-BFC4-238BFD3FAF3A.jpeg
    C6AE8978-9A9C-4740-BFC4-238BFD3FAF3A.jpeg
    1.9 MB · Views: 69
  • 0E656E8A-A533-4107-AEA8-F21F36360DB0.jpeg
    0E656E8A-A533-4107-AEA8-F21F36360DB0.jpeg
    1.2 MB · Views: 54
  • 74A33815-2E48-44CD-8CCE-291775AD4AB6.jpeg
    74A33815-2E48-44CD-8CCE-291775AD4AB6.jpeg
    3.4 MB · Views: 59
  • 78A2275F-6053-4277-8ED6-5454BB93389D.jpeg
    78A2275F-6053-4277-8ED6-5454BB93389D.jpeg
    2.5 MB · Views: 65
  • 5966CDD1-8BD2-4AC6-B3BC-942232AAB329.jpeg
    5966CDD1-8BD2-4AC6-B3BC-942232AAB329.jpeg
    1.5 MB · Views: 58
  • 4AFE6C6D-826F-4FCD-BCF1-842E9E59AFA9.jpeg
    4AFE6C6D-826F-4FCD-BCF1-842E9E59AFA9.jpeg
    2.8 MB · Views: 57
  • 4FB7A64F-F121-4D6E-82F8-D5FAE62DB38B.jpeg
    4FB7A64F-F121-4D6E-82F8-D5FAE62DB38B.jpeg
    2.5 MB · Views: 69
  • EBBCE5DC-A75D-4C03-A959-2363890511C6.jpeg
    EBBCE5DC-A75D-4C03-A959-2363890511C6.jpeg
    3.3 MB · Views: 52
  • 9892B16C-B44F-4571-9C31-62FAB47D1E95.jpeg
    9892B16C-B44F-4571-9C31-62FAB47D1E95.jpeg
    1.6 MB · Views: 56
  • 1AC2260B-9AB7-4646-AADB-118B61B64E29.jpeg
    1AC2260B-9AB7-4646-AADB-118B61B64E29.jpeg
    1.2 MB · Views: 58
  • 8D2EBE68-0361-4092-BEBC-E36A5C7DA43D.jpeg
    8D2EBE68-0361-4092-BEBC-E36A5C7DA43D.jpeg
    3.1 MB · Views: 62
Wow what a day! So I replaced my lower front wishbones and the 3 engine mounts today, it took around 7 hours but was a really enjoyable job list and I had a little help from the Haynes Manual especially for the torque settings.
Few things I noticed along the way:
The left wishbone came off fine, a big bar helps! it was the wrong wishbone and they had used some random long bolt for the pinch bolt!
I then did the gearbox engine mount, nice easy job with the mount showing bad cracking, while the battery was out I took the opportunity to spray the battery tray, I set the radio code before I disconnected the battery! 😂
The gearbox dog bone mount was abit of a pain to get to, I had to drop the middle section of the exhaust to gain access to remove the front bolt lucky this has been replaced a few weeks ago so the bolts undid fine on the exhaust, the old mount had a lot of cracks in it.
This is where the fun begins, the right wishbone had been put on with with arms like the hulk!!
I broke my 18mm socket trying to undo them but lucky my neighbour had a spare one.
Lots of WD40 and a little heat from a heat gun and the rear bolt undid!
Again the pinch bolt was just a random bolt, also while taking off the wheel one of the wheel bolts is a short standard one so I have ordered a new one as I run 10mm spacers on the front.
The old engine mount was rubbish, I’m sure the engine is now sitting high with the new mount in.
I haven’t been able to drive him as I’m still awaiting the coil packs from my breakdown yesterday but overall really happy with how his coming back to life! Next tyres and tracking!
New to the forum and have to say you have gave me massive inspiration in getting my panda so looking forward to plenty more of this in 2023 👏🏻
 
Get yourself a 1/2” drive 600mm breaker bar. I have a 1/2” rattle gun but the breaker bar gets more use. It’s been abused with a 4ft long extension tube when I needed to shift the Left-hand thread crankshaft bolt. Still going strong.
 
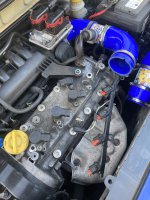
So the Pandavan did the very Italian thing and broke down while leaving AutoItalia! 😂
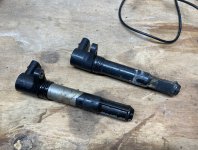
I got a miss fire and the engine light on, after waiting for the RAC they diagnosed one of the coil packs had give up the ghost and seeing it being held together with tap I wasn’t surprised!
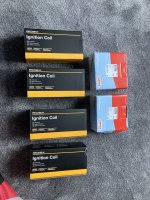
Unfortunately he didn’t have one in the van so I had to limp the 10 miles home and get a new set of 4 coil packs ordered.
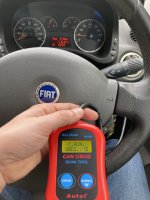
On fitting the new coils 2 of them were knackered, I nearly had a heart attack as I changed the one the RAC said was the issue and there was no difference he was still misfiring! I changed all 4 gave him a quick run and he was back to normal. I had to get my little diagnostic tool out to clear the engine light! 😂😂
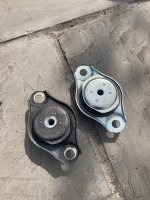
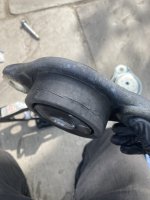
The new shock mounts in the picture is the next stage of the bringing him back!
 

Attachments

  • IMG_6211.jpeg
    IMG_6211.jpeg
    3.7 MB · Views: 56
  • IMG_6207.jpeg
    IMG_6207.jpeg
    3.1 MB · Views: 56
  • IMG_6090.jpeg
    IMG_6090.jpeg
    2 MB · Views: 56
  • IMG_6086.jpeg
    IMG_6086.jpeg
    3.2 MB · Views: 66
  • IMG_6068.jpeg
    IMG_6068.jpeg
    4 MB · Views: 55
  • IMG_6210.jpeg
    IMG_6210.jpeg
    2 MB · Views: 59
My BMW bike blew one coil, so I limped to a nearby dealer to buy a replacement. The guys says, "don't you want two". Yes but at £80 each I'll take the one thanks. Half way home the other coil failed so I had to turn around and go back to the dealer.

When the 100HP blew a coil, I bought a full set.
 
Last edited:
Back
Top