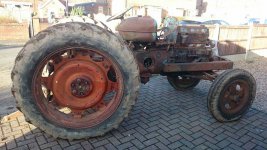
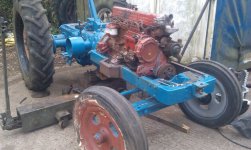
and no, they rarely move - he has actual farm tractors that do farm work but he likes collecting tractors. Couldn't tell which run and which don't though..


You are using an out of date browser. It may not display this or other websites correctly.
You should upgrade or use an alternative browser.
You should upgrade or use an alternative browser.
General My cheese
- Thread starter Young Efficient
- Start date
Currently reading:
General My cheese
OP
OP
Tractors Gahhhh
[ame]http://youtu.be/bR2L4HdXsP4[/ame]
[ame]http://youtu.be/bR2L4HdXsP4[/ame]
OP
OP
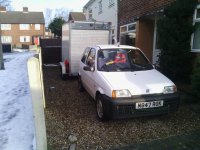
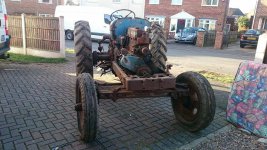
So my cinq hasn't had much work done on it, but parts have been arriving. and now things have been leaving.
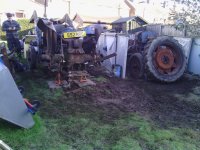
Today what is left of my tractor will be leaving. I have no time or money for it, so got everything new back off and anything worth saving. and ruined the garden in the process.
Also found a great fault on the landrover, the thing hardly ever starts and now randomly cuts out. so that was fun to winch and tow with. Total towstarts today, 3.
Wheels had to come off one tractor to get it onto the trailer, got to go and get them back on next week. so that'll be fun.
OP
OP
Pictures that I apparently didn't upload yesterday, got some bits today, Thanks Simon, need to get some pictures of those this afternoon.
Then fingers crossed, when my conversion is done next weekend, I can help with my friends, Who has finaly given into my constant nagging and is buying his very first car. Land Rovers and Tractors don't count as cars. Nor did his micra.
Then fingers crossed, when my conversion is done next weekend, I can help with my friends, Who has finaly given into my constant nagging and is buying his very first car. Land Rovers and Tractors don't count as cars. Nor did his micra.
Attachments
OP
OP
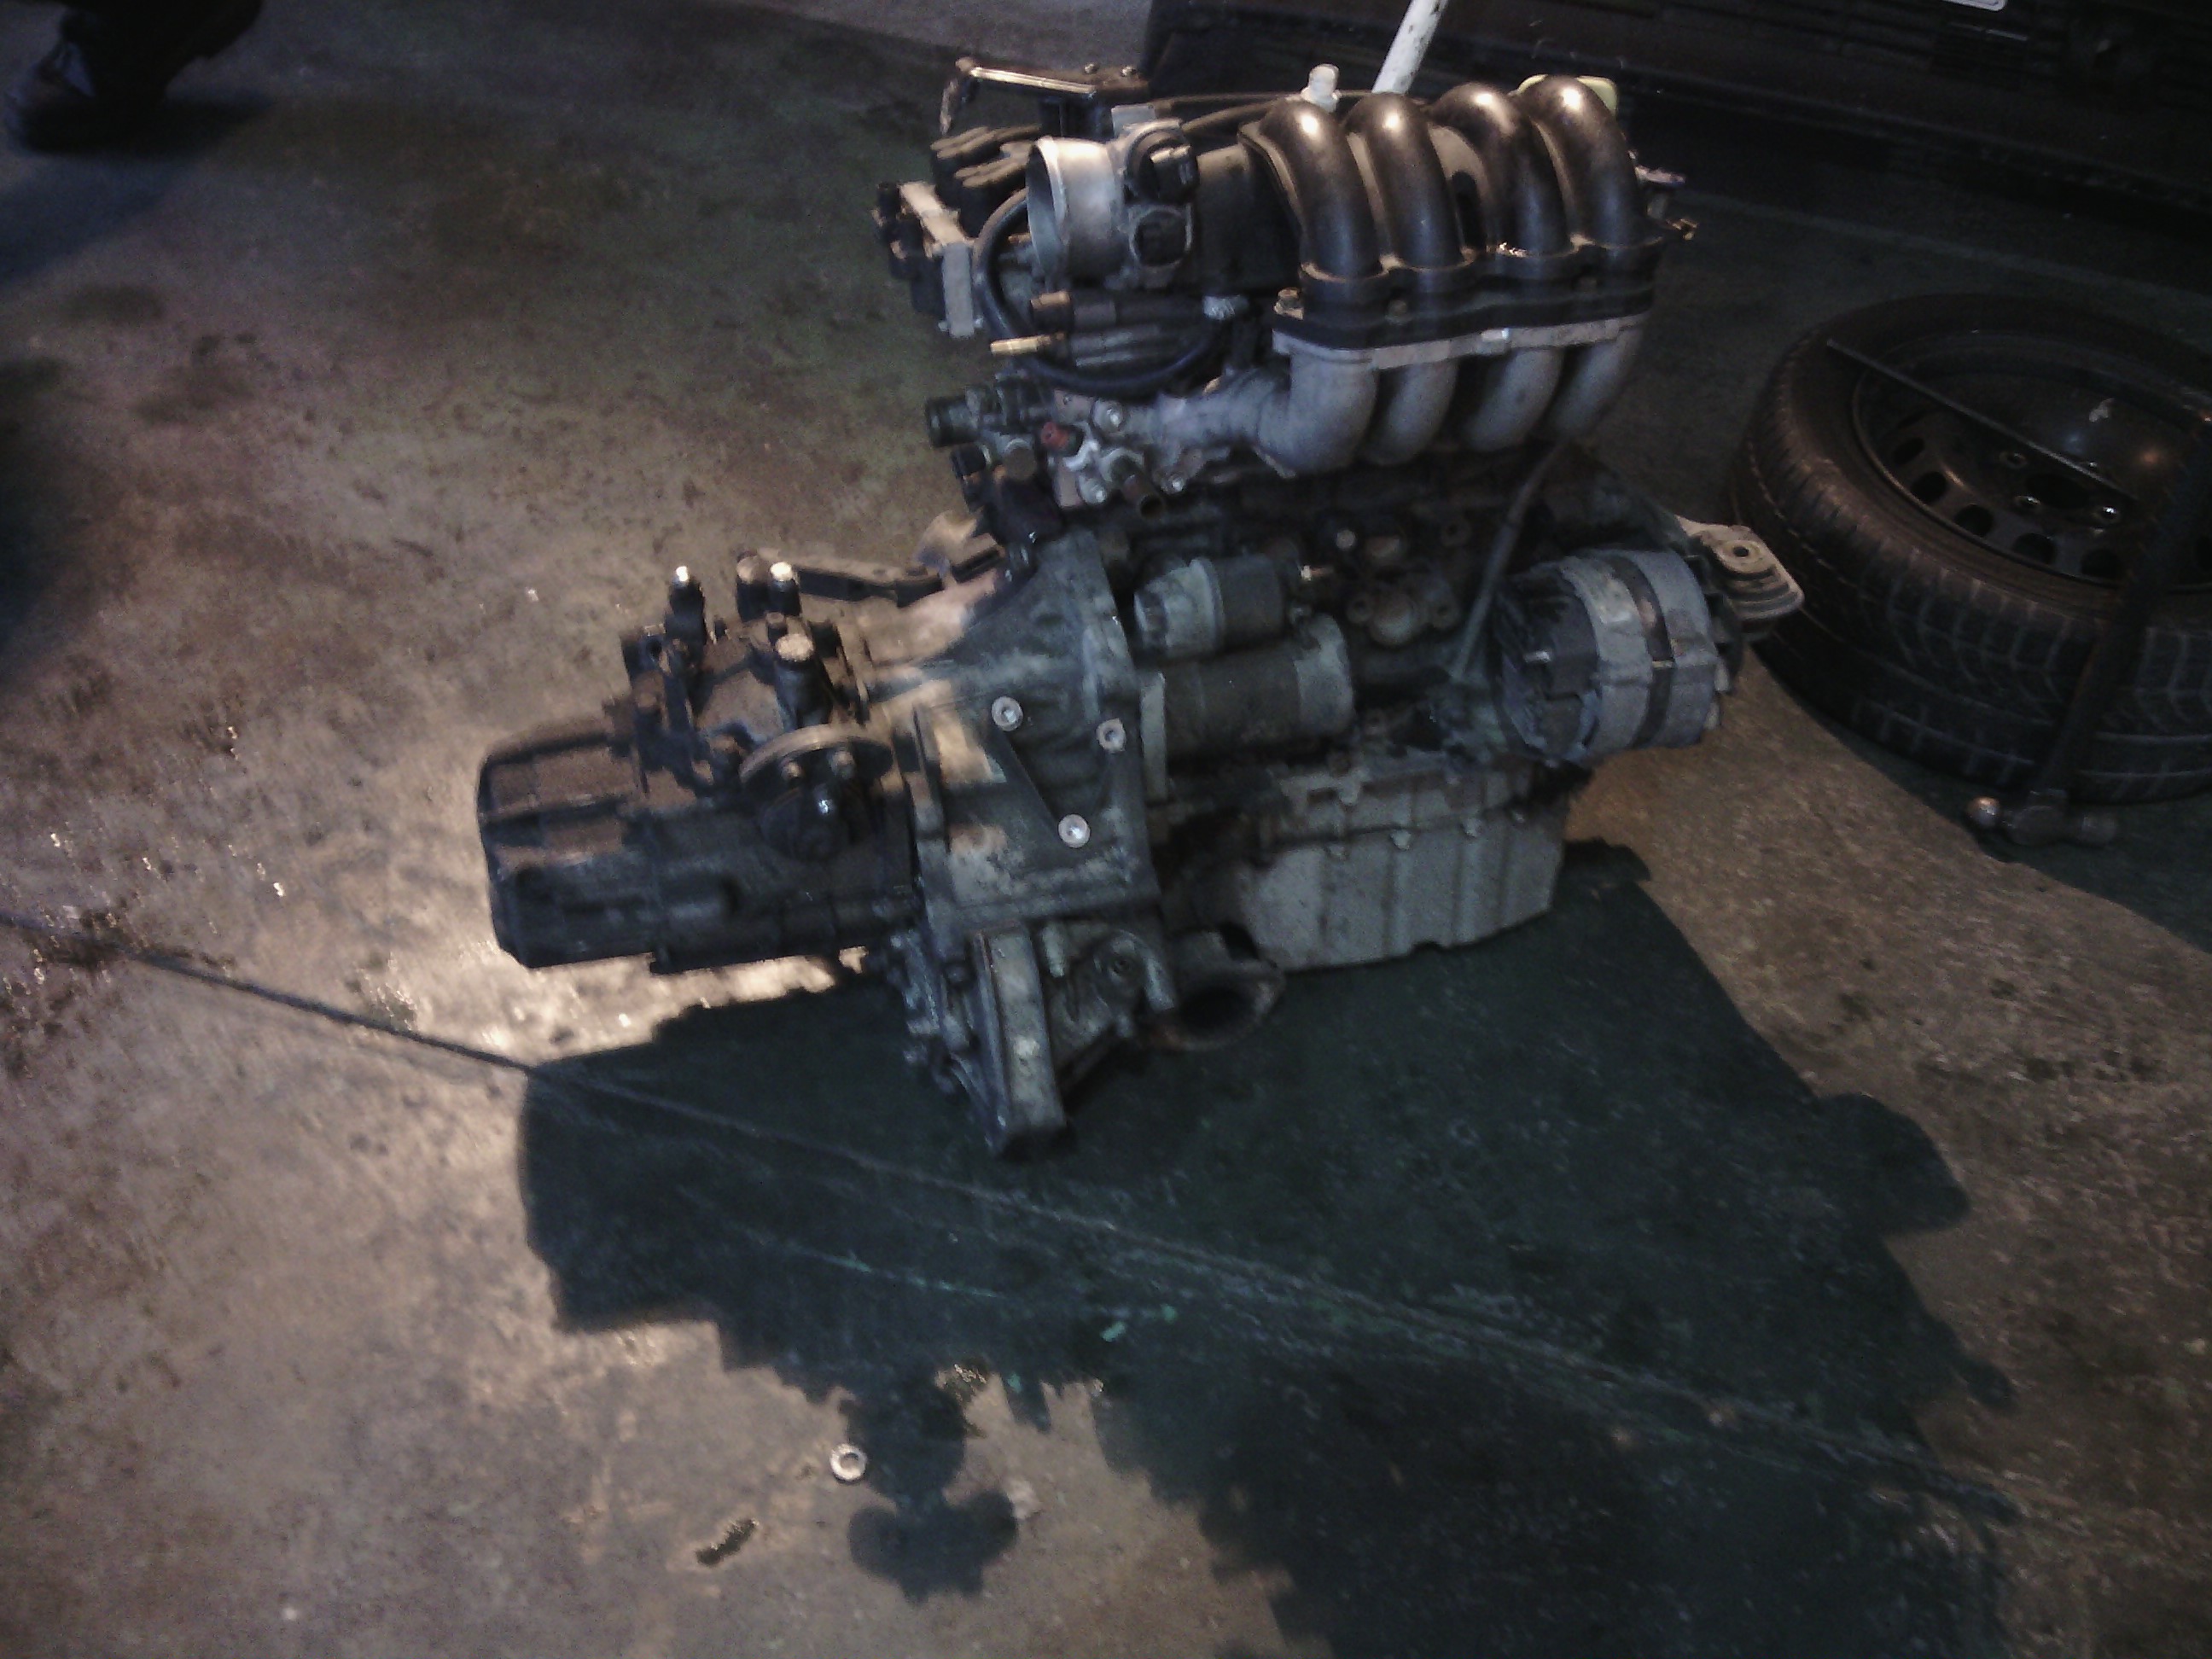
So today in my travels I landed at a garage, saw this hanging form a car, and decided it would be a good purchase. So it went in my car, and I have had a 2.3l 24v twin inline 4 engine configuration for the day. That's how it works right?
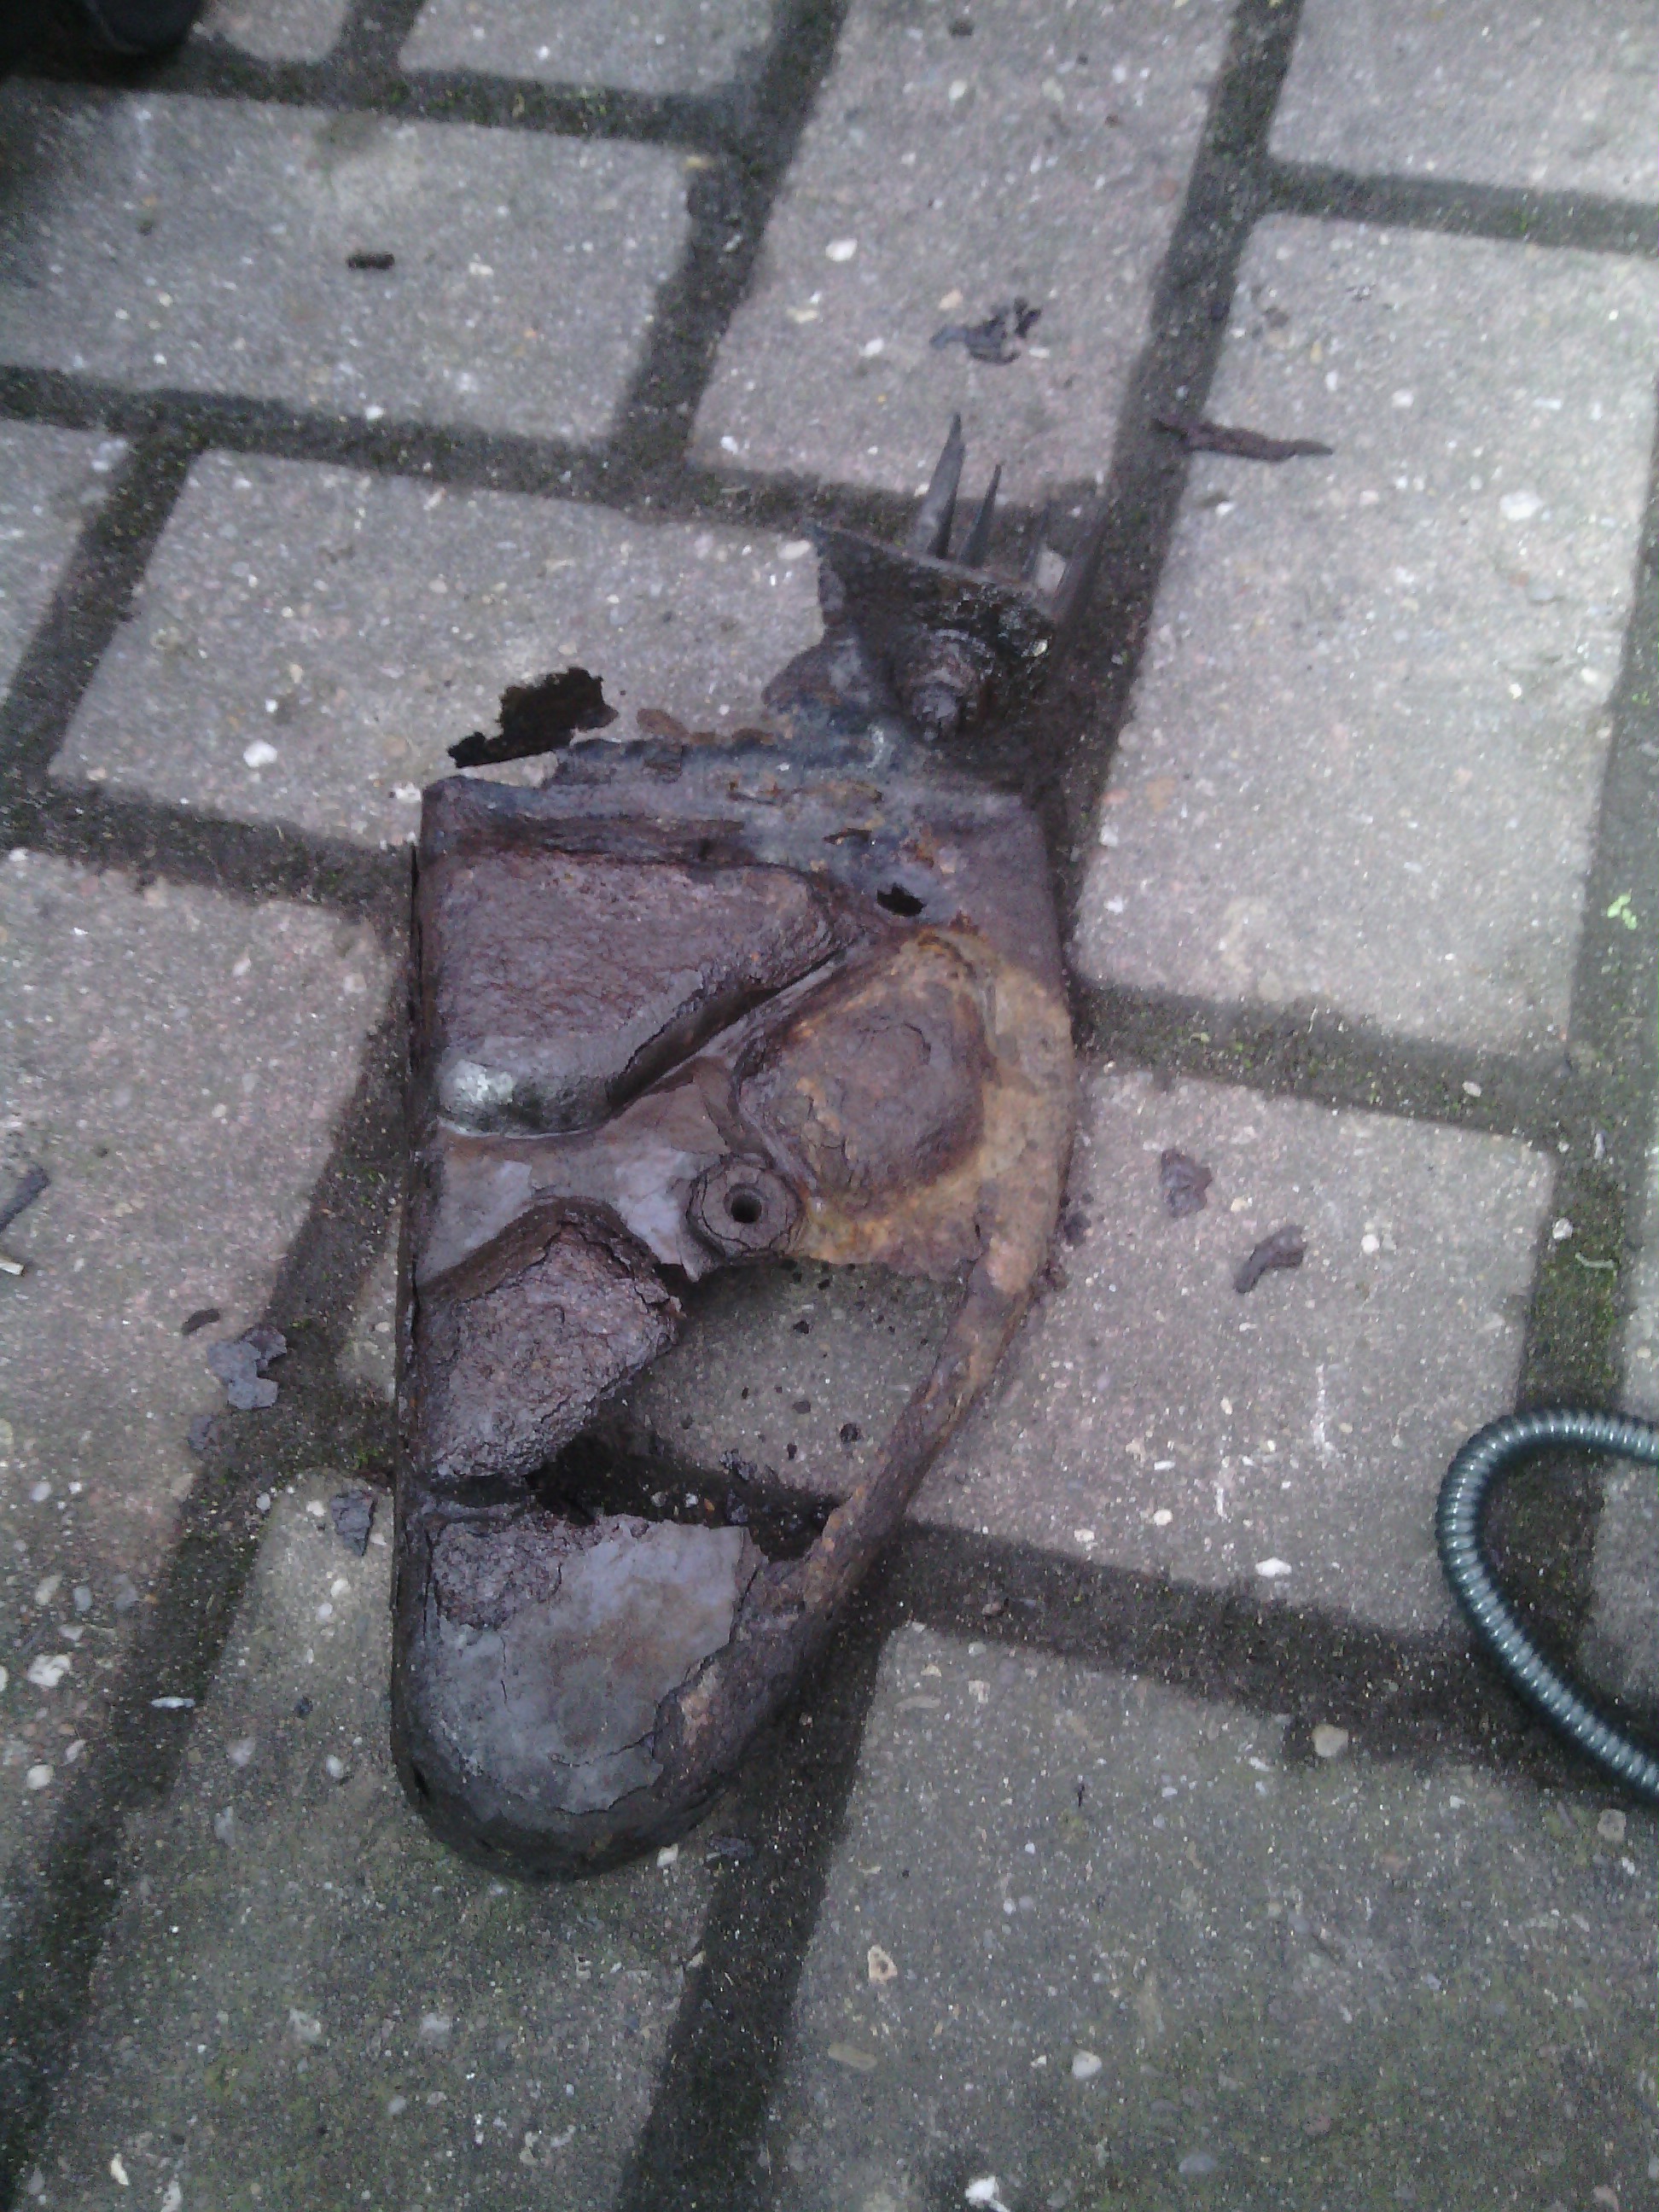
When I got home I thought I would just take the rear bumper off, as you do. New bumper brackets ready to go on.
and what was on.
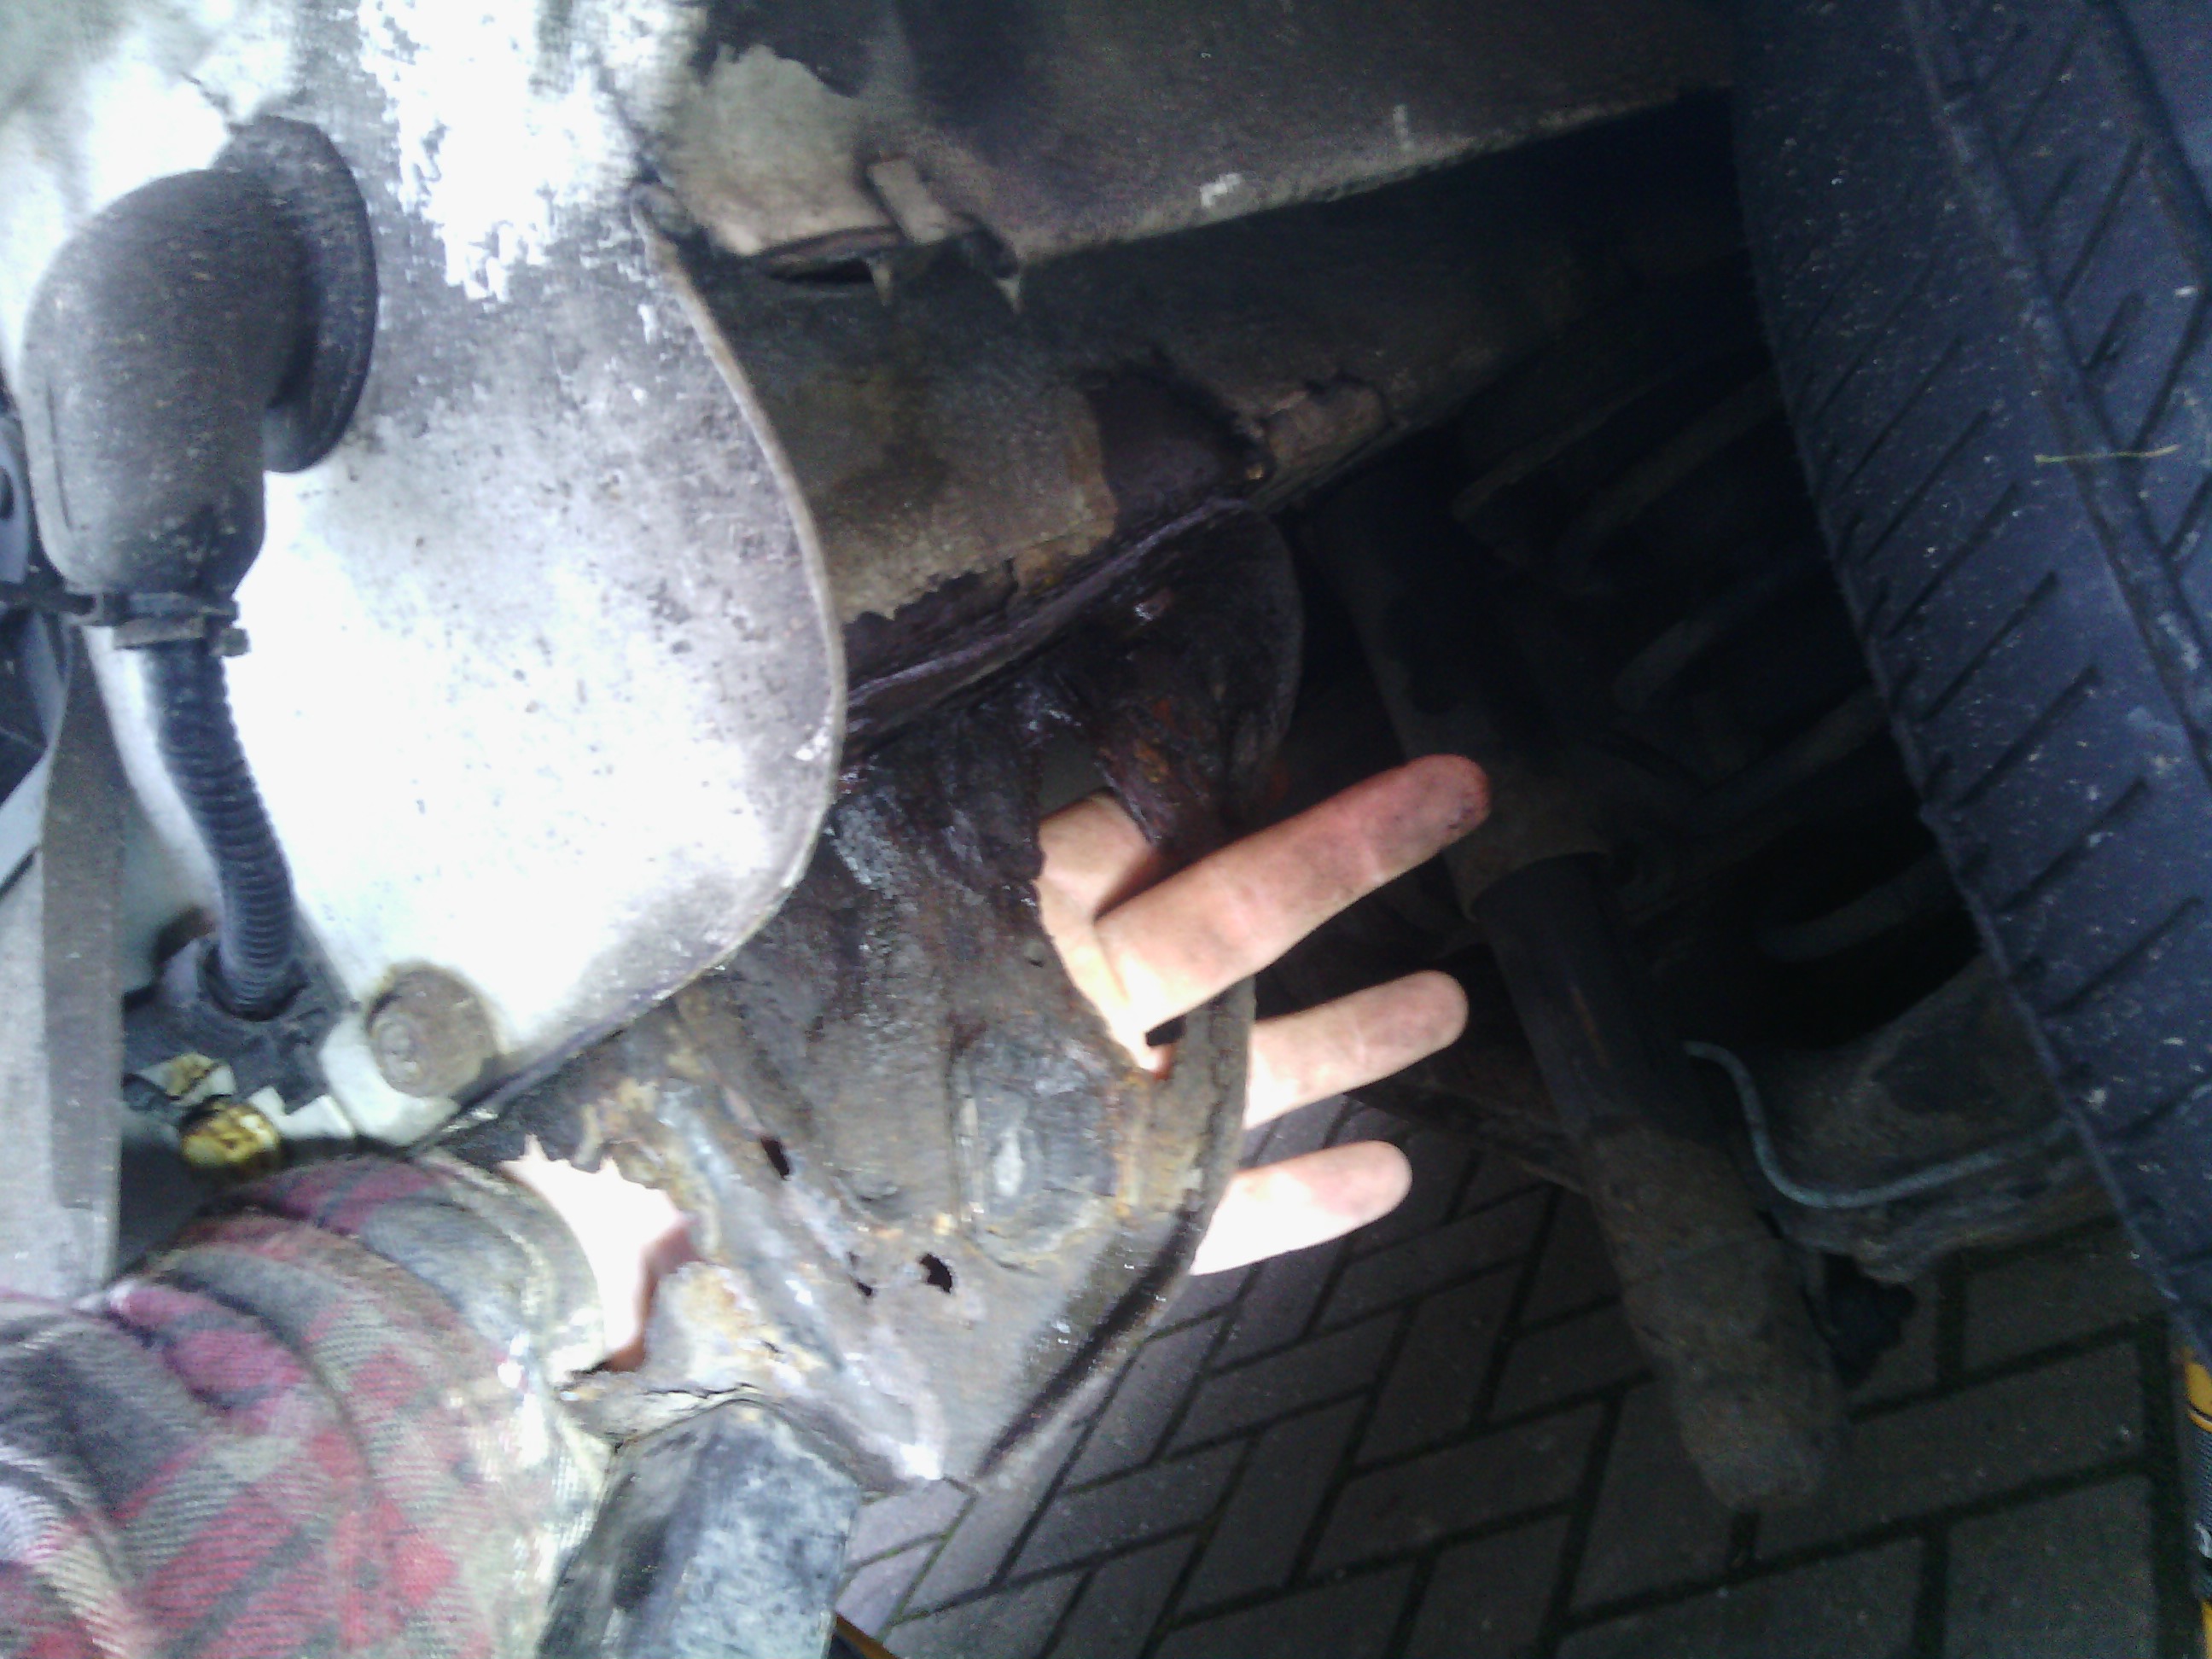
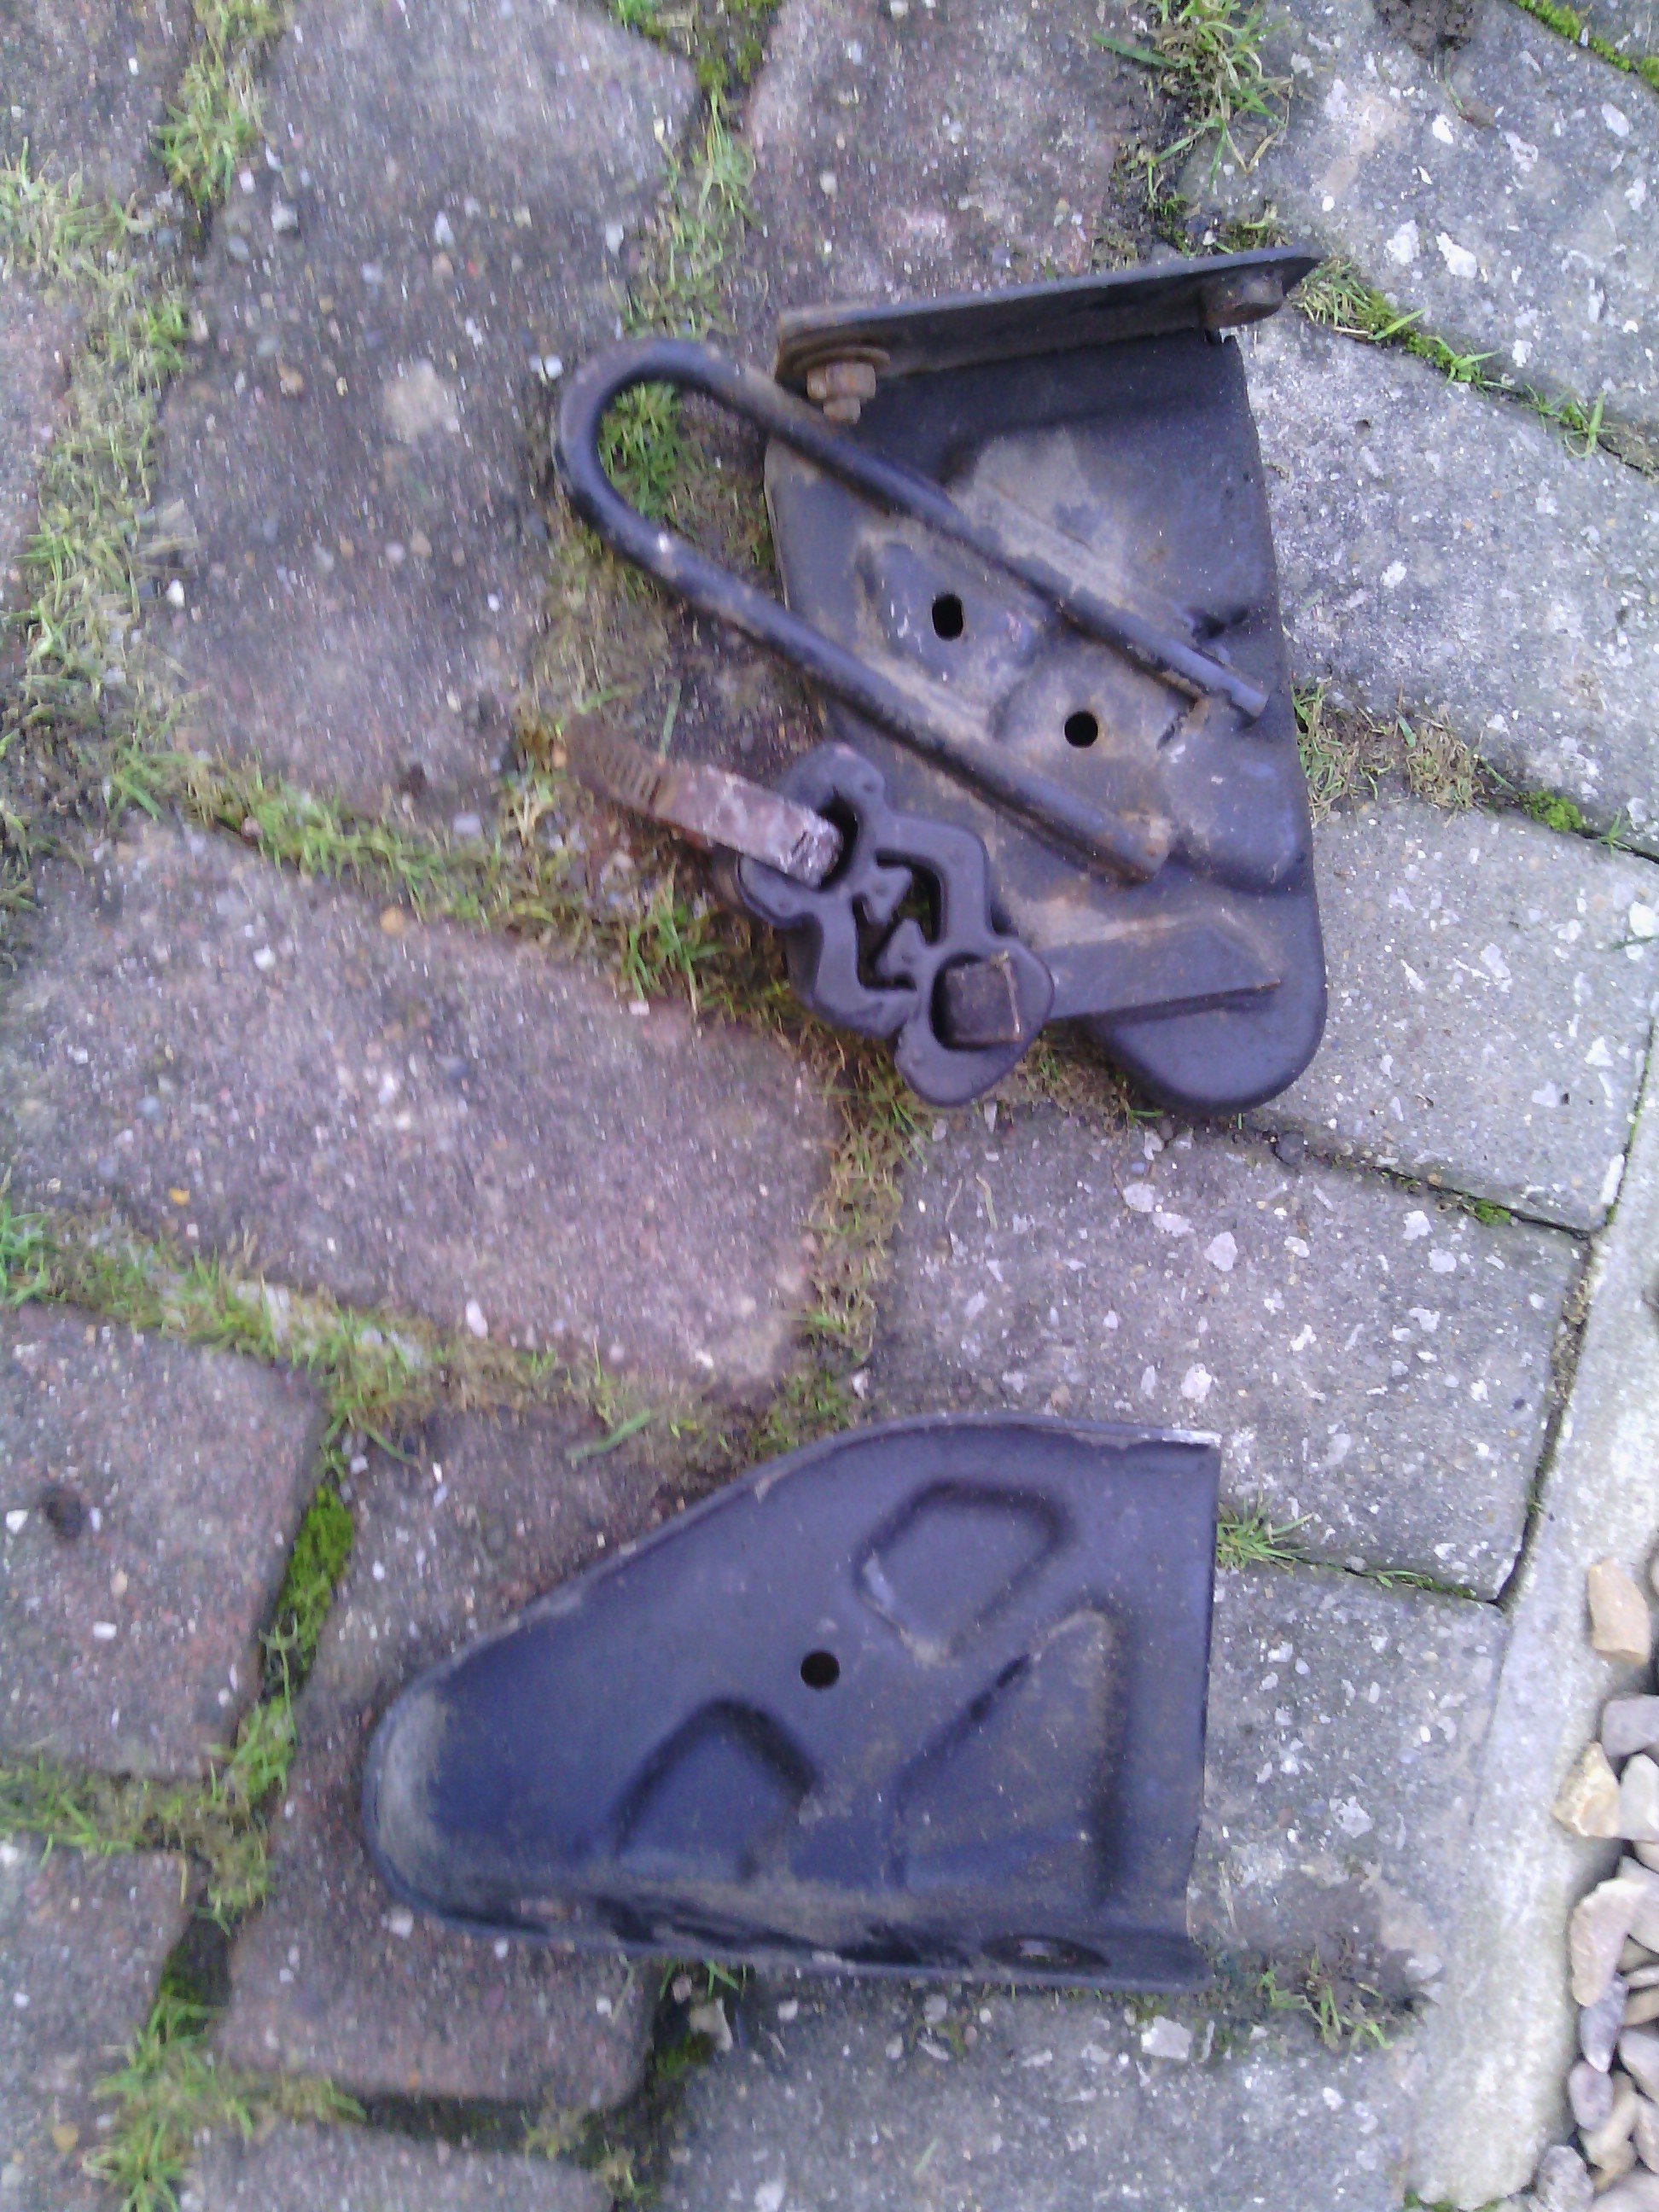
The side bumper clips arn't much better.
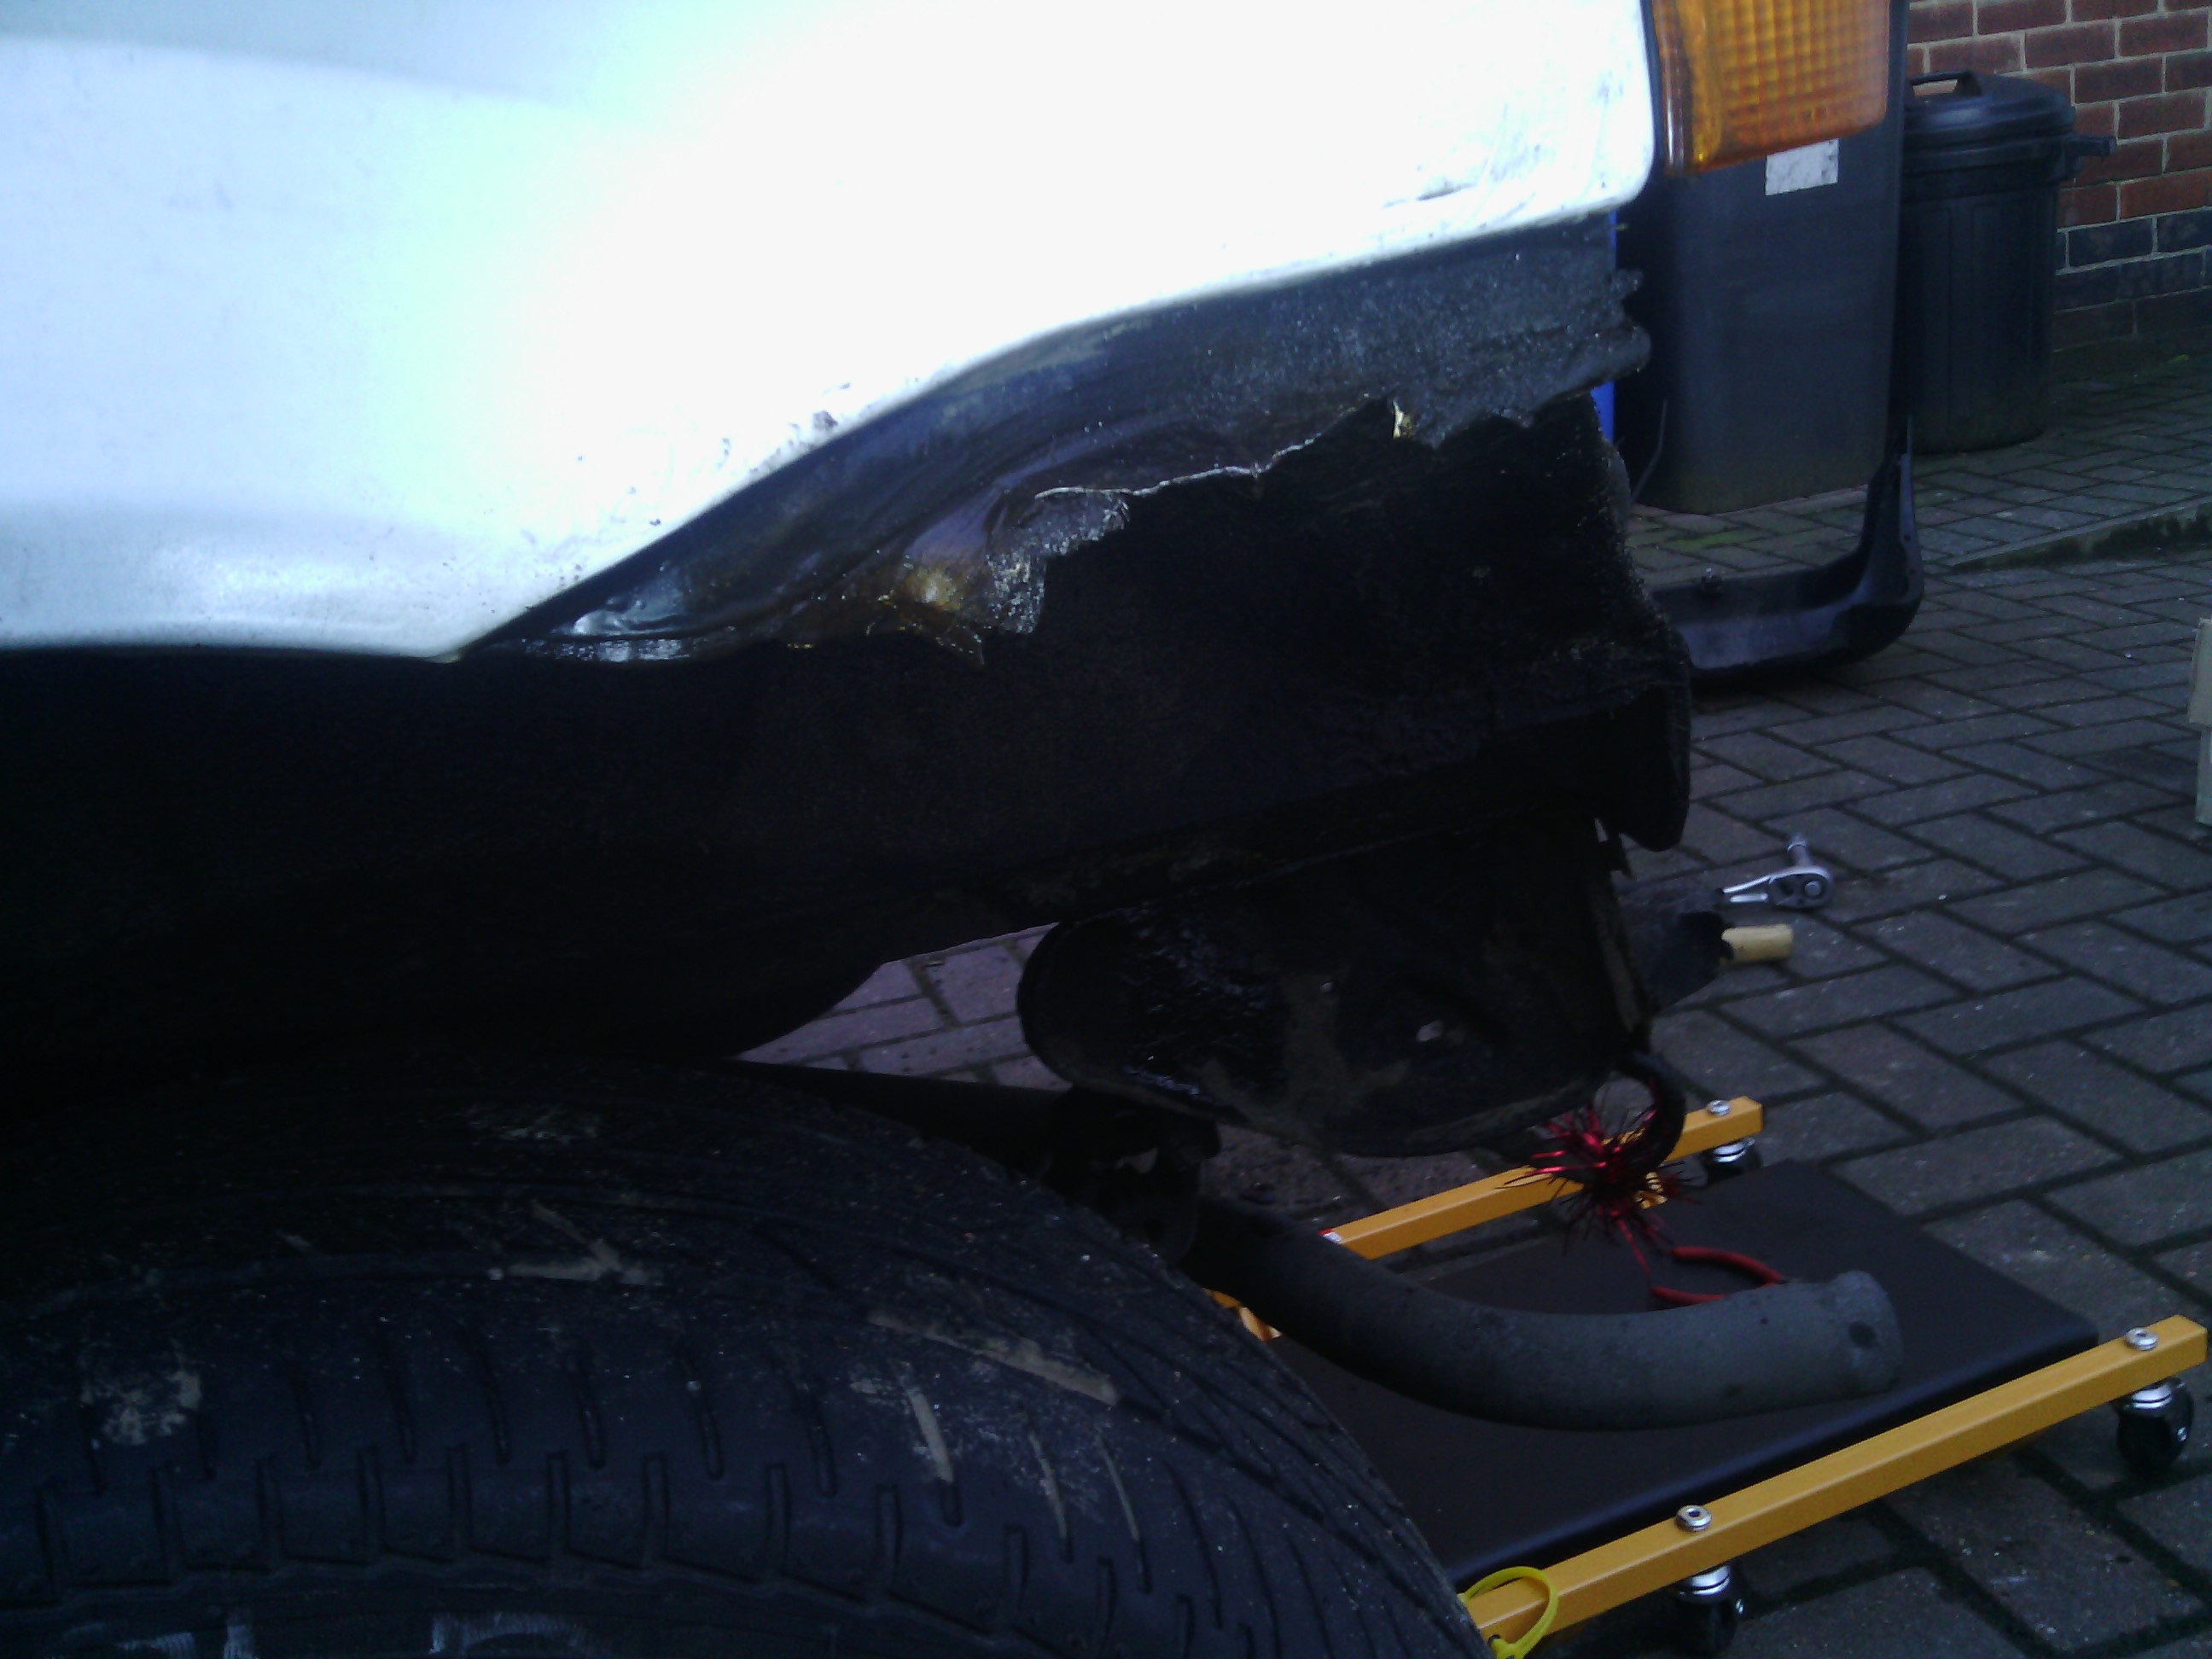
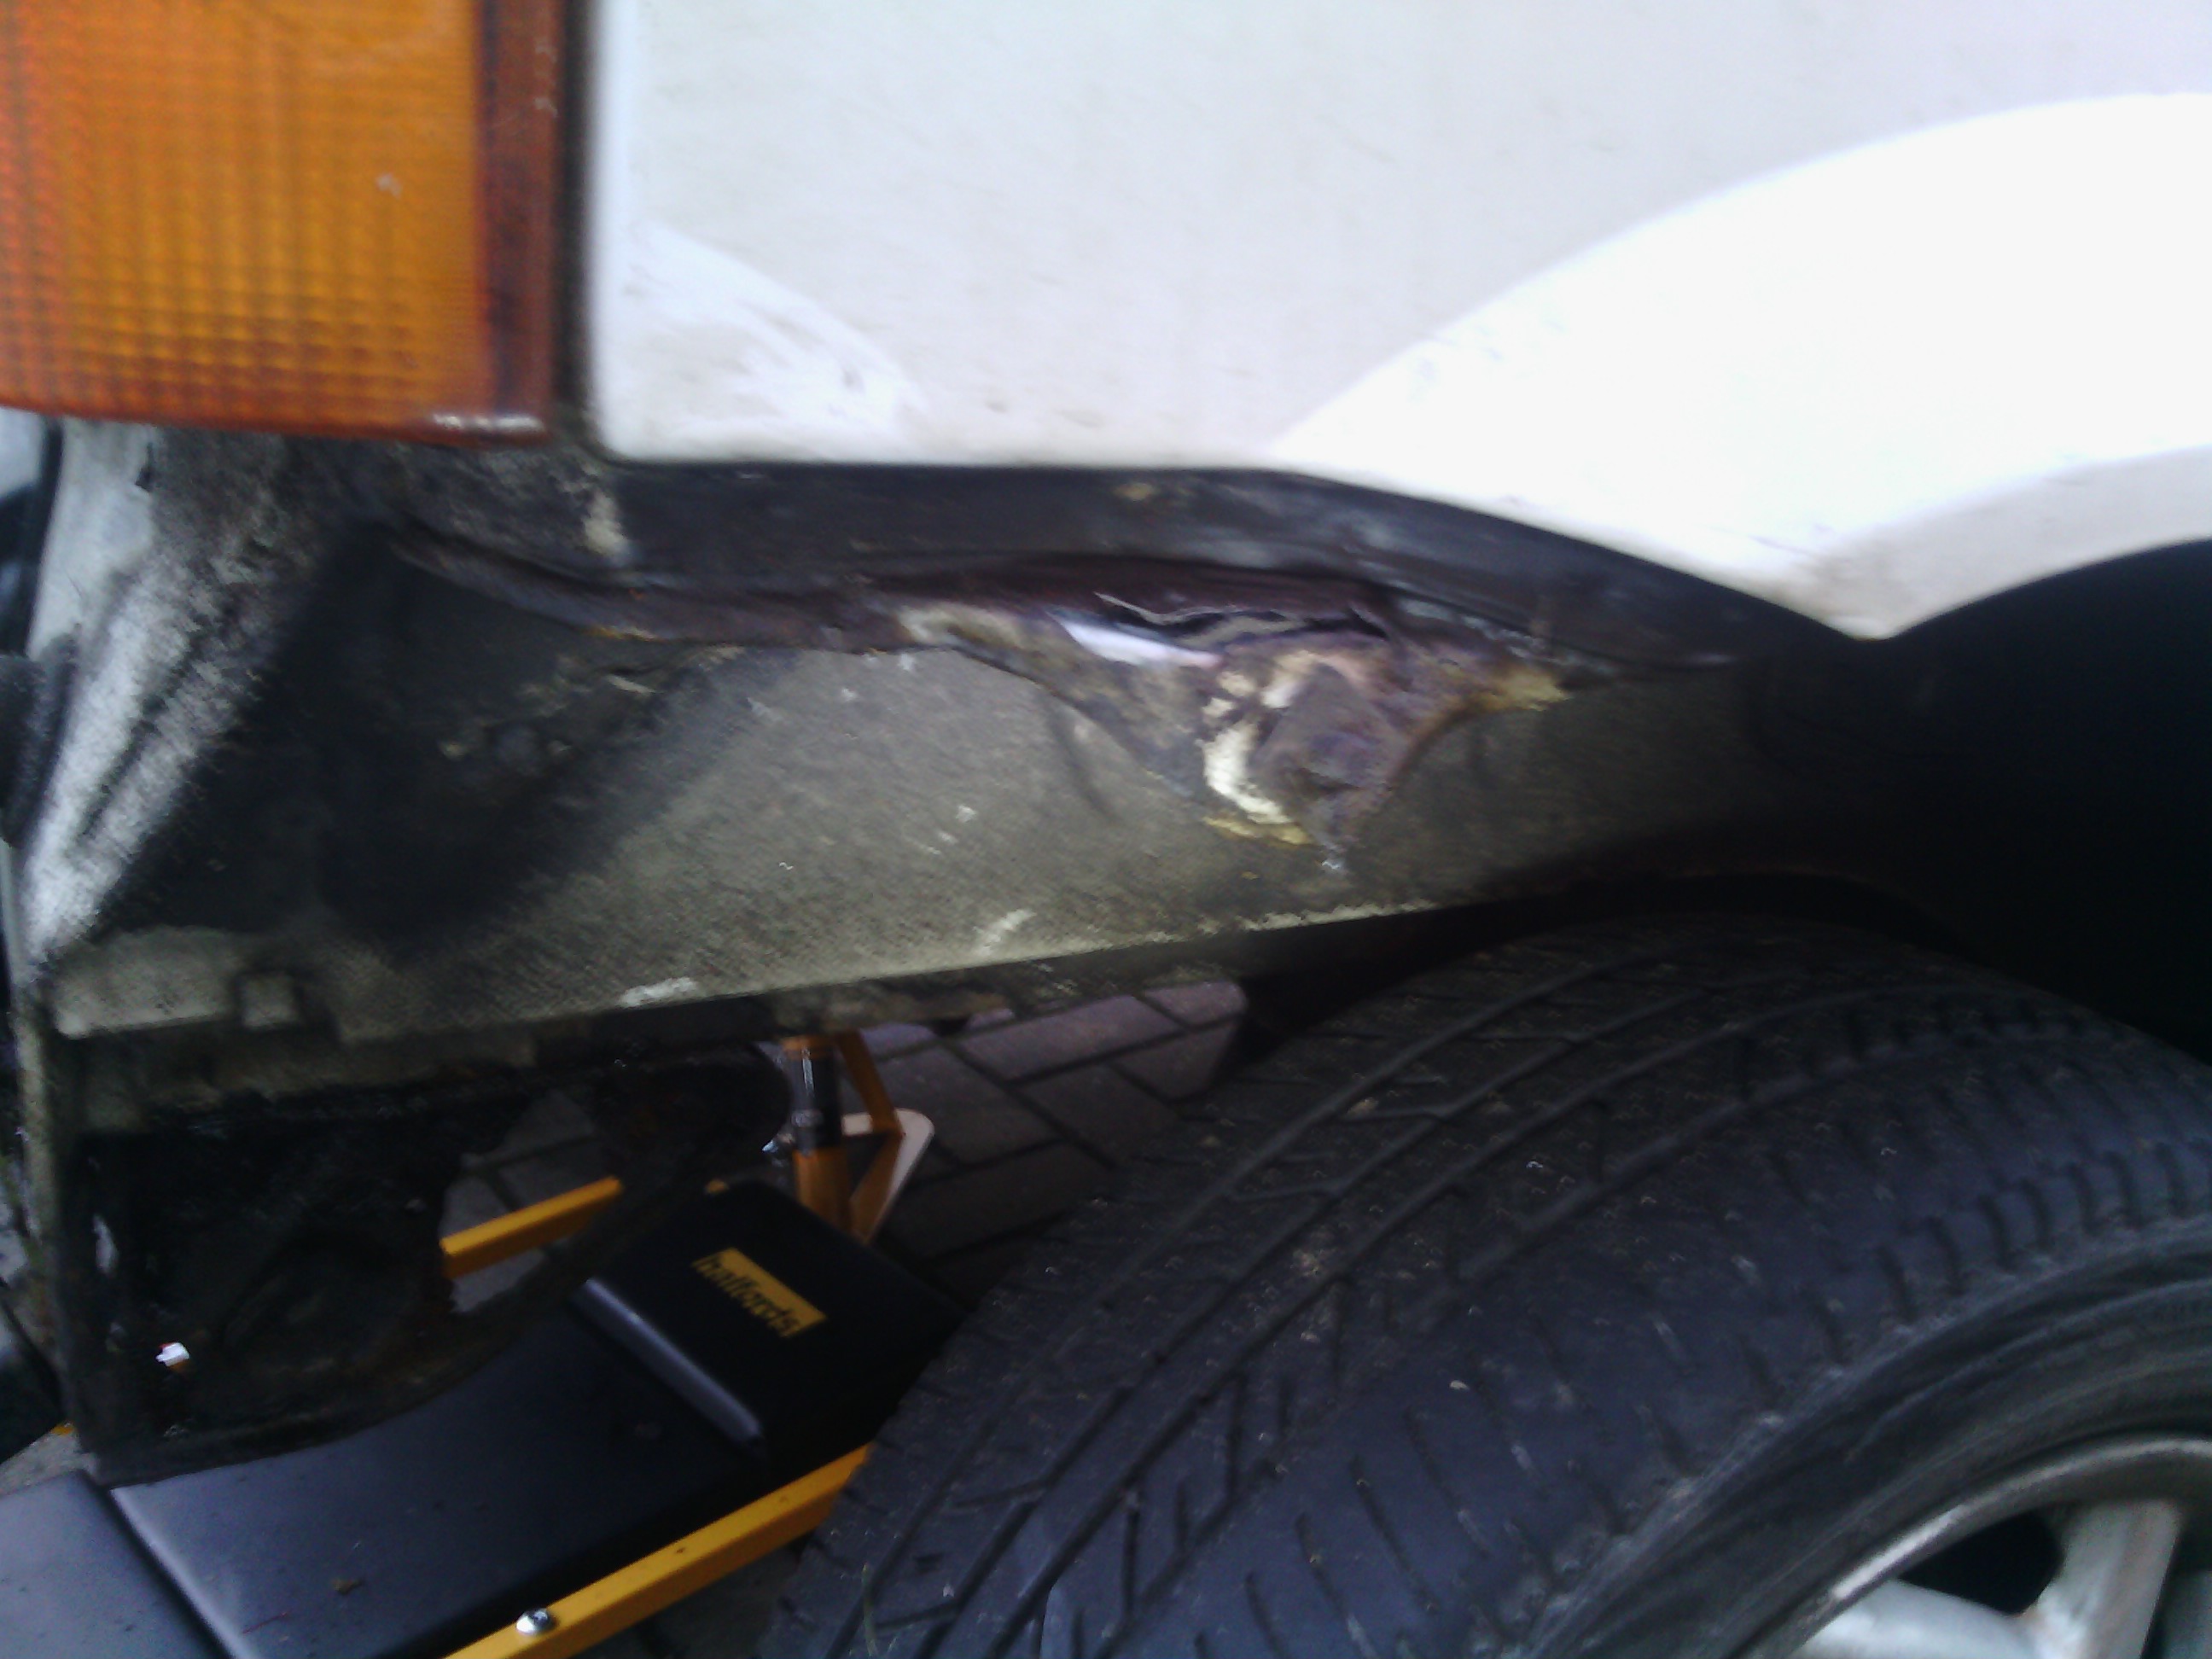
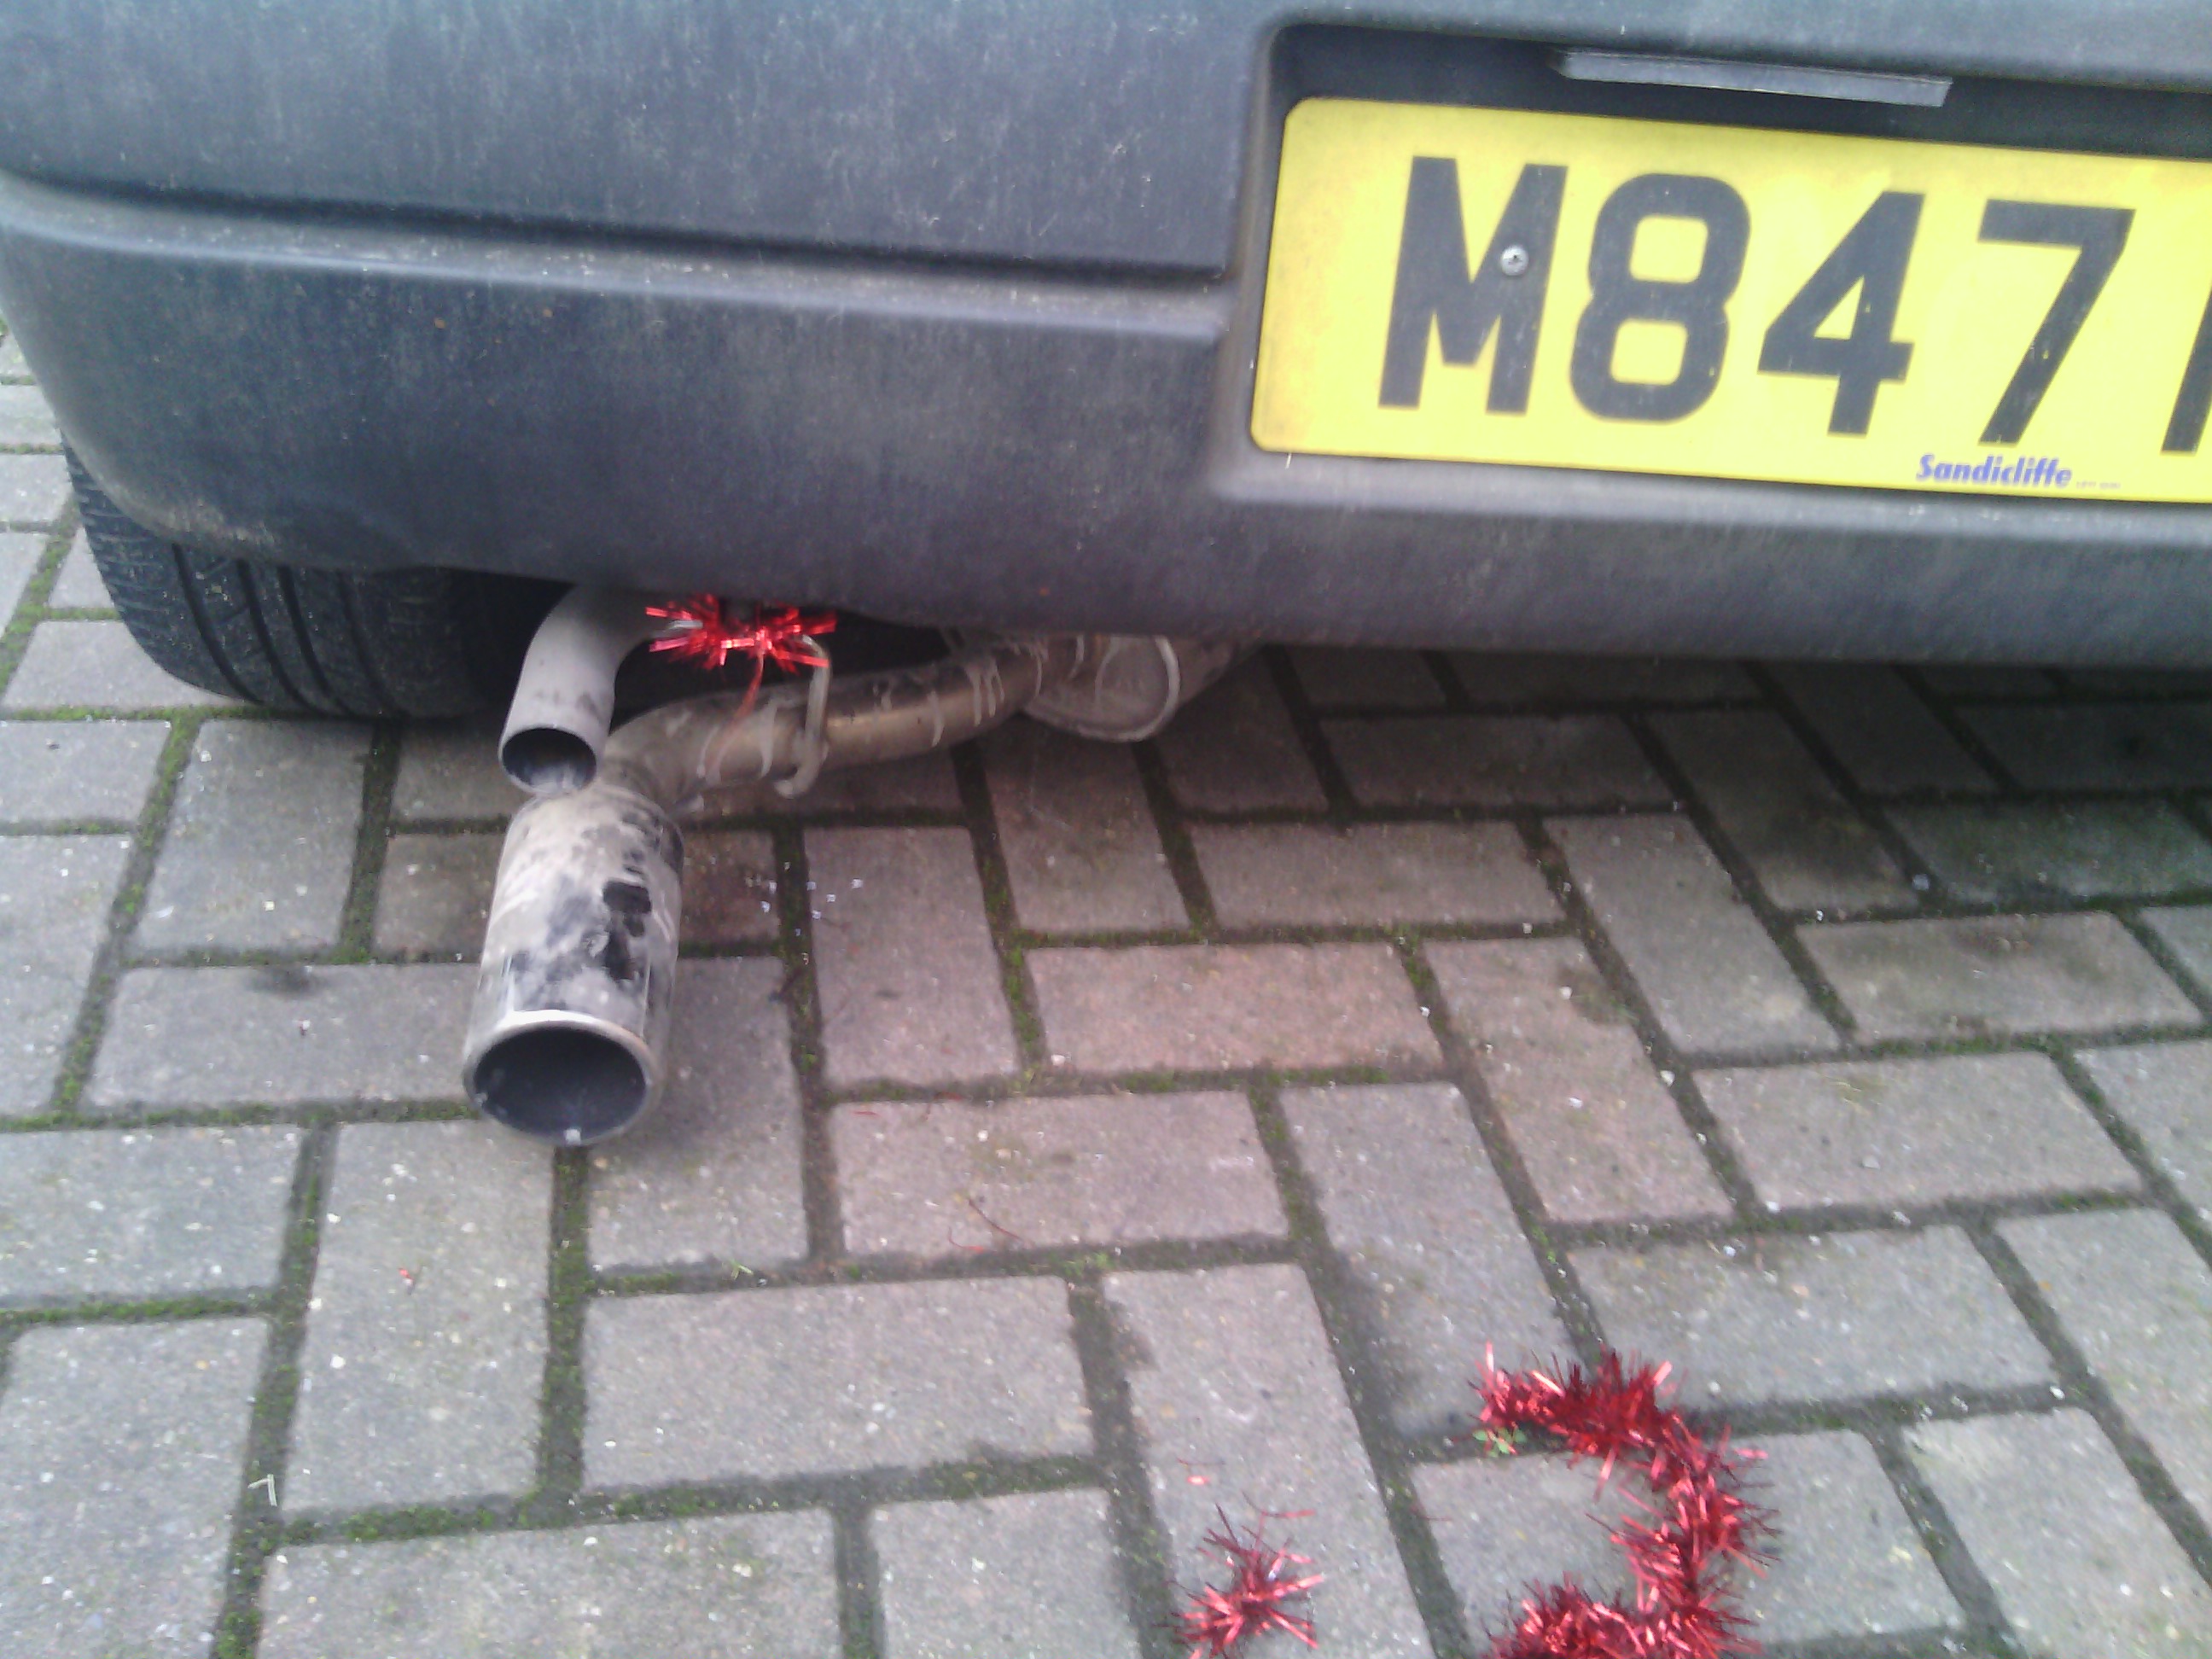
Also picture of cars booty.
When I got home I thought I would just take the rear bumper off, as you do. New bumper brackets ready to go on.
and what was on.
The side bumper clips arn't much better.
Also picture of cars booty.
Last edited:
be glad you got brackets before they went with the car ") await the envy of those wanting solid brackets
await the envy of those wanting solid brackets
await the envy of those wanting solid brackets
OP
OP
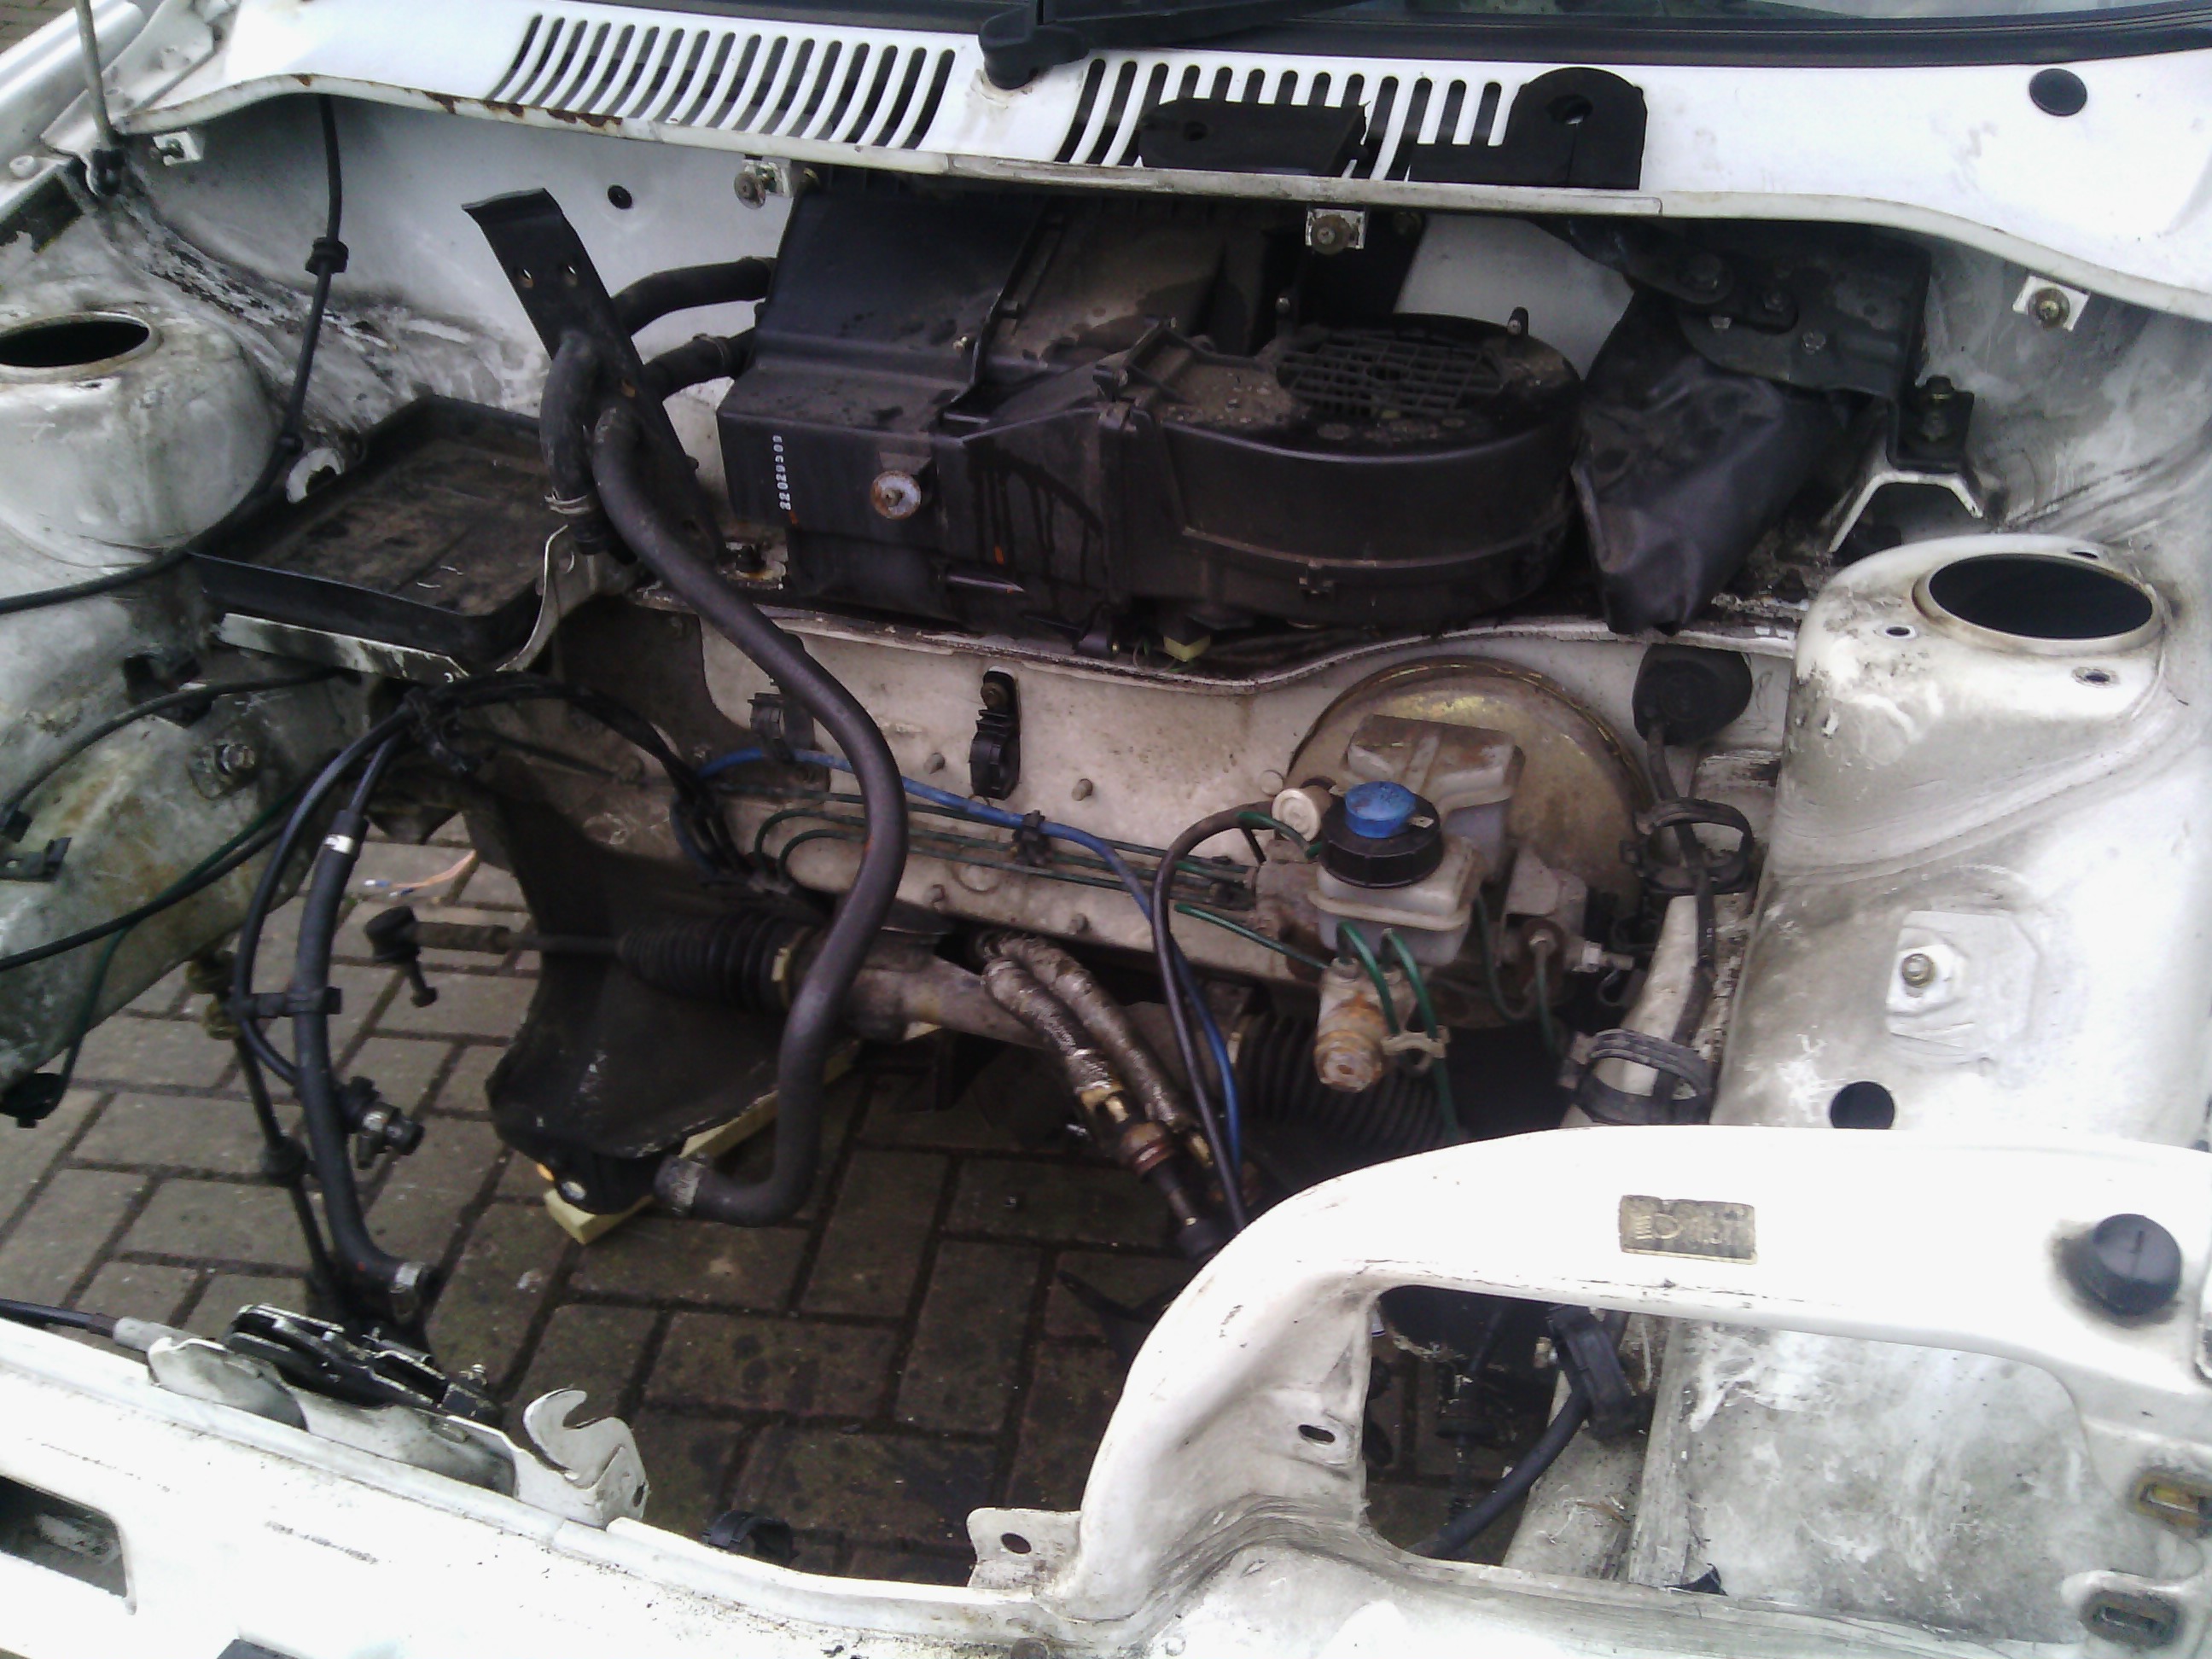
Yesterday rain stopped play, and not much got done apart from removing cooling system and horns, Today I removed the drift shafts, hubs, wishbones, shocks and exhaust. Also the engine loom is disconnected.
Unfortunately I had to take the hubs and shafts off together, anyone know the easiest way to now undo the hub nuts?
Didn't take many photos today, but there isn't much to look at.
Engine has got to come out tomorrow, so I can start rewiring. So I will be braking out all my lead lamps and other sources of illuminations.
hub nuts.. easiest way is with an impact gun. If not that, six sided socket, big breaker bar and stand on it (not really an option now its not on the car - If you want to split them now its off the car it will be alot harder... impact gun or you will need to stick it in a vice to use a bar.
OP
OP
So today has been as uneventful as anyother.
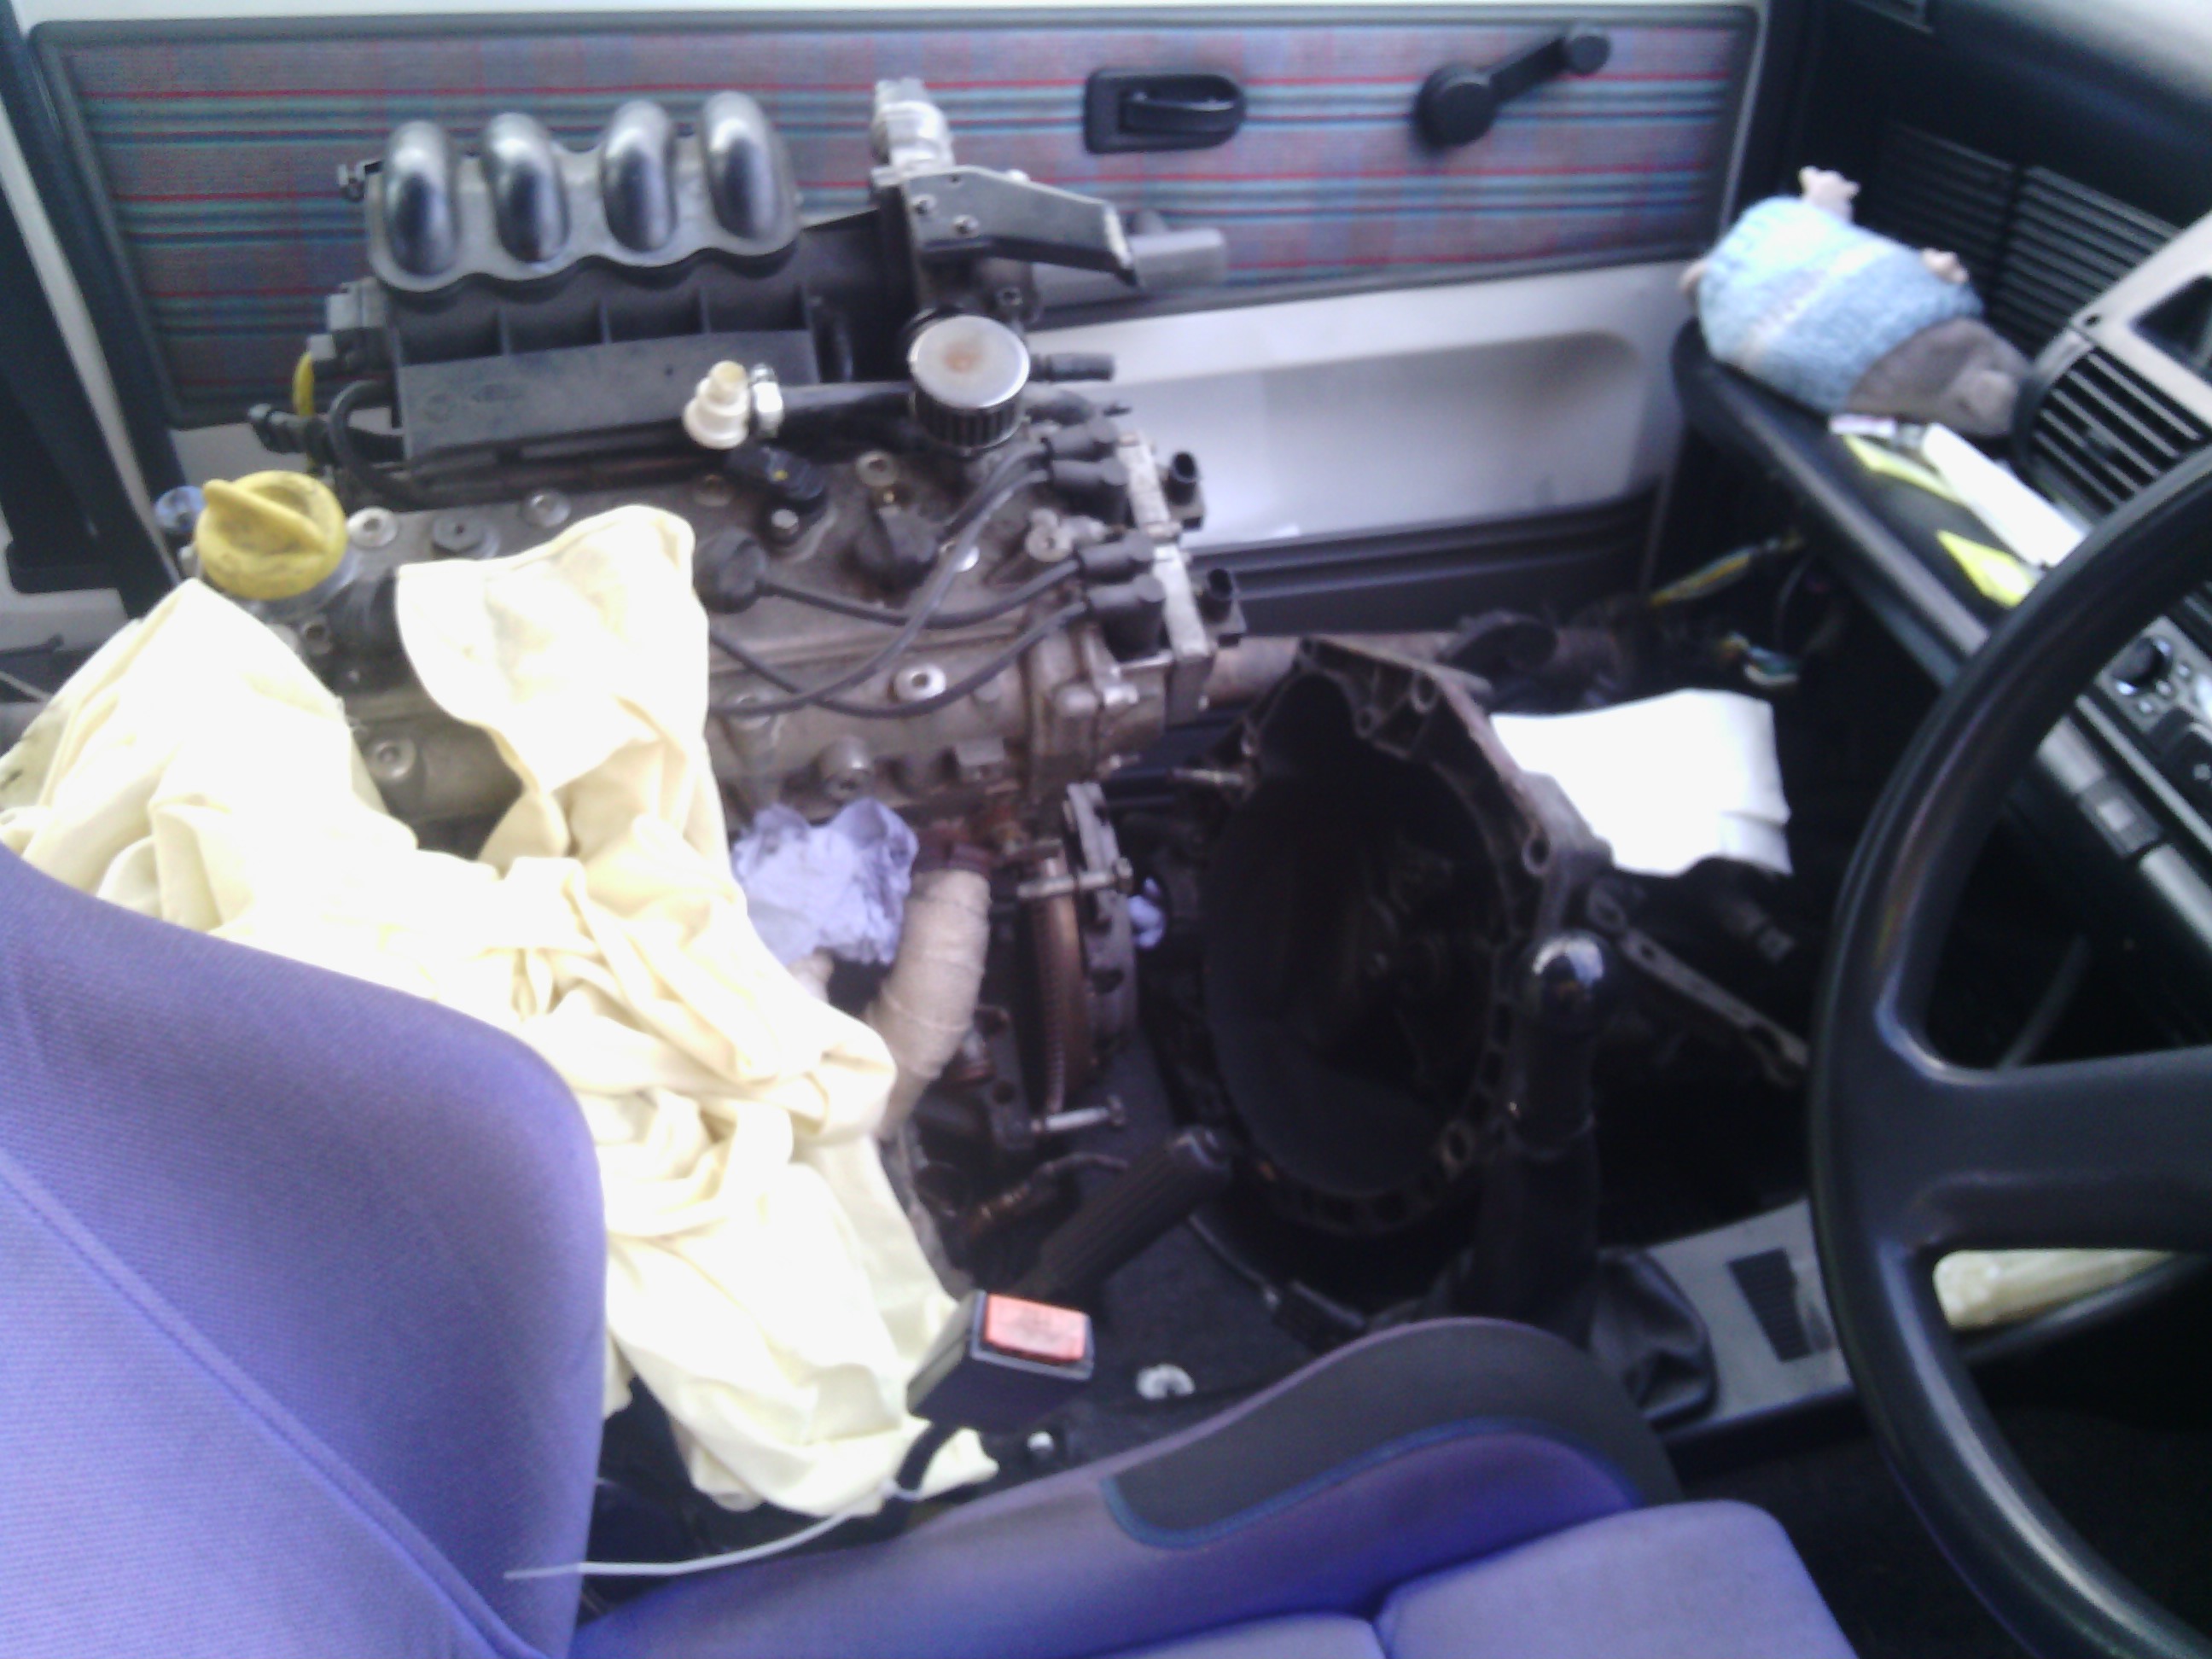
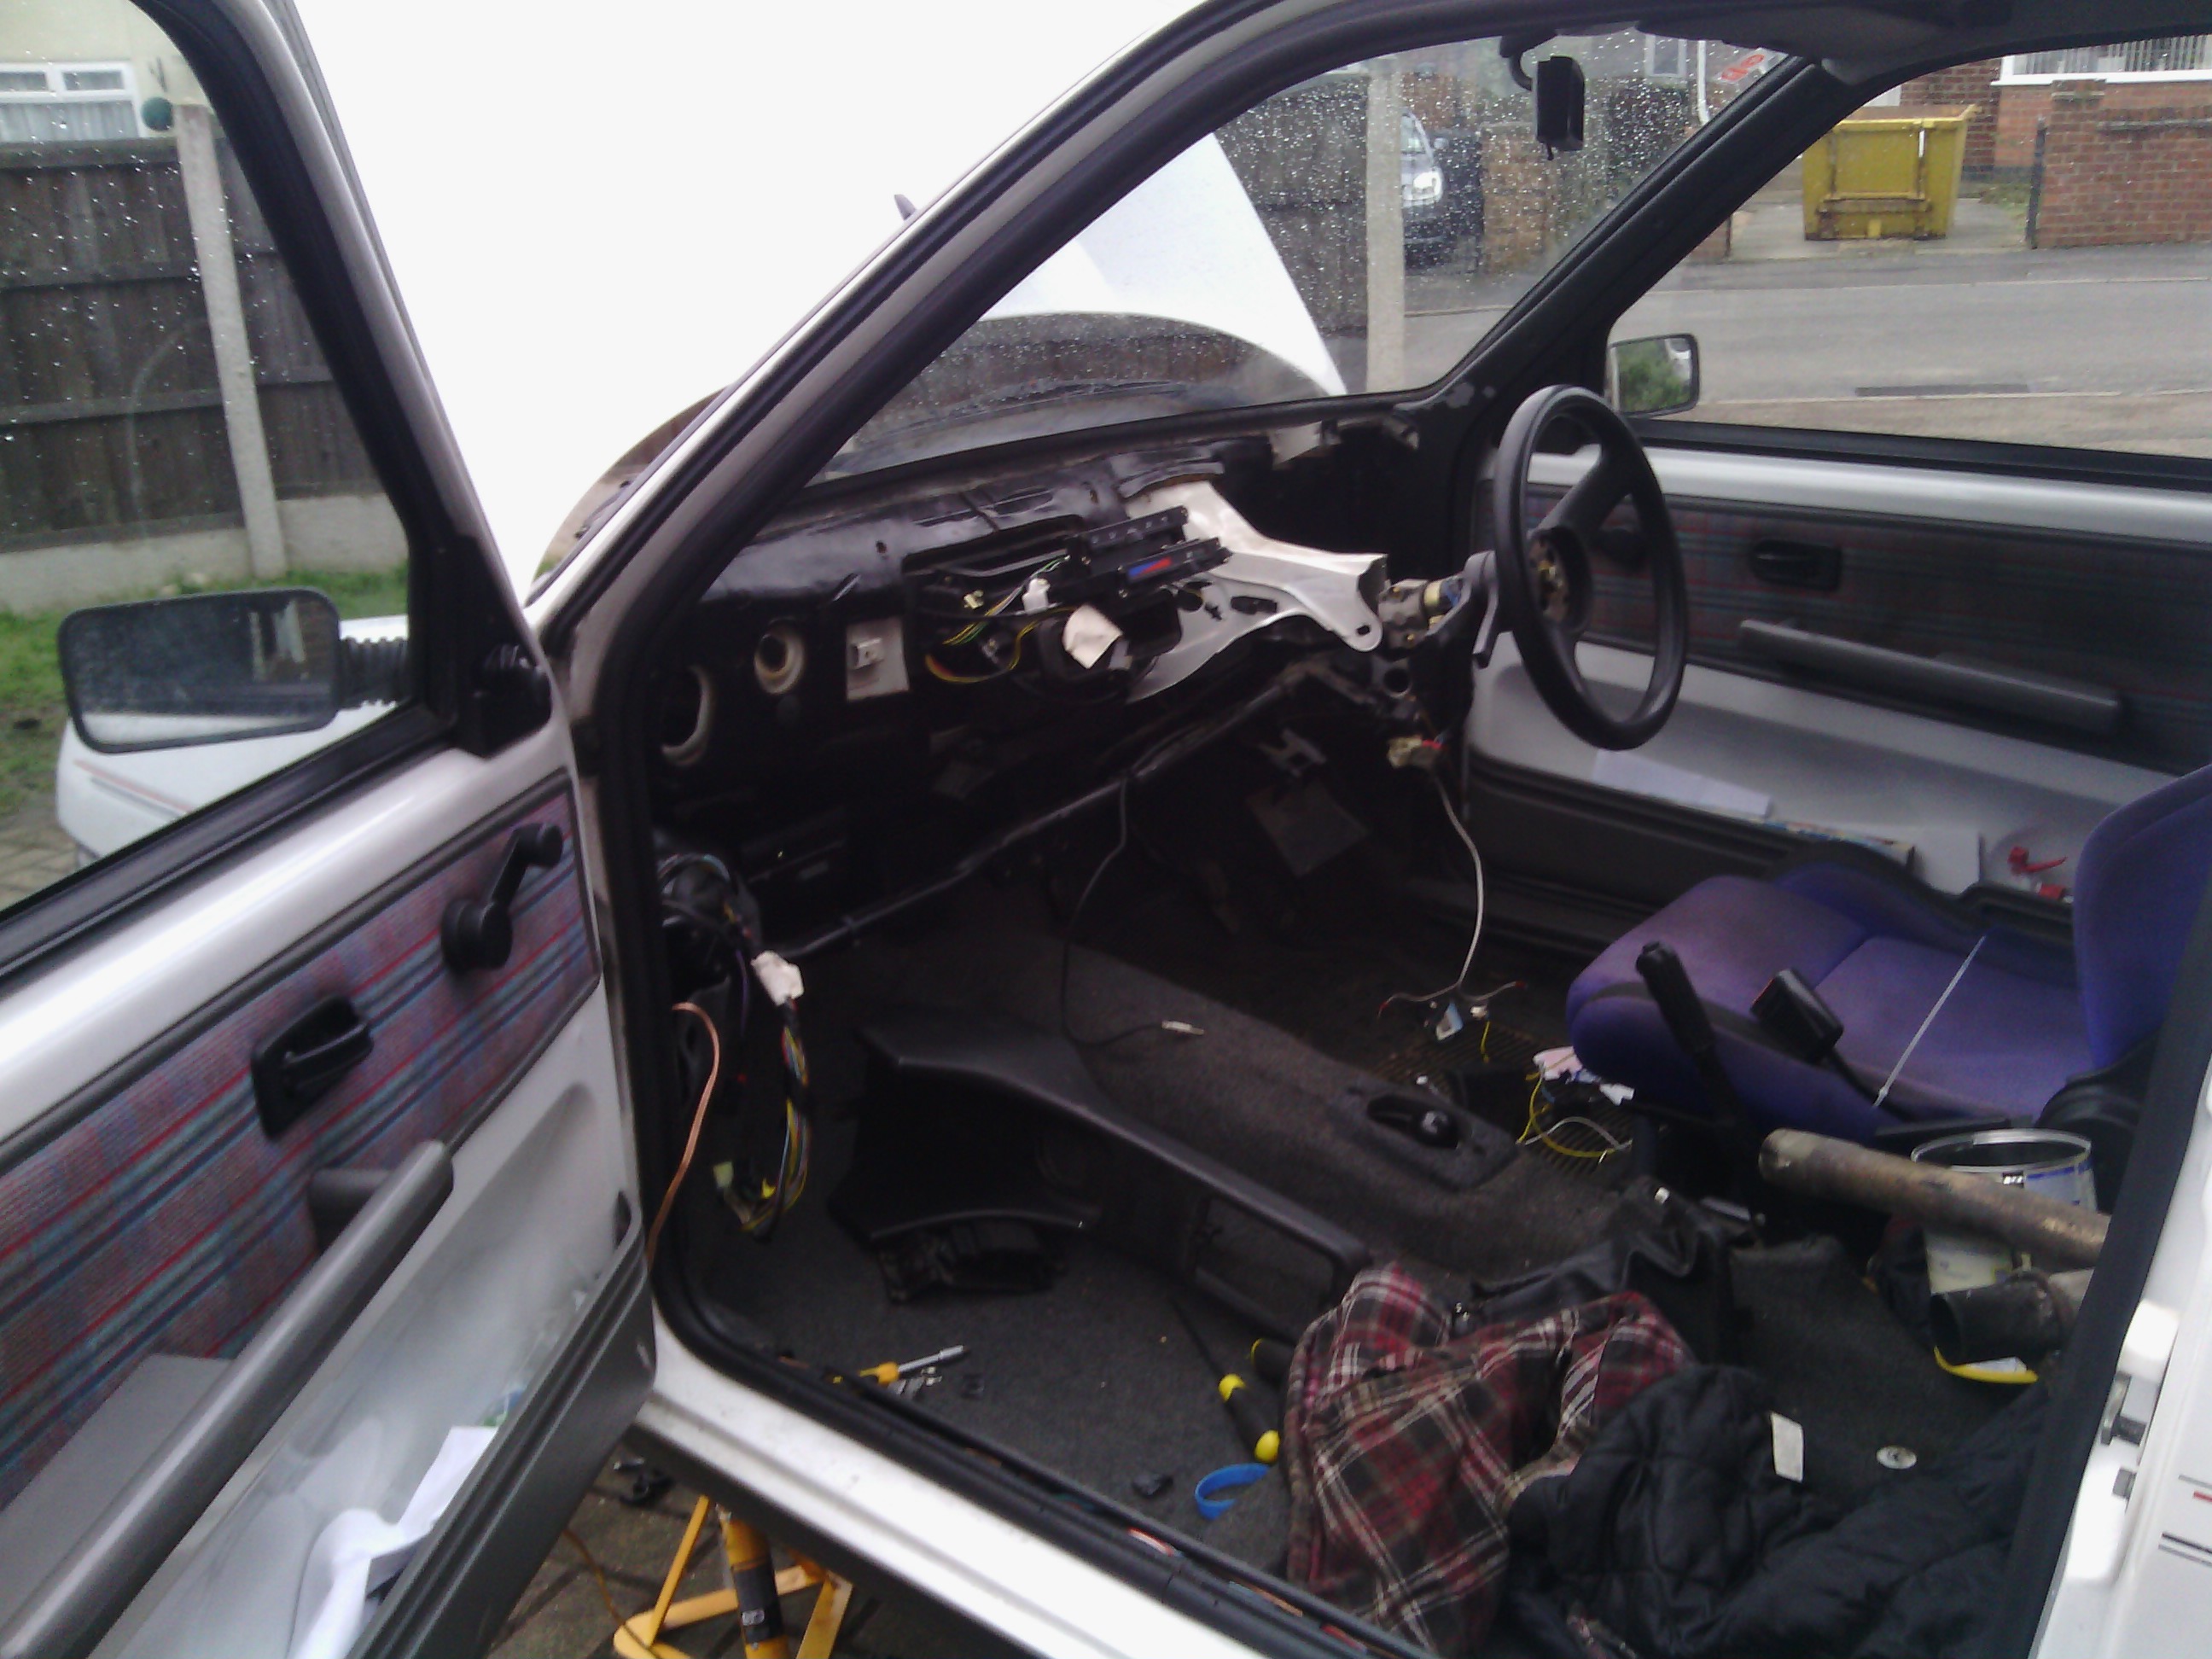
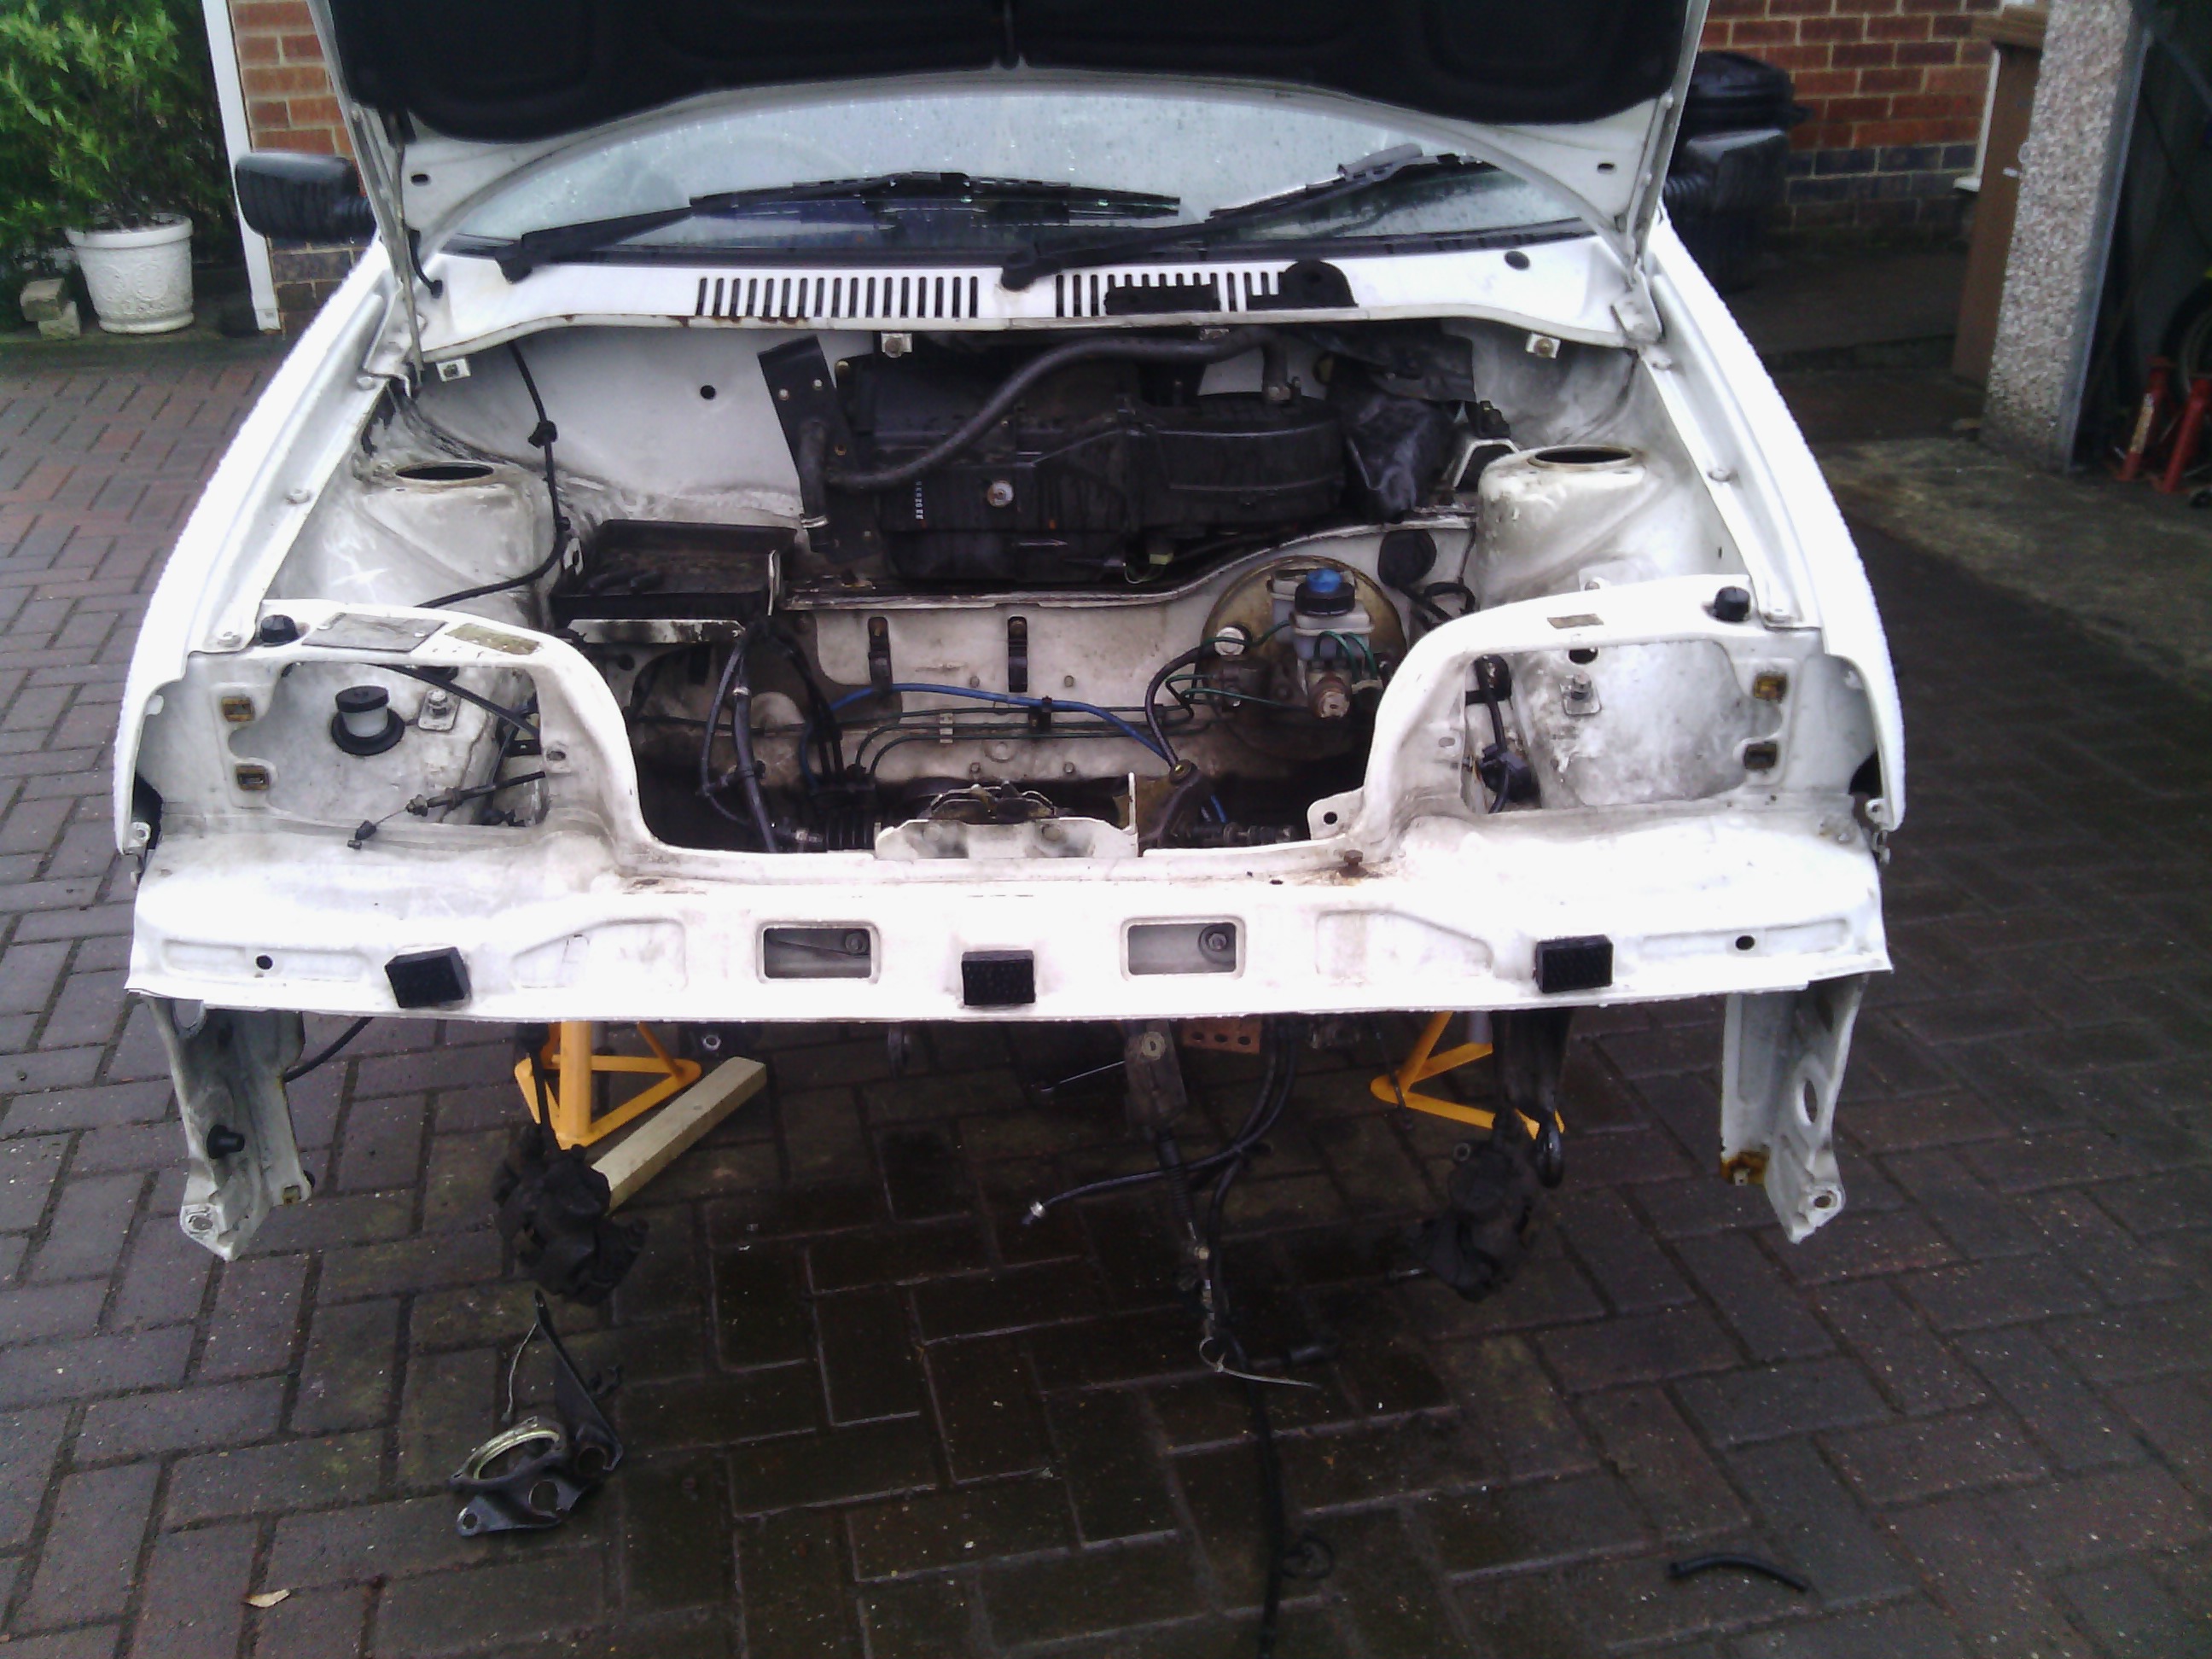
Got the engien and gearbox out, wiring loom dashboard intended to clean and wax the engine bay but have run out of time. need the car back for driving monday. New wiring loom is in the dinning room marked up for where the wires should go with the new dash. Gearlinkages went in while it was raining aswell and also sorted out the heater box lights not working.
Tomorrows jobs are to cut the screw on the light, mount the engine gearbox and put the loom back in. cut sound proofing around the brace. Also got the rear bumper to work on, put my inserts in. and fingers crossed sunday it will be running. Fingers crossed
OP
OP
Only had half a day today, got the dashboard in, Engine mounts changed over, clutch changed, and attatched to the gearbox. New wiring loom is in. Tomorrow is going to be a busy day.
Exhaust, drive shafts, rebuild suspeion, wire engine, coolant and hoses to go back in, cut my sound proofing for the upper brace, sort out fuel pump new brakes if I get chance and pick up some tyres
Not got any pictures because I'm too tired to finish this topic
Exhaust, drive shafts, rebuild suspeion, wire engine, coolant and hoses to go back in, cut my sound proofing for the upper brace, sort out fuel pump new brakes if I get chance and pick up some tyres
Not got any pictures because I'm too tired to finish this topic
OP
OP
Yesterday there was no update as we went for a victory pint and chips.
The engine is in, and runs, after a few phone calls to Lord Ash, master of the 16v.
Did have a problem where the fuel injectors opened up when the pump primed filling the cylinders with petrol so that was nice. Was an earth missing from the back of the engine. Other than that it runs, need to also sort out relocating the battery, moving the coolant tank abit, and bolt the ecu somewhere. then maybe tidy the intirior.
Anyone got a guide for taking the old fuel pump apart for the new 3 bar one?
I failed my deadline of this morning, but now has to be done before the weekend after as I am going to start work on this.
Attachments
pretty simple job, should be pretty obvious once you start but..
-remove inspection cover
-unplug power connector and pipe clamp, disconnect fuel pipes
-twist out the sender float, can be very tight and tricky but the unit won't come out if you don't take it out and you won't get it out if you go further before getting it off
-undo the million little bolts holding the ring down and don't lose them
-take the fuel sender unit out, there will be twisting and getting it at the right angle involved here
-unclip the base of the unit and take the bag filter off bottom of the pump
-pull off the wires from the spade connectors on the actual pump itself
-remove the fuel pipe from the top of the pump (you will need a small fuel line clip to replace the clip that holds it)
-there is a plastic clip that hold the pump down in place, pull that to release the pump and push pump up out the top
-take your new pump and push it in
-put bag filter on bottom of pump
-connect up the wires
-clip base back on
-peer in your tank and check you havent bent the little tab at the bottom up (the base of the sender unit sits on this tab and if you bend it up you will never get it back in properly and tightened up) - push down if required
-stick unit back in tank
-put ring clamp thingy back on and tighten down
-refit the float cylinder thingy
-refit the pipes and clamp down
-connect it back to the loom
-refit inspection cover
-finally - this is crucial this but - have a cuppa
(thats same for a sei if anyone is reading this thinking about a sei, all except the unit is not offset and so you don't have to remove the float on a sei, it will come out as one complete unit).
OP
OP
That's where I went wrong, I started with a cup of tea. What an idiot.
Cheers, either doing pump when I get home from work, or I'll do cooling.
Cheers, either doing pump when I get home from work, or I'll do cooling.
OP
OP
So pretty much everything is done on it now, and we are just doing final tuning and stuff,
Battery dosn't seem to be charging properly been told it could be the wire between the starter and alternator, so that is a job for tomorrow.
I don't know about anyone else but I found it really boring to drive. I mean yes theres plenty of power and that but I just prefered thrashing the 899 round. Am I broken?
my preference to 8v is well documented but to prefer a 899 over the 1.4 16v (even though there is something to be said for being able to go everywhere at full speed) then yes, you are broken... lost and broken.
my preference to 8v is well documented but to prefer a 899 over the 1.4 16v (even though there is something to be said for being able to go everywhere at full speed) then yes, you are broken... lost and broken.
I've already made my suggestion for a 999cc with a carb
OP
OP
I think I upset a bmw on the way to work, driving in a 50. he was going a fair bit quicker, gets to 70, floored it. I now see the point. But city driving : / Need another 899. And more money.
OP
OP
Anyone on here got an arb, and brackets for sale, or a lower brace, I get money at the end of the month, so send me a pm.
OP
OP
So my speedo cable snapped today, and I am in need of one.
But has anyone ever done a cinq dashboard that is all electric, using the seicento speedo sensor I have heard of? Just abit currious.
But has anyone ever done a cinq dashboard that is all electric, using the seicento speedo sensor I have heard of? Just abit currious.
may have one in the garage,if not im am seeing blu on weekend work something out between yourselves and i dont mind collecting parts inbetween trips for others
Similar threads
- Replies
- 1
- Views
- 423
- Replies
- 5
- Views
- 1K