20151206_145732.jpg

Panda (Classic) Charmanda(er) - mania continued......

Introduction

So having been amused at everyone guessing who have bought Char' I own up, t'was me :nerner:

Obviously having just picked up today I don't really have much to say, but I am a happy bunny. I have many plottings going on in my head as to what to do with it - you'll just have to wait and see what happens in the long term, in the short term gonna pretty much leave it and enjoy panda-life for a bit.

Anyway, everyone like pics over waffling... ;)

Got a lift from Simon in exchange for a full tank of fuel (should have half left still i think lol).
20151206_101121.jpg

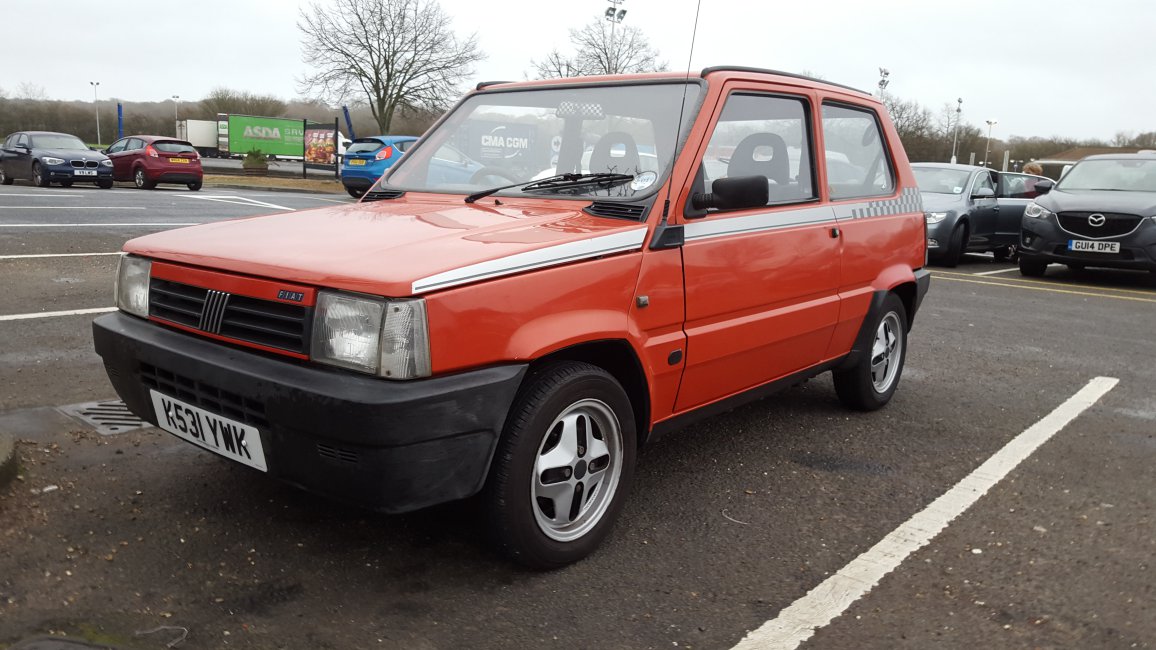
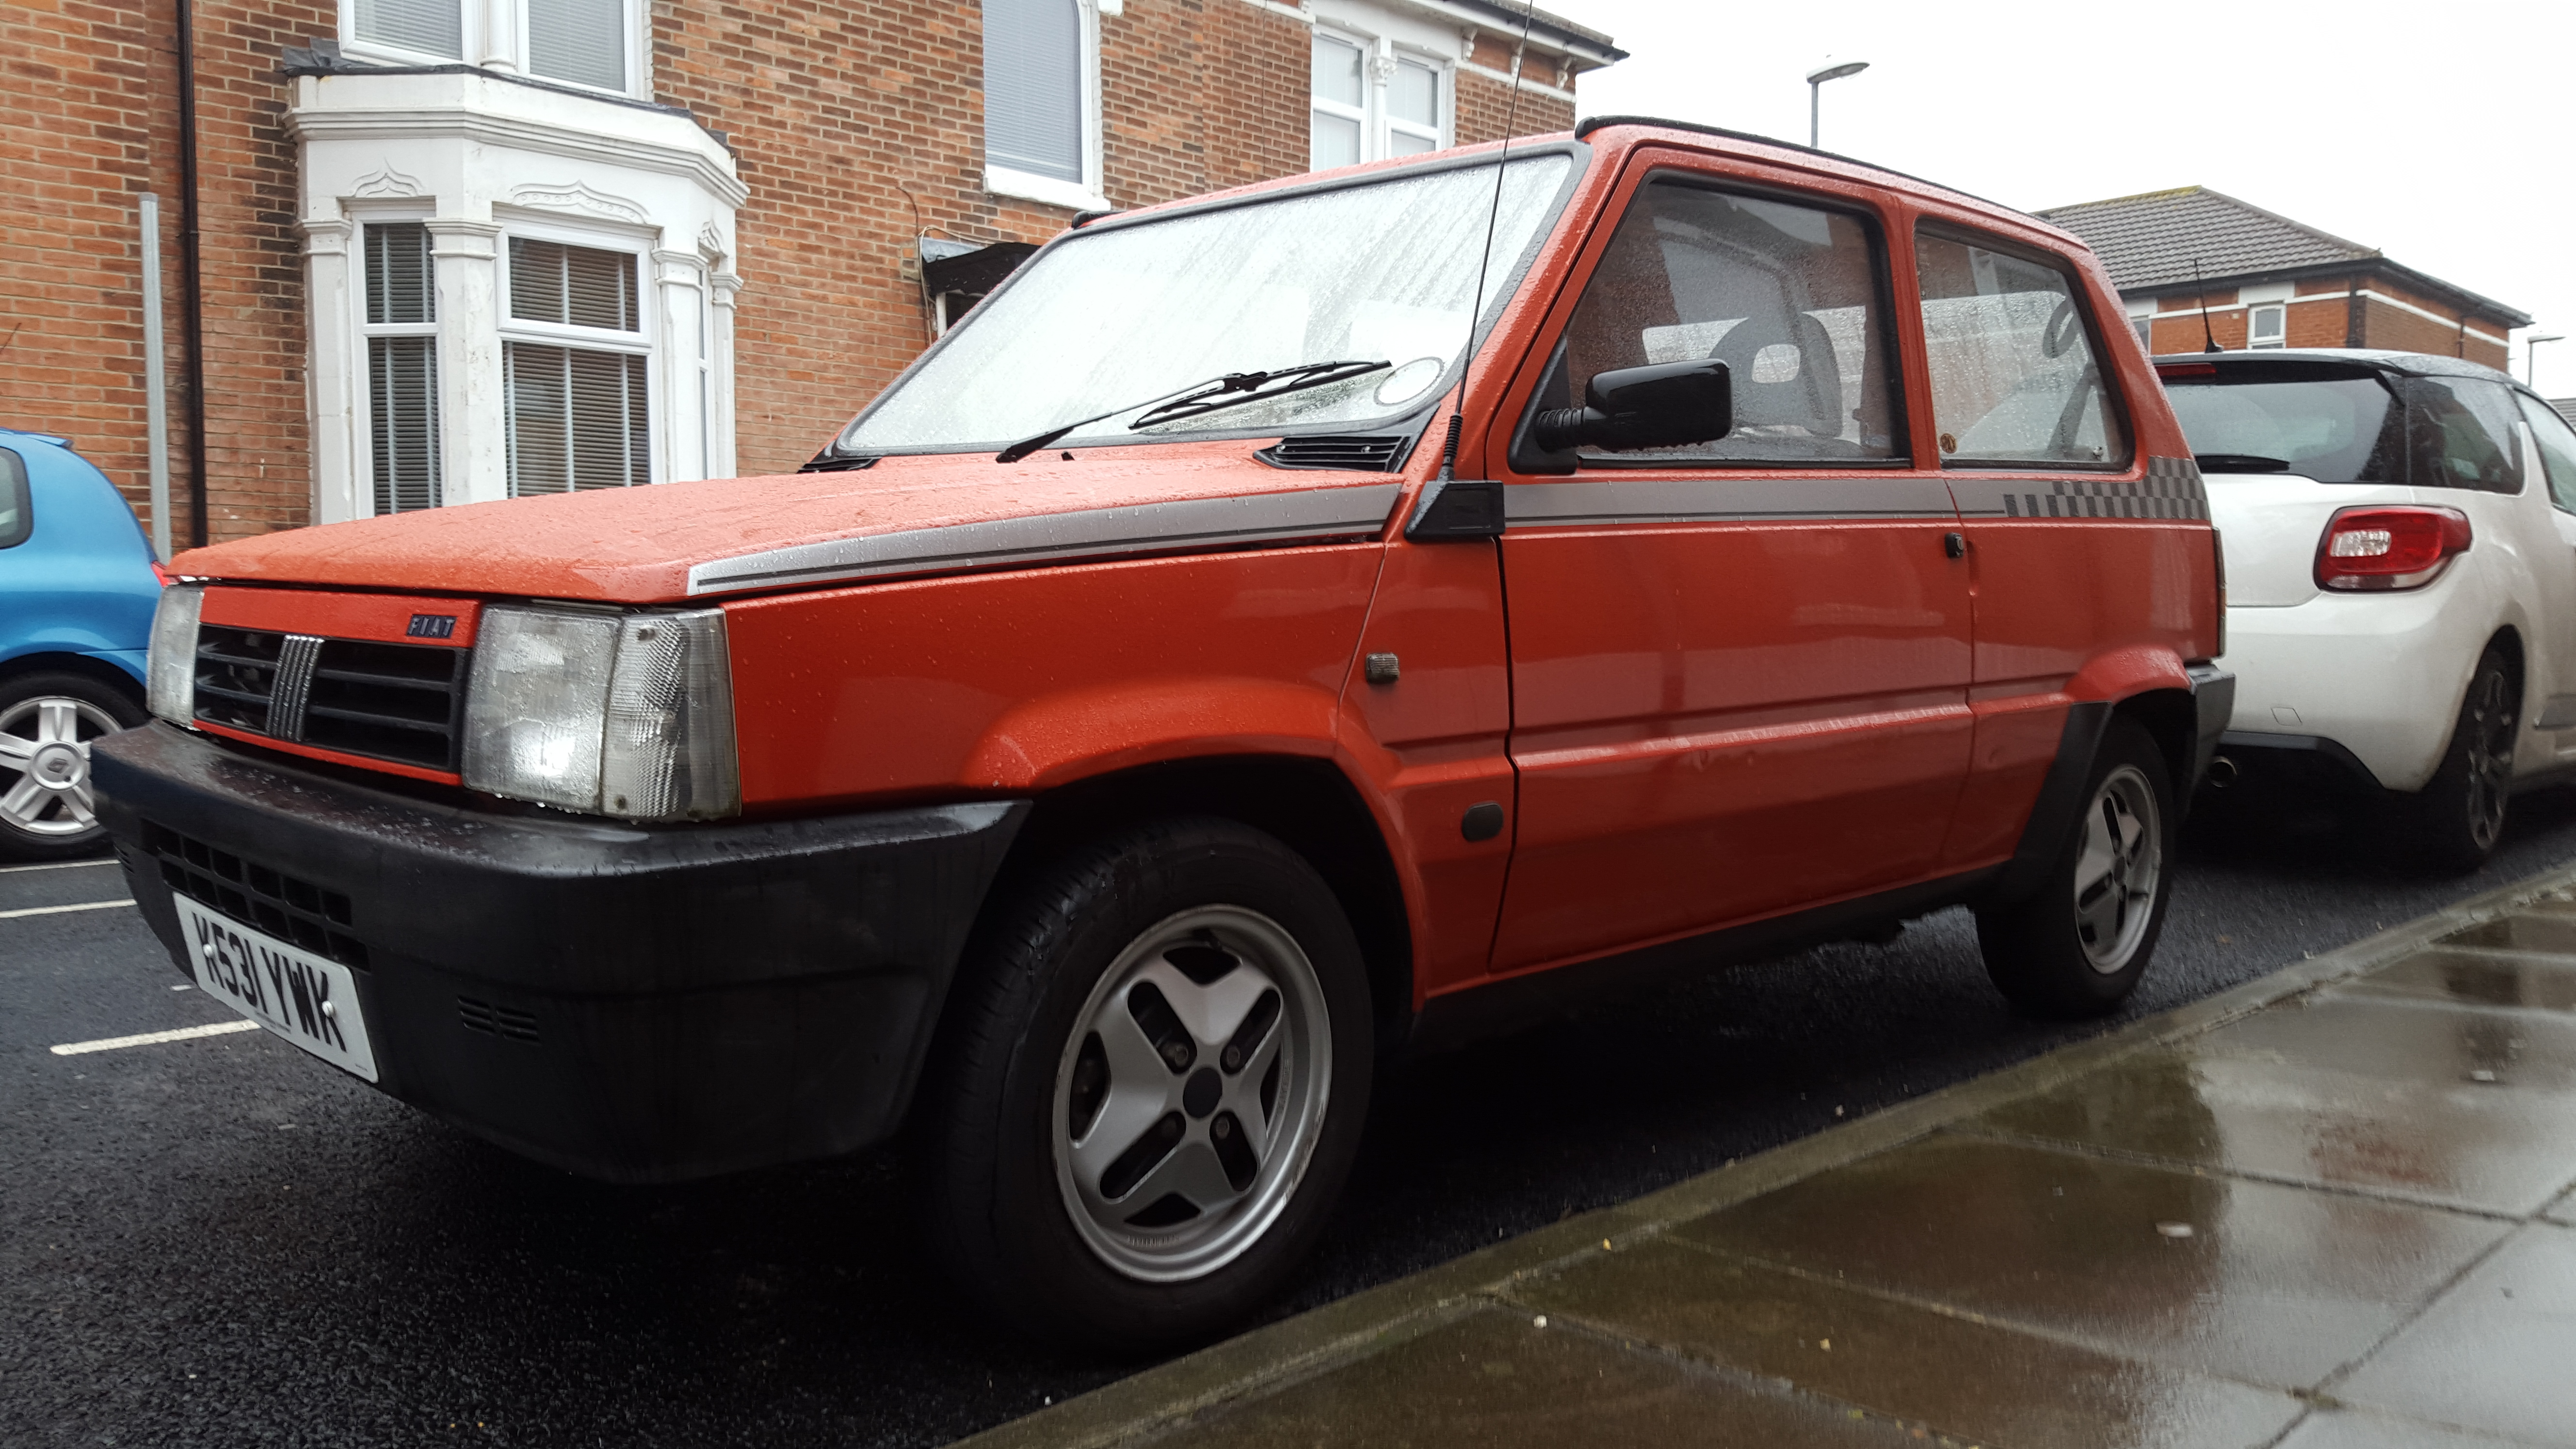
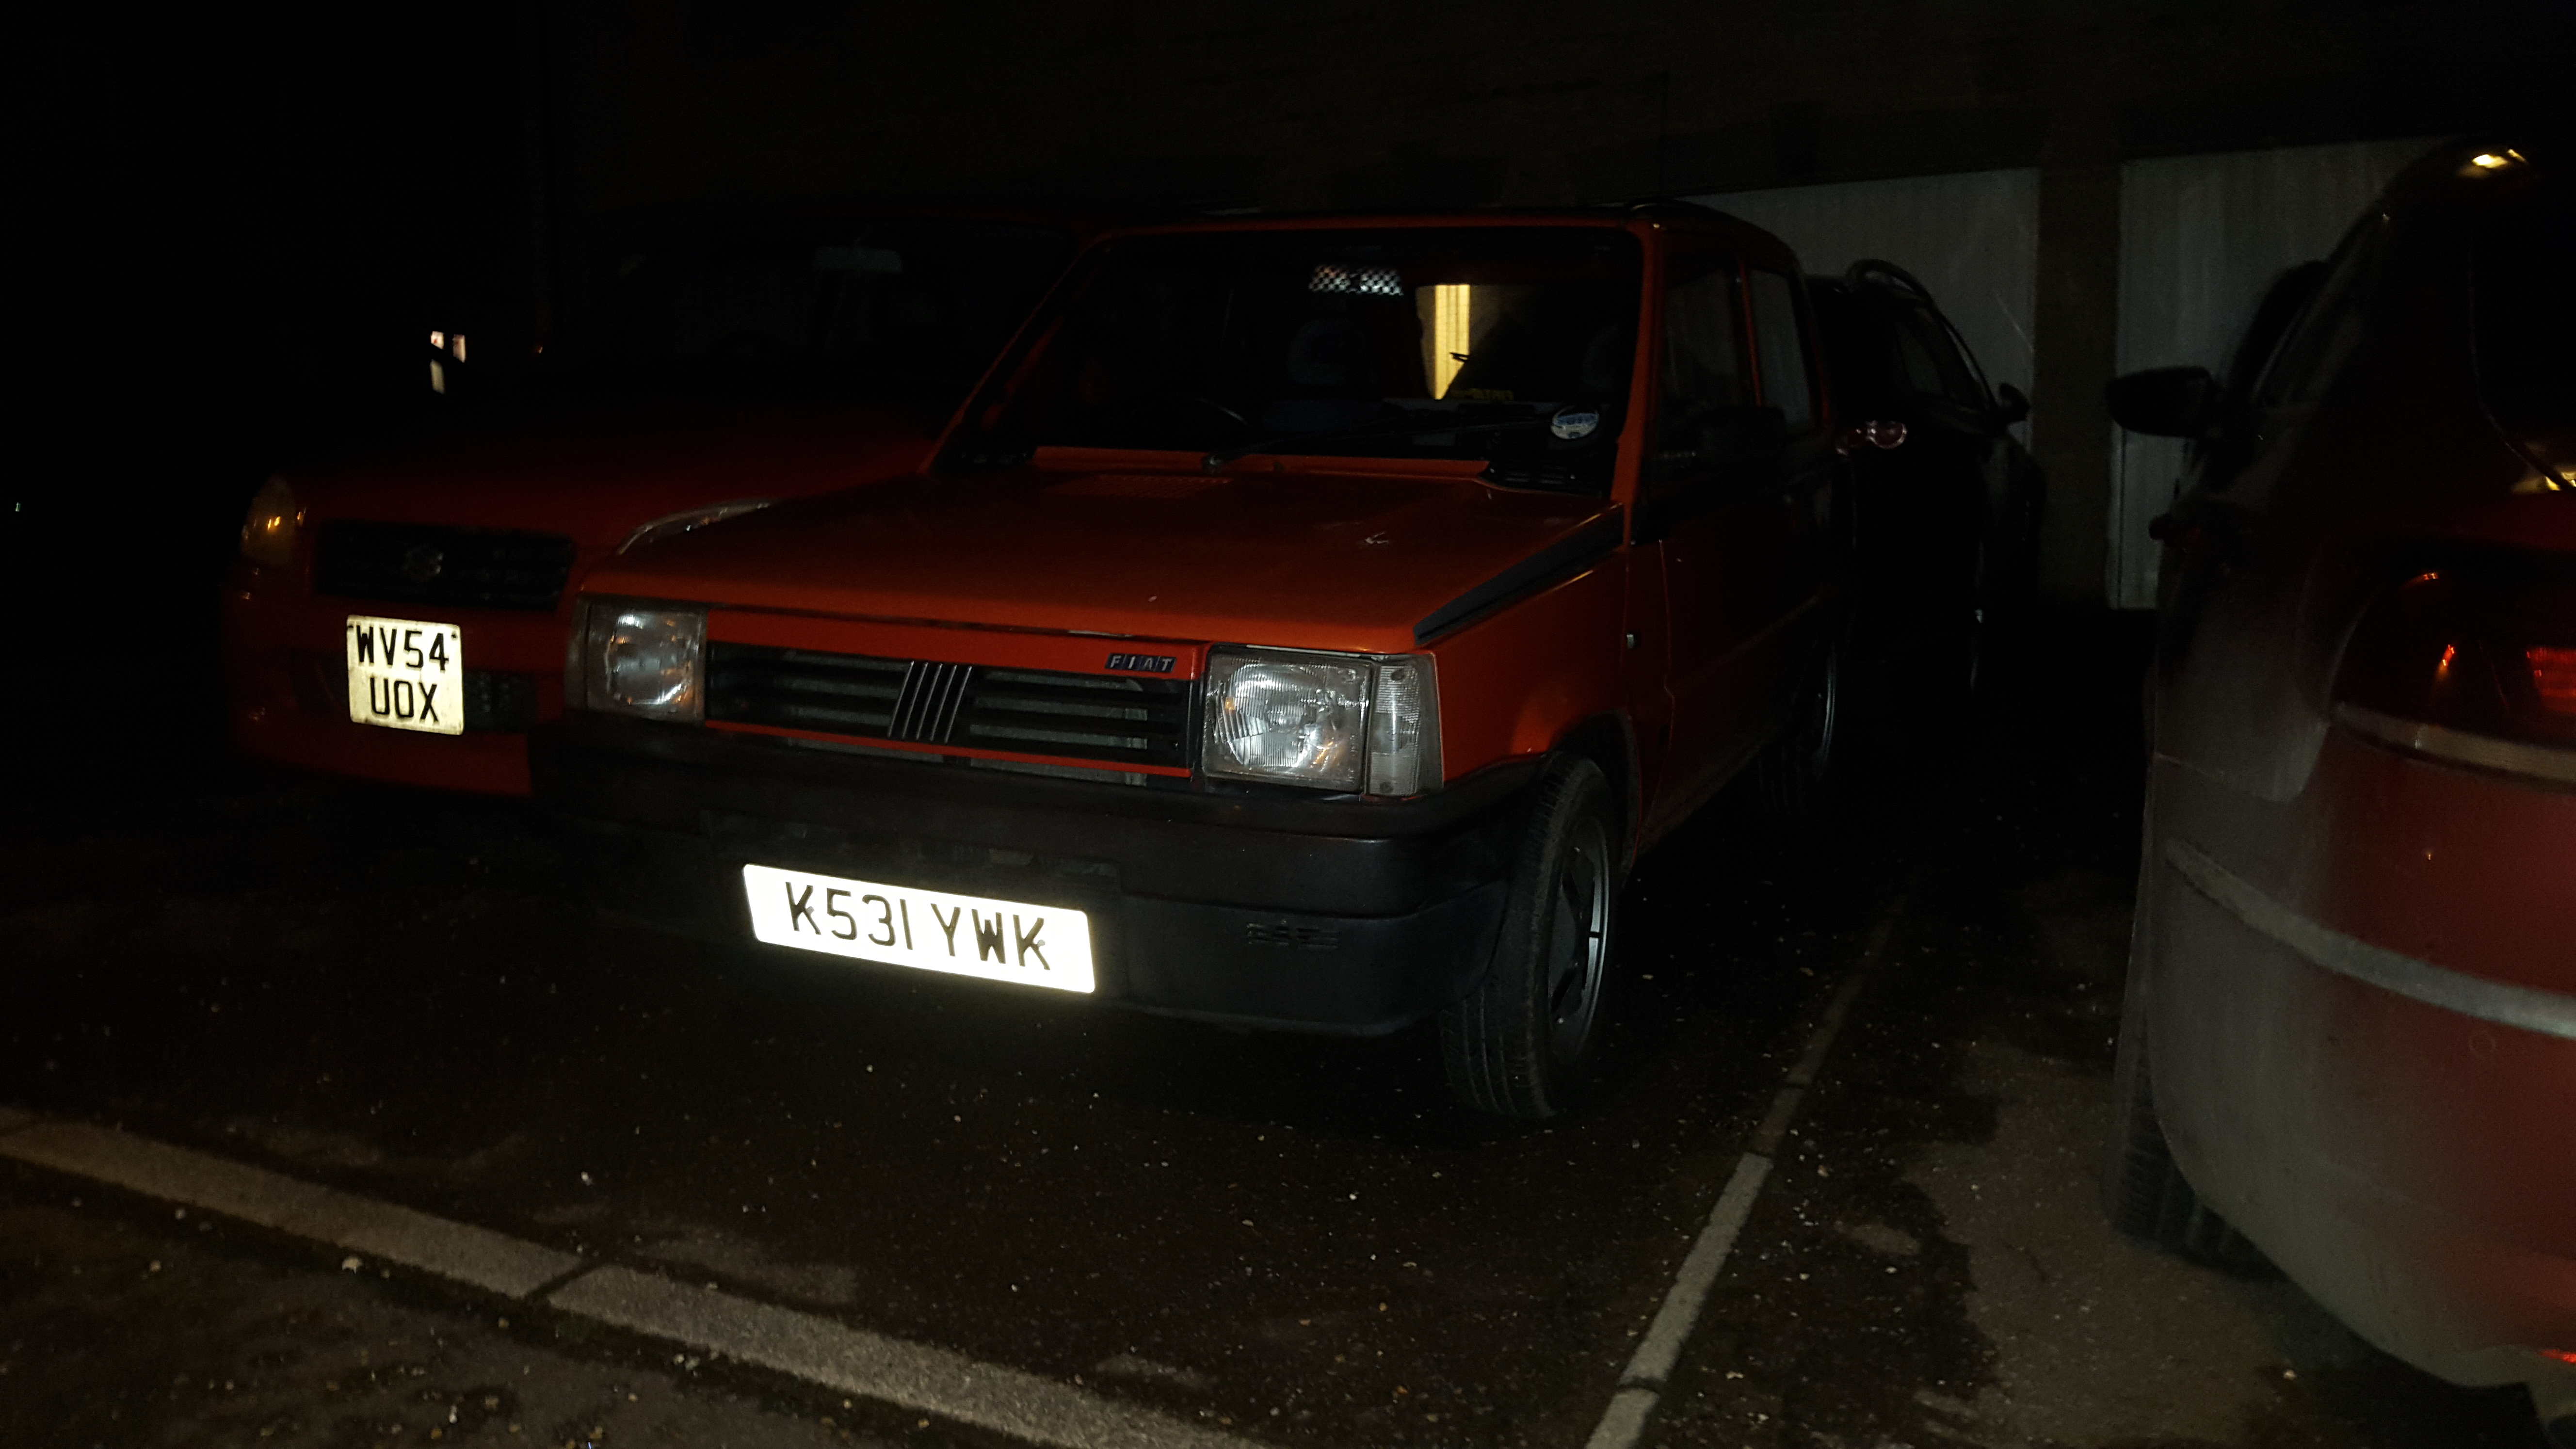
Few hours and a pitstop to eat a Subway for brekkie and then.... A wild Charmander appeared :D
20151206_131704.jpg

20151206_125614.jpg

20151206_125630.jpg


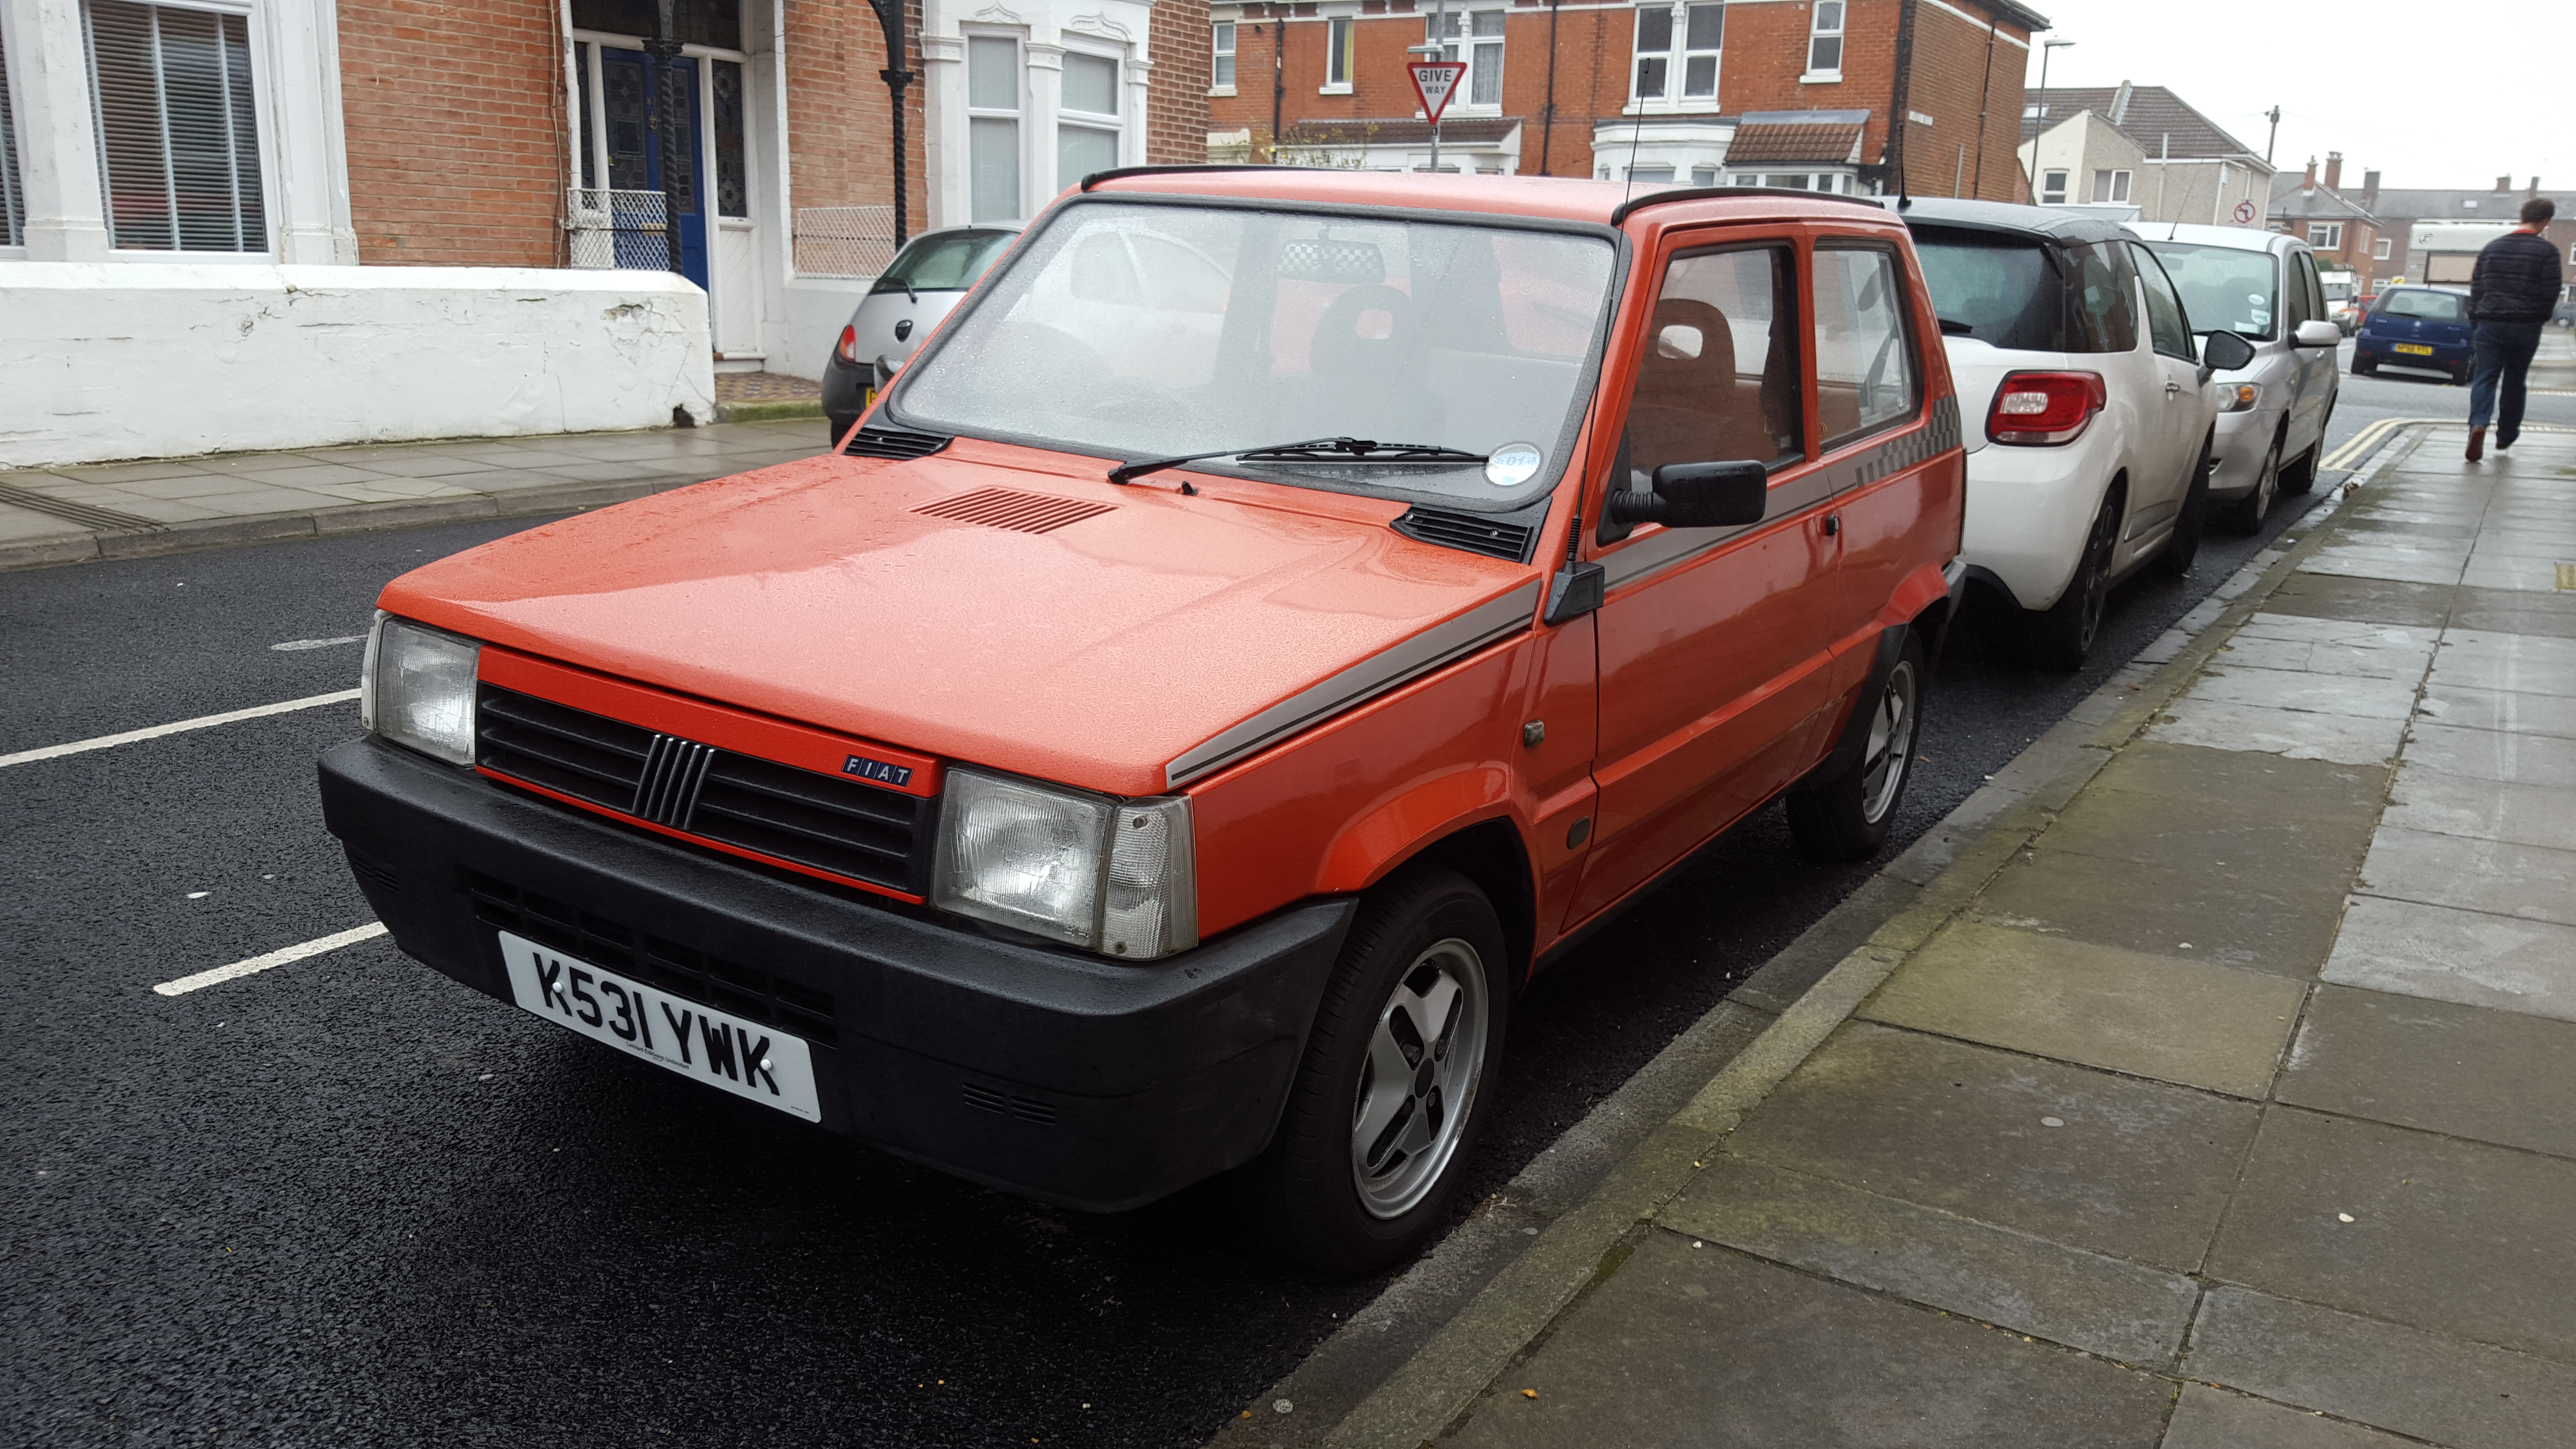
Was not the best weather on the drive back but Char' ran faultlessly
12316457_10153087337516566_5347892337586702052_n.jpg

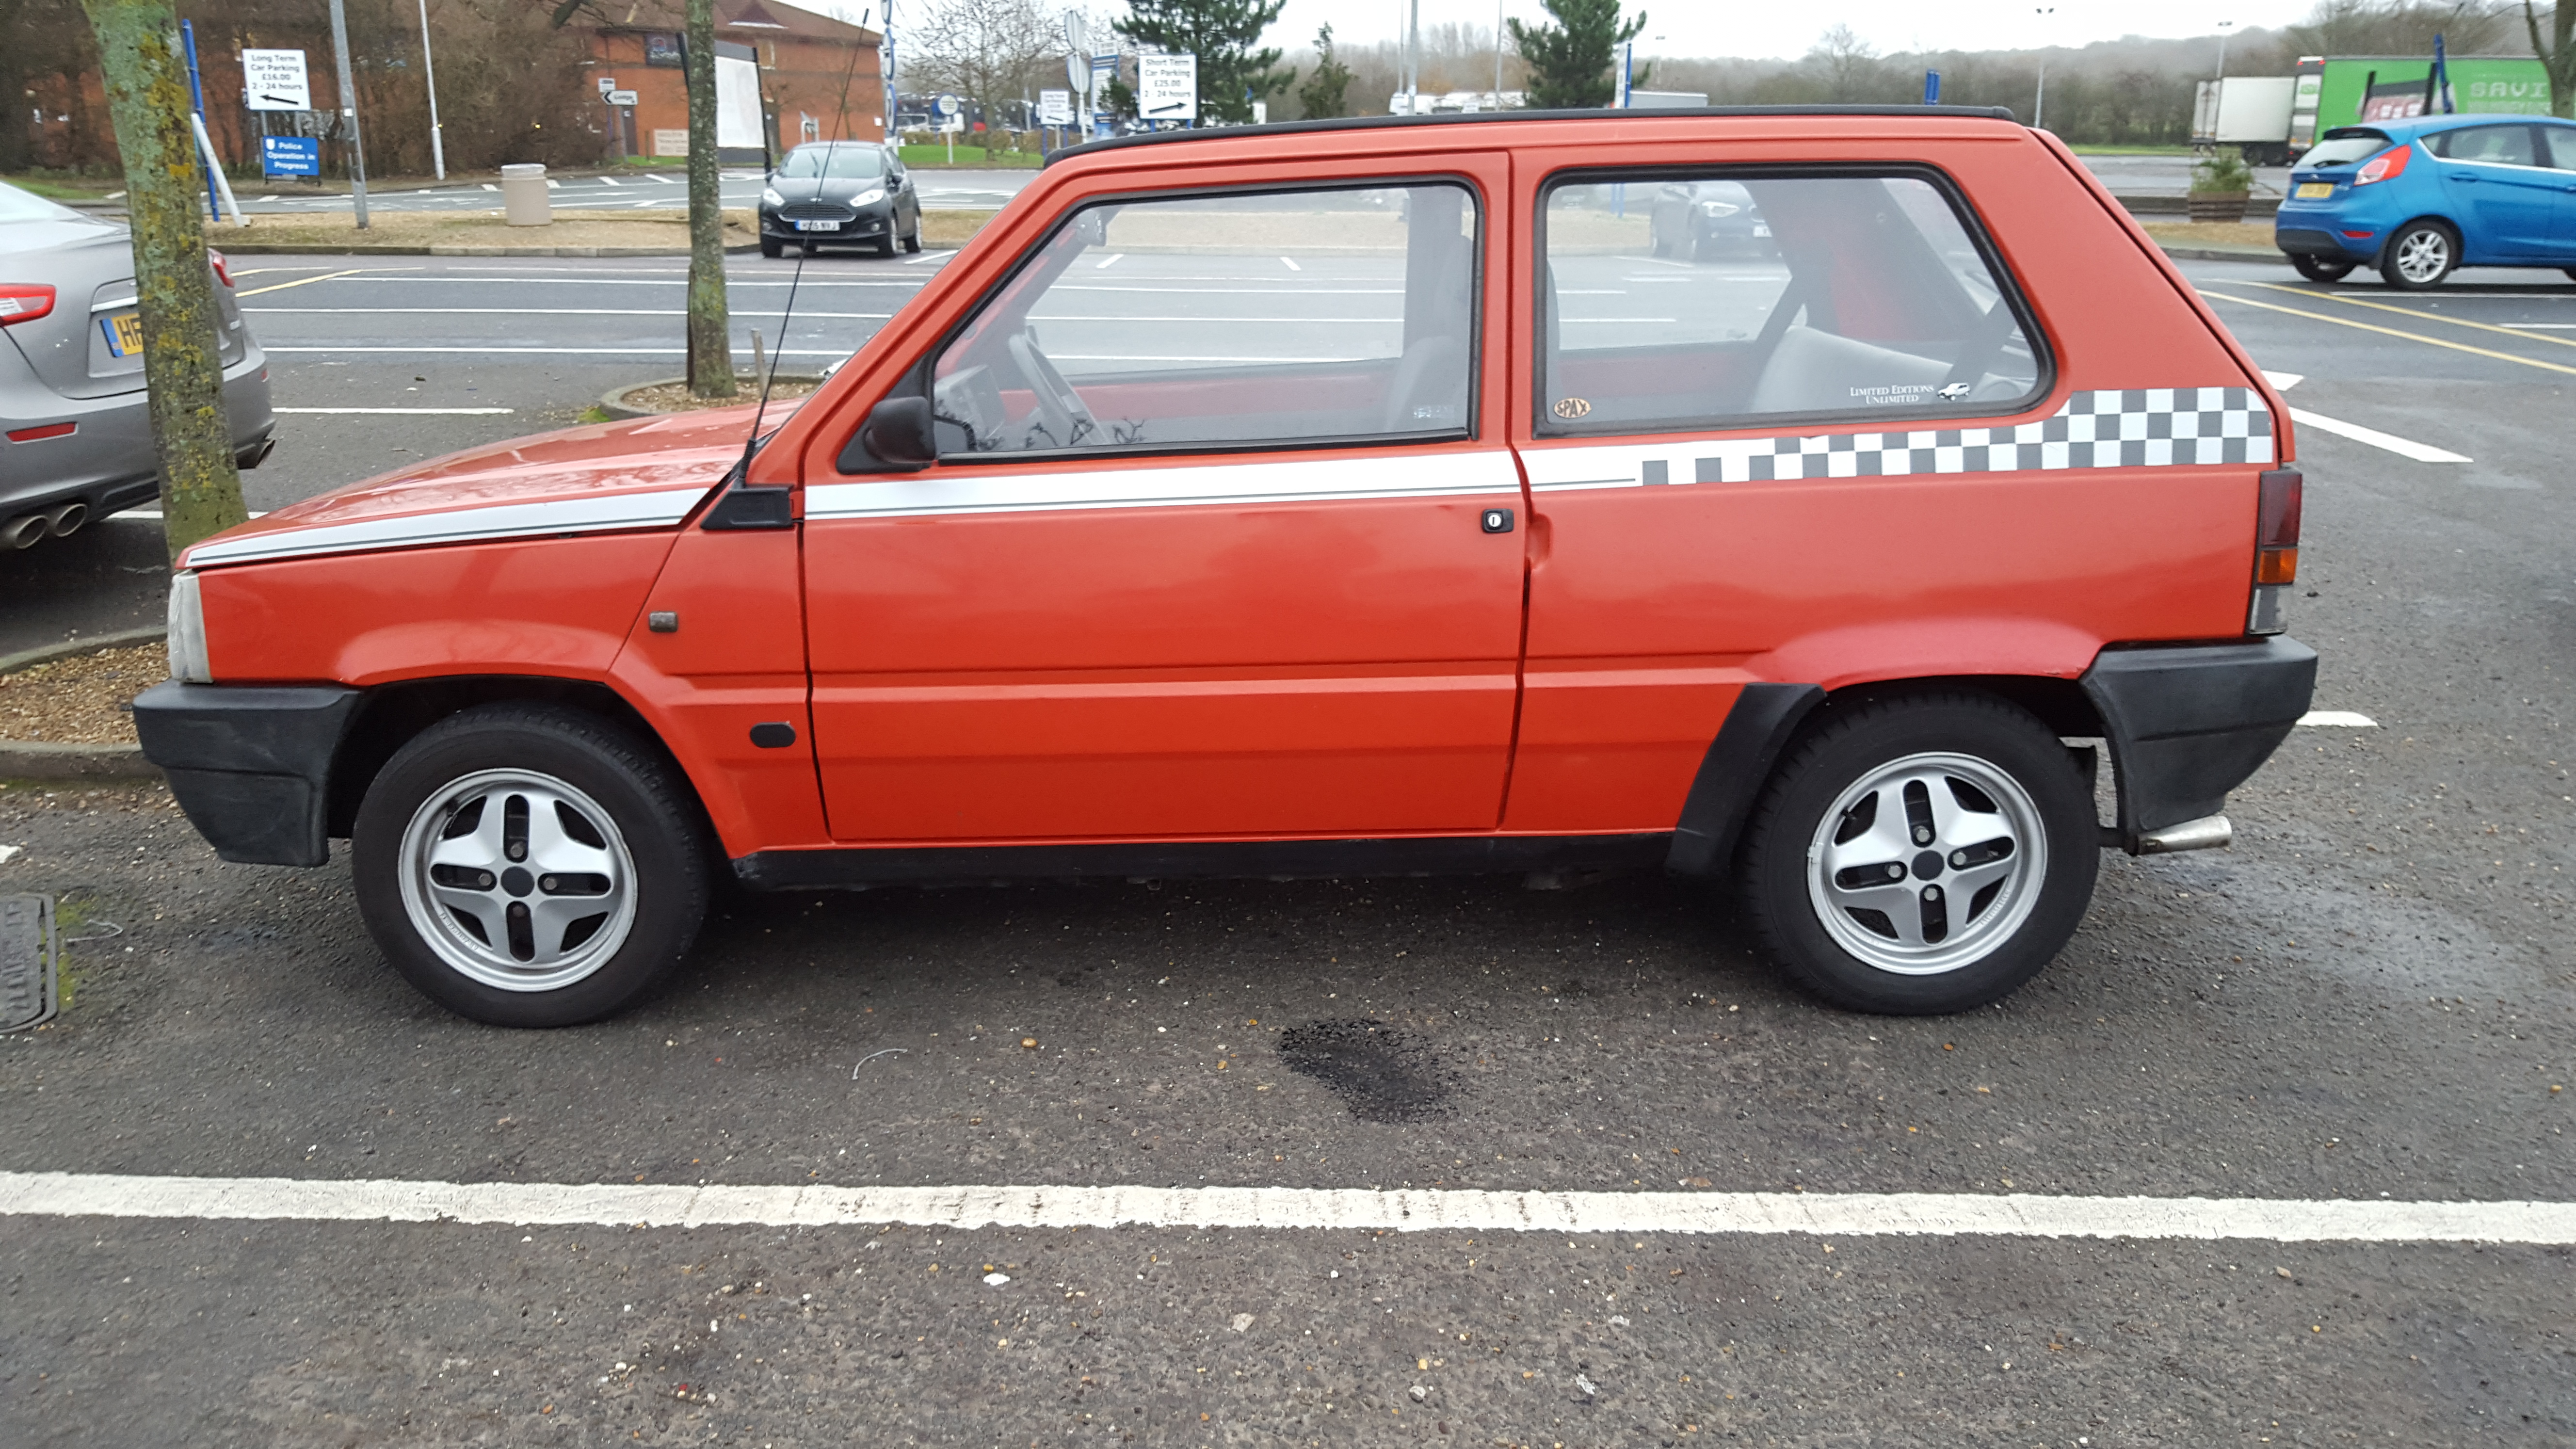
Stopped about halfway home for quick pitstop and to get a pic to share on facebook for all the people guessing what I had bought before it got too dark.
20151206_145721.jpg

20151206_145732.jpg


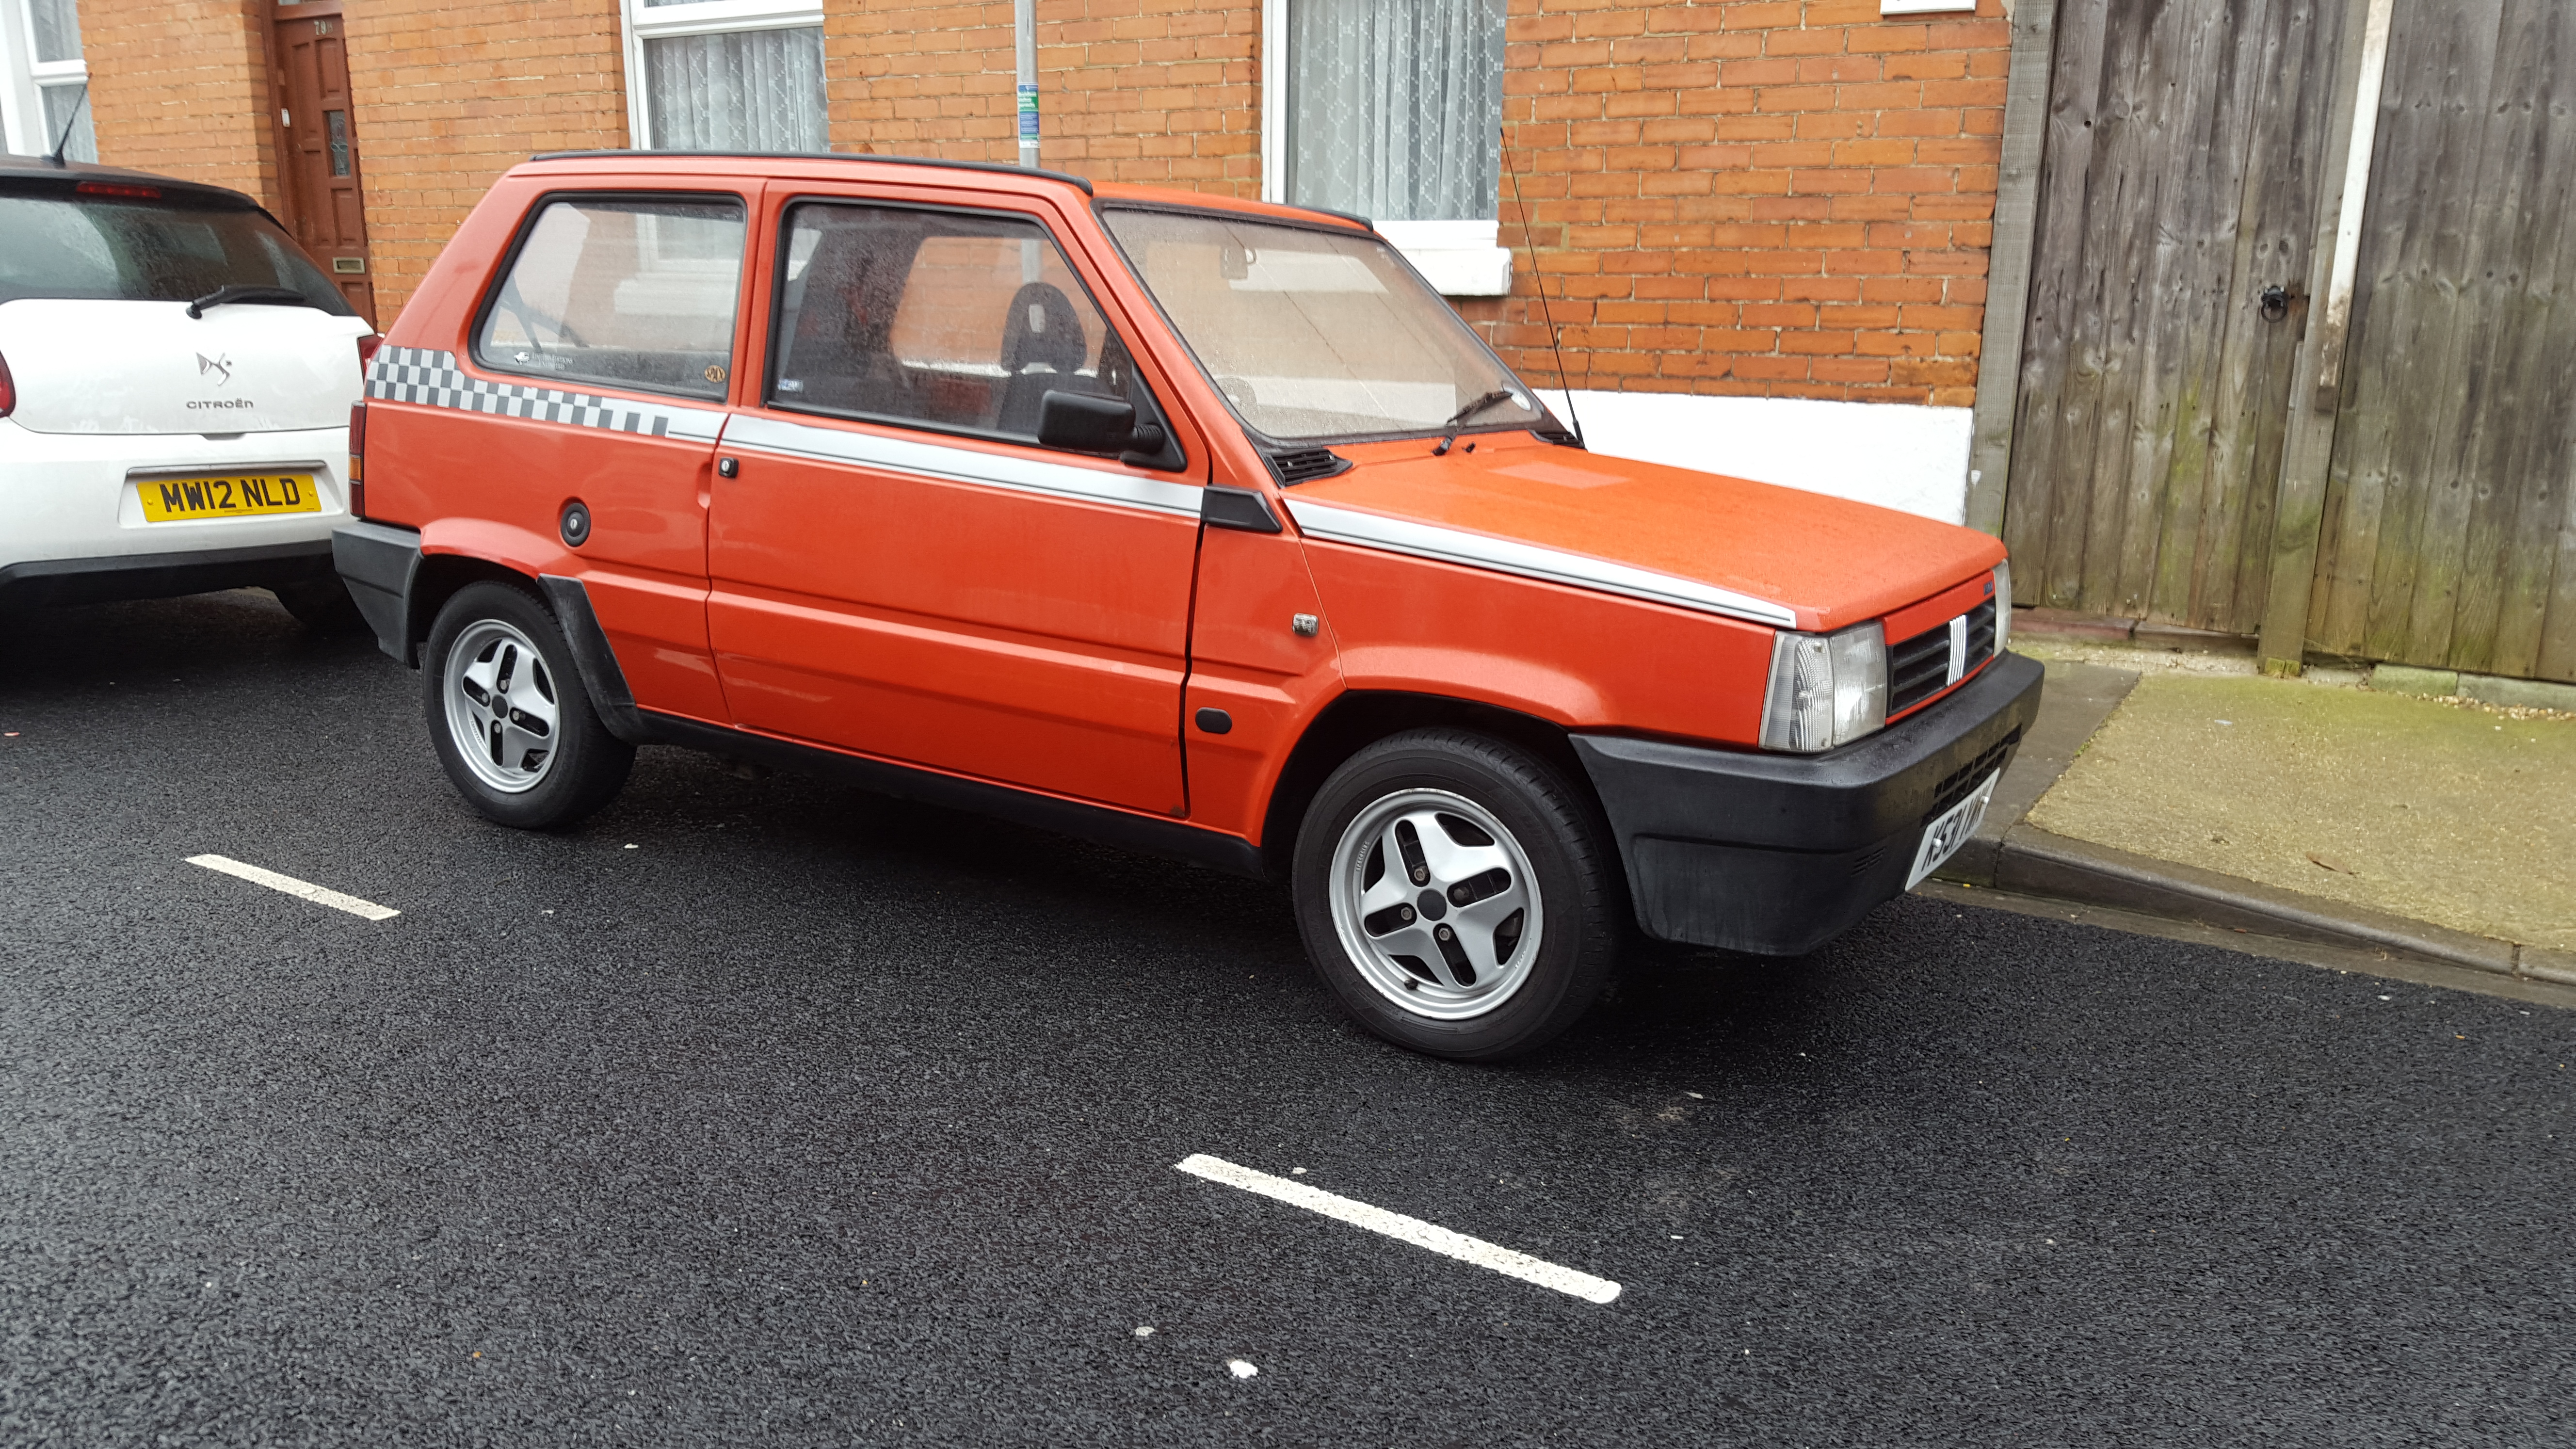
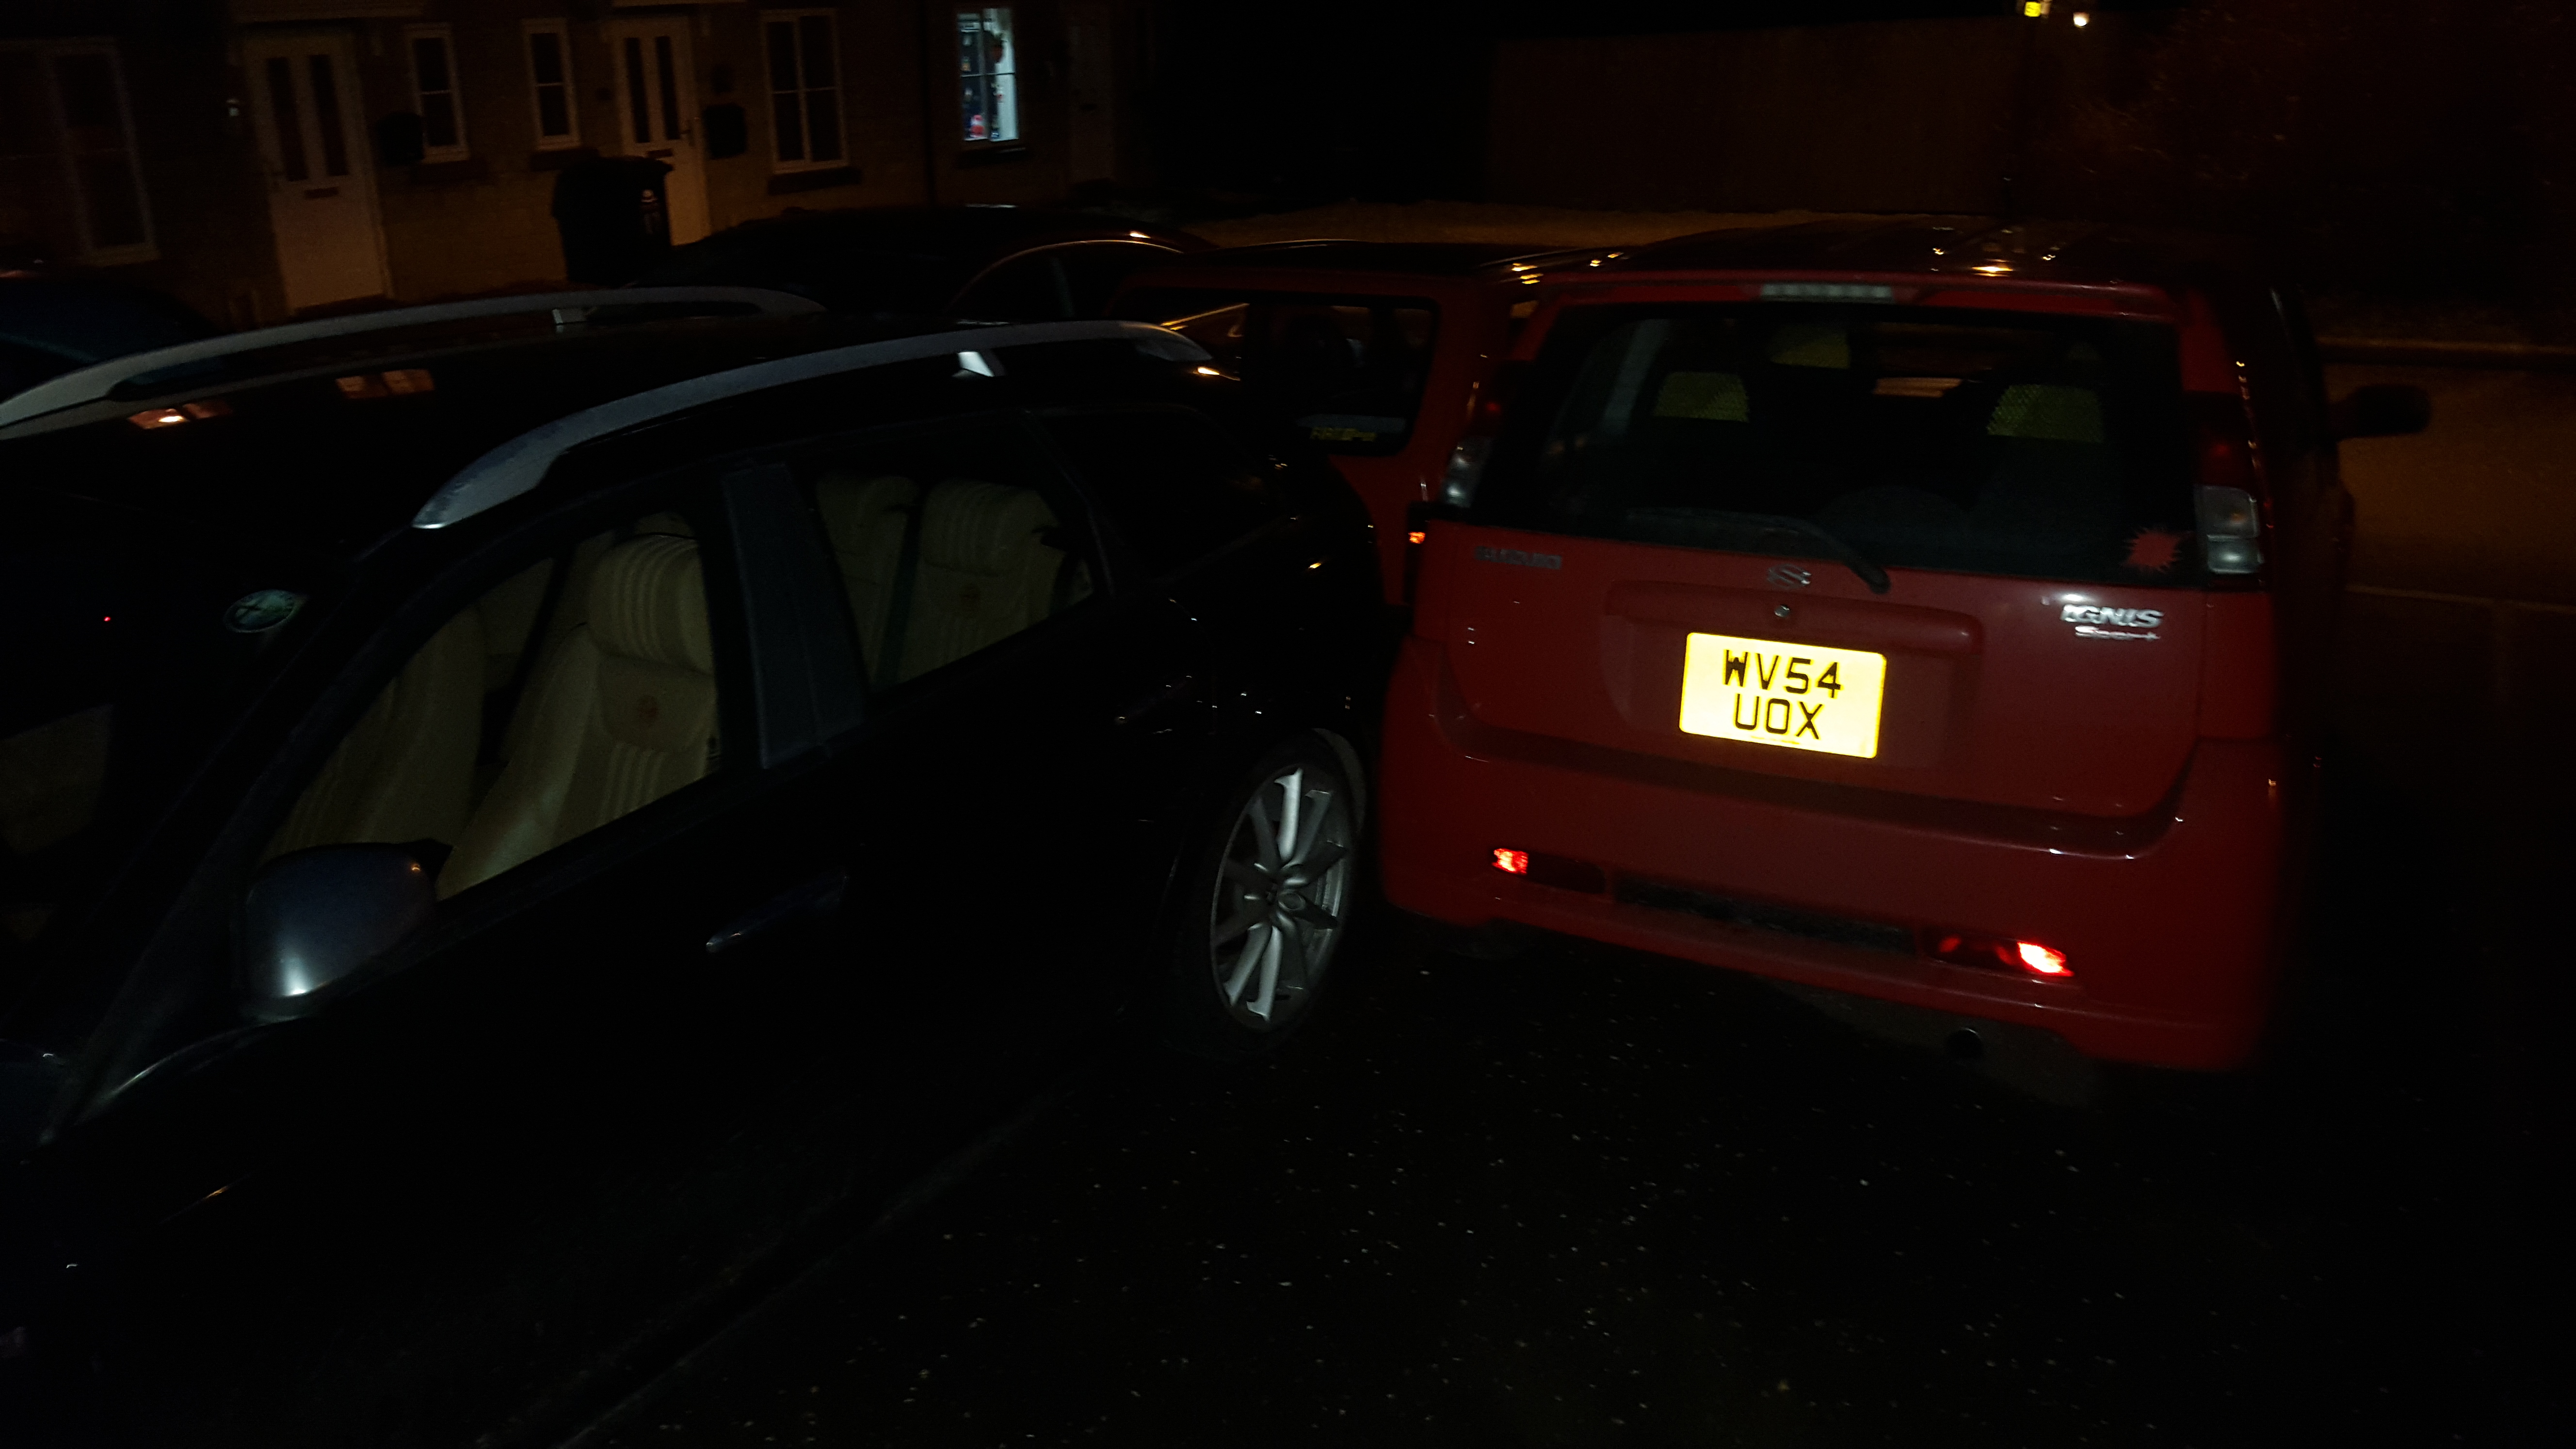
And finally made it home - was mildly amusing getting out the panda to move my alfa forward a touch and practically stamping a hole through the floor cause its such a light pedal compared to the panda.... I hate to think what it would be like going from panda to suzuki as that is way way way lighter pedals than even the alfa.
20151206_164534.jpg

20151206_164547.jpg

20151206_164616.jpg


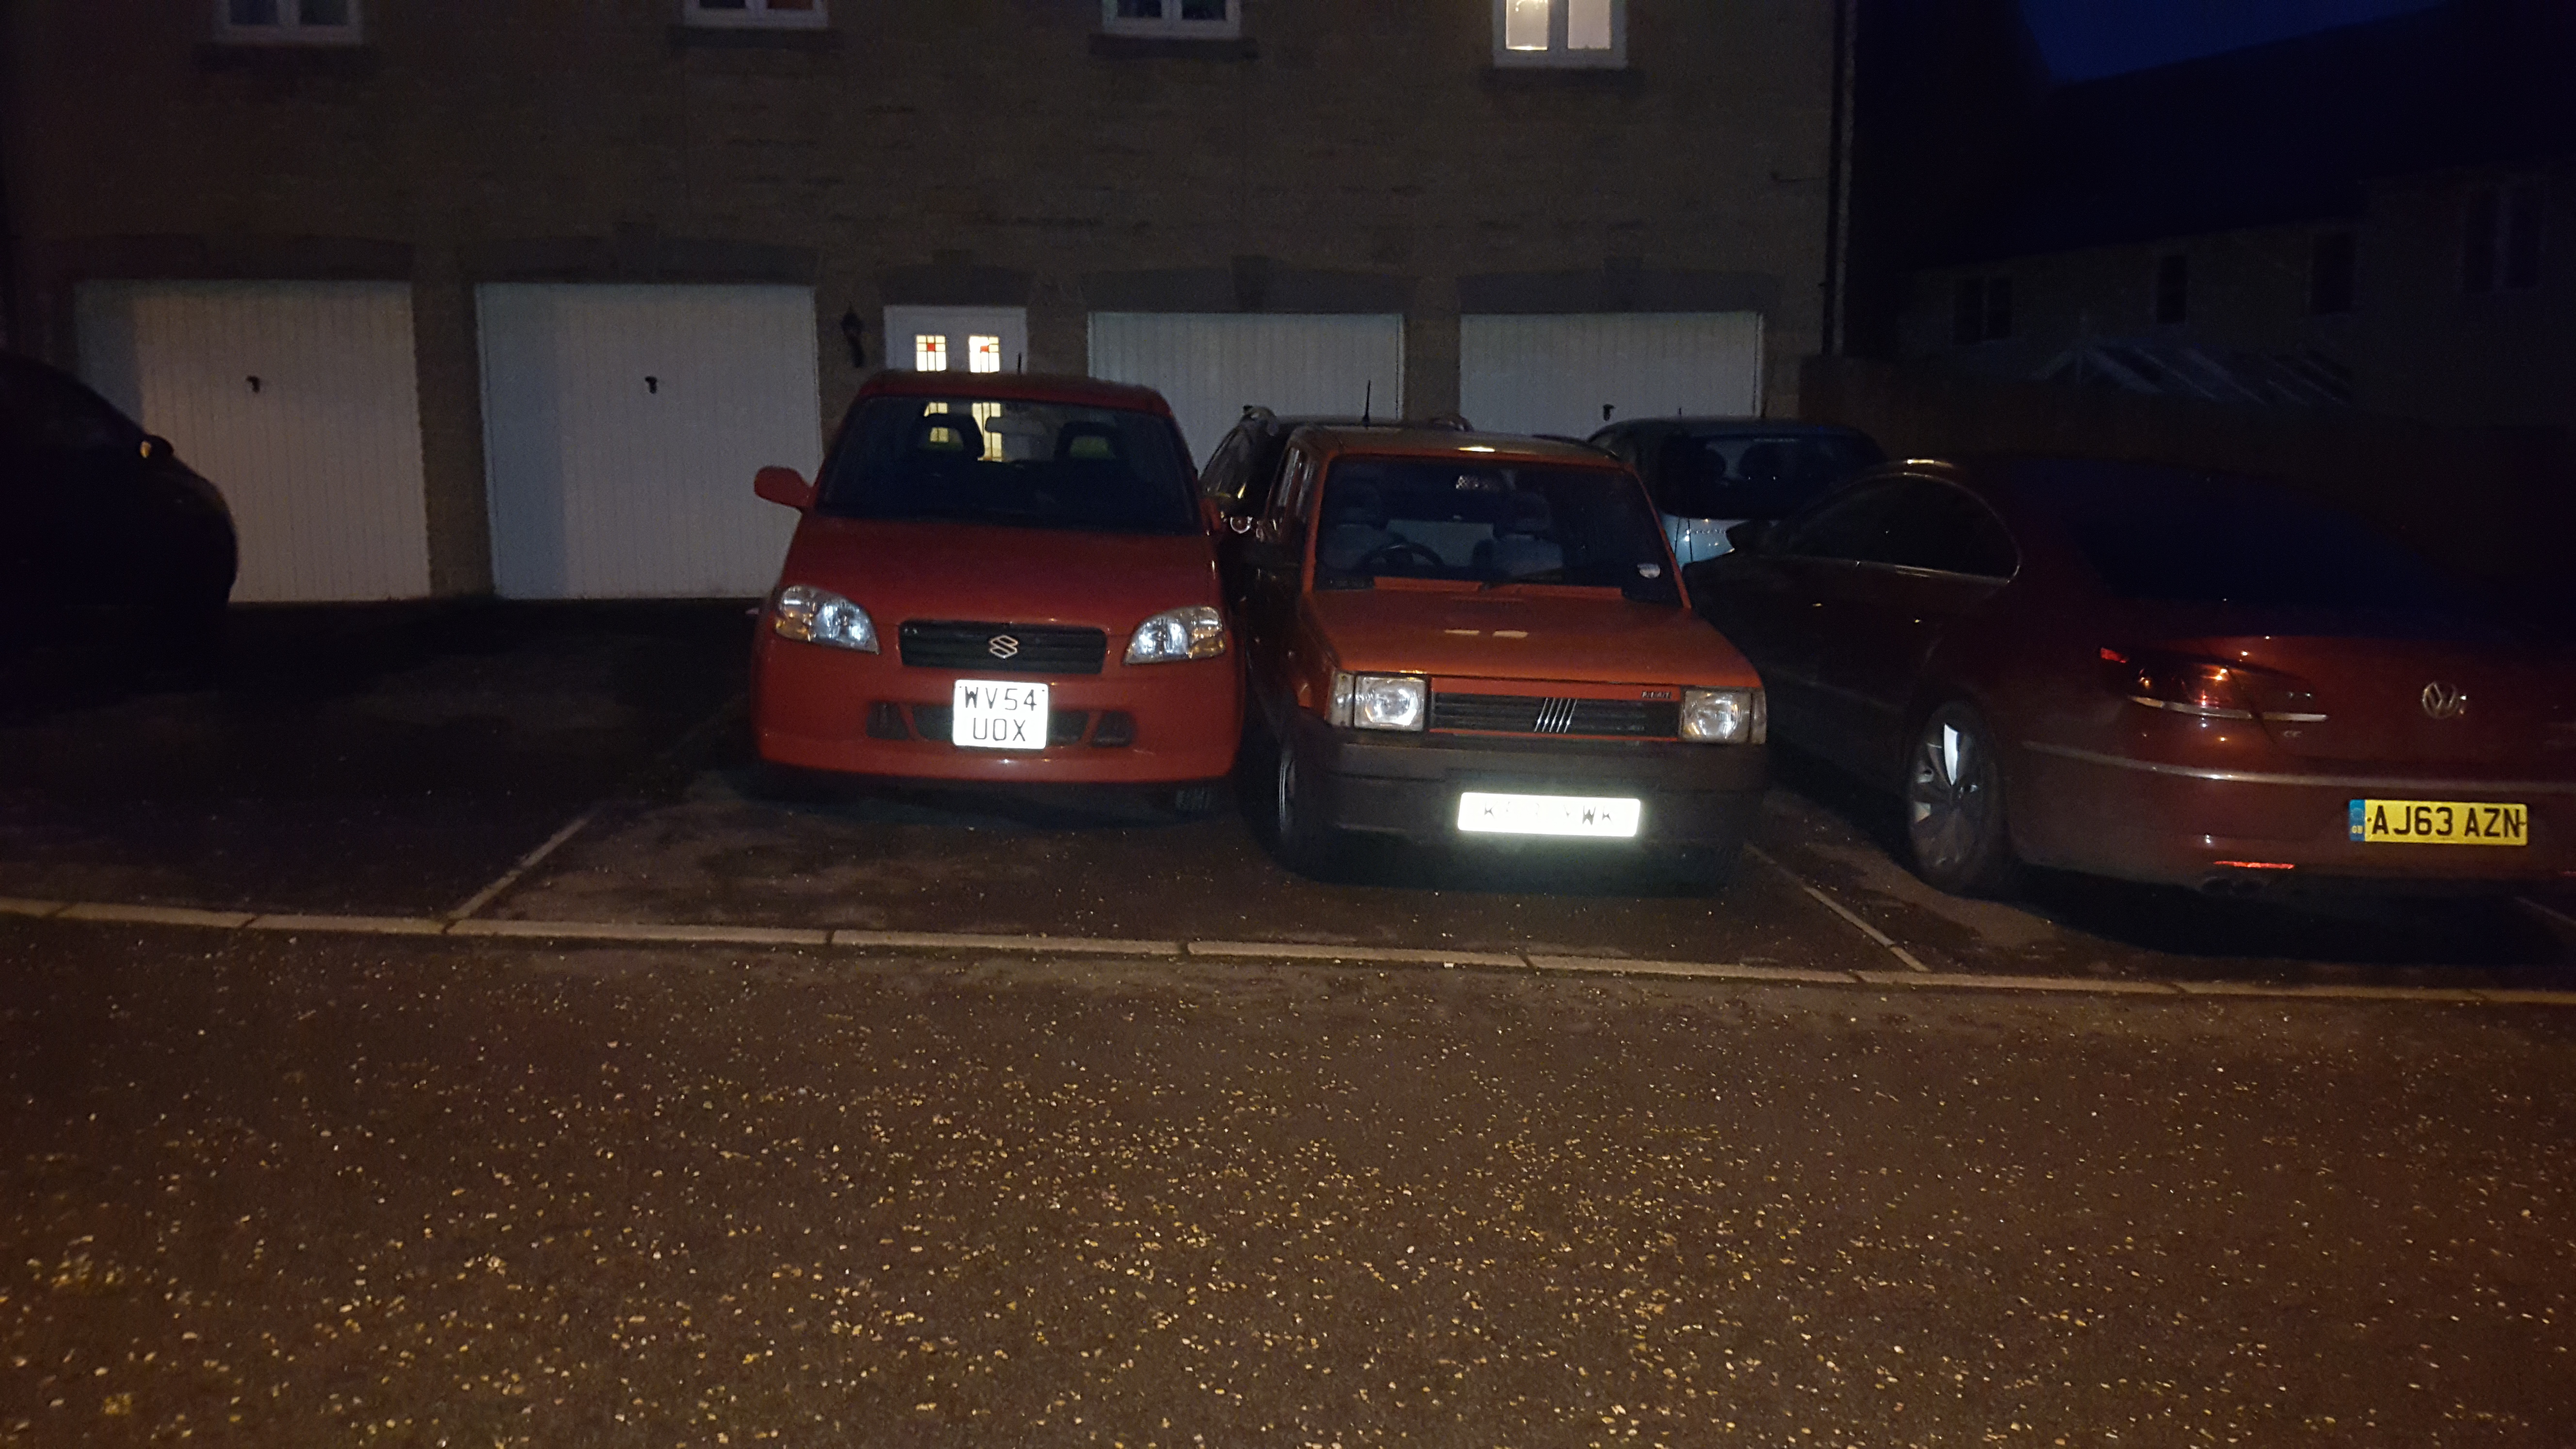
All 3 fit on the drive, albeit quite close together.. But the garage is empty and Char' will live in there when not being driven - just couldn't be bothered to move all the cars around after being in the car all day.

edit: Just for info in future, links to previous owners
last owner: Didge3 - thread
owner before last: VmanC - thread
And ta da, managed it, one rebuilt driveshaft (y) new spider bearing will go on just before i pop the shaft back in the box, no point taking it out its nice sealed wrapper until then. ;)
View attachment 168084

I used the old bearing without the very inner part, when i removed the bearing it came off like this and the very inner part stayed on the shaft - which made it interesting to get off but bit of heat and it came off easy enough. But as such the old bearing just slipped over the shaft easy, not sure why i didn't think of that yesterday. Then it was a question of how to hit it, i found a ball joint seperator fork fit nicely either side of the shaft and enabled me to whack it, turn it, whack it etc until it was down, actually went a bit far as i was going on where the old one was, stopped a little shy and then measured and its just over 15cm down the shaft rather than 14.3 as per haynes, near enough. Popped new out CV on

Old bearing is defo fubar now haha, but i think i will hang onto it for the other side as it worked really well. I managed without a vice and everything, just with end on a block of wood and holding my strange drift arrangement in one hand and a hammer in the other.

heres how the old bearing faired
View attachment 168085

Now label the old bearing and hang it on the wall for next time !! :)
 
I actually worked out that you could get a 1 1/4" OD bit of steel pipe with 10swg walls (thats 31.75mm OD and 3.25mm walls in new money for the younger ones reading this) and that would work without modification so if anyone is doing this and have a metal suppliers nearby you might even be able to just get an offcut for few quid you only need a bit like 20cm long afterall.
 
Good stuff. Wideband was one of the best things I ever fit to my old sei turbo..

I'm hoping to get Char back together this weekend. Got a track rod end now, another seller selling a febi but sending a different brand. I'm to fed up to bother sending it back, they sent a lemforder one and their parts are generally top quality so just gonna go with it. Stripped down the other driveshaft this eve and cleaned it, primered it and painted it. Will get some clear on it to protect it 2moro. Want to clean up and paint the stabiliser bars too but it's getting there now (y)
 
Well that's the other driveshaft and both stabiliser bars cleaned. Then primered, 2 coats of paint and 2 heavy coats of clear. So now 2moro I need to rebuild the shaft and then just bolt everything back together.

Passenger side is all together already, except the stabiliser obviously, just need to tighten everything down once it's back on its wheels.

Getting mildly excited about driving him again... Oooo and the new timing belt cover arrived.
 

Attachments

  • 1464373035949.jpg
    1464373035949.jpg
    43.8 KB · Views: 44
  • 1464373046759.jpg
    1464373046759.jpg
    63.5 KB · Views: 44
  • 1464373059259.jpg
    1464373059259.jpg
    73.9 KB · Views: 38
Guess who I have just been driving :D :woot:

omg, I cannot begin to explain how much nicer it is to drive now. Its made such a huge difference to how it drives. And yes, the click click click noise that initiated this entire escapade has gone. And I even managed to get it to go straight even under acceleration and braking. I will of course get the tracking done in due course, wanna fit the new steering wheel first though incase it ends up being slightly off one way or the other on the splines as that will be too annoying! But need a new horn push first as the existing one doesn't fit and nor am I that keen on it..

I still haven't done the gear selector rebuild yet but wow its amazing how much difference fresh gearbox oil has made, its so silky smooth and can even slam between gears and not crunch it - before I had to be pretty gentle with changes to avoid crunching so thats a result too.

Its been a bit of a mad day trying to get it all done so no pictures I'm afraid...

And there is some bad news, not that bad mind.. After sitting that long the hard starting returned :cry: So I went through all the ignition side to check I hadn't disturbed anything and all was well. So i decided to pull the fuel line of the carb, stuck it in a spray can lid and cranked the engine for 10 seconds ish, look in the cap and not even a drop or dribble of fuel.... So suck some fuel out manually into the cap and turned car over and slowly poured fuel in the carb, low & behold it fired straight up. So...... My new thinking on this is when you leave the car long enough that all the fuel in the bowl evaporates and its bone dry it won't start - once it starts the vacuum of the engine helps a weak pump deliver enough fuel but from cold with no fuel at all in the carb the pump just cannot pump enough fuel. And yes I tried taking the fuel cap of and that made no difference so its not that the tank breather is blocked. It kinda bubble when you suck on the pipe so perhaps the diaphragm of the regulator is failing and its sending most of the fuel back to the take and the pump side of it works. Anyhow, I think plan of action is to get a new pump/reg unit next, and also a new vacuum advance as I messed with that while trying to start it and you can suck/blow on that and there is no resistance there which i presume means the diaphragm in there is fubar, once running i held the throttle open and pulled the pipe off and had zero effect so pretty sure its buggered.
 
Gearbox oil was all replaced at beginning of 2015, never thought the gear change was that bad :confused: I mean the bushes on the rods are crap but the actual changing of gears always seemed fine to me providing you don't rush 3rd too much :p

Countless troubles with starting after periods of being sat, I had the carb cleaned, most of the ignition system replaced in 2014 and still the occasional issue so glad you may have found the culprit :idea:
 
yeah the gear change wasn't bad as such, just that it feels better now. I find 4th to be the worst, doesn't crunch or anything just doesn't slip in as easy as the other gears but really i think its just the play in the rod bushes like you say. Will get the changed soon, just so happy to be driving it again though (y) But everything in general just feel tighter and smoother, and somehow the steering seems lighter although that might just be me imagining it.

Popped to the shop this eve and a guy came out running out the takeaway across the road before I drove off to compliment the car, which feels good after all the recent effort. :)
 
I got some from ricambio, not the cheapest but they do a set that includes both box end and gear lever end. Then I got a new boot for under the lever from Vern.

You can get just the box end bushes for just a few quid on ebay though, same part as quite a few other fiat's. Will get you some links when at the computer rather than my phone ?
 
Right, this is what i bought for ease as its the whole shebang..
http://www.ricambio.co.uk/69-fiat/6...r-linkage-bush-repair-kit--classic-fiat-panda

If you just want to do the actual bushes seach ebay for '4259848' - there is 2 of them at box end, you might just try changing them first and seeing if its ok. There is one at the other end of one of the shafts inside the boot though if you change that you may as well go the whole hog and get the other parts in the kit from ricambio as you have to take the boot off to get at it. And then if you are like me you will have to change the boot as well
 
So new Magneti Marelli vacuum advance unit... MMmmmm, its all shiny
20160601_122650.jpg

I think it needs to stay all shiny.... Where's my? Oh yes, there it is...
20160601_122951.jpg

Little bit of masking
20160601_122914.jpg
20160601_122921.jpg

Now liberally sprayed and drying, fit that later or 2moro. I decided that i would change the fuel line and that did arrive. I went for some cloth braided stuff, think it suits a retro carb'd engine, and also to go with that some little rubber hose end thingys to keep it all looking uber neat and tidy and some proper stainless fuel line clips to replace the crappy old jubliees.
20160601_130230.jpg

Just need the fuel pump to turn up now...

One another note.... These silly pedal covers have been annoying me from day 1.
20160601_123326.jpg

Ah, thats much better (y)
20160601_130012.jpg
 
Oh and its rained, so obligatory car looks ace when wet pictures :eek:

20160601_091223.jpg

20160601_091245.jpg

Yes, its a little lower at the front, not by much... but now i need to somehow reduce travel on the shock. There has been much discussion with several people and places about it - I kinda have an idea as to how to do this cheap(ish) but I will you all know exactly what I do when I do it.
 
Well the ones on there can't stay forever, they are as you know, a bit past it. Not sure if i will remake them, or maybe paint them. And if so whether the design will be exactly the same or just a homage. Time will tell, currently just leaving as not ready to replace and the car would look wrong without them lol...
 
Back
Top