That's one pampered Panda")


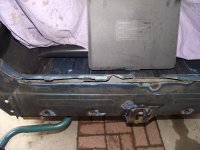
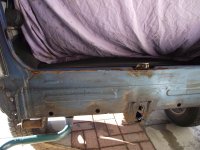
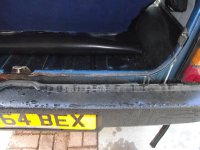
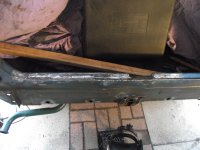
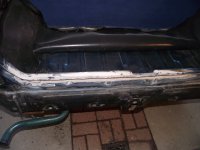
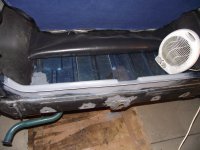
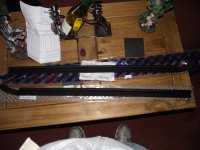
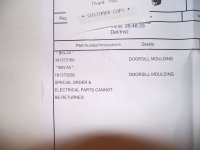
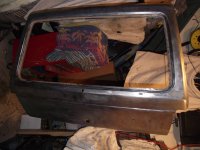
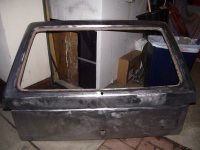
The old carpet trim was beyond repair, so time to spoil Bex a bit more
you're cracking on!Removed the roof rack today, bah thats going to take some cleaning and is in need of some serious repair!
As usual, 6 bolts to get it off and 5 came out ok, the last one required a drill hammer foul language etc.
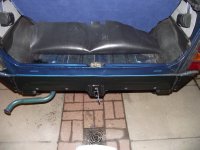
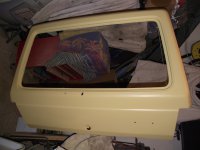
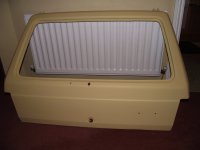
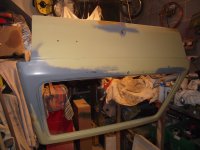
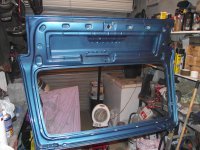
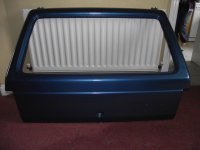
On the plus side though the tailgate is now fully painted, just needs rubbed down and polished. The picture shows it next to my pain oven for the day
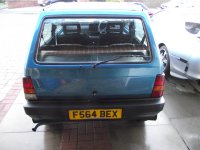
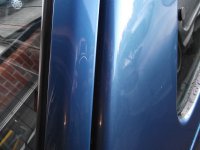
I'm not too worried about the match to be honest.
I'm going to spray each removable bit in my little garage first, then once I'm happy with the shell for tin worm I'll take it over to my folks and hijack their garage to spray that.
The blue of the car has faded quite a bit so it'd be a shame not to do it all really