OP
OP
BucsaBogdan
Member
- Joined
- May 22, 2021
- Messages
- 81
- Points
- 97
I have seen them on Axel Gerstl as well. They say it’s original Fiat part.


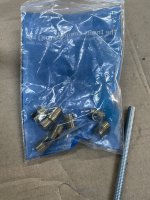
If your machine shop can't bore-out the cam-follower holes, you will probably have to ream them out---very carefully!Found some on the Axel Gerstl site
") ))
)) 
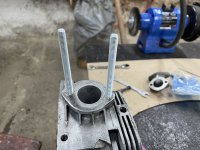
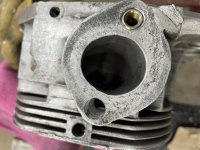
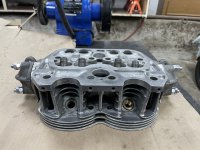
Well done Bogdan---you've done a good job. 2 little tips---(1) don't forget to secure the manifold to the head with two PLAIN nuts on the the stud (which I assume that you are going to cut down in length)--1 to secure the exhaust elbow and the 2nd to 'lock'the 1st nut and (2), you will find it easier if you put the bolts which will secure the exhaust to the 'elbow' in place before you you fit the 'elbow' to the cylinder head---it means that you can use slightly longer bolts to secure the exhaust to the 'elbow'. You don'thave to bolt them up--just put them in place.Hello,
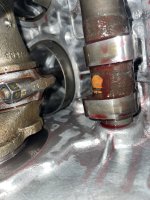
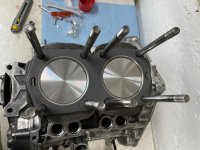
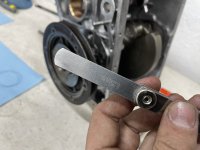
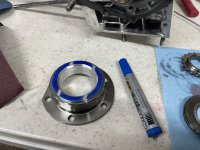
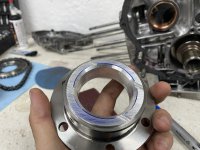
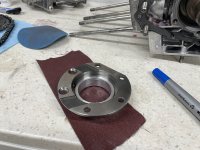
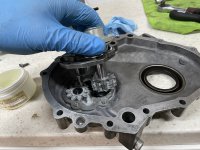
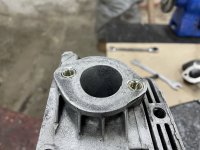
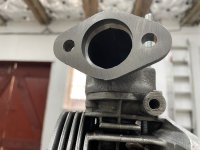
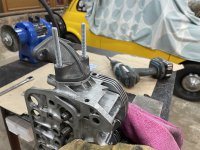
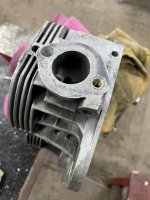
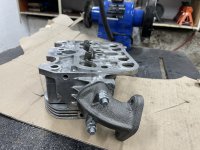
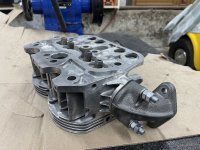
As per the hobbit’s advice I put self tapping inserts in the exhaust flange mounting holes.
I used a 10,5 drill bit and I’m quite happy with the result.
Thanks again “the hobbit”
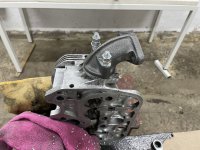

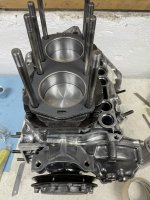
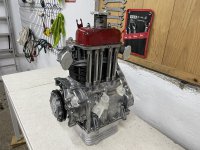
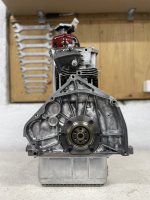
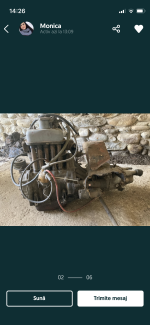
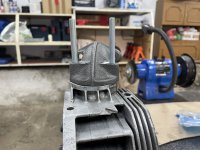
 ) ) the last picture is how I bought the engine.