100_1024.JPG

John Dragon Man's Citroen BX Diesel Estate

Introduction

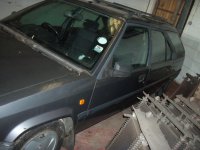
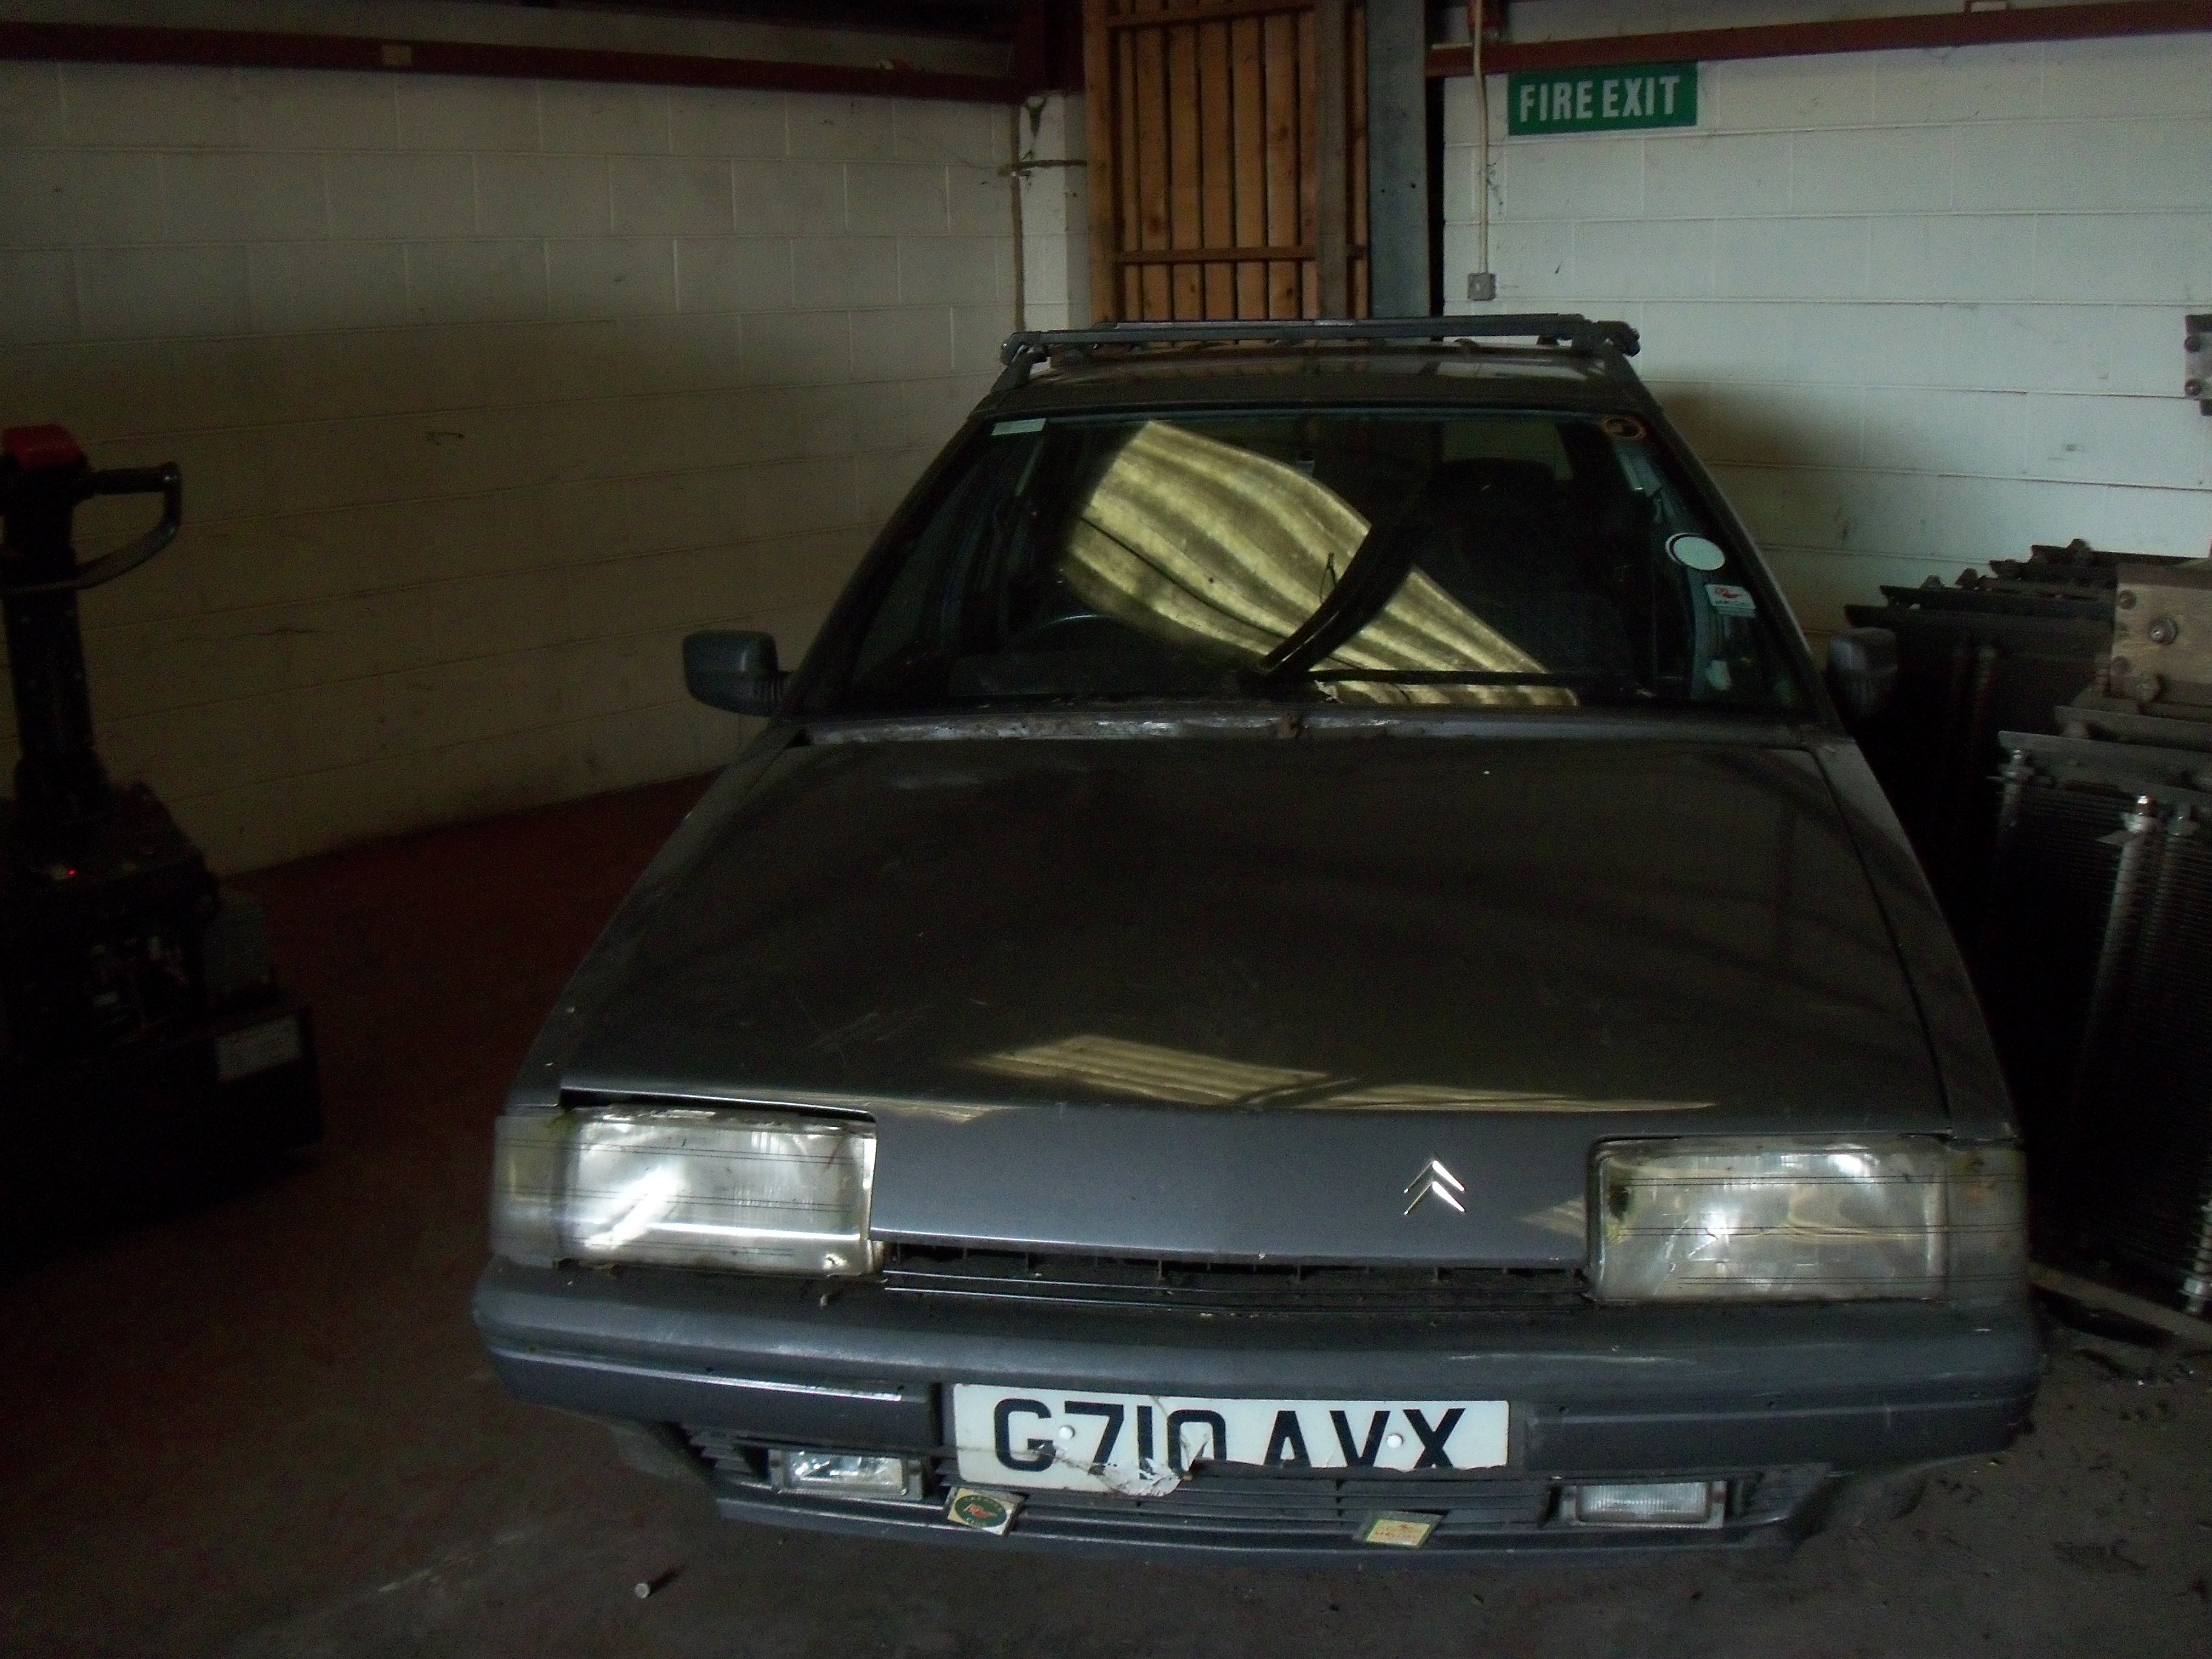
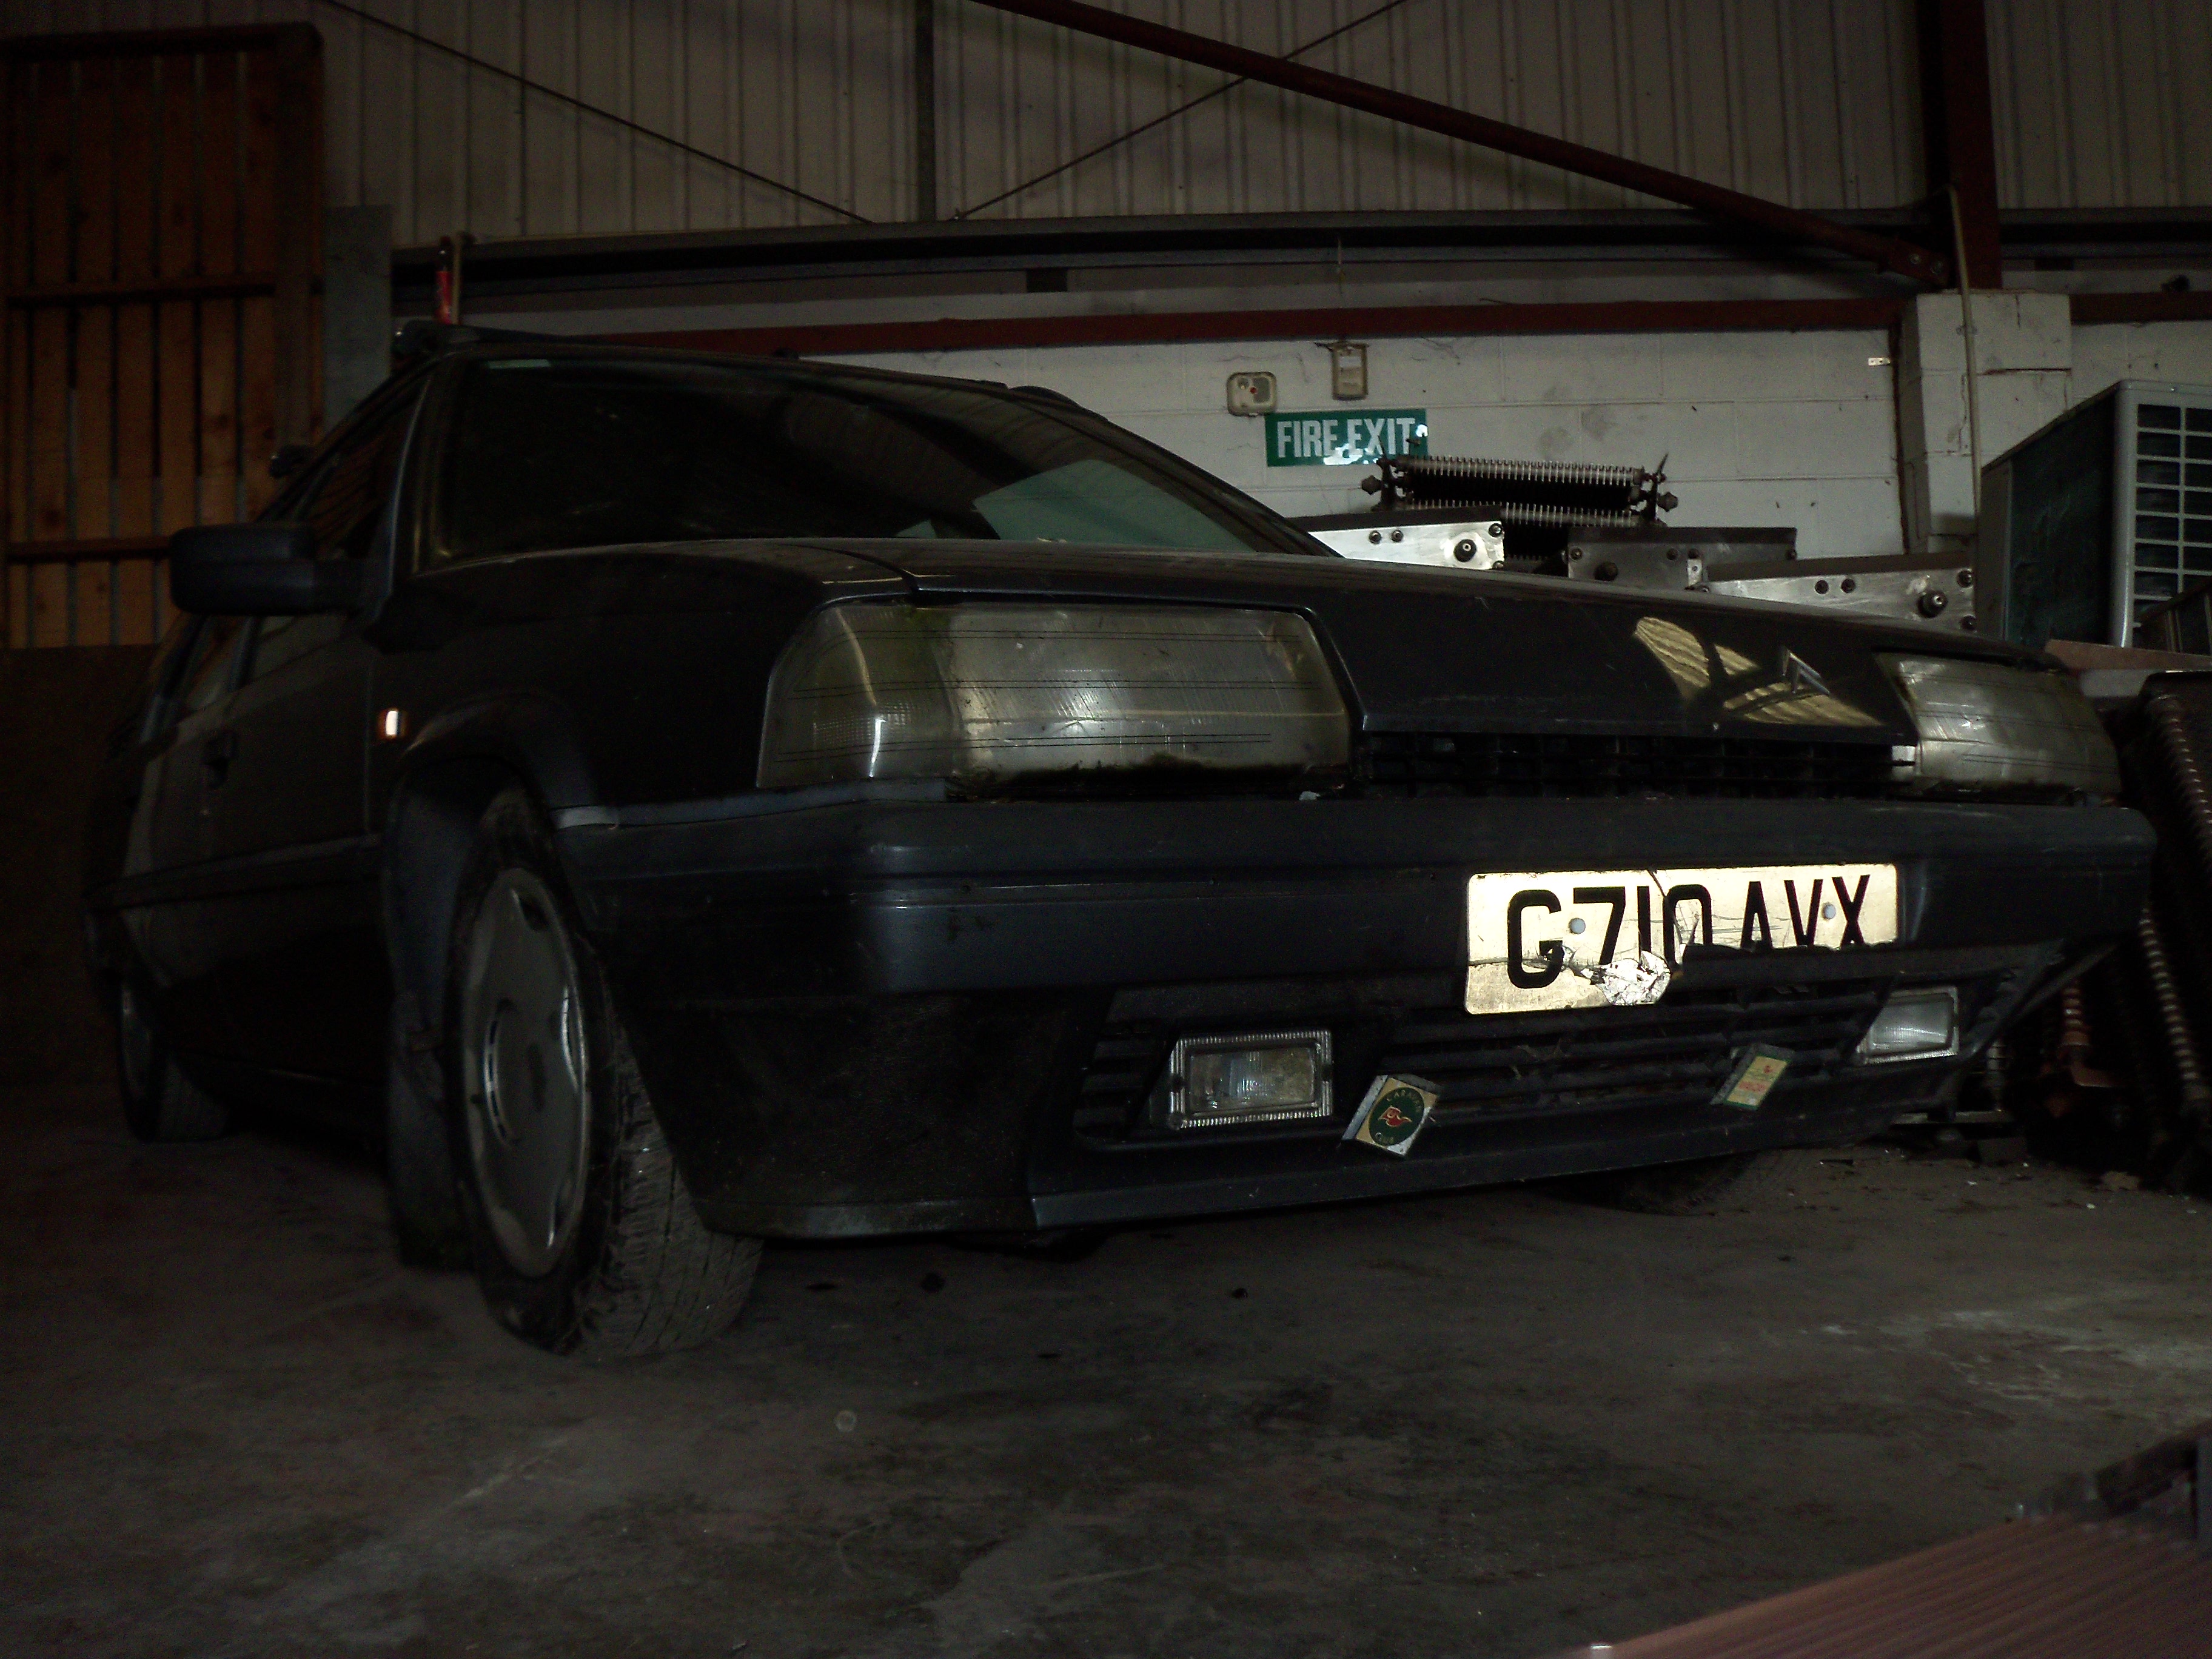
Well here I am, now an owner of a BX Diesel Estate in Sliver!

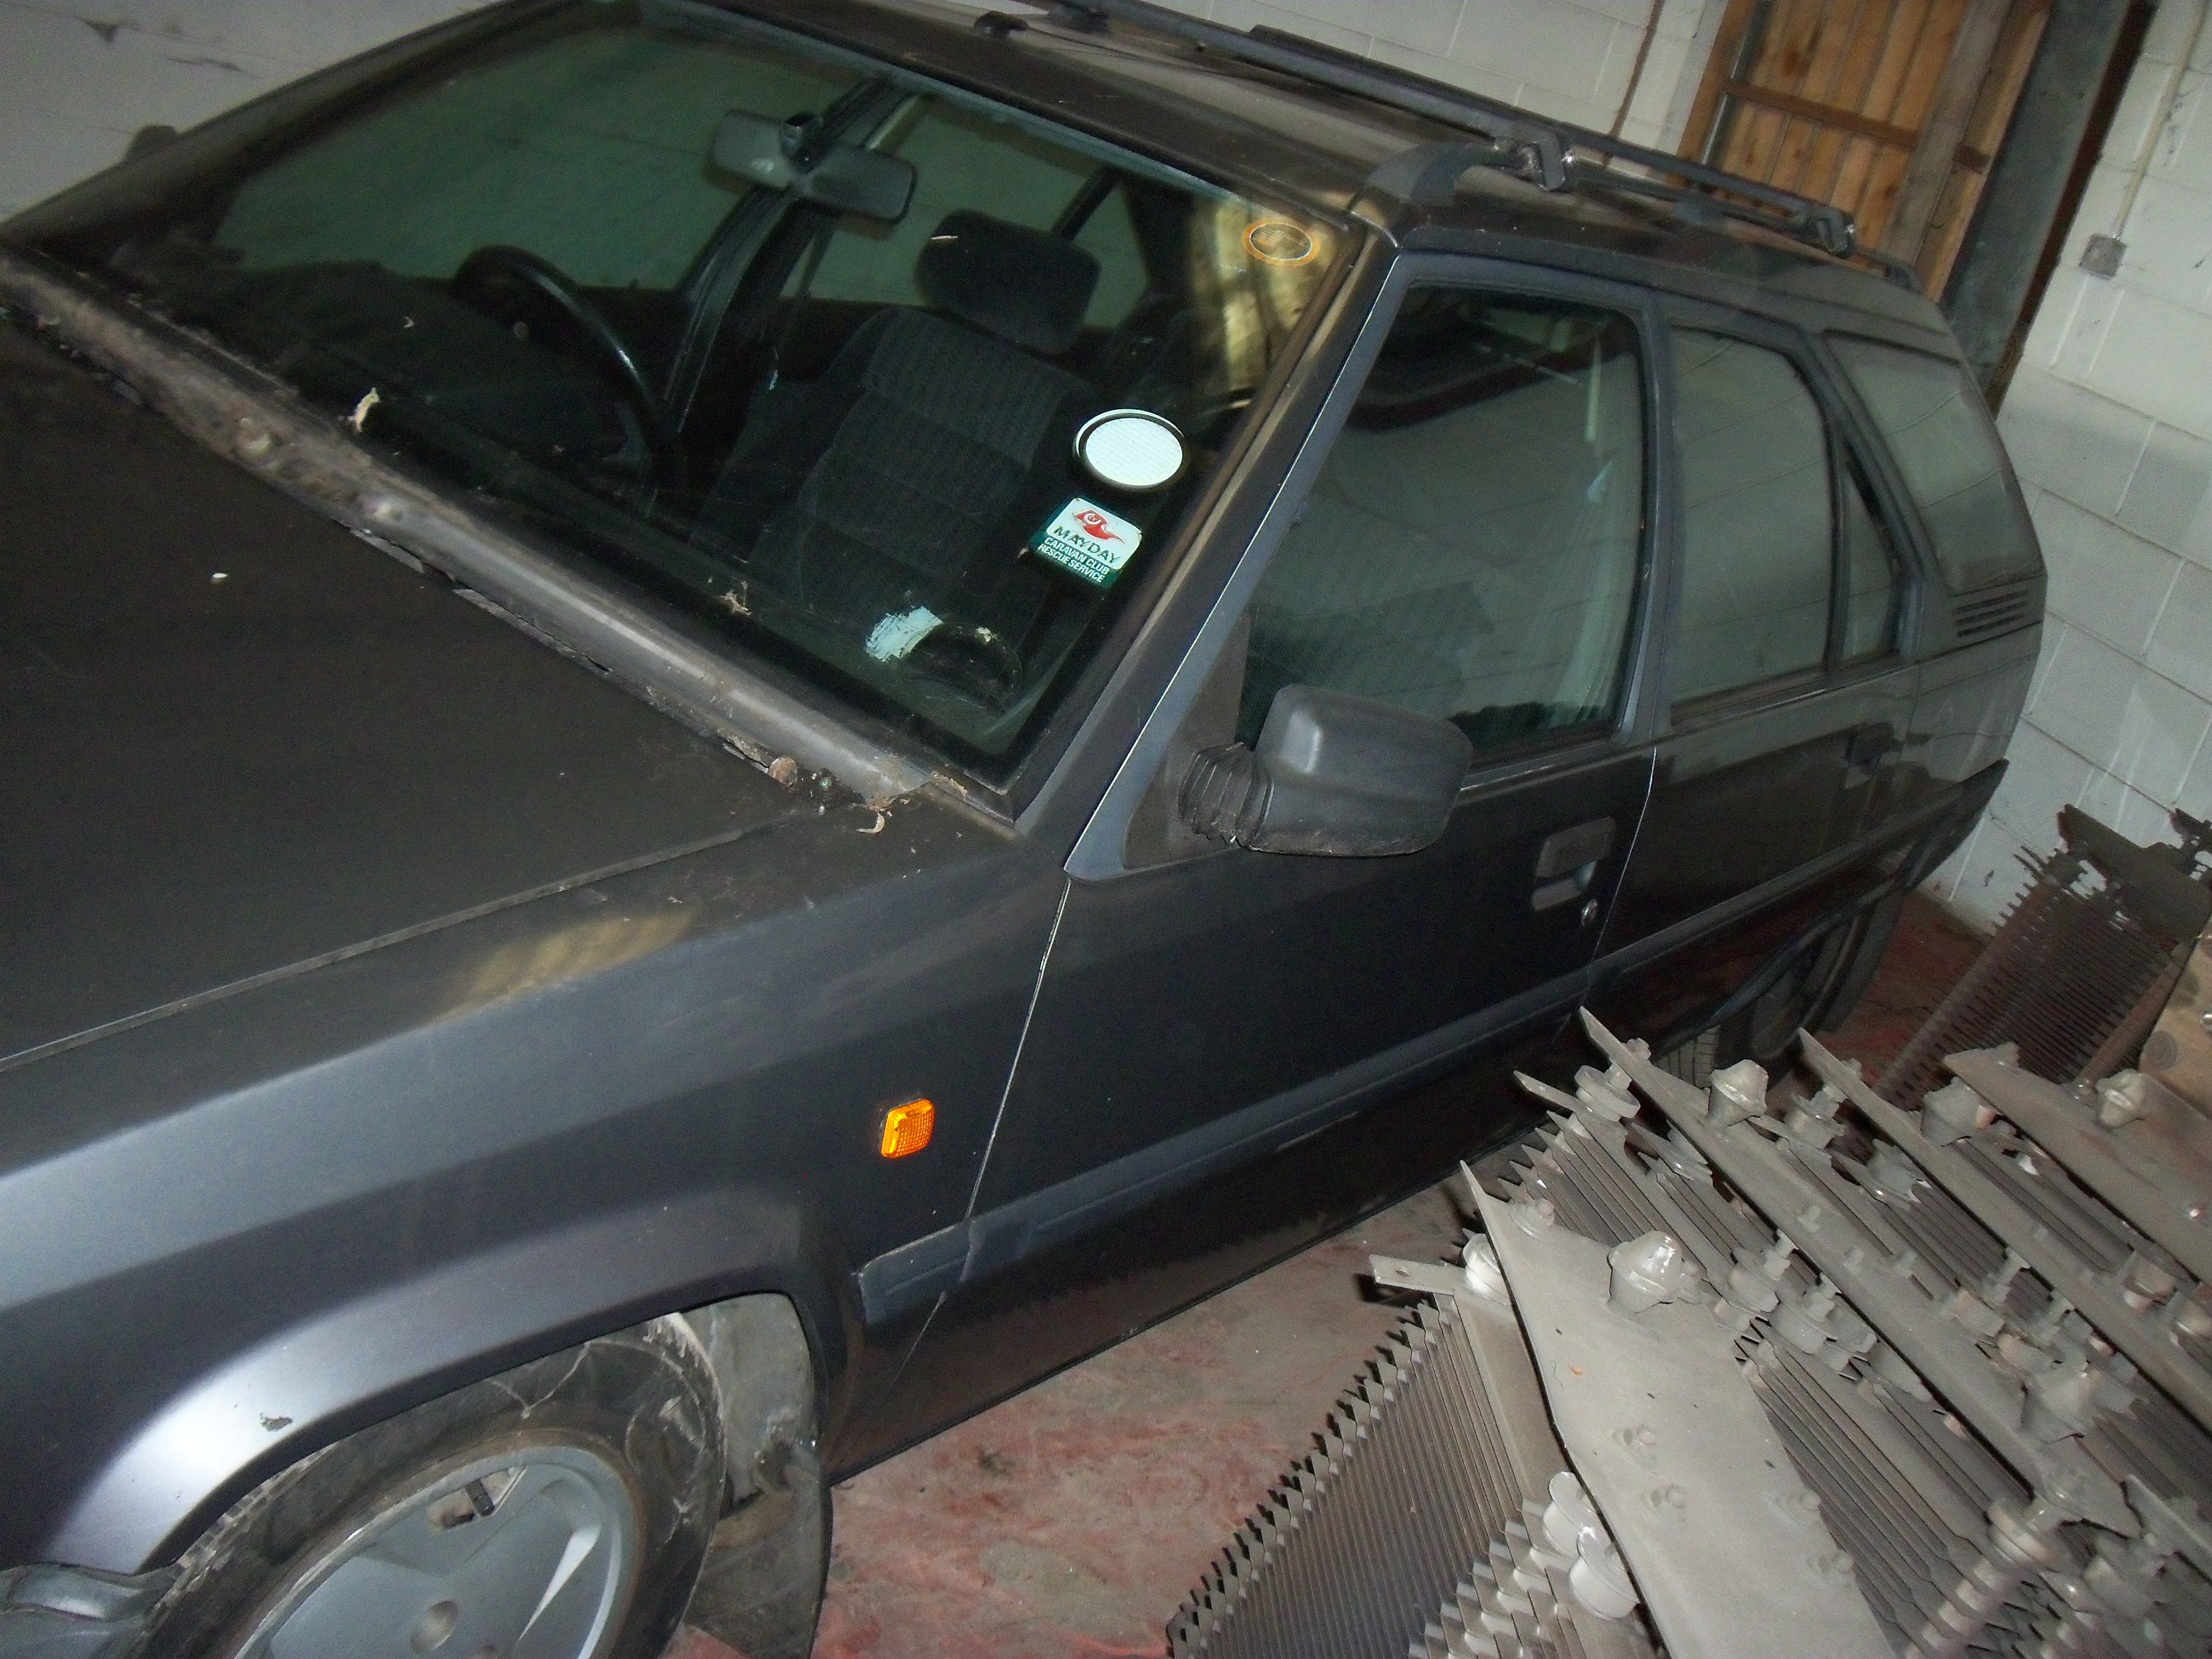
so yesterday (the 20th of June 16) i took a trip down to London with a car transporter and picked up this nice little... (umm.. a little more larger than i am use to) estate car!

i am pretty happy with it, the overall cost was £400 for the car and around £350 to get it delivered here to Derby (yes i know i could have got it cheaper now :x ).

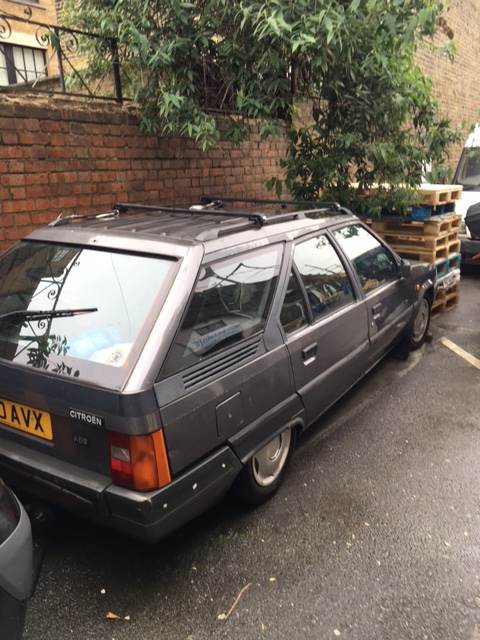
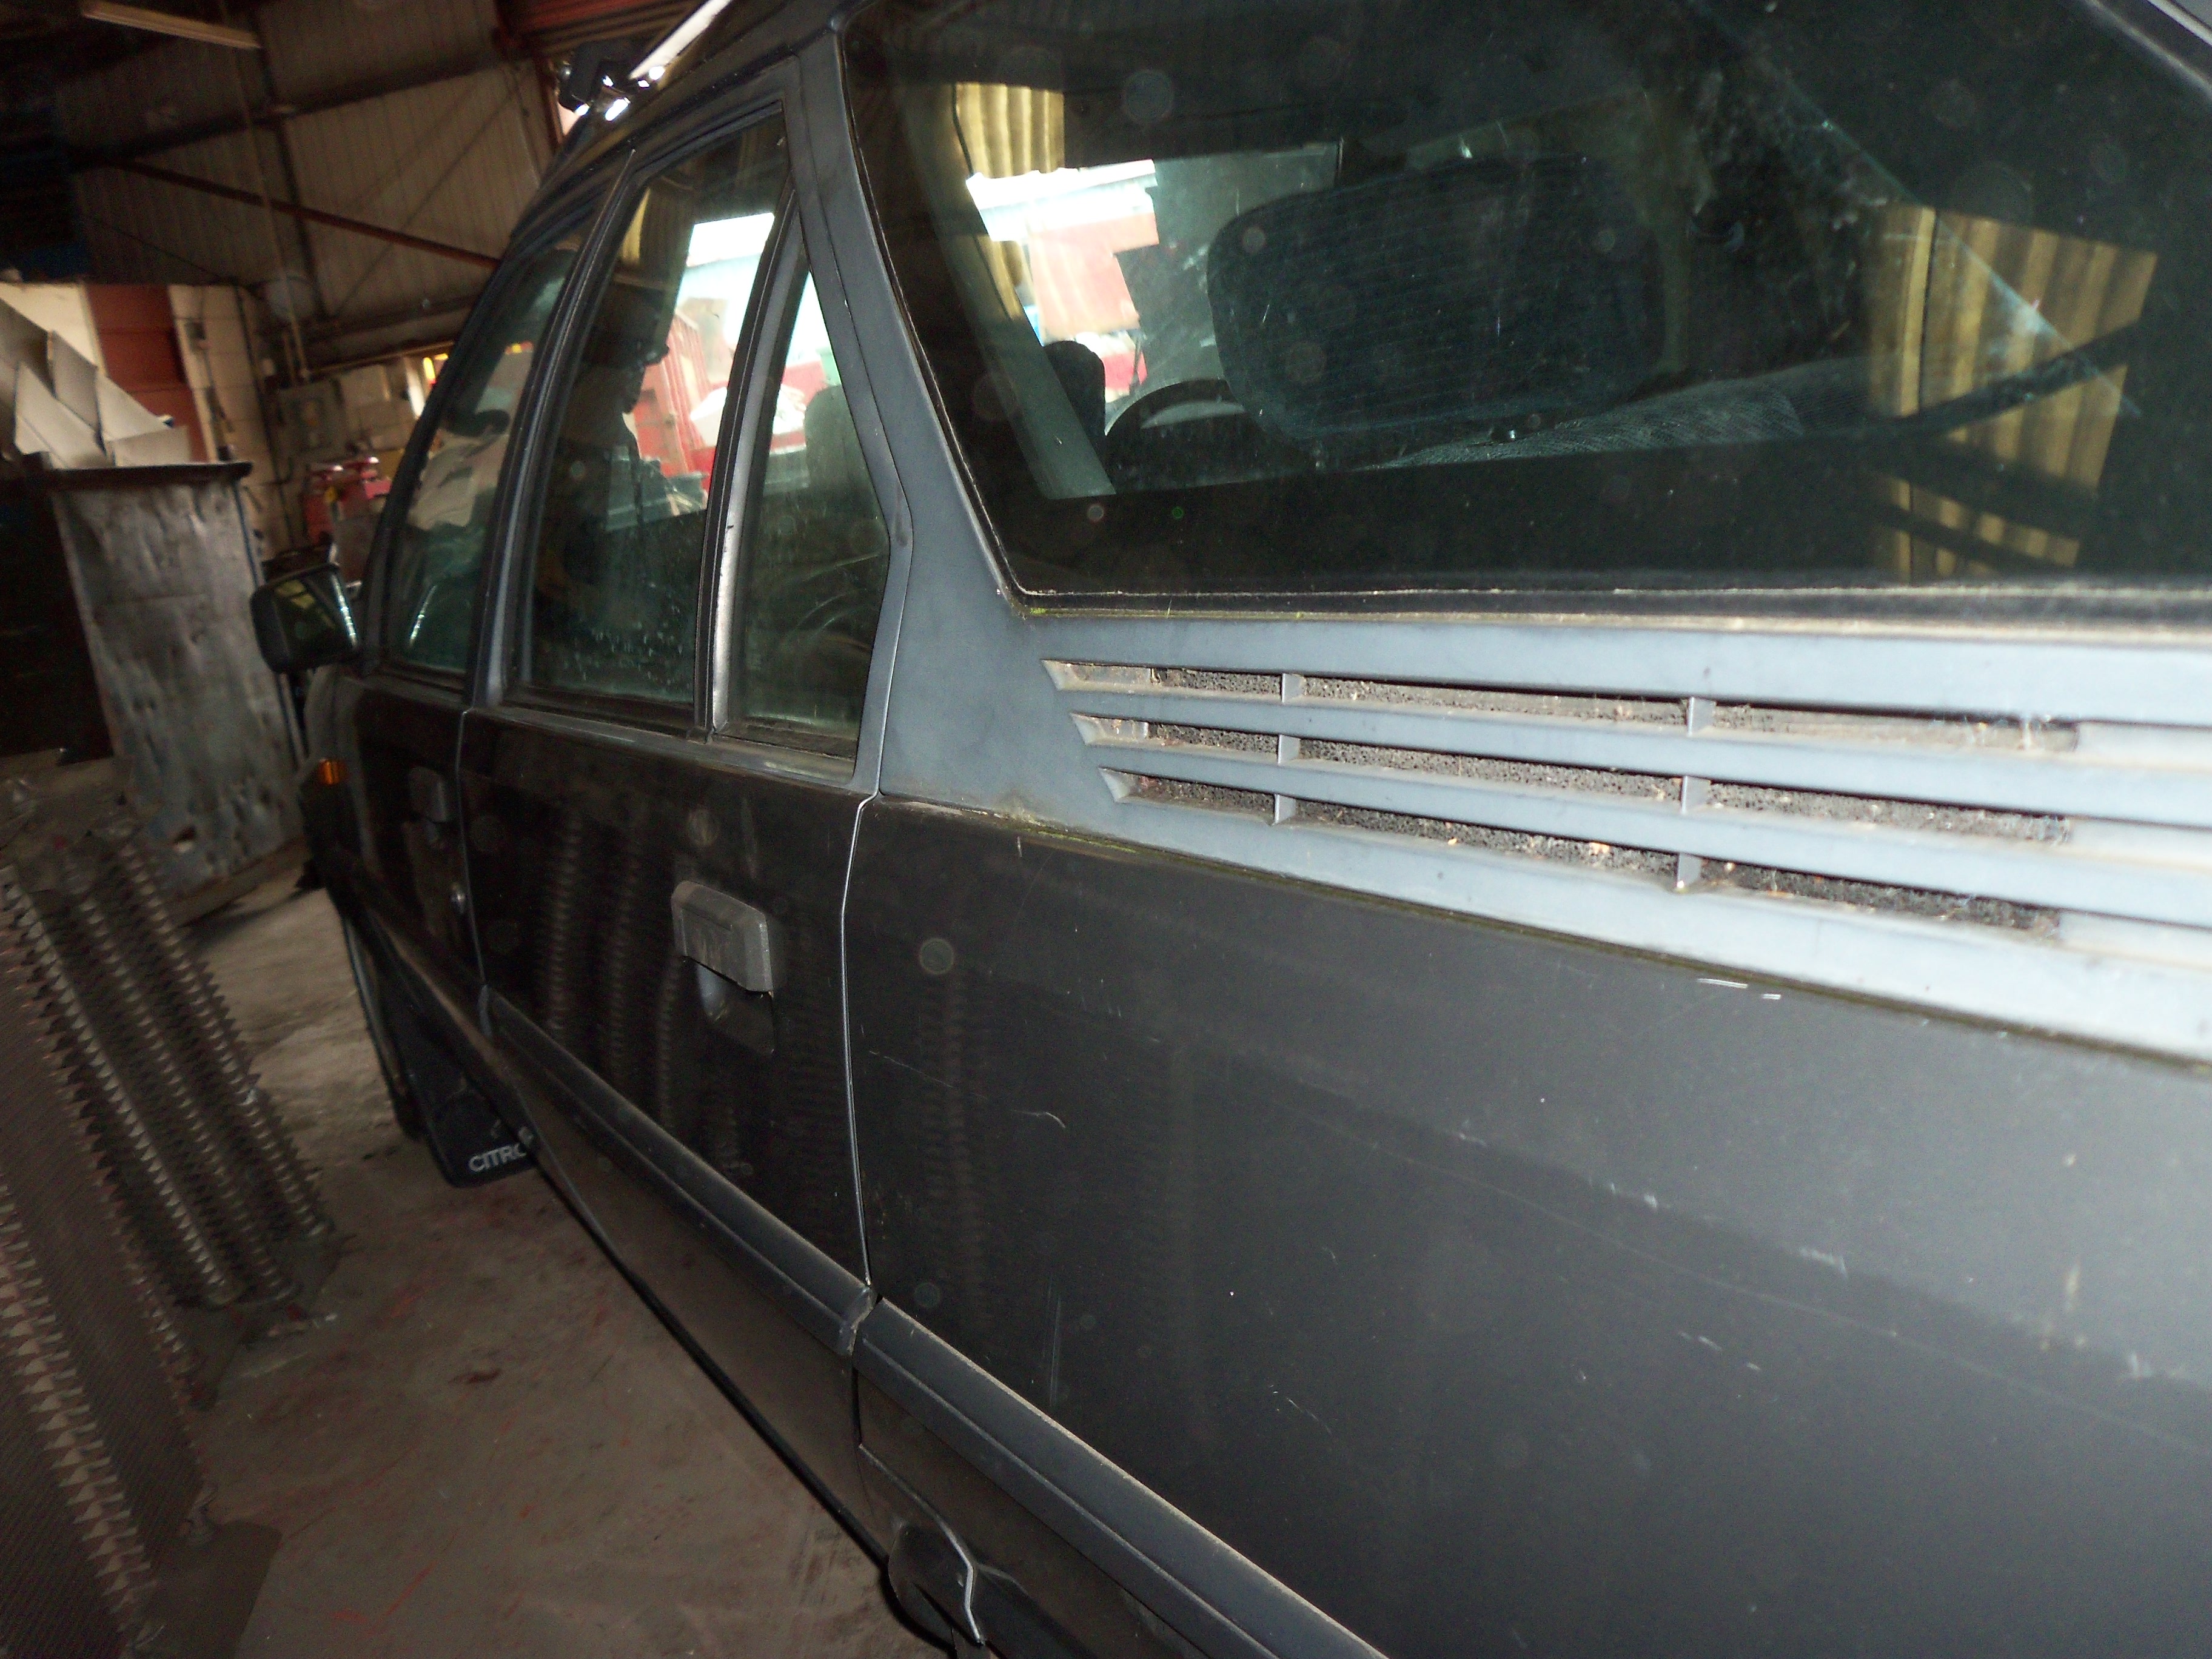
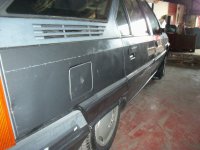
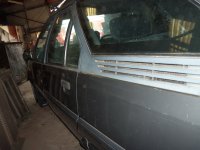
bodywork wise the car is a little "used". given what i have seen of London (first time i have been!) i think the car survived well!

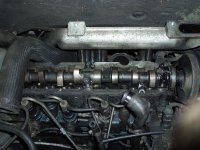
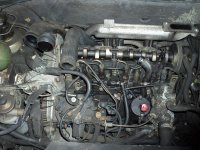
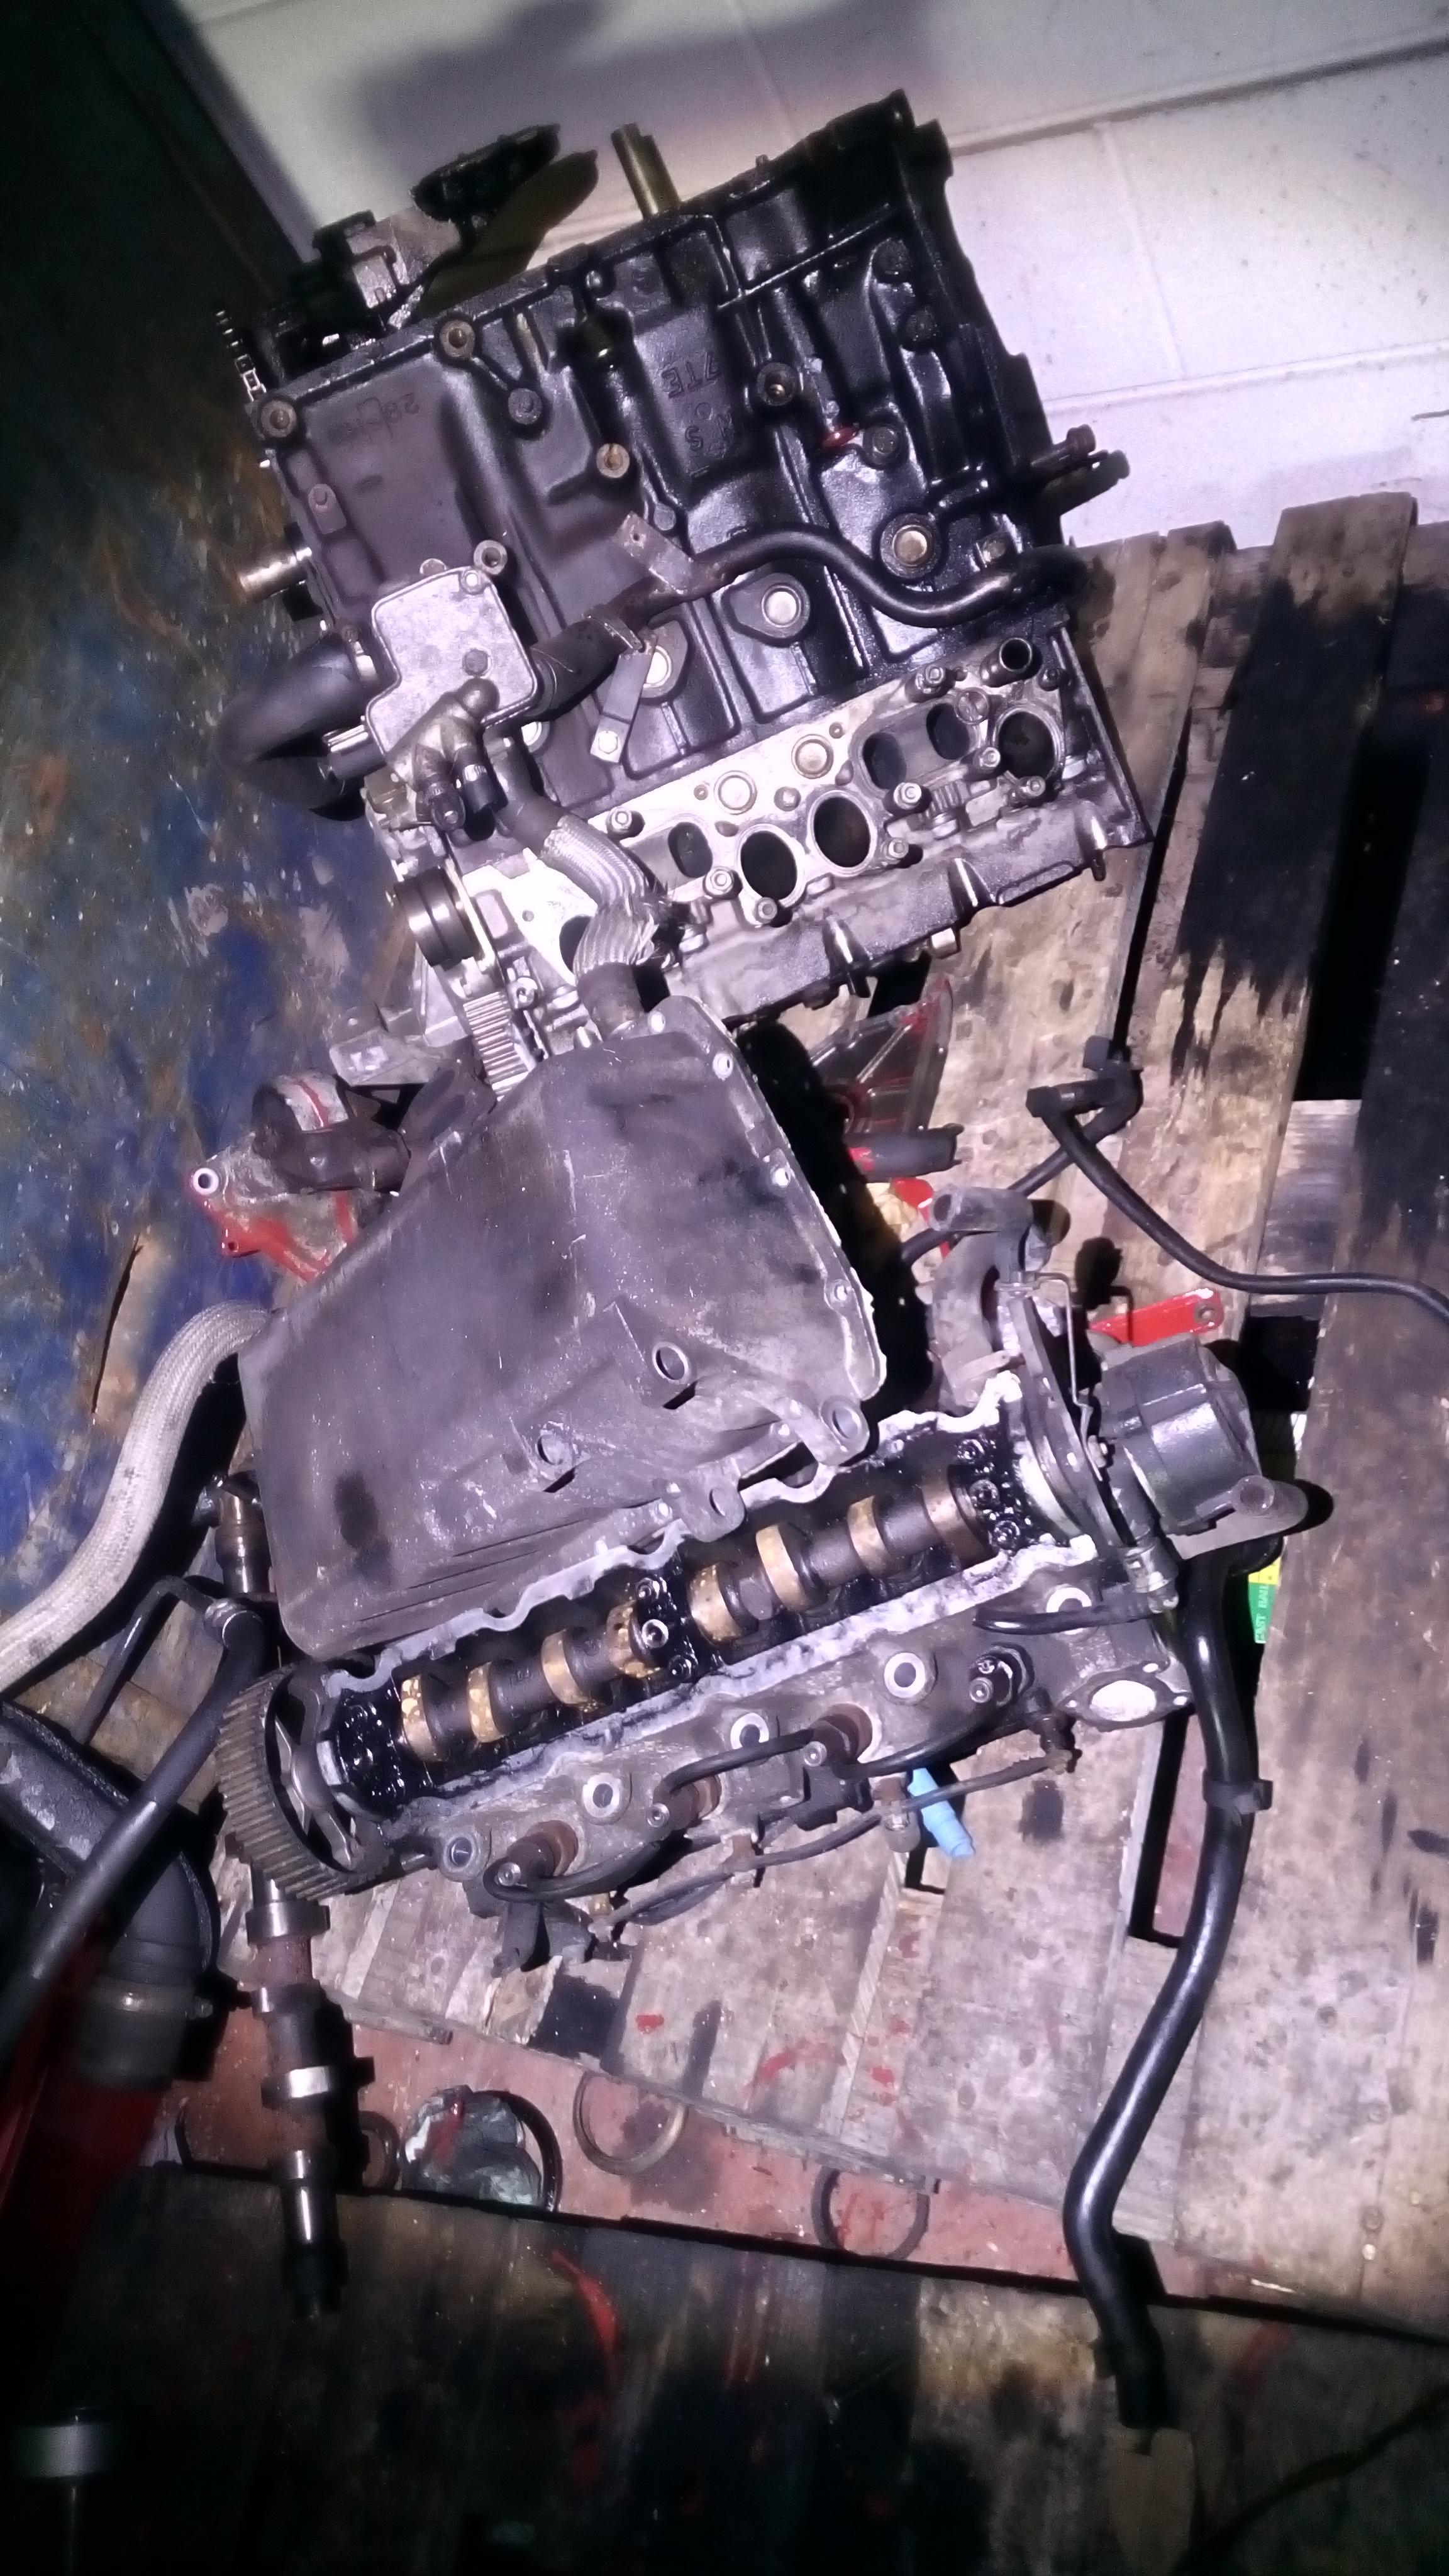
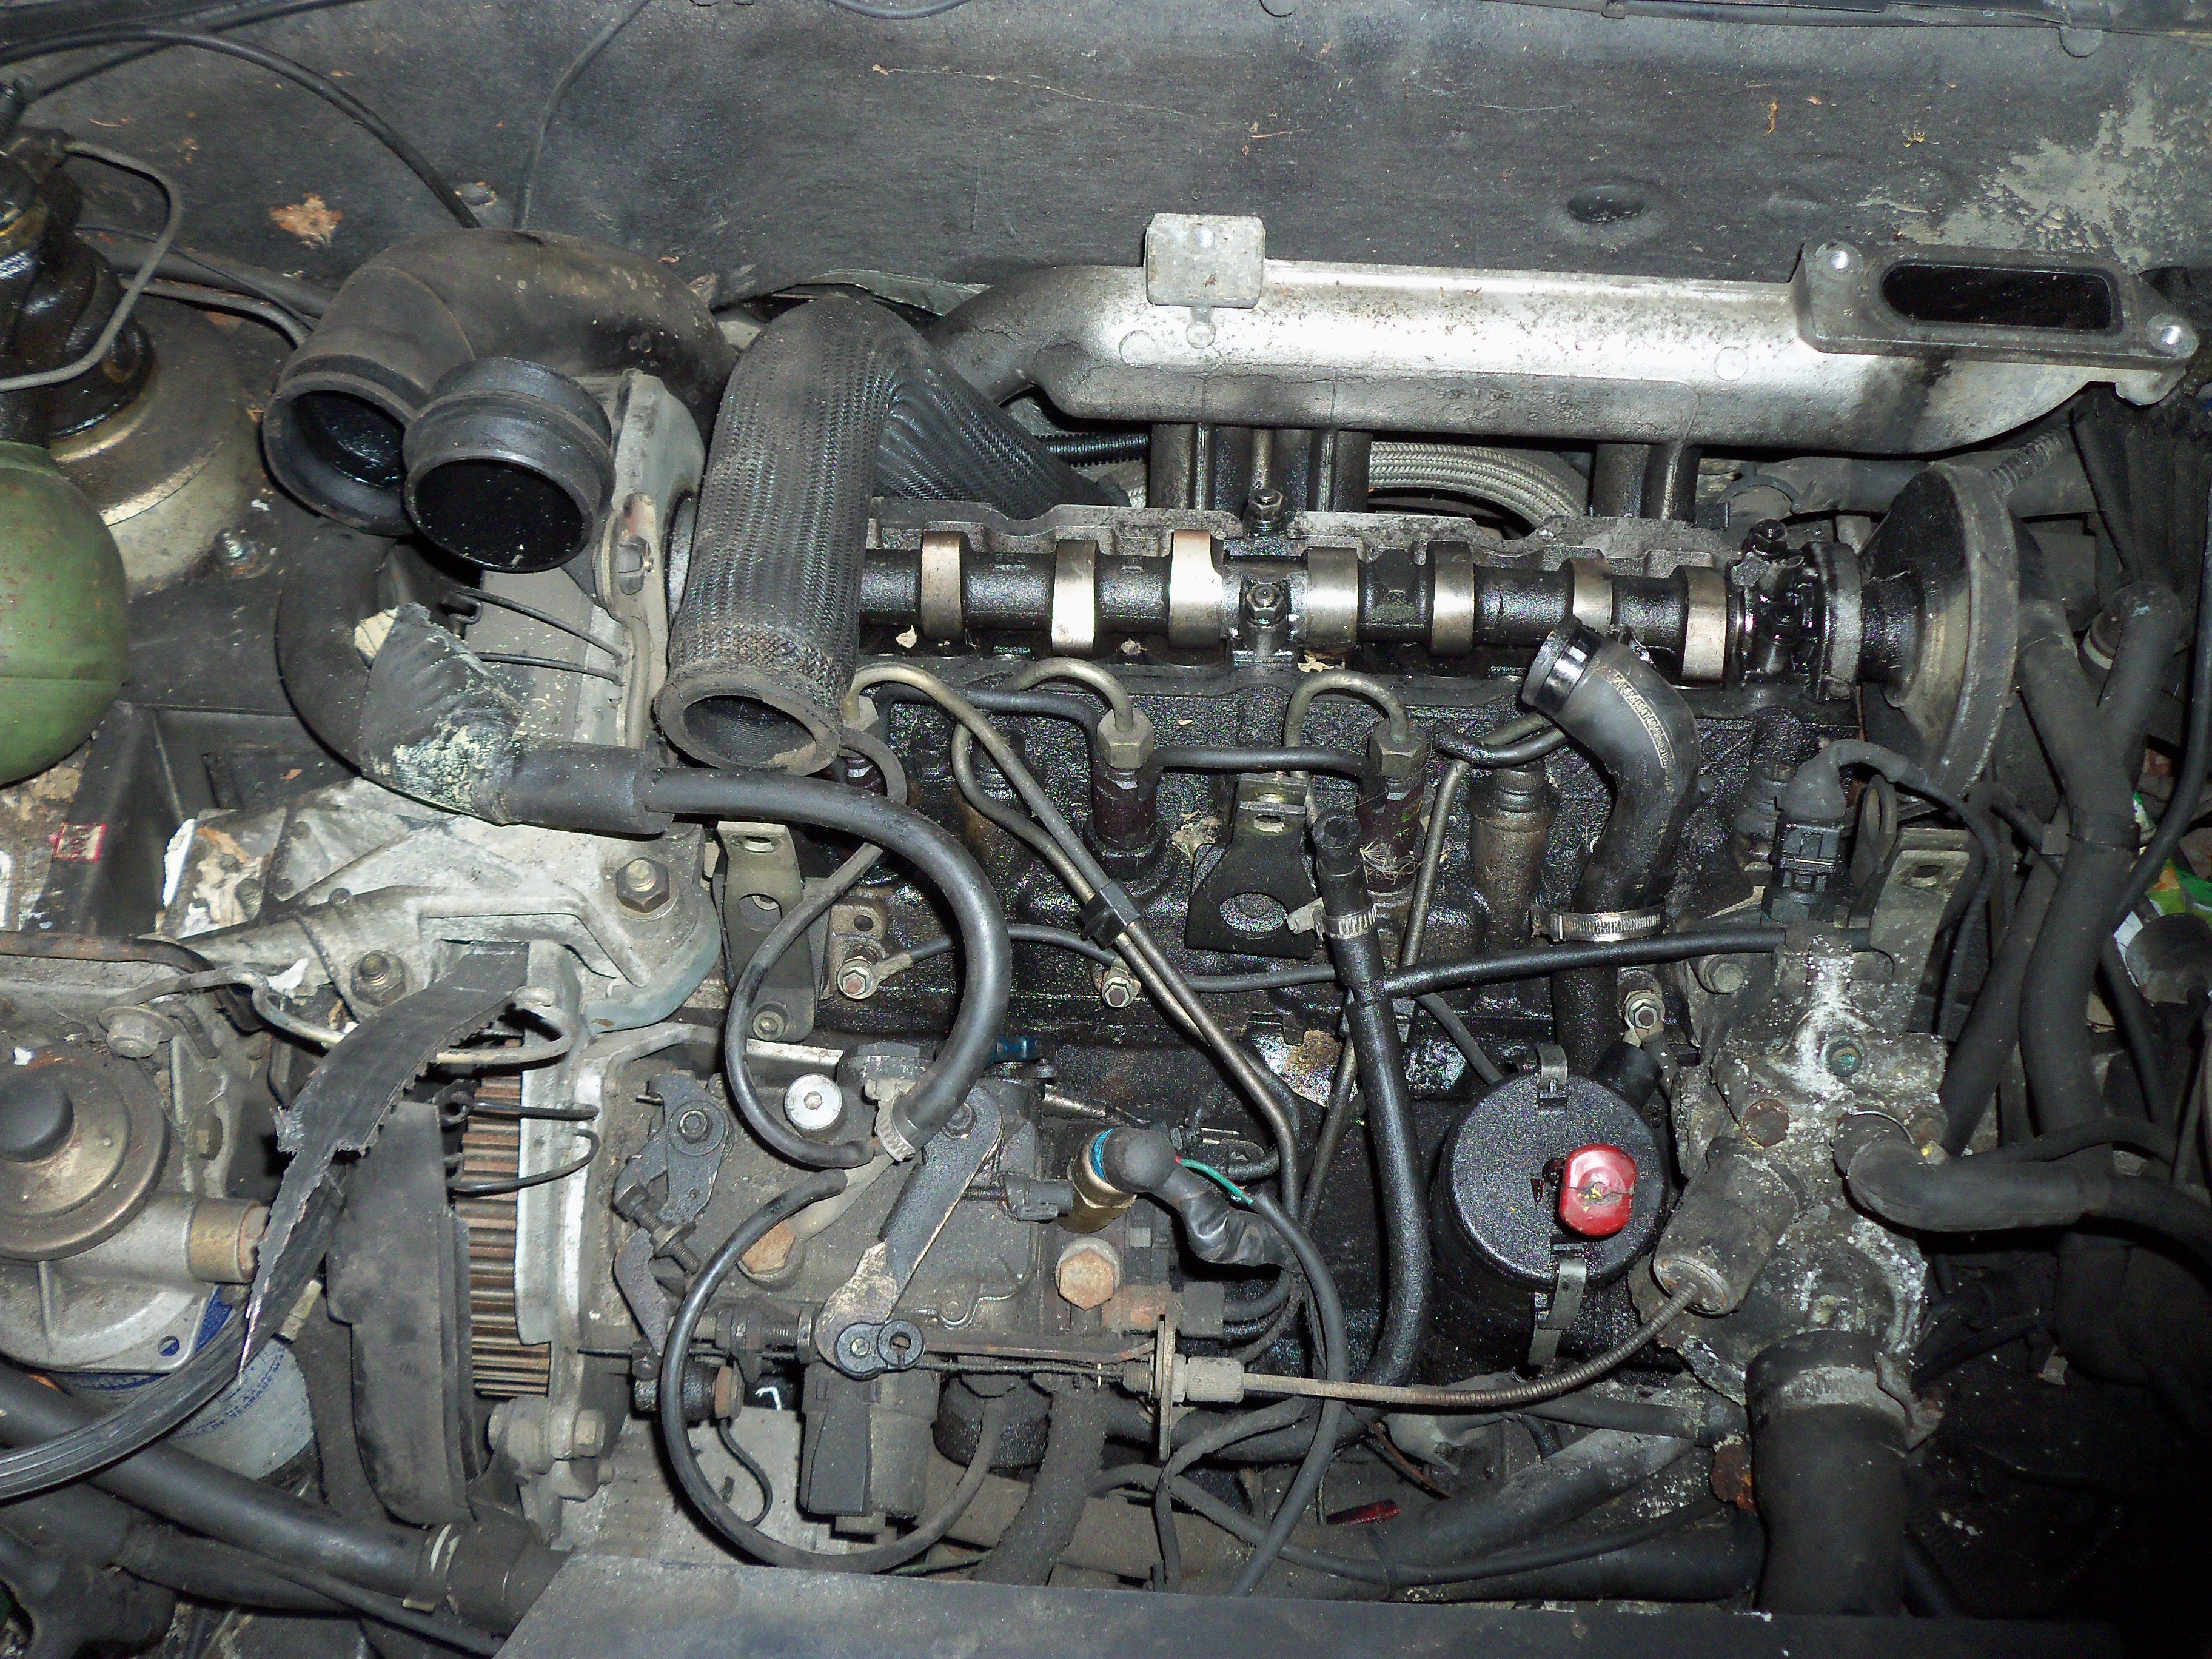
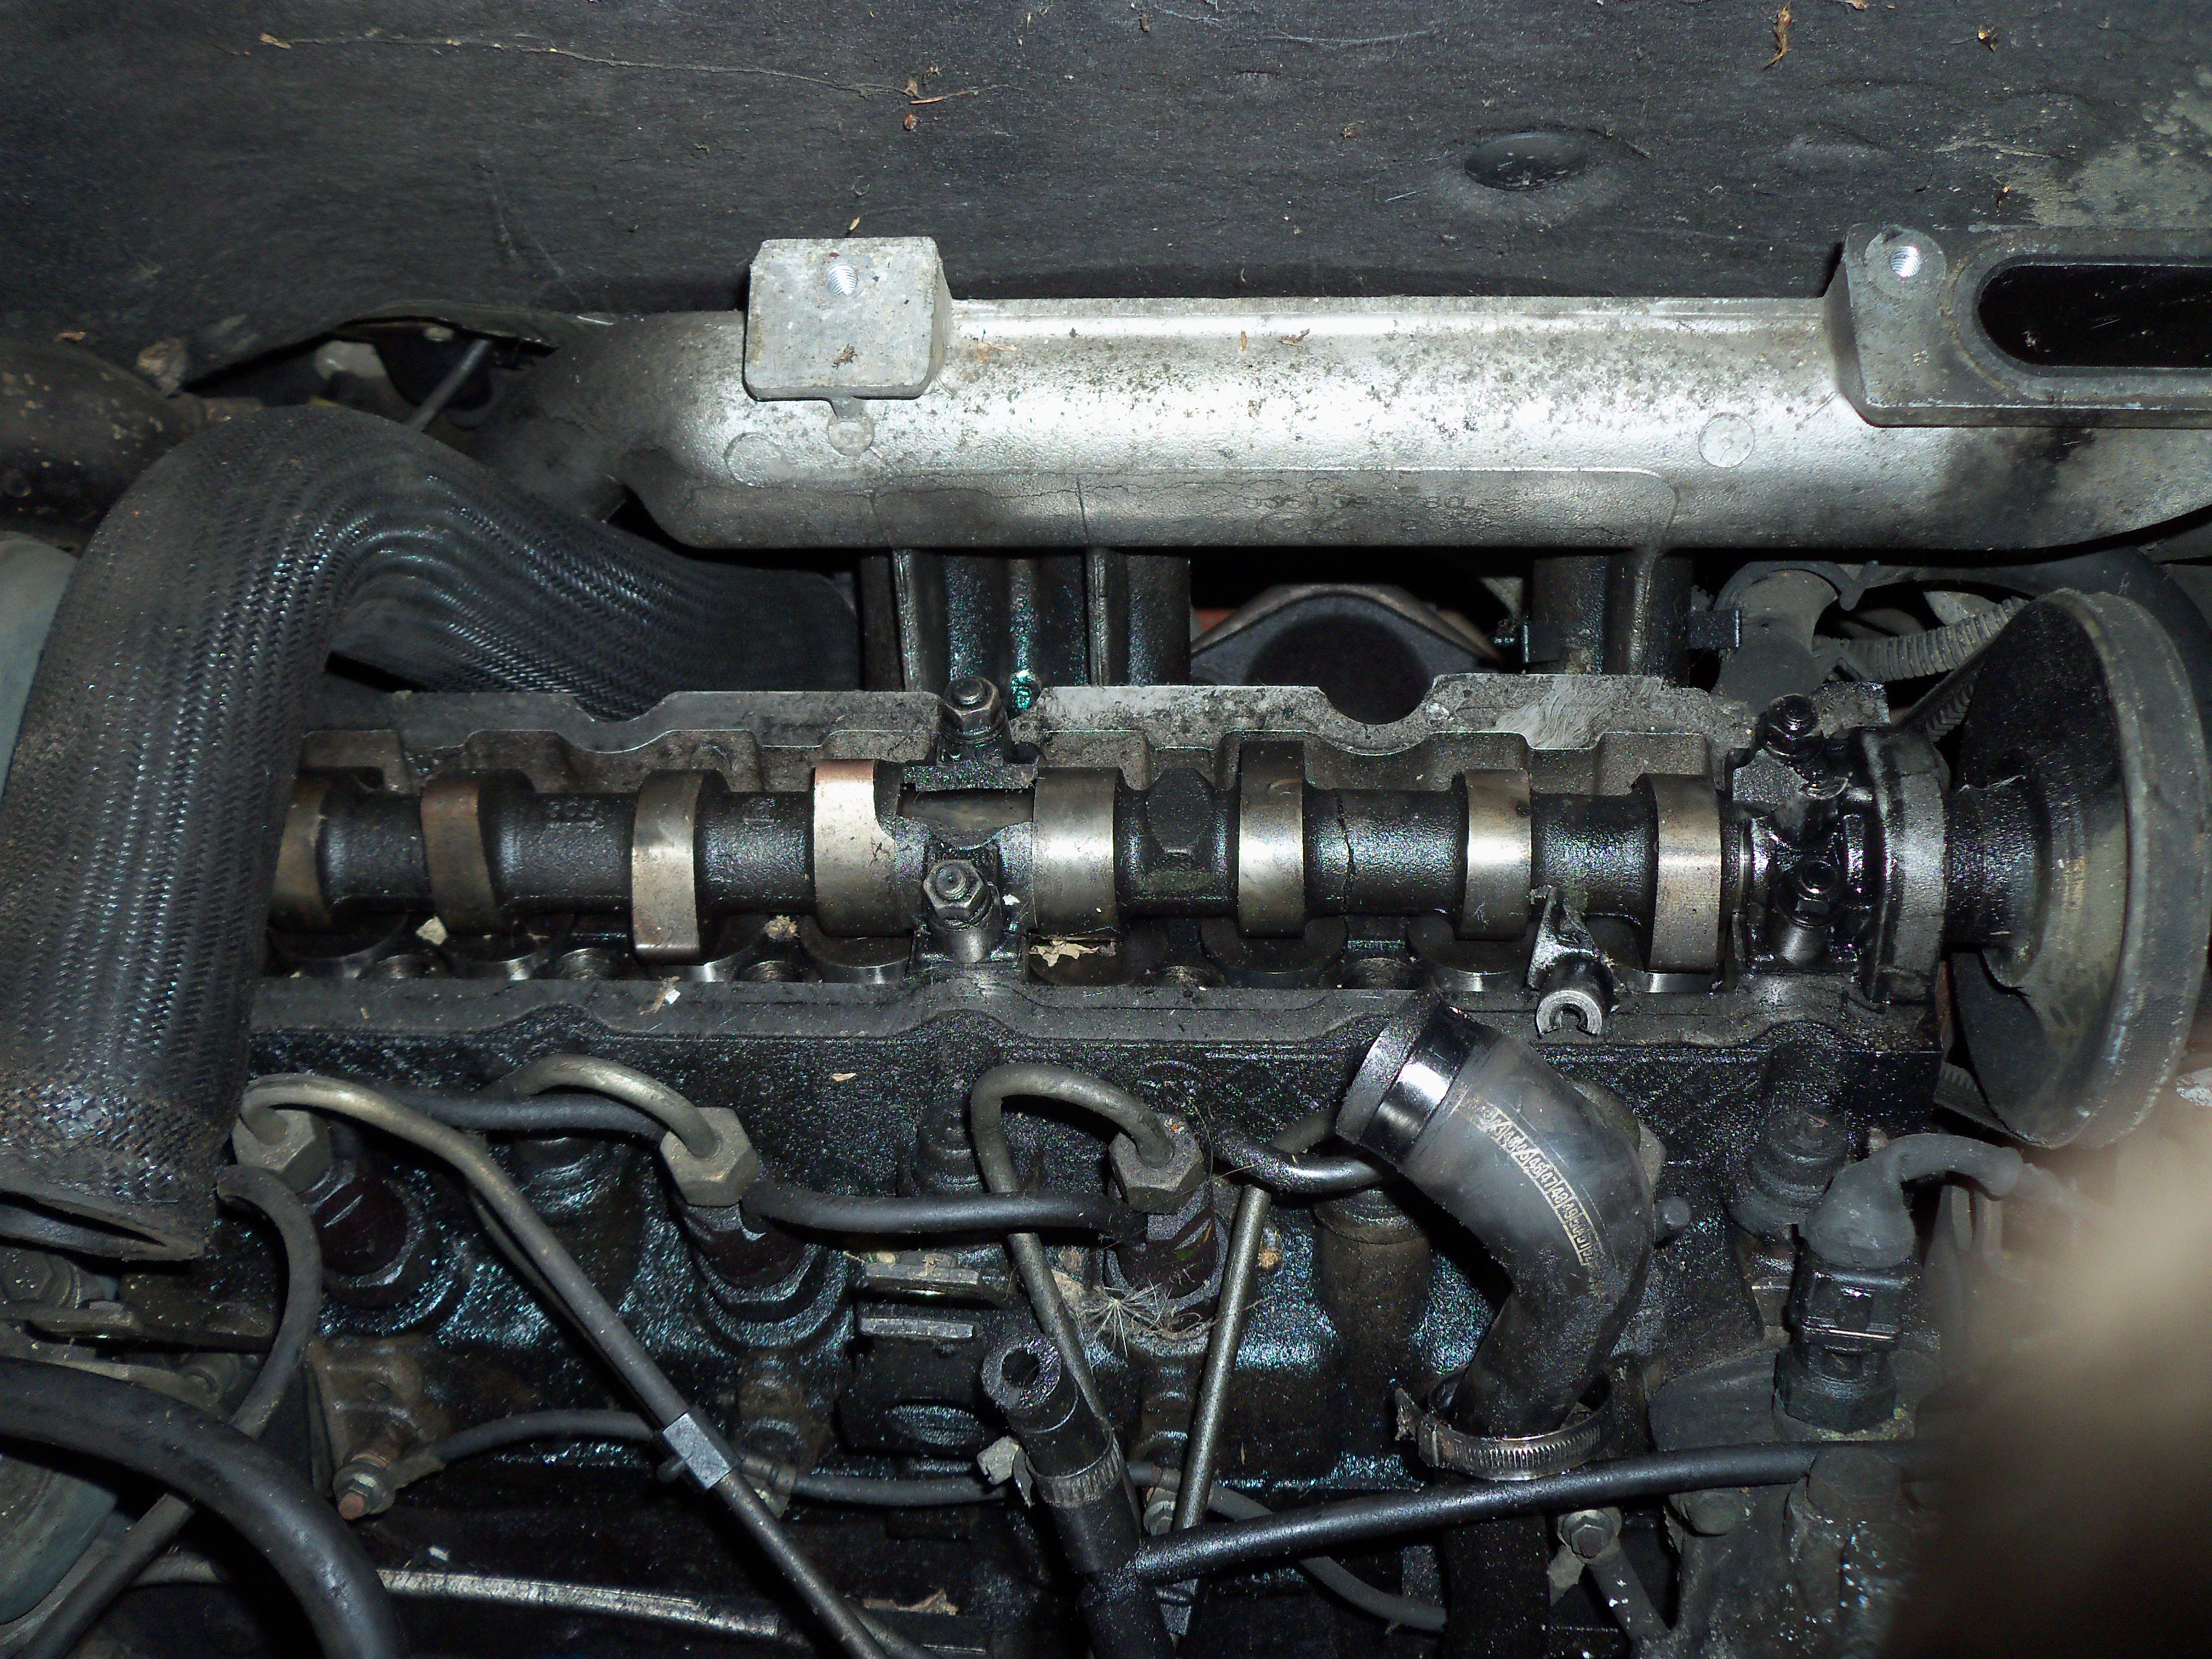
the engine is dead. the bottom end may be savable but i think i am going to go down the complete engine swap fix route. i am not sure if it may have damaged anything else bar the head. so that said i am now looking for a low miles XUD engine. be it a 1.7 or 1.9 (ill worry about that camshaft pump pulley further down the line)

the hydraulics are untested. the spheres are dated 2001 so are 15 years old they they need changing but are near the bottom on my list of things to change for obvious reasons. i will try and test the hydraulics by spinning the pump using an electric motor. being as it is cam driven it does not turn very quick even with the pulley ratio. maybe even a battery drill could do it.

the LHM fluid is more of a cloudy yellow/cream colour, i have read that it should be green. so i will change that when the engine is in and connected up.

who wants to see some pictures?

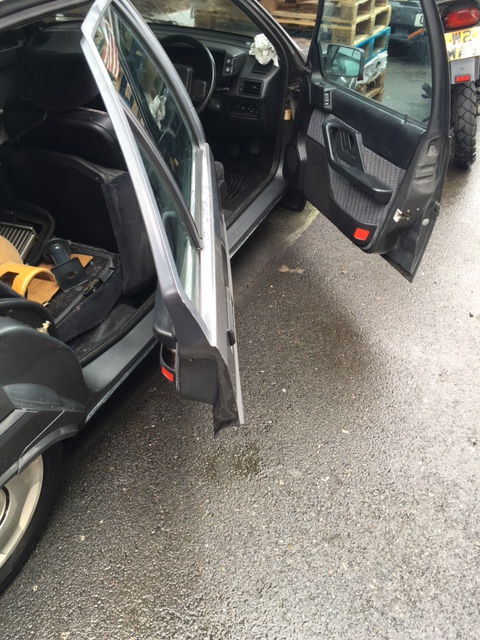
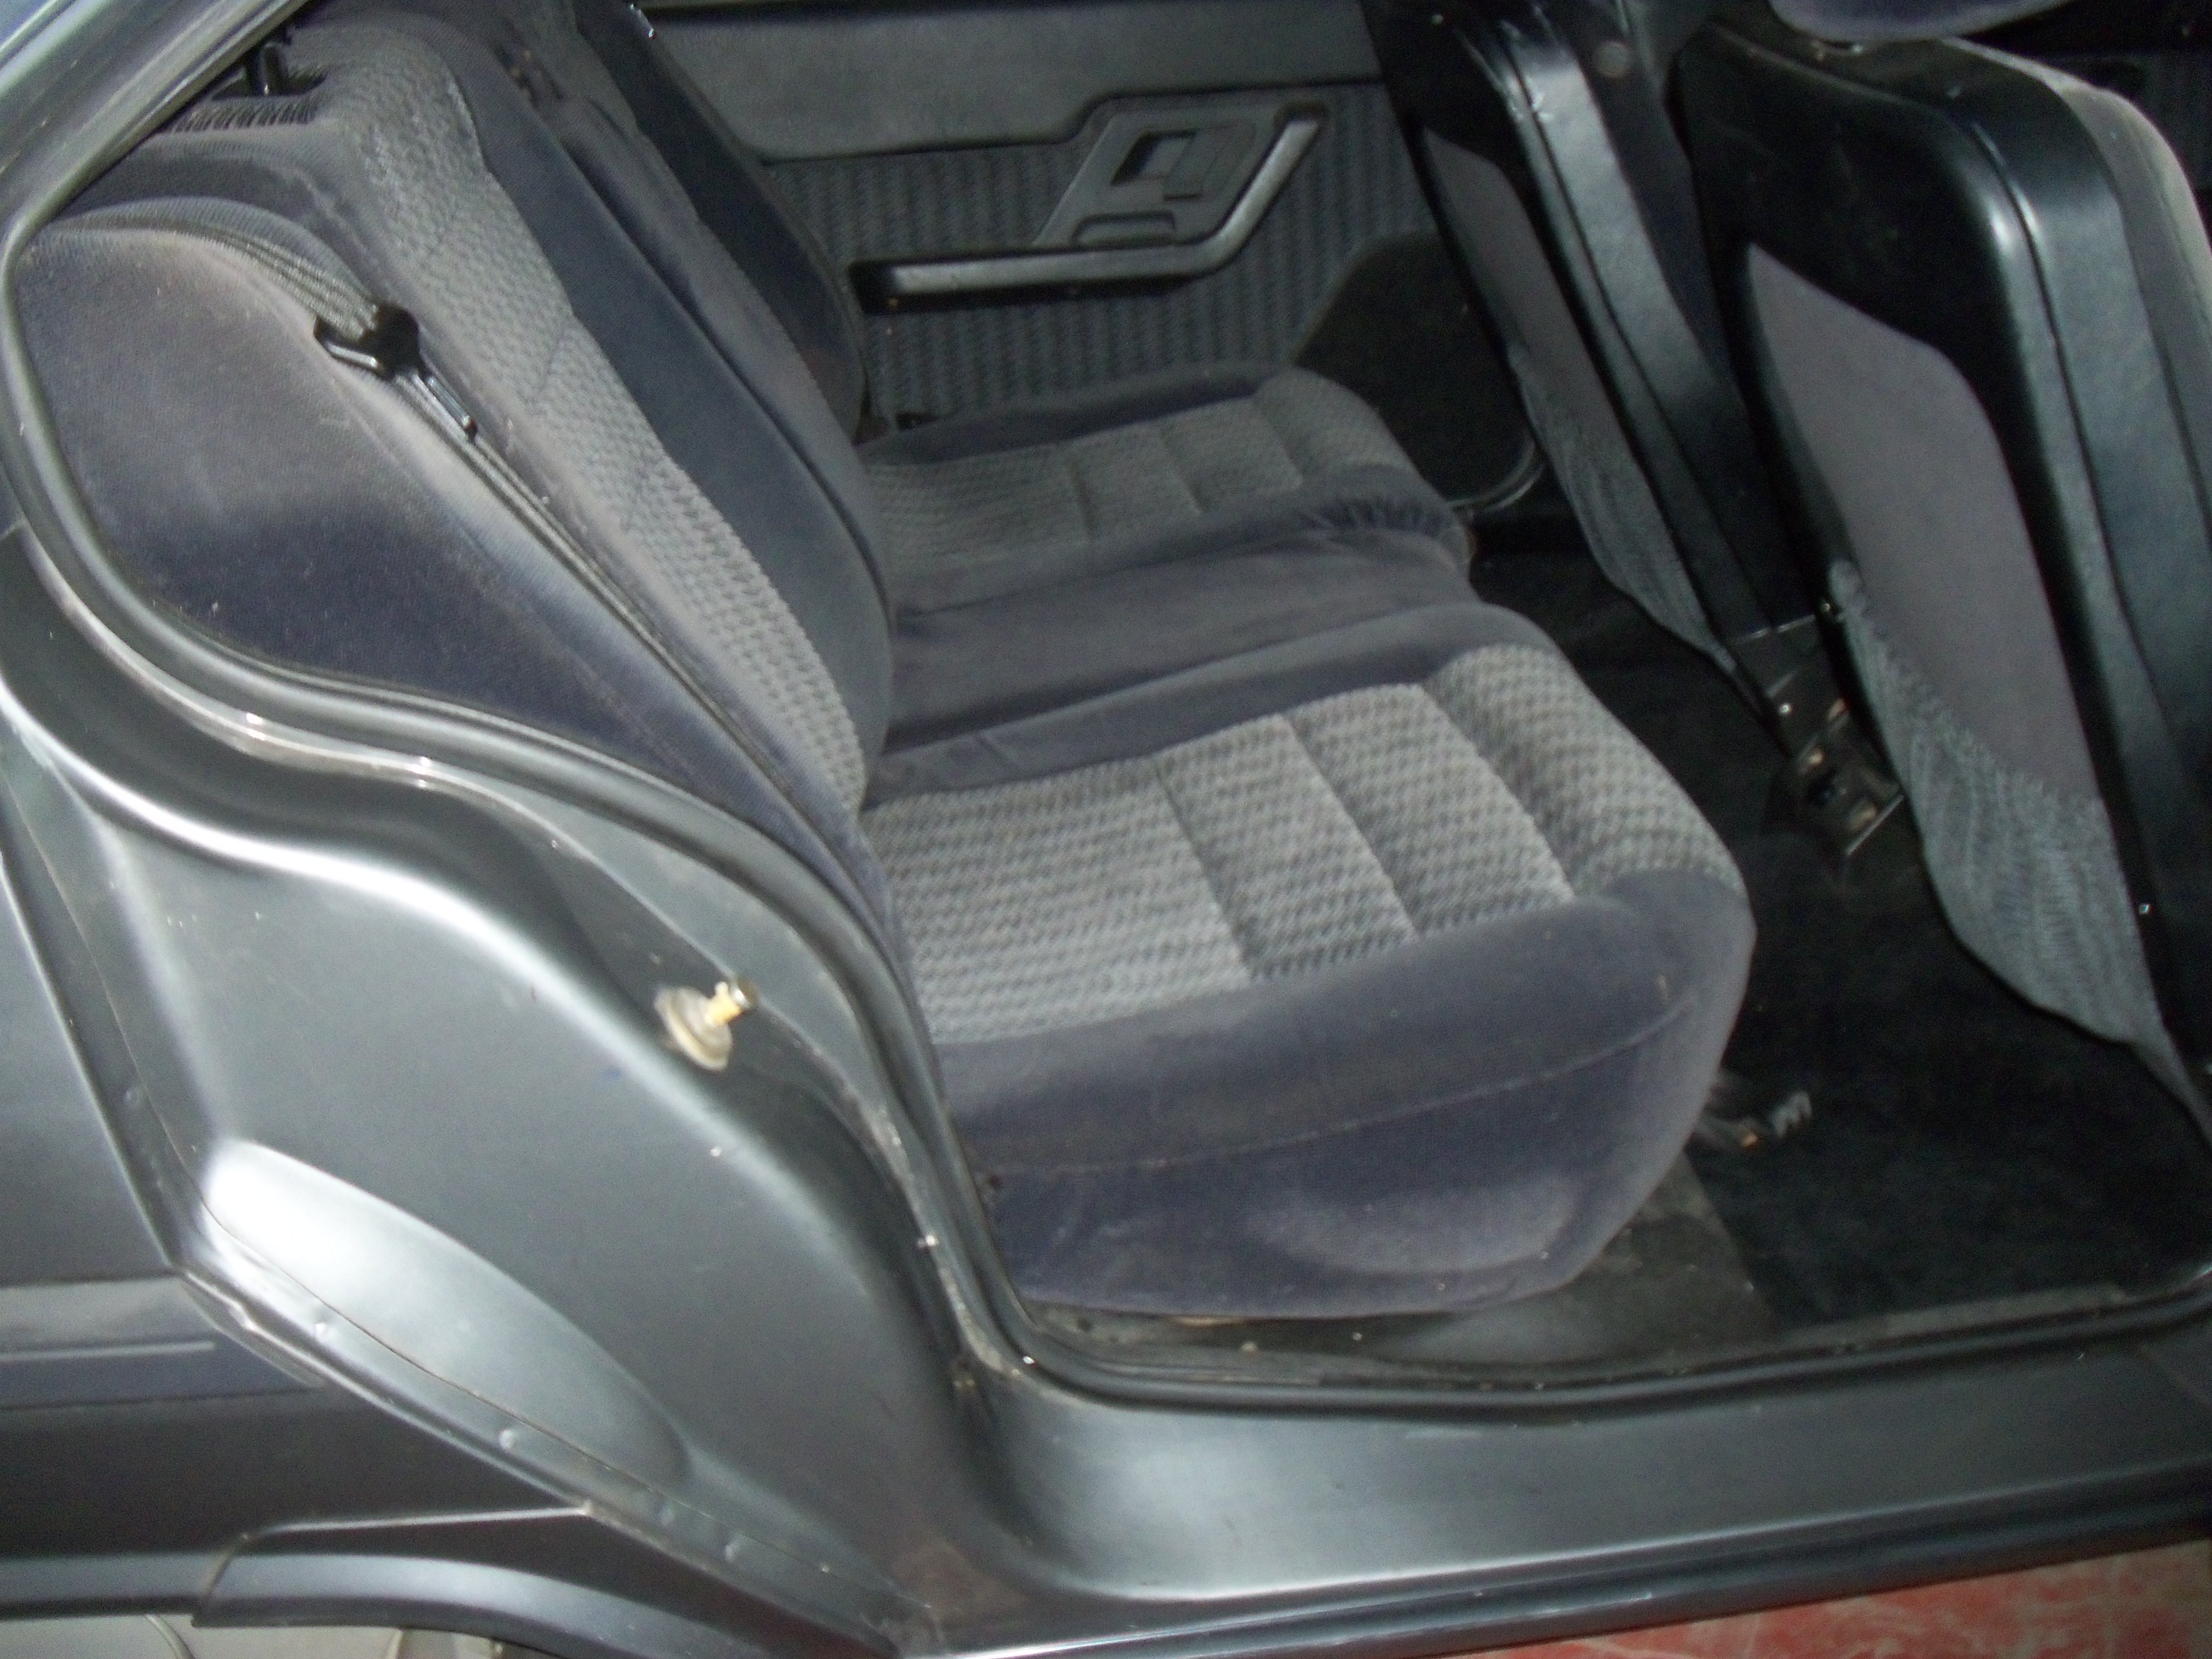
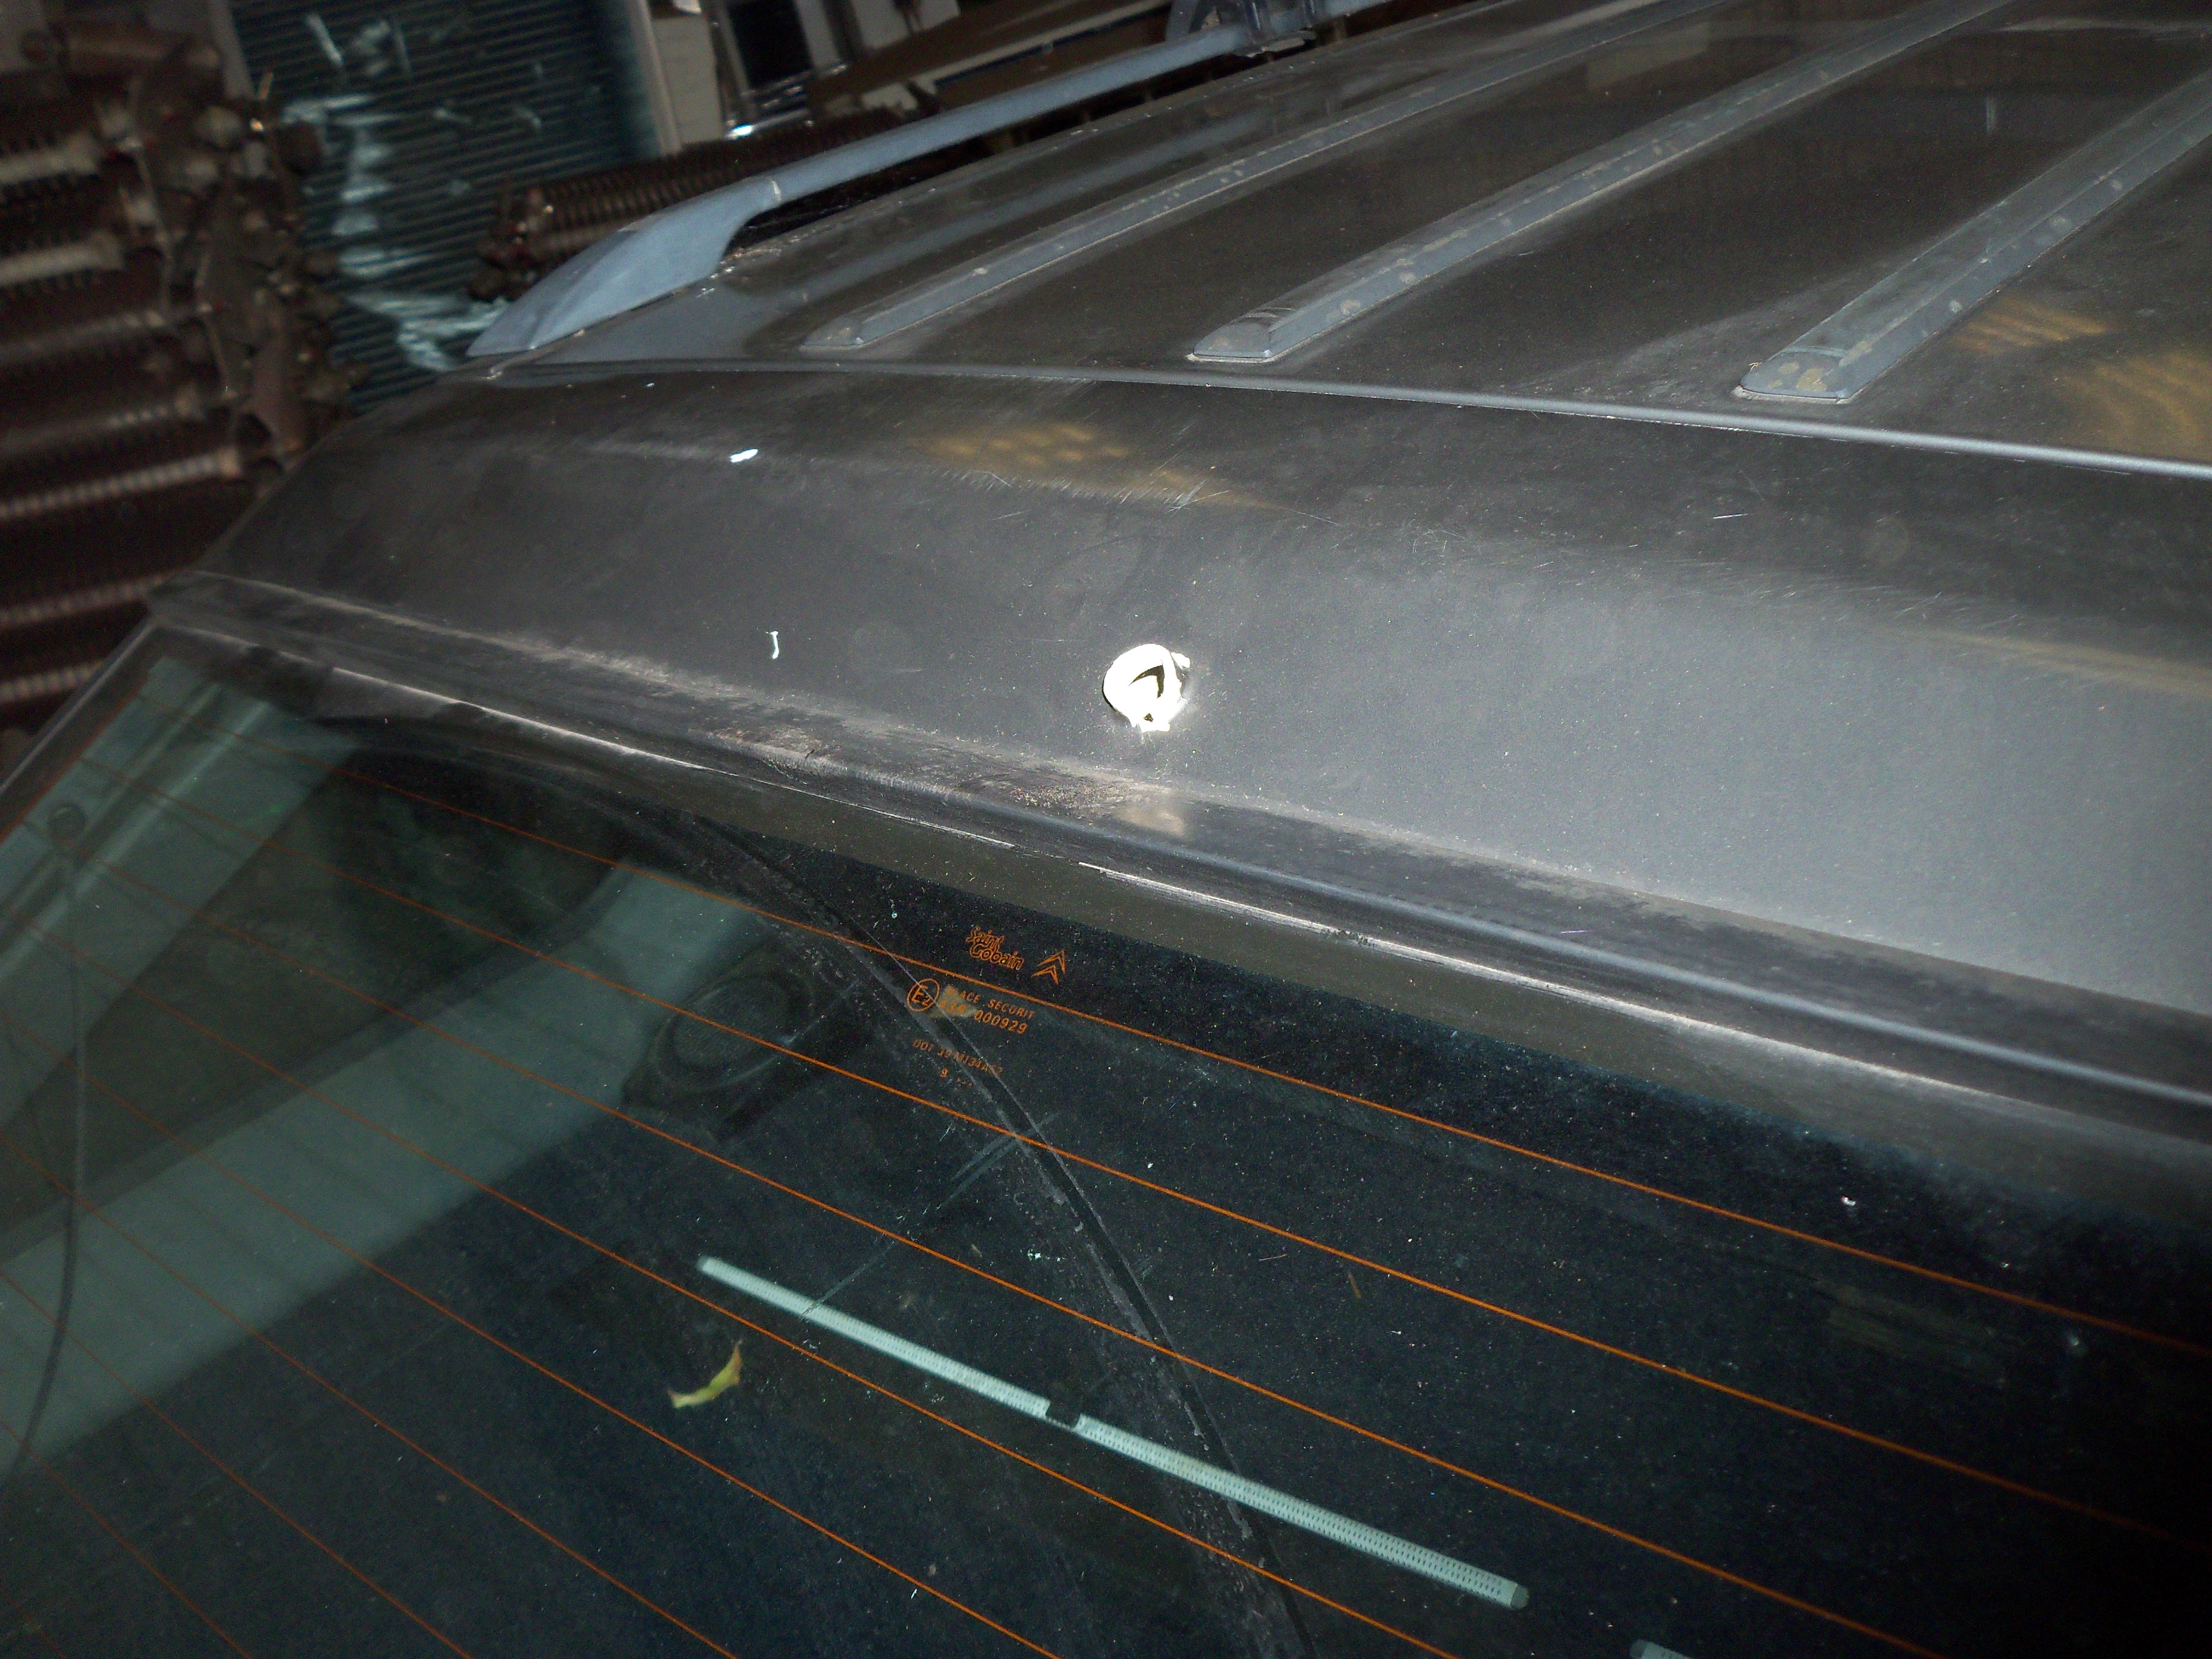
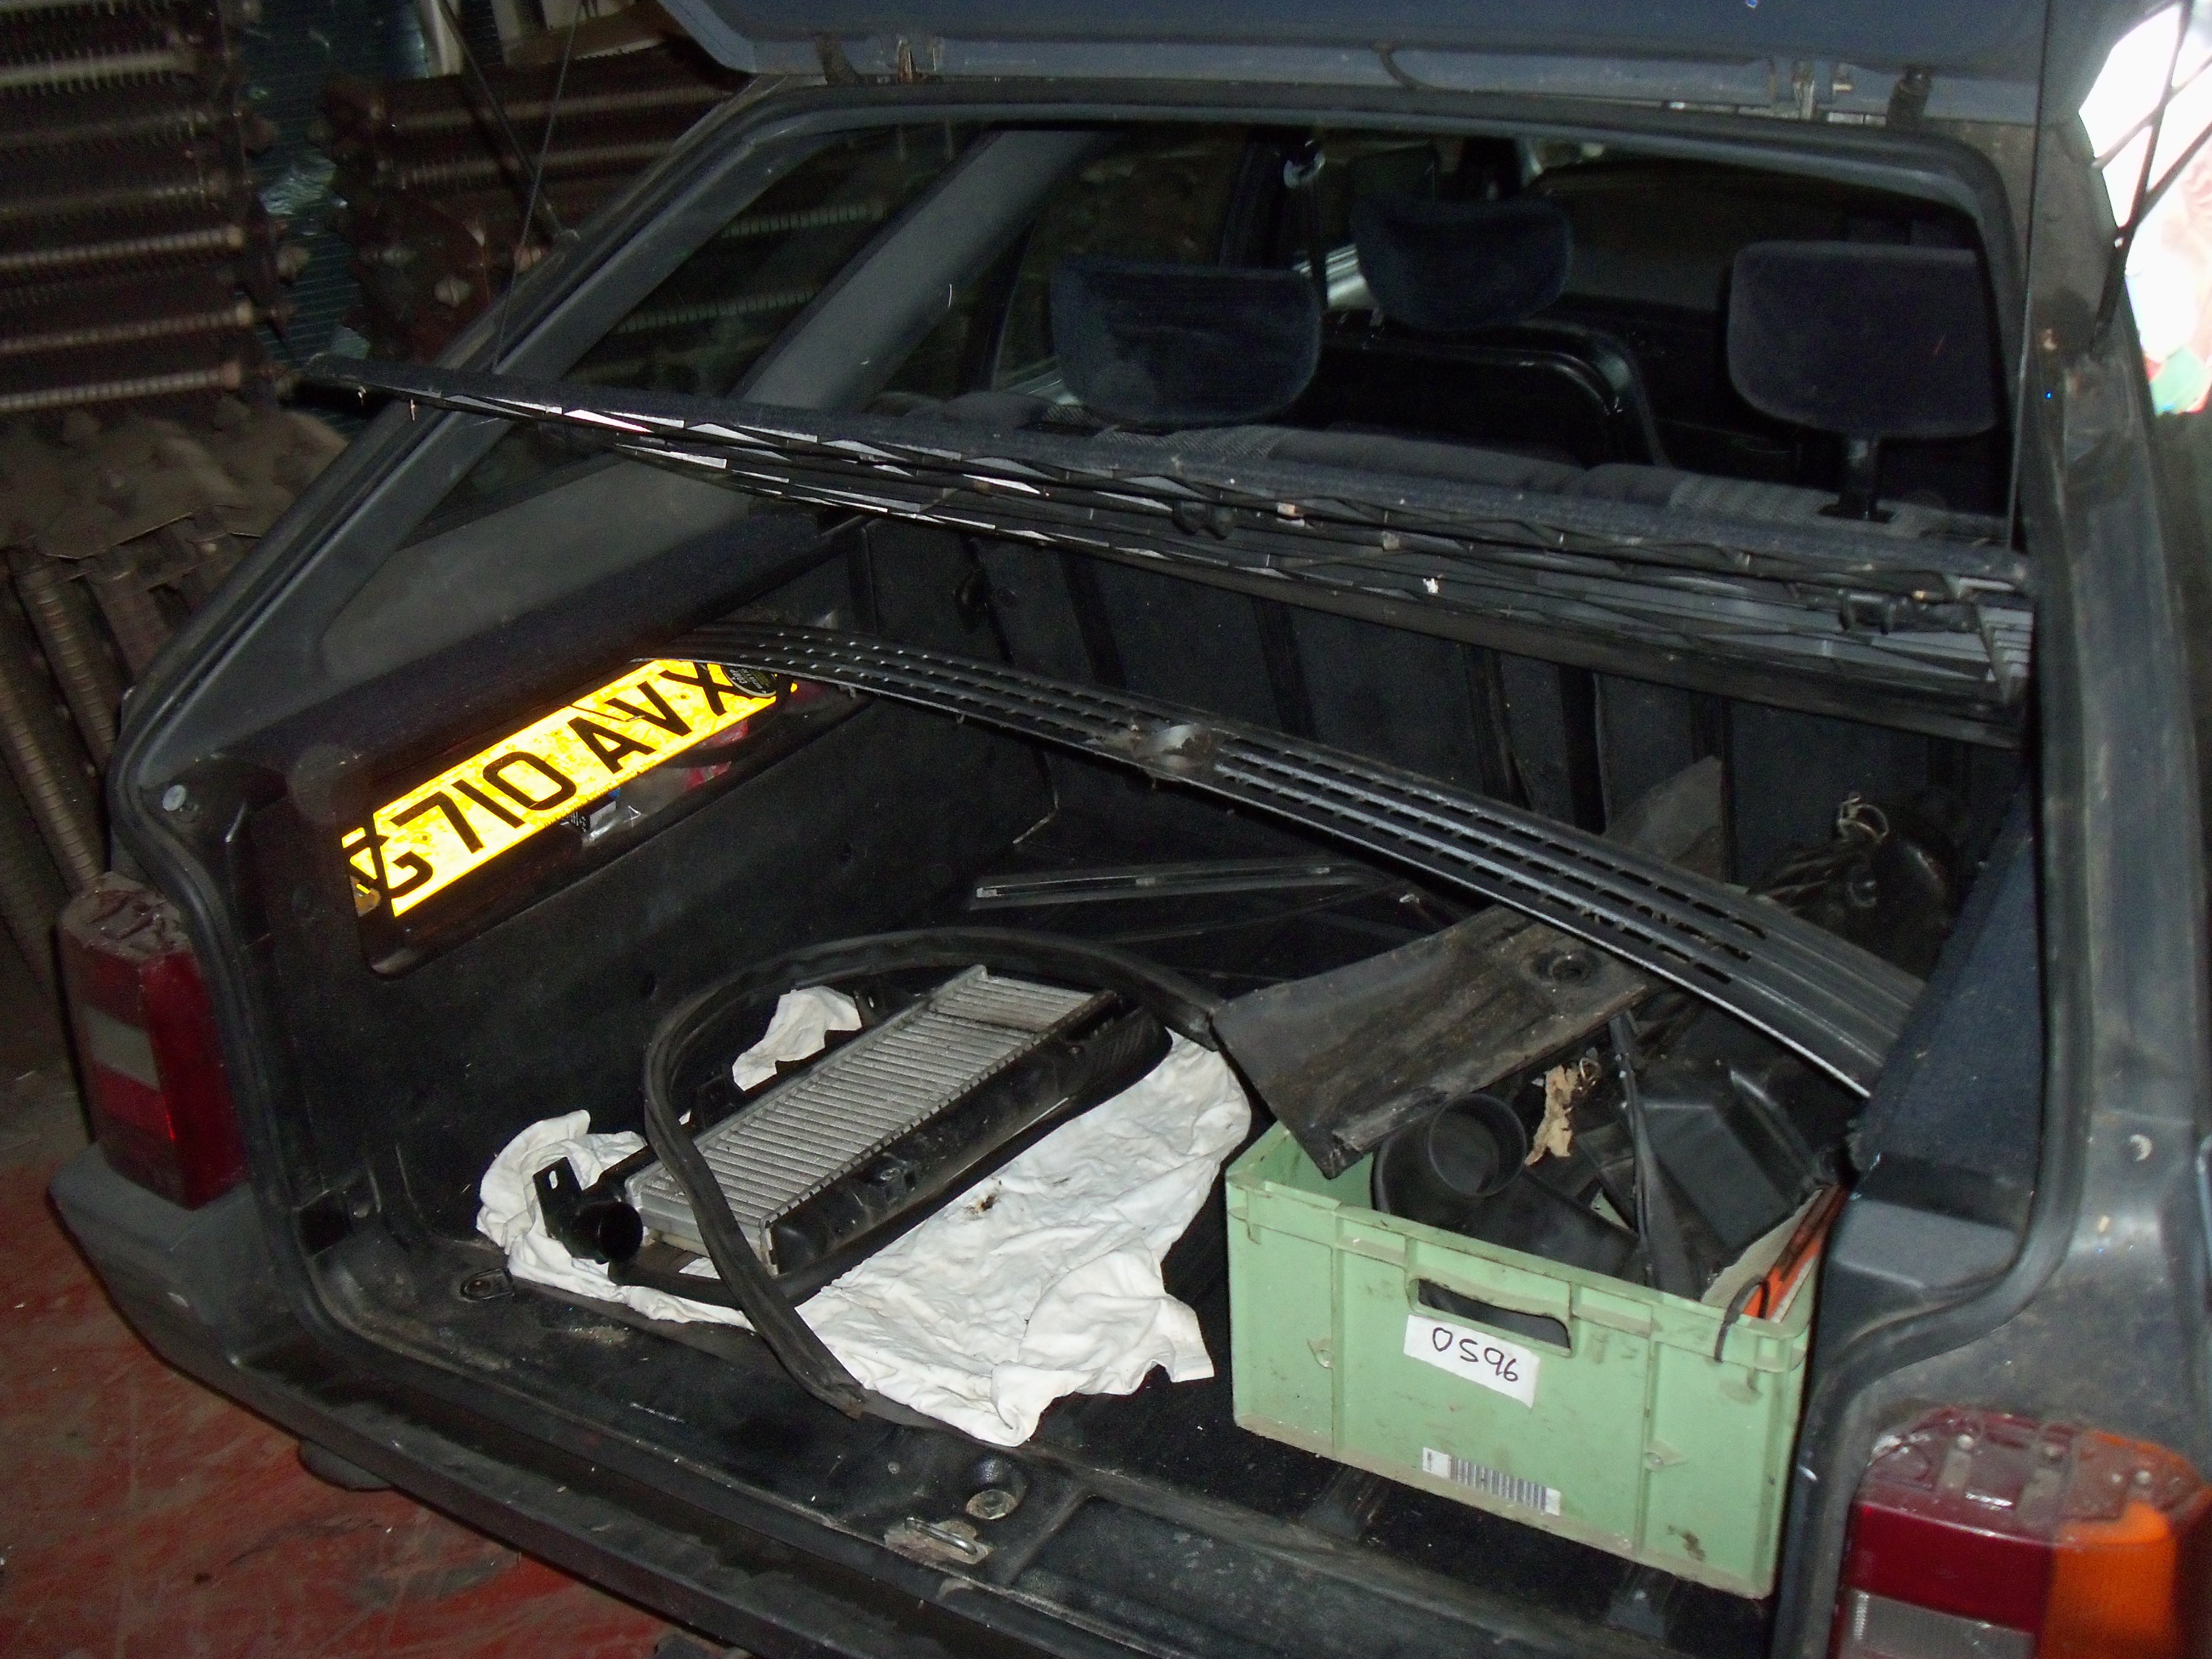
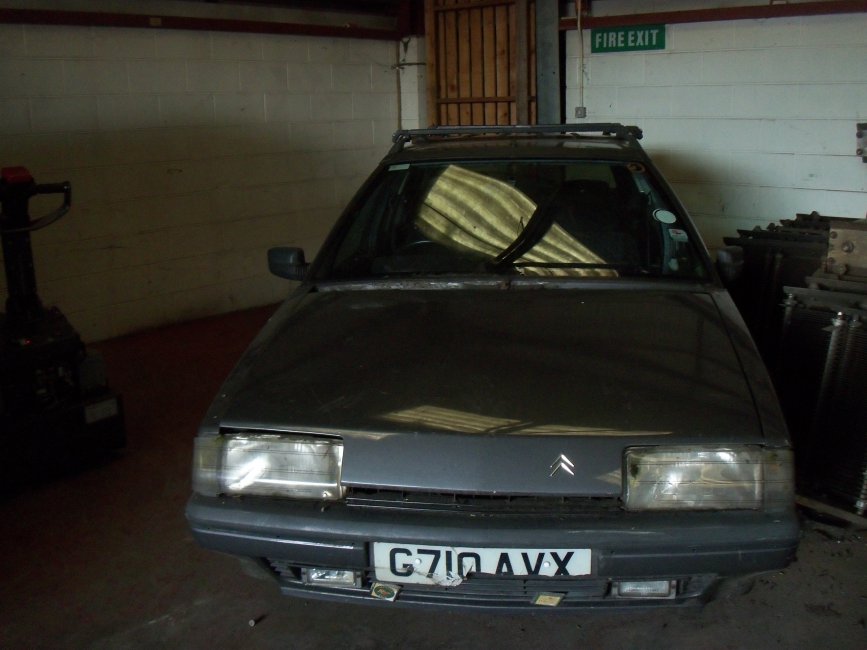
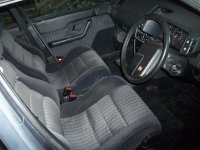
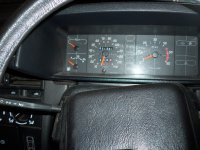
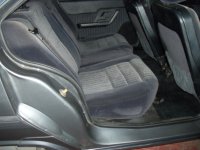
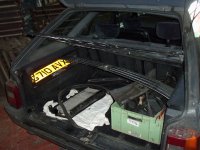
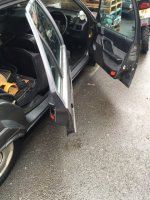
so these are the pictures that the seller sent me:
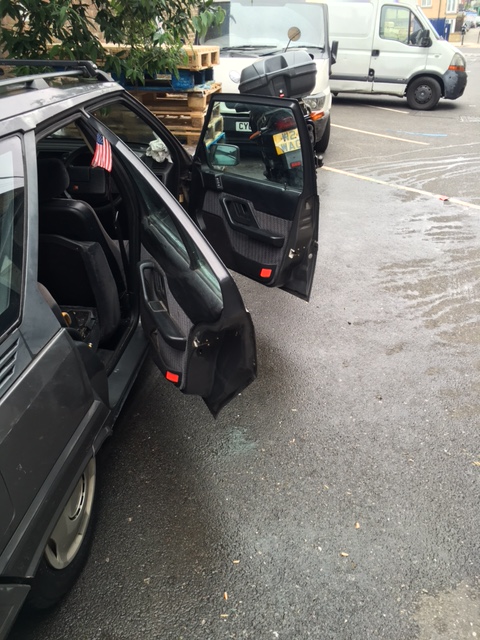


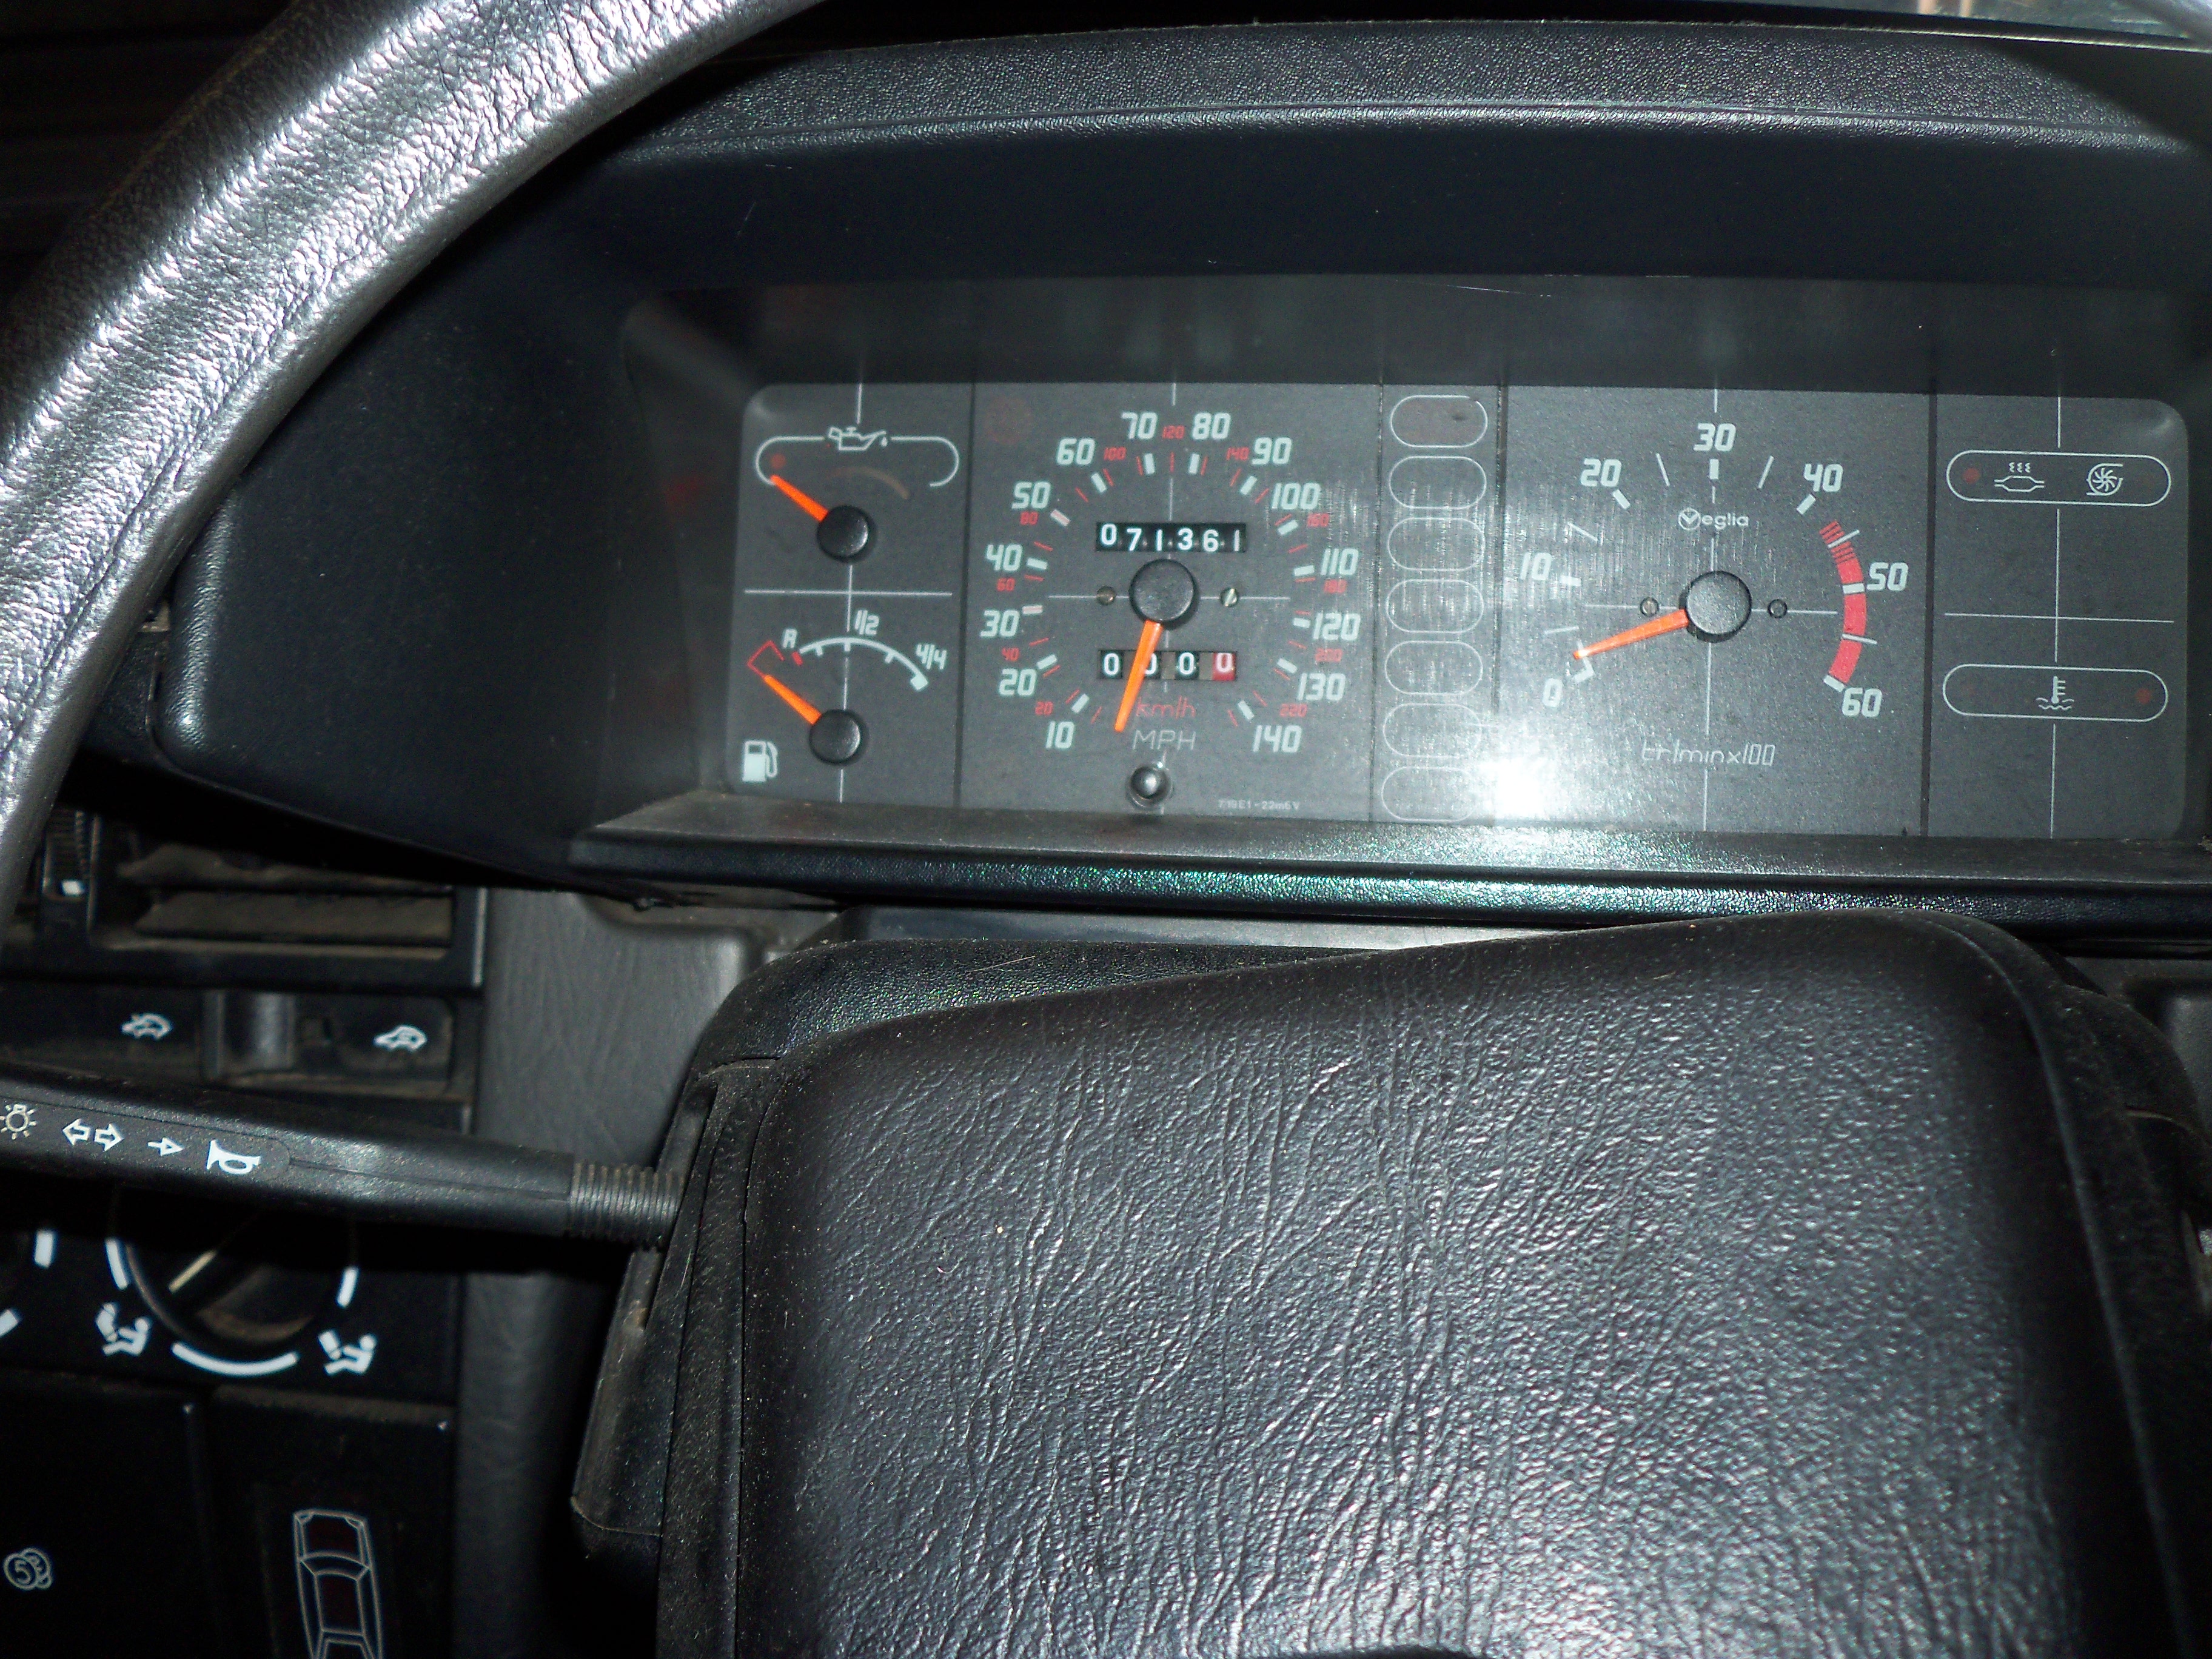
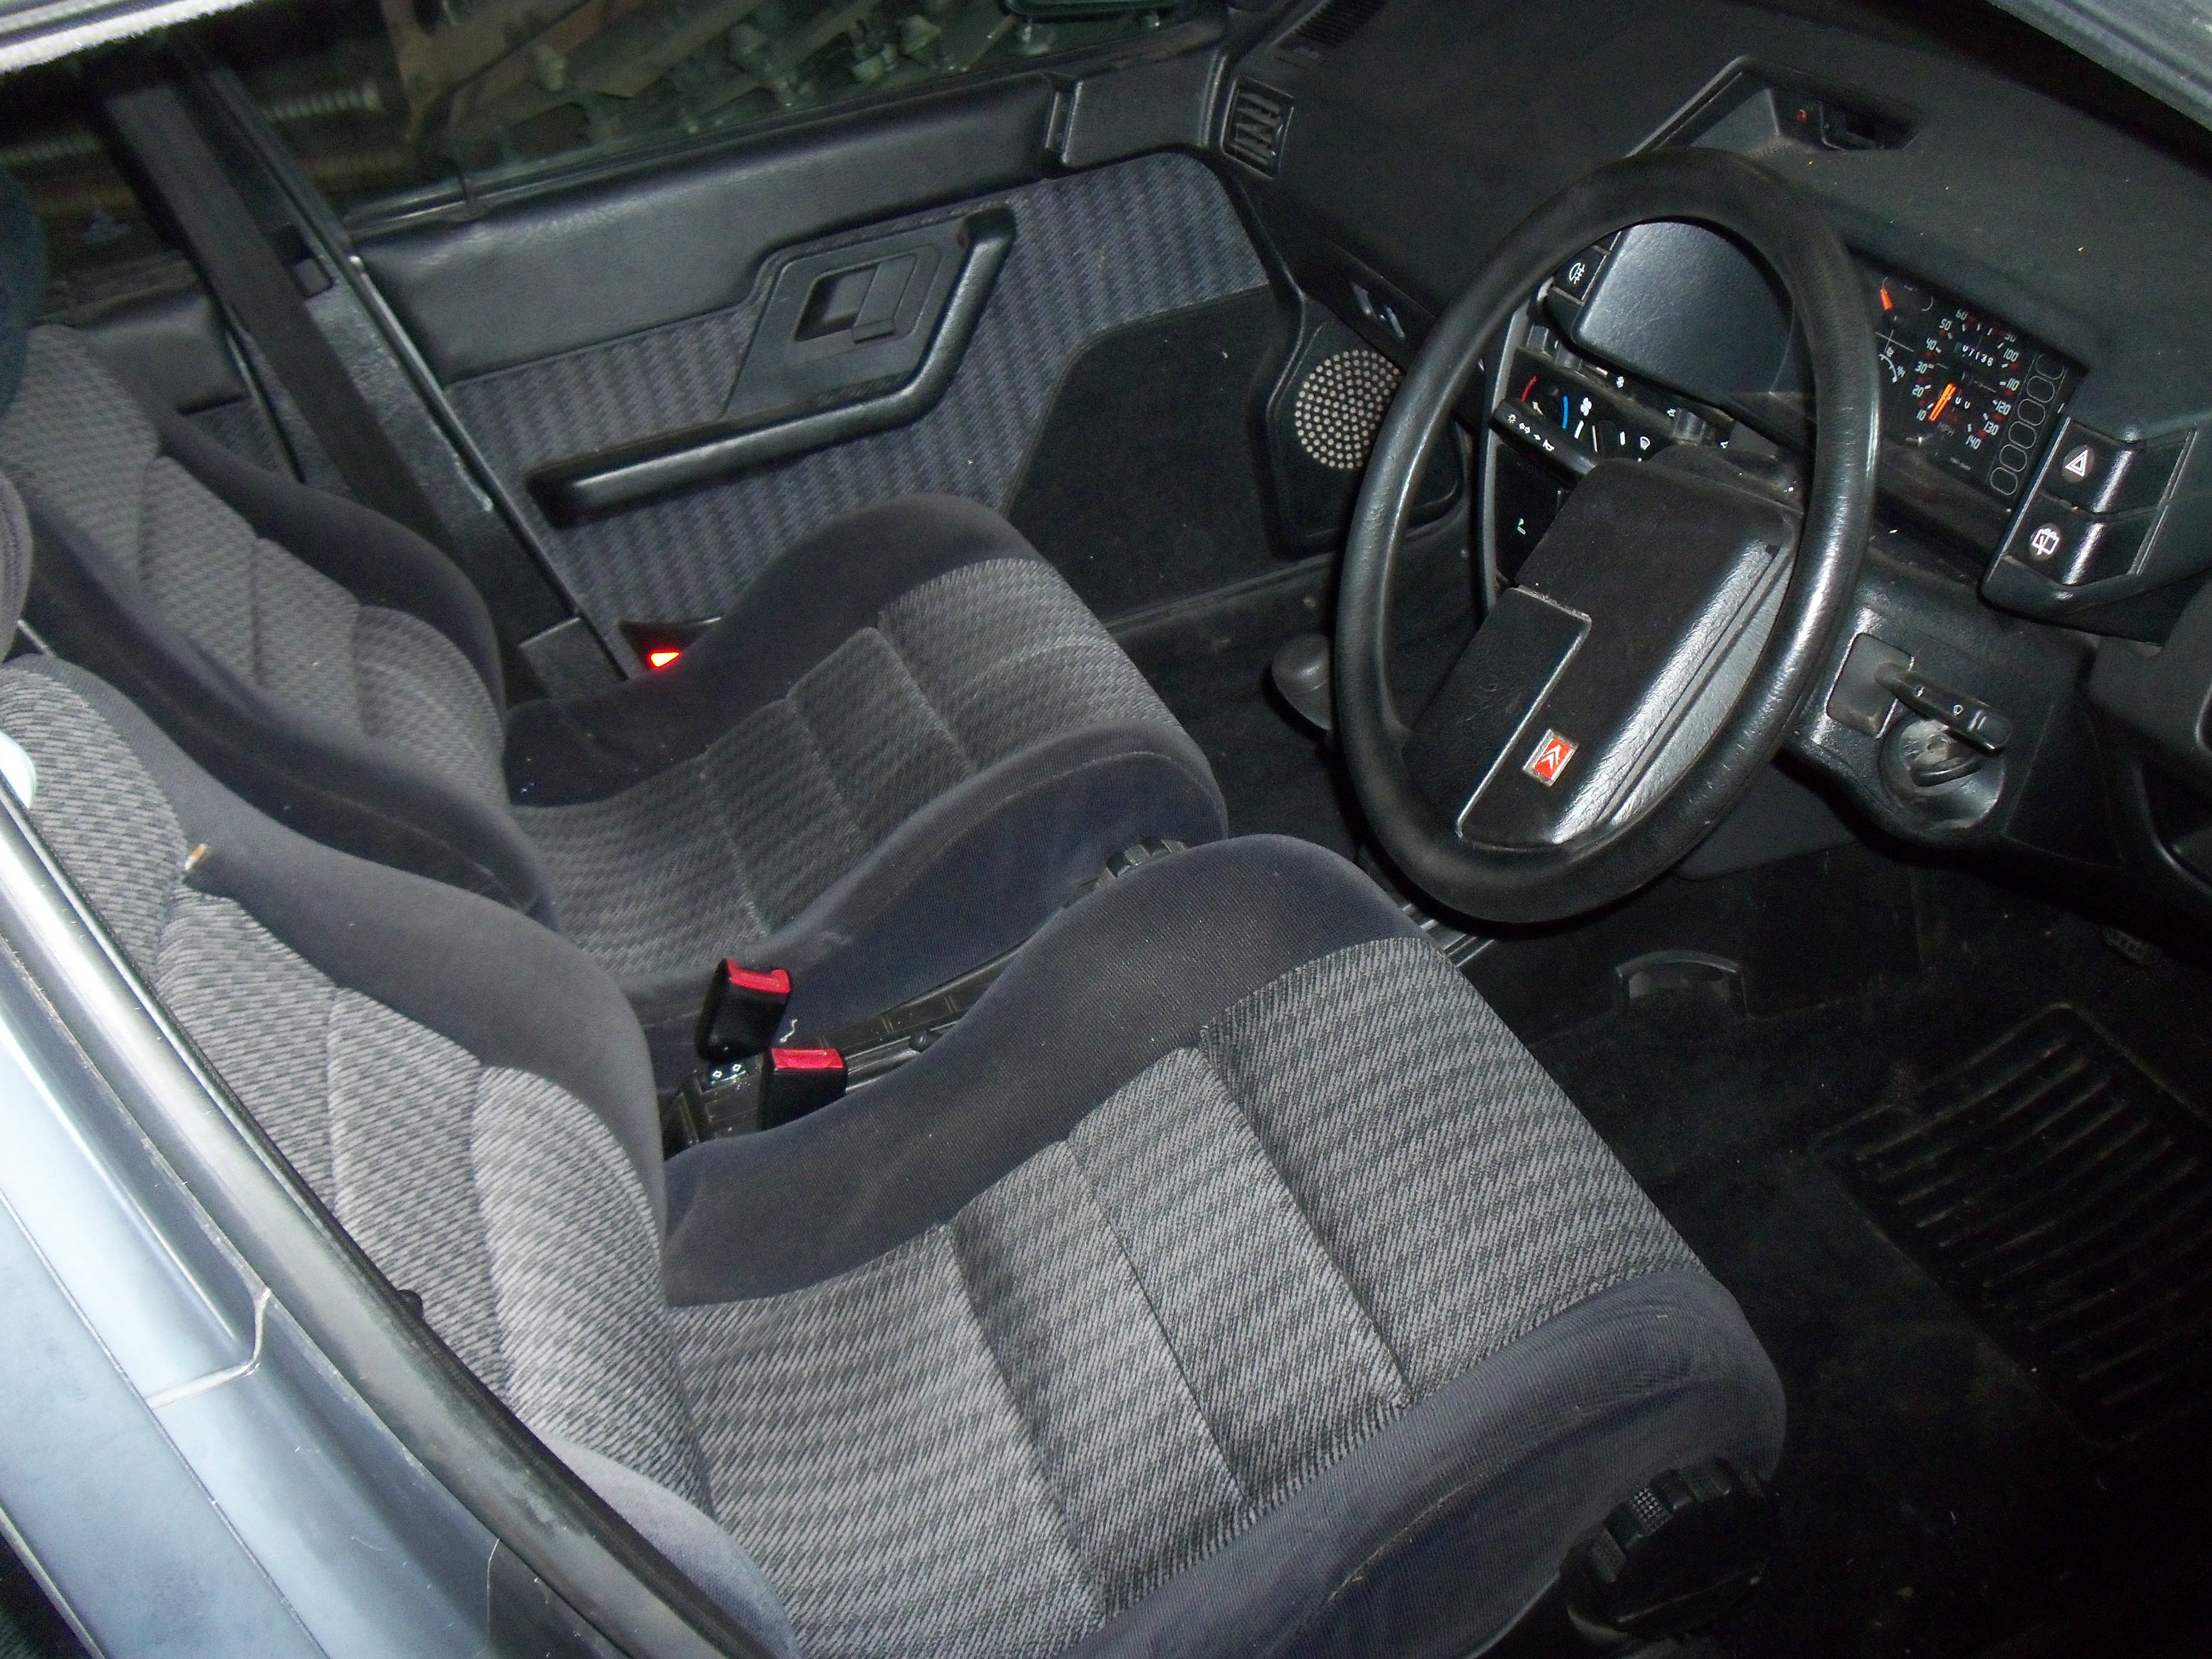
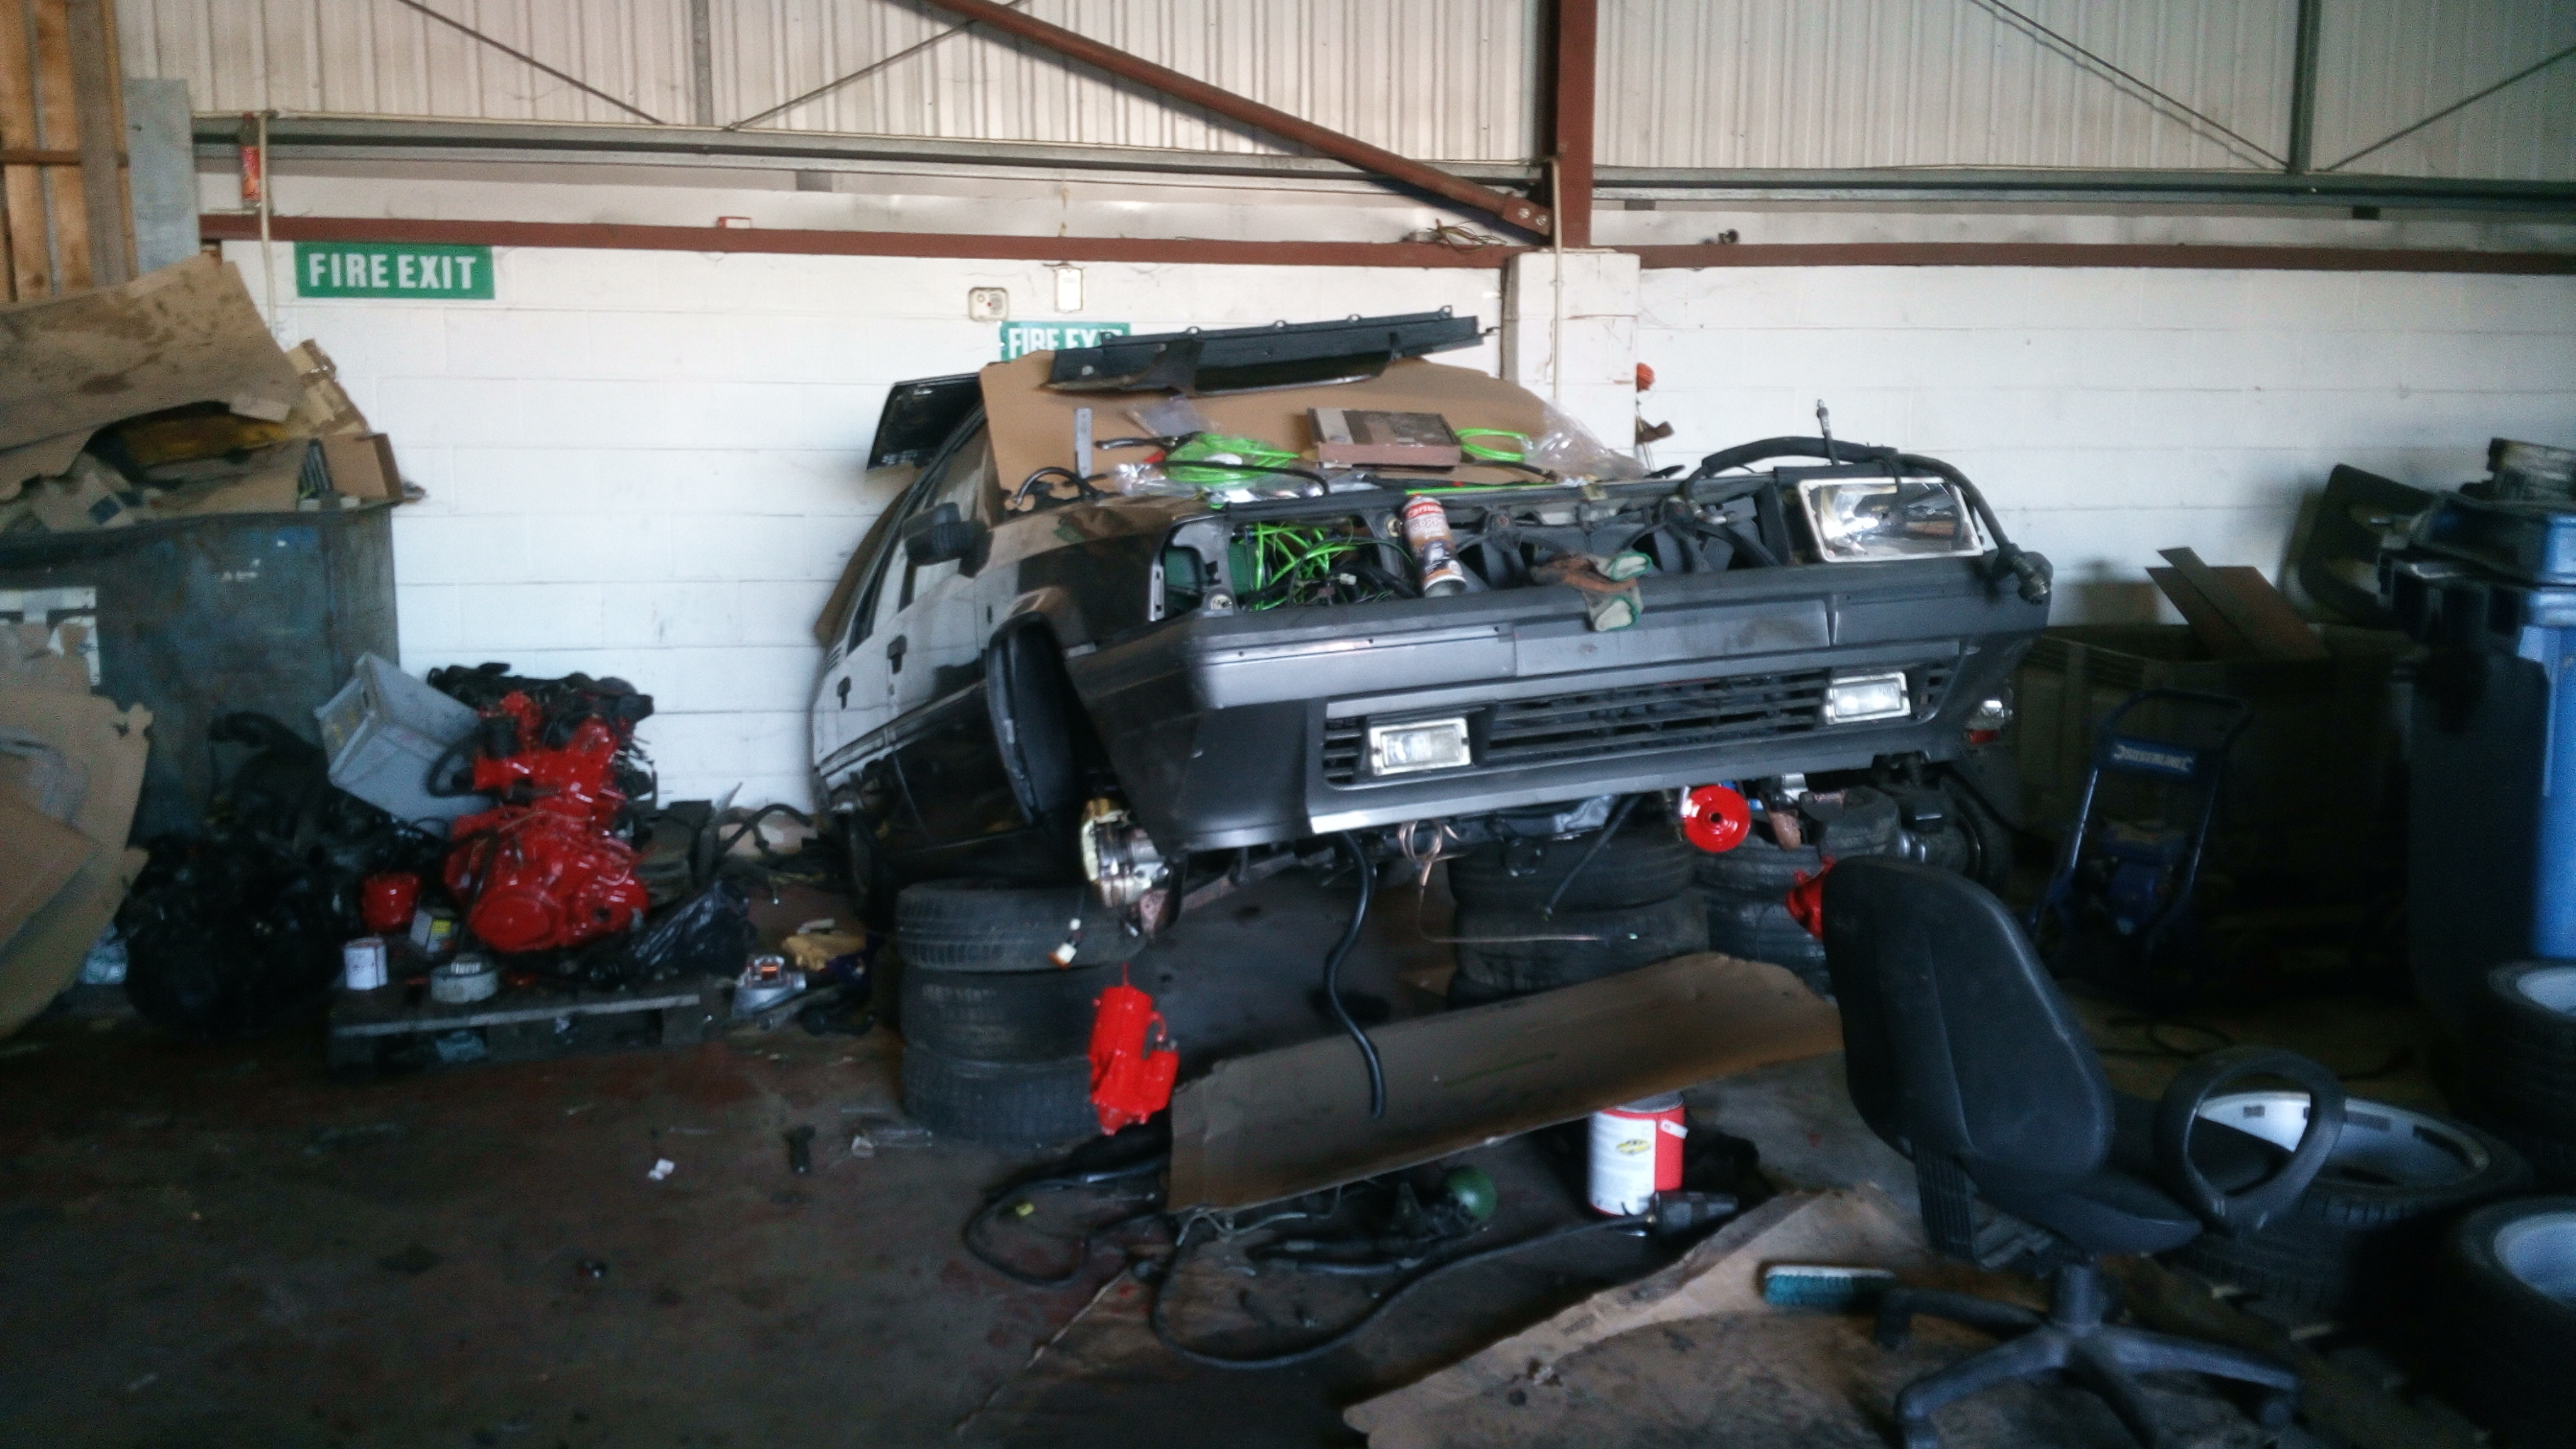
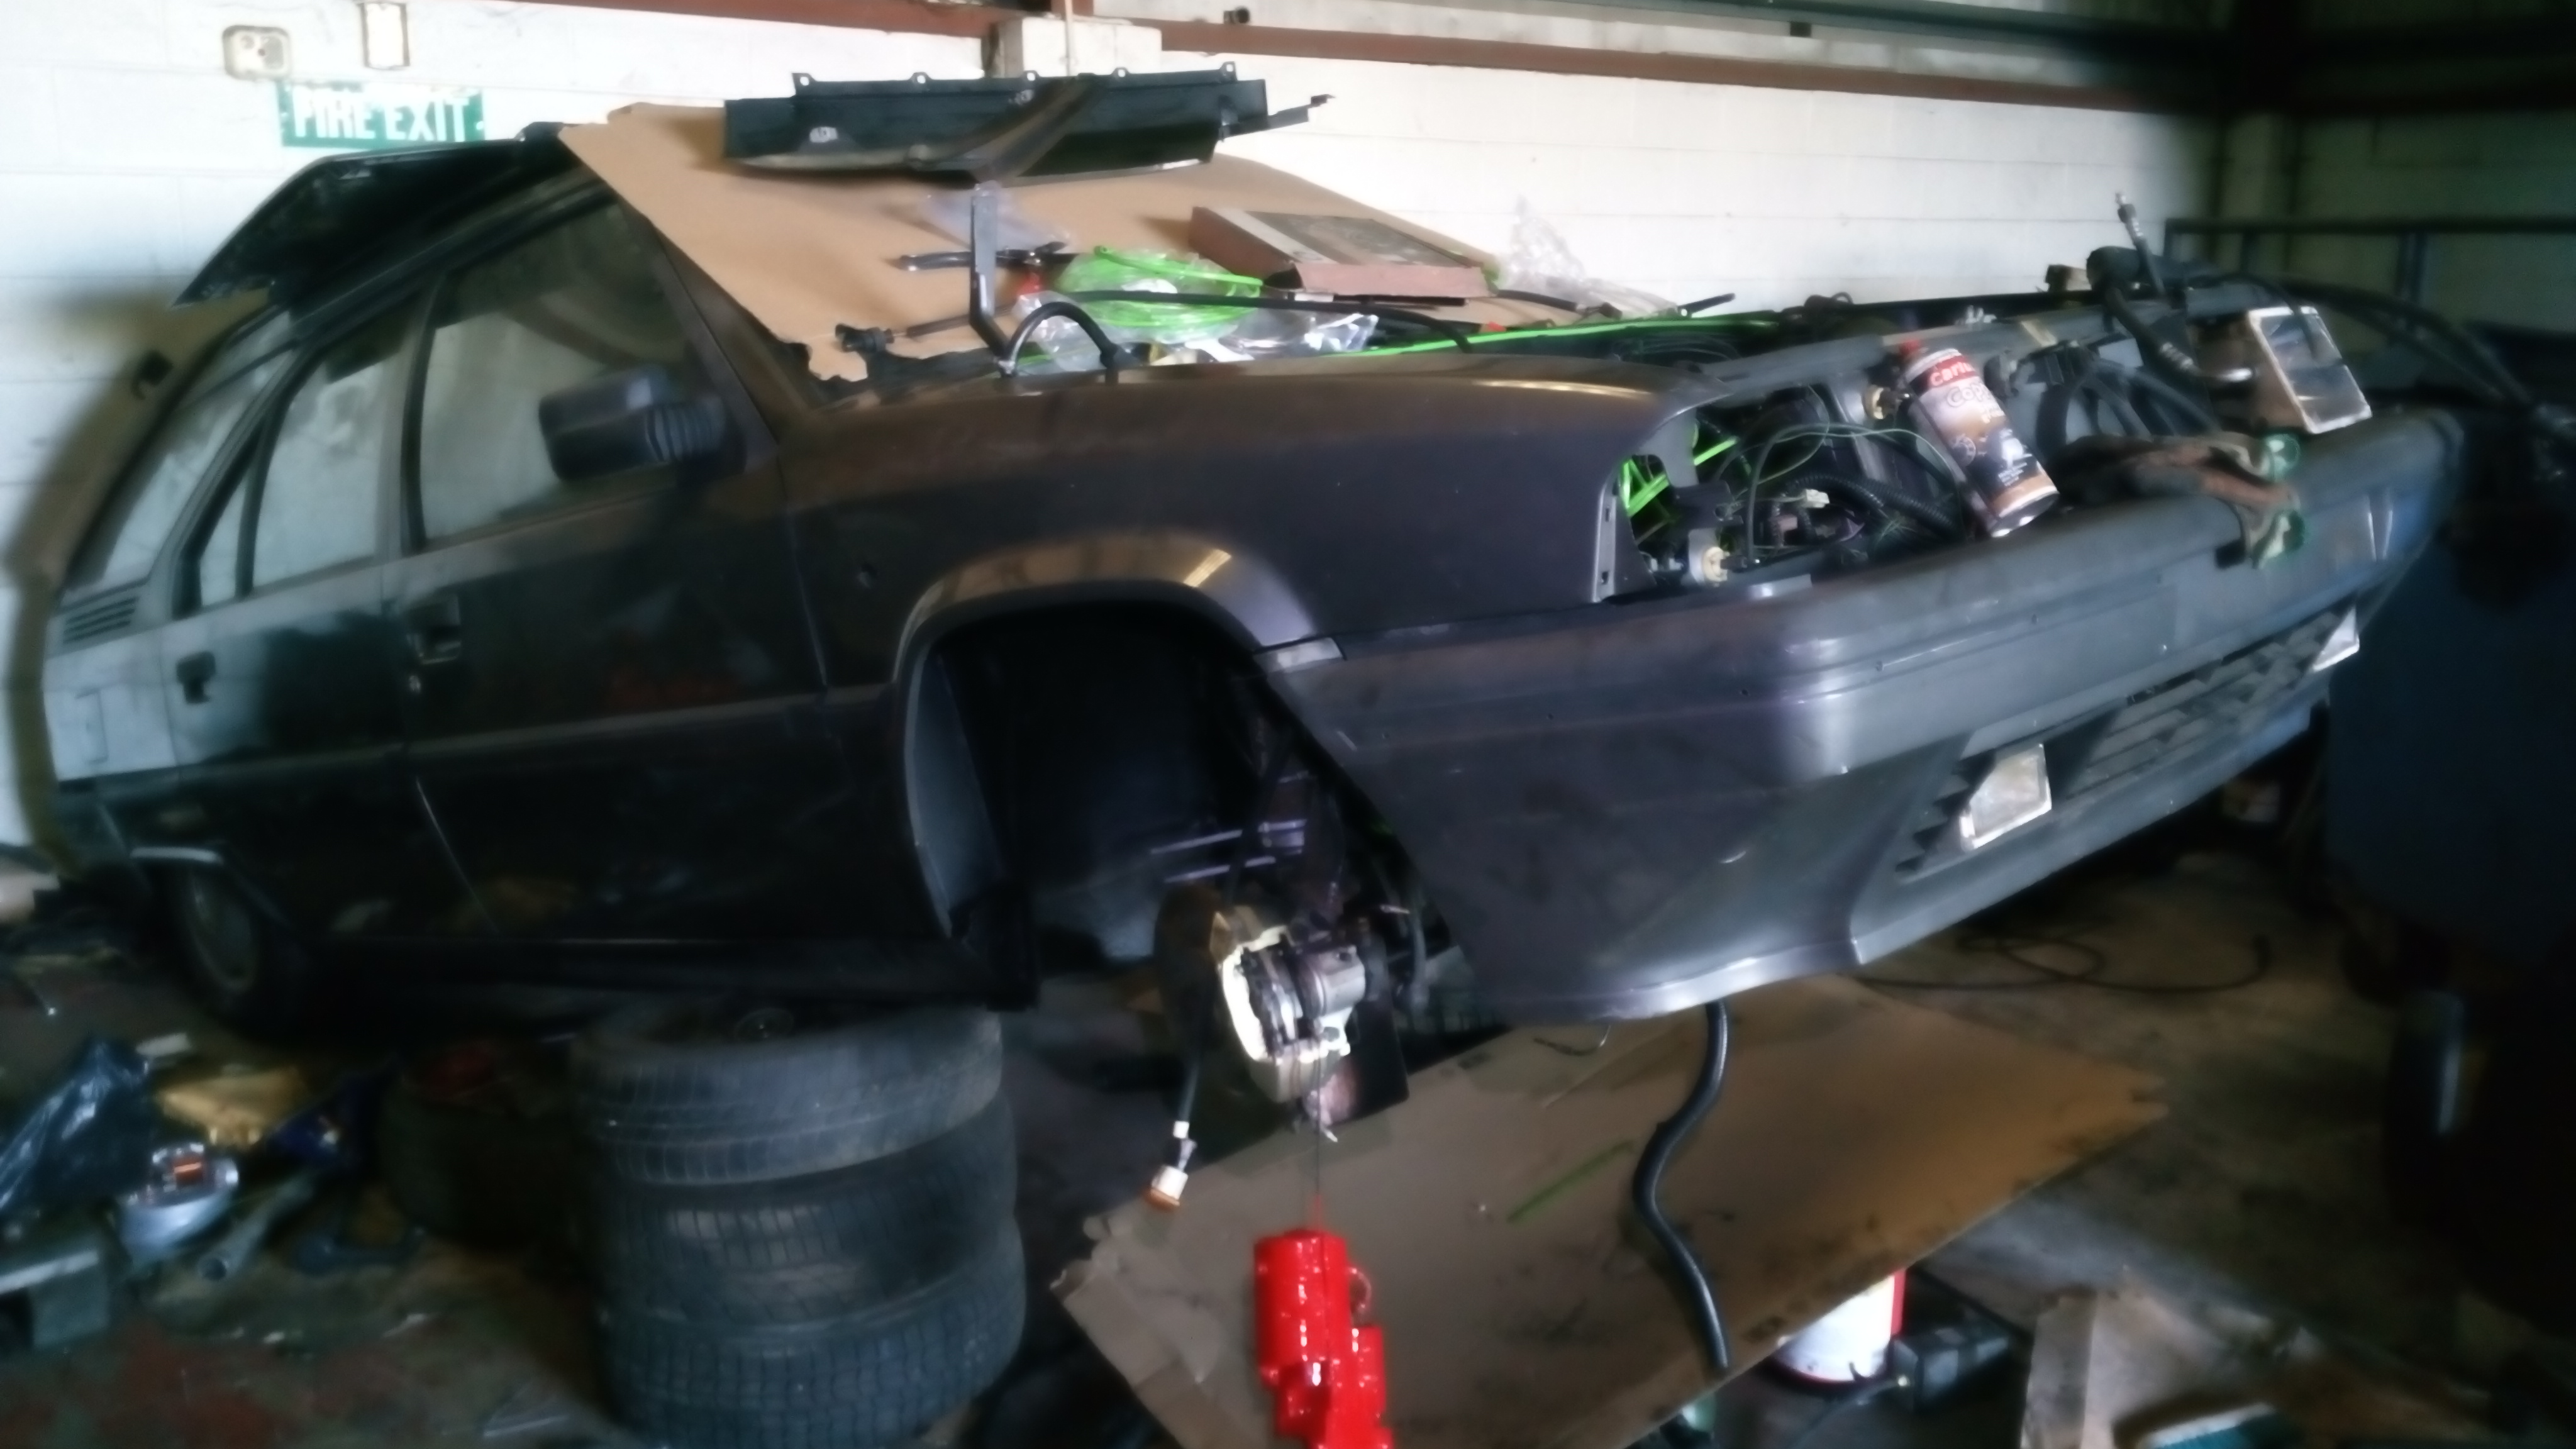
and these are from yesterday now i have the car at work:


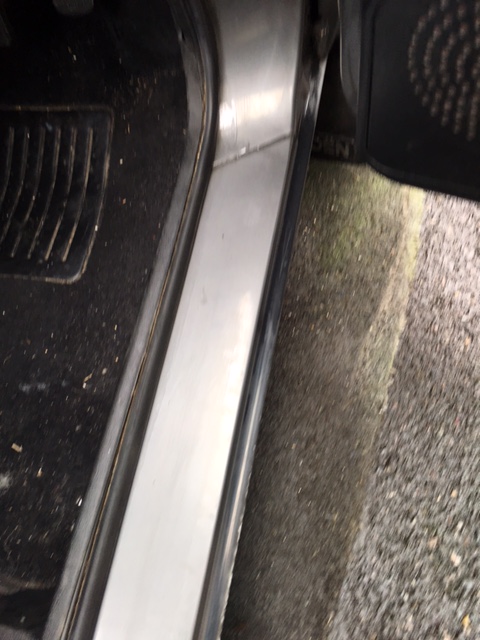
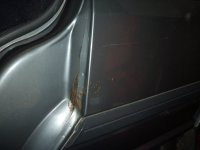
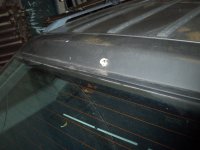
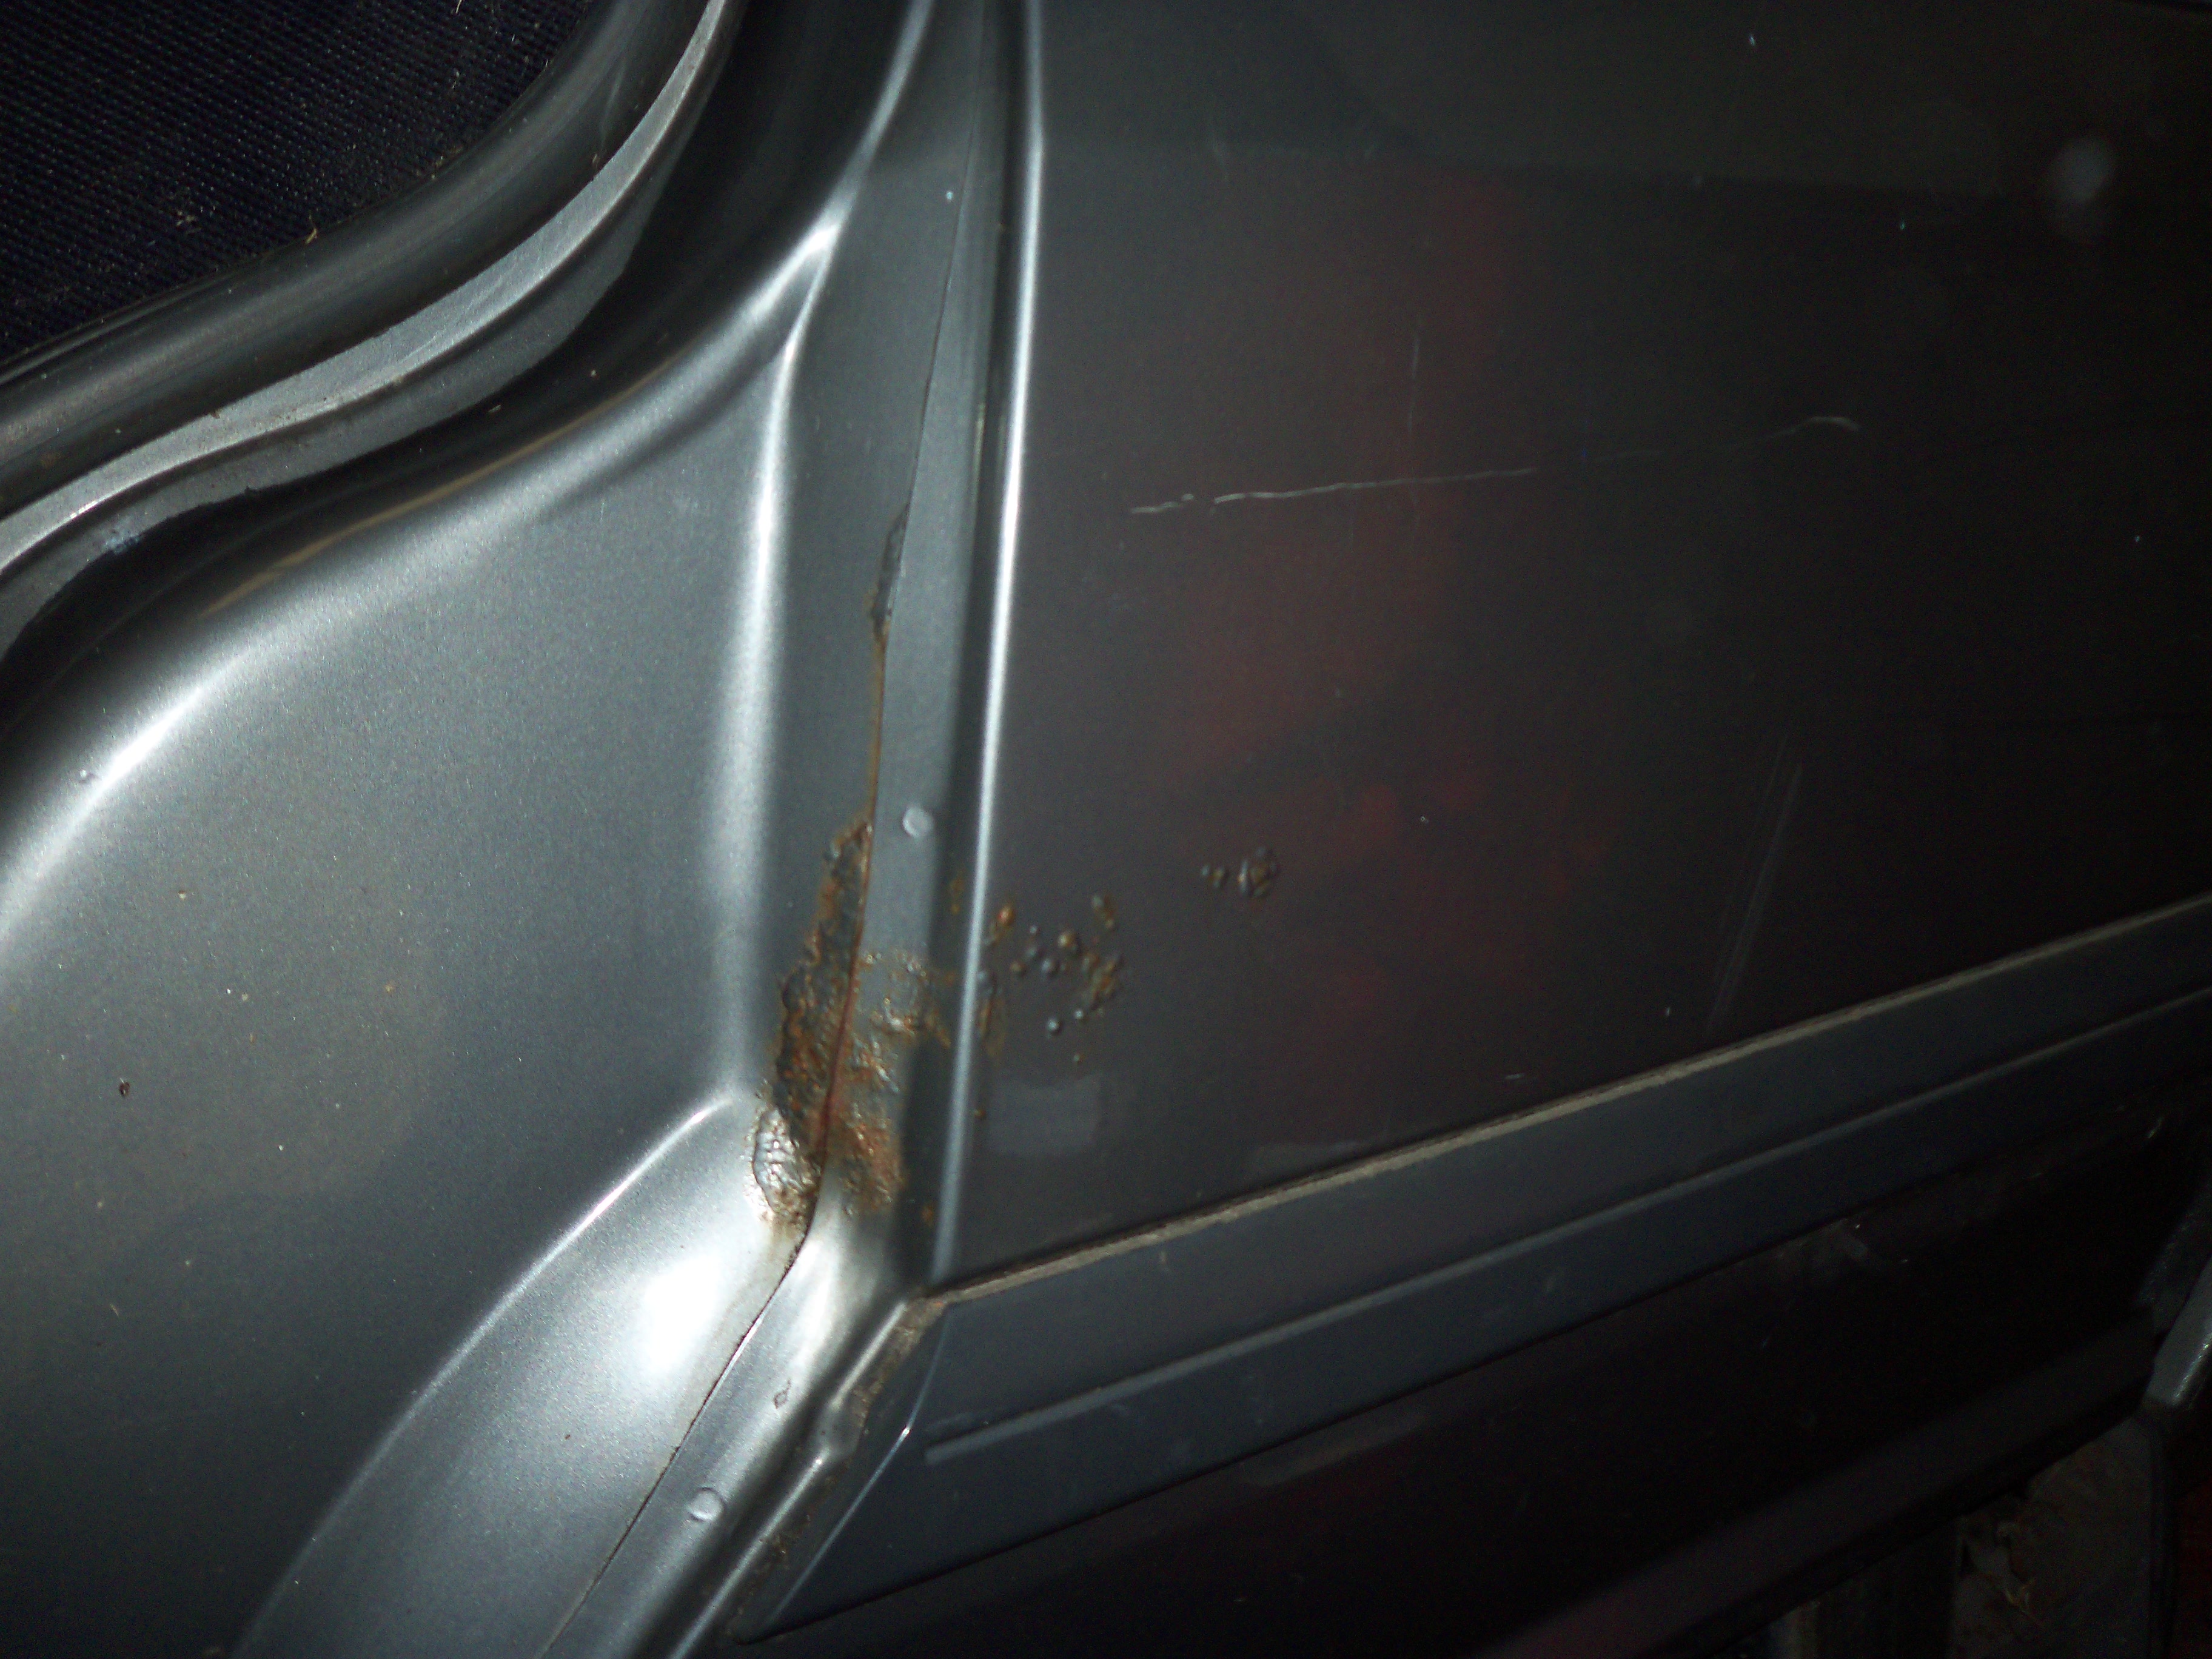
a slight bit of rust.. but nothing i cant fix..


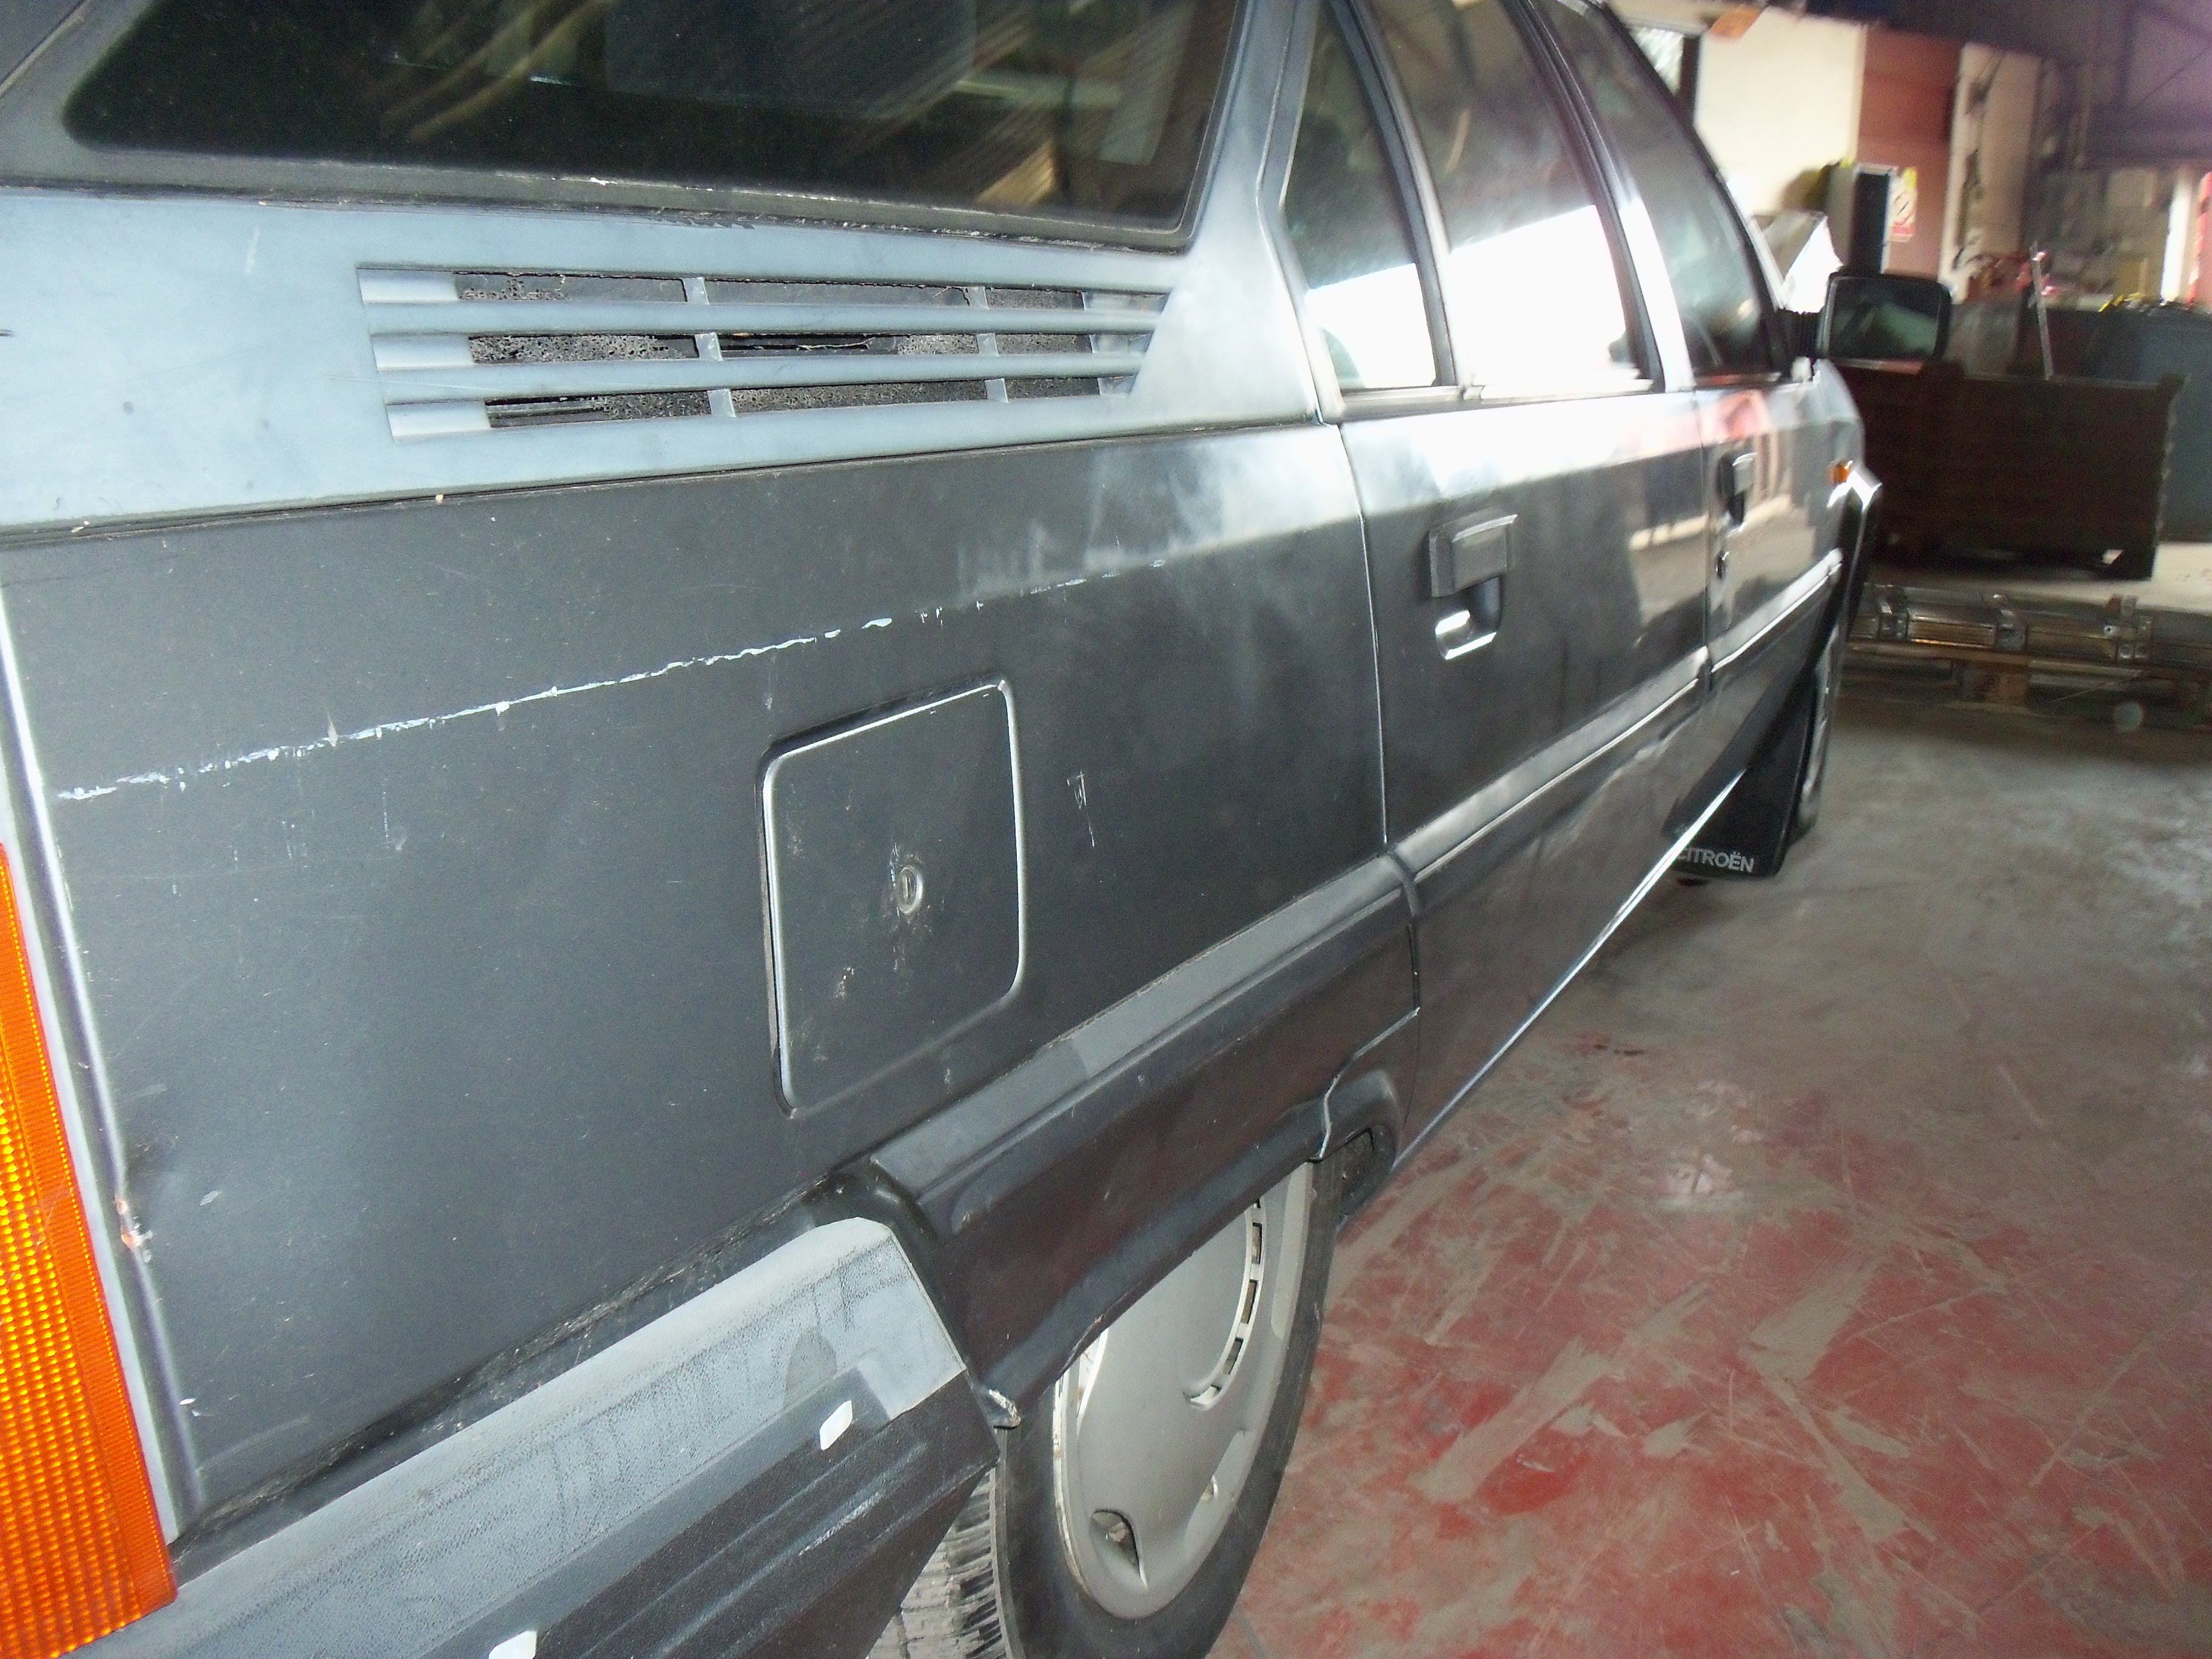
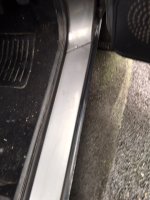
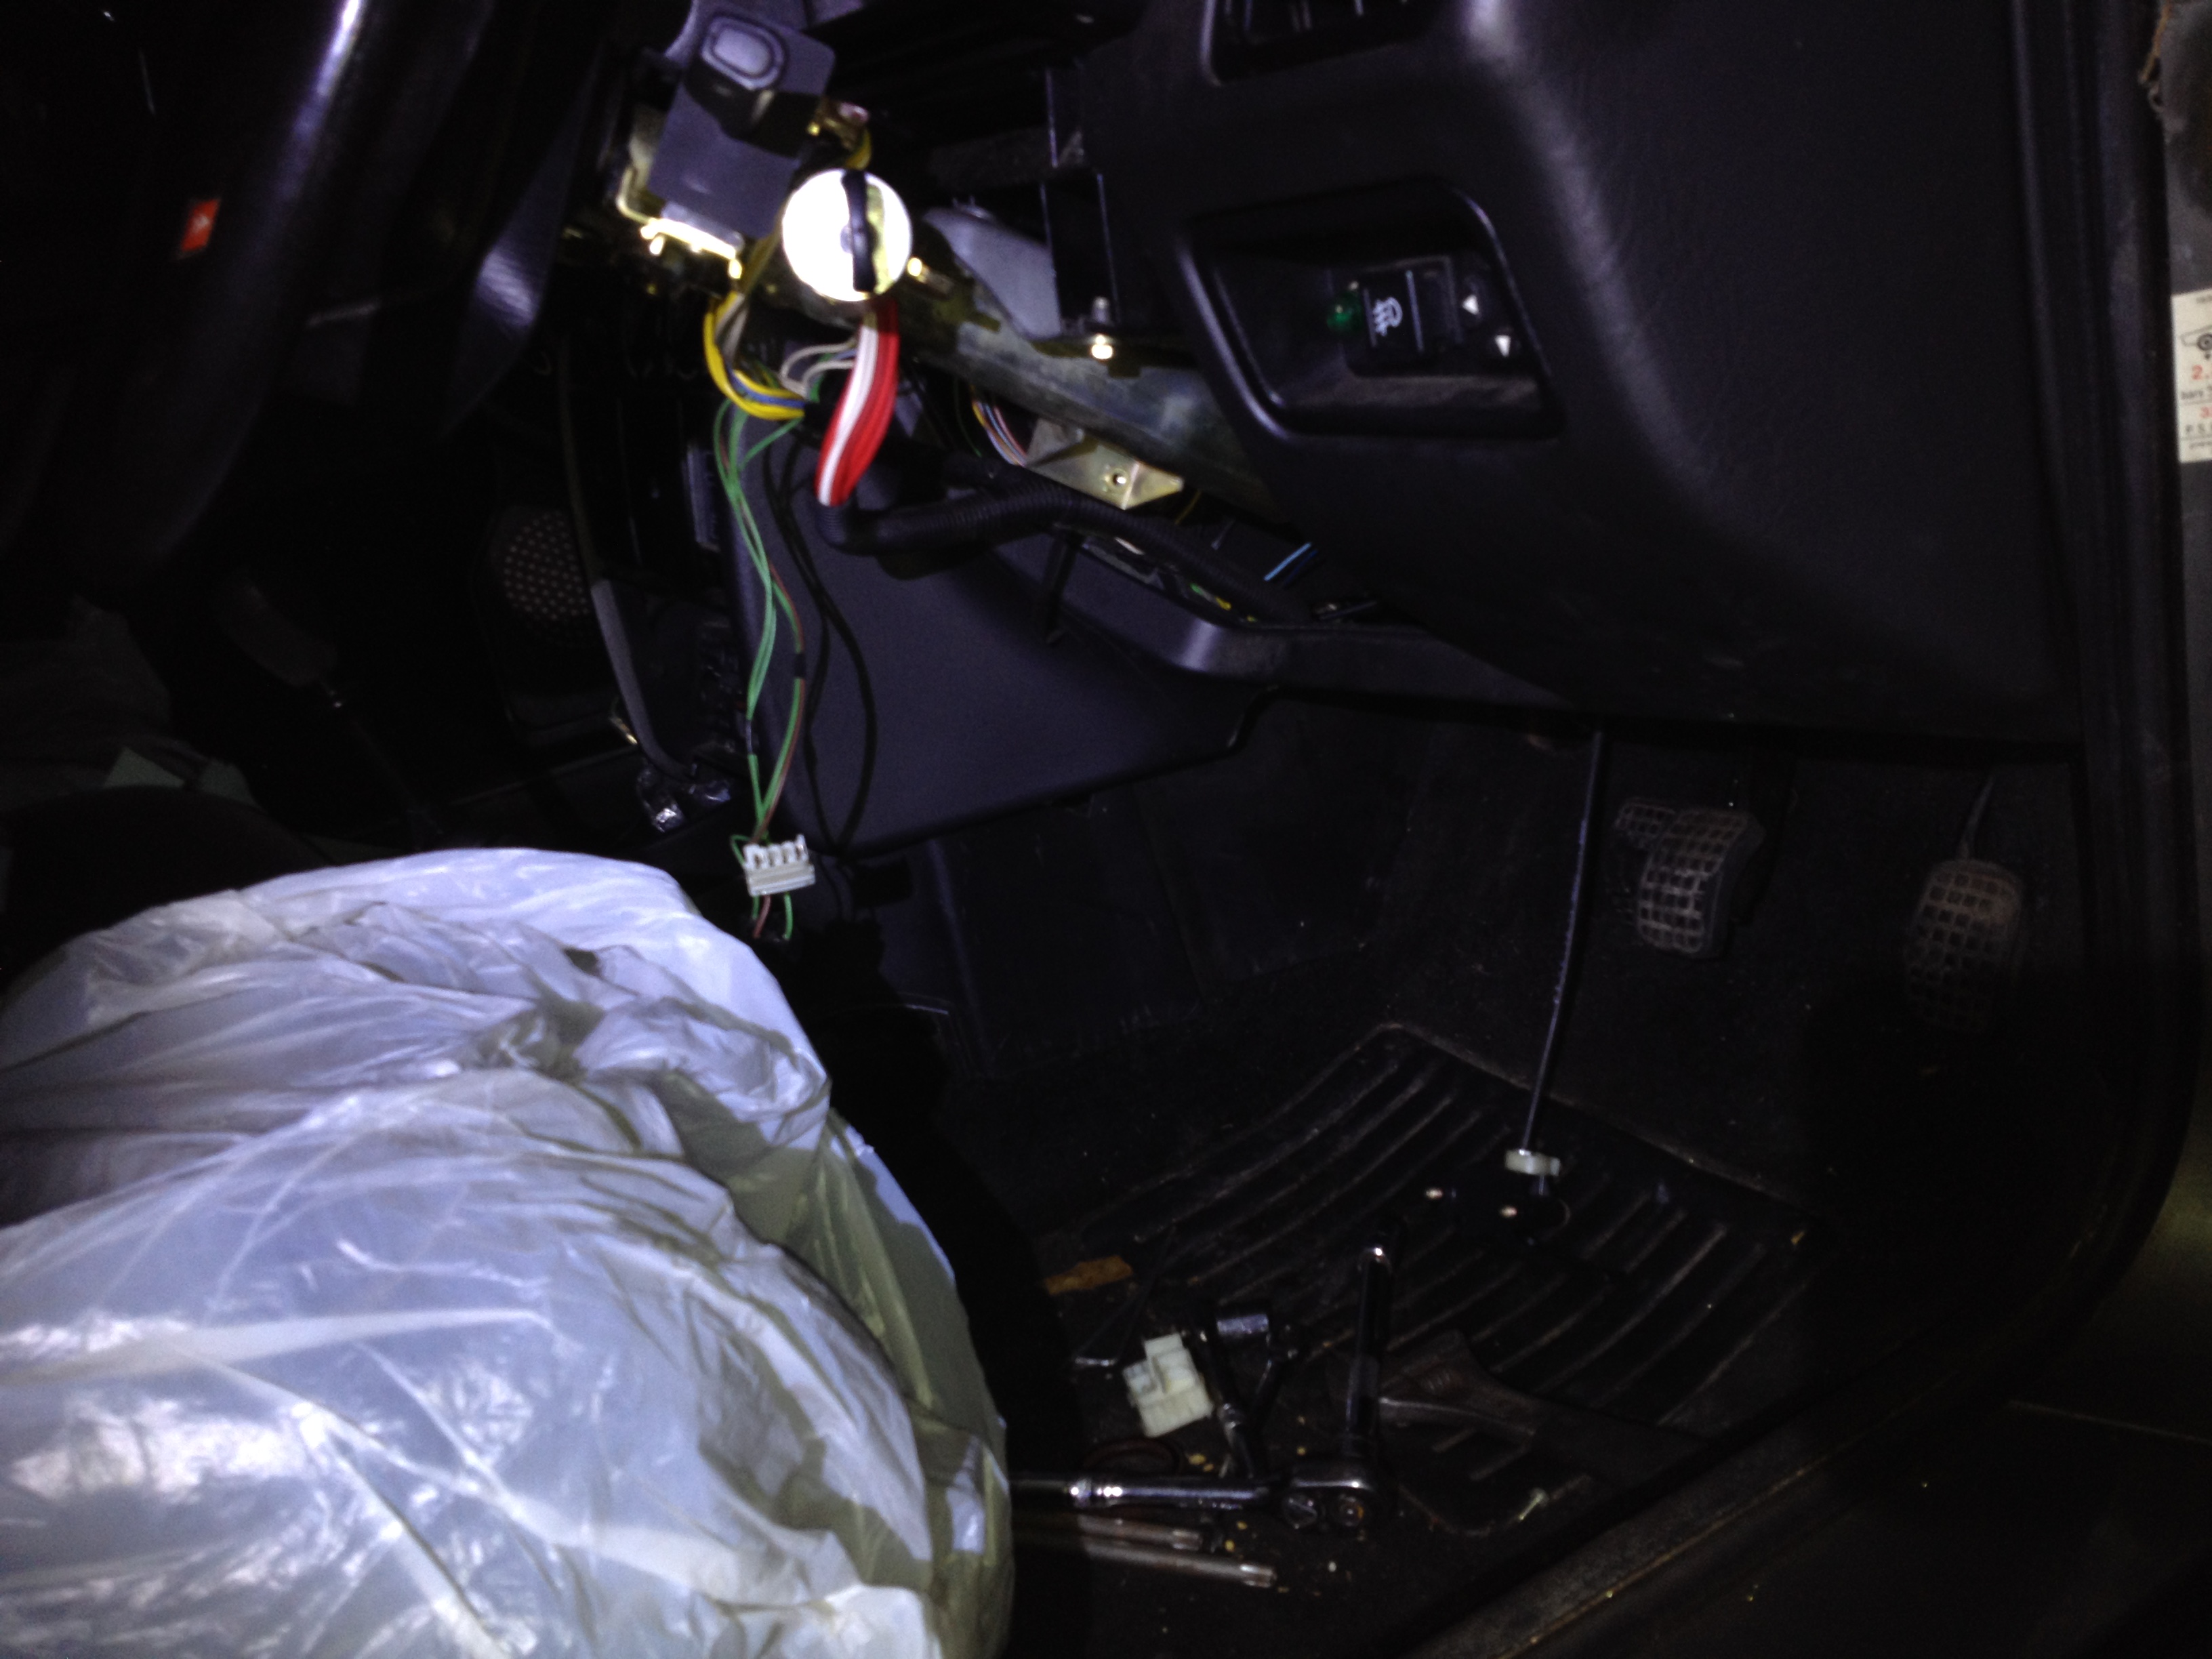
and now the really bad stuff...


ouch... smashy smashy


i will also be making online video logs. and here is the first:


see you in the next update!
i will use thinners to clean them up.. at least the stuff evaporates and does not leave much behind.. then i could use meths to clean whats left.

anyway, work done today:

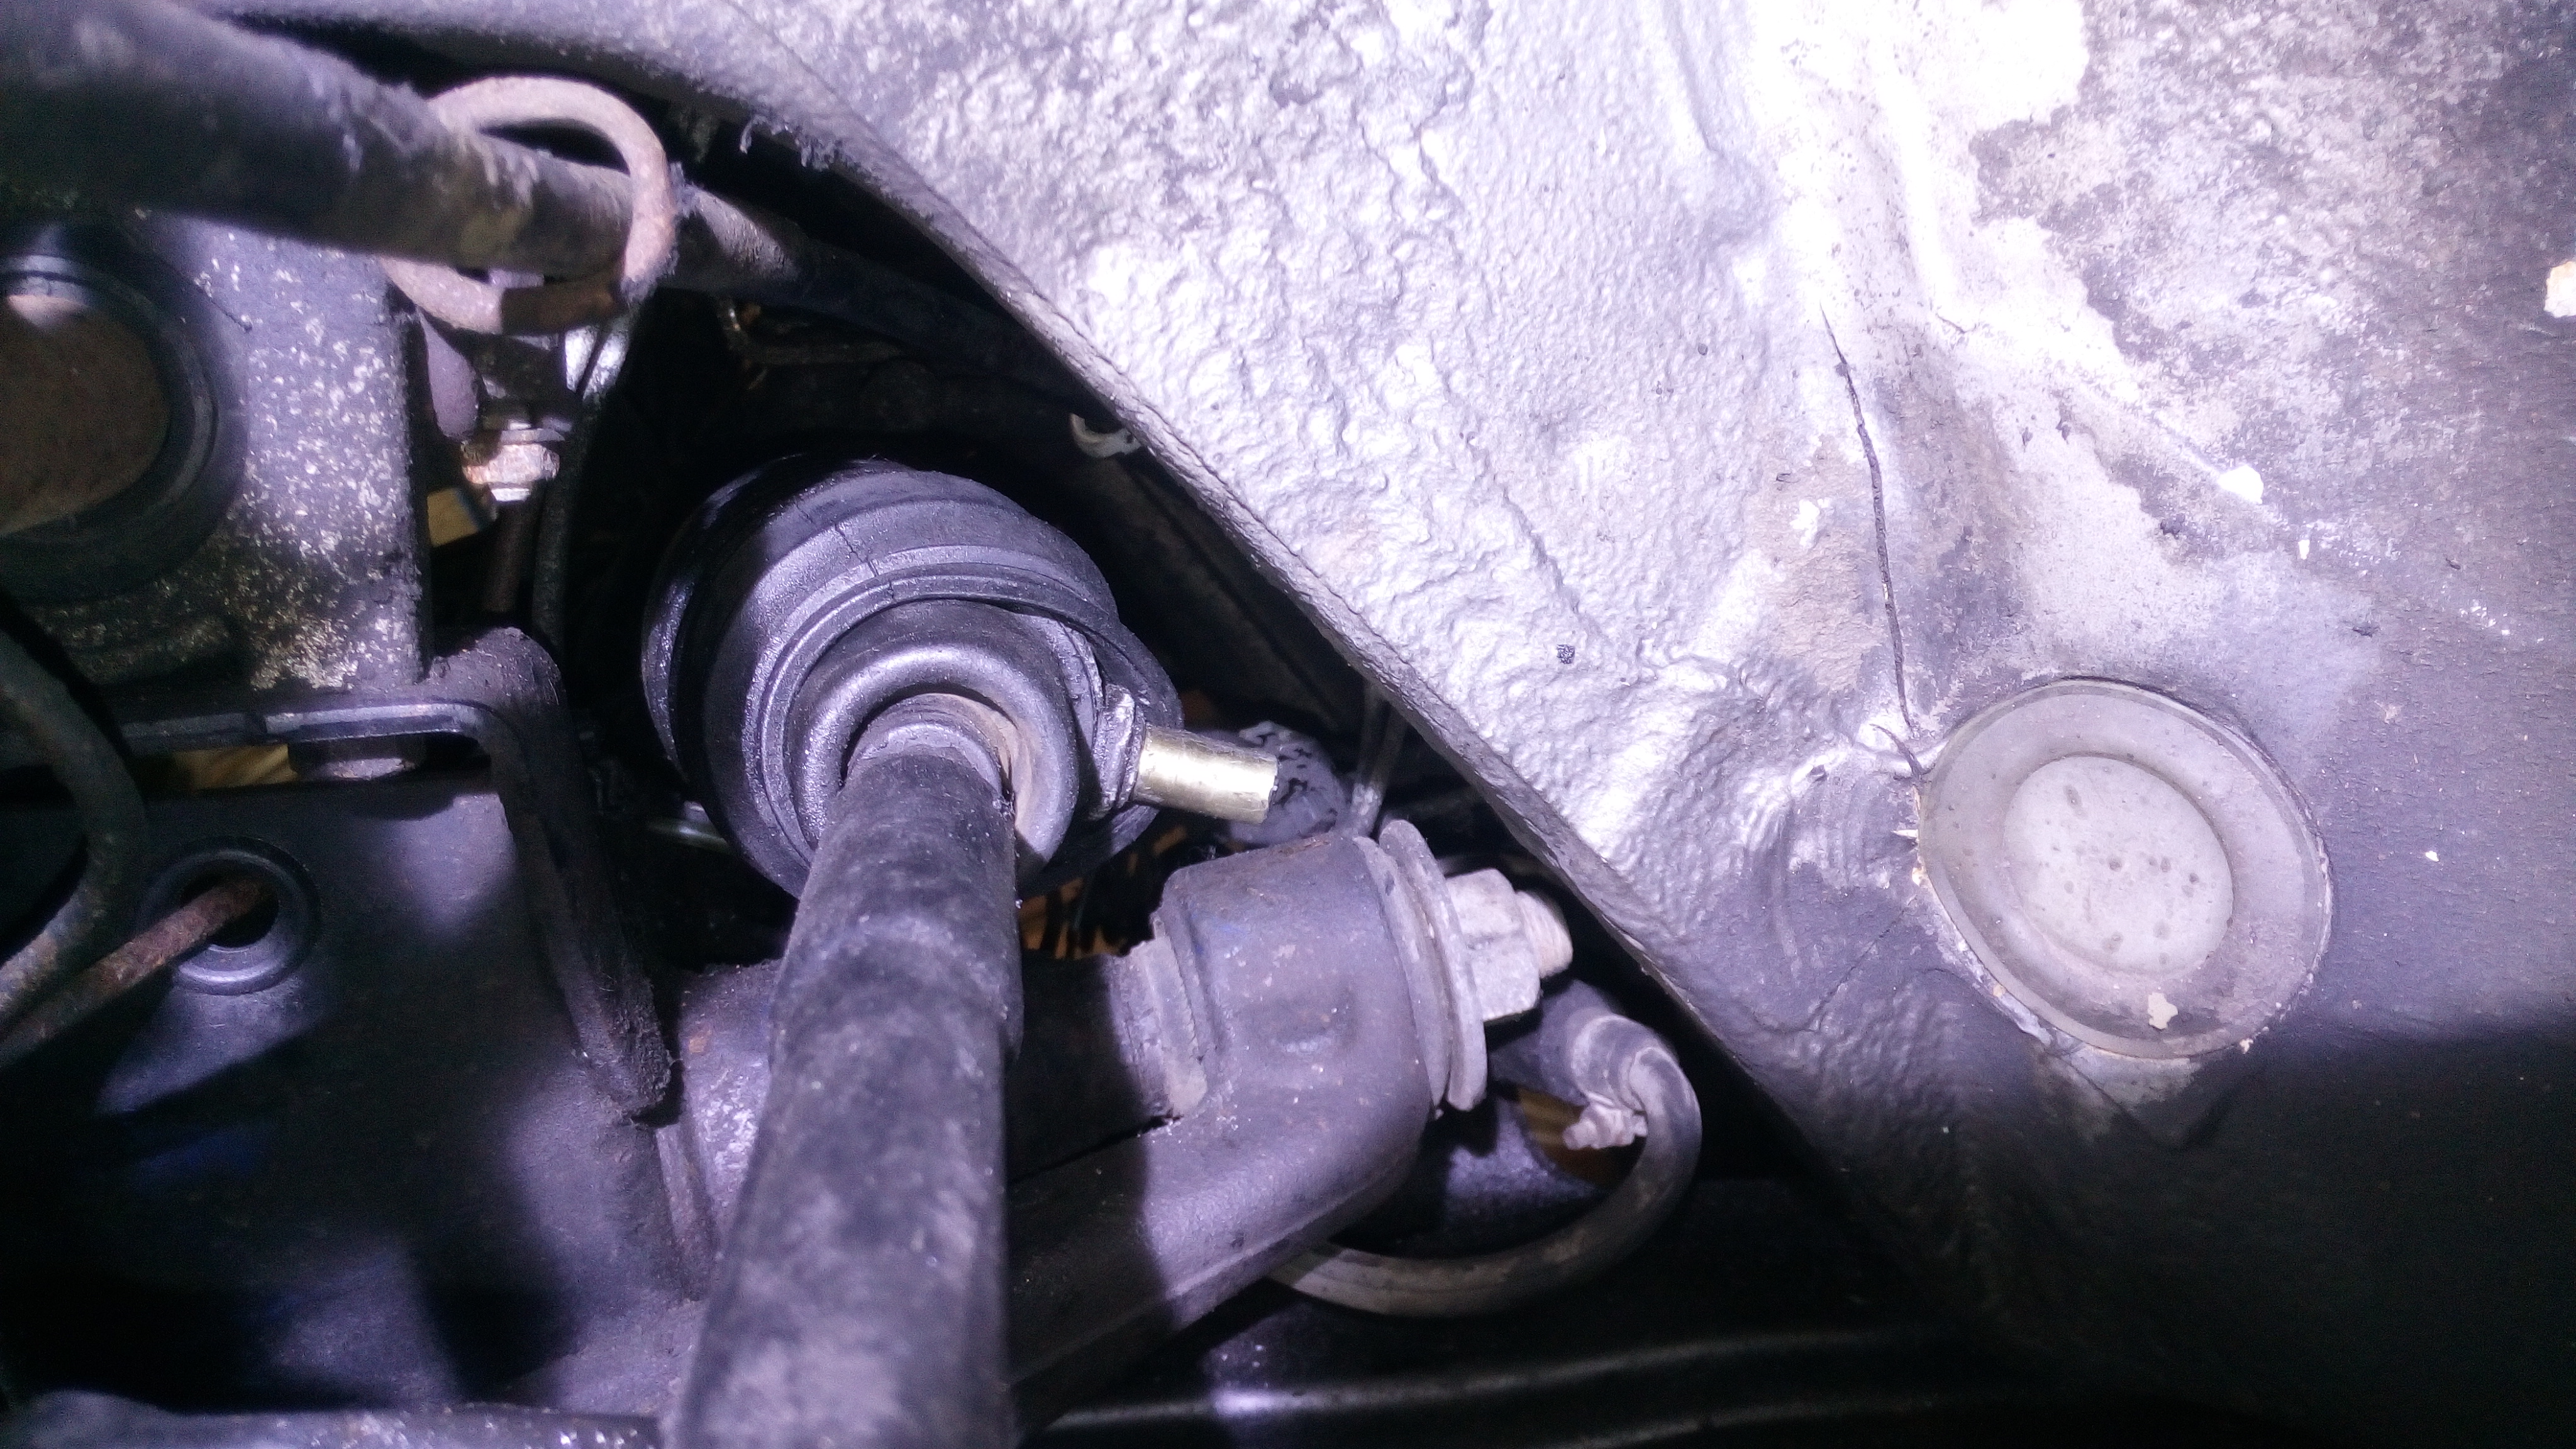
managed to get the gator on the steering rack.. wow what a job that was! i was having to stand where the engine was so i could get enough pressure on it to push it over the mount for the hydraulic power steering actuator. damn! i wonder why they did not just make it a bolt.. really interestingly designed that one.


i am concerned as to how much the gator is crushed when you turn to full lock.. this cant be right surely? the gator is on the maximum amount of stretch when the steering is turned the other way. both of the gators i have are like this. one was a cheap one, the other is one i bought (for a damn lot of money) that sad it would fit the BX with power steering.... i cant see this lasting very long...


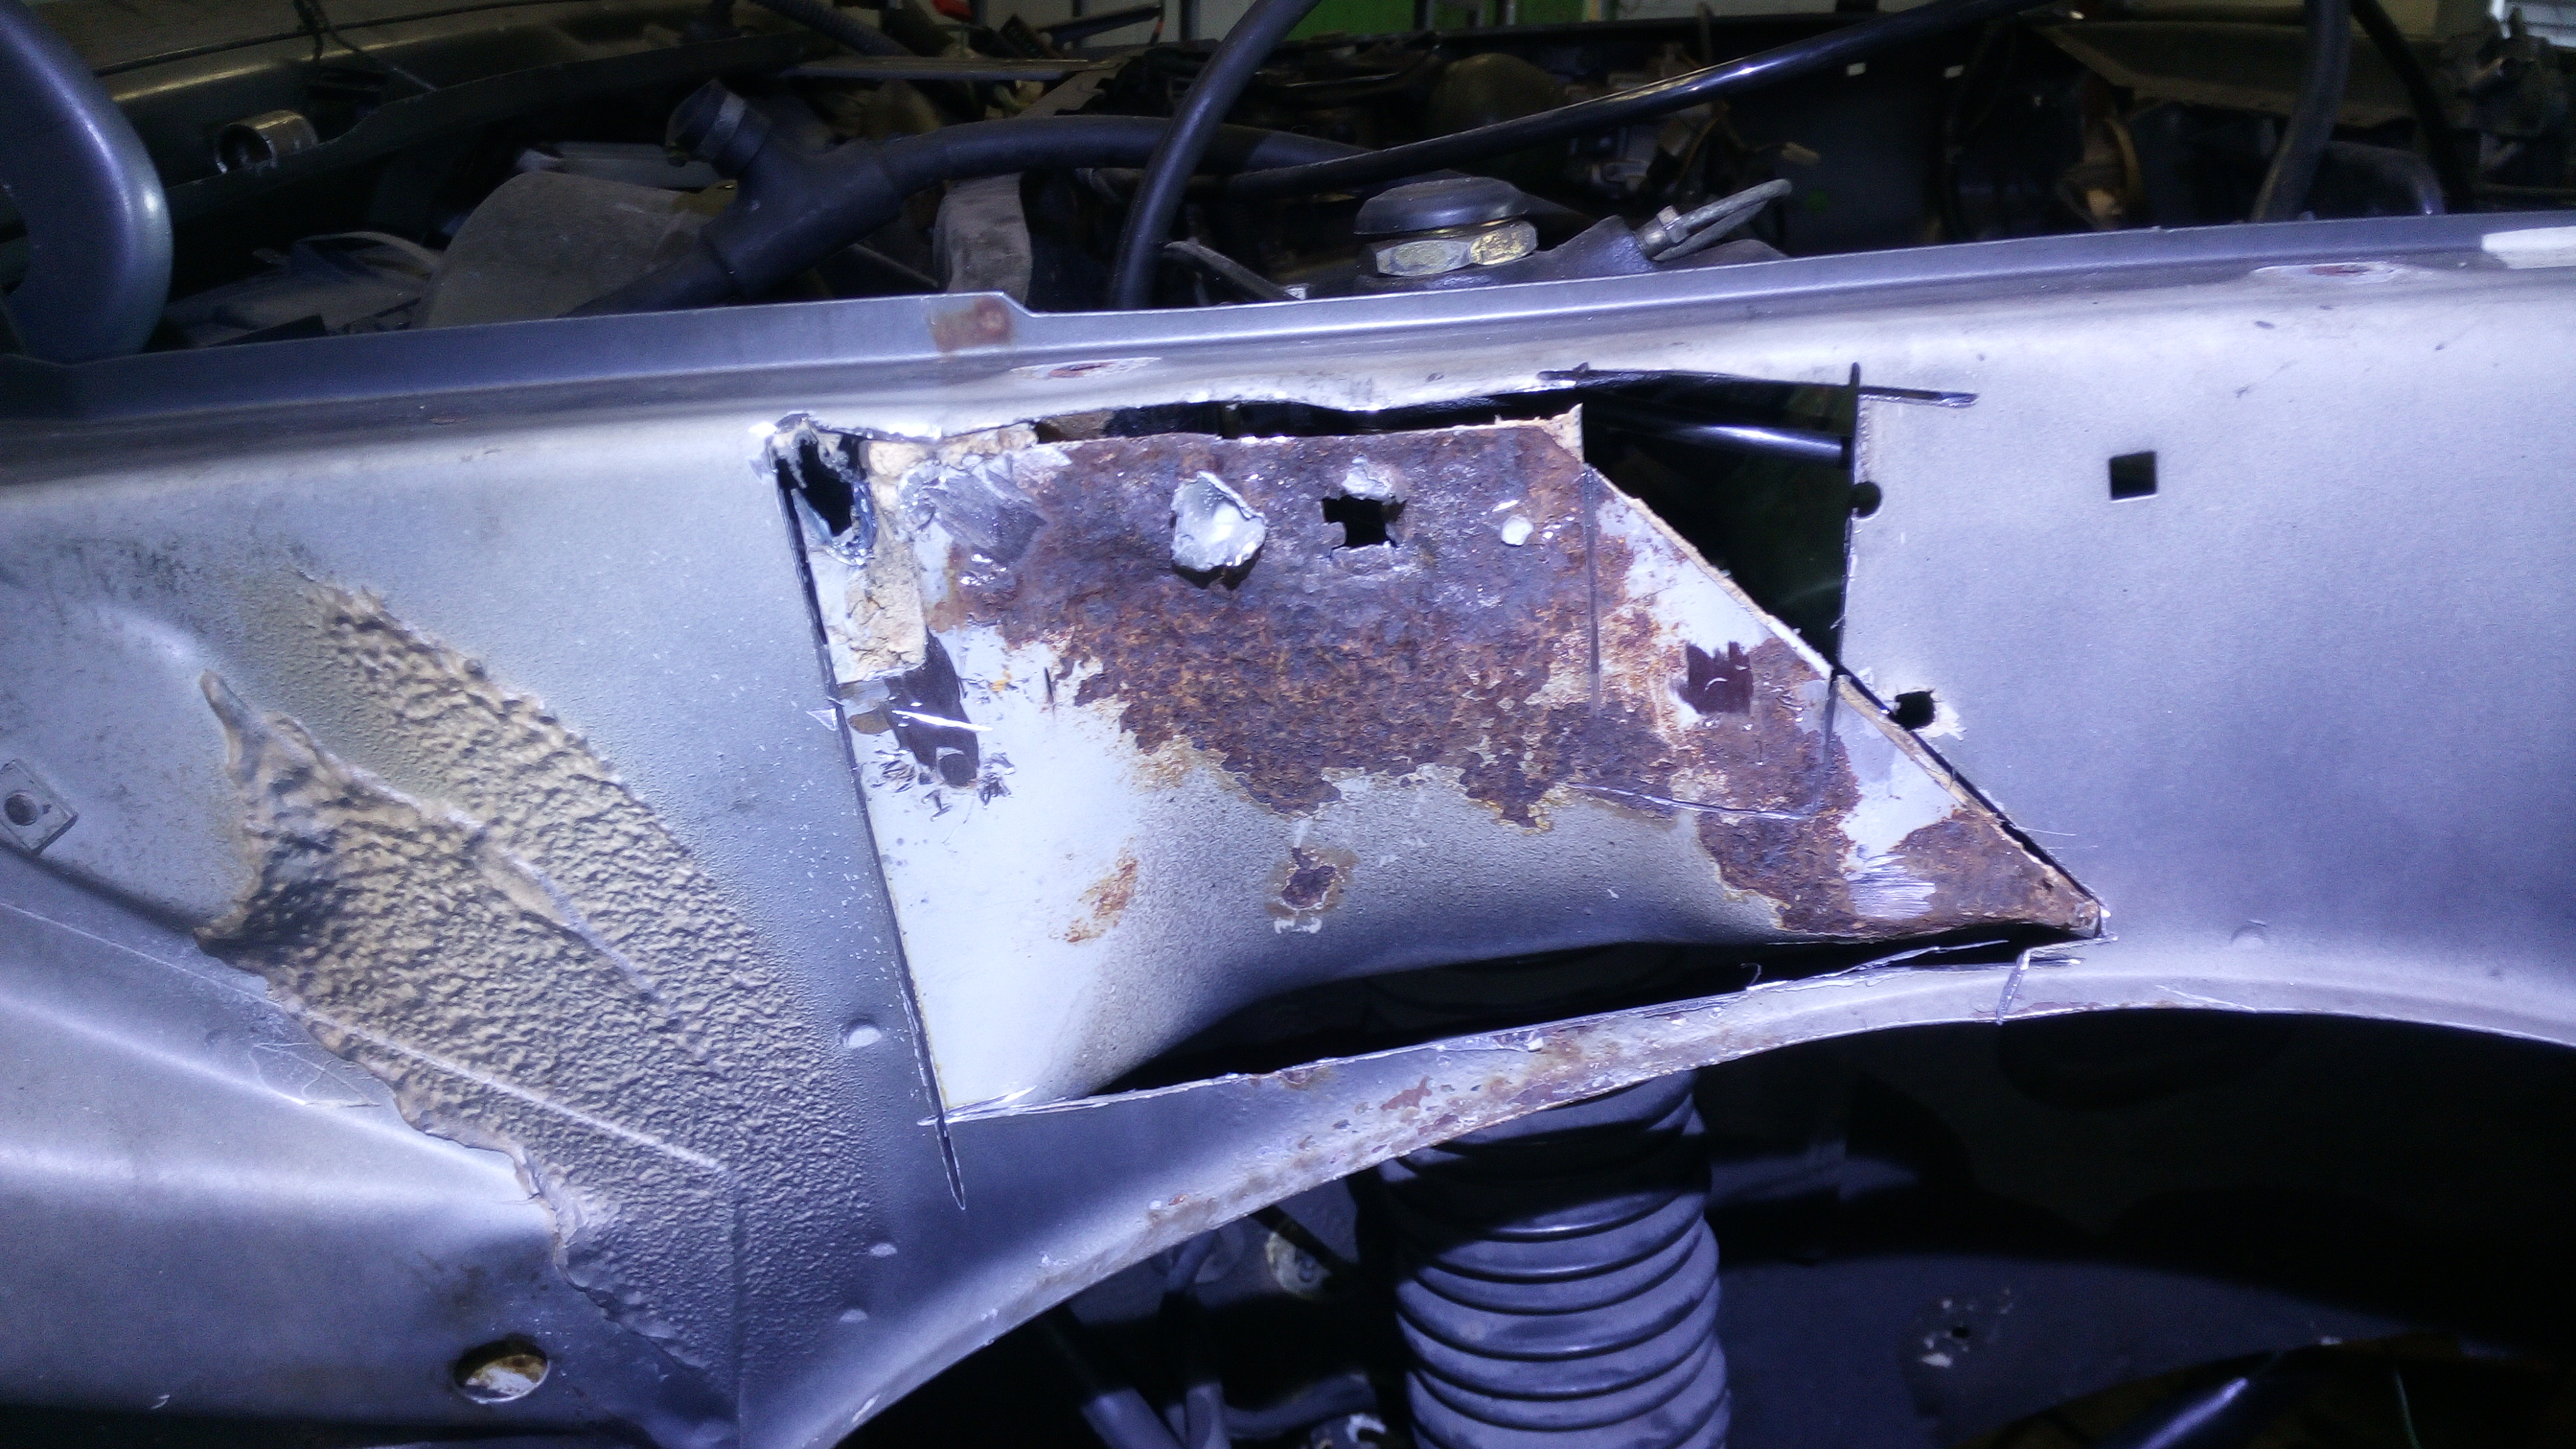
so remember that rust issue i had? well i managed to get a welder i can leave at work. (though its not been used for many years and all rusted up).
i decided to get the cutting disc on it and take off the first skin to see how it was on the underside.


hmm yeah it was to be expected i guess. its not much of a problem..

cut out the worst..


make a plate the same size (or close enough) as the hole.. (even managed to find some replacement steel the same thickness!)


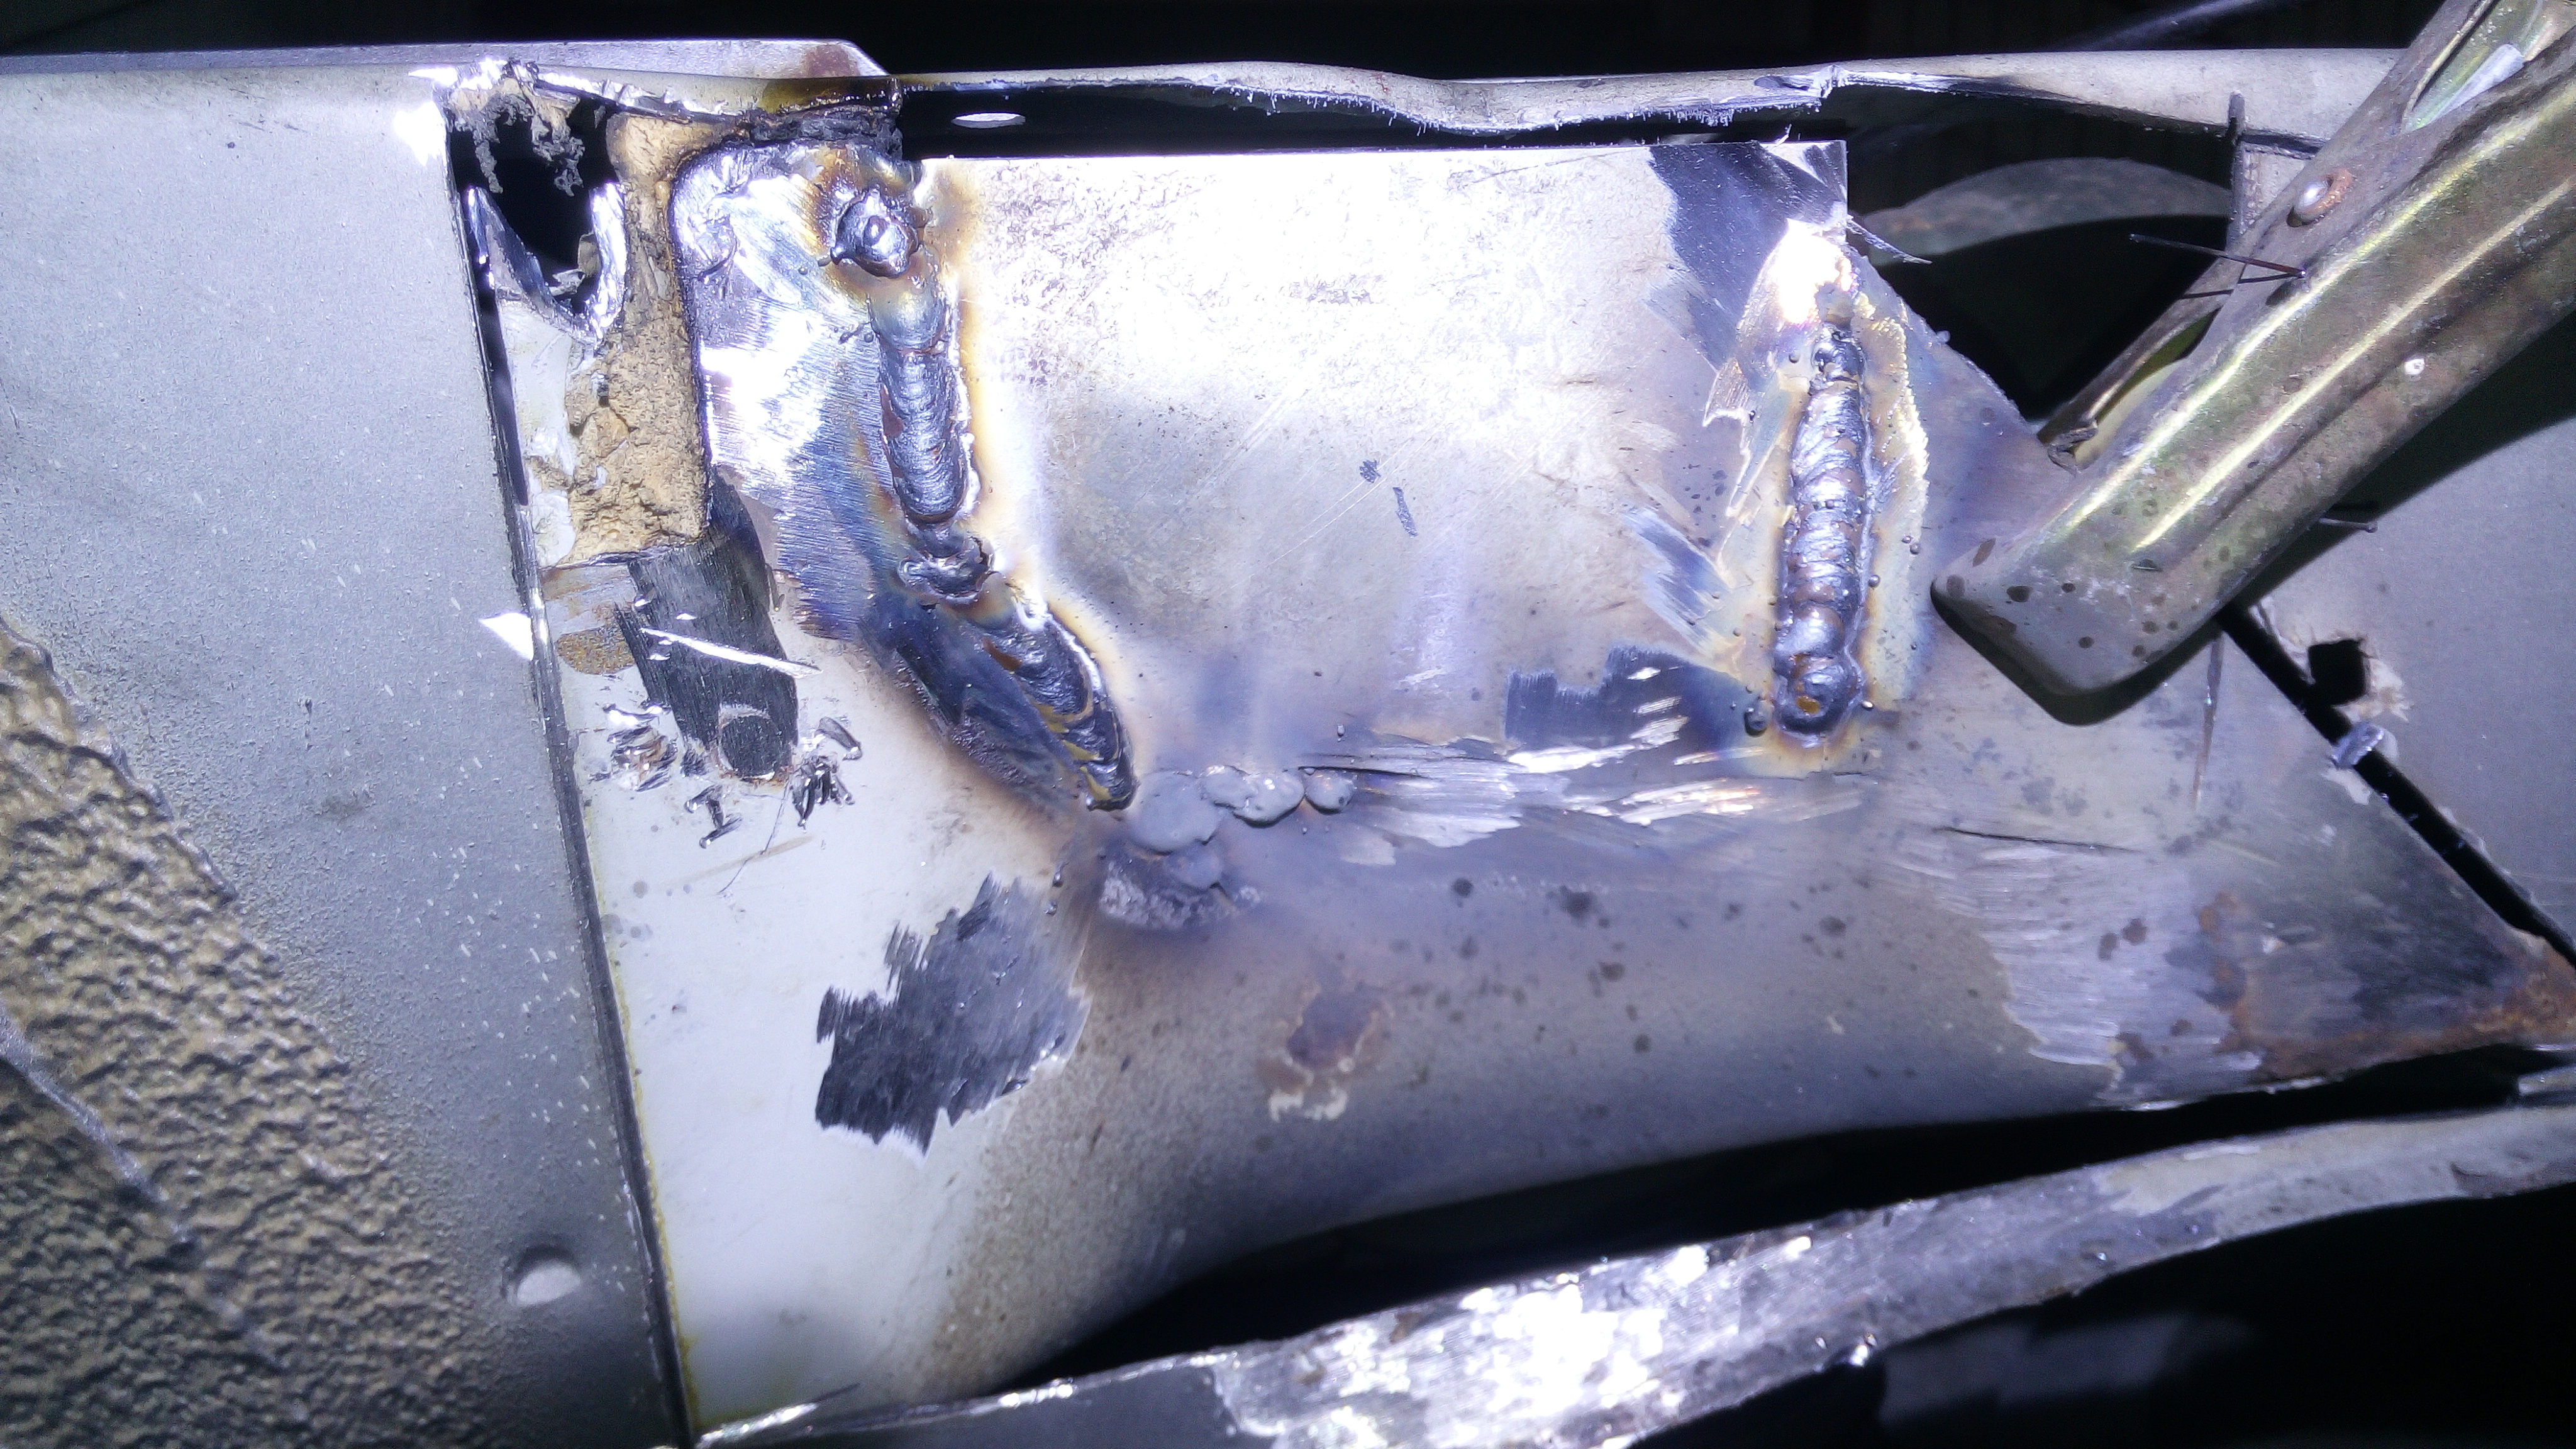
and after taking ages to set up the new welder (spitting and not welding good) i eventually got it to weld nice and welded a new bit in..


rather than spot welds i am going to plug weld it. (as i do not have a spot welder)

after a bit of a clean up it should be OK... some paint then under seal it should not rot out again.. ever! i just need to do the same with the under side (bit under the washer bottle).

lets see what tomorrow brings!
 
Ok so here is tomorrow, and what do we have...

well i started welding the outer skin on and the gas ran out on the welder to be fair it was a Co2 fire extinguisher we had weighed in at the scrap yard i work at, but it did at least one good bit of welding. this is all i managed to do.. then after i welded it on i realised that i have not drilled any holes in it for the plug welds #-o .


well we have no more at work but i will bring one in next week as i have a few at home, so i can finish off this bit of welding here.

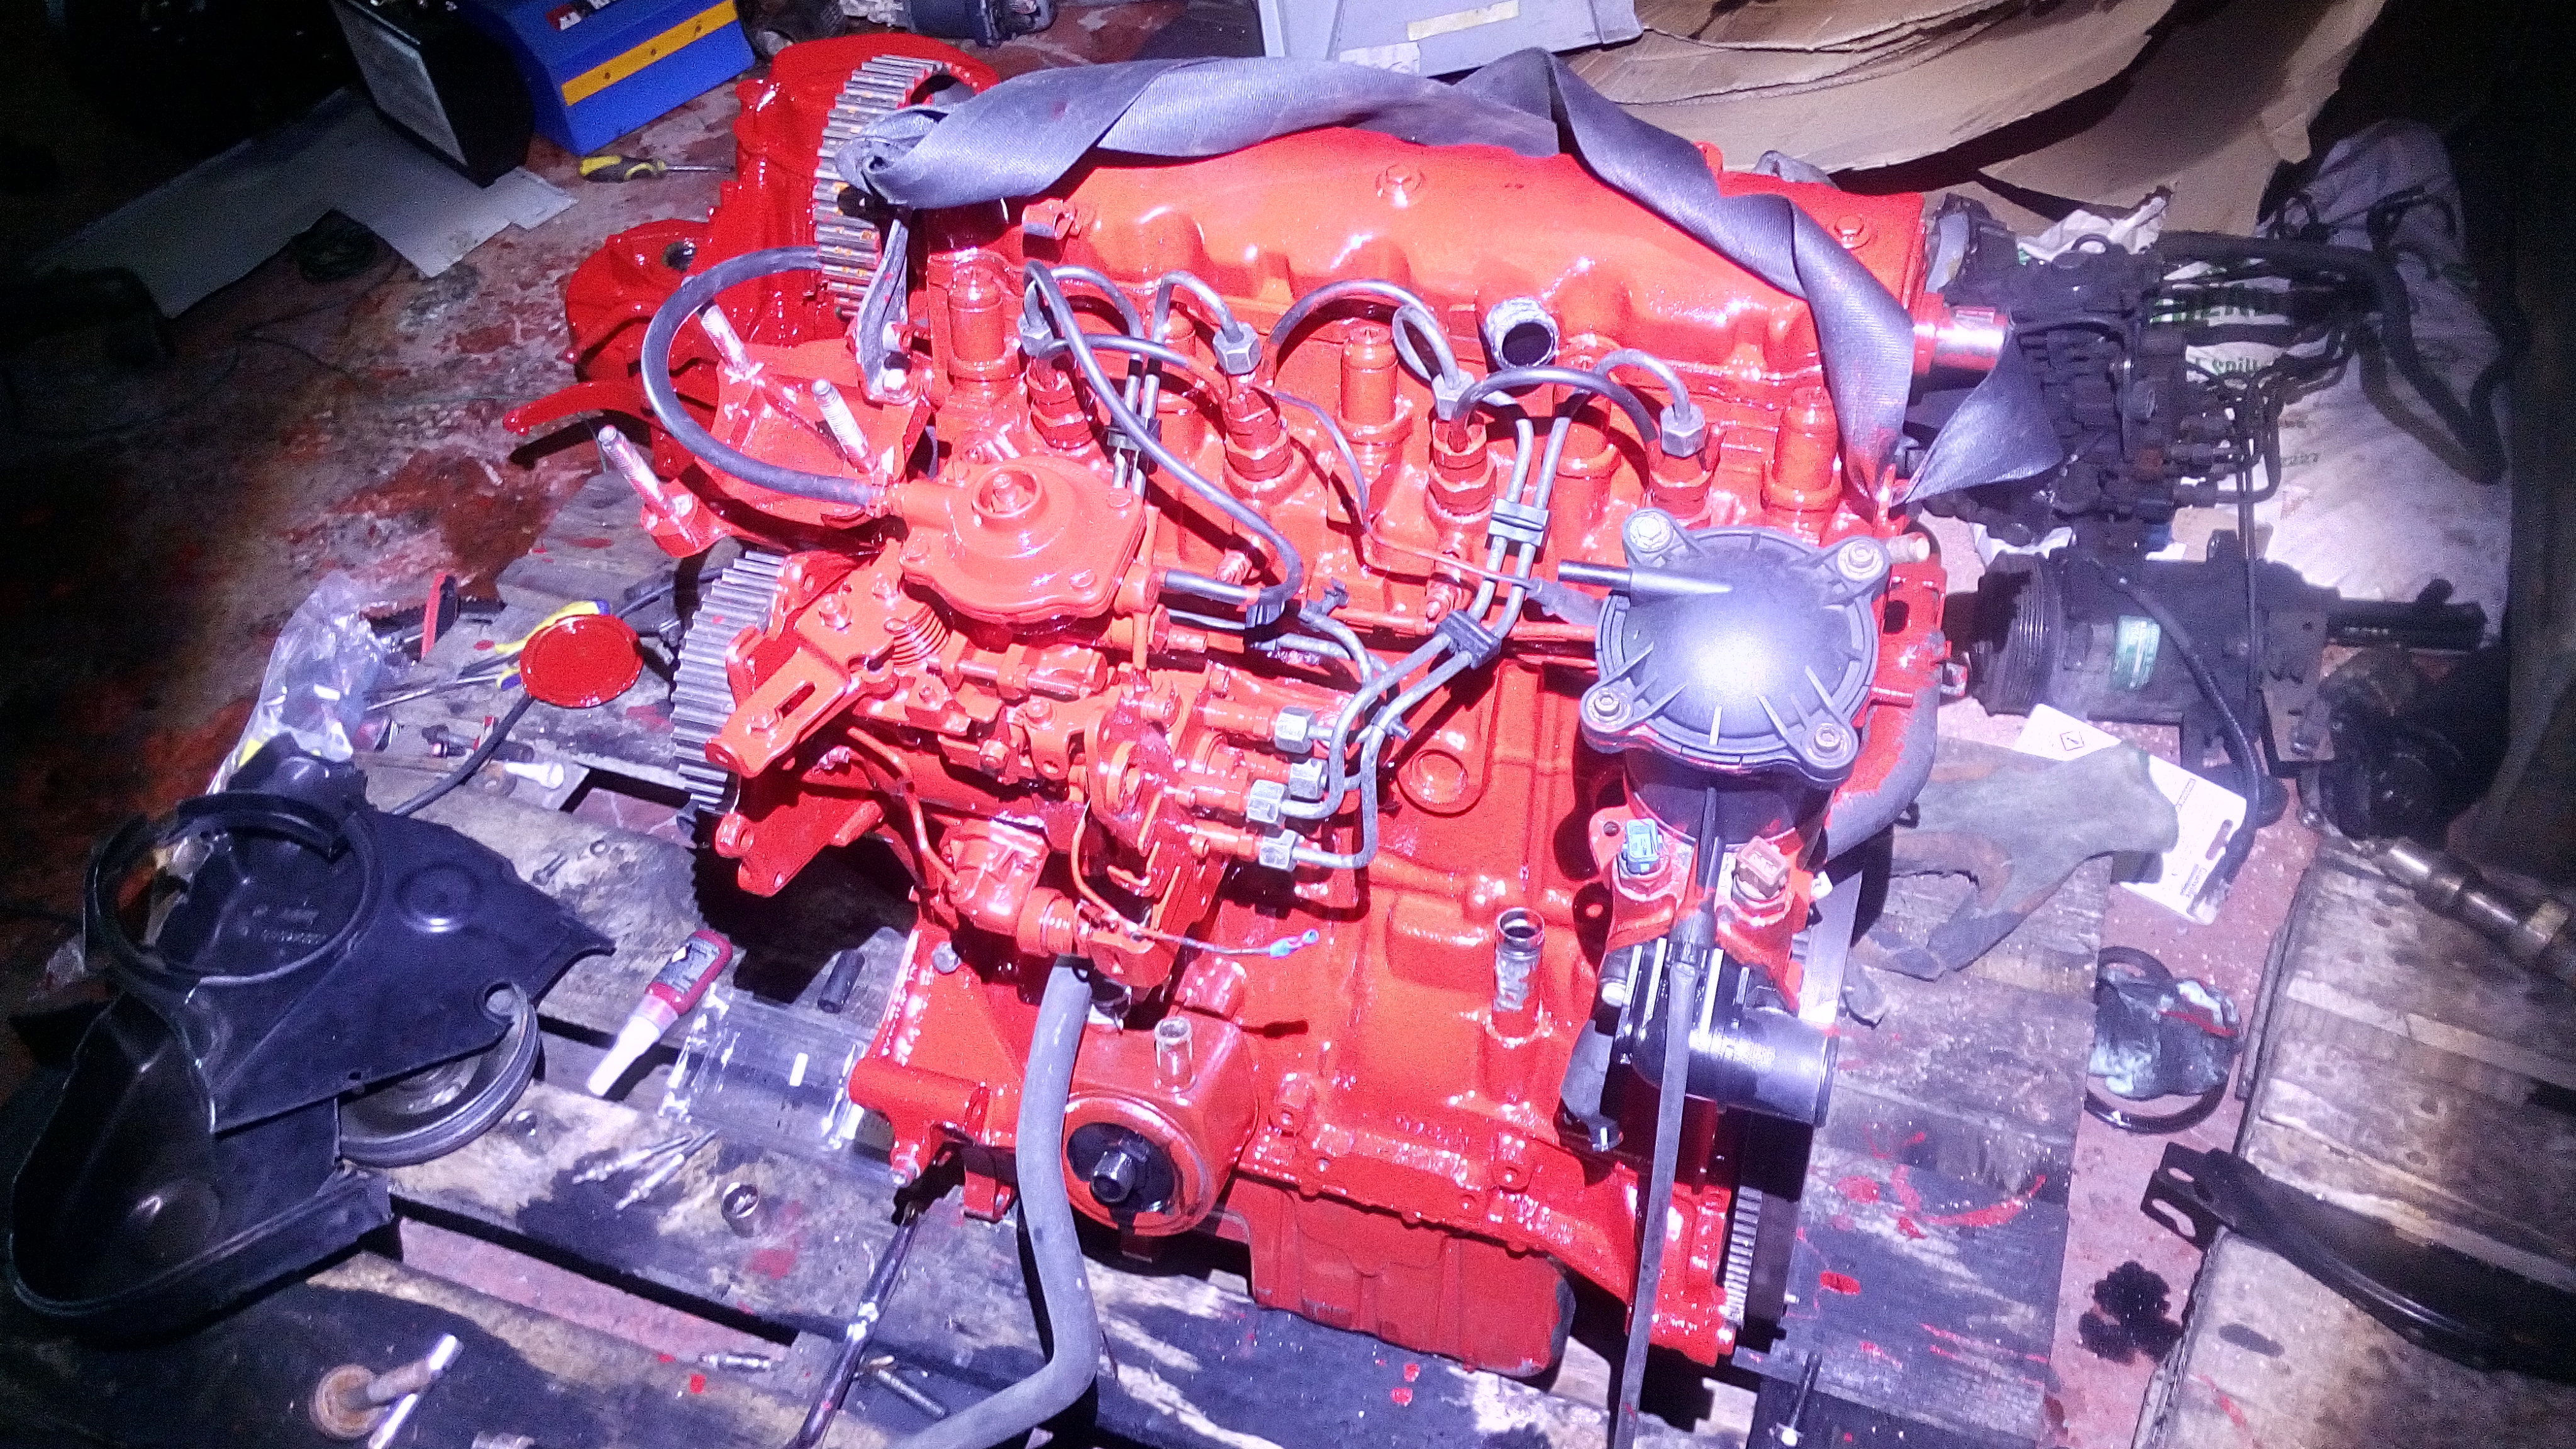
after that i just spend most of the day rebuilding a bit of the engine back up, i also spend a while cleaning up the cam belt cover plastic guards and gave the gearbox a second coat of paint.


i really need to paint them injector pipes too,, sadly i have ran out of paint! :shock:


oh and i finally got enough cash together to order the new pipes from Pleiades Car Services (url linked to there facebook page). the total cost combined with VAT and postage came to £243.96. they do come ready to fit to the car though with flares and all new seals :)

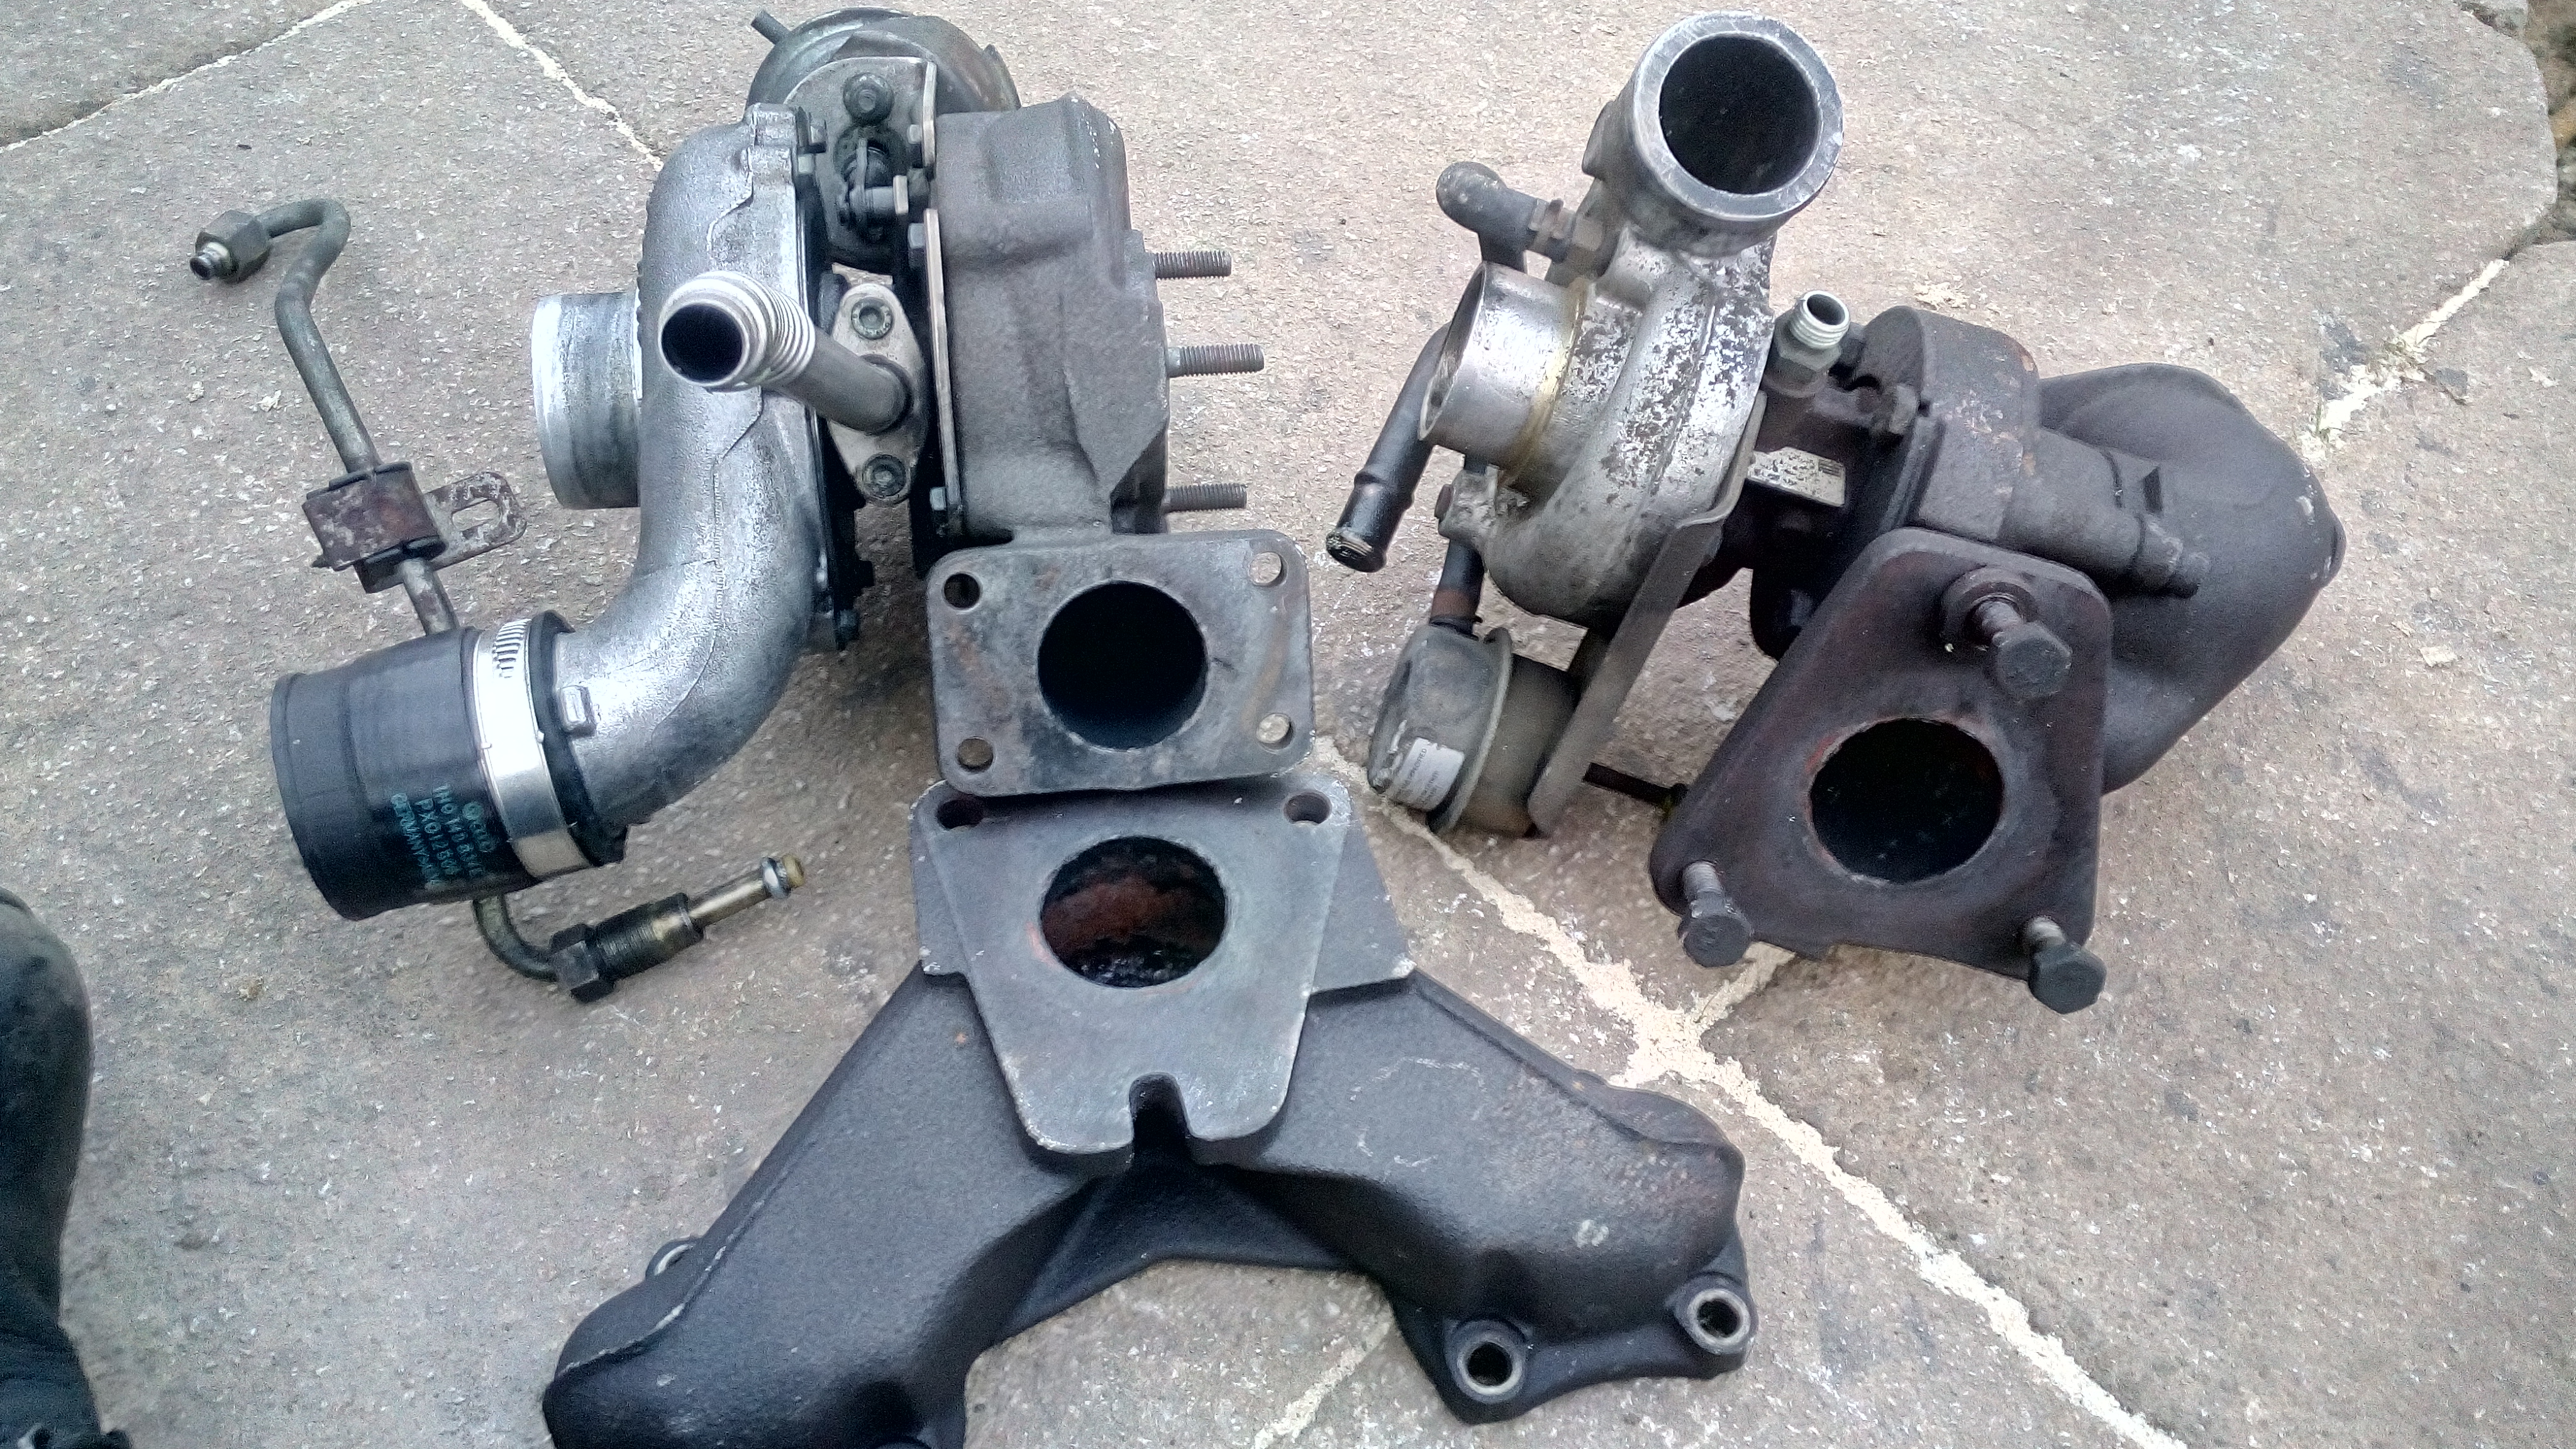
i guess its time to start looking for the VNT turbo... i am going to go for one from off a 5 cylinder diesel 2.5L volvo (or most modernish 2.5L diesel) only reason is because i know it has been done before. as said, i wont be running it at high boost pressures (20 to 22psi max!)
the turbo is called "GT2052v" they are not that expensive and can be restored pretty easy by just getting a replacement cartridge with spindle and wheels attached. can the turbo for about £50 and a replacement cartridge for £70-£100. the veins never seem to ware out on these but they have been known to get clogged up. i will clean it all up anyway in my sonic bath then measure any gaps in the veins with a feeler gauge to see how worn it is, but like i say.. ive never seen the veins needing to be replaced on this particular turbo yet, its always the spindle that gets play in it over time
.

well see you all next week!
 
I have swapped over the 2 front caliper feed pipes, they looked the worst out of all of them, and i have managed to completely rebuild the brakes up on the drivers side front. with new pipes, caliper and disc it does look pretty good. the other side is a little bit more difficult as the caliper never came with the brake pad bracket.. (bit the brake pads sit in). i will swap it over once i (surprise surprise) get the special pentagon head bolt socket to undo the old caliper and install on the new. another PSA great design to stop people fixing there own cars no doubt.

the pipe kit does not include every pipe sadly. i really wanted to change every pipe.. however since i have jetwashed them they look to only have slight surface rusting on them.. i think if i was to paint them with the same paint i used on the engine (but a different colour), i think they would be OK. my peace of mind however will still be a little weary... it will just make me so i will not drive it fast. not that i ever do drive fast.

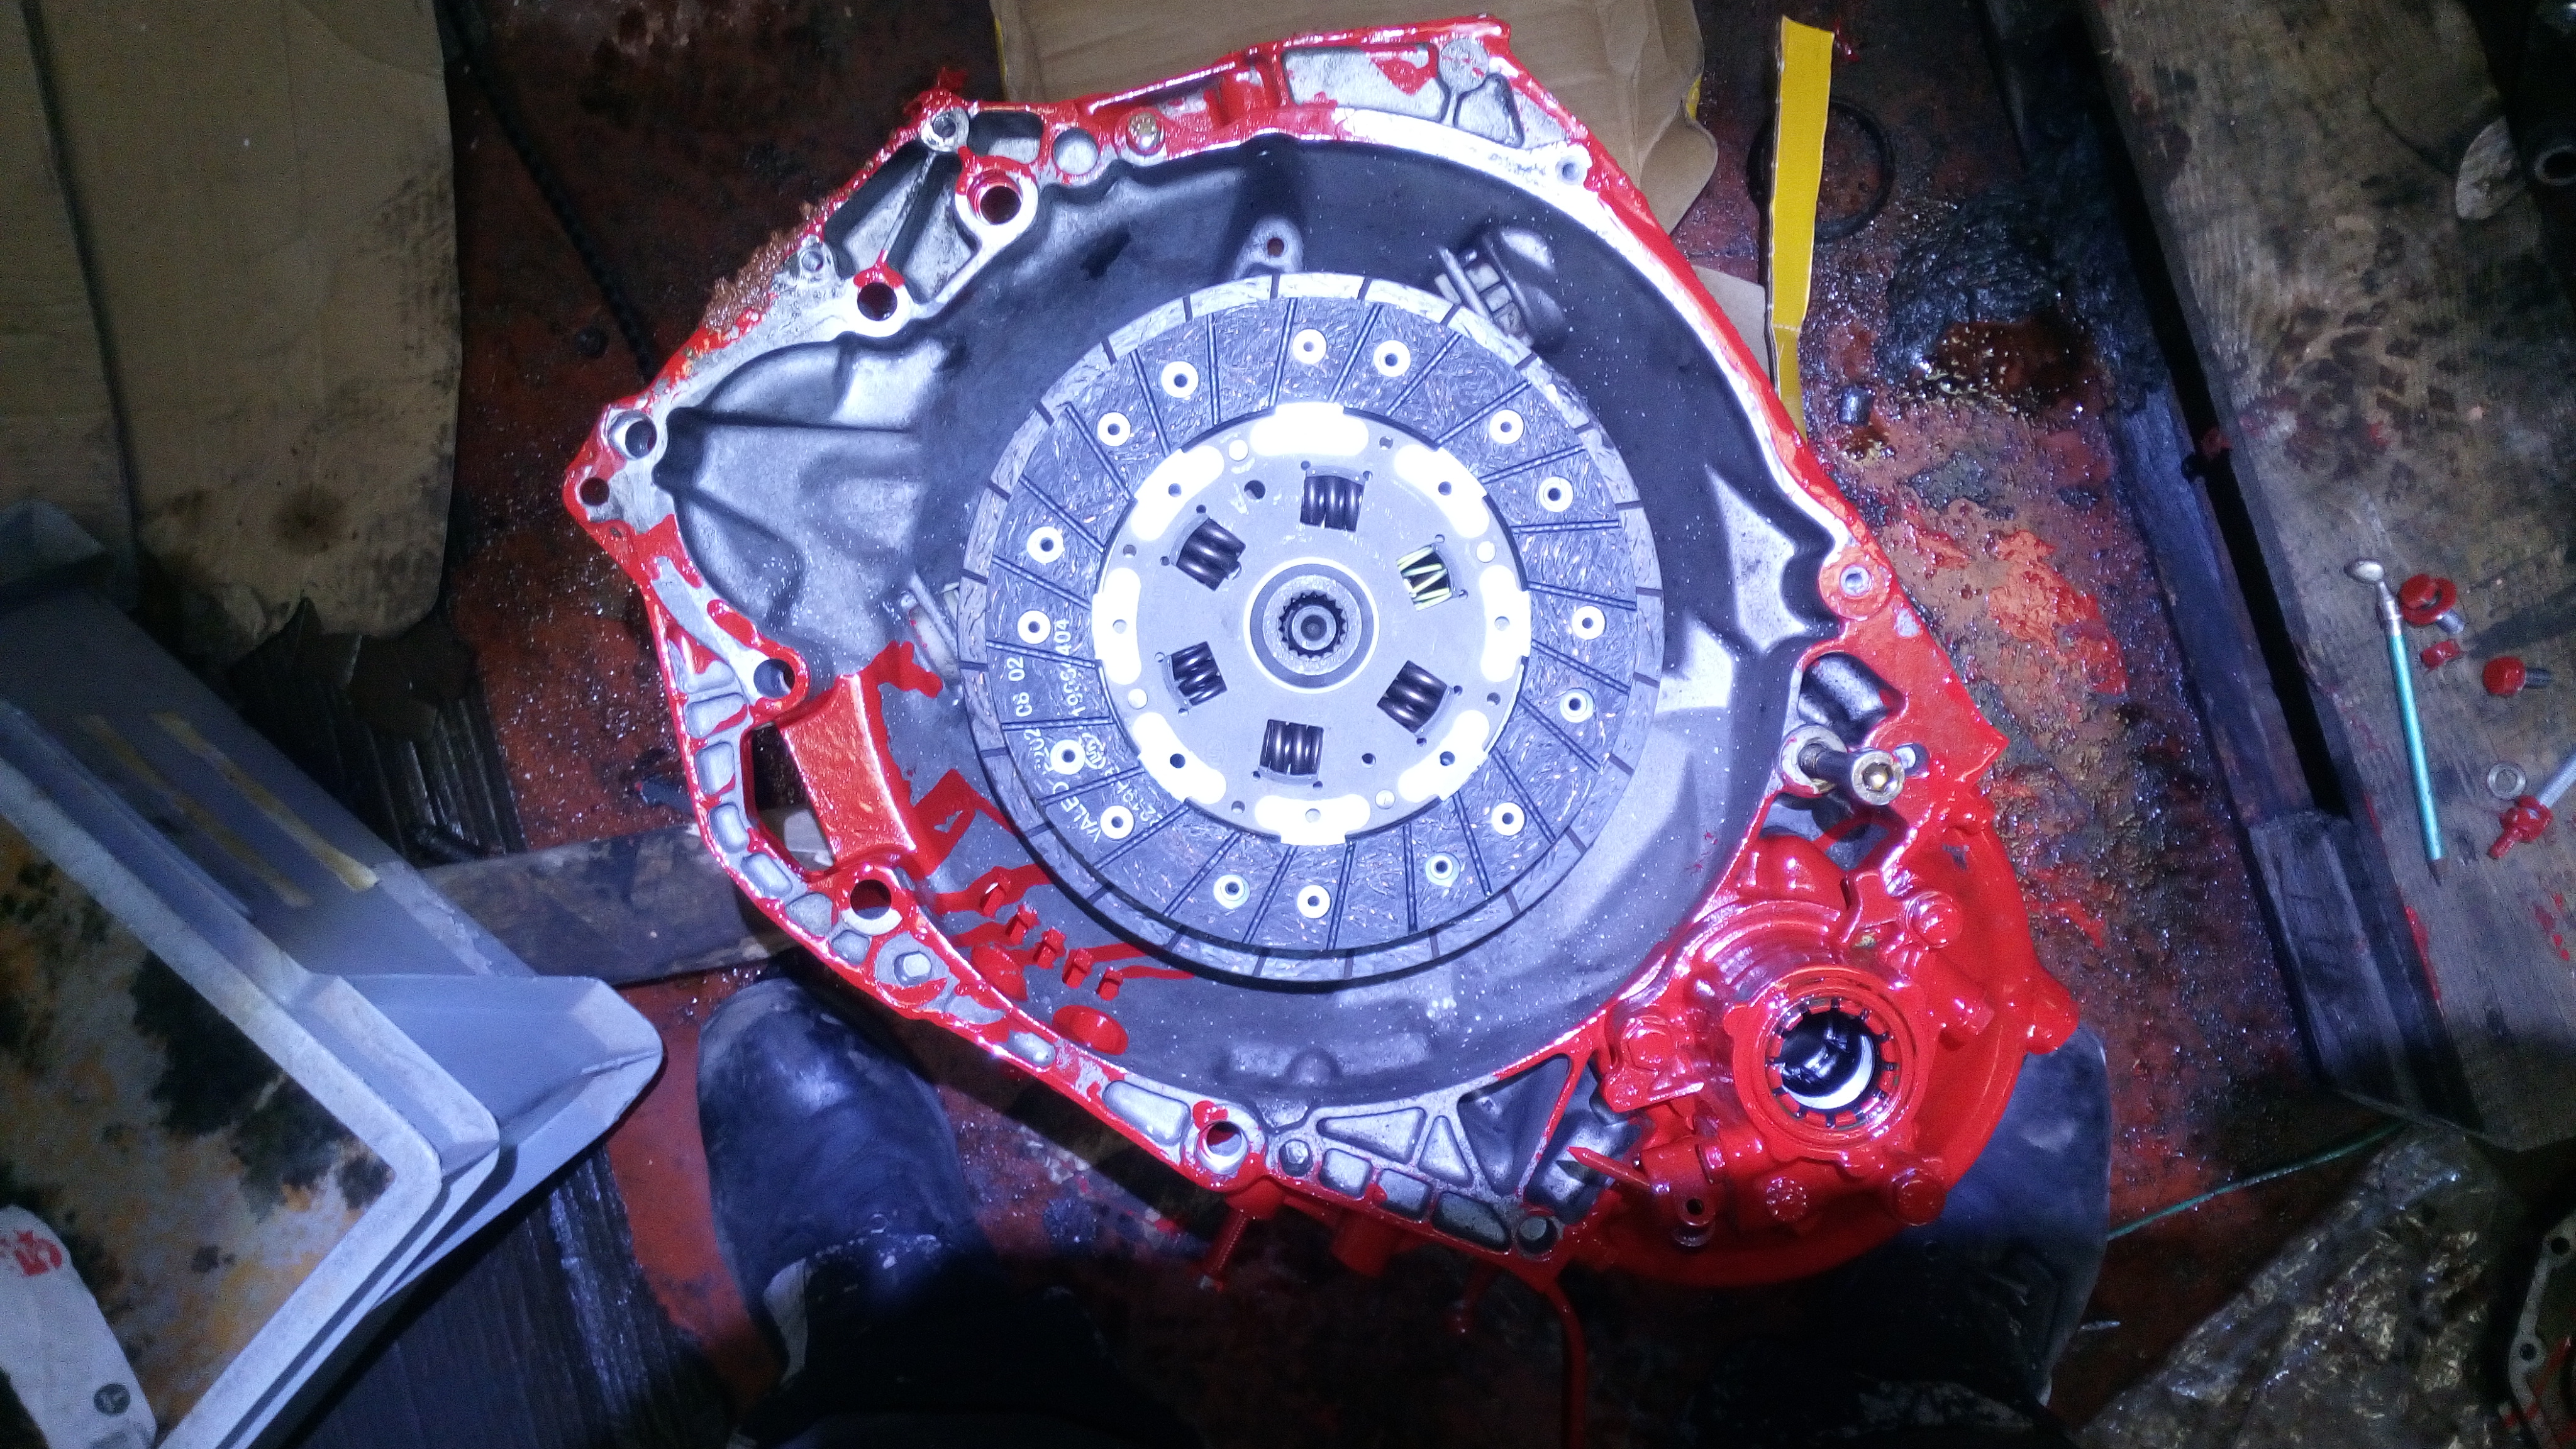
sadly i am also having clutch issues. the one i got for it is not the right size. its too small! dont think i can return it sadly. i weighed the flywheels of both the engines before i fit them to the engine.. and i decided to use the more heavy one. both are the same diameter, but they have different bolt patterns.

anyway i decided to sort out that snapped off heater matrix tap. now i hear that if you even breath on these things, they start to leak so i decided to make a good one out of the 2 i have. the one that was snapped still had nice soft rubber o rings so i took the whole thing apart to swap the seals over and give it a clean. you do have to drill the heads off 2 rivets located in the bolt holes to actually split the thing apart, interesting design that really could have done with 2 more bolts helping hold the centre in, but i am sure with a little help of some instant gasket and the newer old seals i think i will not have it leak. this looks like one of those things where if you were to over tighten it, it would cause the whole thing to arch and leak from the middle so that may be a cause if you are having issues with it.. another thing you may be able to do is use some kind of clamp to hold it together.. anyway..

heres the pictures:


sadly i forgot to take a picture of it built up, but i have not installed it yet so i will do that next Thursday.

i have also taken the old heater matrix out. not that there was anything wrong with it, but i managed to buy a new one for next to nothing so may as well fit that while i am at it!

another job almost done.. one more step to getting the engine in..
 
yeah i dono i keep finding bits.

i have clutch issues at the moment!
the clutch for my original engine does not fit the new engine's flywheel...
the clutch that came with the new engine does not fit the gearbox input shaft! i can see it this is going to be a bit of a run around.

this is the clutch that came with the new engine, as you can see the clutches centre hole is huge for the gearbox!


can see the difference.


anyway. stopping is pretty important. so heres how the front brakes look:

drivers side:


pass side:


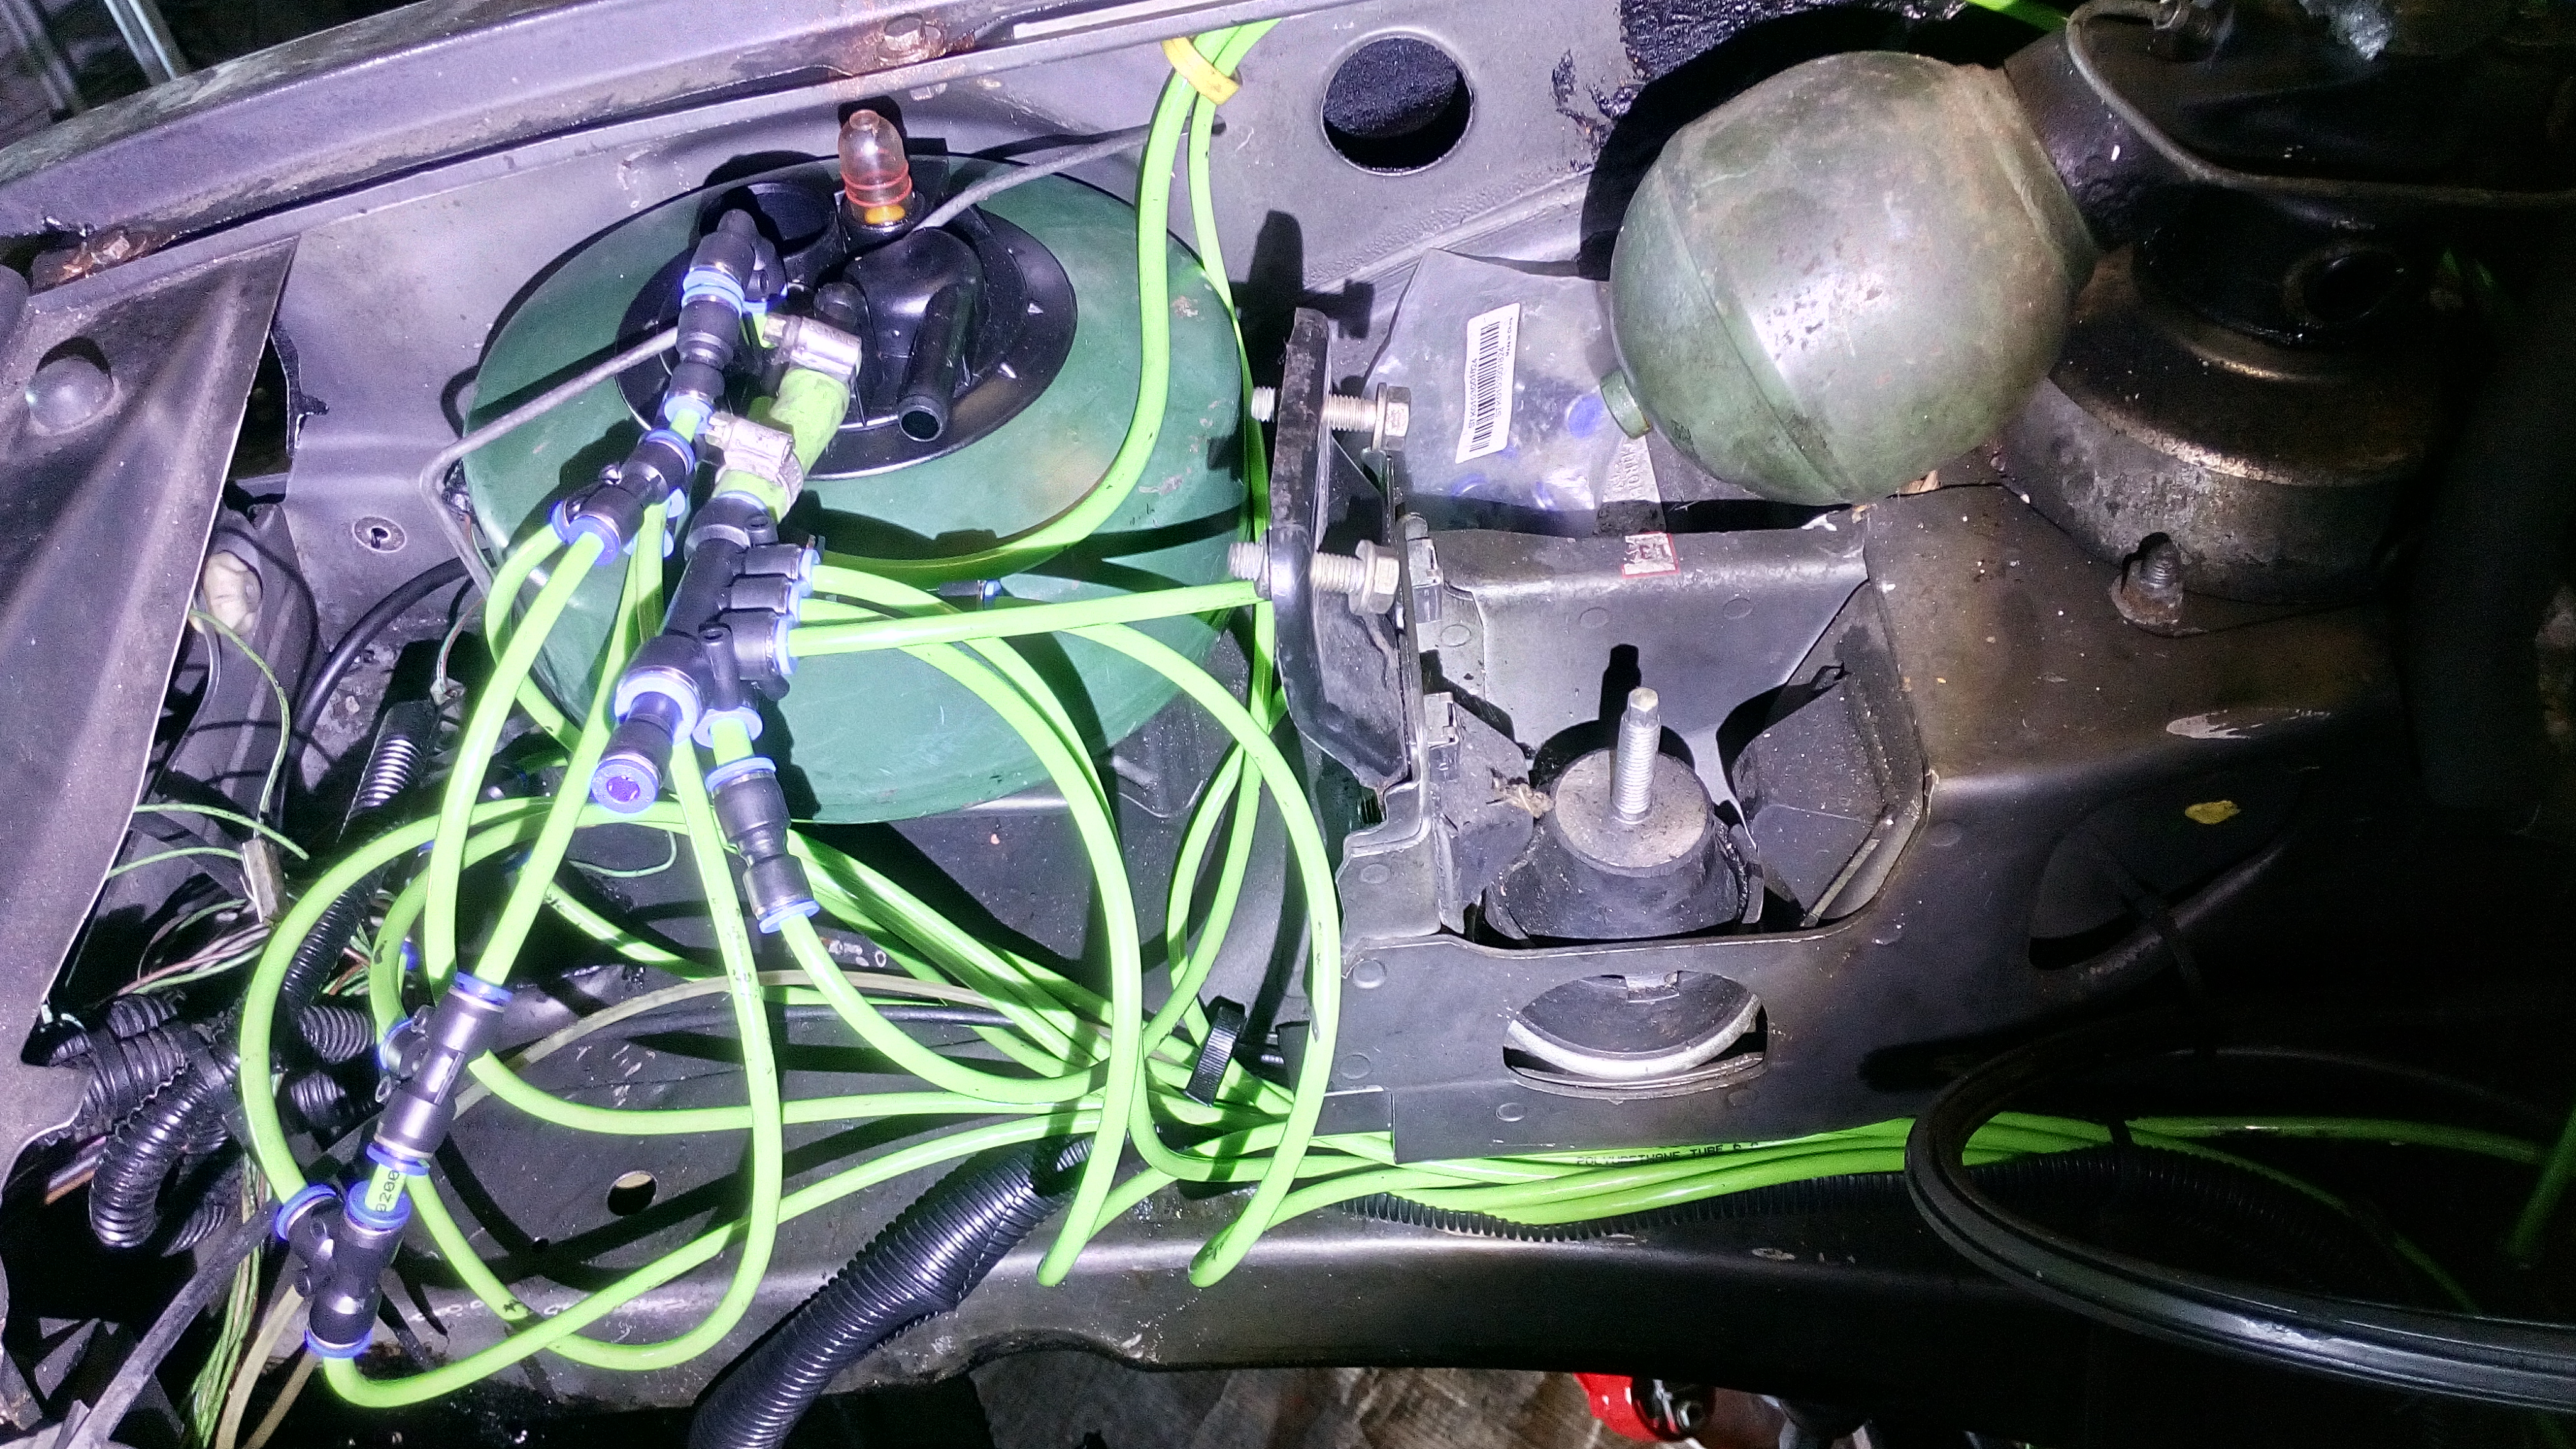
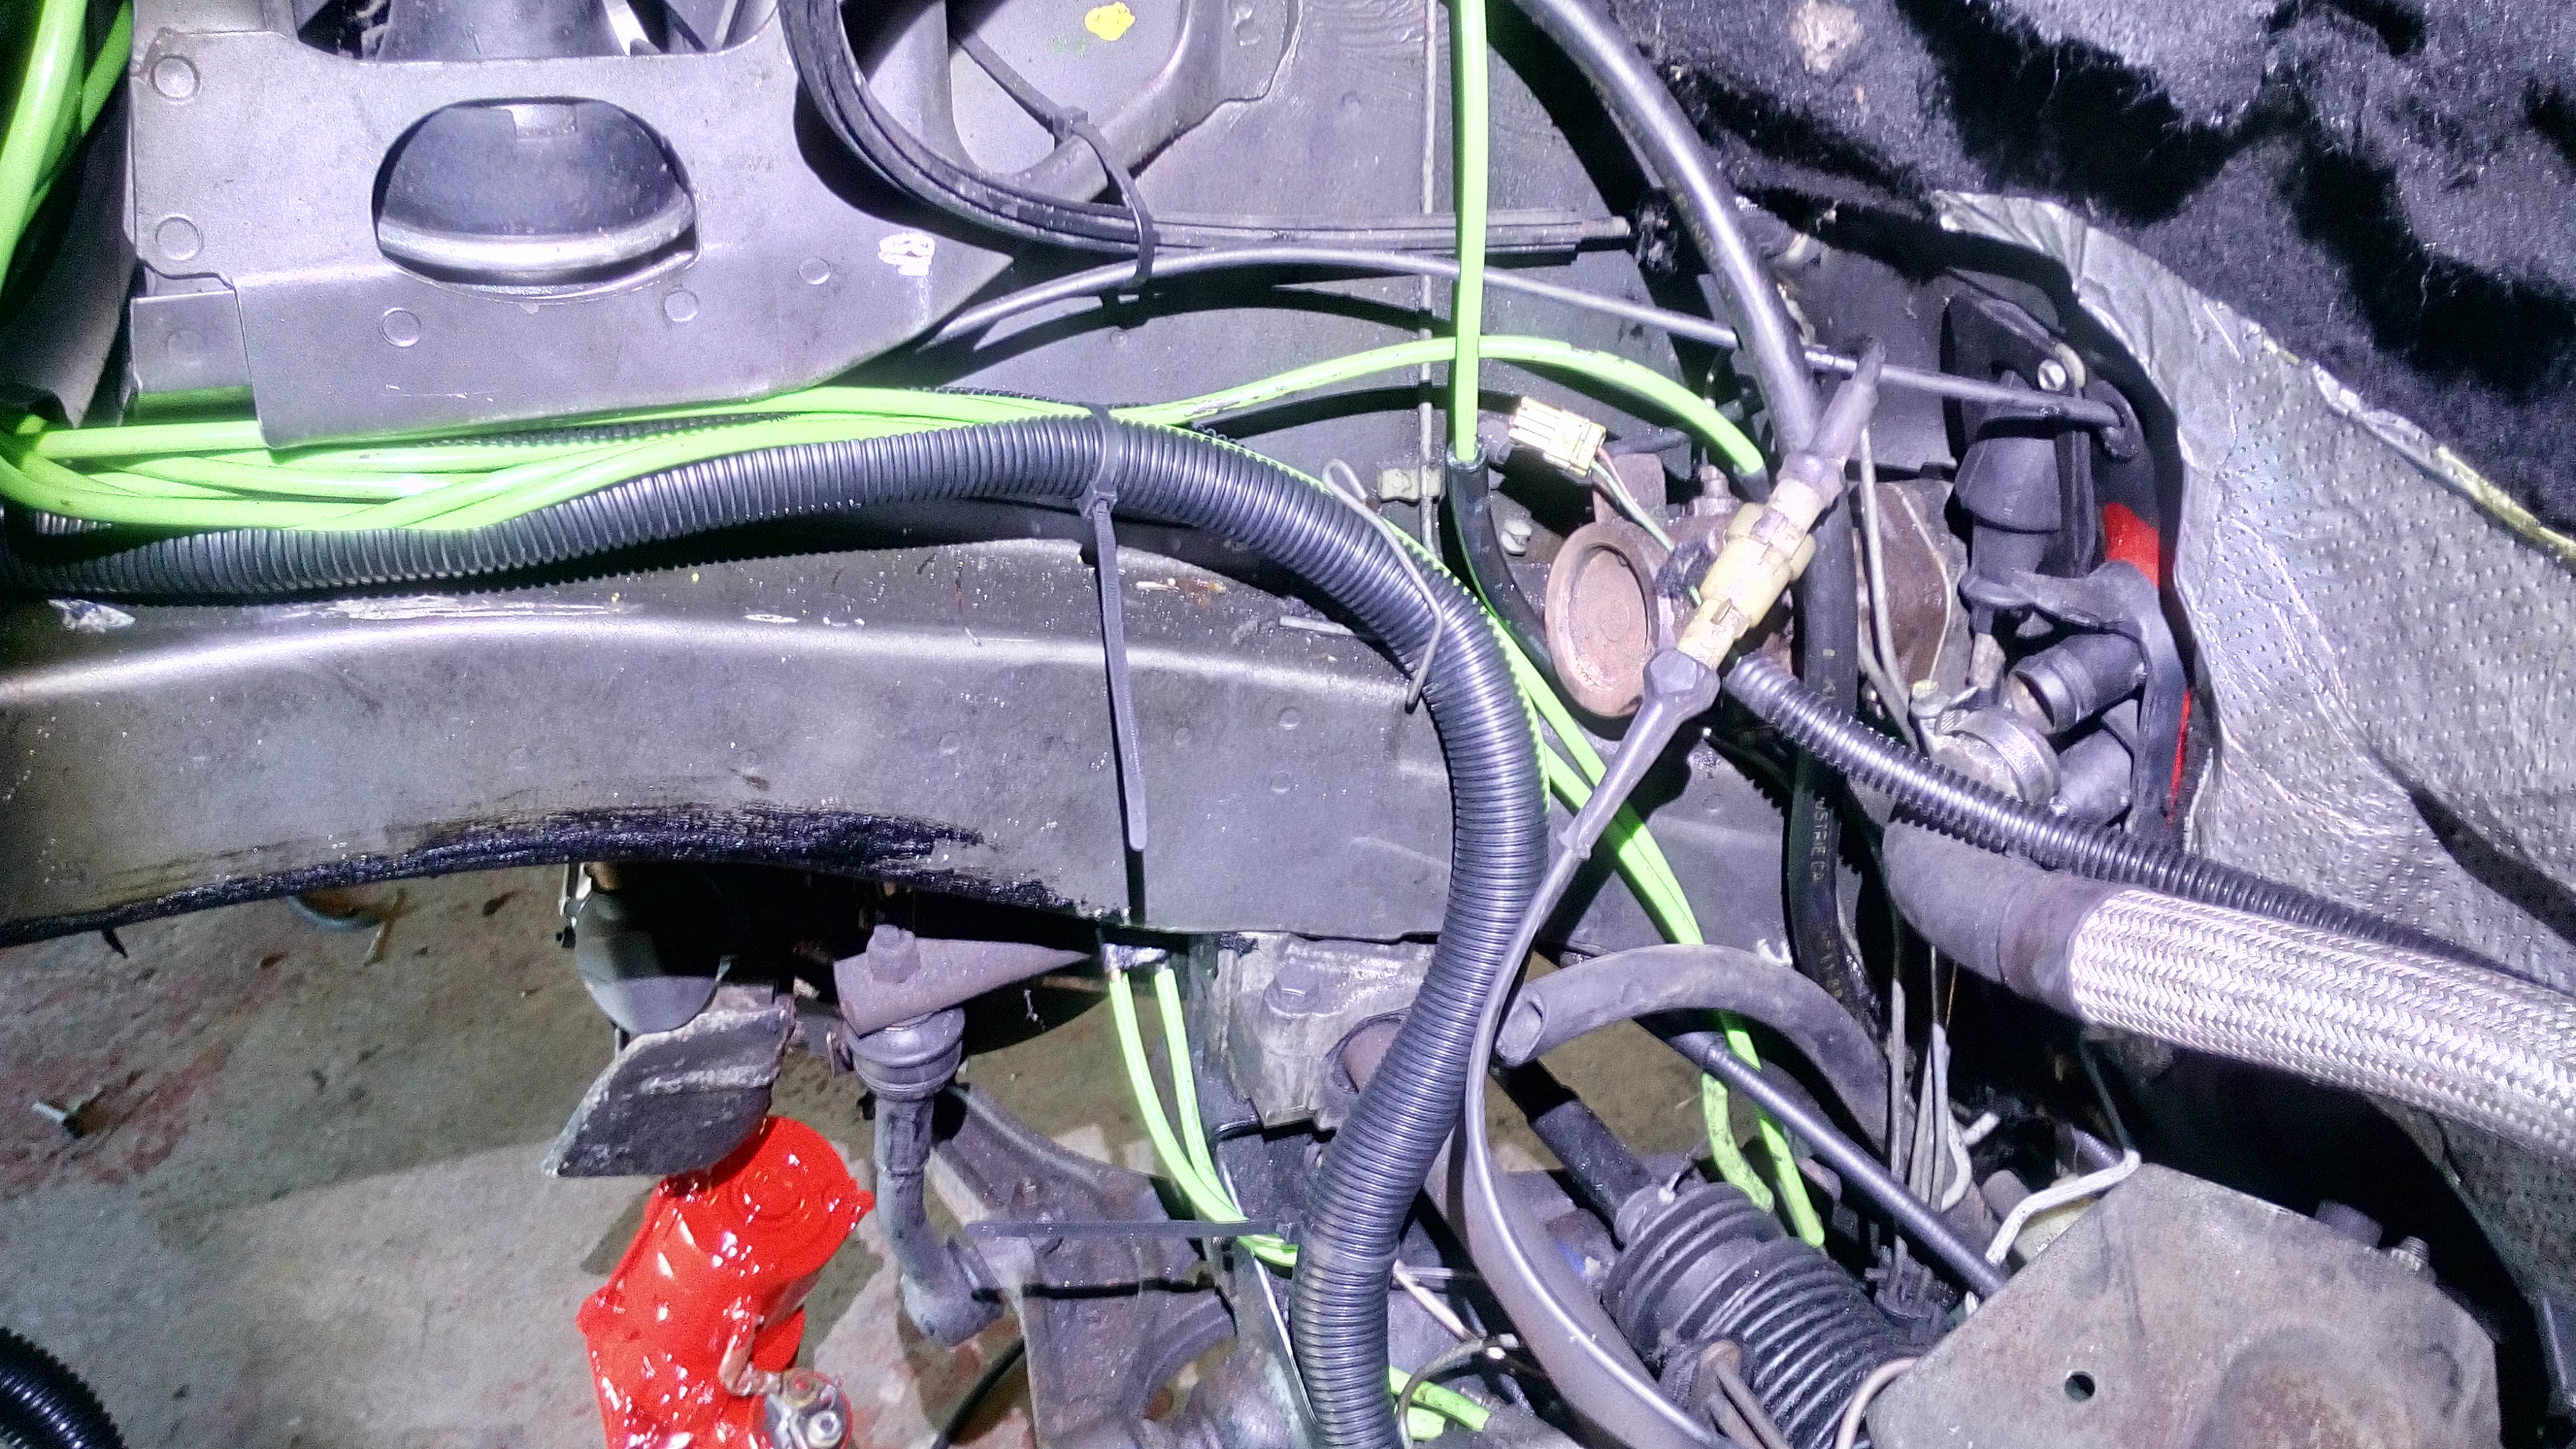
and what is that green pipe?! well. it would be the new return/leak off pipe! Screw rubber pipe, this stuff looks awesome.. why green? well lime green is the same colour as the liquid it carries. (yeah i know it would make it more hard to find leaks, but this should not leak ;))

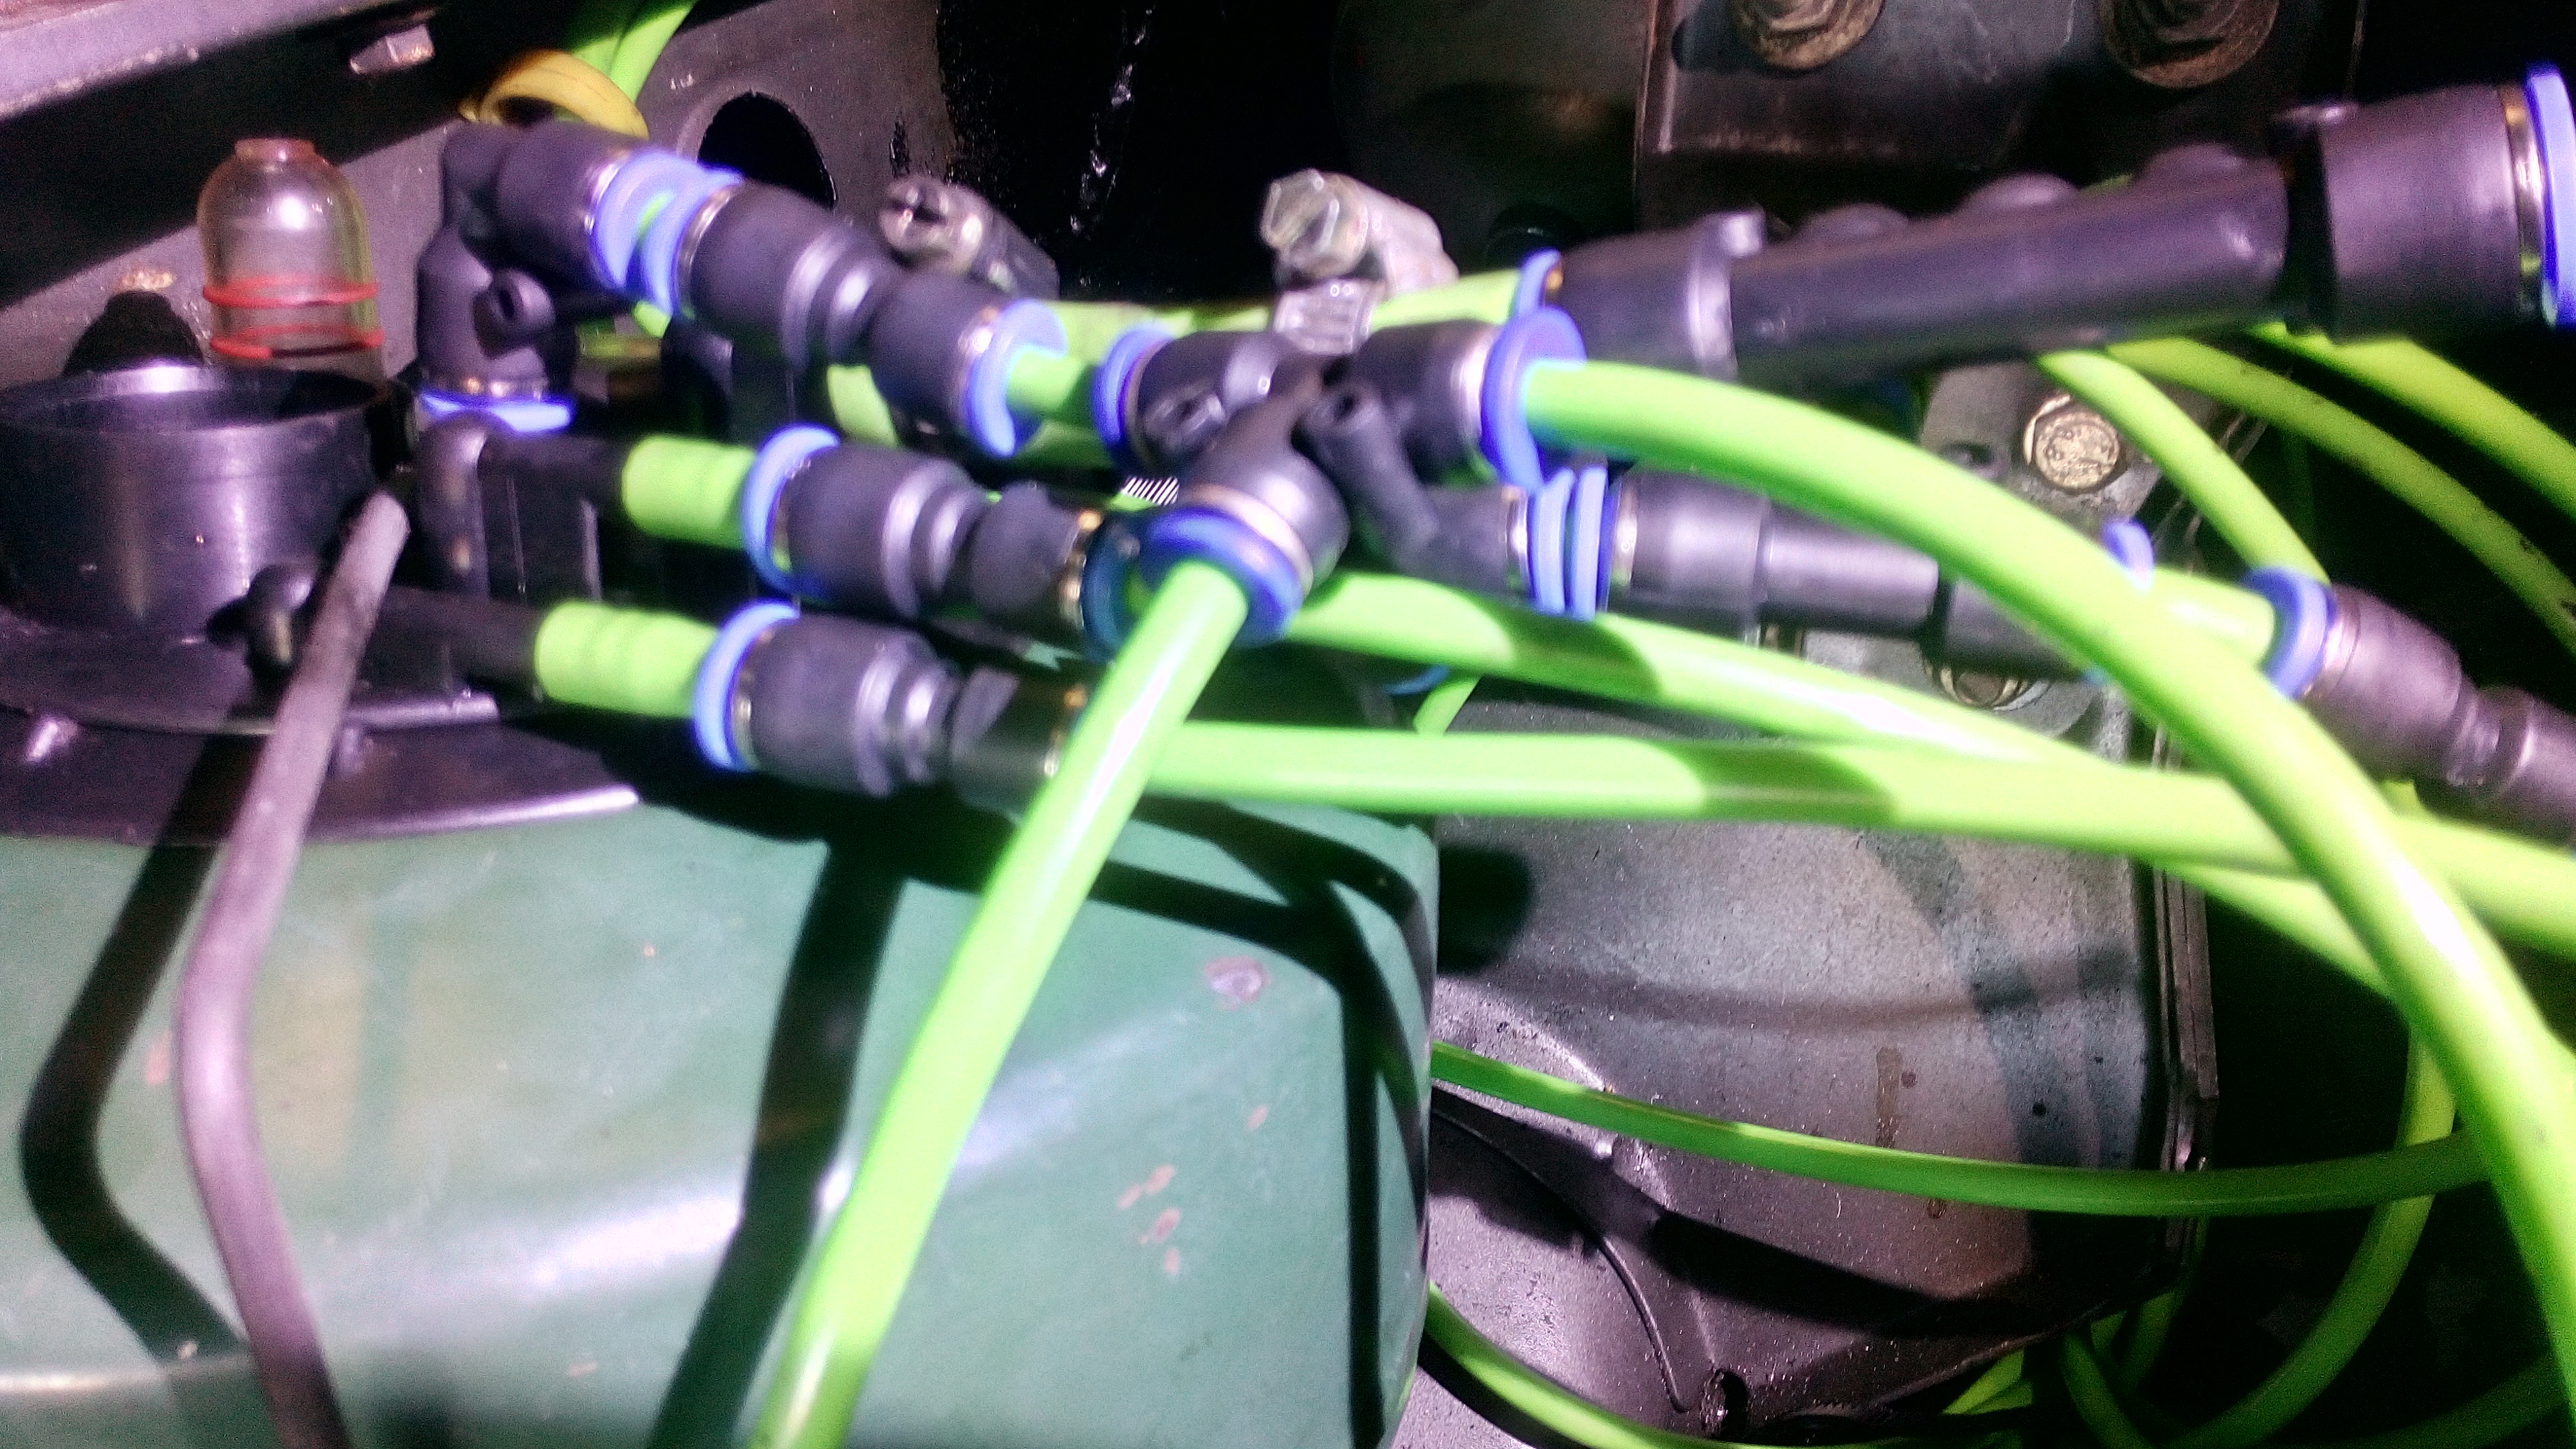
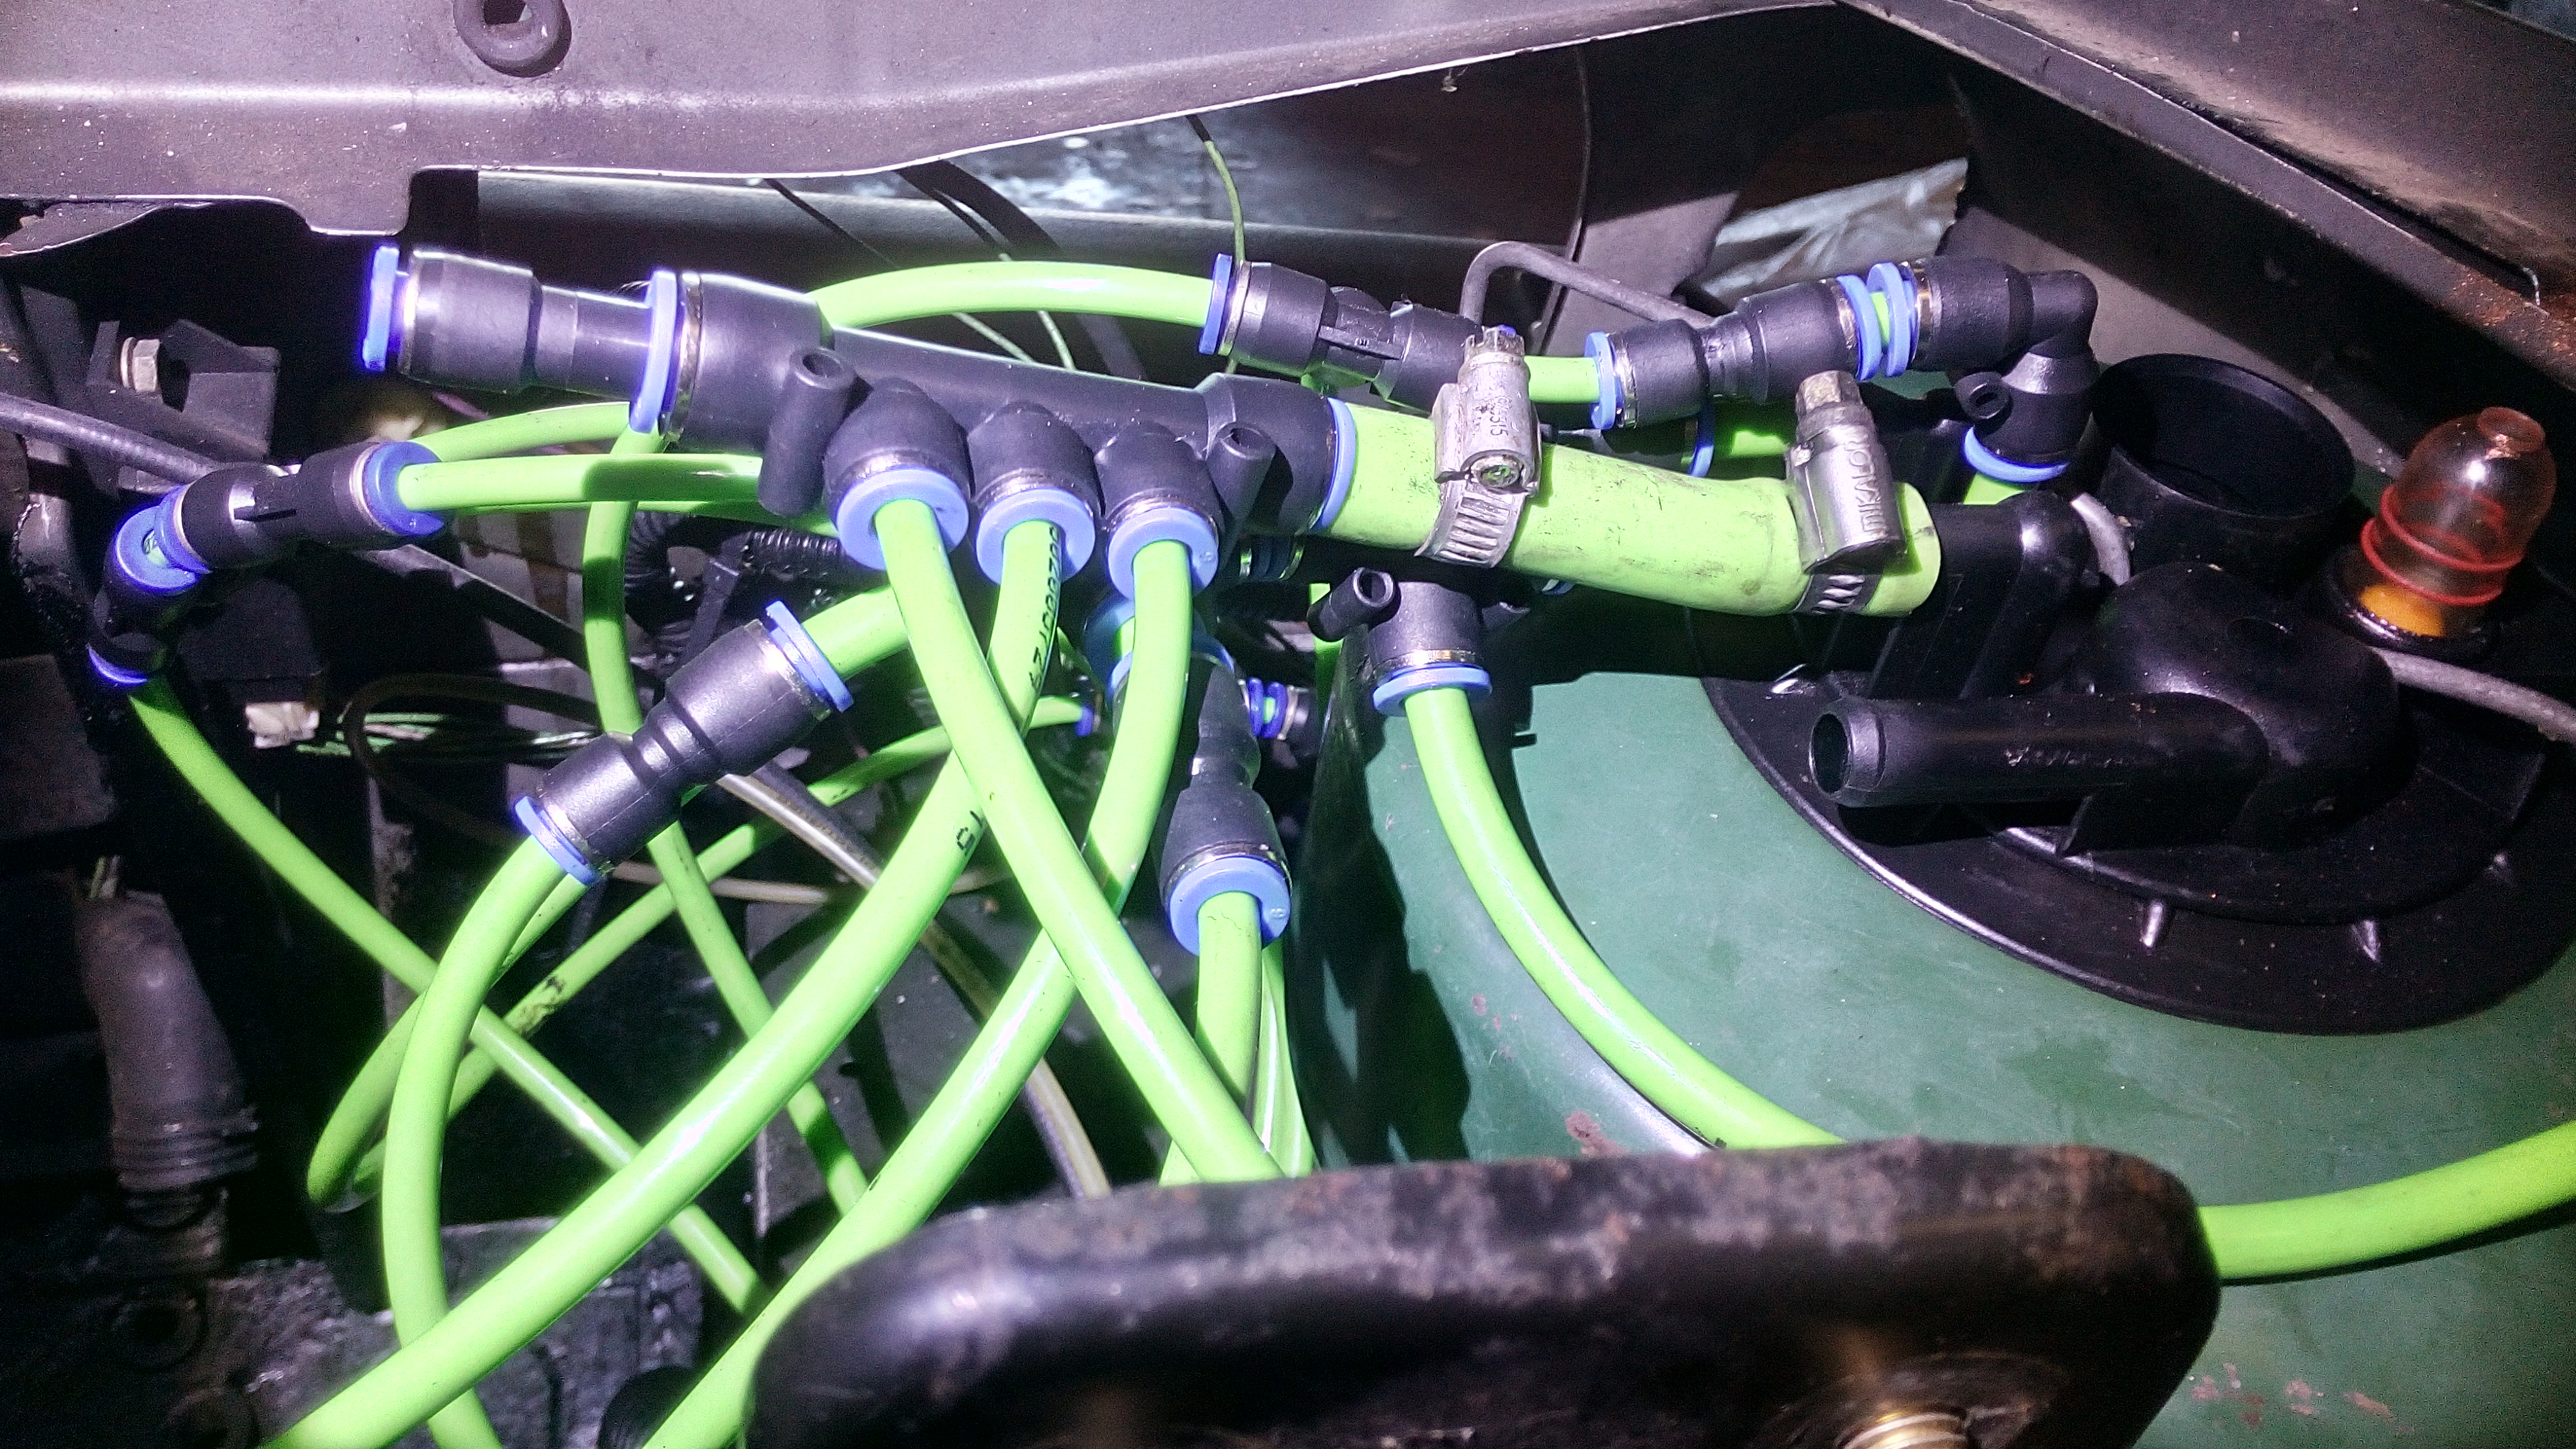
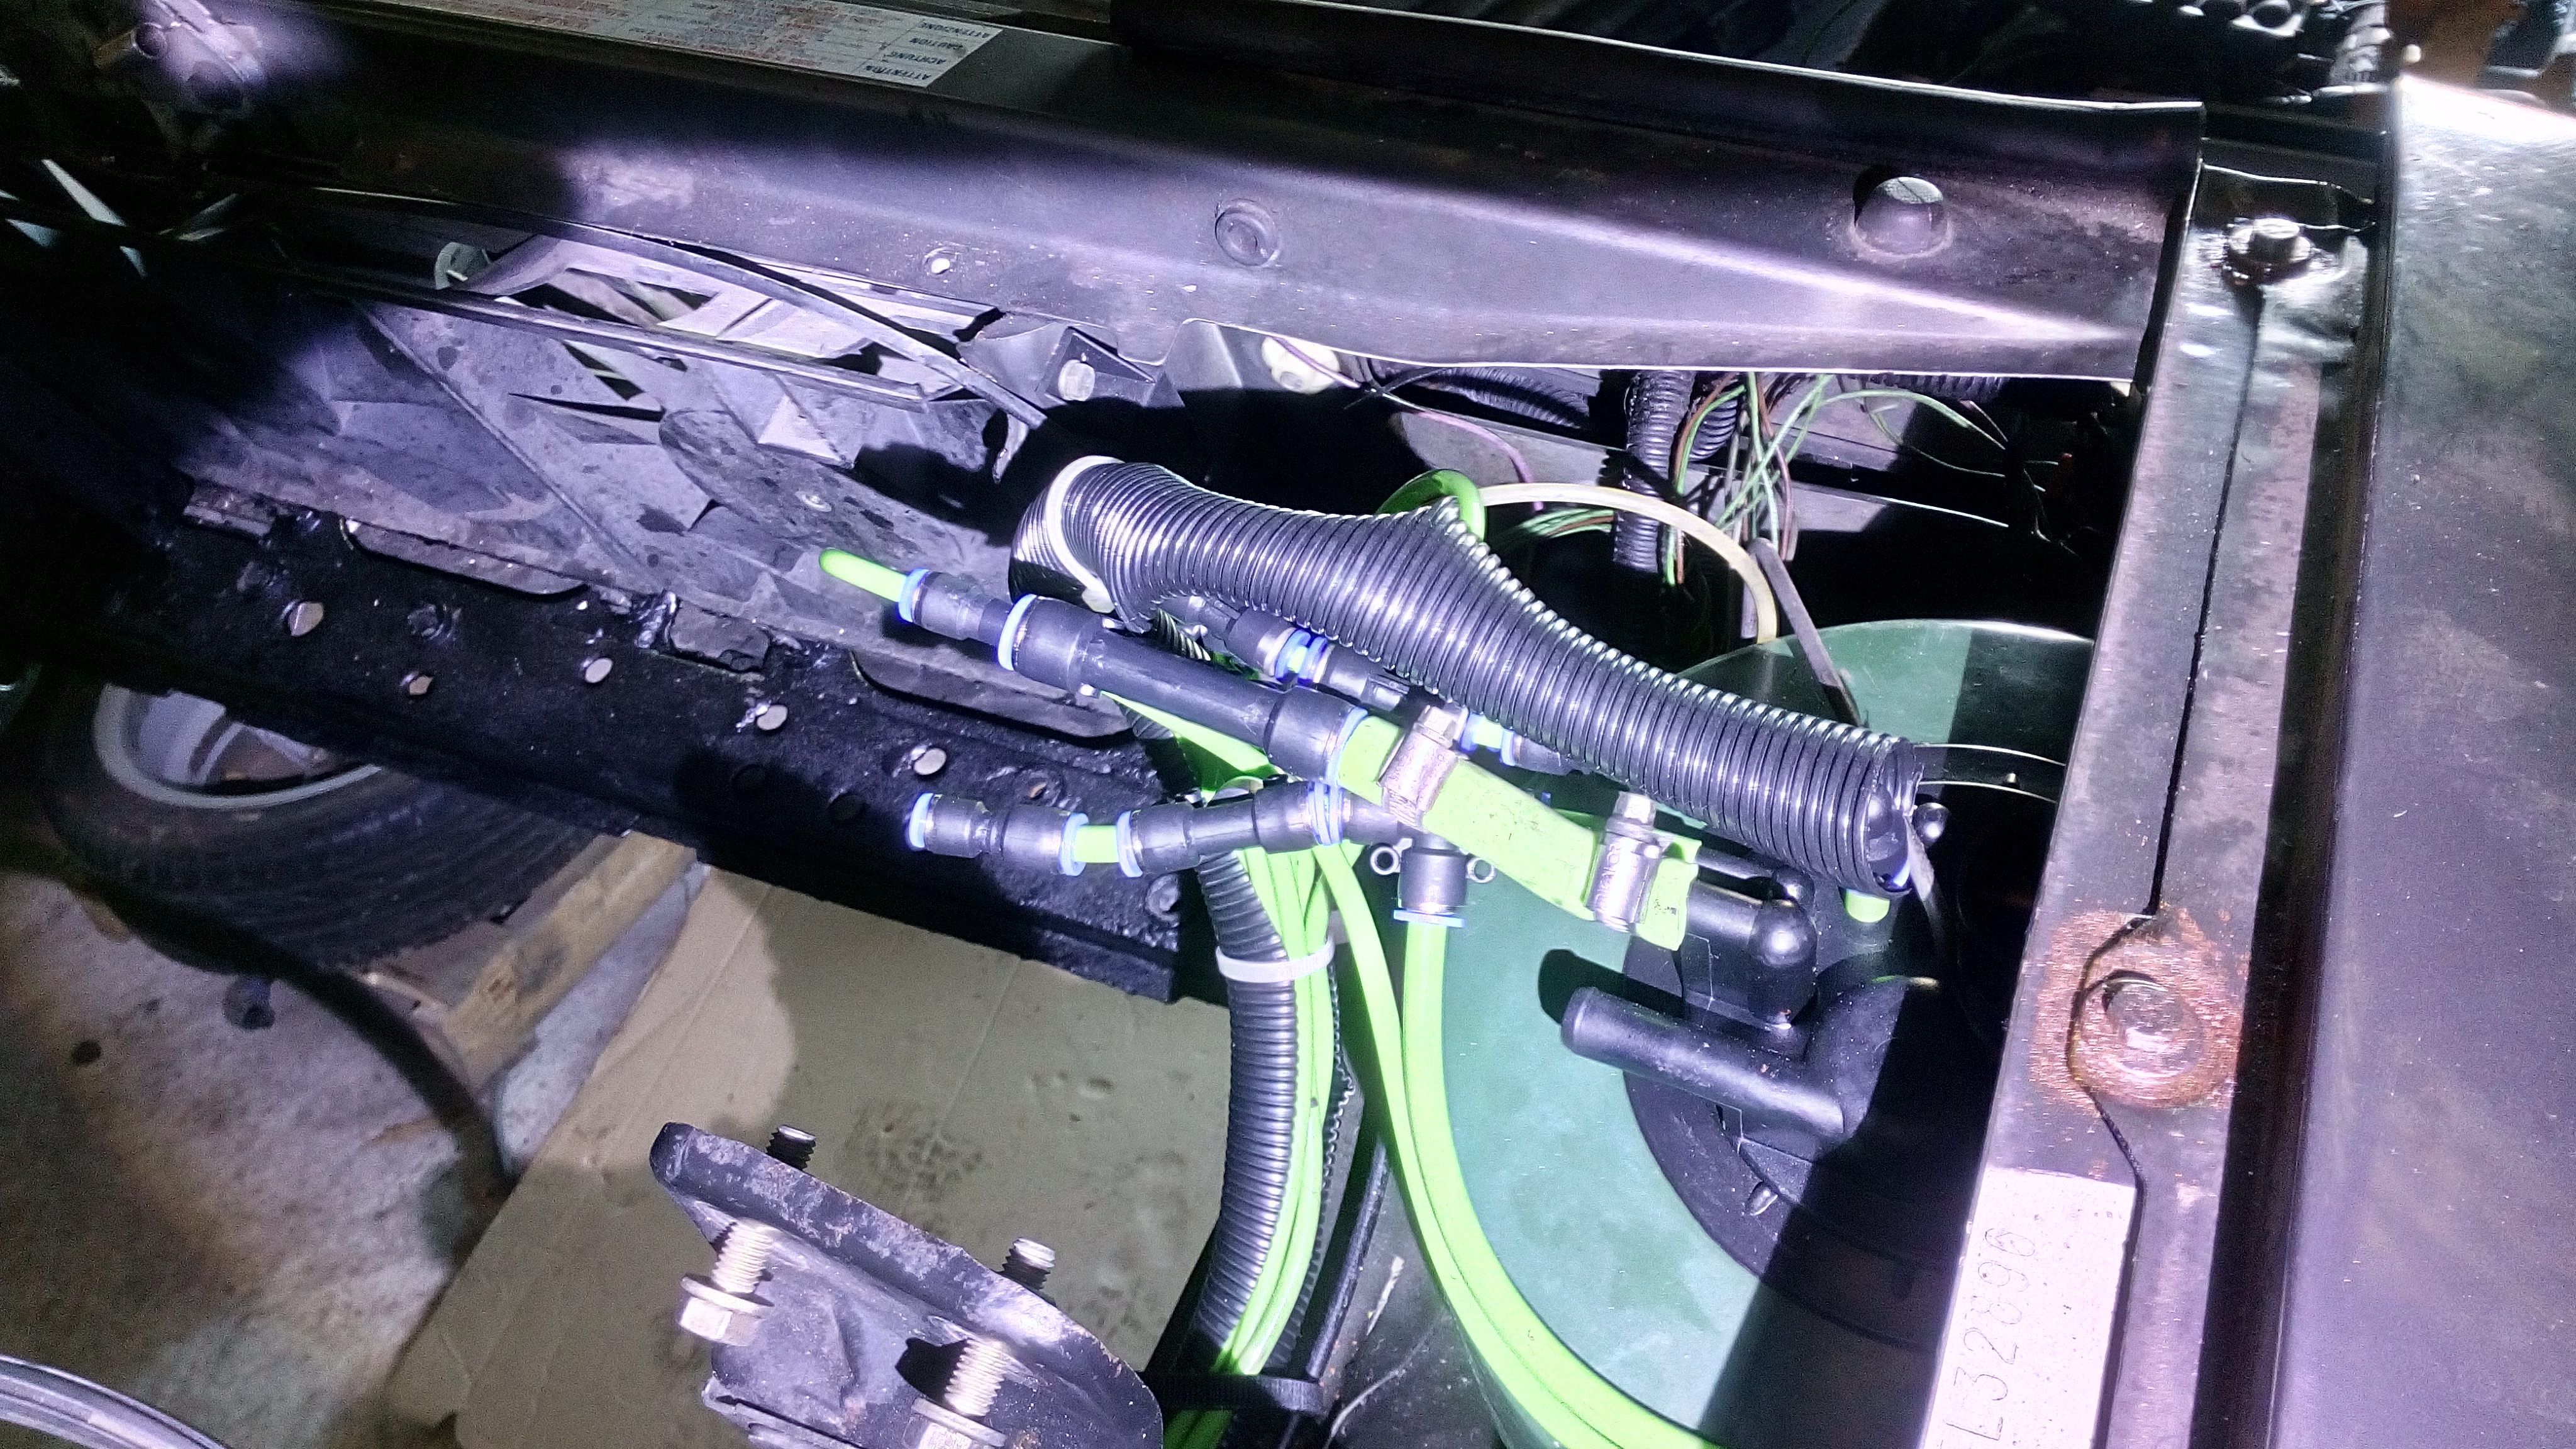
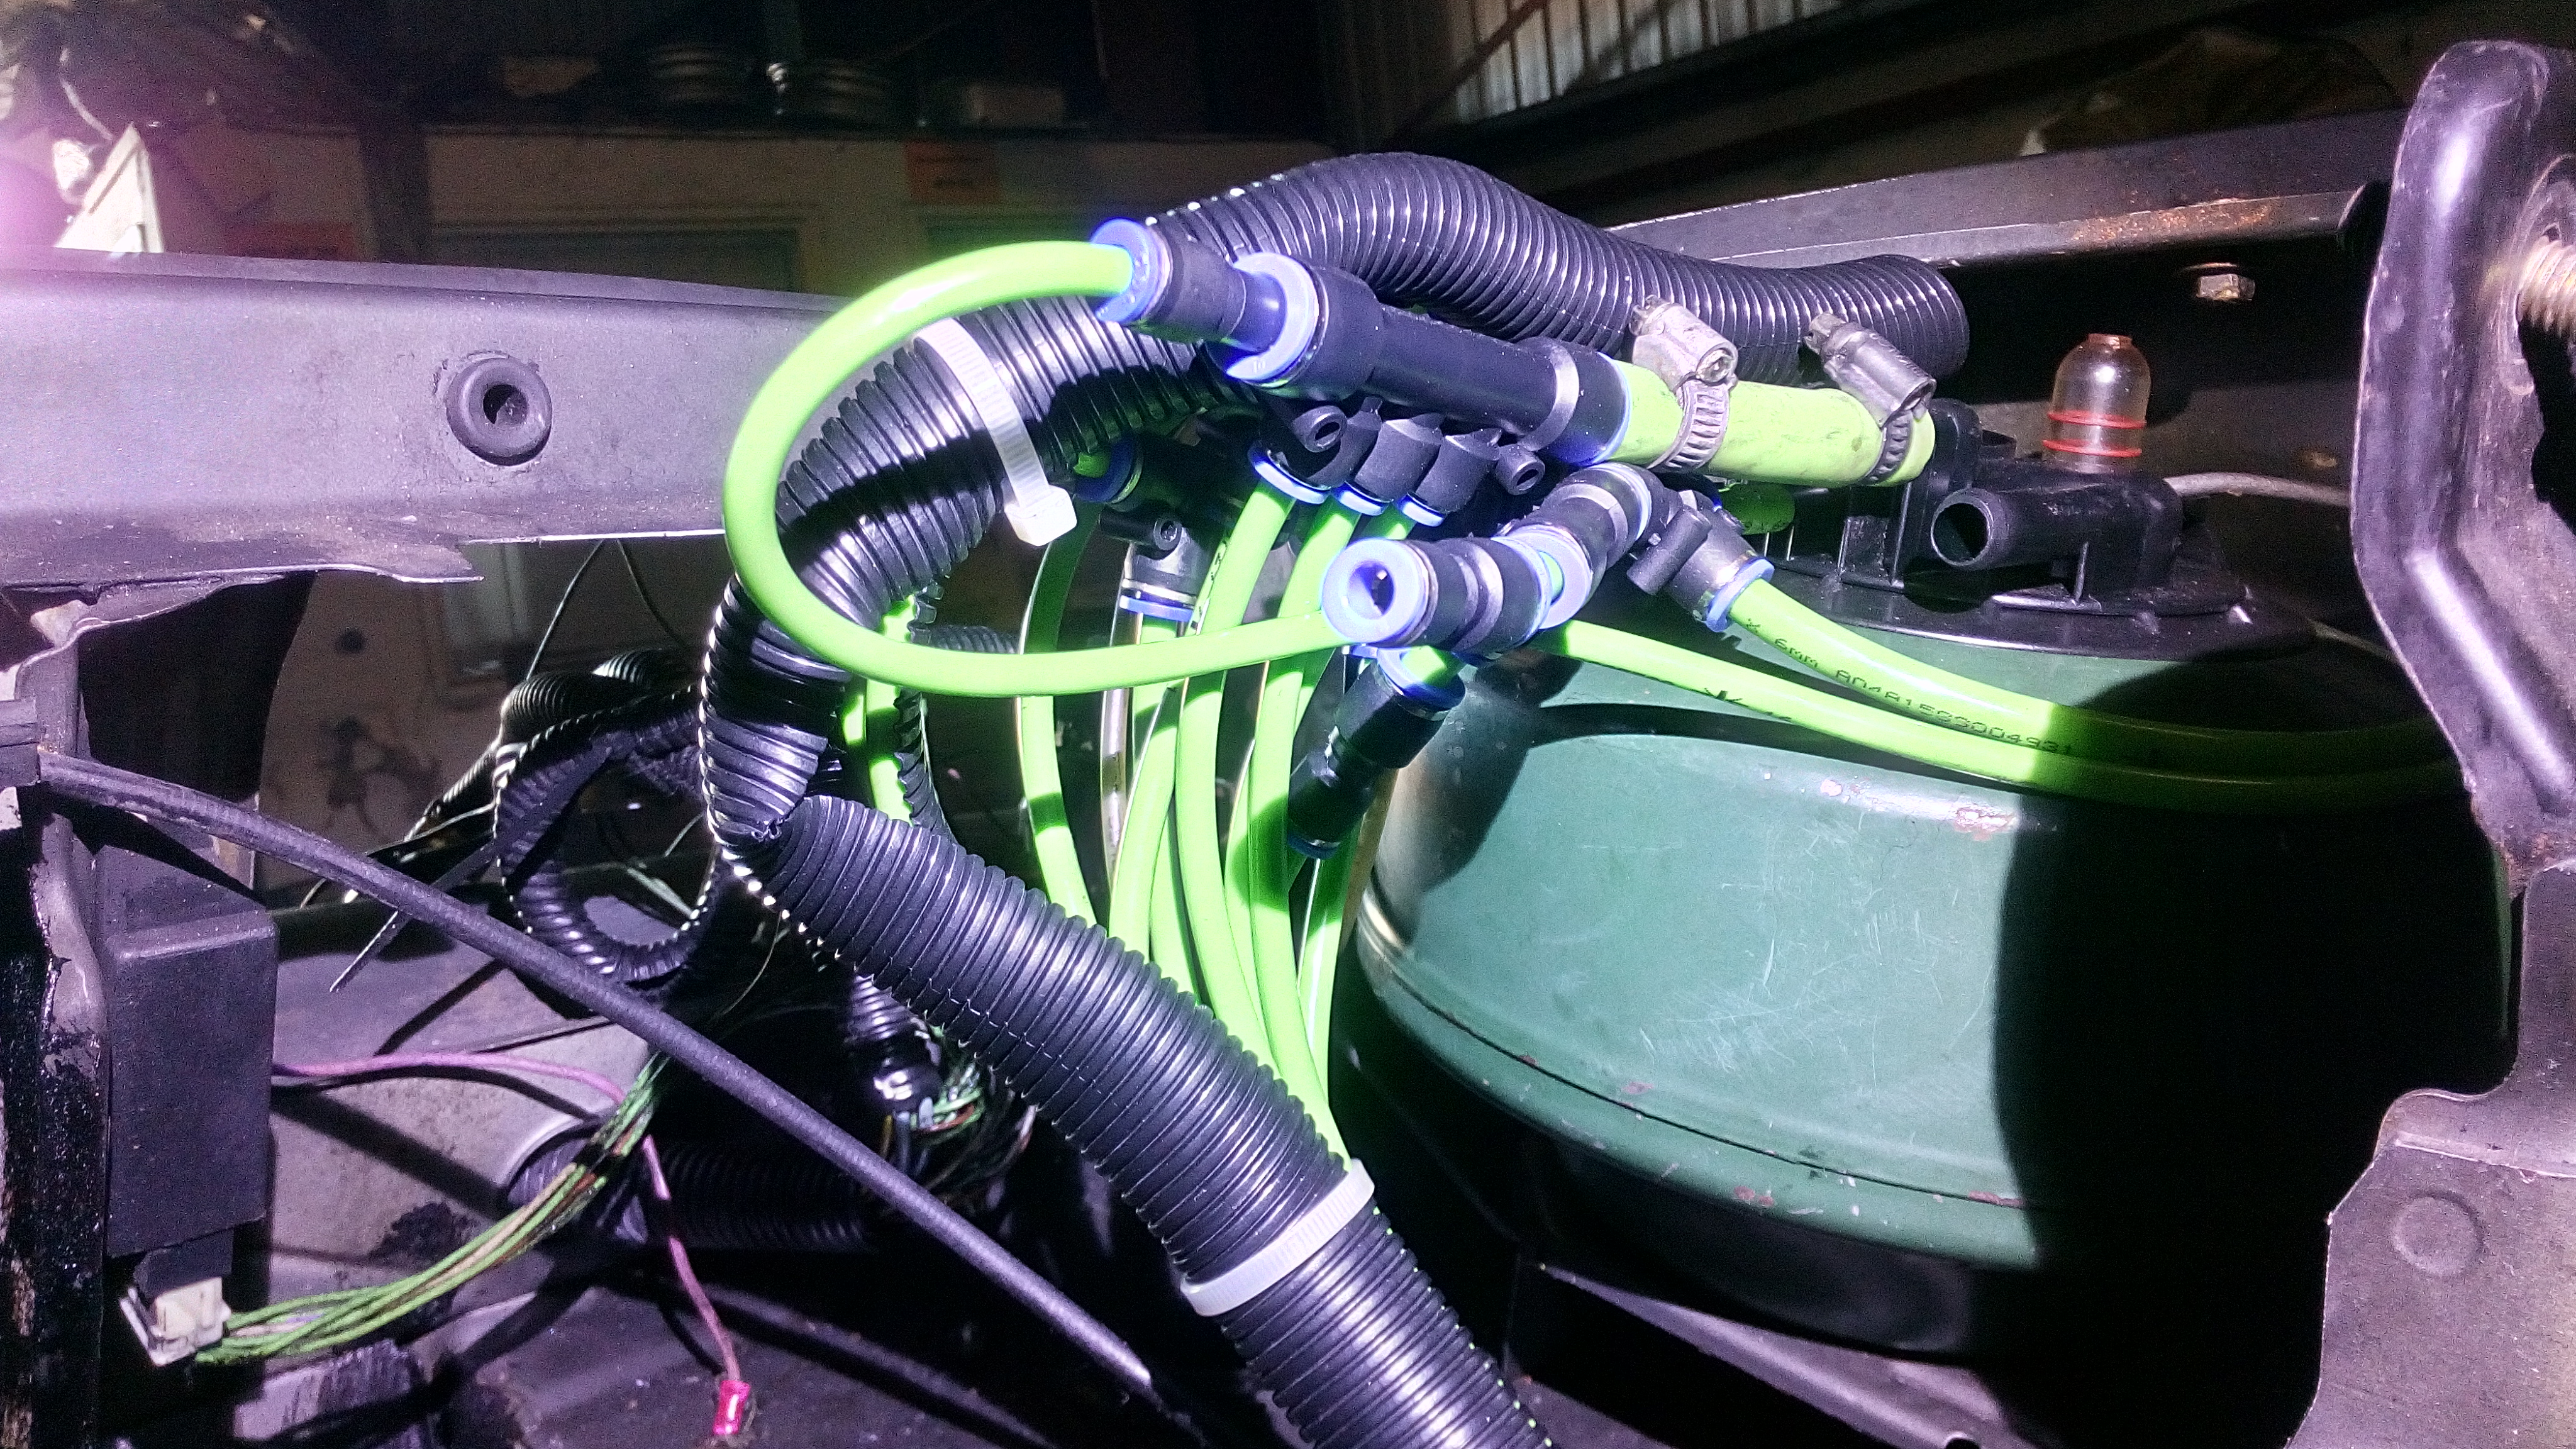
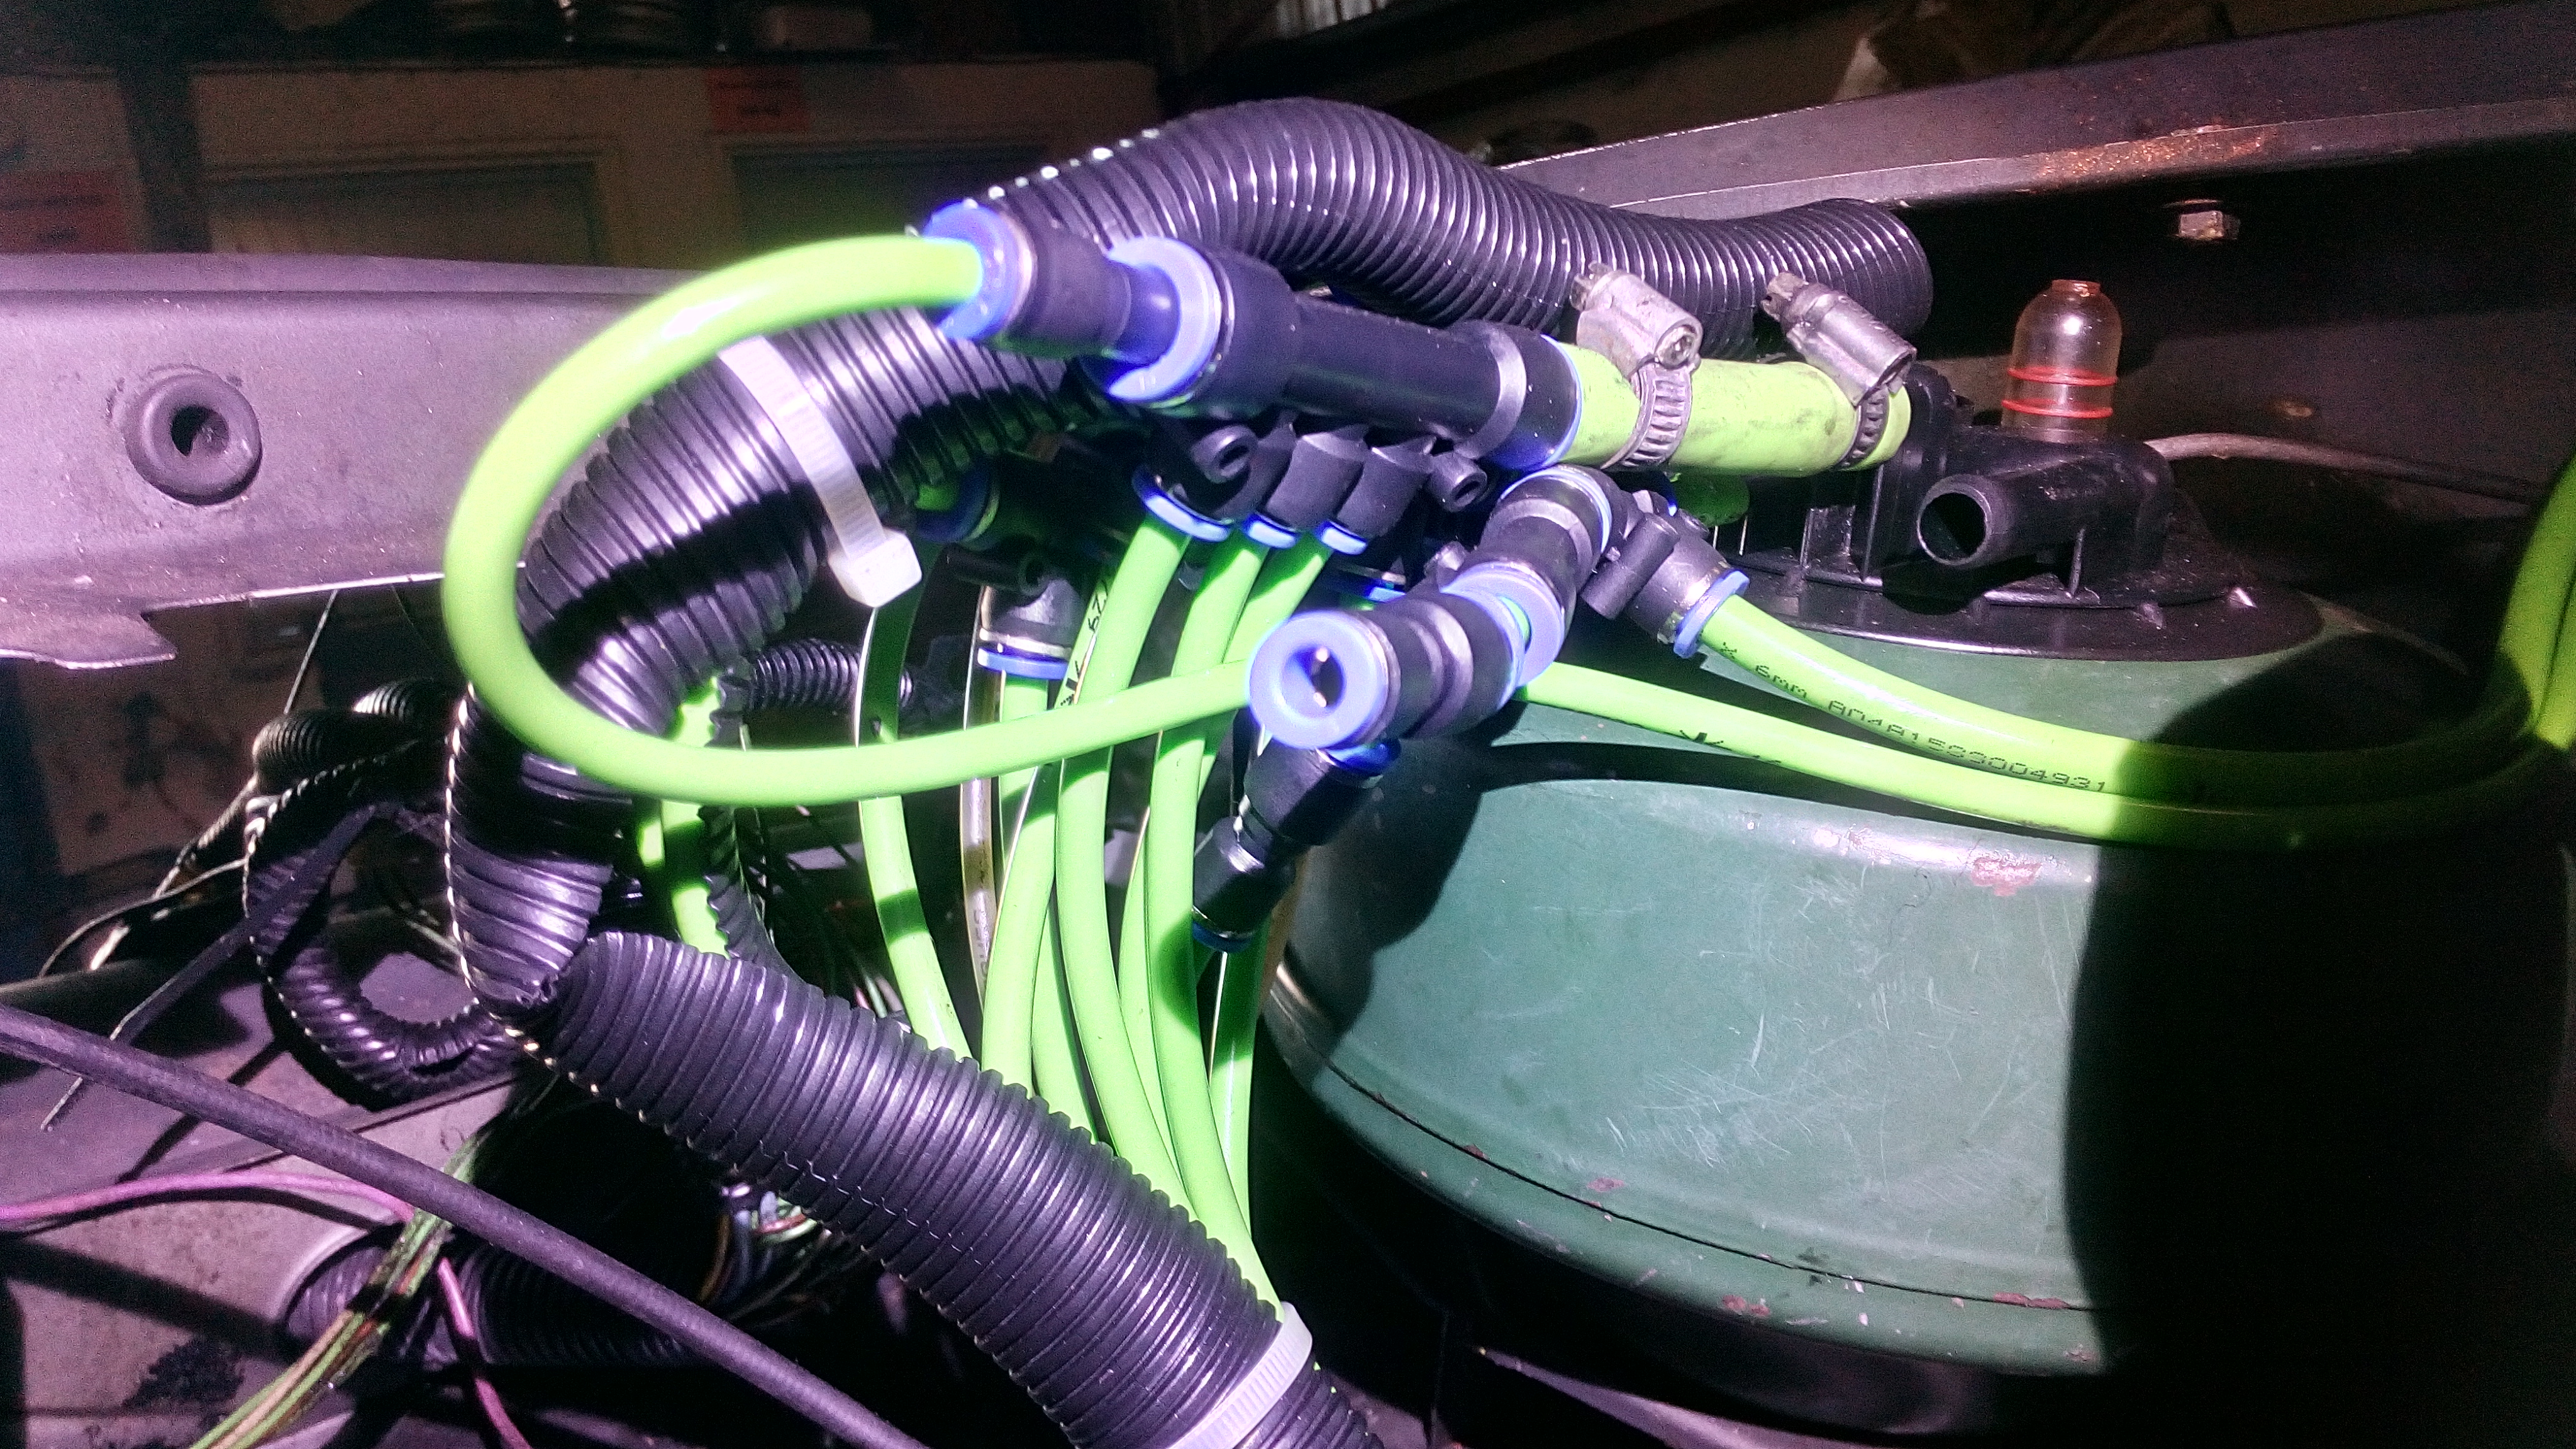
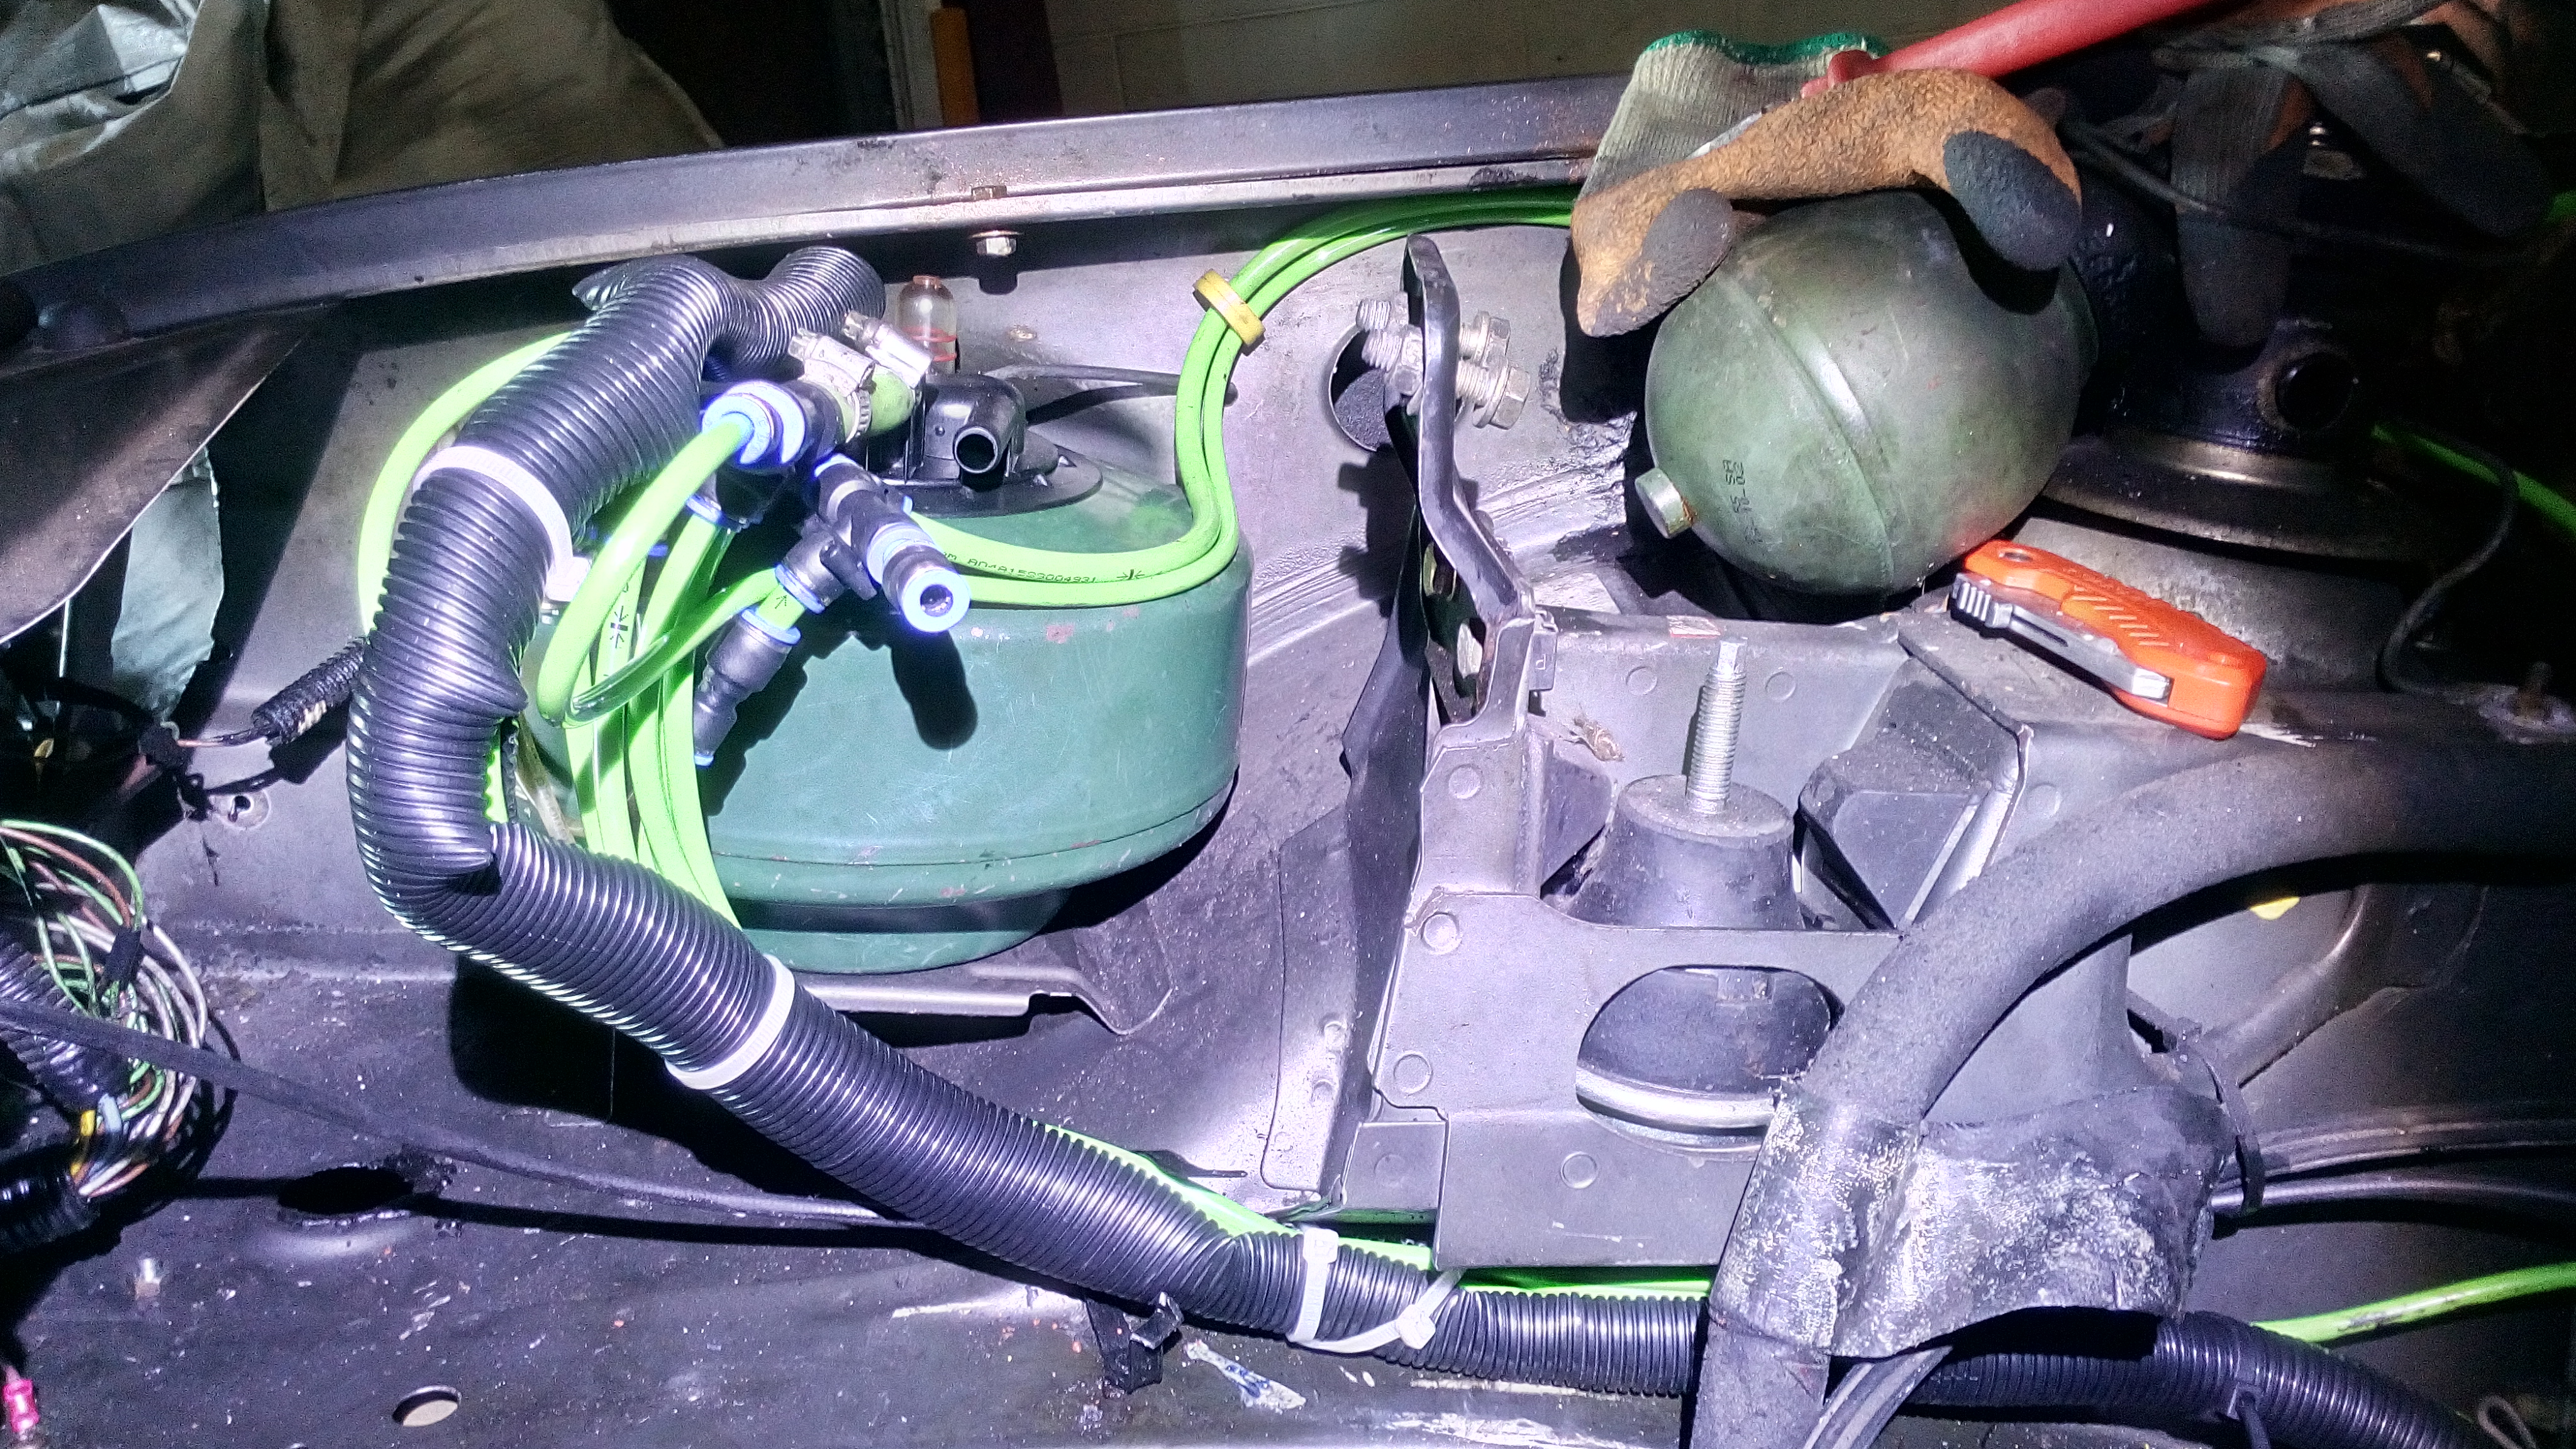
i have also moved the "octopus" location (not that i am going to have one anymore). from the silly lowest point where it gets oil, water, road grime, road salt, grit and god knows what else thrown at it causing it to die faster. to a nice sensible "right beside the LHM tank for easy inspection and maintenance" location.
sure, they design them the way they do for a reason but man for the few pence extra they could have designed and put such a vulnerable thing in a better place.

this does kinda look good too heh.. to me anyway..


i am going to put the original plastic sleeve over the pipes just to keep them bundled up. when they are all in situ they will look quite nice.

also note the red engine enamel paint.. yeah i had nothing else. when i removed the heater matrix tap to replace it, i noticed there was rust around the hole the rubber seal sits in. now i dont like rust, so i treated it to prevent it from getting any worse. next week when the paint is dry, it should be good to fit the new matrix and tap.

well i guess i will update next week.
 
Well its been a week or two. sadly not much has happened.

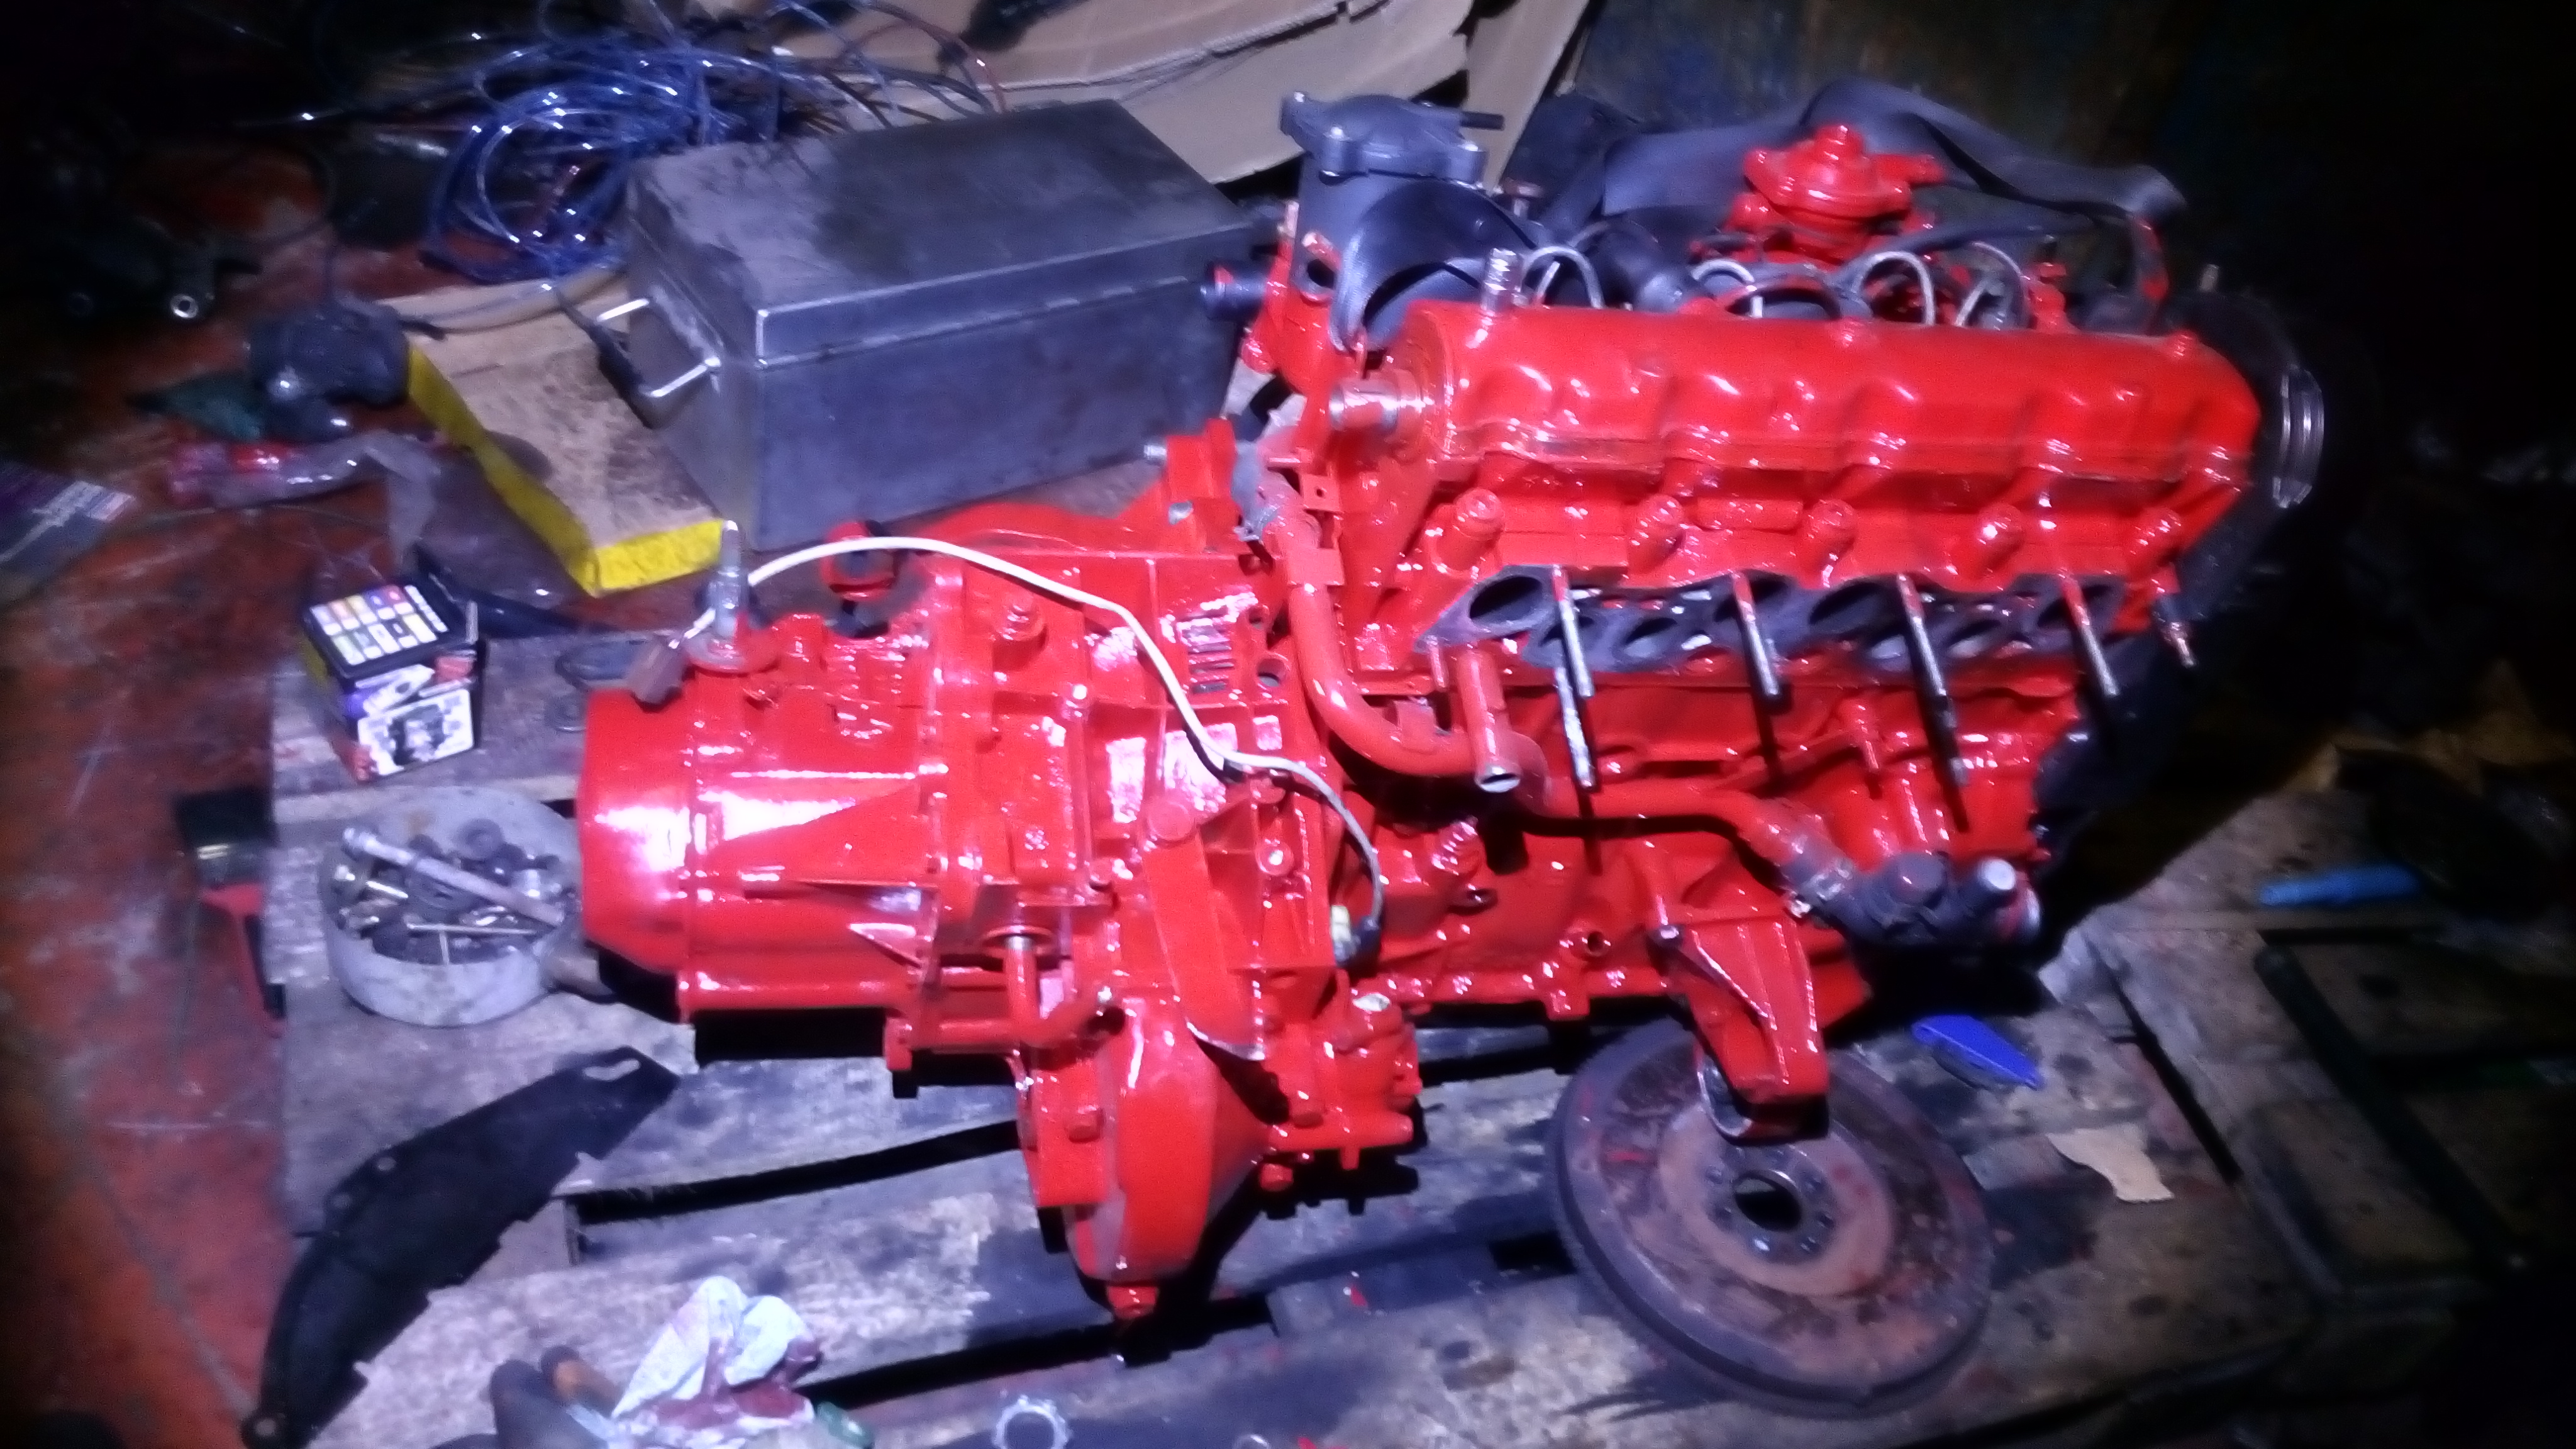
the heater matrix and tap is in, another clutch and another flywheel later and i have got the engine and gearbox back together again.
the timing belt is all fitted now after the kit i bought being the wrong one.. naturally. the timing belt covers are, the starter is bolted up, the alternator is kinda on.. its starting to look like a complete engine.


i think they need painting to be fair.

more and more leak off returns are being replaced on the car..


octopus mk2..


and now i need to somehow make an adaptor plate for this happy fellow.


also need to make some kind of boost pressure controller up for it.. this turbo uses vacuum to actuate the veins.. which is something the BX does not have.. well the diesel one anyway. im sure i can make a simple computer up using a pressure sensor, 8 bit micro controller (arduino maybe), and a solenoid to get the desired pressure. i could just swap over the actuators as the one on the original turbo is setup to run on boost pressure over vacuum. or i could mod the actuator on the new turbo to use boost pressure (by putting the spring on the other side of the diaphragm) technically that would make it so the turbo would actuate at 14.8 PSI. add a washer or two and that may put it up to 20 - 22psi. ill have to test it with the compressor first.
that turbo was weighed in as scrap, so i have bough a whole new cartridge for it.. pretty much all new inners and just use the original outers. the plus is that i got it for free.. but the new cartridge did cost around £80. still though, not bad for an effectively brand new turbo.

i am also considering replacing some of the coolant pipes as loads have split or have cracks. with them being in the shape they are in though, i dont know where i would get them from.

now i just have to find out the right gearbox oil to use...
 
well thats the gearbox oil.. some "Total gear 8" GL-4 spec too. nice to see they still make it.

anyway i have got the new cartridge for the turbo today so i did a strip clean on the new variable geometry turbo i have. it was pretty caked up inside also had a bit of play in the spindle too.. and a lot of evidence that it was passing oil quite bad too.

though the play is not huge.. it is quite noticeable..


new cartridge being installed...


just cleaning the veins on the hot side of the turbo..


now to make a plate with studs to adapt this turbo to this manifold..


these turbos.. such a simple design and so much better than the old waste gate design. makes you wonder why they did not come about sooner.

ahh till next week.. and oh another video for you guys to watch:

 
a few pictures of today's work.

the heater valve is in and replaced


the interior looks a mess though the huge stack of car parts have reduced a lot


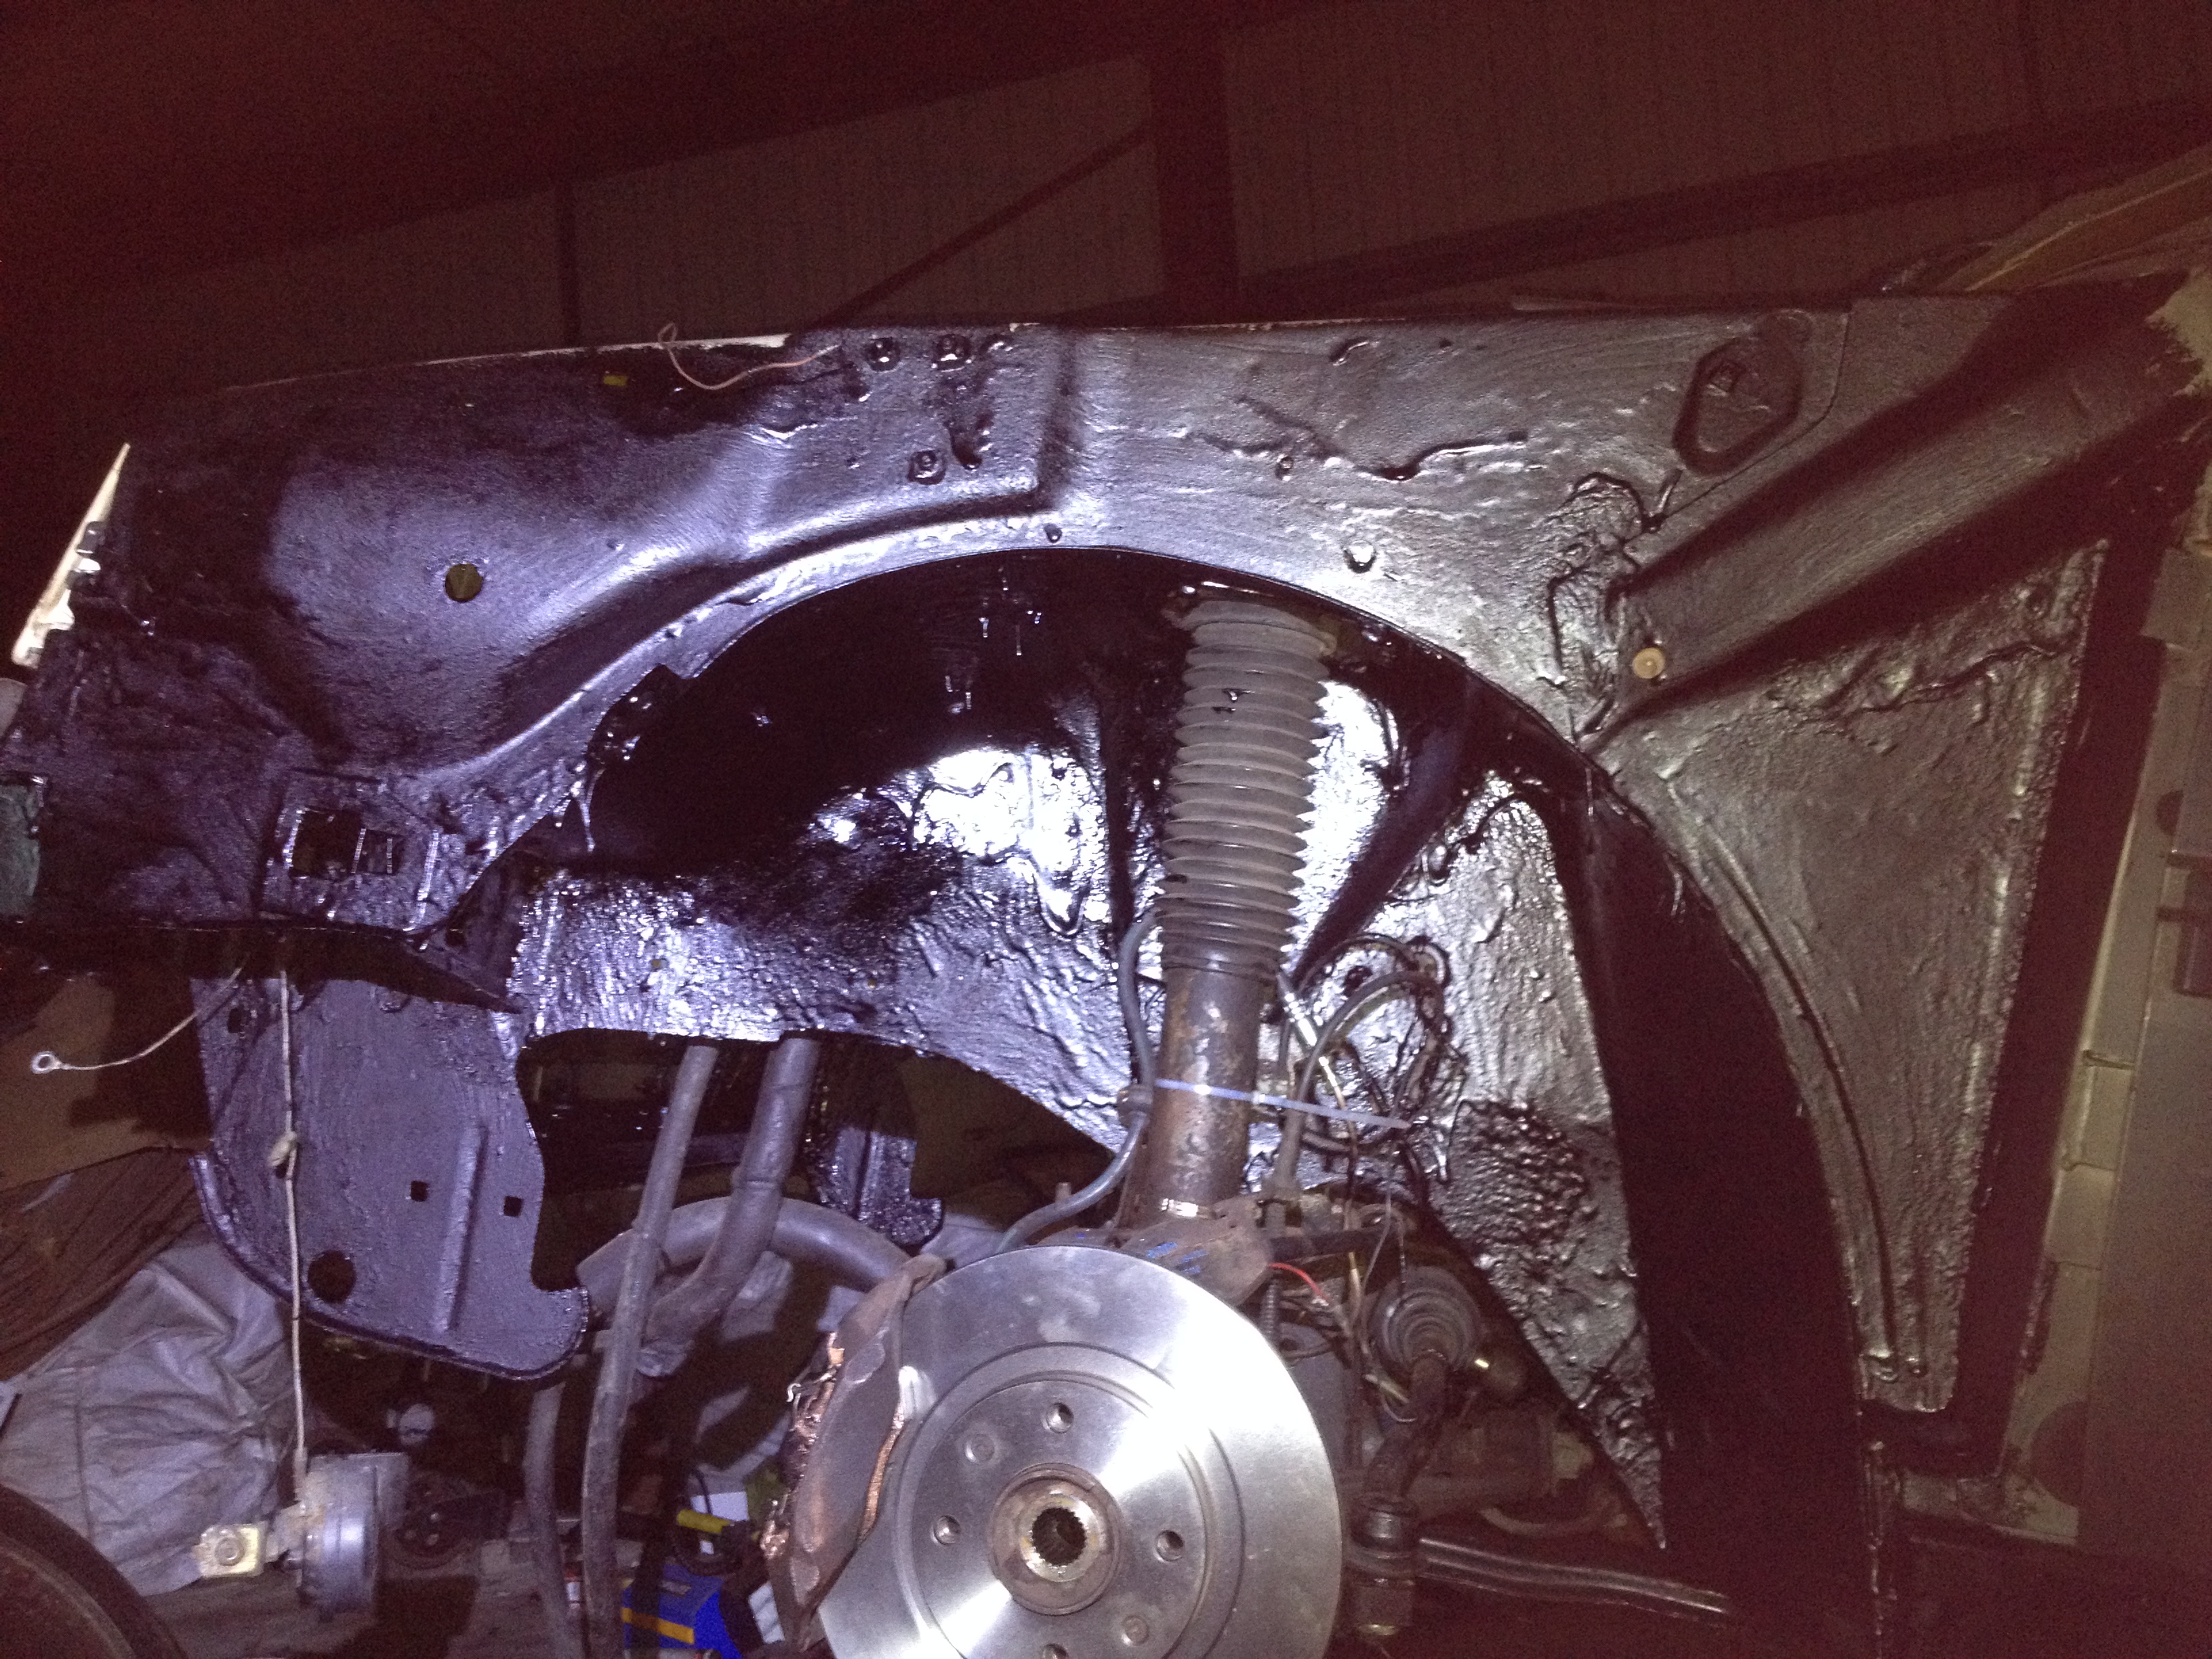
sadly i forgot to grind the welds down gahh. as i slapped the first bit of under seal on i realised.. so i just though to hell with it. it is after all covered by the outer arch.

what a nice mess..


even the engine bay did not survive the tar brush


i have also got to fix this which i have been putting off.. but it must be done. at least if i make a pigs ear of it, the washer bottle hides it :spin:


some people hate underseal.. but to be fair i just want a car thats going to last me years and years. ill look forward to doing the cavity waxing, but i think that will happen when i can drive the thing as its a job i would do at home.

are we there yet?
 
i managed to sort out the rust under the washer bottle. i got the grinder in the wheel arch and managed to cut out all of the rust that way. i then managed to open the seam and slide the plate in, weld it in, grind down the welds, underseal then fold the seam back together, and underseal again. this is the result..


hey guys, not been doing much work on the BX. been a little tied up on my days off to go in and work on the car. i did however managed to get a few hours in thursday and saturday morning.

heres a few pictures as i know you like to see this crazy stuff

after undersealing where i can around the front and around the wings, i think its time to get the bumper and wings back on. i am not that fussed about getting the panel gaps perfect as i will be taking them all off again at some point to cavity wax everywhere i can get the waging pipe in!


the returns are getting there now, i have the LHM tank in situ with all but 2 of the returns plumbed in. it looks a mess at the moment but it is because i have not trimmed any of the pipes yet. i am not sure how much LHM the BX takes but i have bought quite a bit. i know the old LHM was heavily saturated with moisture. when i dug the hydraulic pump out to clean it up and paint it, it was sized up! it soon freed off with a few back and forth twists but its a bit worrying! it feels good now and does pump LHM fine if i feed some into it and pin it by hand.


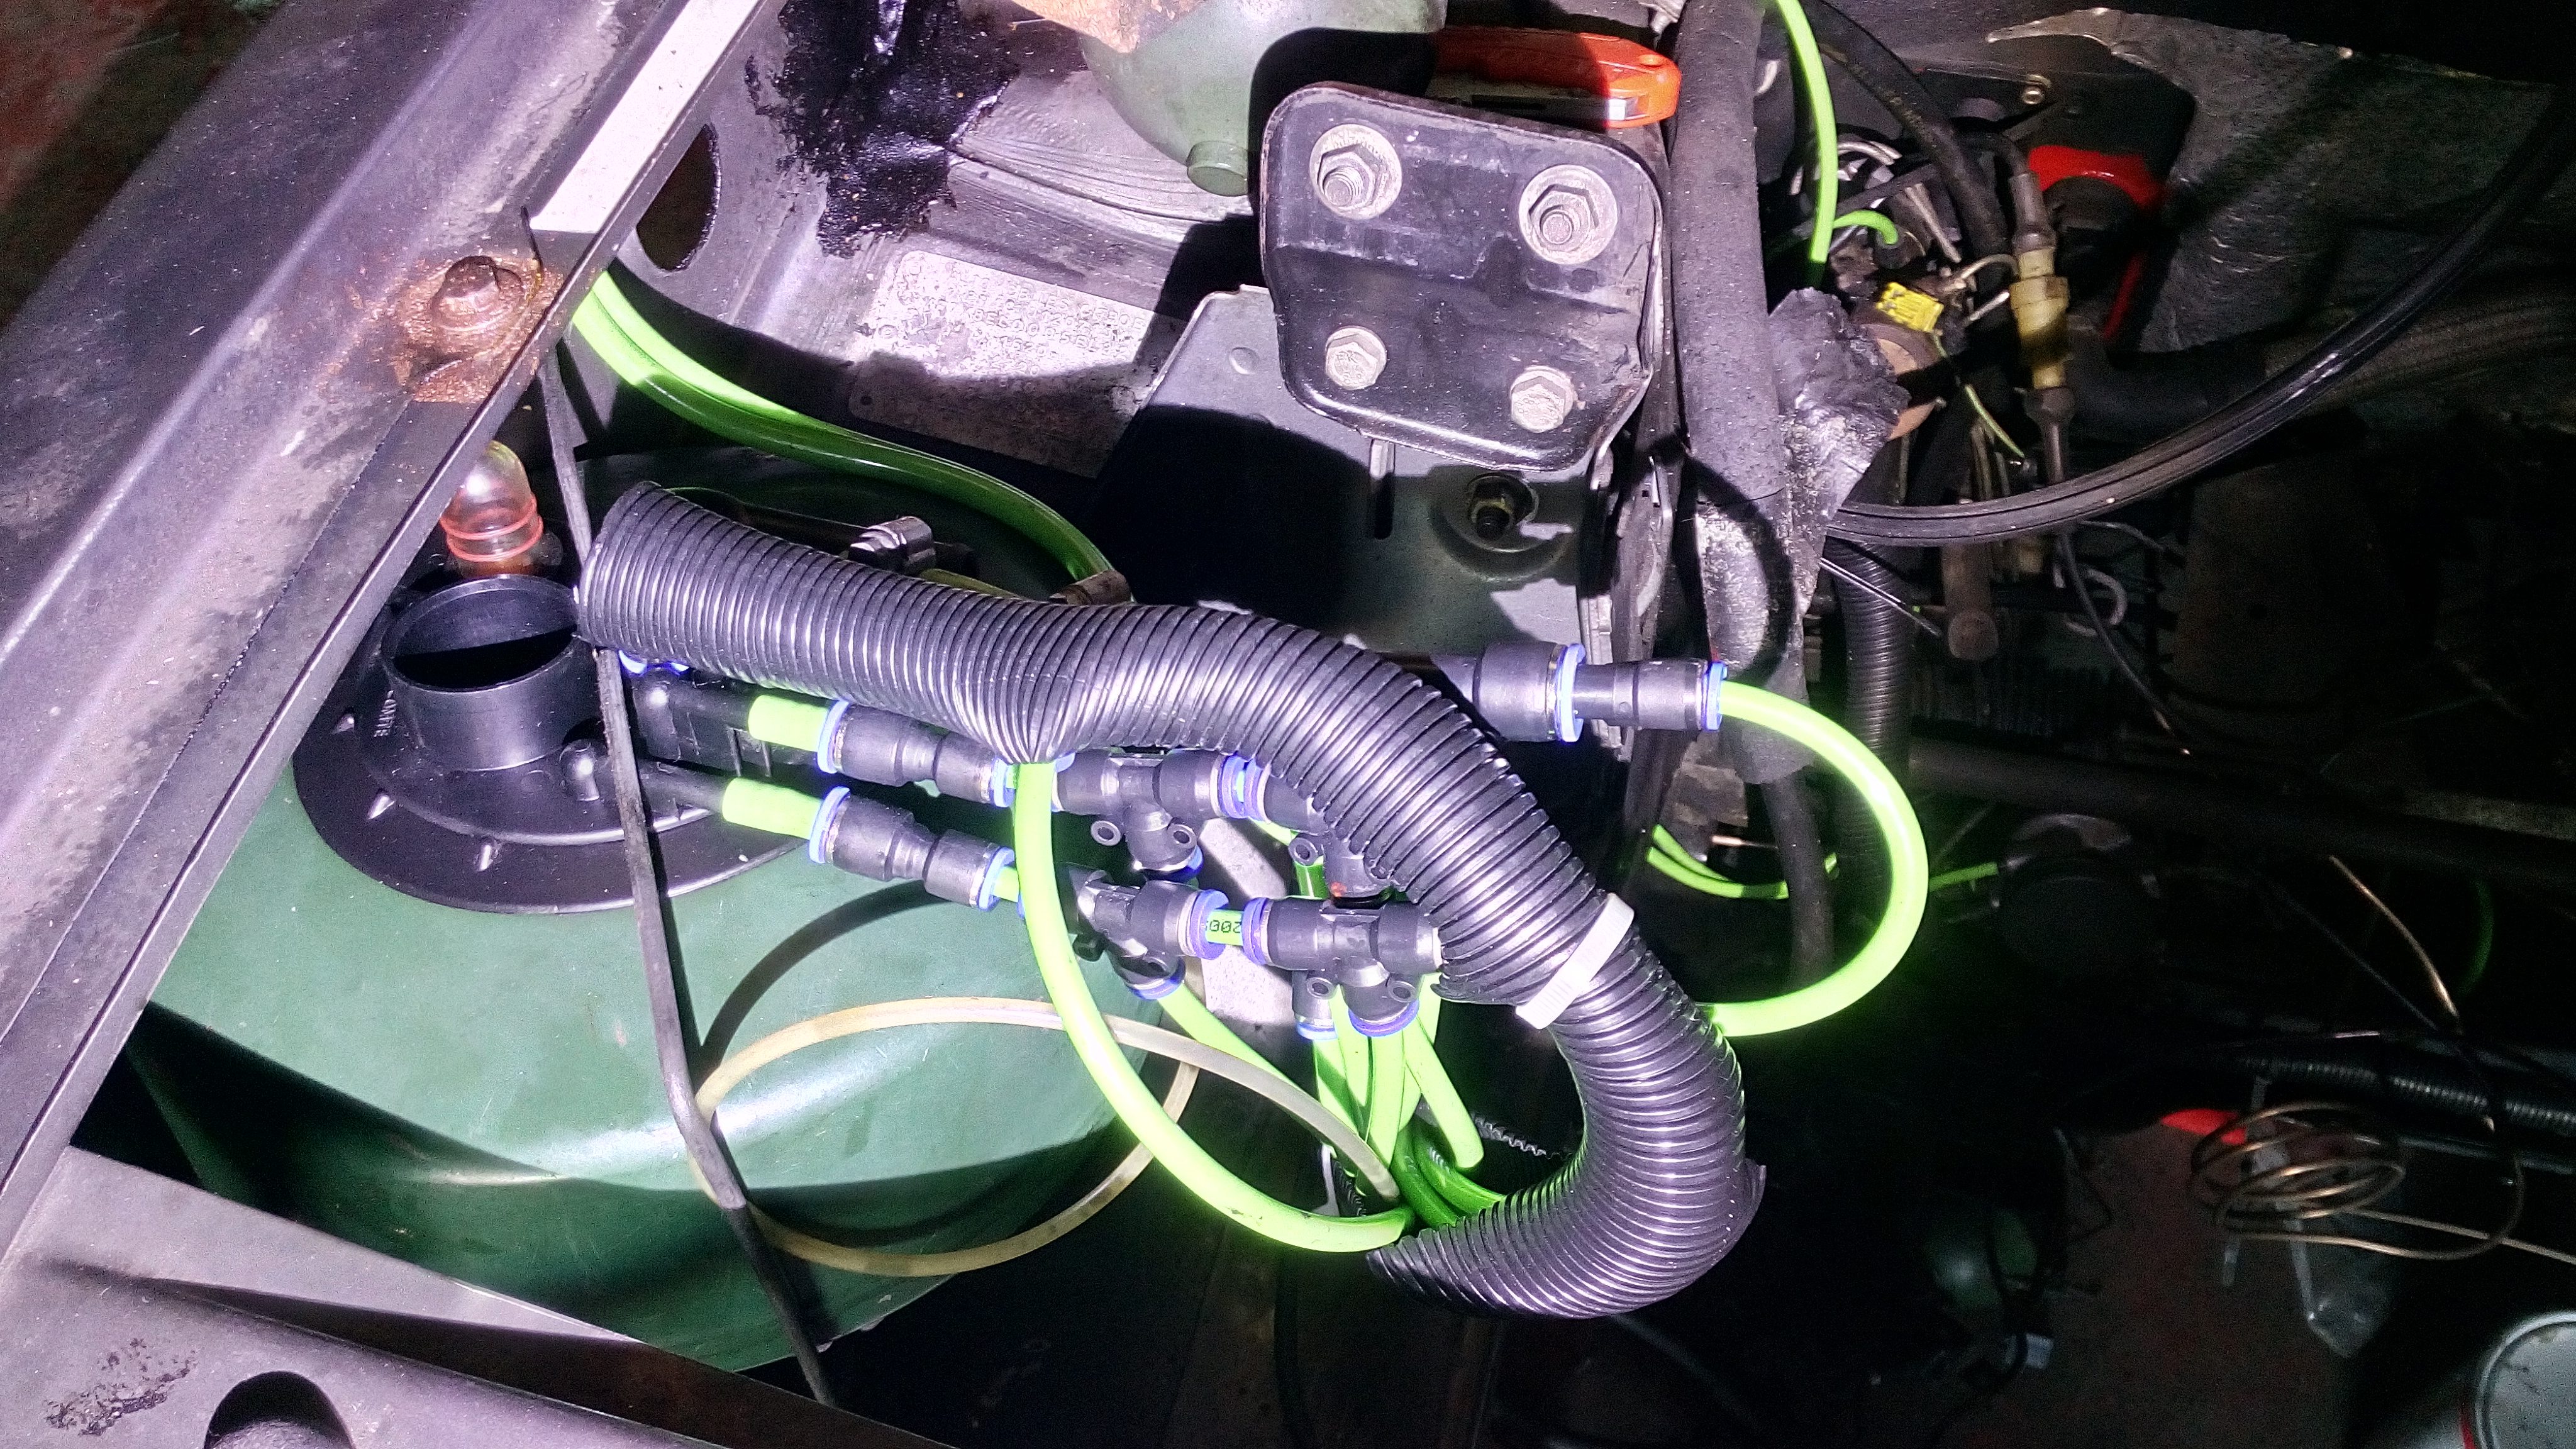
looks a lot more neat when you wrap it in this cable tidy pipe stuff...


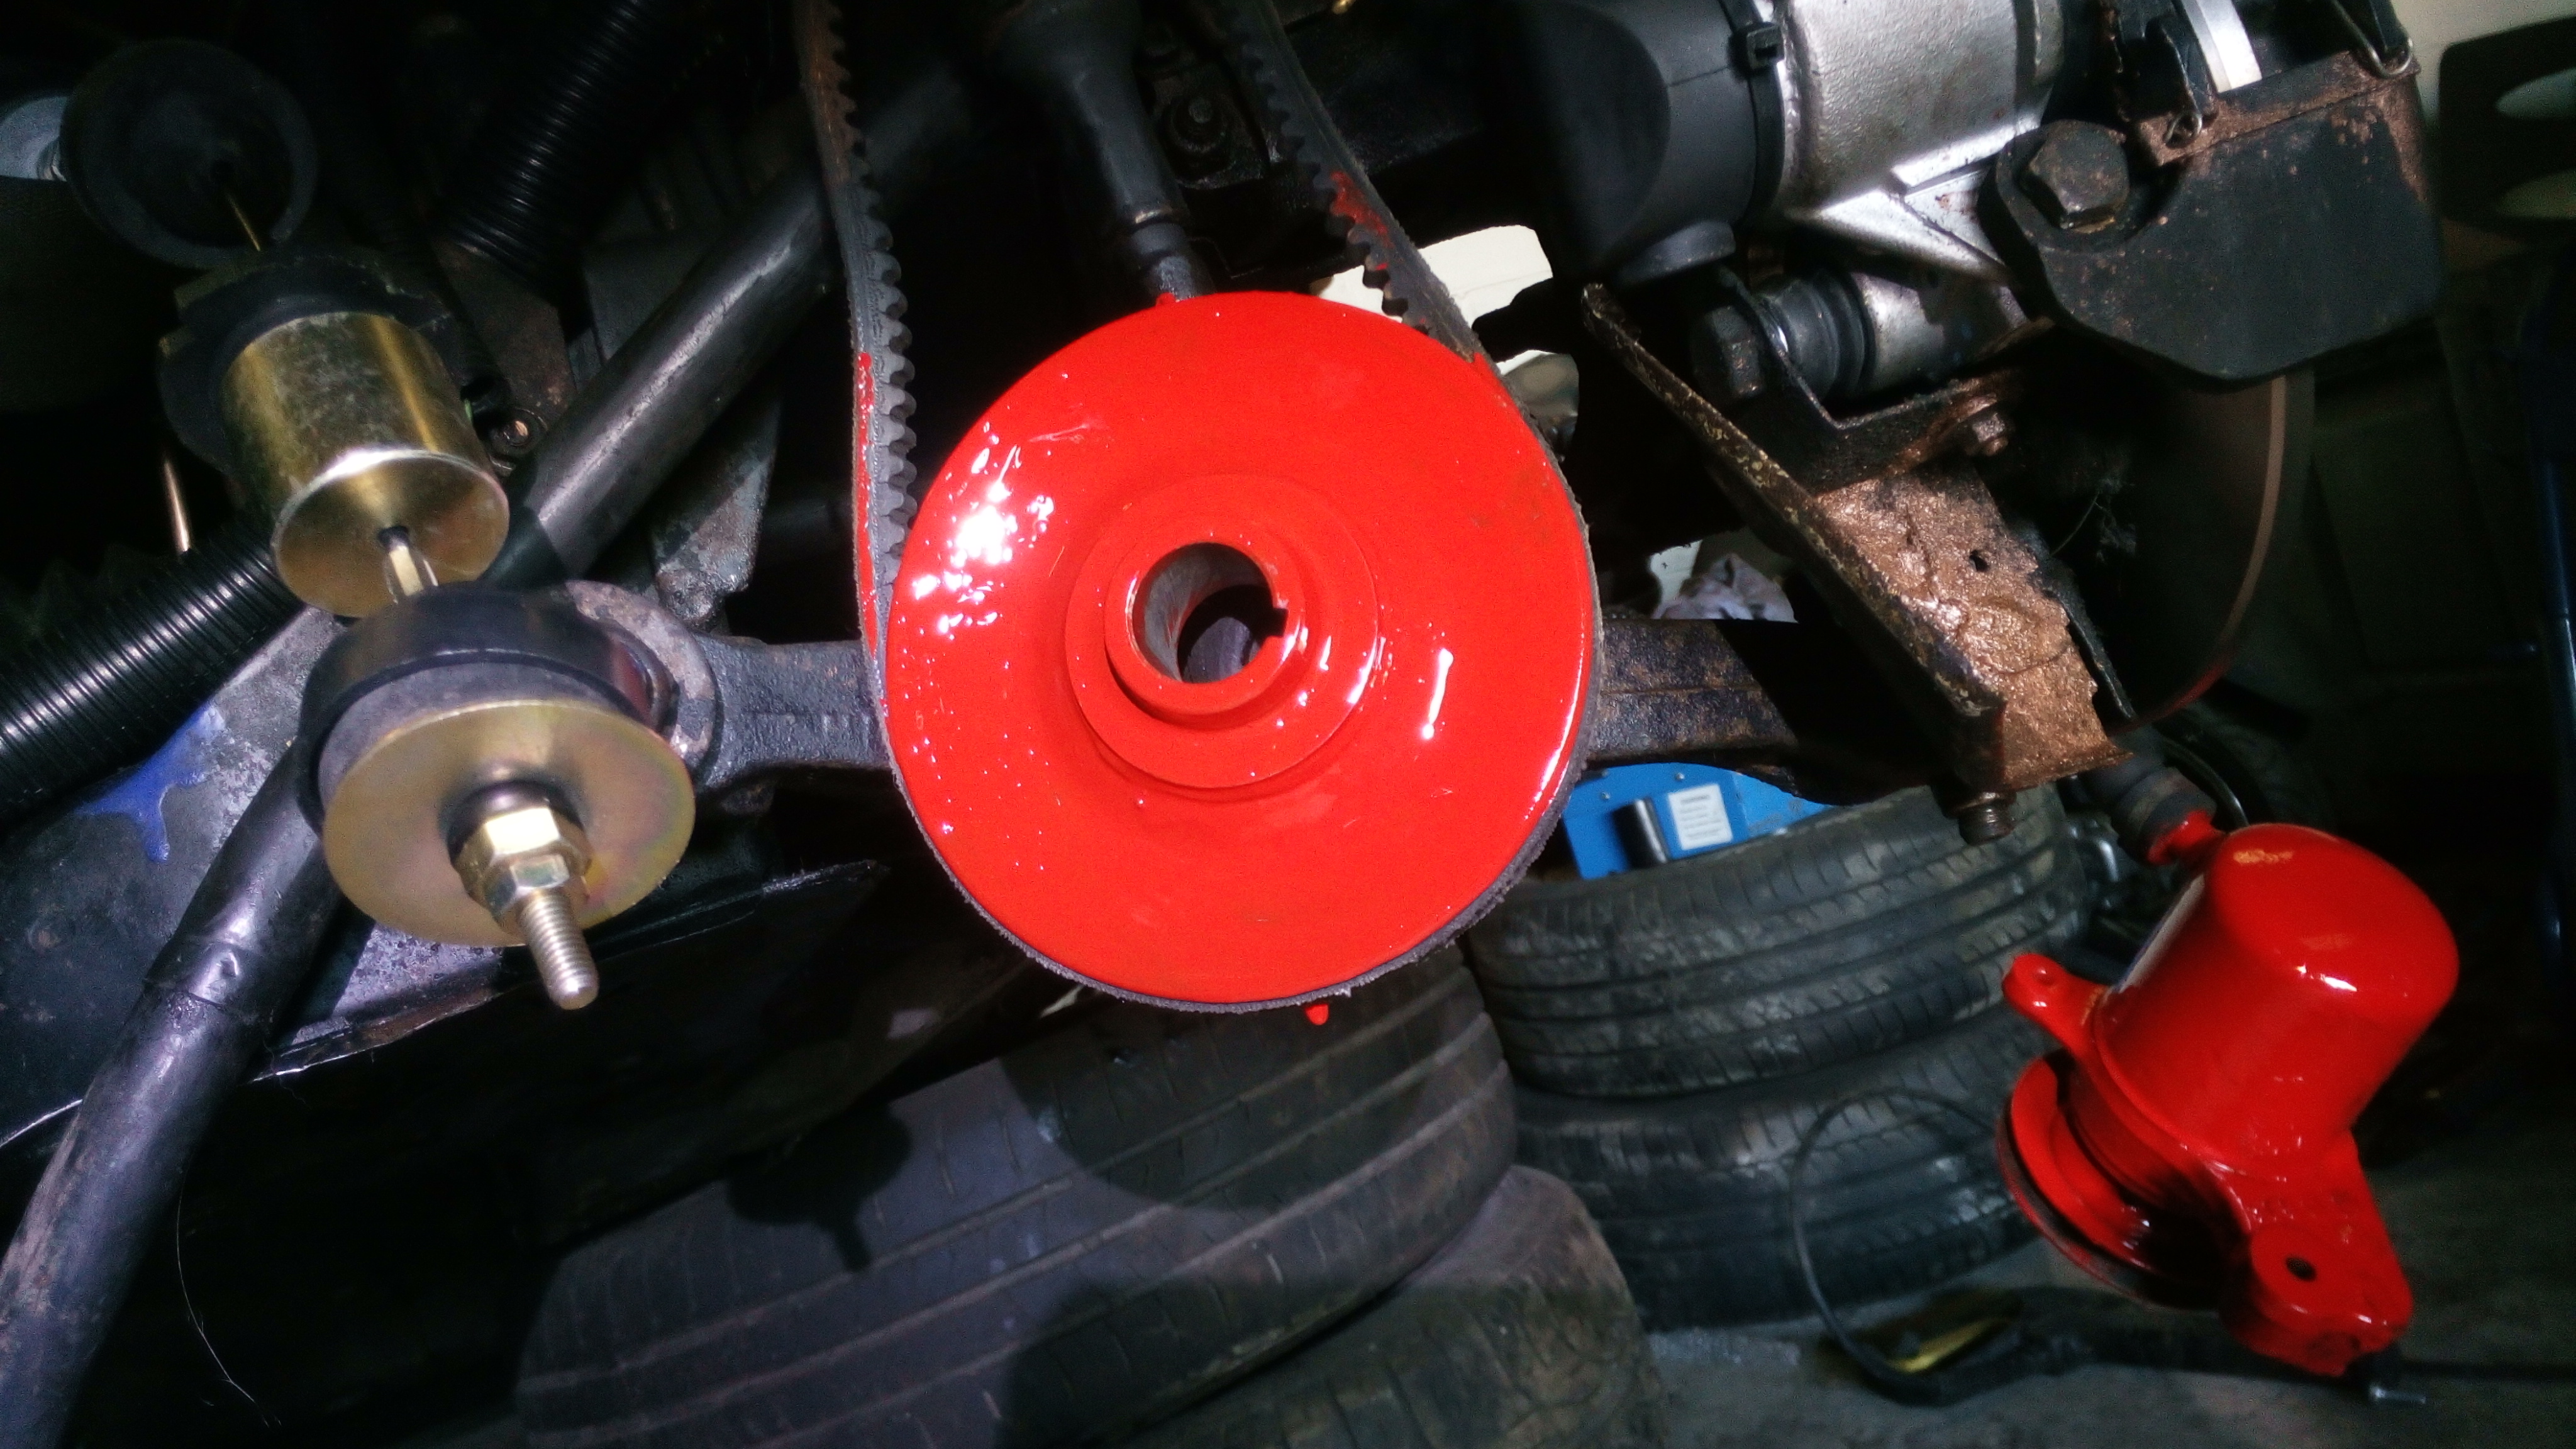
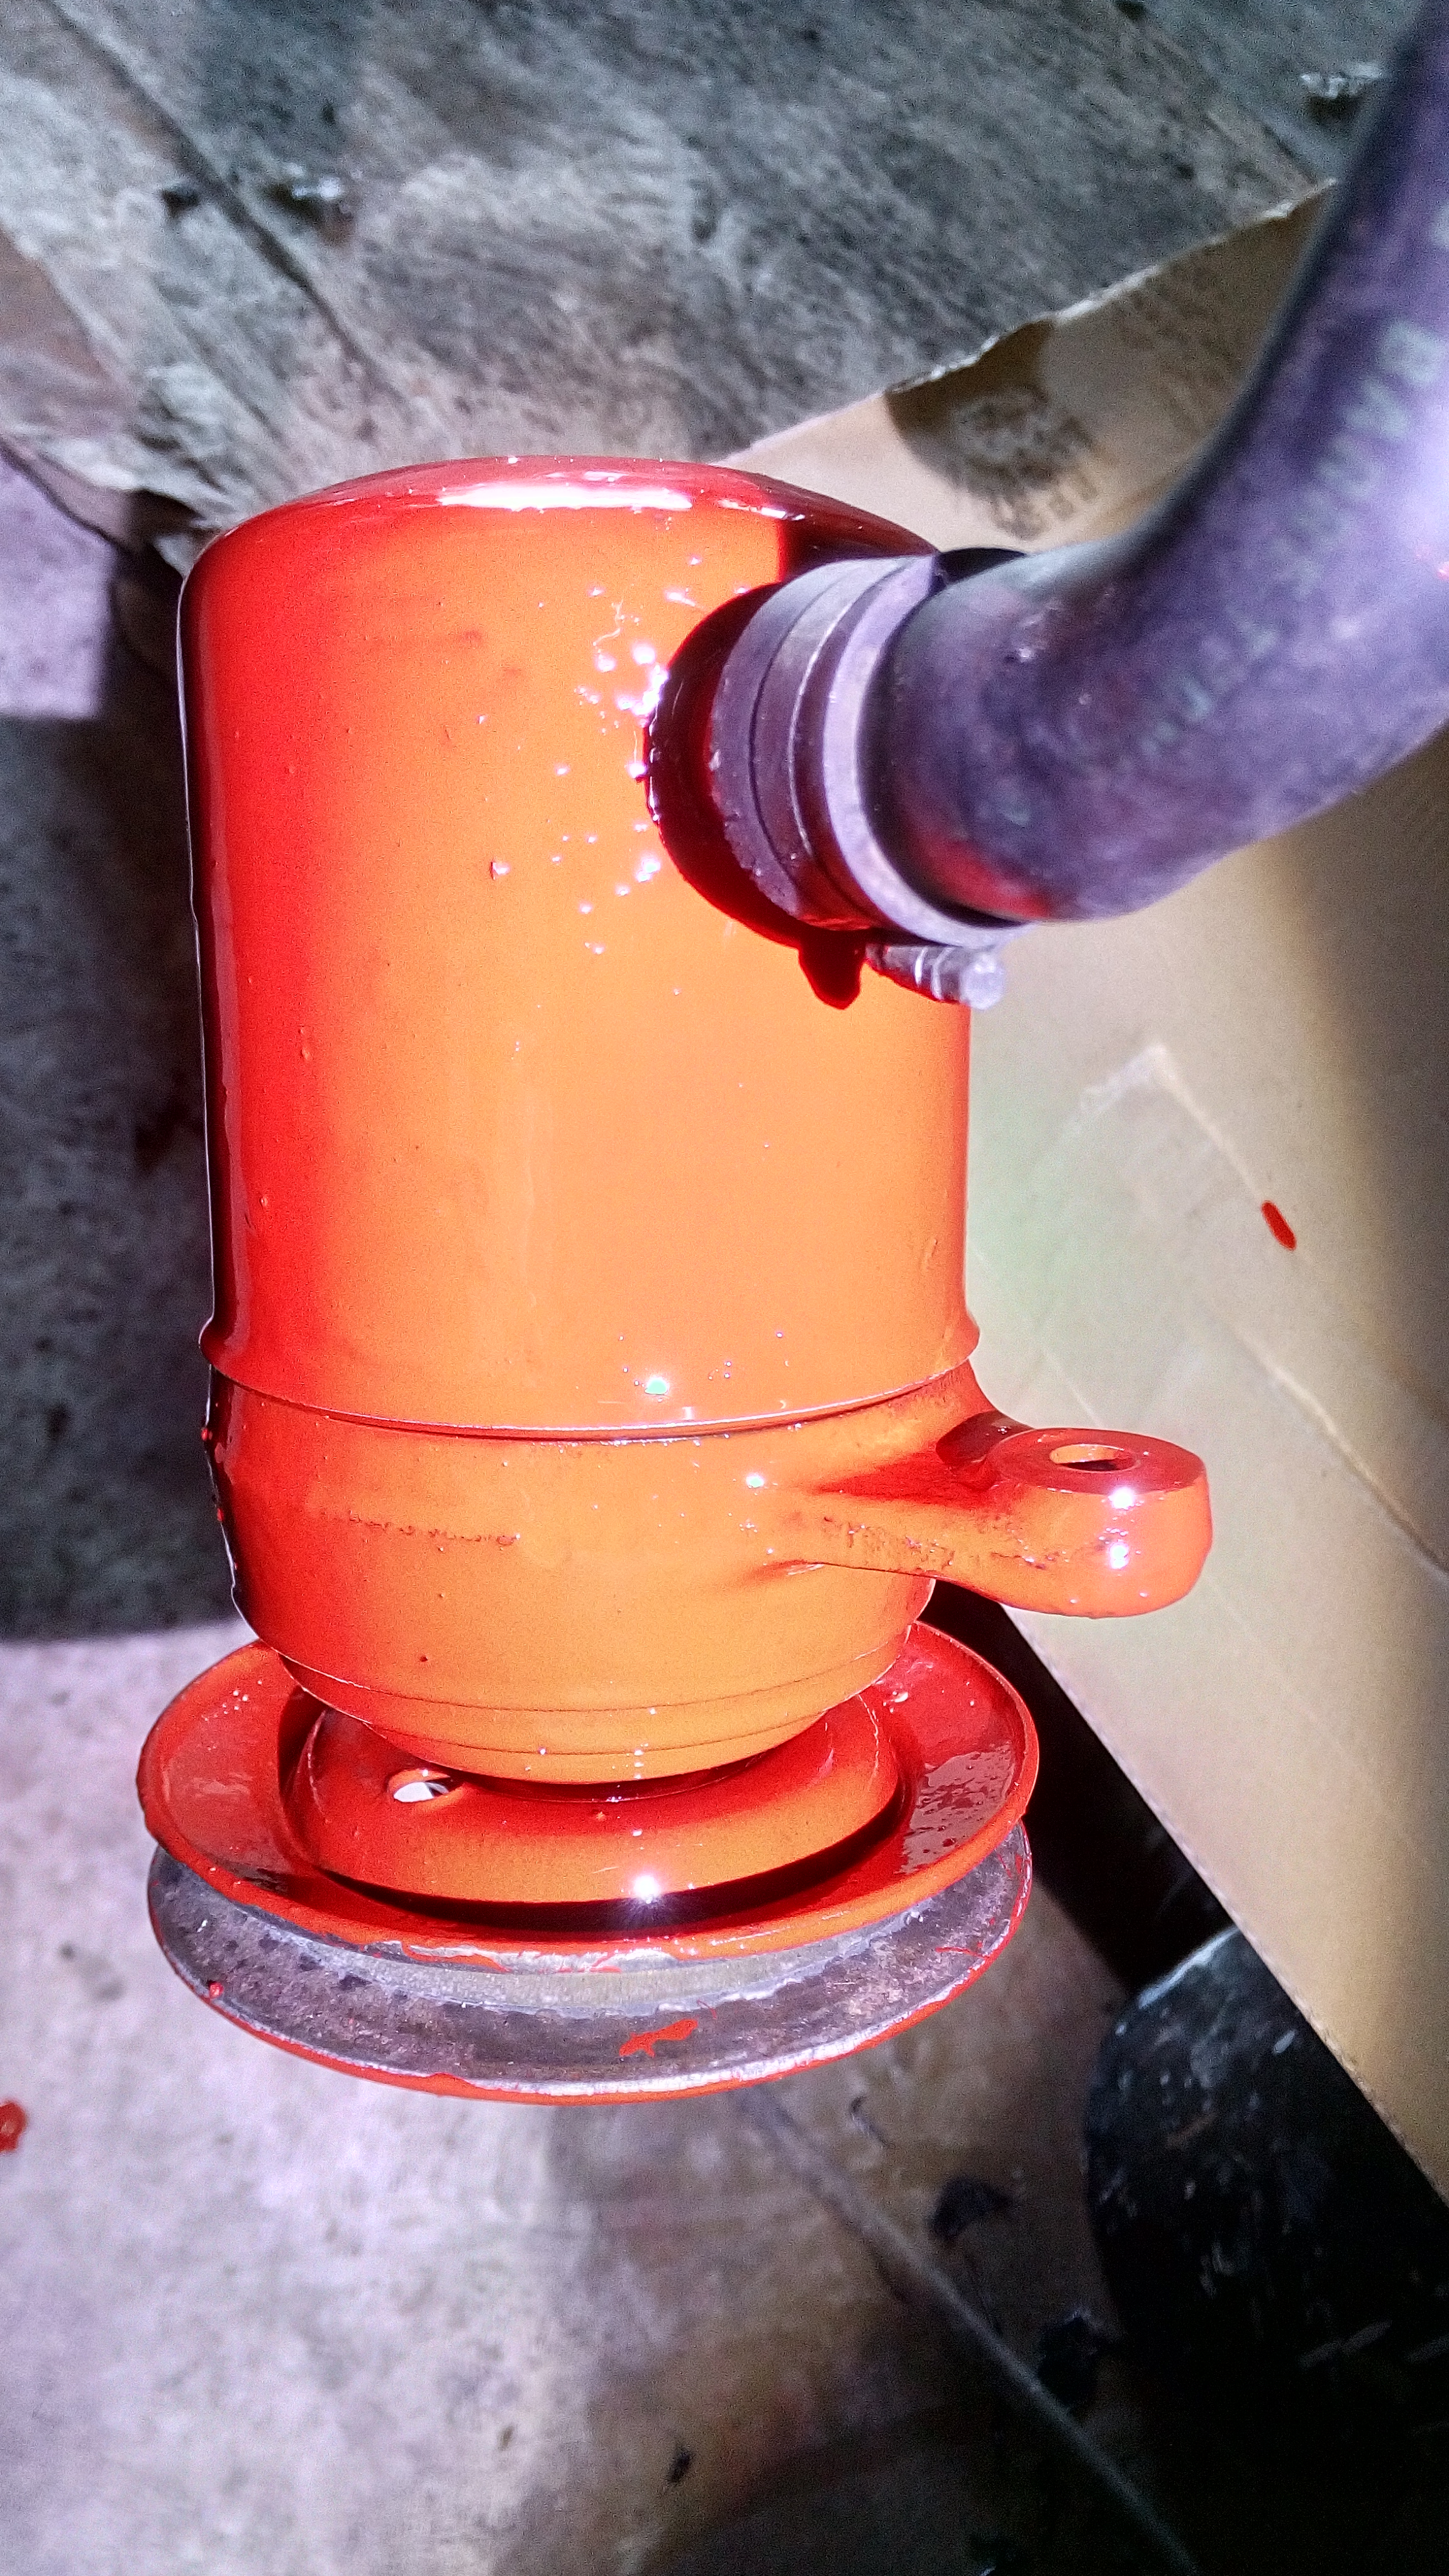
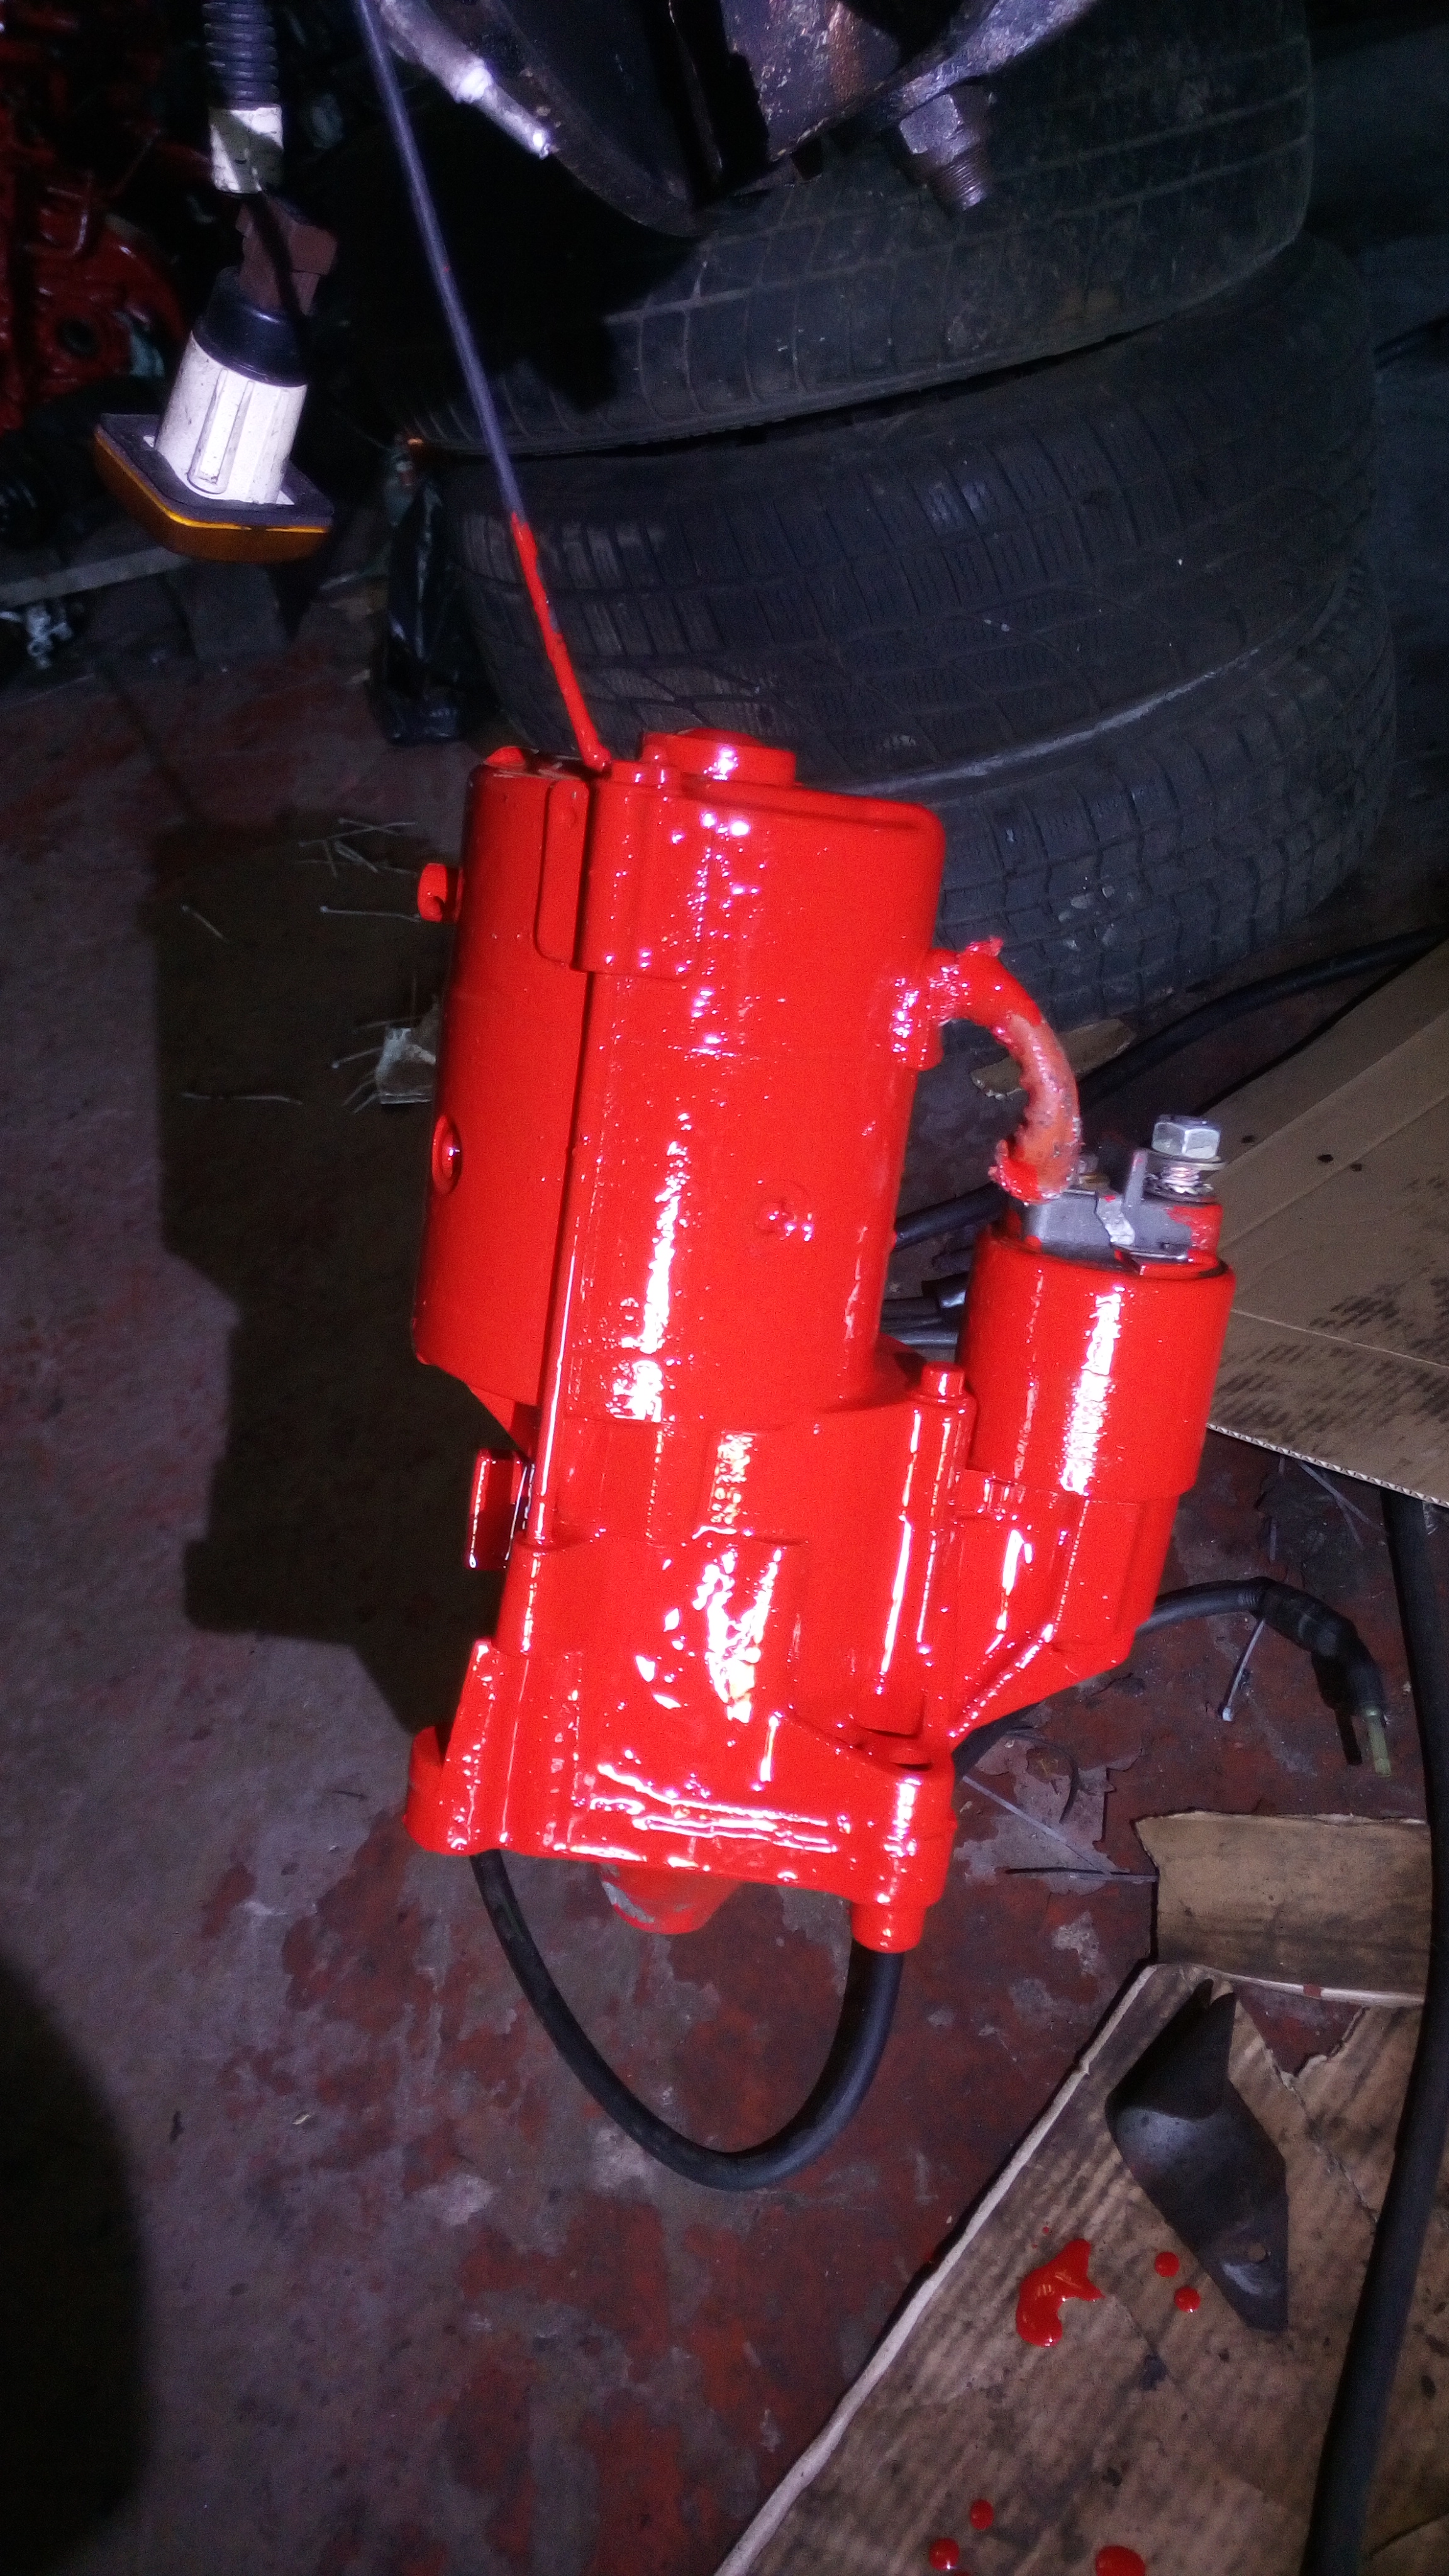
i did paint some stuff...


Hey guys,

today i fitted the wings on fully and really tidied up the LHM returns.

heres a few pictures:

it looks a little complex but in all of this, the Octopus now lives. from where the octopus should sit, all i did was extend all of the pipes up to the LHM tank and build everything there. in all fairness i think it does not look half bad. nice and accessible now and each part 100% user serviceable (just the way i like it.. if not i make it user serviceable hehe).


the one pipe left open is the return from the front accumulator sphere.. flow distribution valve? i will pipe that one up when the engine is in!

speaking of the engine, i have managed to find a local business to make me a nice solid turbo adaptor plate. i am really looking forward to the efficiency of a Variable geometry turbo, also the fact that is is almost up to a good pressure right down at idle is also nice!

the old engine is kinda looking sorry for itself.. upside down :/
i have though managed to pull an XUD cylinder head out of the irony ally skip. no idea what XUD it was from but it has a complete camshaft, with all good camshaft bearing caps. if i could get hold of a BX camshaft, i could rebuild it when the car is finished so i can have a replacement engine, should i ever need it... which i really hope i dont.


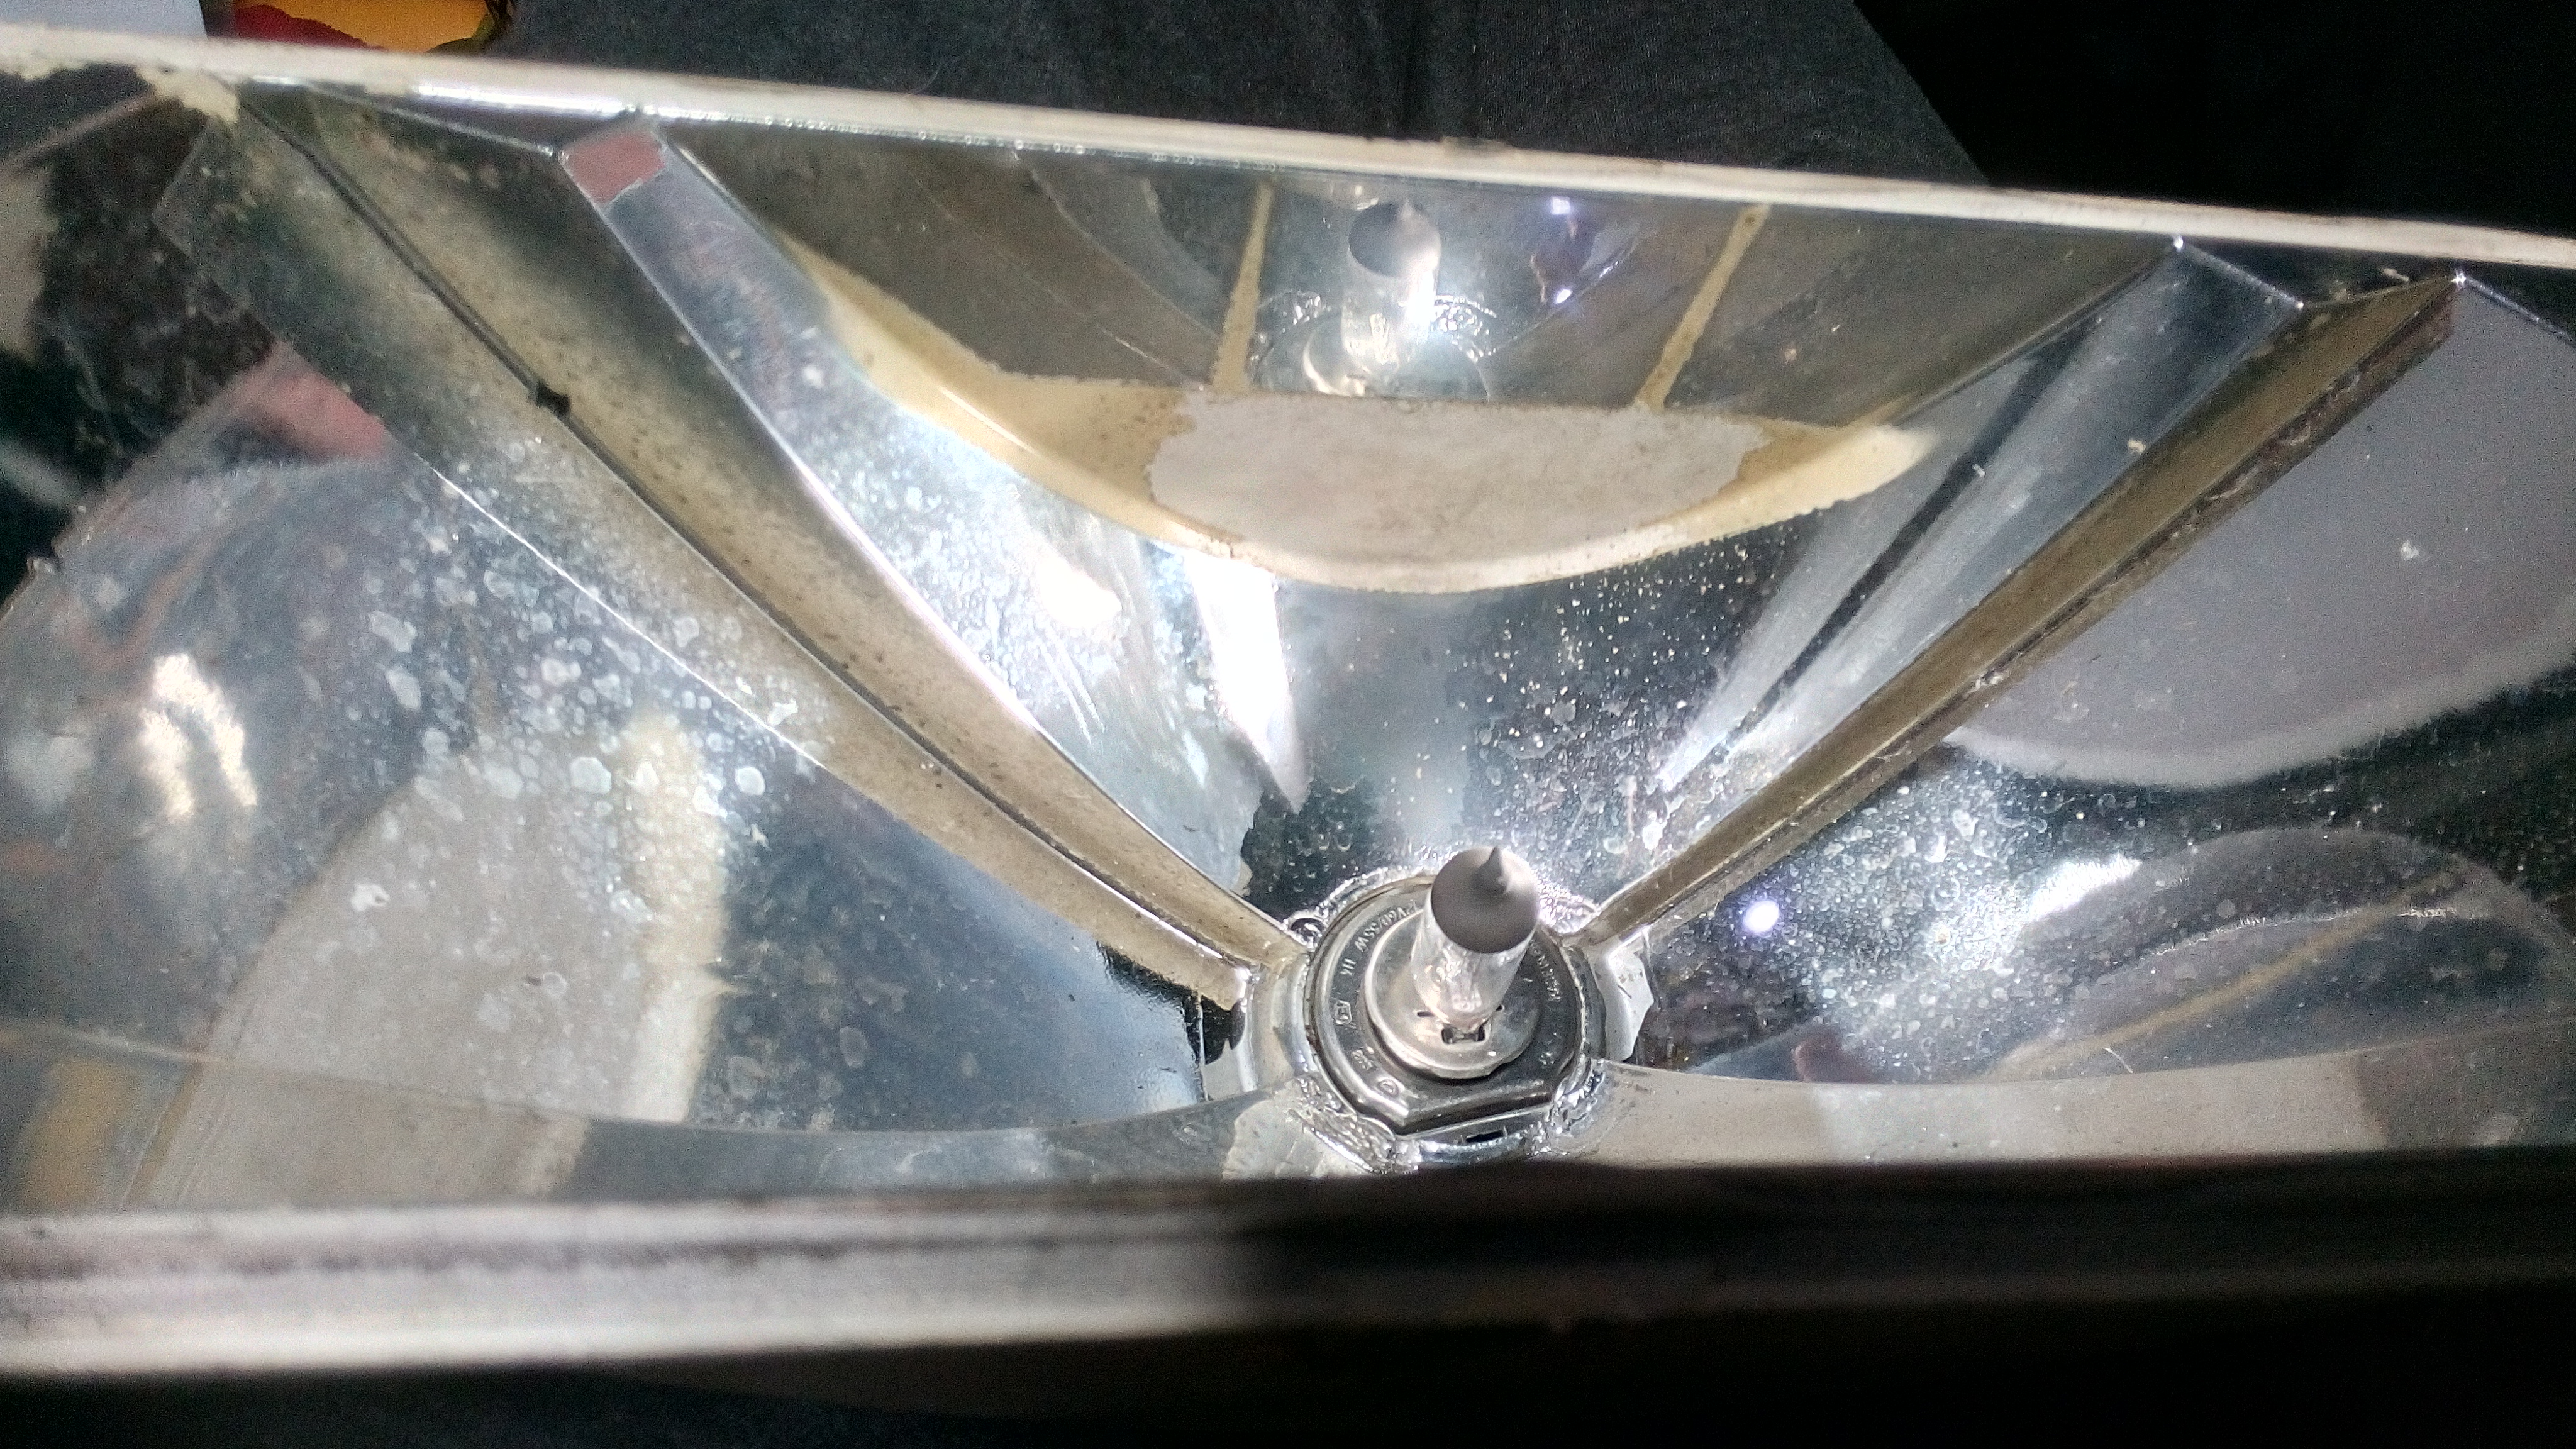
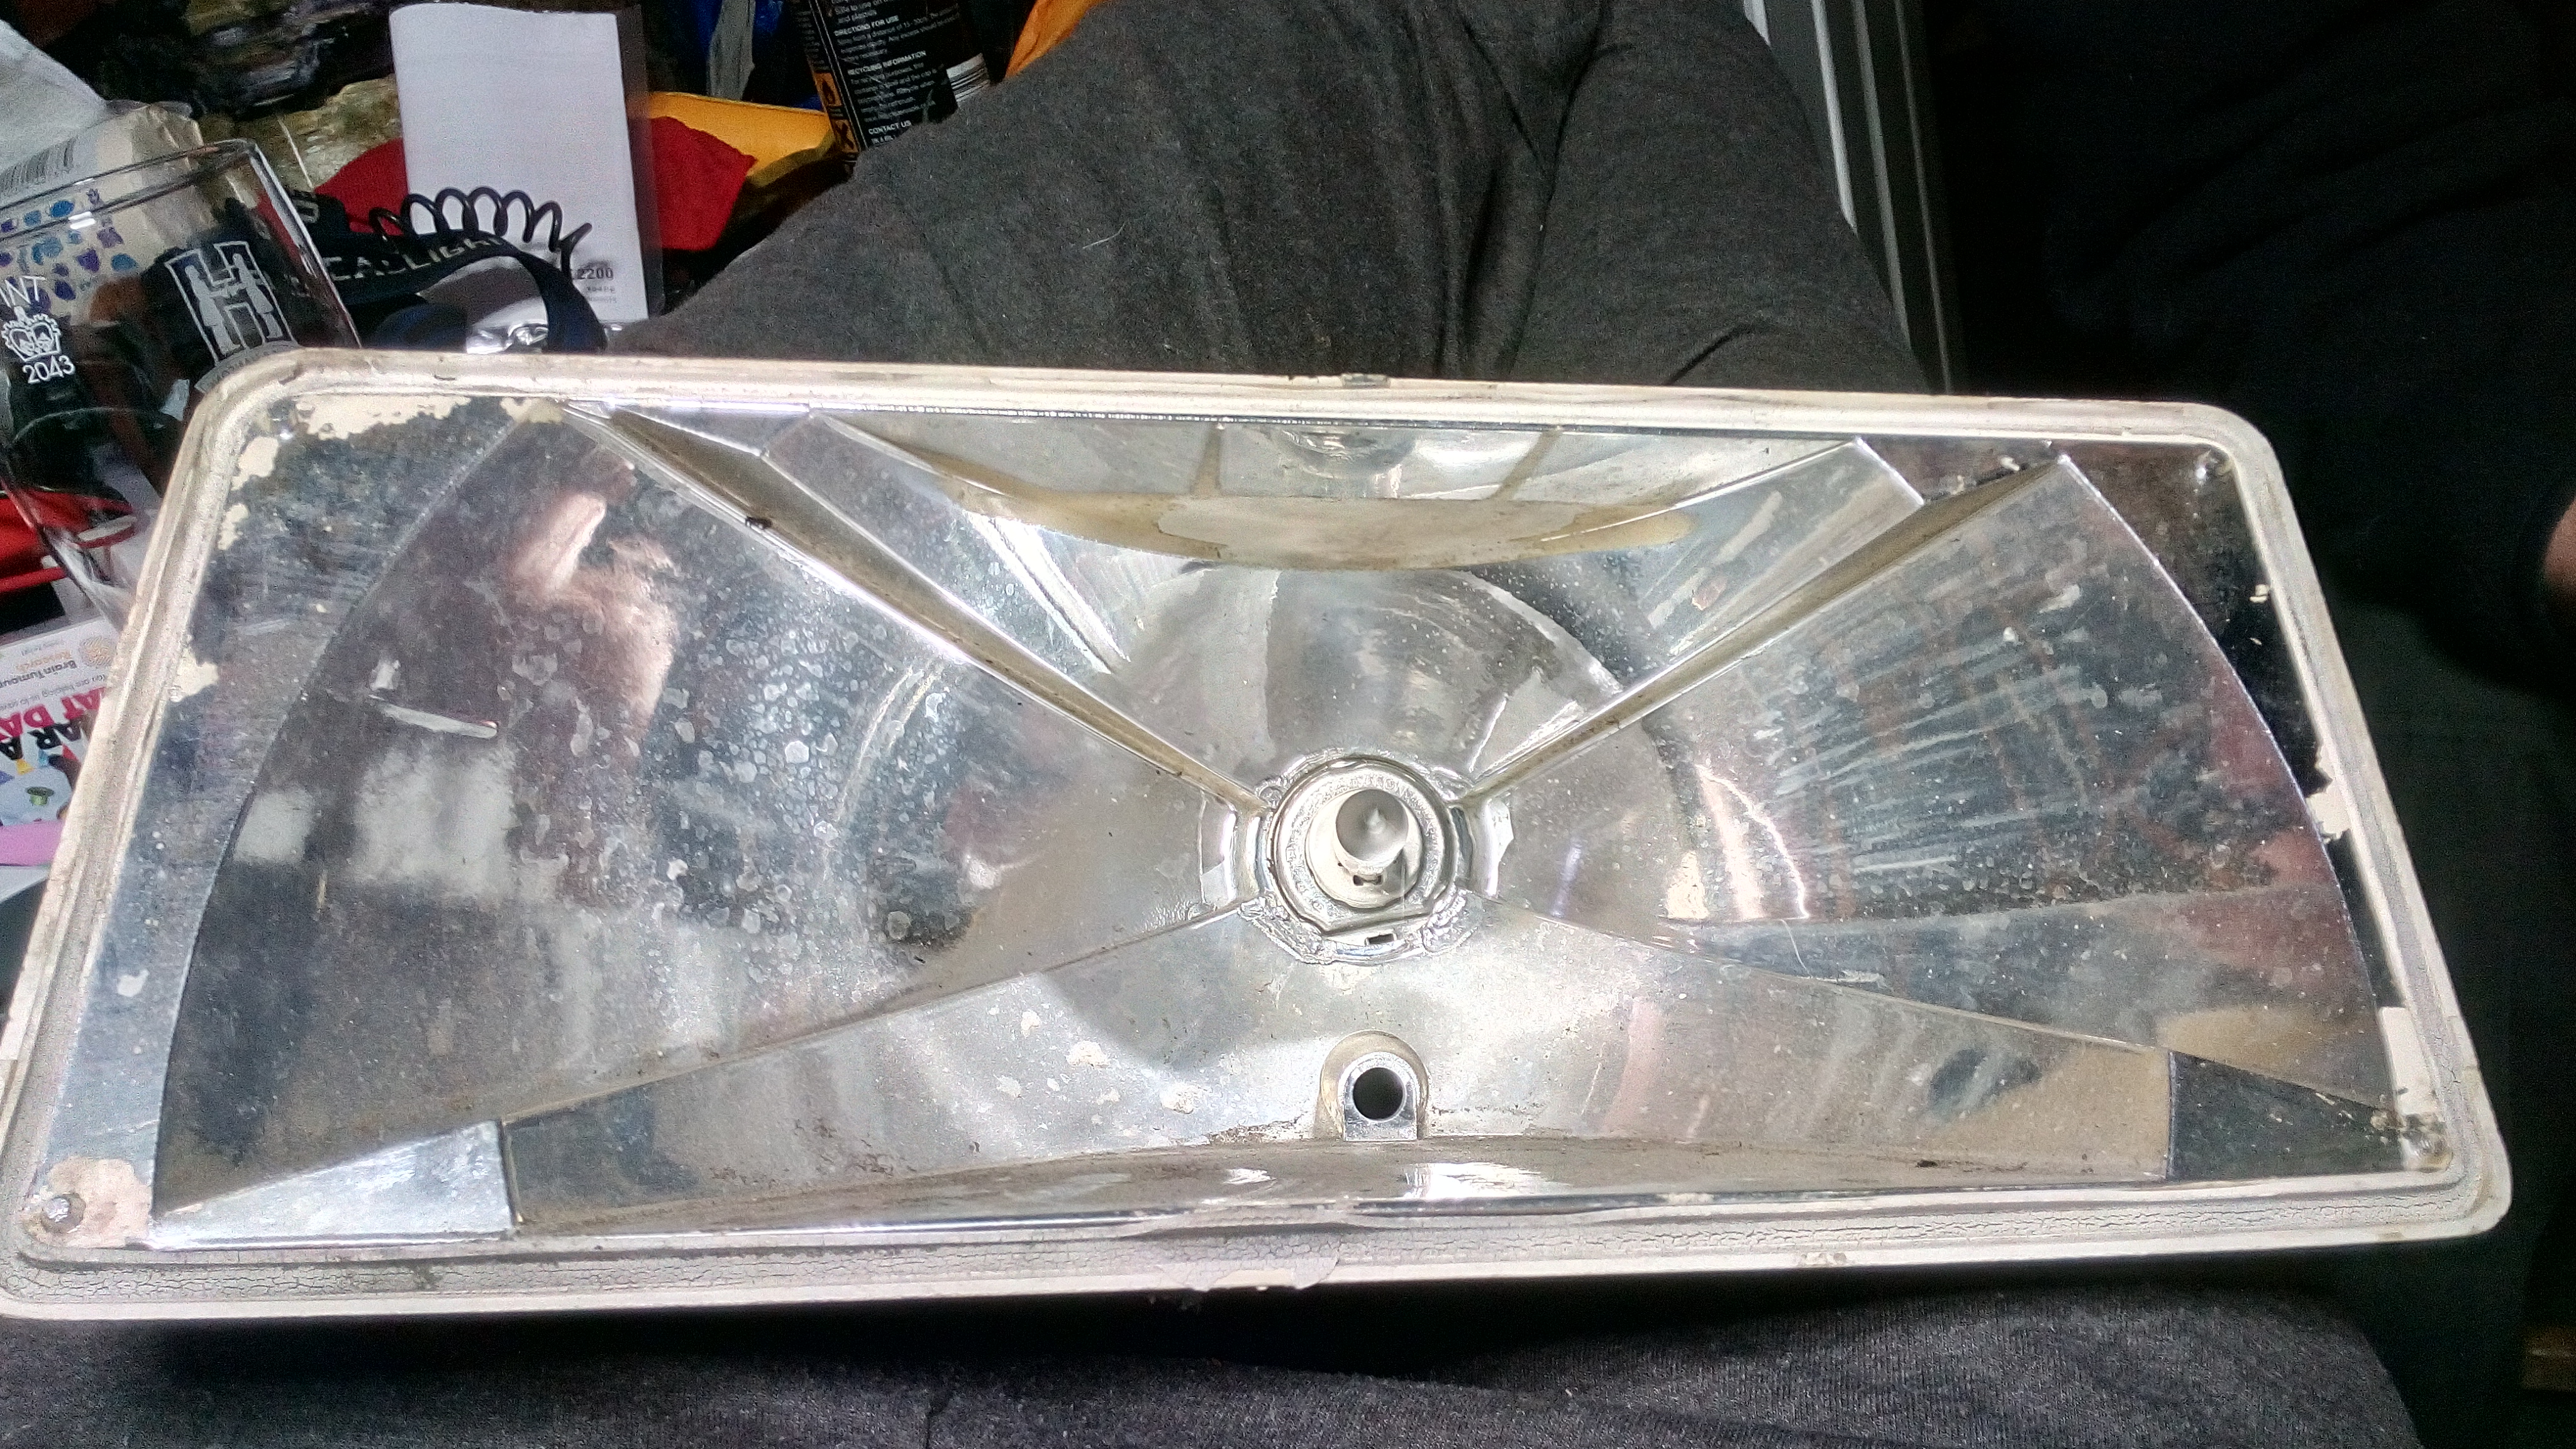
ive also bought the headlights home, i need to strip them down and get the reflectors re-silvered. all above where the bulb sits, the reflective paint has peeled off. i do love projector lenses but i just cant see any way of installing them without effecting the look of the car which is something i dont want to do as i think its a pretty nice looking car.

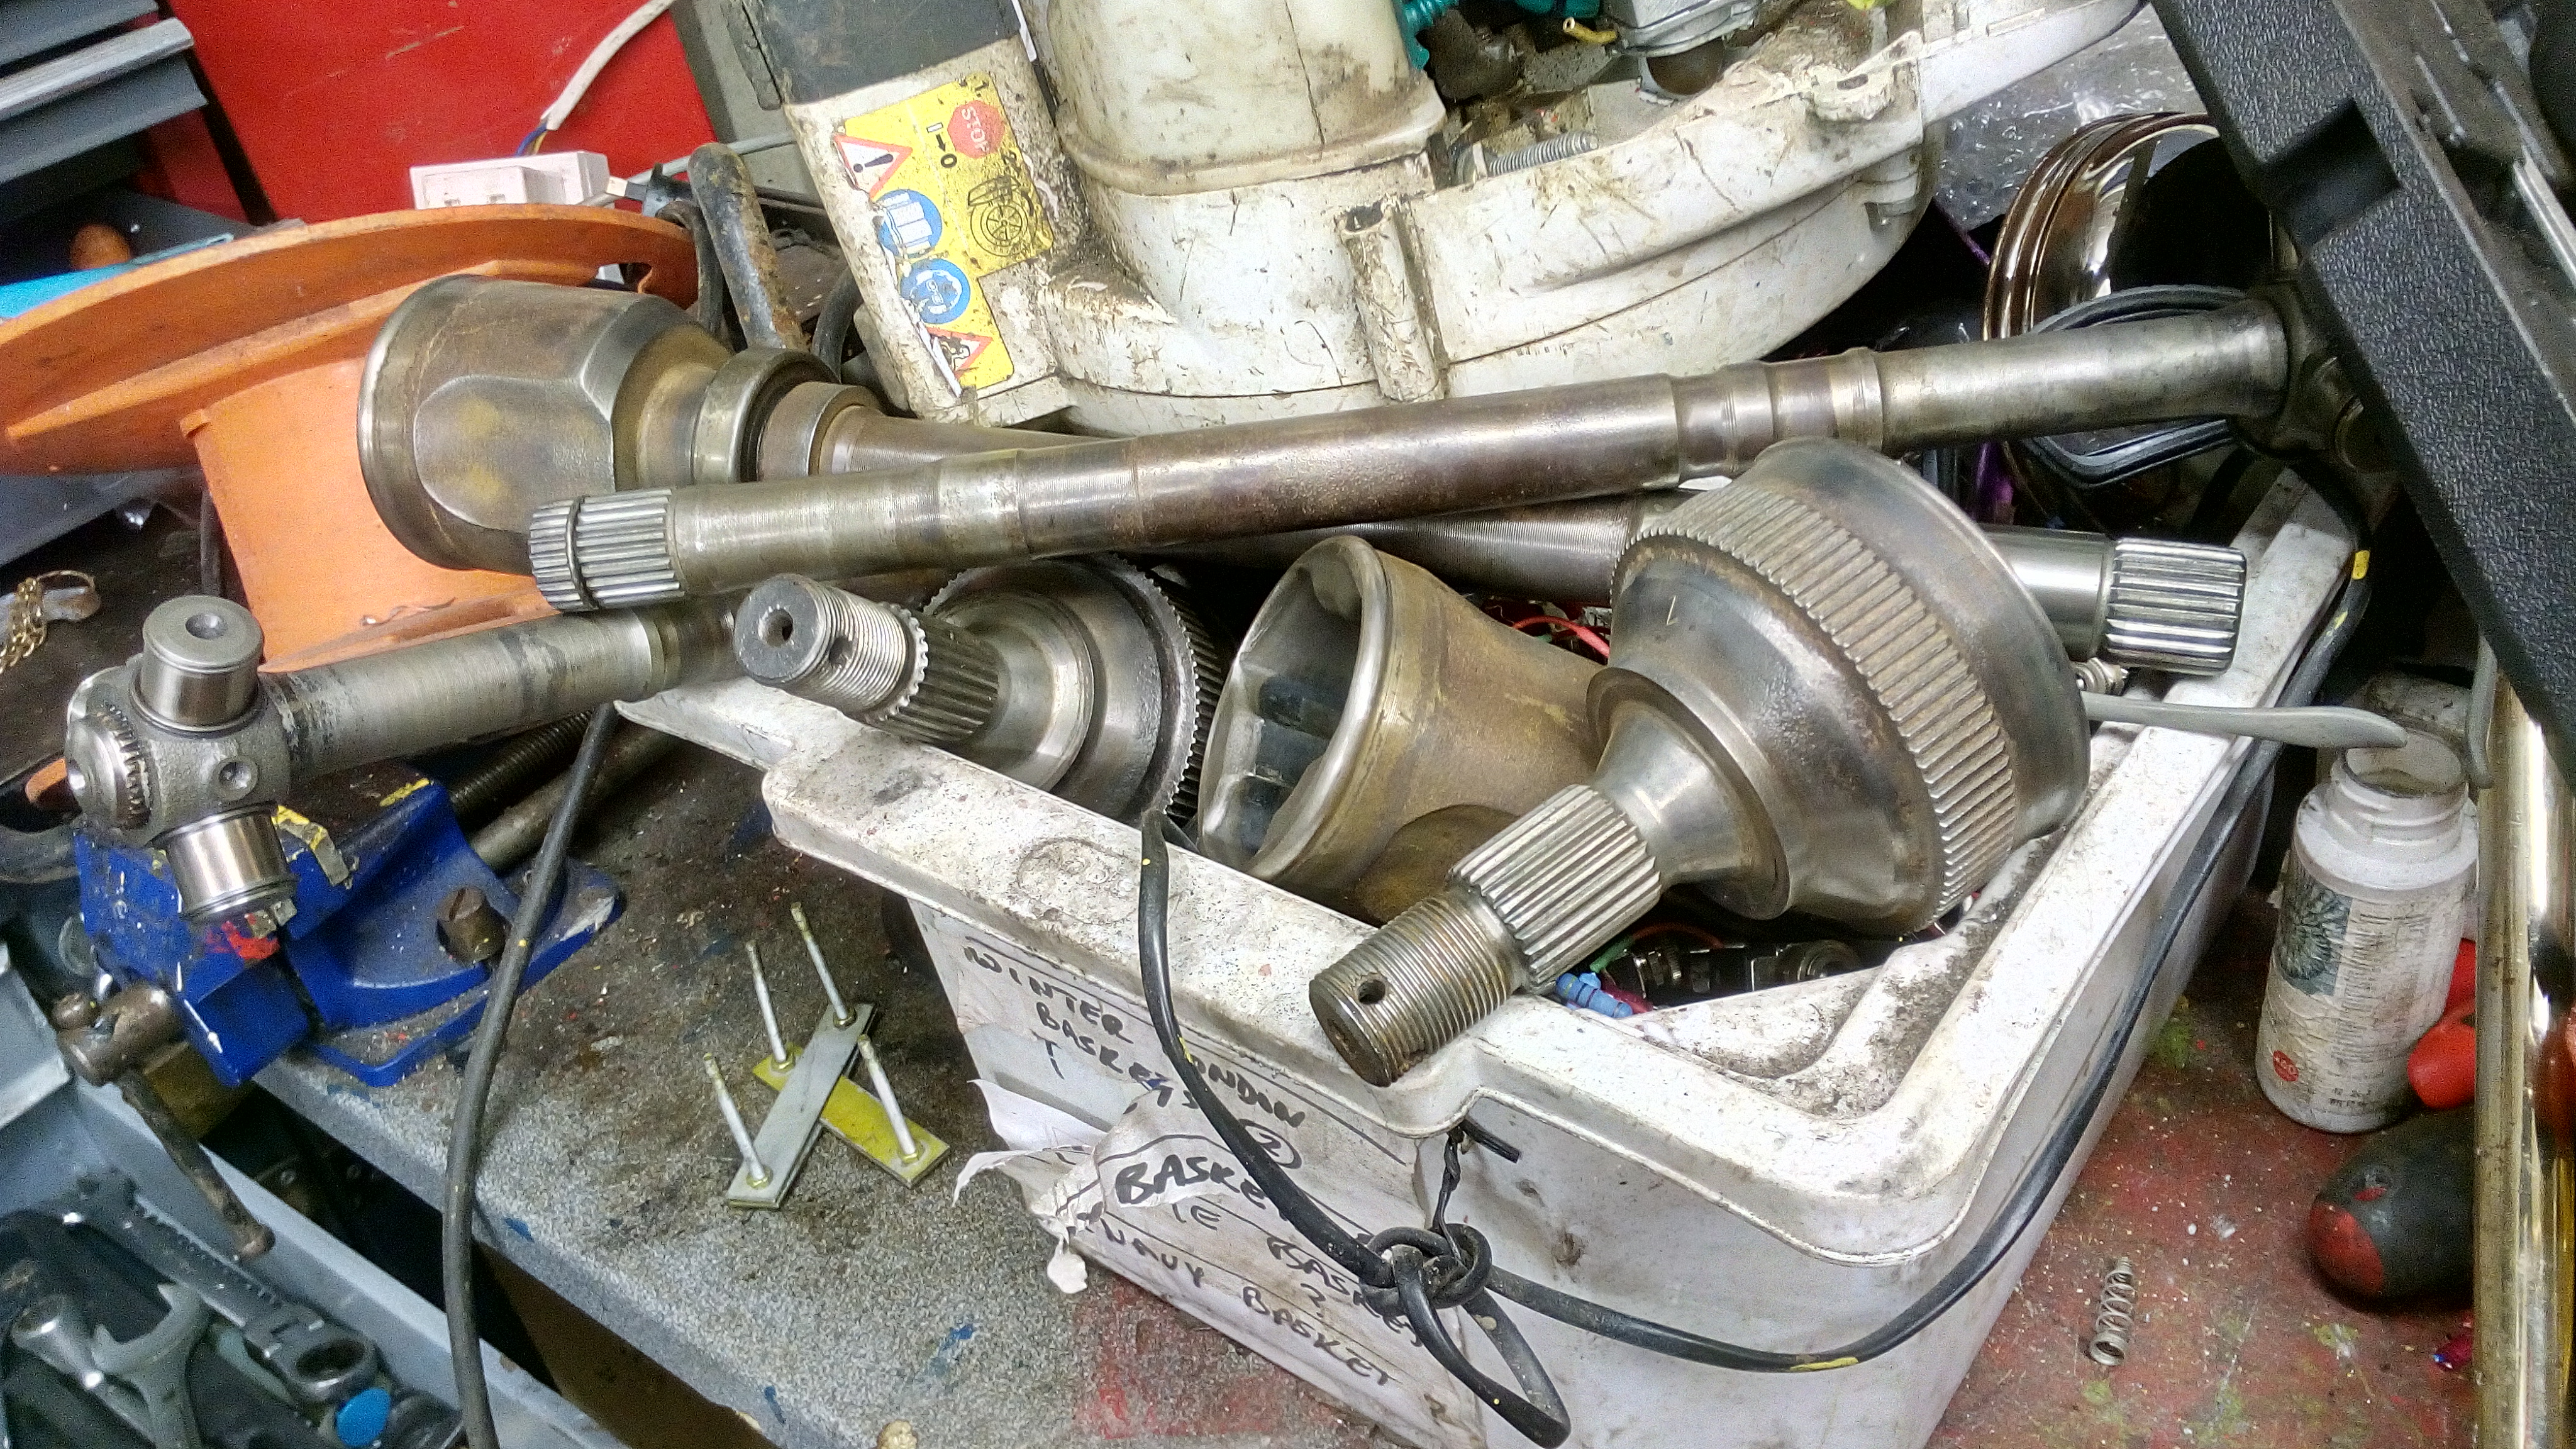
the drive axles have also been brought home too so i can rebuild them. all CV boots are split and open for gods knows how long or how many miles. one is bone dry of grease the other is full of grit. wont be hard to change though. i'm sure its got nothing on a fiat panda 4x4's prop shaft.


also found that i need another radiator hose as surprise surprise mine has perished :/
i'd do a video but i dont think its really worth it at the moment.
 
did a little bit of work today
i had about 2 hours spare at the end of the day so i made for the garage, stocked the wood burner up and set about cleaning up the drive shafts.

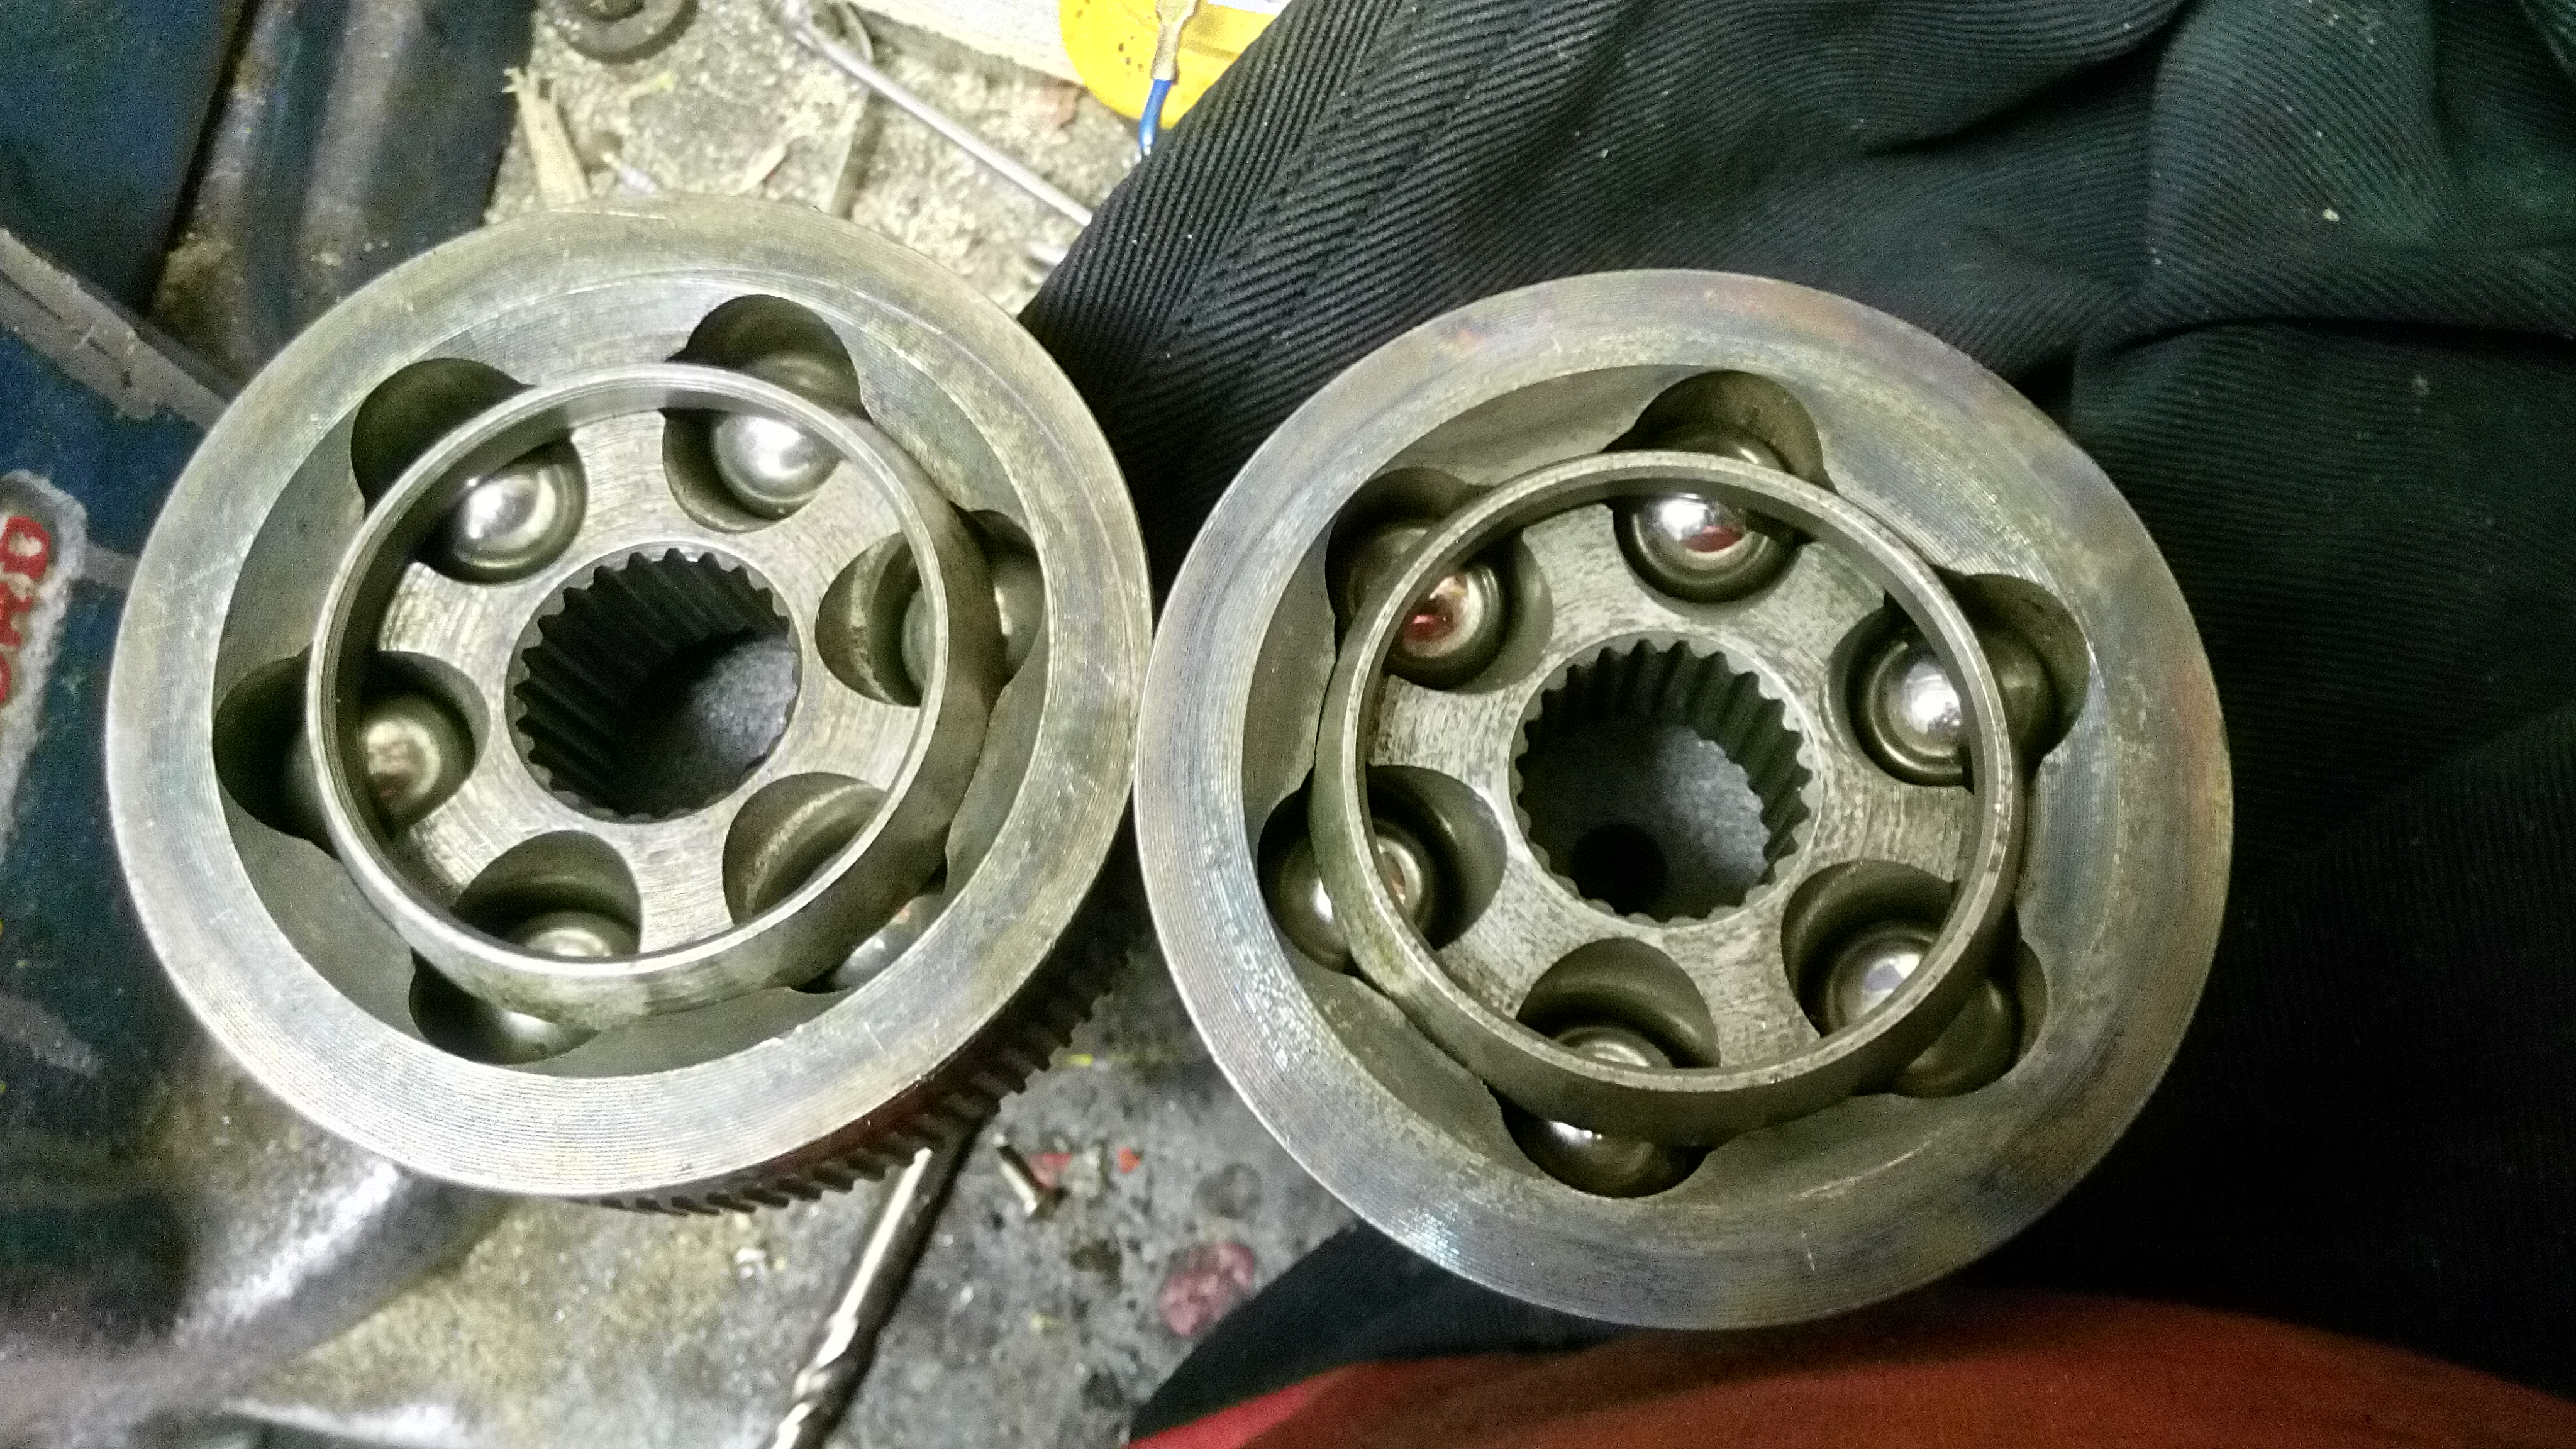
i am happy to report that even with the state of the CV boots, the actual CV joints, ball bearings, cups and tripod joints (and cups) all had no ware on them! i guess it just had been grit that had blown into the joint when the car was parked up.


and after some de-rusting i managed to get them looking pretty good:


i did paint them too but i forgot to take a picture, the wood burner had burned out and the cold was setting in so i needed to get in the house.

i stick another coat on tomorrow. then it will be good to rebuild them back up with new boots and grease.
 
Last edited:
Hi, this is the first time I have seen what you are do with your BX. I worked on and ran 2 diesel BX's back in the early 19 90's they were loved by reps and m.p.g was great. They will do half a million miles and all the high mileage ones I took heads off had little or no wear in the bores. They suffered with over heating problems mainly due to no temperature gauge just water level warning lights. I will follow your progress with interest.
I noticed you changed the injection pump, I hope you fitted the correct one as there are two different makes fitted to BX's diesels, Bosch and Lucas both set differently for the engine size, injectors and valve timing.
Just a small point good luck hope you get it running soon. Tony
 
Back
Top