General Mitchio the 500F

Currently reading:
General Mitchio the 500F

As per Peter's note it makes it difficult for people like the both of you who have a genuine desire to restore. Unless you have every bit of paperwork etc. it makes it very difficult to re-register, retain original plate etc.

Unfortunately, this has been going on for years in the classic car game, even in the Land Rover world, people would take old docs off a series II and place them on a nearly new Defender as they could then import it into the US and make a £10-20K premium. The US authorities start to clamp down, and the result is it also unfortunately catches out genuine owners that have had an engine swap etc.

Maybe these are genuine bids, but seeing the state of the car it makes you question it. When I was looking to buy a few months ago, the RHD 500's seem to carry a £1500-2000 premium.

cheers, Steve
 
This post contains affiliate links which may earn a commission at no additional cost to you.
I like the comments of it was okay 25 years ago and you'll need a winch to get it going because it's sunk in the ground. And it's got a reserve! Too far gone for me
 
I like the comments of it was okay 25 years ago and you'll need a winch to get it going because it's sunk in the ground. And it's got a reserve! Too far gone for me

Currently at £720 with a day and a half to go???:rolleyes:
My sweet Mitchio seems less like the mad purchase he was, even if just because he has a set of keys, his VIN plate and a registration document.
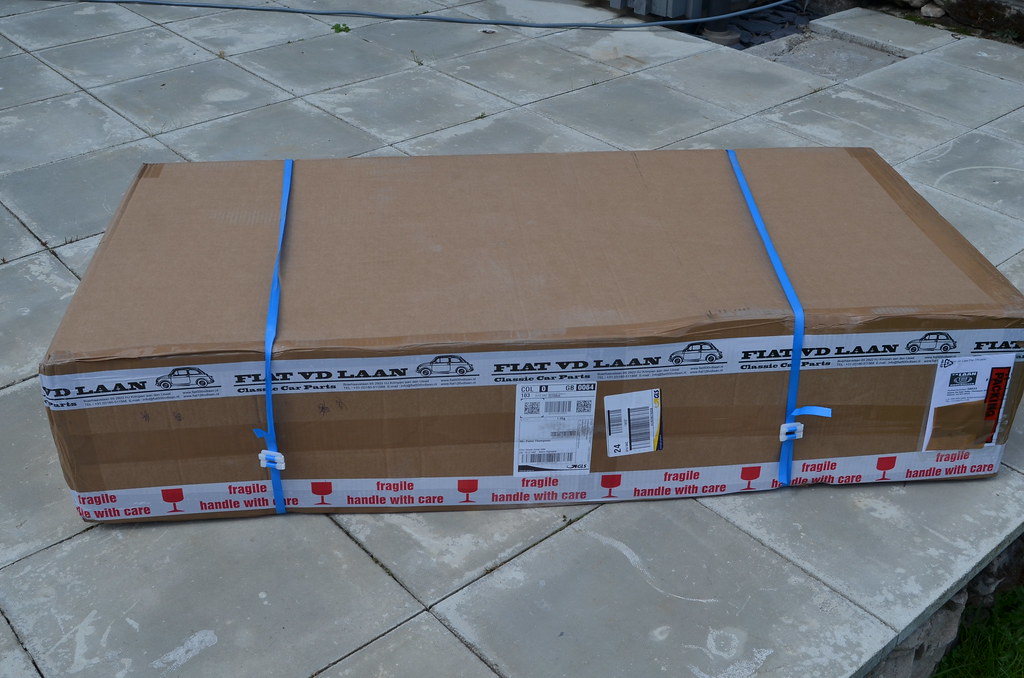
So today a treat arrived for him, guess what......?
DSC_8658 by Peter Thompson, on Flickr
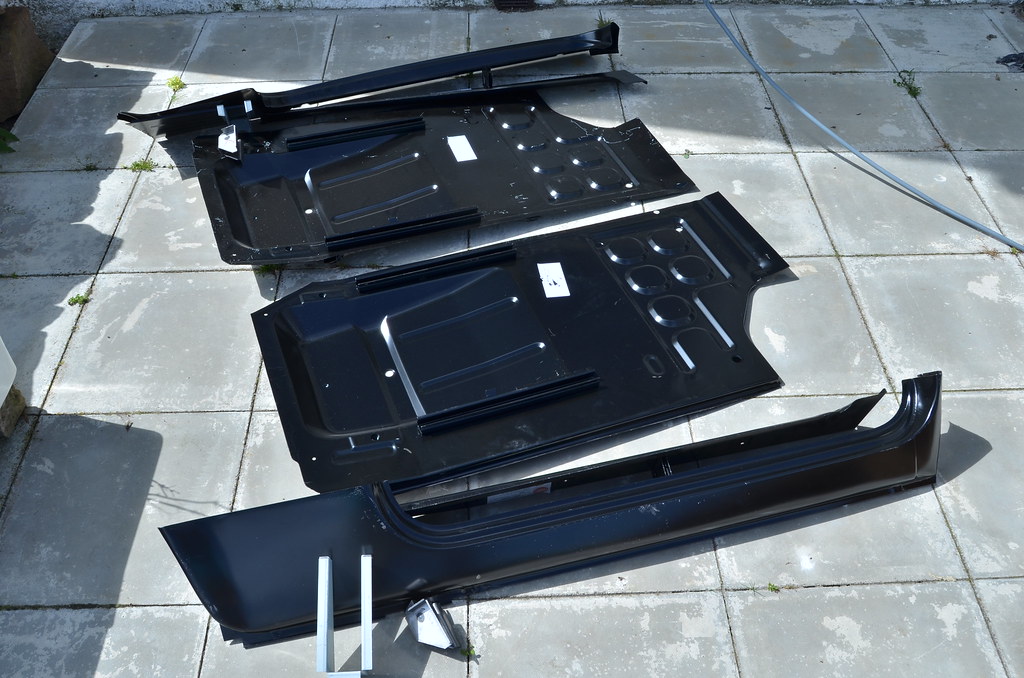
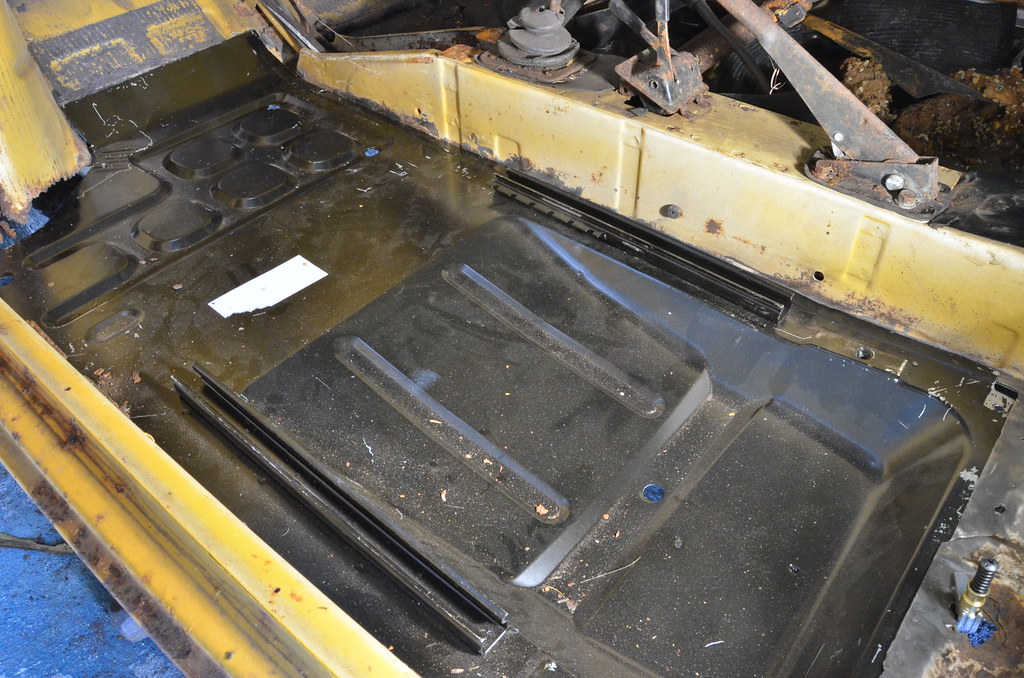
A full new bottom!:eek:
DSC_8659 by Peter Thompson, on Flickr
I reckon that with this lot part tacked, part plug-welded in, the car should stiffen up a great deal and it should just about save all the alignments.
 
Last edited:
You could then sell it as a part complete restoration project and charge £3000 for it. ;) ;)

Seriously, having it structurally sound and mobile will be a huge bonus to getting ready for the tons of little resto jobs over the winter.

cheers, Steve
 
Blimey Steve...never thought of that. Already at more than I paid for similar. .
It is illegal and doing that only gives ammo to DVSA to justify creating more challenges that will affect genuine folk who want to register their cars.

I did see someone selling some Mk1 Golf documents including a registration document and supporting literature including MOTs etc. on Ebay a while ago.....Pulled off very quickly!

Up to £1745.00 now with 16 hours left. I wonder if it will break the £2k mark?:eek:
 
Currently at £720 with a day and a half to go???:rolleyes:
My sweet Mitchio seems less like the mad purchase he was, even if just because he has a set of keys, his VIN plate and a registration document.
So today a treat arrived for him, guess what......?
DSC_8658 by Peter Thompson, on Flickr
A full new bottom!:eek:
DSC_8659 by Peter Thompson, on Flickr
I reckon that with this lot part tacked, part plug-welded in, the car should stiffen up a great deal and it should just about save all the alignments.

You are itching to get that welder out again aren't you Peter. :D What's first Bluebell or Mitchio?
 
You are itching to get that welder out again aren't you Peter. :D What's first Bluebell or Mitchio?

I am itching, but i think it might be the midges.:D
I am going to scratch Mitch's itch first. I daren't move him out of the garage until everything is tacked together and he needs to slip into Murphio's old hen-shed for a while. The left hand floor is coming out on Monday and welding gas being hired on Wednesday.
Bluebell can then be stripped-down in the garage to spare her blushes.:eek:
 
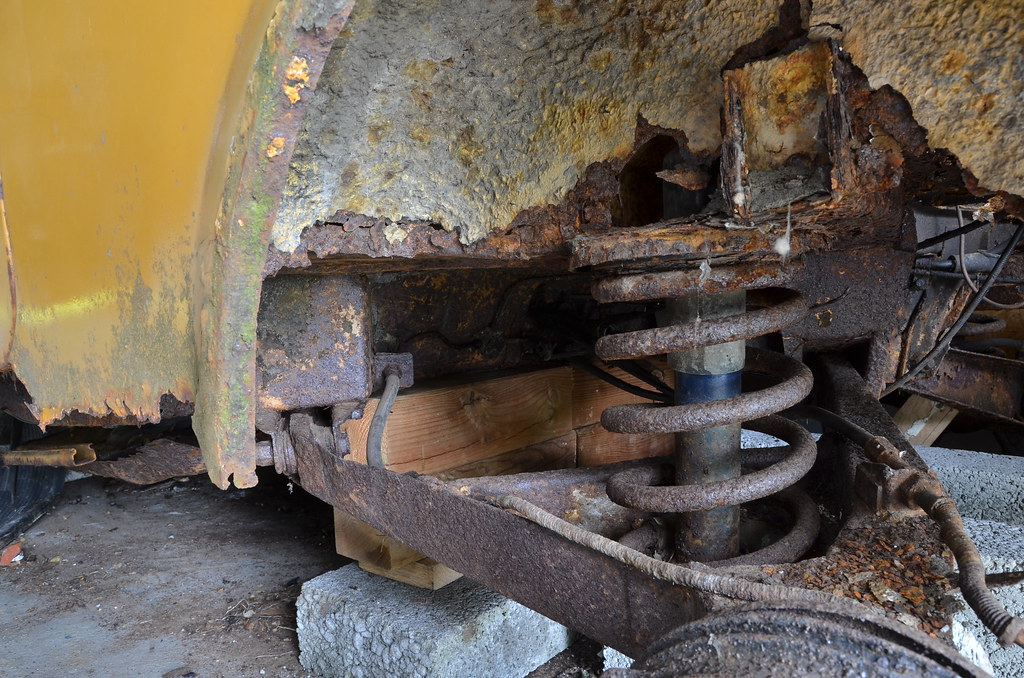
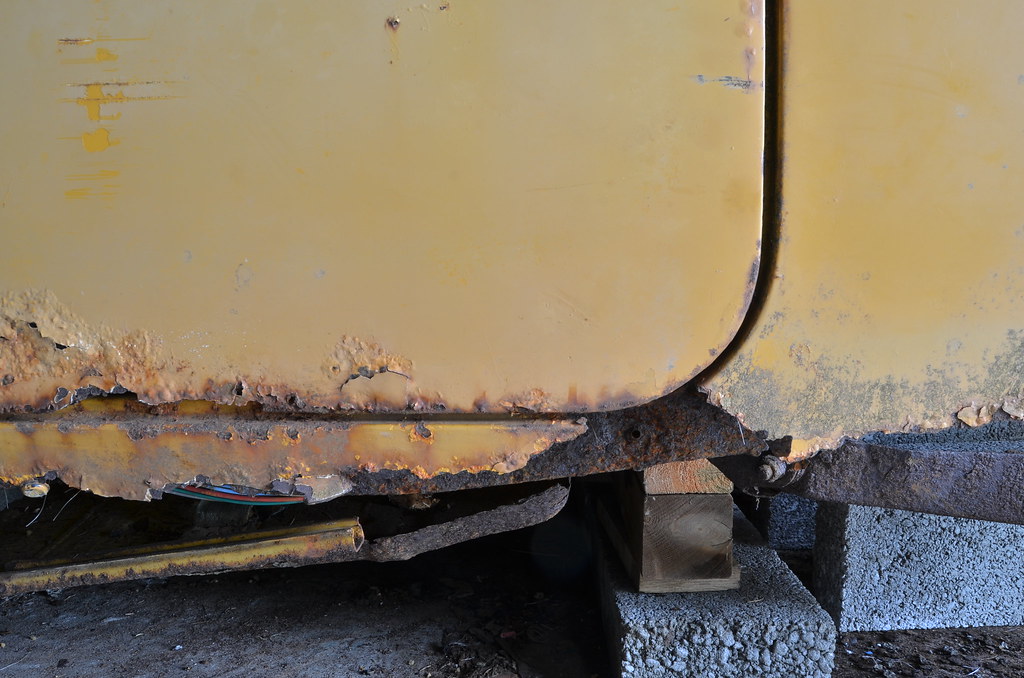
WARNING, DO NOT LOOK AT THESE PHOTOS IF YOU ARE OF A SENSITIVE DISPOSITION.:D
There are many of the basic structural panels on Mitchio which are completely detached from each other (or missing). I have to rely on each new panel as fitted becoming the alignment jig for the next. But in order to make a start I neede to preload some parts of the structure and take the strain away from others. I don't think, even if had the time or skill to build a jig, that it would do exactly what is needed to align things. I daren't even remove the wishbones and springs because I think they are doing some positive bracing and in any case, removing them might strain the structure.DSC_8856 by Peter Thompson, on Flickr
I jacked the front end and rested the body on blocks placed under the spring brackets, I then took up the rear and placed blocks under the front of the under-seat panel, just behind the point where the seat-floor panel attaches.DSC_8857 by Peter Thompson, on Flickr A bit of "micro-adjustment" followed in order to get a reasonable reading on a spirit-level and to get the more important visual observation that the little that remained of factory junctions between panels was looking better.DSC_8862 by Peter Thompson, on Flickr
All this took a couple of hours but is time well-spent as the shell already feels much more rigid, in the vertical dimension at least and the worrying distortion of he under-seat panel has completely gone.
 
WARNING, DO NOT LOOK AT THESE PHOTOS IF YOU ARE OF A SENSITIVE DISPOSITION.:DDSC_8856 by Peter Thompson,
DSC_8857 by Peter Thompson, on Flickr
19854189315_e7c9b20441_b.jpg
[/url.

Huge respect:worship::worship:.You're a brave man Peter, it looks like a mountain of work, or should I say troubles, ahead. It made me laugh seeing the seat runner hanging there! Mind it does look comparatively rust free:D

Cheers,
 
Look at those door gaps! they look good.


Well that's it for the compliments for now. That sure is a lot of rust Peter.
I can see now why you thought twice about rebuilding Mitchio.


If you don't build a jig, I would strongly suggest welding in some reinforcement bars to keep the strength and stability of the shell. Looking at the seat runner nearly on the floor, there cant be much holding that car in place.
I was amazed at how little my shell moved after removing the inner & outer sill in one go. As long as the tunnel is in place and the other side is held together by the floor/sills or reinforce bar, I cant see it moving too much.


I will be looking forward to some of these photos.
Good luck, you can do it.
slayer.gif
 
I can see now why you thought twice about rebuilding Mitchio.
If you don't build a jig, I would strongly suggest welding in some reinforcement bars to keep the strength and stability of the shell. Looking at the seat runner nearly on the floor, there cant be much holding that car in place.
]

Twice? Twice! I thought about it at that frequency every hour for several weeks.:eek:
The main things holding the shell together are the roof, the centre-tunnel and the rear spring cross-member.
Since the inner and outer sills are more or less fully disconnected from the rear end, they are doing nothing other than showing where the door should be. The floors could be removed without any tools. I don't think anything can get any worse from here, regardless of whether I remove them with or without bracing. I am actually amazed how much resilience the shell has. Any bracing relies on the current status being at the correct alignment and dimensions and it can't be. So I am just going to lay into it, one side at a time, removing first, the LH floor and fitting the new, then replacing the inner sill and finally the outer sills. But the rear end of the outers will have to eventually come off when the rear quarters are replaced....a long time in the future.
Sorry, was I thinking aloud?:D:D
 
Last edited:
Well I suppose Murphio only took nearly 5 years in the end but he originally appeared to be almost concurs compared to Mitchio. :eek:
 
I must have been up early this morning:eek:
I have tidied up the flanges on the tunnel and the front and rear attachment points for the LlH floor panel. It fits well from an alignment point of view but I would say that it is formed slightly incorrectly where it bends slightly to match the rear, upwards slope of the inner sill.
In what seems the correct, forward position it looks like the "curve" for the inner wheelarch will need adjustment.
DSC_8869 by Peter Thompson, on Flickr
All that's needed now is to take the paint off the edges of the new panel and drill a load of plug-welding holes. I'm not going to waste this lovely day going for welding gas so the job can wait now.
I will be tidying up all the missing and thin bits of metal where the floor atttaches when the shell is strong enough to tip on its side.
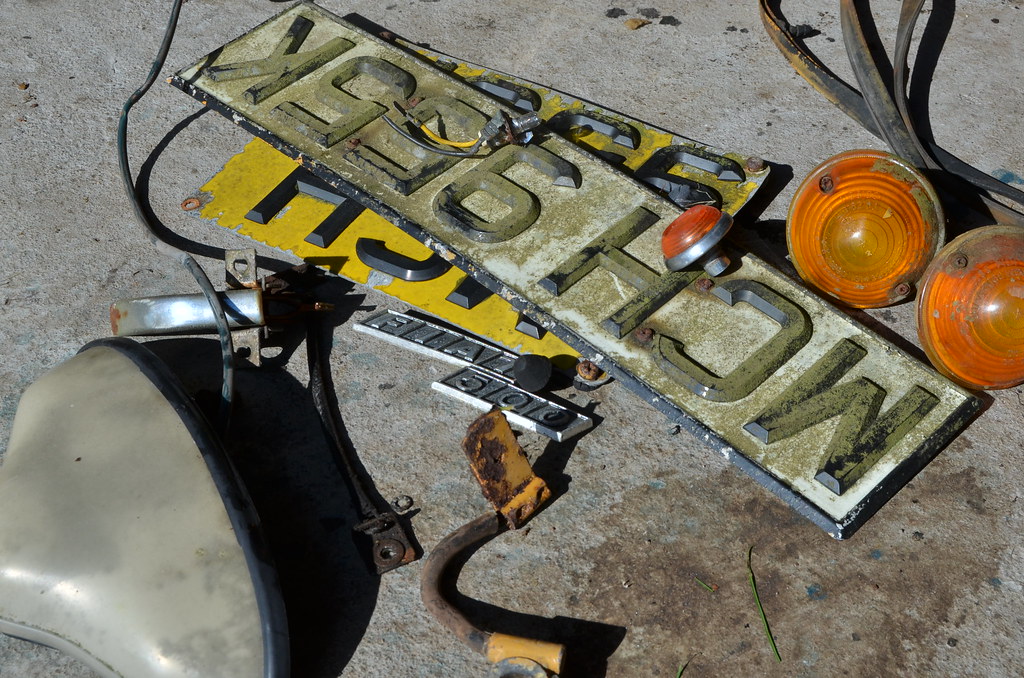
I also removed all the vaguely useful bits from some very useless outer panels.
DSC_8868 by Peter Thompson, on Flickr
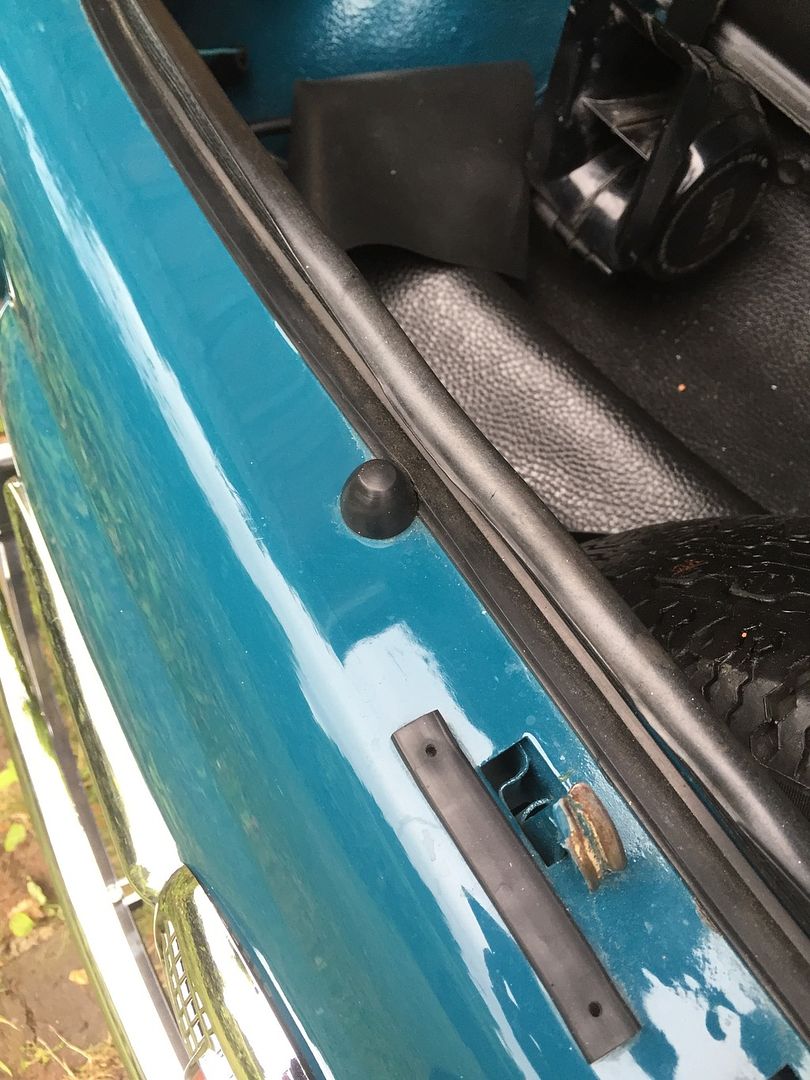
You might see that the rubber cone for the bonnet rest is originally flat-topped, as I suspected. The new ones aren't and mess up the bonnet alignment.
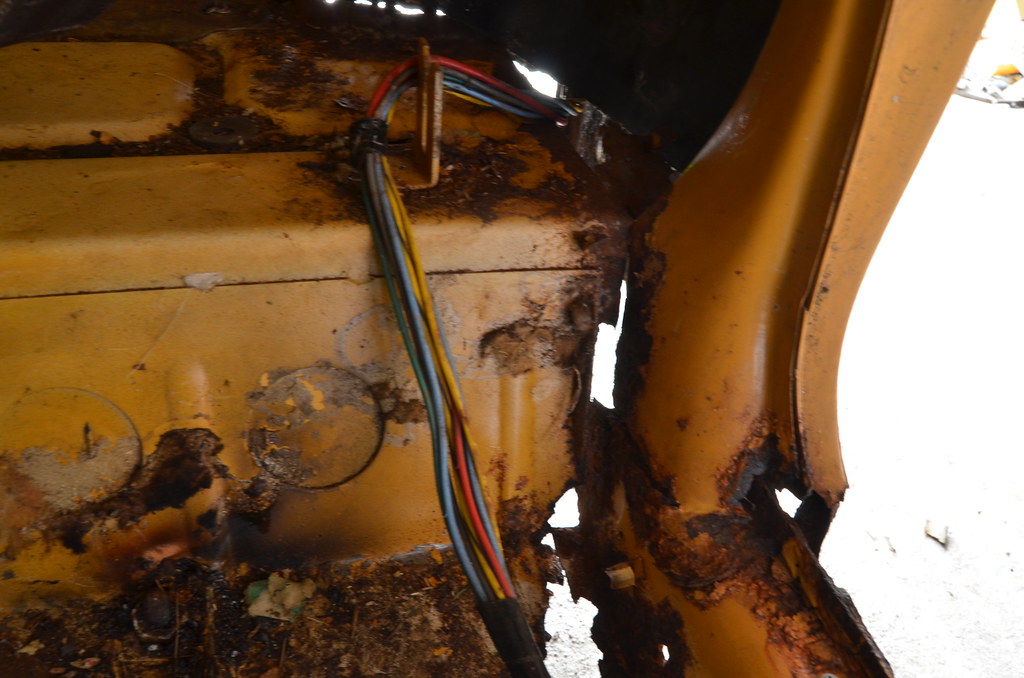
There is even the original earth lead that we were talking about the other day.
 
You might see that the rubber cone for the bonnet rest is originally flat-topped, as I suspected. The new ones aren't and mess up the bonnet alignment.

That explains why I had fun when putting the bonnet back on. I've decided to take it off again to wet sand and polish it again, so left it as is, as I had more important things to get on with. But I noticed there was an issue and that the bonnet wouldn't close properly, even though I had lined everything up ok.

Thanks for that Peter, I shall file down the rubber cone before I fit it again.

cheers, Steve
 
Mitchio looking more solid already.(y)

Interesting on that rubber bonnet cone. Mine was new as well and pointy but over the last year it has taken the correct shape with the pressure of the bonnet pushing down on it. The only shaving I had to do was on the other side to get the rubber lip through the hole to hold it in place. I remember heating them in boiling water first and then a squirt of WD or duck oil helped get all the different rubber bungs in place.

 
We are in danger of teetering near to "door-handle inclination" territory here.:) But that does look just right now and may be the explanation. Mine wouldn't sit right at all without shaving a flat but still works fine for pinging it open when the catch is released.
 
Back
Top