Louie Bee said:
Hi All,
I think I could do with a little more guidance getting the rev counter working. I see which pin the wire should conest to at the Pod end. I’m not where to connect it on the coil, or what load the wire will need to carry IE thickness if wire to use.
Ok Louie, I went outside specially at midnight to look under my bonnet for you here

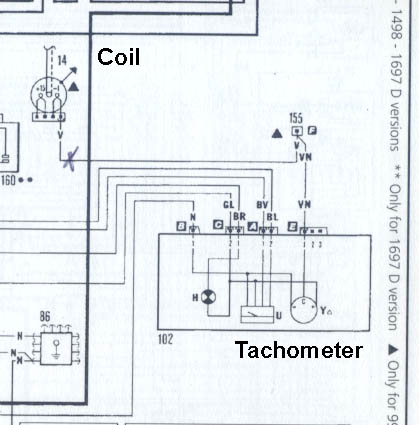
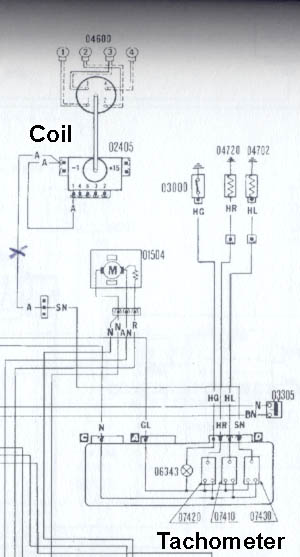
My mk1 has the 'dry' coil (looks like a transformer), mounted on the passenger side of the engine bay.
If you look from the top, you will see the main HT lead leading to the coil. Just below are two more connections - left and right. One has a red wire, and the other has a green wire. As you face the car, the green wire is on the RIGHT. If you have the same type of coil as mine, you should be able to pull off the rubber boot covering the connection on the GREEN wire. There are two shared spade connectors under this boot. One is not used, and it is this one that you want to connect the tachometer wire to.
Assuming your wiring is the same as mine, connect one wire to the GREEN wire terminal of the coil, and the other to the back of the instrument pod.
As to what kind of wire to use, general auto electrical cable is fine. It's not carrying a high ampage, so just match it to some wire that looks similar in thickness to the rest of the coil wiring. I had an old engine wiring loom and I simply nicked some of the wire to use for my tachometer!
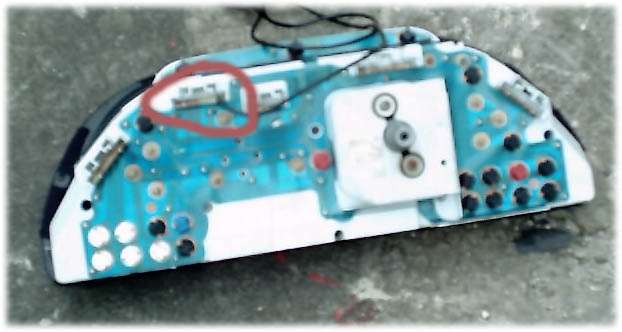
I've no idea which connection to use on the instrument pod as I'm not familiar with the mk2 Uno. It's one of the vacant slots!
Louie Bee said:
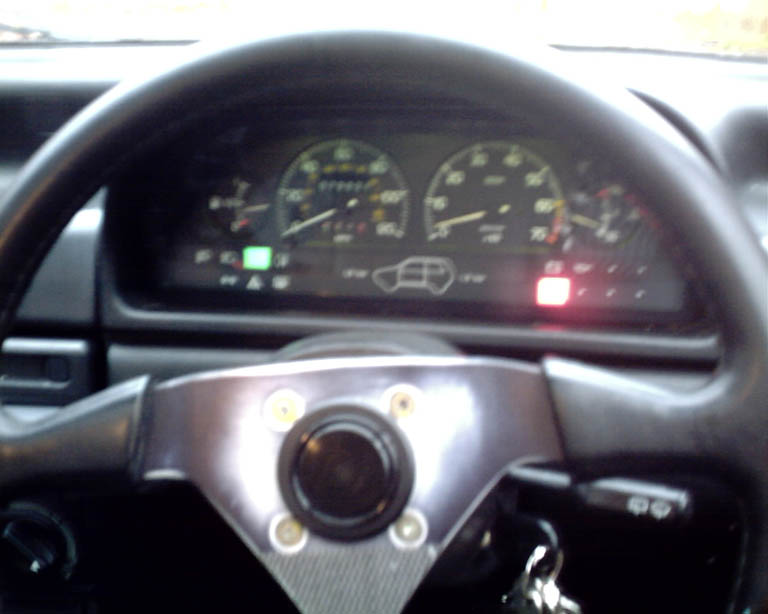
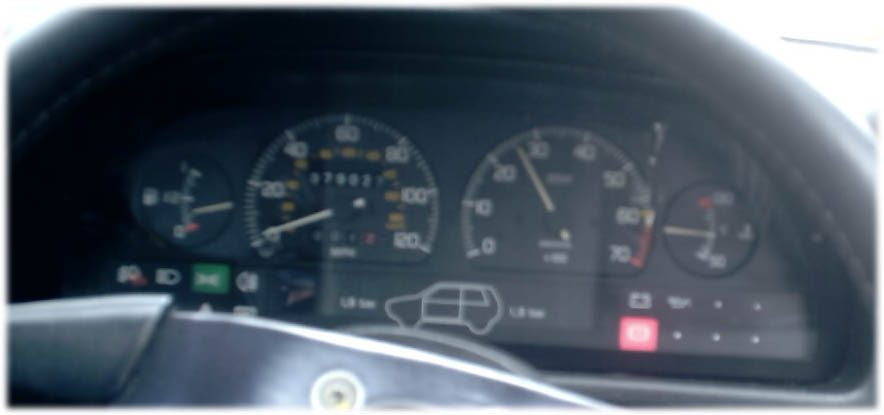
The Speedo reads low. I’m sure in second by engine sound I should be doing 40 MPH – it reads 30MPH. I think I will try and sauces the Speedo form a 1.0IE “S”.
You mentioned earlier in your post that you 'reset' the speedo to read 0mph instead of 5mph. This is your problem! A lot of modern speedos only read from 5mph upwards, much like some tachometers only work from 500 rpm upwards. I'm not 100% sure, but it looks like the SX speedo should rest on 5mph and only show speeds above this figure.
So, make the needle rest on 5mph again and you'll probably get a similar reading to your old dashboard.
As far as I'm aware the gearbox drive for the speedo is the same for all Uno's, and they all pretty much had the same rolling radius with regards to wheels and tyres. Therefore no recalibration is necessary whatever the model.
However, some of the gearboxes had different final drive ratios, and this may well affect the correct reading. Anyone know more about this? AlexGS?
Good luck with the swap!
Chas