Yesterday, James (jjhepburn) and I drove to Auckland to collect our - well, James' - Uno 45.
The trusty Alfa 164 did the job well, though it mysteriously used a lot of oil because the 'low oil level' warning light (dipstick symbol) appeared when re-starting. Owners of Italian cars with oil-level sensors will know this is usually a false indication, but in this case it was actually correct - the level was only halfway up to 'Min' on the dipstick.
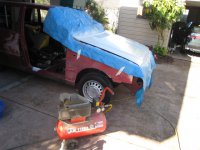
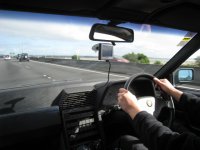
Anyway the first shot shows a picture of James driving the 164, along a motorway across an estuary. This is because my Tom Tom identified two 'Pine Avenues' - one in Glen Eden, northwest Auckland, and the other one even further out of town in somewhere called 'Cornwallis'. Neither of these matched the 'Balmoral' description of the seller's suburb. Once we got to Pine Ave, ten minutes early, I managed to get the Tom Tom to find the location of Pine St., 20 minutes away...
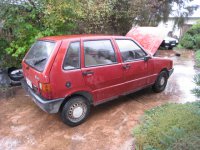
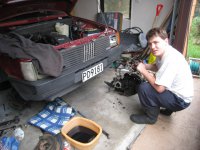
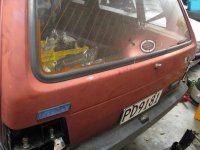
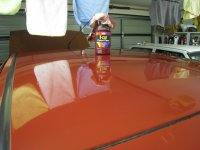
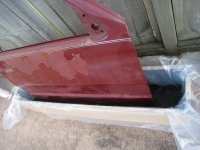
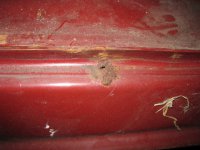
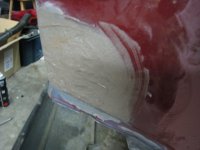
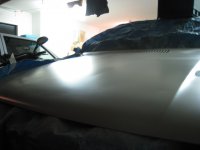
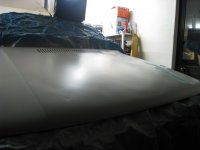
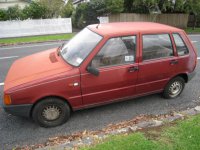
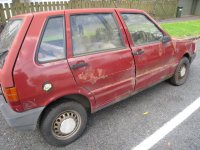
When we found the car - which had been pushed out onto the road for us to collect - I took the second photo. The first impression was not that great, though obviously it is 'burgundy' rather than red! Both tyres on the left side were completely flat, so I used a jump-start pack to power a tyre inflator (top tip there - saves having to have a car nearby).
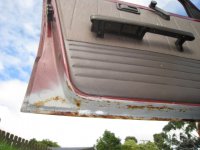
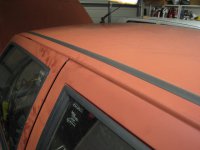
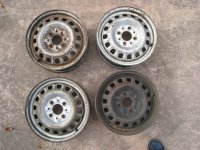
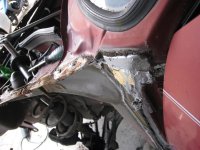
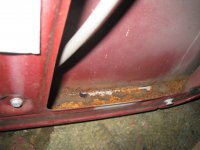
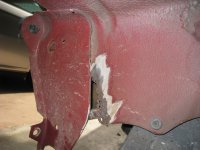
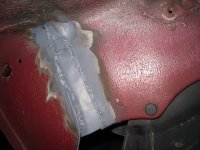
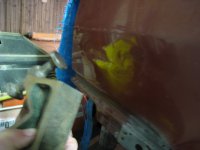
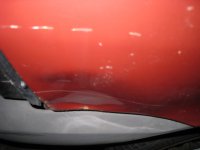
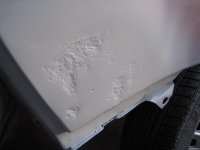
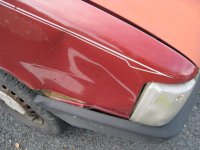
The other side - well, I'll let you look at the third picture and make up your own mind.") The clearcoat was in amazing condition and looked like it was some sort of tape applied to the car. Which is what happened next, since we tied the driver's door closed with a rope around the middle pillar, and added some duck tape for good measure. The clearcoat peeled off later with the tape.
The clearcoat was in amazing condition and looked like it was some sort of tape applied to the car. Which is what happened next, since we tied the driver's door closed with a rope around the middle pillar, and added some duck tape for good measure. The clearcoat peeled off later with the tape.
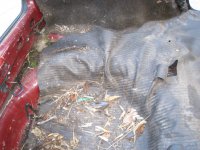
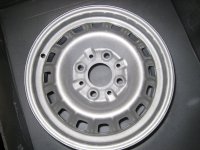
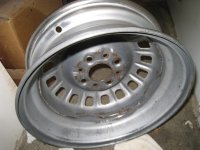
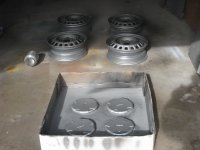
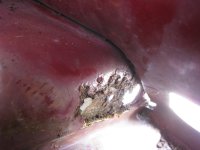
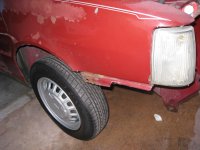
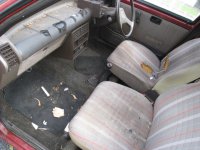
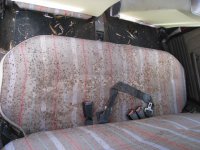
Inside the car, the interior was in the usual condition - though someone had taken a hammer to the stereo for good measure. The gear lever was especially sticky - what makes plastic turn to a sticky, shiny finish? The backseat was mouldy and there was some moss growing inside the boot. Someone had also kindly put the spare wheel on top of the boot floor...
The trusty Alfa 164 did the job well, though it mysteriously used a lot of oil because the 'low oil level' warning light (dipstick symbol) appeared when re-starting. Owners of Italian cars with oil-level sensors will know this is usually a false indication, but in this case it was actually correct - the level was only halfway up to 'Min' on the dipstick.
Anyway the first shot shows a picture of James driving the 164, along a motorway across an estuary. This is because my Tom Tom identified two 'Pine Avenues' - one in Glen Eden, northwest Auckland, and the other one even further out of town in somewhere called 'Cornwallis'. Neither of these matched the 'Balmoral' description of the seller's suburb. Once we got to Pine Ave, ten minutes early, I managed to get the Tom Tom to find the location of Pine St., 20 minutes away...
When we found the car - which had been pushed out onto the road for us to collect - I took the second photo. The first impression was not that great, though obviously it is 'burgundy' rather than red! Both tyres on the left side were completely flat, so I used a jump-start pack to power a tyre inflator (top tip there - saves having to have a car nearby).
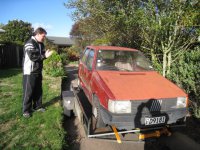
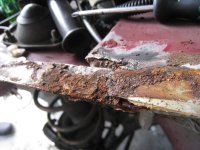
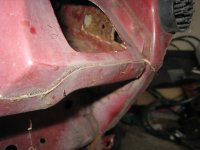
The other side - well, I'll let you look at the third picture and make up your own mind.
The clearcoat was in amazing condition and looked like it was some sort of tape applied to the car. Which is what happened next, since we tied the driver's door closed with a rope around the middle pillar, and added some duck tape for good measure. The clearcoat peeled off later with the tape.Inside the car, the interior was in the usual condition - though someone had taken a hammer to the stereo for good measure. The gear lever was especially sticky - what makes plastic turn to a sticky, shiny finish? The backseat was mouldy and there was some moss growing inside the boot. Someone had also kindly put the spare wheel on top of the boot floor...
Attachments


Last edited: