

Tipotwo
Member
- Joined
- Jan 7, 2020
- Messages
- 76
- Points
- 99
Here I fit a Nextbase dash cam to my Tipo. I have fitted one before, hardwired in my old Volvo, so the plan was to hardwire this one. But, the fuse box is behind the glove box and even once the tabs inside have been taken out, it hardly opens;
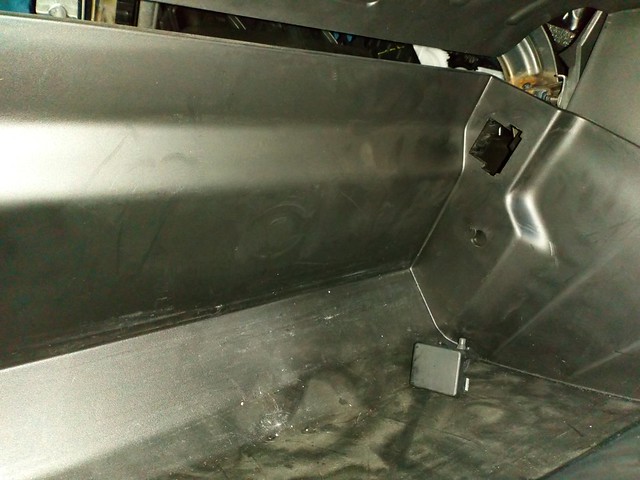
The fuses are further obscured by a metal plate, I could not even get a decent photo to show how inaccessible they are. So, I switched to wiring the dashcam using the supplied 12v "cigarette lighter" fitting.
First, place the dash cam as out of the way as possible;

The wire goes straight from the dashcam up and is tucked easily into the front of the roof lining where it meets the windscreen. I could easy push the wire in with my fingers.
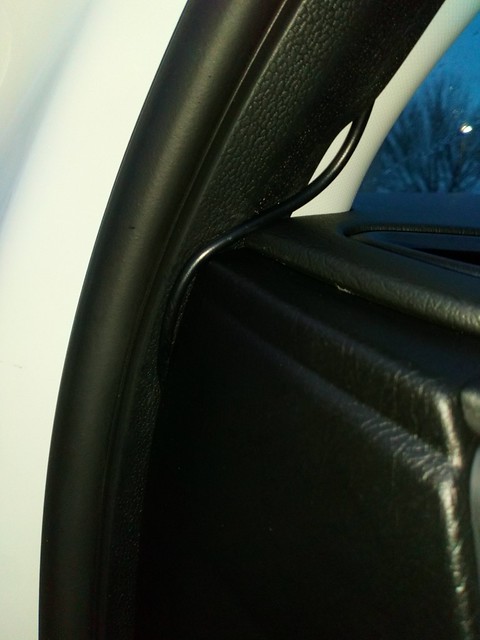
I then switched to a trim tool. Nextbase supply a small one with the camera, I used a larger one I had. Pull the top of the plastic cover on the A pillar and push the wire behind that.

Then feed the wire down the A pillar by levering the black trim to make a gap and push the wire into the space.

The one place I could not get trim apart enough to push the wire behind, was where the A pillar meets the top edge of the dash.
The wire then pushes in where the dash meets the door, down to the bottom edge of the dash.

Now it is easy, pushing the wire up and behind the passenger footwell carpet.

The wire is 4m long, so it is here the excess can easily be tucked away. At the centre consol, there is an edge that runs from the carpet to where the 12v outlet is. I just pushed the lower part with my fingers to open up a big enough gap for the wire to go through. I left just enough wire so the plug then fits into the 12v supply.

I bought an adaptor so that I can charge other items by USB. It took 15 minutes and works fine.
The 12v supply switches on and off with the car, so the bump mode, if someone bumps into the car, the dash cam switches on and records for a minute or so, will not work. It needs to be hardwired for that to work, apparently.
The fuses are further obscured by a metal plate, I could not even get a decent photo to show how inaccessible they are. So, I switched to wiring the dashcam using the supplied 12v "cigarette lighter" fitting.
First, place the dash cam as out of the way as possible;
The wire goes straight from the dashcam up and is tucked easily into the front of the roof lining where it meets the windscreen. I could easy push the wire in with my fingers.
I then switched to a trim tool. Nextbase supply a small one with the camera, I used a larger one I had. Pull the top of the plastic cover on the A pillar and push the wire behind that.
Then feed the wire down the A pillar by levering the black trim to make a gap and push the wire into the space.
The one place I could not get trim apart enough to push the wire behind, was where the A pillar meets the top edge of the dash.
The wire then pushes in where the dash meets the door, down to the bottom edge of the dash.
Now it is easy, pushing the wire up and behind the passenger footwell carpet.
The wire is 4m long, so it is here the excess can easily be tucked away. At the centre consol, there is an edge that runs from the carpet to where the 12v outlet is. I just pushed the lower part with my fingers to open up a big enough gap for the wire to go through. I left just enough wire so the plug then fits into the 12v supply.
I bought an adaptor so that I can charge other items by USB. It took 15 minutes and works fine.
The 12v supply switches on and off with the car, so the bump mode, if someone bumps into the car, the dash cam switches on and records for a minute or so, will not work. It needs to be hardwired for that to work, apparently.
Last edited:


")