YTUNO
New member
Some of you may remember that earlier last year I bought a MK1 Uno Turbo on a whim on the way back from Auckland to collect another car.

BMW E38 740i (Hitler) and MK1 UT (Mario) stopping off in Wanganui on the way to their new home in Wellington.

Mario and Hitler quenching their thirst
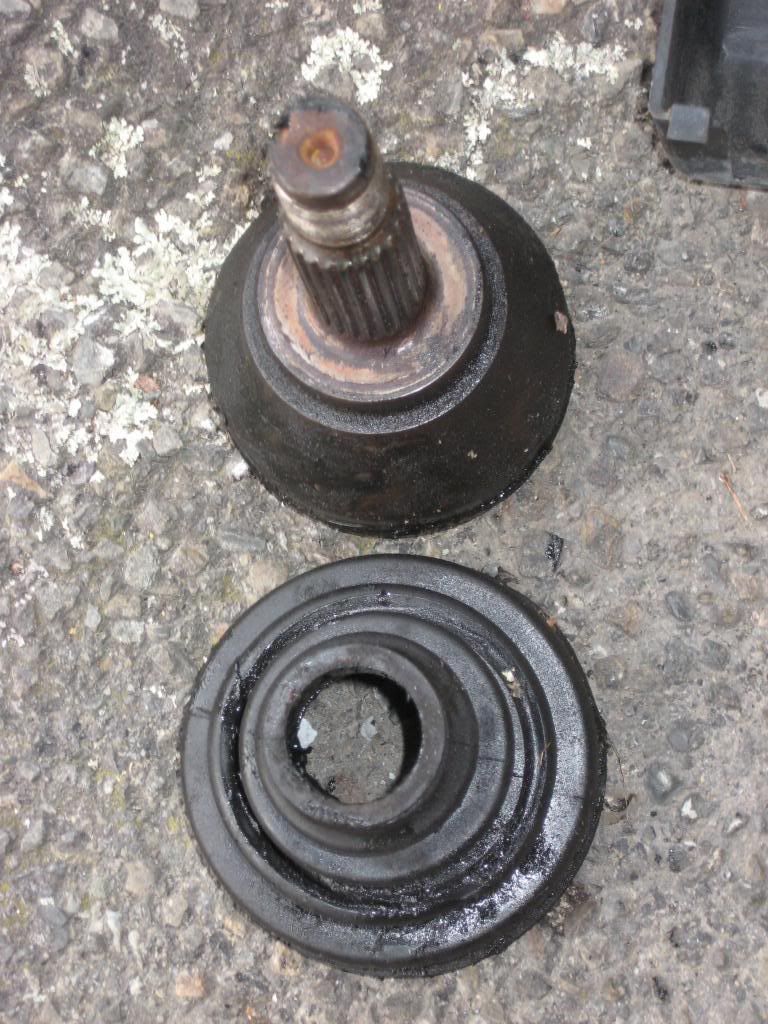
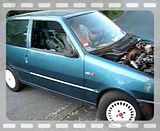
It was looking rather resplendent in its shiny new gun-grey metallic paint (excluding the gold two-tone effect). According to the owner it needed new CVs and some rust fixing in the spare wheel well for a Warrant of Fitness (similar to an MOT for those of a UK disposition).
Lies!!!
The small amount of rust in the wheel well turned out to be a boot floor that was more hole than metal and was only being held in shape by the rubber coating. The area in behind the tail lights was also rusted out. Bugger!
Still, nothing some welding and patch panels wouldn't solve. It was going to have to go into the bodyshop to get rid of that hideous gold lower paint anyway.
Oh well, in for a penny, in for a pound. Let's investigate the body a bit closer just to make sure nothing else is going to need to be done. First step was to remove the plastic bodykit.


Double bugger!
The search continued and it turned out that the front frame rails were rusted and pretty much any panel you touched reveled rust. Basically the previous owner had had the car dipped in a pool of bog and then painted to look pretty.
The body was clearly a right off. Oh well, the mechanicals all checked out and to buy all of the turbo bits and pieces would have cost me more than $1000 anyway.
Sounds like it's time for a project! :devil:
Now, I already had a MK1 70SL sitting in the garage that I was partially through turning into a toy car when I discovered the Uno Turbo. Should I combine the two and end up with a four door Turbo? Tempting. Very tempting.
However, the 70SL already had a good engine and I preferred the three door body shape of the Turbo. I decided that I would move the 70SL project from track/toy car to "fun run around and weekend dog car".
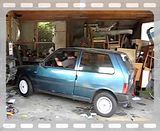
So the search began for a good three door shell or donor car. After looking at a few MK1 three doors that were effectively just Uno shaped piles of rust I decided that a MK2 donor might be a better option.
As it turns out Mal from Fiat Parts in Cambridge (yes we have a Cambridge too. They even do rowing there, just without the university and the prestige.) had a left hand drive MK2 Uno 1.4ieS that he was willing to part with. It had a warrant and registration and was in tidy condition. Plus, did I mention it was left hand drive? (I'm a sucker for something different)
We agreed on a price and my wife agreed that a long weekend in Cambridge would be nice.
Roadtrip on!

Hitler taking a breather on the Desert Road, about halfway to Cambridge

This is the first time I have ever seen Mt Ruapehu without a shroud of clouds
We made it safely to Cambridge in about six hours (including stopping for lunch) and found a motel that accepted dogs. No easy task as it turns out! It was no Hilton, but at least it was clean and warm.

Fine dining and fine accommodation Cambridge style.
The next morning we met Mal in town and after a healthy breakfast it was time to meet "Lefty".

He is a 1991 1.4ieS and was imported from Germany in 1993 (hence the LHD). He was originally imported into Wellington (so this is also a homecoming trip for Lefty in some ways) as a Diplomatic import with a little over 30,000kms on the clock. The intervening 16 years and 110,000kms had been very kind to Lefty and he was still in very good condition both inside and out. Winner!
My wife and Gracie (dog) elected to travel in Hitler which meant that I got to travel in style. If anything I could say that this Uno was rare
But I thought now forget it, yo home to bel-air. Err I mean Wellington.

By 8pm we were all safely back at home. So far so good!
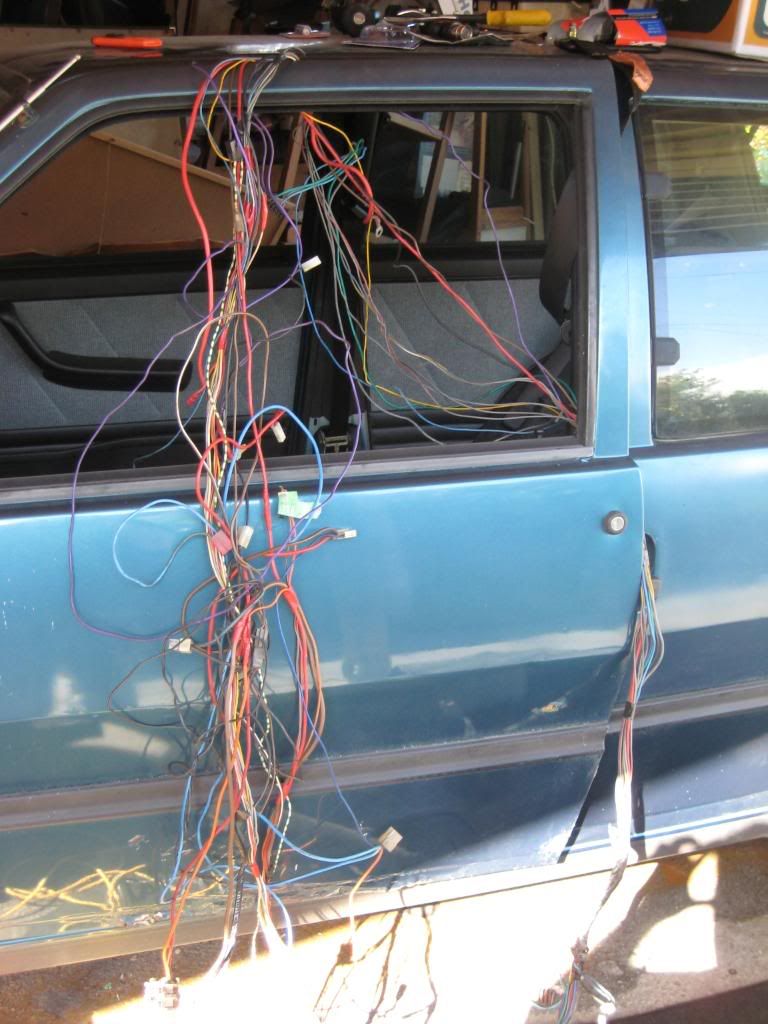
Now it was just the simple task of moving everything turbo related from Mario into Lefty.
Hmmm Easter was coming up and my friend Steve and I both had some annual leave owing.
Operation: FrankenLefty was born!
And any operation worth doing is worth documenting right? So I thought that I would create this thread to track this project.
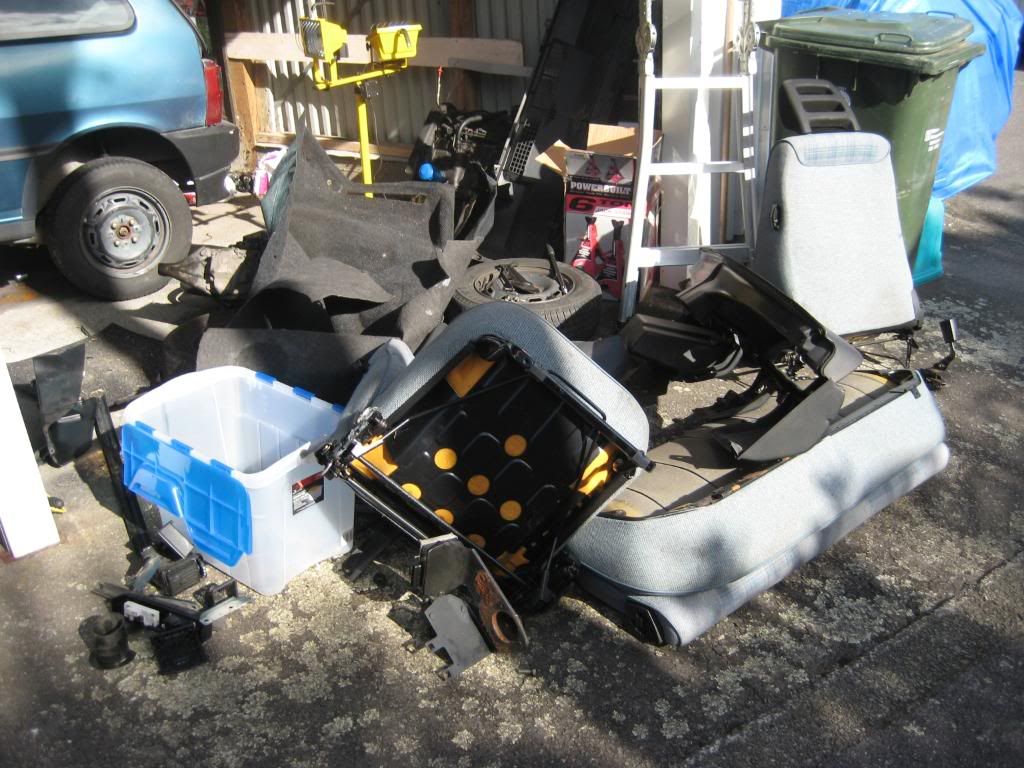
Operation: Frankenlefty - Stage One: Prepare the theatre
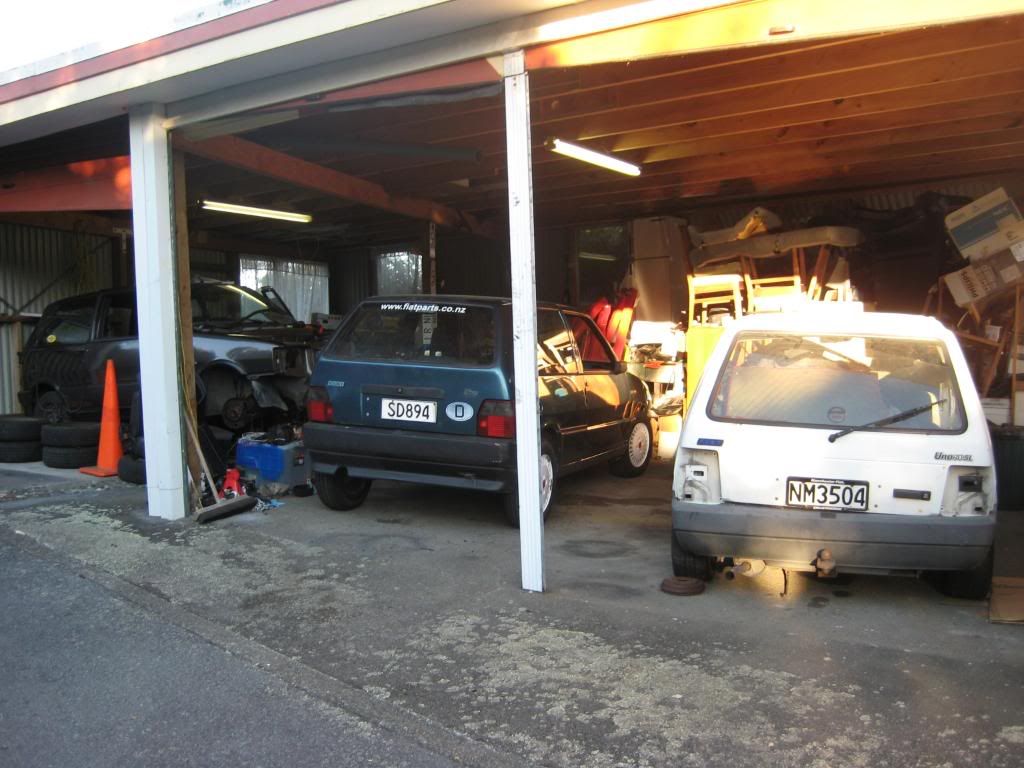
The first task was to clear out the garage so that we had sufficient room to operate. This meant that Luigi (70SL) would have to live on the driveway for the week.
Luigi kindly giving up his warm bedroom for his brothers
We then repositioned Lefty and Mario in the garage so that they faced each other. We figured that this would give us plenty of room to move and make the engine swapping phase a little easier.
Garage prepped, Unos in place and "Muppet Cones" deployed to warn the neighbours that I am about to lower their property values once more. Must be time for Stage Two!
Operation: Frankenlefty - Stage Two: Tear down
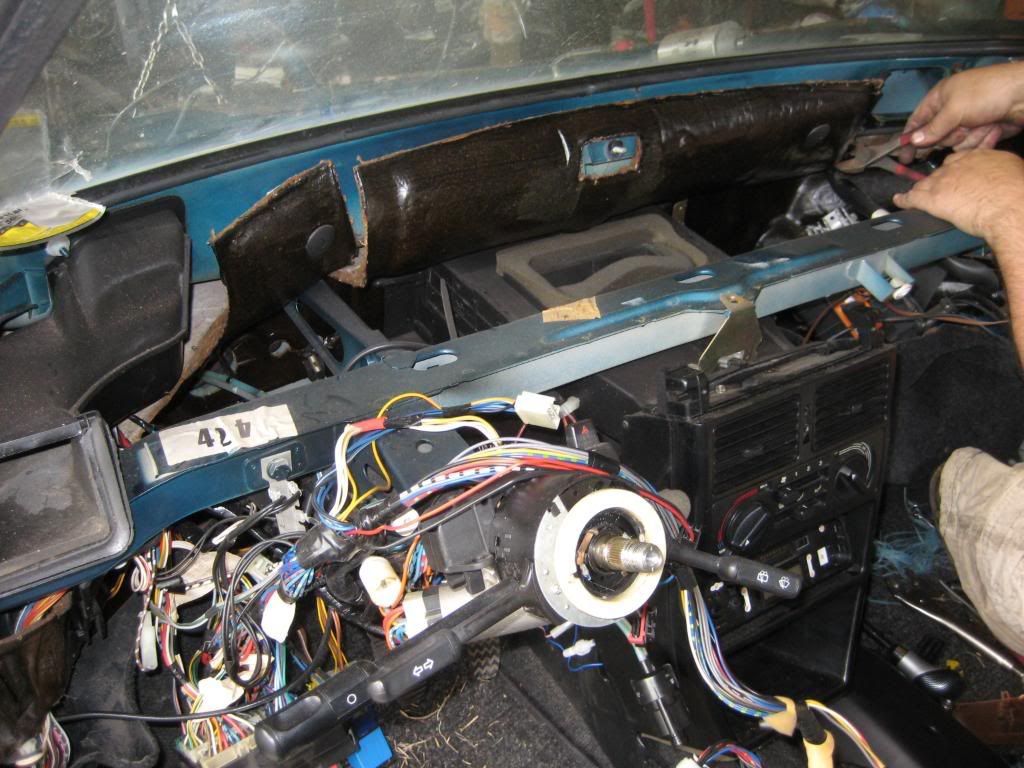
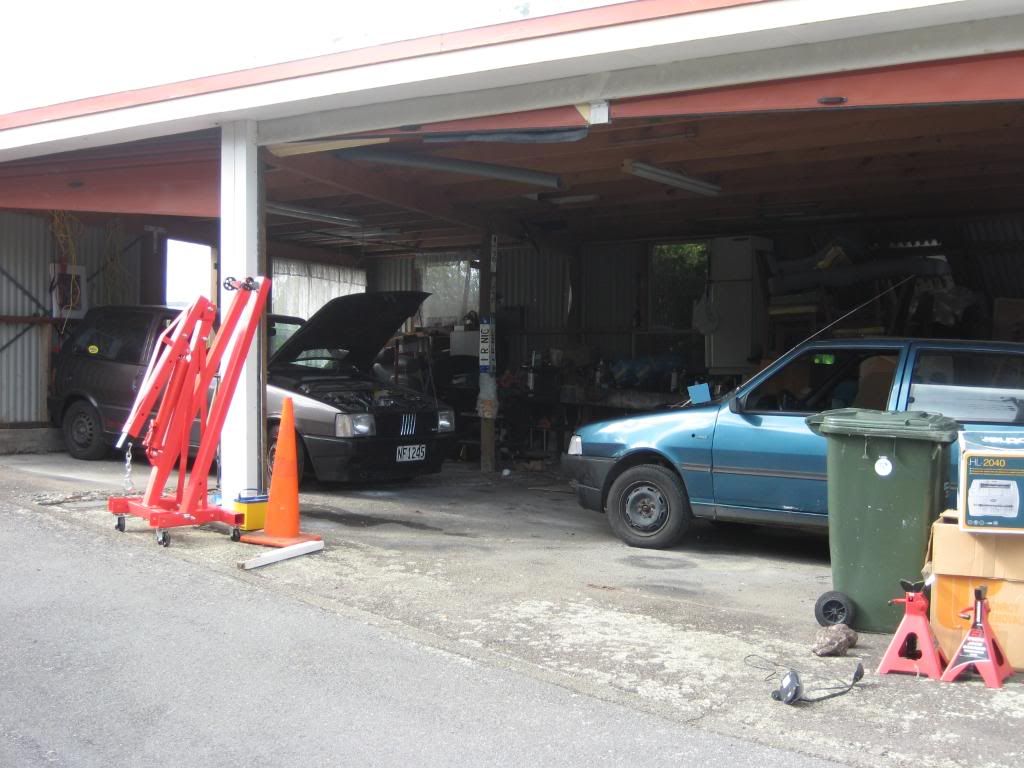
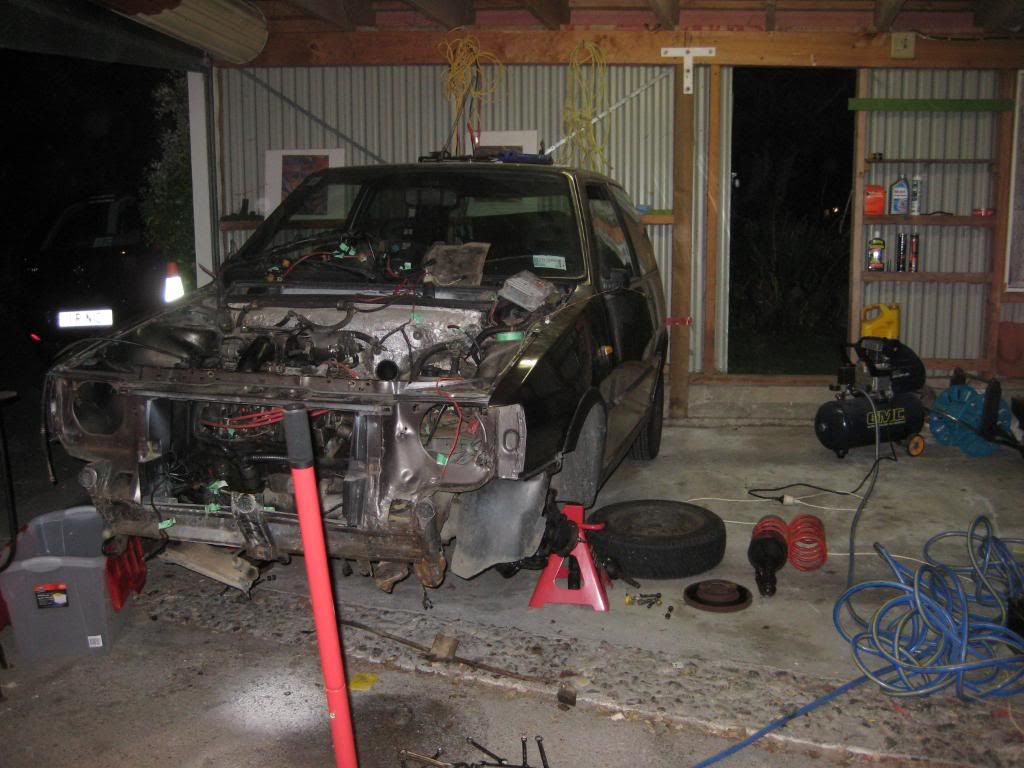
The next phase was to strip down both Lefty and Mario and prepare them for the swap. I have decided that as Lefty's primary purpose is to be a track/hill climb/fun car he will be more purposeful than pretty so I'll keep his original blue/green paint scheme for now.
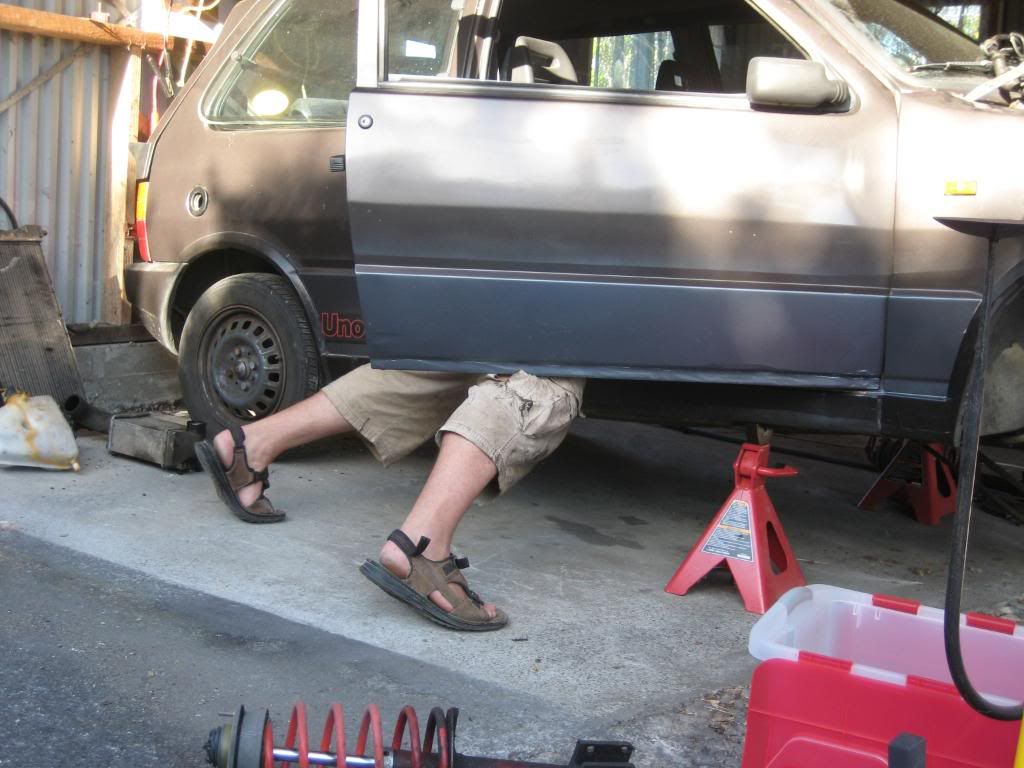
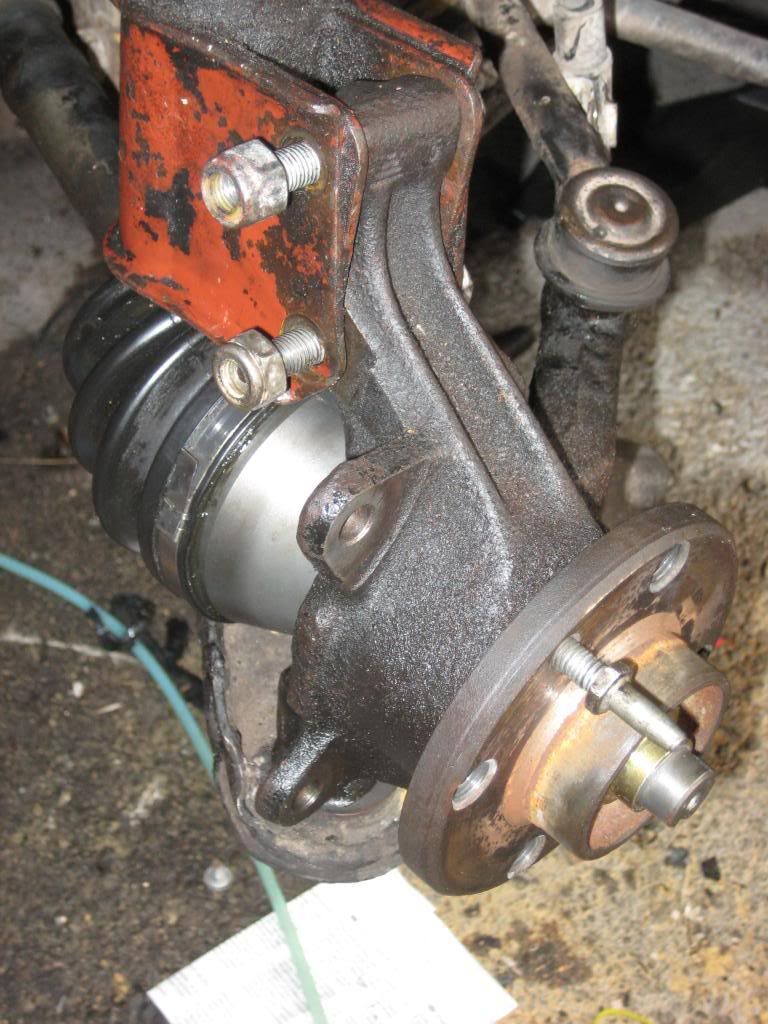
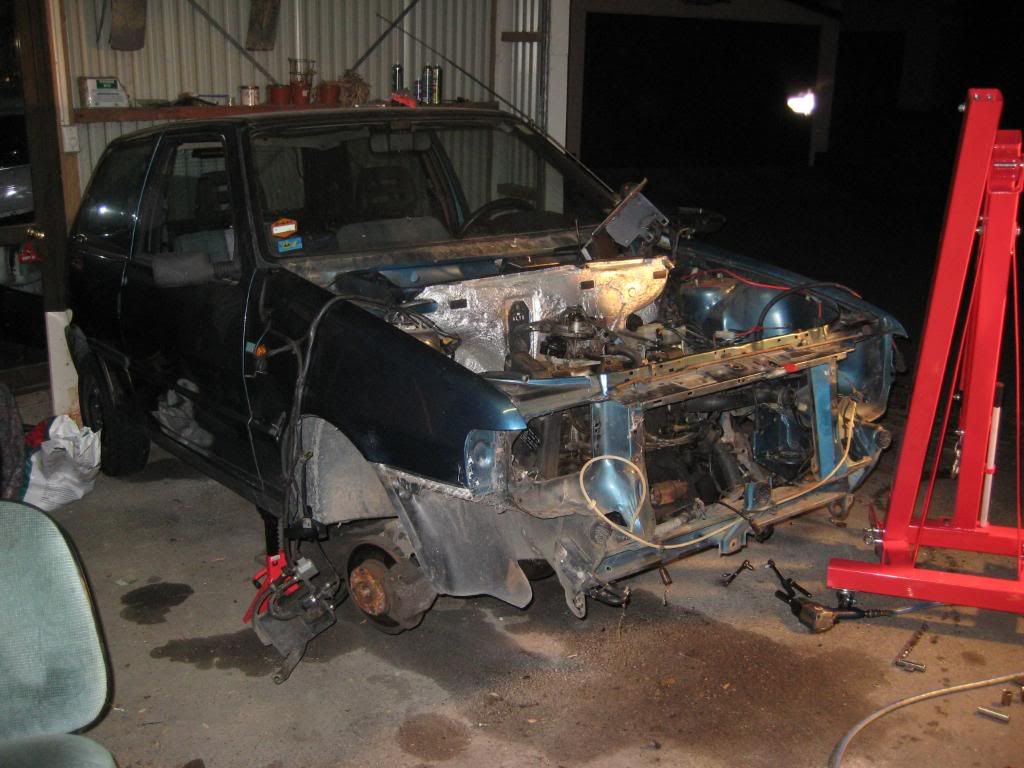
By the end of day one both cars' front suspensions and brakes had been liberated and the engines and gearboxes were ready for removal.
So far so good!
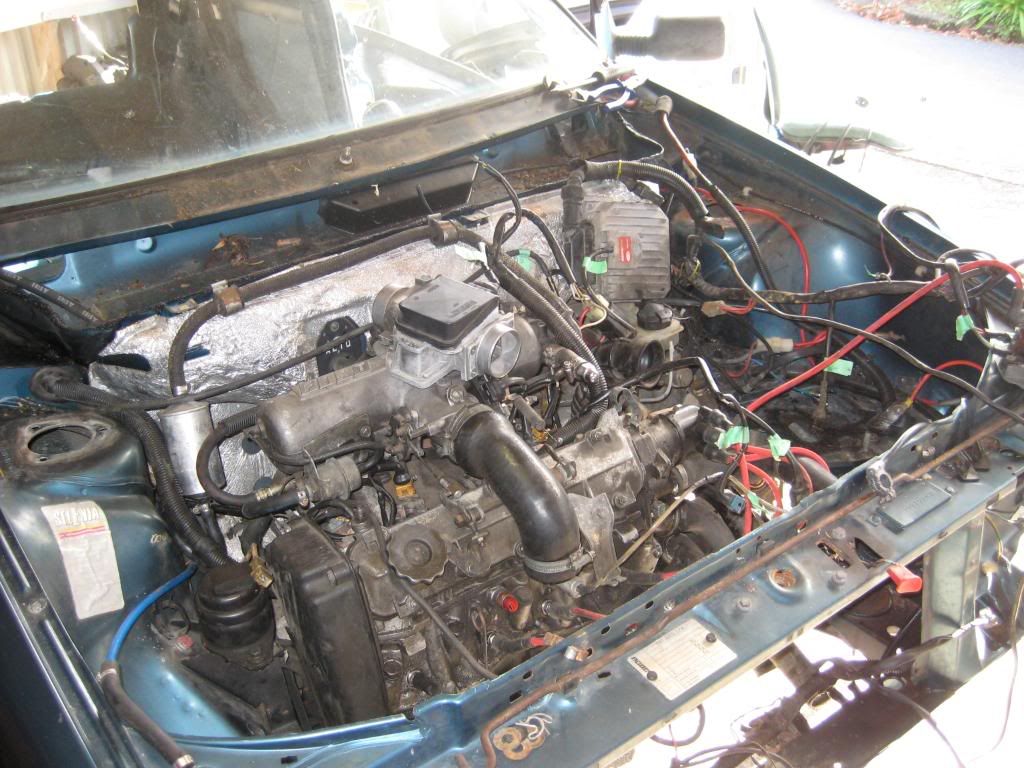
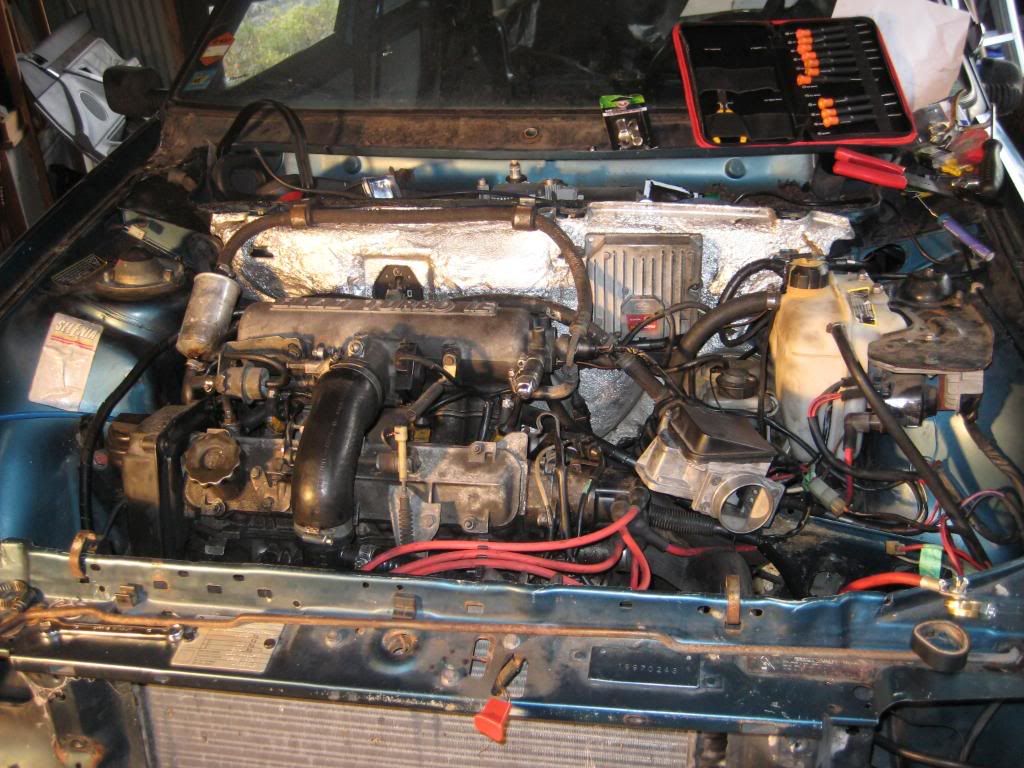
After a gentle cut through Mario's exhaust pipe (for some reason Mario's pipe was welded into one continuous pipe from turbo manifold through to tail pipe) his engine was ready for its big adventure.
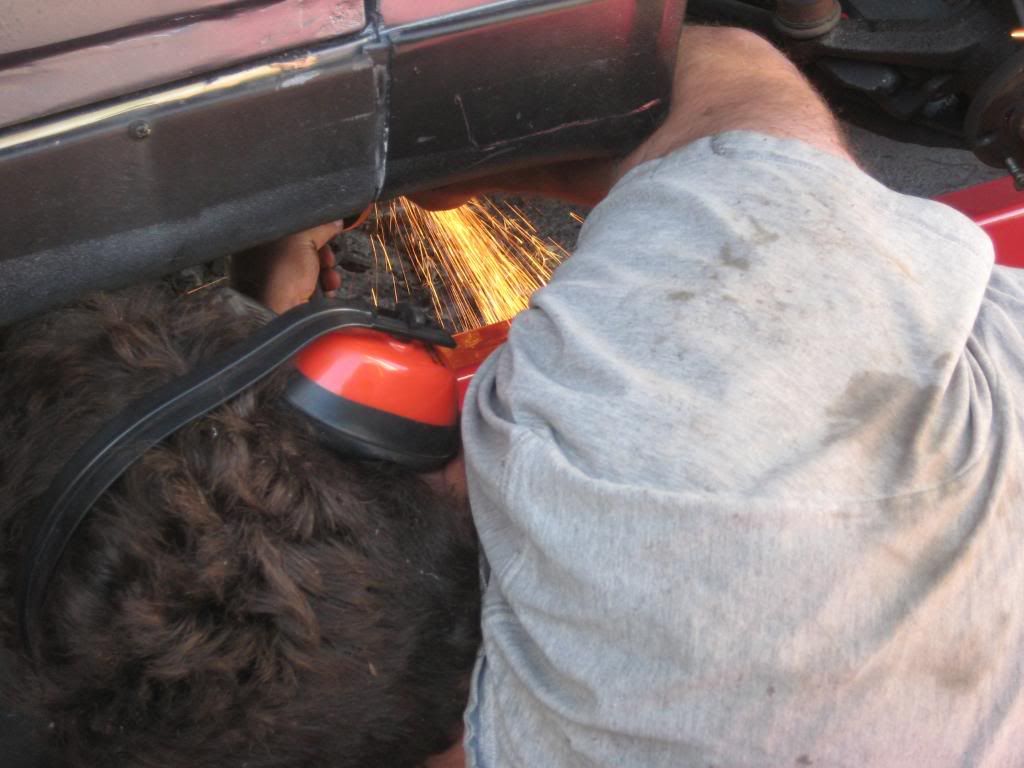
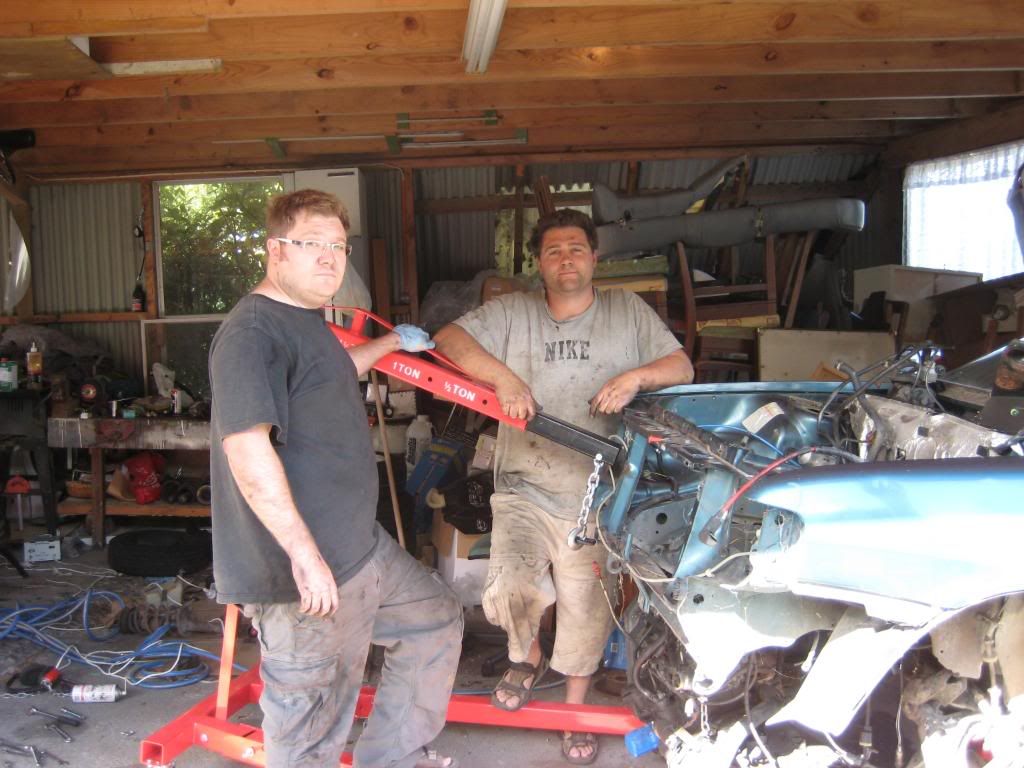
Steve "gently" removing Mario's exhaust
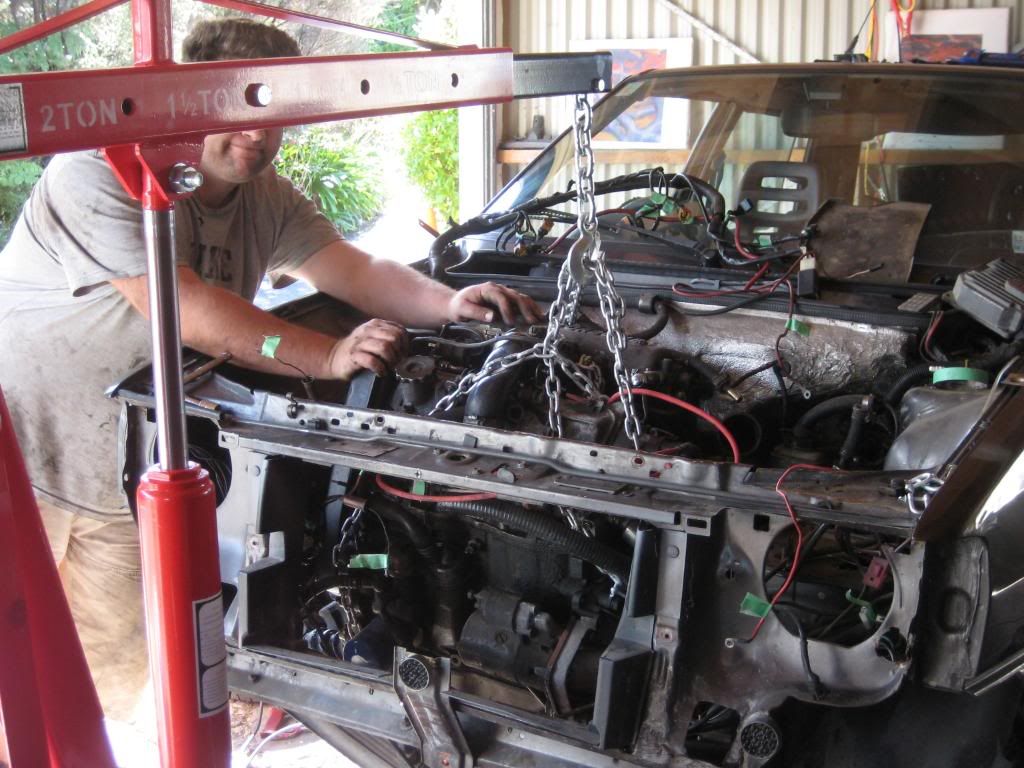
Mario's engine is loosened and chained ready for removal
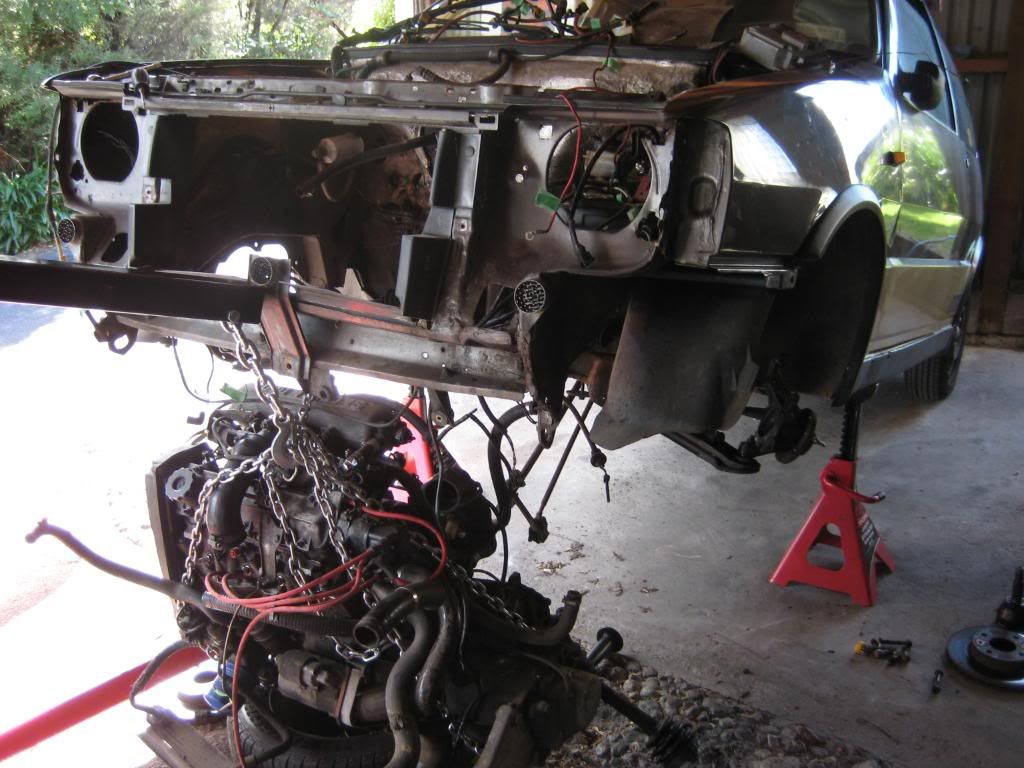
Mario goes up and the engine comes down. Luigi's original rims and tyres support the block to prevent any damage. Luigi is so generous to his brothers!

One Turbo engine ready for its new home
Wheeelieee Uno!
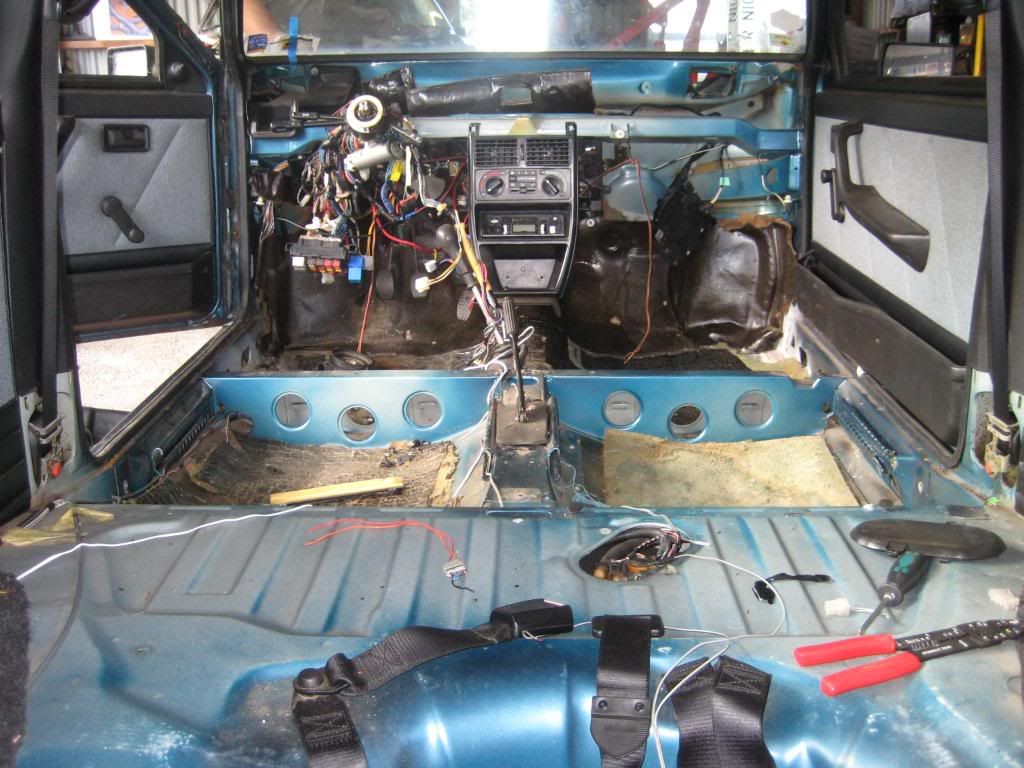
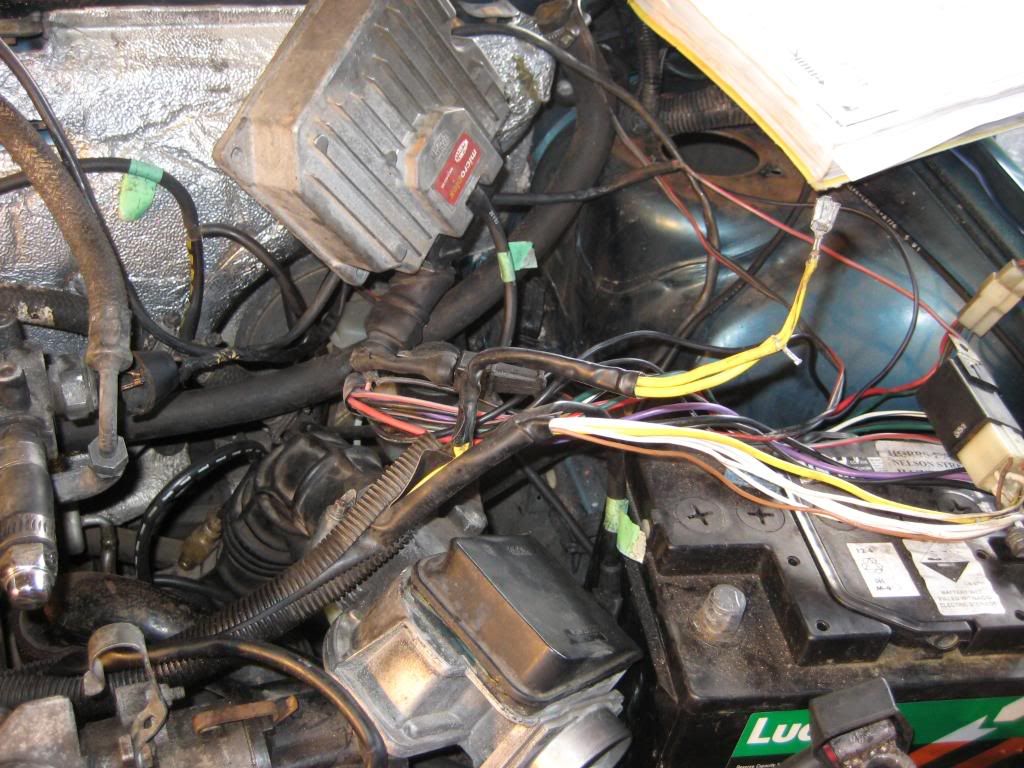
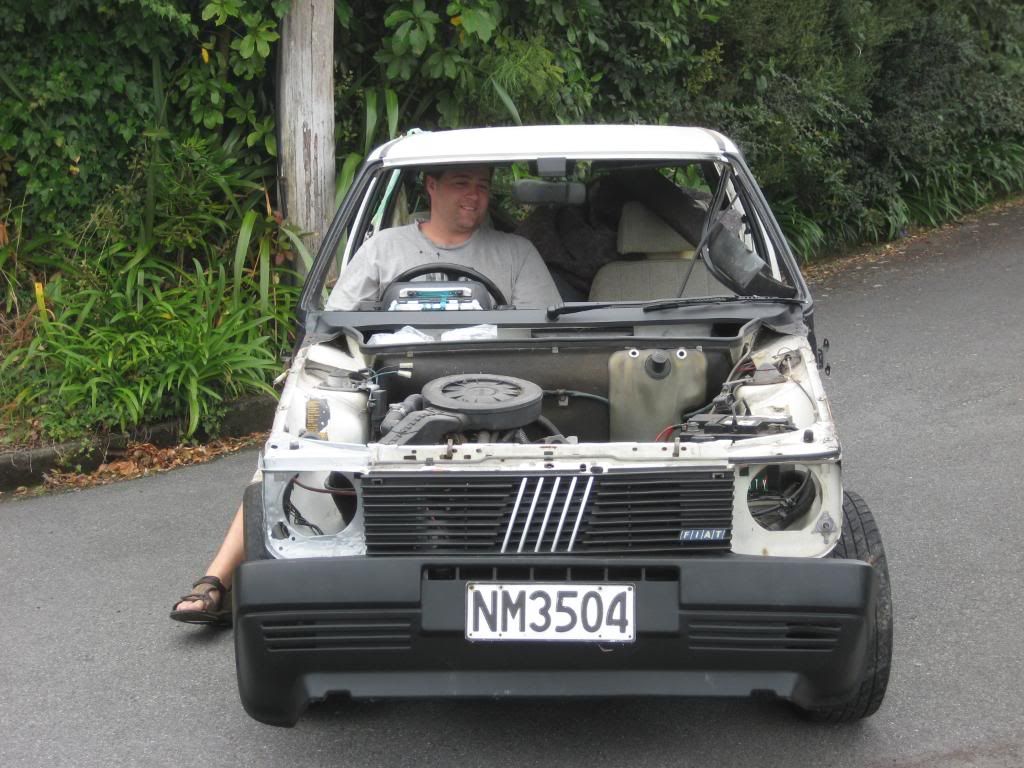
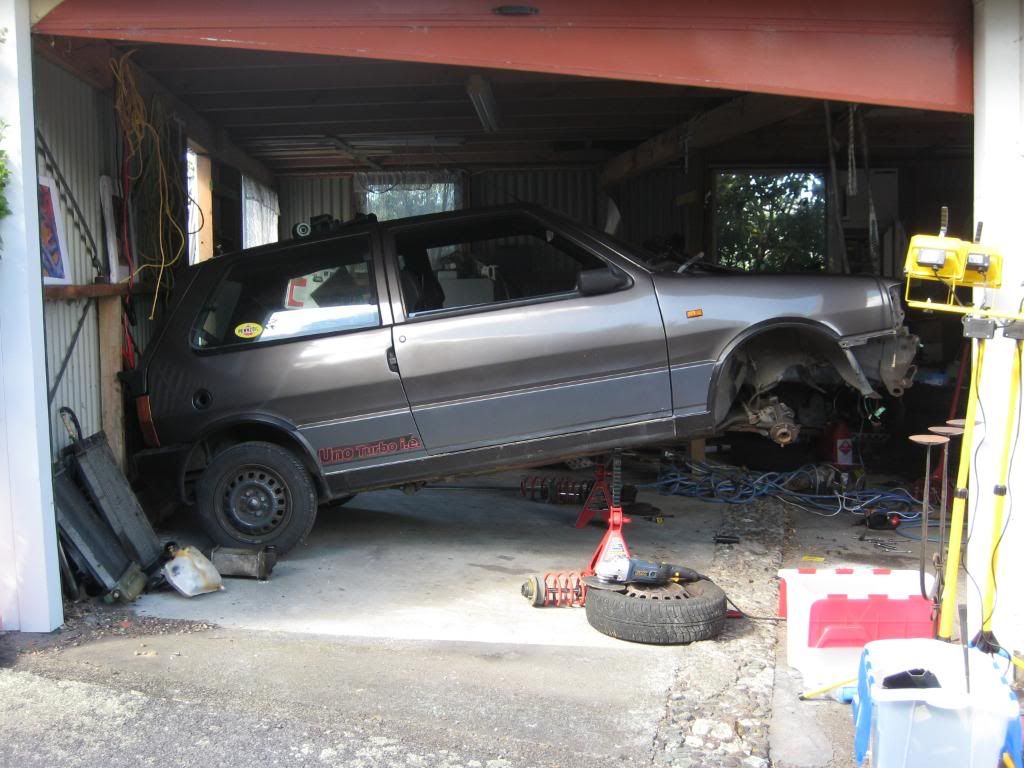
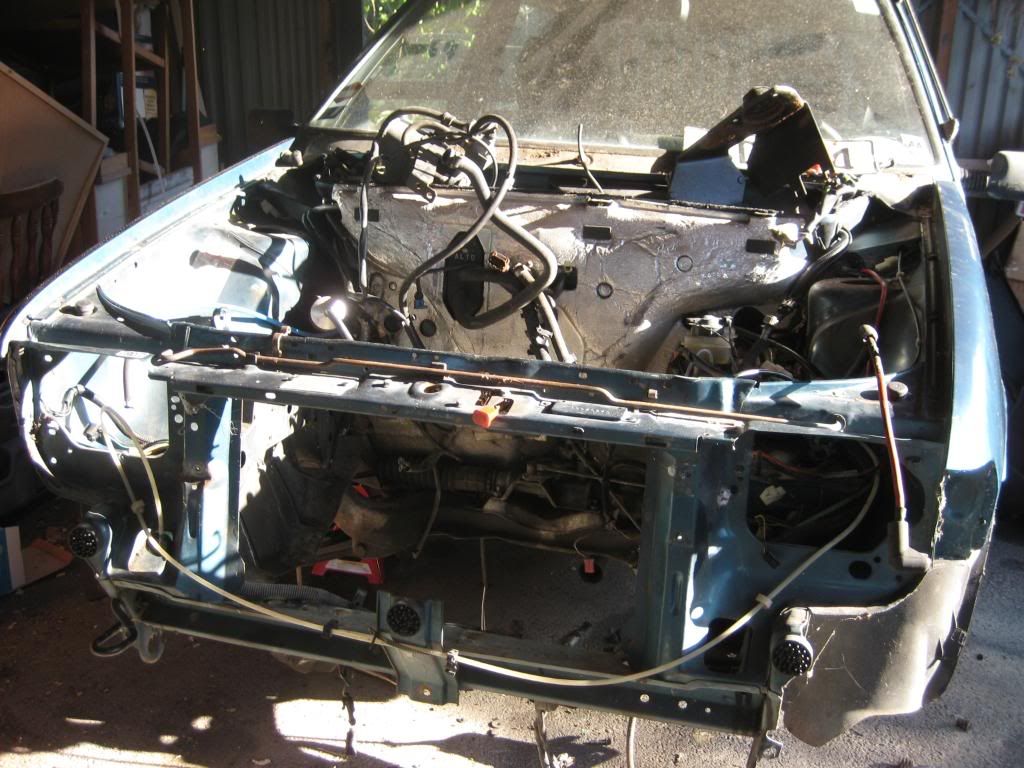
With Mario's engine bay looking empty it was time to make some room in Lefty's. The last bolt was removed and the separation was ready.
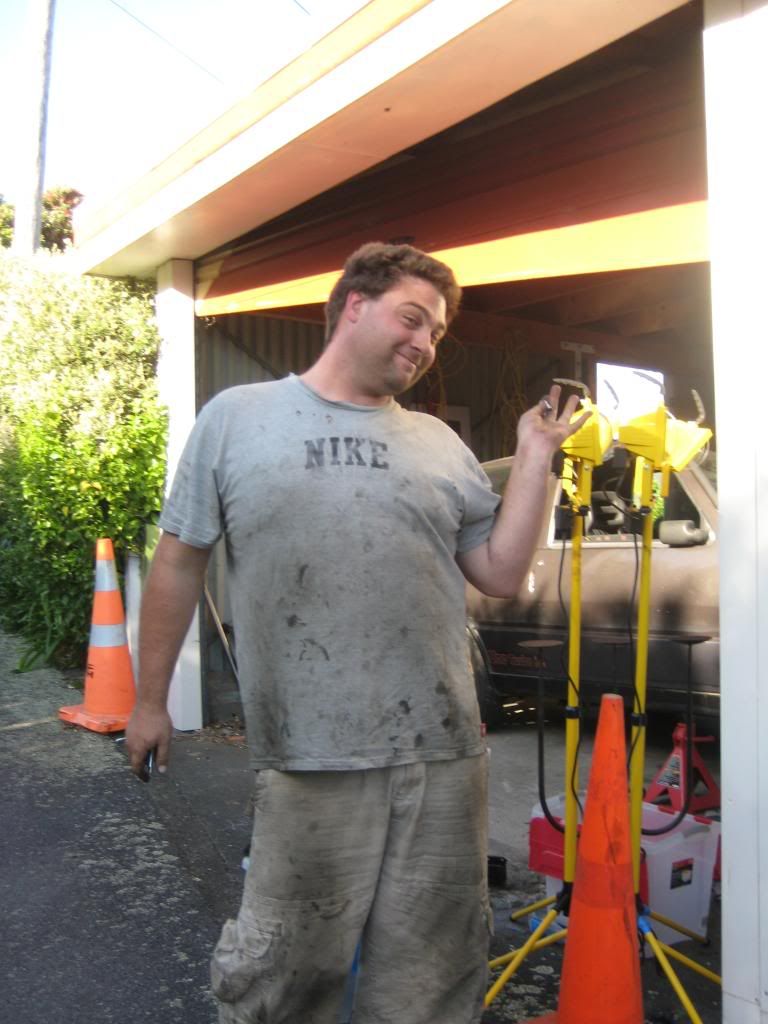
For some reason my wife wasn't interested in a group hug at this point.
A strategic hole was drilled in the overhead beam to allow us to support Lefty from above while we lowered and removed the engine.
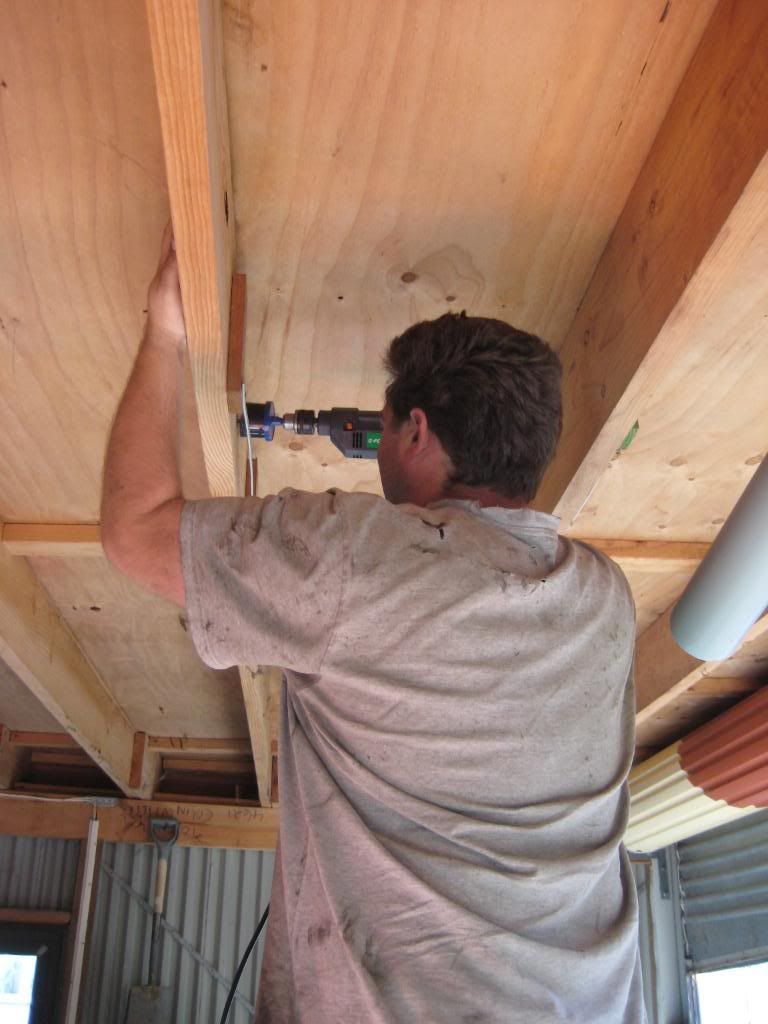
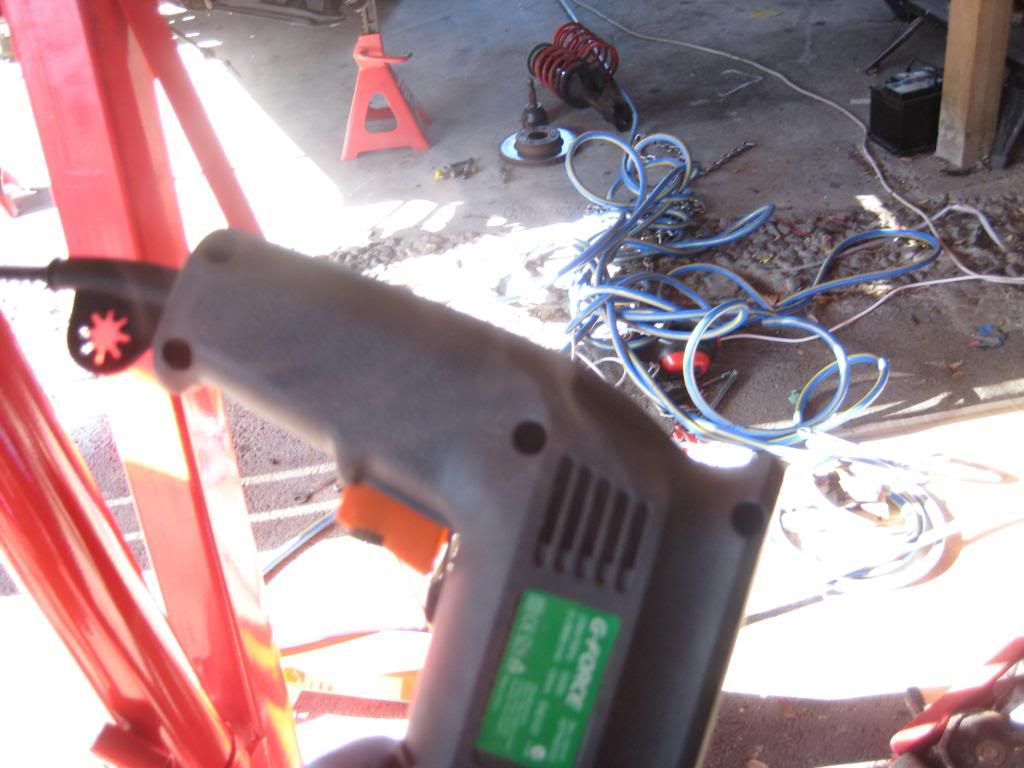
$20 drill "letting the smoke out" after drilling through the beam. Still, it was bought to make one hole and it achieved that. Just.
"I feel pretty, Oh, so pretty, I feel pretty and witty and bright!"
So by the end of day two we had both engines removed and had made a good start on clearing out the engine bays ready for the transfer.
To be continued...
BMW E38 740i (Hitler) and MK1 UT (Mario) stopping off in Wanganui on the way to their new home in Wellington.
Mario and Hitler quenching their thirst
It was looking rather resplendent in its shiny new gun-grey metallic paint (excluding the gold two-tone effect). According to the owner it needed new CVs and some rust fixing in the spare wheel well for a Warrant of Fitness (similar to an MOT for those of a UK disposition).
Lies!!!
The small amount of rust in the wheel well turned out to be a boot floor that was more hole than metal and was only being held in shape by the rubber coating. The area in behind the tail lights was also rusted out. Bugger!
Still, nothing some welding and patch panels wouldn't solve. It was going to have to go into the bodyshop to get rid of that hideous gold lower paint anyway.
Oh well, in for a penny, in for a pound. Let's investigate the body a bit closer just to make sure nothing else is going to need to be done. First step was to remove the plastic bodykit.
Double bugger!
The search continued and it turned out that the front frame rails were rusted and pretty much any panel you touched reveled rust. Basically the previous owner had had the car dipped in a pool of bog and then painted to look pretty.
The body was clearly a right off. Oh well, the mechanicals all checked out and to buy all of the turbo bits and pieces would have cost me more than $1000 anyway.
Sounds like it's time for a project! :devil:
Now, I already had a MK1 70SL sitting in the garage that I was partially through turning into a toy car when I discovered the Uno Turbo. Should I combine the two and end up with a four door Turbo? Tempting. Very tempting.
However, the 70SL already had a good engine and I preferred the three door body shape of the Turbo. I decided that I would move the 70SL project from track/toy car to "fun run around and weekend dog car".
So the search began for a good three door shell or donor car. After looking at a few MK1 three doors that were effectively just Uno shaped piles of rust I decided that a MK2 donor might be a better option.
As it turns out Mal from Fiat Parts in Cambridge (yes we have a Cambridge too. They even do rowing there, just without the university and the prestige.) had a left hand drive MK2 Uno 1.4ieS that he was willing to part with. It had a warrant and registration and was in tidy condition. Plus, did I mention it was left hand drive? (I'm a sucker for something different)
We agreed on a price and my wife agreed that a long weekend in Cambridge would be nice
. Roadtrip on!
Hitler taking a breather on the Desert Road, about halfway to Cambridge
This is the first time I have ever seen Mt Ruapehu without a shroud of clouds
We made it safely to Cambridge in about six hours (including stopping for lunch) and found a motel that accepted dogs. No easy task as it turns out! It was no Hilton, but at least it was clean and warm.
Fine dining and fine accommodation Cambridge style.
The next morning we met Mal in town and after a healthy breakfast it was time to meet "Lefty".
He is a 1991 1.4ieS and was imported from Germany in 1993 (hence the LHD). He was originally imported into Wellington (so this is also a homecoming trip for Lefty in some ways) as a Diplomatic import with a little over 30,000kms on the clock. The intervening 16 years and 110,000kms had been very kind to Lefty and he was still in very good condition both inside and out. Winner!
My wife and Gracie (dog) elected to travel in Hitler which meant that I got to travel in style. If anything I could say that this Uno was rare
But I thought now forget it, yo home to bel-air. Err I mean Wellington.
By 8pm we were all safely back at home. So far so good!
Now it was just the simple task of moving everything turbo related from Mario into Lefty.
Hmmm Easter was coming up and my friend Steve and I both had some annual leave owing.
Operation: FrankenLefty was born!
And any operation worth doing is worth documenting right? So I thought that I would create this thread to track this project.
Operation: Frankenlefty - Stage One: Prepare the theatre
The first task was to clear out the garage so that we had sufficient room to operate. This meant that Luigi (70SL) would have to live on the driveway for the week.
Luigi kindly giving up his warm bedroom for his brothers
We then repositioned Lefty and Mario in the garage so that they faced each other. We figured that this would give us plenty of room to move and make the engine swapping phase a little easier.
Garage prepped, Unos in place and "Muppet Cones" deployed to warn the neighbours that I am about to lower their property values once more. Must be time for Stage Two!
Operation: Frankenlefty - Stage Two: Tear down
The next phase was to strip down both Lefty and Mario and prepare them for the swap. I have decided that as Lefty's primary purpose is to be a track/hill climb/fun car he will be more purposeful than pretty so I'll keep his original blue/green paint scheme for now.
By the end of day one both cars' front suspensions and brakes had been liberated and the engines and gearboxes were ready for removal.
So far so good!
After a gentle cut through Mario's exhaust pipe (for some reason Mario's pipe was welded into one continuous pipe from turbo manifold through to tail pipe) his engine was ready for its big adventure.
Steve "gently" removing Mario's exhaust
Mario's engine is loosened and chained ready for removal
Mario goes up and the engine comes down. Luigi's original rims and tyres support the block to prevent any damage. Luigi is so generous to his brothers!
One Turbo engine ready for its new home
Wheeelieee Uno!
With Mario's engine bay looking empty it was time to make some room in Lefty's. The last bolt was removed and the separation was ready.
For some reason my wife wasn't interested in a group hug at this point.
A strategic hole was drilled in the overhead beam to allow us to support Lefty from above while we lowered and removed the engine.
$20 drill "letting the smoke out" after drilling through the beam. Still, it was bought to make one hole and it achieved that. Just.
"I feel pretty, Oh, so pretty, I feel pretty and witty and bright!"
So by the end of day two we had both engines removed and had made a good start on clearing out the engine bays ready for the transfer.
To be continued...