image.jpg

Cinquecento Show Car Build

Introduction

Hi all!

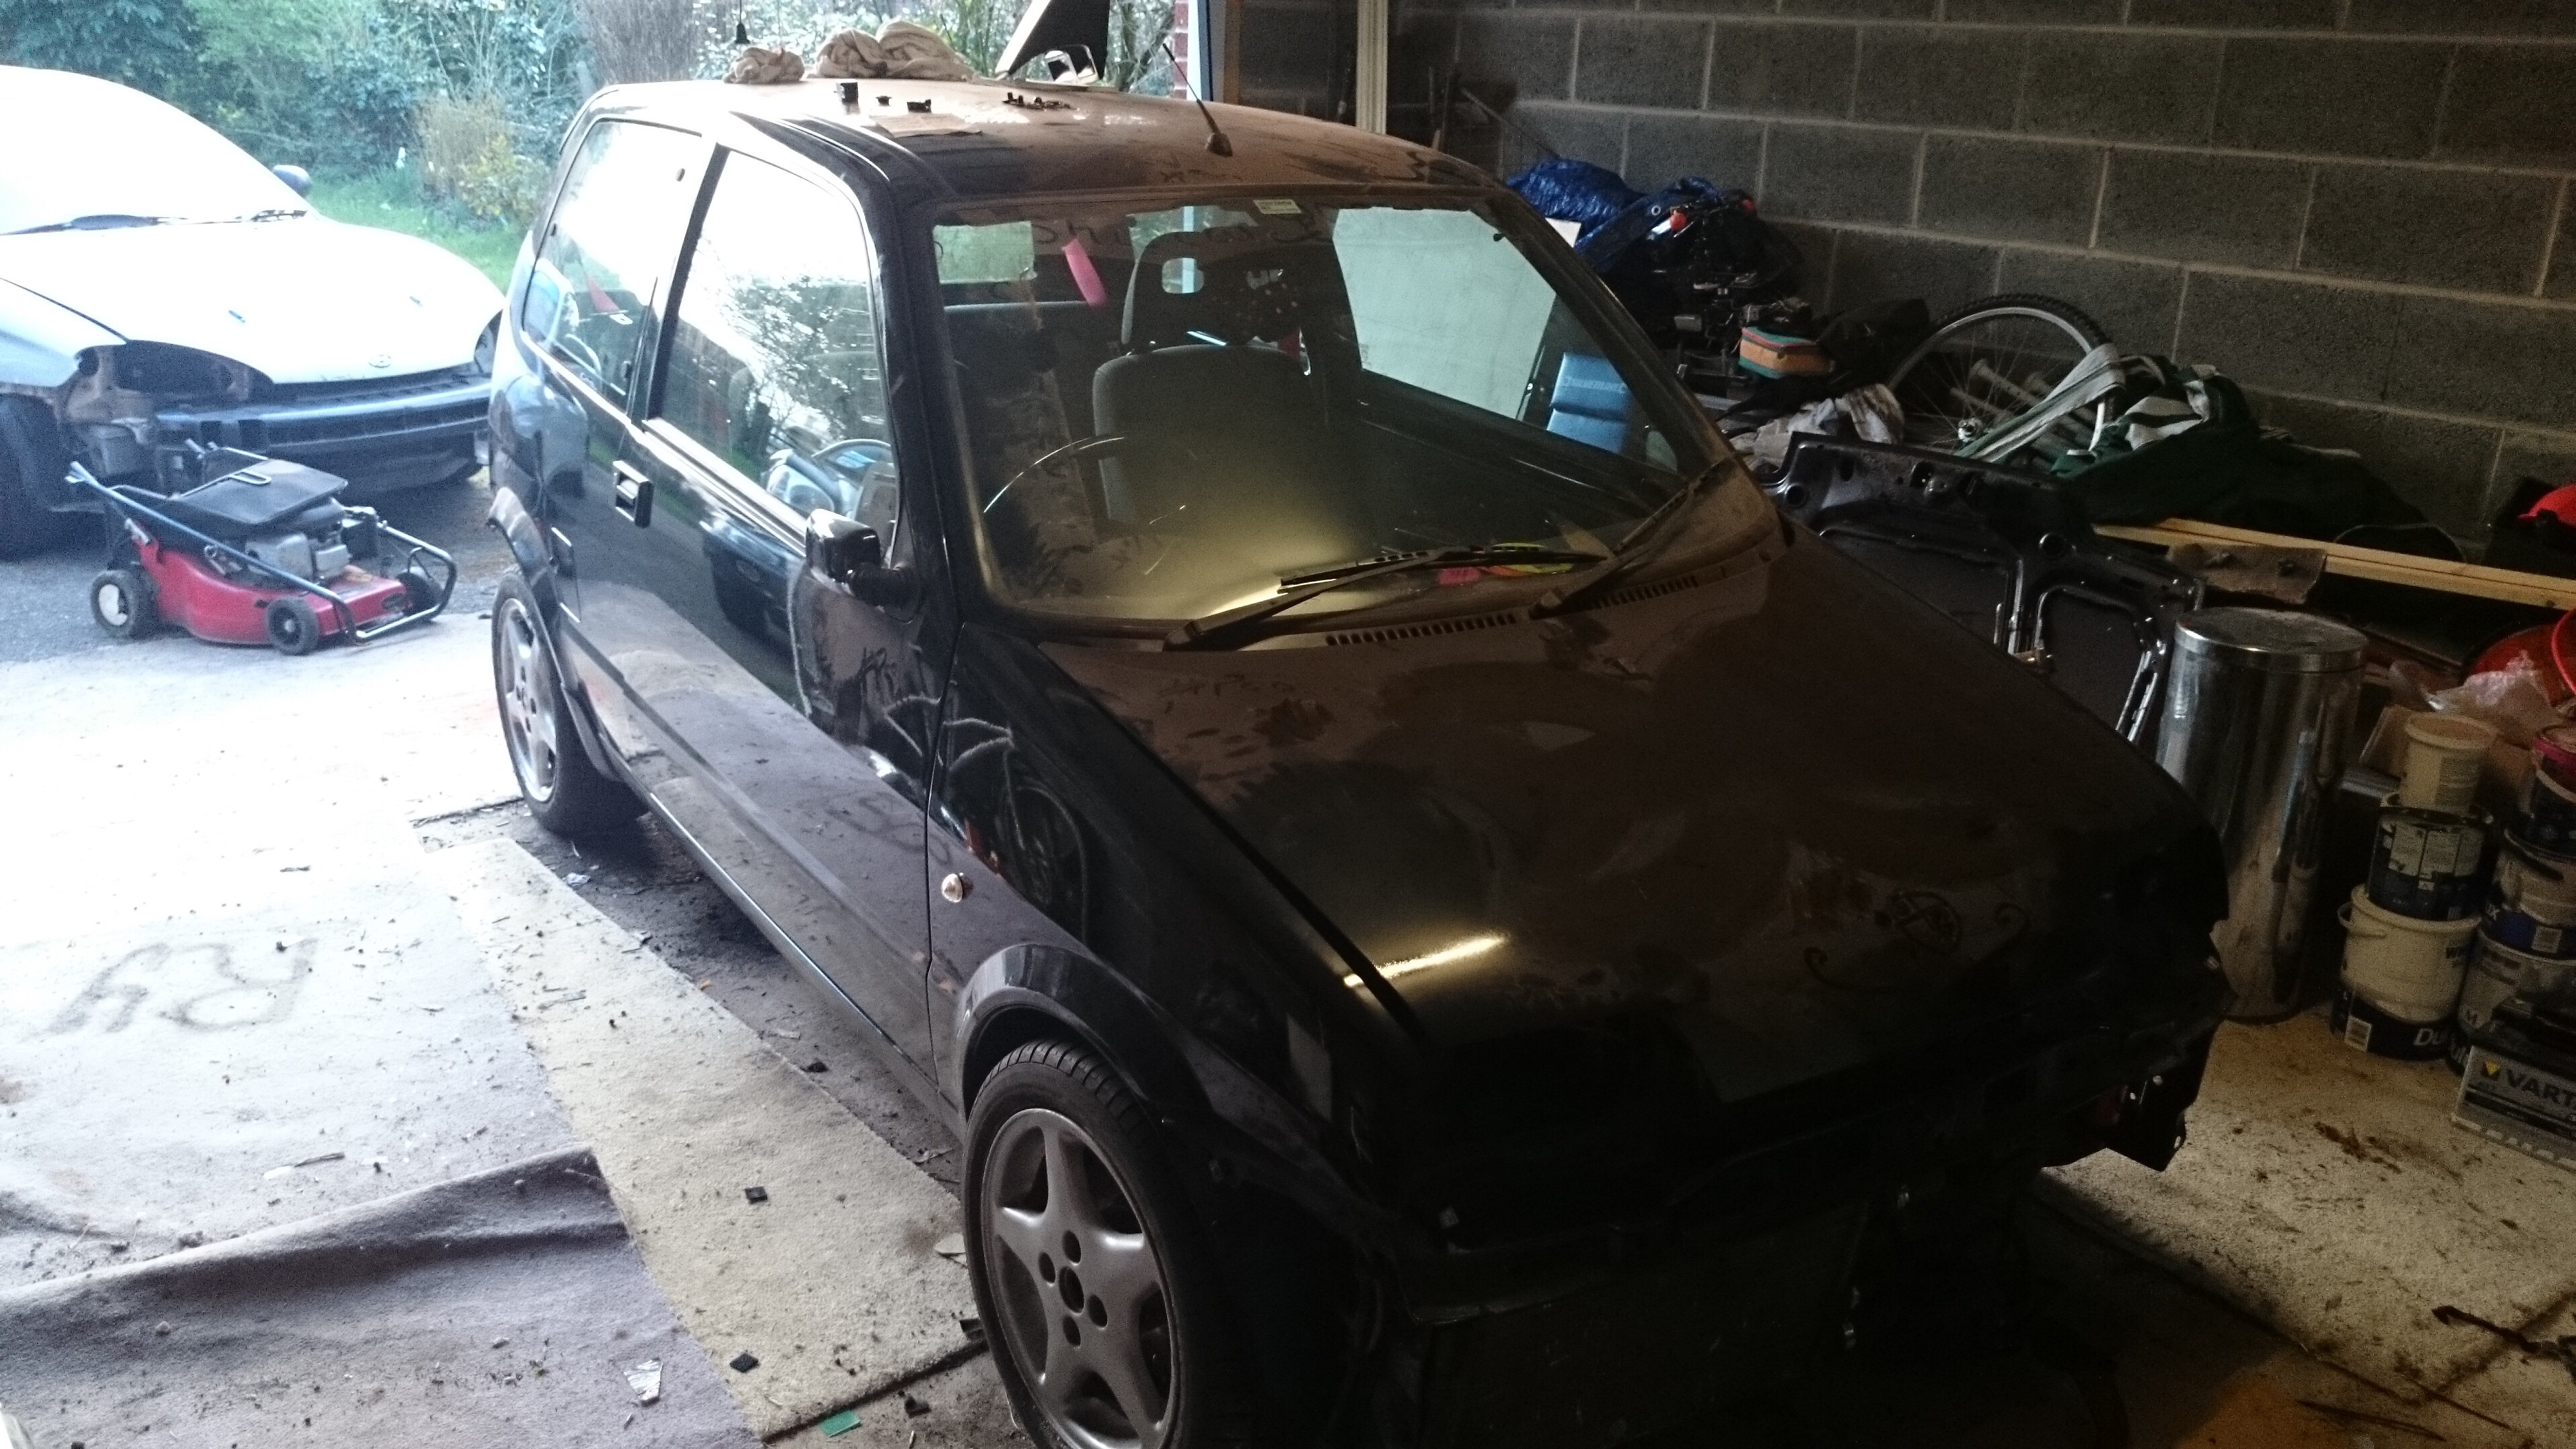
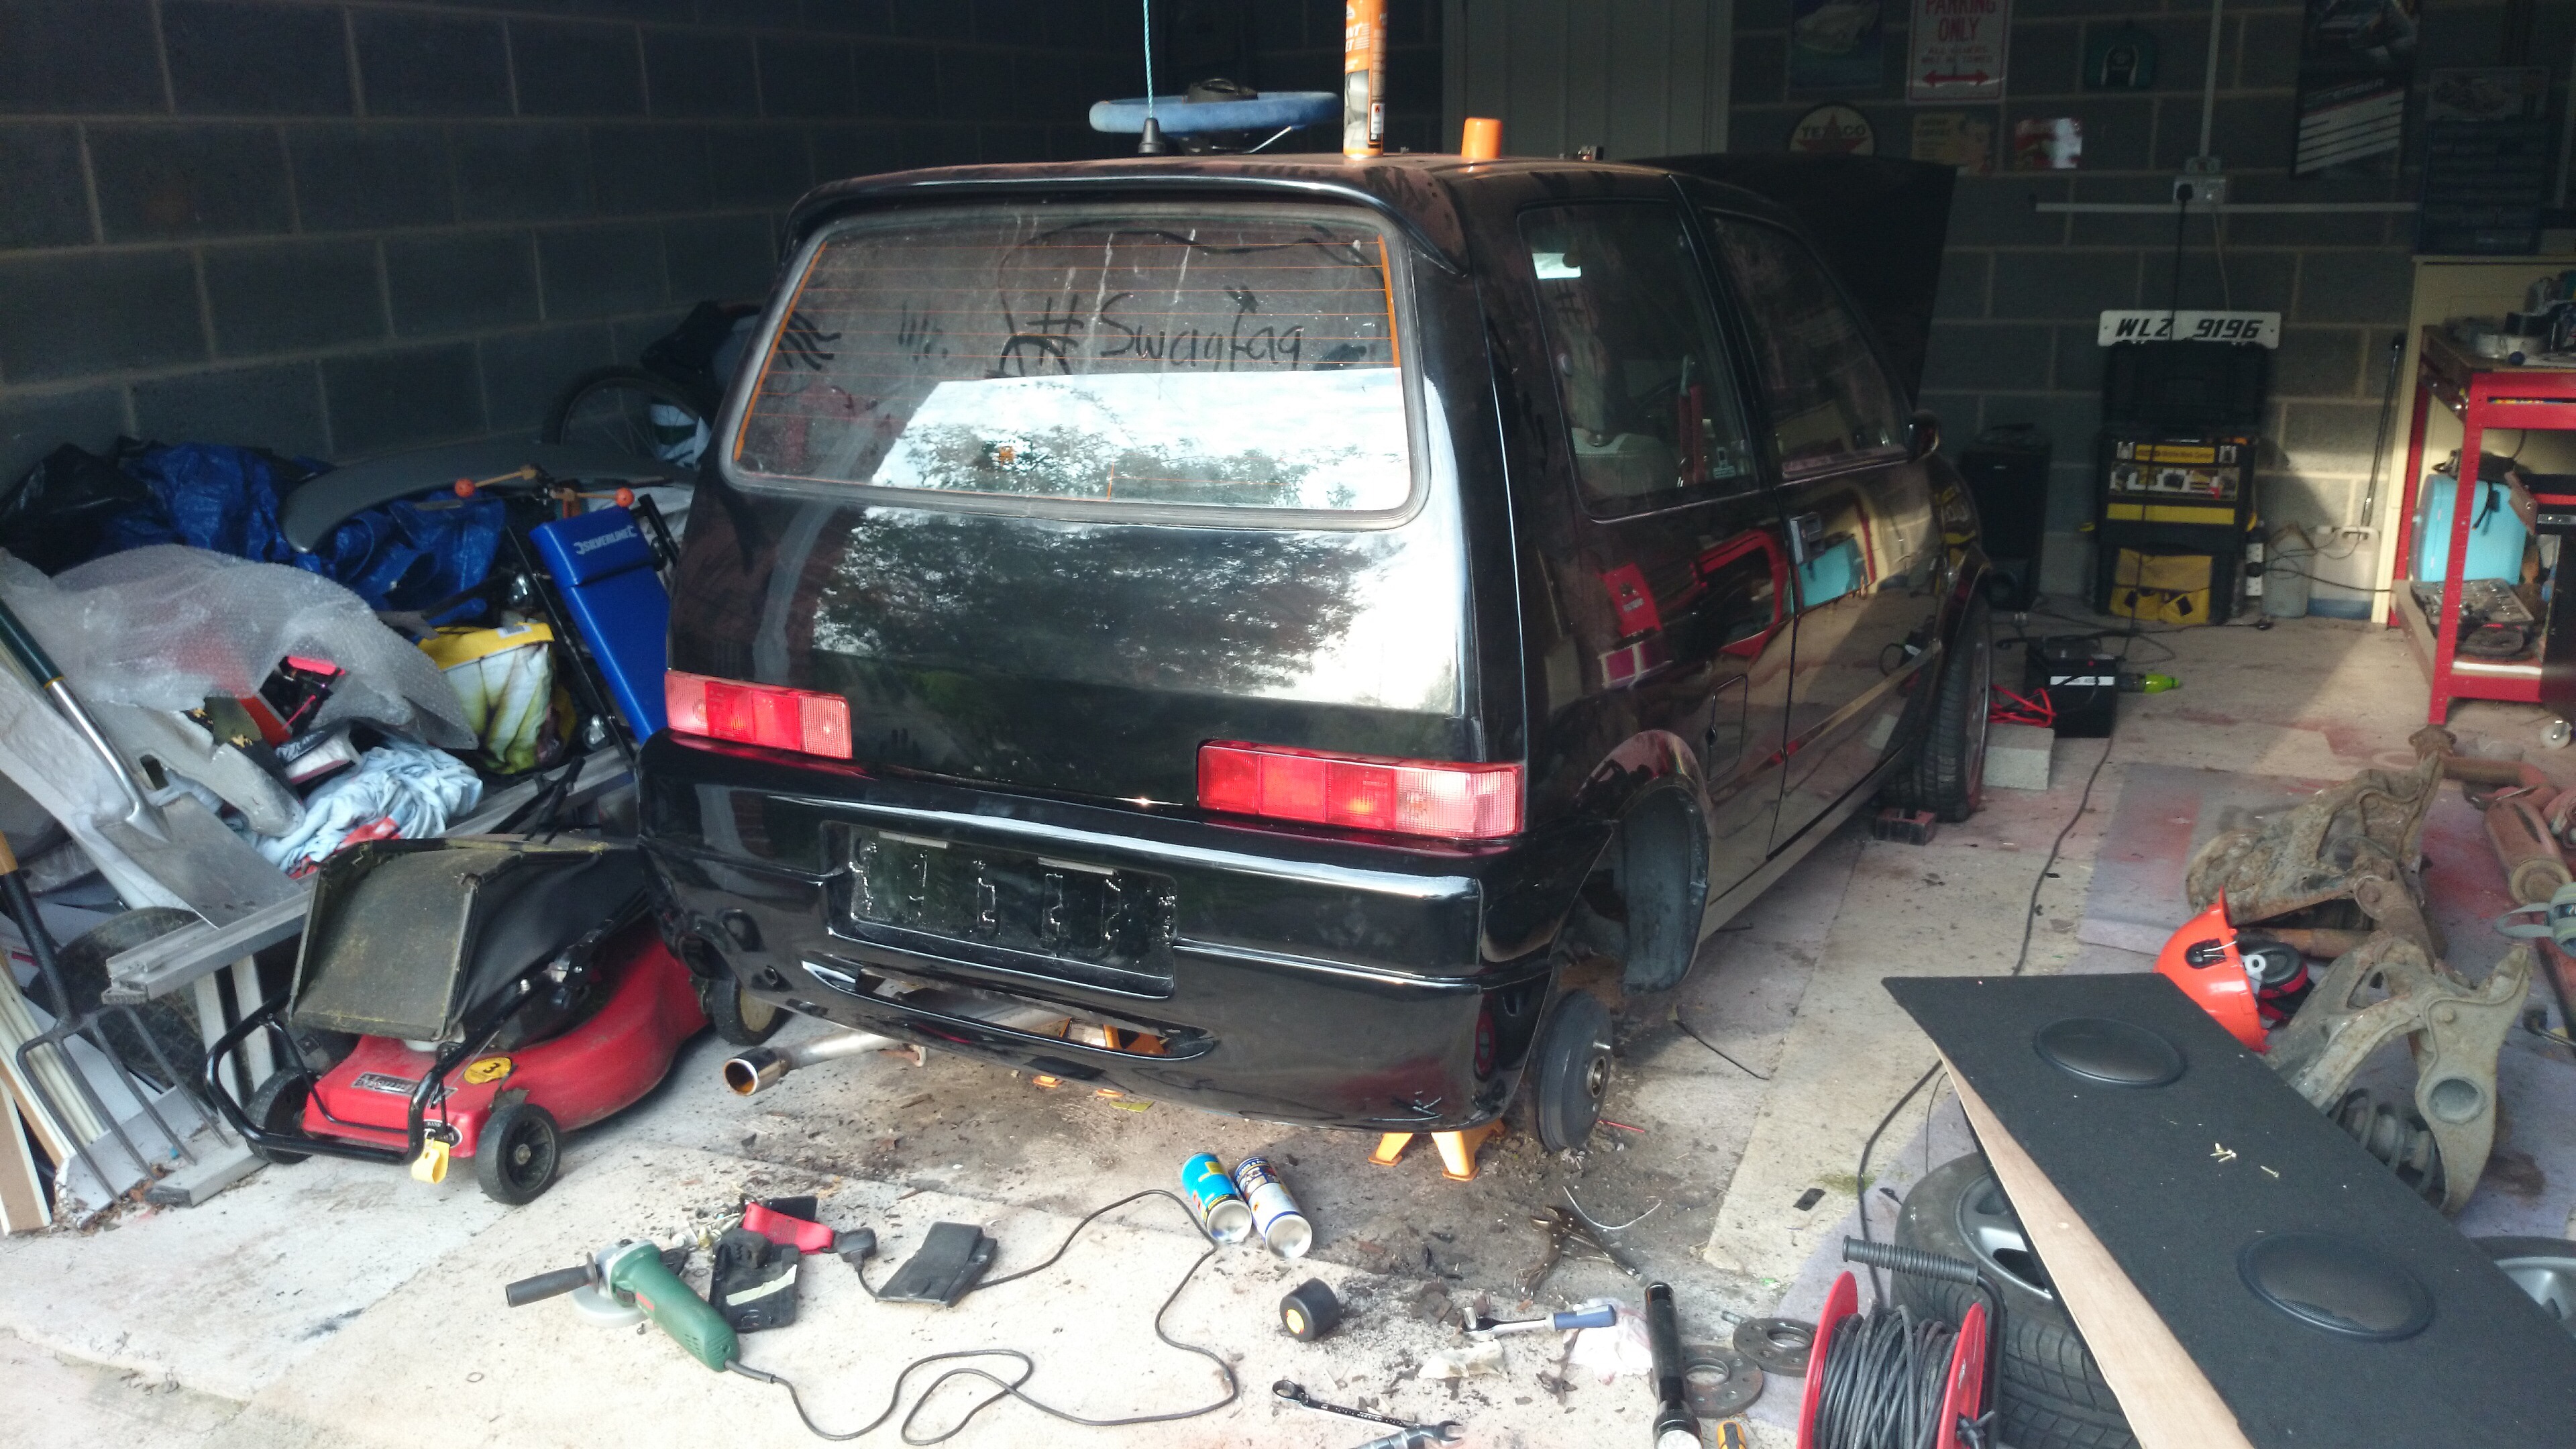
After really enjoying reading other people's threads, I thought I might just have a crack at it myself! the aim will be to build a show car from my completely stock cinq sporting :)

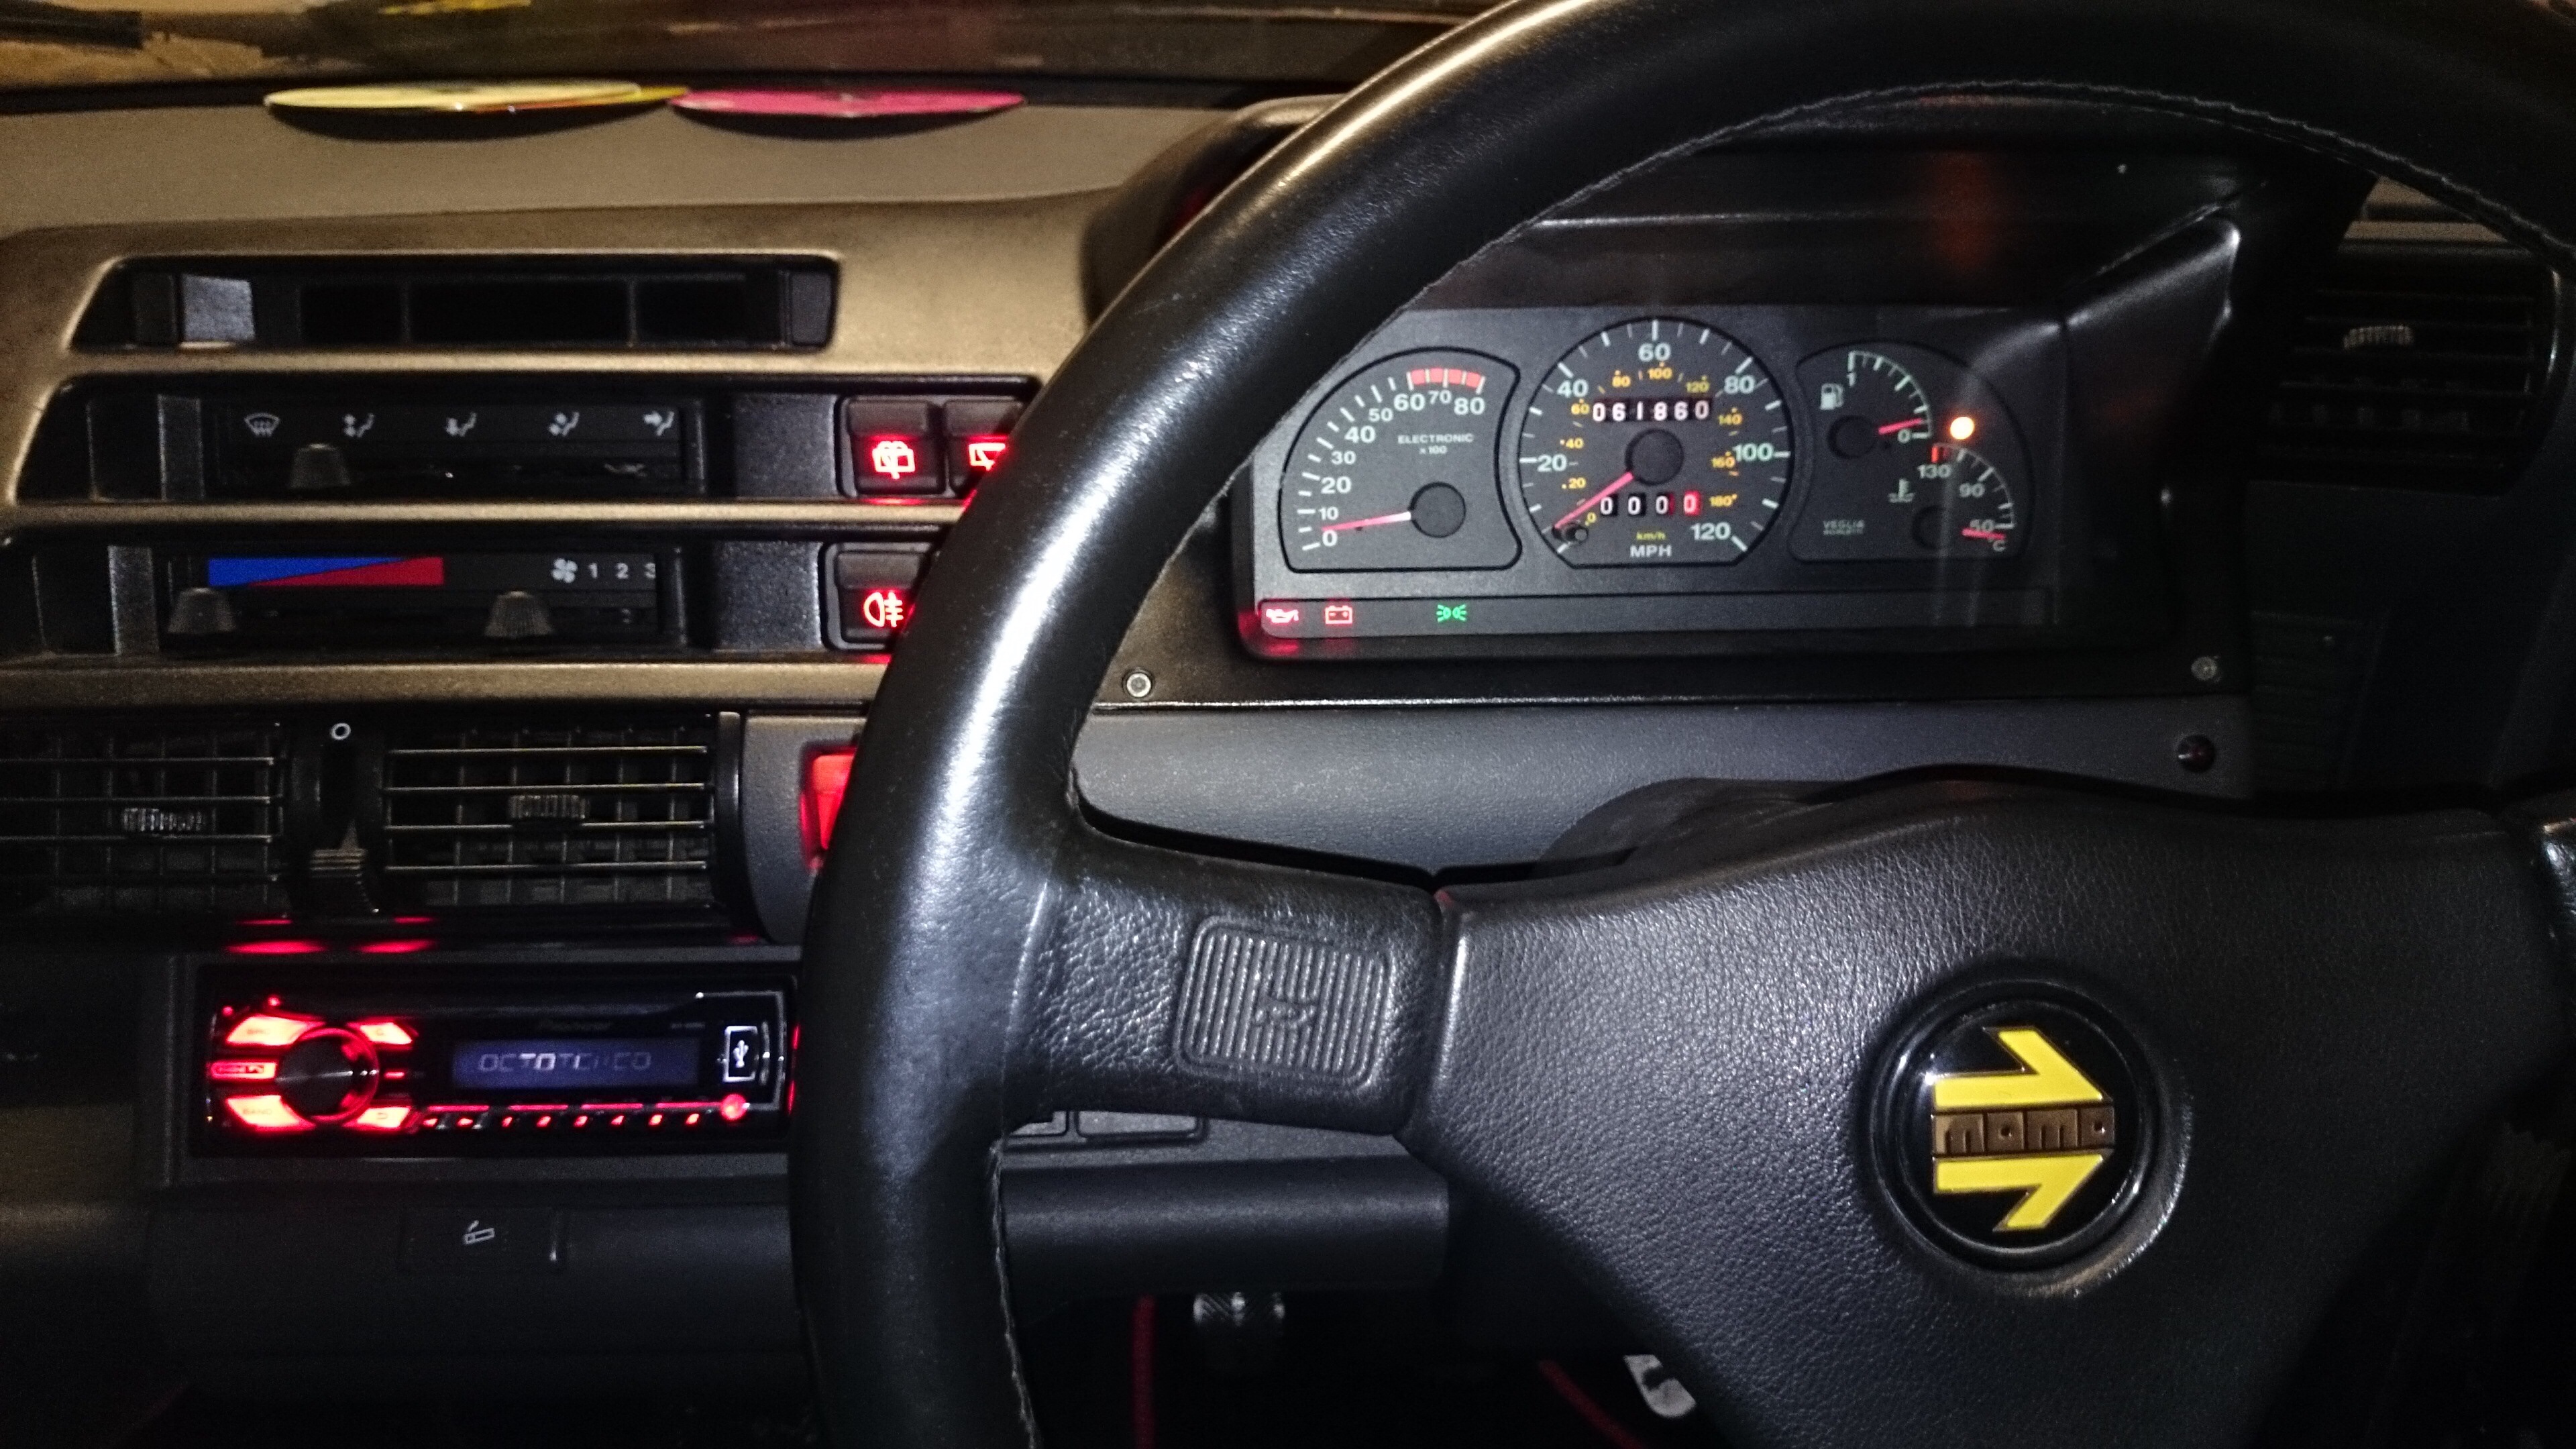
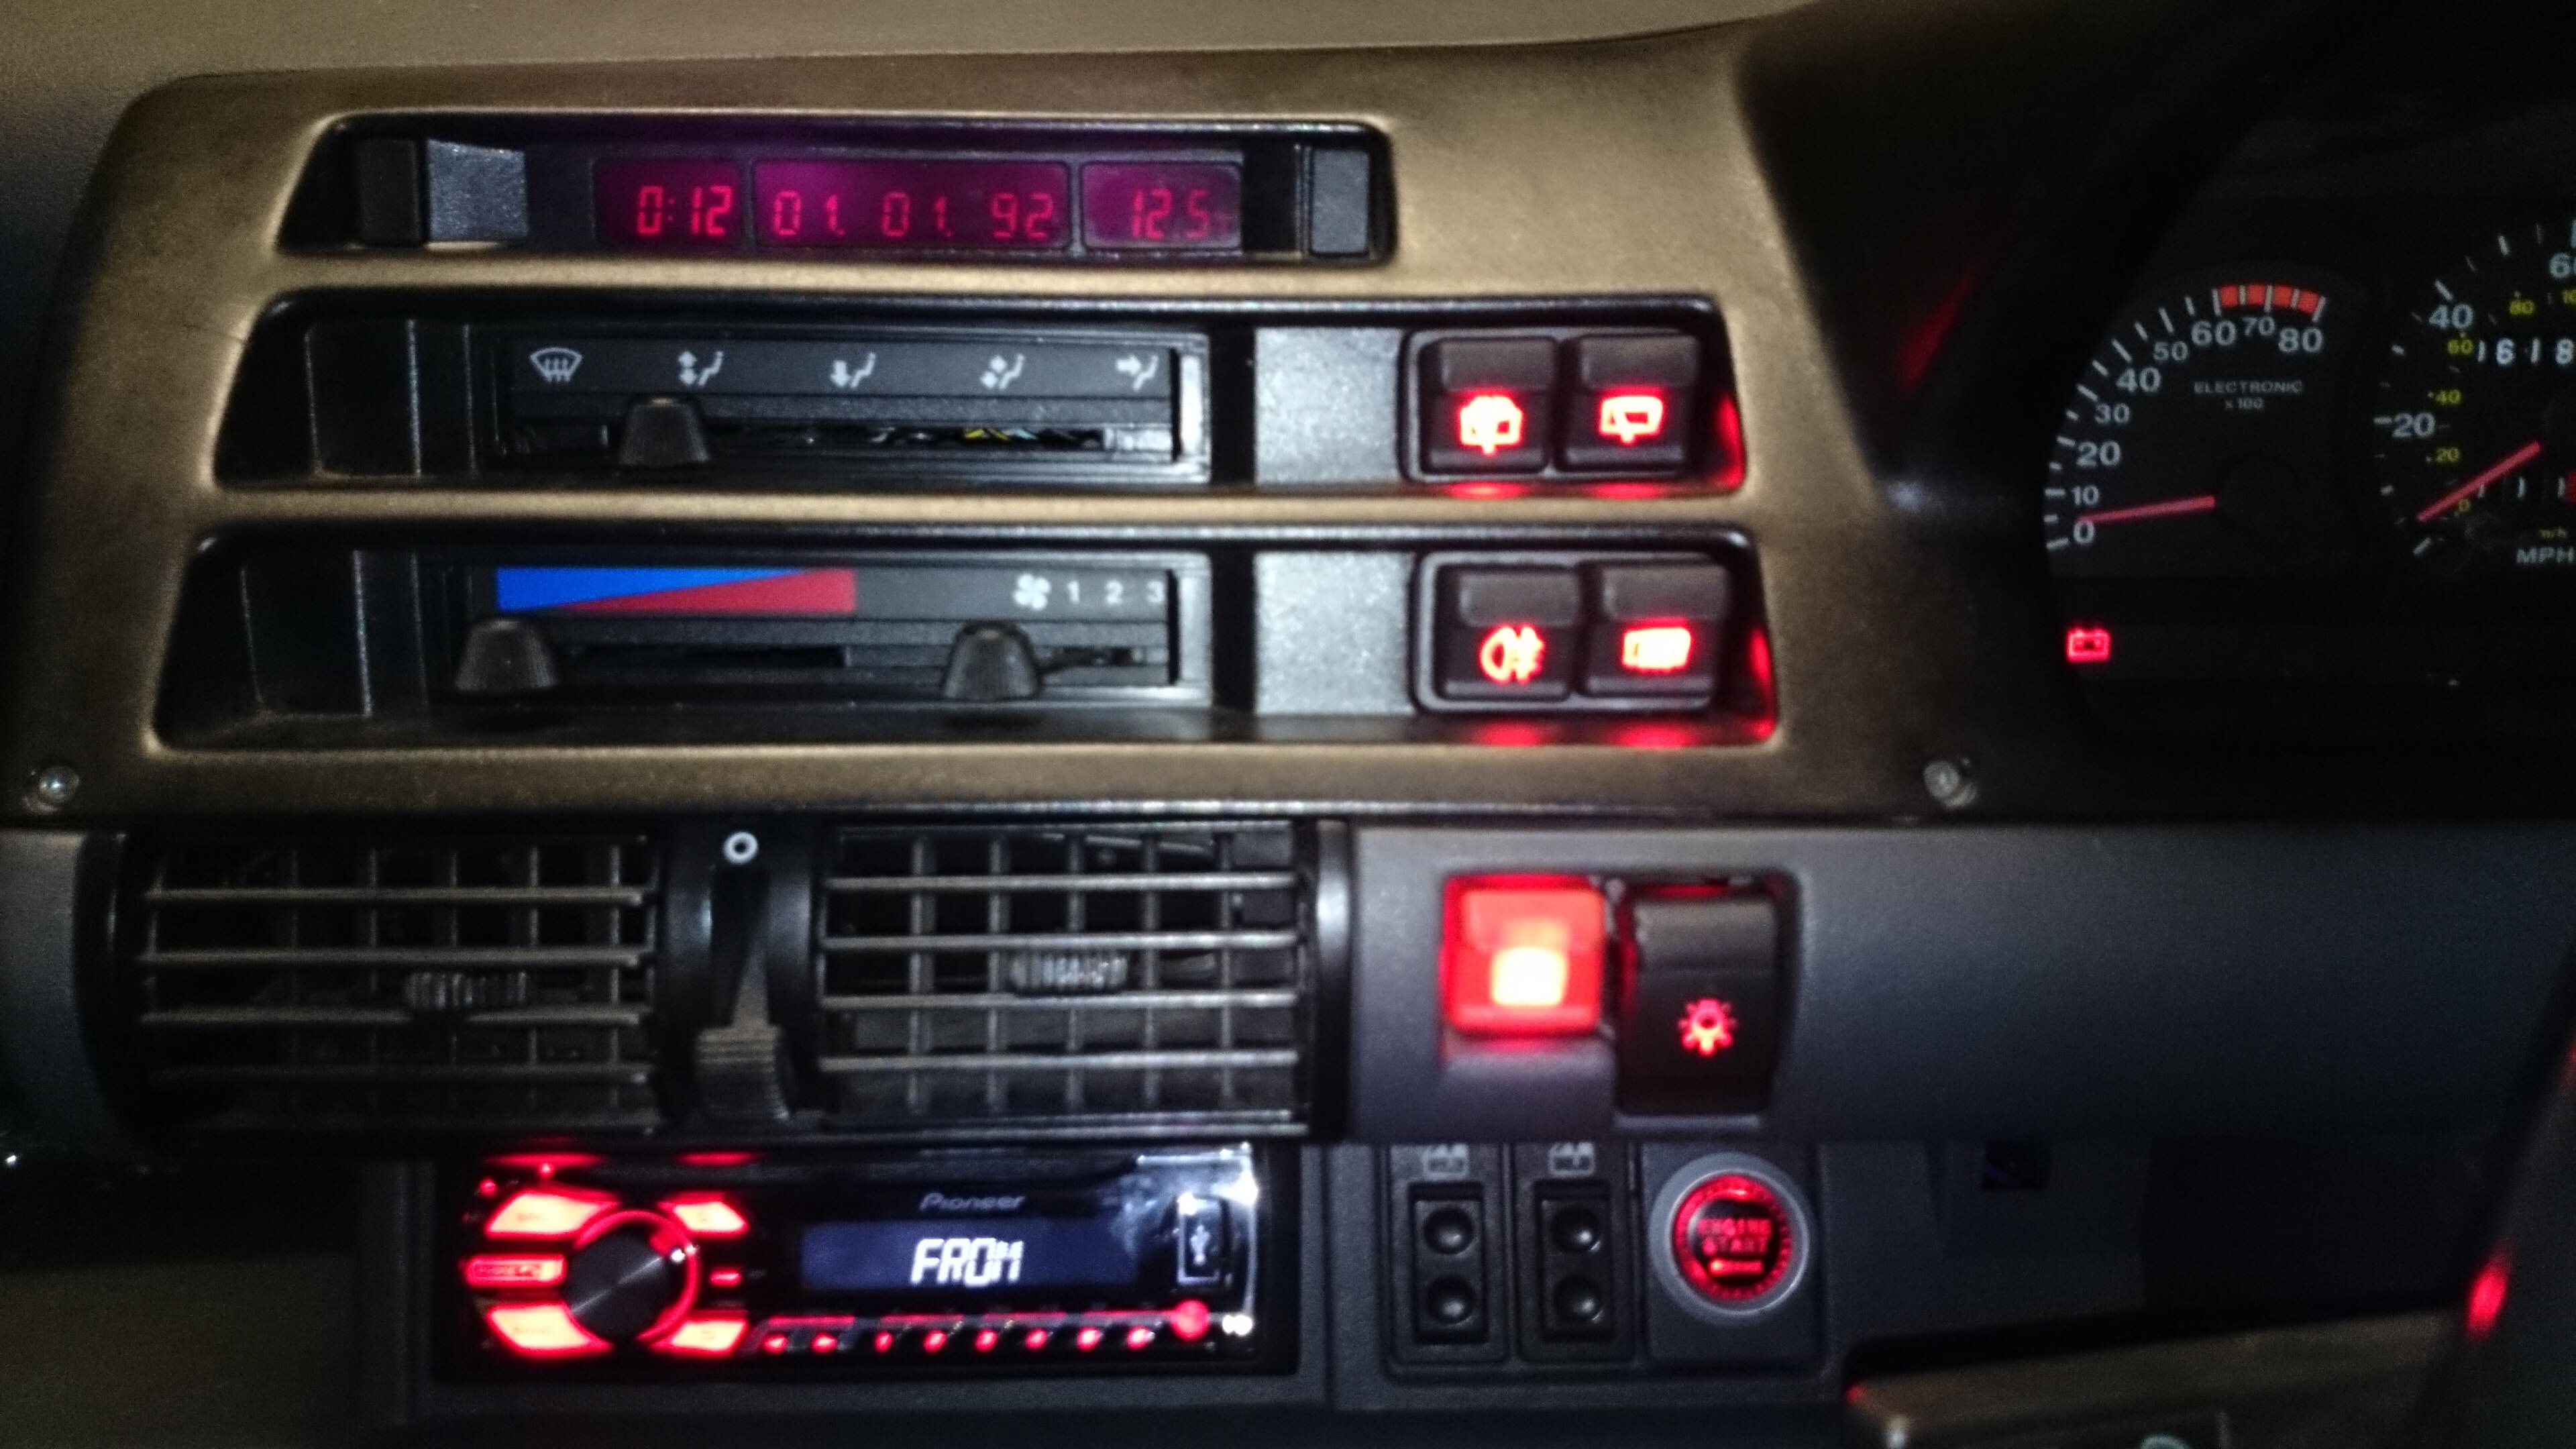
I bought the car for mere peanuts! Though it has many niggles that reflect the price I paid, eg. Broken seat, needs service, no service history etc etc.......

So here we go!

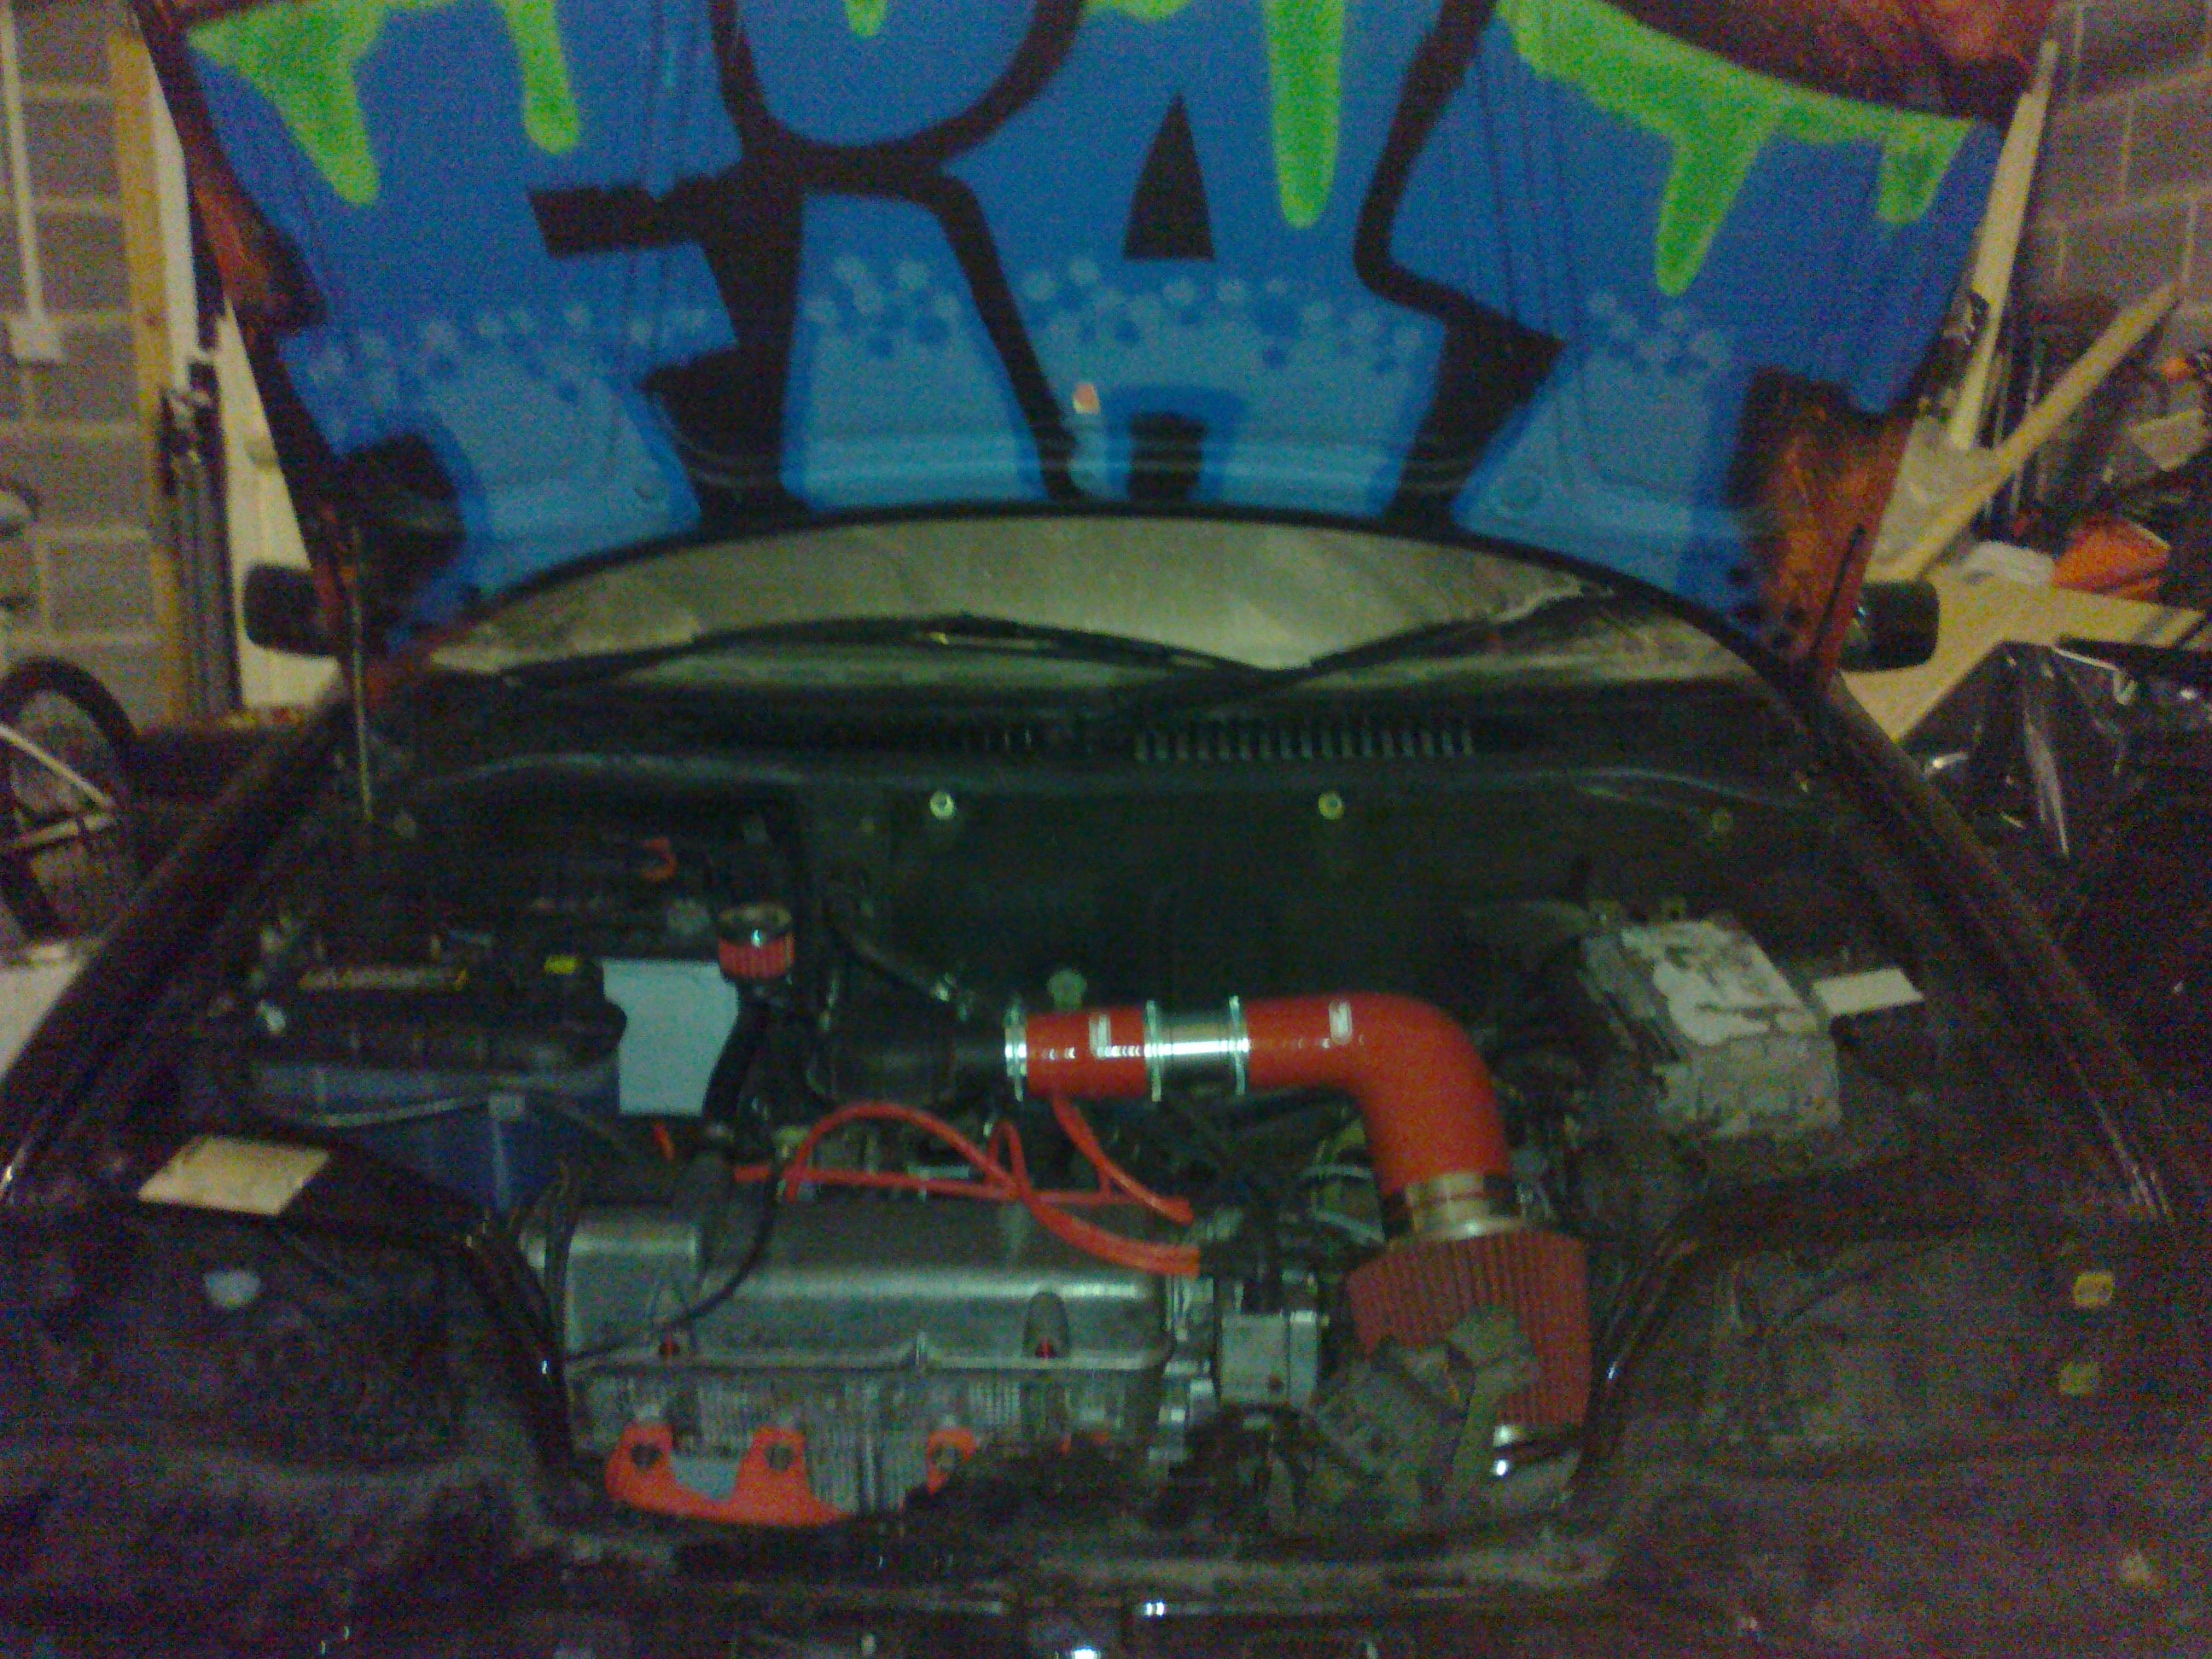
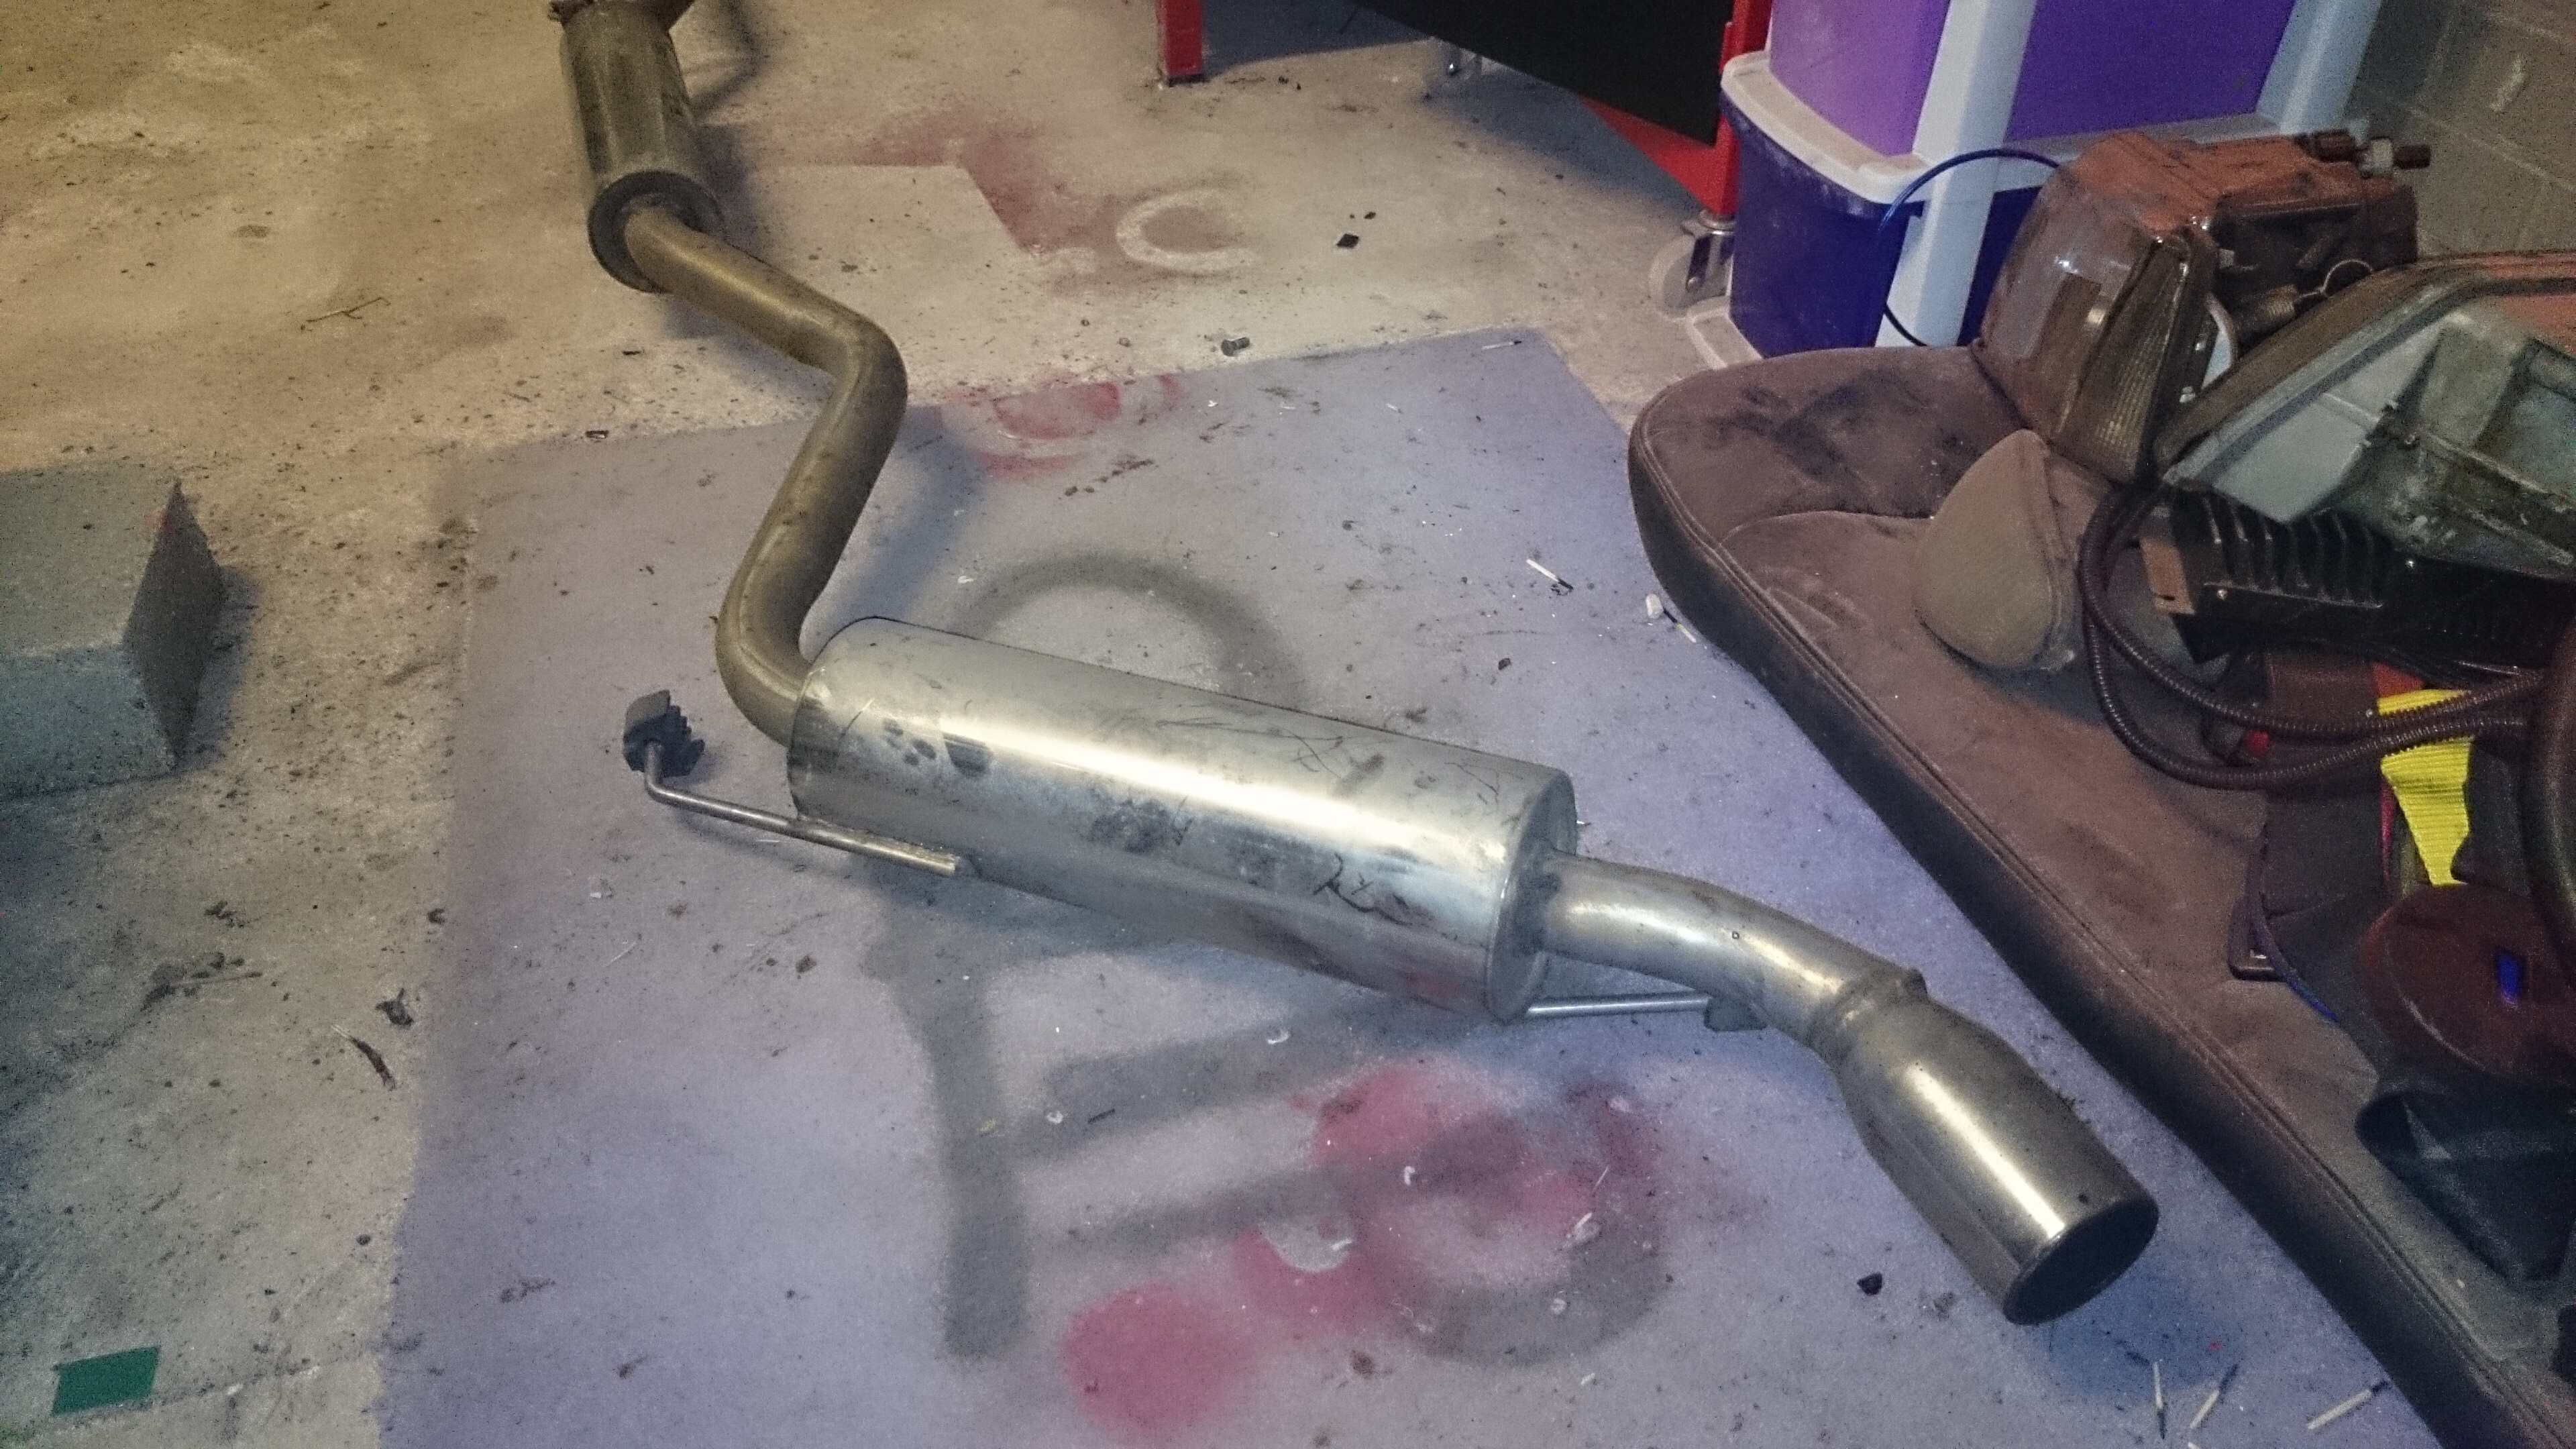
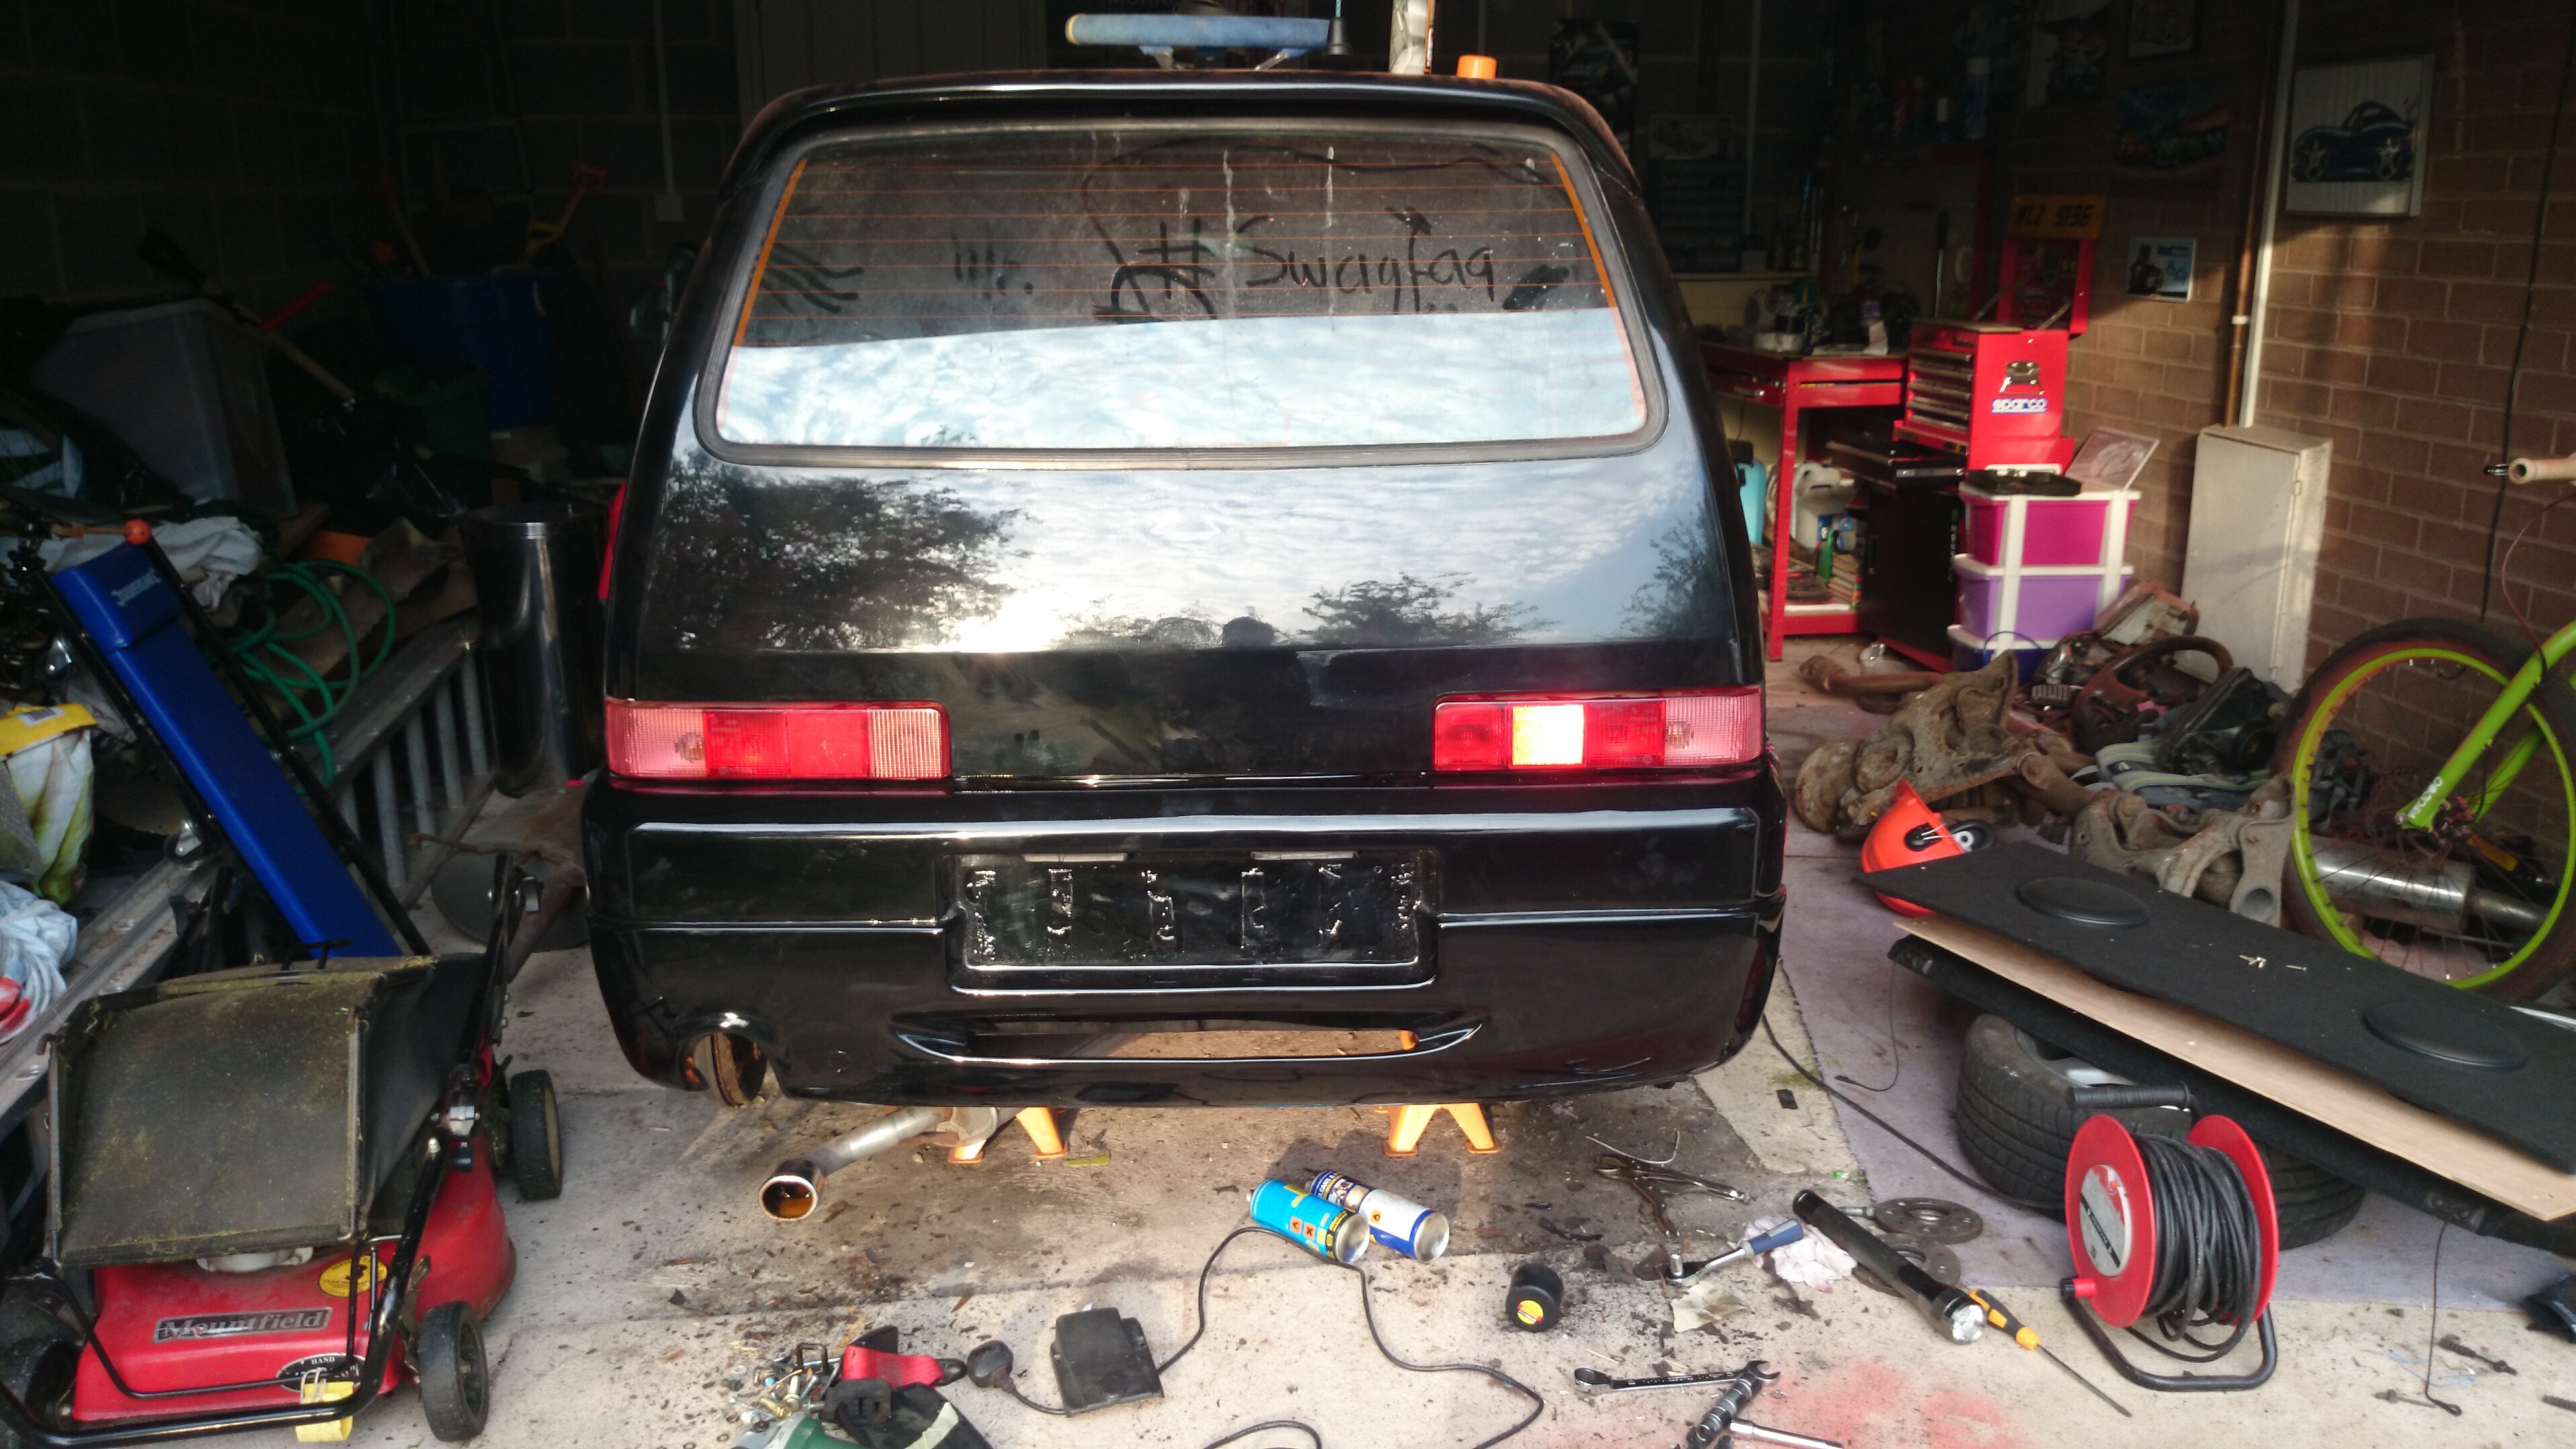
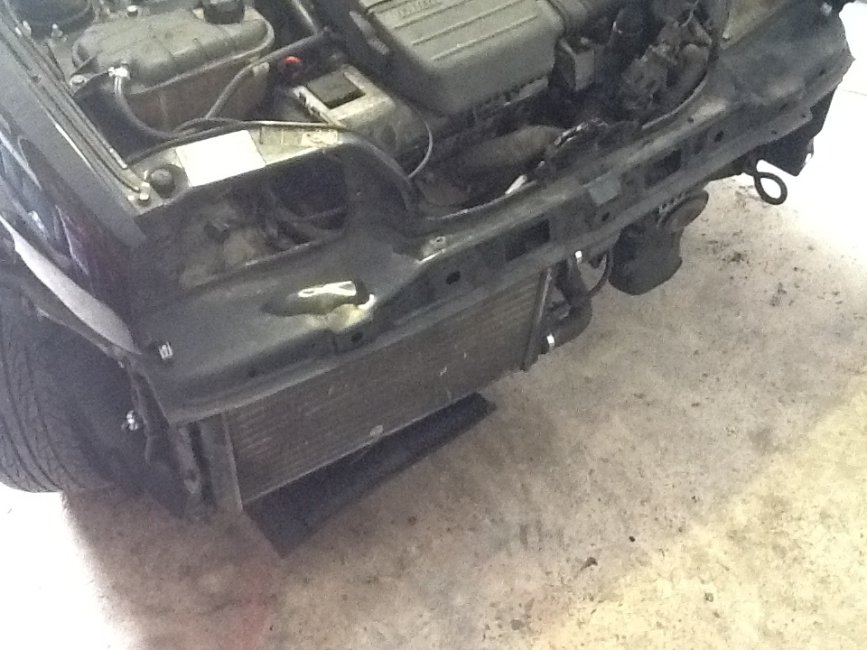
On the way back from Manchester the car decided it preferred to run at 130 Celsius :bang: upon further inspection the rad was seriously past it, and the expansion cap wasn't doing its job of keeping the coolant in the system :( but these are cheap fixes and I fixed it all in the same day ;)

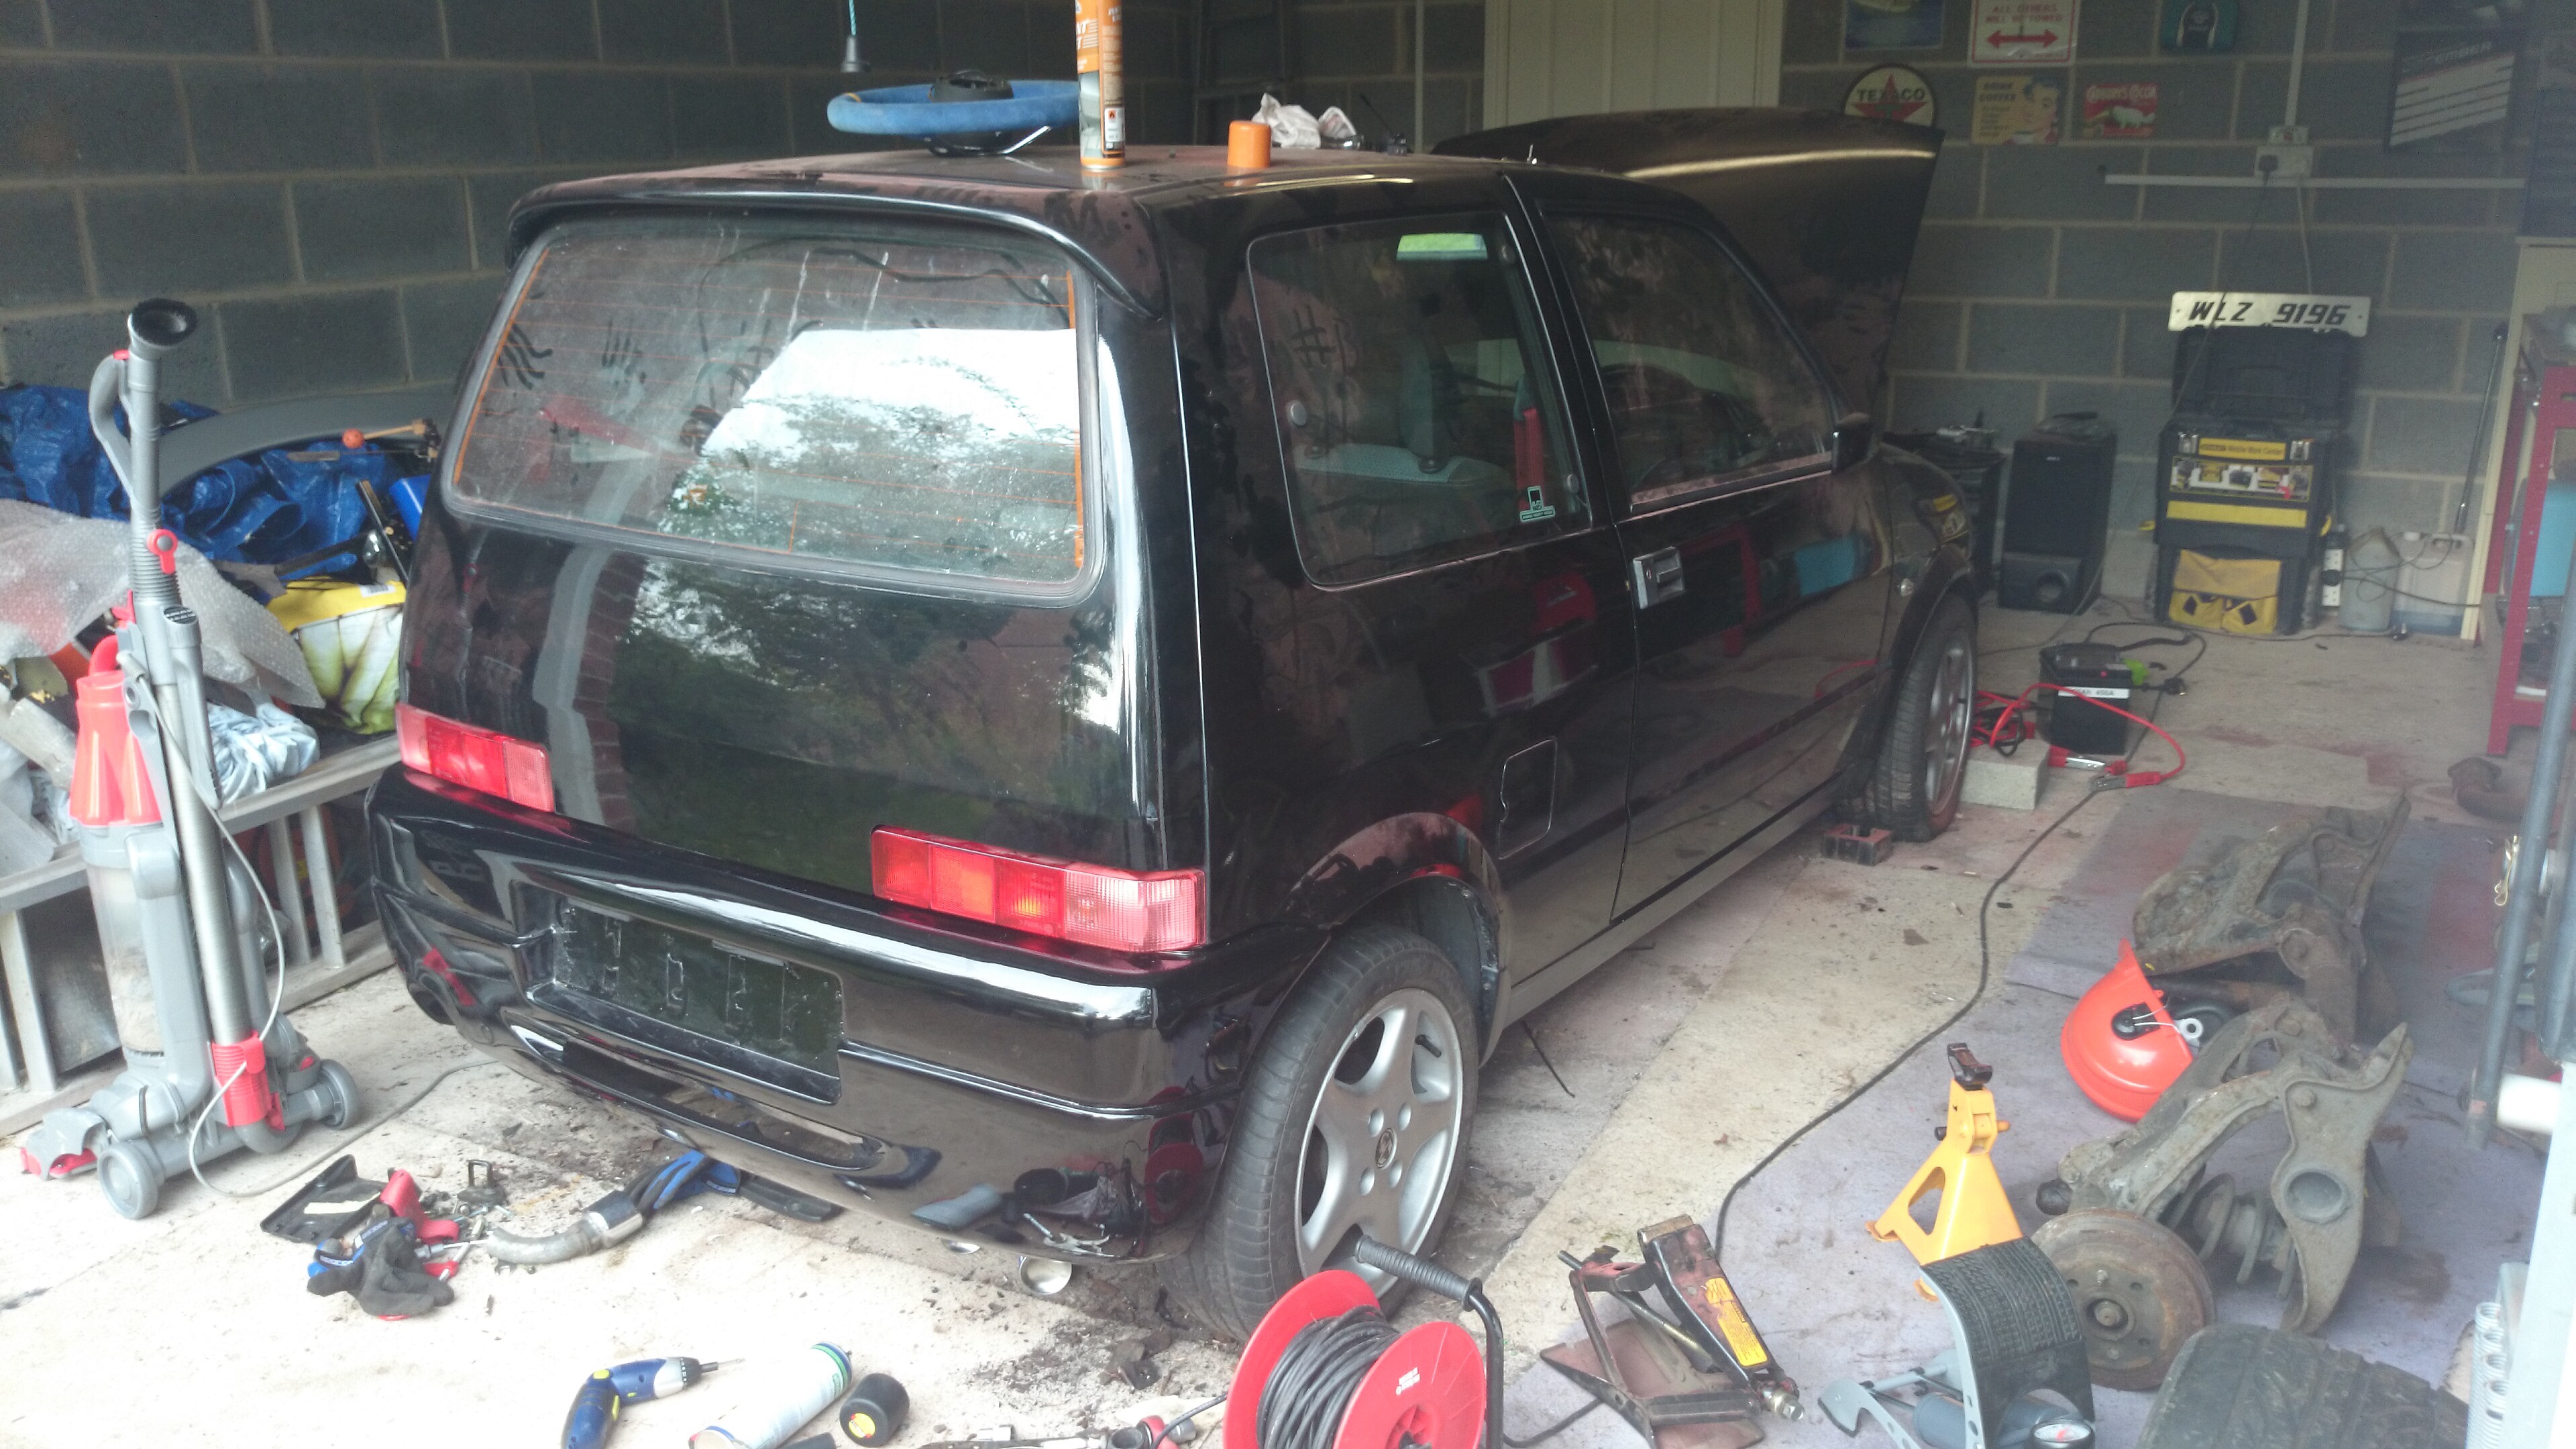
And here it is within an hour of getting it back (y)

image.jpg

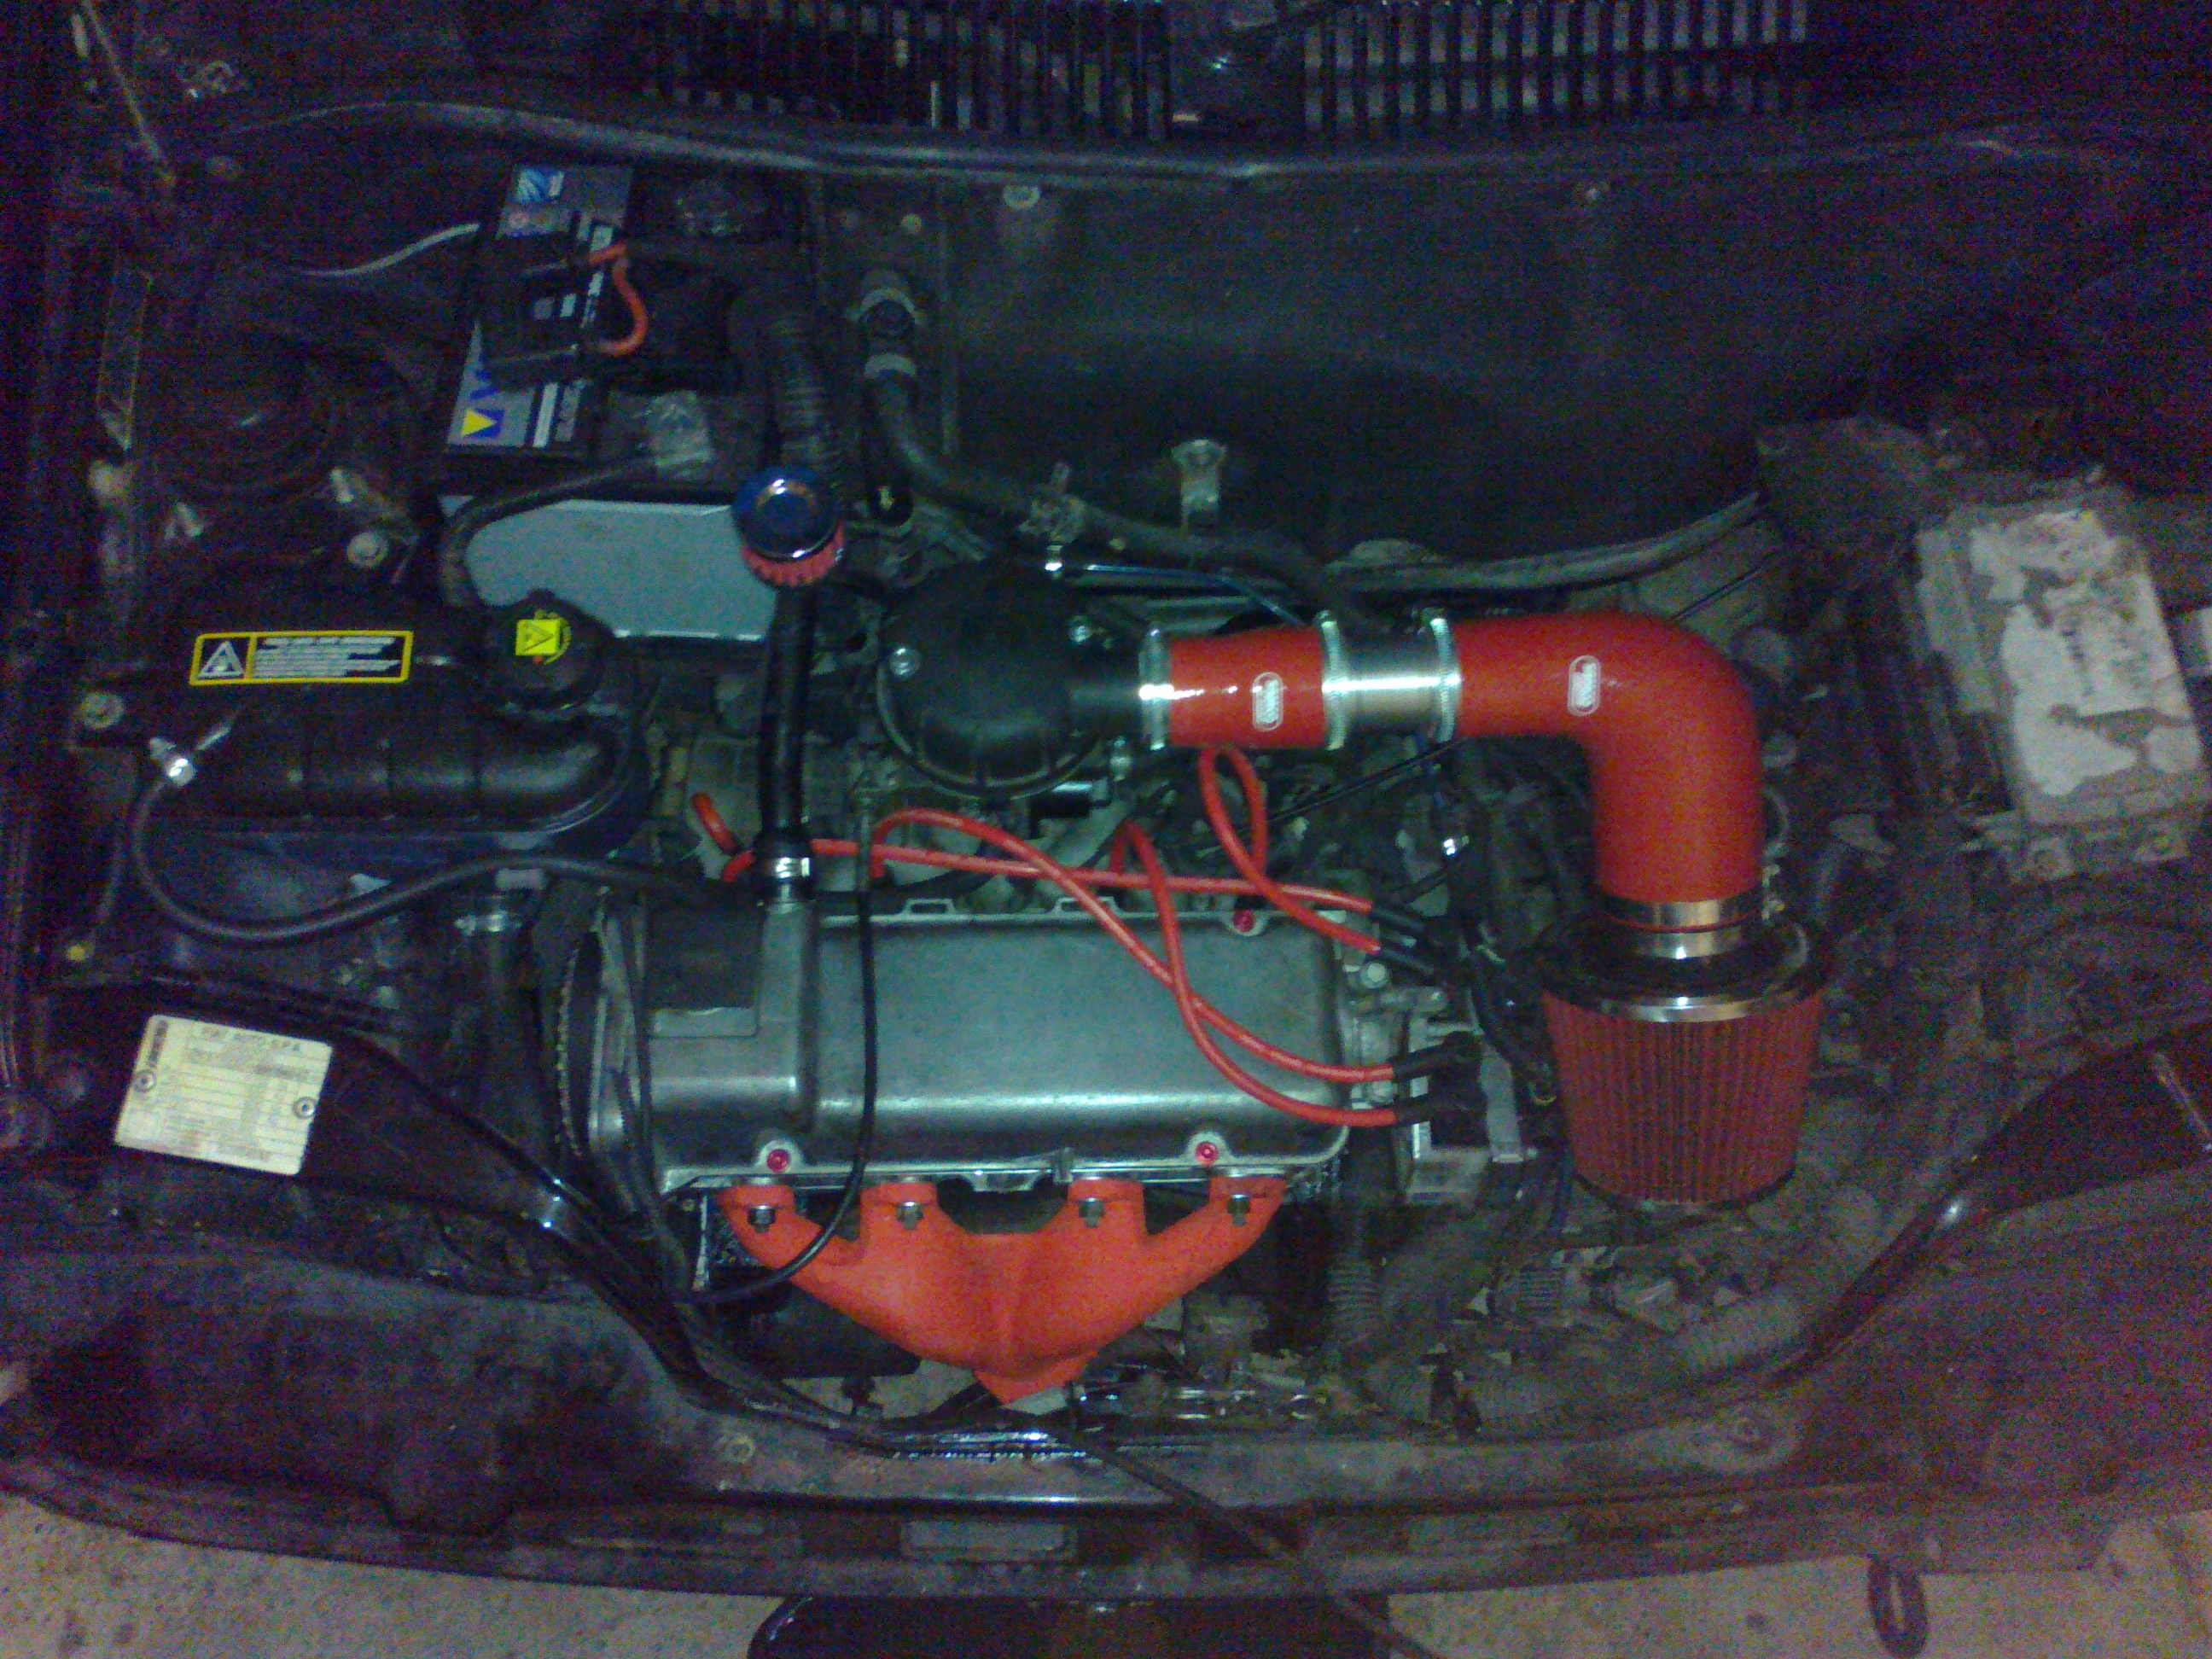
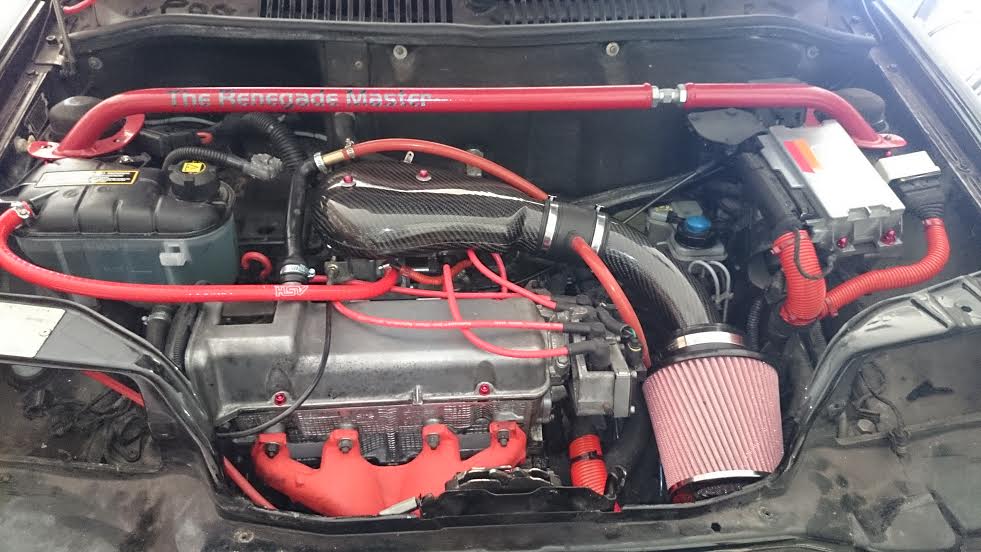
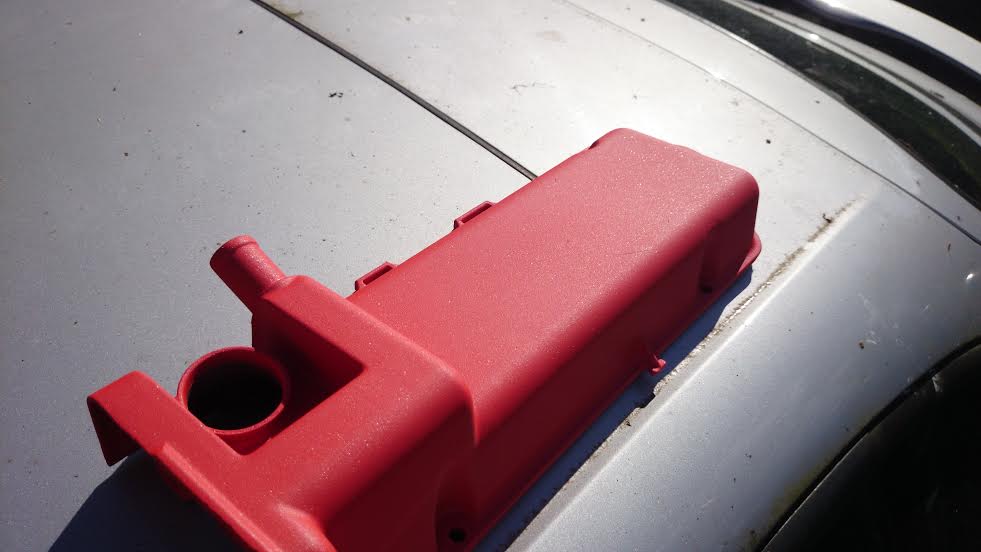
New radiator (from a sei) new expansion cap (from a sei) and all new hoses (from a sei). Thank you seicento :D

Anyway I'll probably post every few days, hope its a decent read ;)
  • Like
Reactions: blu73
Well the new front struts are on, I gave them a lick of paint before they went on as a bit of an extra preventative against rust :) while I'm here, I'm going to do the brakes too.

There isn't anything wrong with them, but I'm upgrading them anyway (y)

The car is on stands at the moment, so I've been getting underneath and poking at things while I can :D cv boots are good, changed the fuel filter, no rust whatsoever and it looks like someone has put a reconditioned tank in too! Score! :)

Also bought a 1000w splx amplifier, a jbl twin subwoofer system, a strut brace and some clear side repeaters, all to go on. When I do finally upload more pictures, ill do them all at once so you'll get about 10 or so (y)
 
Well it's about time I updated this thread, much has changed, I apologise for the quality of the pictures, my phone's a Nokia brick (y)

image973.jpg


Well here's something I had done recently. Granted, it's a bit differant but I quite like it! It really brightens up the engine bay, the only picture that really does it justice is this one, as it was taken on a mates iPhone (y) if anyone is interested in having any part of their car "graffiti'd" his name is Luke Stephenson, and if you look on Facebook it's under "high impact graffiti" and he's based in Mansfield, very talented bloke.

image972.jpg


Here's a picture of the engine bay with the bonnet on. + my red exhaust manifold! red ht leads etc? I think it all looks quite nice :D once again, my camera's crap, I'm sure I'll be along to a couple of shows next year so you can take a look :p

image971.jpg


My punto GT brake discs to go with my GT calipers :yum:

image970.jpg


I'd quite like a new steering wheel at some point as mine is quite worn, maybe omp or momo or so something.

My starter button ;) it's completely pointless, I can even start the car without it, but i was bought it by a friend, and Ive got the mental age of a 2 year old.

image969.jpg


I've smoothed the dip behind the badge too, makes the car look meaner :D note also, the clear side repeaters, they make all the difference ;)

image968.jpg


Nice picture of my engine bay, nice bonnet eh? ;) the head is quite clean as I tidied it up while it was off the car. I've done the head gasket, and with the (while I'm here) attitude, I replaced almost all of the cooling system, both belts and all the ignition system. Oh, and a 32mm throttle body, I'm hoping to get a 40mm some time in the future.

image967.jpg


image966.jpg


My punto GT calipers :yum: I'll clean them up and paint them red before I put them on my car, for the extra horsepower.

image965.jpg


14" speedlines :) I'll get them refurbed and put some black fiat centre caps in sometime.

Things that aren't pictures: my abarth bodykit, waiting to be put on (y) my smoothed boot & de-wipered.

I'm getting there ;)
 
About bloody time I updated this thread. Much has changed, things have been bought. More importantly, i finally got a better phone! One that's worth taking a picture on at least....

My 4-2-1 exhaust manifold, with a new lambda.


Ignore the rest of the interior, look at the steering wheel! Im very much in love with it. Its a leather momo wheel circa 1992. I saw it on ebay, and just had to buy it. I think it really suits the car.


Engine bay. New silicone hoses in various places, a couple of conduits to tidy it up a bit, oil catch can hidden away. Dexcraft induction kit too (y) Not really particularly fussed about tuning this engine, ill have a nice painted new one going in soon (More on that later). Chipped with a 40mm TB too.


My "boot build". I did this mainly because i wanted a proper boot floor, but seeing as this car only has 2 speakers standard, i chucked some in for good measure. Nice and stealthly i reckon, im not really a fan of parcel shelf speakers, so these will do.


Rubbish picture of the car. It's very dusty at the moment, but you can see the front wheels are repainted, with my new spacers fitted. The rears arent spaced or painted yet, so ignore them. Oh, and i think you can see my short aerial thing too. It's pretty much just the old one chopped and painted, with a rubber cap on it. Its all about the details!


Fully stainless exhaust system. Decat with 2 silencers, so it's not too loud. I like :D


If this pic ends up the wrong way, i apologise. It's basically my abarth bumpers back from paint, with the gap filled in (where the kit fits on) and meshed. Very shiny.


A pretty rubbish picture of my wheels, painted, and now the punto GT brakes are fitted up. I painted them red for +5hp.


So yeah, stuff has changed.

Im currently rebuilding a Punto 60 engine while at college, im sure youve seen some of my various threads. It's having a lightened crank with lightened flywheel fitted, along with a head with plenty of work done to it, with an 866 cam. I might switch to a more aggressive cam once the funds are available, to make the most of the head work. Ill get some pictures of it up when i can, and list the full spec then :)

Plans:

-Graffiti paint the roof, similar to the bonnet.
-Underseal the damn thing!
-Refurbished rear beam, with my polybushes. Also, fit my full set of rainbow polybushes.
-Get my new engine finished.
-Some other stuff I probably forgot.

Progress is being made guys, but i should really update more often. I hope you can see the increase in photo quality!
 
Update! I just finished putting my dashboard back together.

Being such a fan of colour coding, my dash buttons are all lit up red now, along with my window switches. Even my radio is coloured red.

Speaking of which, it's a new head unit. A pioneer something or other (wow, such detail). It's far far superior to my old Sony, in appearance and performance. My speakers sound far clearer now and much more powerful. There's an infinite amounts of settings to faff about with, and it has 3mm, Bluetooth and USB connectivity :) It also has a phone, but I won't be using that.

Corsa clocks! I like 'em :) The temp is fairly accurate, but the time and date sure aren't yet.

image2327.jpg


image2328.jpg
 
That a corsa b clock etc? how dose the temp work?

It is indeed! The original idea was johndragonman's, and I think he's even got a video on YouTube explaining it.

Pretty simple, there's two blue wires that go to the back of the clock, as part of the main connector. All you do Is go to a scrappy (or nick one from any vauxhall) and find the ambient temperature sensor, and just cut the wires and pull it off. That way, you can keep using the plug that it's meant to use! Then all you do is stick it somewhere (I picked the front of the engine bay, same as vauxhall) and extend the 2 wires from the sensor, to the 2 blue wires going to the clock. If you manage to find a corsa b in a scrappy, just pull out the clock and cut all the wiring (with reasonable length left). Most of it is useless anyway.

Hope this helps :)
 
Well, i replaced a couple of the coolant hoses with silicone, mainly for aesthetic purposes ;) I've got all the silicone i need to replace all of the hoses, but i'll do that when i take my current engine out, for better access. I painted my strut brace a bit, and stuck my custom carbon fibre "The Renegade Master" sticker, i love it :D Longer term plans is to get the ecu cover, the map sensor bracket and various other brackets, bits and bobs hydro-dipped in carbon fibre effect. That's after I get my new engine in, of course.

Cinq115.jpg


My sparkley red rocker cover, you can't see it clearly in the picture, but it's metallic paint.

Cinq212.jpg


And finally for this update, i thought i'd reveal the ongoing spec of my 1.2 8v engine that i'm putting back together.

-Heavily lightened crankshaft
-Heavily lightened flywheel
-866 cam (soon to be upgraded)
-Port matched inlet ports
-Port matched exhaust ports.
-Ported and polished inlet manifold.
-Recut valves, with a 30 degree back cut.
-3 angle valve seats.
-40mm polished throttle body.
-4-2-1 exhaust manifold, wrapped.
-Dexcraft induction kit
-Mckritch chipped ecu.
-Vernier pulley.
-Poly engine mounts.
-Every sensor, seal and gasket replaced. Along with new piston rings and bearings.

I think that's everything for the engine anyway.

The dexcraft will be swapped over from my current setup, once this new engine is in.

Anyway, that's it (y)
 
Thanks guys :)

I probably could've bought a 16v with what i've spent on this, but the 8v is just far more convenient. And, personally, I prefer it.

Yes, i've built it up to a fair spec, so i do think it should be a bit nippy ;) I'll stick it onto a RR once it's been run in, im very curious to see what it makes.

It will definitely be ready for stanford. But whether it'll have the new engine in or not is the question. Also, the paint isn't perfect, so i'm planning on having that sorted out soon. I'd love it to be all done for stanford!
 
The 8v is a simple, robust and easy to maintain engine. That's generally why I prefer it, some opinions might differ.

I can't comment on the performance of a tuned 8v compared to a 16v, as I haven't driven them back to back. Unlike you, blu.
 
Well, I got the rear bumper on :) I think it looks quite nice, but the exhaust doesn't quite fit. No matter, I have that stainless system to go on, which does :p

Please ignore the state of the garage at the moment, it's usually quite tidy! You can see the remains of the bumper mounts in a couple of piles underneath too, they were in a right state. Weirdly, the bolts came out without too much of a faff!

Note the boot build on the right. In my infinite wisdom, I made it the same height as the bolts in the boot. Not my finest moment....

image2401.jpg


image2400.jpg
 
Wheels went on today, with their new spacers, so now at least they fit properly. Looks good too! Excuse how dusty it is, it's been in there for a while. I'll be sure to treat her to a nice polish once it's out :p

Chucked the boot build back in, made sure it works properly. Which it does (thank god) (y)

I've replaced both door roll pins, to stop that annoying clicking sound.

Also, a new parcel shelf, without 6x9 holes in it :)
image2408.jpg


And it has number plate lights that actually work now! But they're in terrible condition, so some replacements are currently on their way. I've got some pressed plates on too. Might seem trivial so some, but it's all in the details.....

image2407.jpg


And finally, I passed my driving test today :D
 
Last edited:
Back
Top