

Hi all,
This is probably the wrong way to do it, but I'll see if it works in the months to come.
First step was cleaning and drying out the lights. The entire lens came off one of the indicators and had to be hot glue gunned back on :shakehead:. Found cracks on all four lights between the lenses and the main parts of the units, so had to glue these up watertight. Bizarre way of checking if they're watertight is to take the bulb out and stick the lips on the hole and blow (steady on... ) then see if air pours out of anywhere. One of mine had obviously been a problem as it has two drain holes drilled in the bottom!
There was a hell of a lot of condensation in two of them, took 3 days in the airing cupboard to dry out!
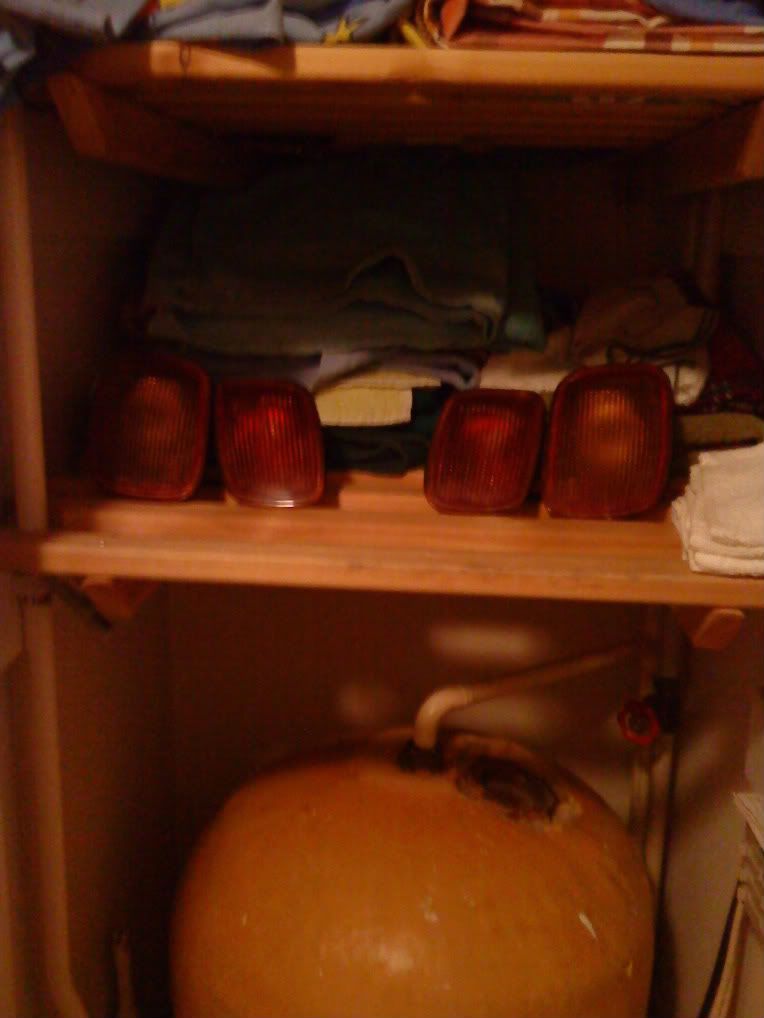
Was handy to know when the towels needed to slow down or turn though.
The sealing arrangement is, if I'm honest, a rubbish design. I don't think the seals on mine are in brilliant condition either and wouldn't be too surprised if someone hadn't made them up from section at some point. Used some rubber to pack out the seal at the lower edges of the lamps to make them sit in the right place:
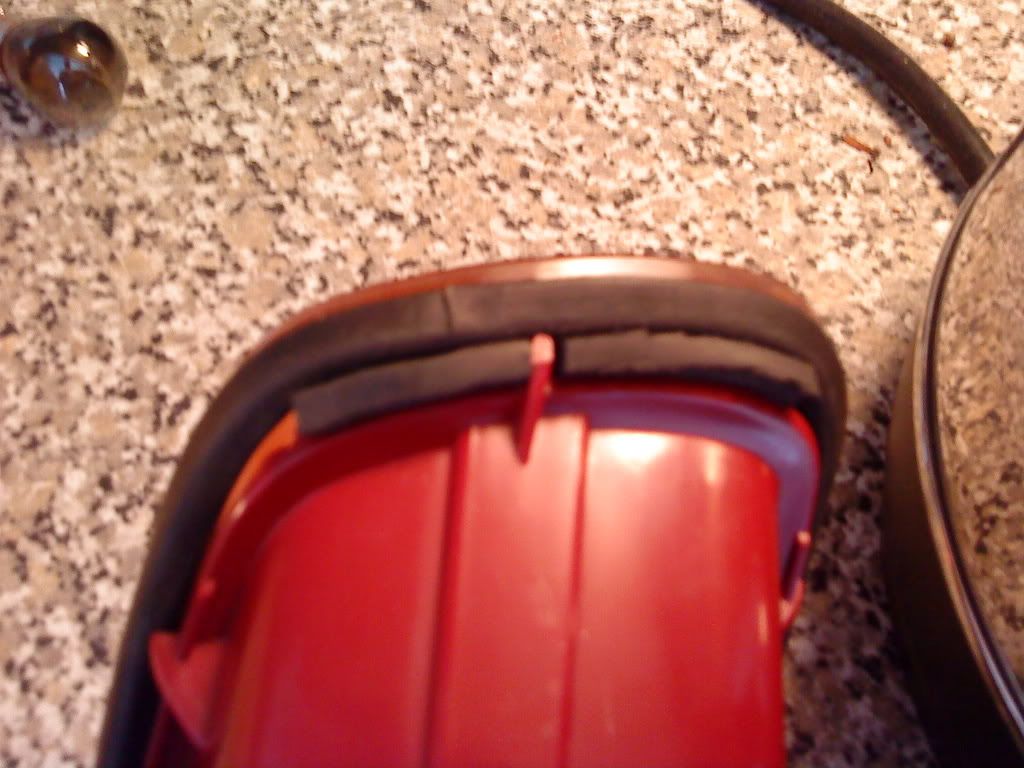
Put a tiny smear of liquid soap around the edges of the seals to aid refitting and bolted them back in. The top edges of the seals seem to be where the water ingress problem lies on mine - it's such a tiny face the rubber has to sit against and it doesn't always meet and sit right:
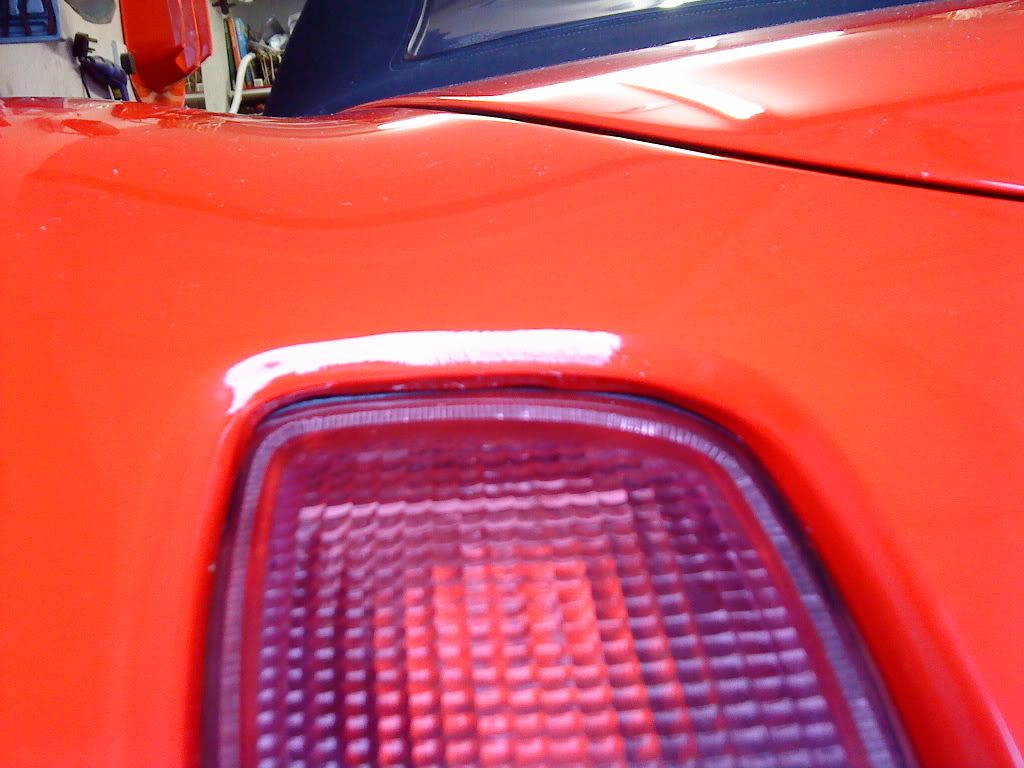
So I cleaned off any remaining liquid soap and set to work with some sealant and a tiny paintbrush. This stuff goes on white but dries clear:

It's drying off now, but hopefully this will sort it for me. If not, I'll be buying a length of rubber U-strip and trying to fashion a more effective remedy
This is probably the wrong way to do it, but I'll see if it works in the months to come.
First step was cleaning and drying out the lights. The entire lens came off one of the indicators and had to be hot glue gunned back on :shakehead:. Found cracks on all four lights between the lenses and the main parts of the units, so had to glue these up watertight. Bizarre way of checking if they're watertight is to take the bulb out and stick the lips on the hole and blow (steady on...
) then see if air pours out of anywhere. One of mine had obviously been a problem as it has two drain holes drilled in the bottom!There was a hell of a lot of condensation in two of them, took 3 days in the airing cupboard to dry out!
Was handy to know when the towels needed to slow down or turn though.
The sealing arrangement is, if I'm honest, a rubbish design. I don't think the seals on mine are in brilliant condition either and wouldn't be too surprised if someone hadn't made them up from section at some point. Used some rubber to pack out the seal at the lower edges of the lamps to make them sit in the right place:
Put a tiny smear of liquid soap around the edges of the seals to aid refitting and bolted them back in. The top edges of the seals seem to be where the water ingress problem lies on mine - it's such a tiny face the rubber has to sit against and it doesn't always meet and sit right:
So I cleaned off any remaining liquid soap and set to work with some sealant and a tiny paintbrush. This stuff goes on white but dries clear:
It's drying off now, but hopefully this will sort it for me. If not, I'll be buying a length of rubber U-strip and trying to fashion a more effective remedy
Last edited: