Rust on arches (Ford content)

Currently reading:
Rust on arches (Ford content)

Joined
Apr 30, 2006
Messages
16,904
Points
3,632
Location
East Yorkshire
Right then chaps im in need of a little help

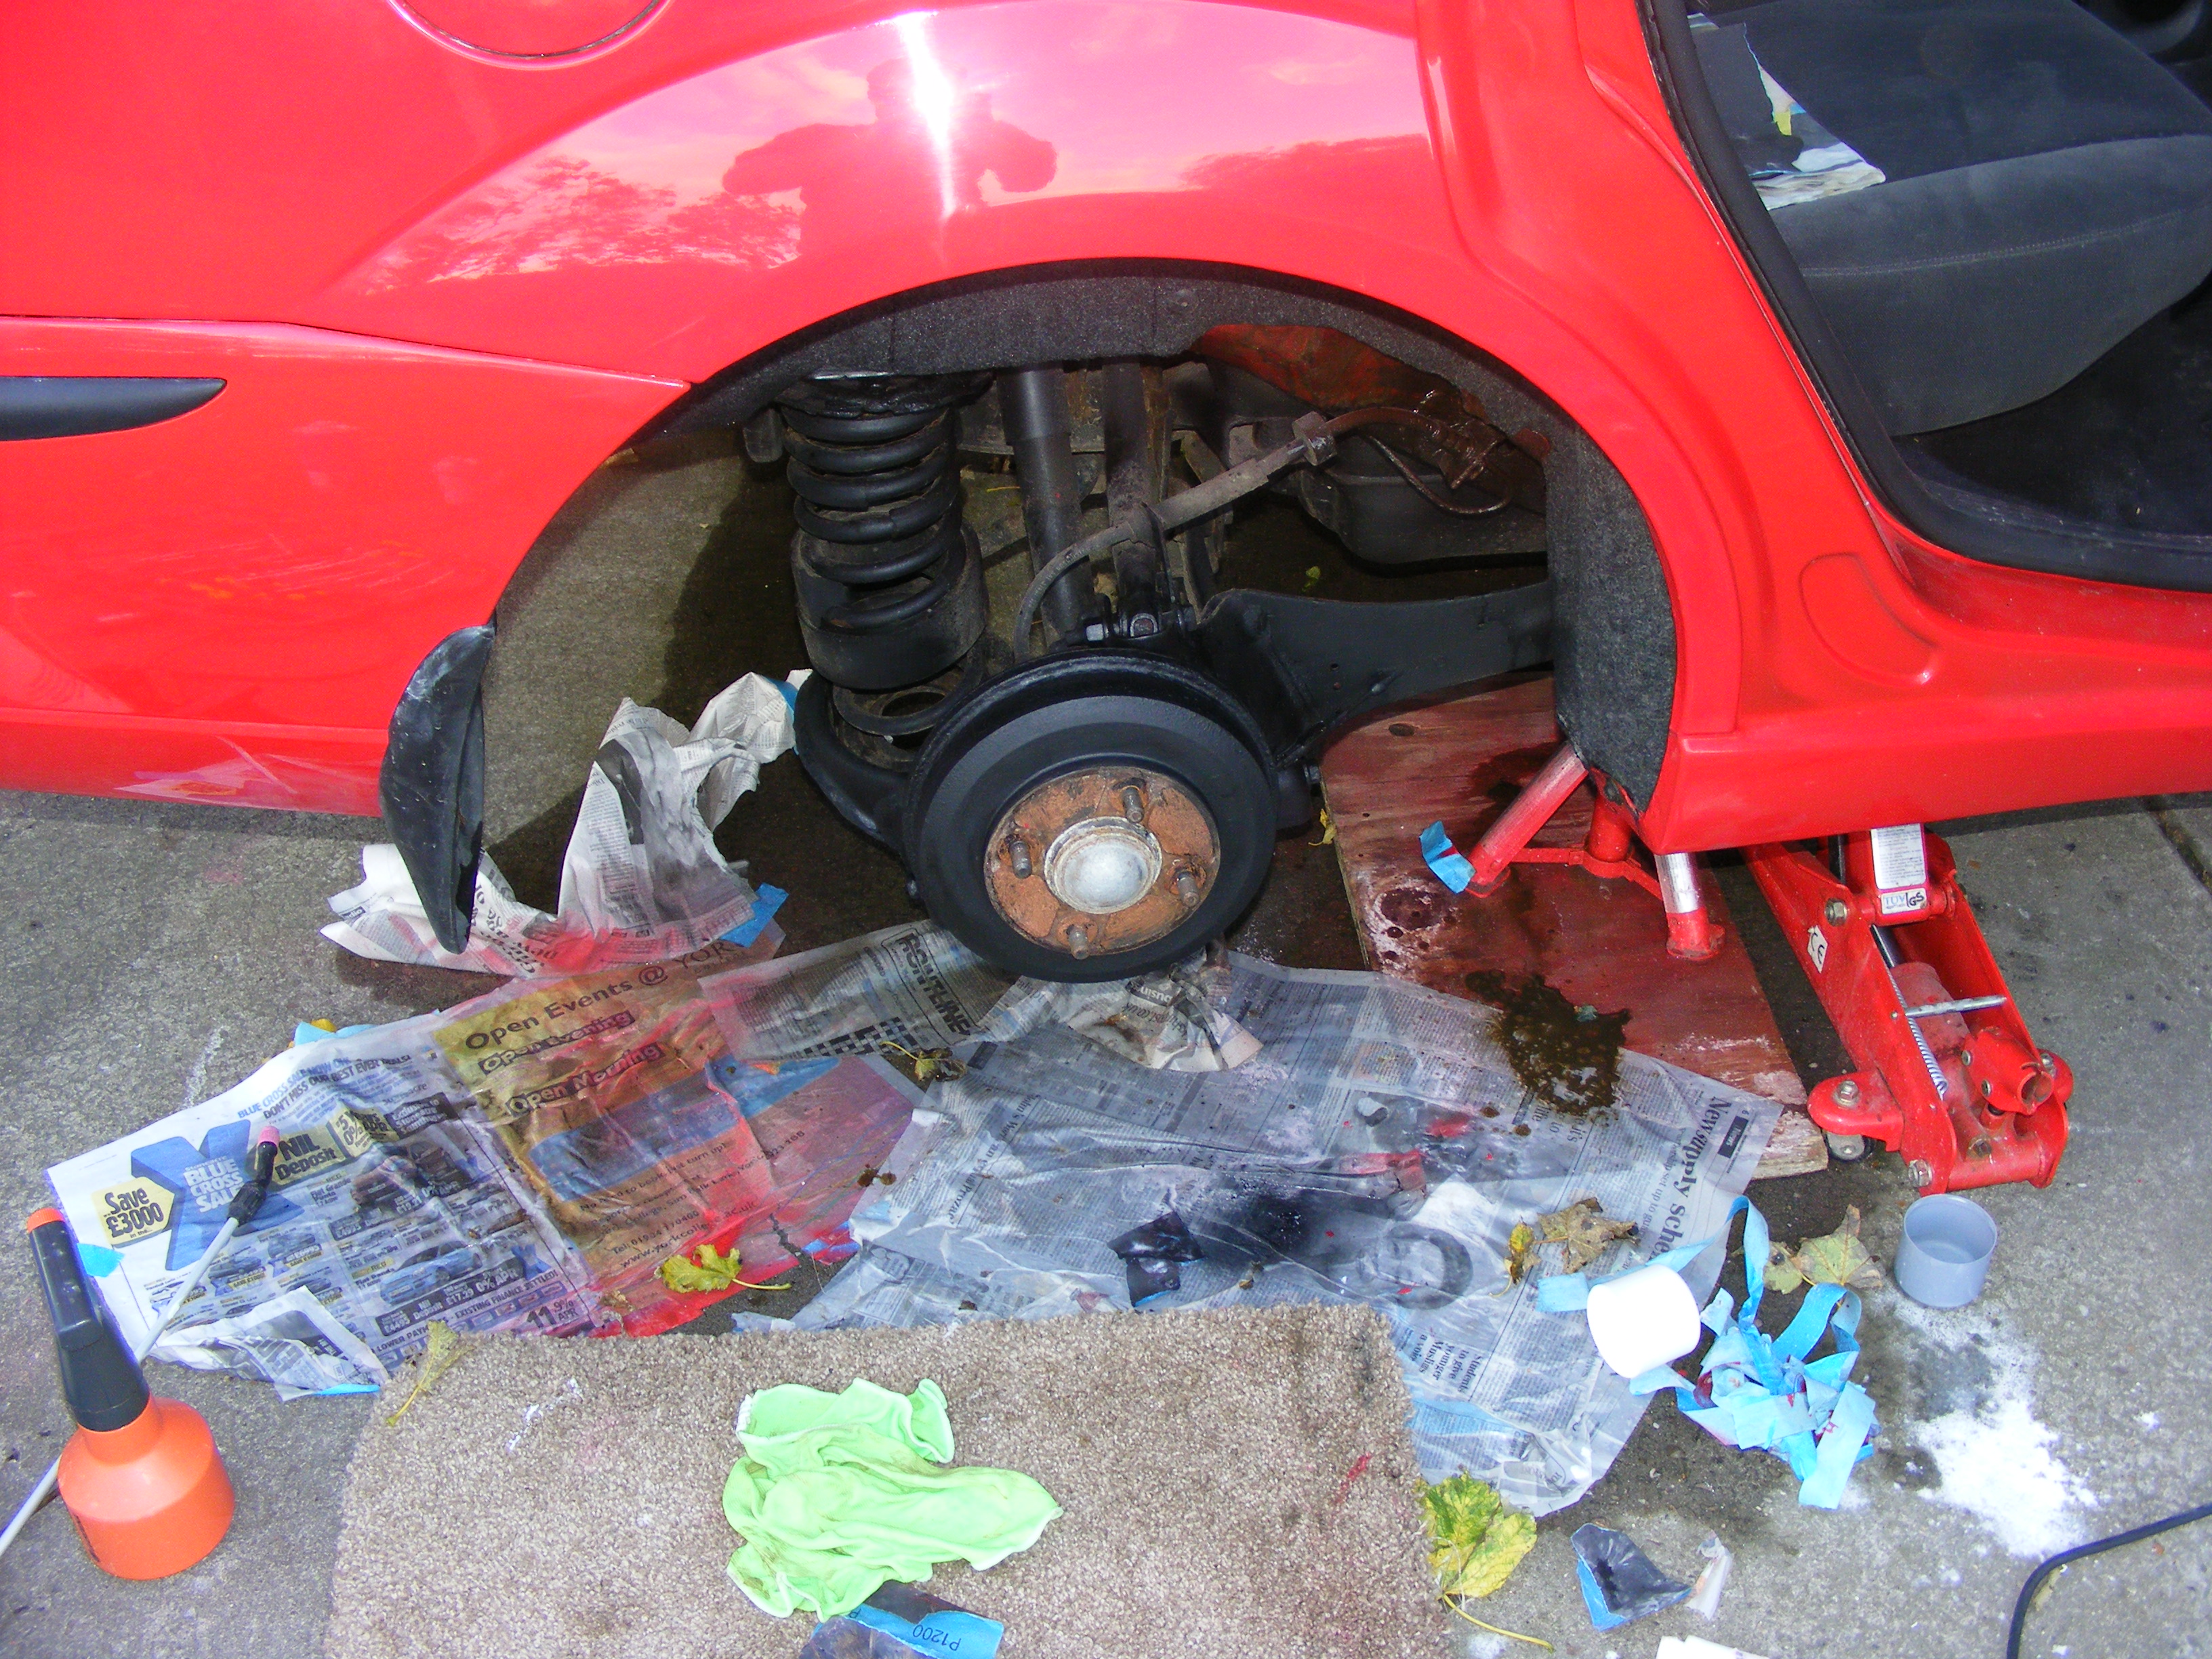
my old man has a Ford Focus estate 51 plate in Colorado red (so out of anti perforation warranty and no full service history anyway we DIY it)

it has what looks to be perforation rust bubbling up on the edge of the rear offside arch (fecking ford and its material arch lining)

anyhow since its an old car (but low mileage <40K miles)

and has its second mass of rust bubbling up (the first lot on the tail gate was sorted under warranty)

Im planning to.....

use a dremal and sand/ grind it back to bare clean metal,

roughen surrounding area with p1500-p2000 grit wet and dry

use some form of rust killer/ primer (any sugestions on which to use??)

then try and source enough paint (anywhere decent who can get a good colour match) so i can mask and air brush it on

is http://www.paints4u.com/ any good?

finally blend the area with laqure

then cut it back once dry...

any tips appreciated..

thanks
 
its more of a tart up operation to keep it looking tidy really as we admit and know once its in the metal all you can do is slow it down no matter what the tins of rust eater claim,

but had some success on my mums KA on the bottom edge of the door frames (where the stones hit it) and it's not come back in 1 1/2 years touch wood then again i did go deep with the dremal

seems ford dont think there is a problem with plastic trim rattling on paintwork T his had a boot respray where the chrome trim/ no plate light holder/ boot lock had flexed/ vibrated until there was no paint left = rust...
 
one thing you can do is to fibreglass area. a layer of thin/fine fibreglass will halt the rust coming through for ages.....if its done proparly. awee tip here is a little heat into the metal.. even a hairdryer on high will help use before/during&/after if you know what i mean:D
 
rust is like cancer mate there is only one real way to get rid of it for good and that is to cut it out, weld fesh metal in place and repaint.

if i get rust work i always chop it out, forget this krust treatment and fiberglassing over it because it will break back through the paint over time.
 
jenolite kills the rust.

a local paint supplier will be cheaper.

your dremel idea is a good idea, its what i do and it works wonders. if you use a stone bit it will wear down quickly, but it gives you plenty of control.
 
rust is like cancer mate there is only one real way to get rid of it for good and that is to cut it out, weld fesh metal in place and repaint.

if i get rust work i always chop it out, forget this krust treatment and fiberglassing over it because it will break back through the paint over time.

i said this already son.... but said he wants a tart up job:eek:
ah well its only easy when you know the answer:D
 
Just a little update finally got round to repairing this over the past 3 days

First off there was very little rust most of it appeared to be the galvanizing coating bubbling up only found a small bit of rust in the spot welds on the inner edge..

anyhow first i sorted bubbling areas with the dremal with a sanding drum and hacked it back to bright steel about 15mm clear in all directions then flatted the surrounding paint back so you could progressively see the metal, primer, colour and just a bit of light scratching into the clear coat...

so then i set about putting something back on..

cleaned with spirit wipe then

first off the metal was treated with 2 thin and even coats of Bilt-Hamber Hydrate 80

http://www.bilthamber.com/hydrate80.html

and left for 24 hours

then lightly sanded with some very fine wet and dry to give a key right round the arch to the first ridge on the arch

masked off the arch and blew several thin layers of primer then rubbed back slightly once dry and gave it another couple of passes....

then left for about 5 hours...

using G3 rubbing compound i cut the primer back slightly to remove the masking line and remasked cleaned with solvent wipe and laid on several thin passes of Red base colour..

left for an hour then lightly rubbed and followed up with another couple of passes


left overnight in the garage

This morning i gave the red a good rub to remove masking lines with some 1200 grit wet and dry then followed up with some rubbing compound then t-cut metalic to remove the marring from the rubbing compound

then i masked higher up and put several layers of lacquer on then rubbed it back a bit then laid on another coat or 2 allowed to harden for about 5 hours then rubbed it back to remove the masking line (which was hidden in a line on the rear wing and just inside the door shut)

any overspray was removed with Bilt hamber soft auto clay ( i should buy shares in Bilt Hamber at this rate :) )

anyhow forgot to take some before shots but since im proud of the work I thought i'd show you what it ended up like....

DSCF0807.JPG


as you can see whilst i was at it i treated the exposed edges in the arch with some hydrate 80 after giving them a light rub up as they had just started to blow the paint

once dry i did they entire arch internal with Dynax 50
http://www.bilthamber.com/dynaxs50.html
DSCF0808.JPG


DSCF08121.JPG


then cleaned the arch liner material with All purpose cleaner and the pressure washer and re fitted

along with using some of the Hydrate on the rear drums and flashing over with some black heat proof paint..

the paint match is Spot on got the kit from Paints4u

http://www.paints4u.com/ProductDetails.aspx?productID=5423&Mainselection=4

well worth the money
 
Last edited:
Back
Top