S
Shaun Cook
Guest
I thought id start a project log, since iv got soo many post lying around. plus i thought it might be a good idea so that everyone can see the work thats gone into her so far and then as i progress i will add more things.
here i go (look out for the links)
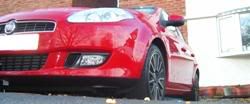
My Big BIG project..ill start from step one
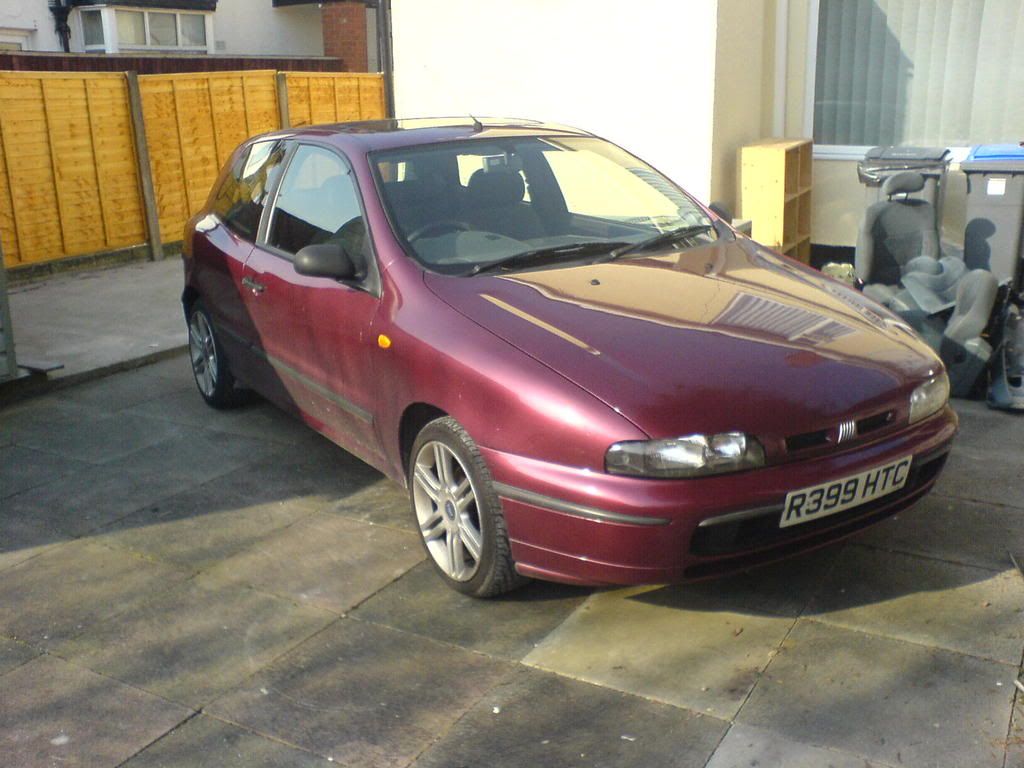
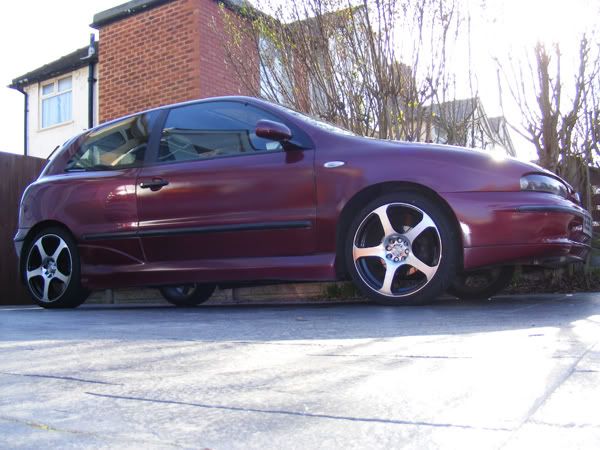
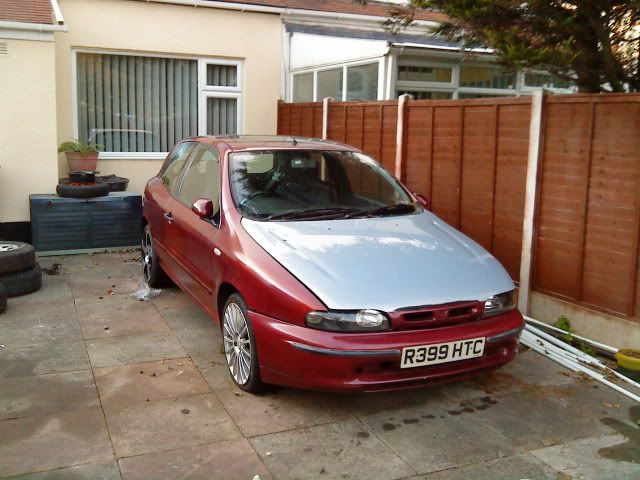
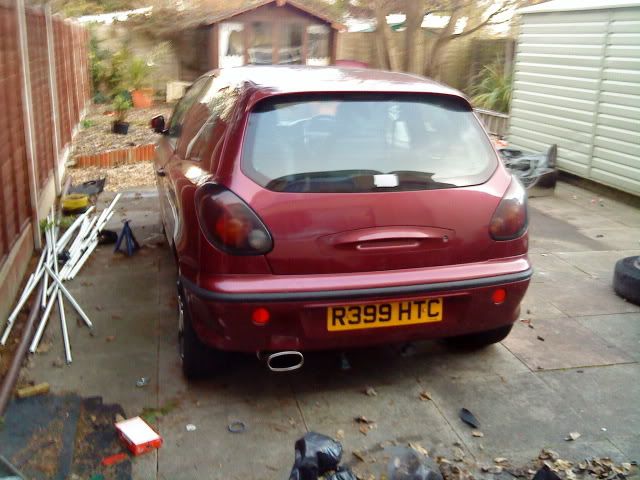
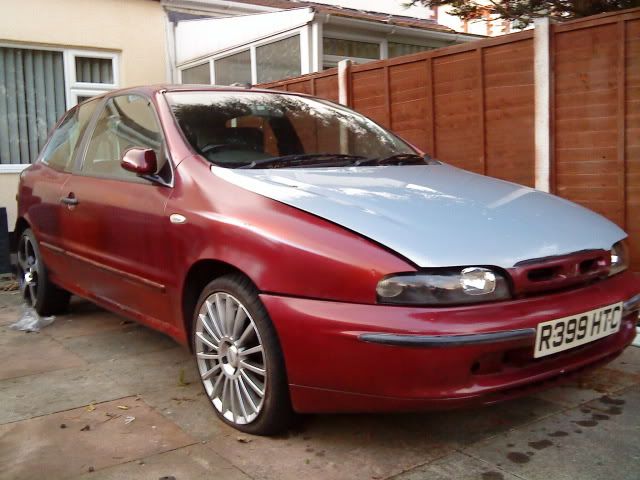
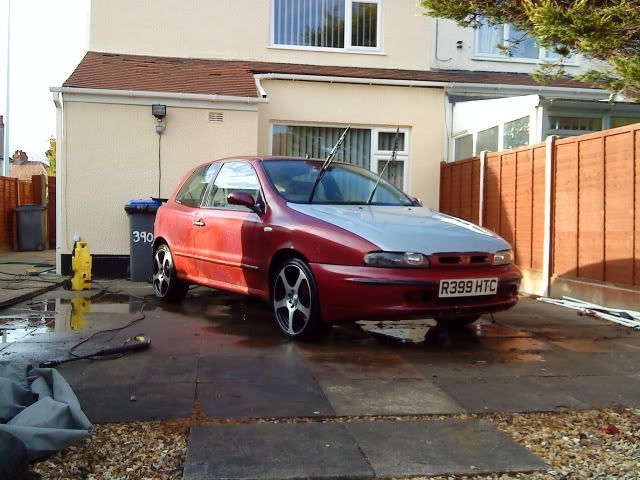
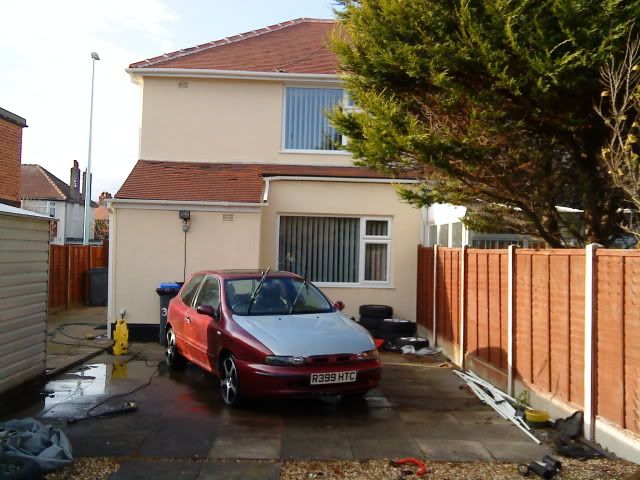
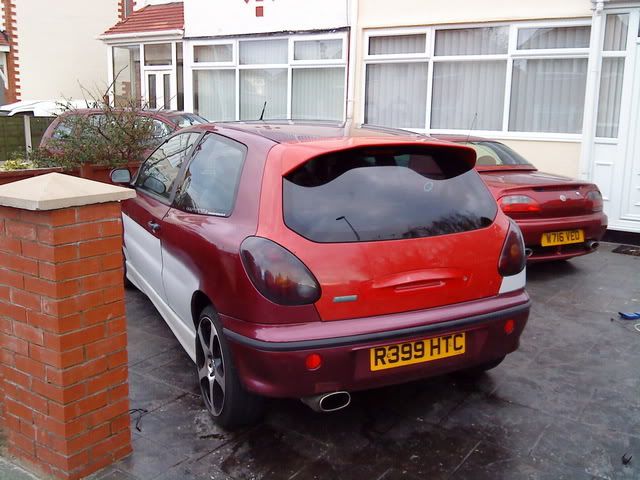
the day i got her
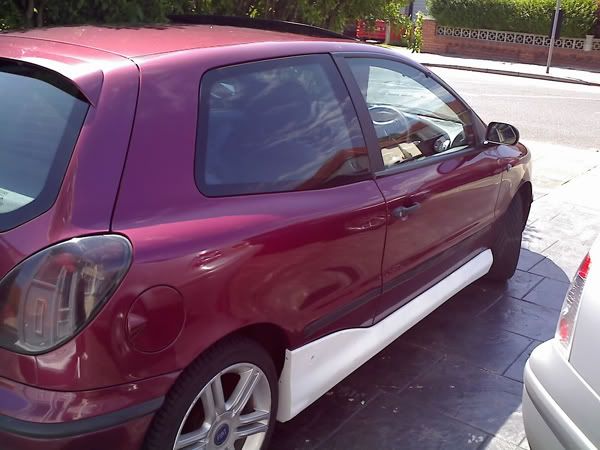
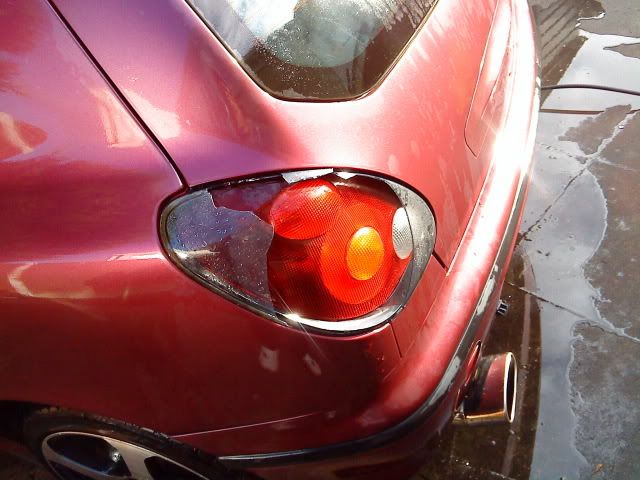
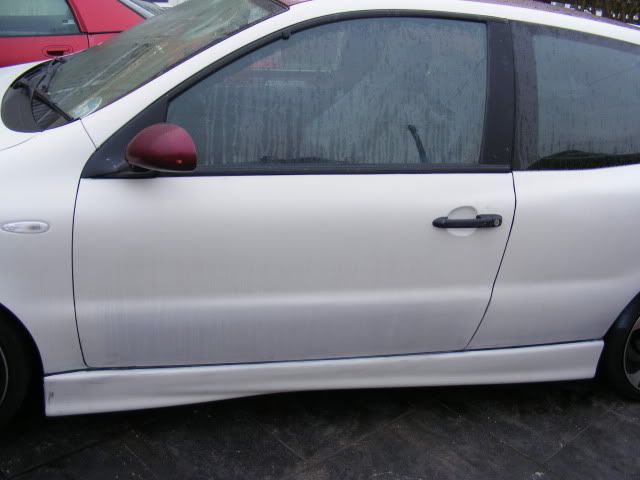
then the 1st bit covering up some damage with Side Skirts
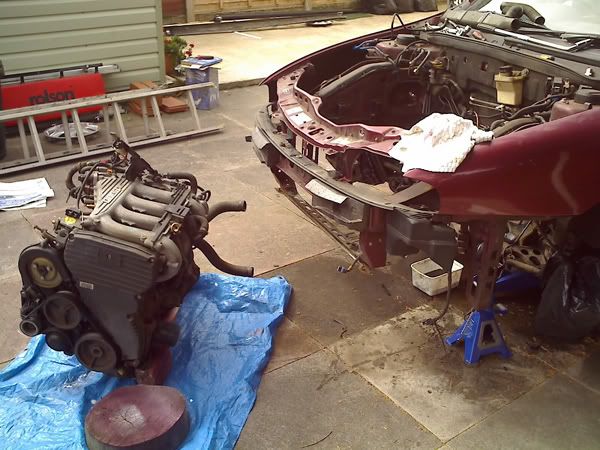
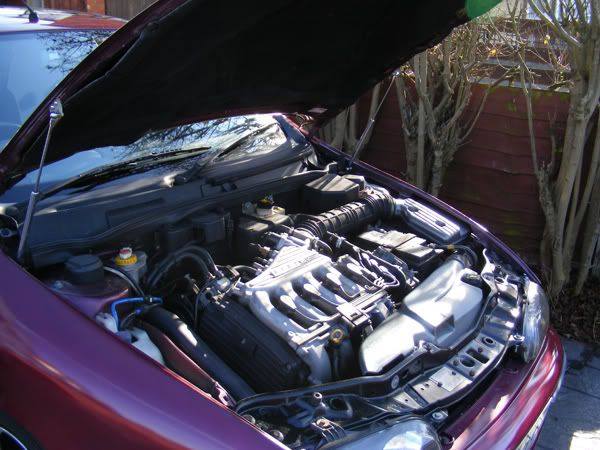
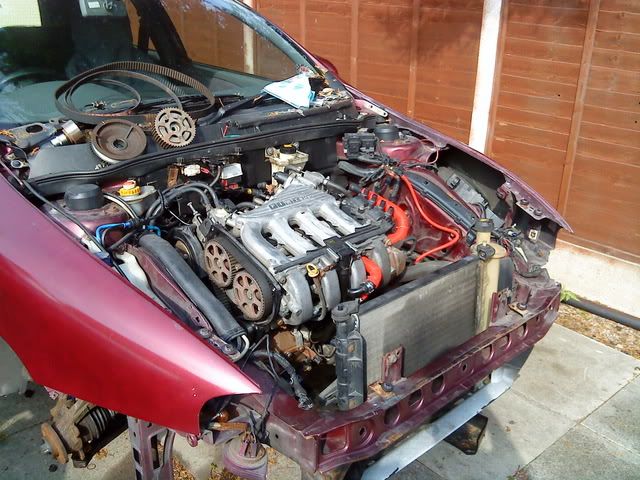
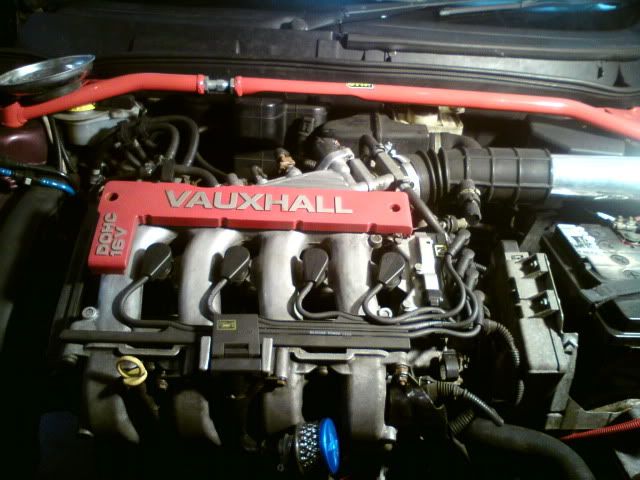
and...the performance..replaced my god awfull 1.4 12v..with a 1.6 16v
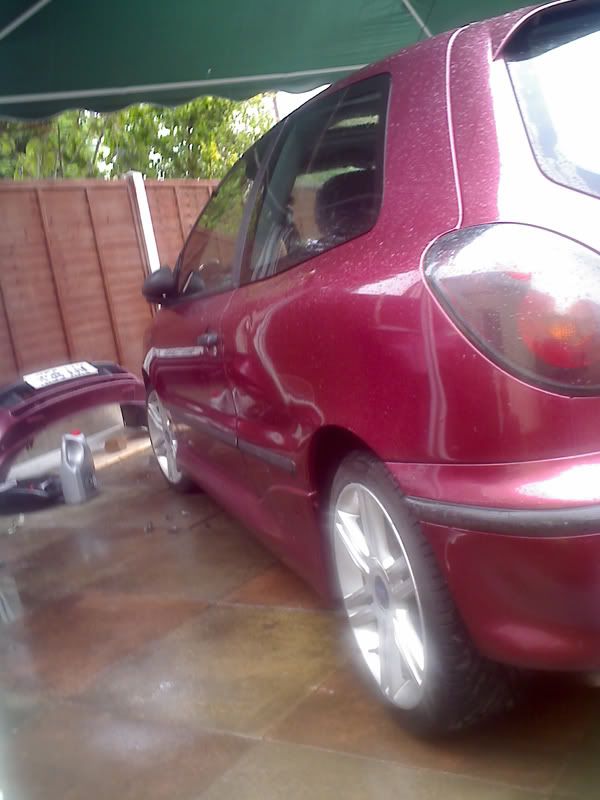
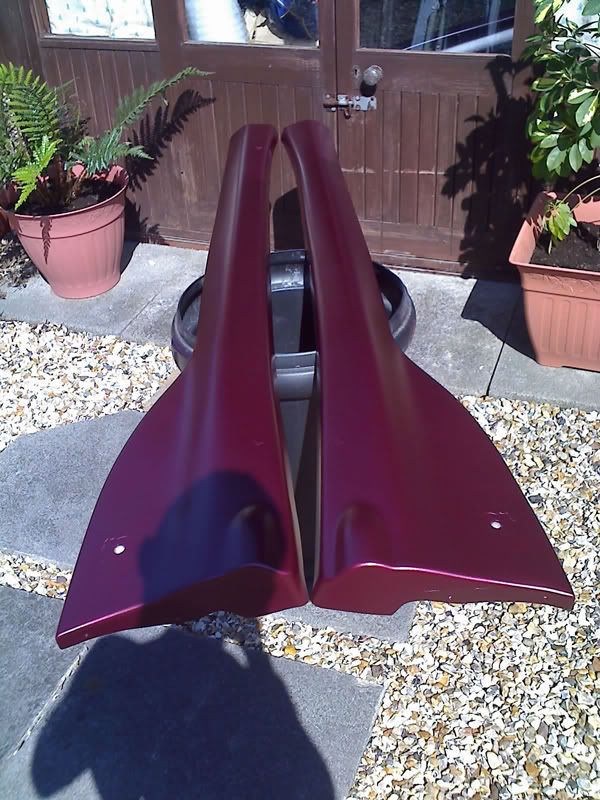
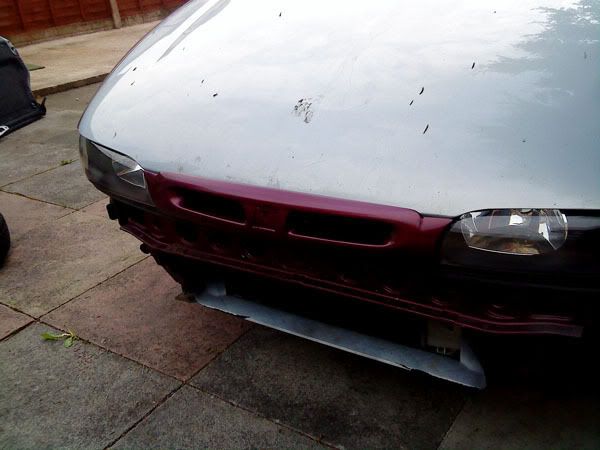
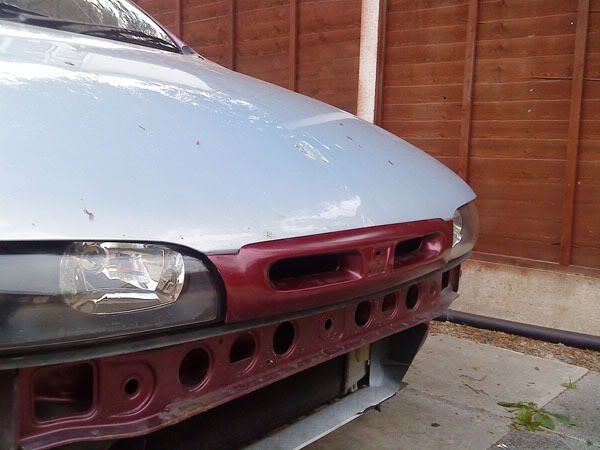
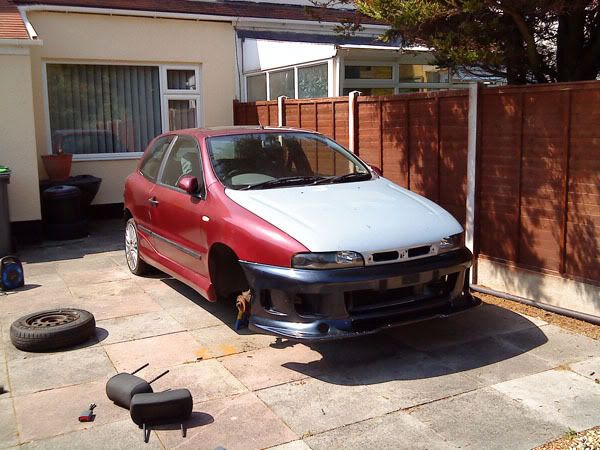
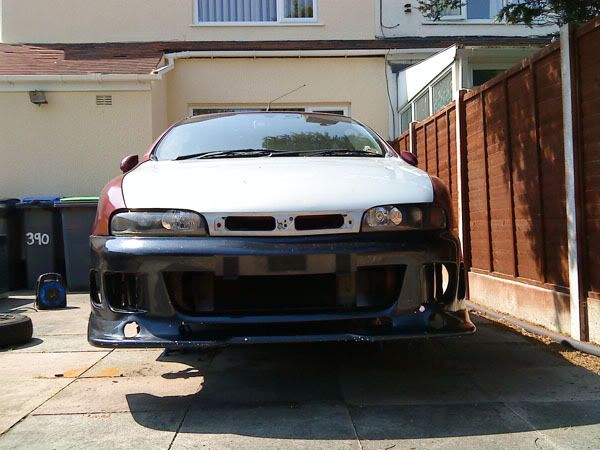
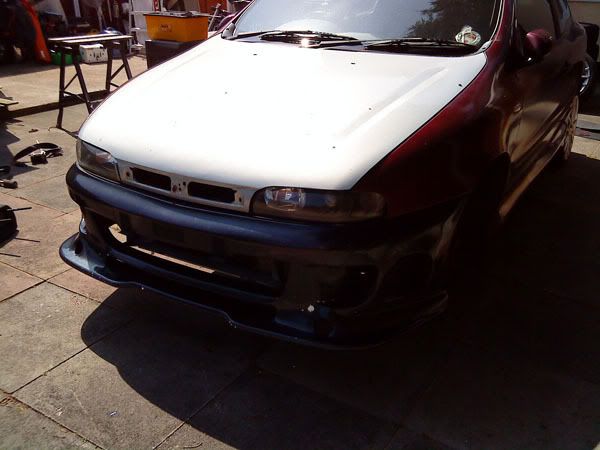
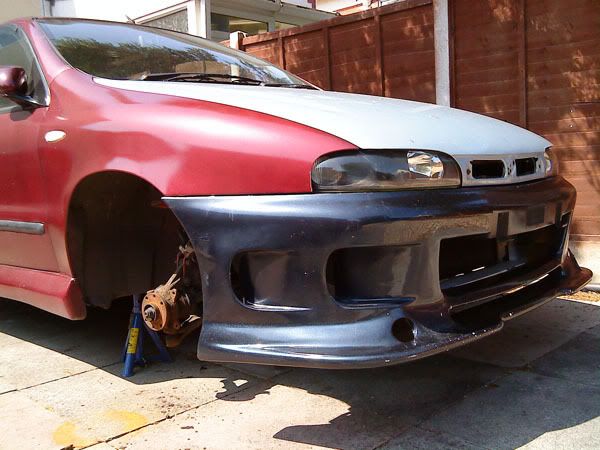
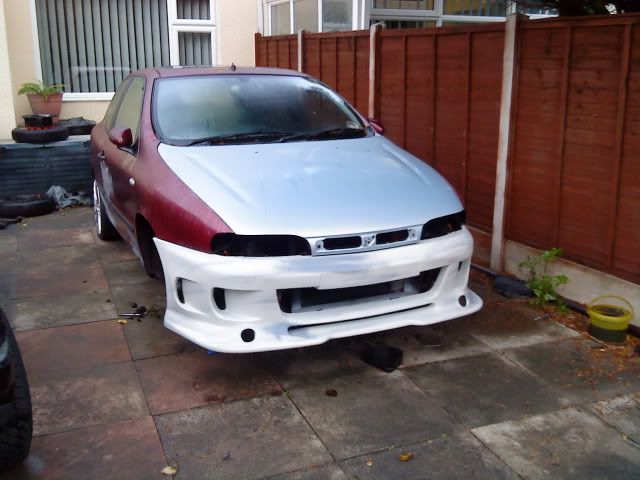
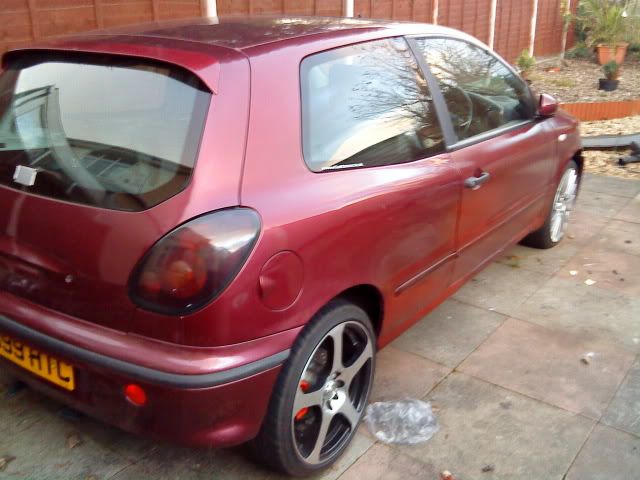
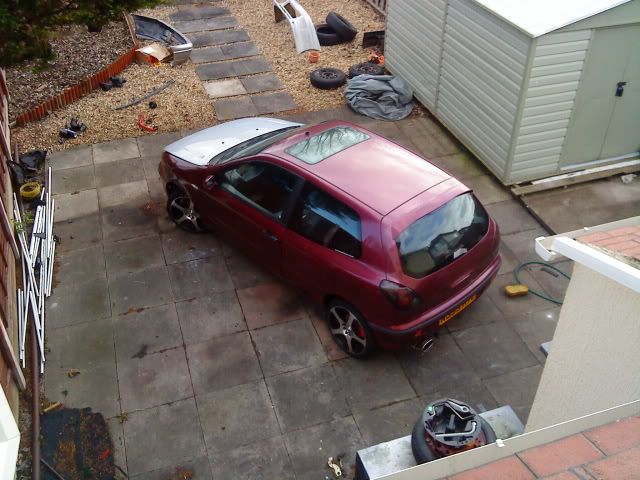
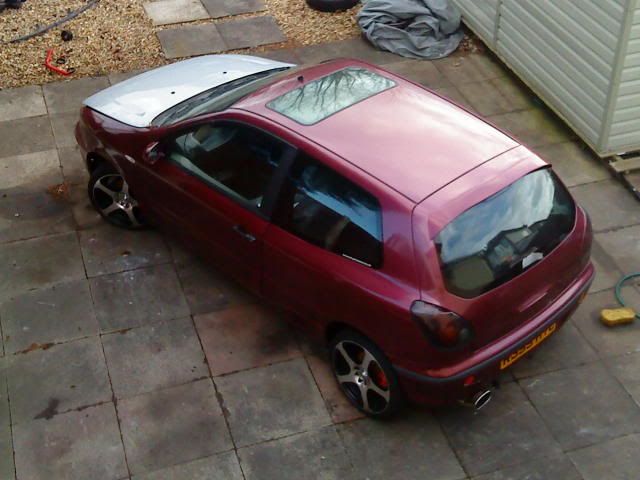
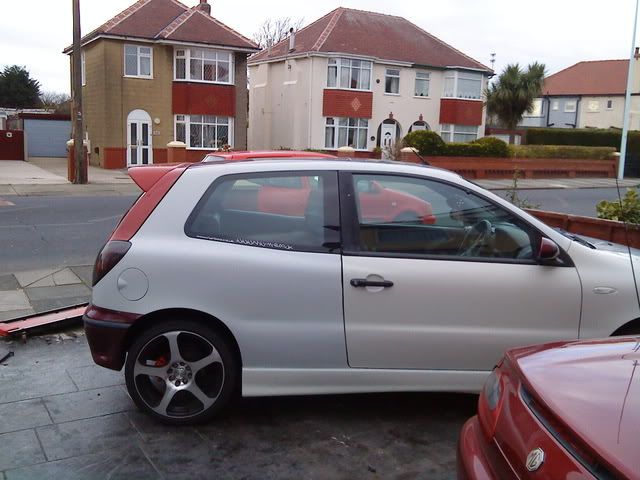
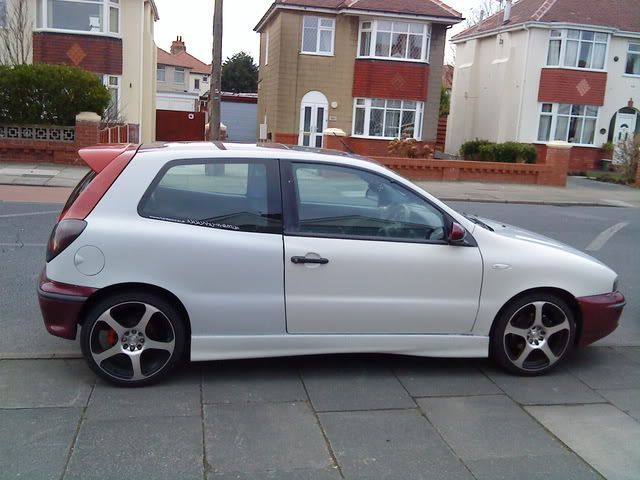
and then just to make her look a tad bit sporty, wide wider arches...a Fiat Marea front end
Part 1: Click
Part 2: Click
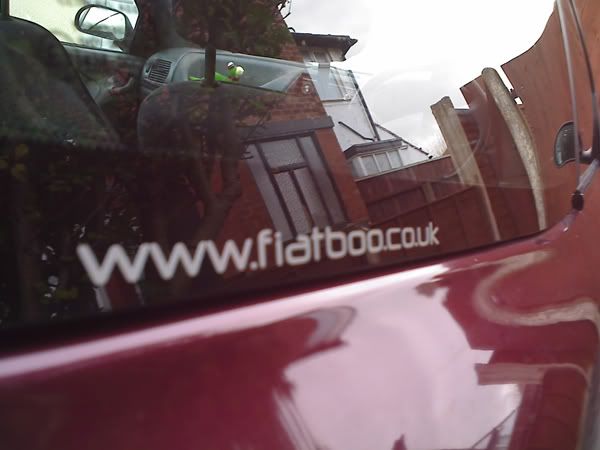
My BOO Sticker
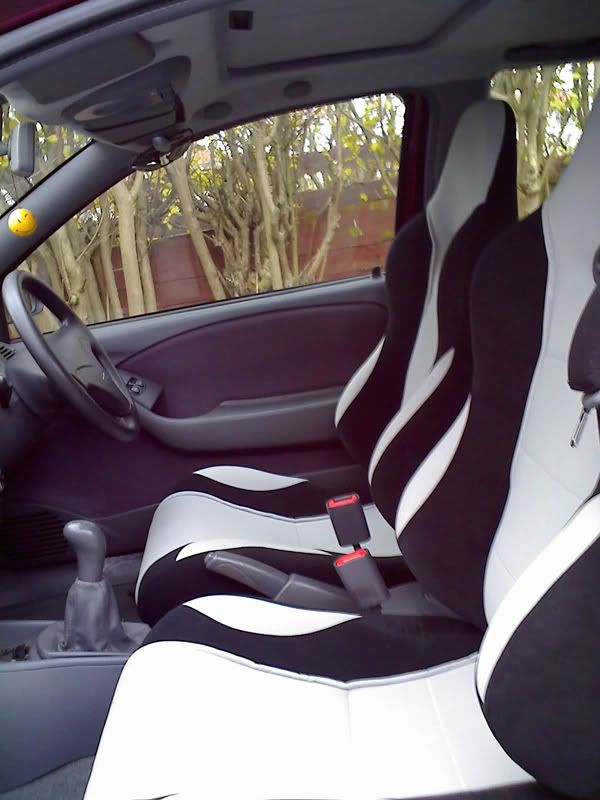
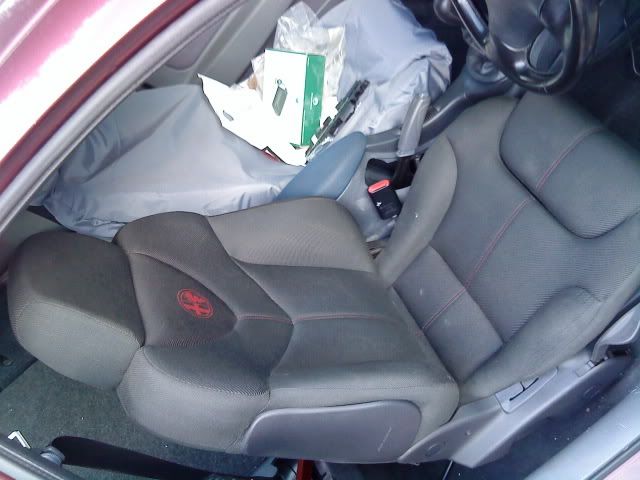
and then some racing seats
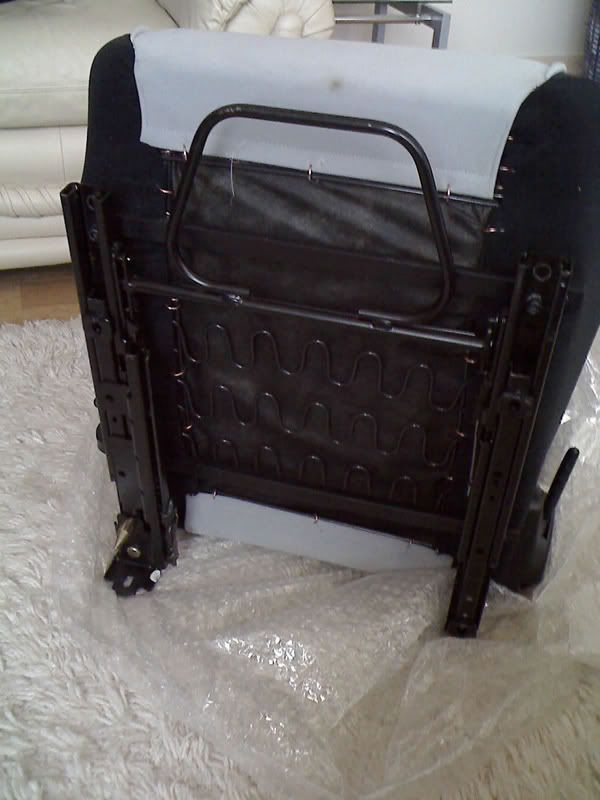
the brackets were made out of metal bars...but they have been tested and they are 100% safe
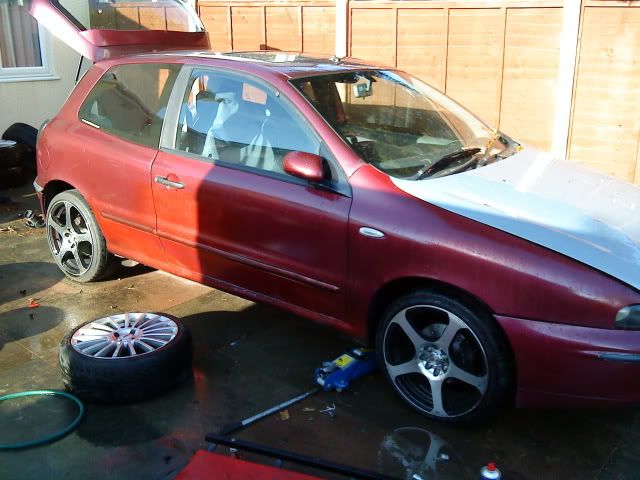
justa few shots:

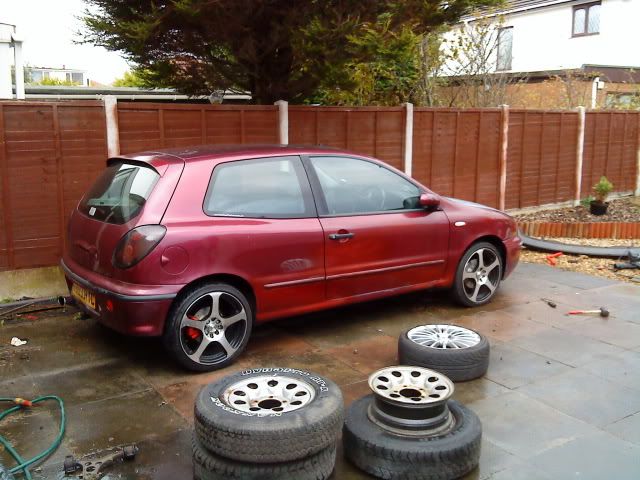
and basically..thats her upto now..plans are obviously to do alot more body work and to do some performance work such as strip my back seats out and get a little bit more air flowing through with an exhaust and induction kit
Iv got some arches to go on to make the back end a little wider.
if anyone has anymore ideas??
15/04/2008 - Update
she has gone off road now im afraid. here she is tucked away
iv got my new clutch. my brakes have been paid for just need to get them now lol. and the rest will all be cosmetic. and a few performance upgrades. i will keep updating this
12/05/2008 - Update
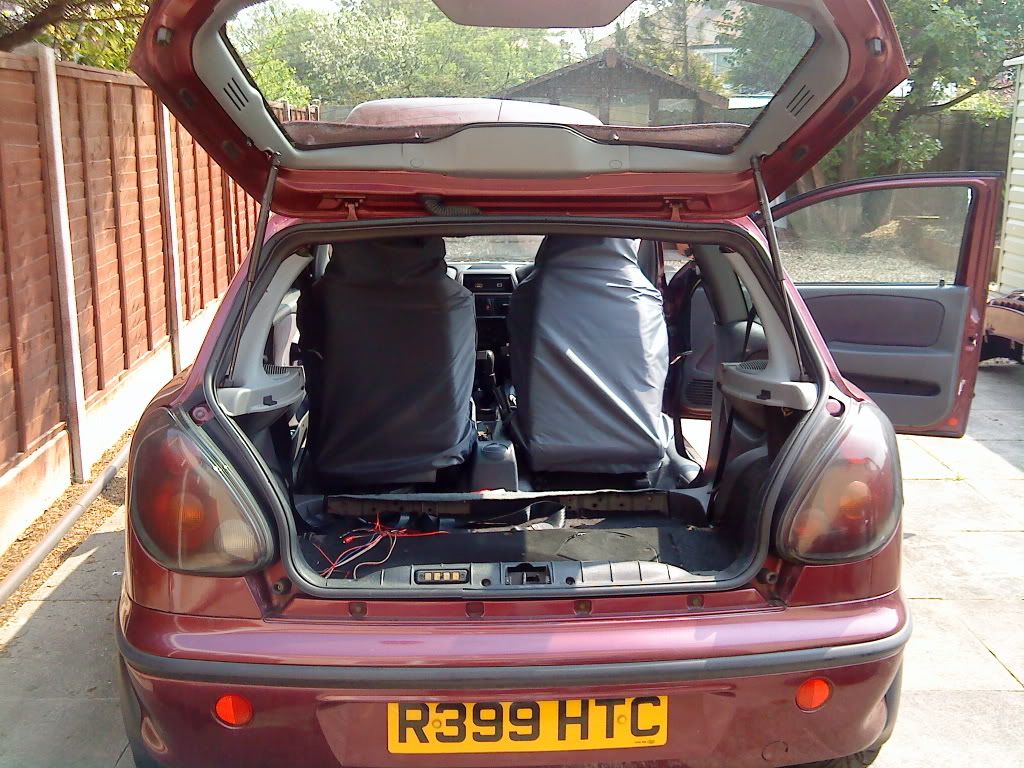
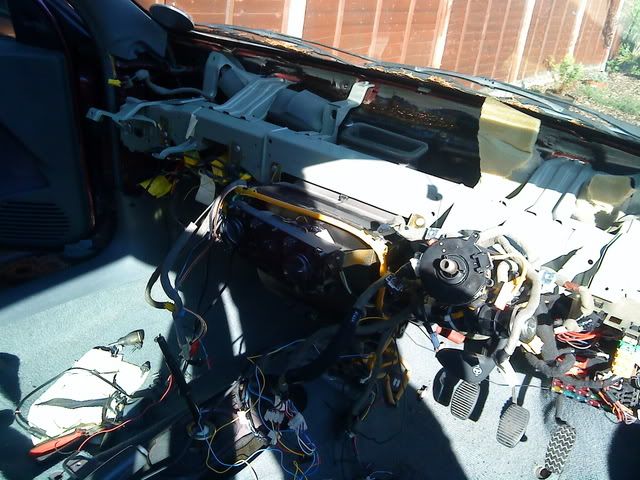
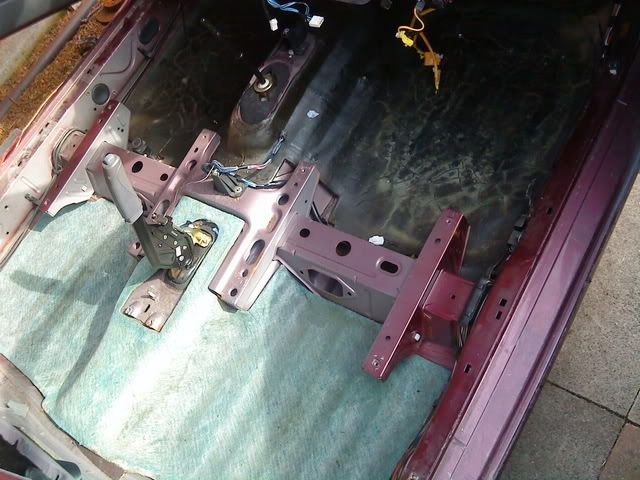
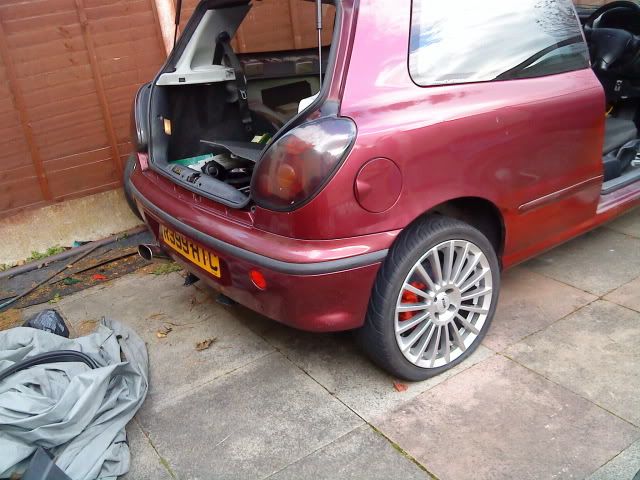
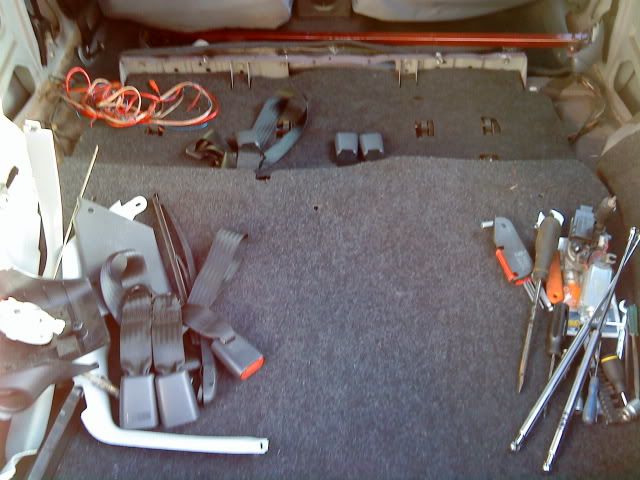
basically i stripped all the parts i didnt want, like the back seats.
then i went and stripped the petrol tank off because i had alot of injector problems, so im cleaning it out.
Update - 17/05/2008
I only had a an hour on friday night to do something, so i thought id do this
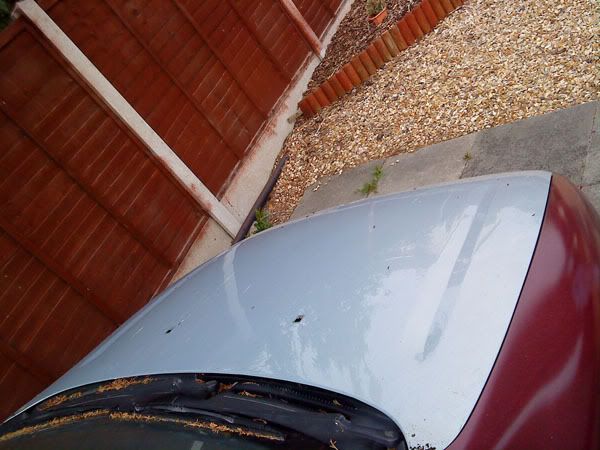
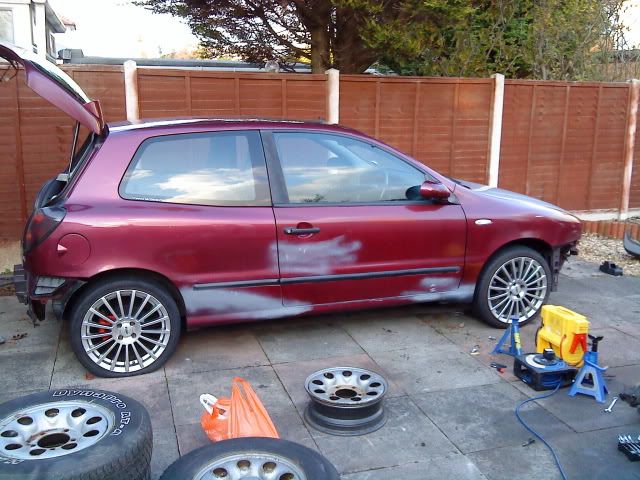
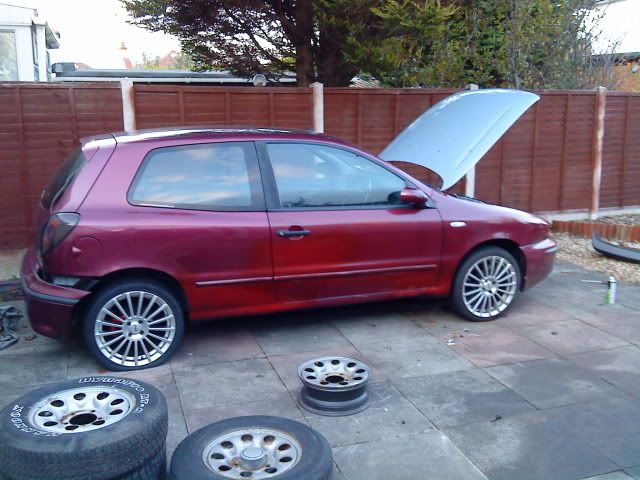
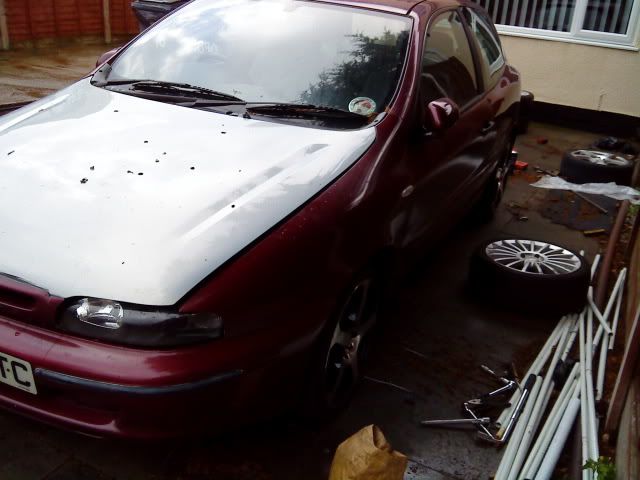
Fitted my new bonnet (after the accident)
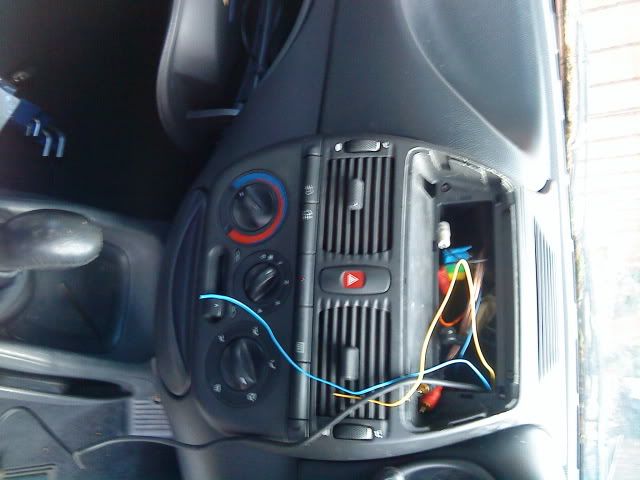
and then something iv been working on for a while but its still not finished:
and as i finished, i was sat down having my tea...at 8 o'clock friday night, the dorr bell rang...the delivery man brought me this
Im very happy today
Update-1-06-2008
Just a small update today as iv been to busy to really make any big progress on the car.
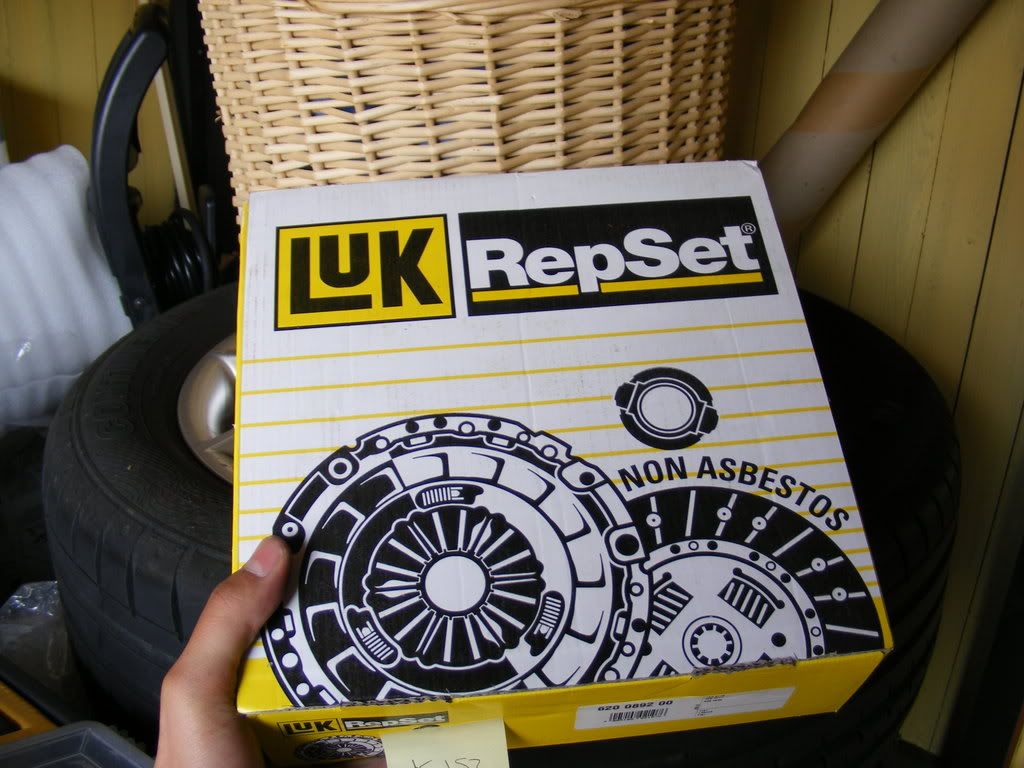
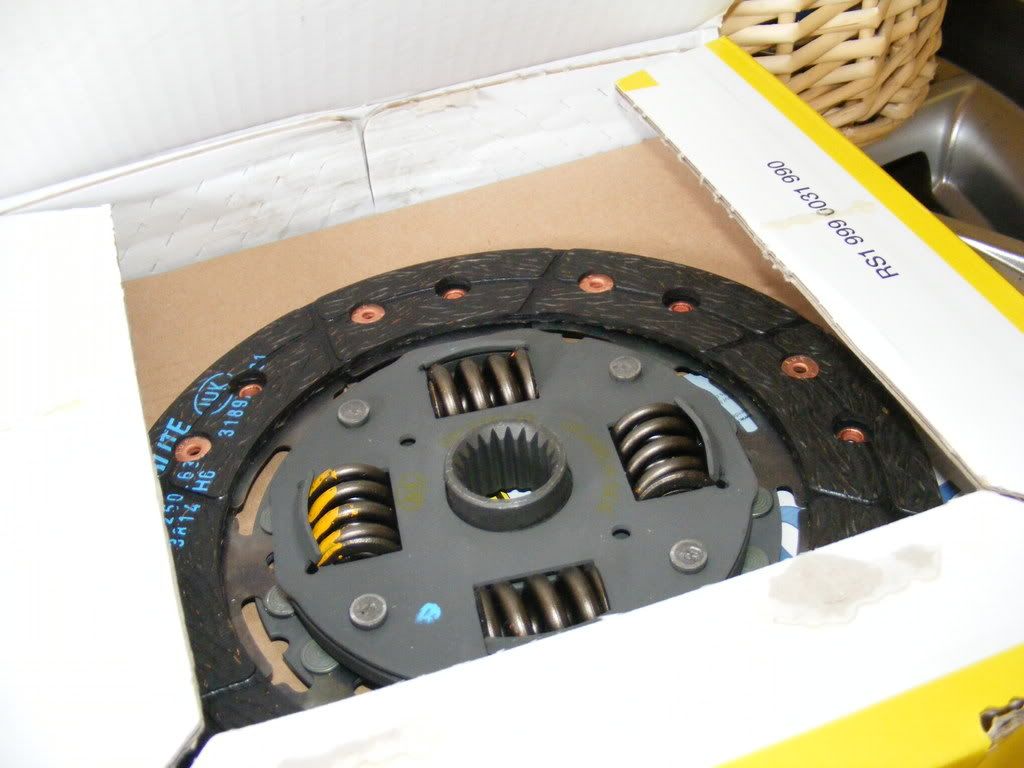
my clutch, which im waiting to fit soon
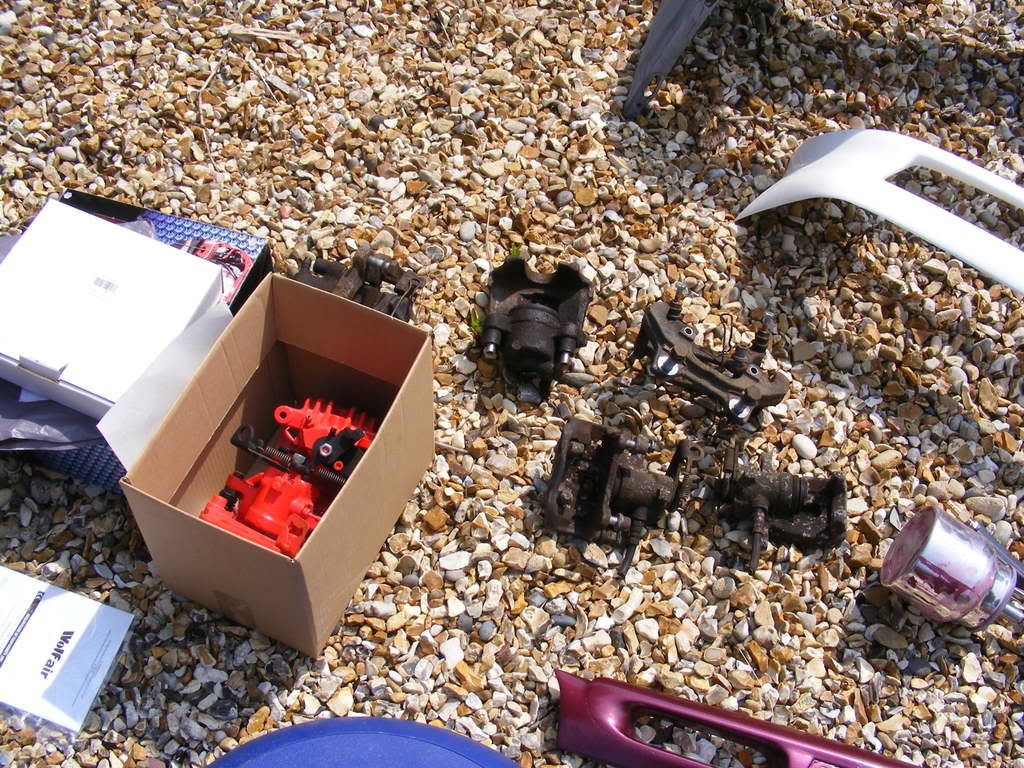
All my brakes iv got to go on, just waititng for soem parts from Fiat to fit thses...next week with some luck.
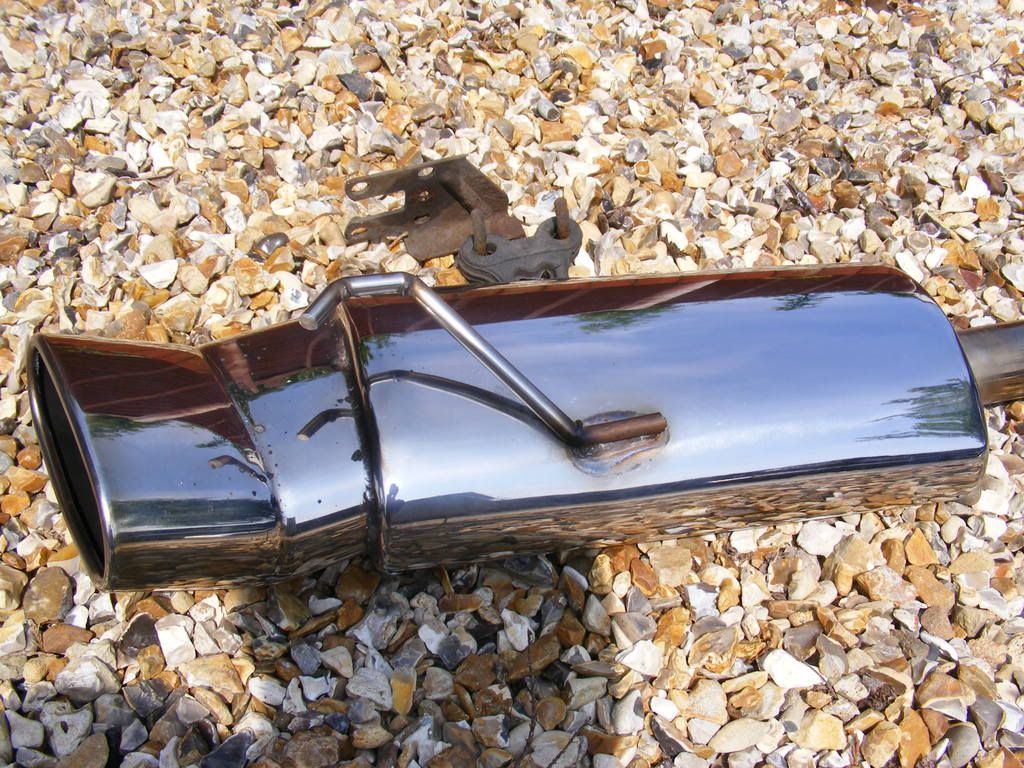
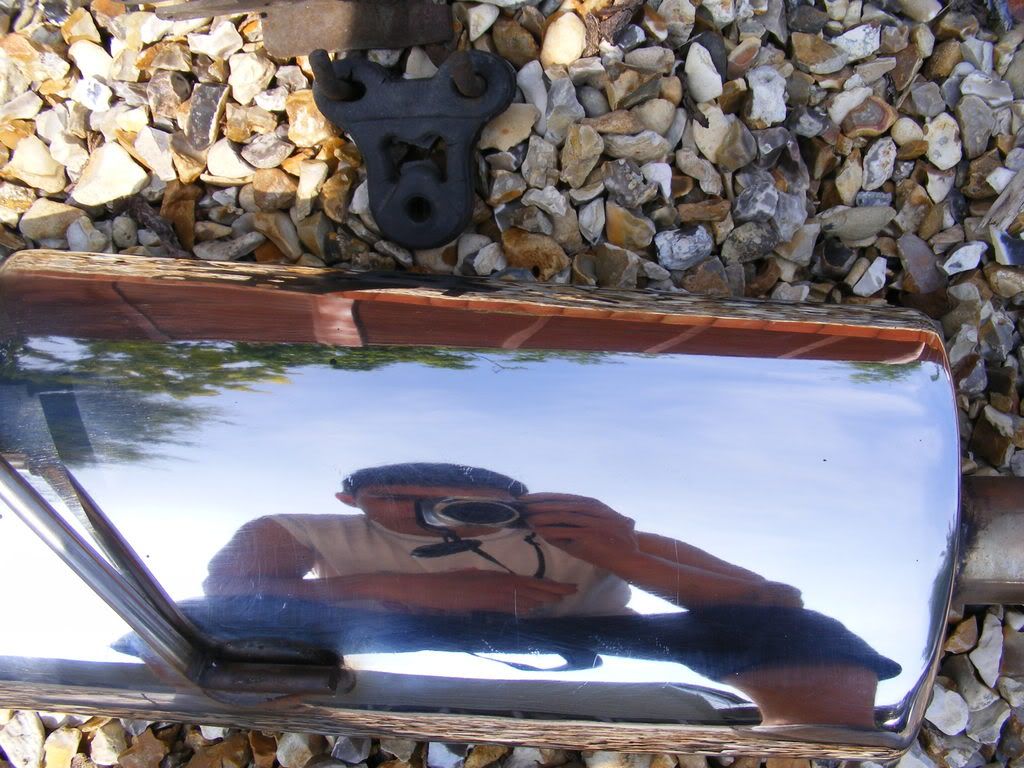
and my exhaust...im sure some of us will know this exhaust..not guna name any names.
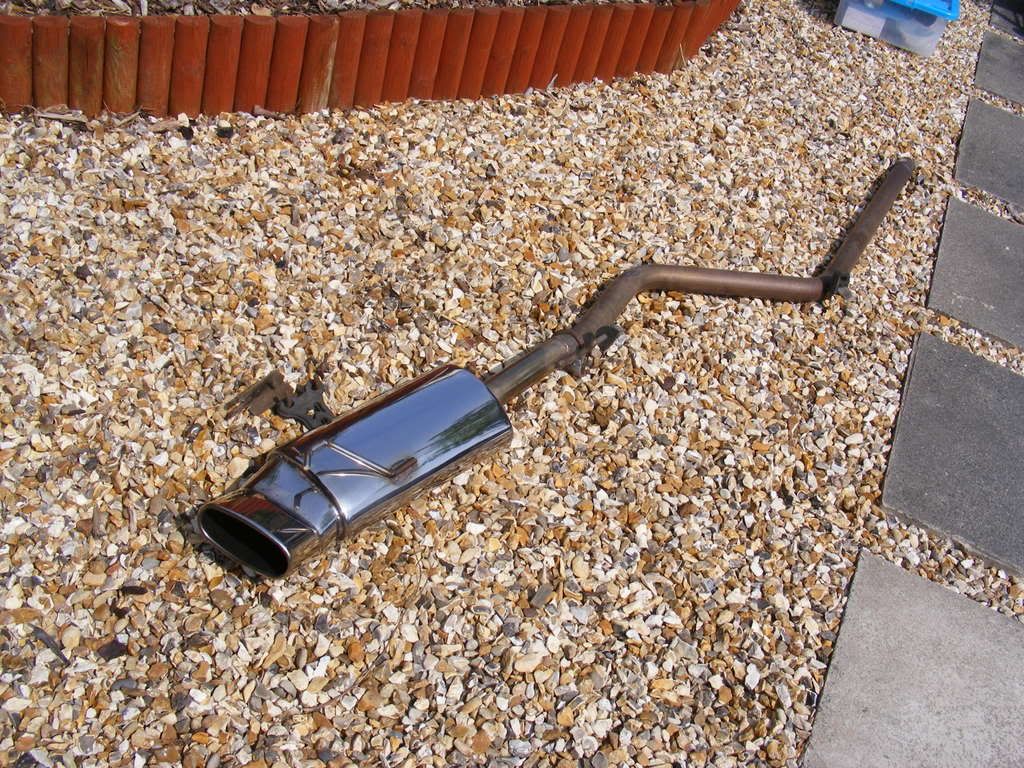
Cleaned it up, and shines it...
like i said, just waiting for some parts of fiat then i can get the back brakes fitted, but they need importing from italy iv been told.
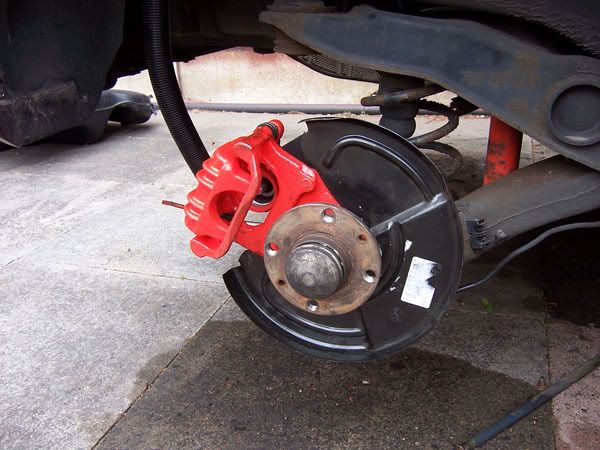
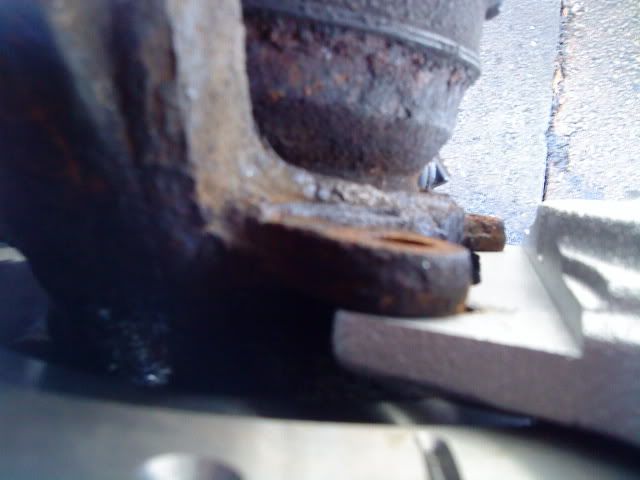
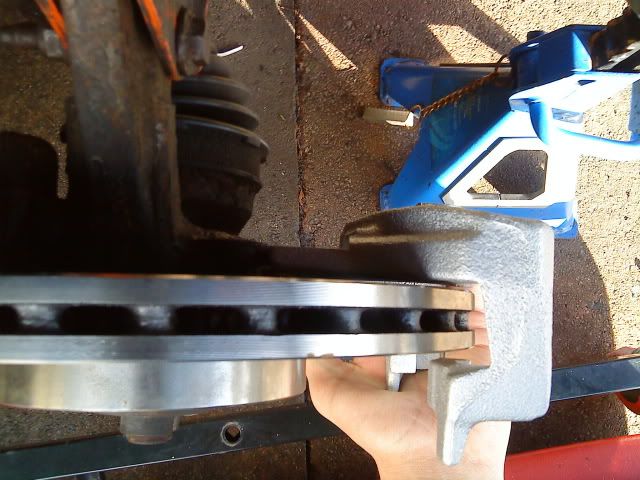
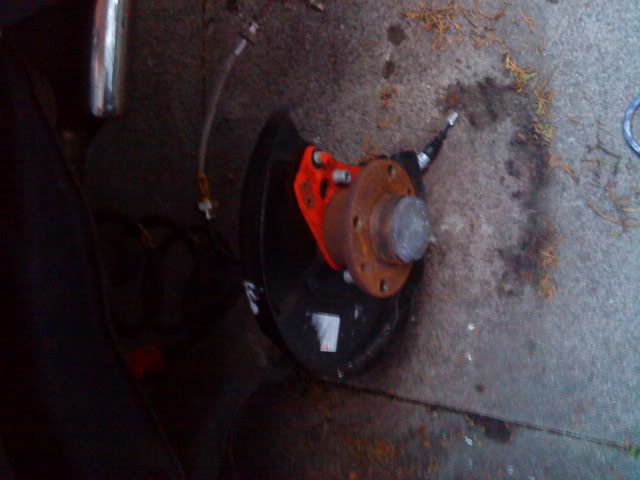
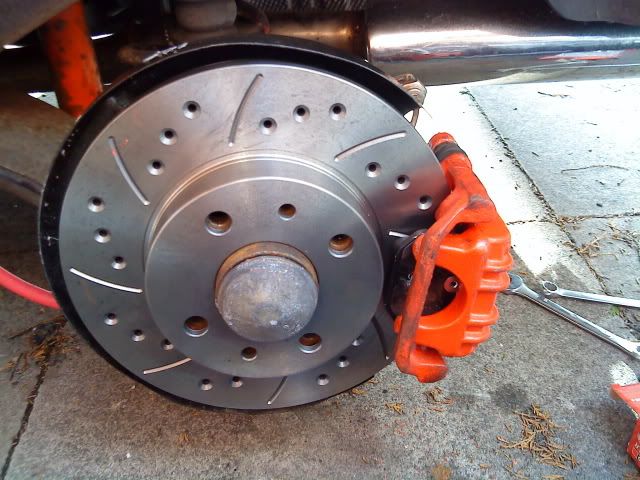
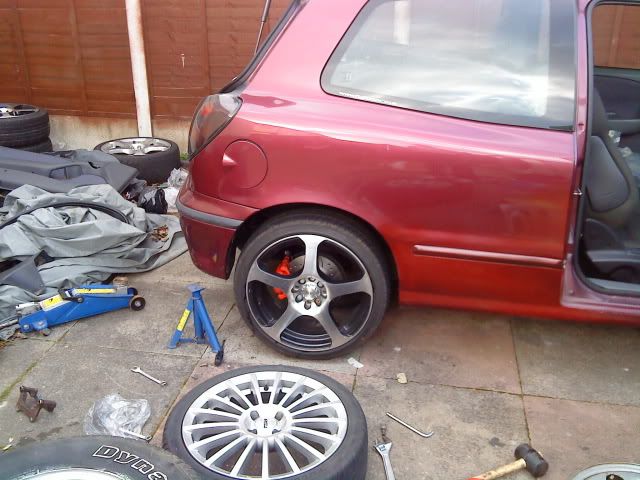
The Brakes have been done:
FULL GUIDE
just a preview:
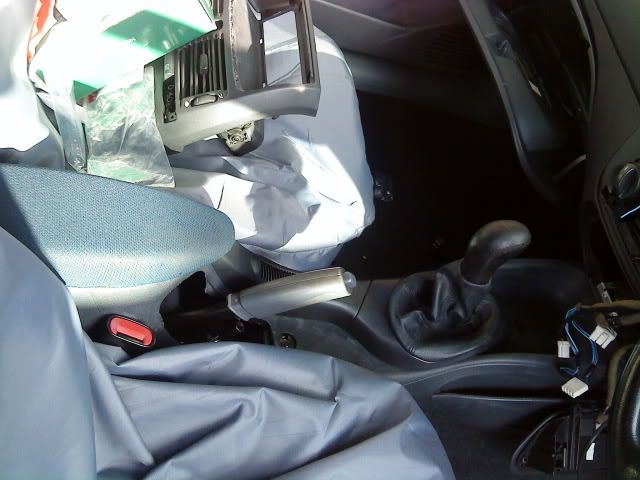
and i also managed to fit a metal induction pipe. not finished yet, as im sure there will be some comments ont his one to help me along.
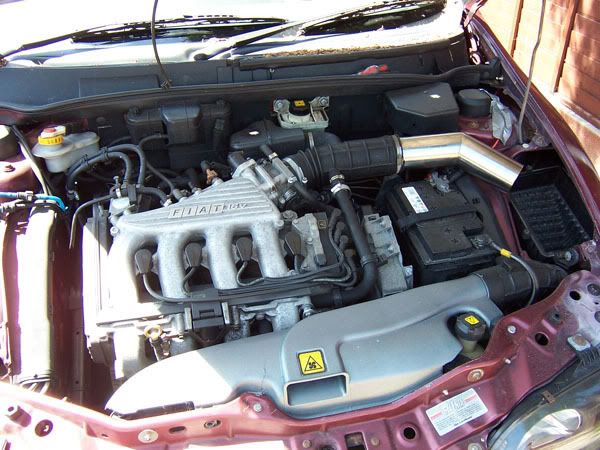
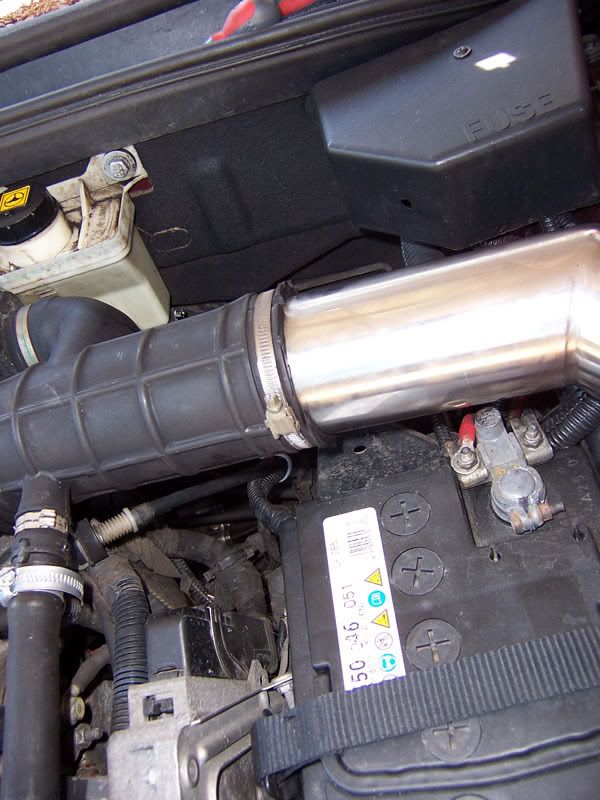
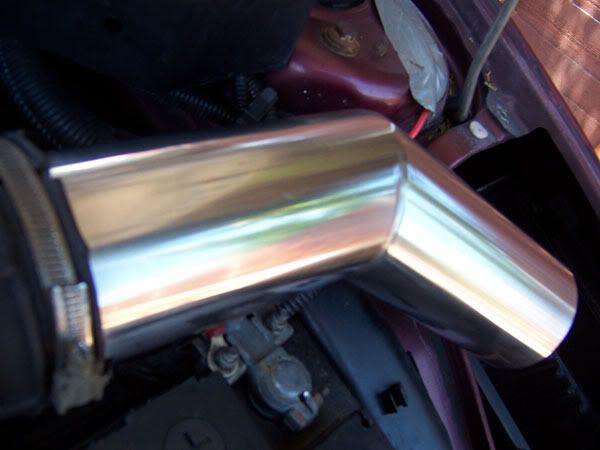
just need to find a proper way to seal it off where it connects then get a decent air filter on the end.
Update 29/06/2008
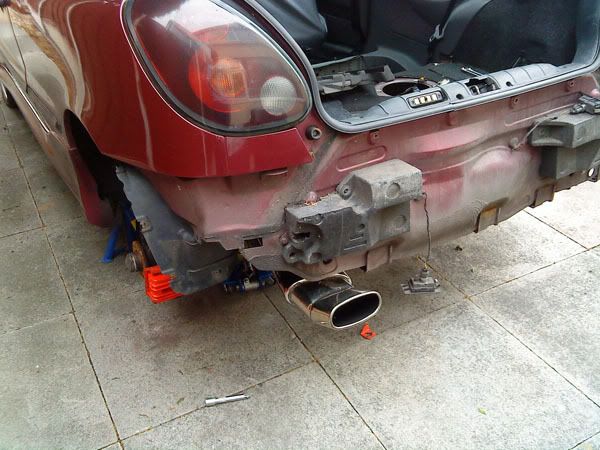
right so didnt have much time...so i got the exhaust fitted(then it started raining so didnt get far
now when it clears up, im guna get the petrol tank back on and start her up
got it on:
Update - 06/07/2008
well she hadd her 1st burst or thurst in over 2 months...she doesnt sound good at all lol
http://s220.photobucket.com/albums/dd303/BravoCook89/?action=view%C2%A4t=DSCF0465.flv
next on the list...clutch
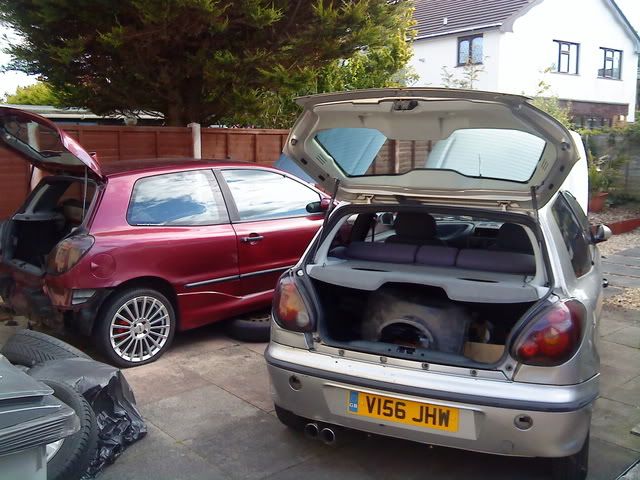
28-05-2008 got WIMMY's bumper!!
YEYYY
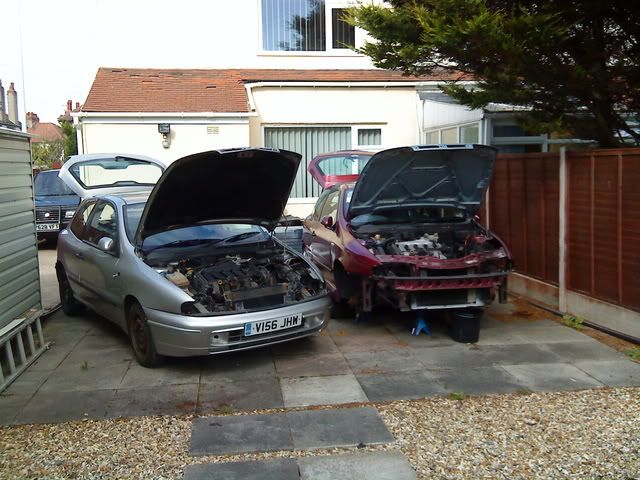
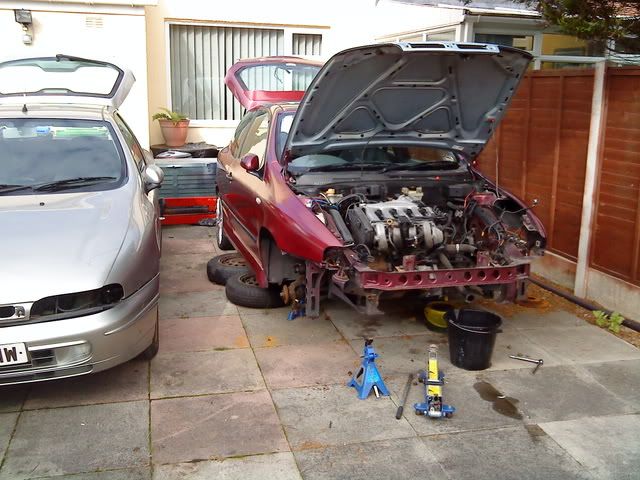
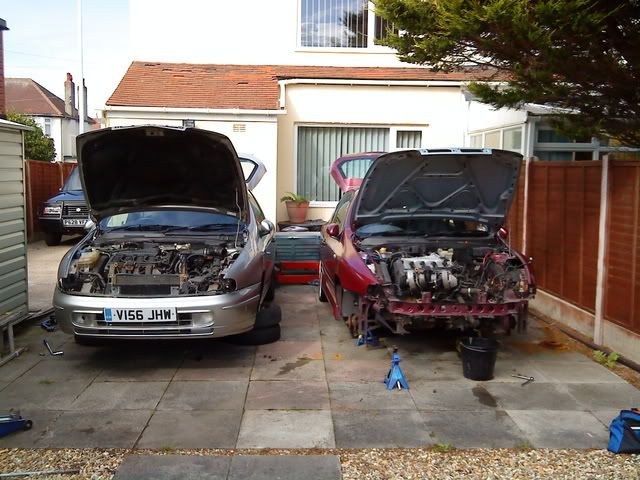
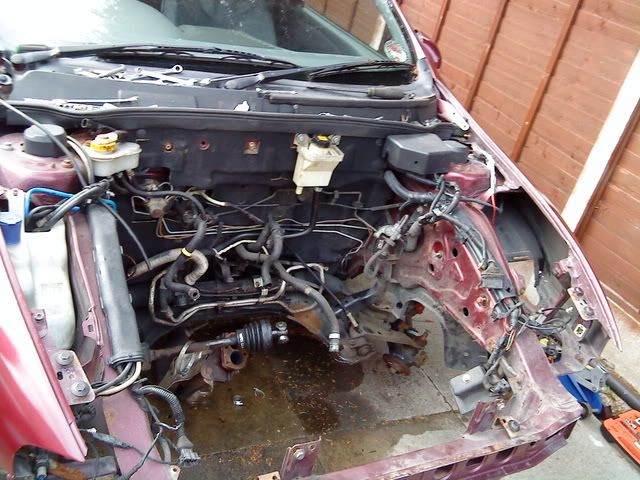
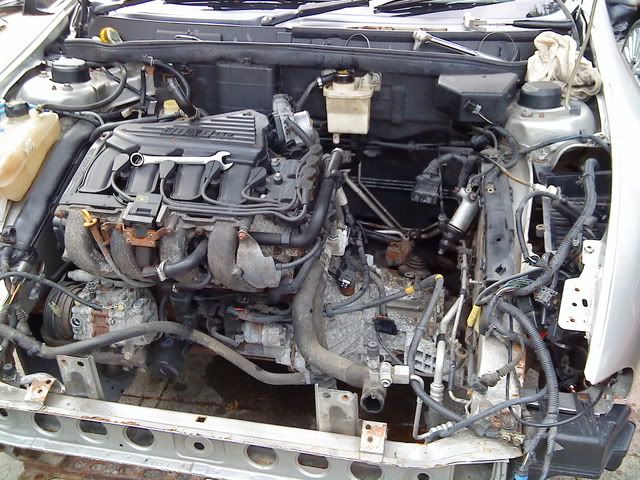
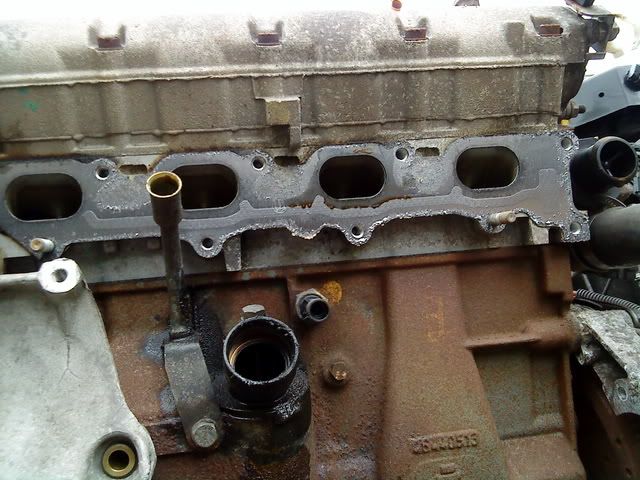
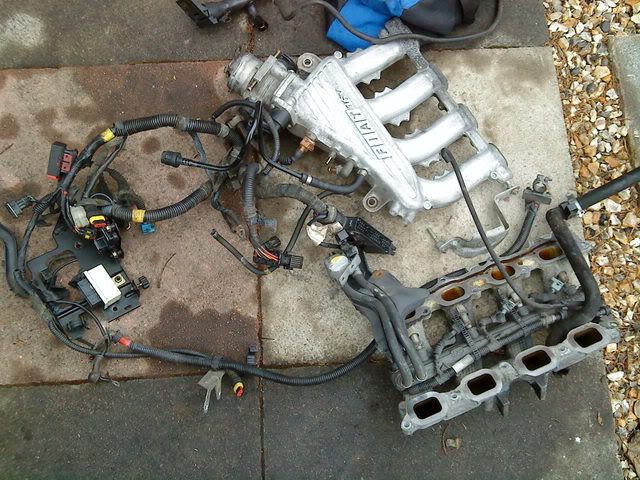
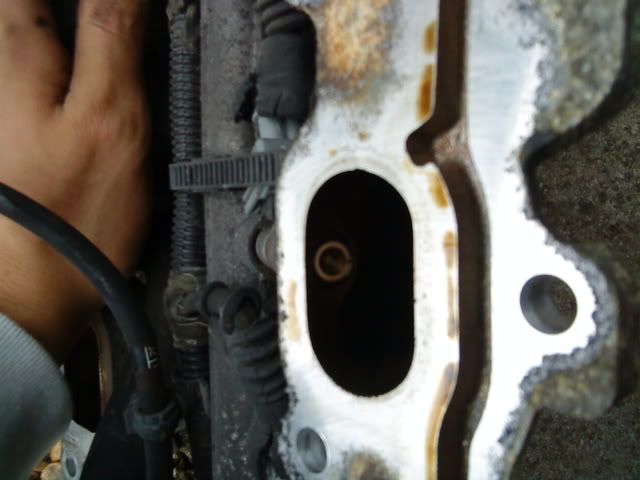
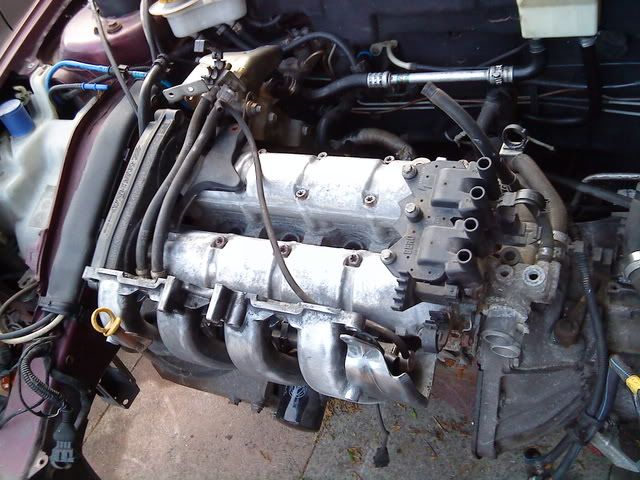
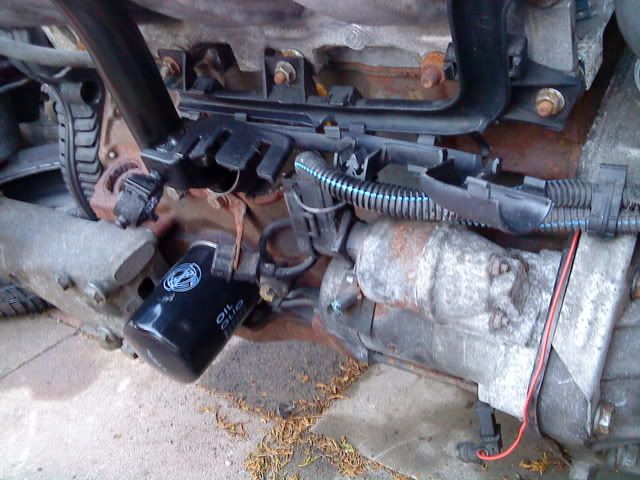
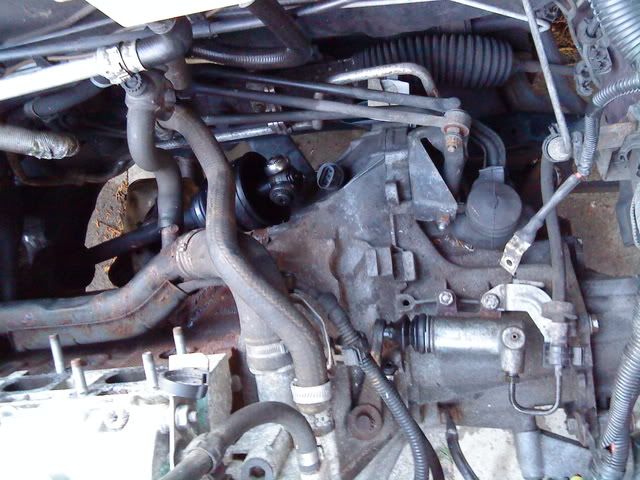
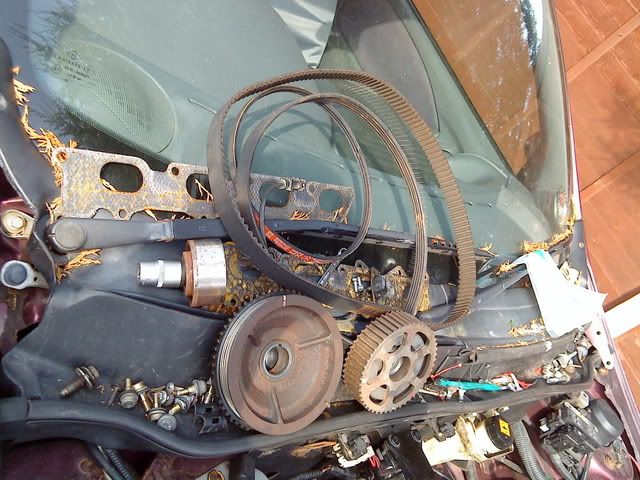
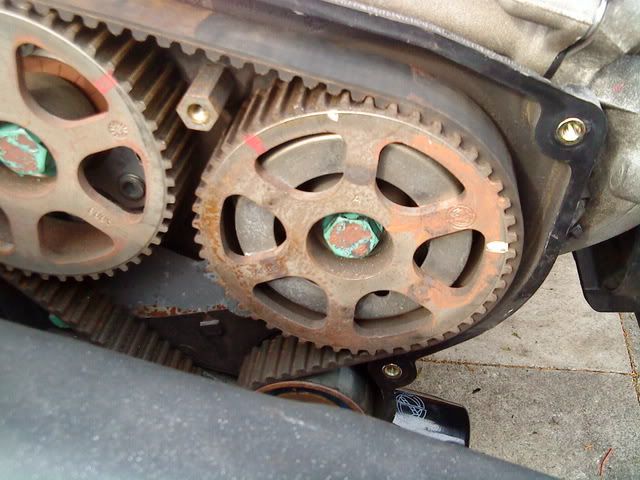
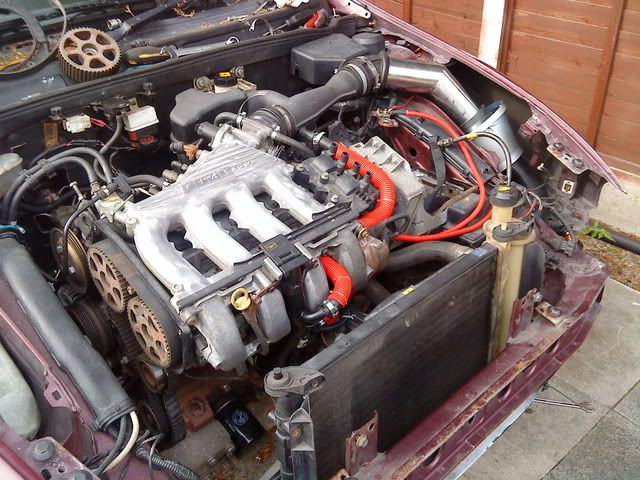
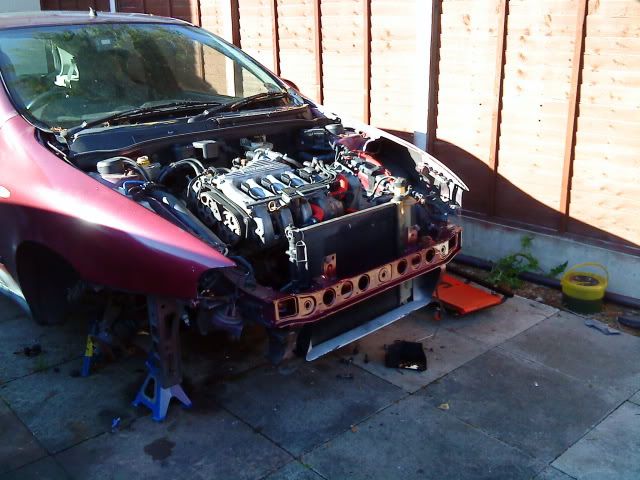
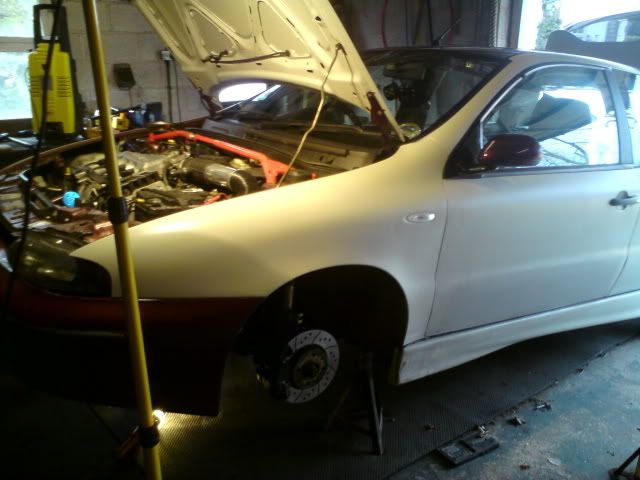
engine swap:

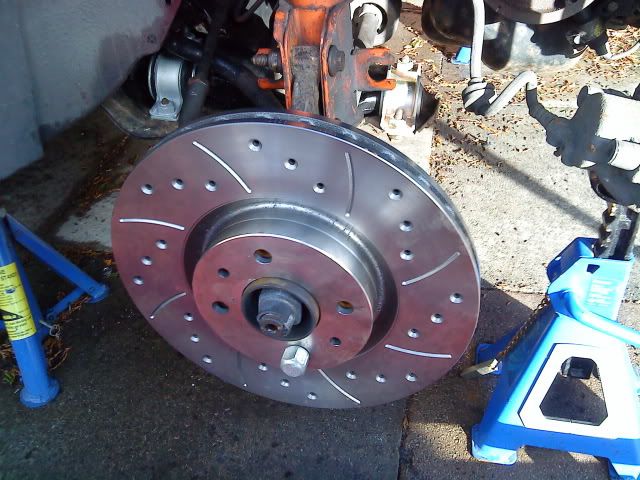
my brakes:
acid dipped and zinc platted:
01-09-2008 - got a little done:
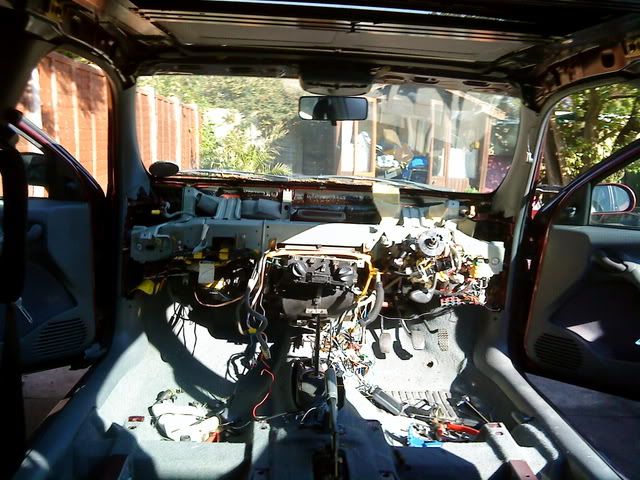
stripped all the wiring loom:
and sorted the injectors out:
one was faulty, thats why the thing kept limping like a bitch!!
faulty = brown
normal = clean(silver)

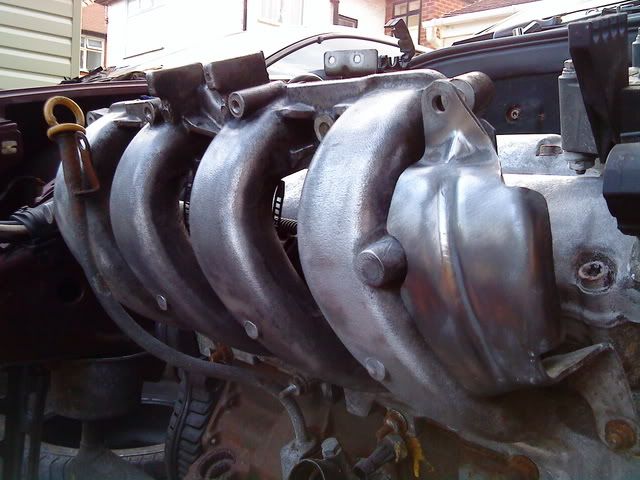
i have also cleaned up all the inlet manifold and the cam cover. will be getting my gaskets tonight, so ill update when thats done
update again
i got one gasket so fitted that witha few bits:
will update again tomorrow
29/09/08 - update

got it all back together now, just need a few parts then she iwll be ont he road...anyone got £400 they dont want
26-10-2008 - right picture update lol
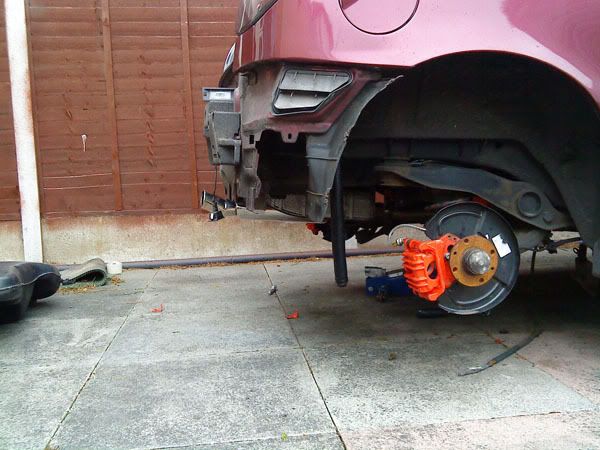
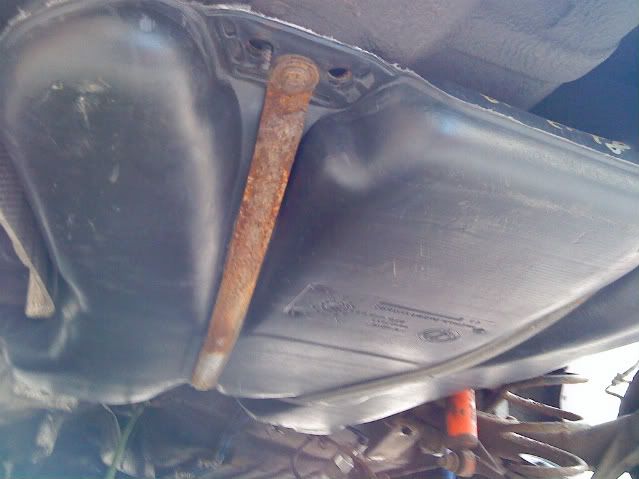
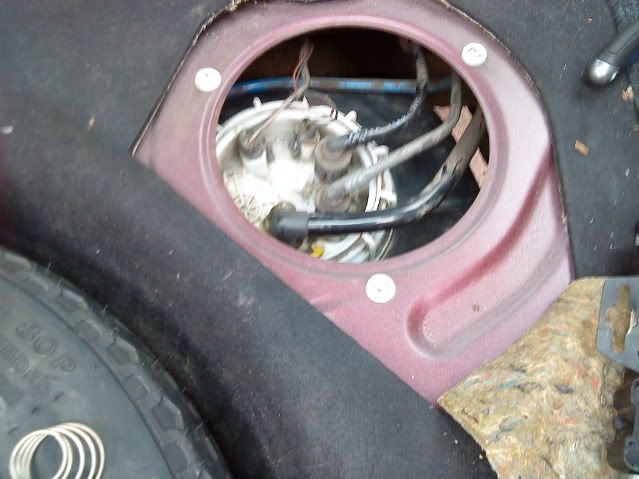
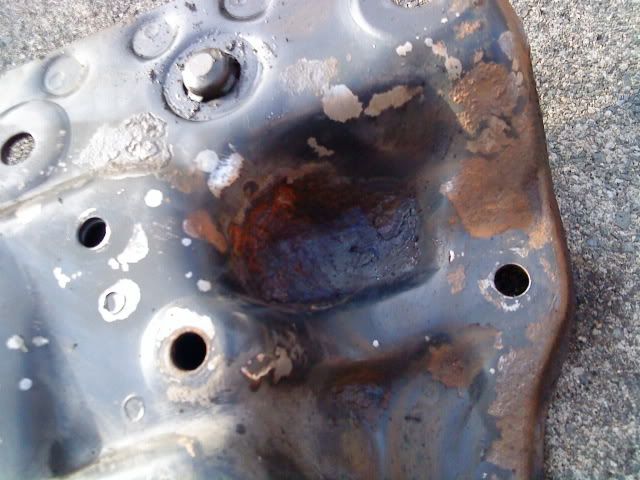
subframe, it had a lot of rust, so i took it off for some more inspections, and found:
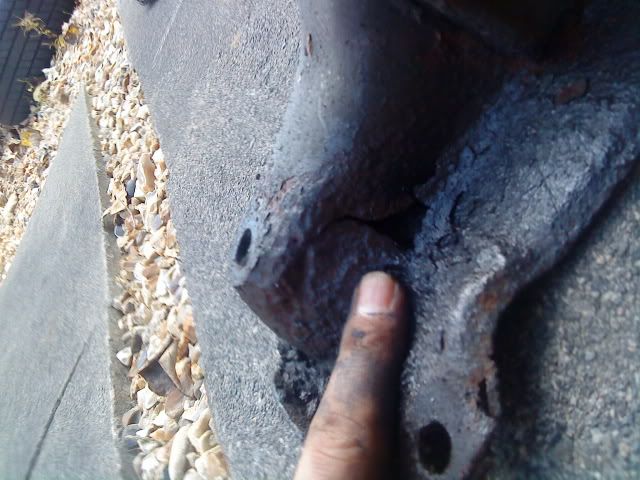
cleaned it up and went closer:
thats on its way aswell:
right so what do i do now?? seen as i now have no subframe:
managed to get hold of one, mint condition, fitted all my new parts:
right so thats now sorted!
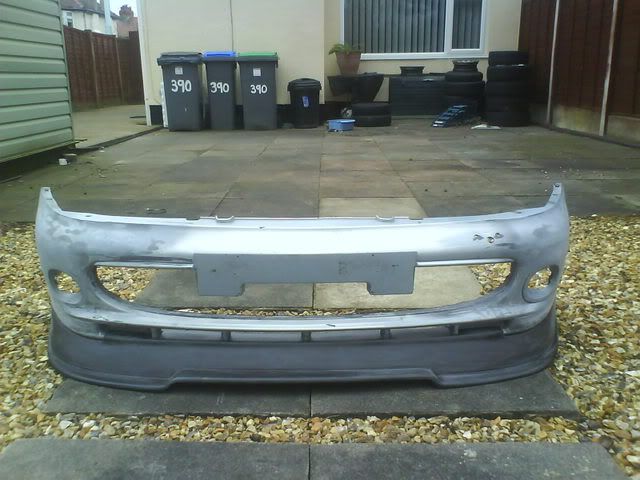
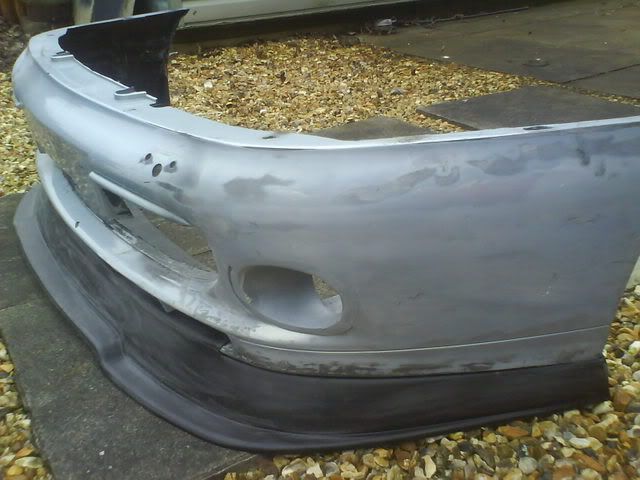
sorted that front bumper of mine out:
before:
after:
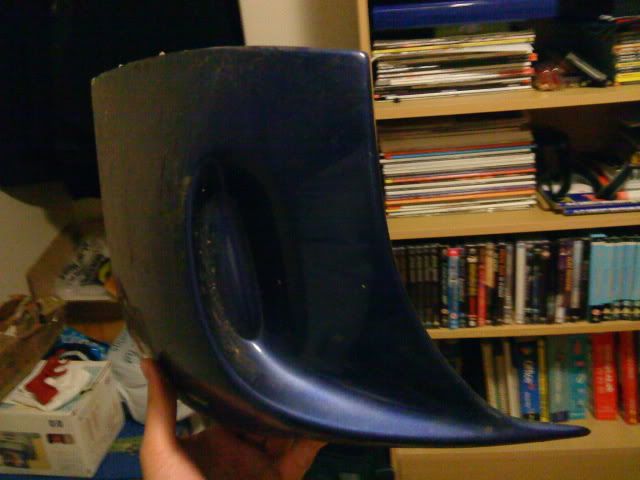
woop, and got myself some abarth spats, can anyone guess what im doing with them??
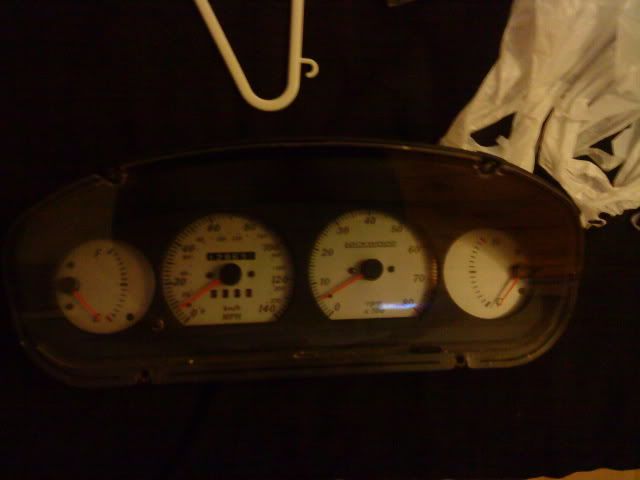
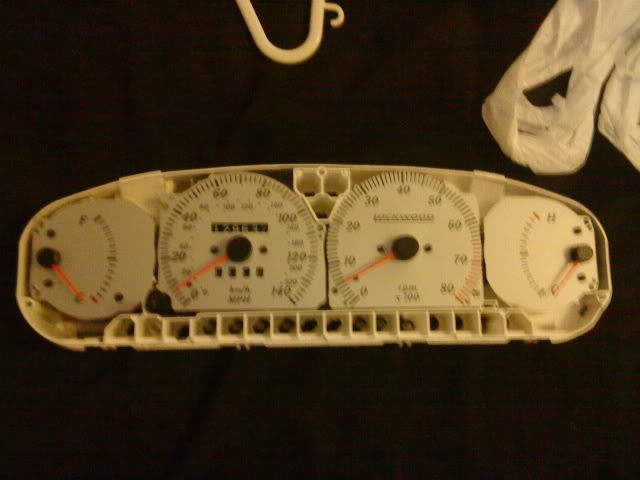
and some new dials, went for silver seen as everyone always does white:
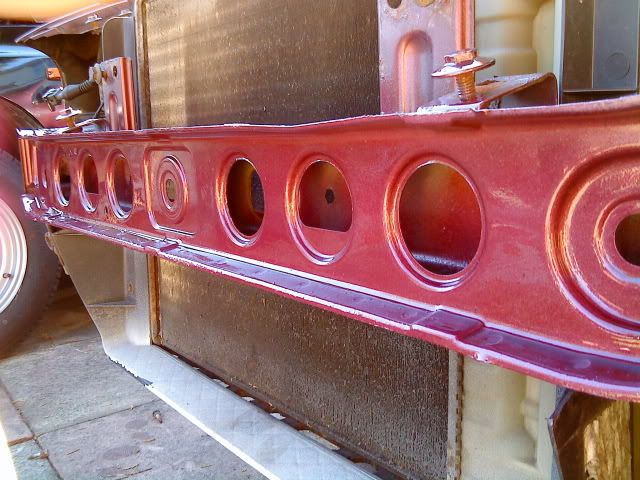
and also, sprayed the front impact bar, was looking a little tyred!
yestersday i got my gearbox gaiters sorted, my track rod ends all connected up, now its just for the brakes!!
roll on!
right so been busy the past 2 weeks.
1st of all my brakes, wanted to upgrade to HGT brakes, but failed
since that failed, it was back to the drawing board...
so i changed all my bonnet hinges and cables:

and that was one weekend over with
and on to this weekend...saturday, had a mint day out at the scrap yards in Bury, great success..
got some bravo 1.8 calipers, back door cards and a marea centre console:
and started putting the car back together again and did a few touch ups lol
before:
after:
Colour coded bump strips!!

haha!!
and my bumpers:
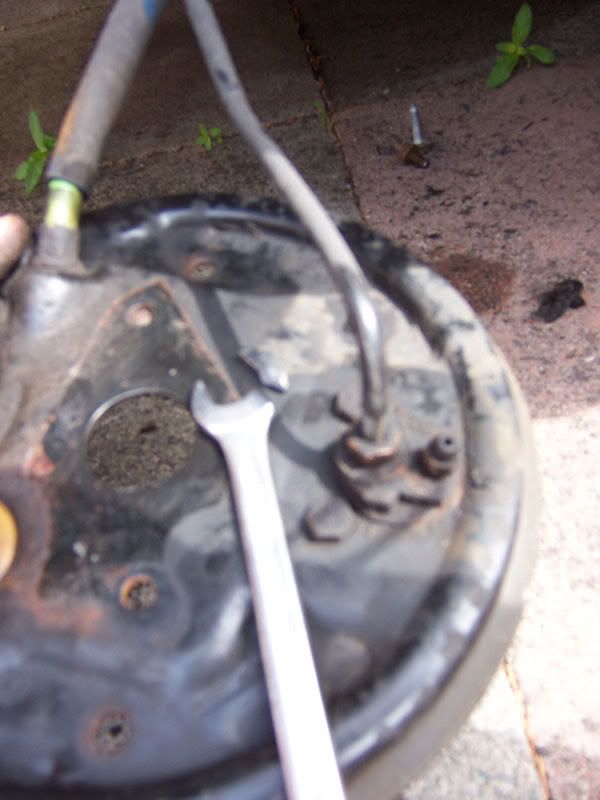
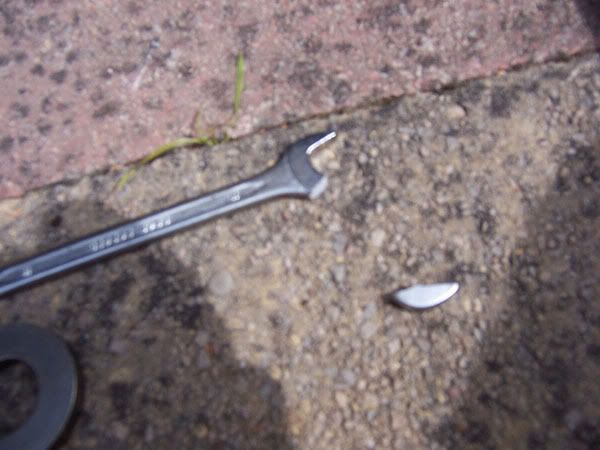
and then cracked on with my back brakes:

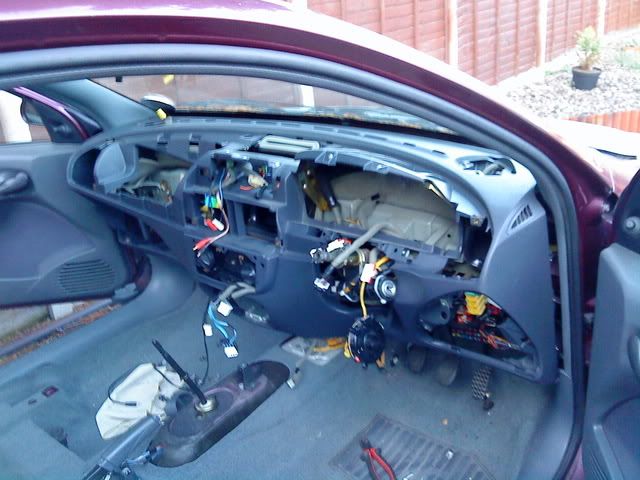
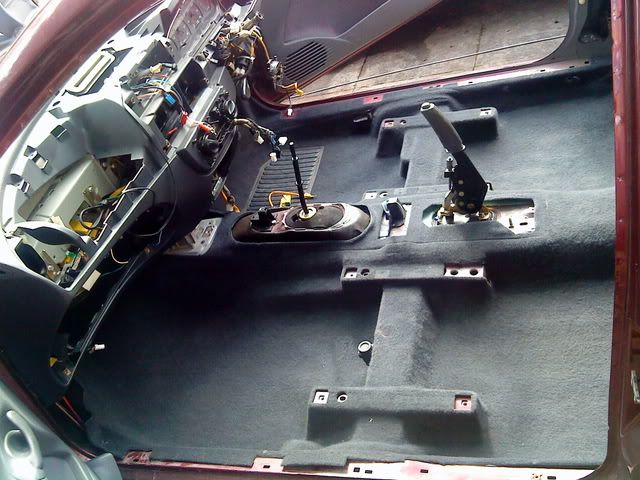
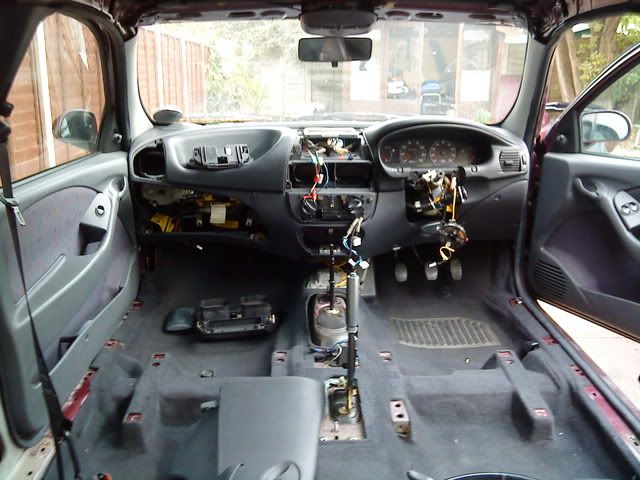
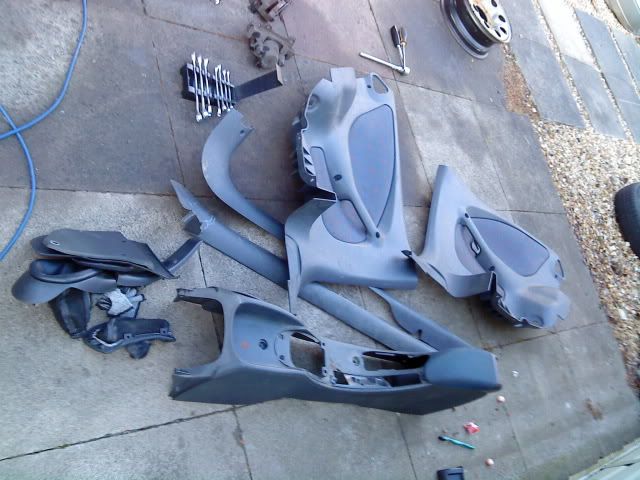
then a few bits ont he interior, fitted my console:
and my dash all put back together:
and a preview of my seats, alfa 156 salespeed seats:
thent he rest, put my grille on:

and my headlights:
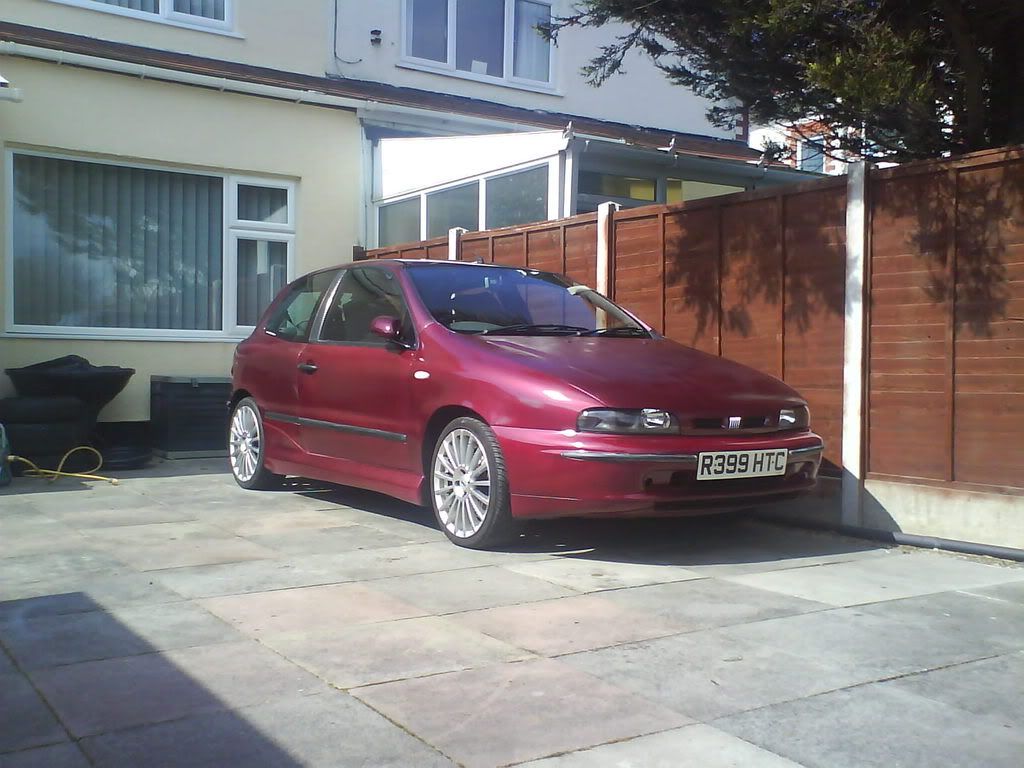
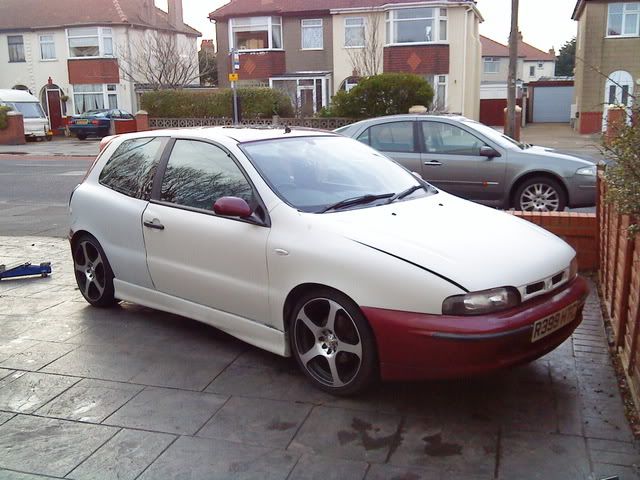
and now a show and shine:
just waiting for my front brakes and ill be more or less done!!
Update 10/11/08
got my front brakes done


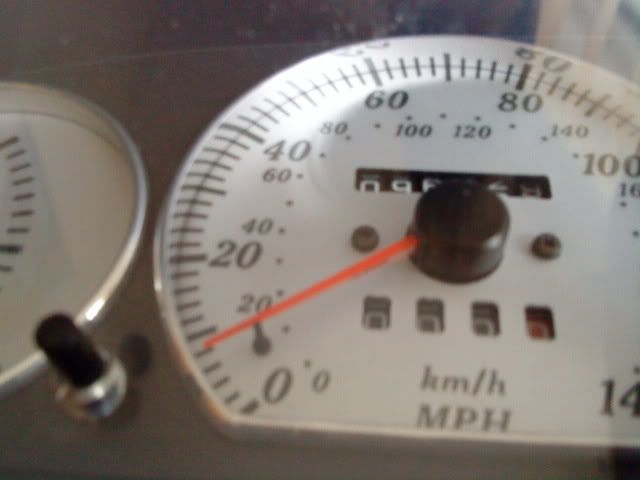
thats that sorted, guna bleed them today and make sure they are fine, i had the car up on stands again running her to see if the gear box works, went upto 60mph with out a problem so thats fine...this week i hope now
small update 12/11/08
right just a little bit...
cleaned my back seated area lol
and drove her...i actually drove her haha!!
but i forgot i didnt have brakes, so i used the wheely bin
and a nice shot
ooo and can people guess what this is?
08/02/2009
suppose i can update,
well time for a little update!
my boot lid:
looks ace! then primed the other side:
not got any pictures of the side completely primed but tis done
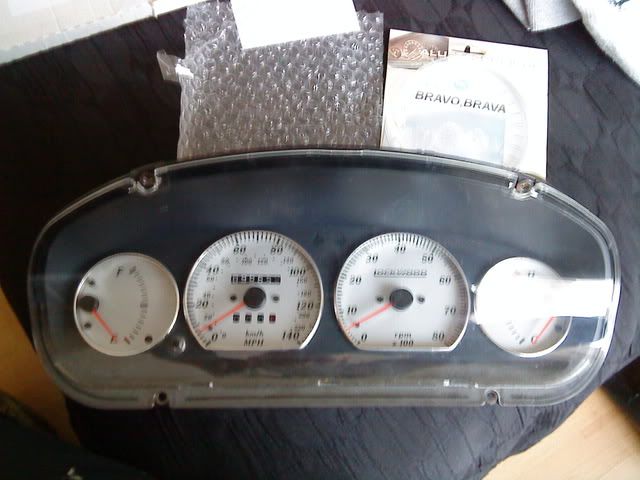
and my new dials! look at these sexy ****ers!
and last but not least...DRUM ROLLL PLEEEAAASSEEEEE
was guna fit them today but was too busy with my auntys car so guan leave them and do them next weekend.... bit too late to start now
update boys and girlies!!
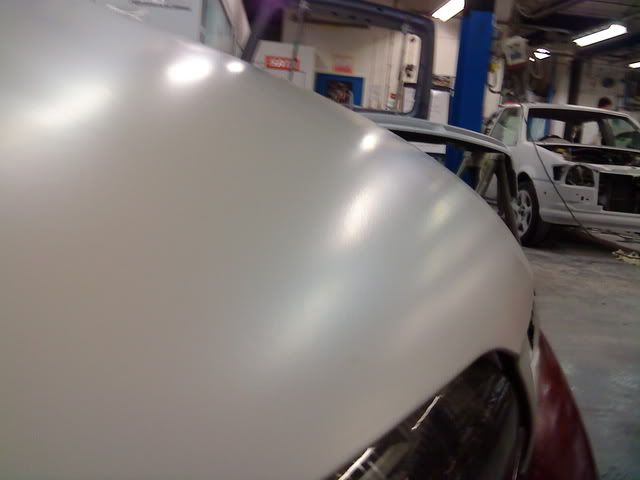
got myslef a nice new bonnet...take a gander at the dent free finish
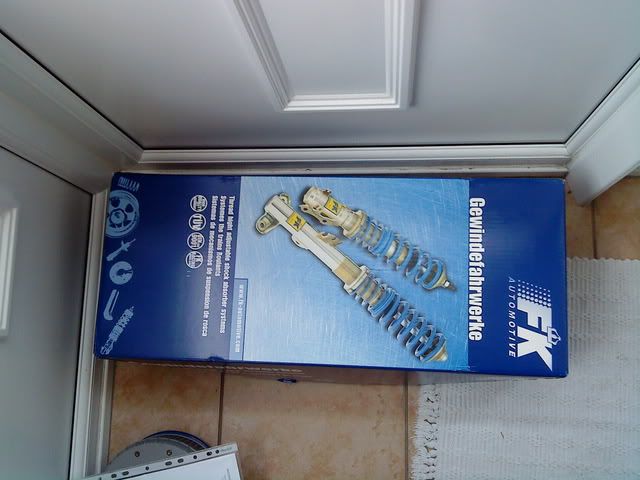
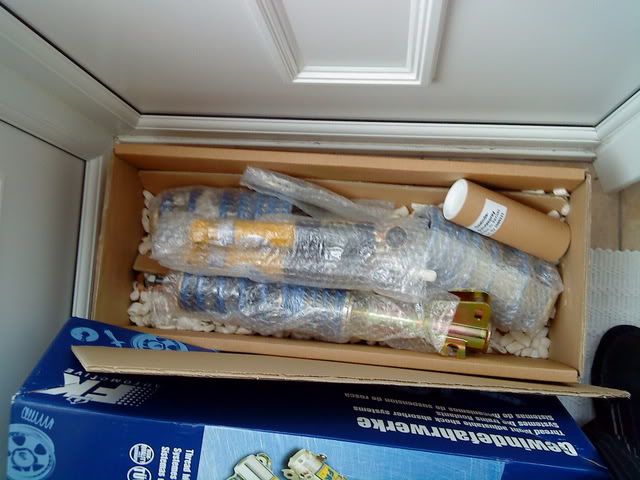
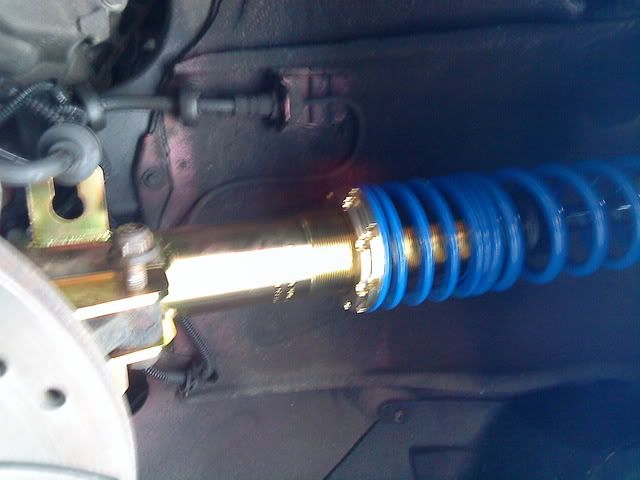
and ofcourse, my coilovers:
and just arrived but not fitted yet:
rock and roll!!!
update -15-03-2009 been busy this week, and the past few lol
cant remember where i last updated...
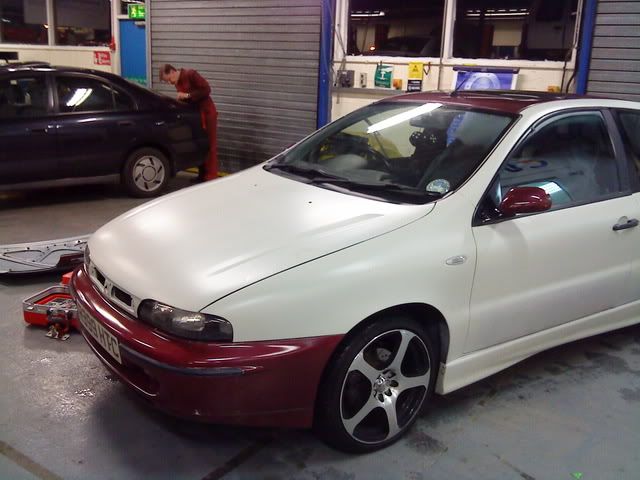
i finally got chance to give my coilovers a good running in..and i must say im impressed by the handling...spot on and i woul drecomend them to anyone! really worth the money!
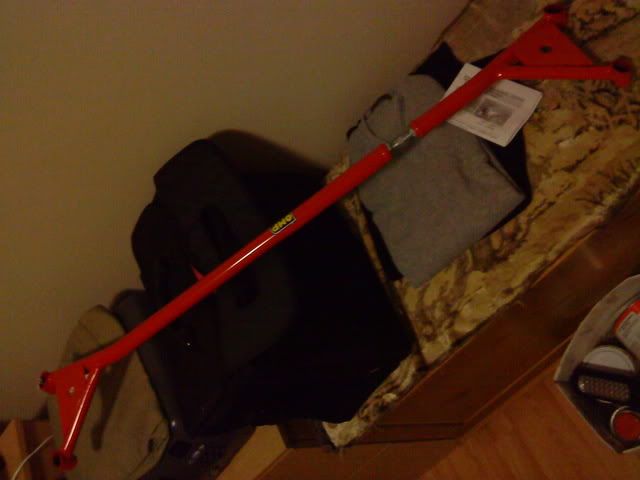
and my strut brace:
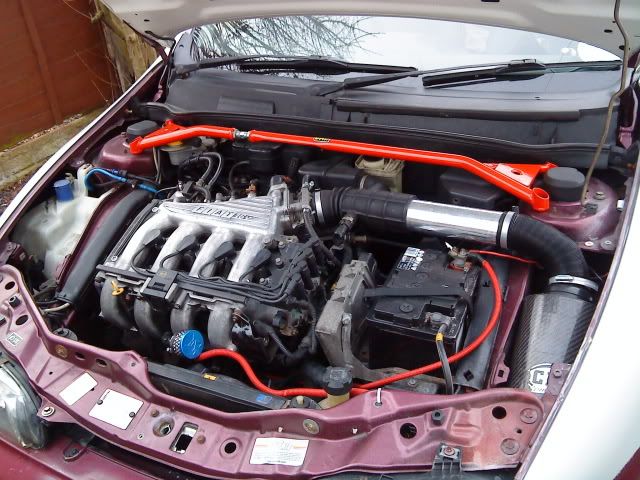
this makes some difference aswell, not allt hat much as it is a big car anyway but it does top it off that little bit!
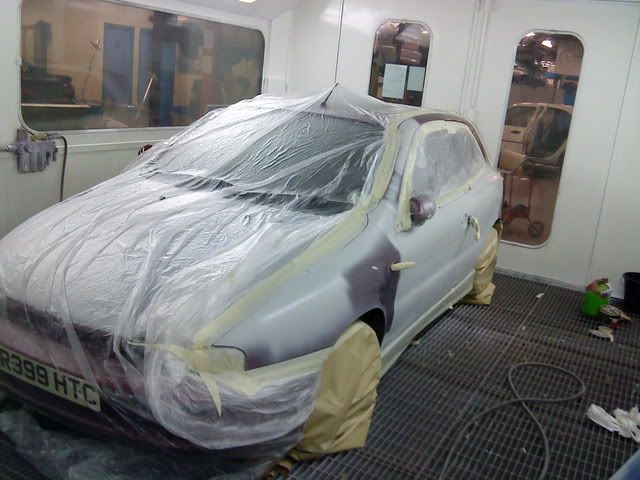
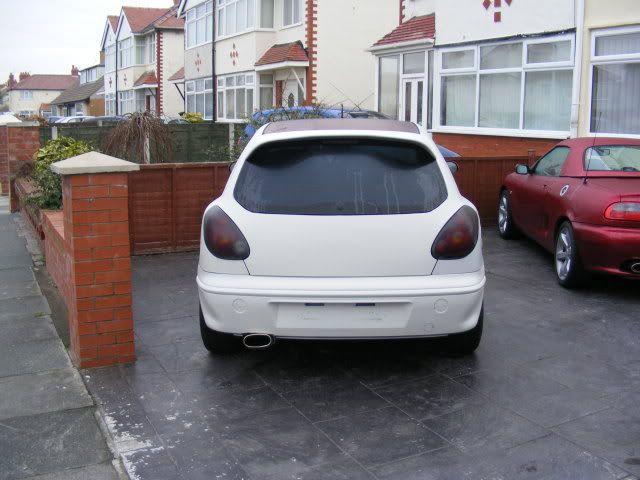
then i did my boot lid...loved doing this
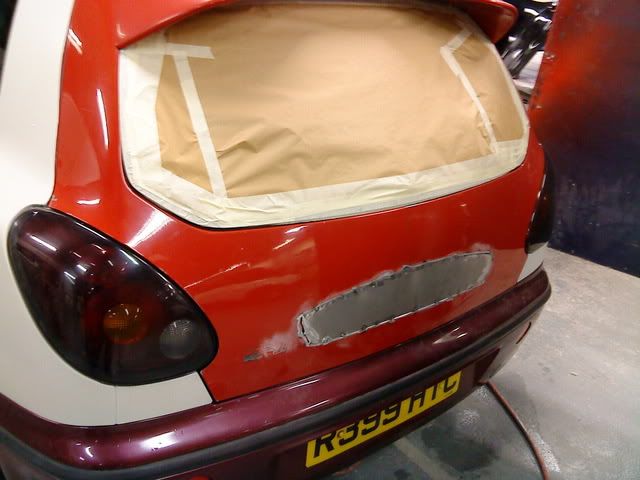
then all finished off:
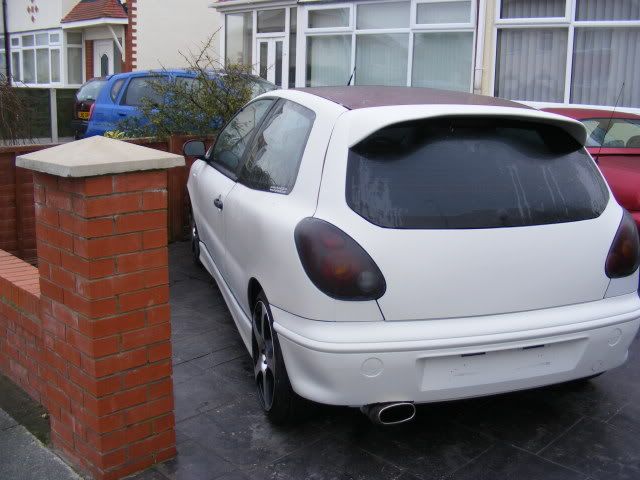
and filled the gaps on my side skirts
and no i didnt spray over my reflectors, i just forgot to take the masking take off lol
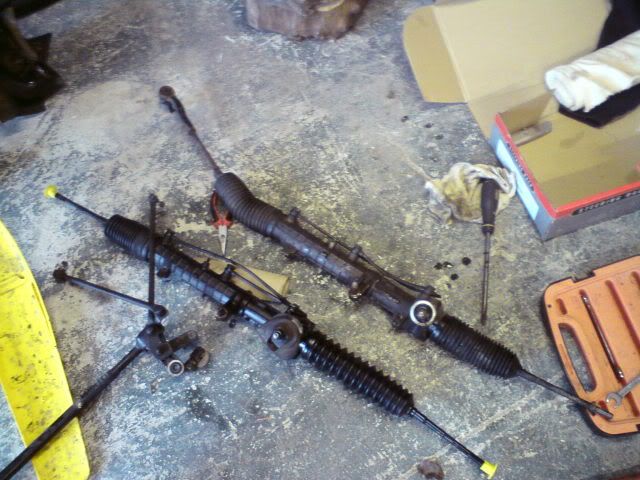
and the real icing on the cake, my steering rack broke...somehow got a massive crack in it... wasnt happy...
so i set out to change that...was a long hard 10 hour ordeal! started at 2 and and got home at 12 am!!
have to drop all the subframe out and all the gear linkages! was a pain int he back side
ols VS new
and look atthis for a crack!!
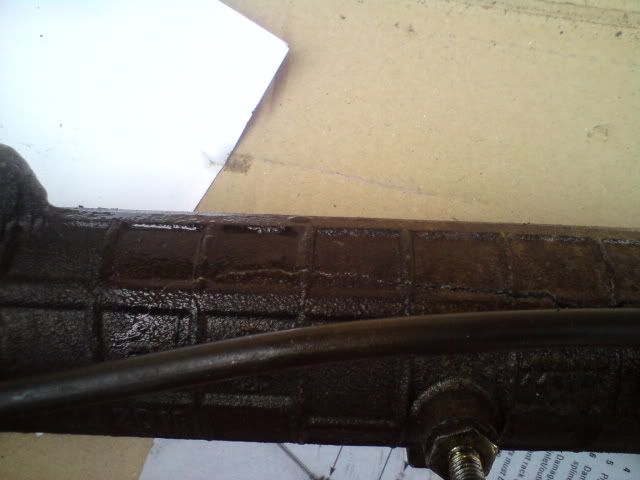
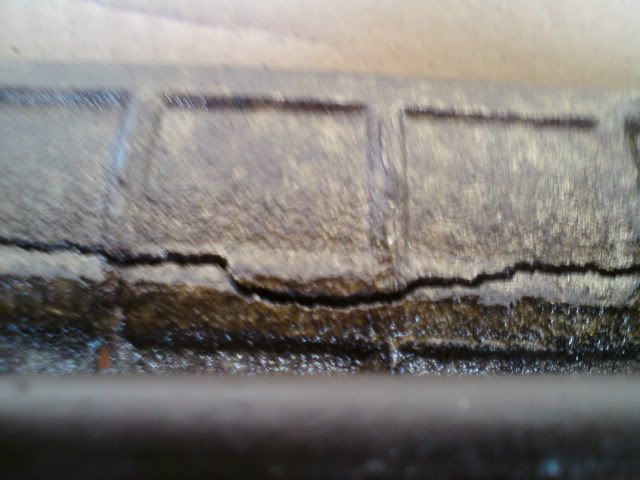
wow! god knows how that got there!
ooo and iv now got a red top lol....(after 10 hours of working u go a little crazy)
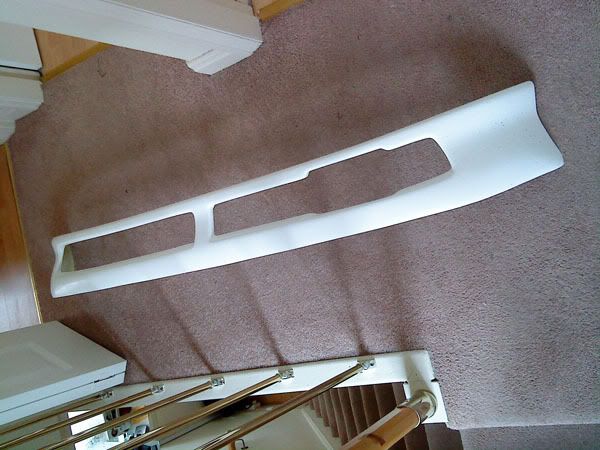
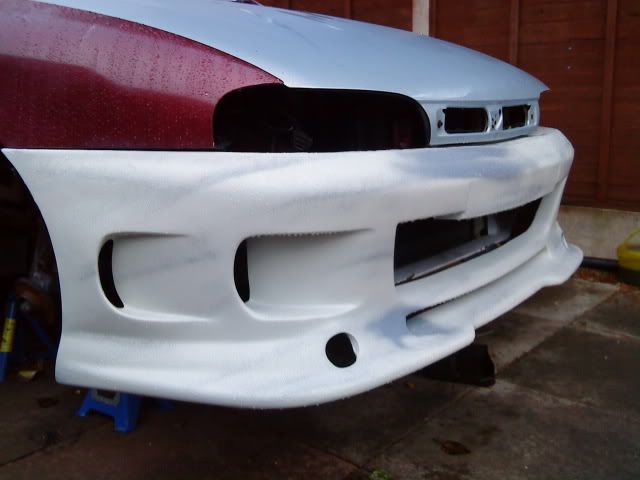
and just a little preview of my front bumper
thats the rieger kit that matches my front bumper...and kind of the back once i get chance to finish it off.
and i painted the calipers black:
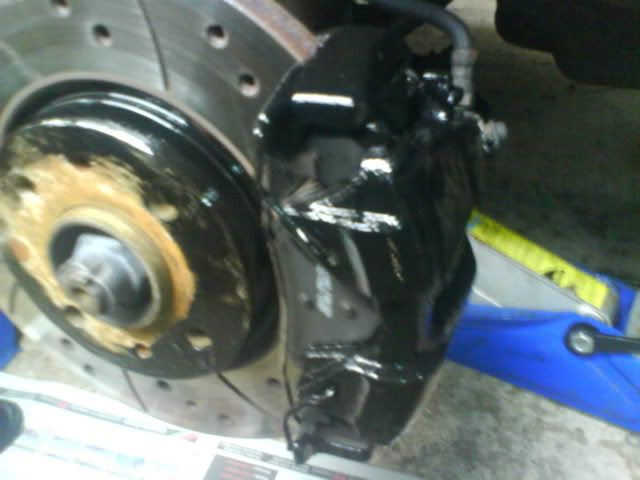
makes soo much difference on the appearance...not noticable but looks miles better!
going on holiday next week so will be doing more work when i get back

here i go (look out for the links)
My Big BIG project..ill start from step one
the day i got her
then the 1st bit covering up some damage with Side Skirts
and...the performance..replaced my god awfull 1.4 12v..with a 1.6 16v
and then just to make her look a tad bit sporty, wide wider arches...a Fiat Marea front end
Part 1: Click
Part 2: Click
My BOO Sticker
and then some racing seats
the brackets were made out of metal bars...but they have been tested and they are 100% safe
justa few shots:
and basically..thats her upto now..plans are obviously to do alot more body work and to do some performance work such as strip my back seats out and get a little bit more air flowing through with an exhaust and induction kit
Iv got some arches to go on to make the back end a little wider.
if anyone has anymore ideas??
15/04/2008 - Update
she has gone off road now im afraid. here she is tucked away
iv got my new clutch. my brakes have been paid for just need to get them now lol. and the rest will all be cosmetic. and a few performance upgrades. i will keep updating this
12/05/2008 - Update
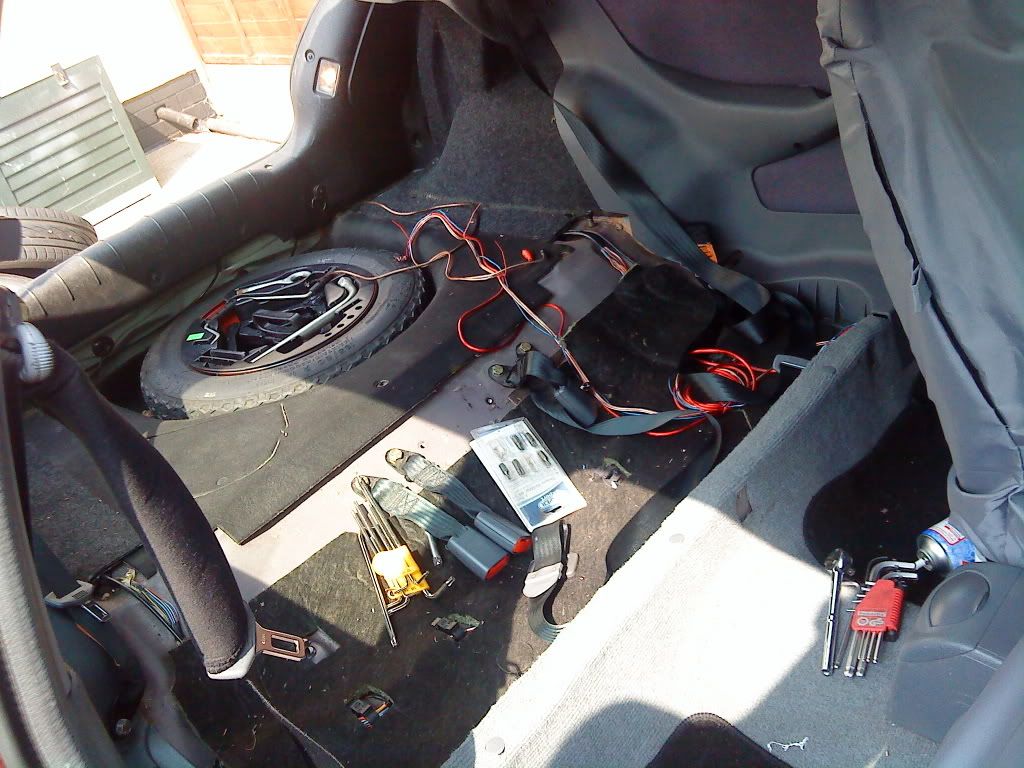
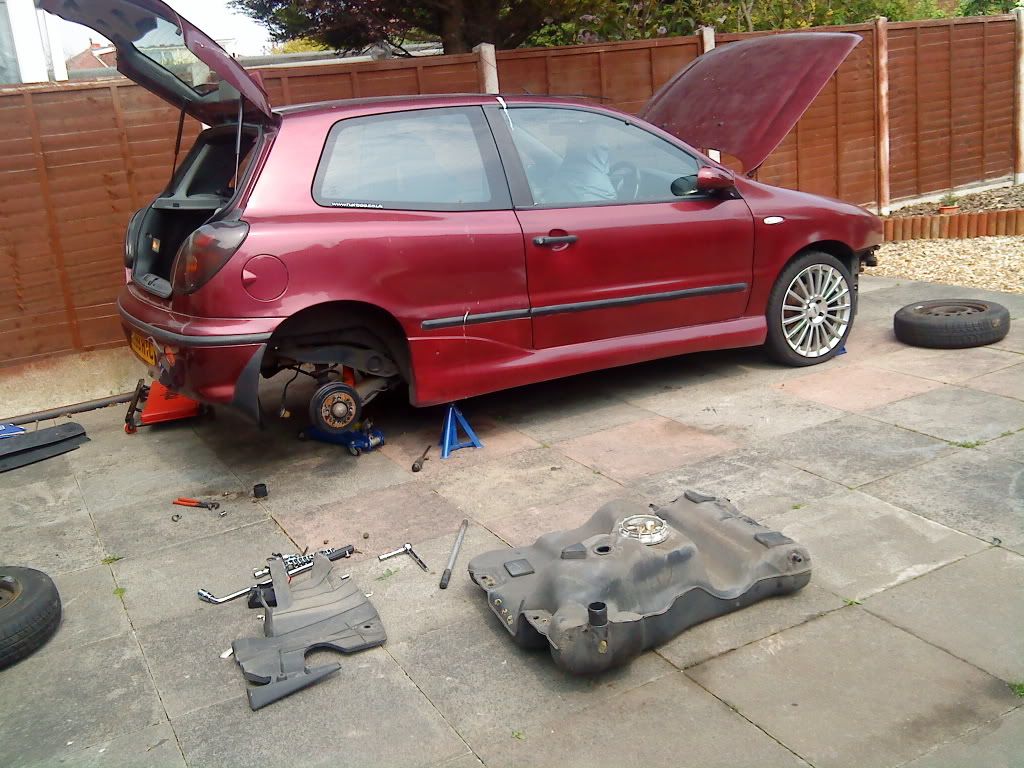
basically i stripped all the parts i didnt want, like the back seats.
then i went and stripped the petrol tank off because i had alot of injector problems, so im cleaning it out.
Update - 17/05/2008
I only had a an hour on friday night to do something, so i thought id do this
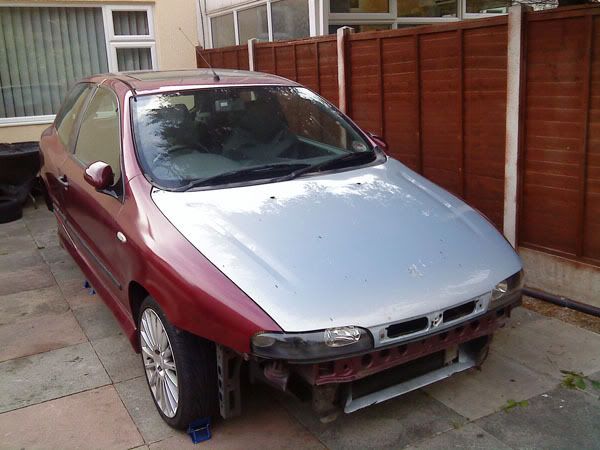
Fitted my new bonnet (after the accident)
and then something iv been working on for a while but its still not finished:
and as i finished, i was sat down having my tea...at 8 o'clock friday night, the dorr bell rang...the delivery man brought me this
Im very happy today
Update-1-06-2008
Just a small update today as iv been to busy to really make any big progress on the car.
my clutch, which im waiting to fit soon
All my brakes iv got to go on, just waititng for soem parts from Fiat to fit thses...next week with some luck.
and my exhaust...im sure some of us will know this exhaust..not guna name any names.
Cleaned it up, and shines it...
like i said, just waiting for some parts of fiat then i can get the back brakes fitted, but they need importing from italy iv been told.
The Brakes have been done:
FULL GUIDE
just a preview:
and i also managed to fit a metal induction pipe. not finished yet, as im sure there will be some comments ont his one to help me along.
just need to find a proper way to seal it off where it connects then get a decent air filter on the end.
Update 29/06/2008
right so didnt have much time...so i got the exhaust fitted(then it started raining so didnt get far
now when it clears up, im guna get the petrol tank back on and start her up
got it on:
Update - 06/07/2008
well she hadd her 1st burst or thurst in over 2 months...she doesnt sound good at all lol
http://s220.photobucket.com/albums/dd303/BravoCook89/?action=view%C2%A4t=DSCF0465.flv
next on the list...clutch
28-05-2008 got WIMMY's bumper!!
YEYYY
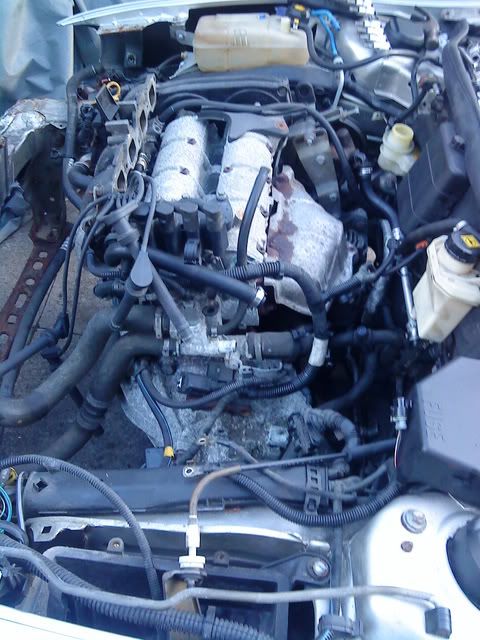
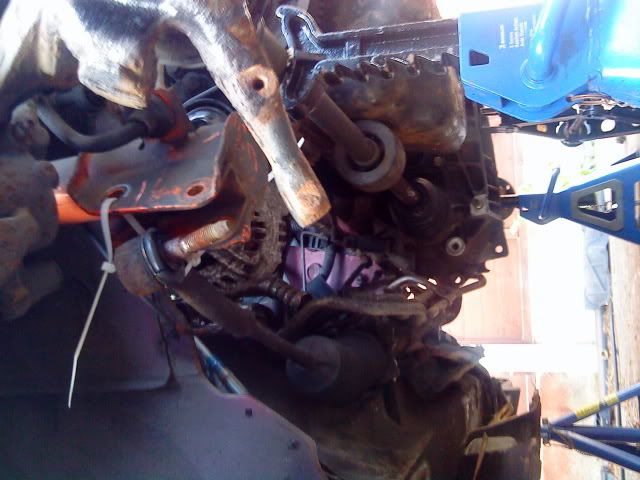
engine swap:
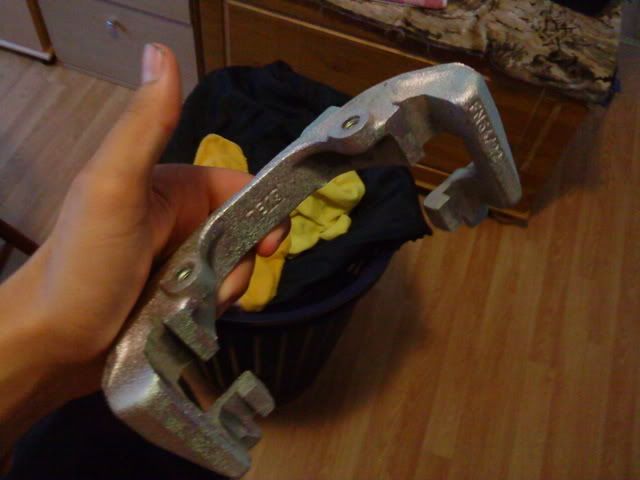
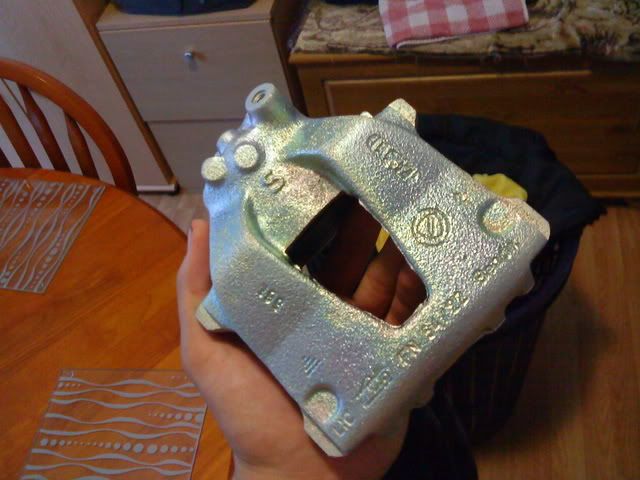
my brakes:
acid dipped and zinc platted:
01-09-2008 - got a little done:
stripped all the wiring loom:
and sorted the injectors out:
one was faulty, thats why the thing kept limping like a bitch!!
faulty = brown
normal = clean(silver)
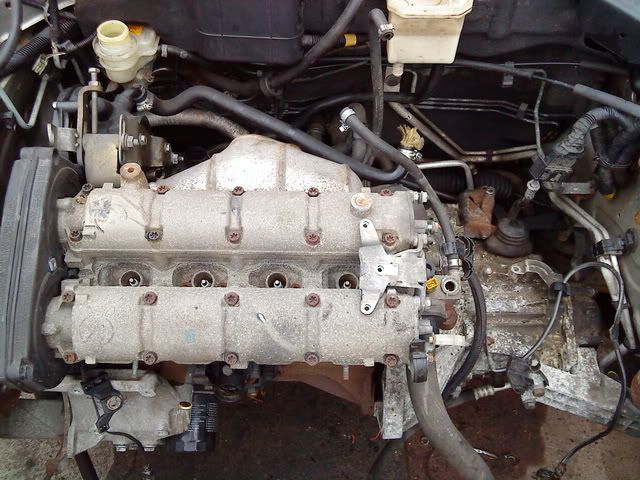
i have also cleaned up all the inlet manifold and the cam cover. will be getting my gaskets tonight, so ill update when thats done
update again
i got one gasket so fitted that witha few bits:
will update again tomorrow
29/09/08 - update
got it all back together now, just need a few parts then she iwll be ont he road...anyone got £400 they dont want
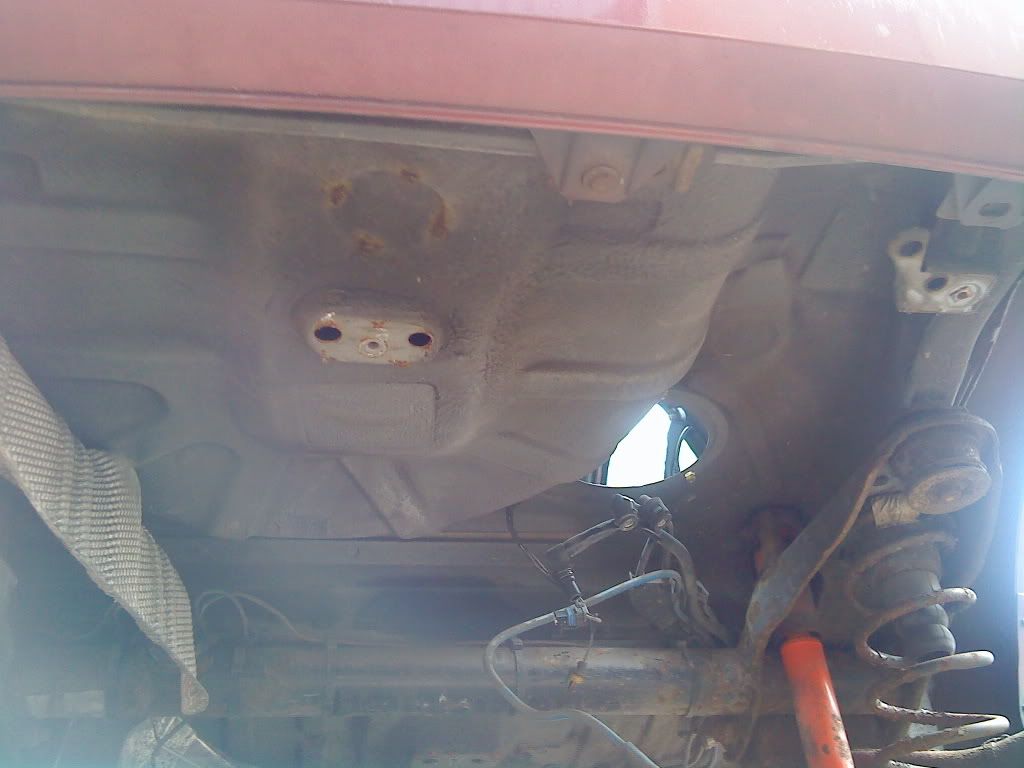
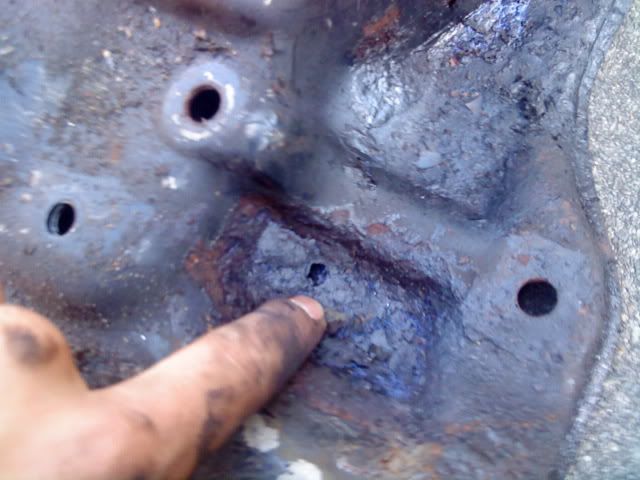
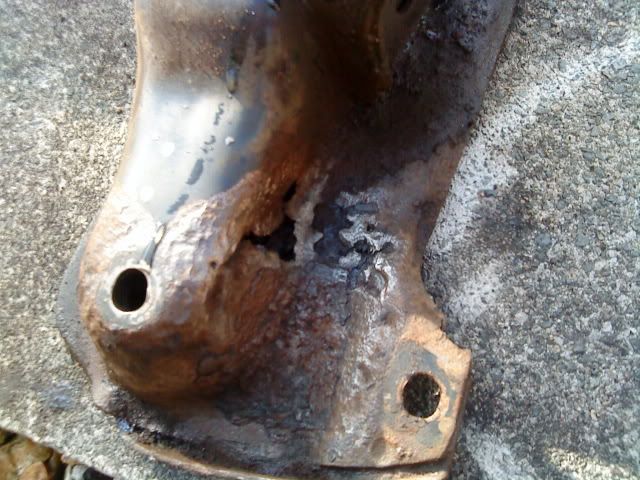
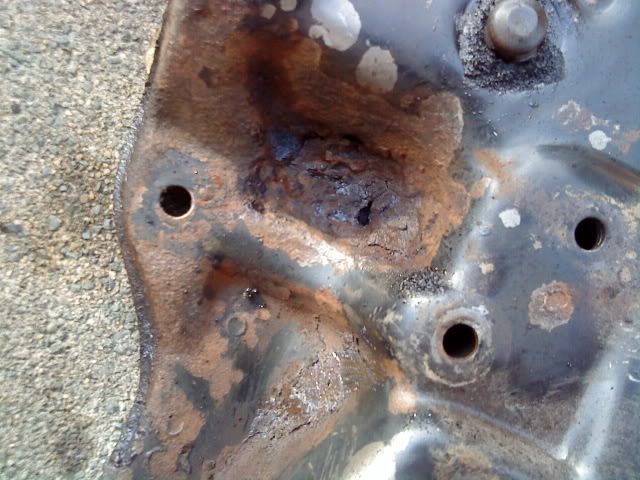
26-10-2008 - right picture update lol
subframe, it had a lot of rust, so i took it off for some more inspections, and found:
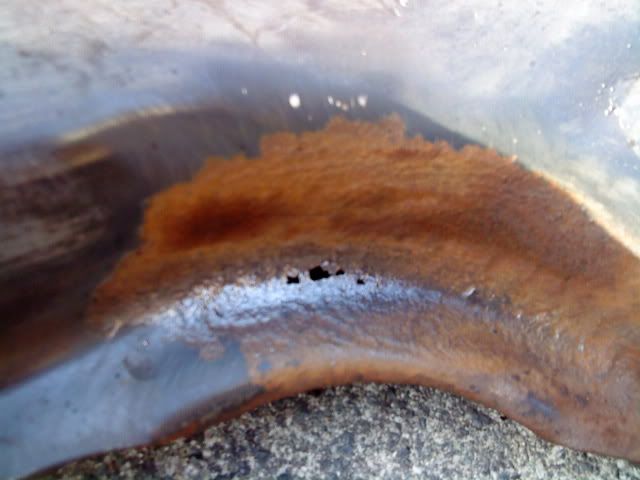
cleaned it up and went closer:
thats on its way aswell:
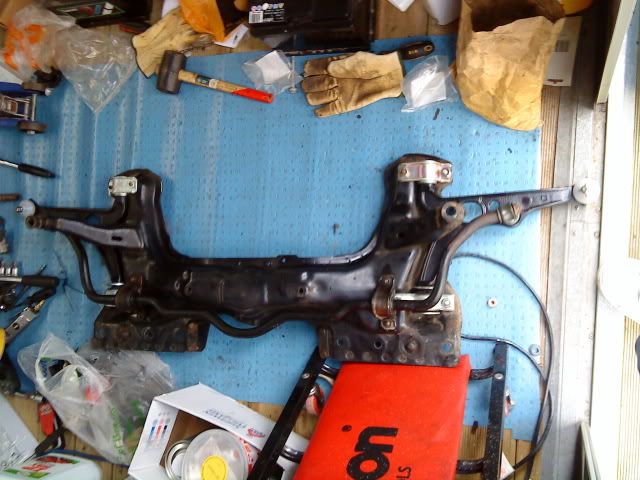
right so what do i do now?? seen as i now have no subframe:
managed to get hold of one, mint condition, fitted all my new parts:
right so thats now sorted!
sorted that front bumper of mine out:
before:
after:
woop, and got myself some abarth spats, can anyone guess what im doing with them??
and some new dials, went for silver seen as everyone always does white:
and also, sprayed the front impact bar, was looking a little tyred!
yestersday i got my gearbox gaiters sorted, my track rod ends all connected up, now its just for the brakes!!
roll on!
right so been busy the past 2 weeks.
1st of all my brakes, wanted to upgrade to HGT brakes, but failed
since that failed, it was back to the drawing board...
so i changed all my bonnet hinges and cables:
and that was one weekend over with
and on to this weekend...saturday, had a mint day out at the scrap yards in Bury, great success..
got some bravo 1.8 calipers, back door cards and a marea centre console:
and started putting the car back together again and did a few touch ups lol
before:
after:
Colour coded bump strips!!
haha!!
and my bumpers:
and then cracked on with my back brakes:
then a few bits ont he interior, fitted my console:
and my dash all put back together:
and a preview of my seats, alfa 156 salespeed seats:
thent he rest, put my grille on:
and my headlights:
and now a show and shine:
just waiting for my front brakes and ill be more or less done!!
Update 10/11/08
got my front brakes done
thats that sorted, guna bleed them today and make sure they are fine, i had the car up on stands again running her to see if the gear box works, went upto 60mph with out a problem so thats fine...this week i hope now
small update 12/11/08
right just a little bit...
cleaned my back seated area lol
and drove her...i actually drove her haha!!
but i forgot i didnt have brakes, so i used the wheely bin
and a nice shot
ooo and can people guess what this is?
08/02/2009
suppose i can update,
well time for a little update!
my boot lid:
looks ace! then primed the other side:
not got any pictures of the side completely primed but tis done
and my new dials! look at these sexy ****ers!
and last but not least...DRUM ROLLL PLEEEAAASSEEEEE
was guna fit them today but was too busy with my auntys car so guan leave them and do them next weekend.... bit too late to start now
update boys and girlies!!
got myslef a nice new bonnet...take a gander at the dent free finish
and ofcourse, my coilovers:
and just arrived but not fitted yet:
rock and roll!!!
update -15-03-2009 been busy this week, and the past few lol
cant remember where i last updated...
i finally got chance to give my coilovers a good running in..and i must say im impressed by the handling...spot on and i woul drecomend them to anyone! really worth the money!
and my strut brace:
this makes some difference aswell, not allt hat much as it is a big car anyway but it does top it off that little bit!
then i did my boot lid...loved doing this
then all finished off:
and filled the gaps on my side skirts
and no i didnt spray over my reflectors, i just forgot to take the masking take off lol
and the real icing on the cake, my steering rack broke...somehow got a massive crack in it...
wasnt happy...so i set out to change that...was a long hard 10 hour ordeal! started at 2 and and got home at 12 am!!
have to drop all the subframe out and all the gear linkages! was a pain int he back side
ols VS new
and look atthis for a crack!!
wow! god knows how that got there!
ooo and iv now got a red top lol....(after 10 hours of working u go a little crazy)
and just a little preview of my front bumper
thats the rieger kit that matches my front bumper...and kind of the back once i get chance to finish it off.
and i painted the calipers black:
makes soo much difference on the appearance...not noticable but looks miles better!
going on holiday next week so will be doing more work when i get back