gar074
Prominent member
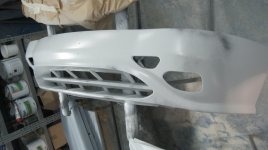
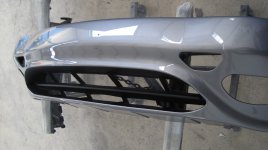
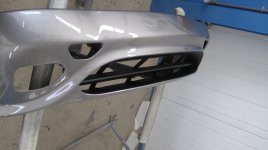
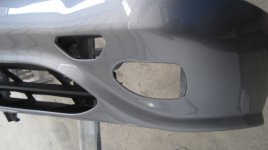
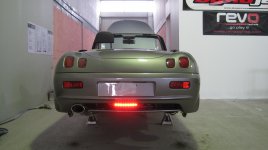
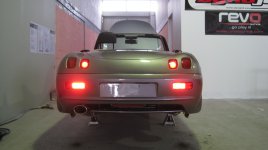
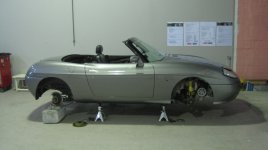
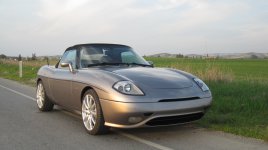
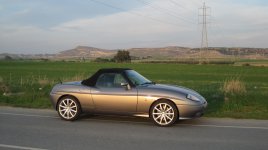
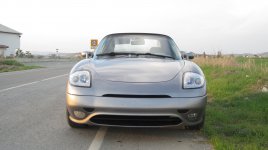
Love that bumper mod - it's amazing how such a small change can create such a different impression. Looks like it was always meant to be that way.


Love that bumper mod - it's amazing how such a small change can create such a different impression. Looks like it was always meant to be that way.

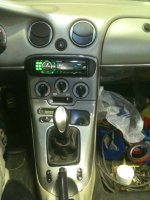
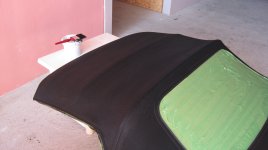
Had to paint all the interior panels again as they were now clashing with the new color and have just painted them the same as the vehicle.
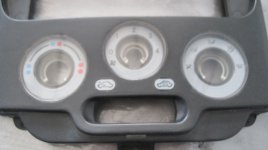
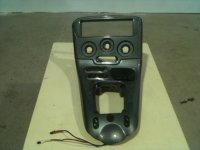
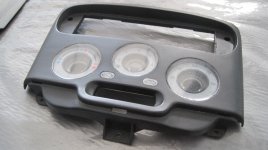
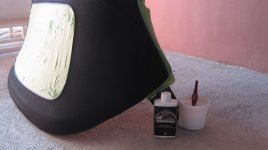
The center dash consul will be slightly different as I have cleverly stuck stickers over the lighted control areas and after there painted and removed will leave a larger black ring highlighting the lighted controls.
Pictures to follow on Monday.
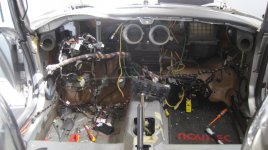
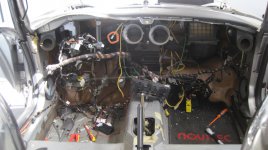
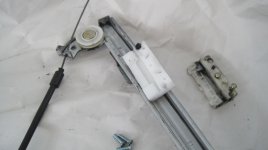
They go under the 'carpet' from the handbrake, under the centre consule and connect to the airbag control box at the front of the transmission tunnel, slightly to the right of centre, between the consule bracket and the firewall.
Tom


 Dave, the arial is a short rubber one which can be found on your average new car, although mine came from a nissan qasquai.