Technical Integrated Sat Nav project

Currently reading:
Technical Integrated Sat Nav project

I'd hate to think how much I would have to charge if I was being paid for my time lol!

Knowing me, as soon as I finish I'll change my mind and decide I want to put a PC screen in there instead and offer it on here....
 
Whilst driving home tonight I thought of a way of getting the shape for the shroud part using expanding foam filler and a balloon ;)

Top tip everyone..... Expanding foam filler dissolves latex balloons :eek:

I was hoping to get a nice rounded form to mould the shroud out of, plan B is insulation foam and kitchen knives.......
 
I think if you use a non toxic foam it will be OK. You could also just buy some insulation foam and shape however you like.
 
Is this the only one you would be making? As I'm very interested!

Once I get the next stage (the curved shroud) finished I'll see if it is possible to duplicate it in some way, I think it will be too complicated a shape to mould but most of the time spent on it so far has been in the design stage. I think I would be able to make another easier than this but it would still be a long manual job to get a decent finish.

But thank you for the interest, maybe when I can show the finished item I'll put up a poll to see how many people would be interested (y)
 
Today I trimmed back the top of the surround as the angle seemed wrong, I then planned out the shape of of the base and the curve to the top using thin card so I could visualise the shape. I have decided to keep the shroud part all in the same smooth ivory finish as the front rather than try to match the textured finish of he top of the dash and I will probably fit my black box recorder in the front of it....

Some pics for your perusal (and comments ;))


a3997821720f3d5e24f5ad0dd7fdcfc4_zps4f0af1cc.jpg


d1ac1c3ab2c270e957db5d5f48bc5249_zps6efc0a0f.jpg


590a510120066c9dd04ac7887bde78c5_zps02398267.jpg


7118e8cee4546816348912e6ff597190_zps62c5e68e.jpg
 
Can't wait for the next installment Seagull....

Coming up right now ;)

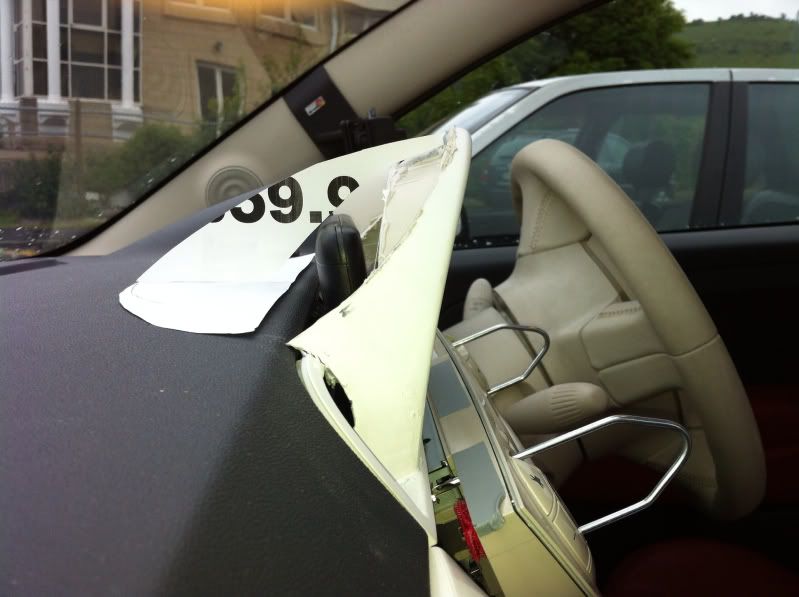
I had a couple of false starts creating the shroud part, I made a hell of a mess trying to use spray foam to form the shape, then almost as much mess trying to cut sheet insulation foam in the car....

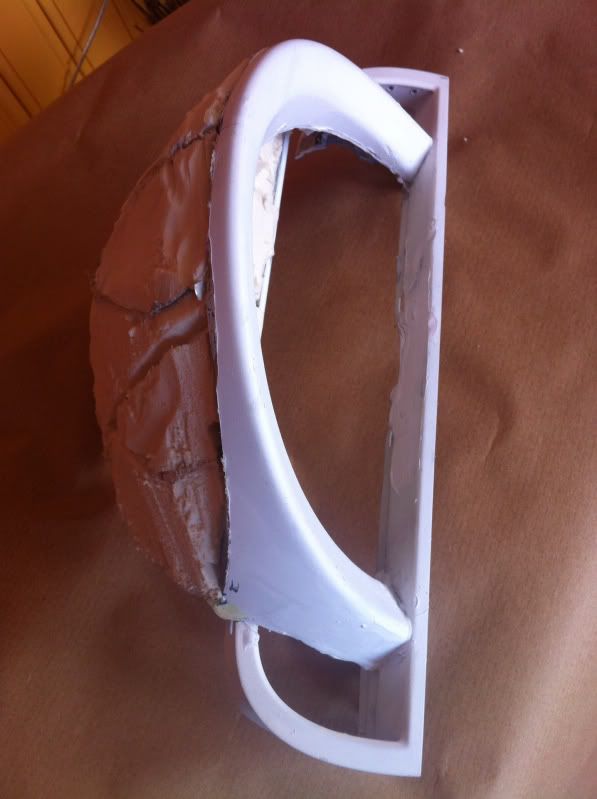
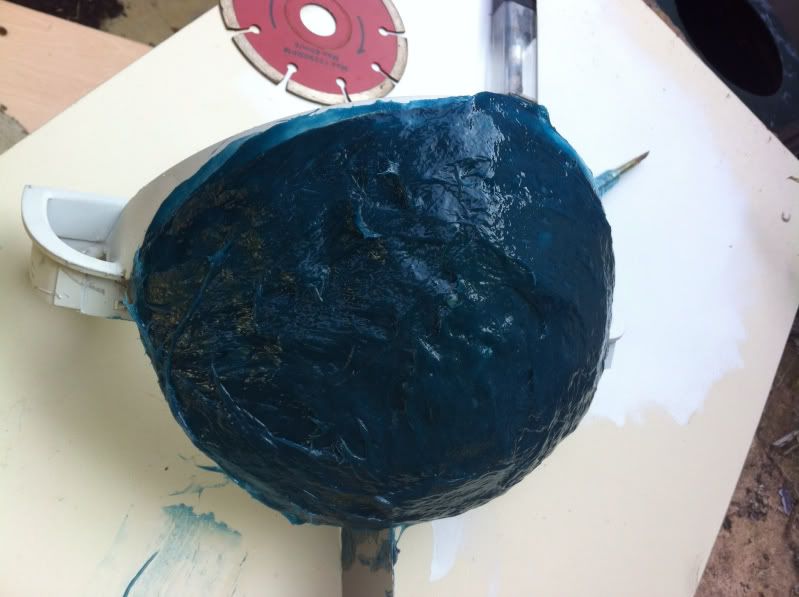
The solution was to cut a base shape out of plastic sheet, then three vertical spines to give a basic shape, then cut insulation foam to sit between the spines. The whole lot was glued with twin pack glue and built up in layers, I then hacked away at the lot with a cutting wheel on my Drexel (oops more mess....) until it looked right.

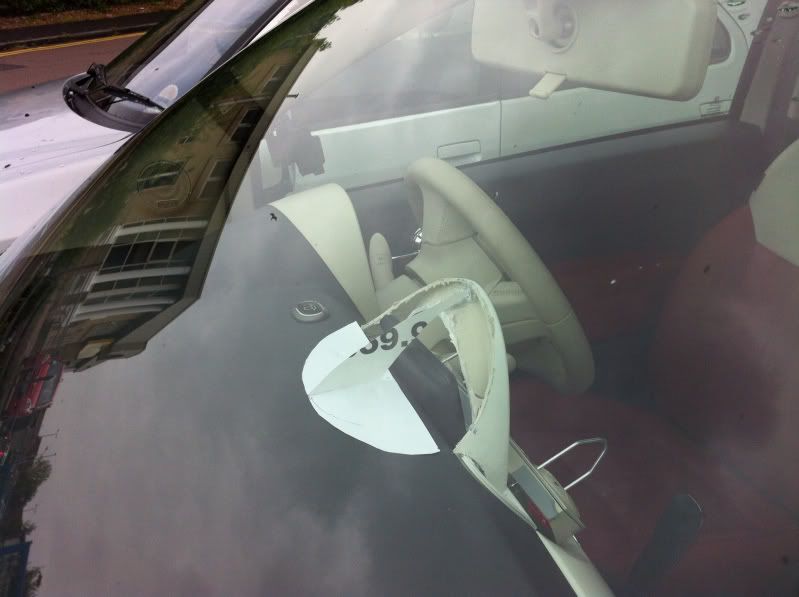
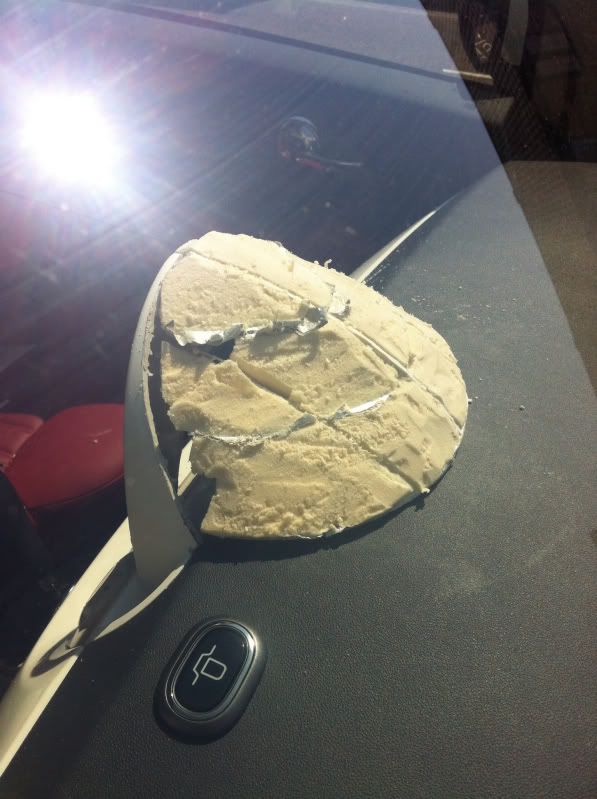
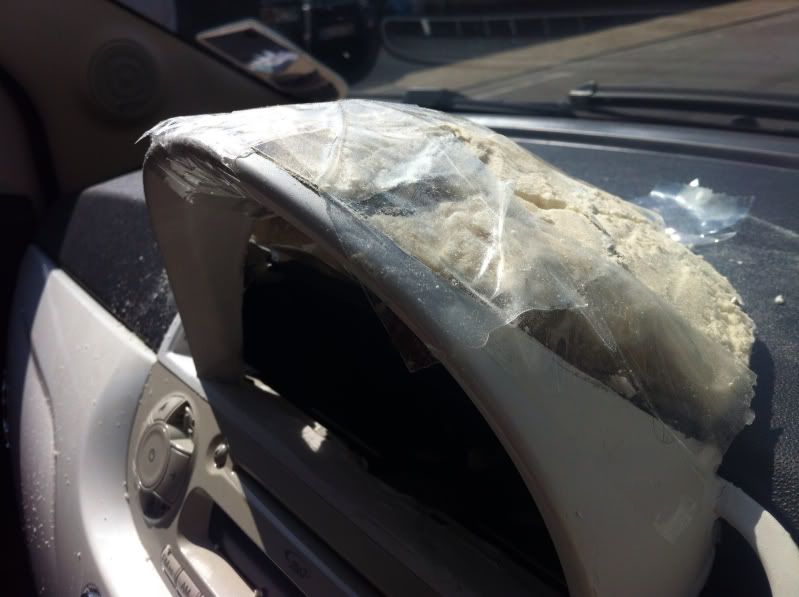
Then, trial fitted in place, I trimmed it to fit snugly with the front plastic part and then held it in place with tape so that I could remove it as one piece. Once out of the car I used a glass fibre filler to fill in the gaps and build up the surface to a level I can sand down from. It is currently sitting in the garden hardening so that it doesn't stink the house out and whilst it is doing so I had better go and clear up all the little bits of foam!

8622dd54a194d3fd02bc16d445079789_zpsc2250209.jpg


1f78bdc527eaff8d9b431e94d6f4bfc4_zps4a423391.jpg


15786543b19c93afcc9b9935d3db011d_zps5ad019e3.jpg


46081b5caf93580b015b09e04d753c60_zps5853c3f9.jpg


51385c5bc1a0ace145b476dc777aa40f_zpscbff5c34.jpg


24ae672ea0b383c073fede1d677555f9_zpsf0b244d9.jpg


e1fe70edcbc820897484eadf4fb1473d_zps31e9138f.jpg


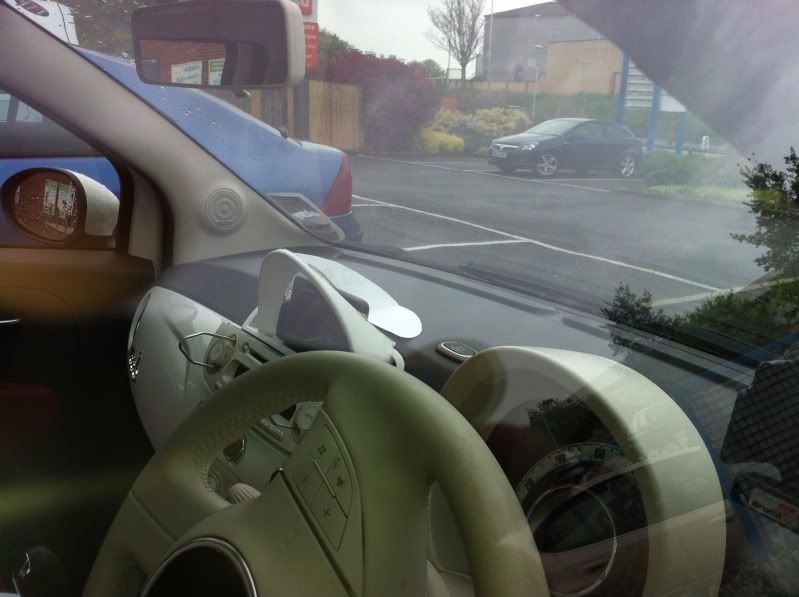
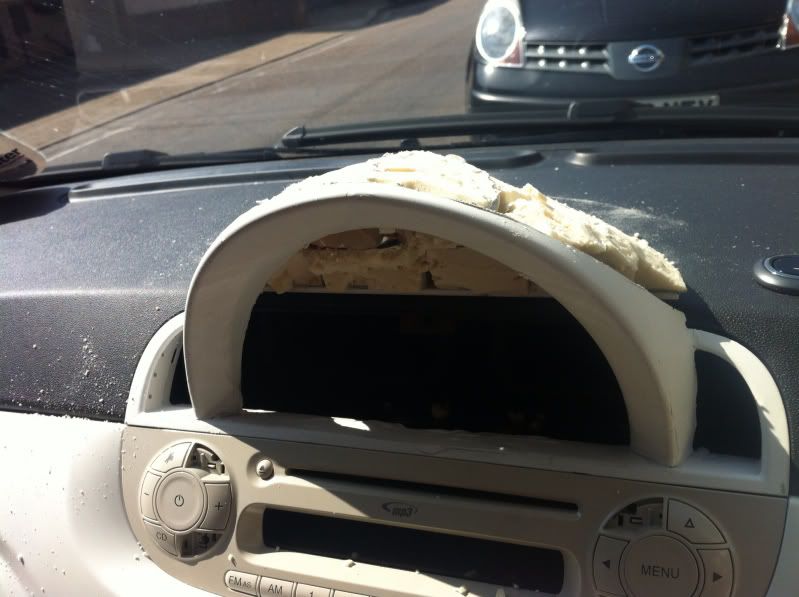
My next step is to sand the blue bit down roughly to shape and then remake the vents at the side. I have decided not to use smoked black plastic around the satnav, as when the cutout for the touchscreen is made there is too much of a 'lip', I have decided instead to use .6mm aluminium painted black to match the finish on the tomtom. Cutting it out should be fun, I may look into cnc cutting to get the finish I'm after.... Anyone know anyone? ;)

Ok mammoth post over...
I'll try and make the next update a little quicker!
 
I rubbed the (very solid!) fibreglass down a little to get a little nearer to the shape I was after, then spread the dome with an easy(er) sanding filler paste.


Then I attacked the filler with coarse sandpaper with power tools and by hand...


I've just spread a little more filler in the holes that have appeared and should have that rubbed down mostly to shape today :)

Left to do:

Order the paint to be made up by a company in Brighton to match the ivory ambiance

Refit airvent grille blades

Make a 'pocket' for the satnav so it will line up with the hole cut in the aluminium face panel

Design the aluminium face panel and find someone to cut it out for me using cnc

Wire in the voltmeter and source a neat switch to show the voltage whilst the ignition is off.

Paint it, fit it and stand back with a big grin on my face... :)

....and then probably sell it and start again!
 
A bit more done ;)....

Test fitted in the car.. a few bits needed trimming off lol..


Inside views...


Sprayed with coloured primer to highlight bumps and troughs...


I've also trimmed the foam away inside to make way for the tomtom to fit and found a route for the usb cable to go through the dash to pick up power..
 
Depending on the filler you're using, you can smooth it out while still wet with a bit of methylated spirits on a rag or gloved finger, it's easy to fill small imperfections that way and saves a lot of sanding time.

Looking good (y)
 
Back
Top