Technical inner driveshaft gaiter/seal help

Currently reading:
Technical inner driveshaft gaiter/seal help

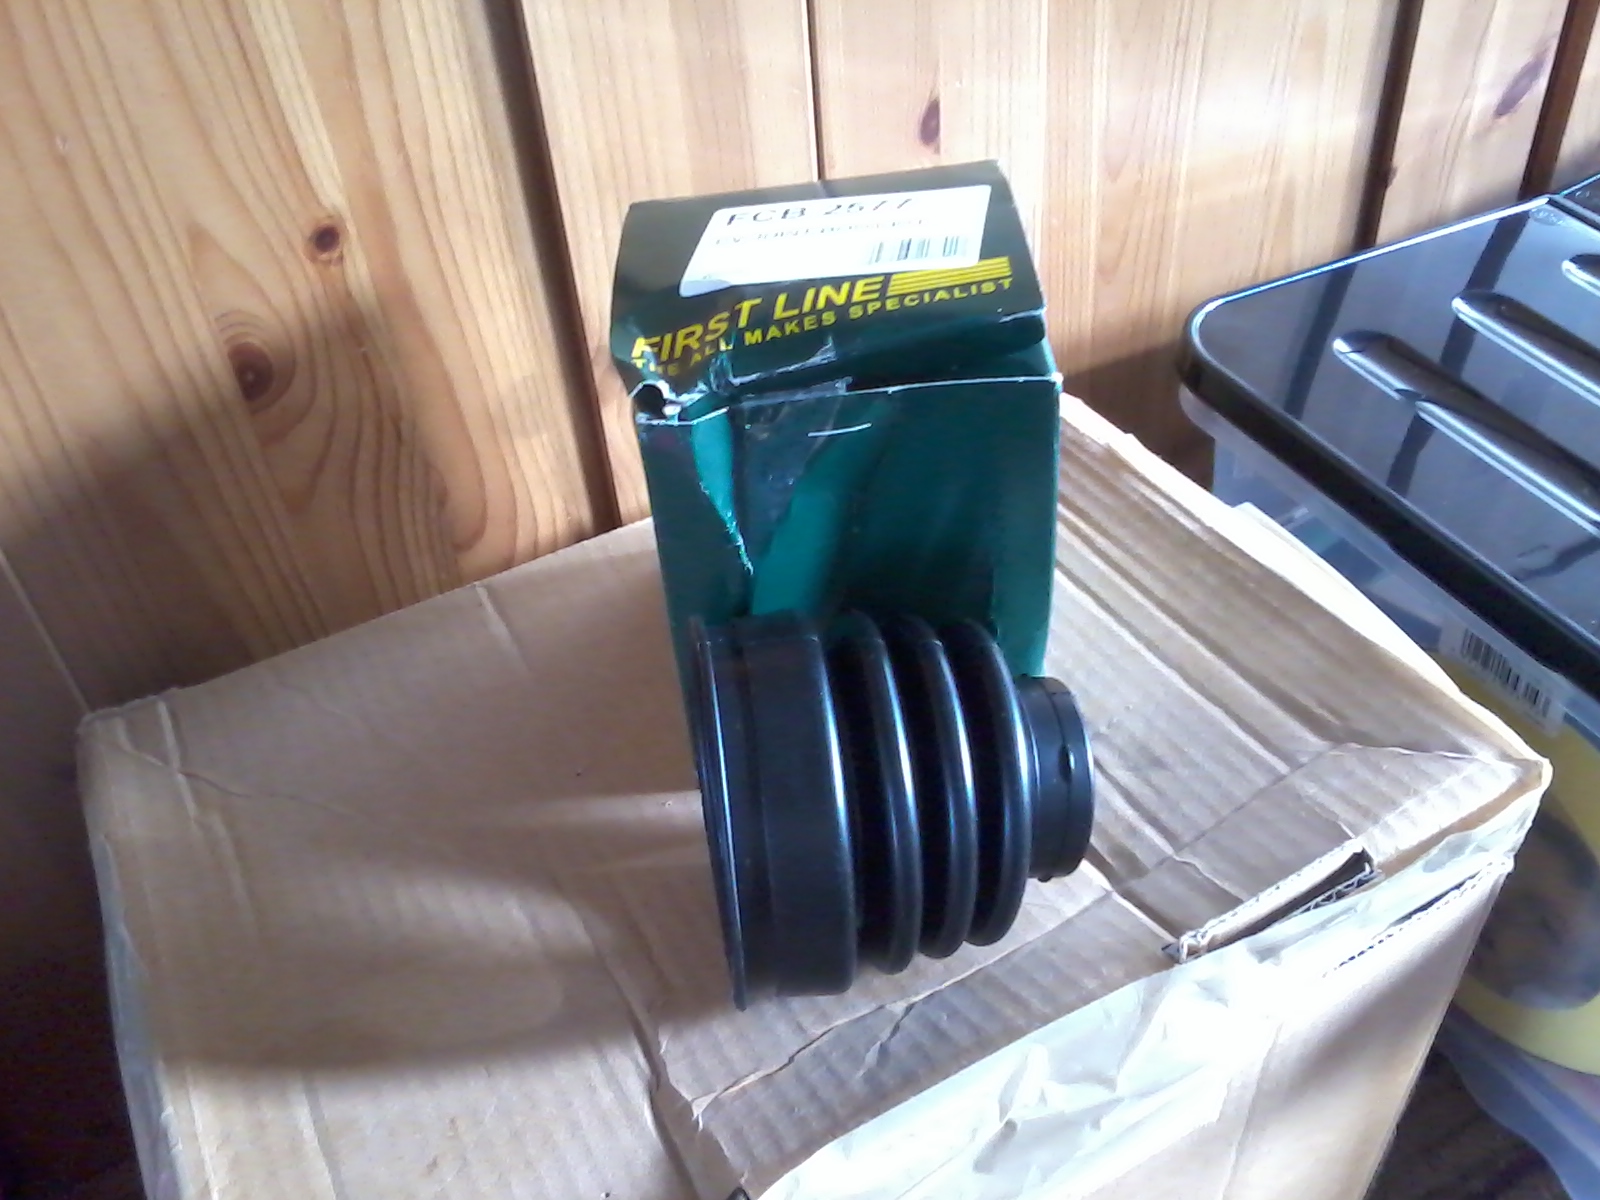
Thanks for all your input people,the part finally came at 3.30pm (morning delivery my arse!:p) and i just managed to get over to my friends workshop for 4,after a lot of mickey taking along the lines of "4 oclock,on a friday?!!" he then started the job and it was finished in an hour:) while it was up in the air saw some rot behind the rear subframe mounts? (behind the doors,between door and wheel arch,a bit on one sill,and rear seatbelt mounts. will these be a big job to do?
Just thinking that if i can i would much rather try and keep the old girl on the road rather than let it become another victim to the bangernomics theory of use till the mot runs out then throw it away and get another:)

Only other things i need to sort out is i think the front left caliper is sticking on a bit,as the wheel was getting hot,think ive freed up the rear self adjusters following my garages tip of reversing up to 10-15 mph then stamping the brakes on a few times. Sump will need changing soon but ive patched it up again for now.

Hoping if i can get the brakes ok then i can actually just use the thing,get to know it,hopefully get to love it,then steadily improve it :)

Glad you go the driveshaft sorted(y) The rust on the rear of the sills is the most common Panda place, depends how bad it is, but I have repaired this area a couple of times now and the only way to do it properly is to cut the outer sill and bottom of the rear quarter/wheel arch off for proper access. Without doing this you can just not get in to remove the rot and repair in the inner sill properly.
 
Your garages brake adjusting method will not work on an 86 Panda as it won't have the ratchet type adjuster they are thinking of. Up to around 1992/93 Pandas had a friction pad system that cannot be manually adjusted. If they are not doing their job they will need to be renewed by replacing the shoes. Worth checking the handbrake levers as they can seize up too.

If the rear of the sills and rear seatbelt mounts are your only areas of structural rust it's worth repairing them properly, you can then forget about rust for a few years. :)
 
well i managed to free them off (i think!) rear shoes are right down,so obviously the pistons are having to push further to reach the drum,so i think that accounts for the low pedal.Although i couldnt work out how to get the pads out the calipers,ive unbolted them,derusted them and freed them up,pistons seem ok,one caliper is fairly recent i think. Pads had plenty of meat on them,tho i think one is starting to delaminate. Now know what you are all on about with the sliding wedges,the drivers side took a hell of a lot of drifting to get them out,all cleaned and coppaslipped now,brakes feel a bit wooden but now seem to work ok,adjusted handbrake up a lot which has improved things all round.

Yes the worst of the corrosion ive found is to the rear sills,rear belt mounts on the inner arch (outer arch seems ok) and the usual frillyness around some of the arches and the lips around valalnces etc.Floor and crossmembers seem to have been rust protected and are in good nick.

Exhaust manifold looks pretty crusty,as are the studs,hope i dont have to take them off anytime soon!

Was wondering if anyone had a ballpark guide of how much and how long it would take to weld up the inner sills?also the drivers side sill seems pretty crusty along the edge.
 
well i managed to free them off (i think!) rear shoes are right down,so obviously the pistons are having to push further to reach the drum,so i think that accounts for the low pedal.

....adjusted handbrake up a lot which has improved things all round.
You're possibly missing the point there with the adjusters on the rear. They're friction adjusters so if they are 'free' they aren't working. The point is they should be stiff so when the shoes are pushed out against the drum they stay there so the cylinders hardly have to move, if they move freely they just move back with the spring and you finish up with the long travel on the pedal. The handbrake levers are prone to seizing too so if those are free it's worth leaving a fair bit of travel on the handbrake to keep them moving and avoid seizing up again.
 
Was wondering if anyone had a ballpark guide of how much and how long it would take to weld up the inner sills?also the drivers side sill seems pretty crusty along the edge.

Hard to say really, but to have both sills replaced properly, I would not be surprised at a bill of £1000, maybe more, it is a big job and not really cost effective unless you are doing the work yourself. You could probably have them patched up for a couple of hundred quid but you'll be back to where you are now in a couple of years. Have them done properly and keep them rust proofed and they will last another 25 years with ease.
 
well sad to say but theres no way i could afford that,or justify it. i think i might be popping the little panda up for sale on here once the logbook has come back,i just havent jelled with it at all,and think it should be in the hands of someone who loves them,even if it ends up being used to keep others going:) if anyone is interested at around the £250 area let me know,has t+t till next march:)
 
You will have to take the shaft out of the gearbox. It stays in the same place on the shaft, hence it is a press fit, the haynes manual says the bearing should be 123mm from the end of the right hand shaft and 143mm from the end of the left hand shaft.

The way I would do it would be:

1. Slacken off 30mm hub nut with car on the ground.
2. Jack up and remove wheel and brake caliper.
3. Drain gearbox oil
3. Split the bottom ball joint and remove the two bolts holding the hub carrier to the the strut
4. Remove the hub nut completely then lever the suspension arm down so you can lift the ball joint out and remove the hub carrier, leaving the driveshaft in place.
5. Remove the three small bolts that hold the gaitor to the gearbox and then pull the shaft out.
6. Put the shaft in a vice, cut the old gaitor away for better access to the bearing, remove the tripod joint and drift the bearing off the shaft. If it is past it then it might just come off by hand.
7. To put the new bearing on, put the bearing inside the new gaitor before drifting it back on, then put a clip or cable tie round that end.

Can anyone give me a bit of advice? I'm renewing inner and outer gaiters on the right hand d/s. Reading this post tonight I realise I have drifted the bearing too far along the drive shaft. The drive shaft is not yet back in place - that's the good part - but what chance will I have of drifting the bearing back in the other direction 6mm without damaging it or the new boot? Why didn't I read the back part of the Haynes manual BEFORE doing this job...? Could I just risk putting it back together as it is or will it stretch the boot too much?
 
Last edited:
Can anyone give me a bit of advice? I'm renewing inner and outer gaiters on the right hand d/s. Reading this post tonight I realise I have drifted the bearing too far along the drive shaft. The drive shaft is not yet back in place - that's the good part - but what chance will I have of drifting the bearing back in the other direction 6mm without damaging it or the new boot? Why didn't I read the back part of the Haynes manual BEFORE doing this job...? Could I just risk putting it back together as it is or will it stretch the boot too much?

6mm is not much so I don't think you will have any issues as there is plenty of stretch in the boot, but you should be able to drift it back without damaging it if you are careful.
 
Back
Top