Introduction
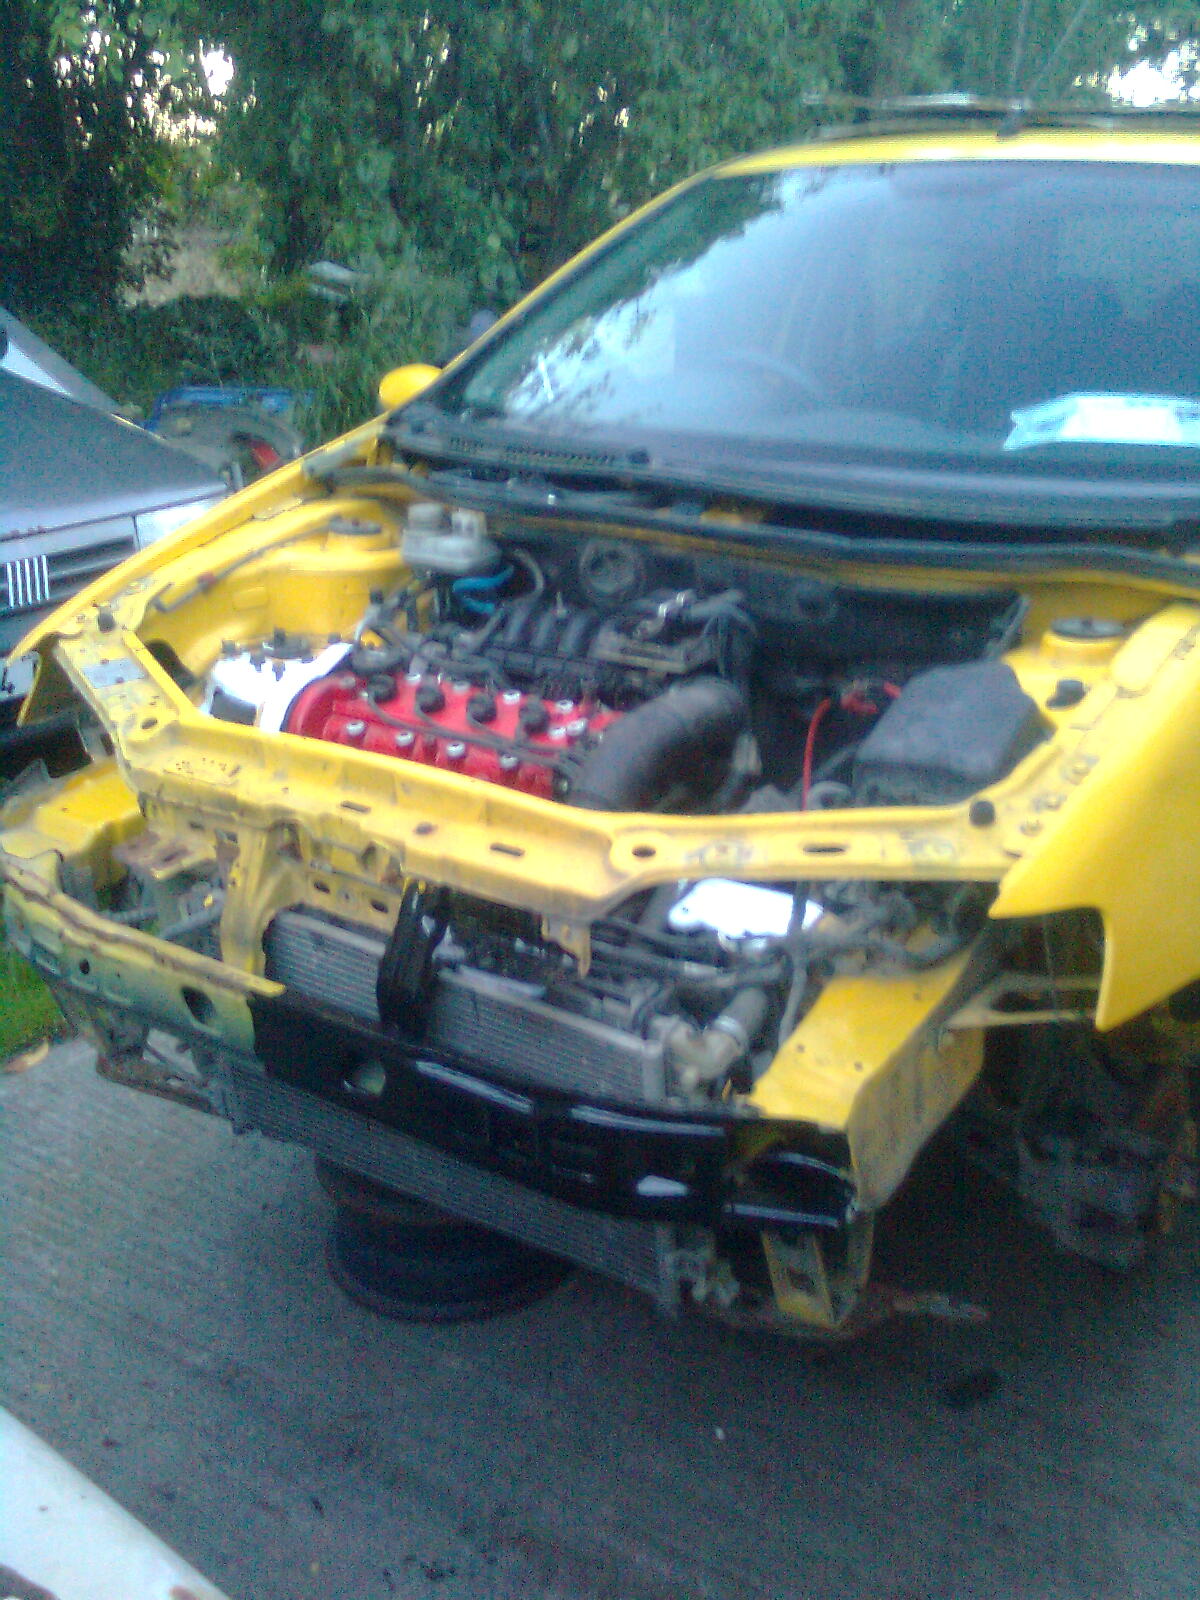
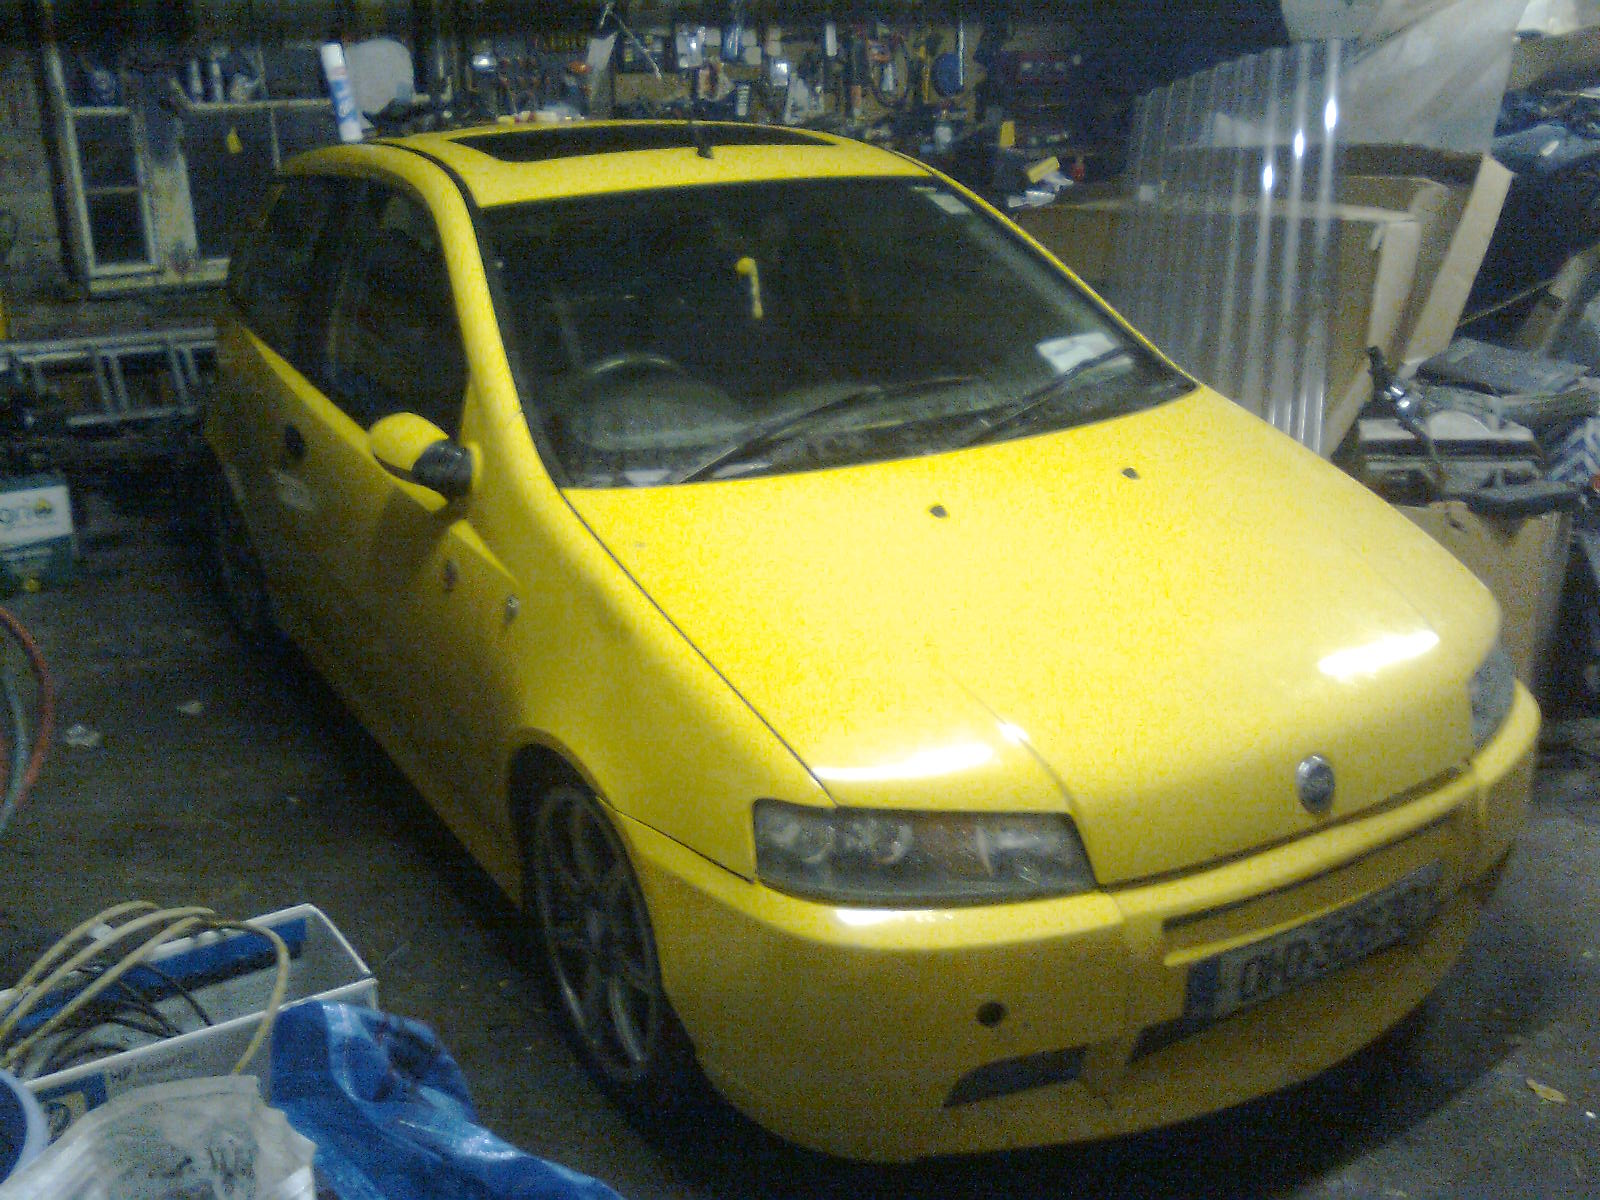
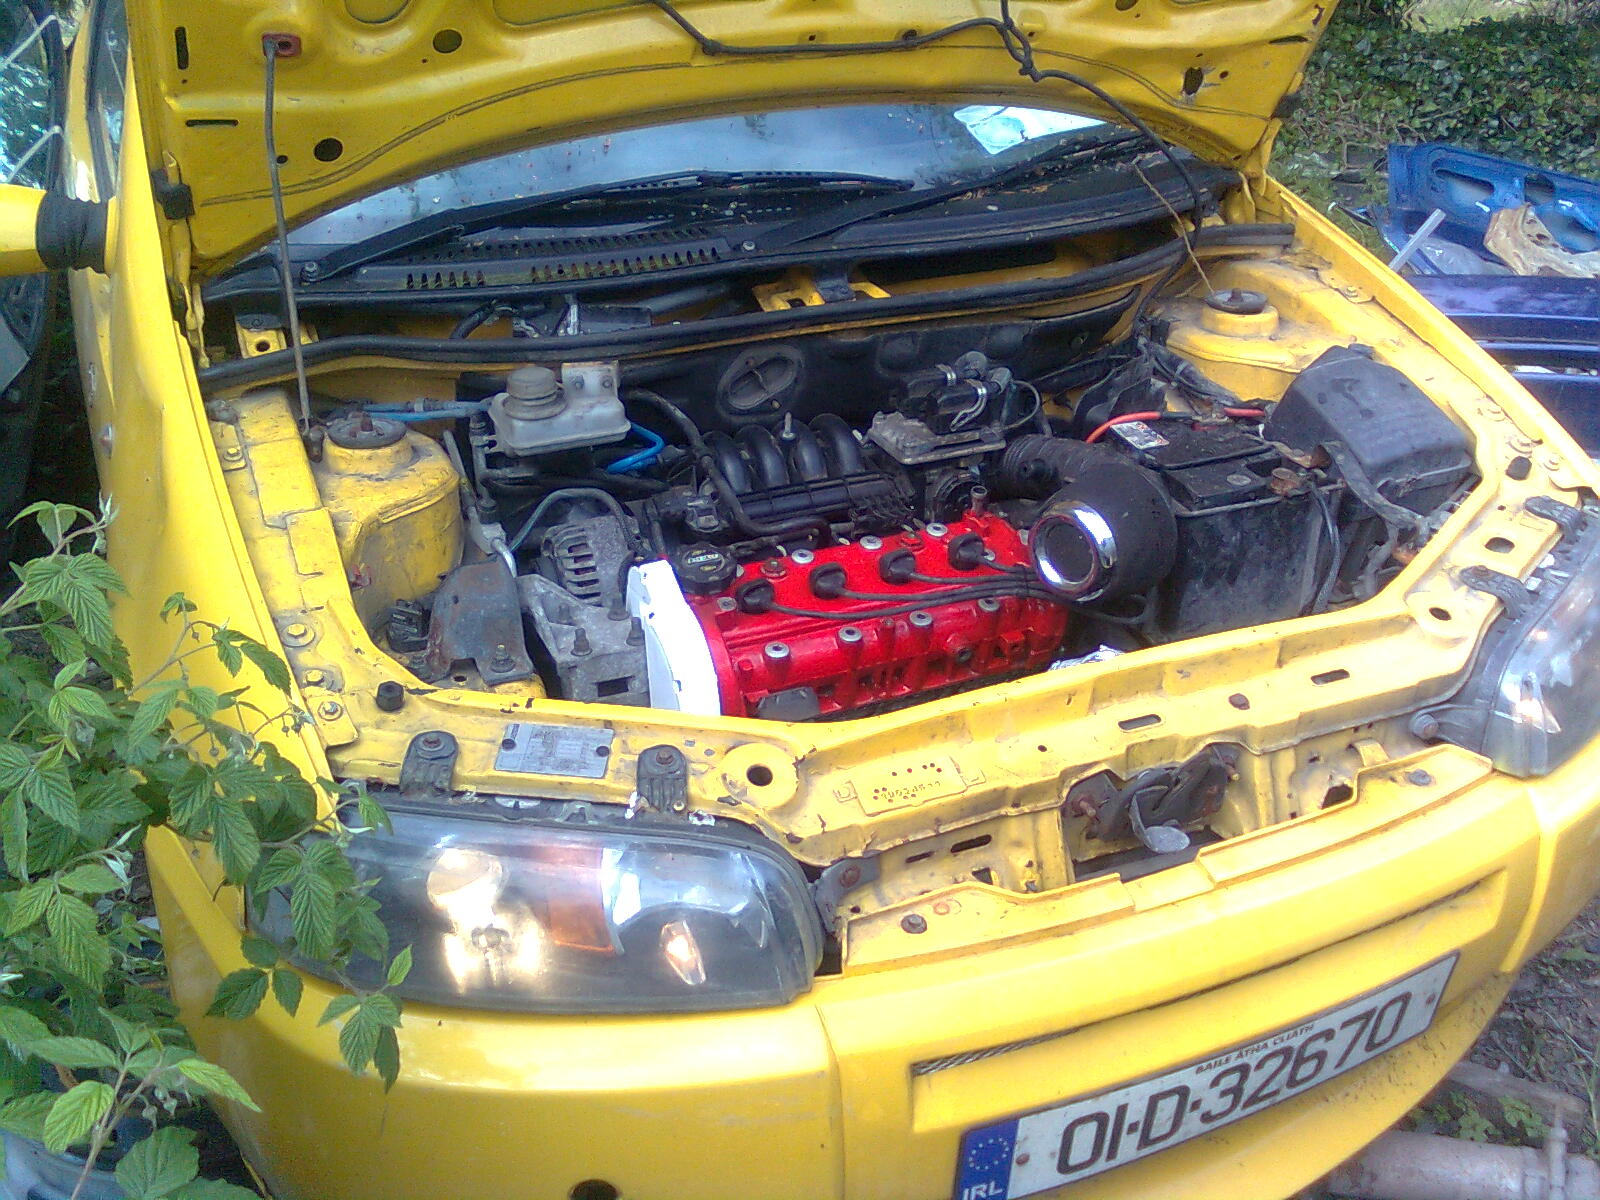
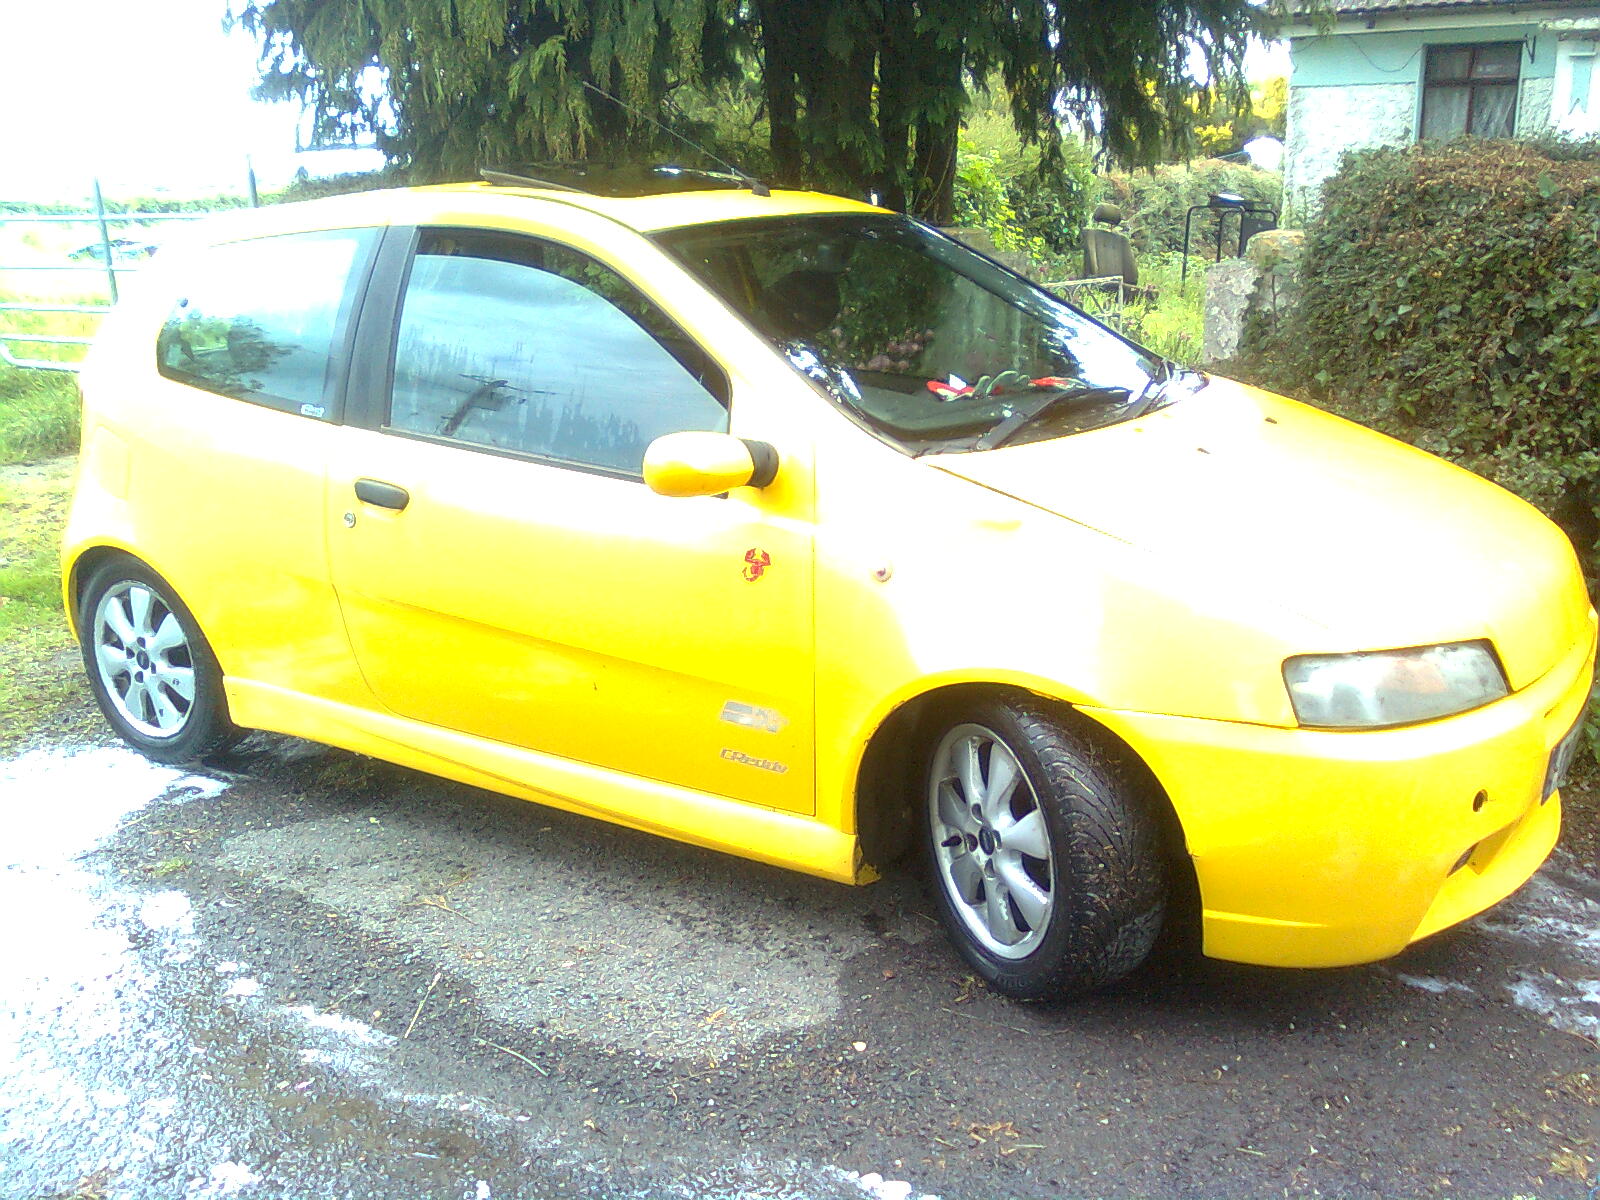
I aquired this car with a totaled engine and other defects, currently fitting a mk1 punto engine!
More pics soon")
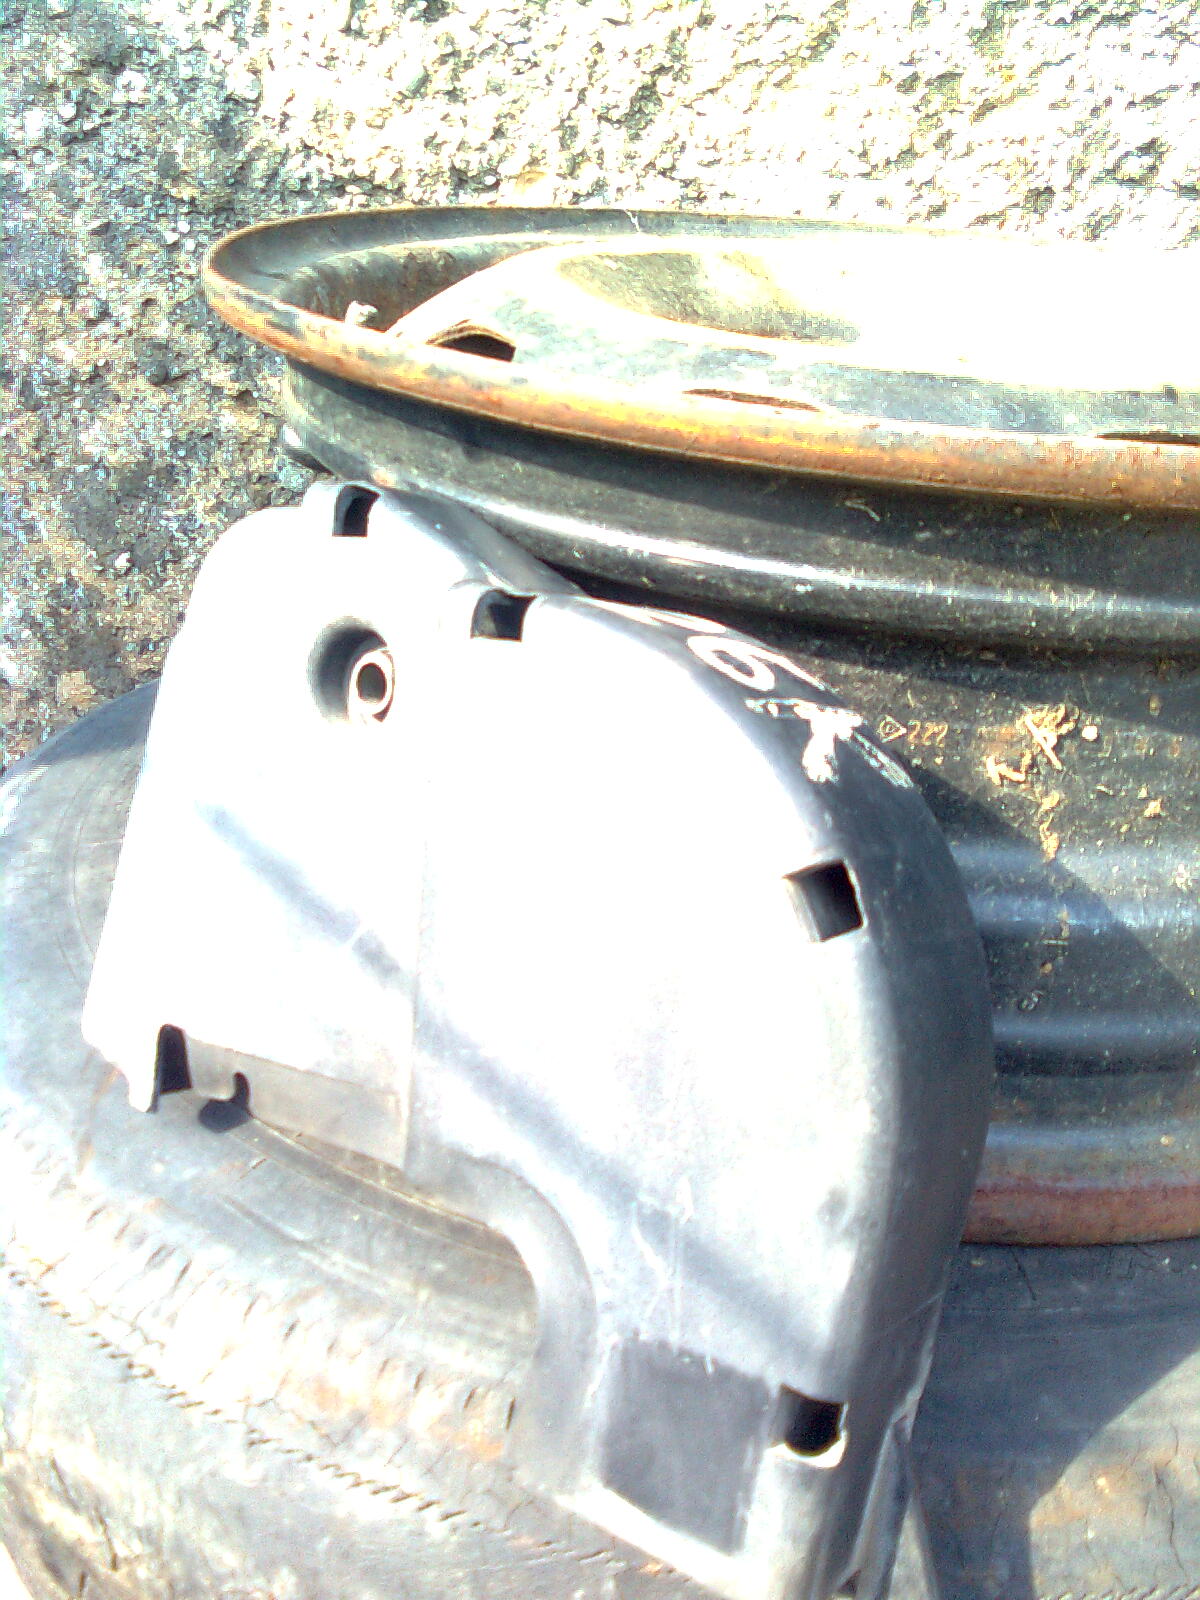
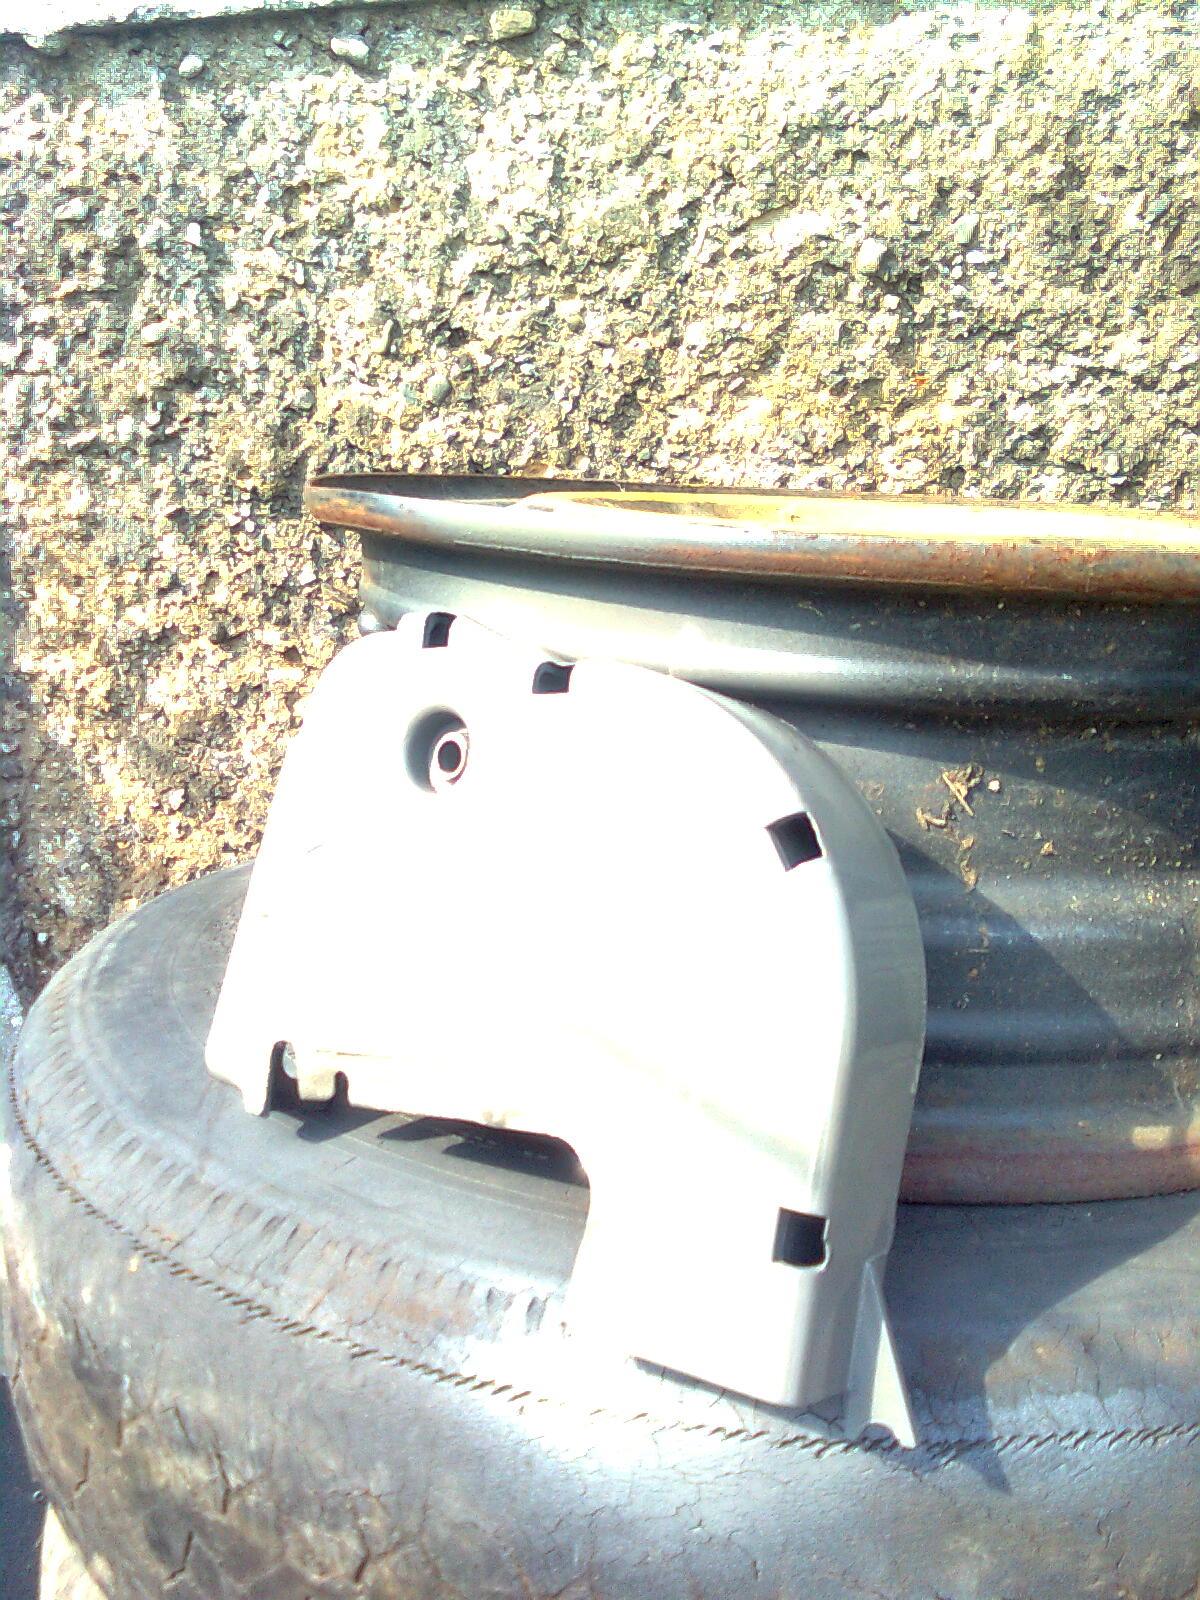
More pics soon


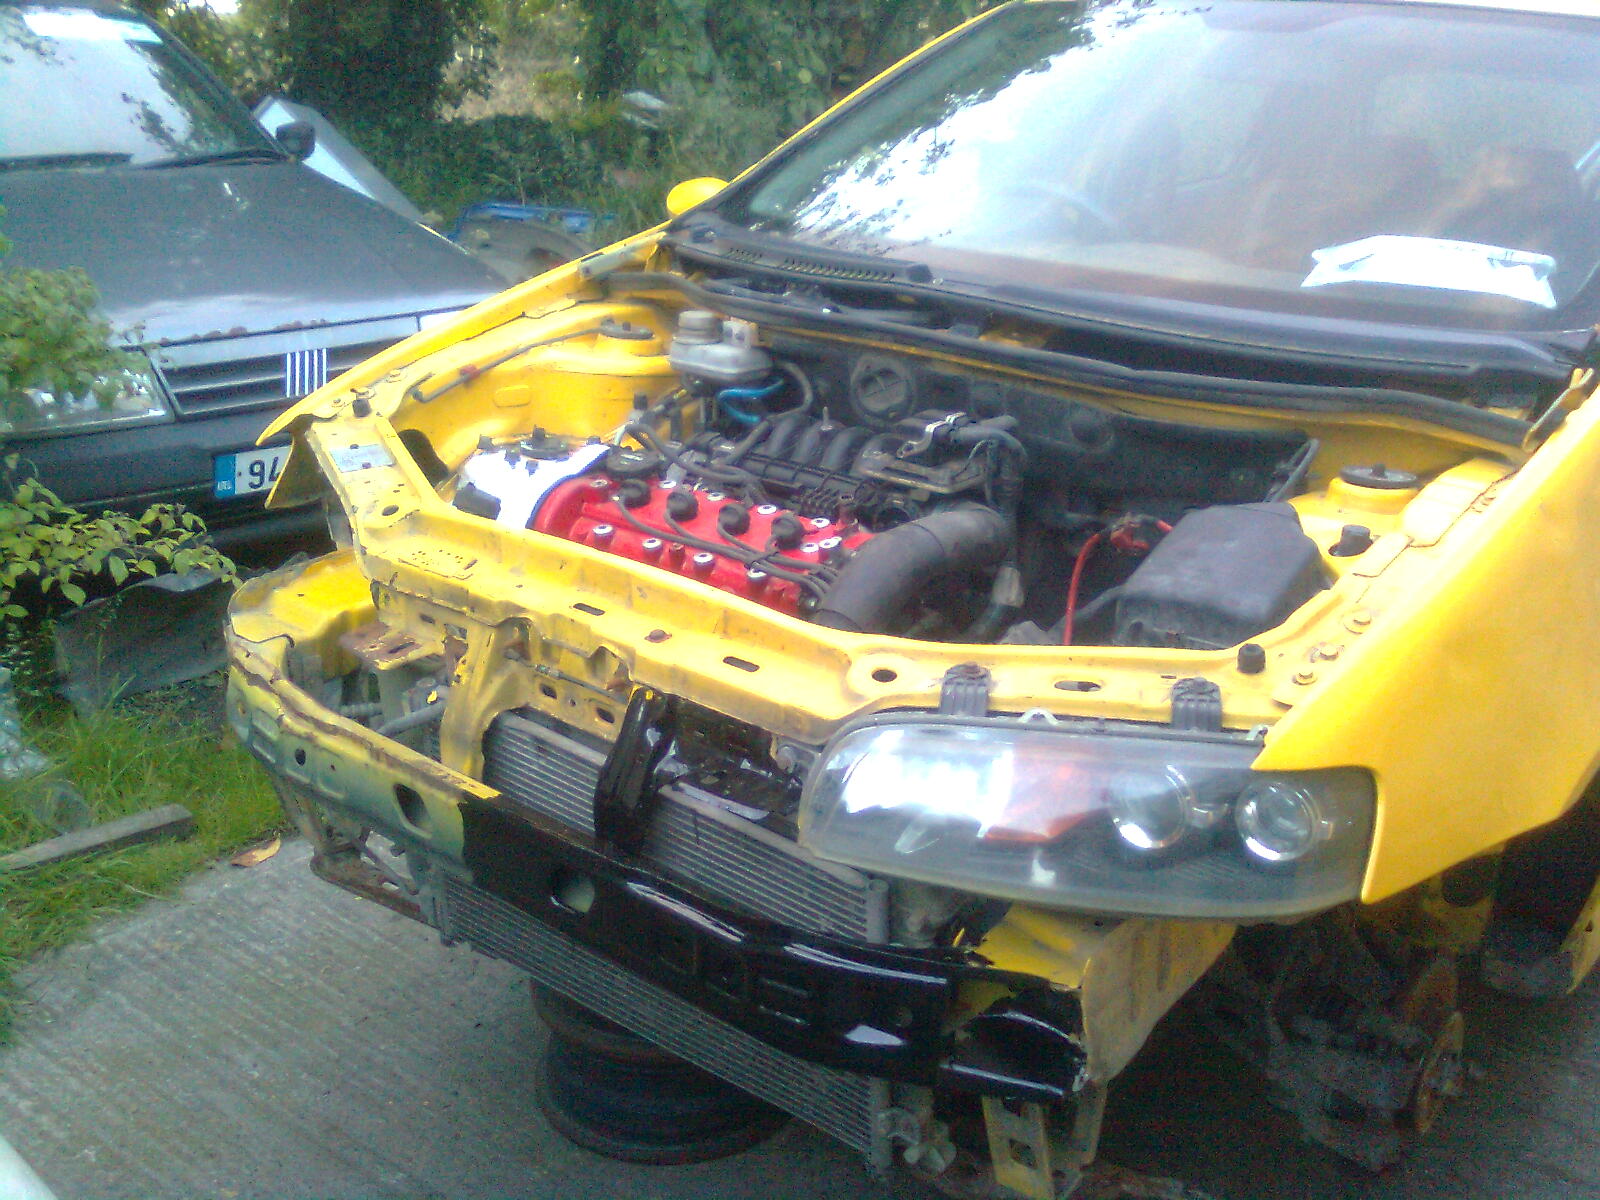
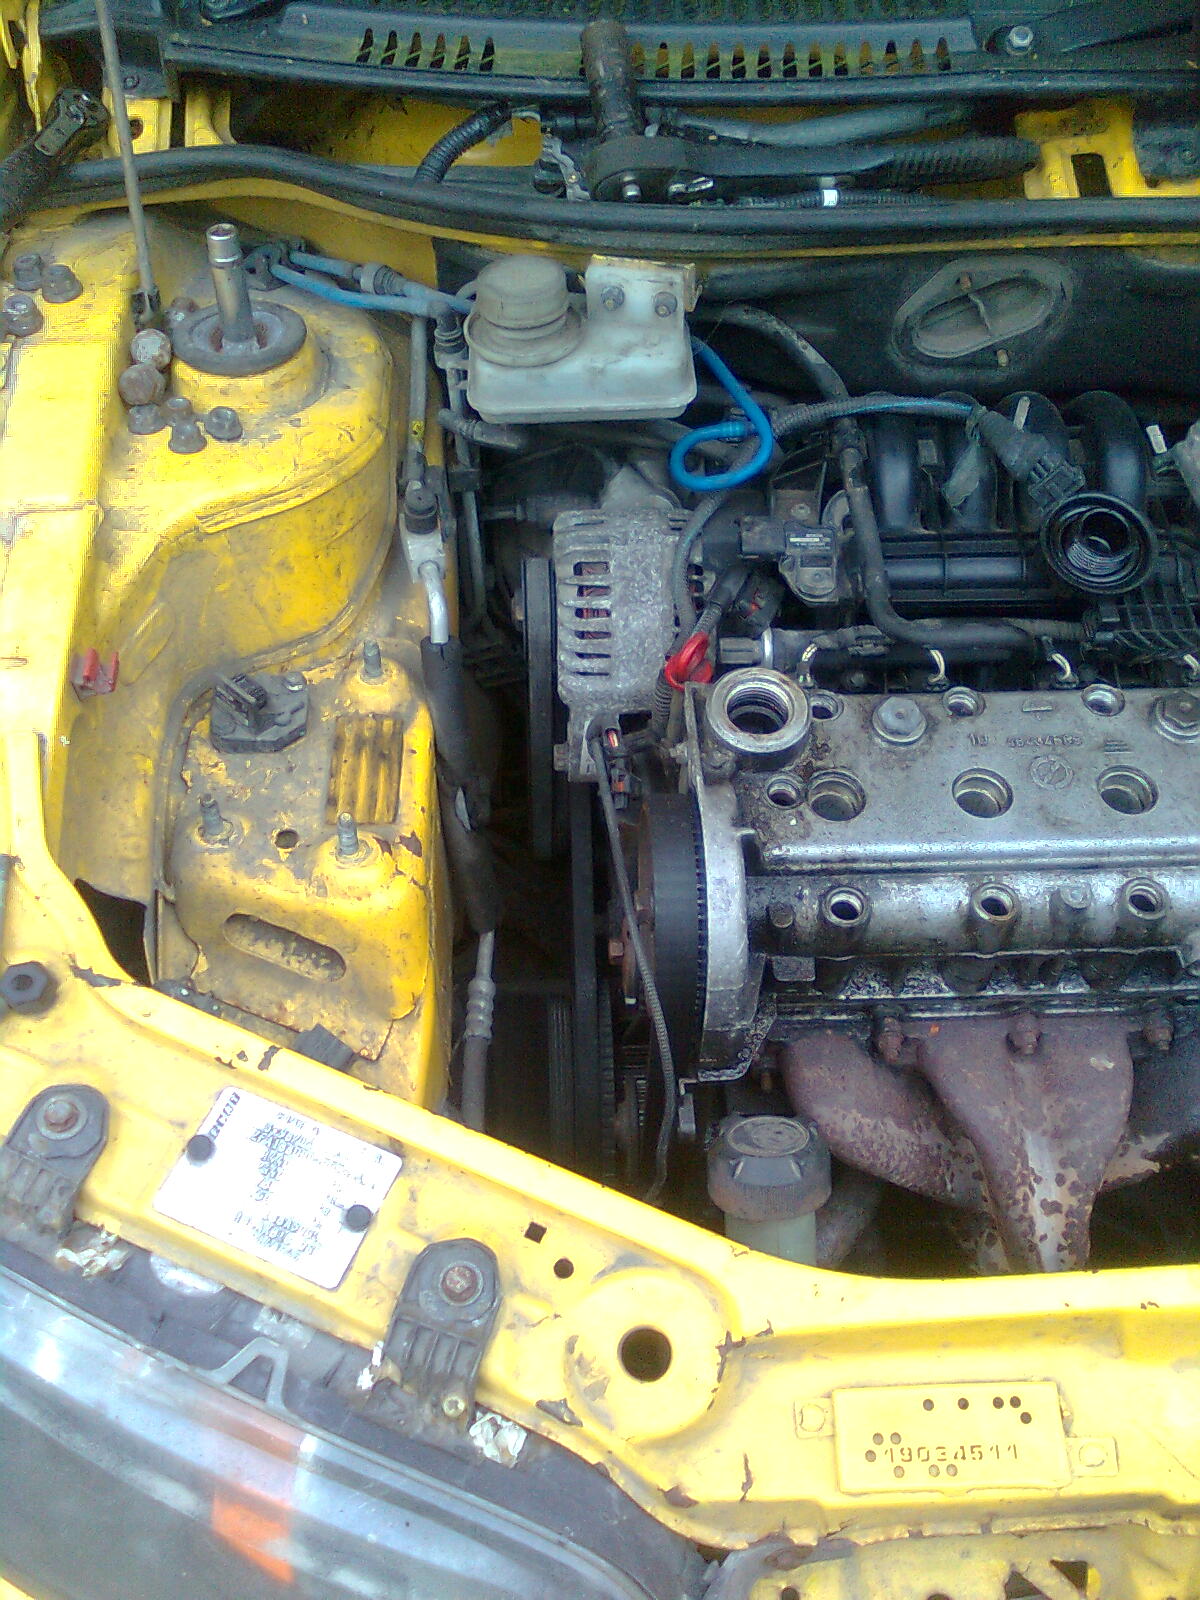
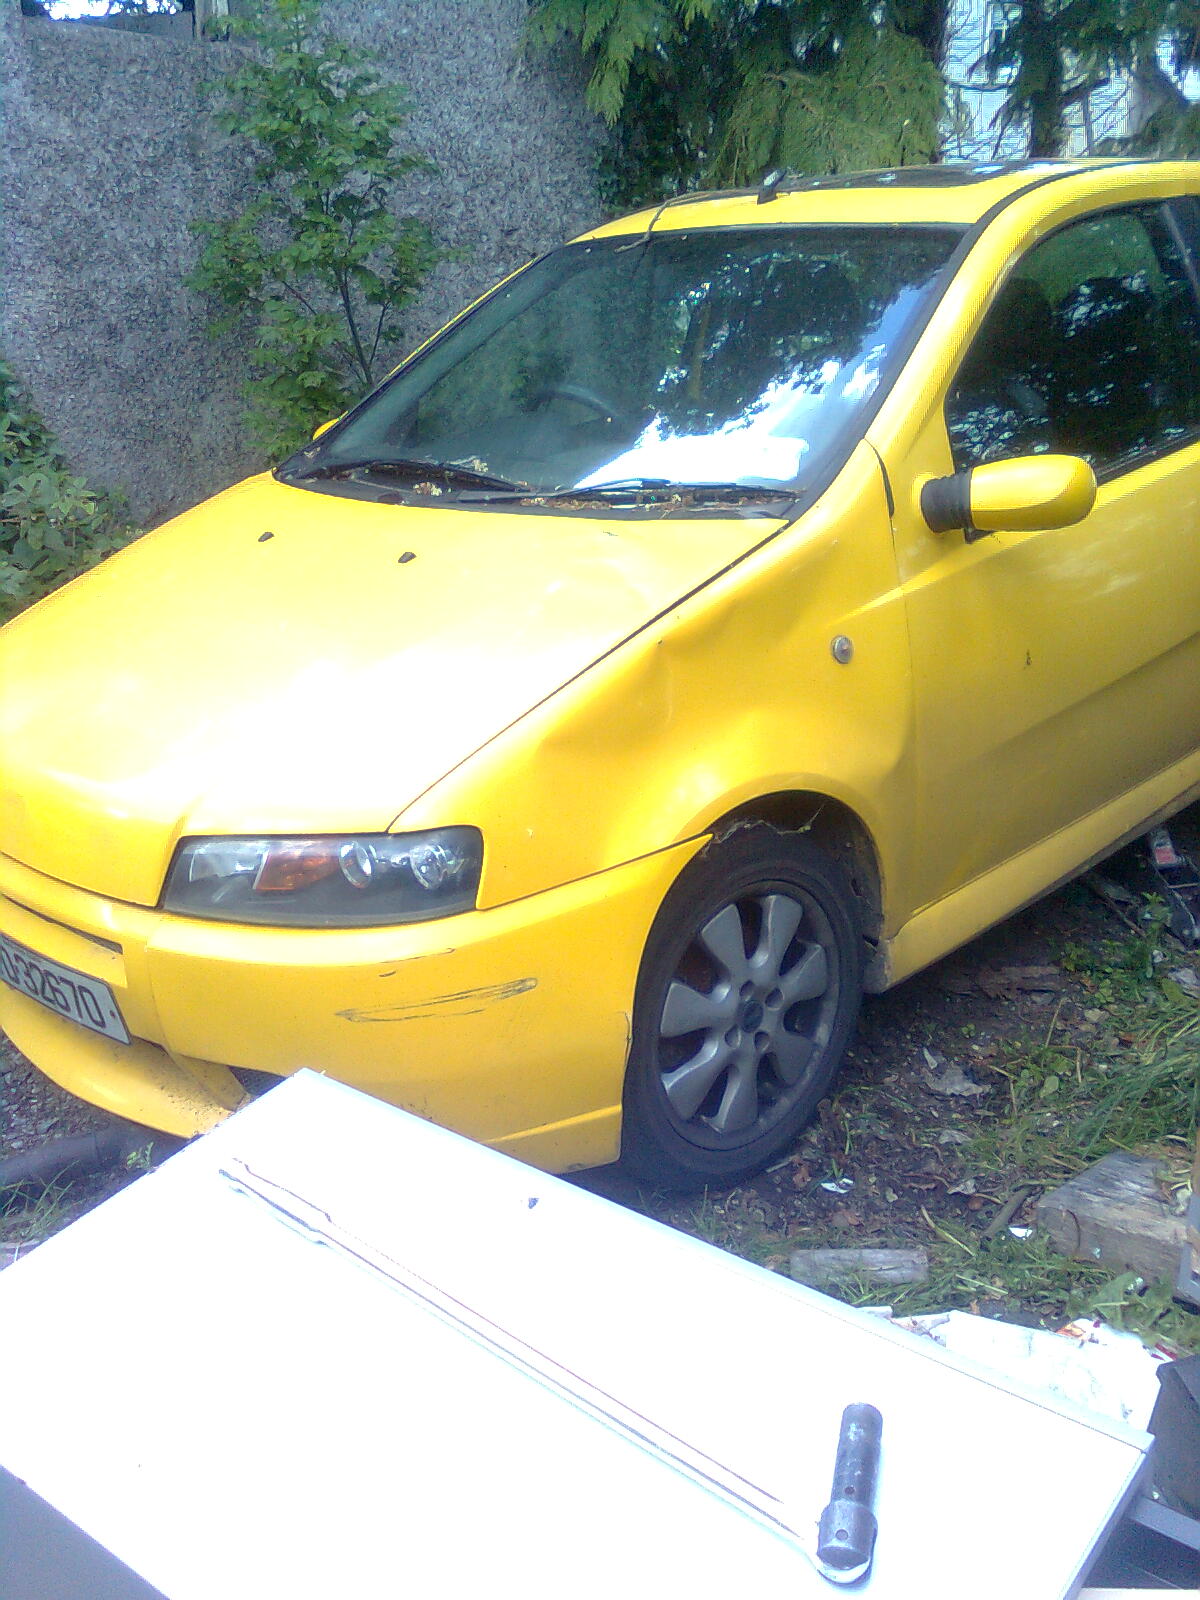
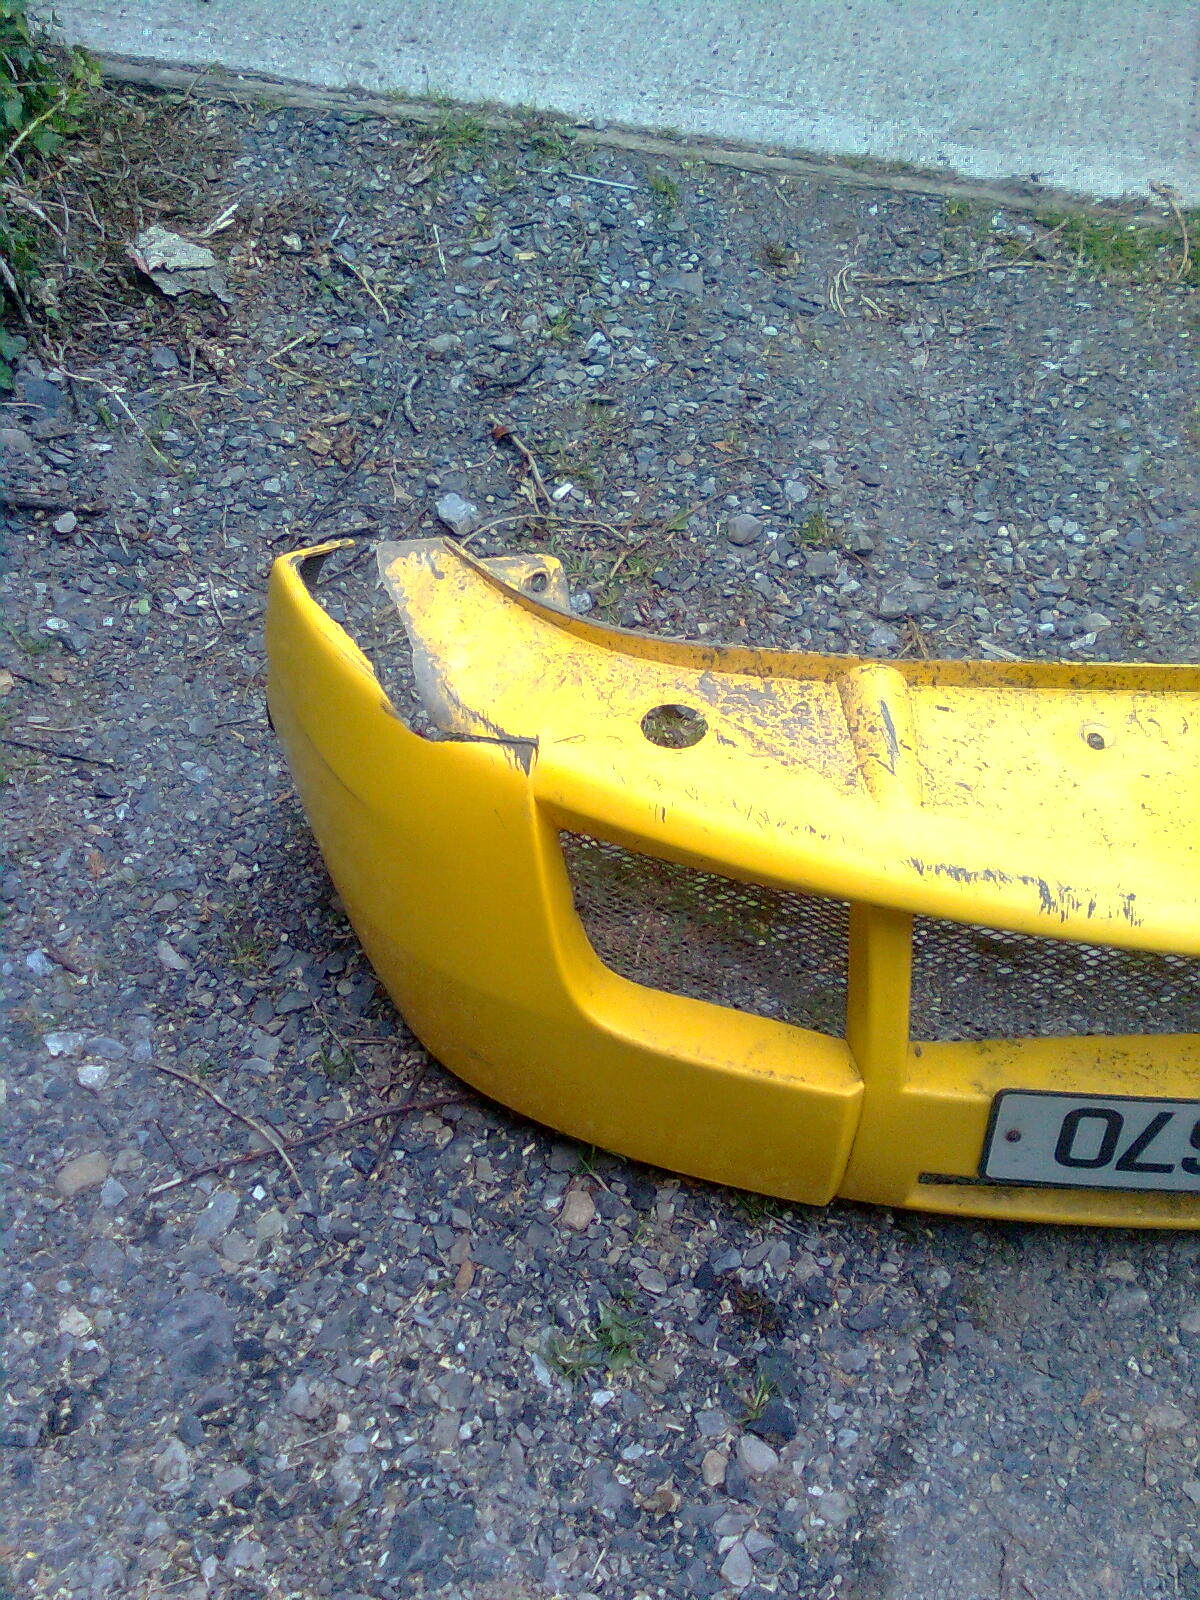
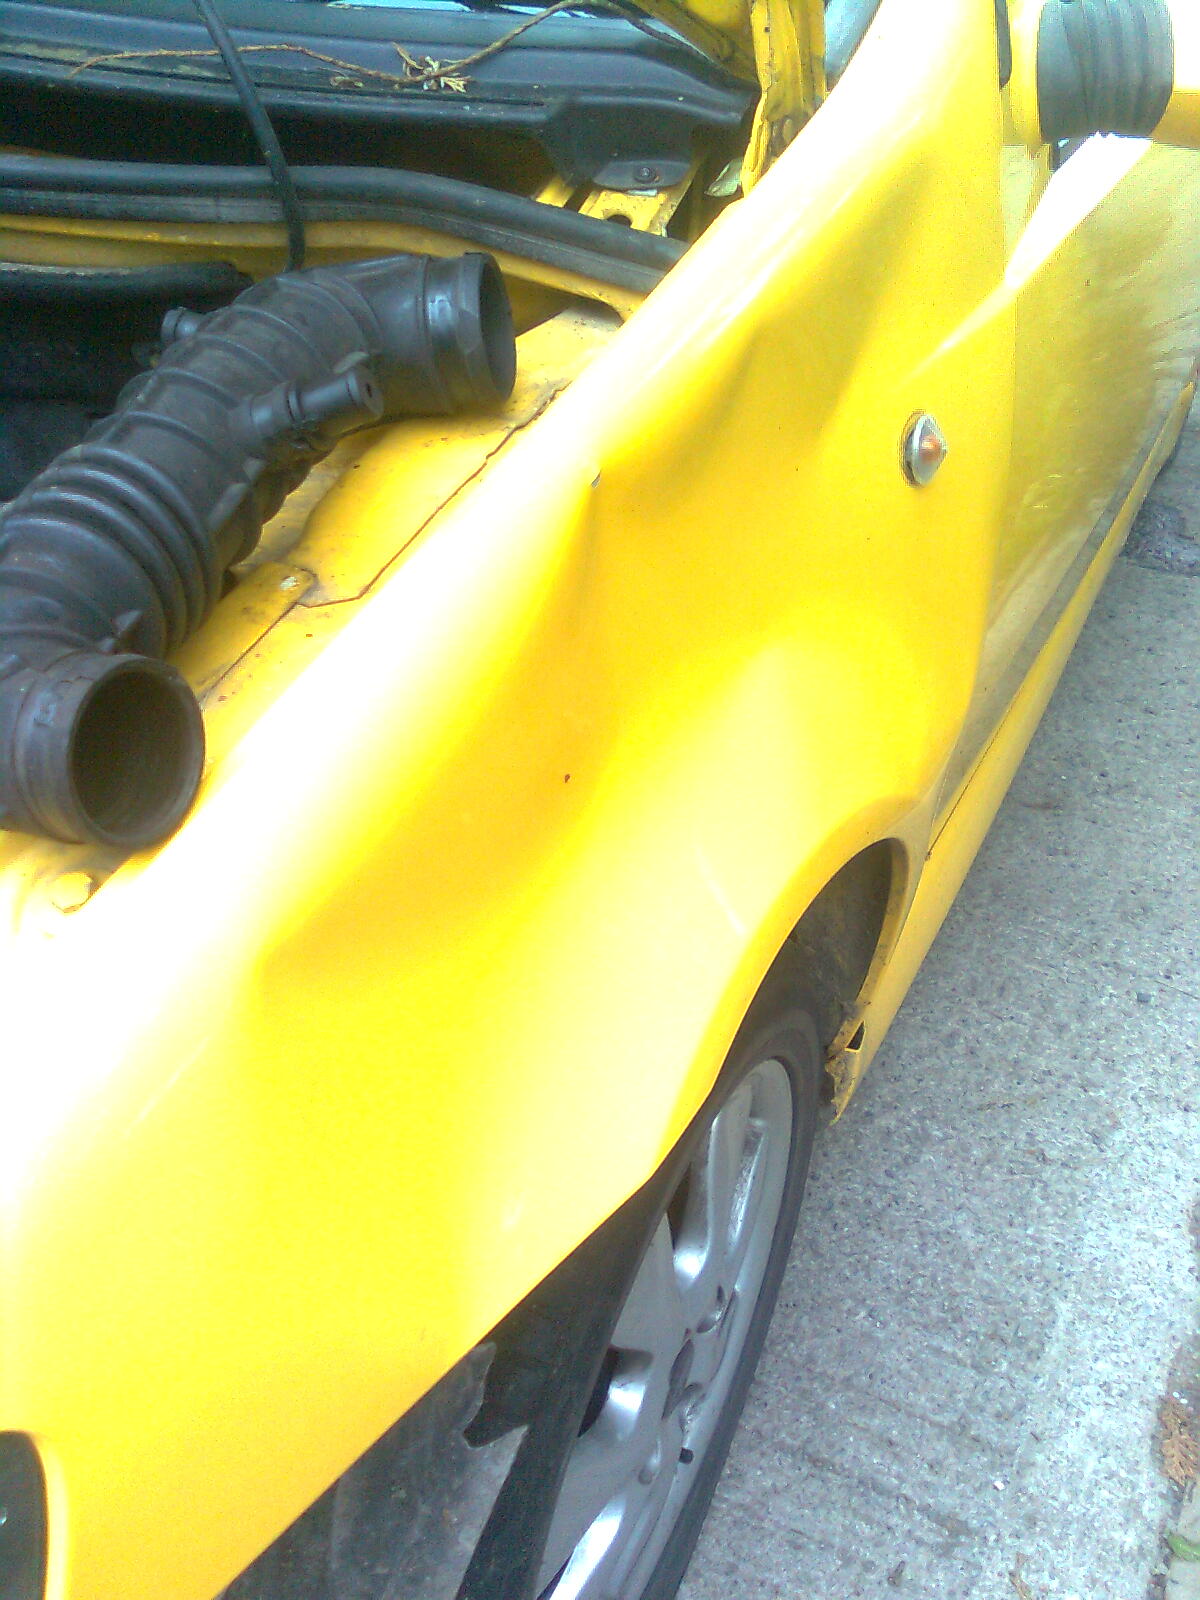
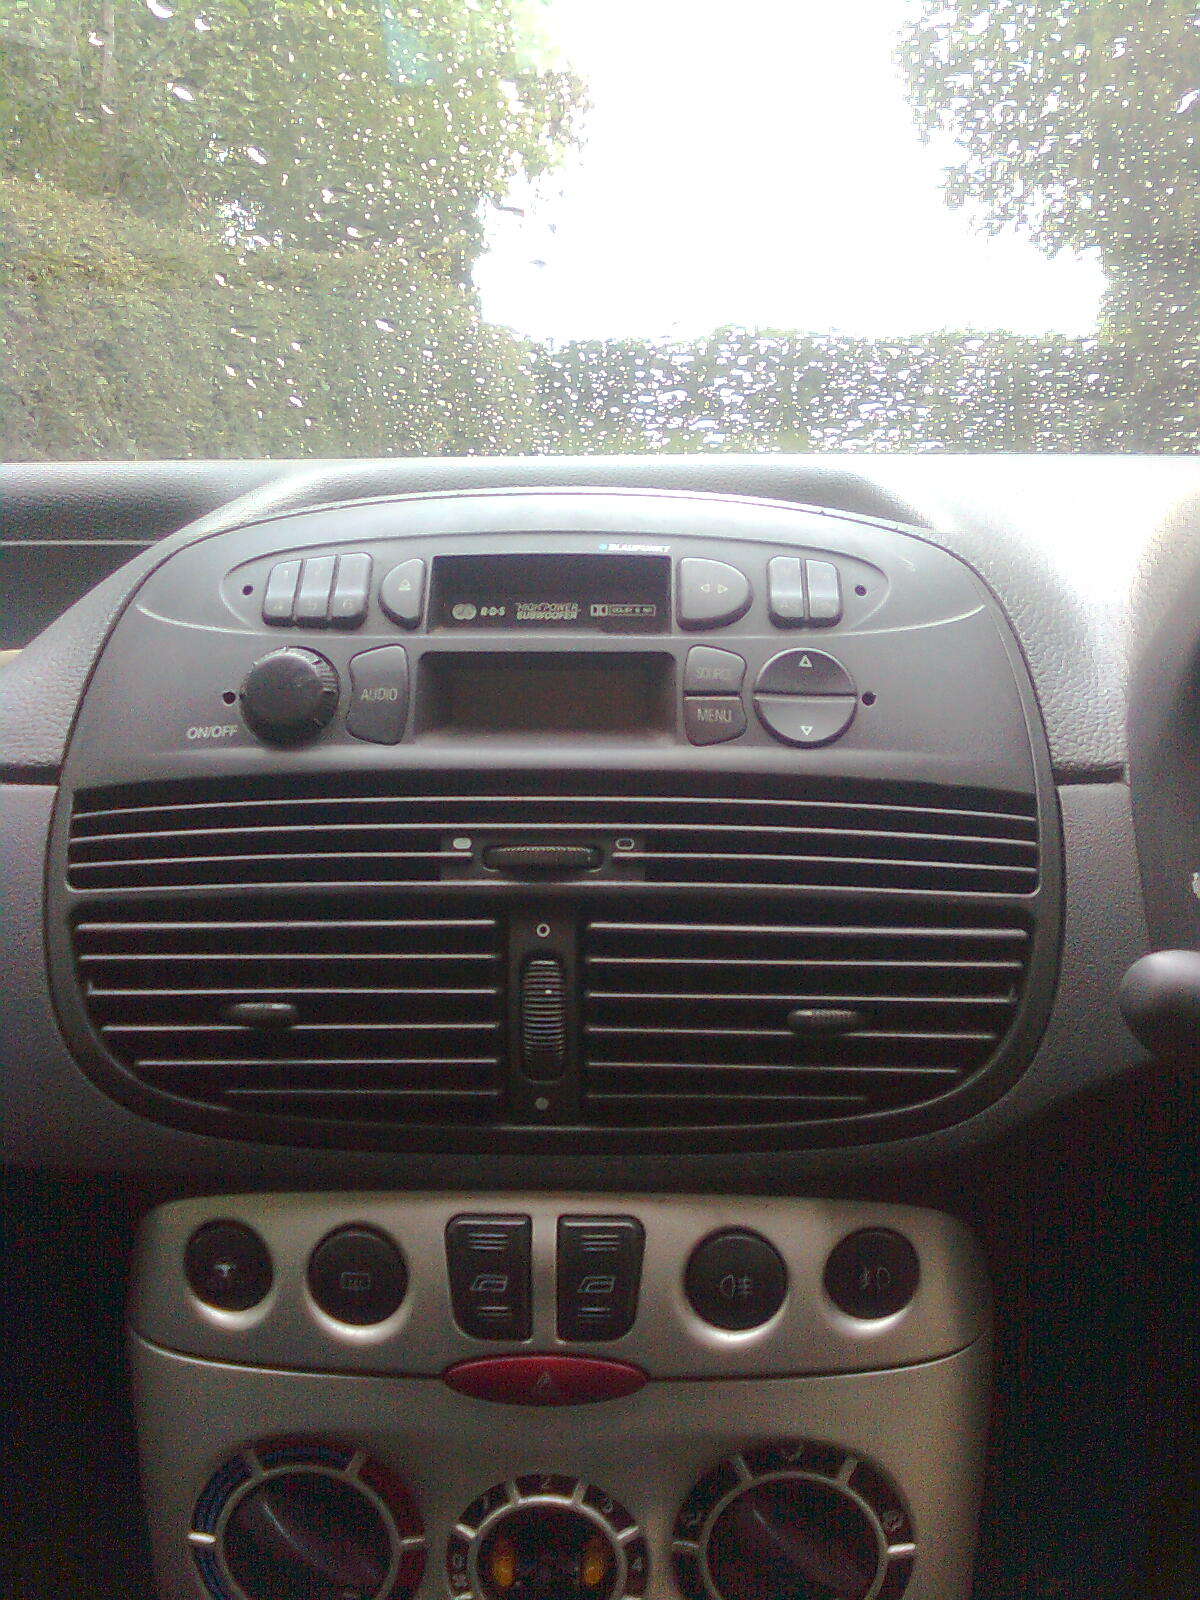
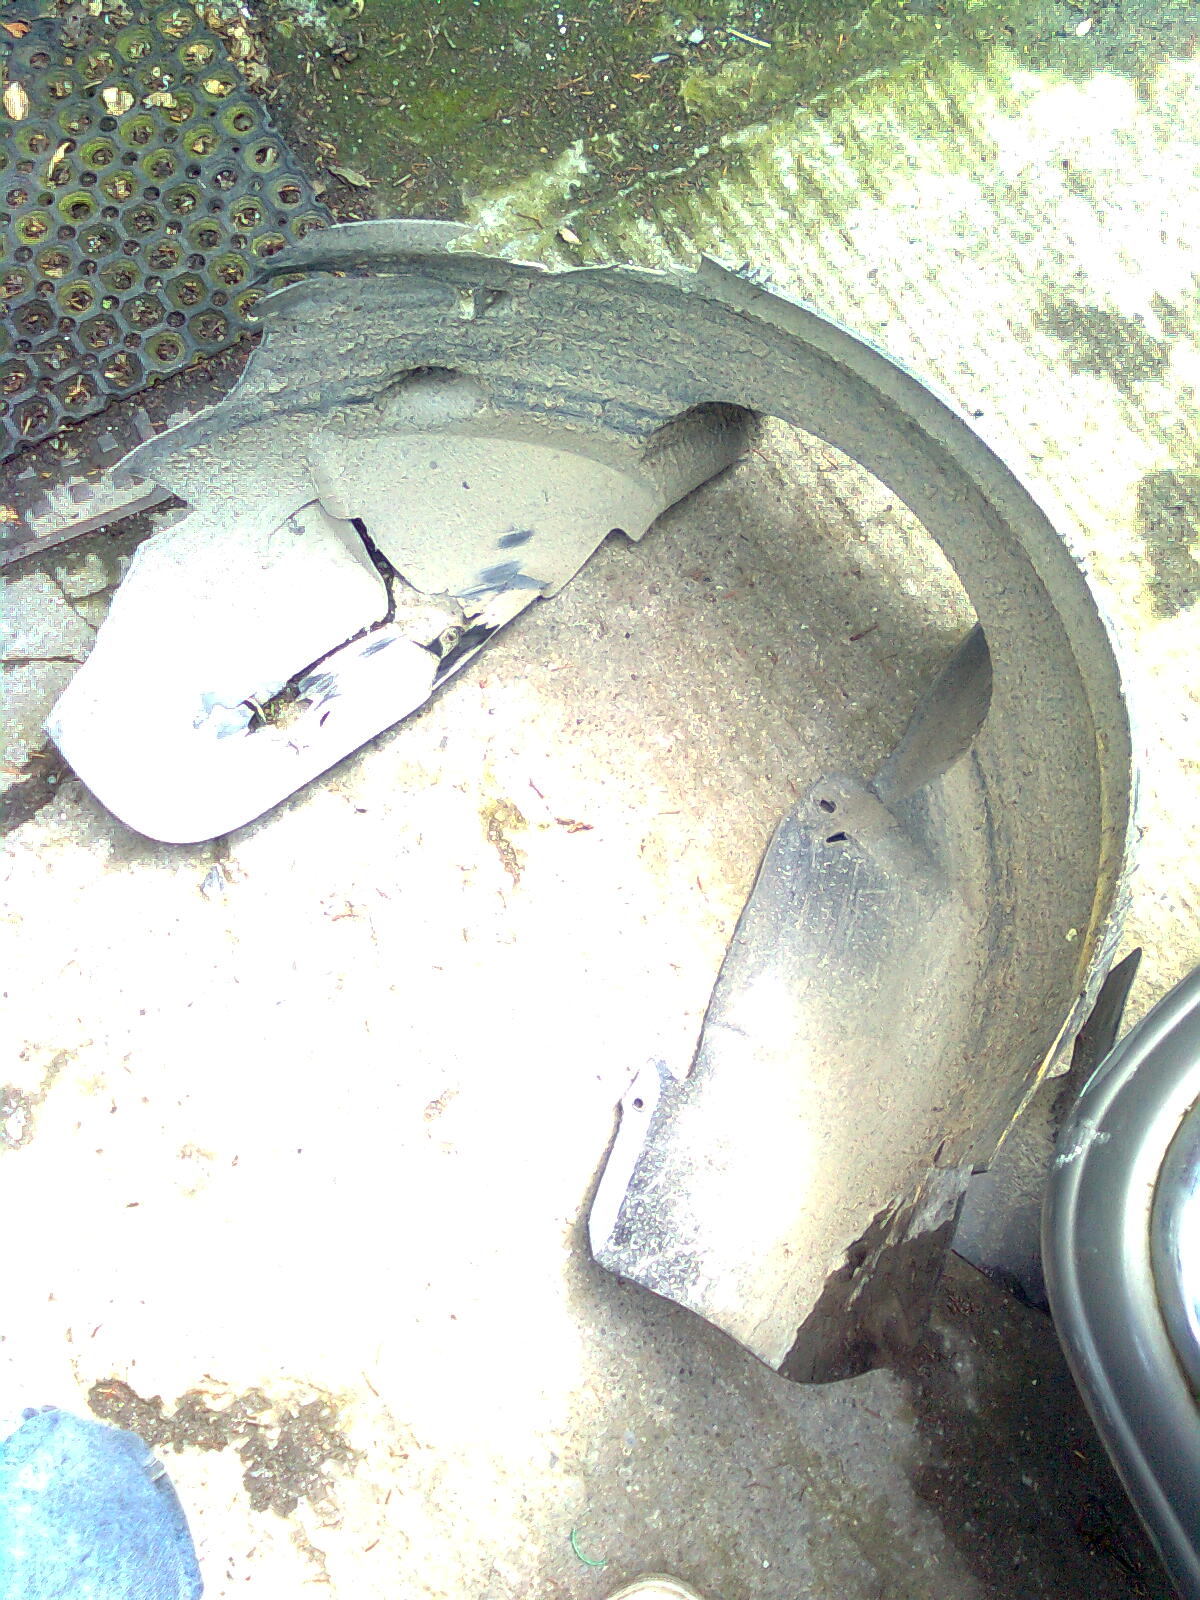
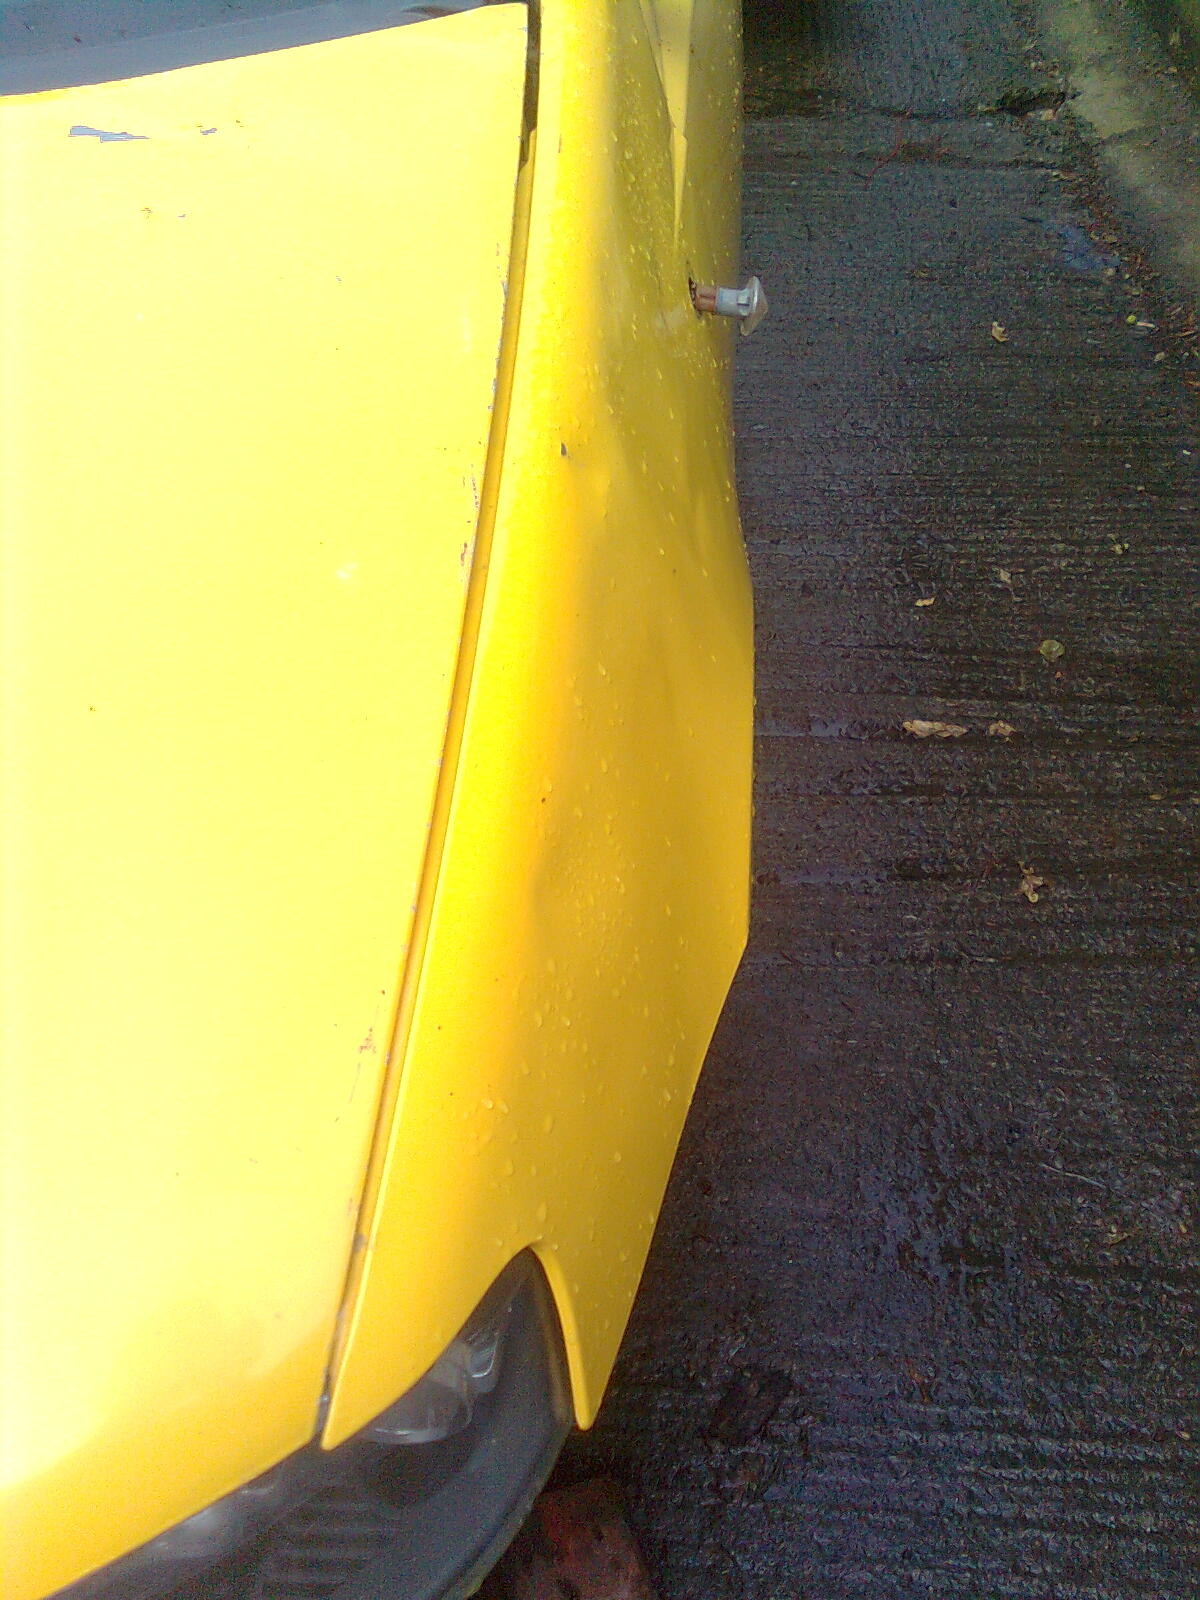
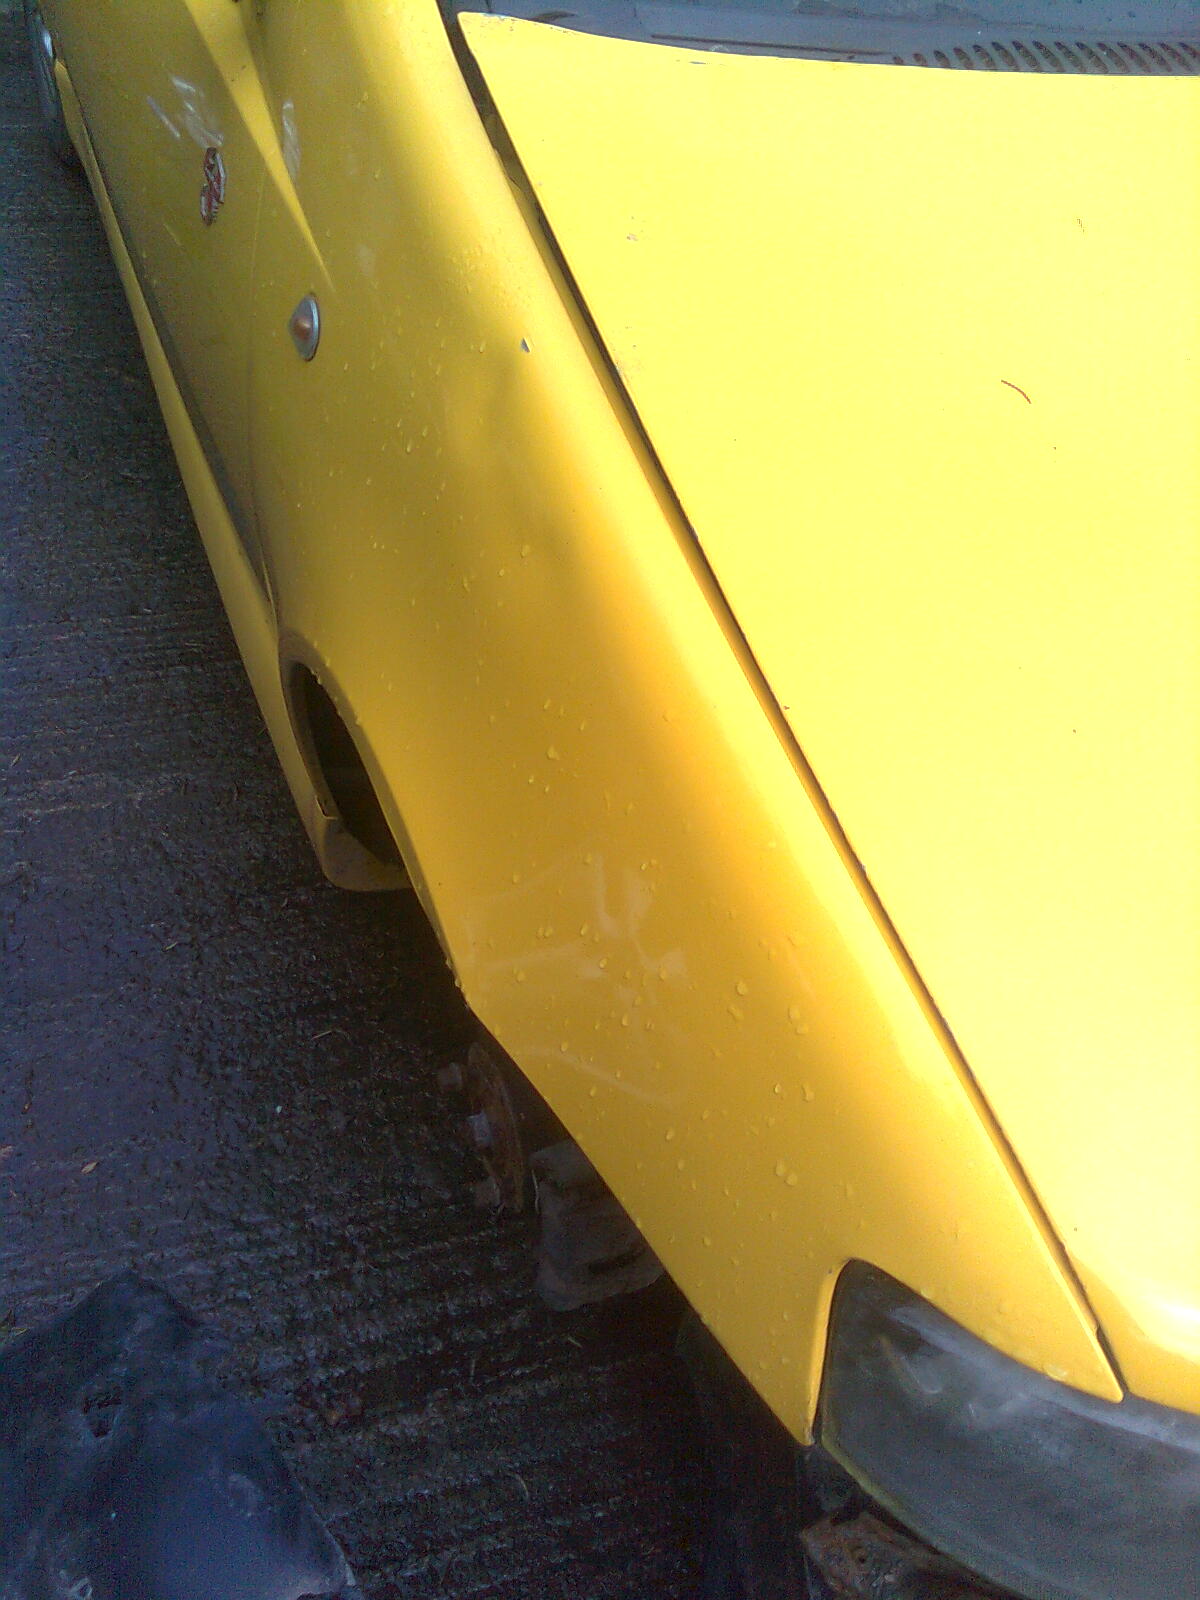
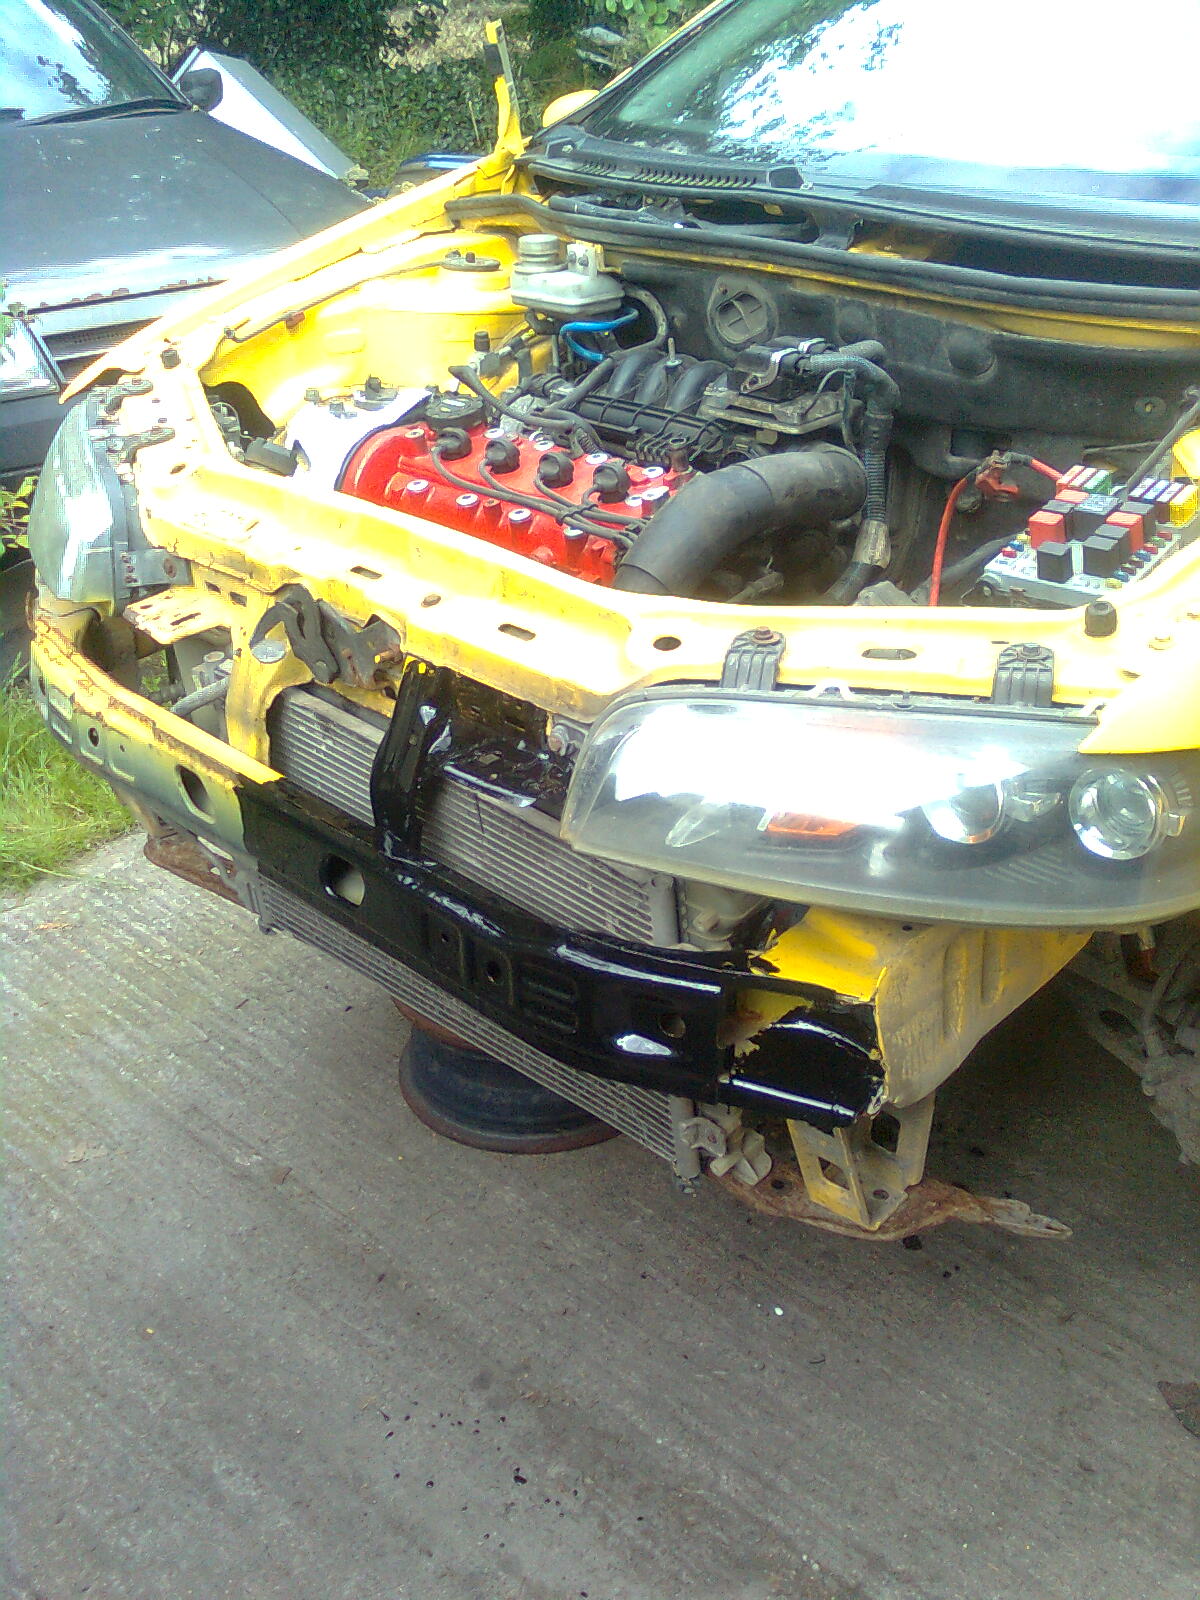
Cheers! Needs alot more work done to it though!! Main priority is the front as the bumper is ruined along with the arch liners and wings... Getting there though
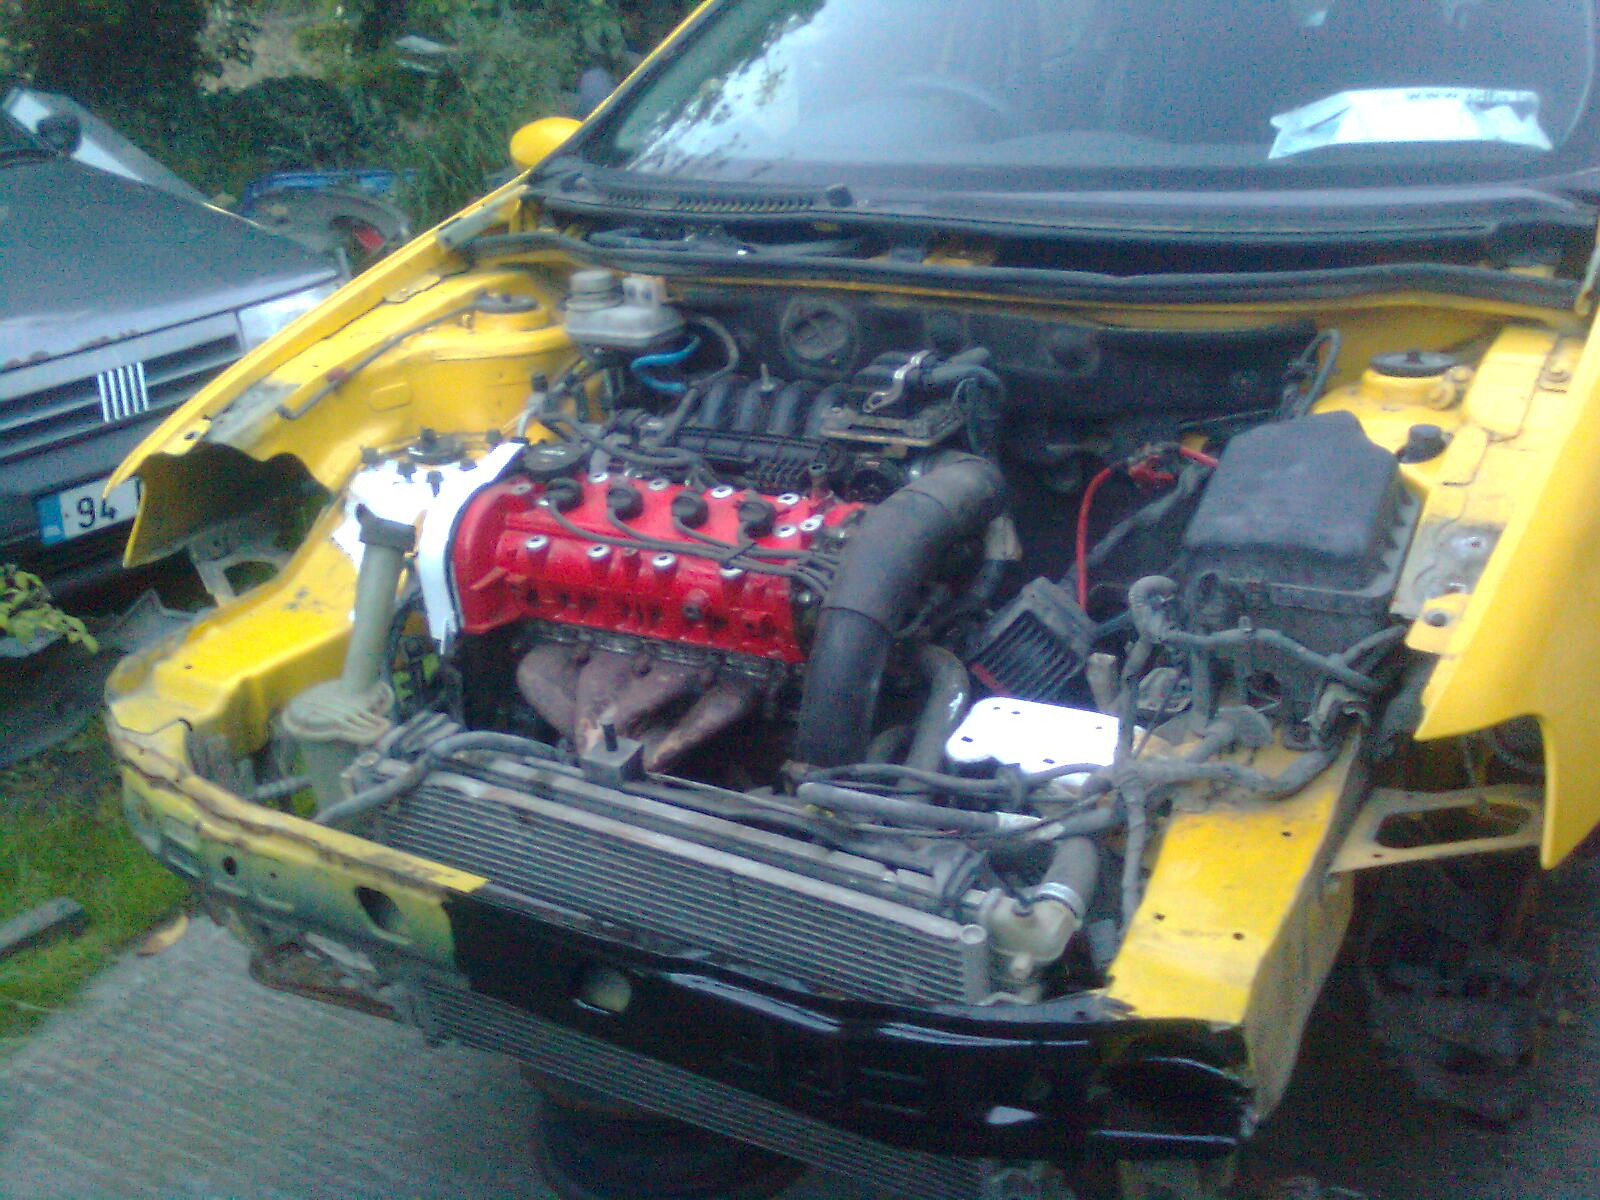
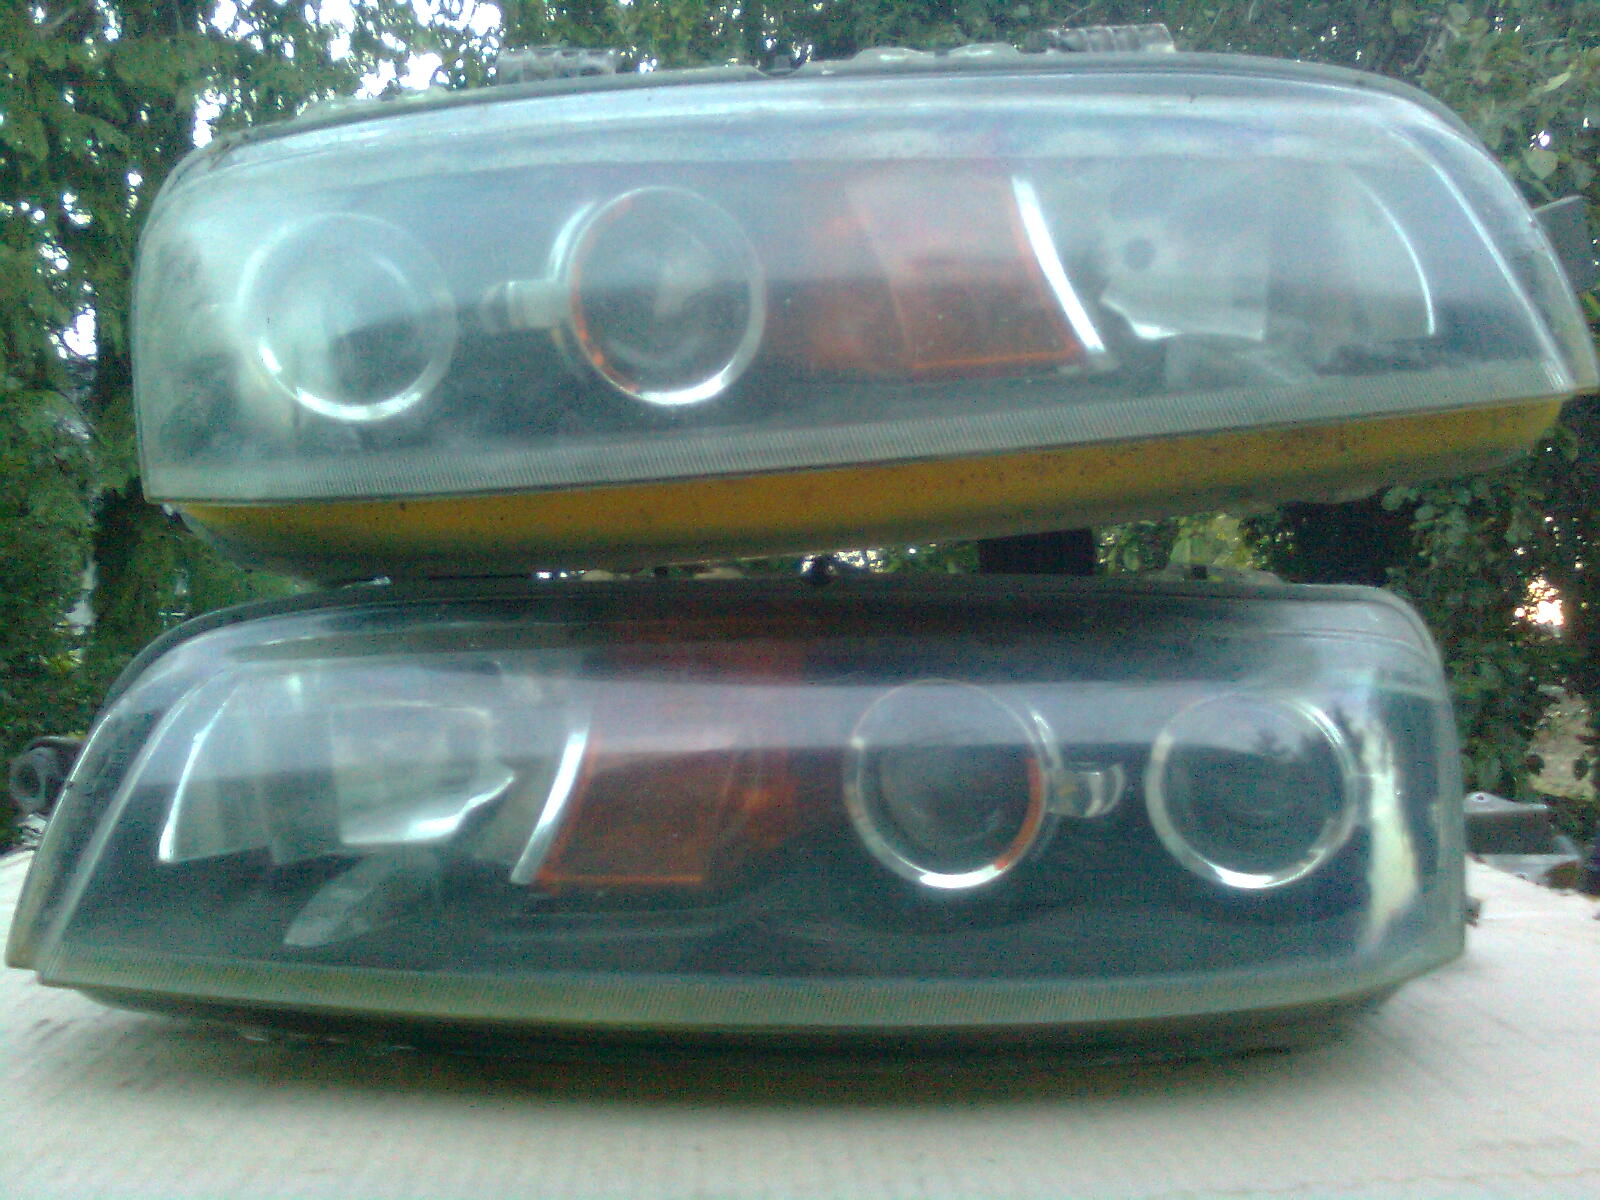
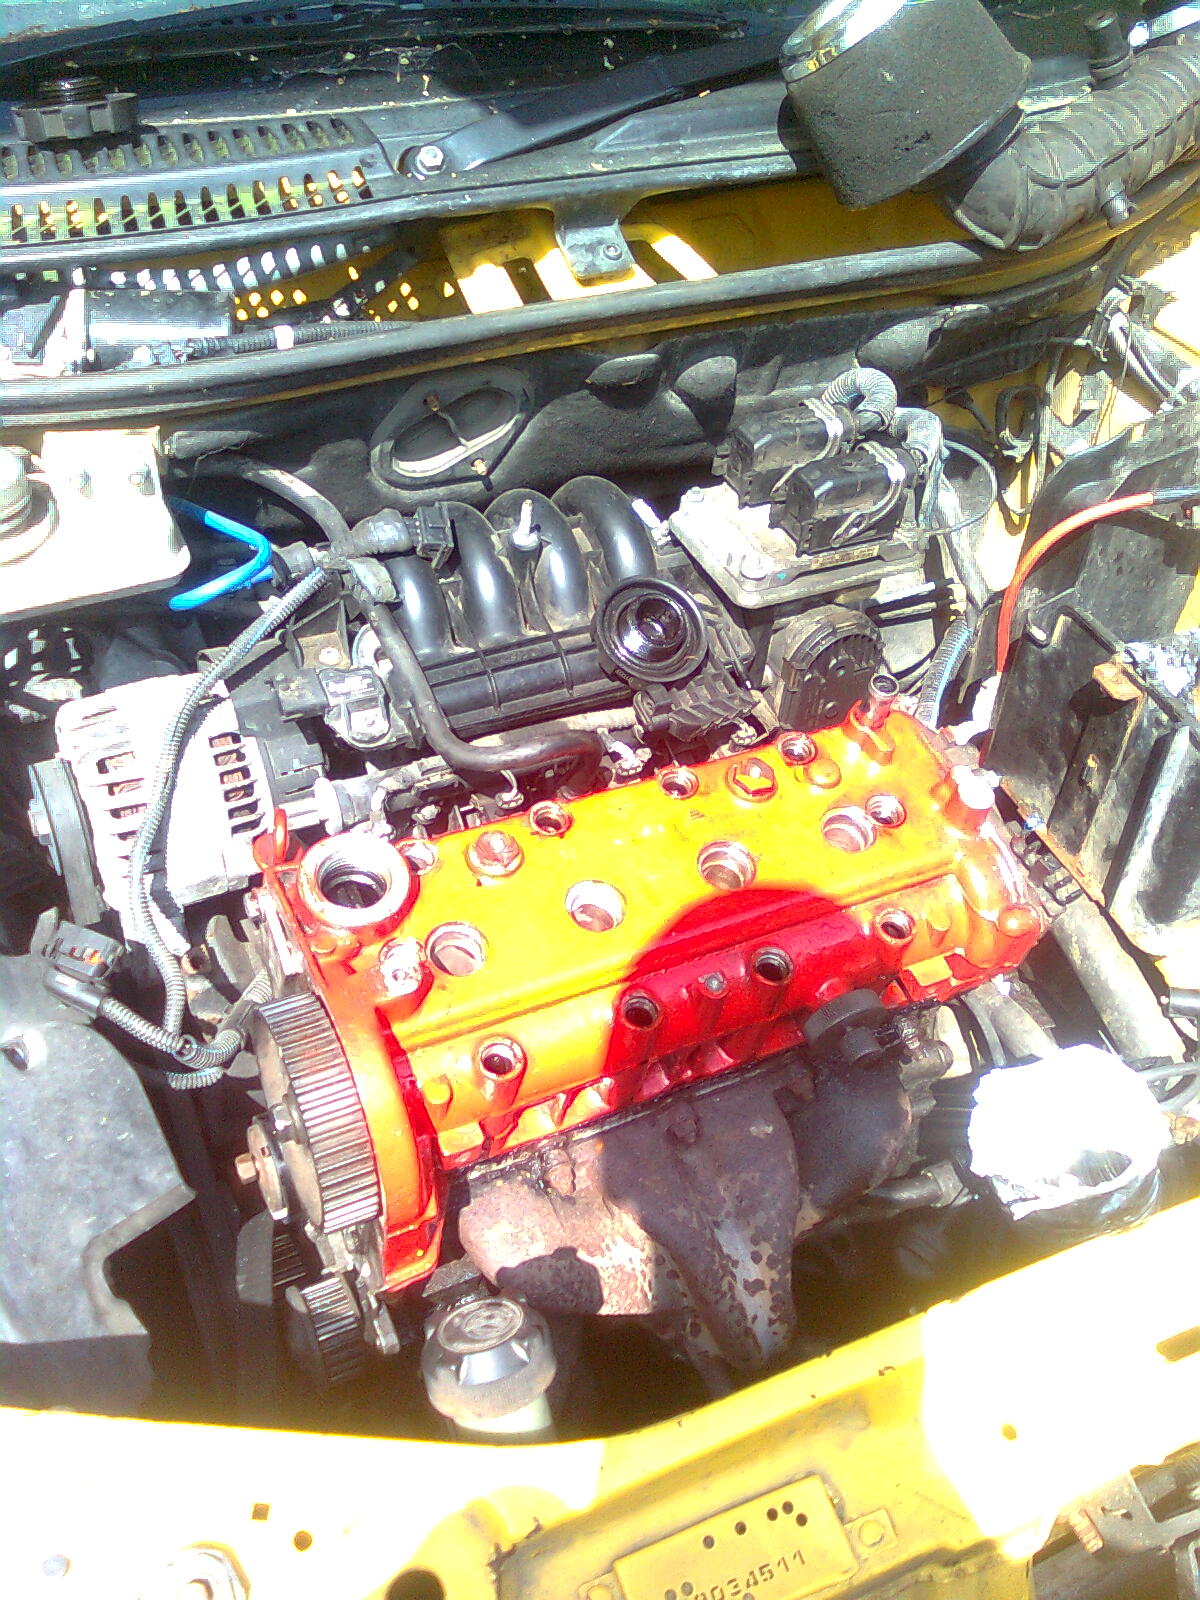
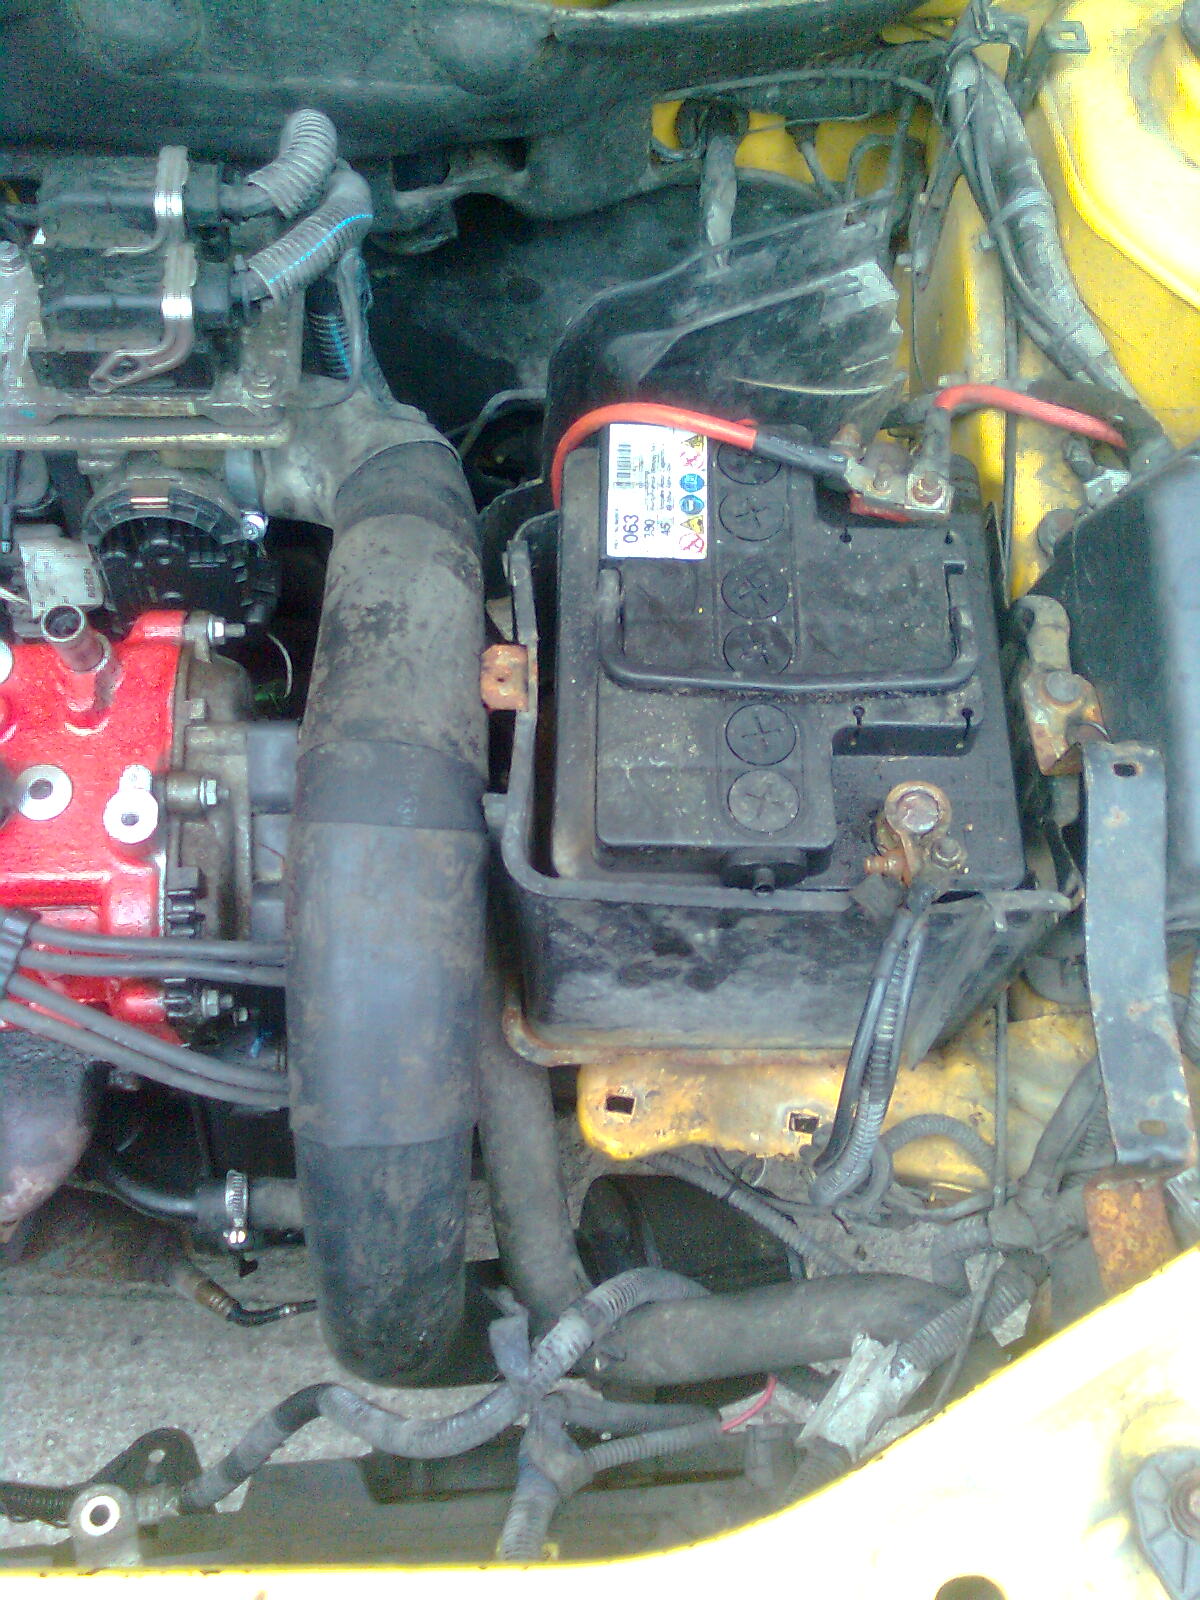
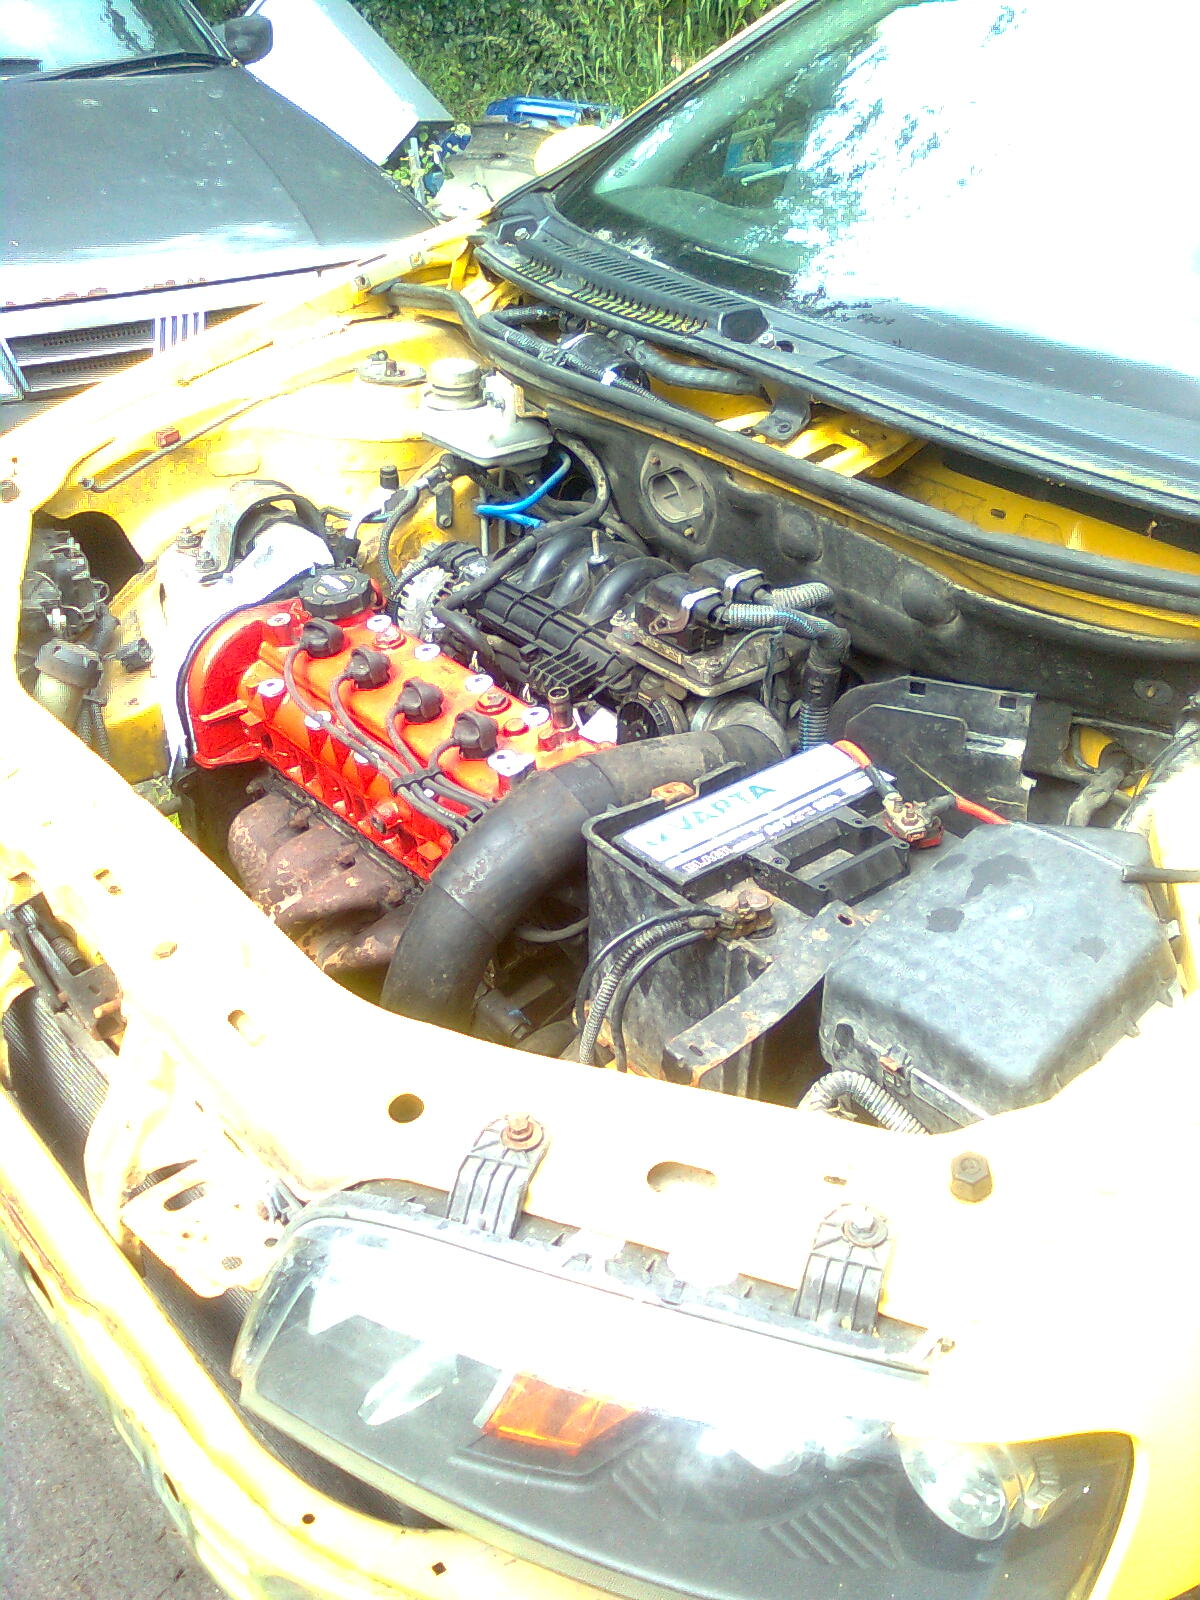
Its a full custom system, the engine is from a 97 Sporting so it has a different head and oil pump to begin with. Theres a great sound out of the exhaust! Have a youtube vid but cant link it to this thread... The only downside of that exhaust is it makes sneaking in at 3am near impossible!!! :devil:
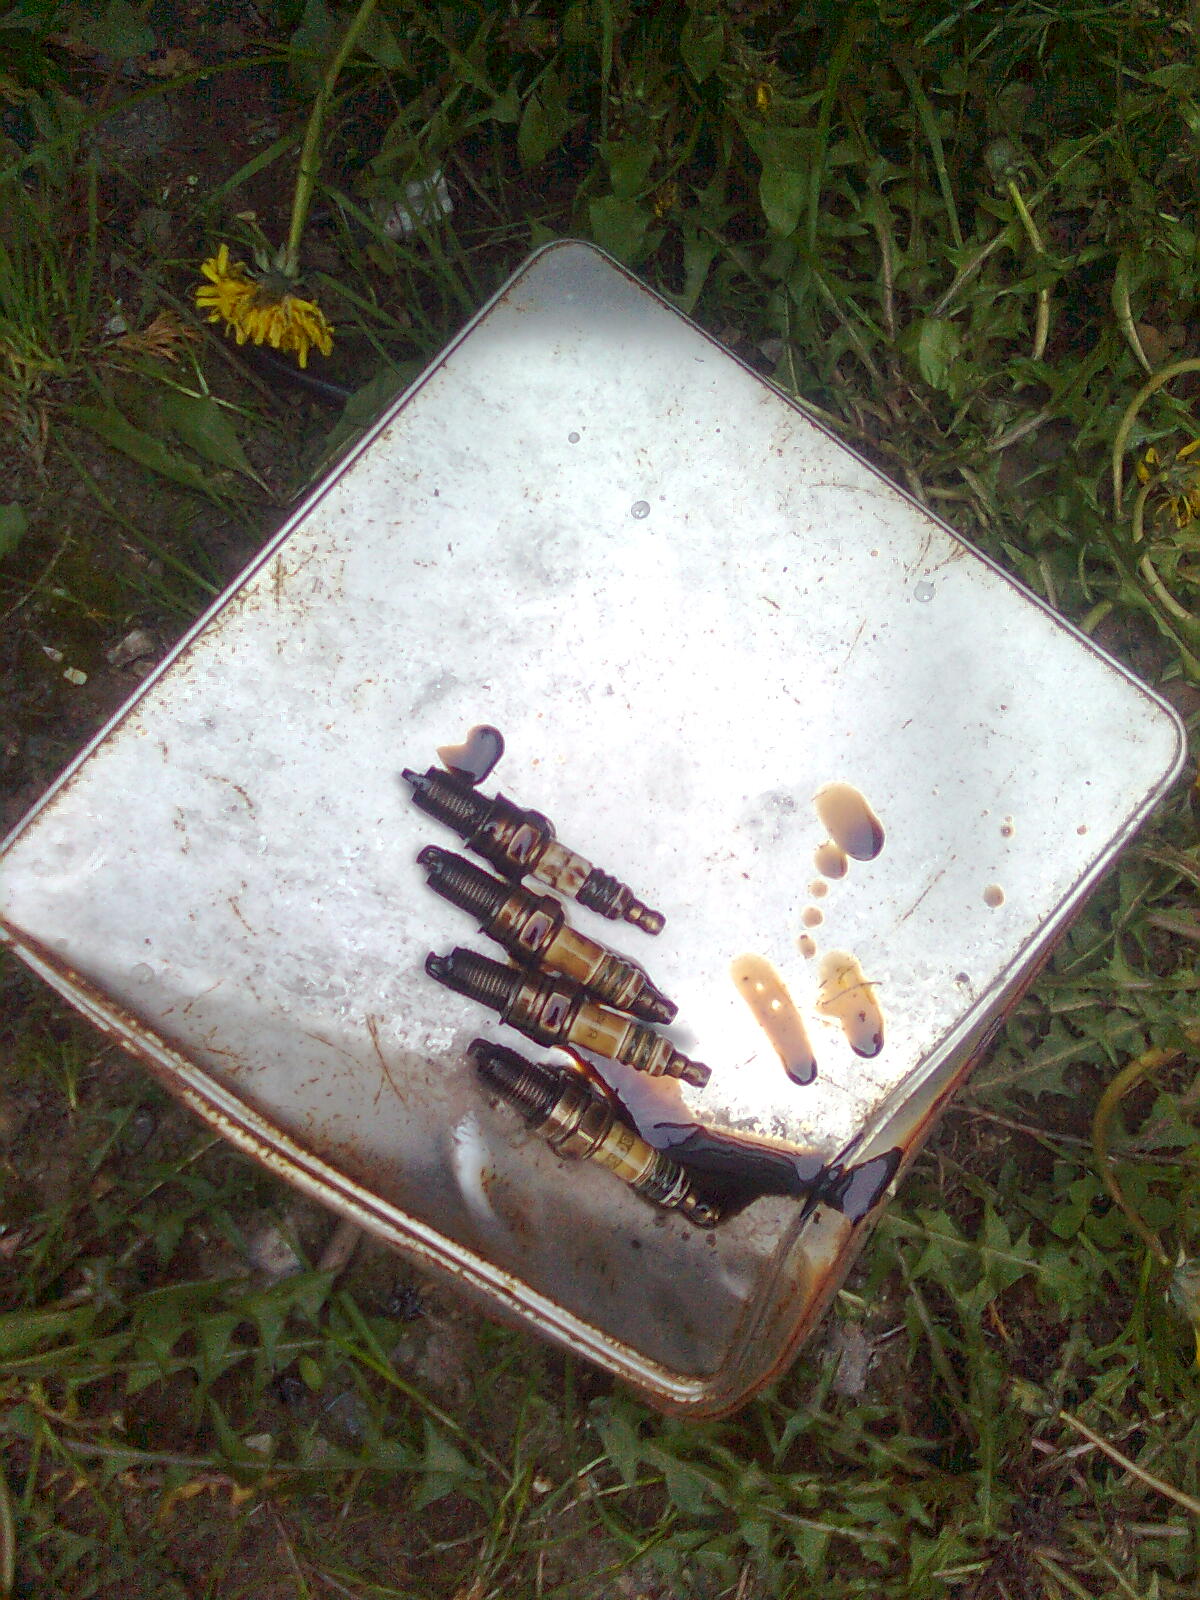
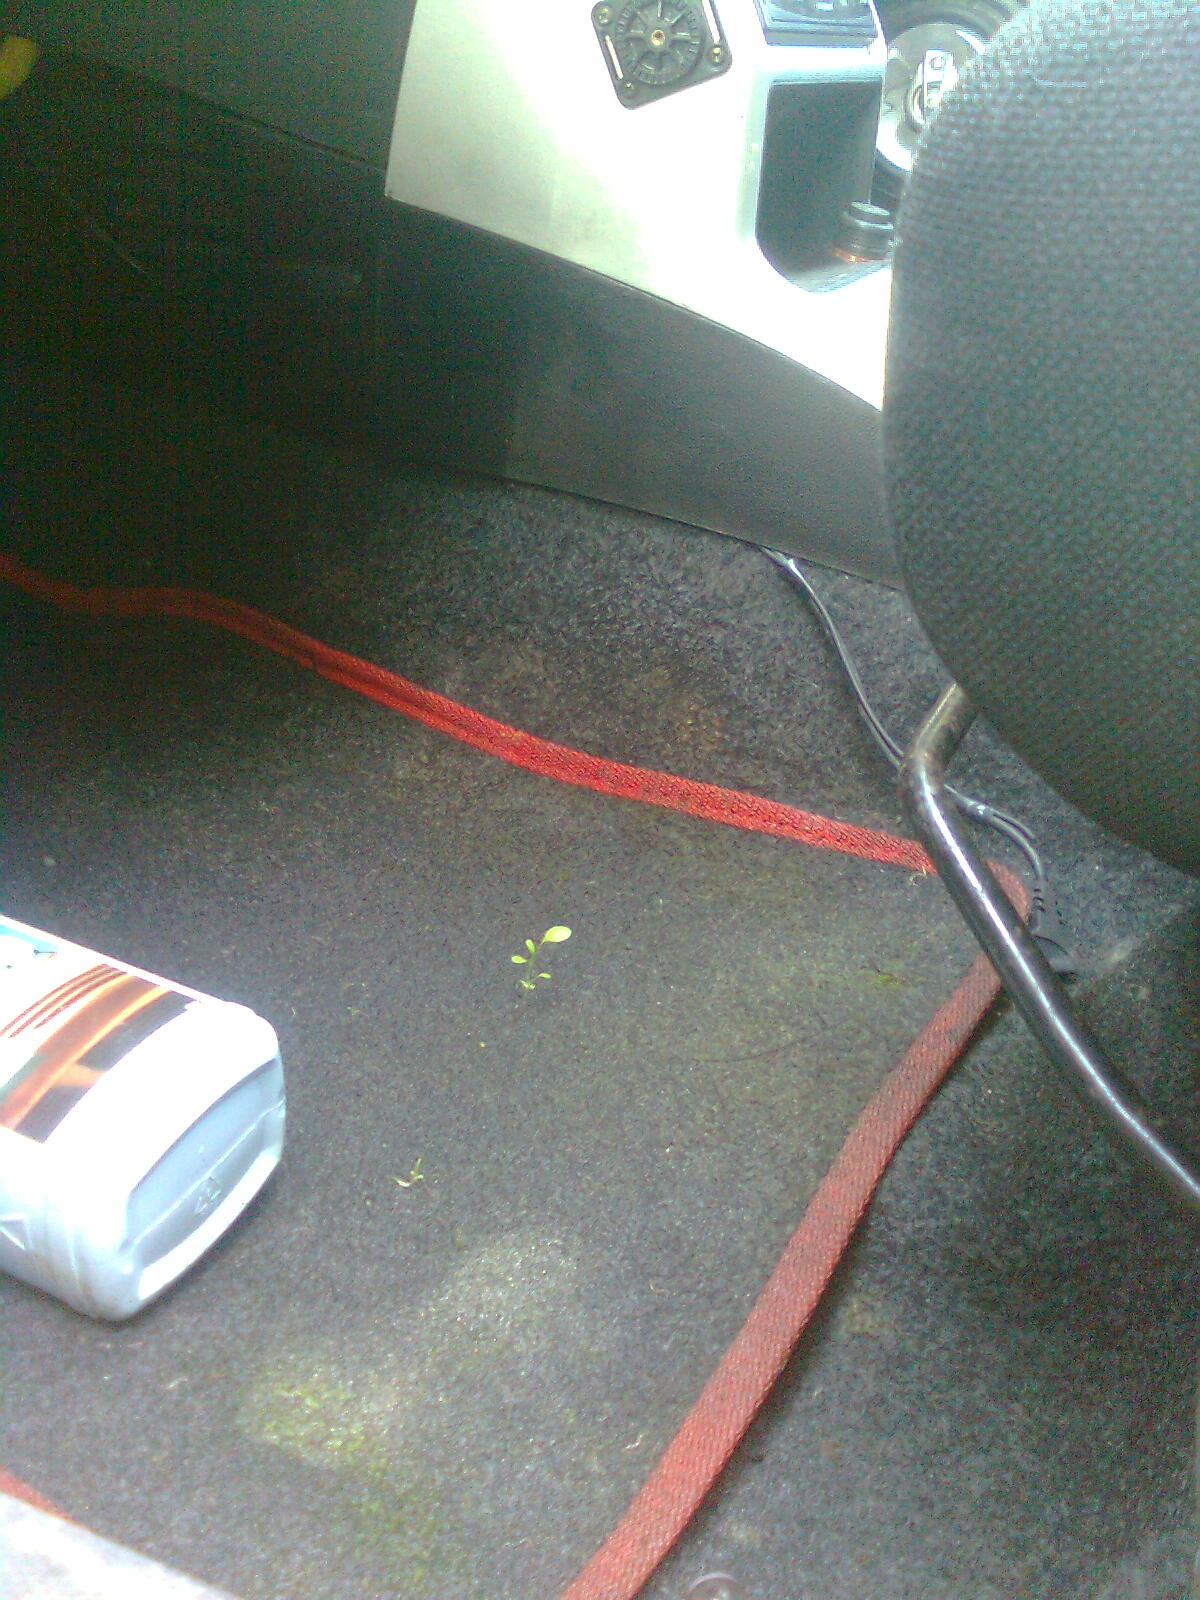
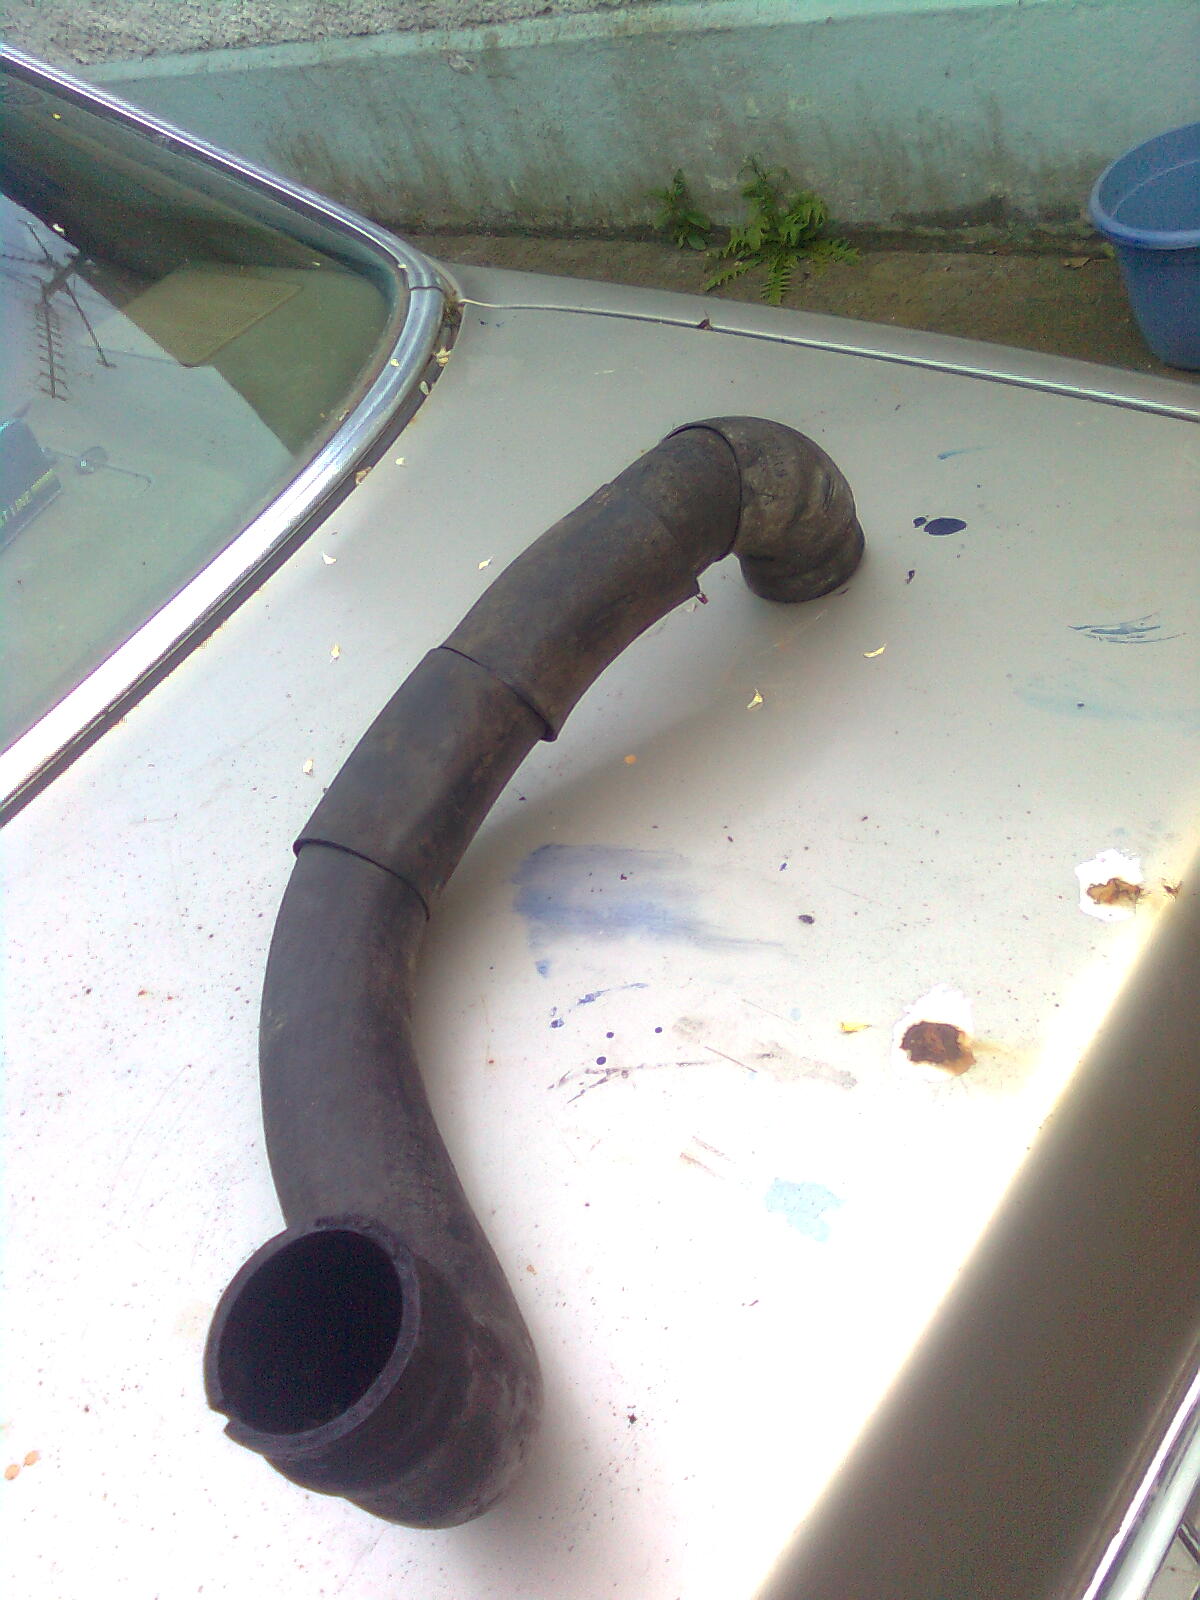
its very sad where it is at the moment so in a few weeks I'll be pulling it out of hibernation and finally put it back to former glory and then some (I needed a car for the 400 miles I put up in a week) so since the start of January its been parked up gathering leaves However just 2 days ago I got out a battery, plugged it in, primed the pump and it fired, first time so that got the ball rolling again Earlier, I rooted out this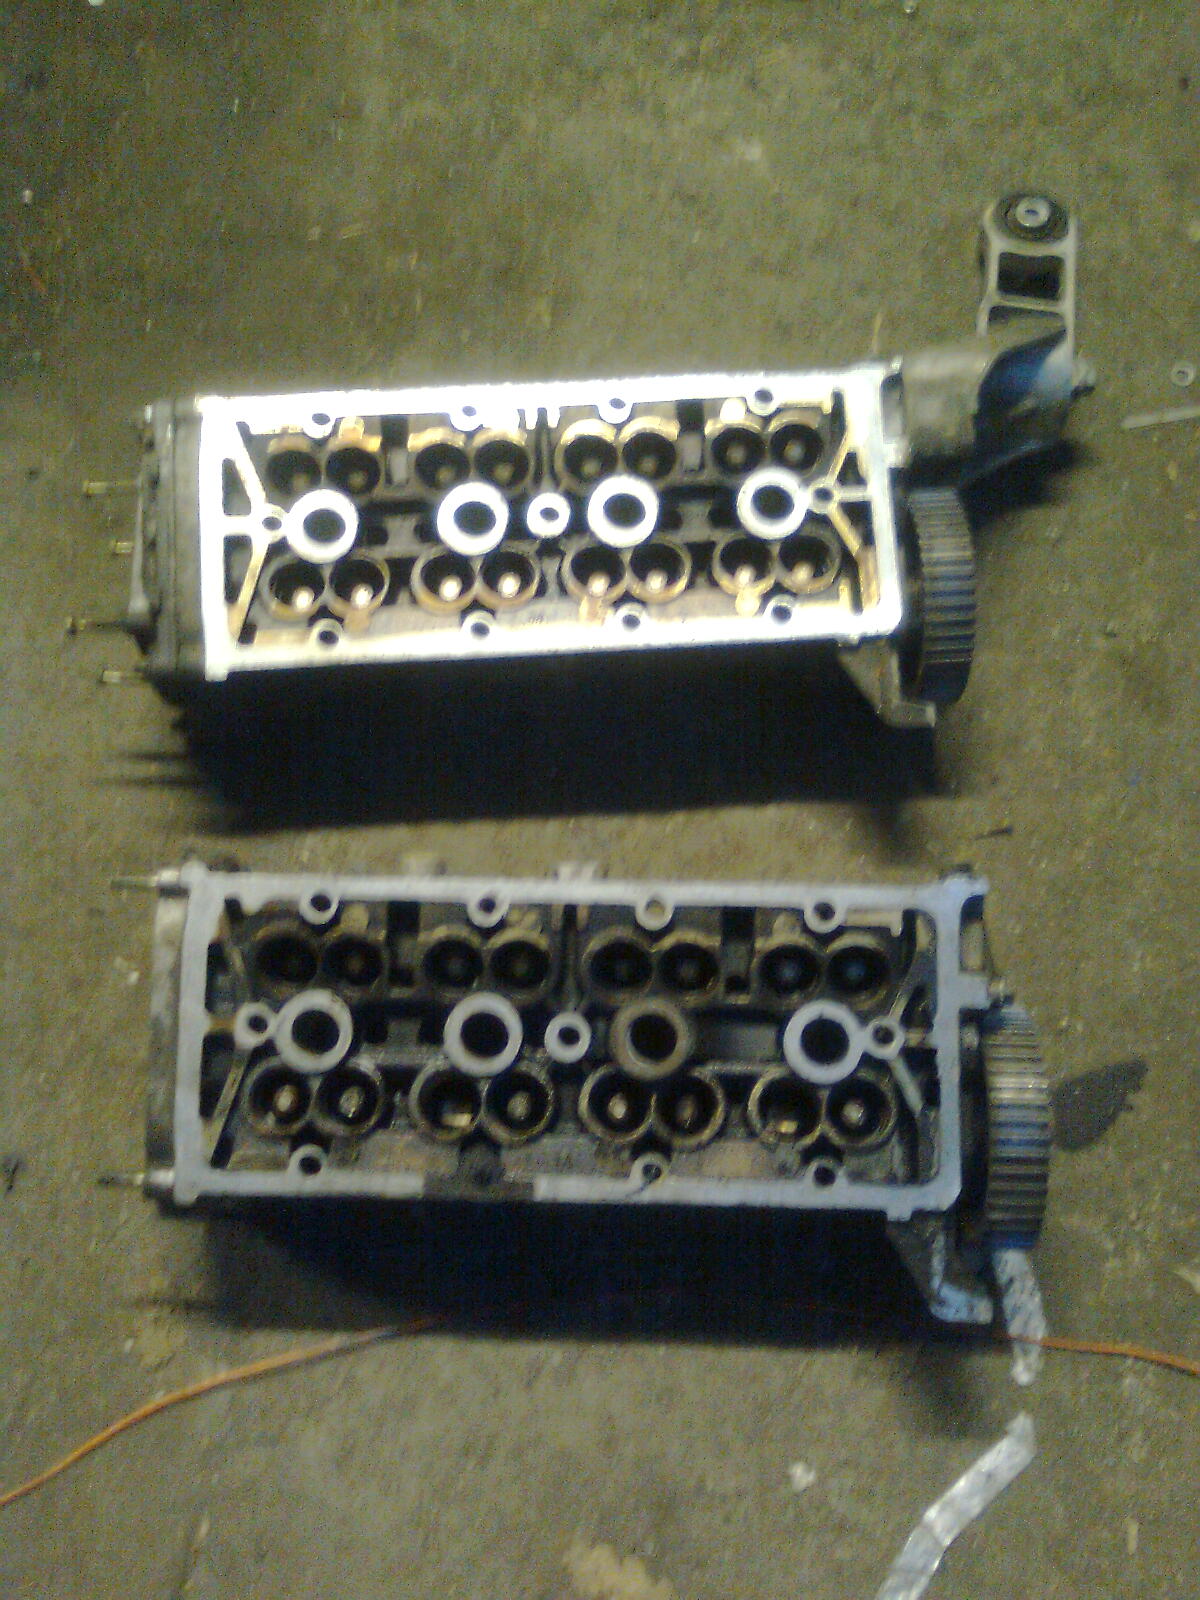


 .
.Copycat....
I'm changing the color of mine now
Thanks
X

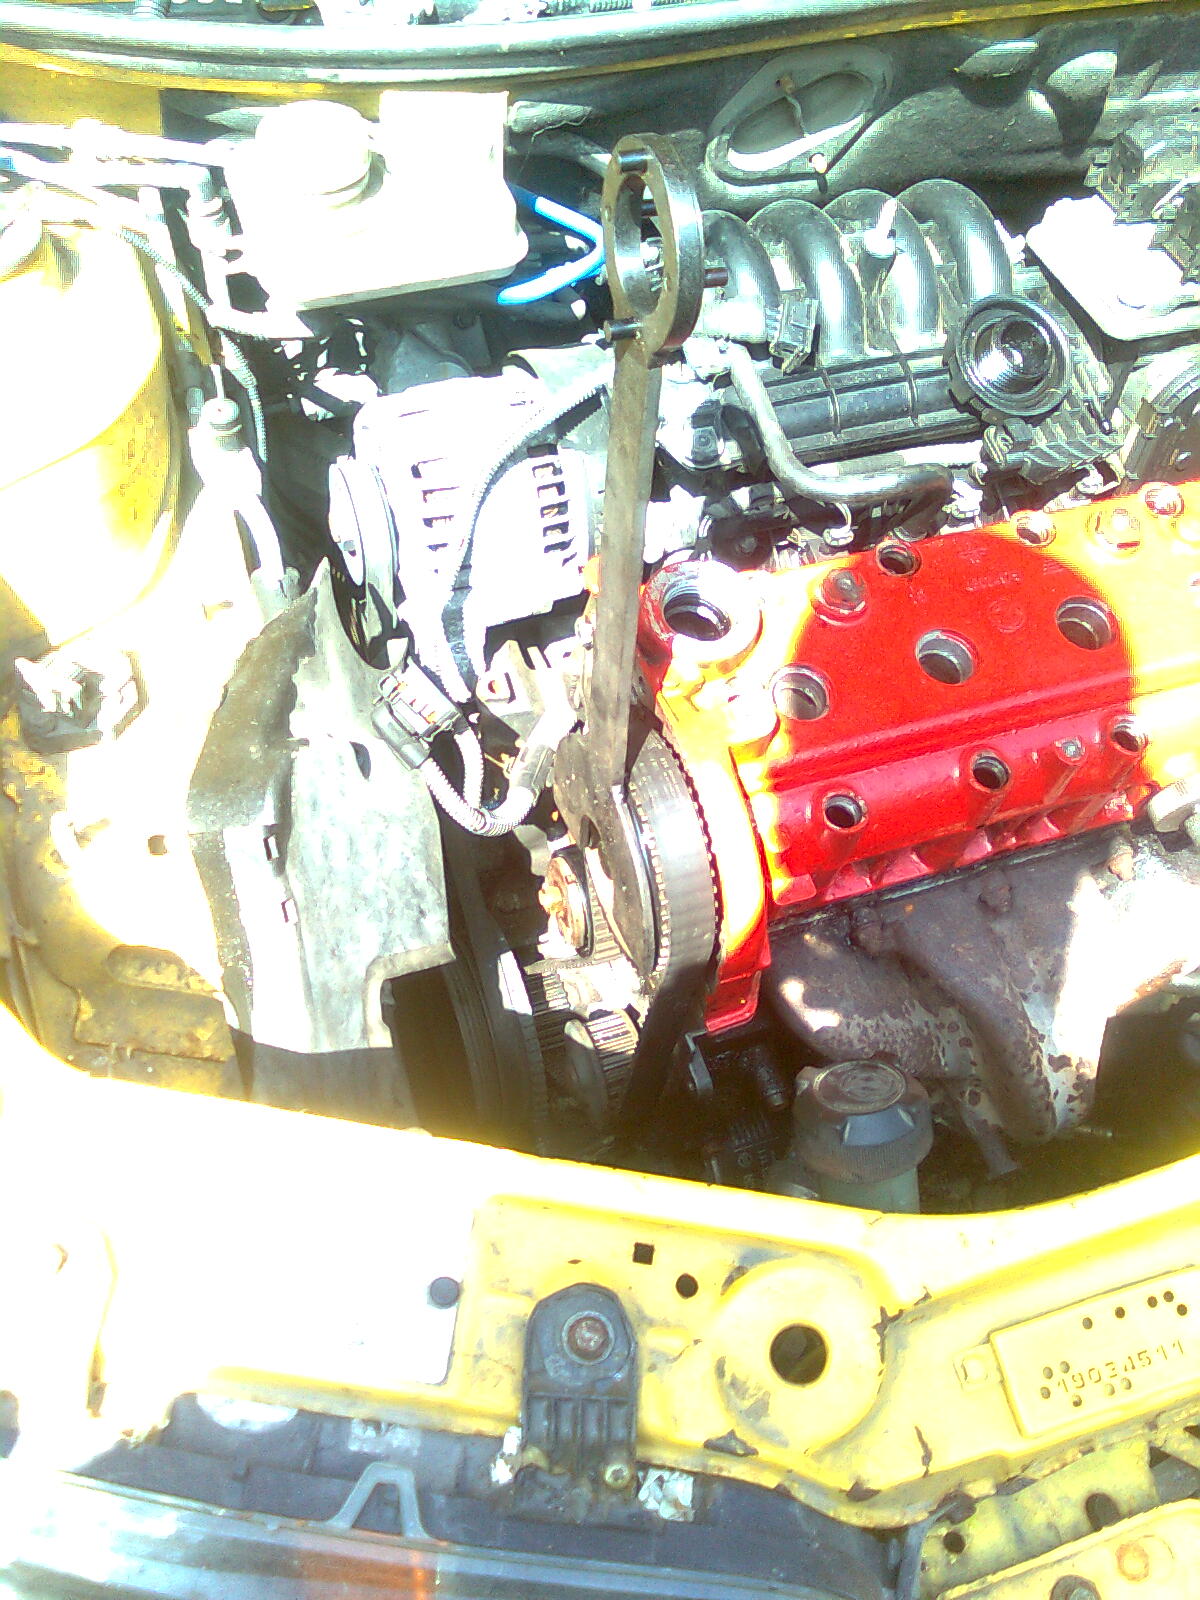

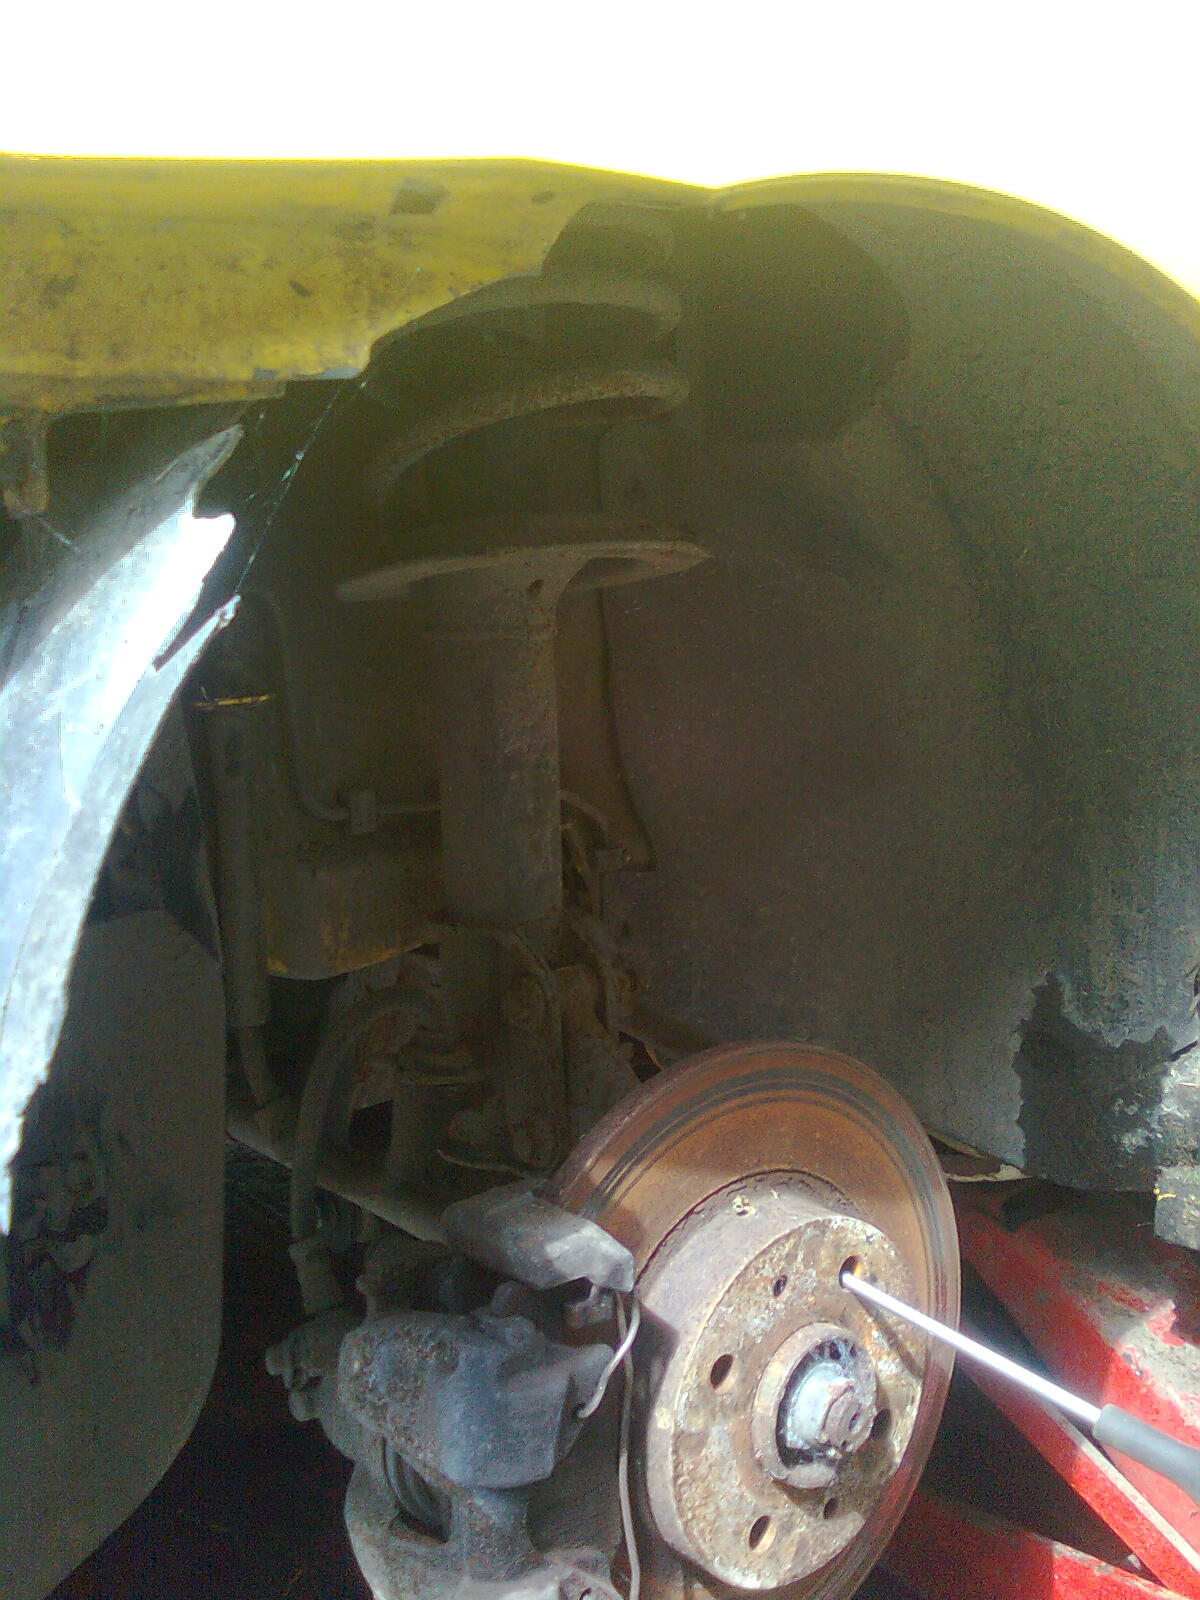
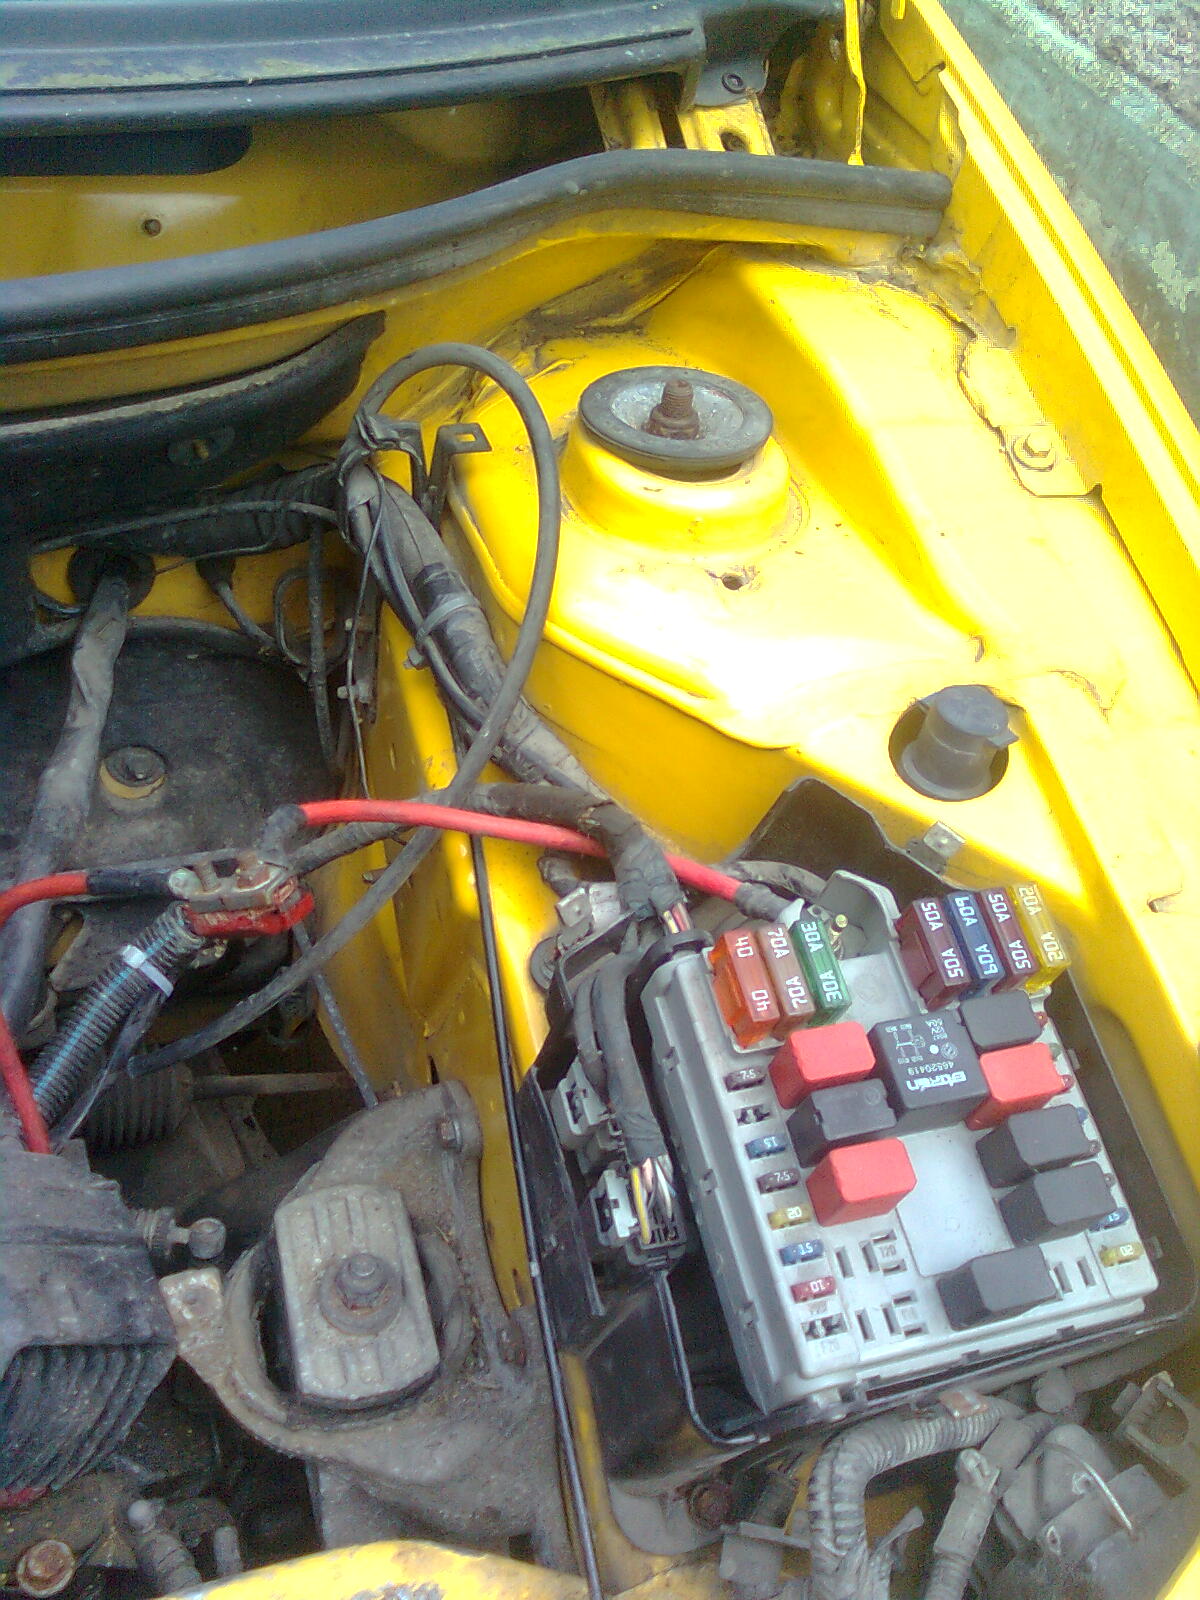
Clean under there too?sort out that induction, get some coloured ht leads and paint the chassis mount and ur onto a winner.
sort out that induction, get some coloured ht leads and paint the chassis mount and ur onto a winner.
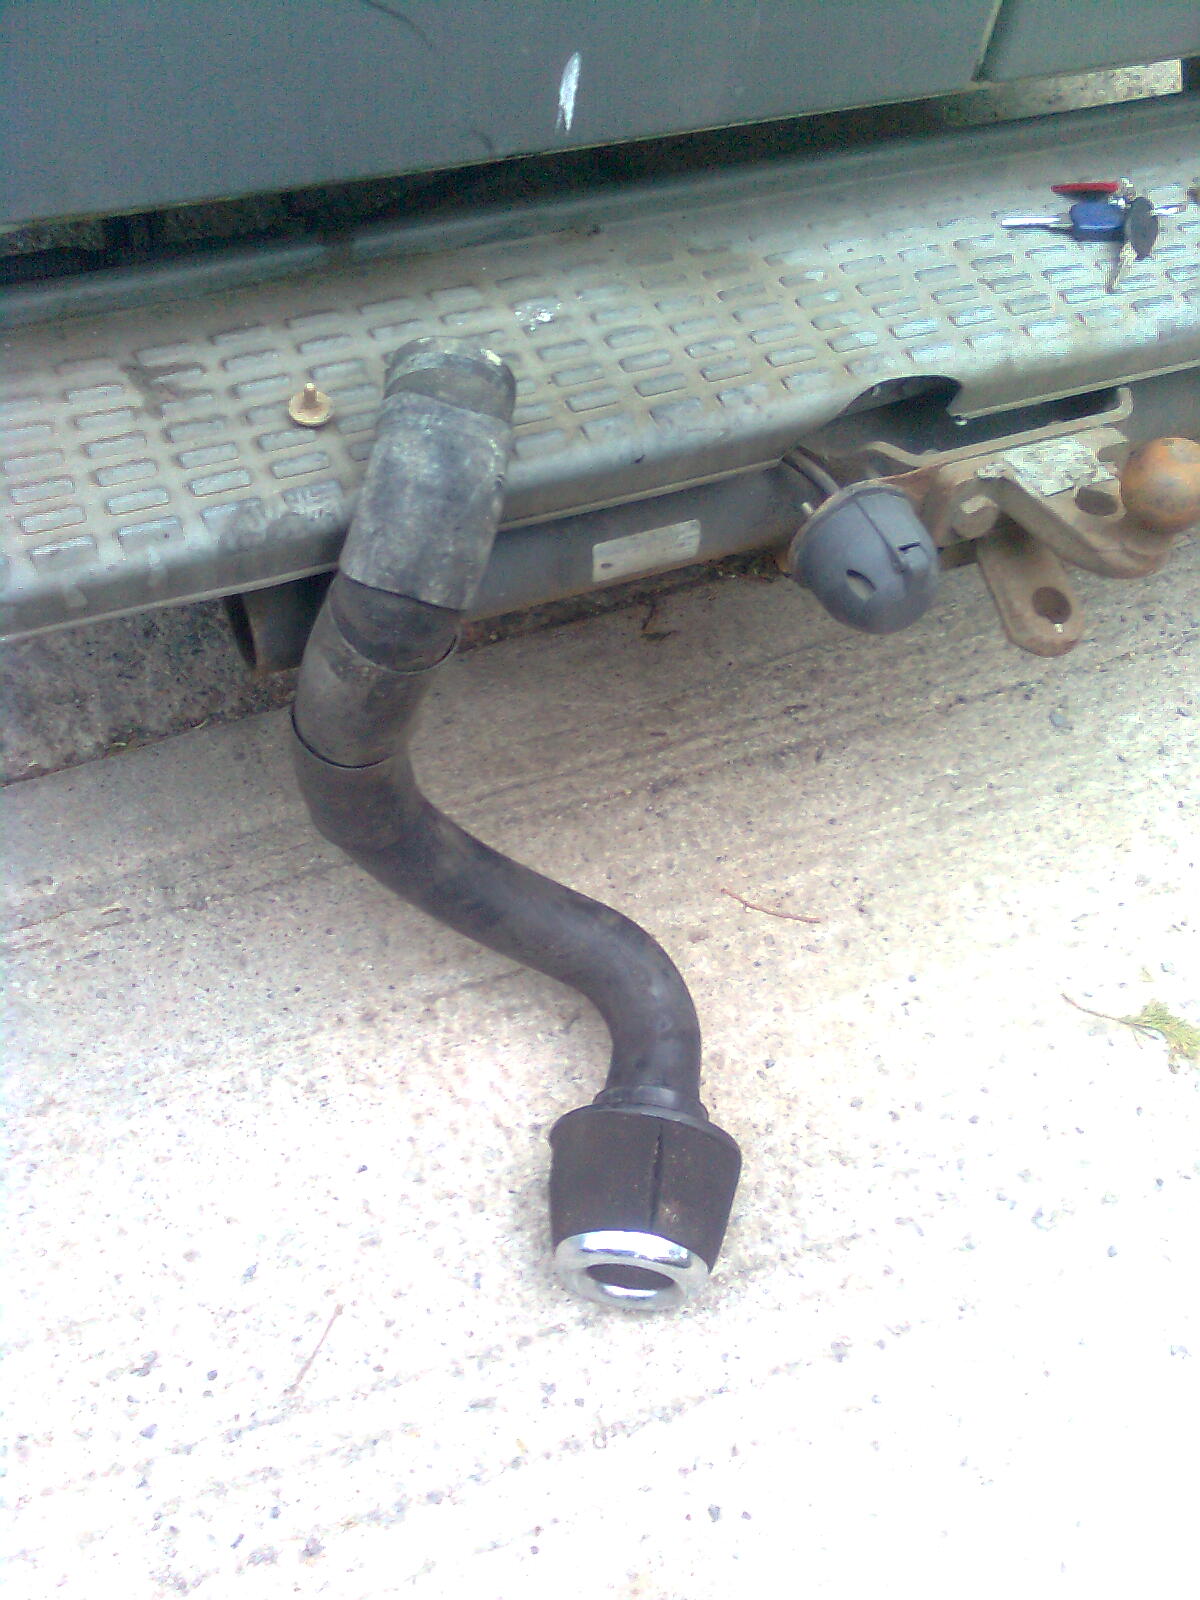
Nice magnecor leads are out of the equation as this car has chewed up my finances already, so much for a cheap spare car (having no income atall dosent help ) I was more interested in seeing it going again with that extension and more importantly if the gasket was doing its job, which is why I didnt bother too much with anything else for the moment. But give me time and I'll have it back the way it should be, tidied up Clean under there too?
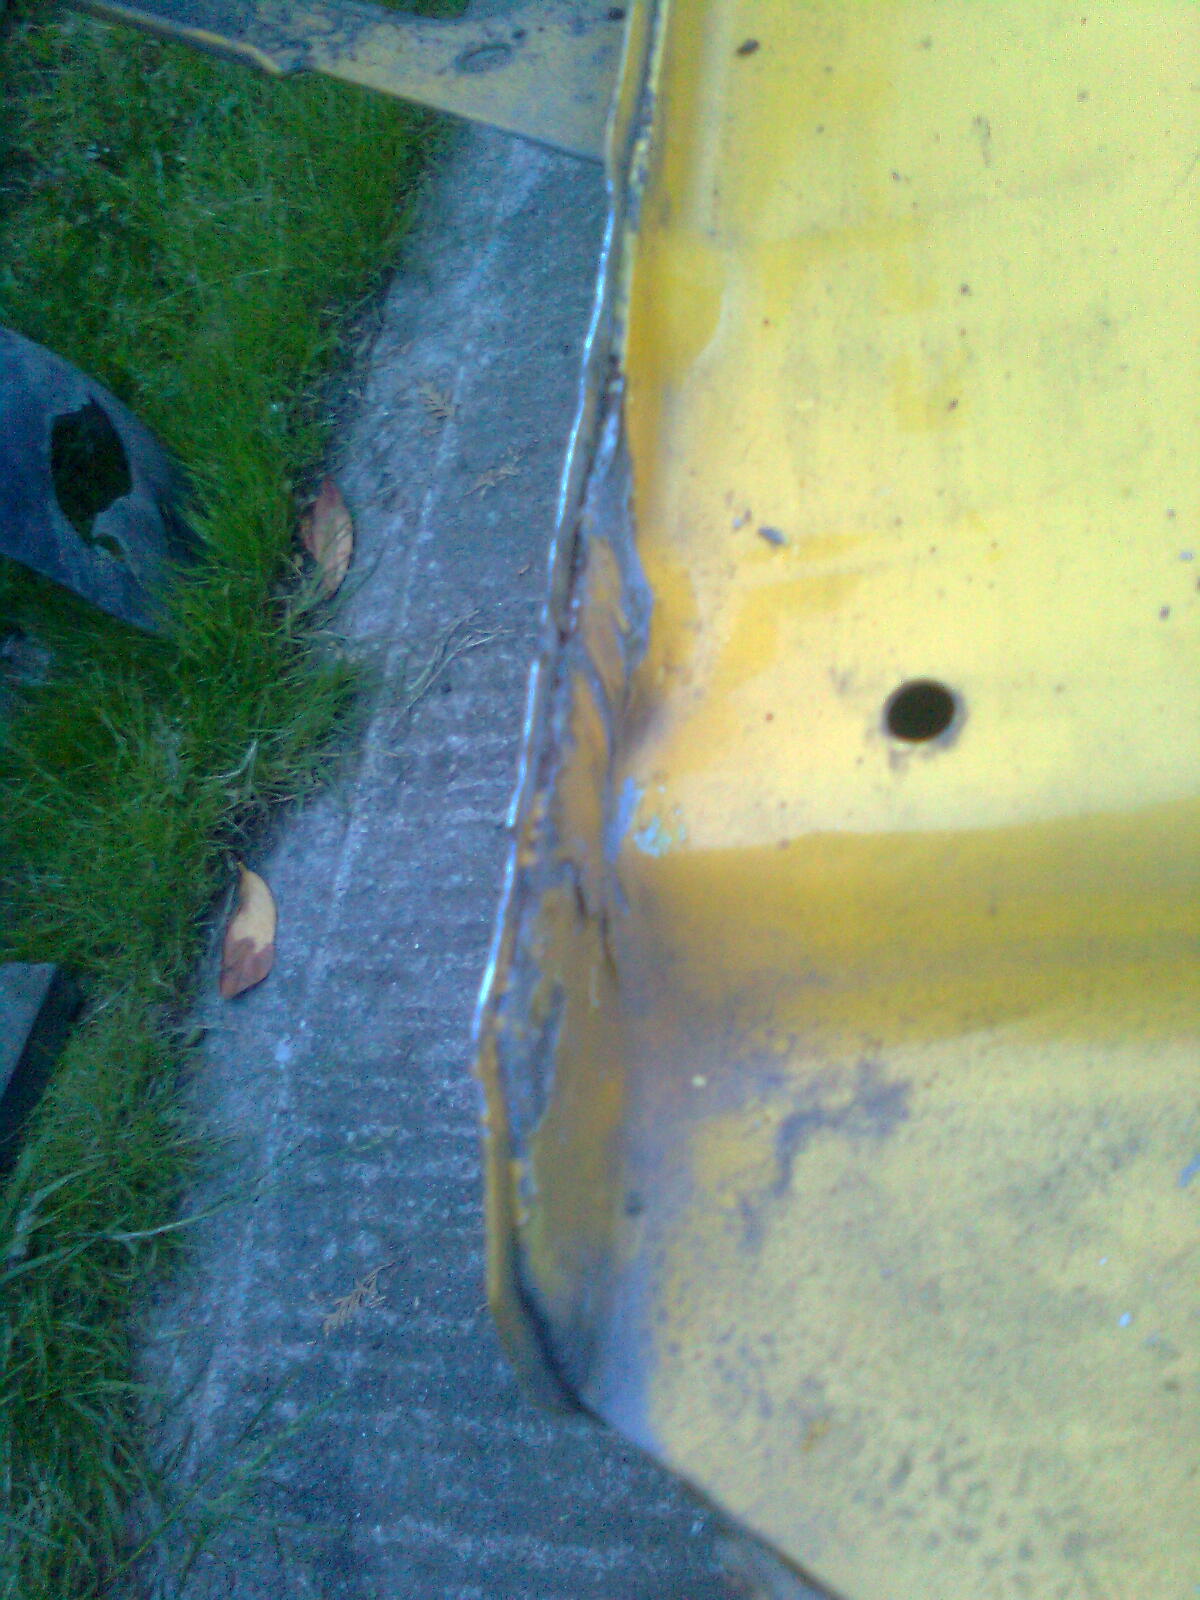
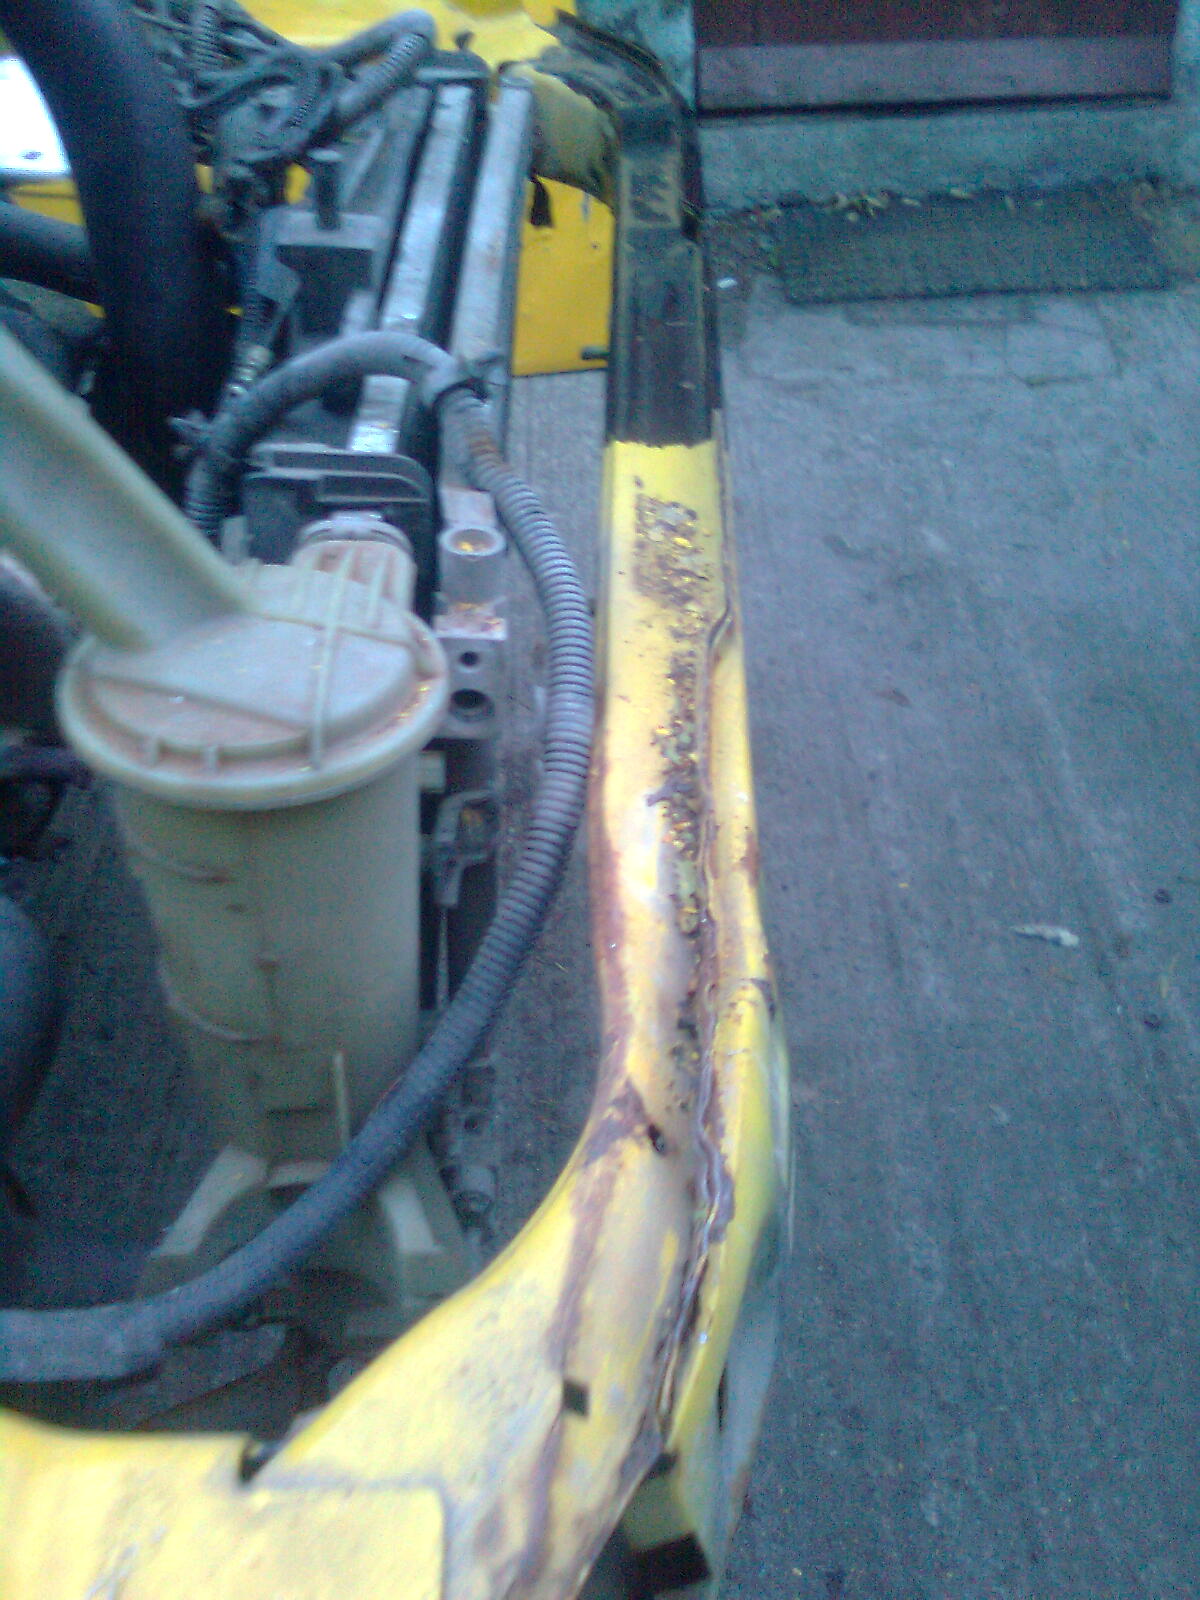
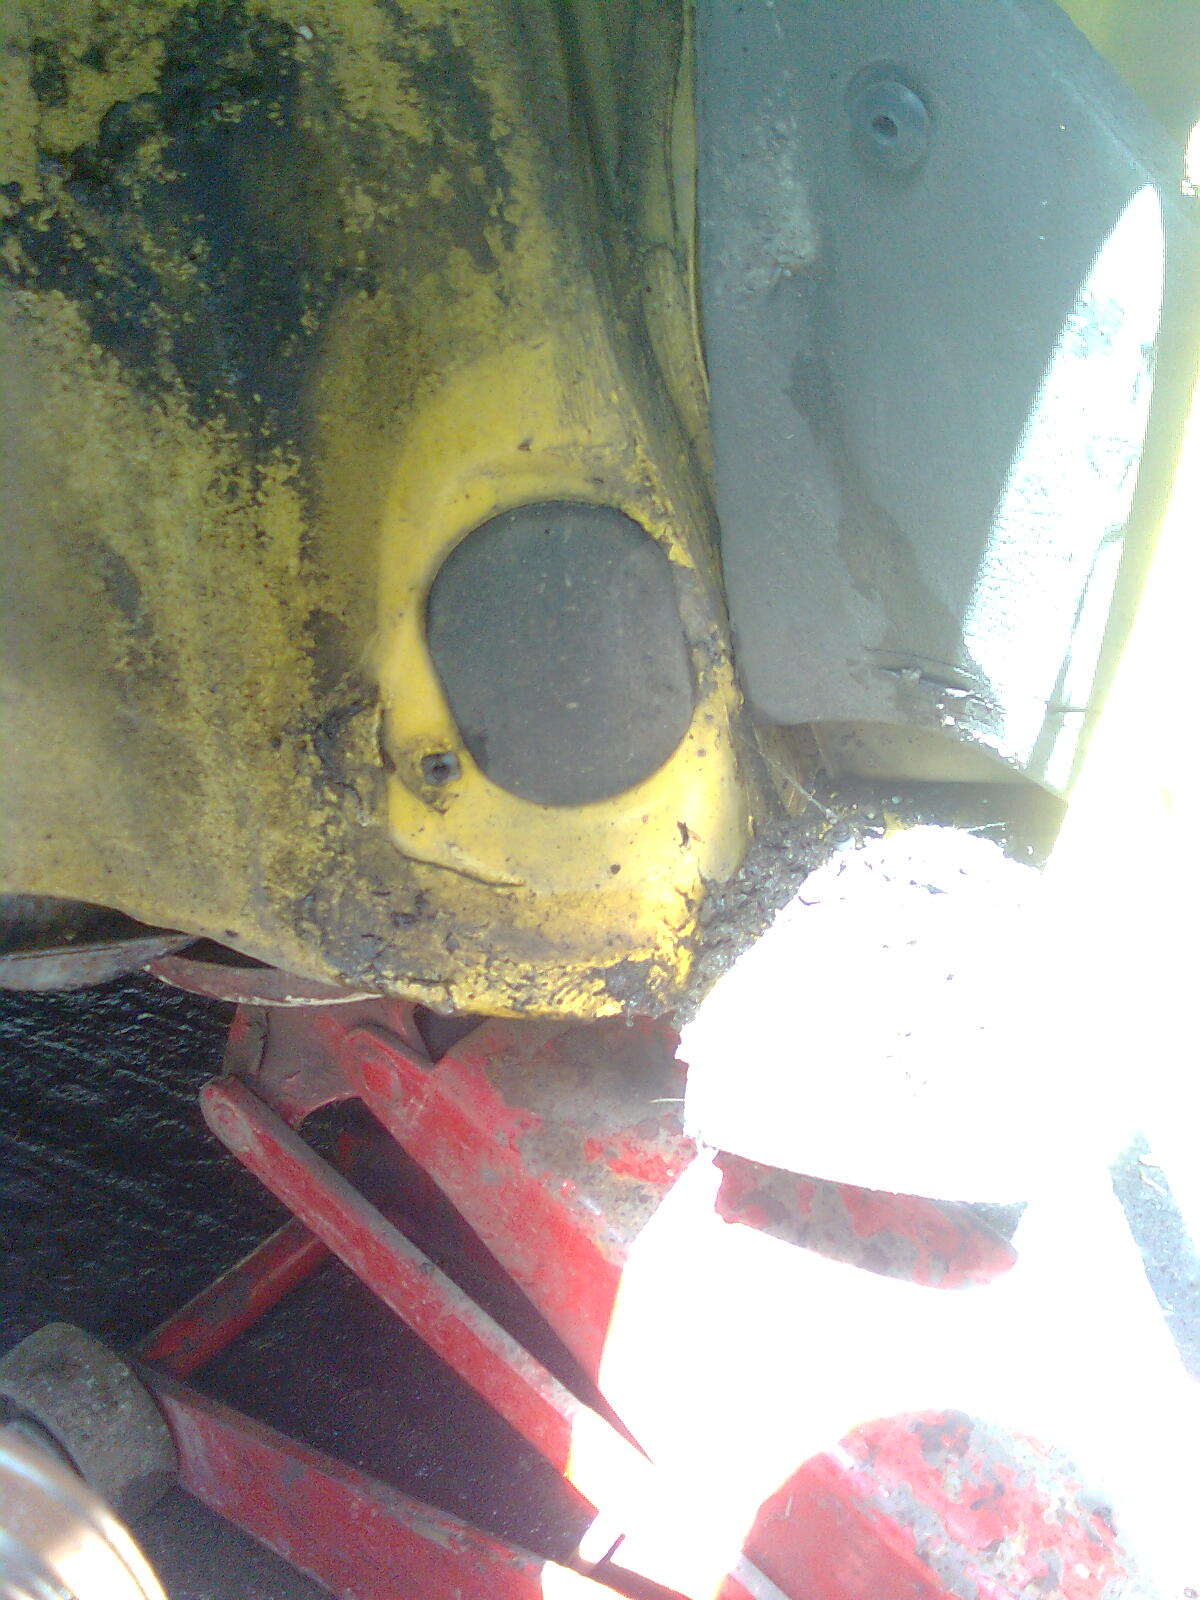
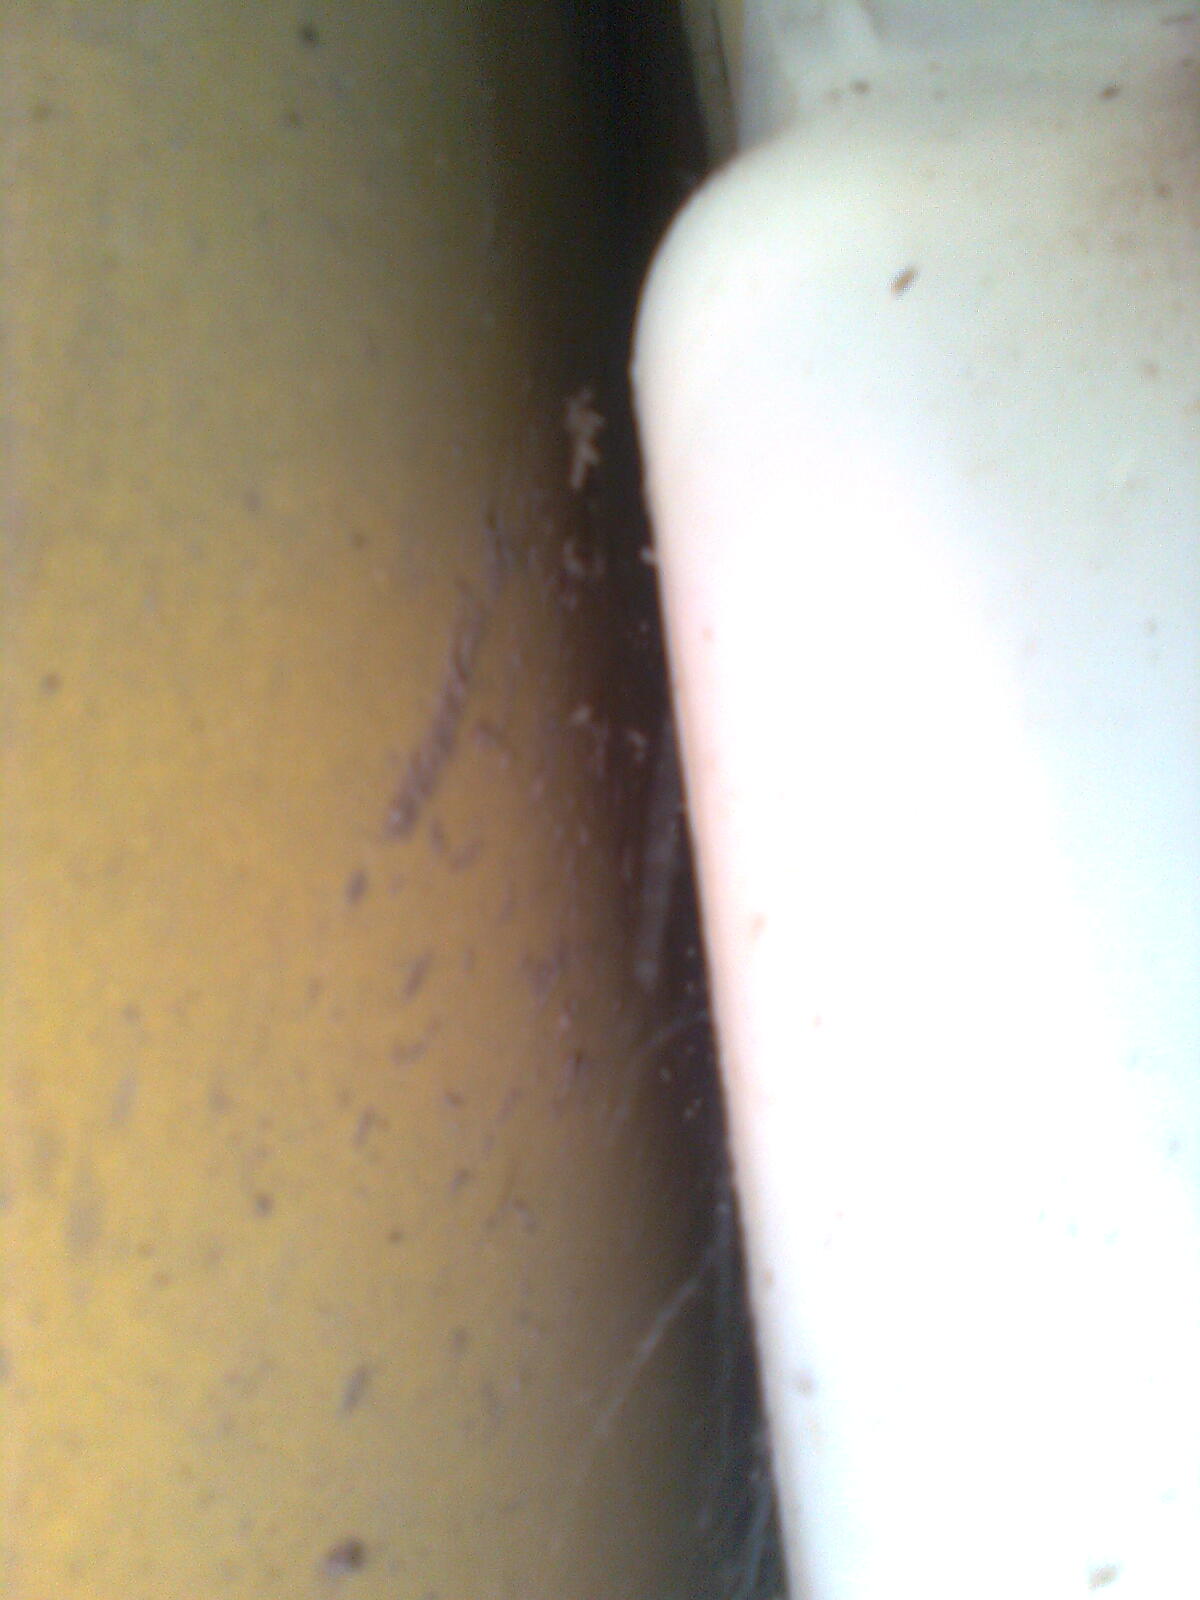
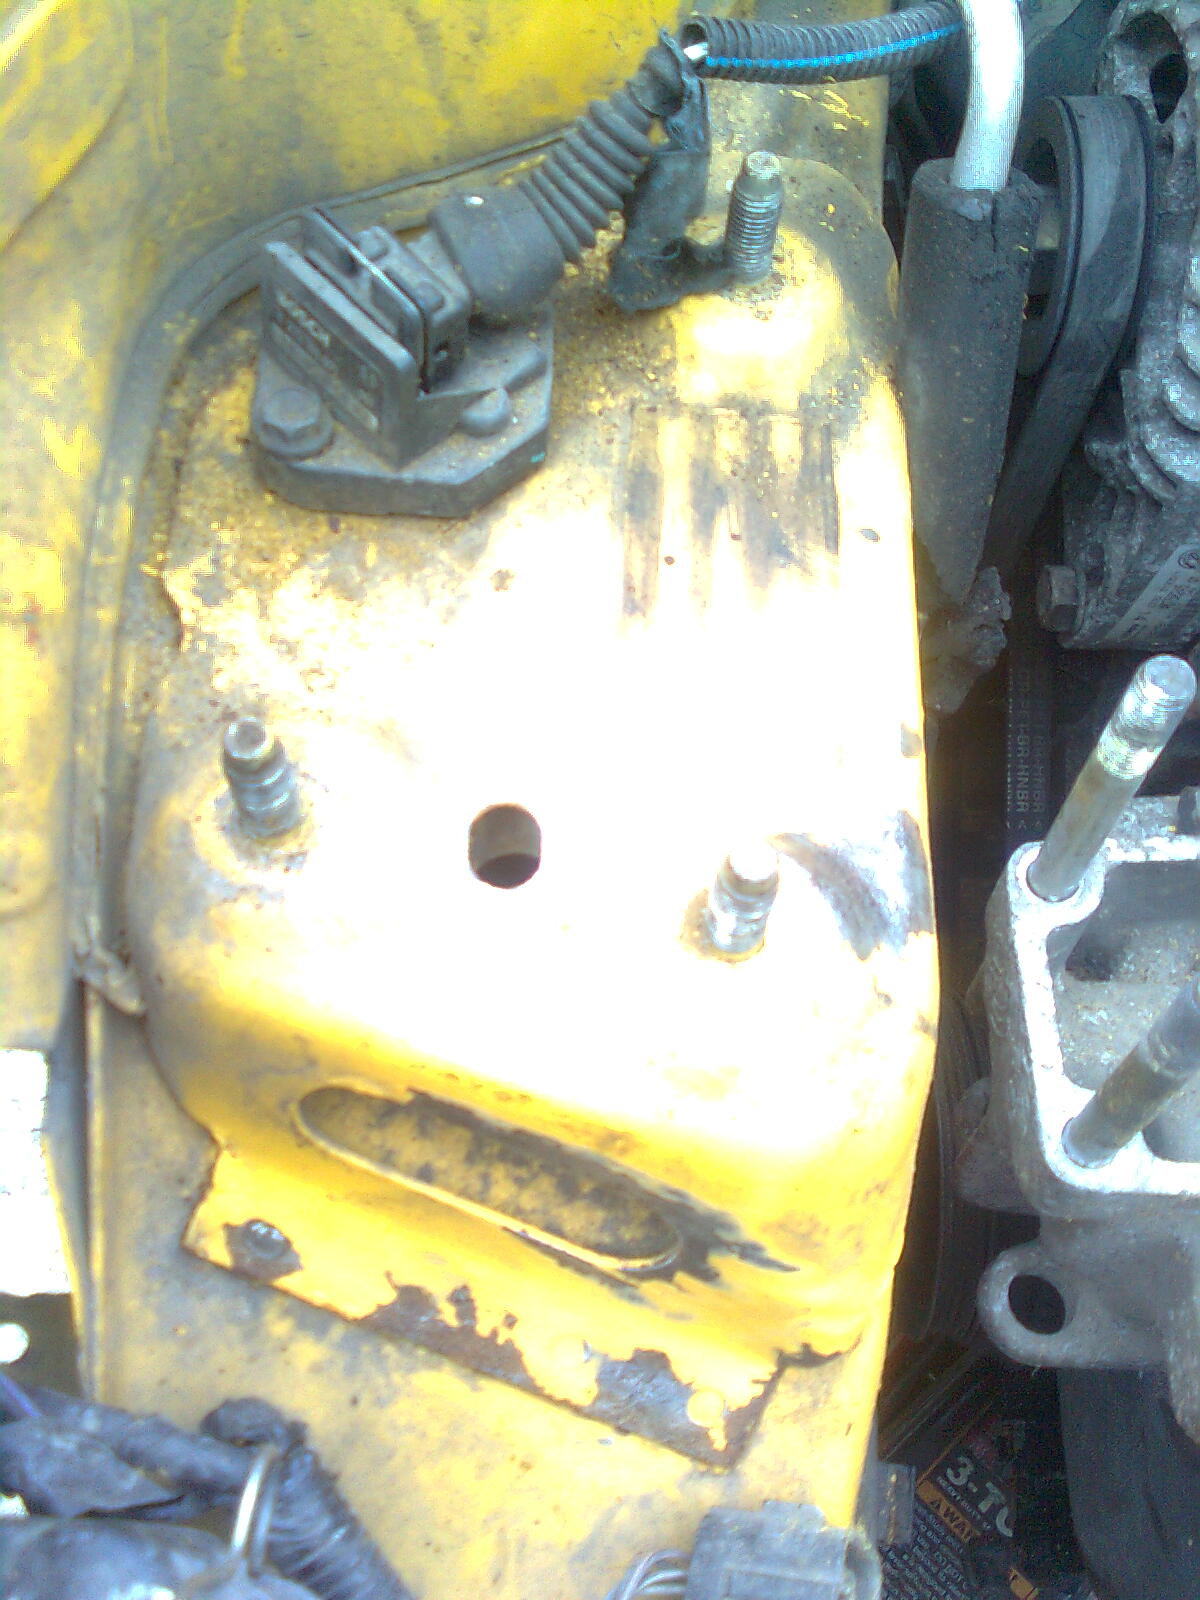
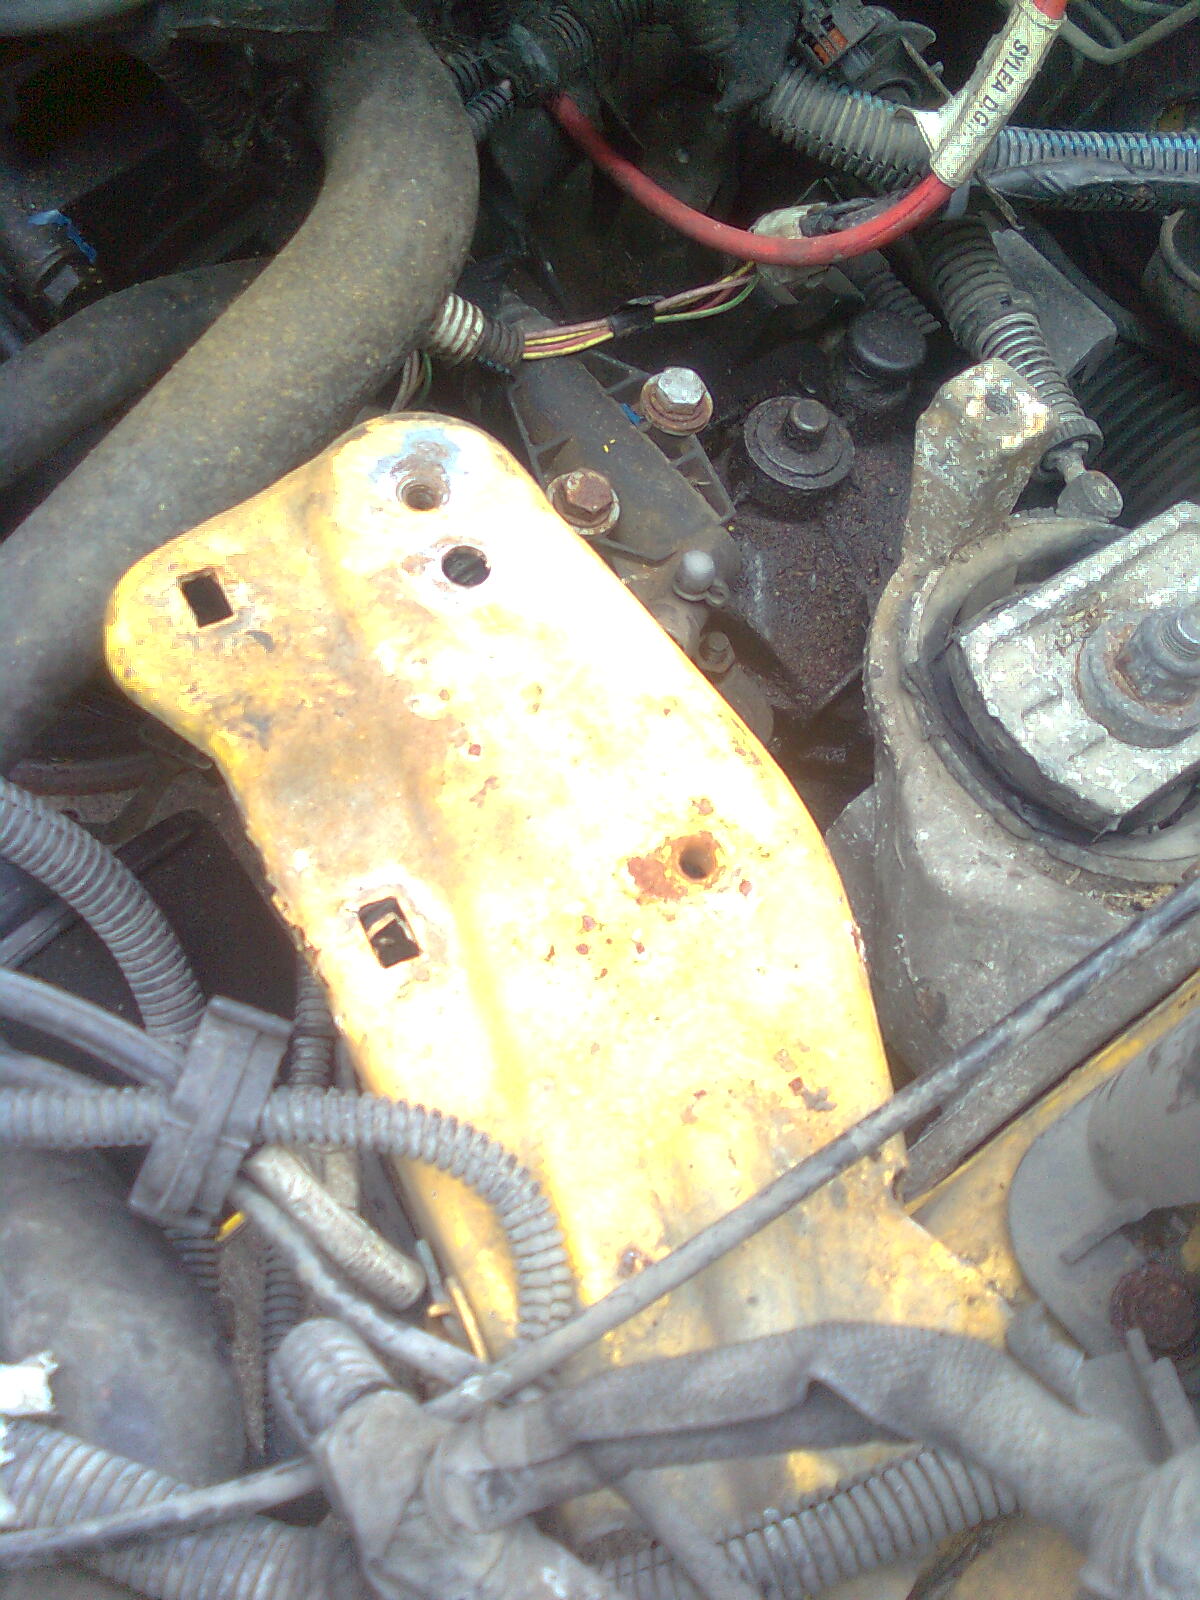
i shall rephrase that then.. Weld under there!If you look carefully, its actually rusty...


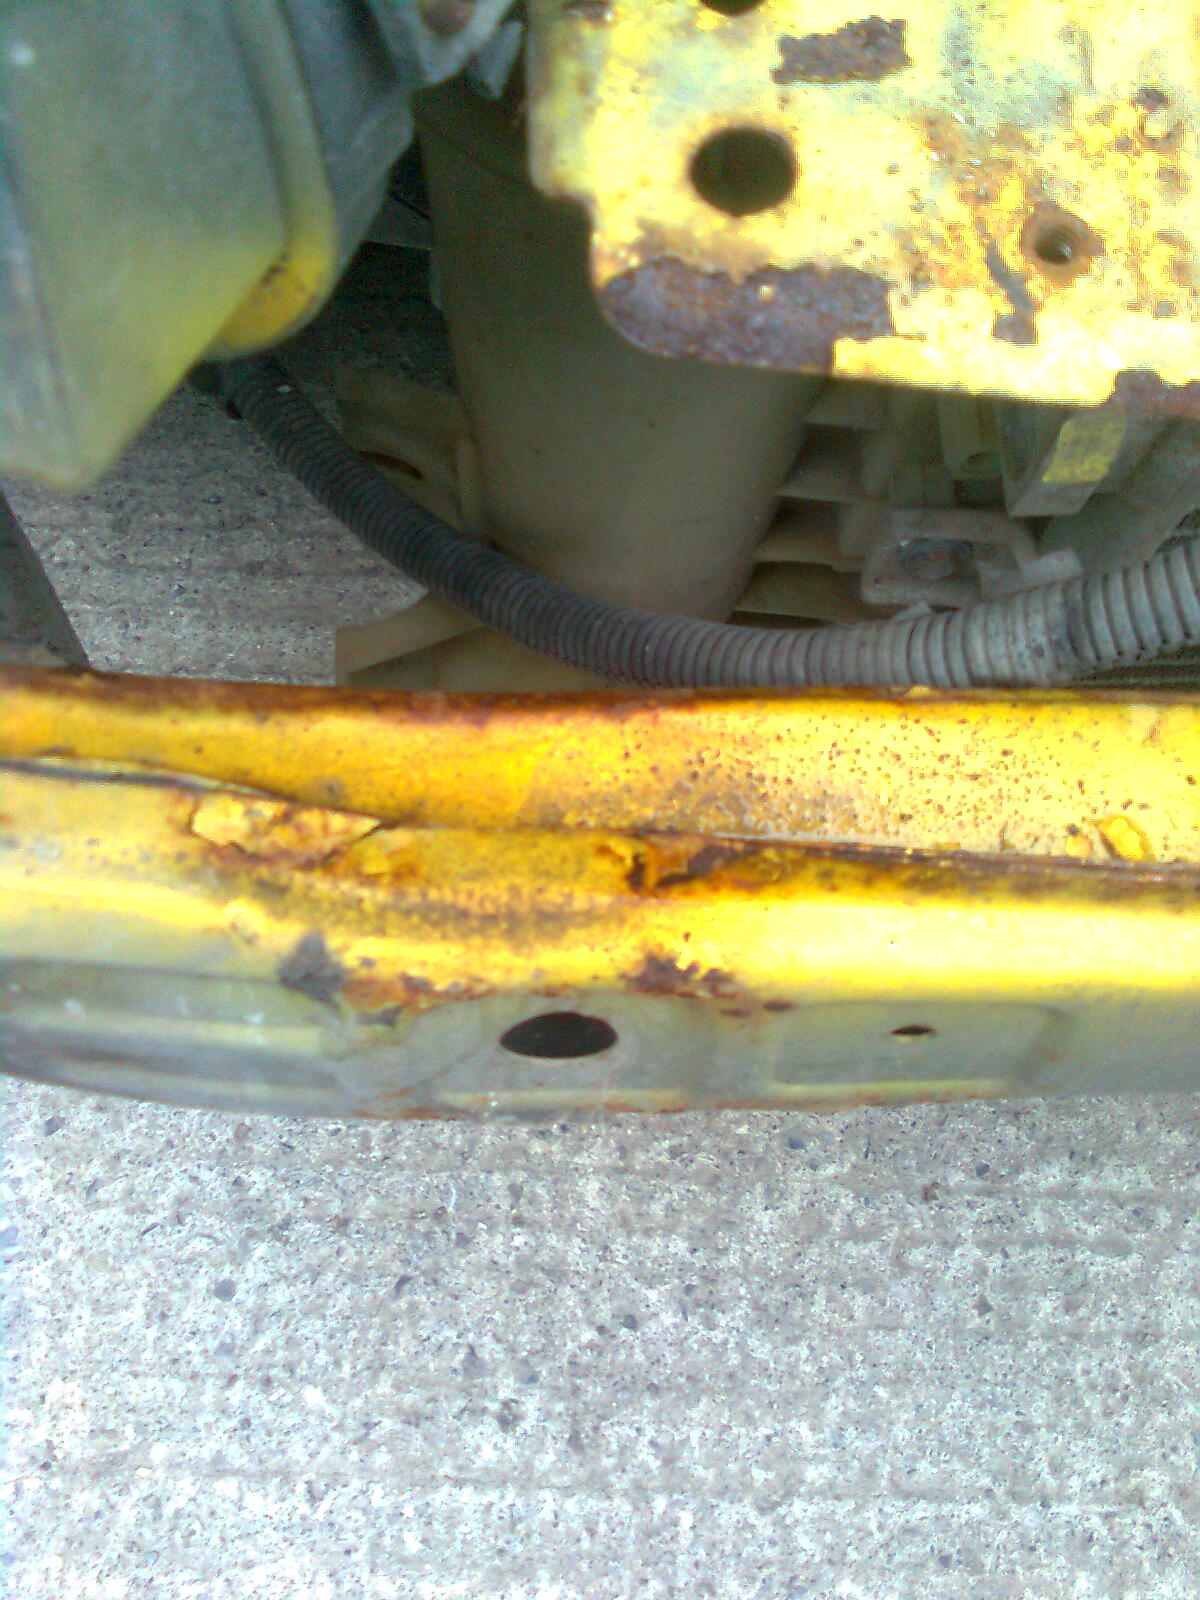


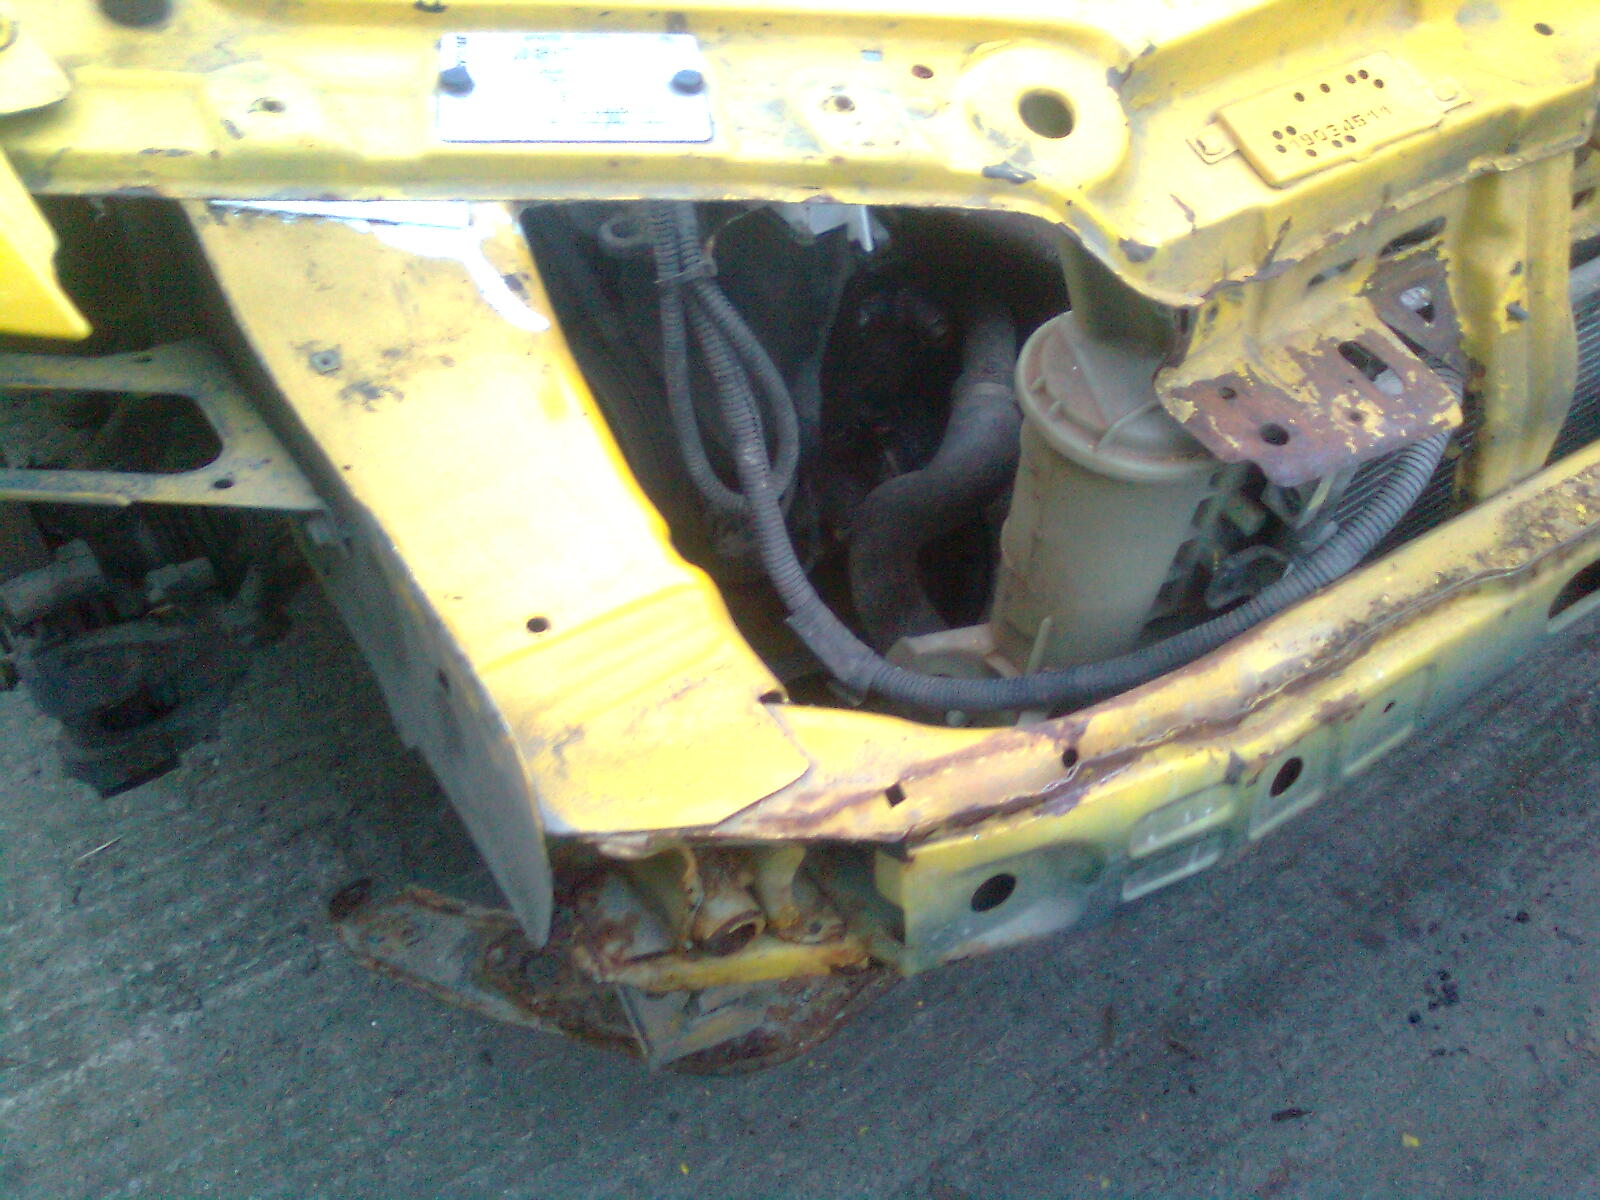
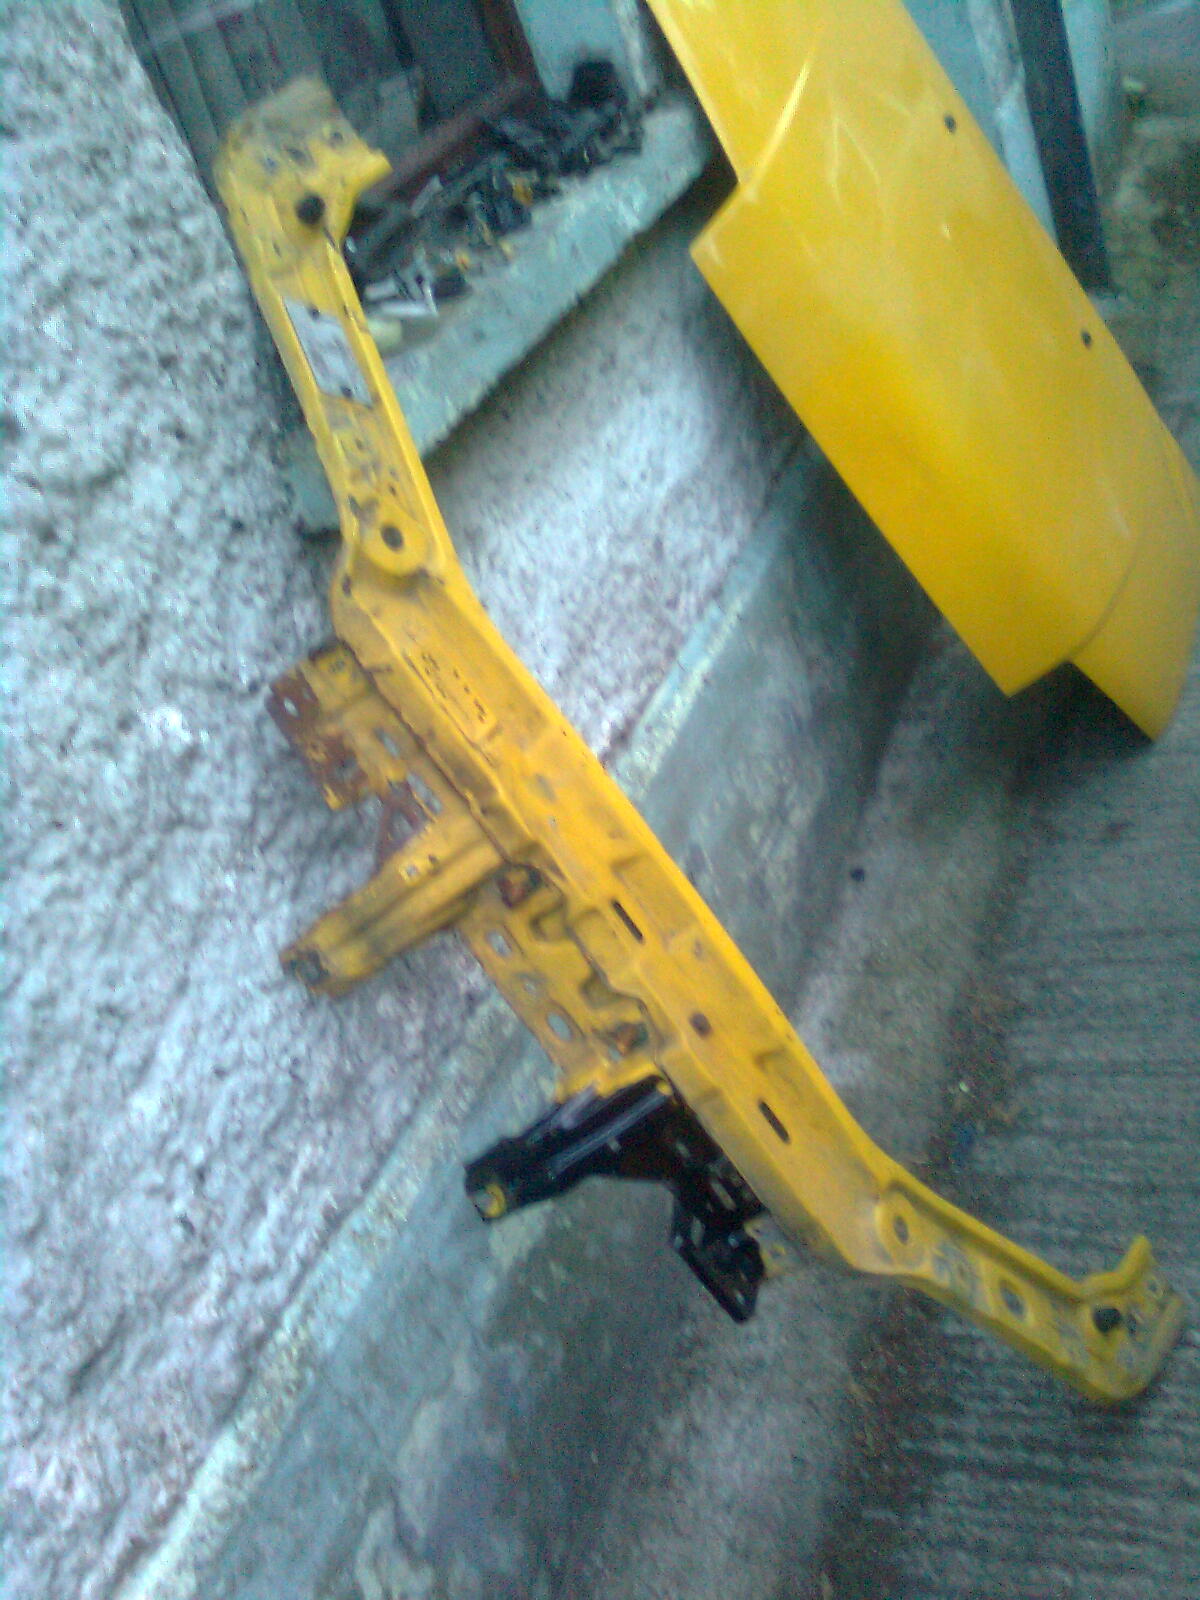
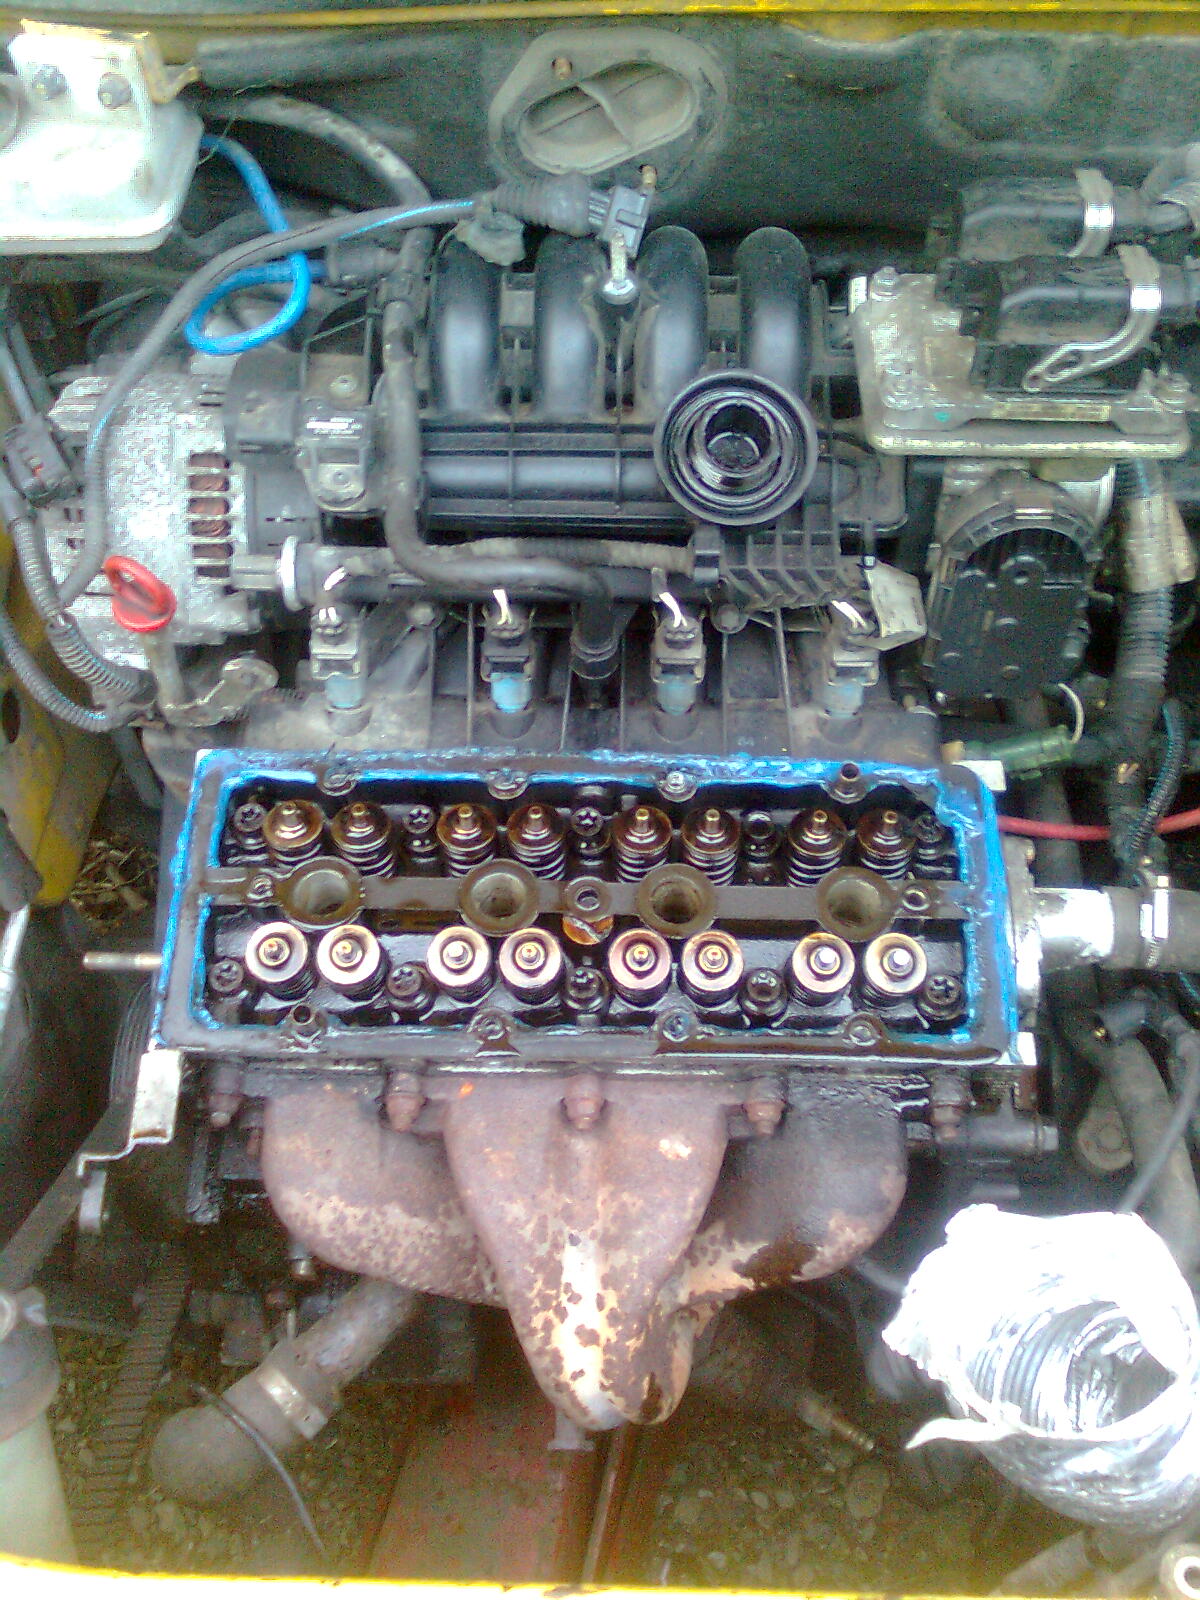
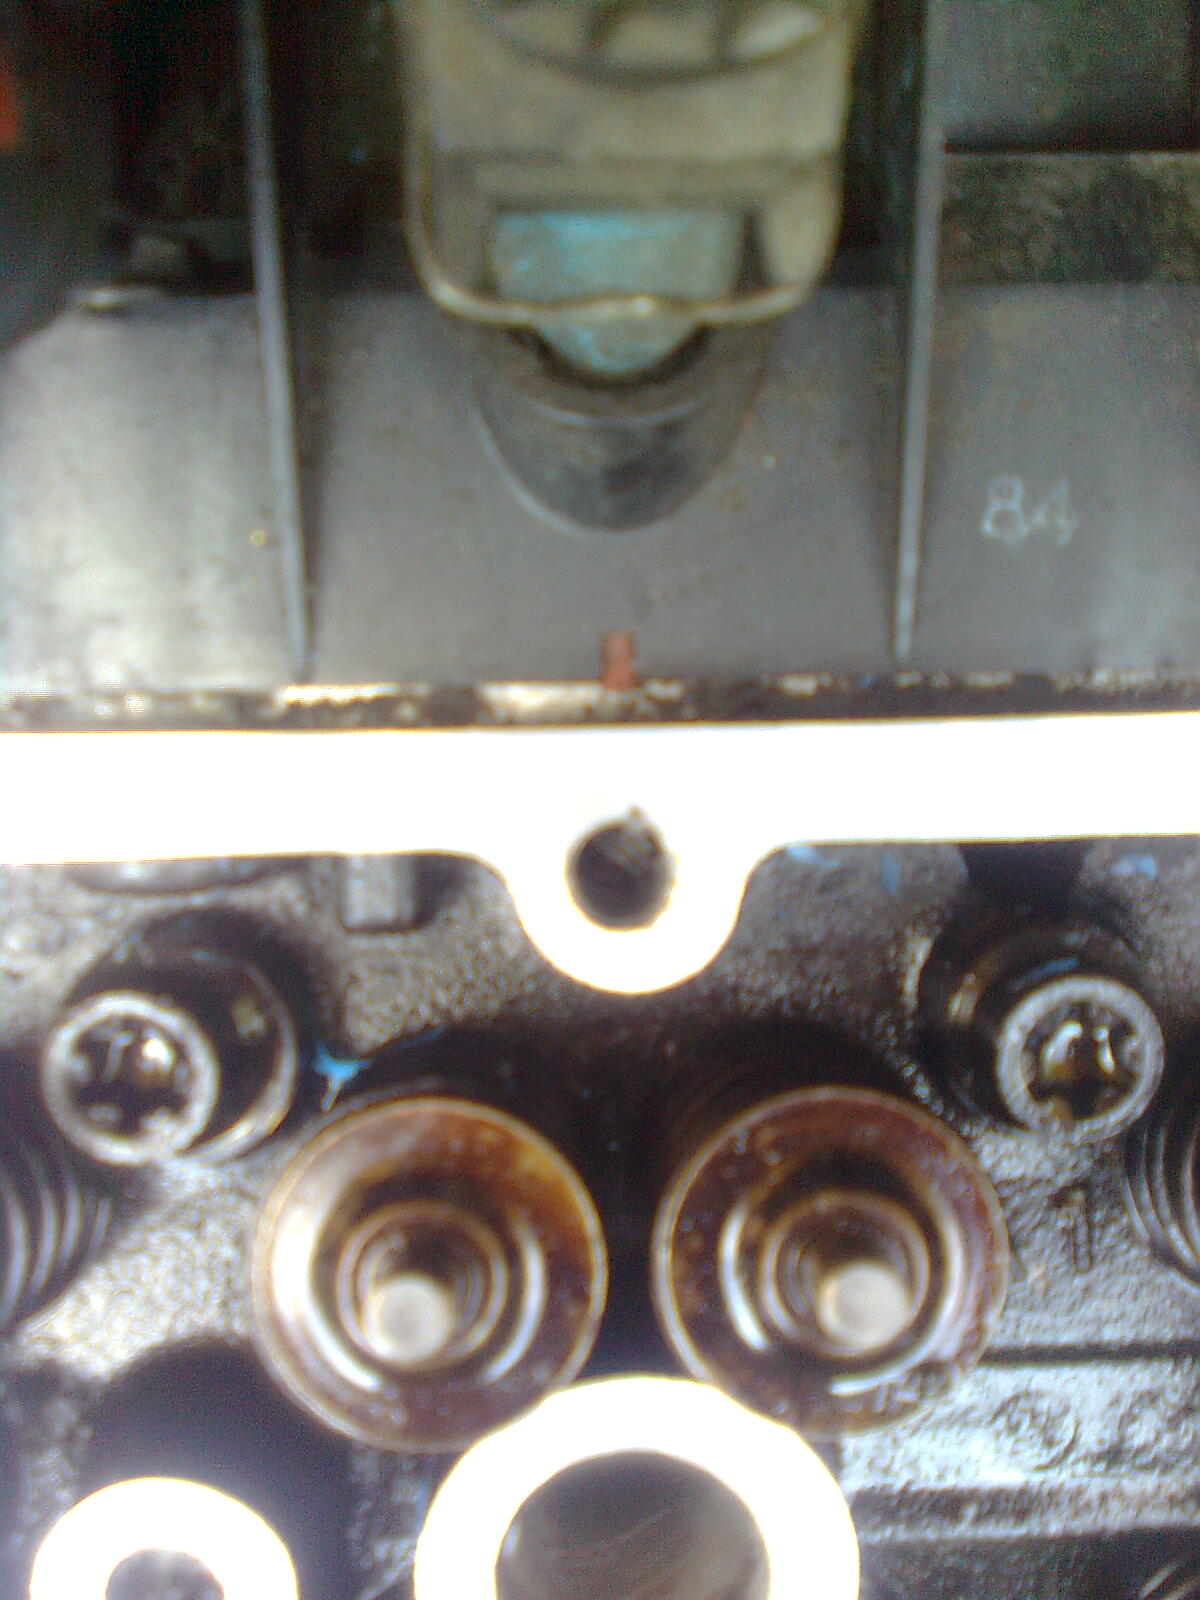
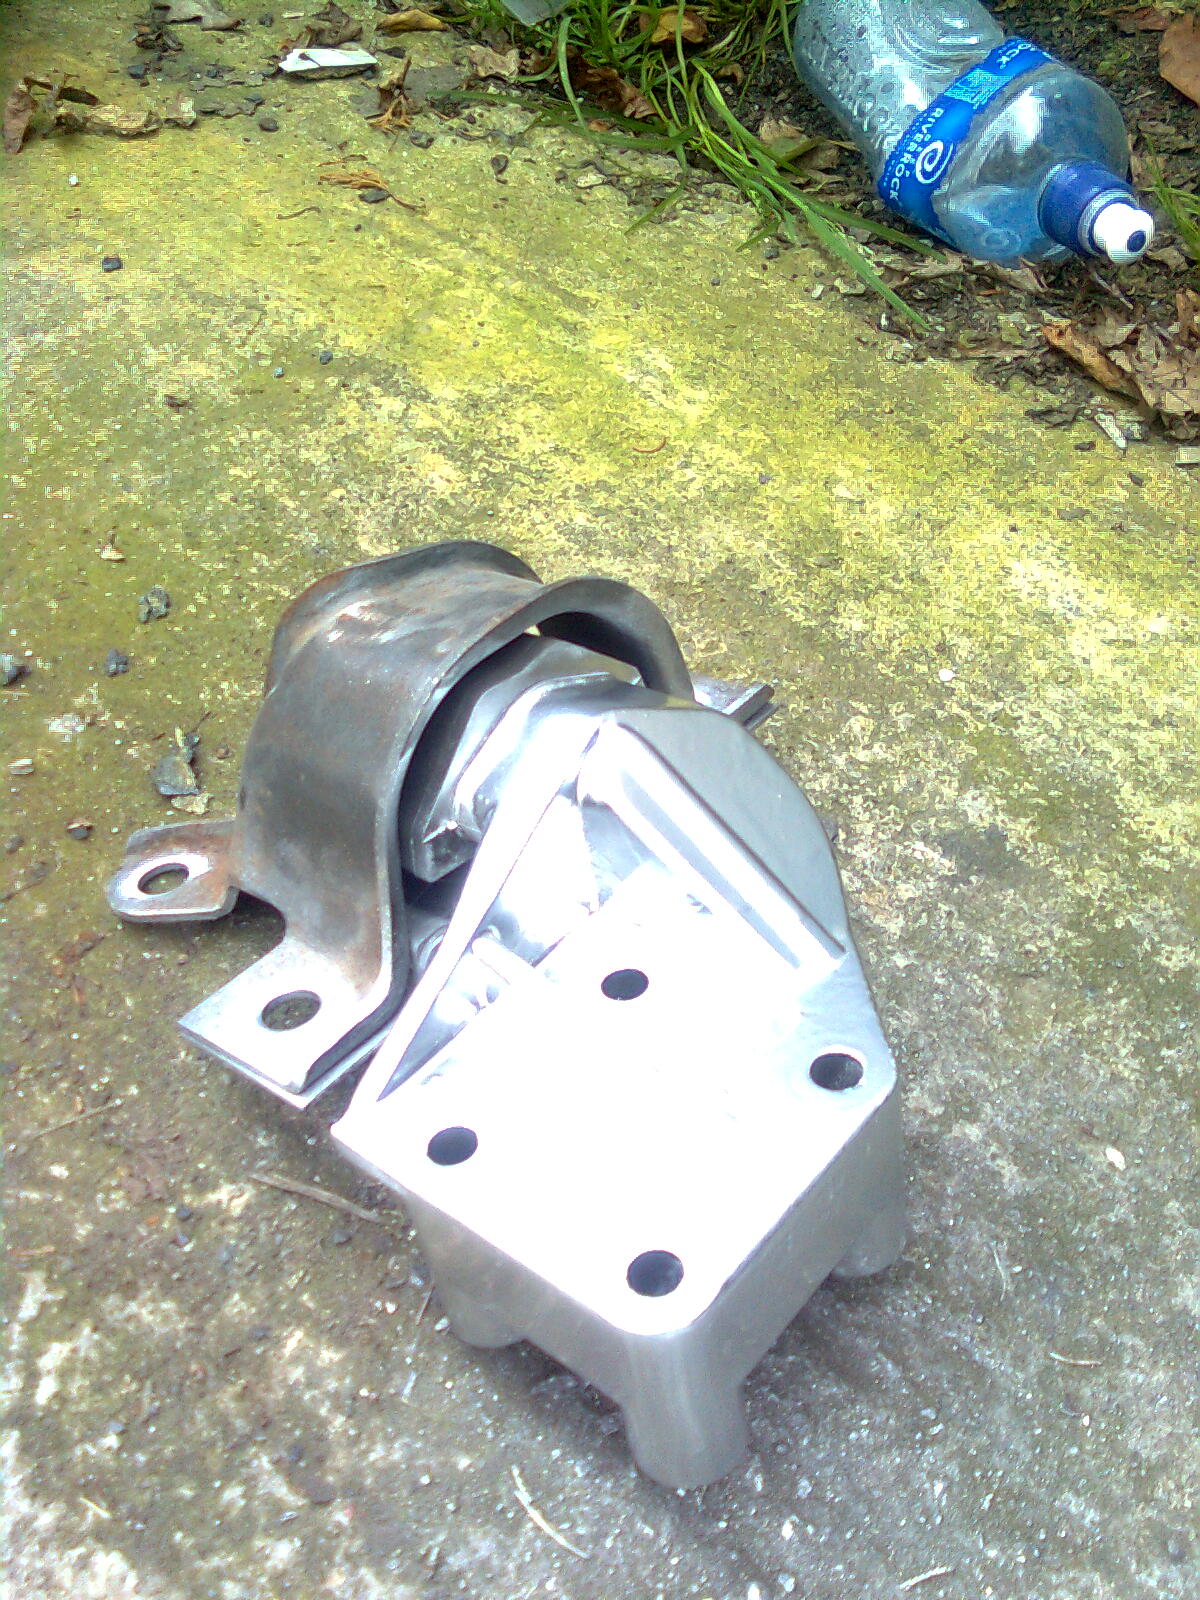
 Its not the first time its been out either according to these bolts...
 and those 2 Mercs need seeing to too...!


 Any ideas anyone...?
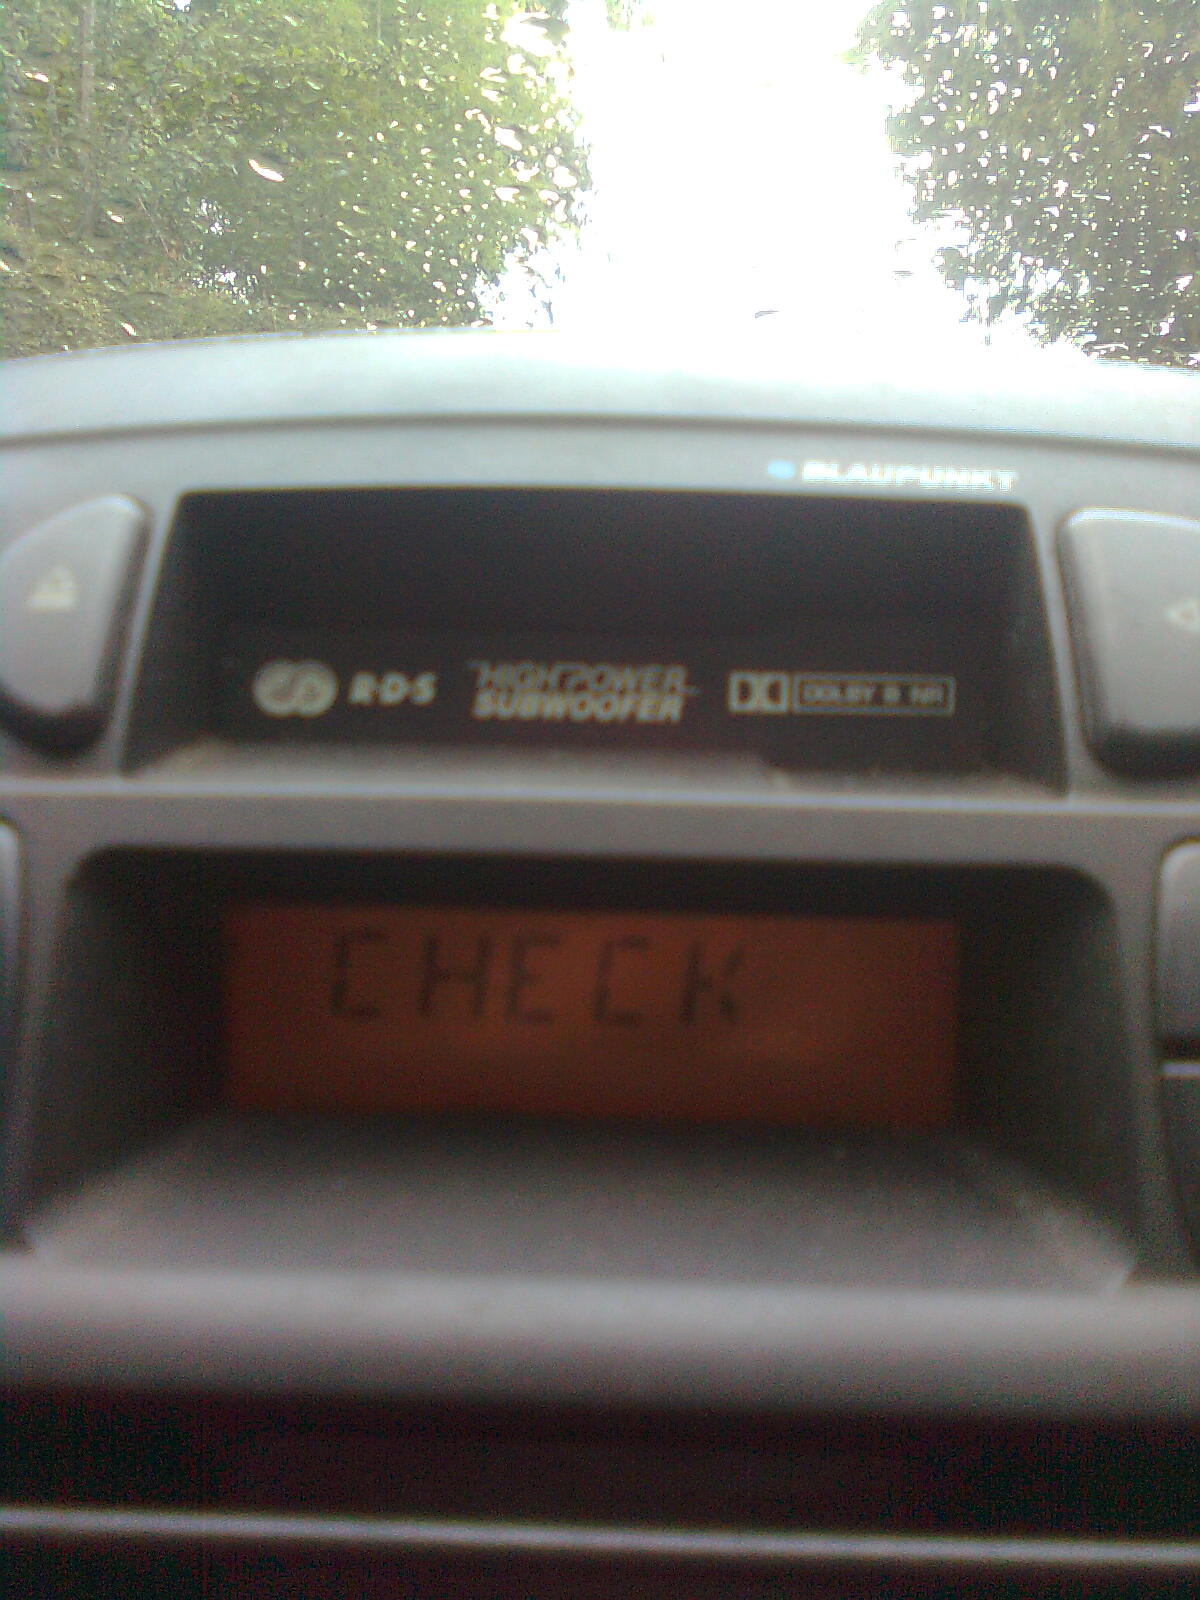


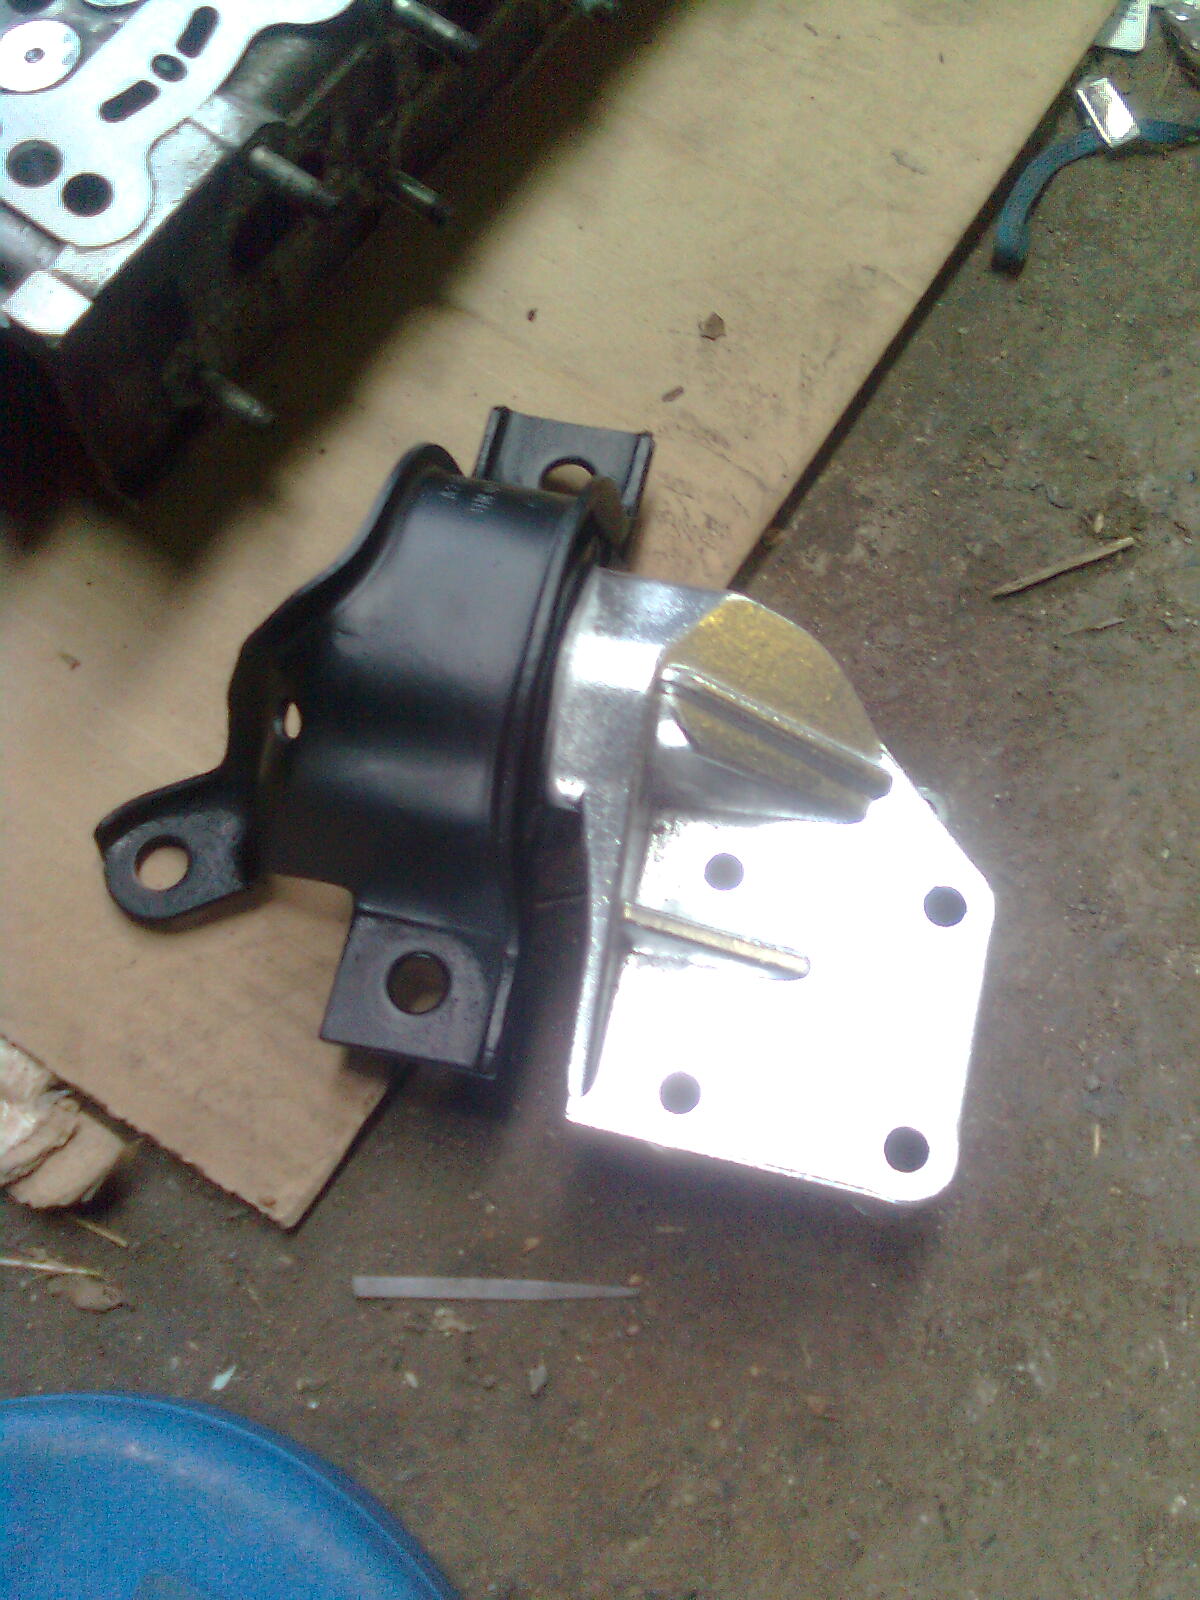


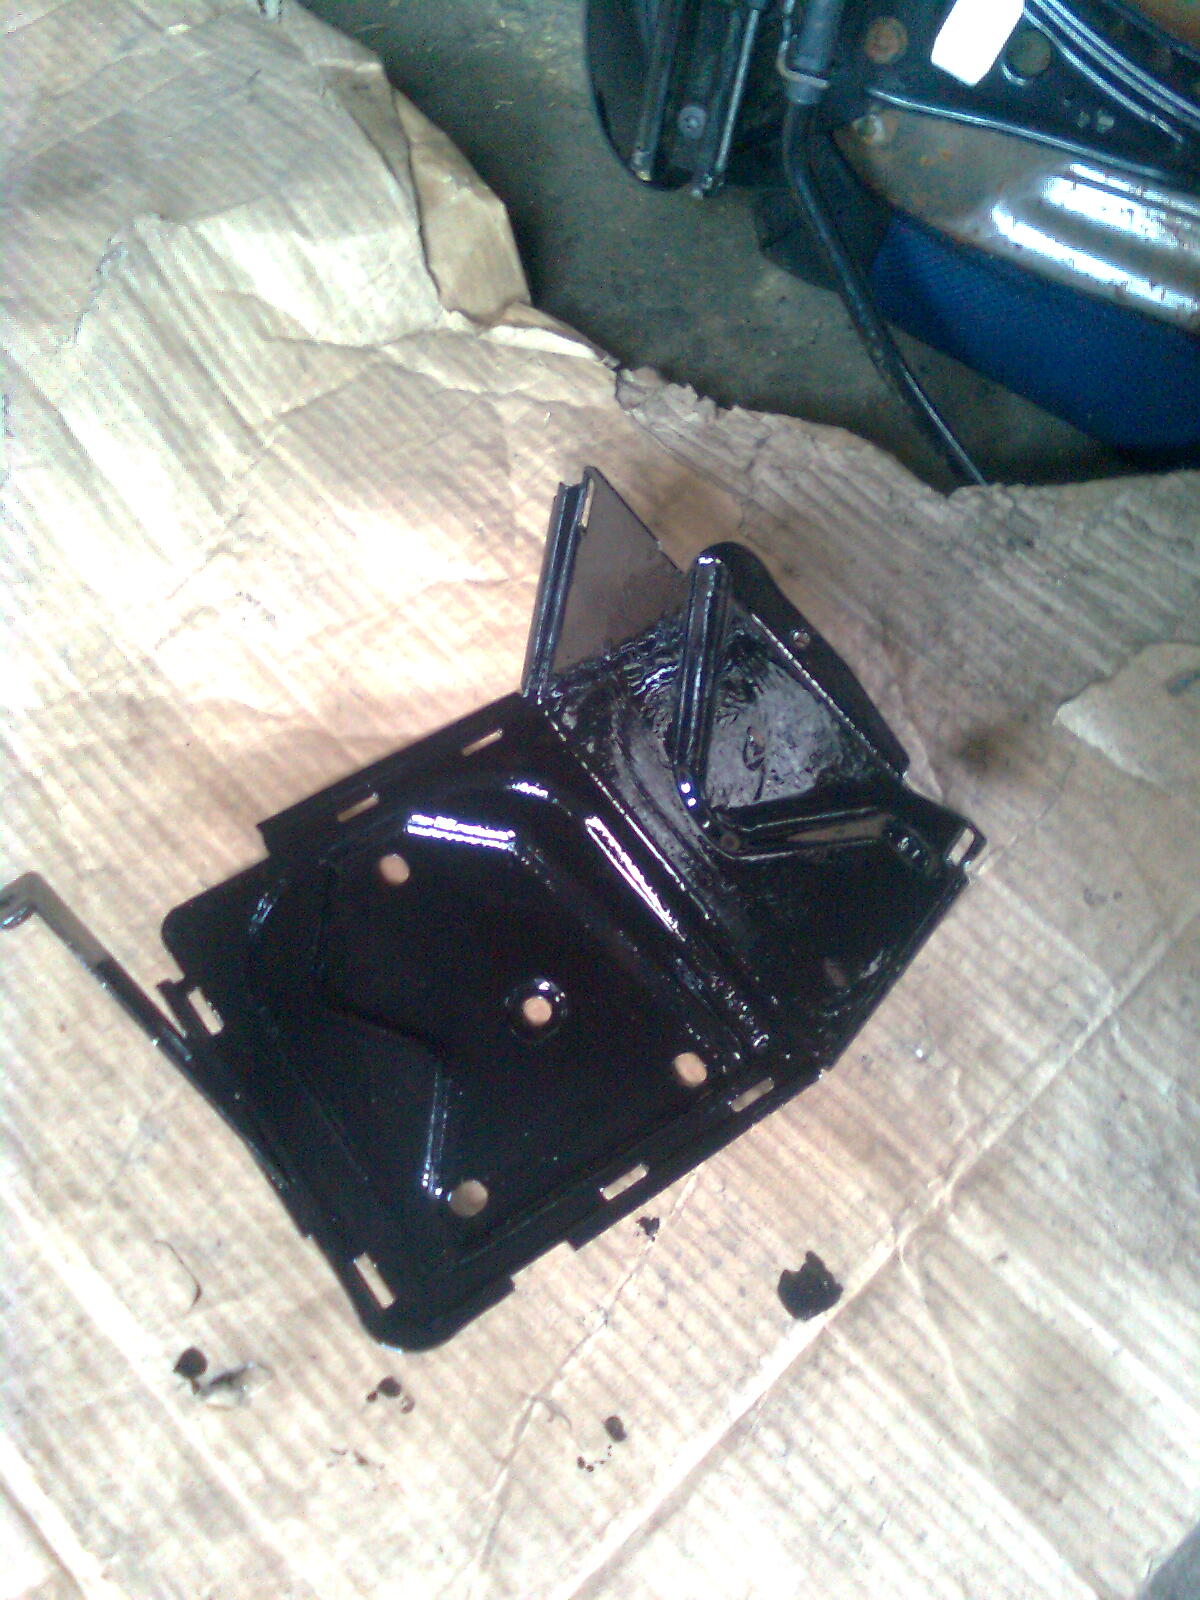
 but after a visit from the wirebrush and paint...