IMG_2875.JPG

Panda (Classic) Chris's 1994 Panda Colour Resto Mod

Introduction

My Slammed Classic Panda

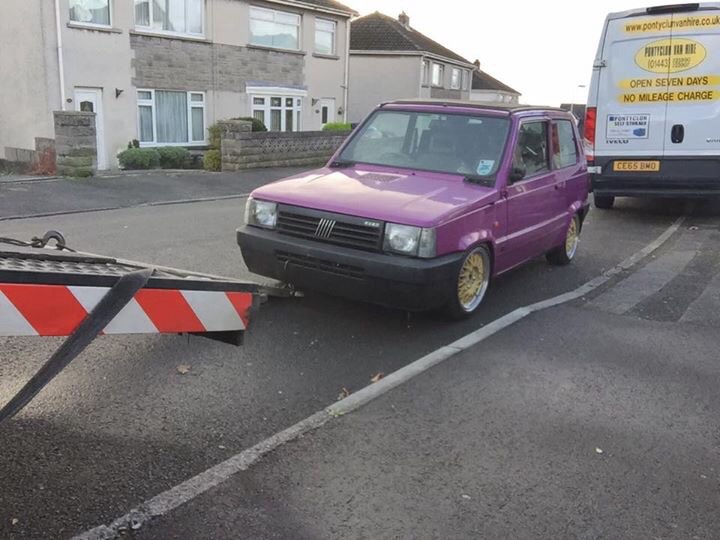
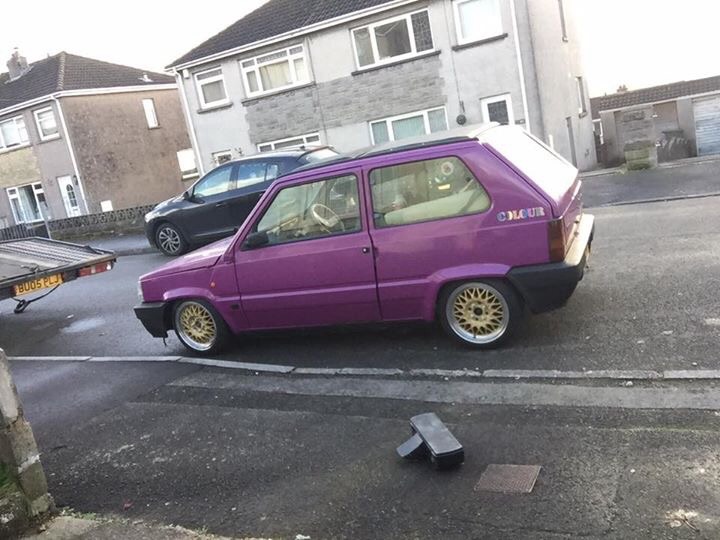
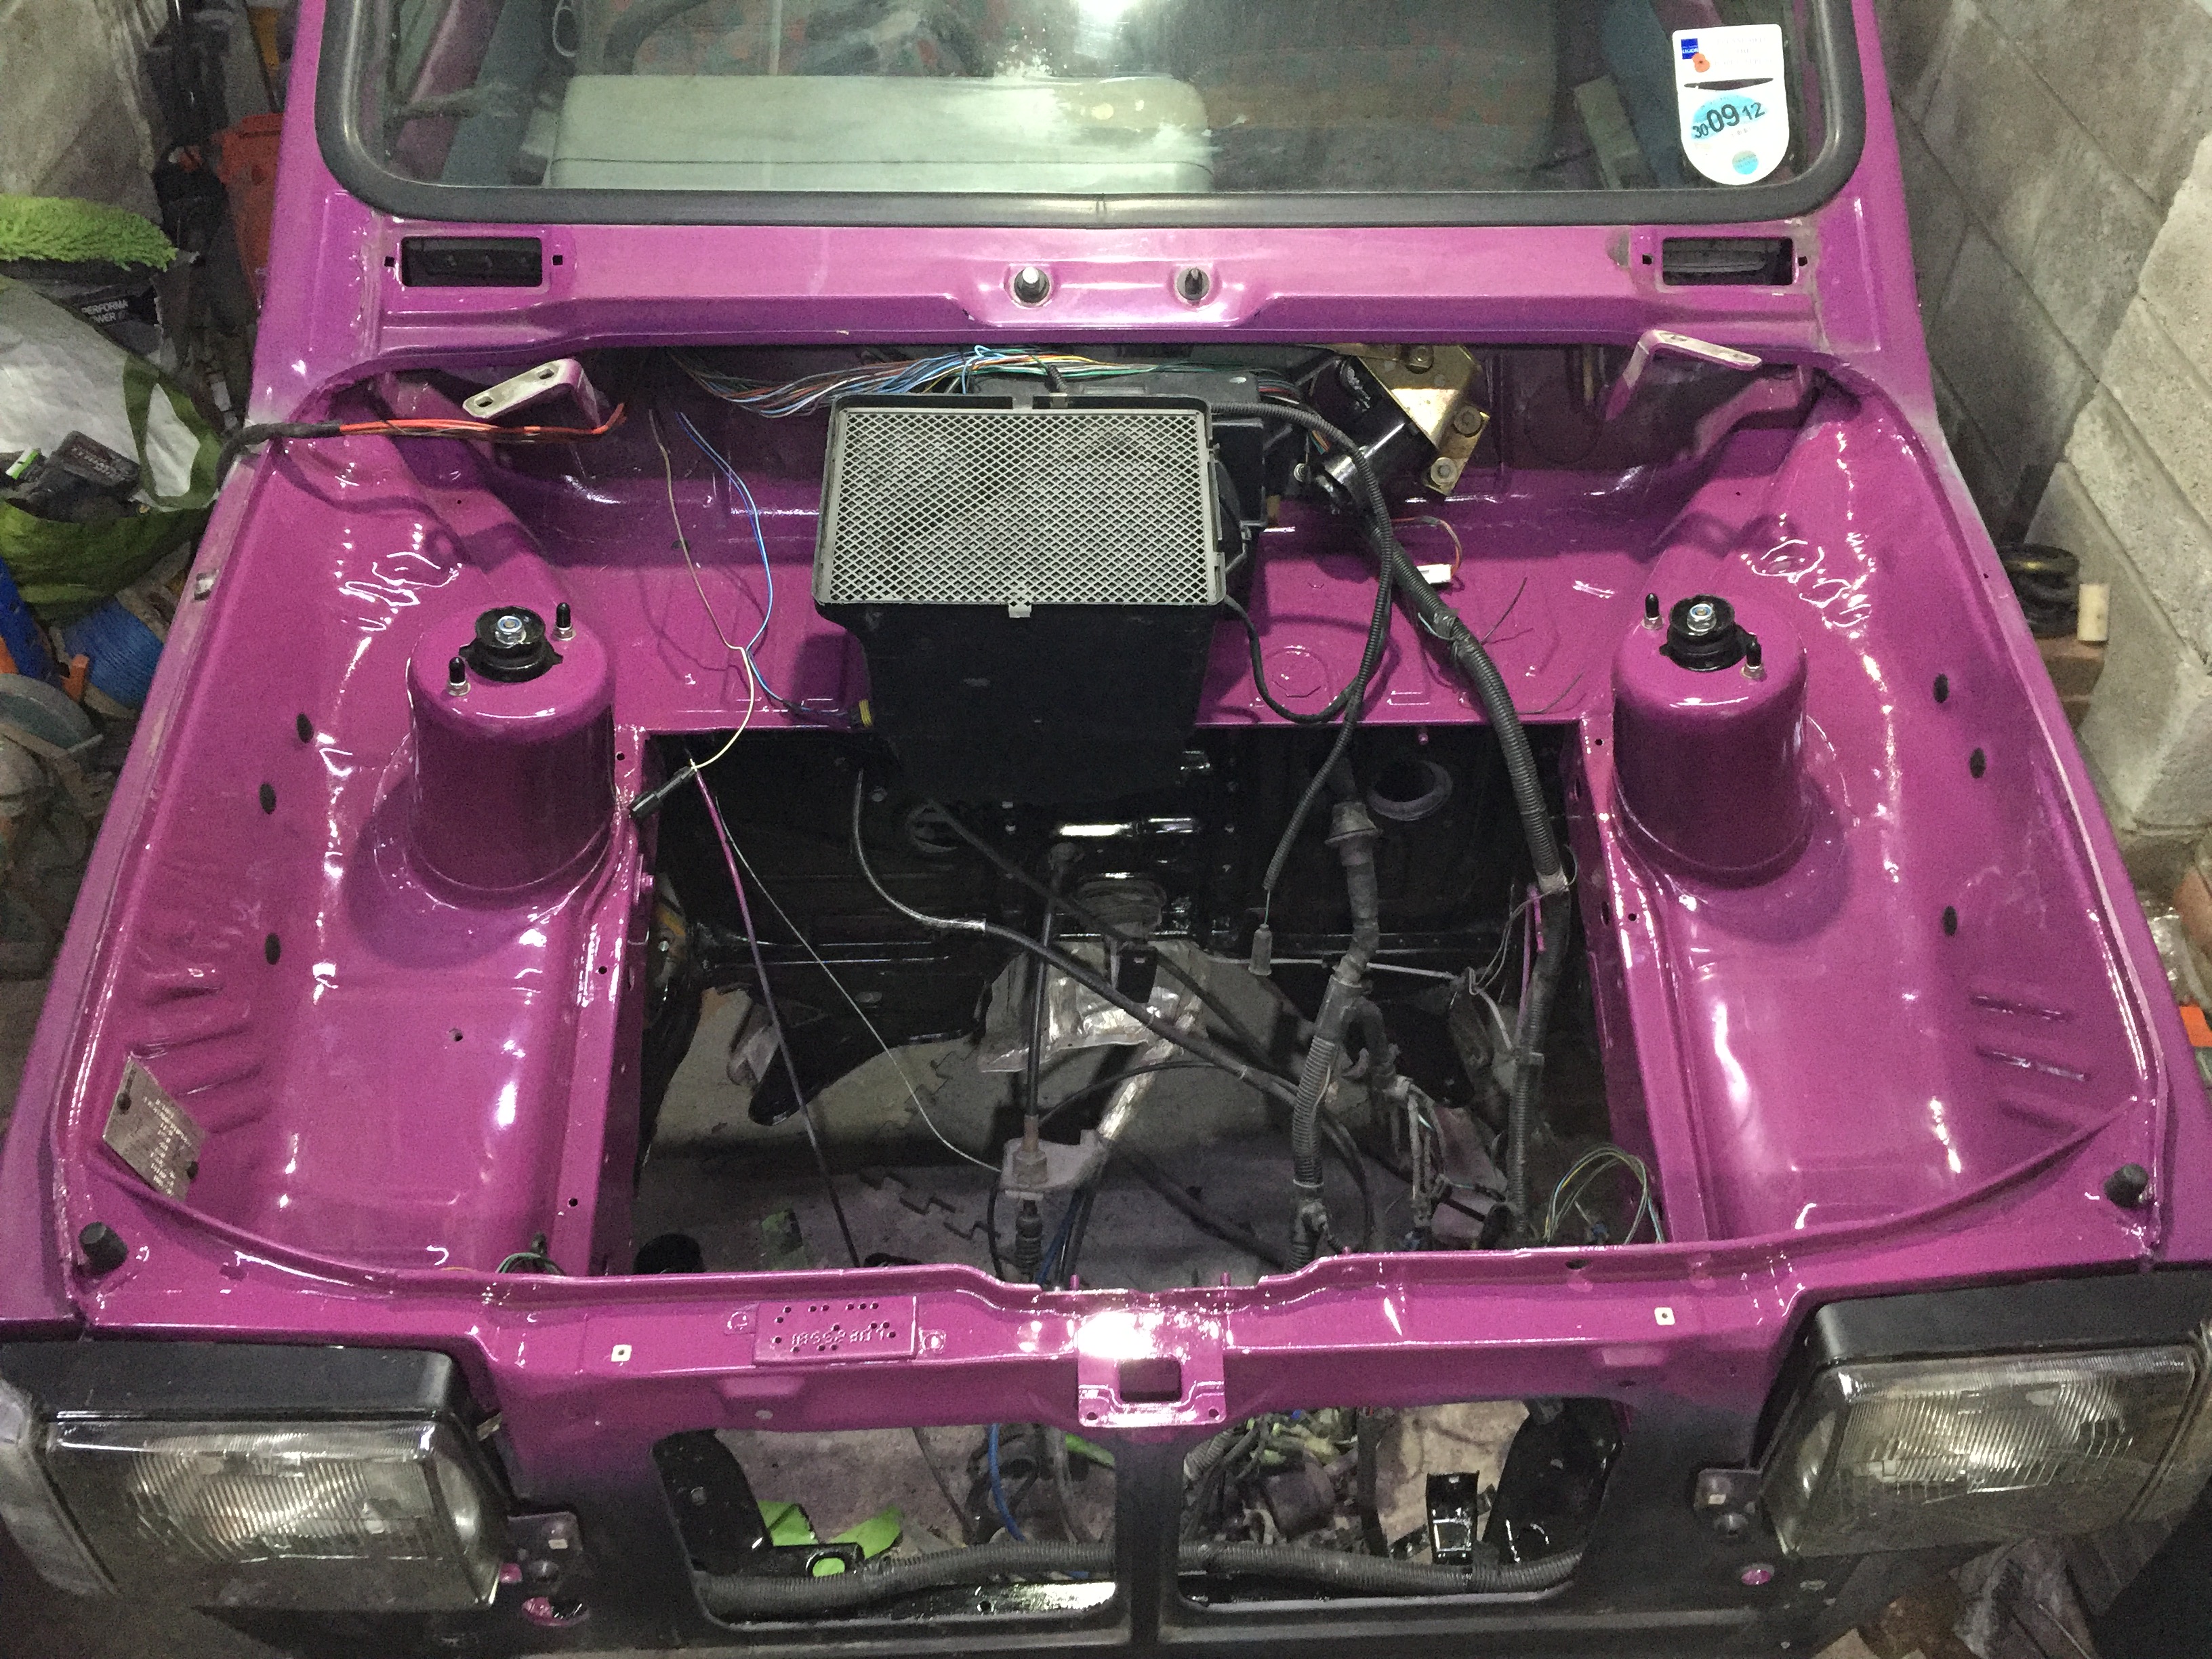
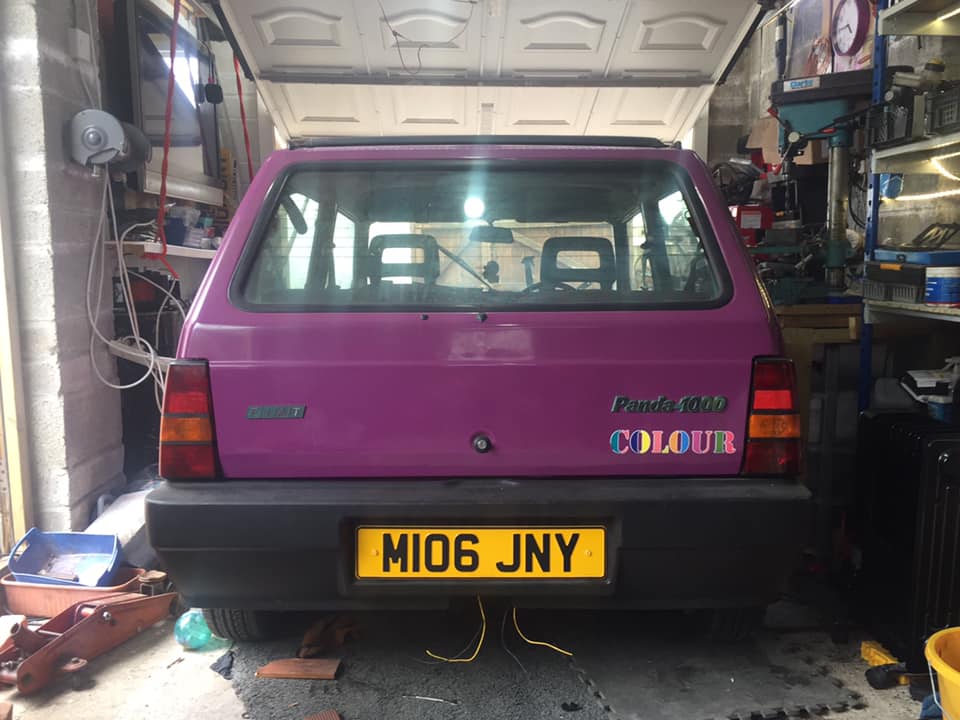
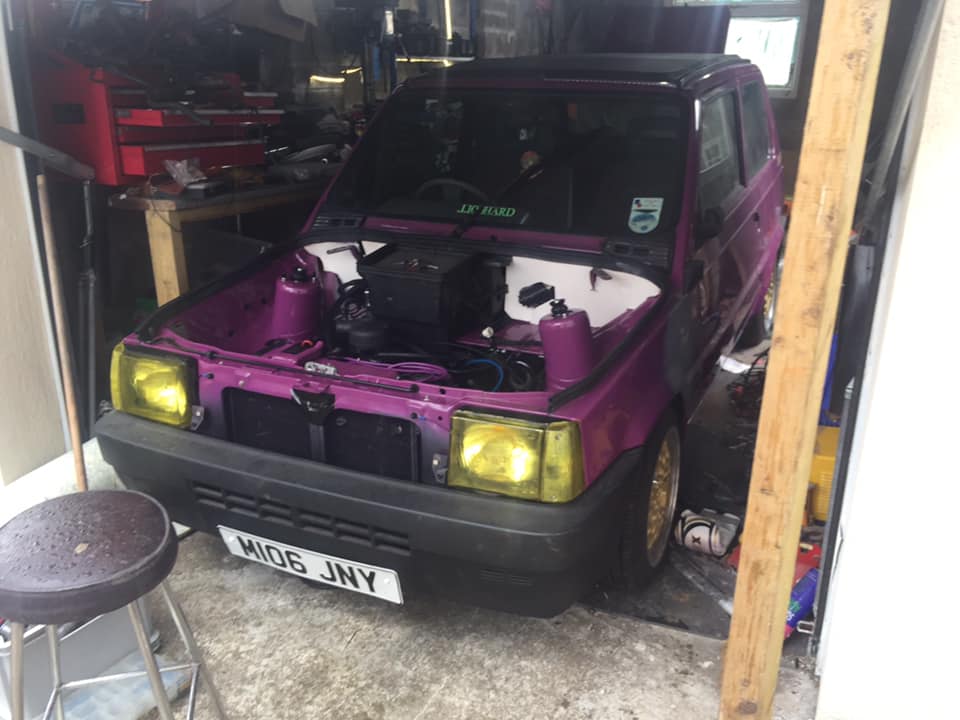
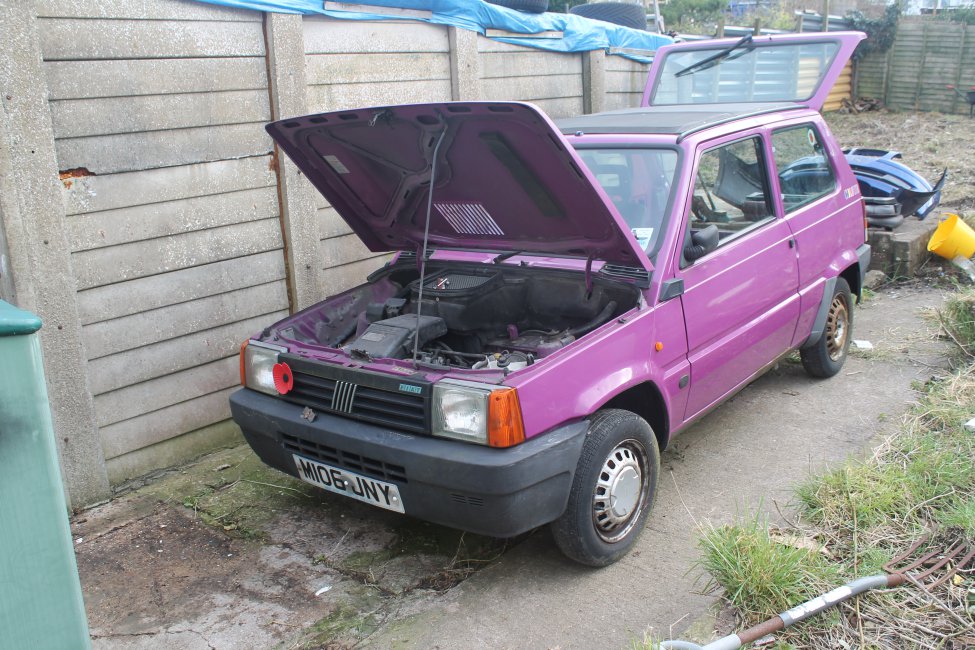
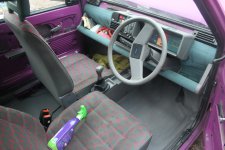
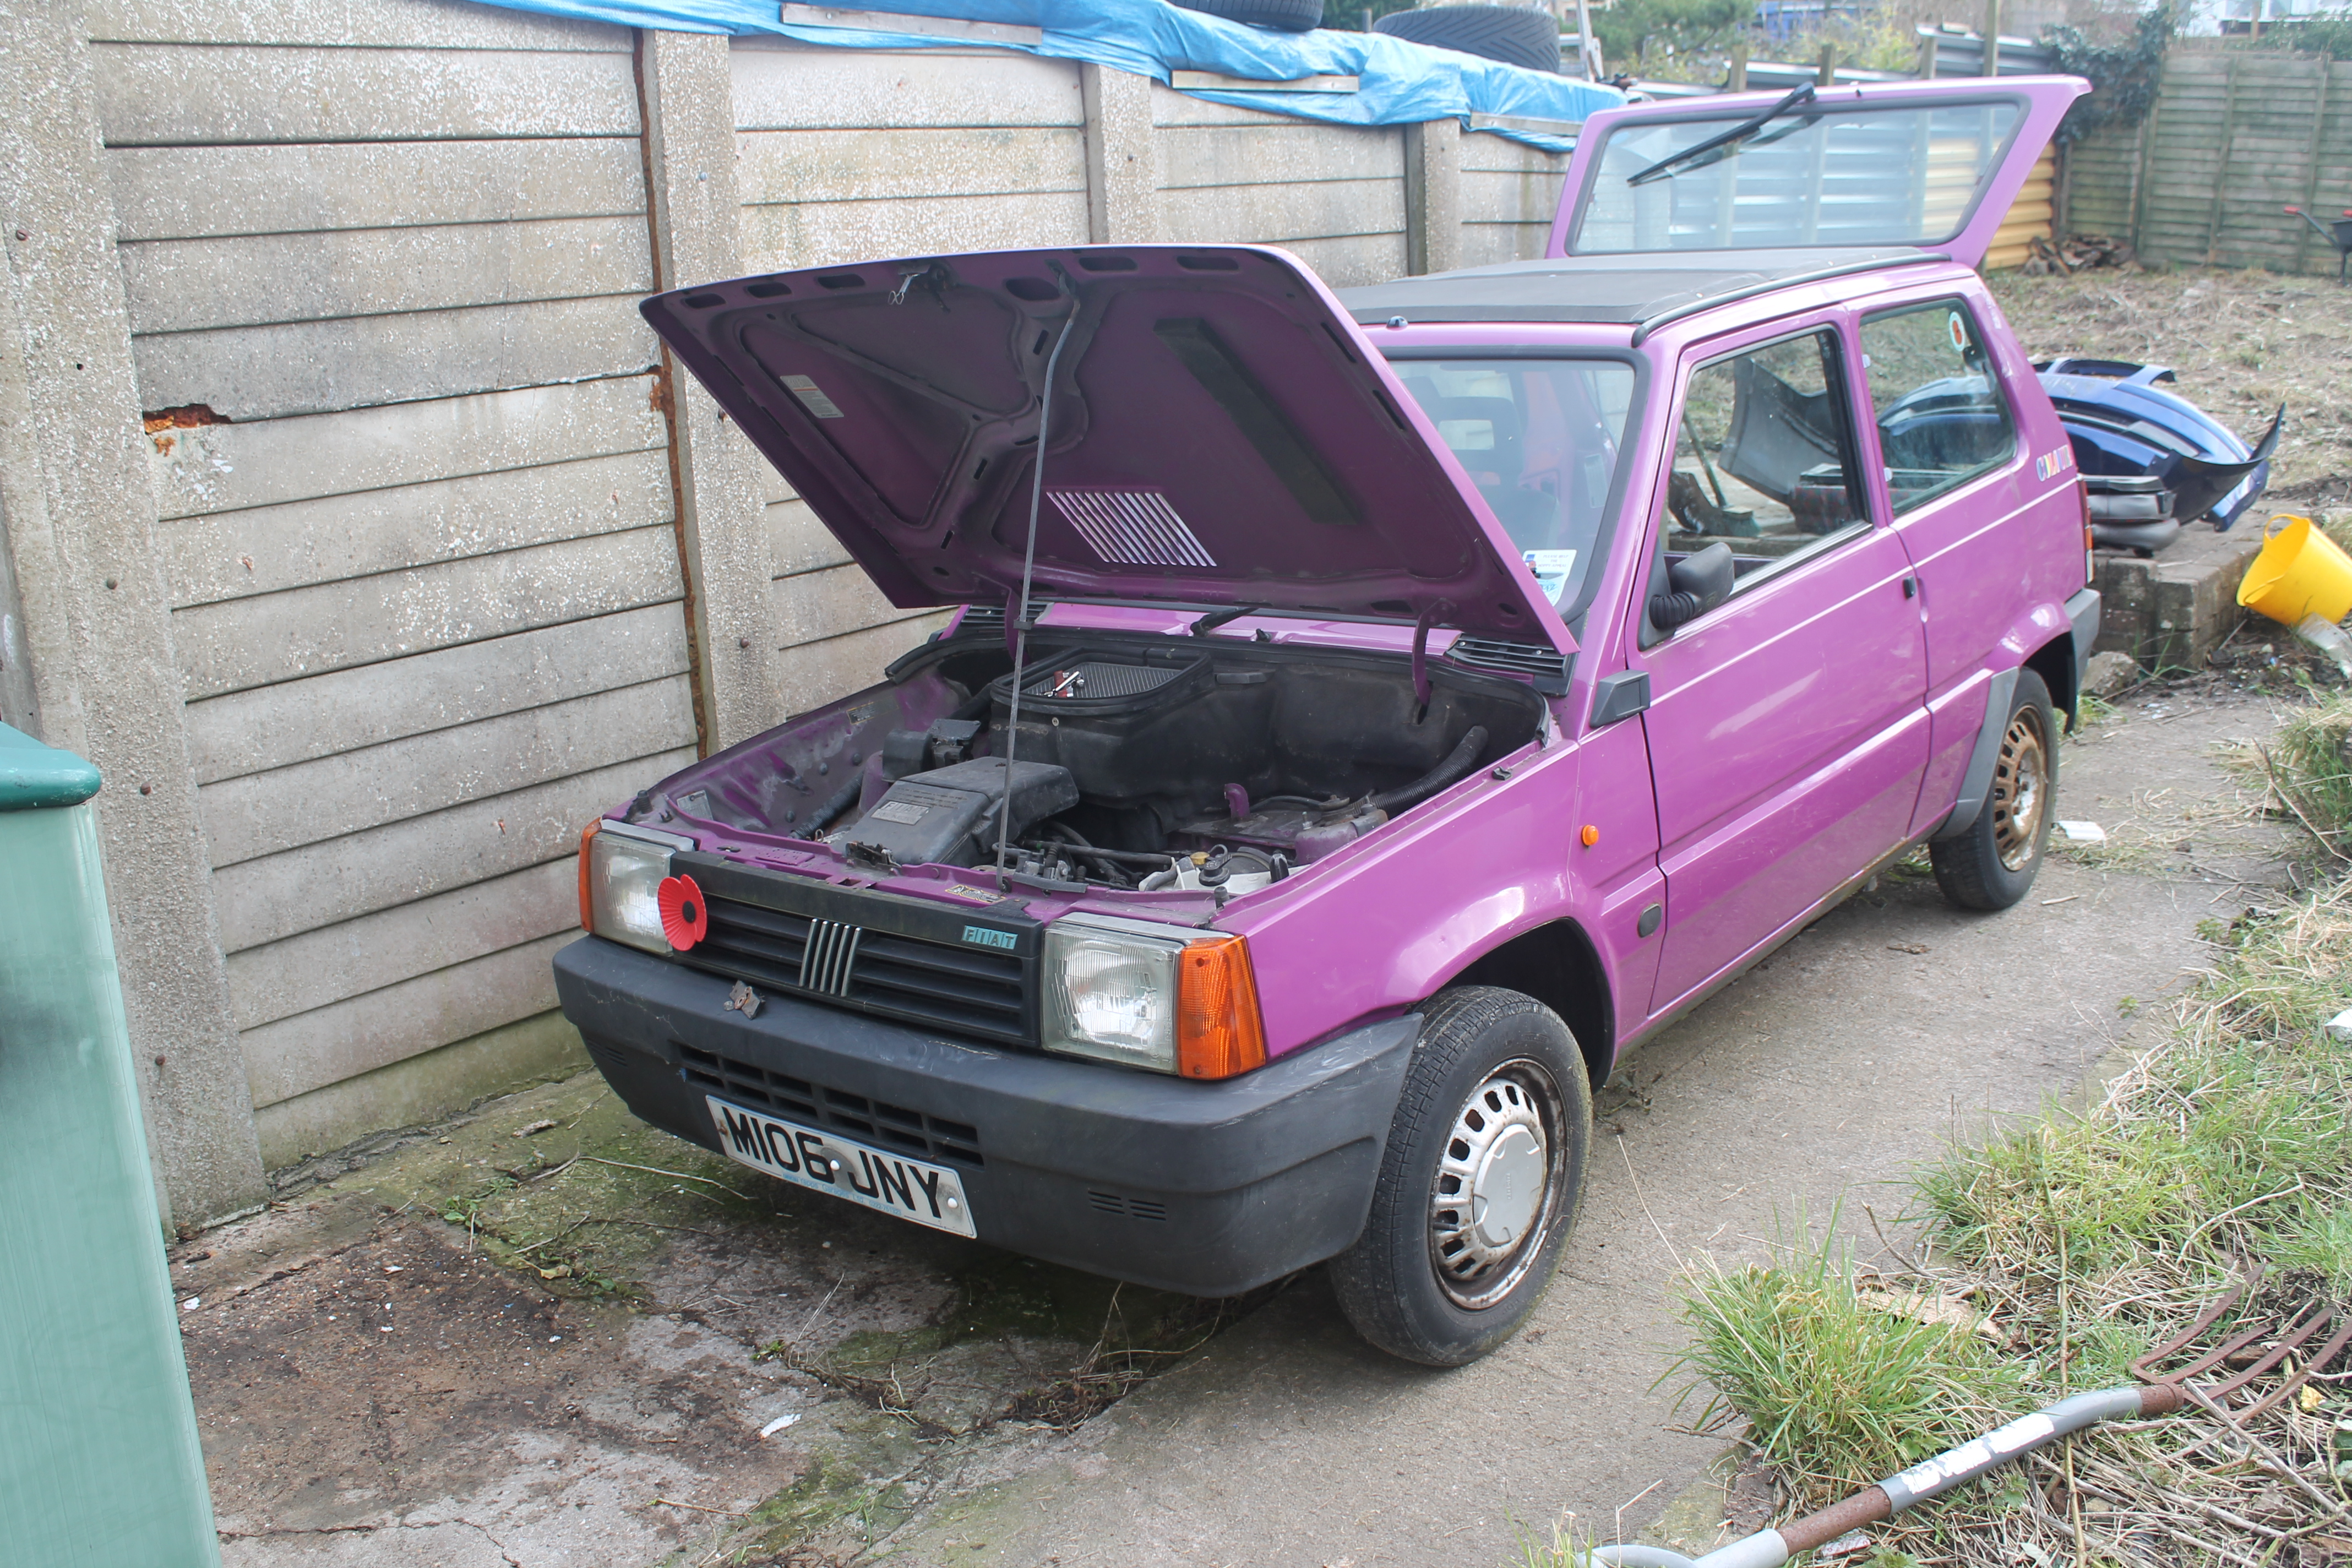
hey, im chris from south wales been lurking on here for a while but now seeing as ive started work on the Panda i though id let you in on it ,The cars a 1994 panda 1000 fire Colour , my grandad bought it from new (my nan chose the colour) , it spend most of its life in a garage although it spent a year in my brother ownership so theres the odd dent , but apart from that , rust is minimal and its got an immaculate interior.
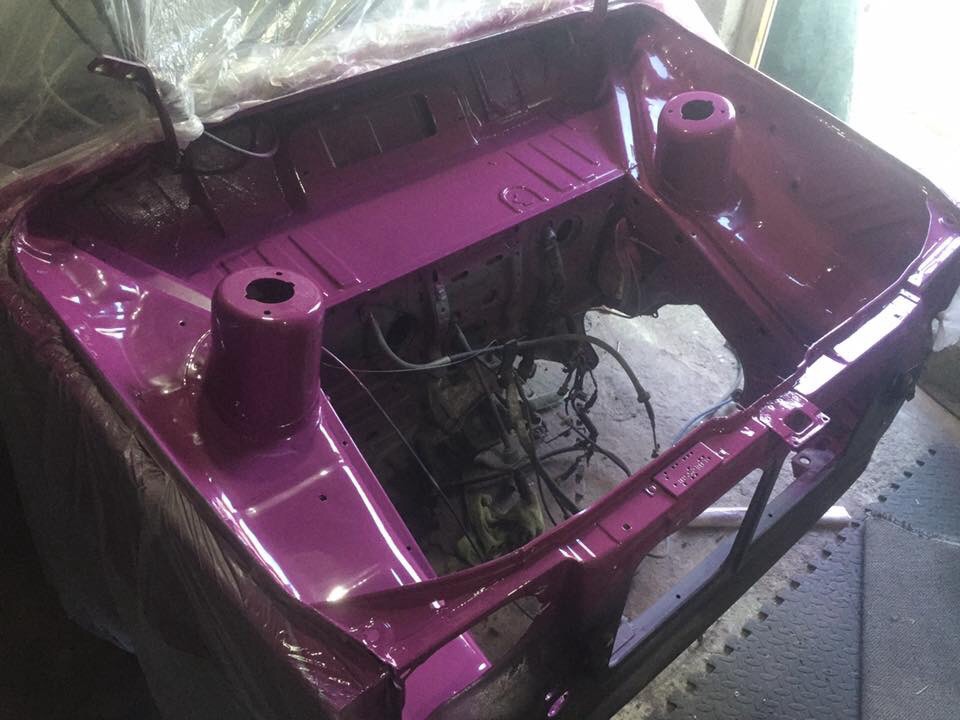
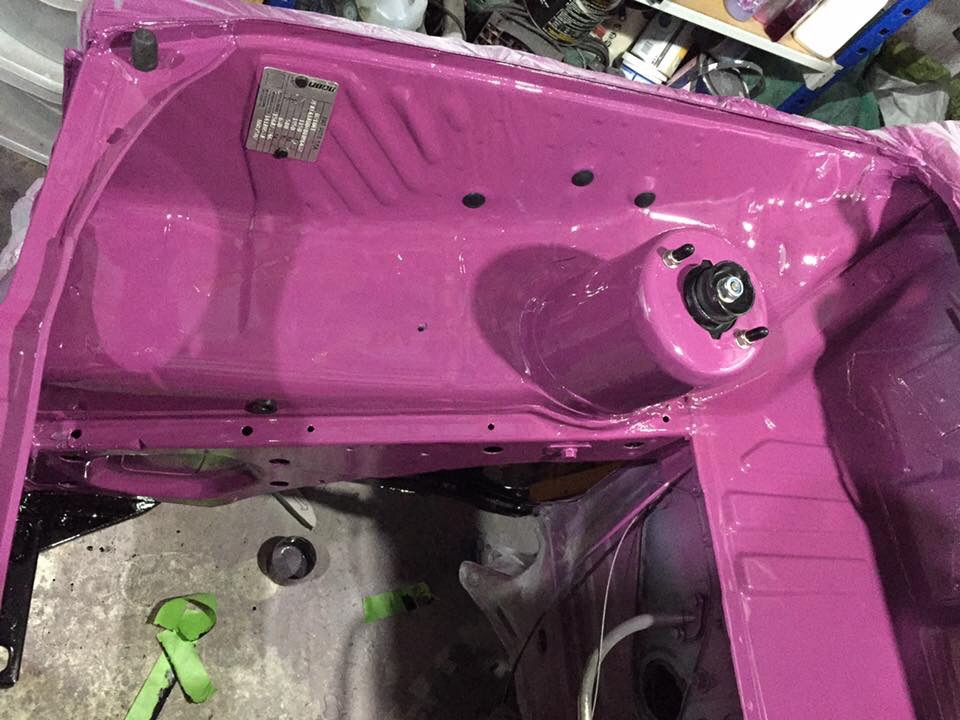
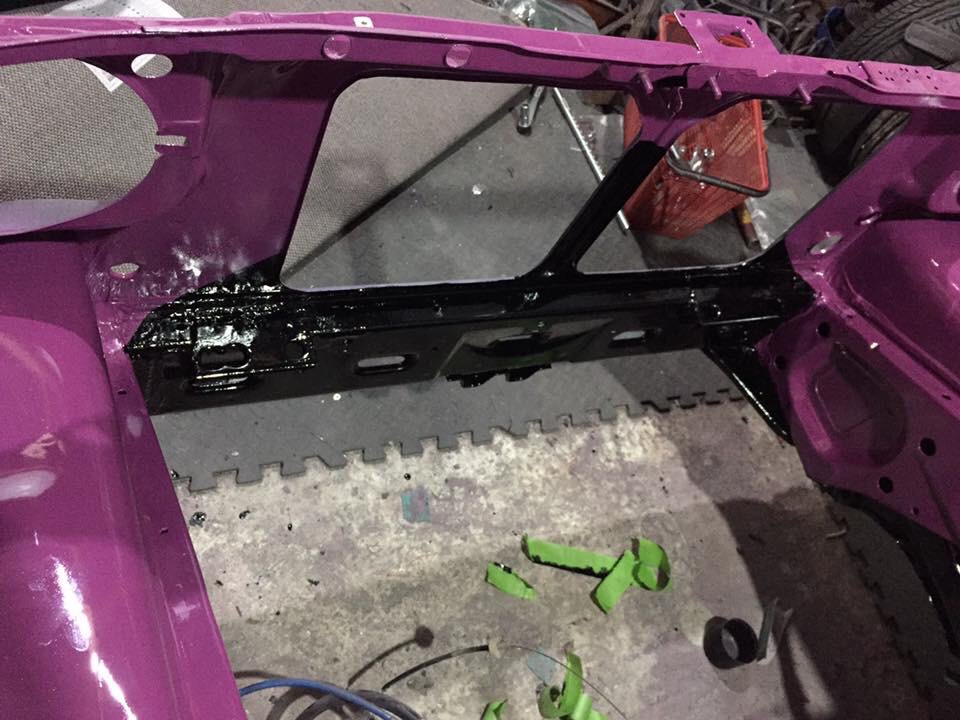
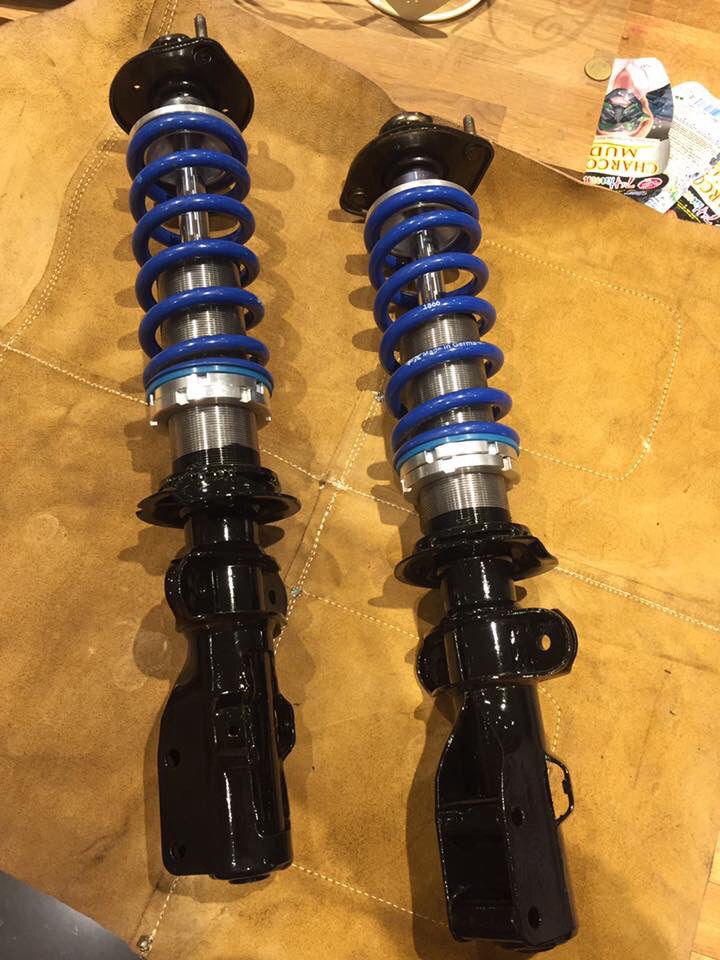
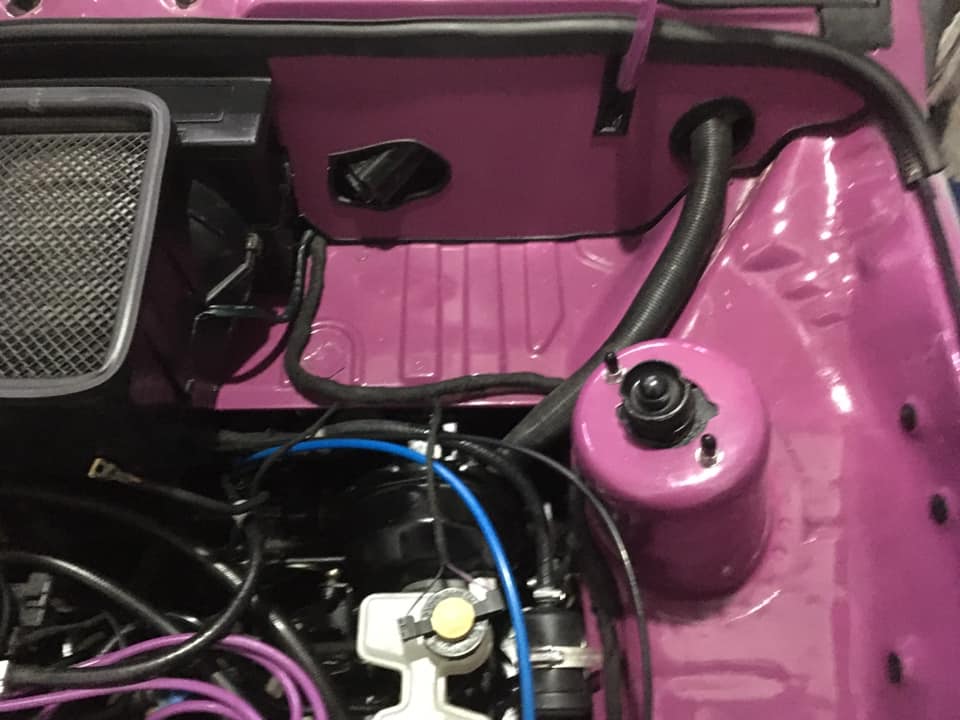
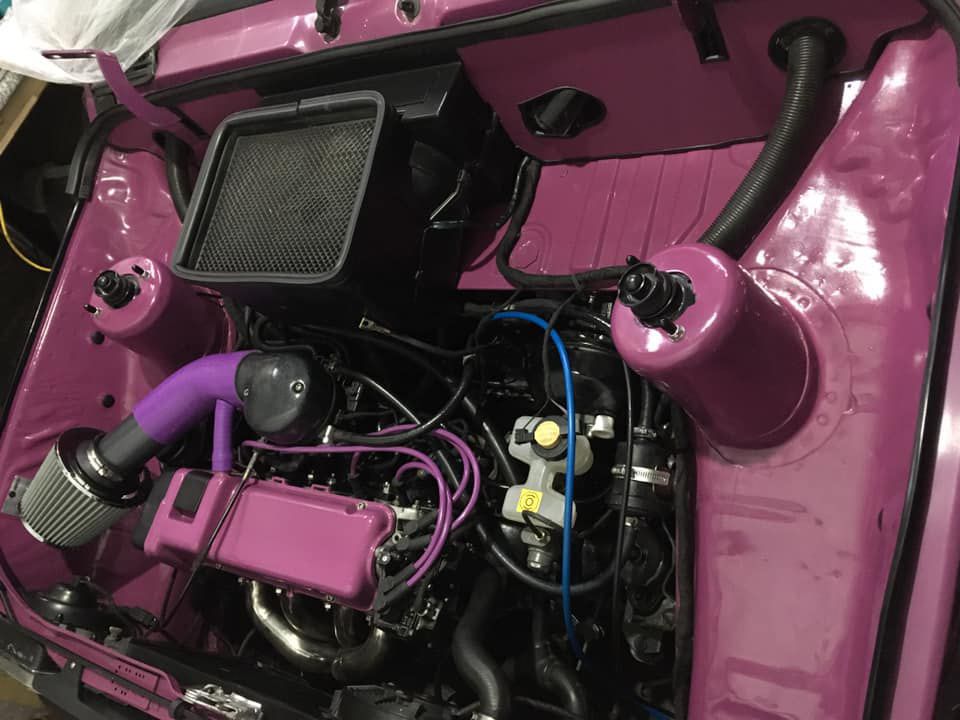
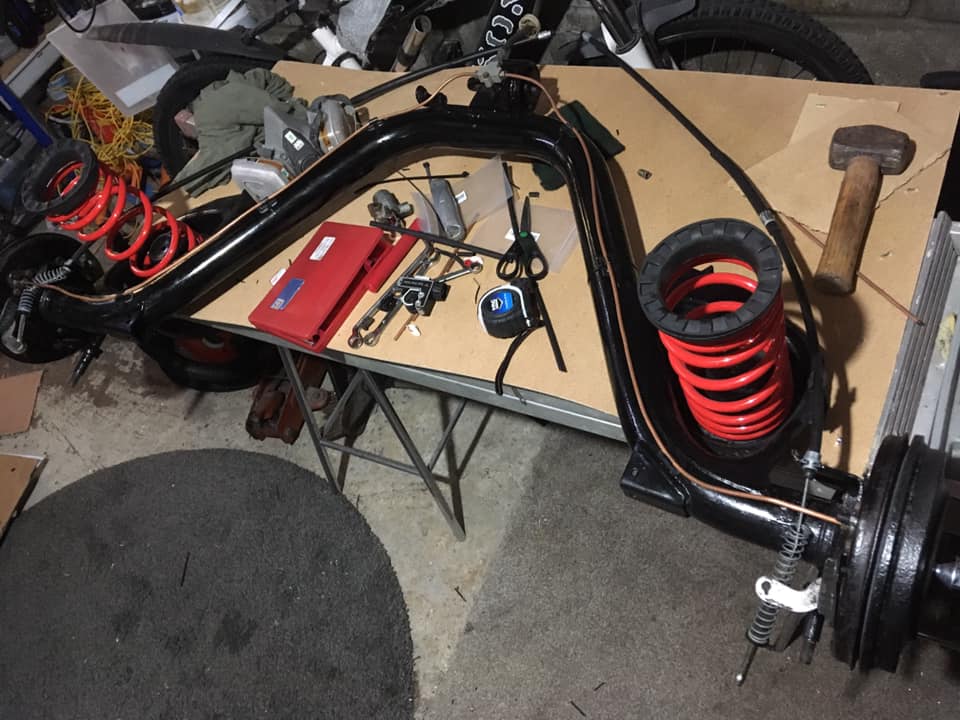
my aim is to do a resto mod as the americans would say, restore the whole car , Standard interior,respray, cleaned bay, lowered suspension and nice,possibly widish wheels, possibility by widening the body,maybe
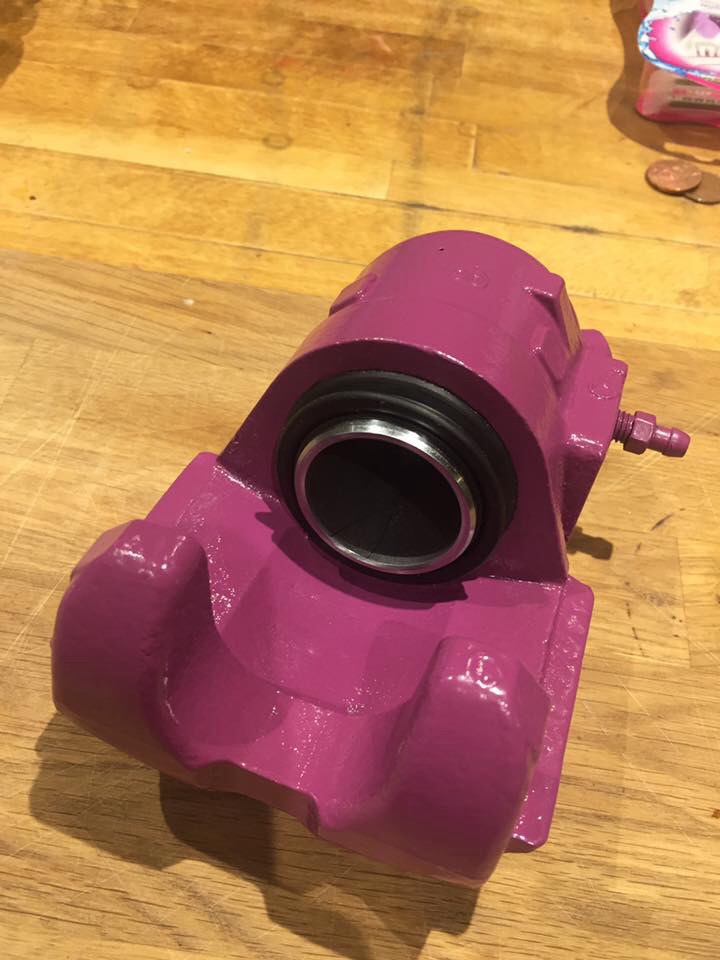
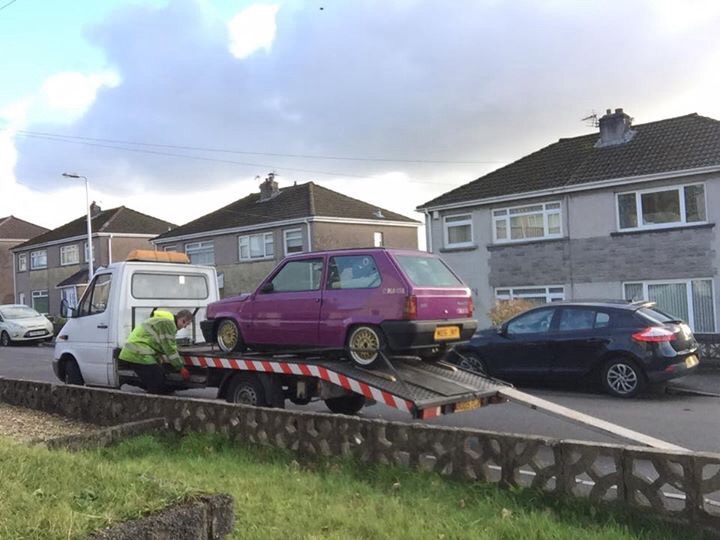
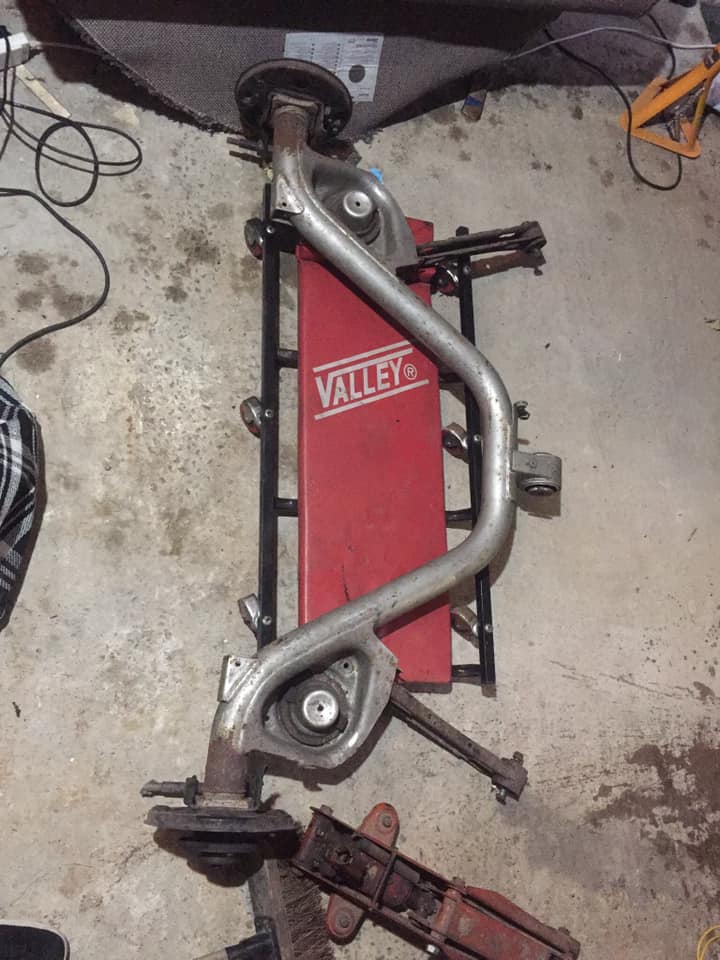
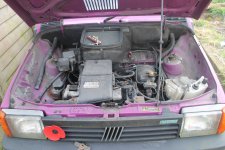
atm heres how it stood up untill last week , only real issues are that its been off the road for two years ,at the time the front caliper was sticking and the rear beam center bush was knocking its balls off. apart from that its a solid , unwelded , one owner car with 66k on the clock.
Good to see it progressing, had to abandon my 15's on the colour as the rears rubbed.

Pity I couldn't keep the graphics on mine though the funky seats and interior went so wasn't much left that was original colour except the instrument pod.

Will those front wheels actually turn okay?
 
Glad the misguided VW alloys have gone, the period X-wires you found do look better. Uno Turbo alloys would have been nice too... 155 tyres max (65 or 70 profile).

Mind the rear shocks don't grind away the inside of your back wheels when you've got a rear passenger.

I'd recommend genuine Fiat extras, and if you are changing the cplour I'd suggest the Turquoise colour I had in the 90s (photo to follow).
 
Loving your project it looks AWESOME!

i am currently building a Panda Project car with a Honda D16Z6 130BHP engine but struggling with springs and suspension setups.

ive heard you can use quad bike rear suspension but not seen any evidance anywhere yet..

how did you get the back so low? and what springs are you using?

i have also fabricated some front coil overs but struggling to find the right springs to use..

your help would be much appreciated..

keep up the good work!:slayer:
 
Well it's been 2 years since my last update,:cool:

Been busy and it's slowly progressing, I'll let the pictures do the talking

Got the engine bay all etch primed ready for paint

image3547.jpg
image3544.jpg

image3557.jpg


Then finally got some paint down

image3552.jpg
image3551.jpg
image3550.jpg
image3548.jpg
image3549.jpg
image3545.jpg


Got the coilovers welded and painted up

image3555.jpg
image3556.jpg


Rebuilt the calipers with all new seals and Pistons, also stainless nipples (not fitted in pic)
image3553.jpg
image3554.jpg


Now I'm slowly putting it all back together , heater box is back in and it's finally making good progress, ready for the engine to go in from the siecento sporting I've bought :slayer:
 
Started to put the car back together now


Also in need of some help

I'm missing a radiator bracket like the one below?


I'm also in need of this gaitor but have no idea where to get one?


Any help welcome (y):slayer:(y)
 
Started to put the car back together now


Also in need of some help


I'm missing a radiator bracket like the one below?


I'm also in need of this gaitor but have no idea where to get one?


Any help welcome (y):slayer:(y)


I am pretty sure I still have a brand new bracket. I will try and dig it out for you. They can be ordered direct from a local fiat dealer. Was about £4 when I thought I needed one. Turns out I didn’t. :)
 
Right just a small update:cool:

Alot of you would have seen a few of these photos on facebook.

Firstly managed to get the engine sorted,

866 Cam fitted


painted the 1108 from the donor car, New timing belt,water pump, cam seal, rocker cover gasket,and clutch


Cleaned and painted the gearbox


pulled the dash out for a clean and used the extra access to get my battery cable ran for my relocation,


Ive also relocated my washer bottle to the boot but dont seem to have a picture.

bye bye siecento!


and now for the fun bit

steering rack referbed, new gaiters and grease


Stainless 4 branch Manifold


Engine almost all together. ( 50/50 on the yellow lights )


the white bits at the back are templates for some aluminium covers im making to tidy the bay up some more,


got my Italian rear light in too, Reverse lights are overrated


My new gear knob


This is where we are to date, coilovers are all fitted, new brakes and just got to fit brake lines, connect up fuel and add coolant, oil and driveshafts and rear brakes and exhaust ......the list is surprisingly still pretty long but I'm too fussy to just throw it together so if im lucky it may be finished by next year , hopefully.
 
Re: Chris's 1994 Panda Colour Resto Mod Pic Heavy update 19/6/19

how’s it going chris?
 
SOOO I thought I would update this to keep it alive,

Progress is slow and steady , one of the major things I've managed to sort is the bulkhead covers, I never liked the terrible matting/ sound deadening style one,

So first I made some Card templates that you can see in my last post,

Then make some Fibreboard ones,

89850837_10156783496897062_8141161757117775872_n.jpg


89816753_10156783496912062_9014566433618657280_n.jpg


Then I cut them out of some aluminium,gave them a paint and added some edging trim to avoid them scratching the paint,

89783505_10156783496732062_8482121043035553792_n.jpg


All fitted

89783694_10156783496612062_8684362785192148992_n.jpg


89850872_10156783496597062_1914714437944606720_n.jpg


89815886_10156783507977062_3908663849905029120_n.jpg


Much neater!

Also added a few guages for where the radio was never fitted,

These are tinted so when there off there pretty discreet,

89801609_10156783497192062_3837913394803900416_n.jpg


Also sorted the rear beam, I did paint this about 4 years ago but made the mistake of using hammerite and it was pealing off, bearing in mind the cars not been on the road yet!

89807061_10156783497002062_7215989968647225344_n.jpg


so it now looks like this

89870632_10156783496482062_5019223808603586560_n.jpg


New springs , new shocks , new brake lines , cylinders.... literally everything's new...everything,


Also if you were wondering where the washer jets bottles gone from under the bonnet,

89931206_10156783497352062_837965380923162624_n.jpg


The battery also lives in the boot on the other side,


The cars not far from being done now , once the rears back together its just a case of fitting the driveshafts and brakelines then just a bit of paintwork to sort out before its let out of captivity,


:)
 
few extra progress pictures of the bulkhead covers

88979741_10156783575132062_3022328985380978688_n.jpg


89905739_10156783575227062_6434805429766717440_n.jpg


Ive also replaced the tripod joints on the driveshafts as 6 years of them hangning around did'nt do them any good,

While I was there I colour coded the driveshafts, I'm sure the MOT tester will appreciate them lol

90235713_10156783496857062_6995299366269353984_n.jpg


89336459_10156783575082062_7827756846772387840_n.jpg
 
Back
Top