DSCN0437_Medium_.JPG

Cateye Midi Bike project

Introduction

Once again, I'm going to use FF for a place to record progress on a project :p

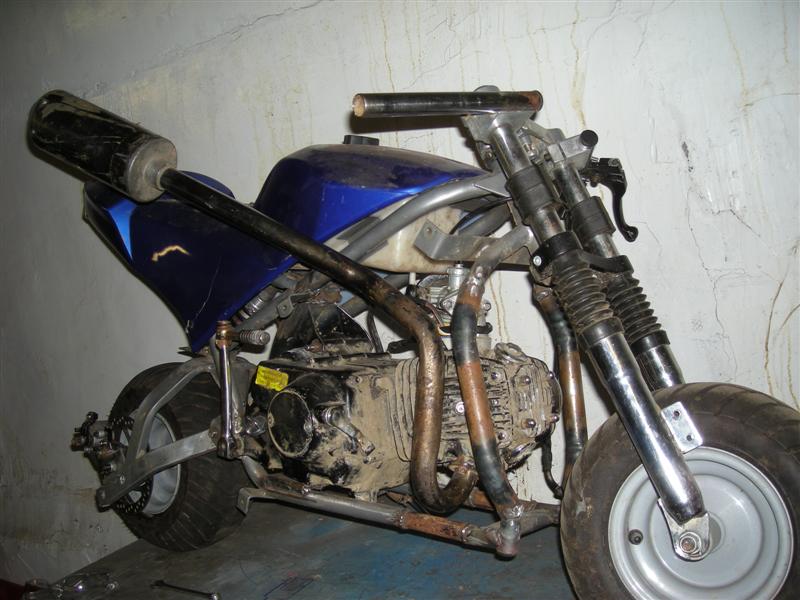
6 months ago, i picked up a tatty "cateye" type midi-moto bike for £20.

These have a Mitsubishi designed ‘leccy start 50cc 2-stroke engine that, whilst fairly reliable, is not powerful, in fact no where near as good as the Chinese Cagllari-type engines. These bikes top out at 20mph or under, and pick up speed almost as fast as a tortoise. In addition to this, the footpegs are located too low, meaning that cornering…. doesn’t really happen (n)

However, they have a few things going for them: they are a decent size for adults to ride, whilst still being small; they have full suspension; and they have proper lights and fairing built in – true miniature superbikes. Furthermore, the engine bay is quite large….

I had no intention of trying to make it run as it was, so put in a shed and forgot about it.

Then Jordan and his brother kind of persuaded me to do something with it….

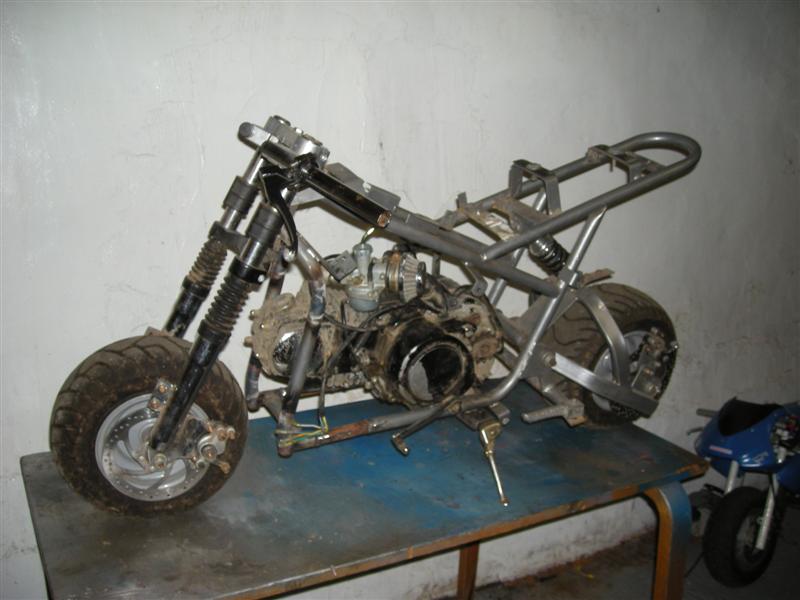
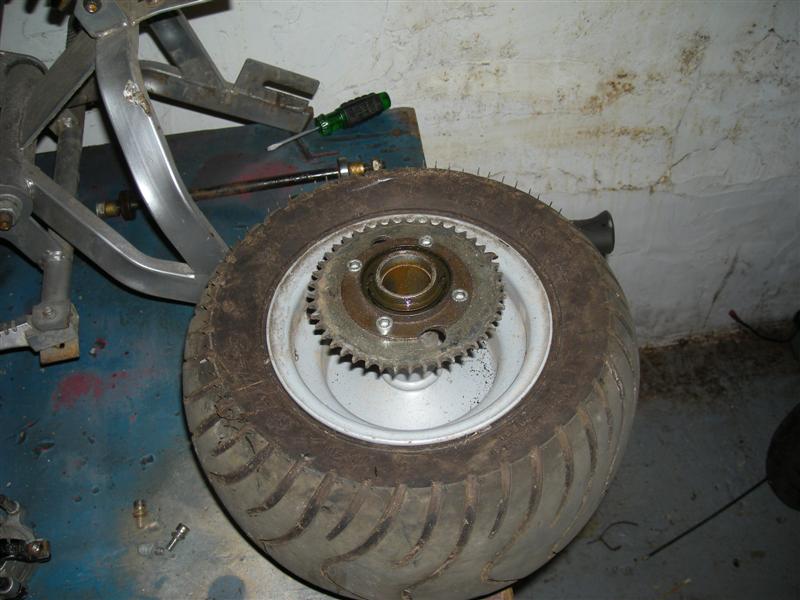
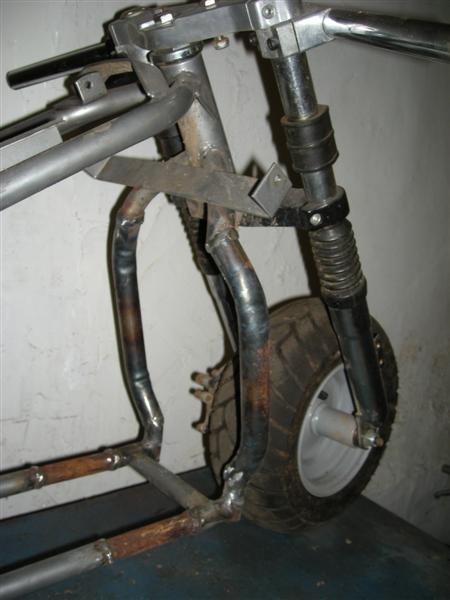
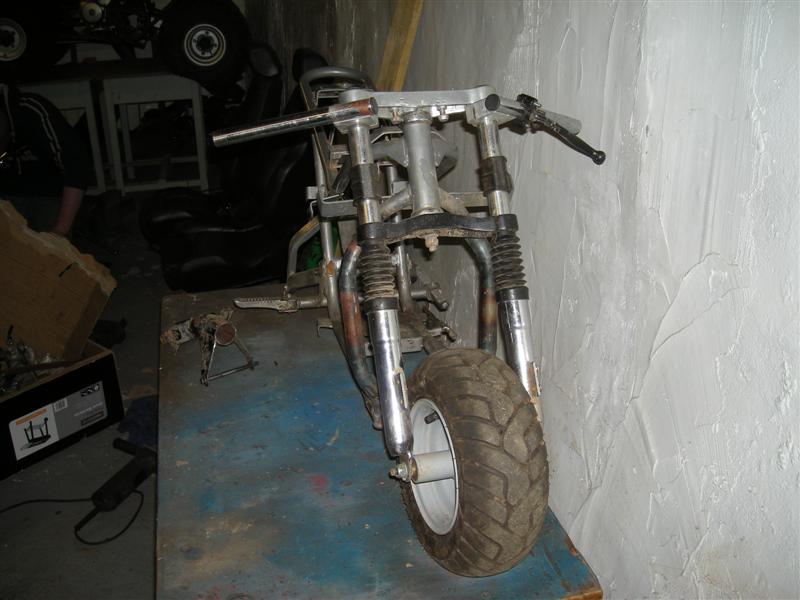
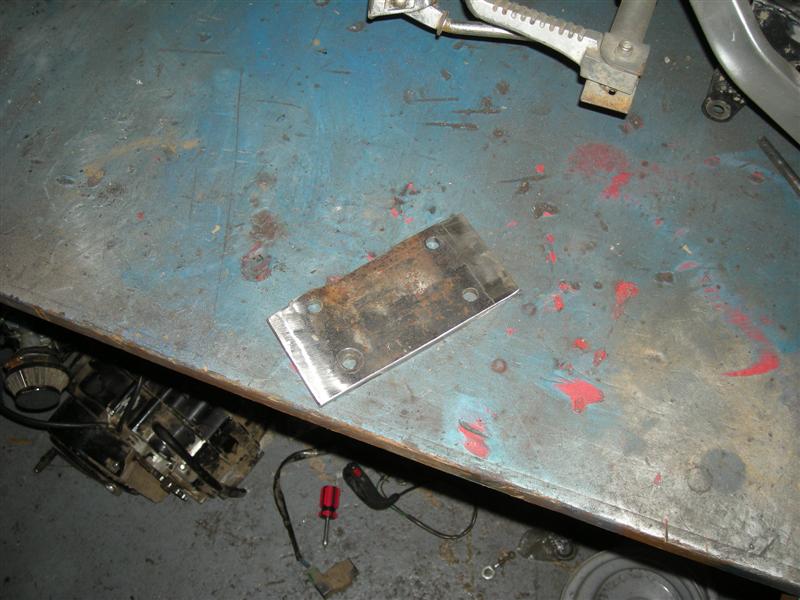
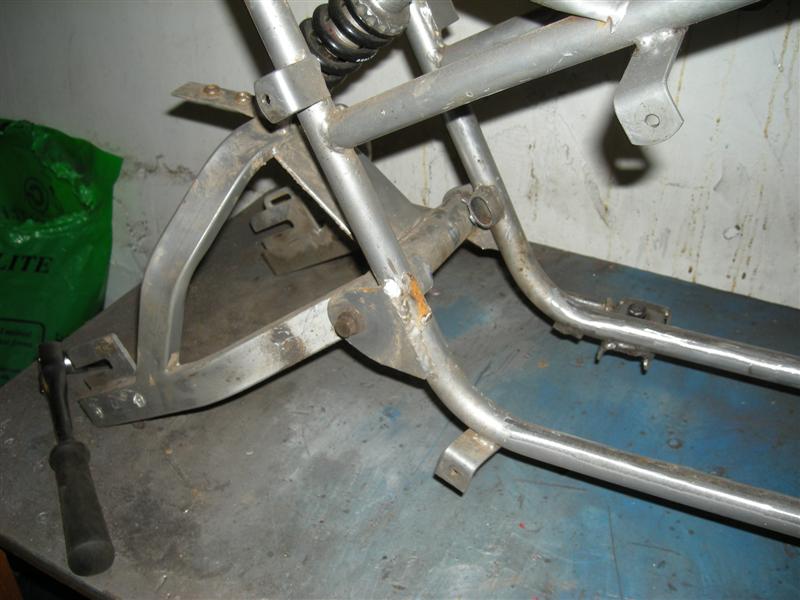
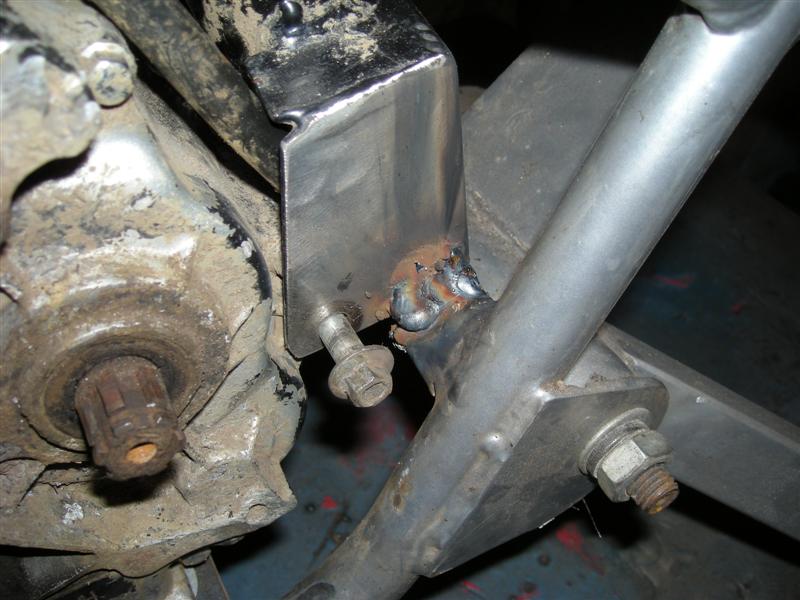
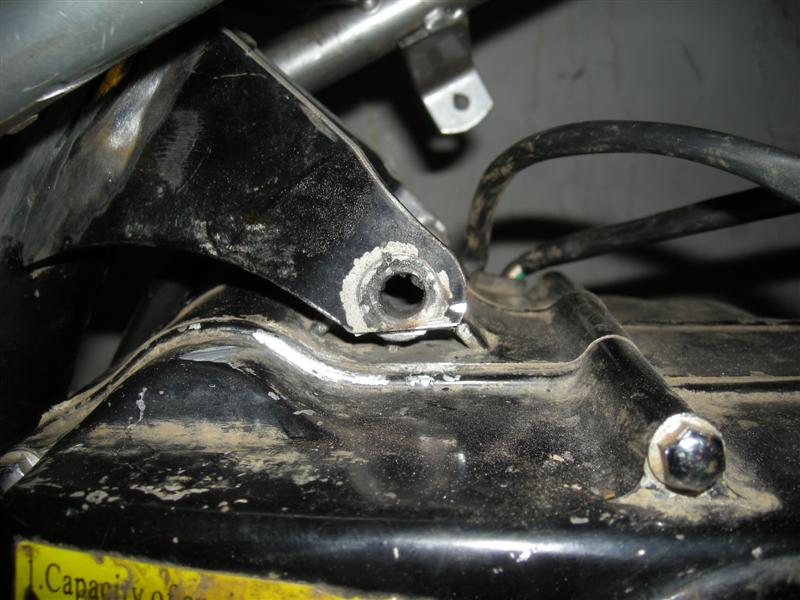
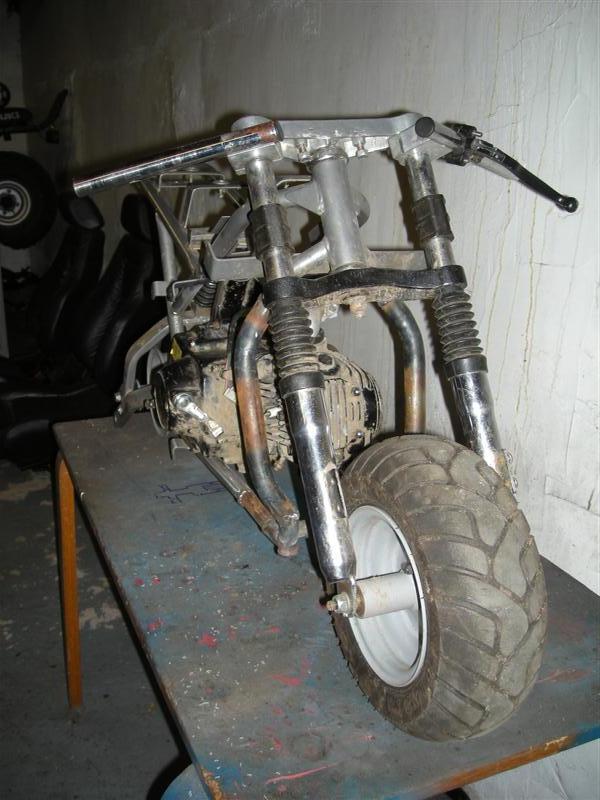
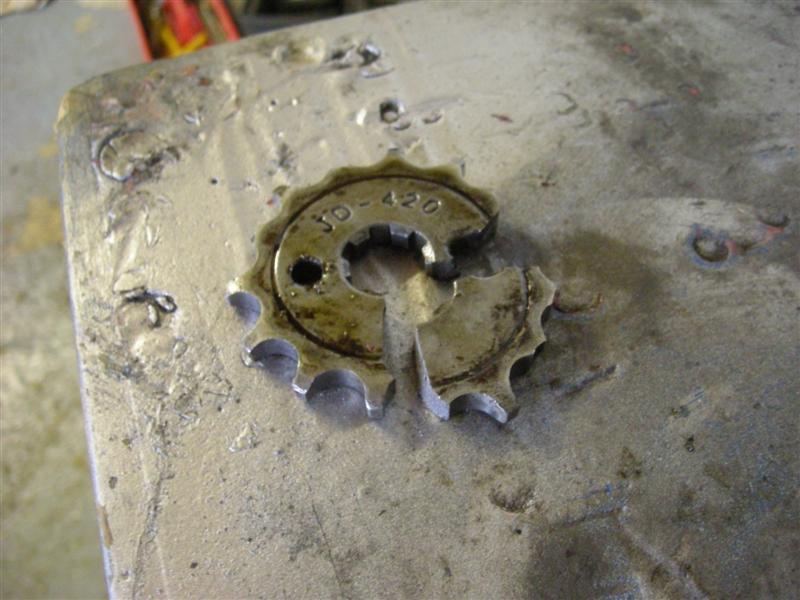
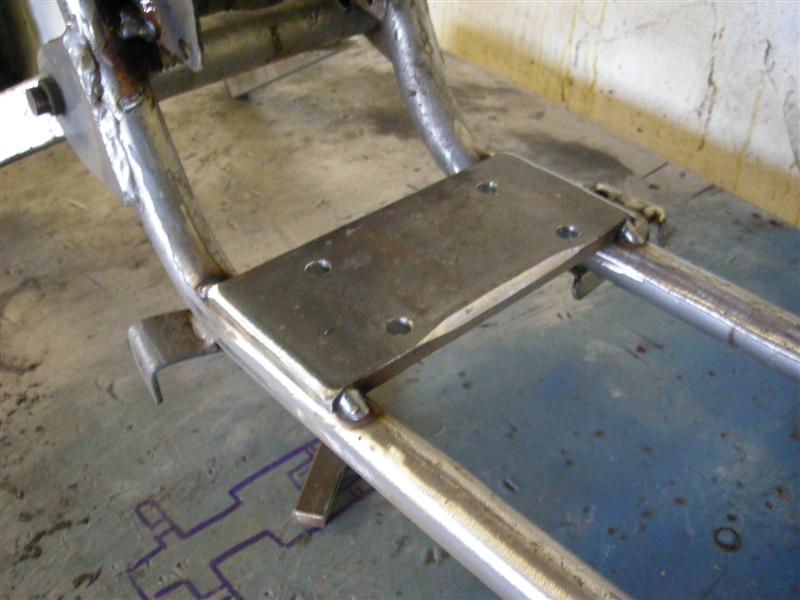
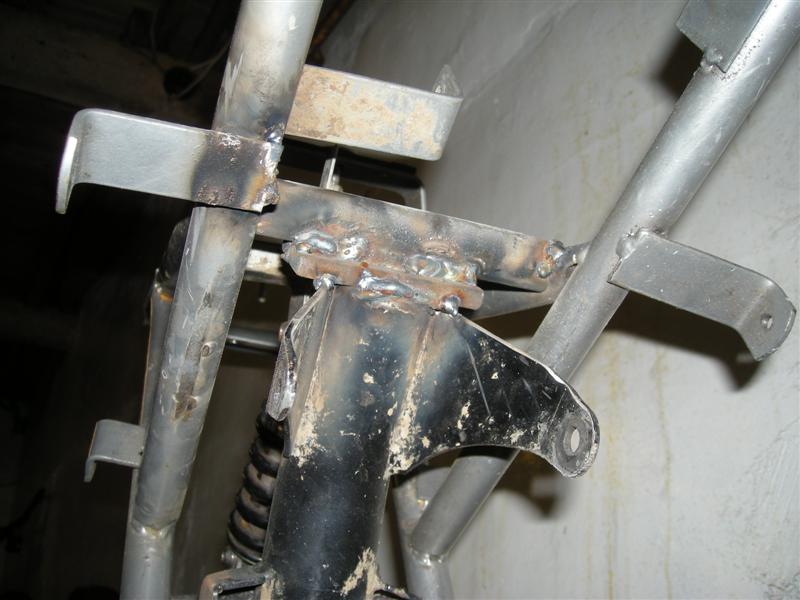
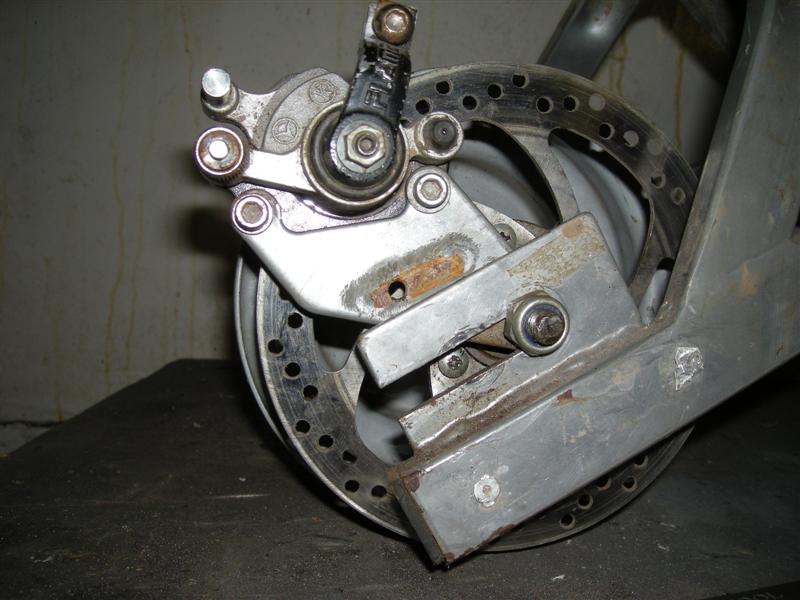
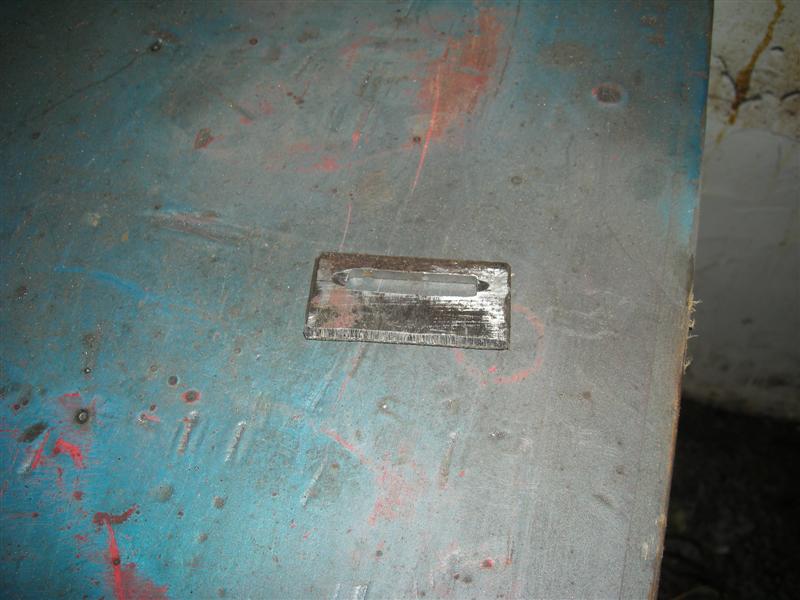
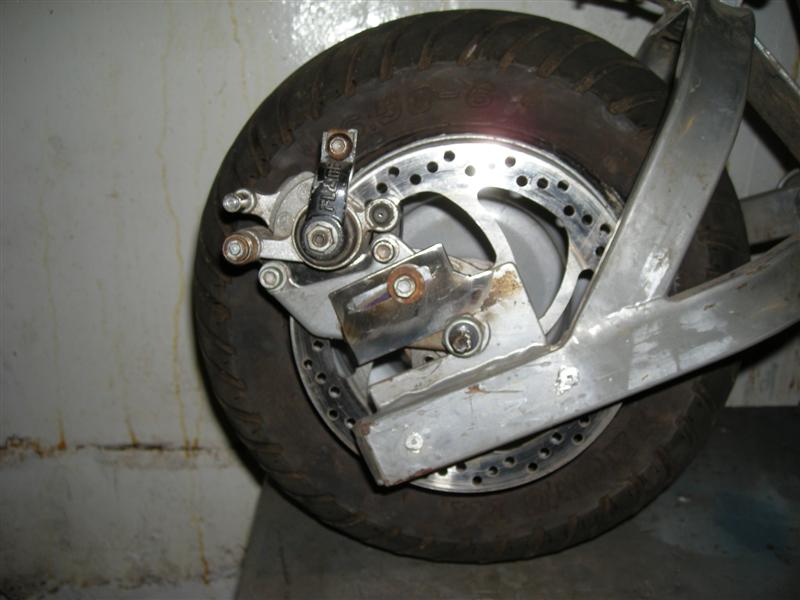
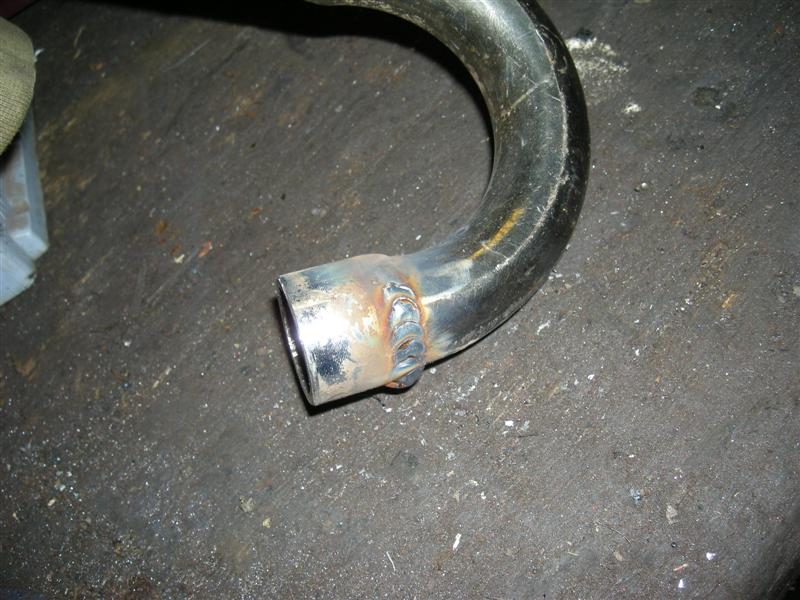
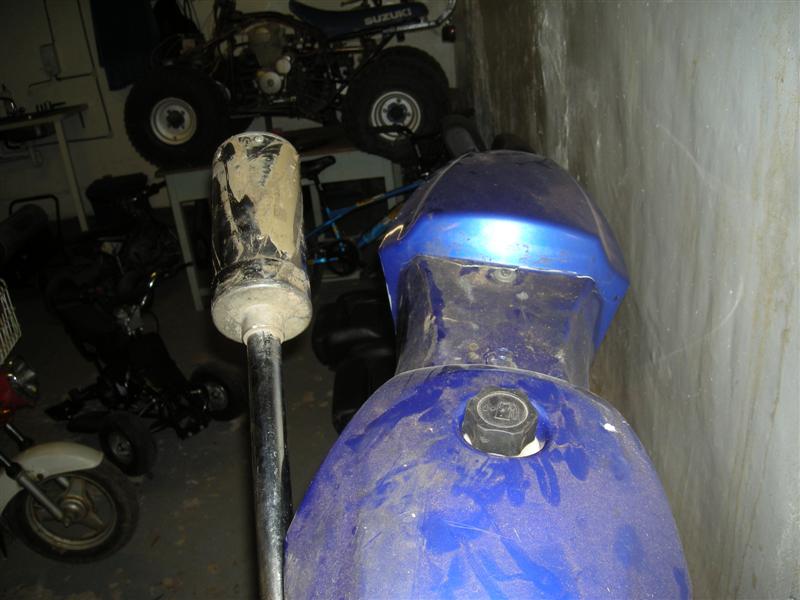
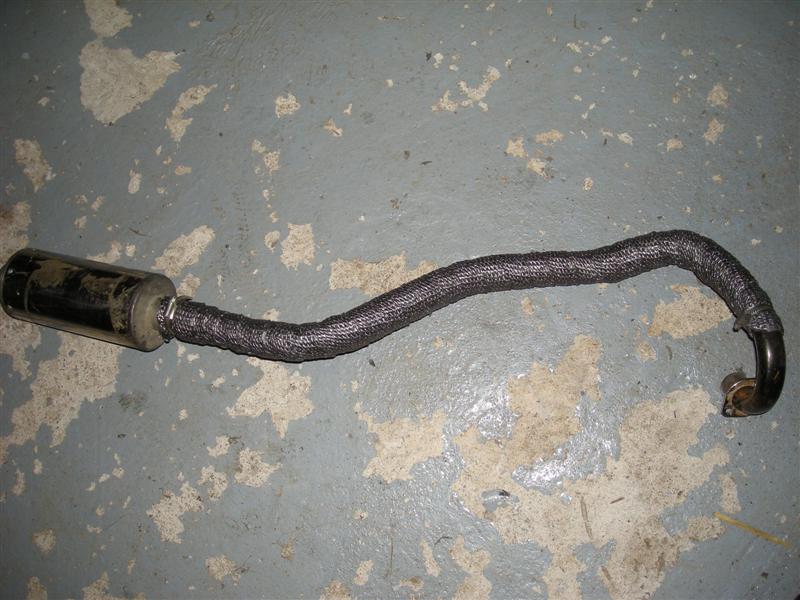
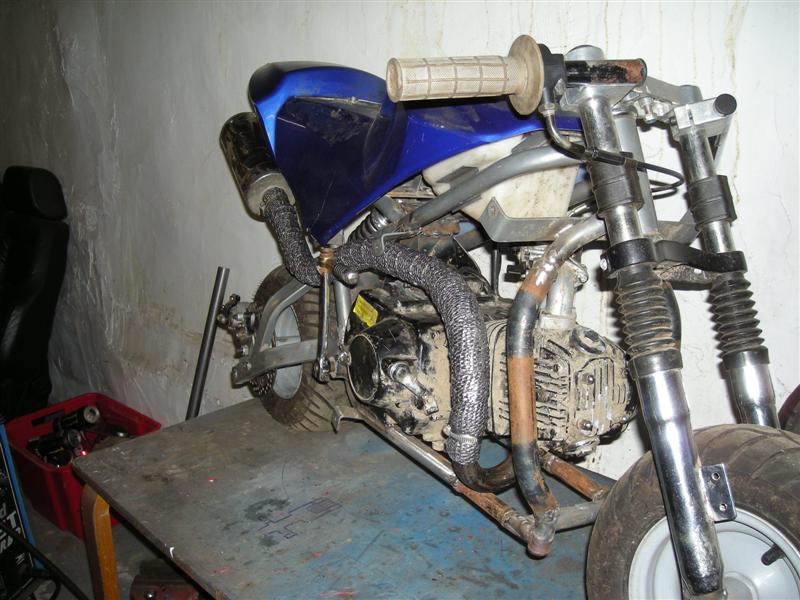
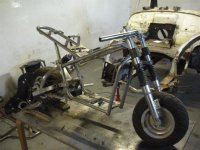
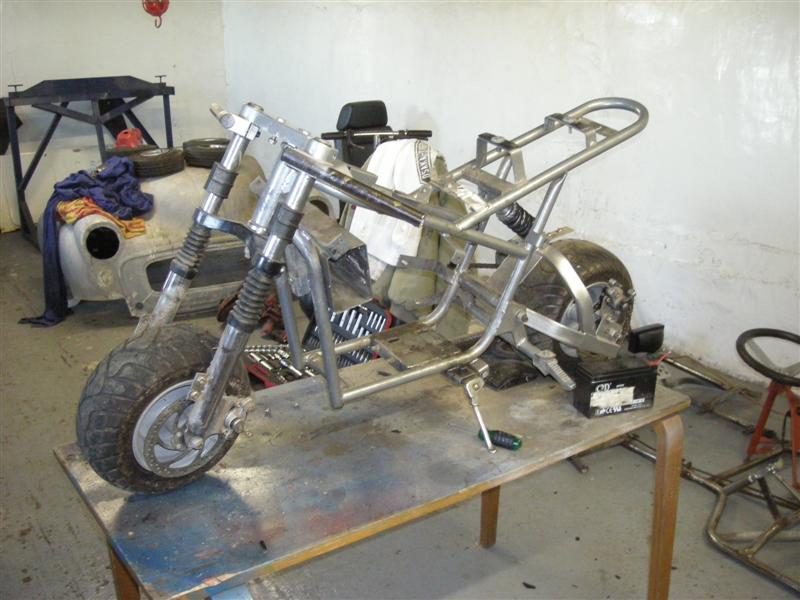
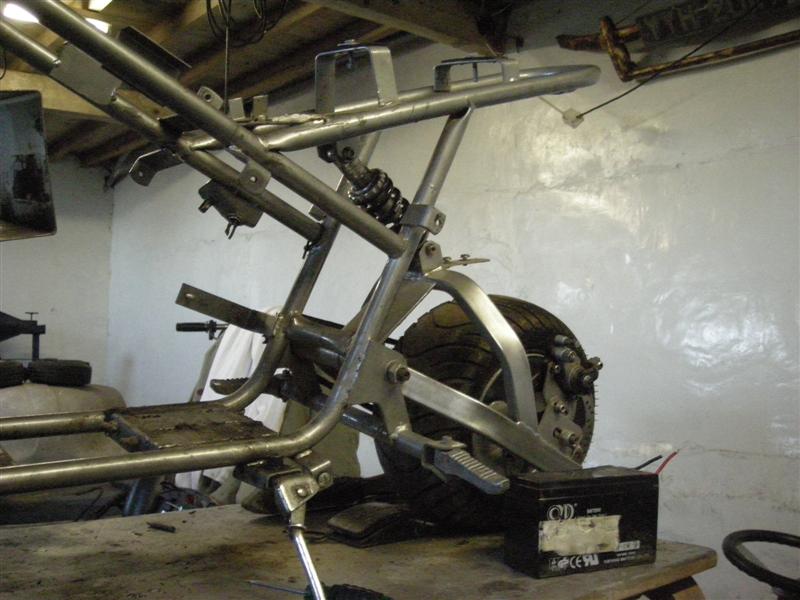
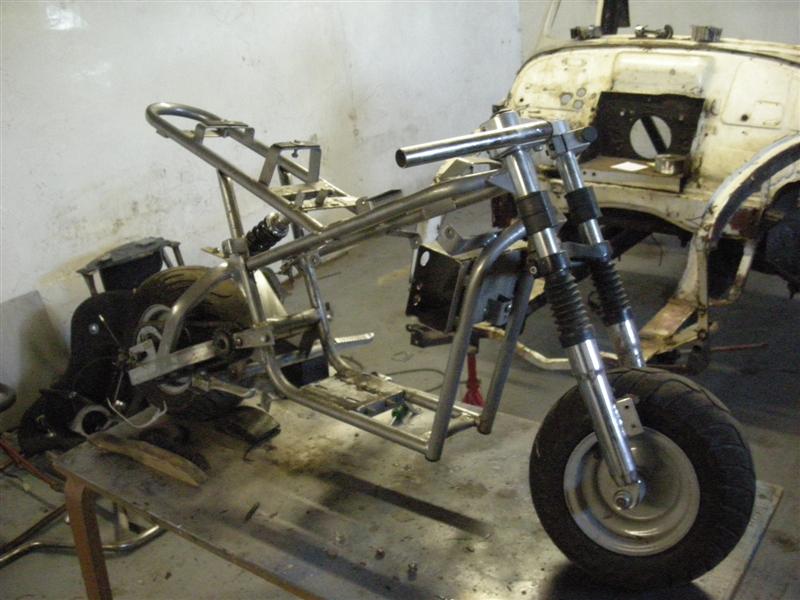
Stripped of all but the essentials:
DSCN0437_Medium_.JPG

DSCN0440_Medium_.JPG

DSCN0441_Medium_.JPG

DSCN0442_Medium_.JPG


What the bike looks like when new:
New_Cateye.jpg


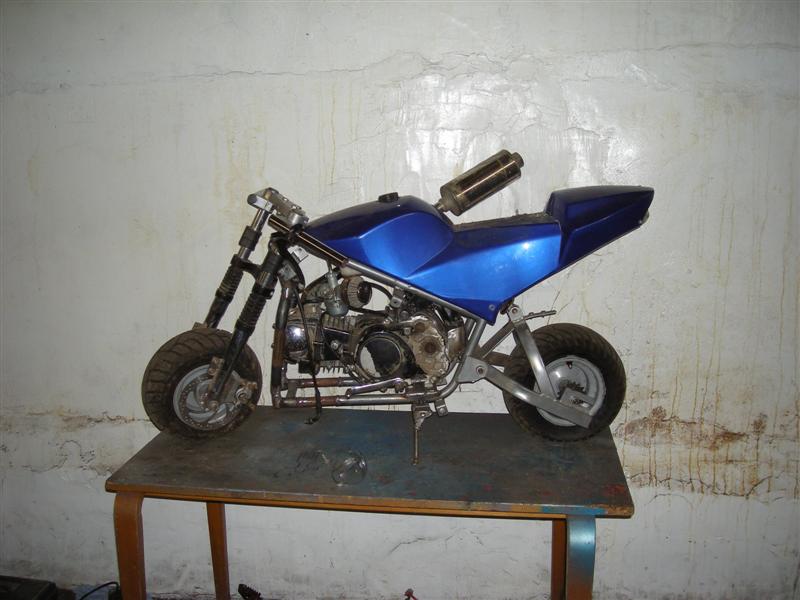
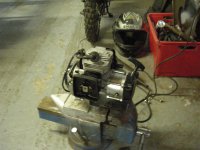
And what should be going in:
LIFAN_ENGINES_022.jpg


- Lifan 125cc 4stroke pit bike type engine, which should hopefully have a 170cc head kit bolted on :slayer::slayer::slayer:... we shall see.

I still havent made a final decision regarding the engine choice, hopefully i will have something ordered by the end of this week, because without a new engine, i can do very little more :)
I decided to keep it real, and buy dec's (puntoluva) other engine, which is 125cc, but more importantly in good condition and it cost about the same as it would to sort all the problems on the 110cc engine :eek:

So... trial fit of the engine revealed that my chassis extension wasnt good enough :( it fitted, but only just!, and it would have been impossible to remove once fitted...
DSCN0569_Medium_.JPG

DSCN0570_Medium_.JPG


So we moved onto the wheel, and how it was going to be driven.

ghey standard (useless) free-wheeling sprocket:
DSCN0573_Medium_.JPG


Tyre and sprocket removed:
DSCN0575_Medium_.JPG


Now at this point, we thought that the last part of the sprocket inner race was a press fit. So we tried pulling it, heating it, hammering and chiselling it, all to no avail! So i took a grinder to it... and discovered it was threaded...
DSCN0576_Medium_.JPG

The plan is to either: find two threaded nuts (maybe two inner races off scrapped sprockets), turn the new sprocket to fit the threaded dia. and fit that way; Or, turn the threads off the wheel, turn the sproket to fit, and weld it on.

Well that was last week, and since then all i did was spend a couple of hours on it this evening.

Chopped the old spars out completely, fabbed some new ones up and welded them in:
DSCN0588_Medium_.JPG

DSCN0589_Medium_.JPG


The engine now fits in and out perfectly with plenty room for mounts :)

- Chopped up an old pitbike mount, the idea is to save effort and integrate this into the frame instead.
DSCN0590_Medium_.JPG


Hopefully this next week i will concentrate on it in evenings, im getting quite enthused about it now :)
 
Trimmed and smoothed engine mount with a flap wheel:
DSCN0595_Medium_.JPG


I fashioned up a bottom mount to hold the engine's weight, locating through four holes.
DSCN0597_Medium_.JPG


Err... woops, it wasn't wide enough for the frame (n) So a little trimming down to fit the engine contours, and extensions welded on:
DSCN0602_Medium_.JPG


In the end that mount was no use at all because of a number of reasons, but im going to blame the fact that the mounting holes are offset from the main centre of the engine, which i hadnt noticed. So a new, one peice mount was made up.

More bits of the frame removed; the obselete footpegs and the centre spar were junked:
DSCN0604_Medium_.JPG


...so that the rear mount could sit like so:
DSCN0596_Medium_.JPG


Bolted the mounts to the engine, lined it up as best i could and tacked it:
DSCN0605_Medium_.JPG

DSCN0606_Medium_.JPG


Remove the engine. Oh no, wait, it wont come out because of the shape of the top mount :cry:
DSCN0608_Medium_.JPG


Grinder time!
DSCN0609_Medium_.JPG


Engine removal, then flap-wheeling the butchered mount (and re-welding of the outer mount that had to come off to get the grinder near the engine in the first place!):
DSCN0611_Medium_.JPG


Finishing "pose" for tonight:
DSCN0612_Medium_.JPG

DSCN0613_Medium_.JPG


The mounts are far from being ready to take a working engine. First we need to adapt the rear wheel, then extend the sprocket on the engine outwards(which will be no easy task due to the design). Only then can i find out how straight my mounts are, so that i can finish welding and bracing them.
So there may not be any more updates until T.E.D. gets those jobs done :p
 
Last edited:
Jordan completed the wheel and sprocket on friday :)

DSCN0626_Medium_.JPG


Welded (just decent tacks, cos i didnt want to warp the wheel)
DSCN0635_Medium_.JPG


So i started to fashion the base for the front sprocket extension... so the plan of attack was: take two old sprockets (one with hardly any teeth left) drill out the threaded holes bigger, plug weld them together, then give them to Jordan to turn them down.
What actually happened was: the sprockets are made of HCS or some similarly hard material, so didnt like being drilled. At one point the drill was cherry red along half its length!
but it resulted in one case of this:
DSCN0632_Medium_.JPG


and one case of this:
DSCN0633_Medium_.JPG


bummer :bang:

So... on with the rest of the bike!
Bottom mount trimmed down
DSCN0636_Medium_.JPG

welding and and bracing of the mounts
DSCN0639_Medium_.JPG

DSCN0640_Medium_.JPG

Yeah the welding looks poor, but its quite awkward to weld in those positions!

Now to make a bracket to hold the rear brake
DSCN0627_Medium_.JPG

DSCN0642_Medium_.JPG
 
Last night: whacked a tank of fuel and one of dec's small exhausts on, connected up all the loom, and test started the engine, which proved to be absolutely fine :)
DSCN0646_Medium_.JPG


Tonight: finished off the rear brake caliper mount and fitted the back wheel
DSCN0648_Medium_.JPG


The rather nice S/S exhaust i had was too big to clear the frame, so an inch was taken out of it
DSCN0652_Medium_.JPG


Then fitted to the bike... looks like its suited to the frame, but nothing is ever that simple :cry:
DSCN0651_Medium_.JPG


I dug out the top fairing to fit
DSCN0655_Medium_.JPG


The exhaust had to be twisted in the mount to make it fit :p
DSCN0656_Medium_.JPG


It now actually looks like a proper bike :slayer:
DSCN0657_Medium_.JPG


So... of course the exhaust was never going to run like that. The plan is to bend it so that it runs along the top of the engine casing, and kicks out at the rear swing-arm.
 
Didnt get as much done on it as i hoped :(

bent the exhaust in a couple of places, and it sits pretty nice
DSCN0663_Medium_.JPG


its not staying like that though, i want it upswept and out the back. But to do that i need more stainless pipe, so thats on hold atm.

Rigged up the throttle, that was the only other meaningful thing that got done on it today. Tried rigging up a thumb-operated clutch but there is too much pressure needed, and not enough space on the handlebar. So i will use a conventional setup of left handle clutch lever, right handle front brake lever; and rig up a foot-brake for the rear. No idea how accessible the rear brake will be yet though.
Got a spare output shaft and gear, which we have decided will be the best way forward for making a sprocket spacer, so that should get done soon :)
 
well, it got done over the weekend :eek::eek::eek::eek::eek:

So now this is what it looks like, after i drilled and tapped it tonight for bolting to the sprocket bits.
(The top bit is the bit that has been made, and the bottom two bits are sprockets that have been shaved down, because making internal splined holes is too hard work)

DSCN1008.JPG


Made of EN24T steel, so if anything is gonna break, its not gonna be that!

Still needs drilled and tapped in the sides for grub screws, and the bolt threads sawn flush, and a small chamfer on the new splines, but CBA tonight :eek:

So, with this done, theres not much still to do to get it running :)
 
Haha someone put a link up on PBC (pitbikeclub.co.uk) for this saying it was cool must be poplar.

And just for the record

POW POW iyyyyeeee

that it for real and repping

I like the emotions on this forum :yum::devil::slayer::worship::idea::cry:(n):yuck:


Rather cool
 
Well, i finished it enough to ride tonight. The first time its moved under its own steam for at least a year, never mind with a big engine.

:eek::eek::eek::eek::eek: fast doesnt even begin to describe it. it must be geared for 60mph+ and i was still wanting to wheelie in 3rd.

It was dark. I had no lights, the boys had went home. There was no brakes or clutch or footpegs, just felt like sitting on a rocket with an accelerator :slayer::slayer::slayer::devil:


Plenty work still to do on it to get it safe and reliable, mind. I would have got pics but i was overcome with glee :D:D:D
 
Back
Top