Introduction
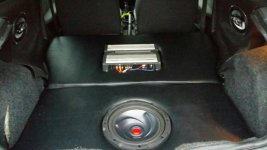
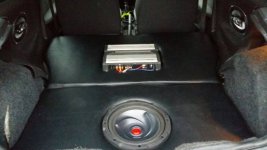
Hey guys just thought I'd post up some pictures of my new boot install ")
Sorry there isn't a lot of photos.
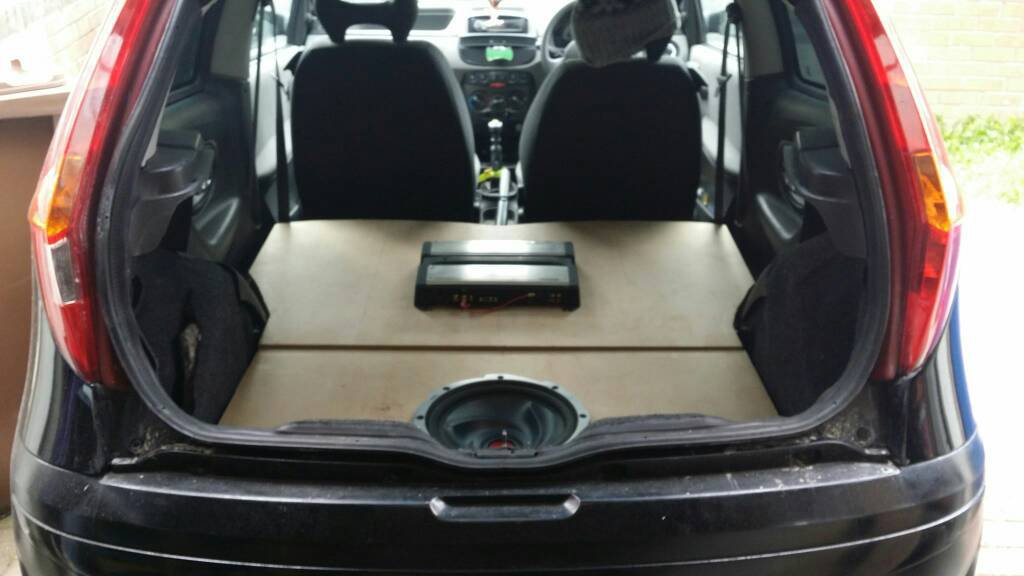
So the materials I used were a 6×9 foot 18mm thick sheet of mdf £20 from b&q, high density foam from eBay and fake leather from the local market. ICE: 6x9 in-phase speakers 1800W Kenwood Amp and an 18" kenwood sub.
I started by stripping out seats rear side panels door sills etc. I used the spare wheel cover as a template for the rear section, and used the back seat as a template for the front section. I then cut the mdf into shape using a jigsaw. I also cut a hole in the rear section for the sub to sit in.
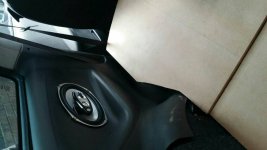
I also cut out sections of the rear side panels to sit the 6x9s in.
I used the wiring from the parcel shelf speakers to wire in the 6x9s
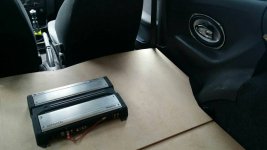
Then I mocked it all up..
Sorry there isn't a lot of photos.
So the materials I used were a 6×9 foot 18mm thick sheet of mdf £20 from b&q, high density foam from eBay and fake leather from the local market. ICE: 6x9 in-phase speakers 1800W Kenwood Amp and an 18" kenwood sub.
I started by stripping out seats rear side panels door sills etc. I used the spare wheel cover as a template for the rear section, and used the back seat as a template for the front section. I then cut the mdf into shape using a jigsaw. I also cut a hole in the rear section for the sub to sit in.
I also cut out sections of the rear side panels to sit the 6x9s in.
I used the wiring from the parcel shelf speakers to wire in the 6x9s
Then I mocked it all up..