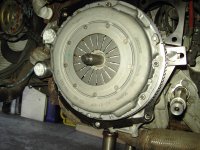
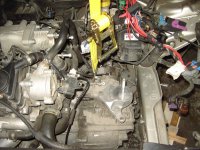
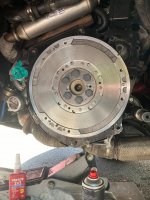
I have to pay credit to the flywheel....
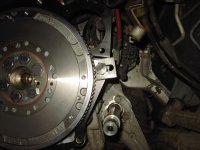
A little bit of vibration at 1500rpm and the clutch was a bit juddery on take-up, with the gears also occassionally hard to shift.. otherwise the beast was hanging in there.
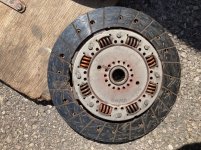
By Valeo... dated 12/2003 and 210,000 miles on it.
Ralf S.
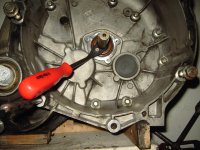
A little bit of vibration at 1500rpm and the clutch was a bit juddery on take-up, with the gears also occassionally hard to shift.. otherwise the beast was hanging in there.
By Valeo... dated 12/2003 and 210,000 miles on it.
Ralf S.

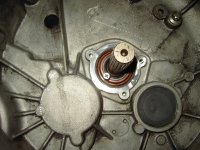
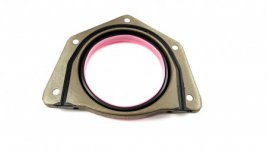
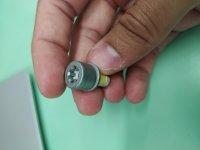
 but I have a new one already, so it'll get swapped.