OP
OP
Abarth L
New member
- Joined
- Apr 9, 2010
- Messages
- 136
- Points
- 32
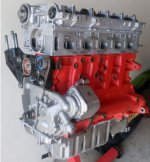
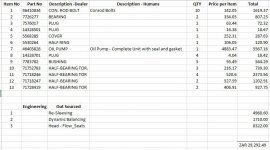
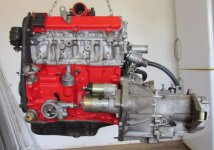
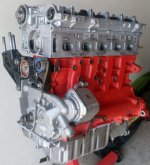
Engine Crankshaft and final stripping
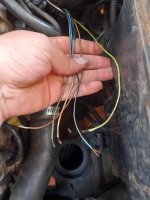
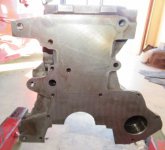
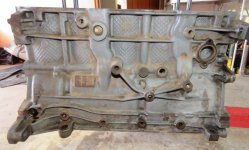
00H05 EngineFlywheel side - Remove Crank seal cover.
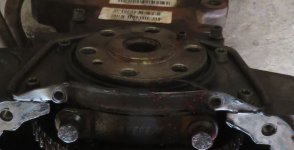
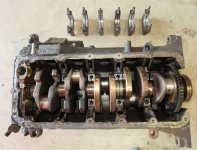
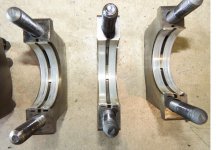
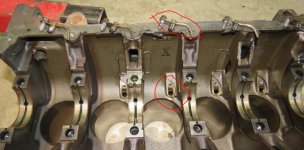
00H15 Enginebottom - Remove Bearing caps (Big end and Main).
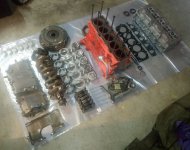
Note! Record cap position and direction, thecaps is marked with stripes indicating which bearing starting from the Beltside. (See pictures)
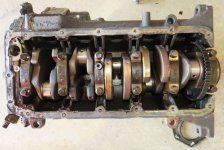
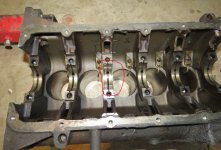
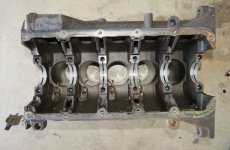
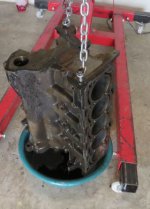
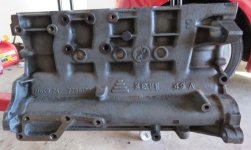
00H05 Engine bottom - Remove crank shaft.
Note! While removing crank and bearings, takenote of positions.
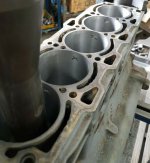
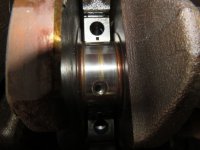
Note! Inspect crank shaft and bearing contactpoints for any excessive wear, if crank shaft is damaged on any bearing itmight require polishing and that bearing halves might be required to bethicker.
Although these should be measured for clearanceslater it can give an indication now of what major work might still be required.
Generally if maintenance were done frequentlythis should not be a problem.
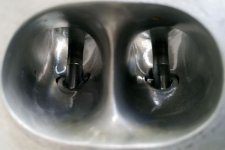
00H05 Engine bottom - Remove oil nozzles.
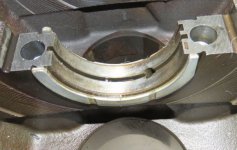
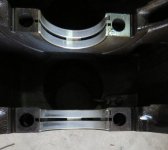
00H05 Engine bottom - Remove thrust bearings.
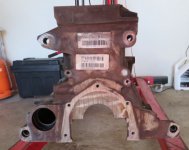
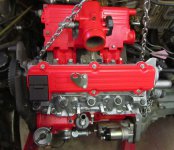
So now justleft with the Welsh plugs, in 3 minds about the "5"
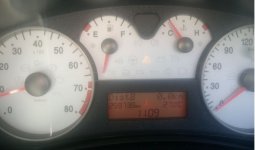
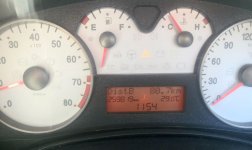
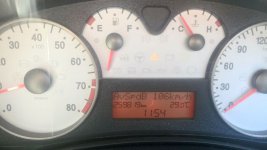
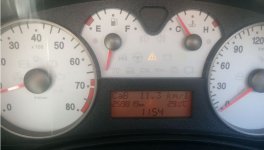
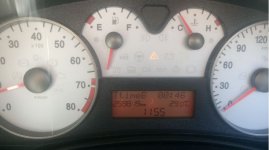
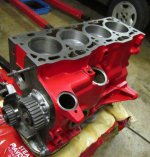
I am gladto see after 258 000km's bearings still look good.
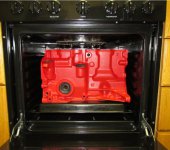
No cracksin block, head or major components, so the foundation were designed very good,saying that it also tells of good warming up practices and services.
I drove this car hard, cornering, acceleration etc. but always kept the revs and acceleration low till on working temperatures.
00H05 EngineFlywheel side - Remove Crank seal cover.
00H15 Enginebottom - Remove Bearing caps (Big end and Main).
Note! Record cap position and direction, thecaps is marked with stripes indicating which bearing starting from the Beltside. (See pictures)
00H05 Engine bottom - Remove crank shaft.
Note! While removing crank and bearings, takenote of positions.
Note! Inspect crank shaft and bearing contactpoints for any excessive wear, if crank shaft is damaged on any bearing itmight require polishing and that bearing halves might be required to bethicker.
Although these should be measured for clearanceslater it can give an indication now of what major work might still be required.
Generally if maintenance were done frequentlythis should not be a problem.
00H05 Engine bottom - Remove oil nozzles.
00H05 Engine bottom - Remove thrust bearings.
So now justleft with the Welsh plugs, in 3 minds about the "5"
- Leave originals in - there were norust, engine always had anti-freeze.
- Replace - from experience whenremoving the old ones on my Uno Turbo it created grooves / scratch marks. So isalso taking a chance.
- Weld close - If this were not castiron, I would have done this, but no-one can weld cast iron and keep metal integrity.
- Stainless steel plugs - mmm... Maybea market for someone to look into it LOL, expansion under heat might also be afactor.
I am gladto see after 258 000km's bearings still look good.
No cracksin block, head or major components, so the foundation were designed very good,saying that it also tells of good warming up practices and services.
I drove this car hard, cornering, acceleration etc. but always kept the revs and acceleration low till on working temperatures.
Attachments
-
 00 Engine Flywheel side_Crank seal plate 1.JPG47.9 KB · Views: 89
 -
 0 Engine Flywheel side_Crank seal plate.JPG32.9 KB · Views: 92
 -
 1 Engine Bottom Crank shaft.JPG86.9 KB · Views: 103
 -
 2 Engine Bottom Crank shaft Main and big end bearings.JPG104.1 KB · Views: 69
 -
 3 Engine Bottom Crank shaft condition.JPG74.1 KB · Views: 69
 -
 8 Engine Bottom Thrust bearings.JPG45.9 KB · Views: 102
 -
 7 Engine Bottom Thrust bearing position.JPG106.3 KB · Views: 107
 -
 6 Engine Bottom Crank removed.JPG83.2 KB · Views: 96
 -
 5 Engine Bottom Crank shaft Bearing condition.JPG102.2 KB · Views: 95
 -
 4 Engine Bottom Crank shaft Bearing condition 1.JPG27.7 KB · Views: 88
 -
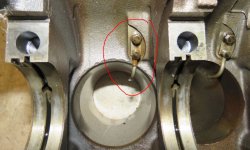 9 Engine Bottom Oil nozzles.JPG74.7 KB · Views: 103
 -
 10 Engine Bottom Oil nozzles removed.JPG84.1 KB · Views: 107


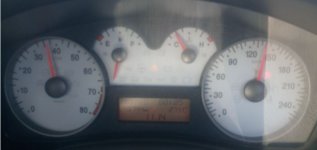
 (257871 km's done)