Hi,
Had a look through the archives...
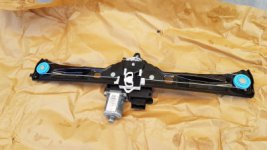
Has anyone replaced the window regulator mechanism themselves?
Mine made a popping sound the other day and then wouldn't wind
the window up or down.
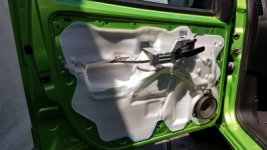
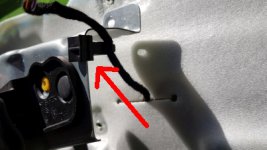
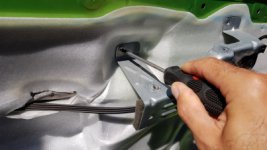
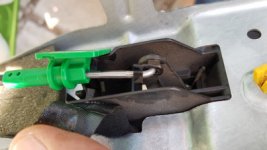
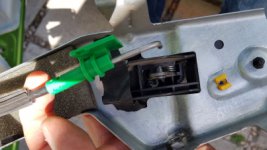
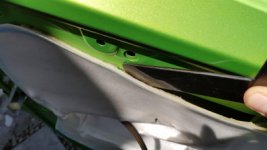
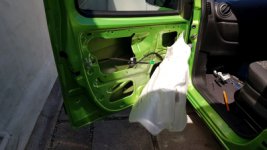
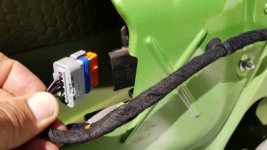
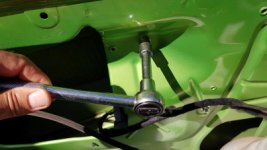
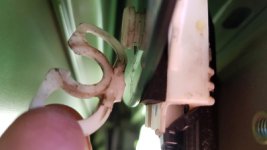
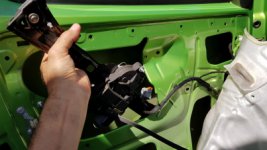
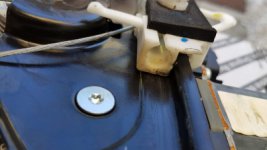
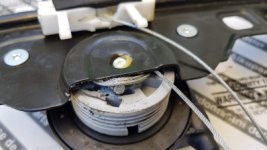
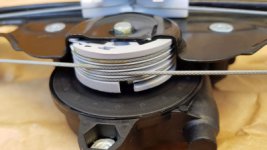
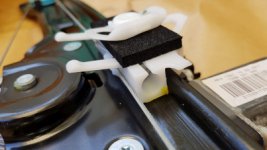
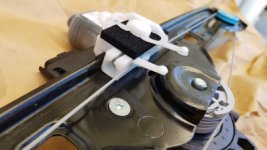
Popped the door panel (thanks doortrim)and removed the dust barrier last night to see what I could.
Couldn't really see what has broken, wondering if it's fixable or if a new regulator mechanism is what I'll ultimately need.
Thanks.
Had a look through the archives...
Has anyone replaced the window regulator mechanism themselves?
Mine made a popping sound the other day and then wouldn't wind
the window up or down.
Popped the door panel (thanks doortrim)and removed the dust barrier last night to see what I could.
Couldn't really see what has broken, wondering if it's fixable or if a new regulator mechanism is what I'll ultimately need.
Thanks.
")