

You are using an out of date browser. It may not display this or other websites correctly.
You should upgrade or use an alternative browser.
You should upgrade or use an alternative browser.
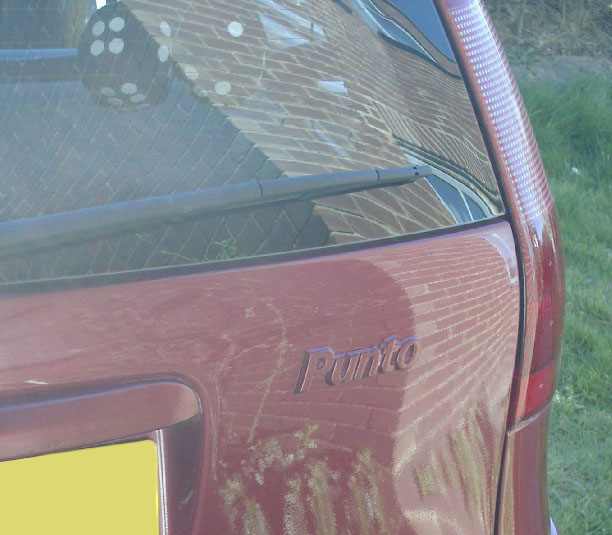
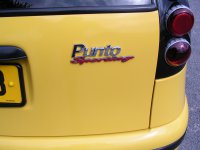
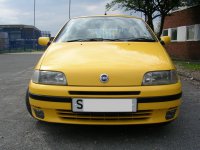
Styling debadging a mk1 punto
- Thread starter Don87
- Start date
Currently reading:
Styling debadging a mk1 punto
Faz.
New member
Bonnet badge leaves holes
Rear tailgate leaves holes
Badges above side repeaters are just glued on can be taken of easily
So yes filling, welding & painting will be involved.
Rear tailgate leaves holes
Badges above side repeaters are just glued on can be taken of easily
So yes filling, welding & painting will be involved.
I just colour coded my badges... too much effort taking them off
On my mates punto mk1 we just took of the rear badges with some hot water and a spoon. We then covered the holes with filler & sanded it down till everything was flush. On the front badge we took it off, and filled the indent and again just sanded down till it was flush. Then went to Halfords, got some paint mixed up, and now looks as good as new
What would need welding?
Faz. said:Bonnet badge leaves holes
Rear tailgate leaves holes
Badges above side repeaters are just glued on can be taken of easily
So yes filling, welding & painting will be involved.
What would need welding?
Last edited:
chewy06 said:What would need welding?
a plate behind the filler to stop it sinking
Faz.
New member
chewy06 said:What would need welding?
i give it a couple of months before the filler sinks & looks poop.If you want to do it right weld a plate behind then fill.
puntomk1extreme
New member
lol wtf?? how am i meant to do that? ..novice here ppl lol. its gone from sounding easy to messy lol
Dont worry about weliding, if you do a good job it'll be ok, they're only little holes not bloody manholes
puntomk1extreme
New member
lol cheers mate, i was nearly put off by it :yum: ill give it a go when the weather f*ckin clears up
chewy06 said:Then went to Halfords, got some paint mixed up, and now looks as good as new
There's a sentence you don't hear every day.
HELL-Frauds did something right
Mr_noir_1976
Member
I know that some people have fixed pennies behind then filled on top, to prevent the need for welding...dunno how well it works.
Ste (homz)
Member
i woudlnt bother welding a plate behind either, get a 5p peice and bond it to the back with something hardcore, that will cover the hole and it will be very strong.. then fill it and spray it
job done, easy as that
job done, easy as that
MrDT
New member
- Joined
- Mar 14, 2006
- Messages
- 245
- Points
- 49
That's how I was considering going about it.
Epoxy on some pennies from the inside, fill, sand, paint. Ideally mask the bonnet where a badge wouldn't cover, so if it really does look pants you can whack a badge back on as a quick cover up
Was getting ridiculous quotes for filling and respraying, and it's not worth it in my opinion!
Tin of paint would come in handy for some colour coding too while I'm at it...
Oh well, maybe when the temperature's back in positive degrees celsius eh?
marshall936
New member
Like someone said, just unscrew and pull off the plastic bit from the boot lid, and take off the badges by heating them up and use something thin to lever them off(i used an old solo card )
Then find the appropriate holes from inside the boot and araldite some pennys onto the inside side of the holes.
Then put masking tape over the holes cutting out where the holes are, this way you dont get body filler on your paintwork.
then sand down so it is flush and touch it up with some paint.
did it to mine and looked good as new, (pointless as i bought a hole new smoothed boot soon after )
hope that helps
) Then find the appropriate holes from inside the boot and araldite some pennys onto the inside side of the holes.
Then put masking tape over the holes cutting out where the holes are, this way you dont get body filler on your paintwork.
then sand down so it is flush and touch it up with some paint.
did it to mine and looked good as new, (pointless as i bought a hole new smoothed boot soon after
)hope that helps
Araldite and pennies is a good idea. Alternatively, apply some of the glass-fibre body repair stuff over the back of the hole, then fill, sand, paint.
- Joined
- May 5, 2006
- Messages
- 597
- Points
- 135
upgrade or leave them as they are imo
to much faffing for nothing really did my old mk1 only cus it was being respray'd
to much faffing for nothing really did my old mk1 only cus it was being respray'd
marshall936
New member
Araldite and pennies is a good idea. Alternatively, apply some of the glass-fibre body repair stuff over the back of the hole, then fill, sand, paint.
If you have some lying around then yeh, that probably is the best way but only if you know how to mix the resin and hardner to the right proportion and have the smallest brush in the world to apply it into the small entrance to the back of the boot, oh and also avoid dropping it onto any of the car as fiberglass resin is nasty stuff when you drop it on things. And not forgetting stinking out the whole car for about a month
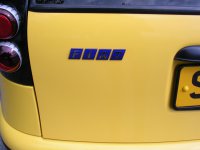
If you really don't want all the hassle of de-badging but want it to look better just buy some colour coded badges from ebay or somwhere, some guy on here has em and they look quite effective.