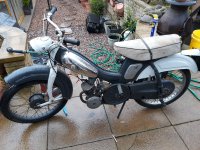
Introduction
Hail and welcome all,
When i was young, we went as a family to Turkey, this is back in the late 90s. the locals back then used nothing but small pedal to start mopeds to go everywhere. well as soon as i saw one, i wanted one!
Now some 20 years later (at a grand age of 30) i finally decided to buy one. upon looking for one i found that they were made as far back as the 1940s. with me liking the older style of vehicles i decided to
go for an older bike.
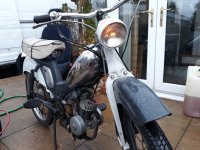
looking around facebook, gumtree, and ebay i finally found one that i liked the look of. eventually winning the auction for £262.77. with me being Derby based and the bike being located in Lester it was only
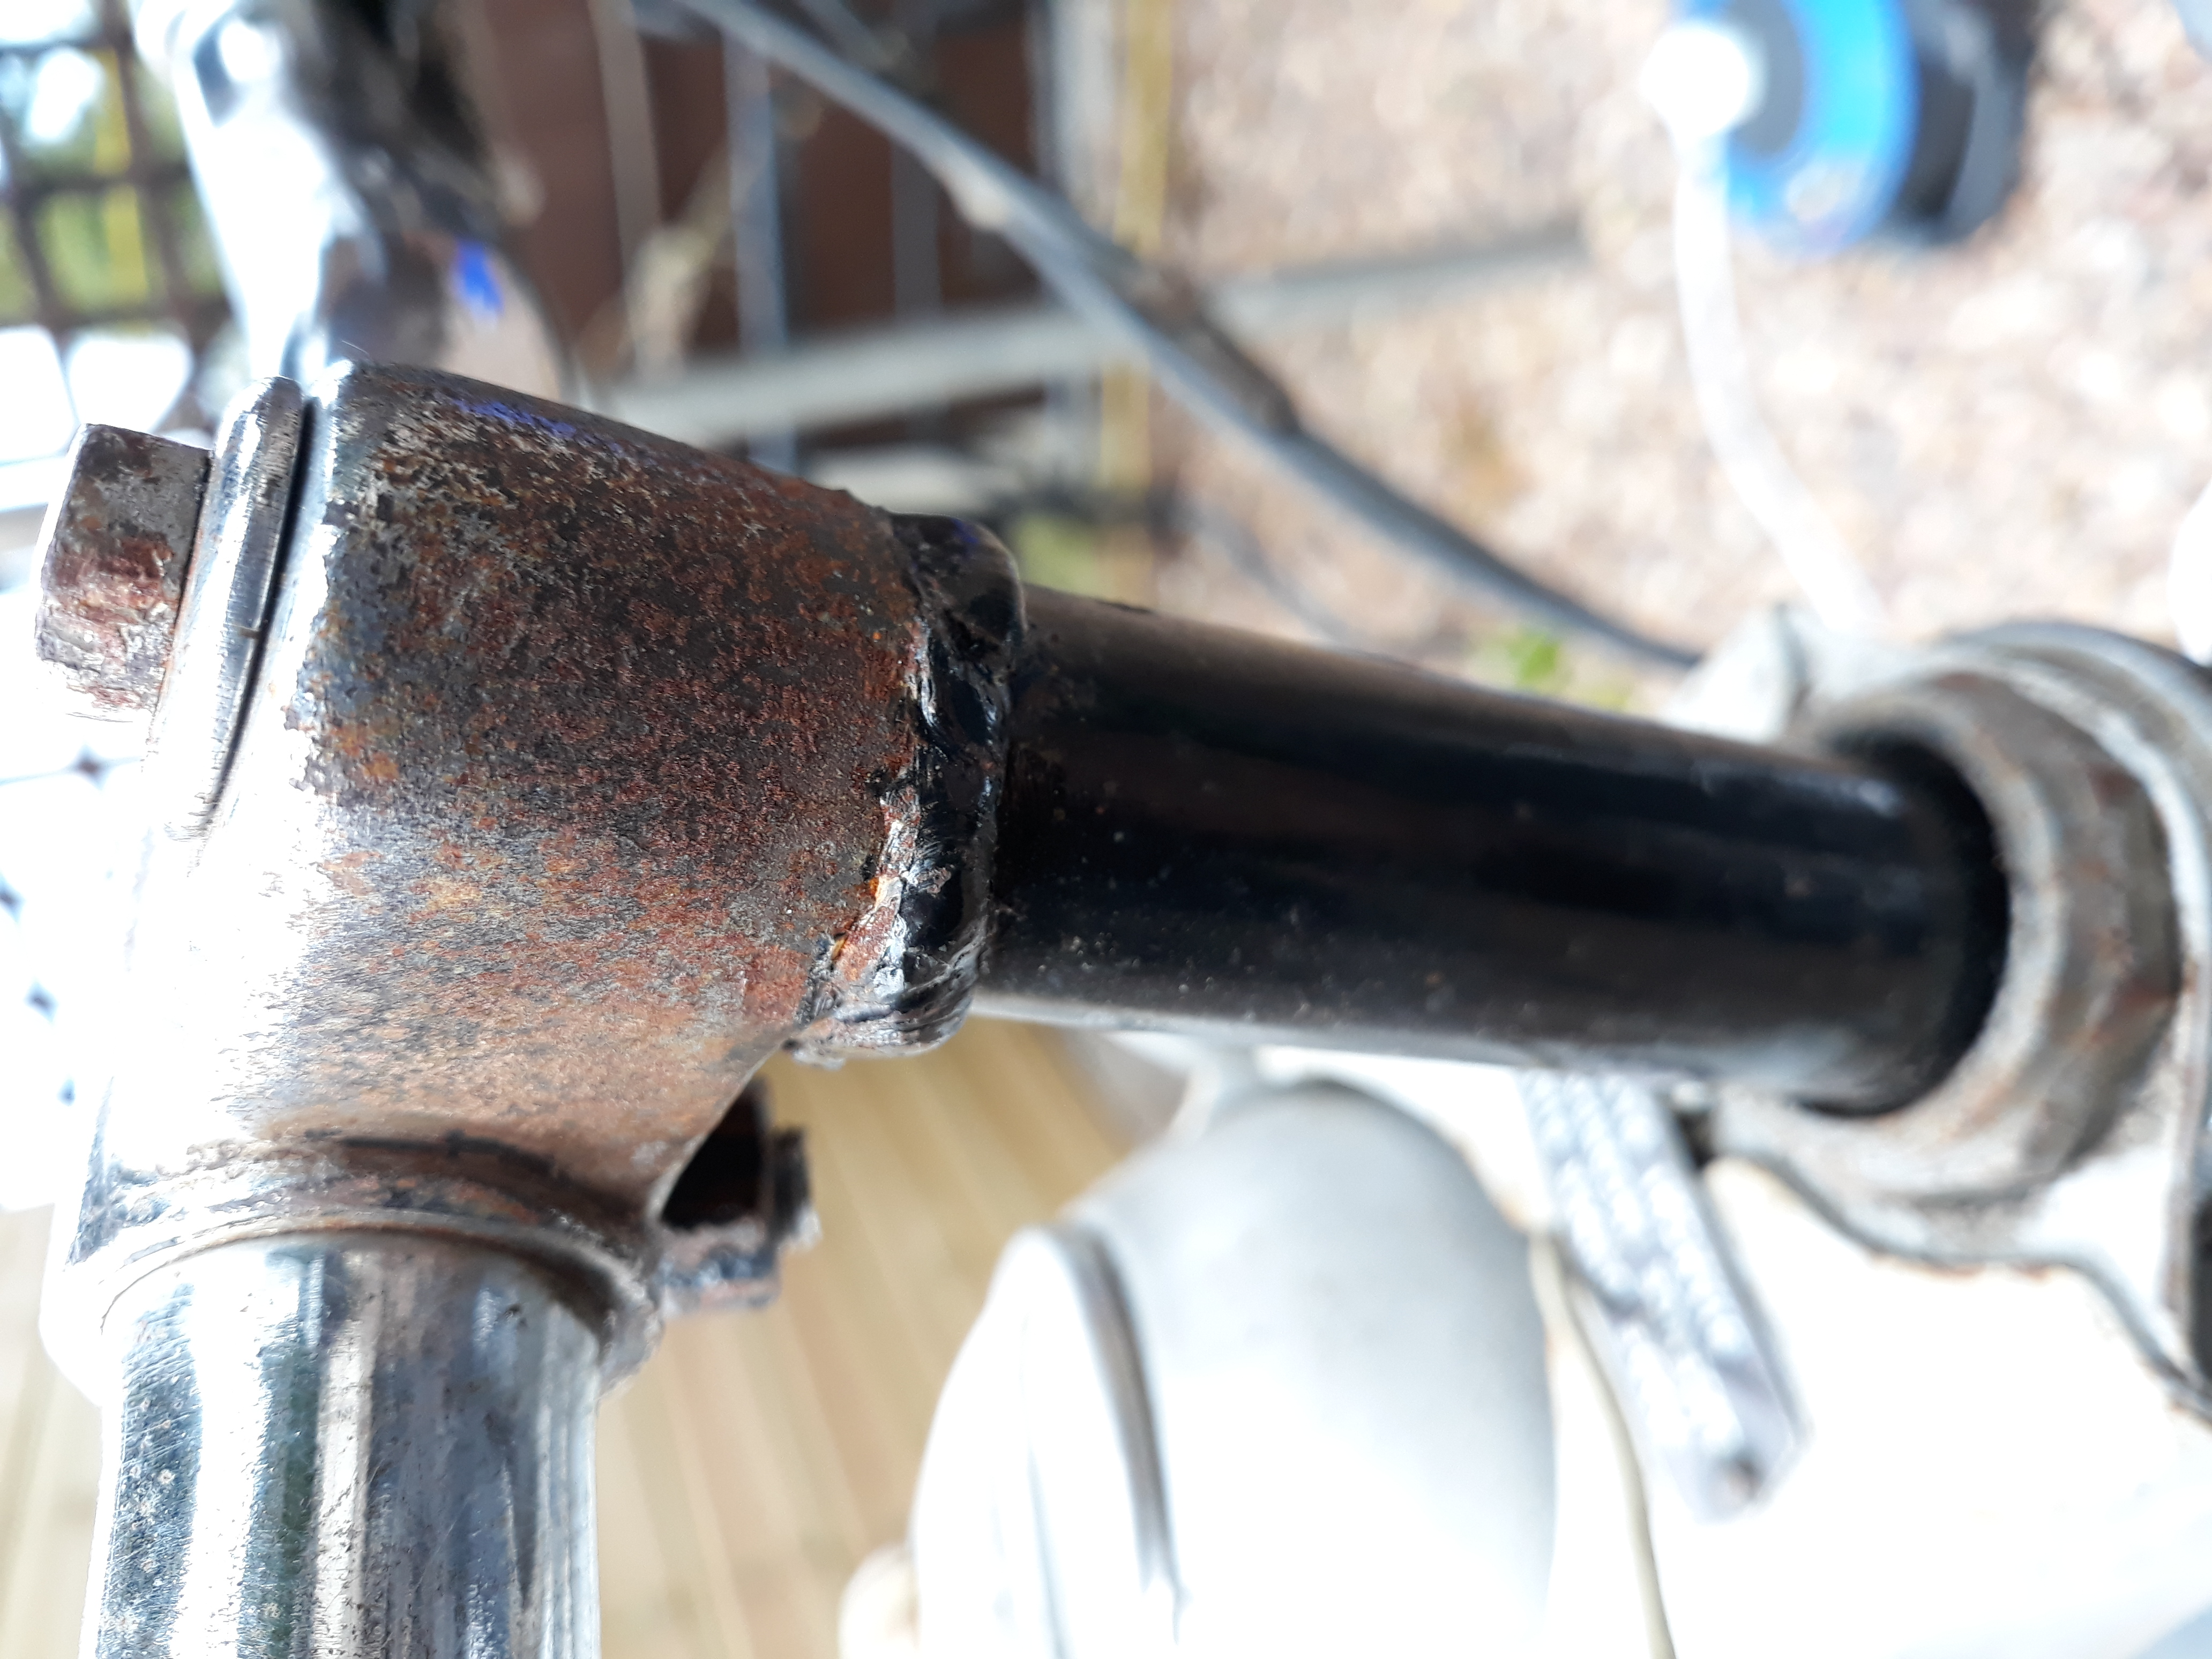
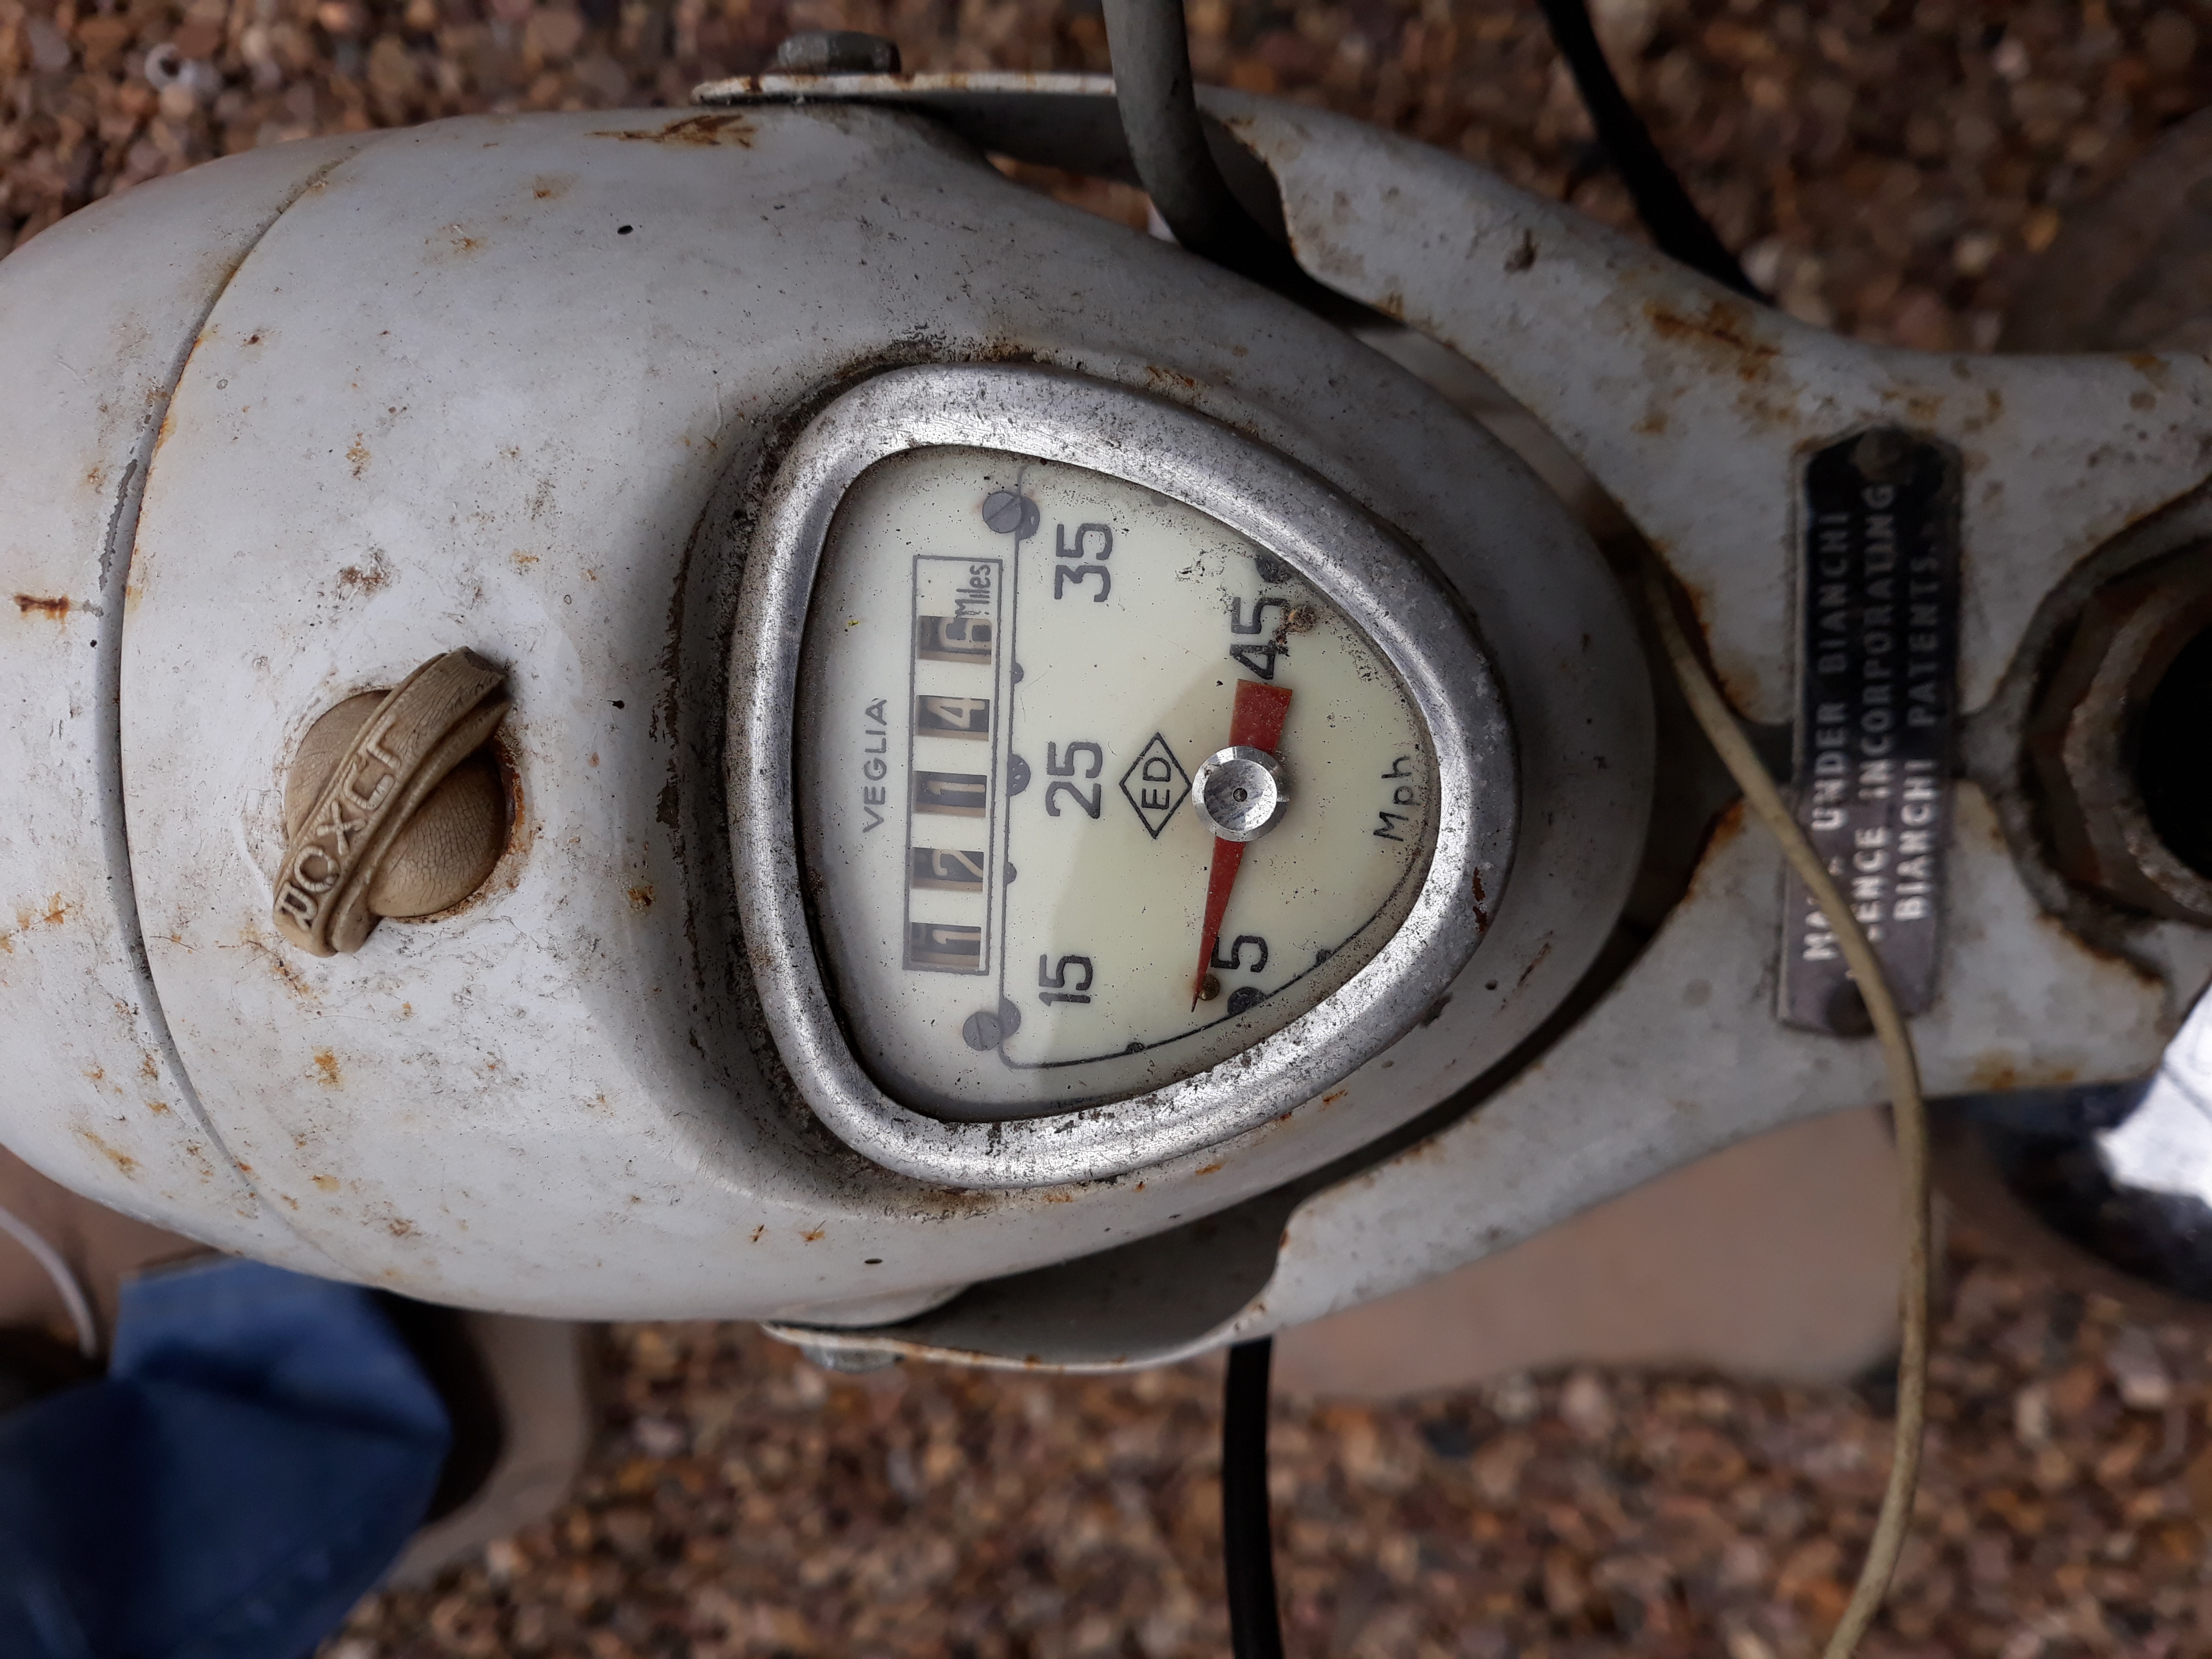
a 36 minute trip to go and collect it. upon arrival and seeing the bike the tyres were down and front suspension seemed very weak i had no idea if it was normal, or what to expect.
we loaded it into the back of my friends transit connect and headed back home.
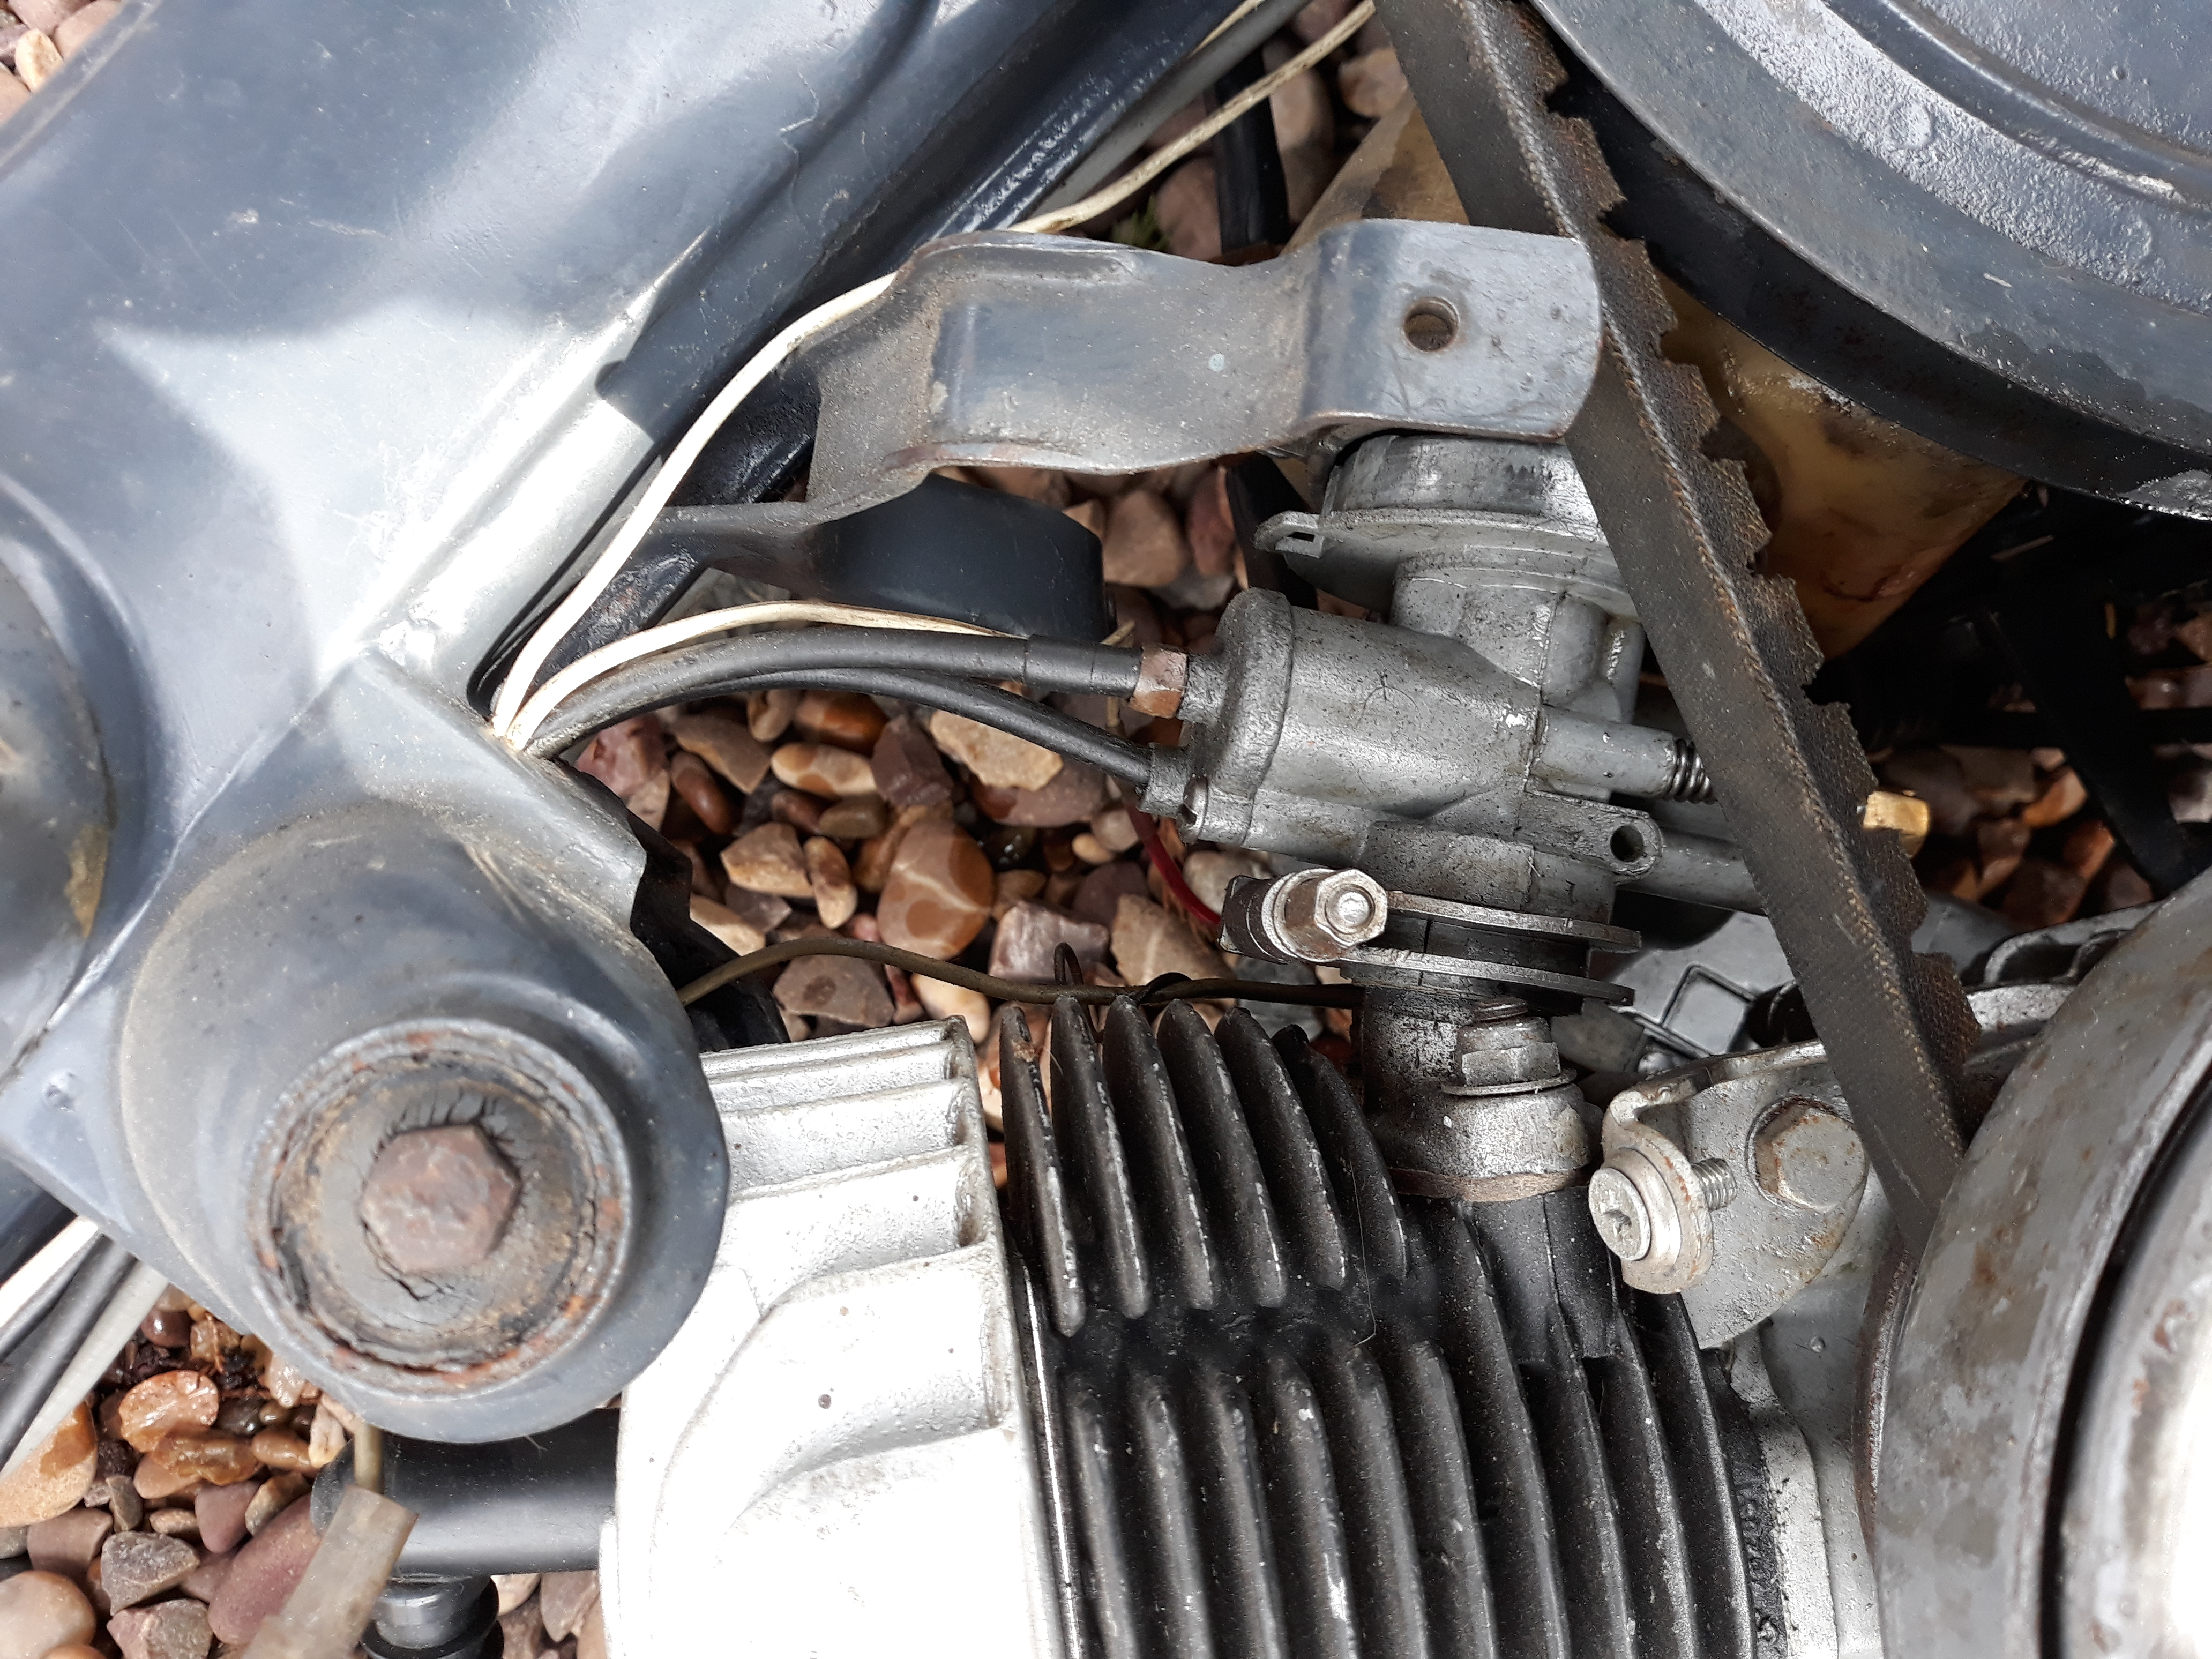
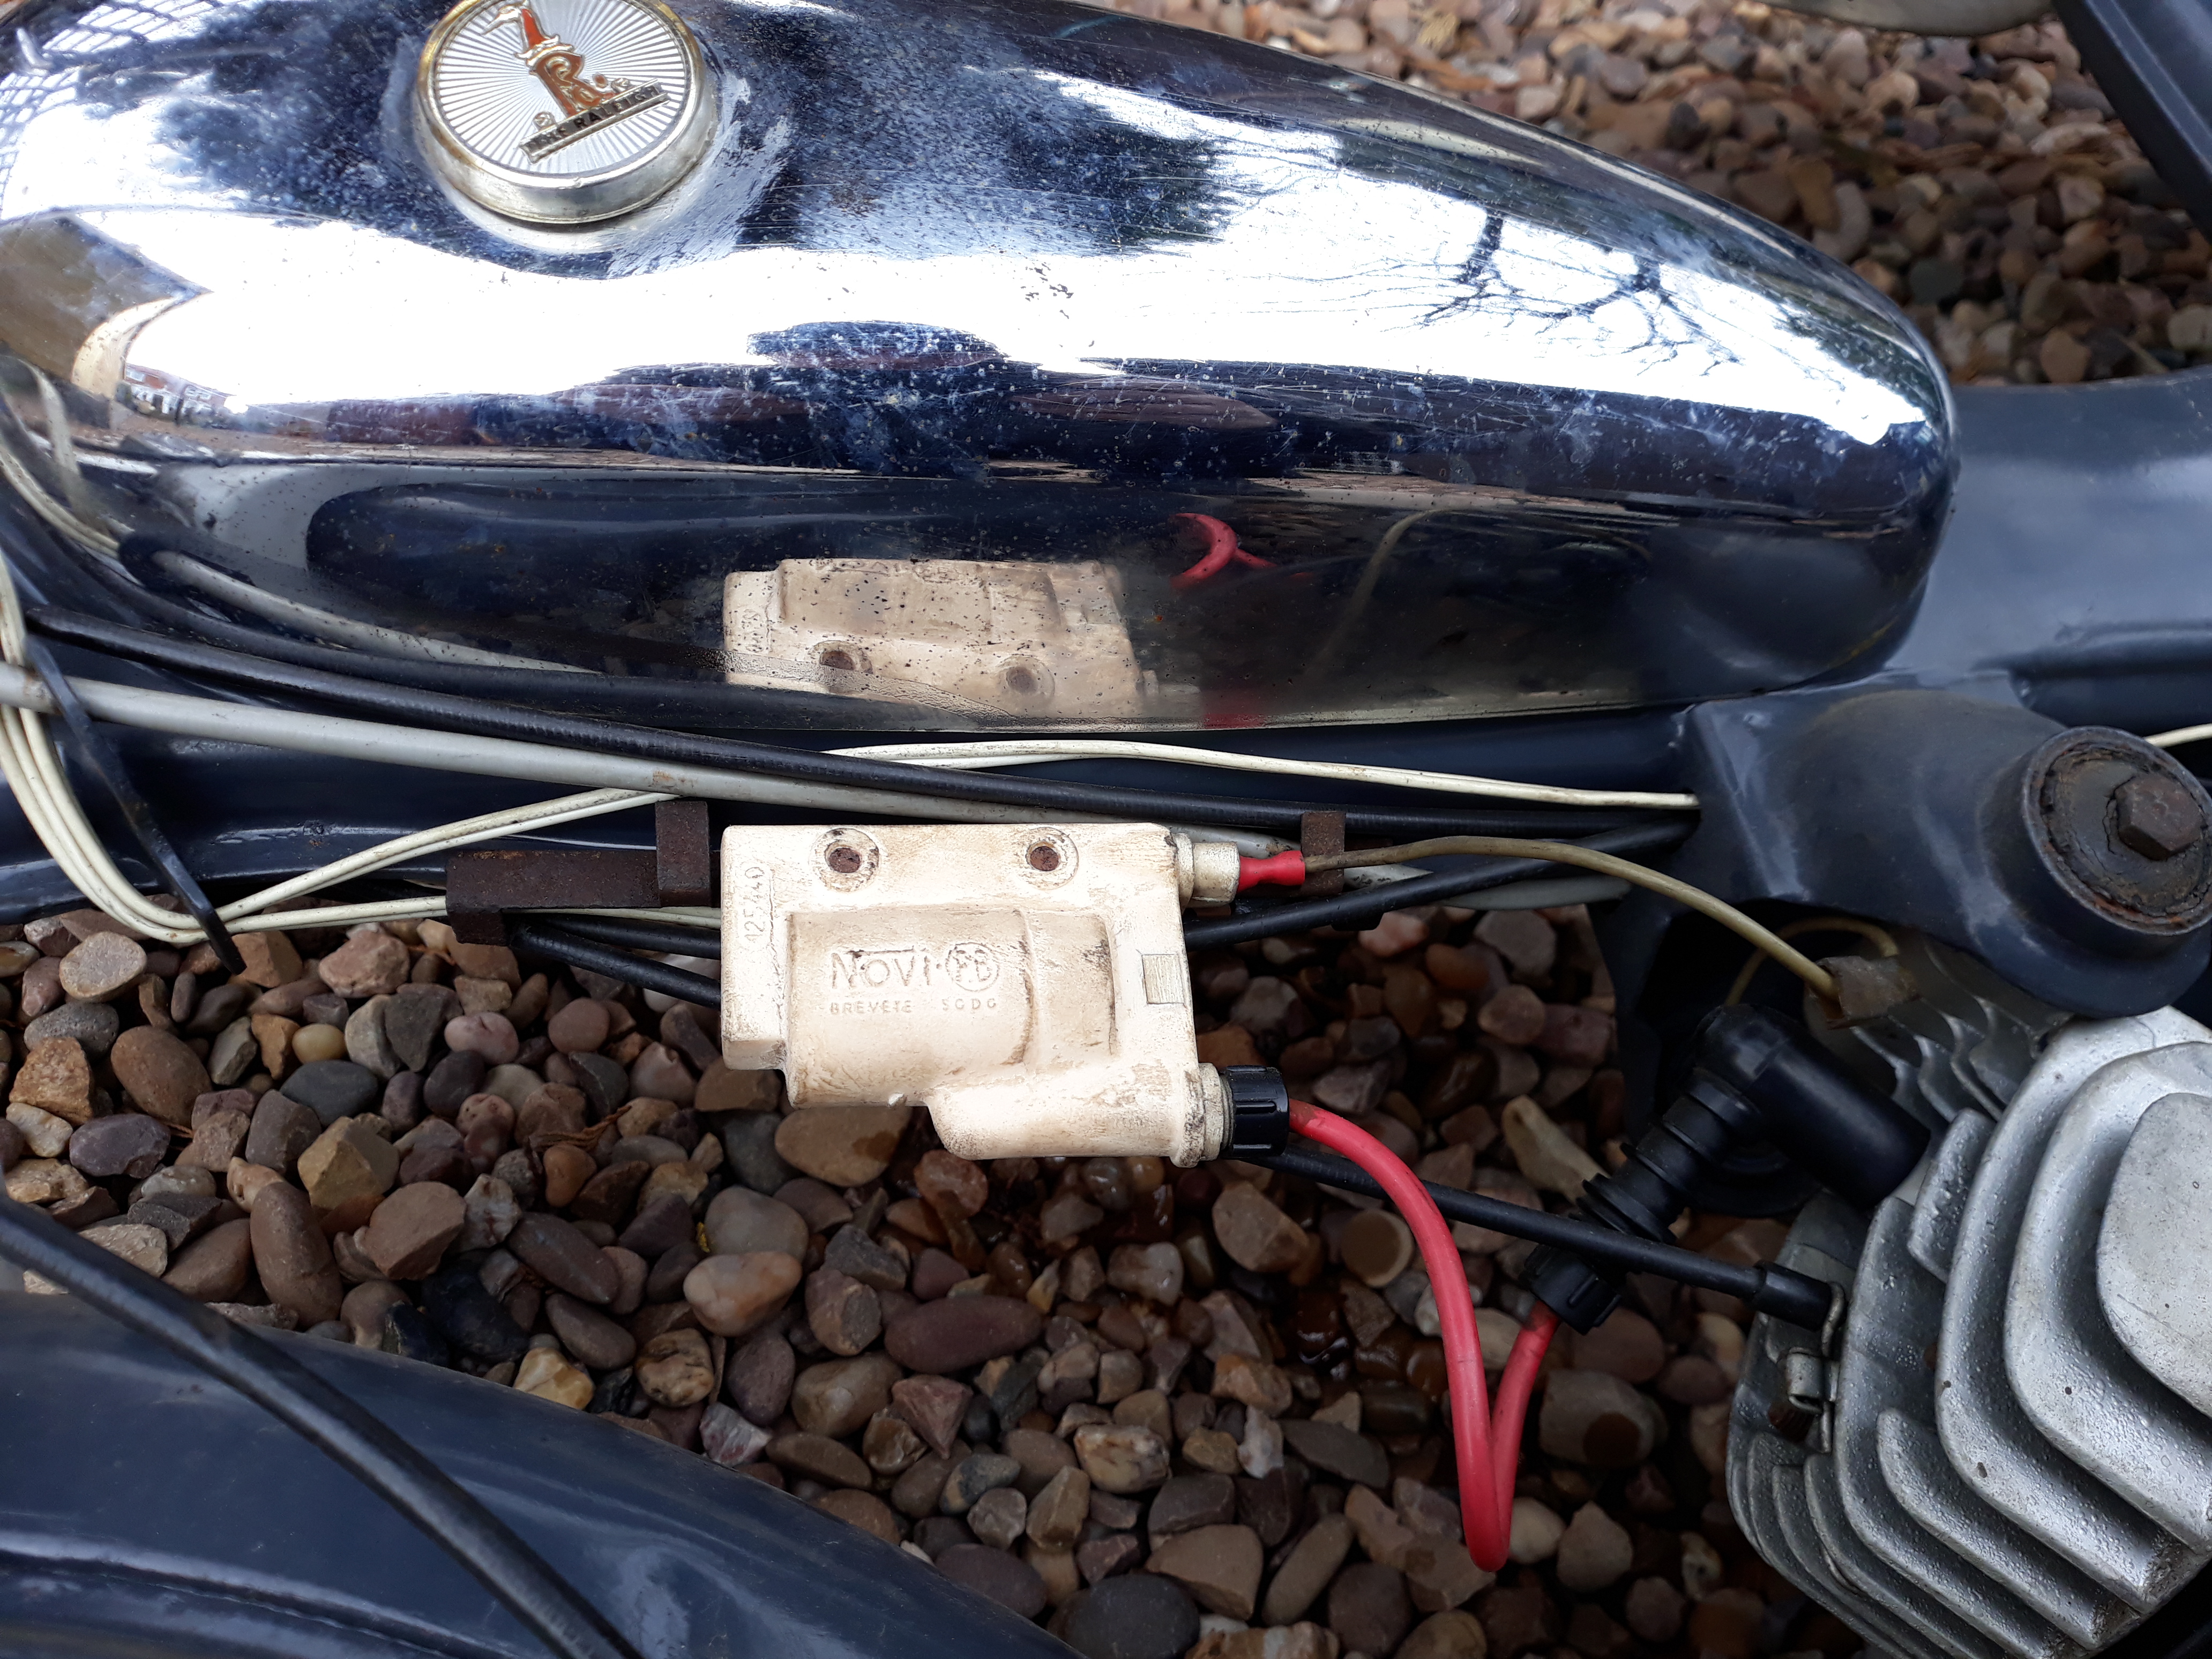
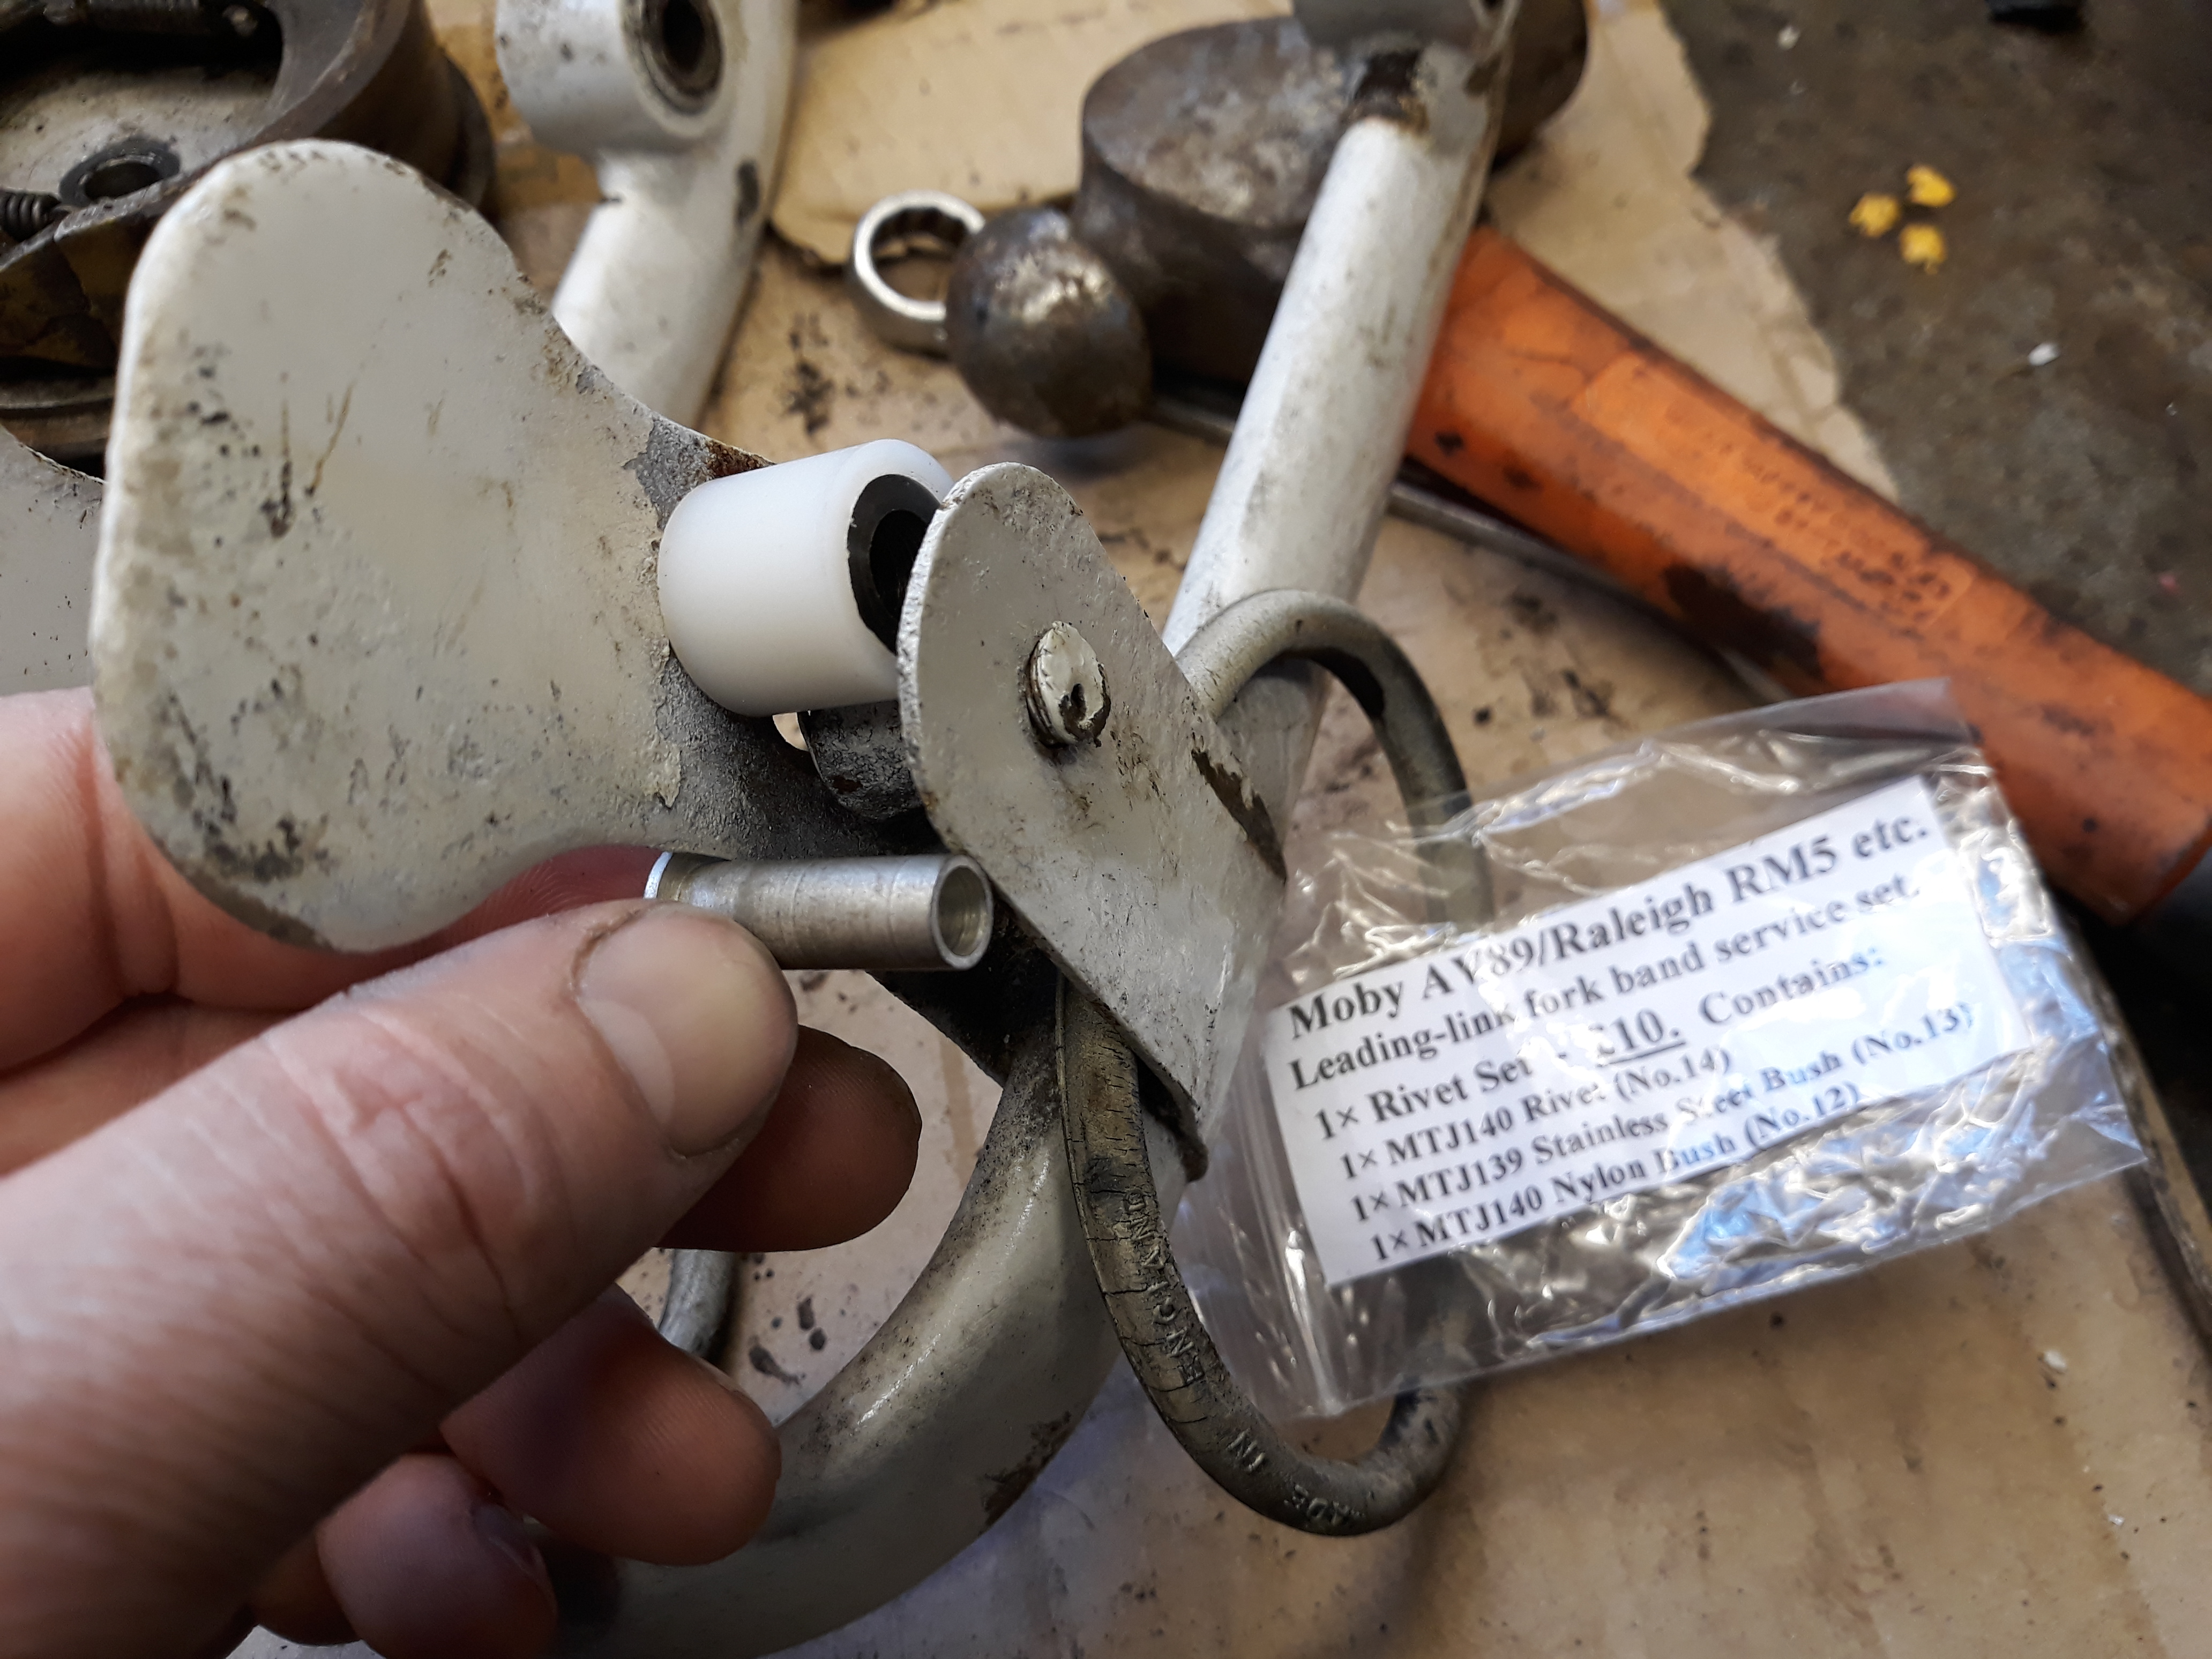
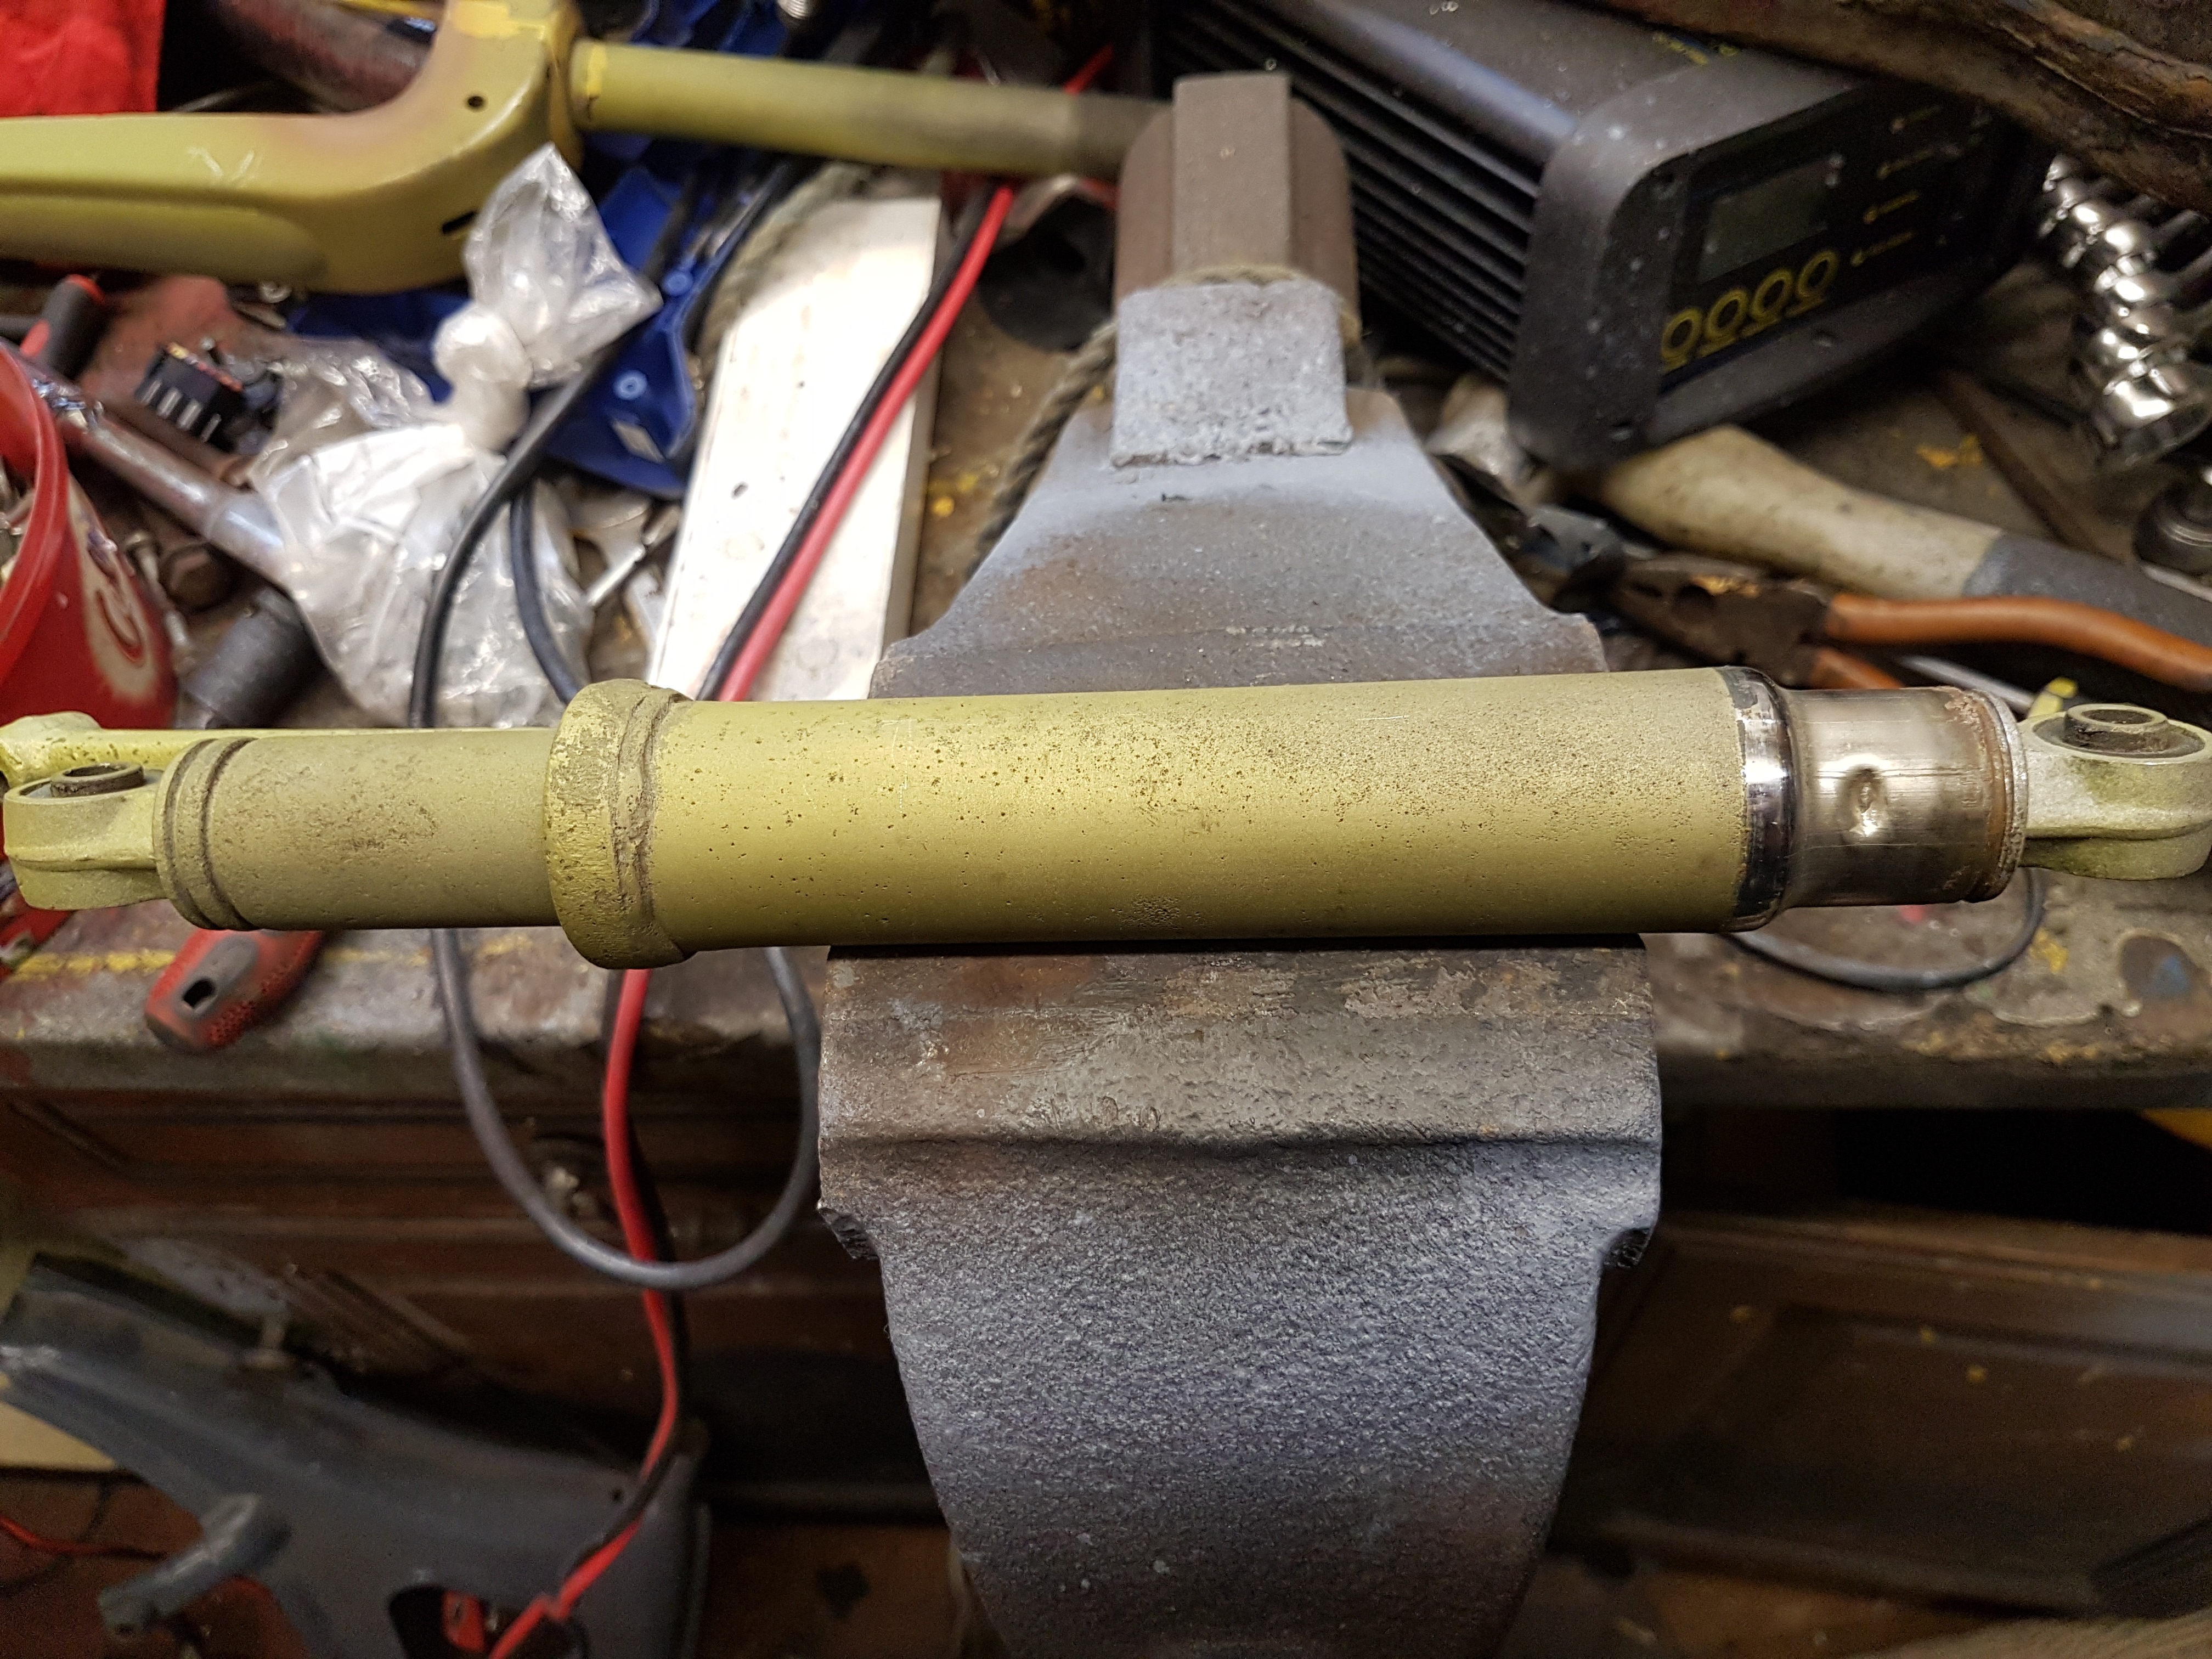
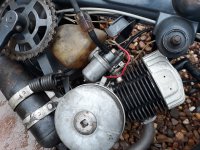
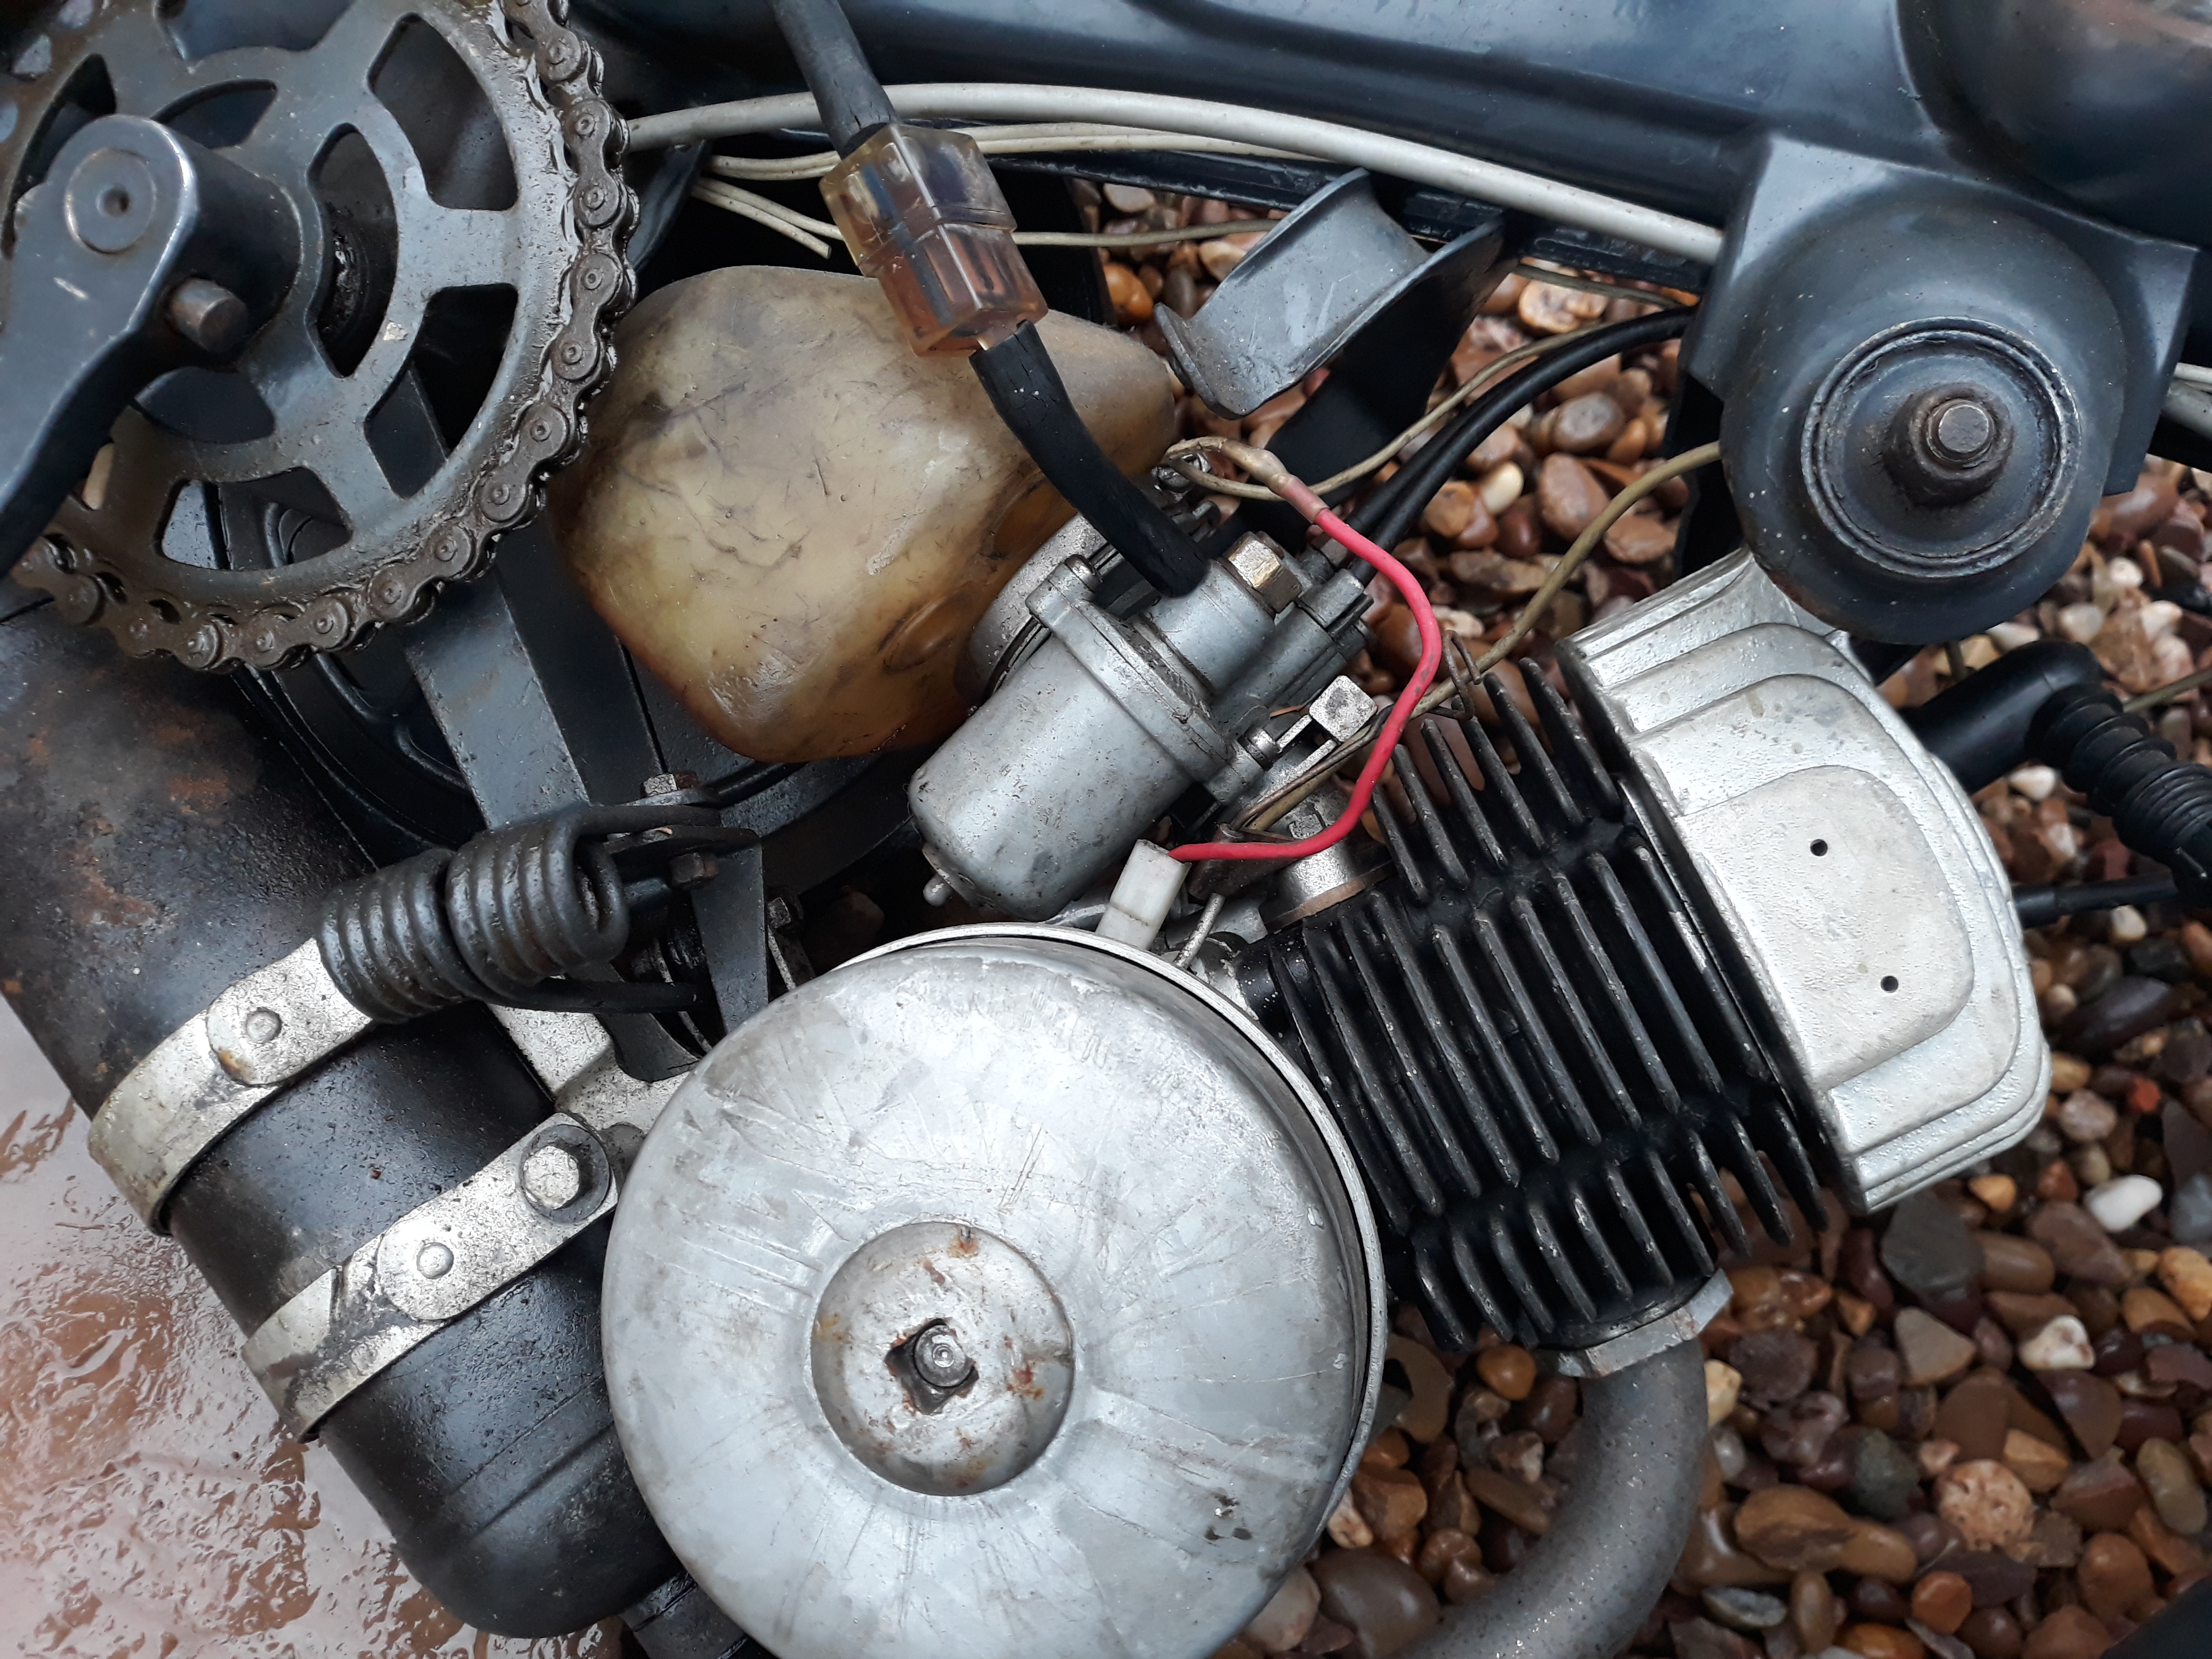
when we got to my place, we unloaded the bike and started off with checking the real condition of things. noting snapped rubber bands on the front forks (rubber bands?!) i thought it
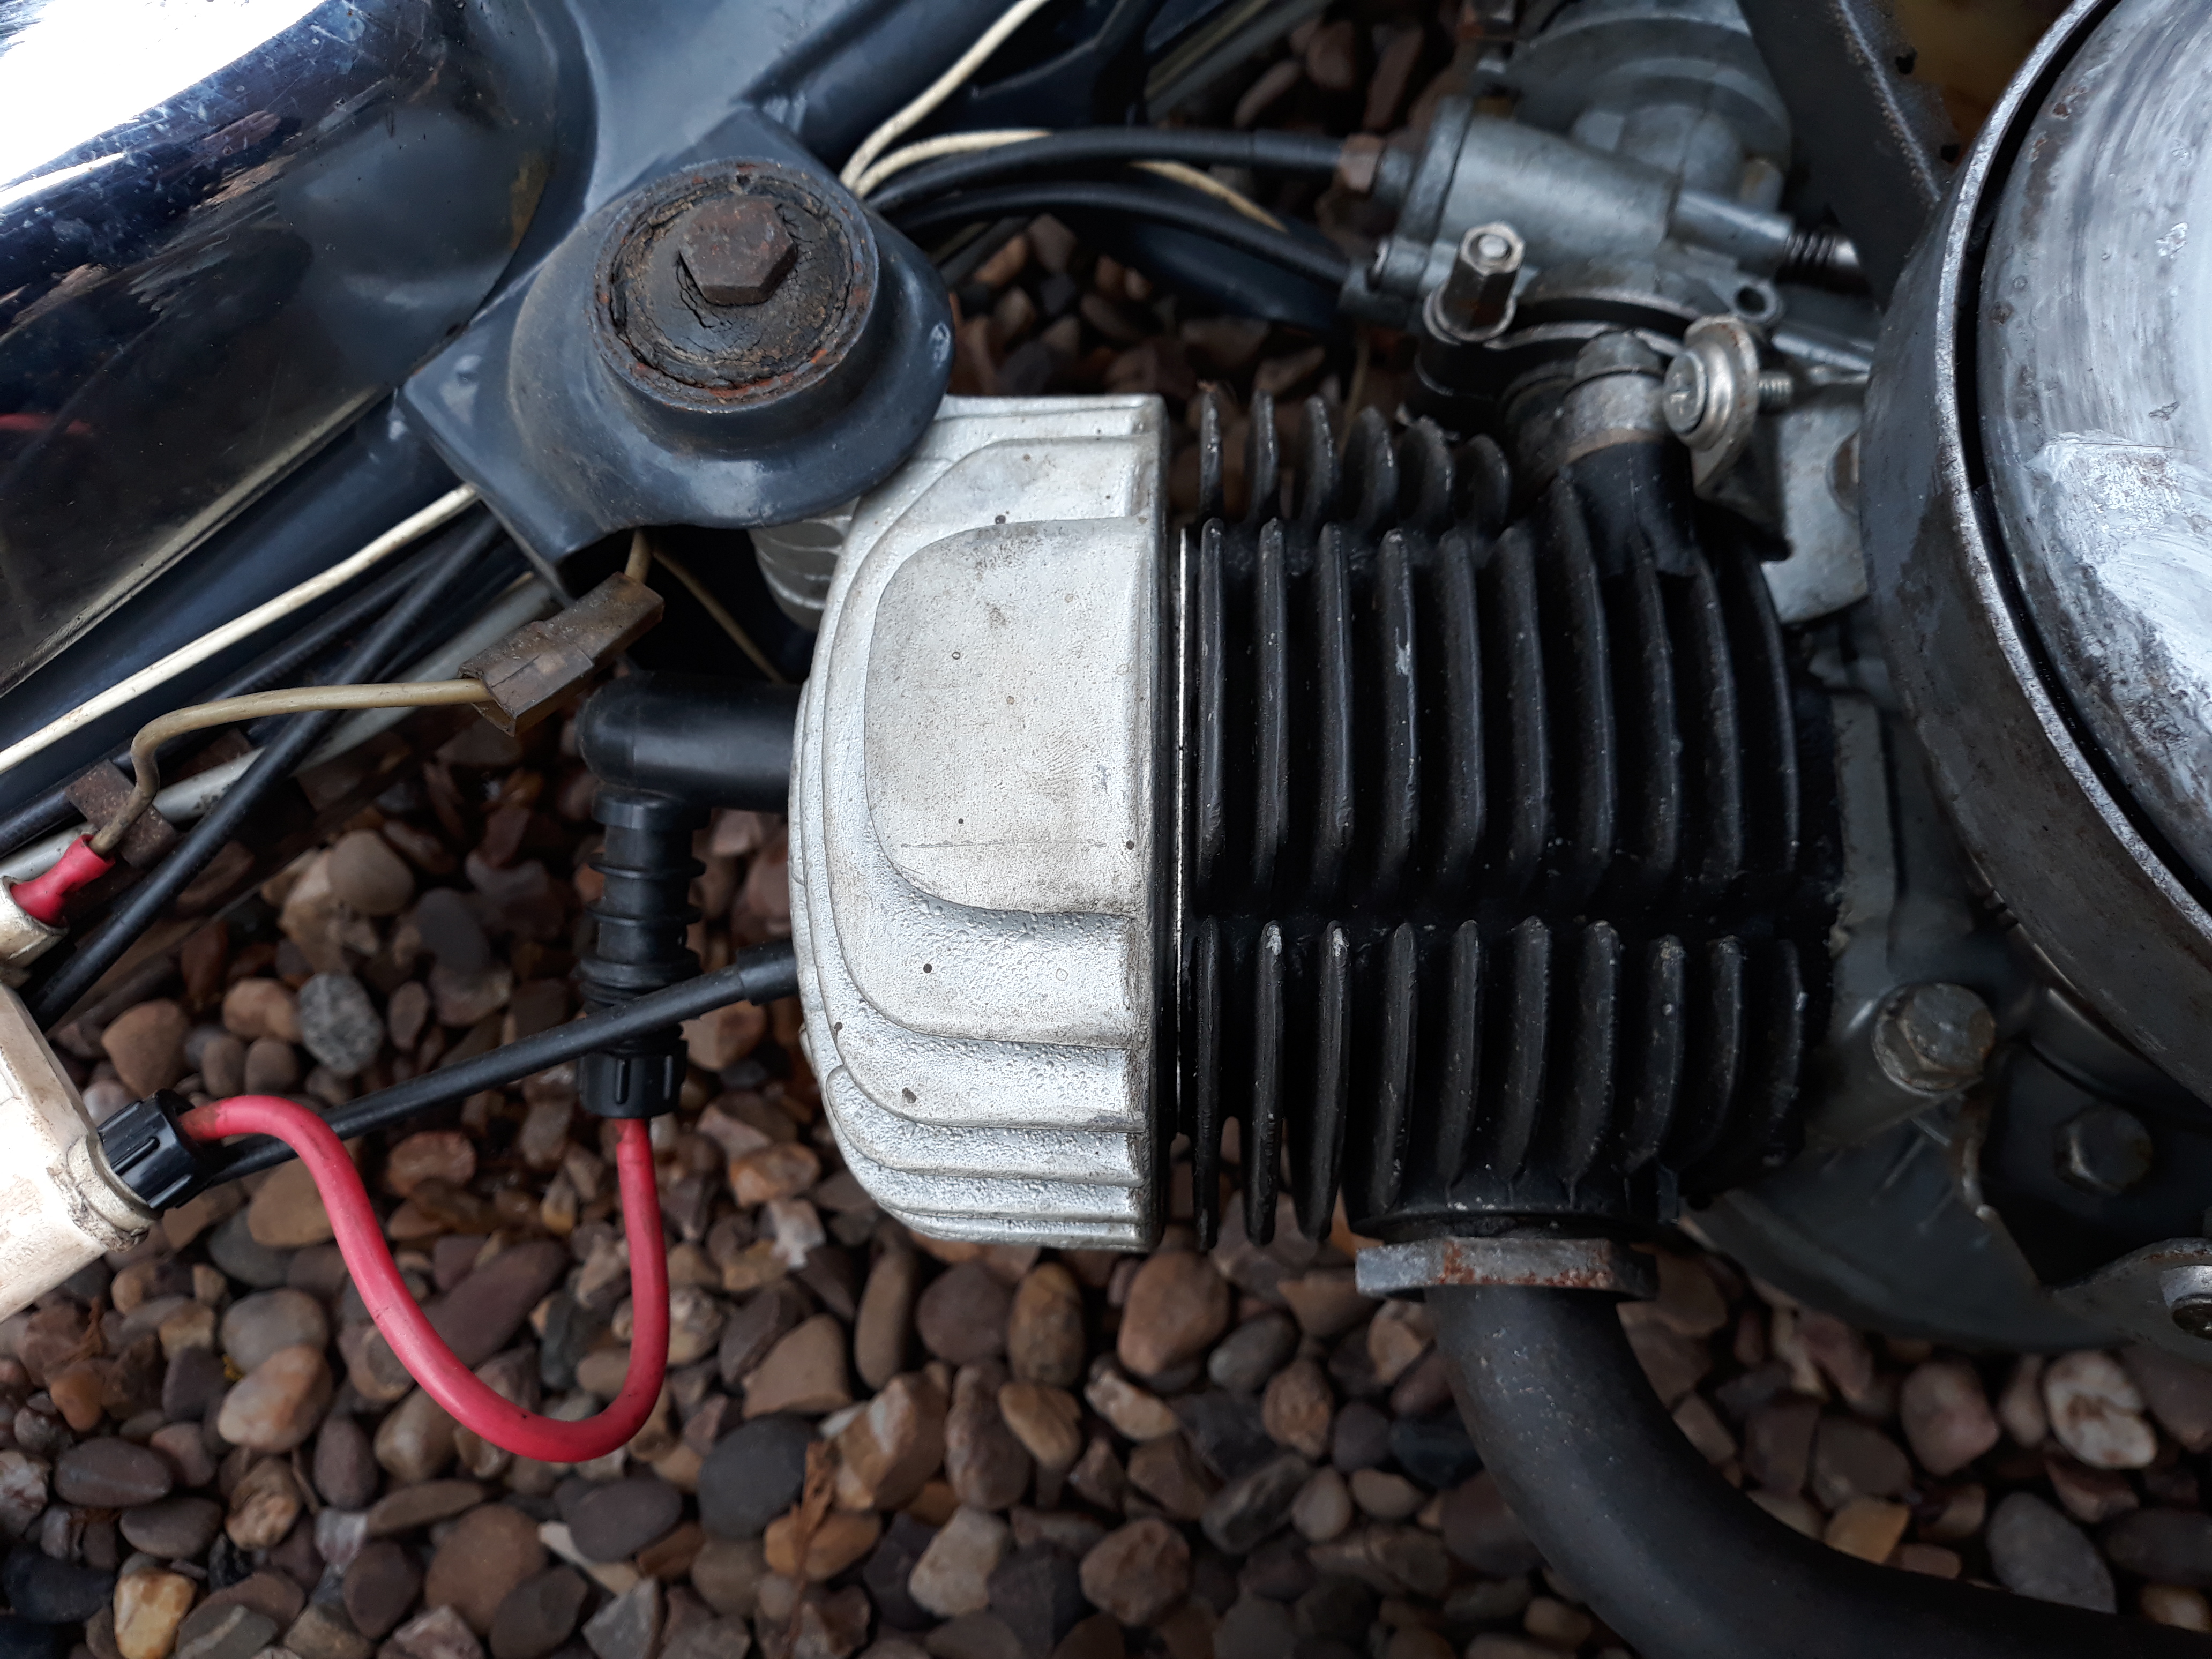
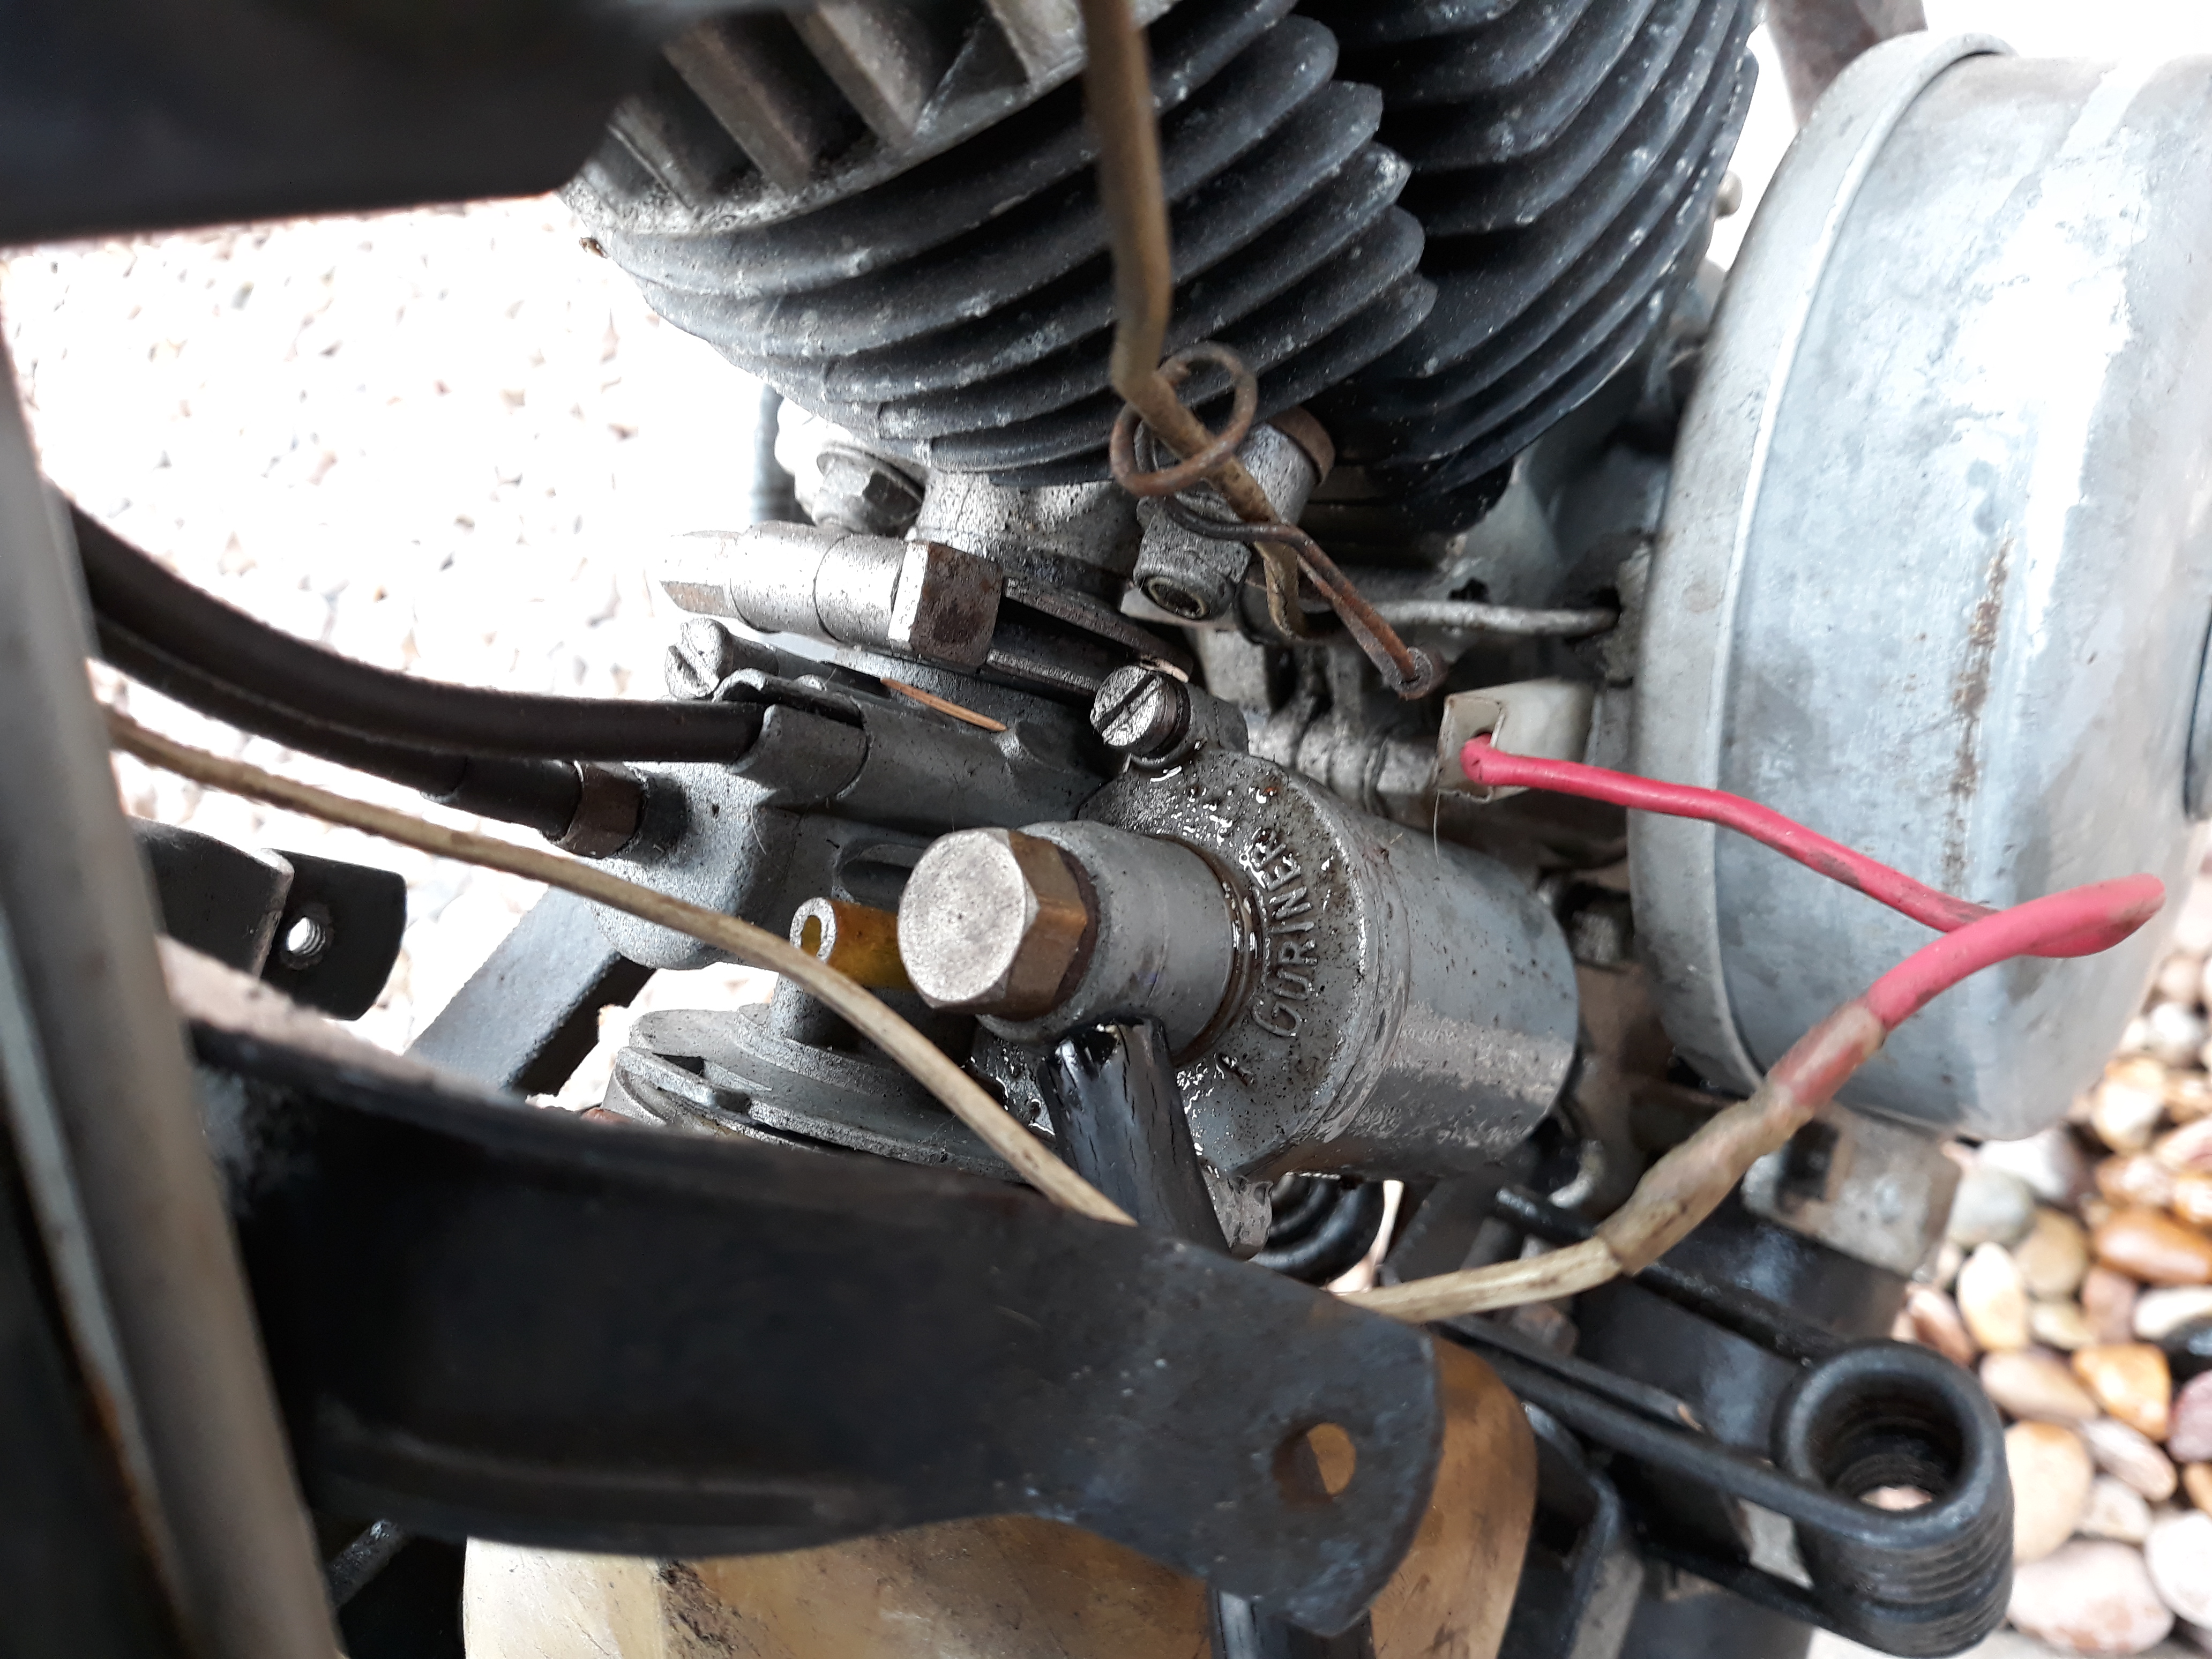
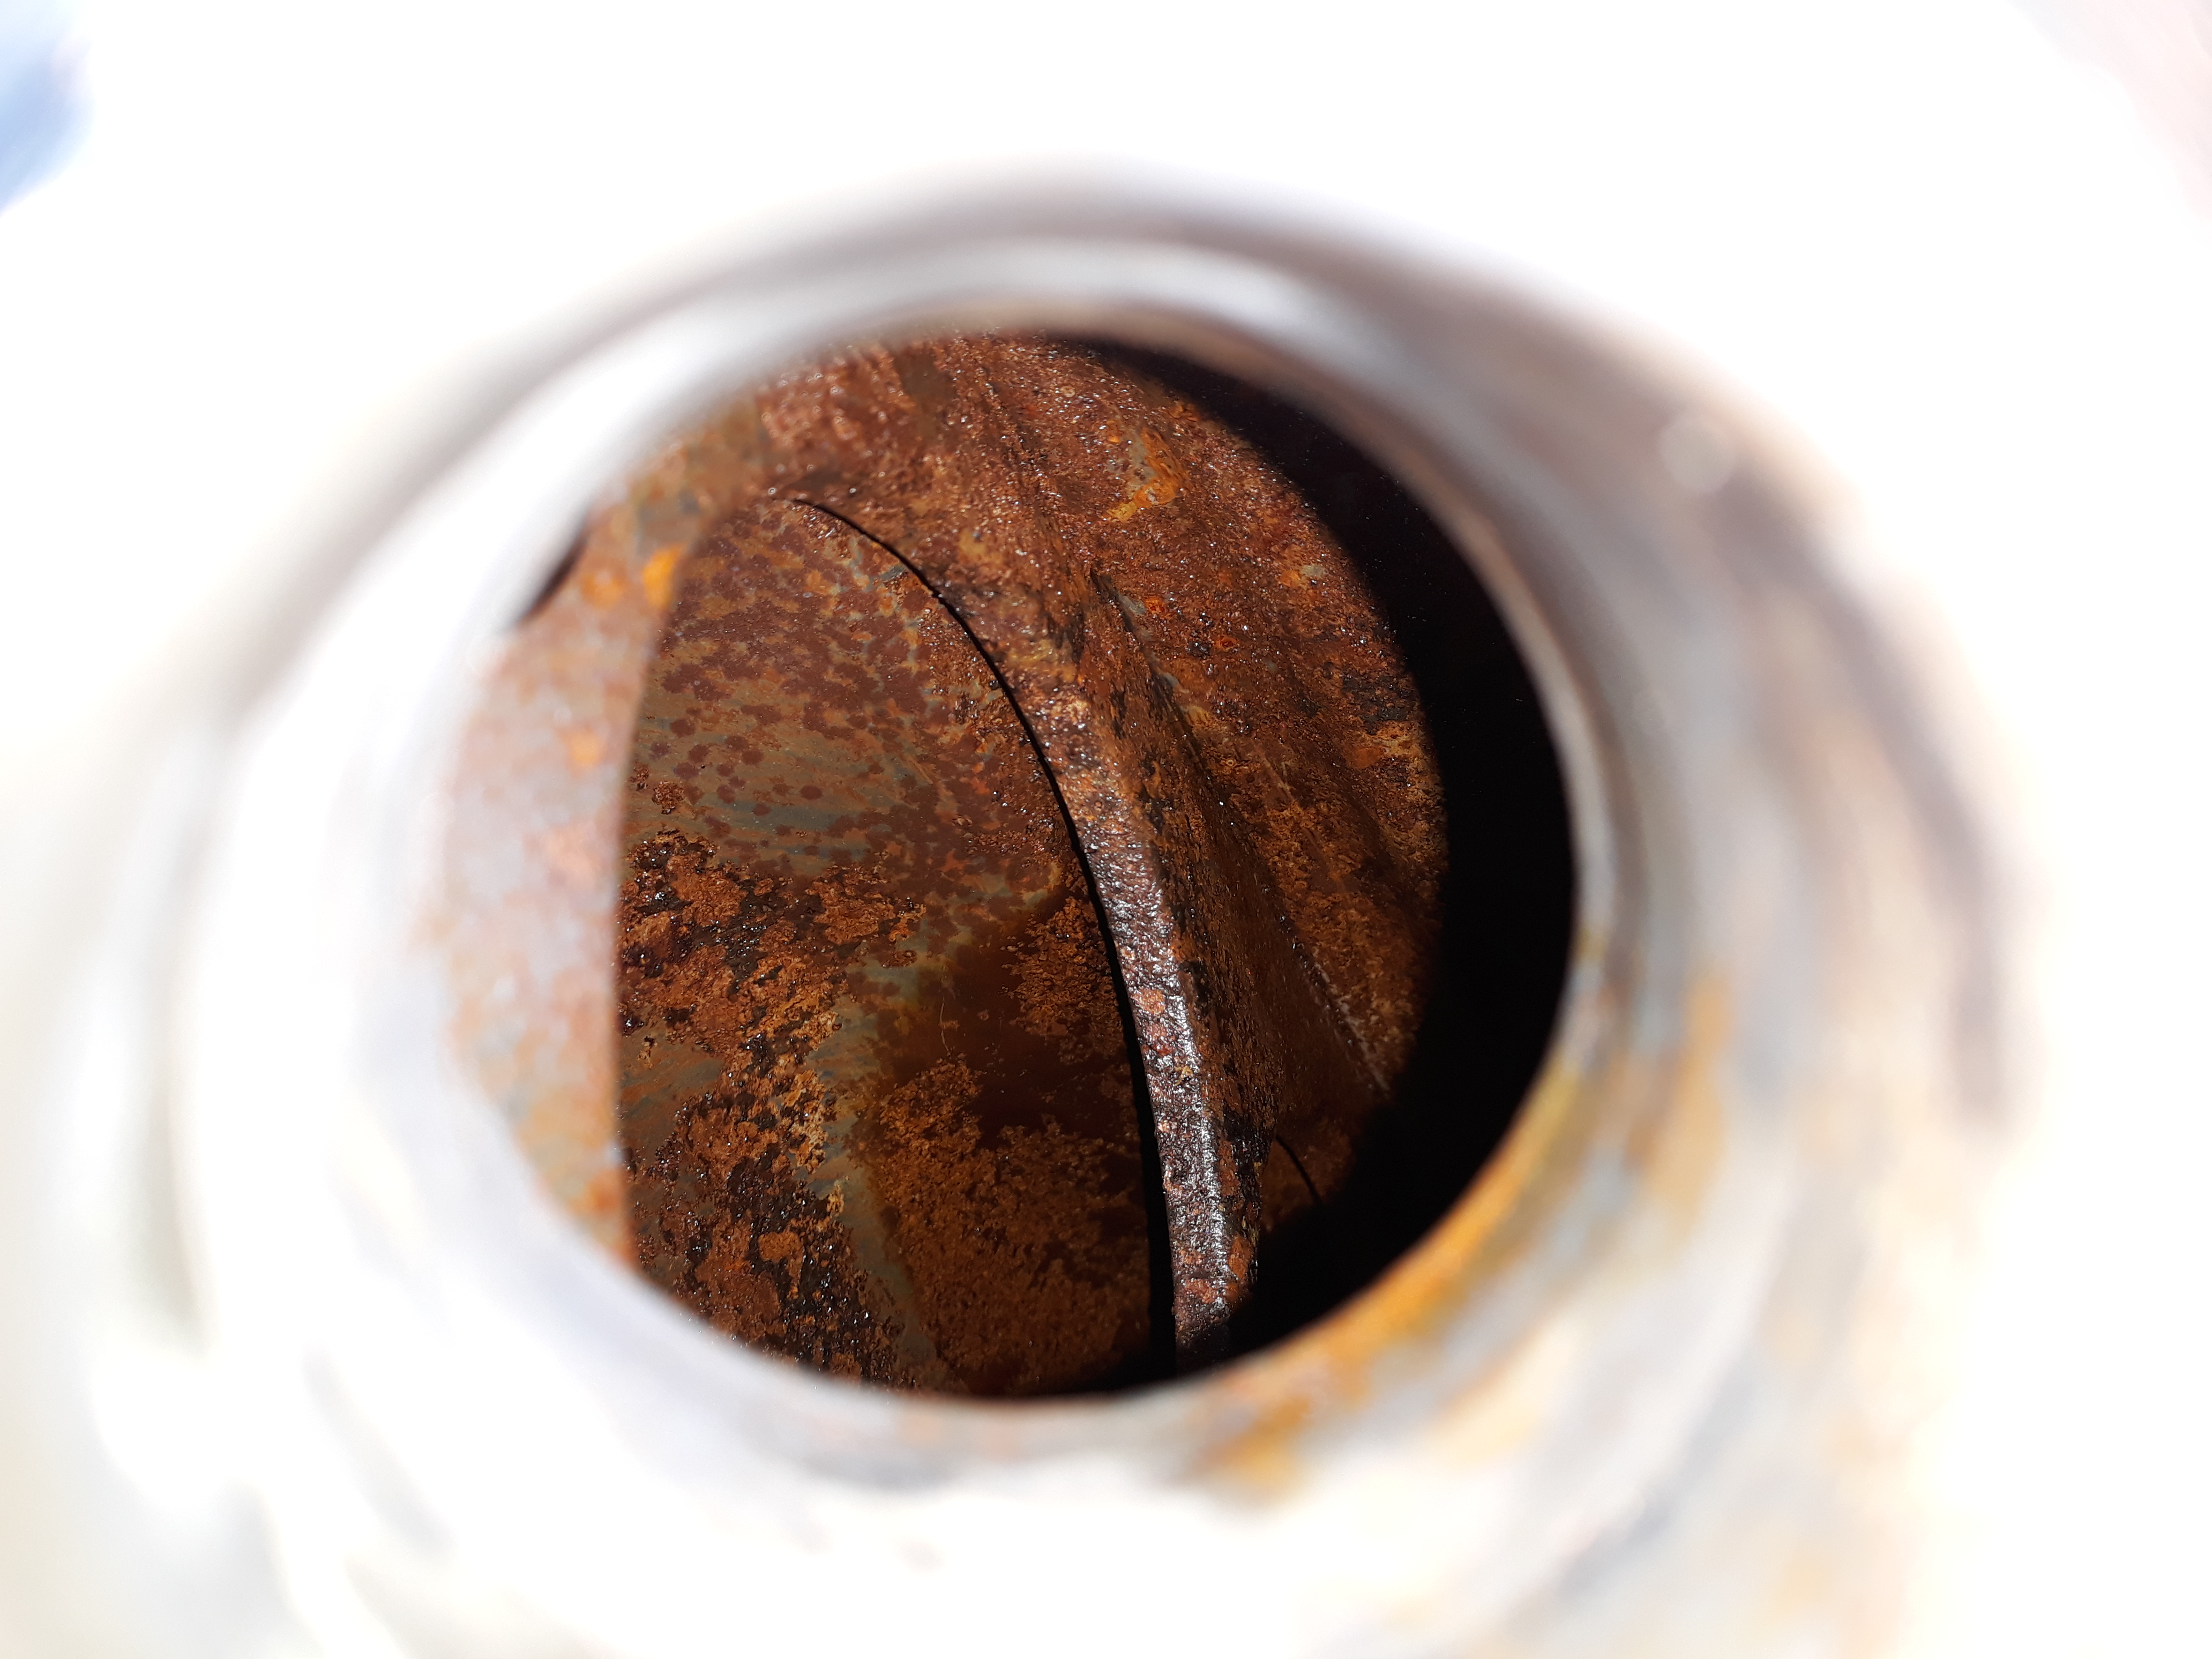
was some kind of bodge for missing springs and thought nothing more of it, the engine its self turned free by hand and the compression seemed to be a lot more than i expected. i removed the plastic fuel
reclaiming intake box and spark plug then with the throttle wide open while turning the engine i gave it some good shots of WD-40 down the carb and in the spark plug hole (it may have not needed it, it is
just some thing i do to old stuff thats been stood). at the same time i checked the condition of the spark plug, and noted the impressive spark the coil generated while turning the engine over.
i drained all old fuel which had mostly all evaporated and just left behind the 2-stroke oil from the tank and lazily held the choke one with the throttle wide open and spun the engine over quickly to drain what
i could from the carburettor without removing it (plenty of that will be done at a later date)
whipped up a quick batch of fuel with a pretty rich mixture ratio of 15:1, just to be on the safe side. i hastily poured the mixture in the tank, forgetting that i still had the badly cracked but still fuel tight pipe
disconnected from the carburettor pouring some of the mixture strait into the slip on "Crocs" style suitable footwear i was wearing. noting that error i quickly hit the fuel tap and connected the pipe up to the
carb. i hopped on the bike, held the decompressor back waited for the engine to spool then hit the throttle and in huge bellows of white WD40 smoke the little engine burst into life. after a short warm up it very
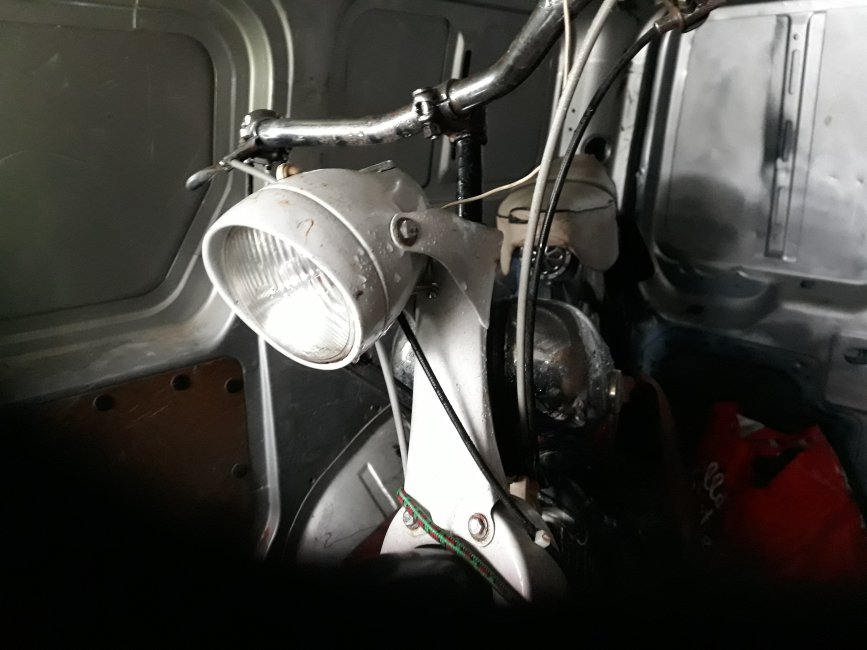
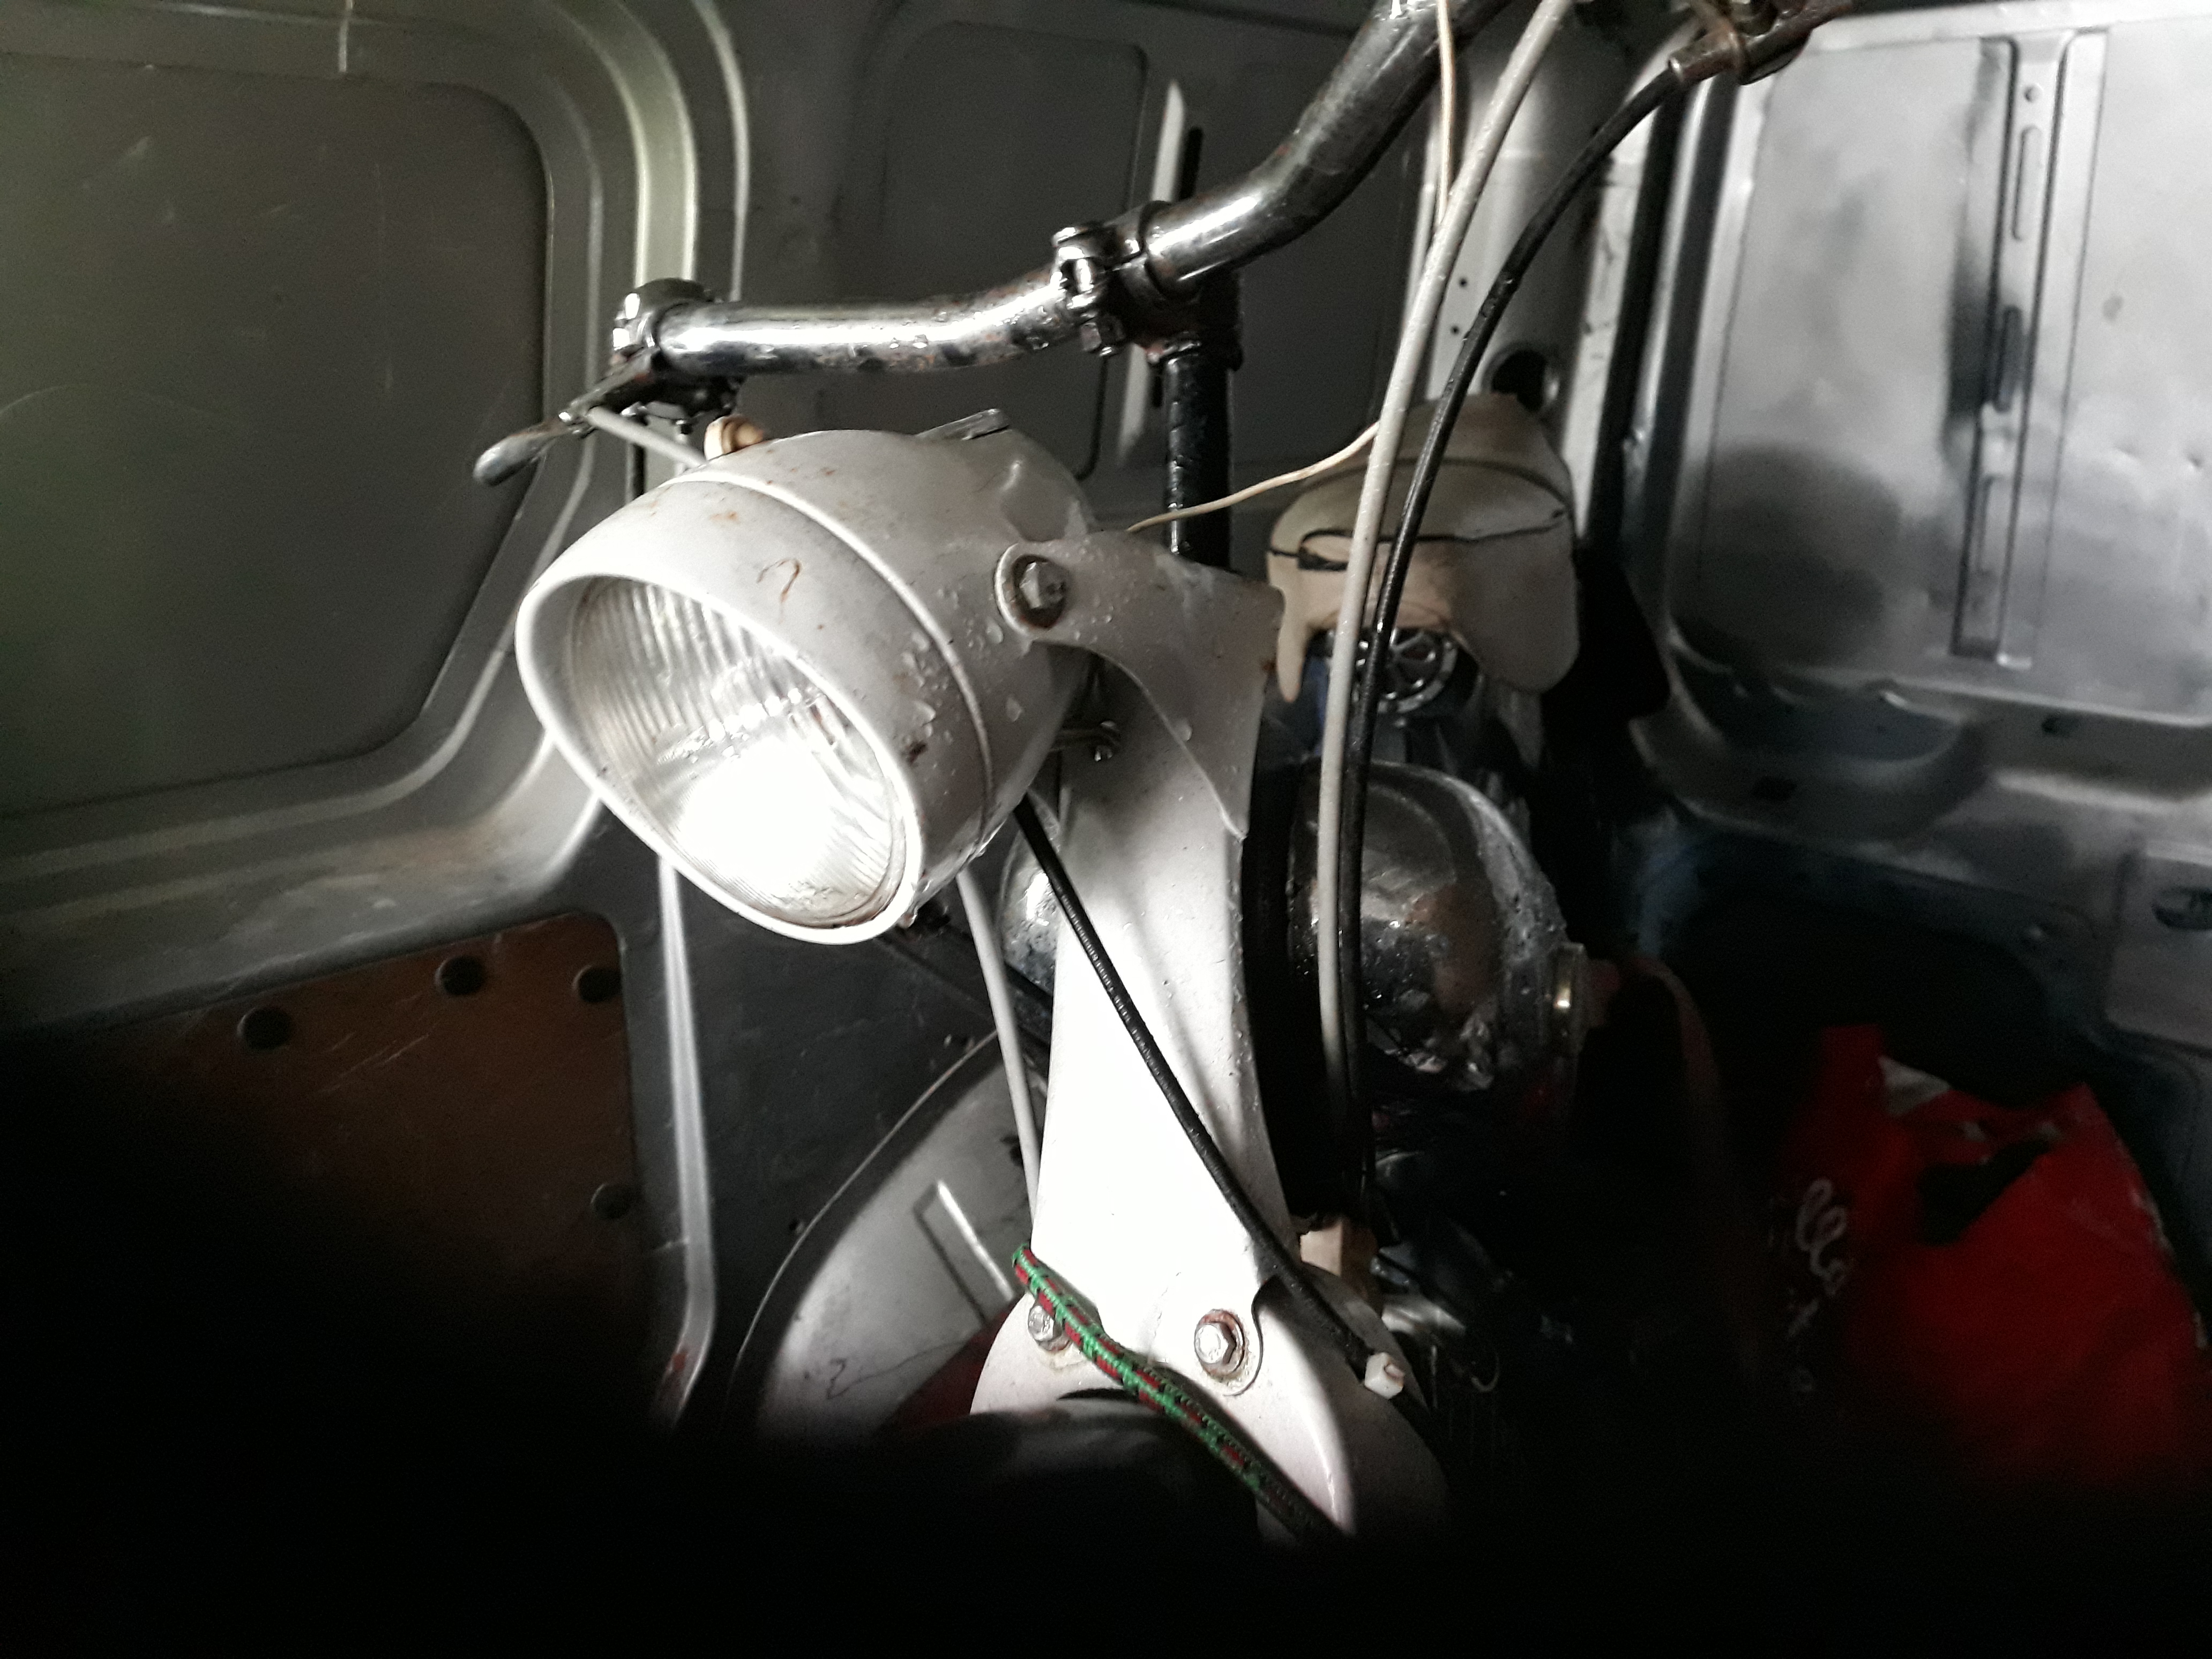
easily sustained a smooth idle. both the lights seem to work fine and after a little shot of wd40 into the button switch, even the horn buzzed into life.


Very happy.
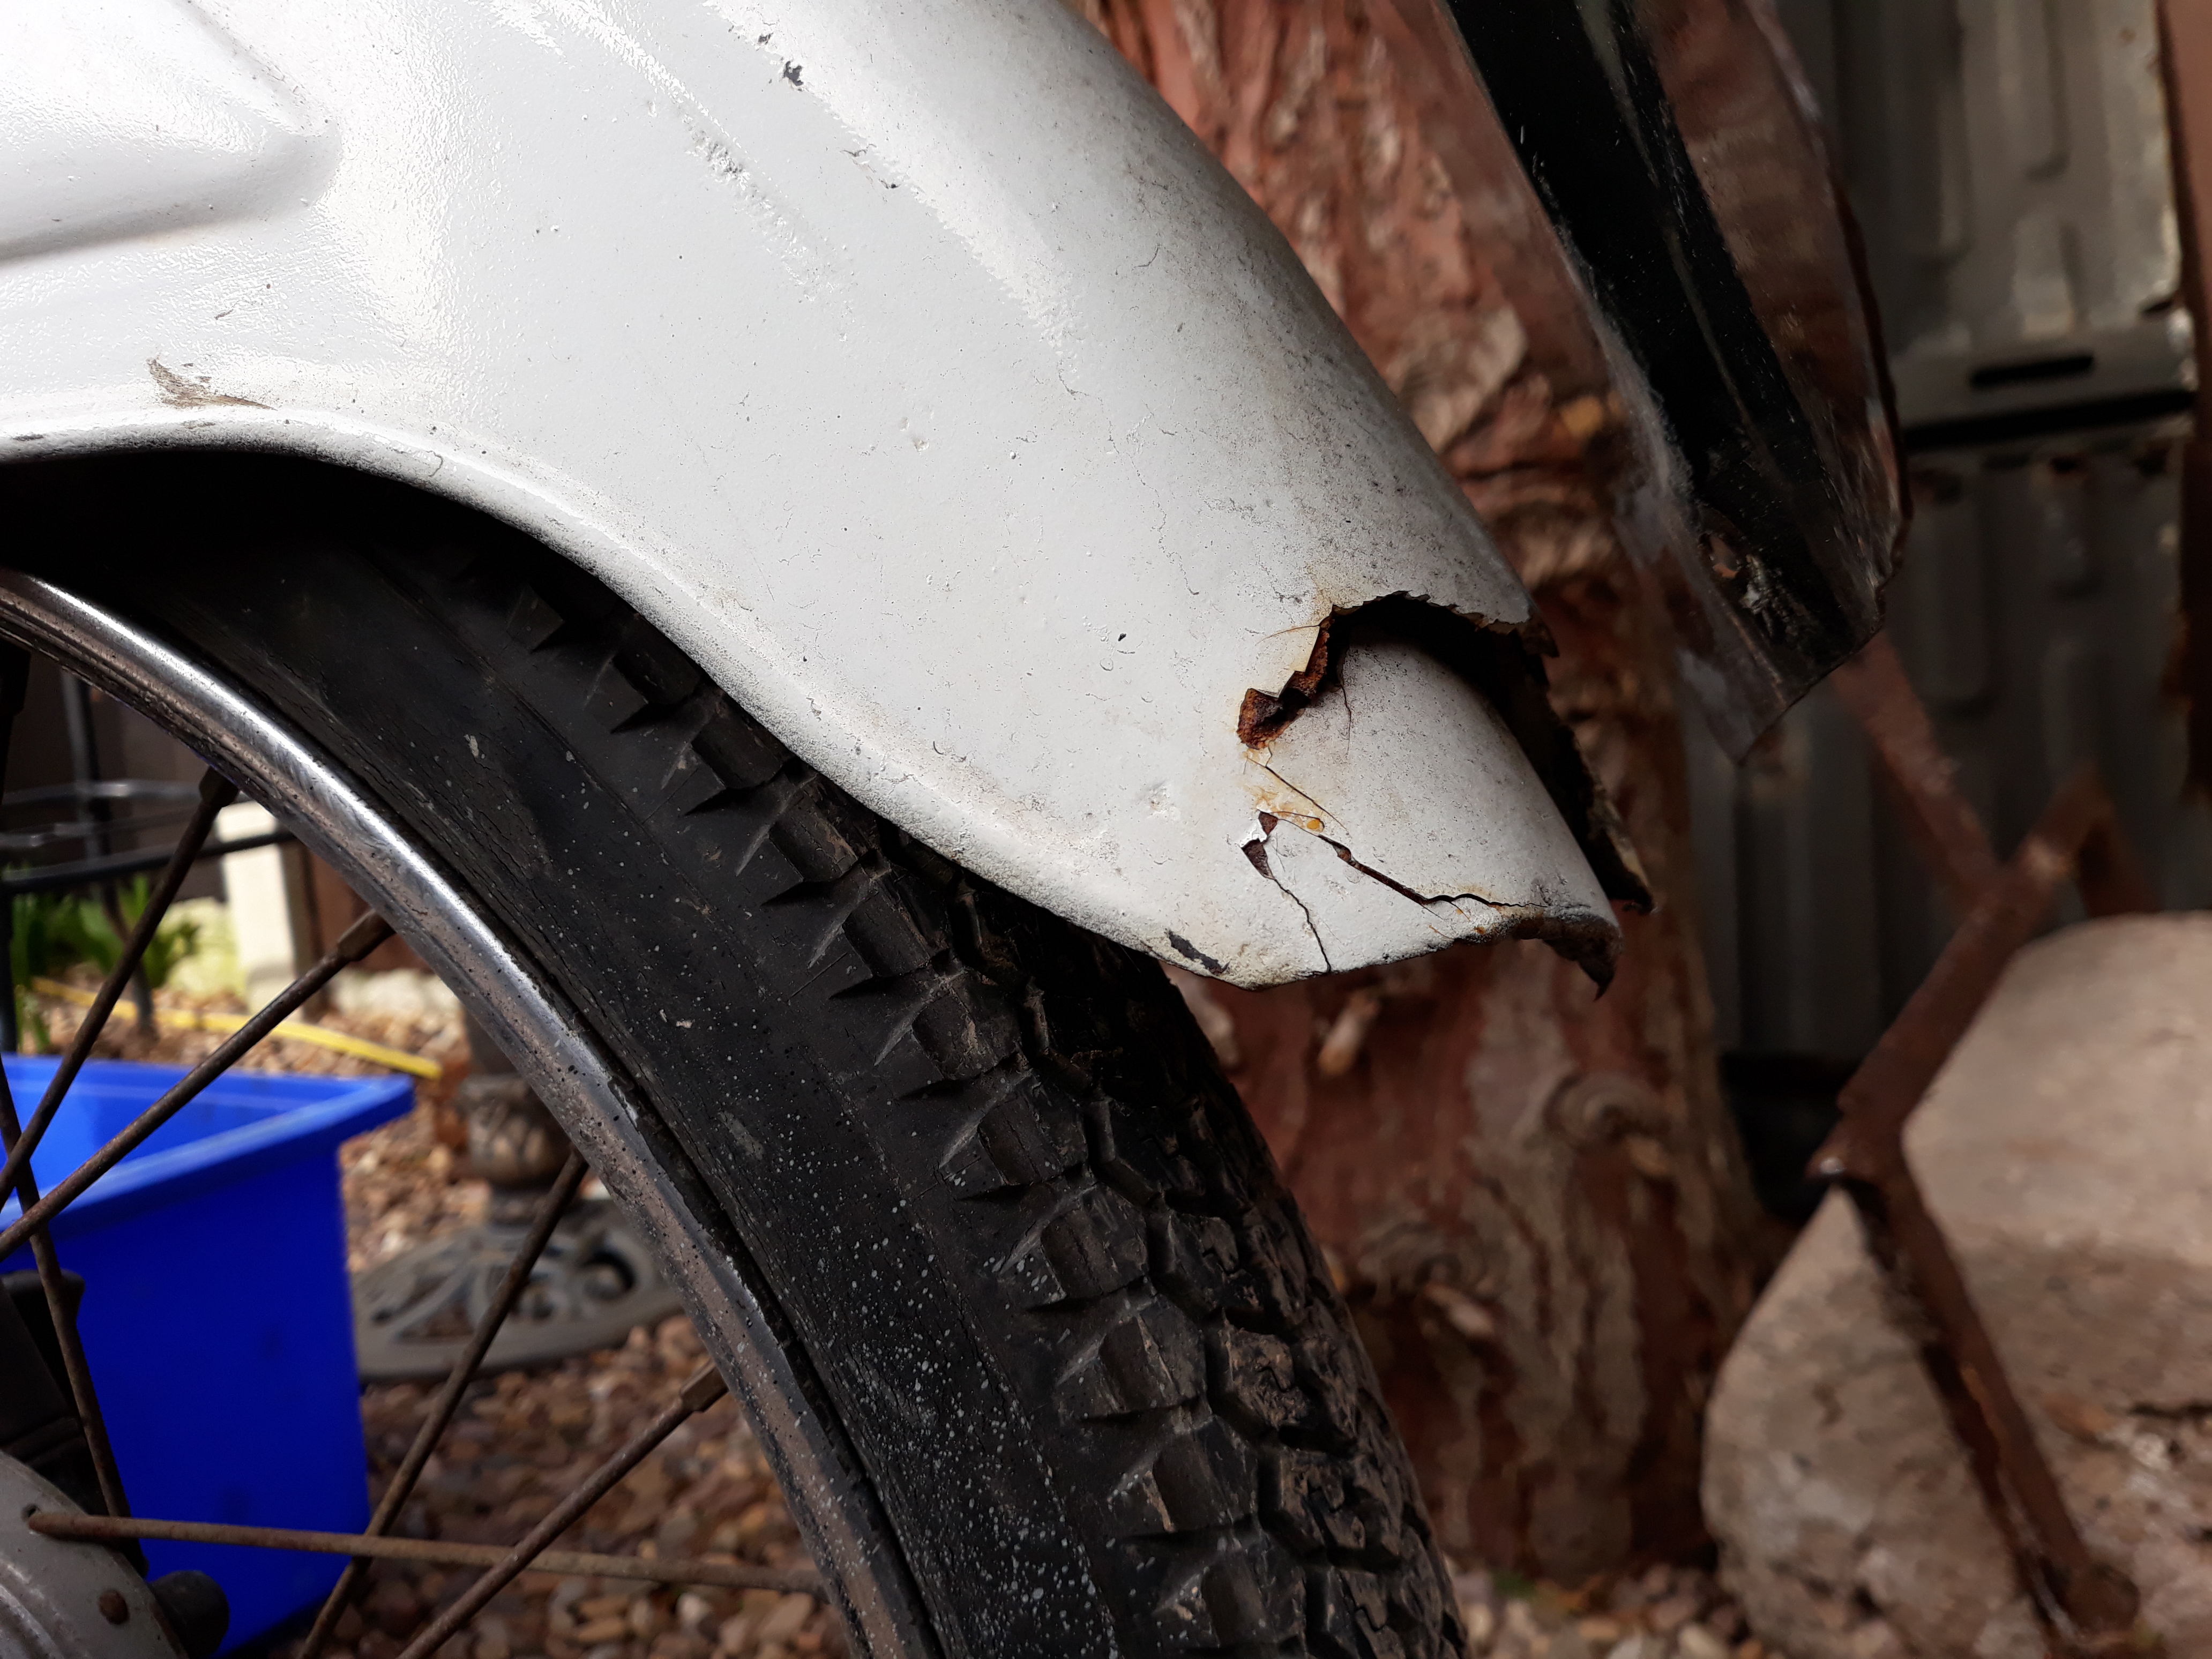
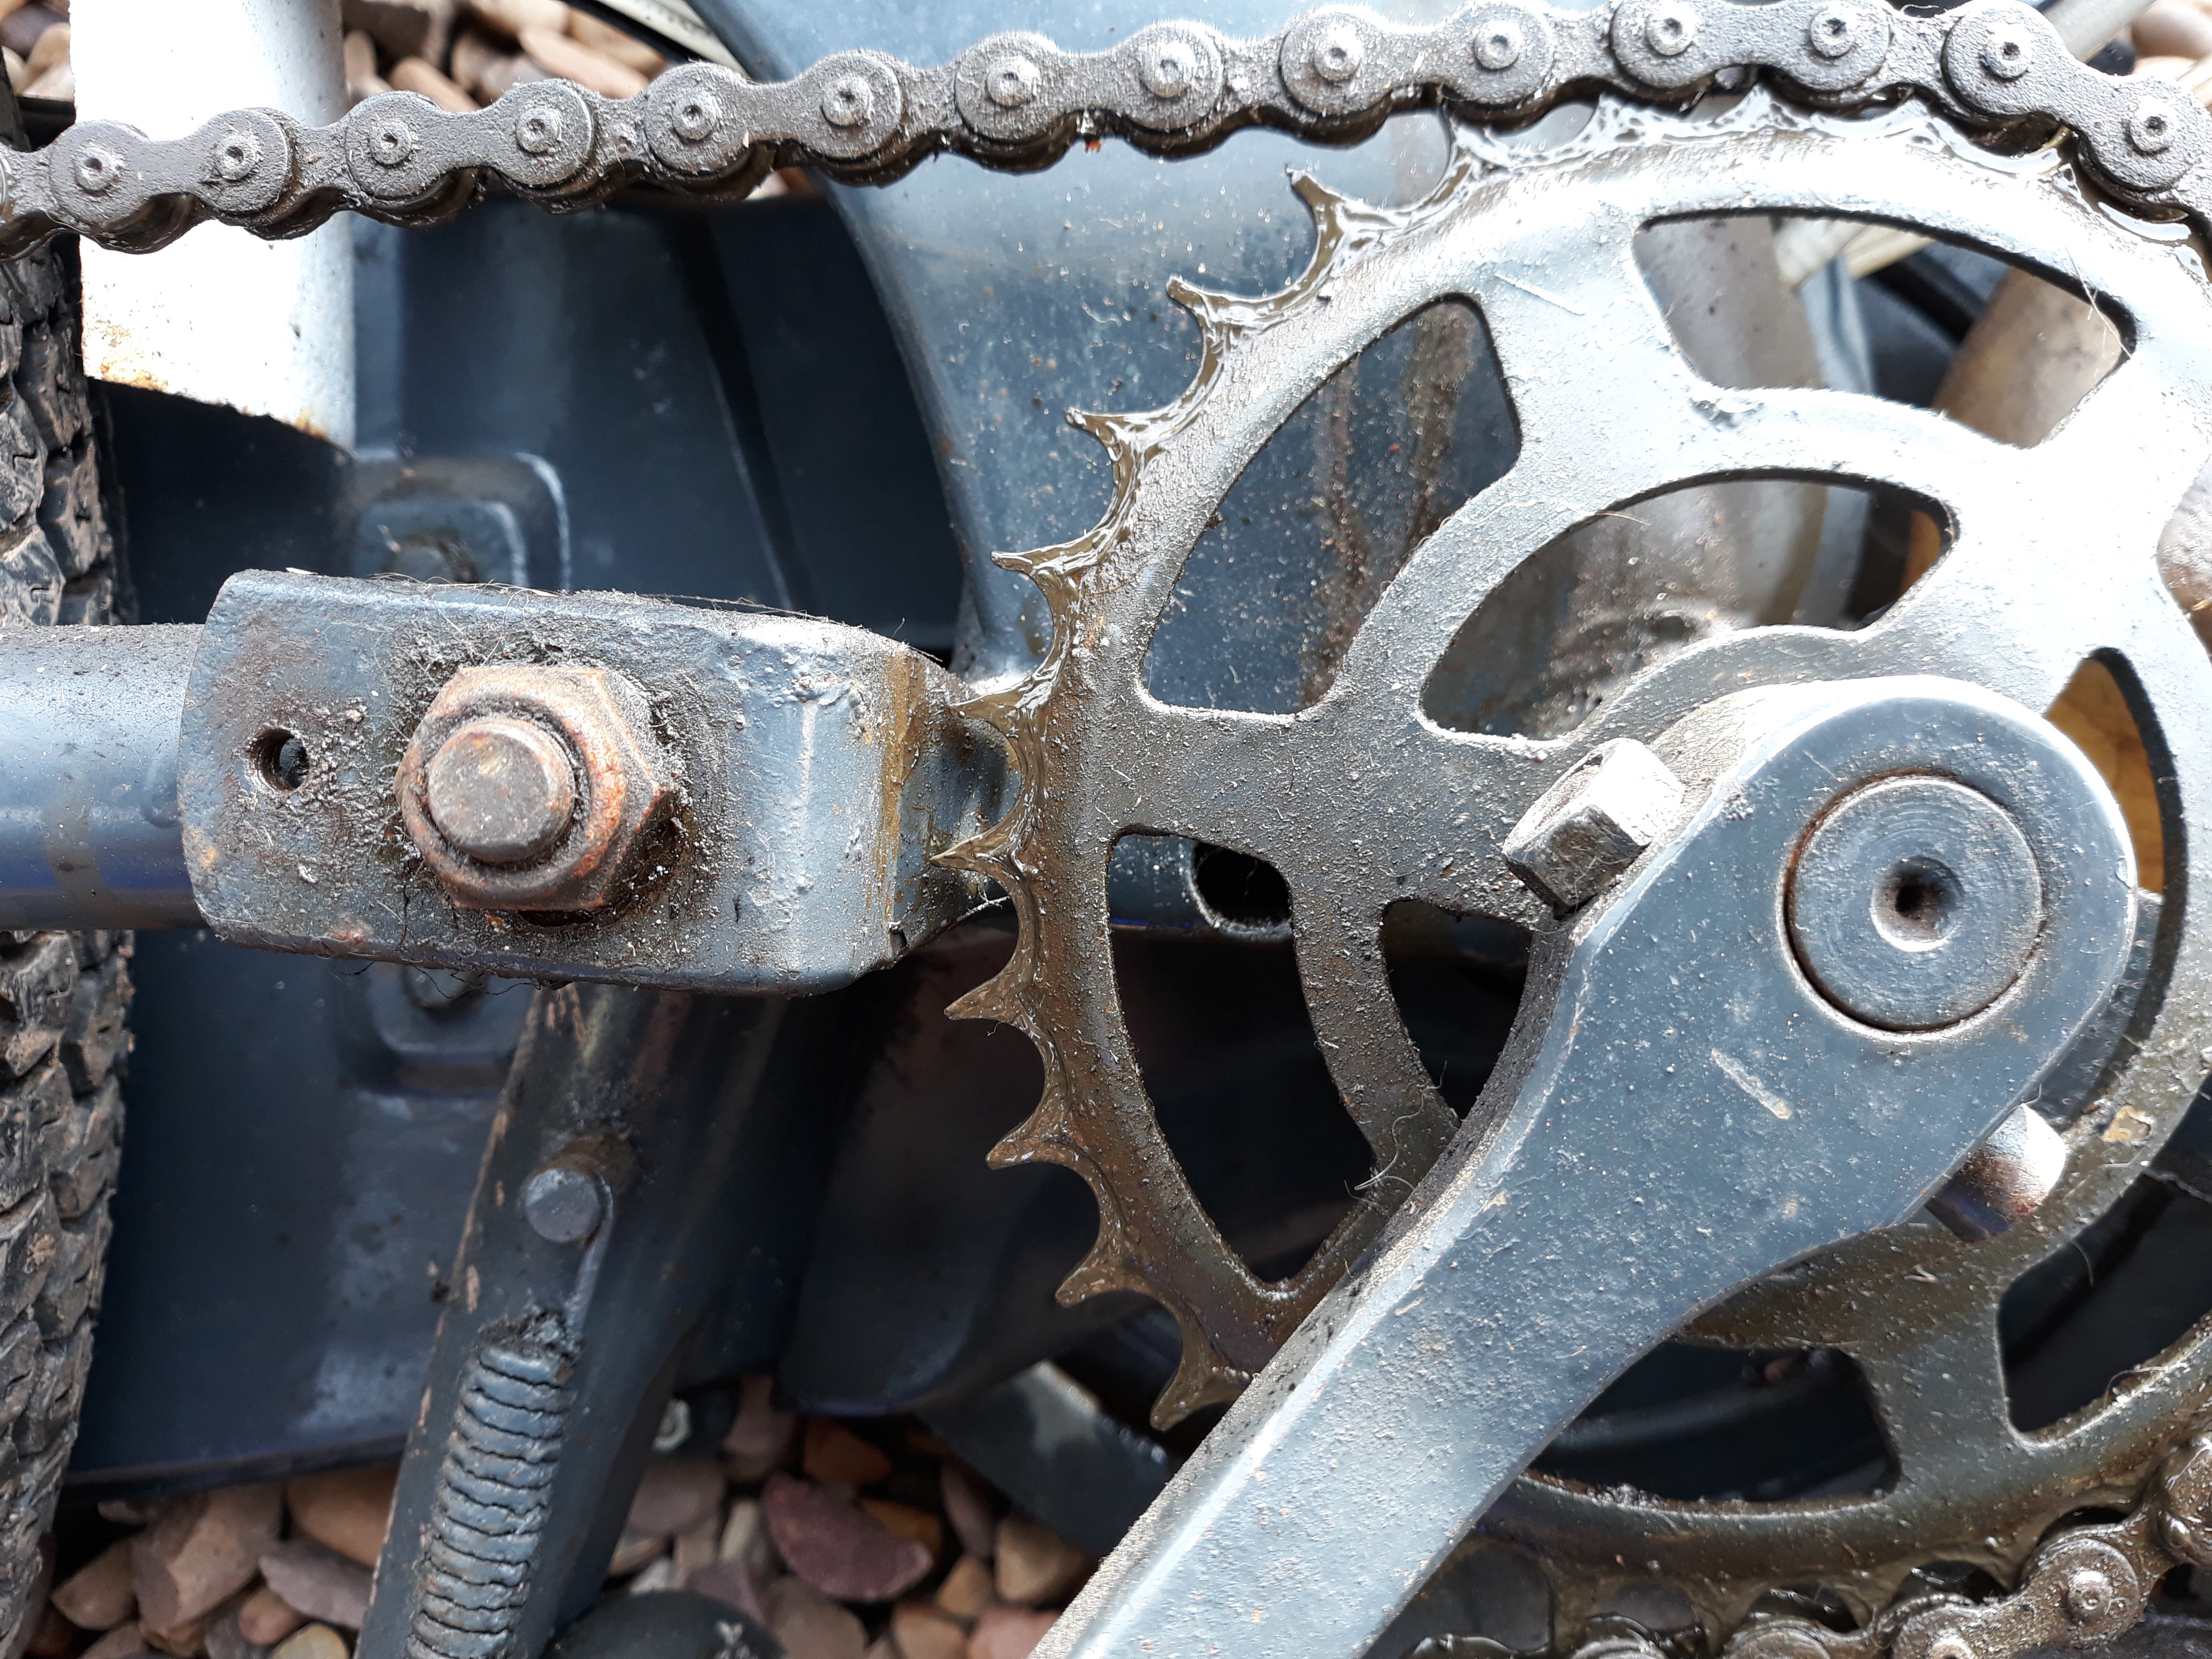
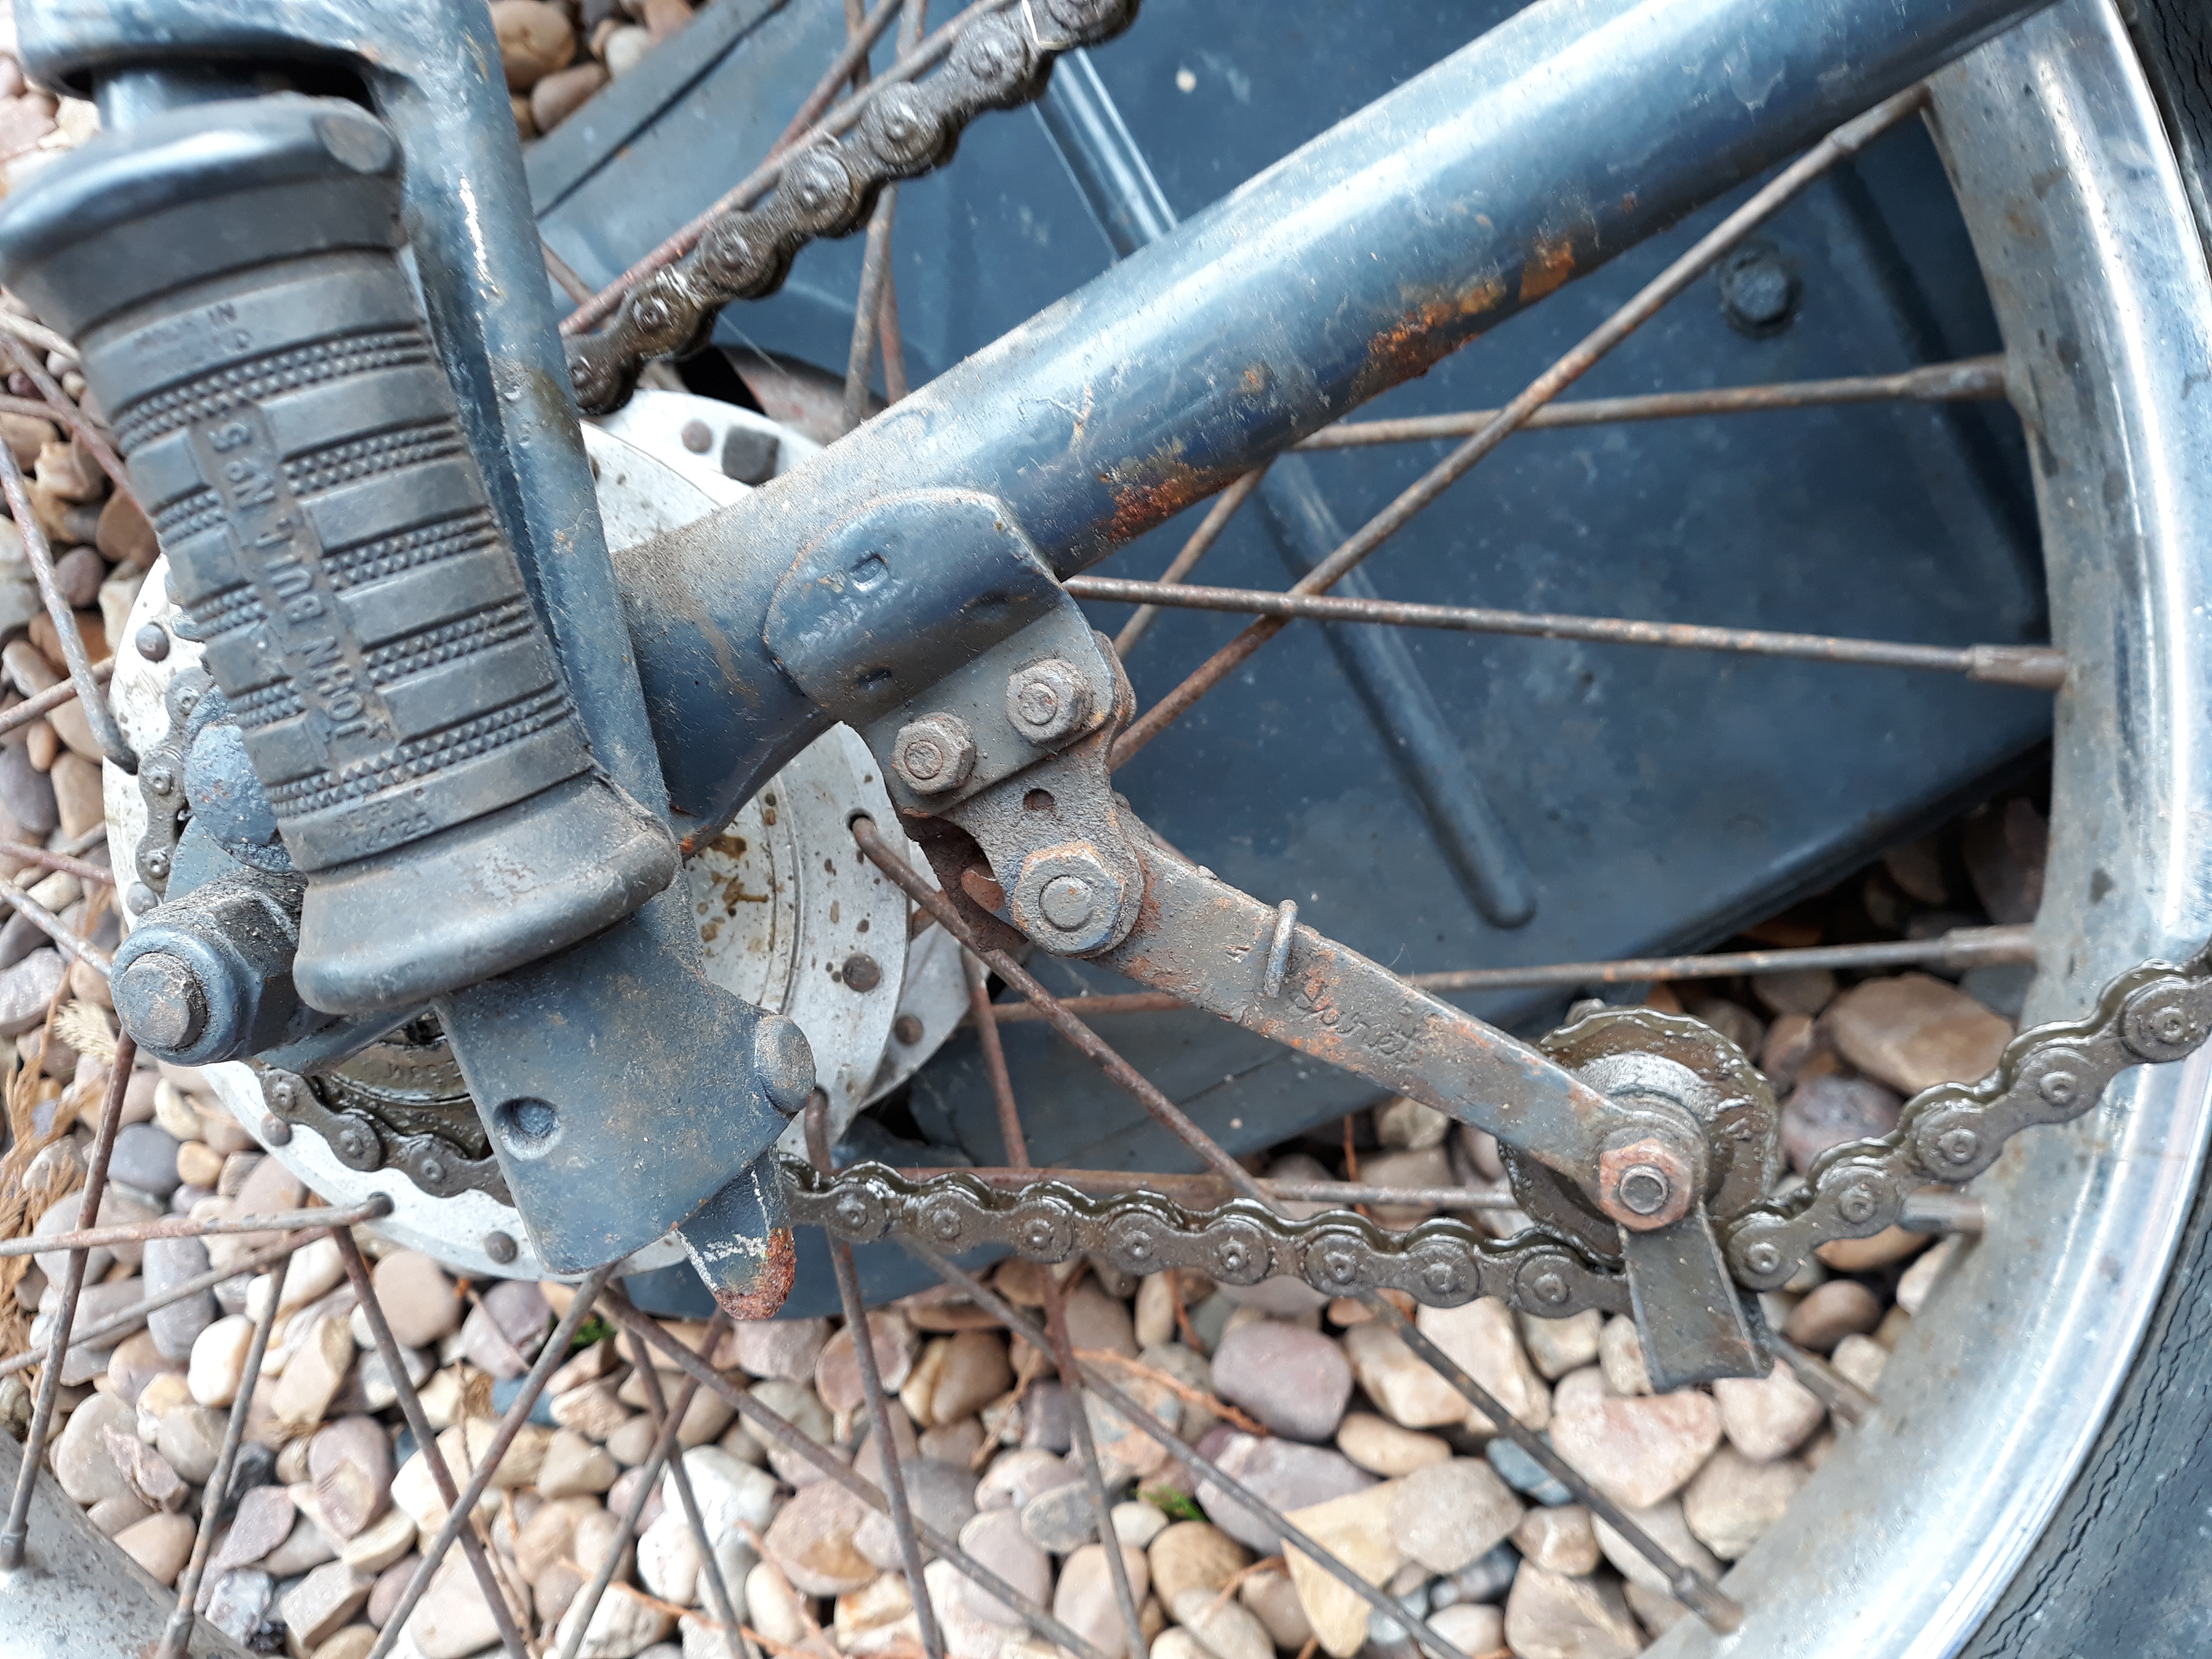
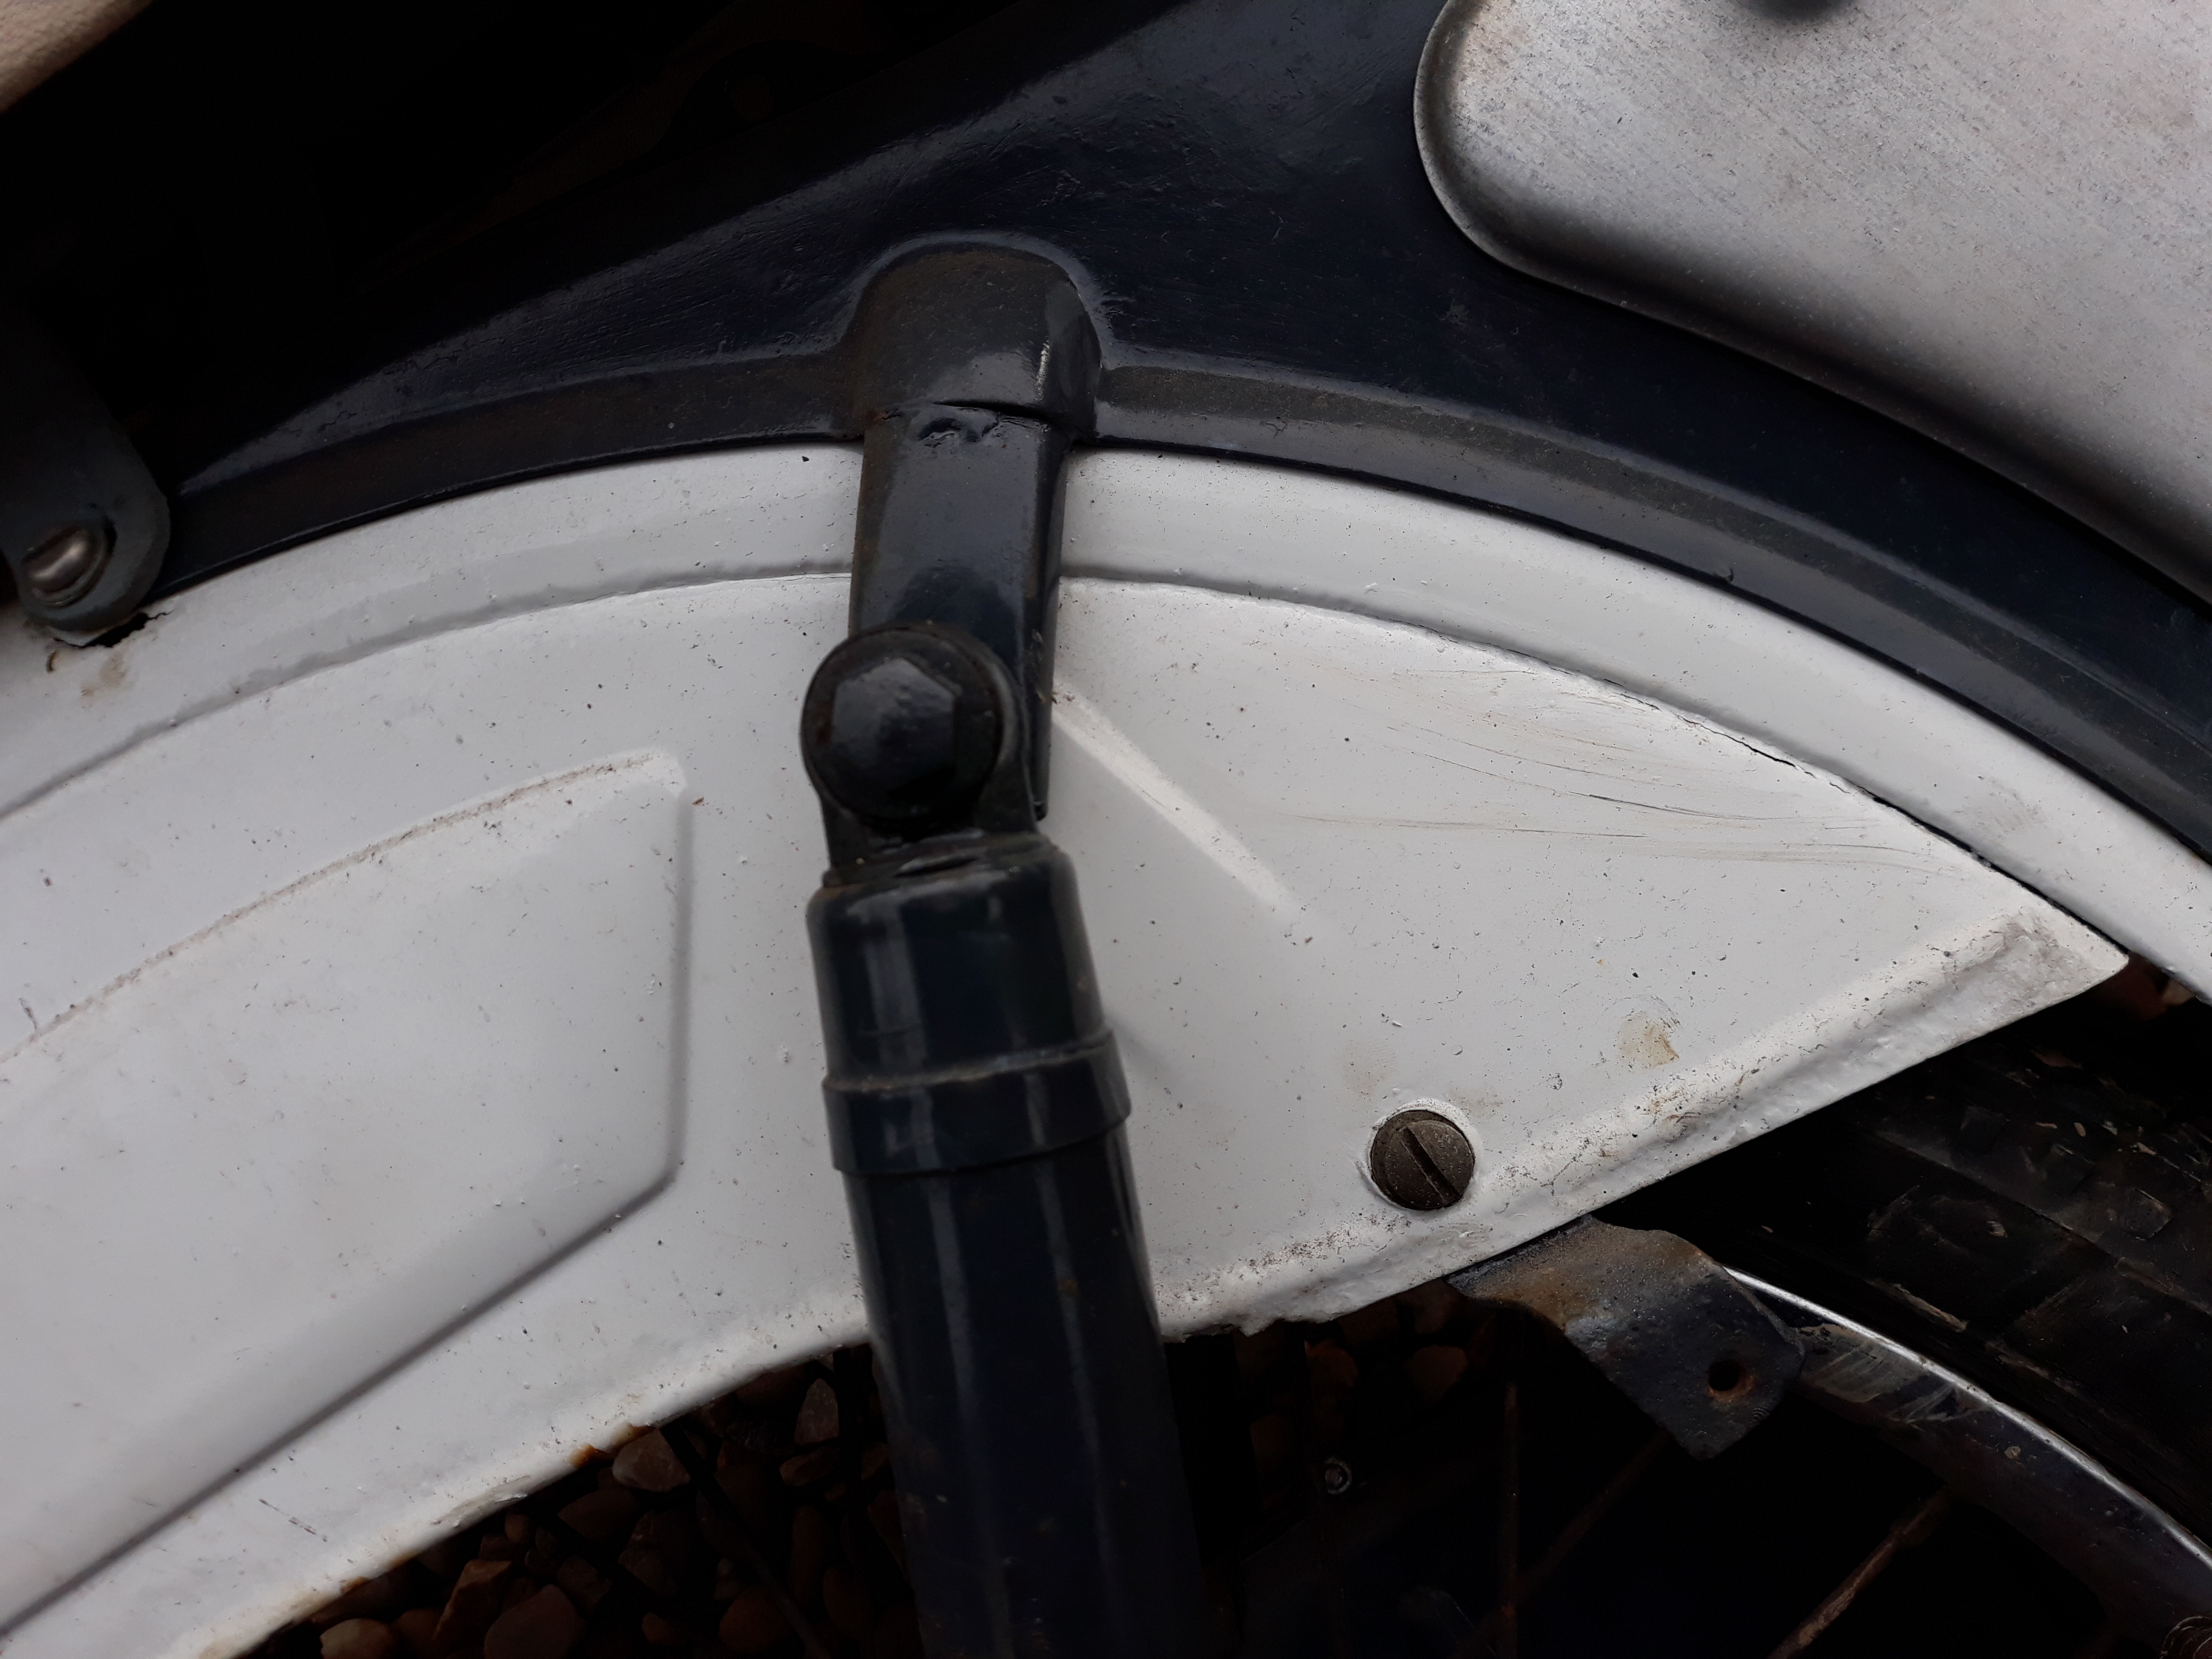
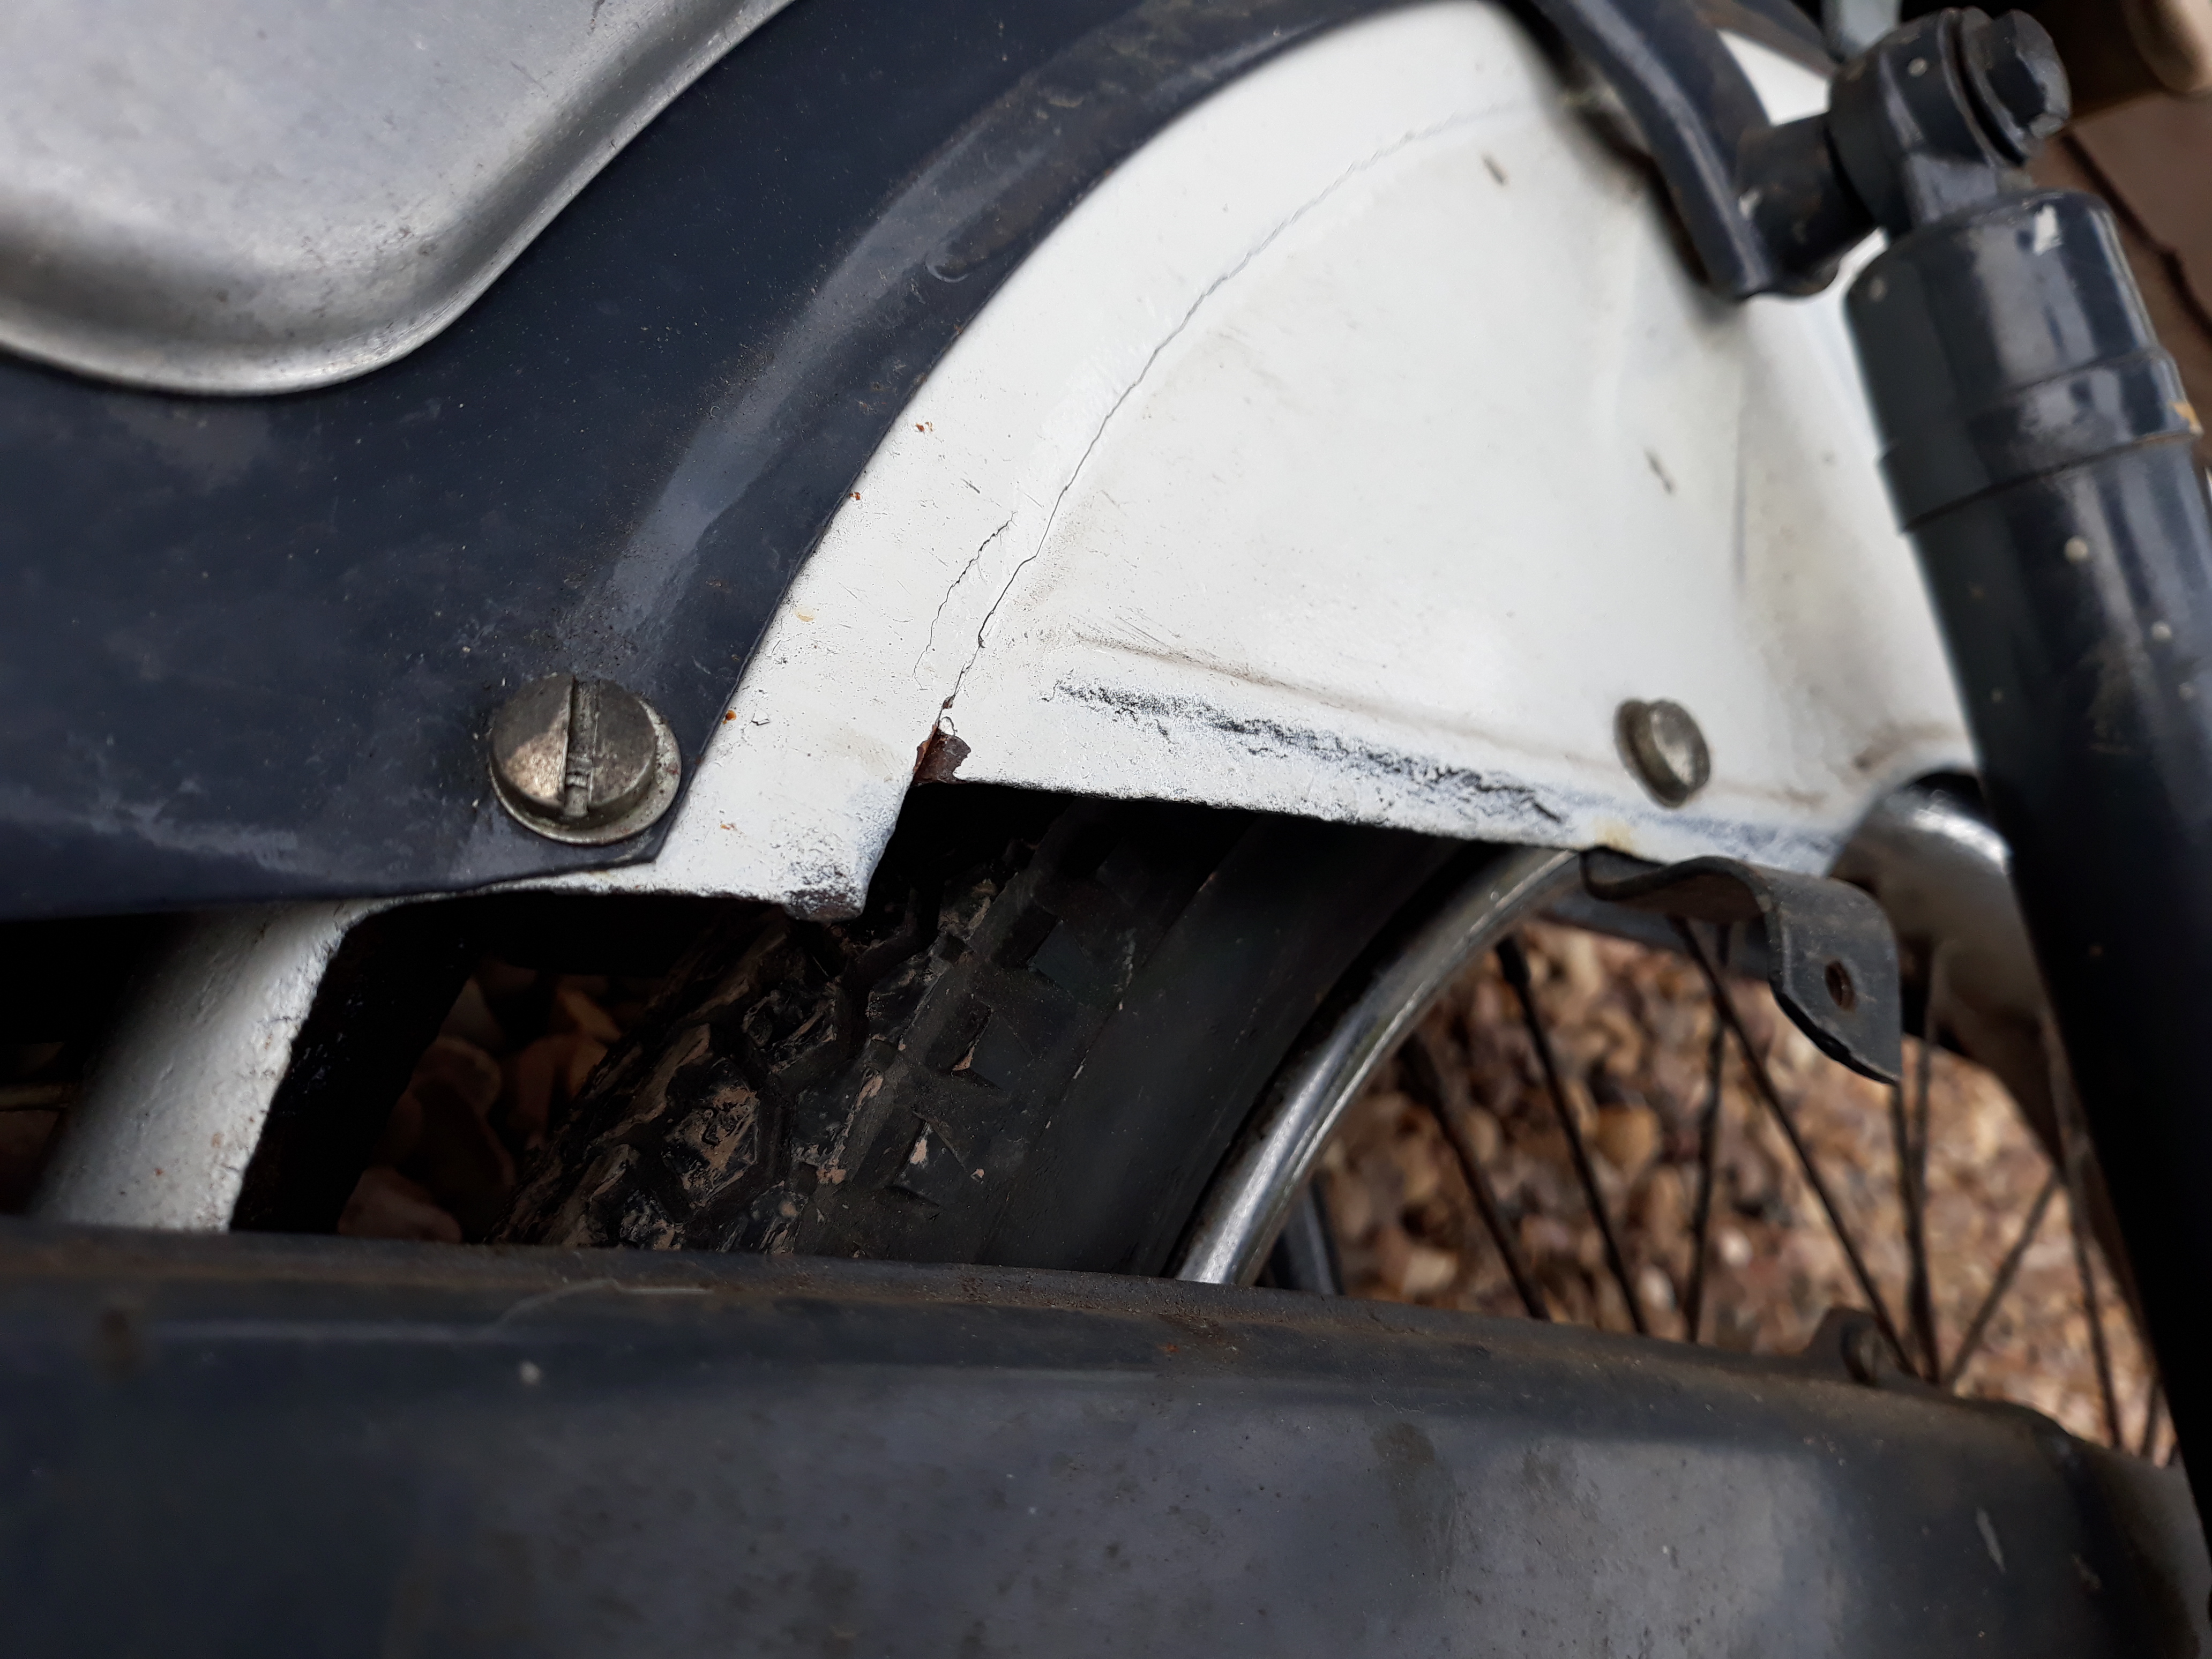
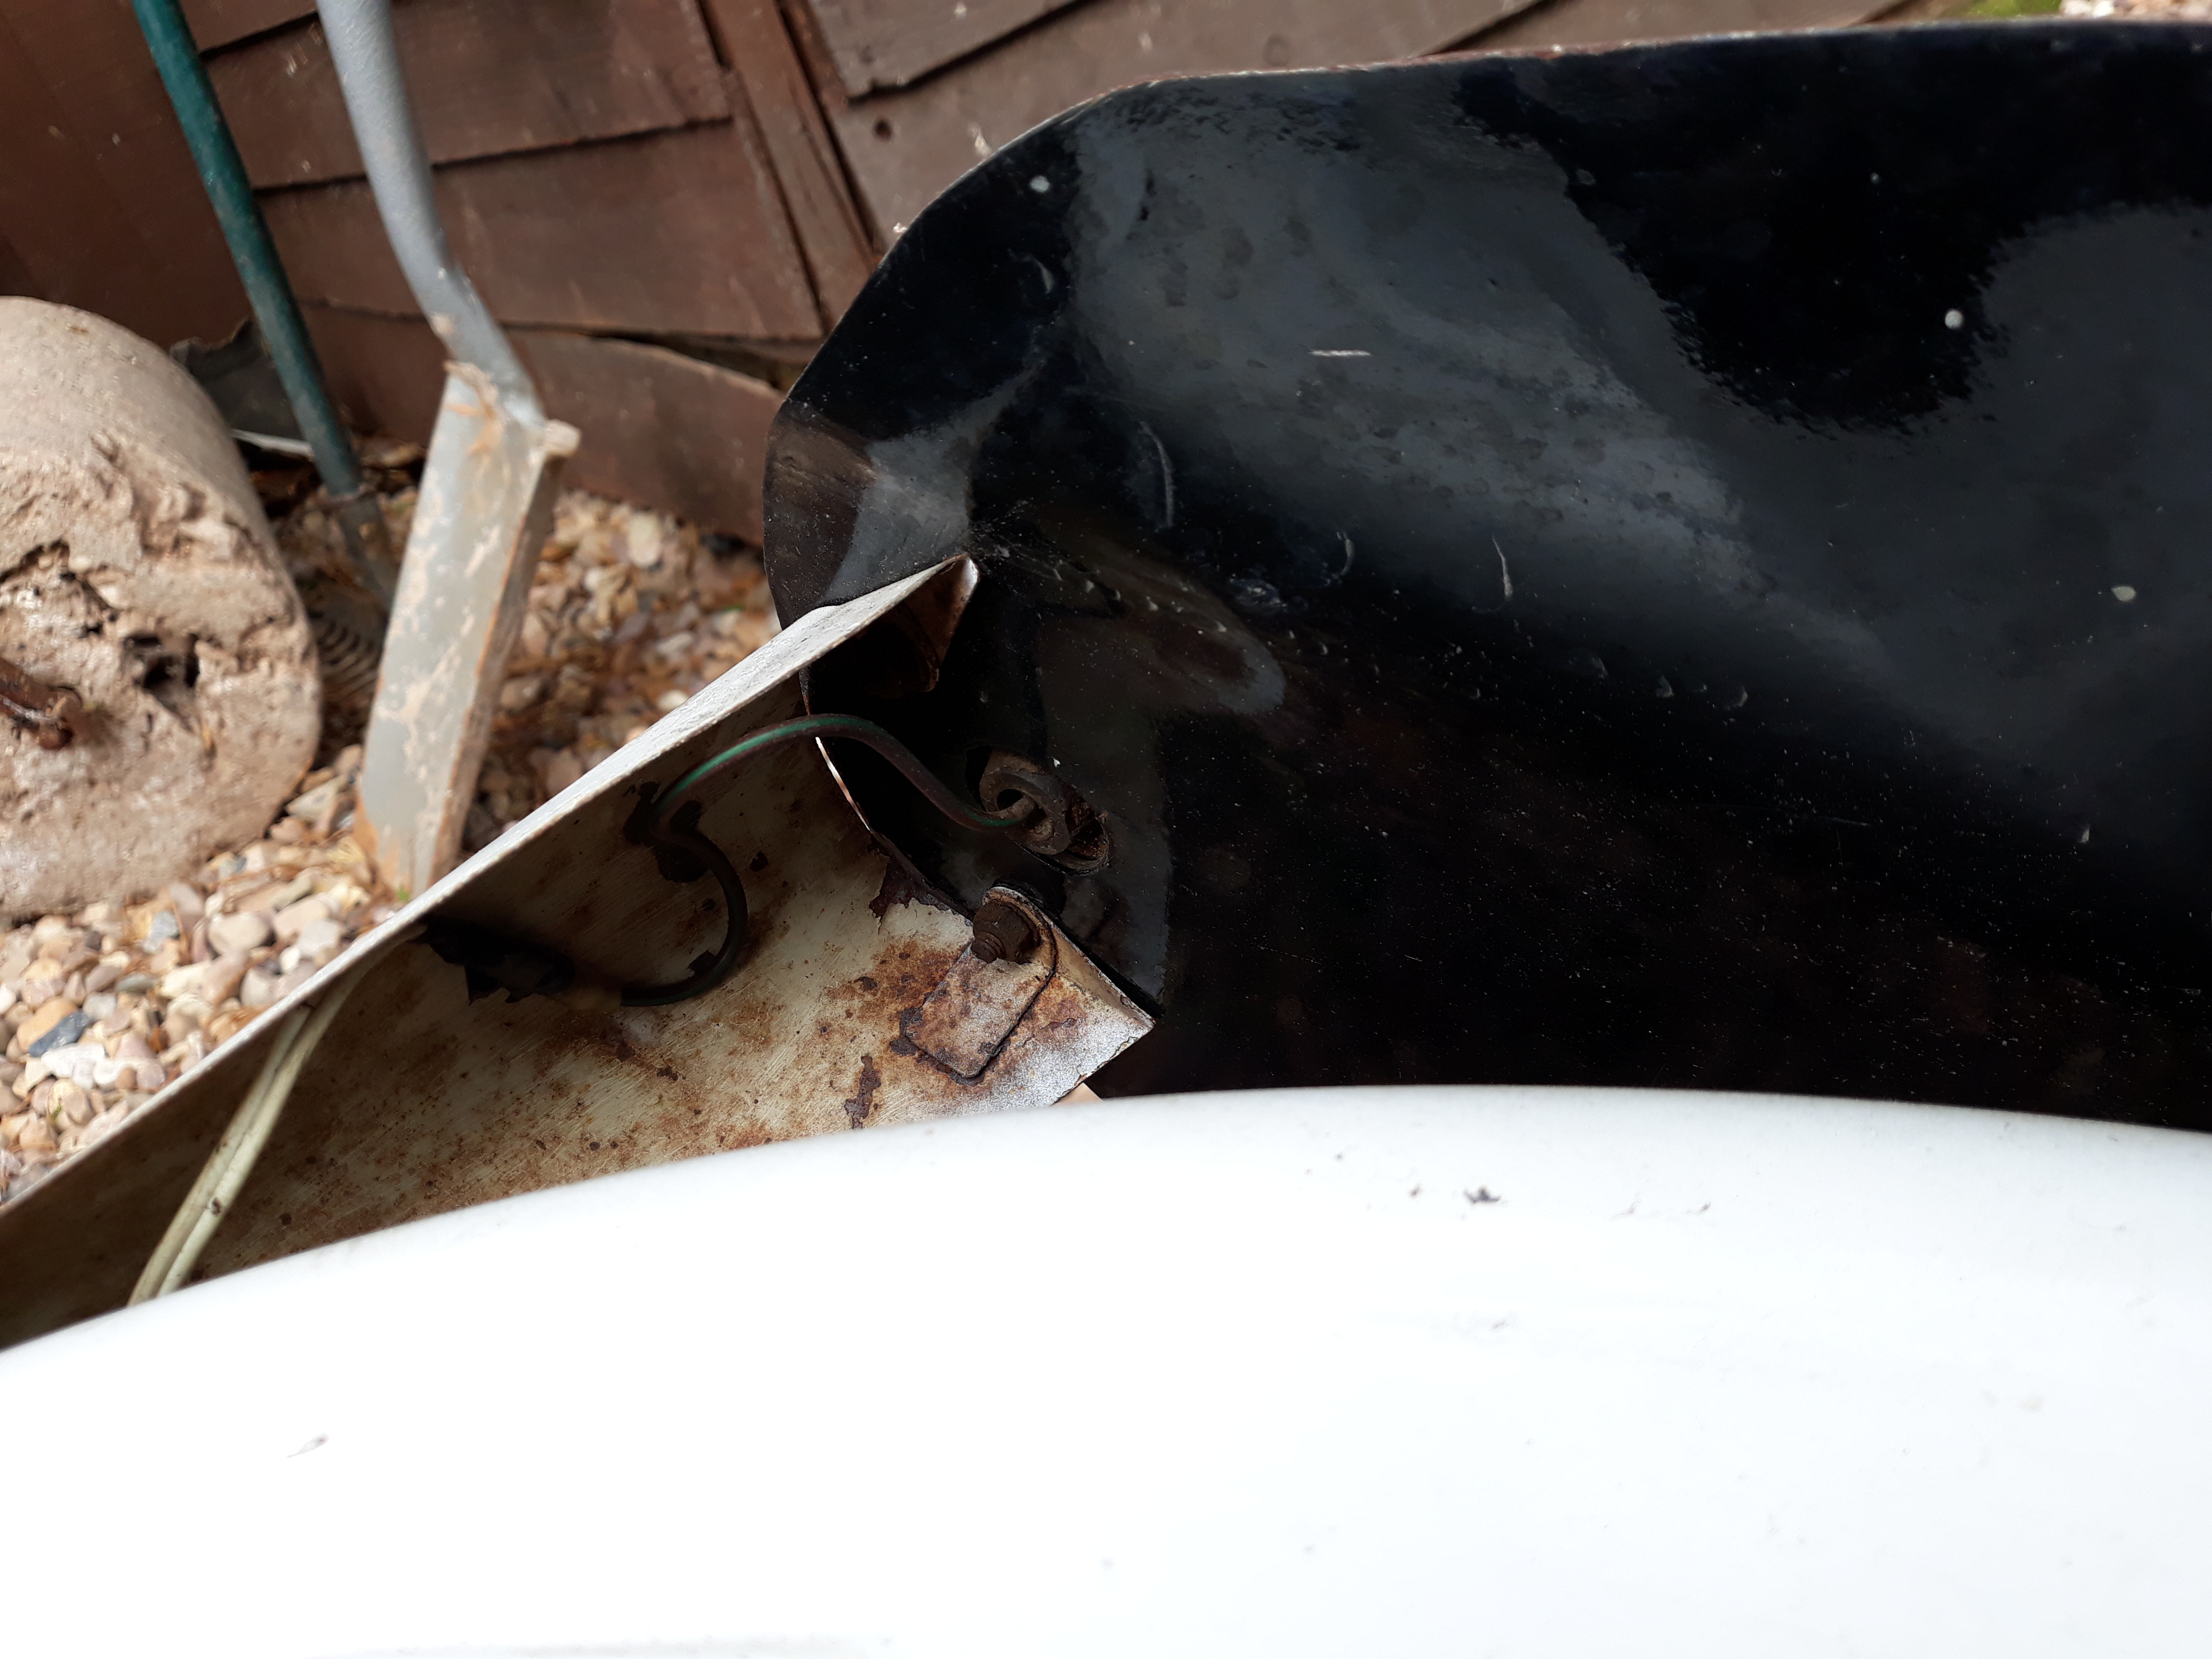
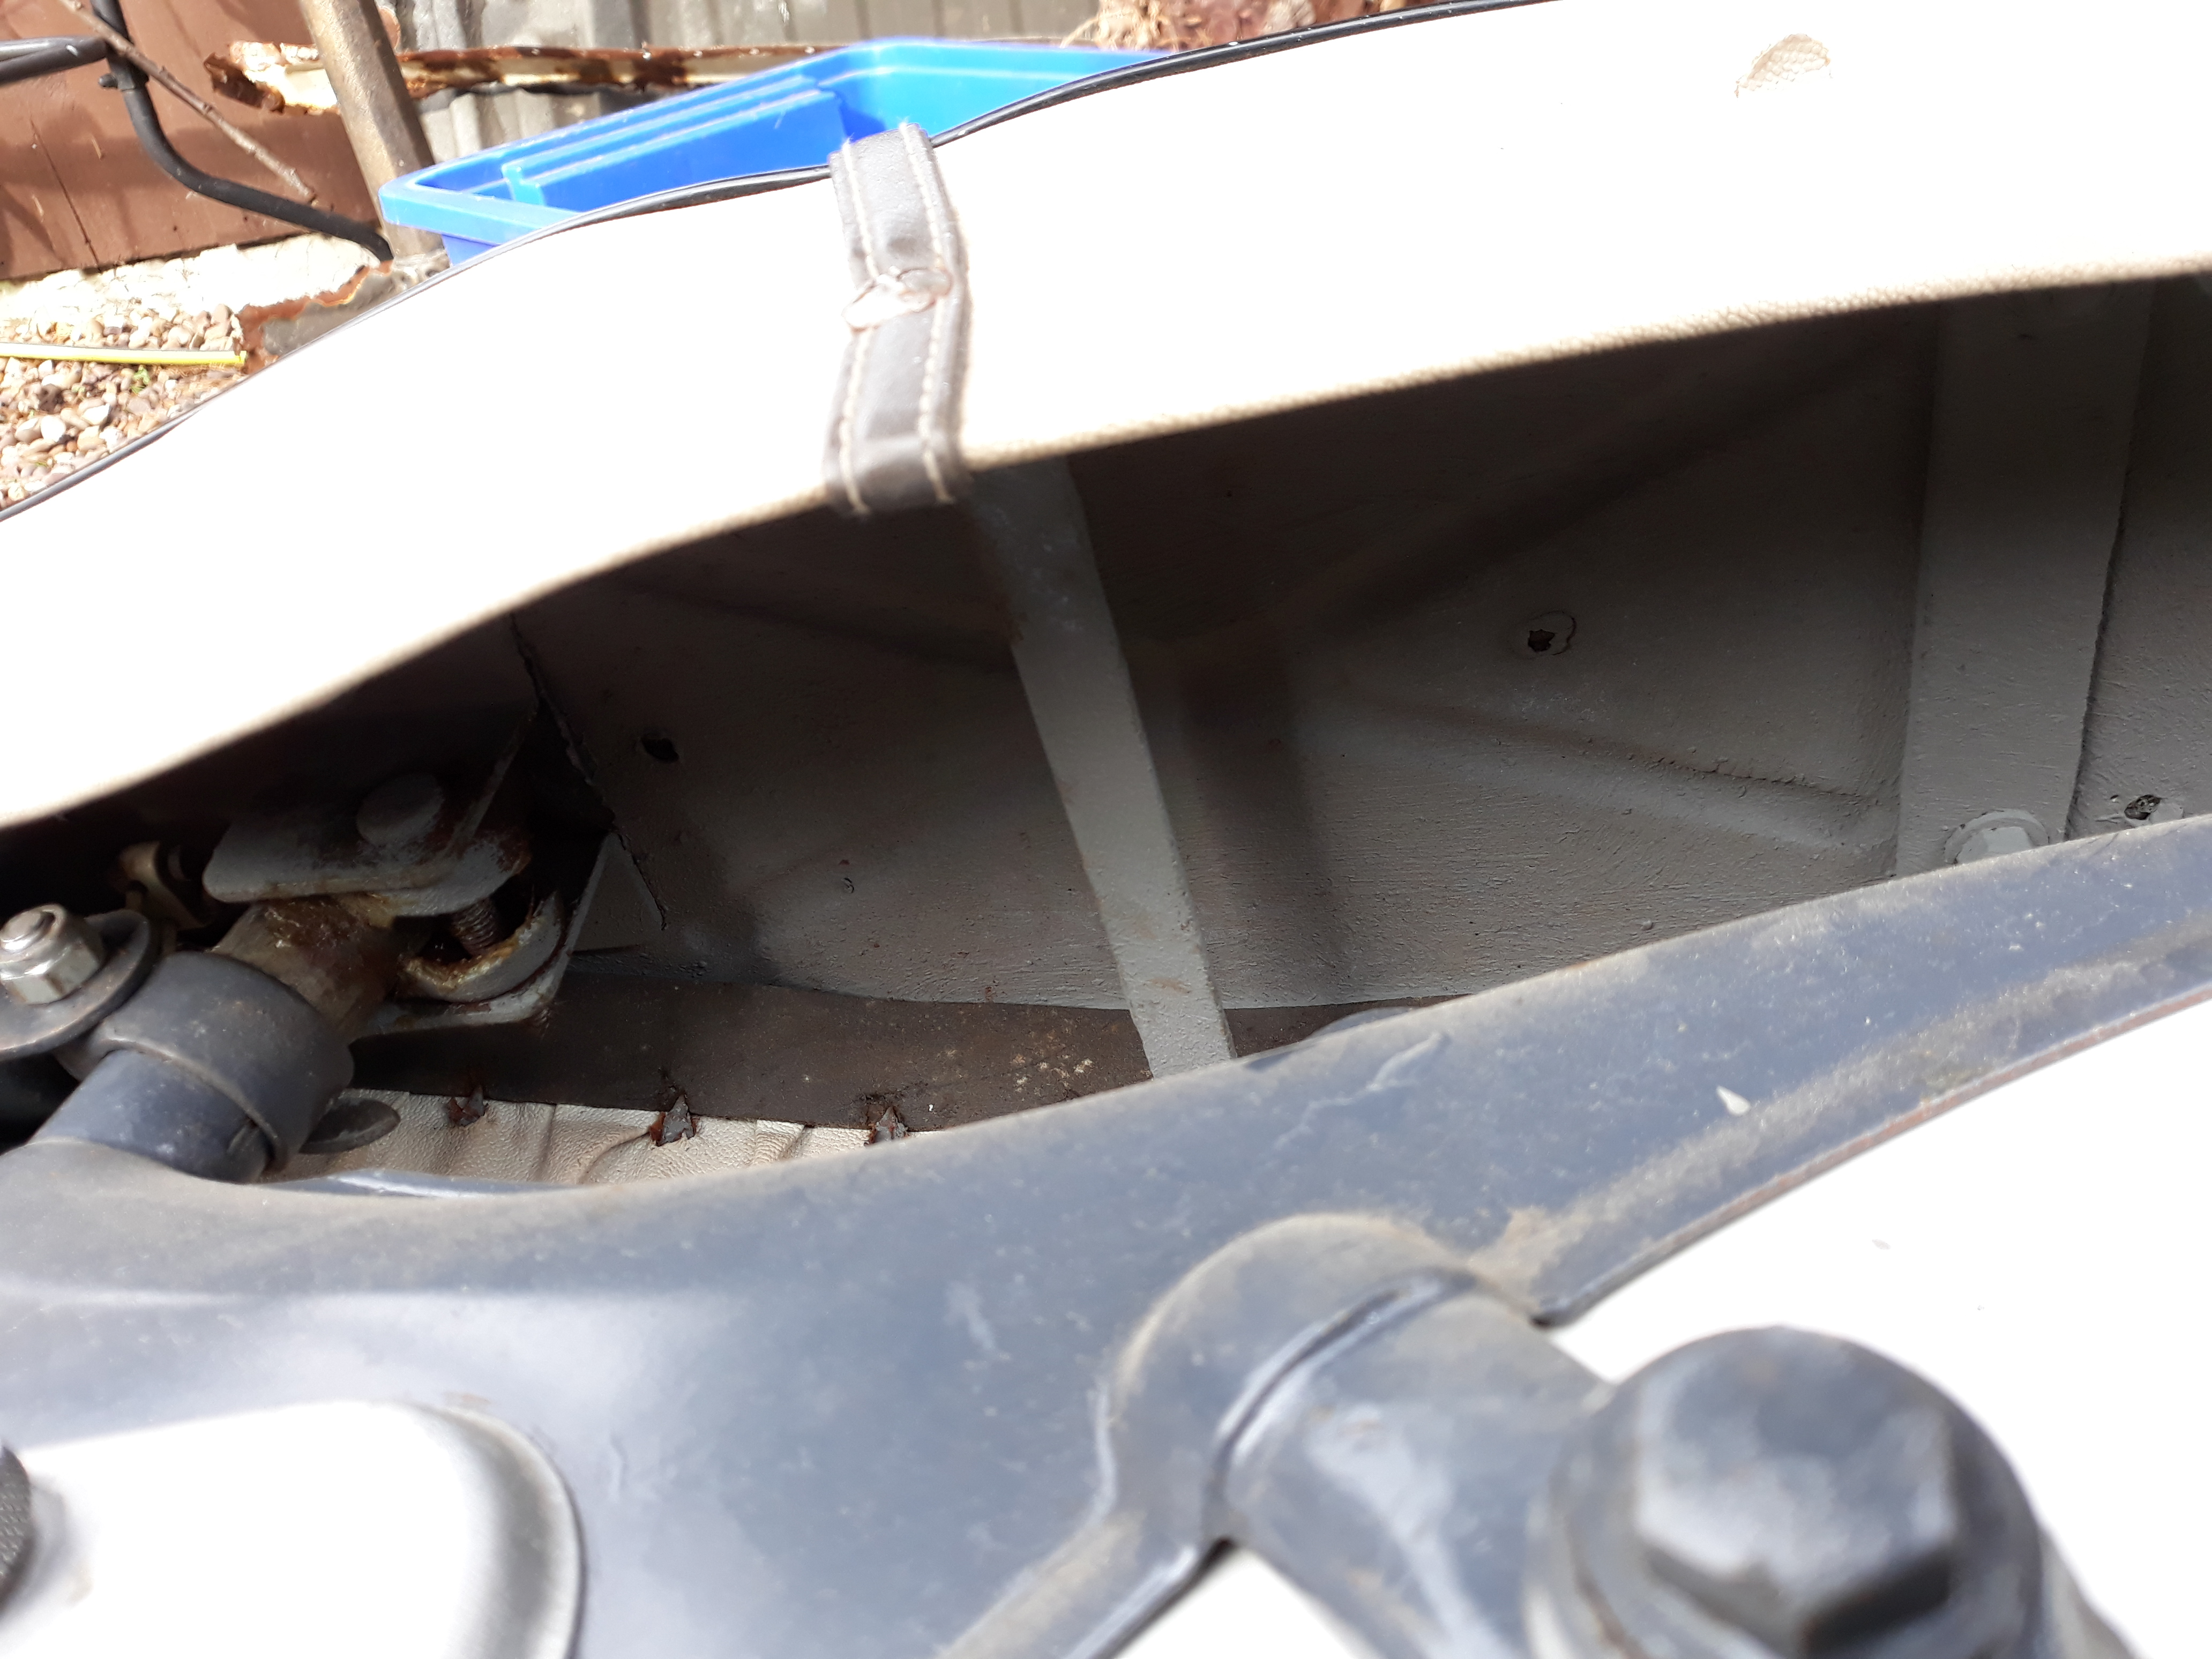
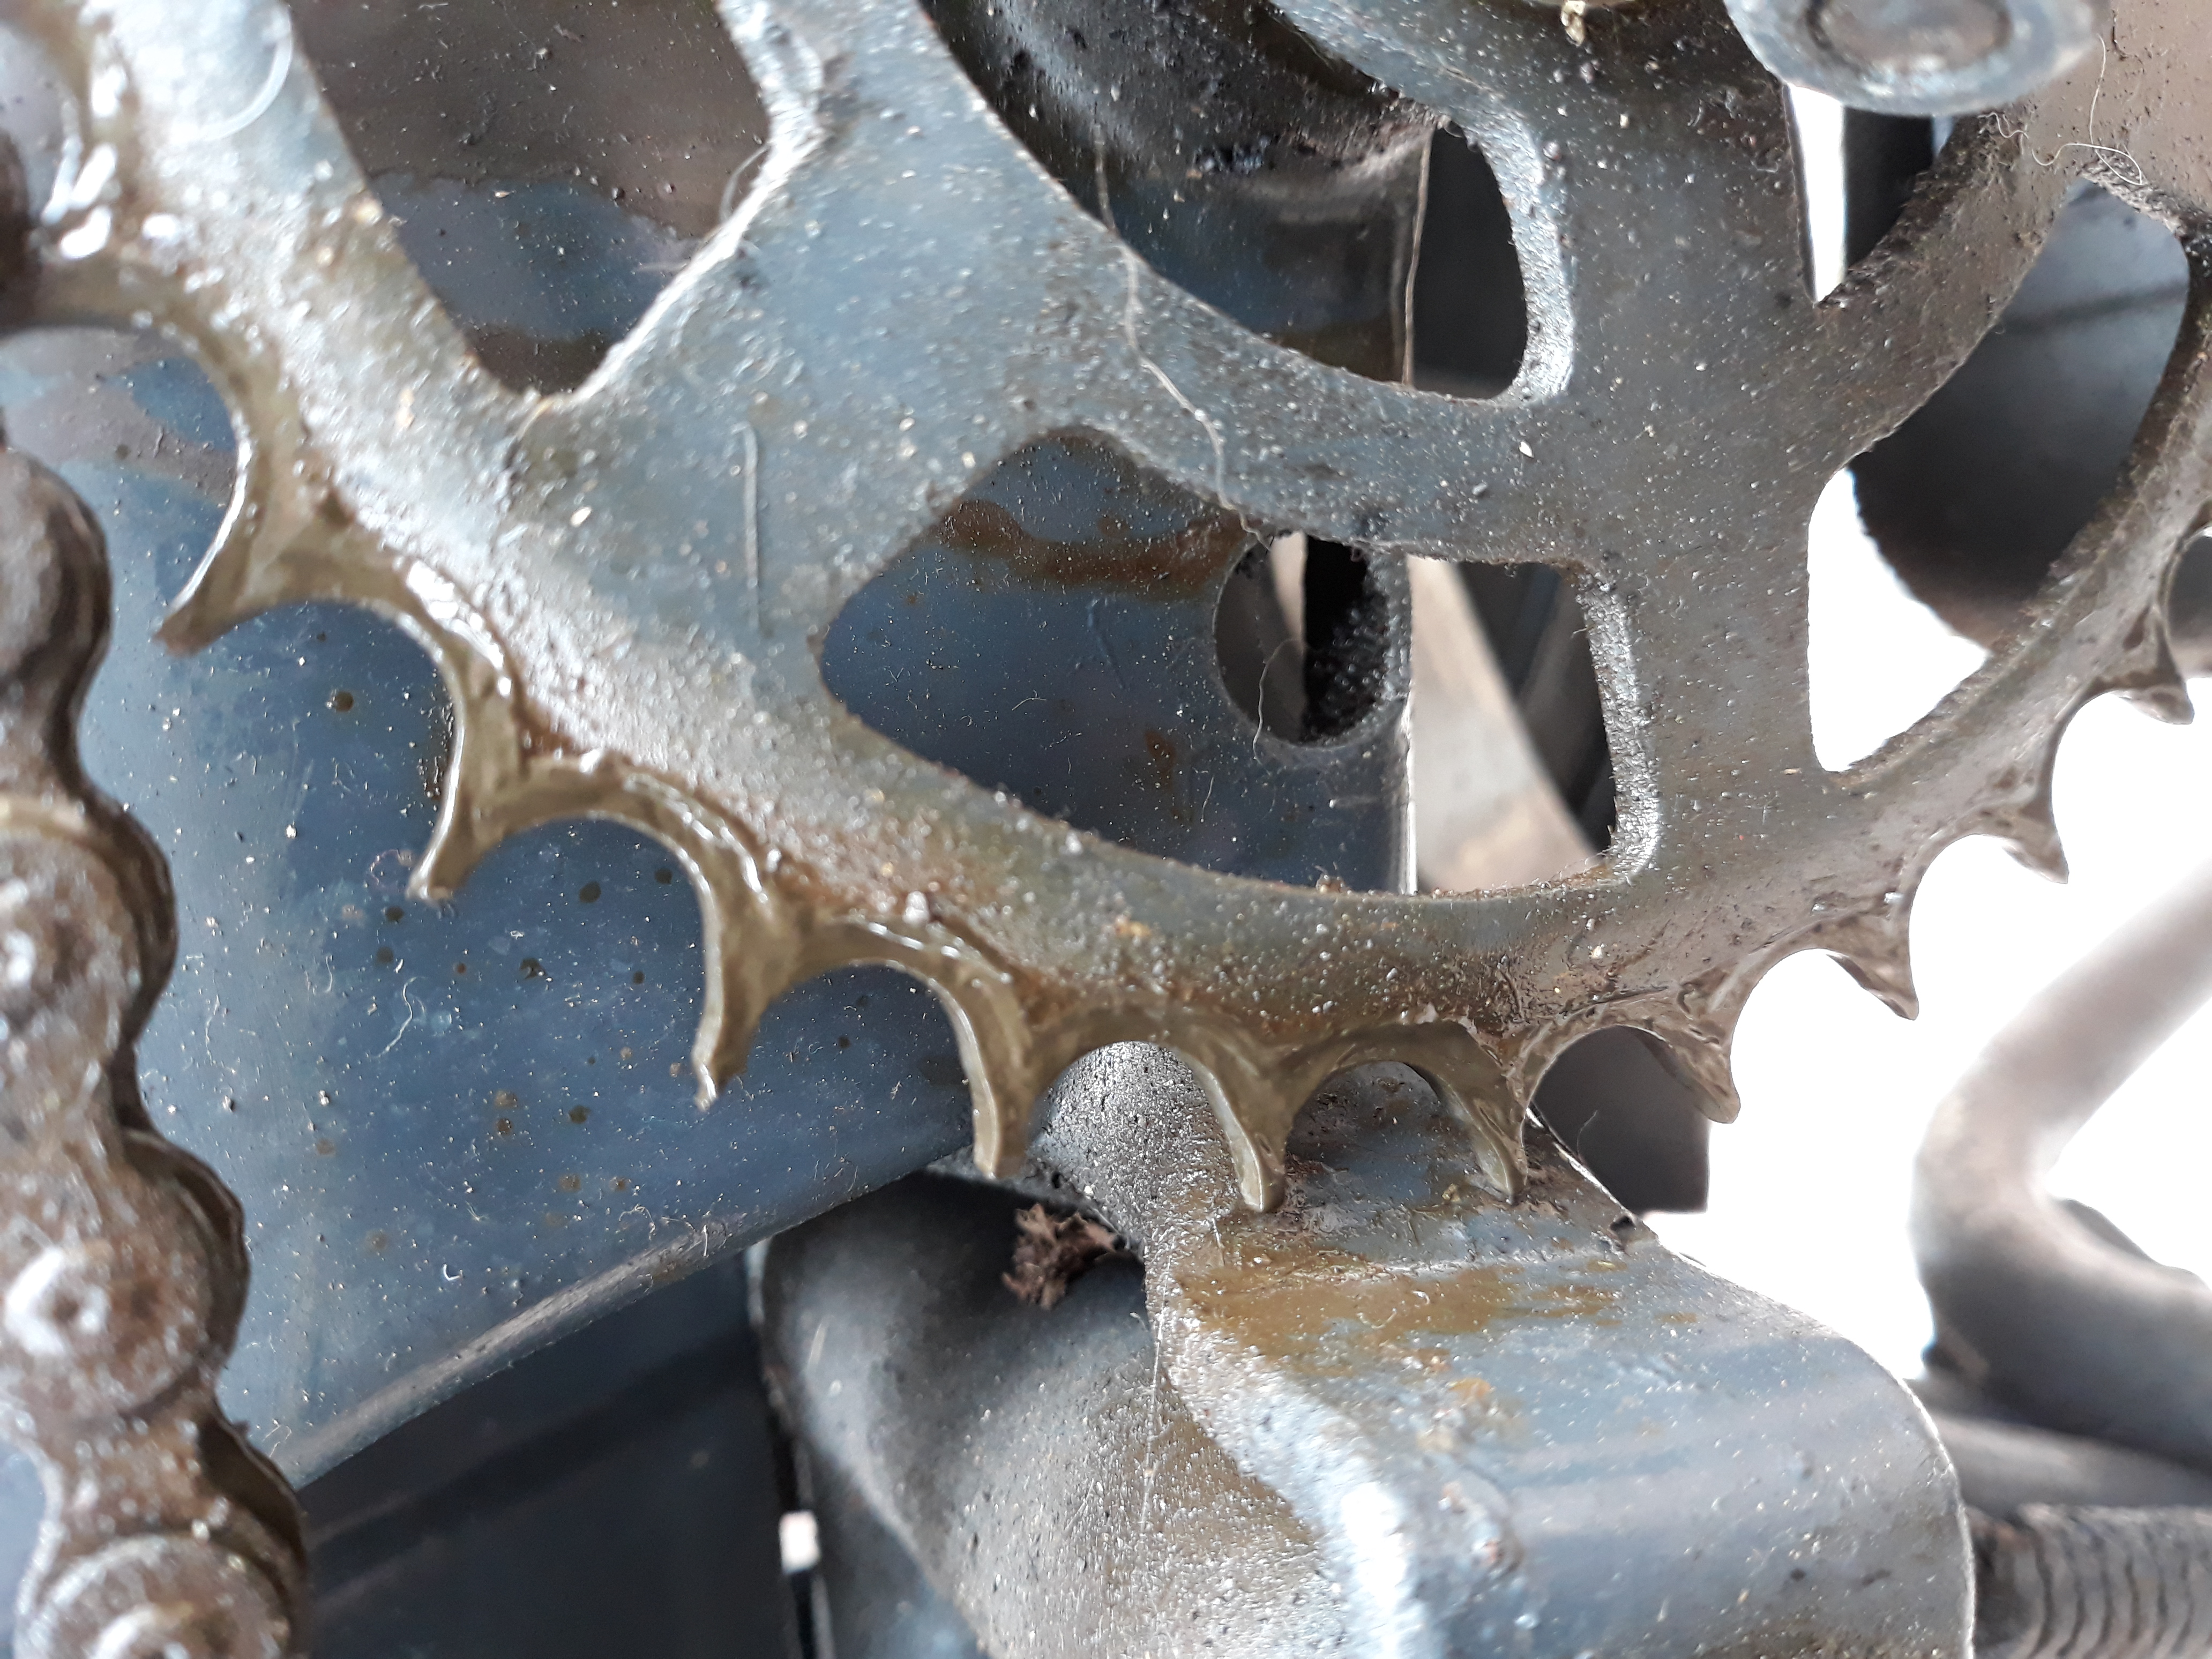
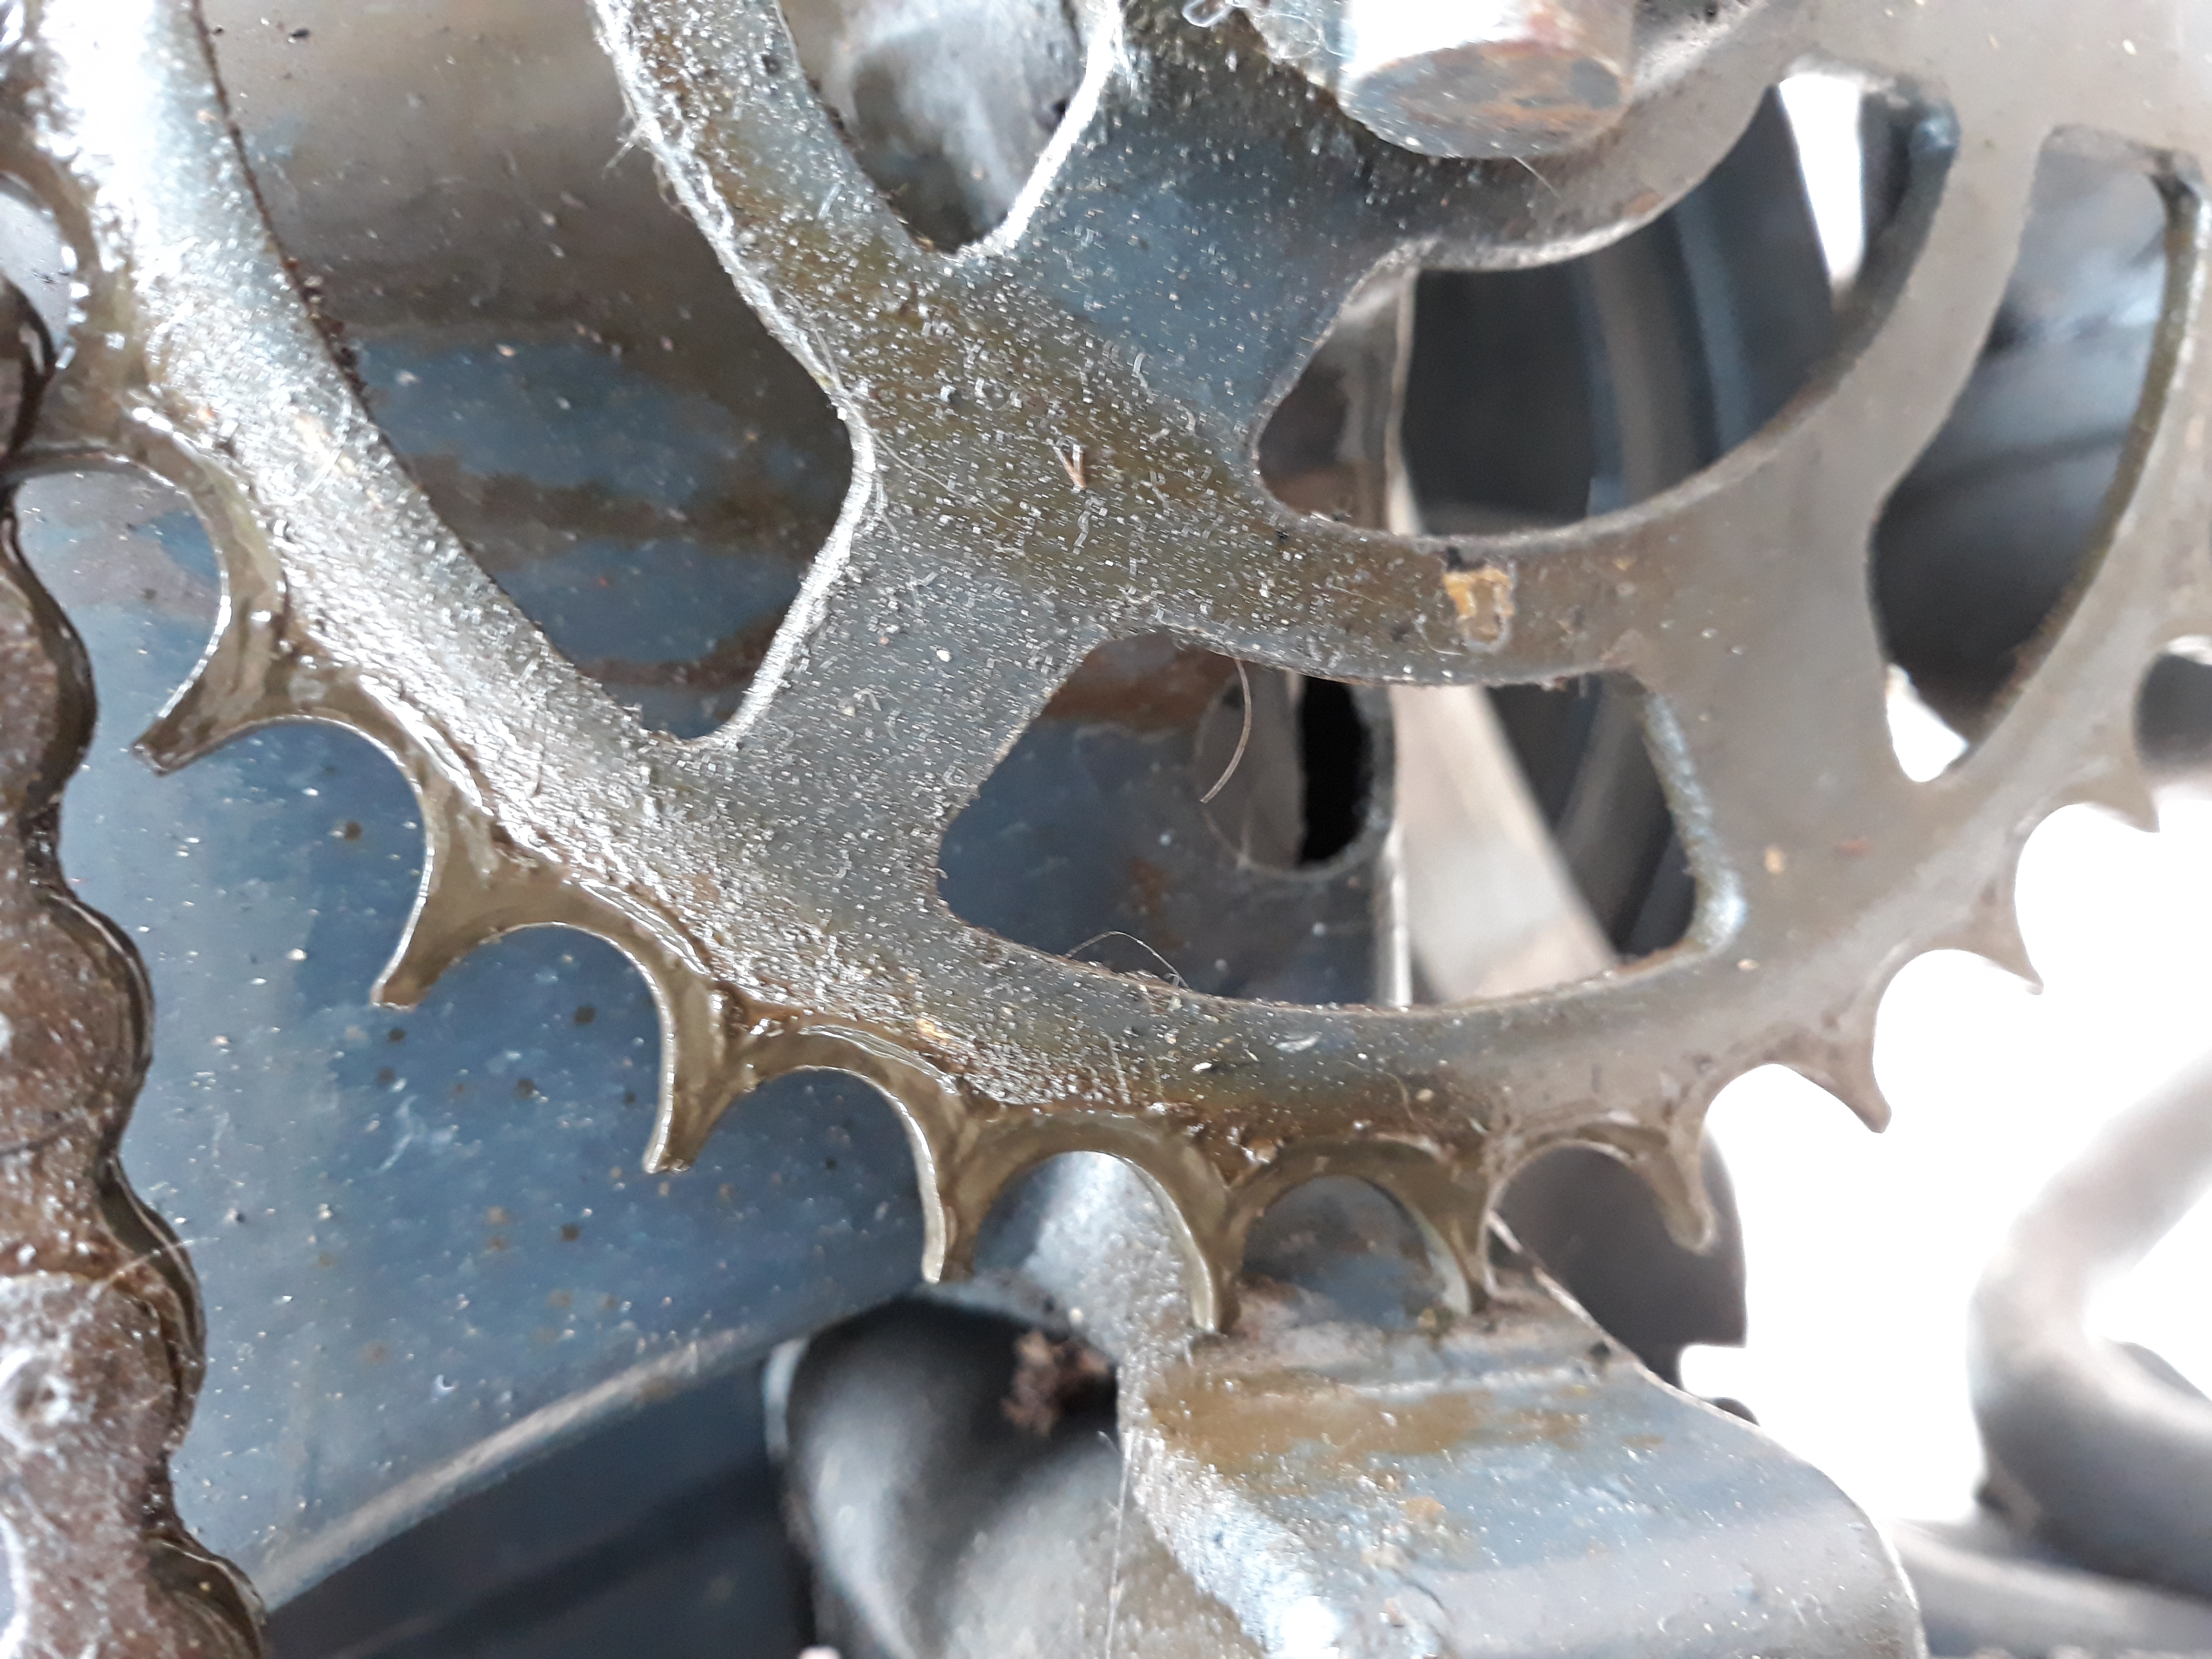
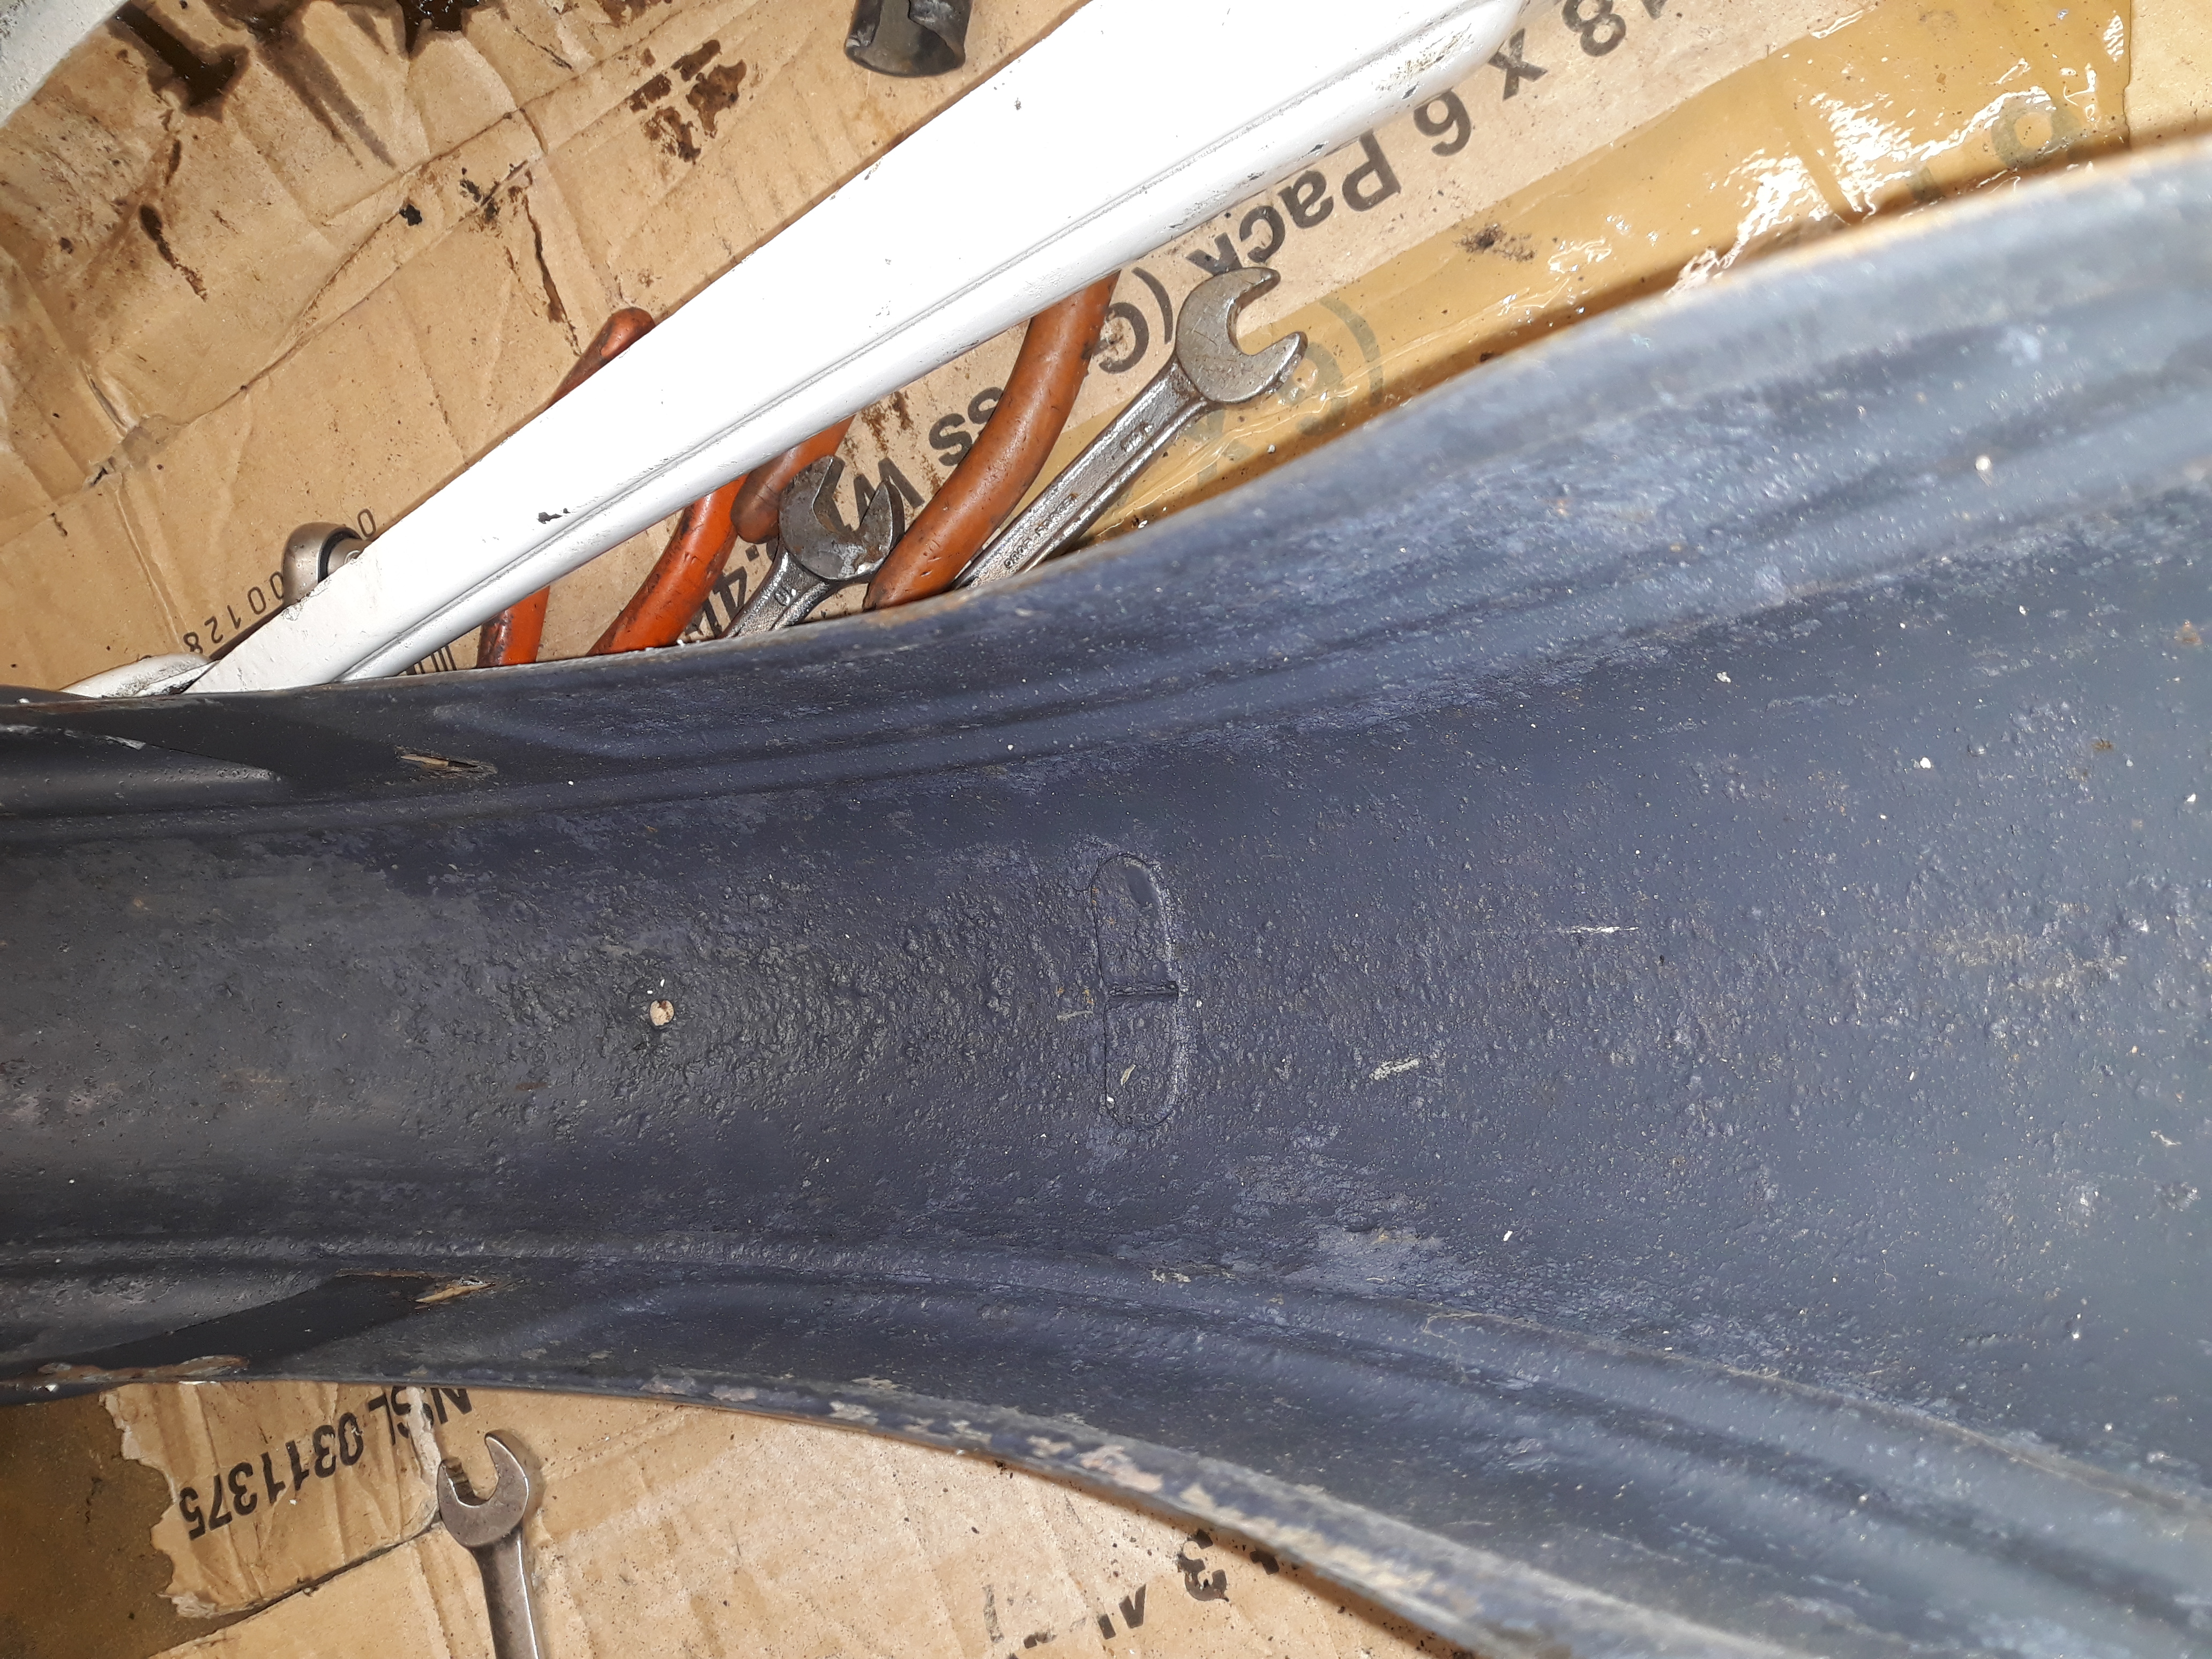
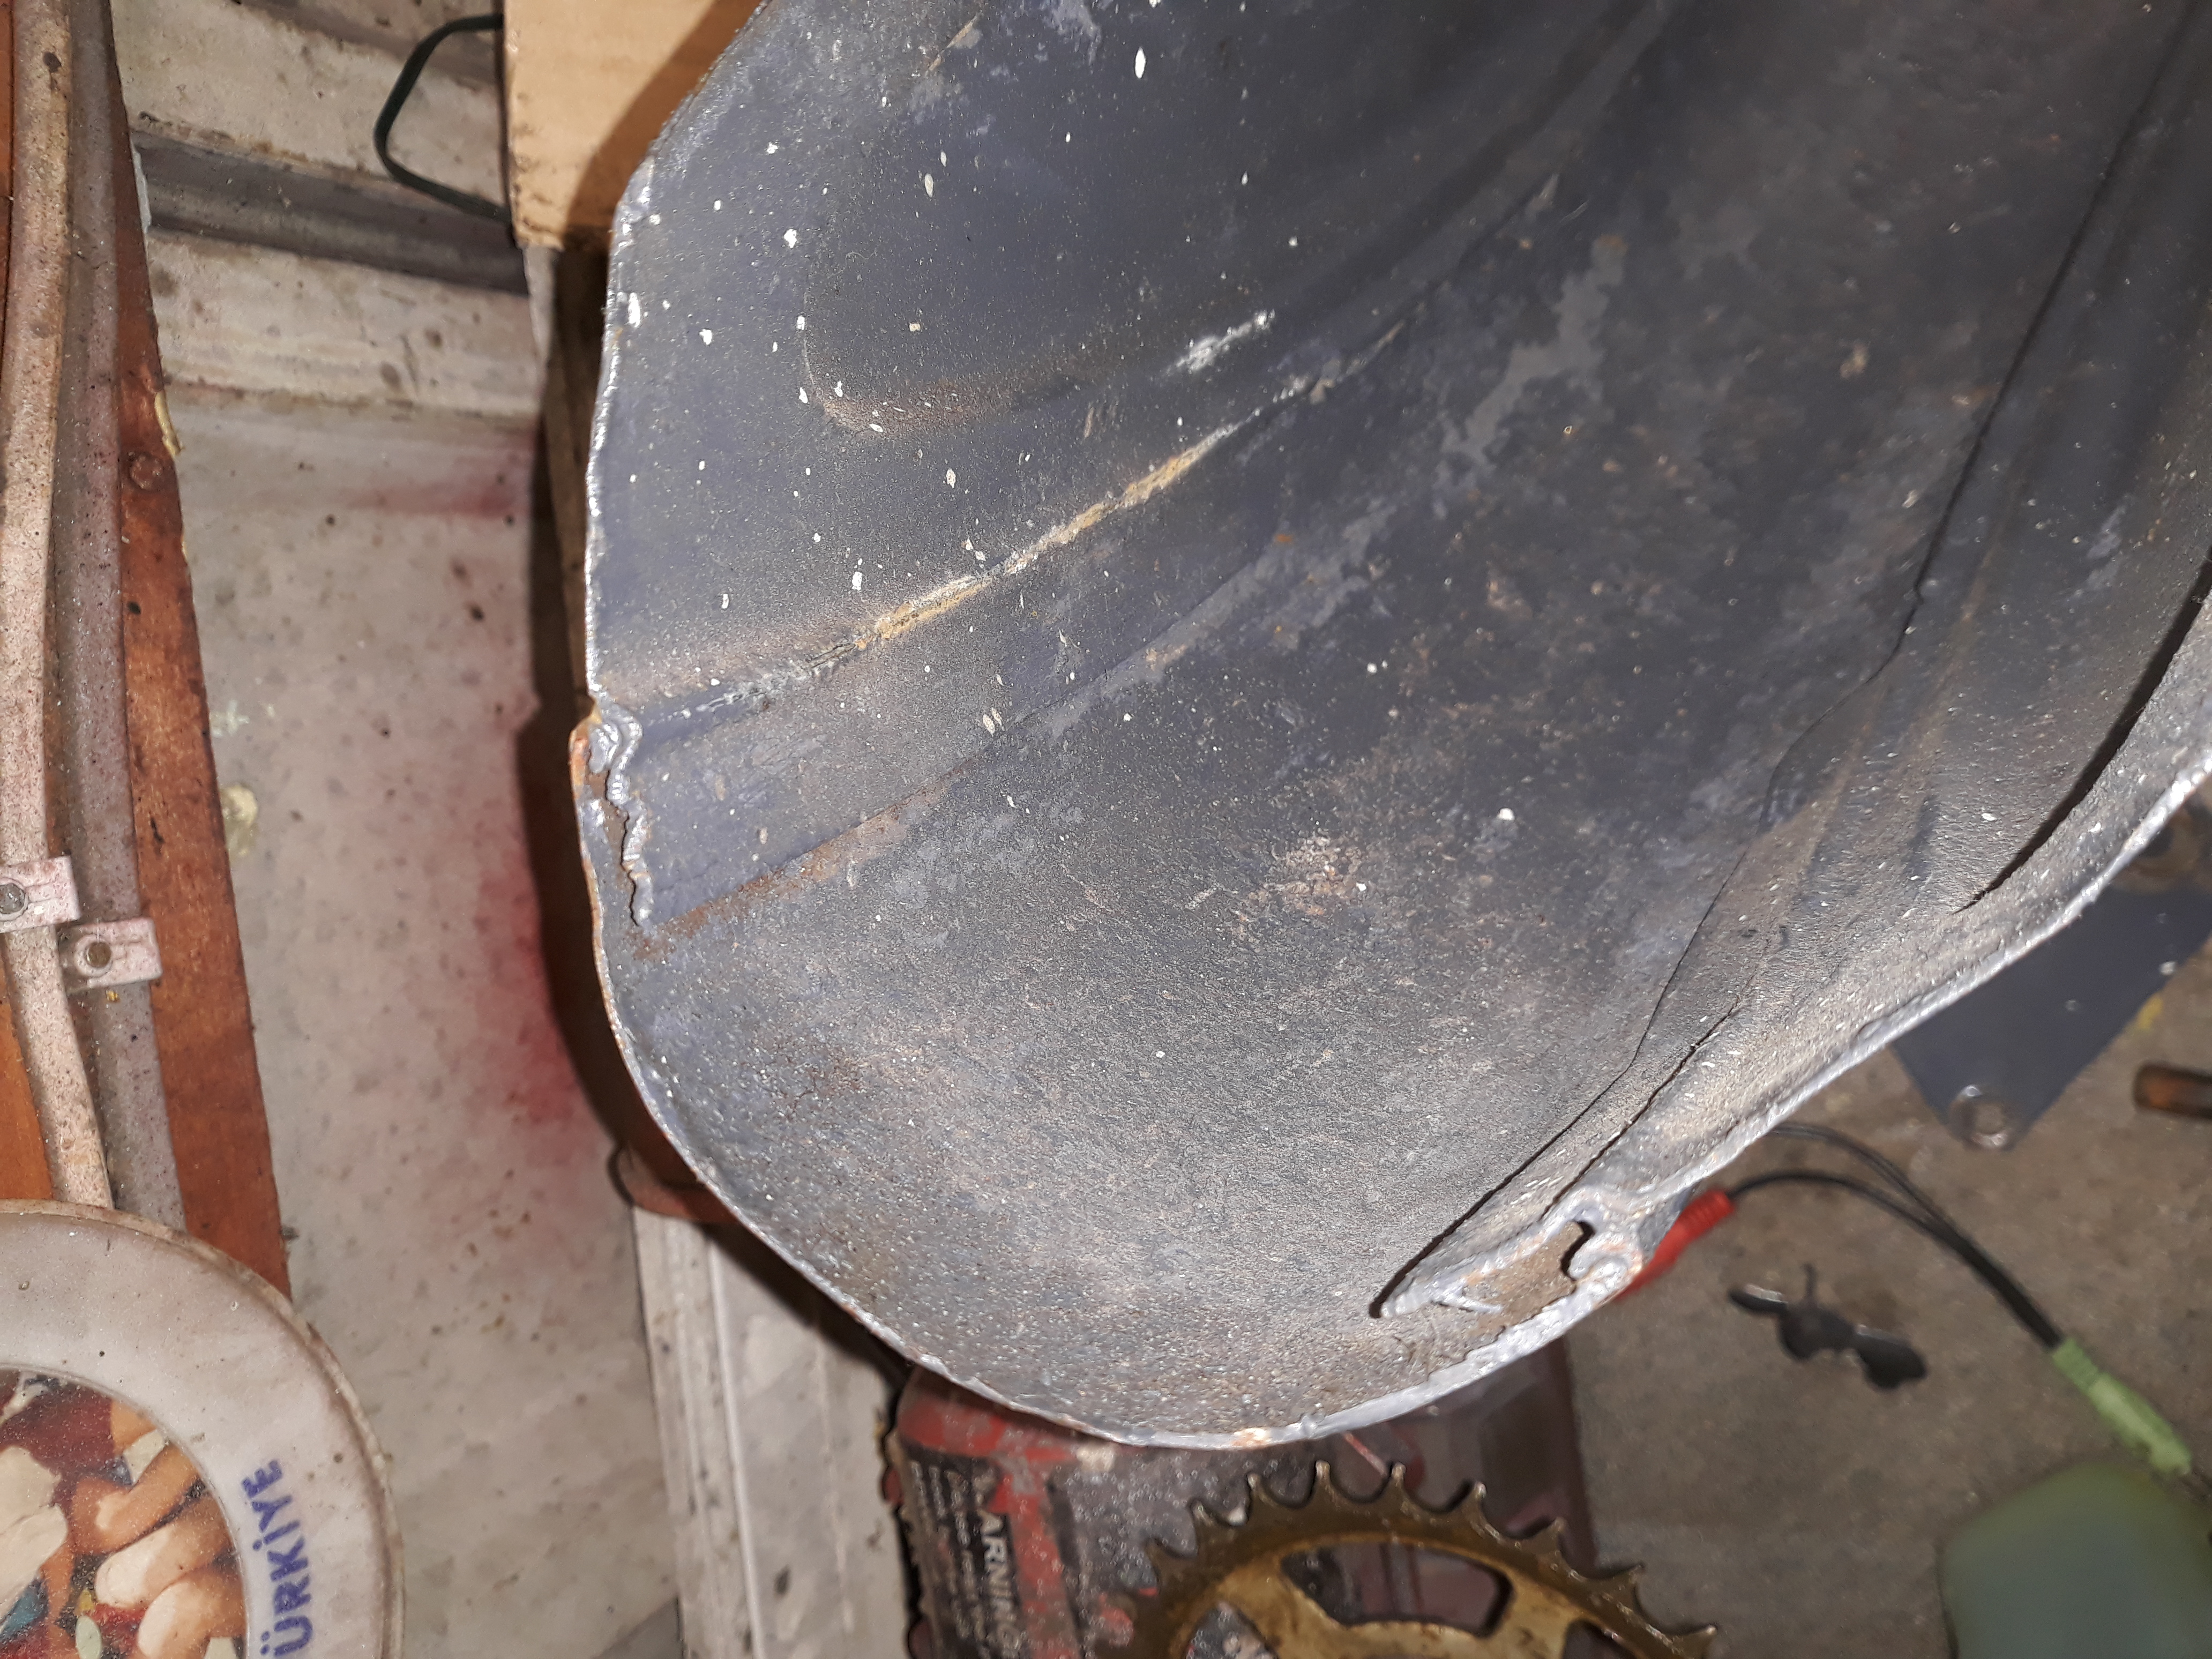
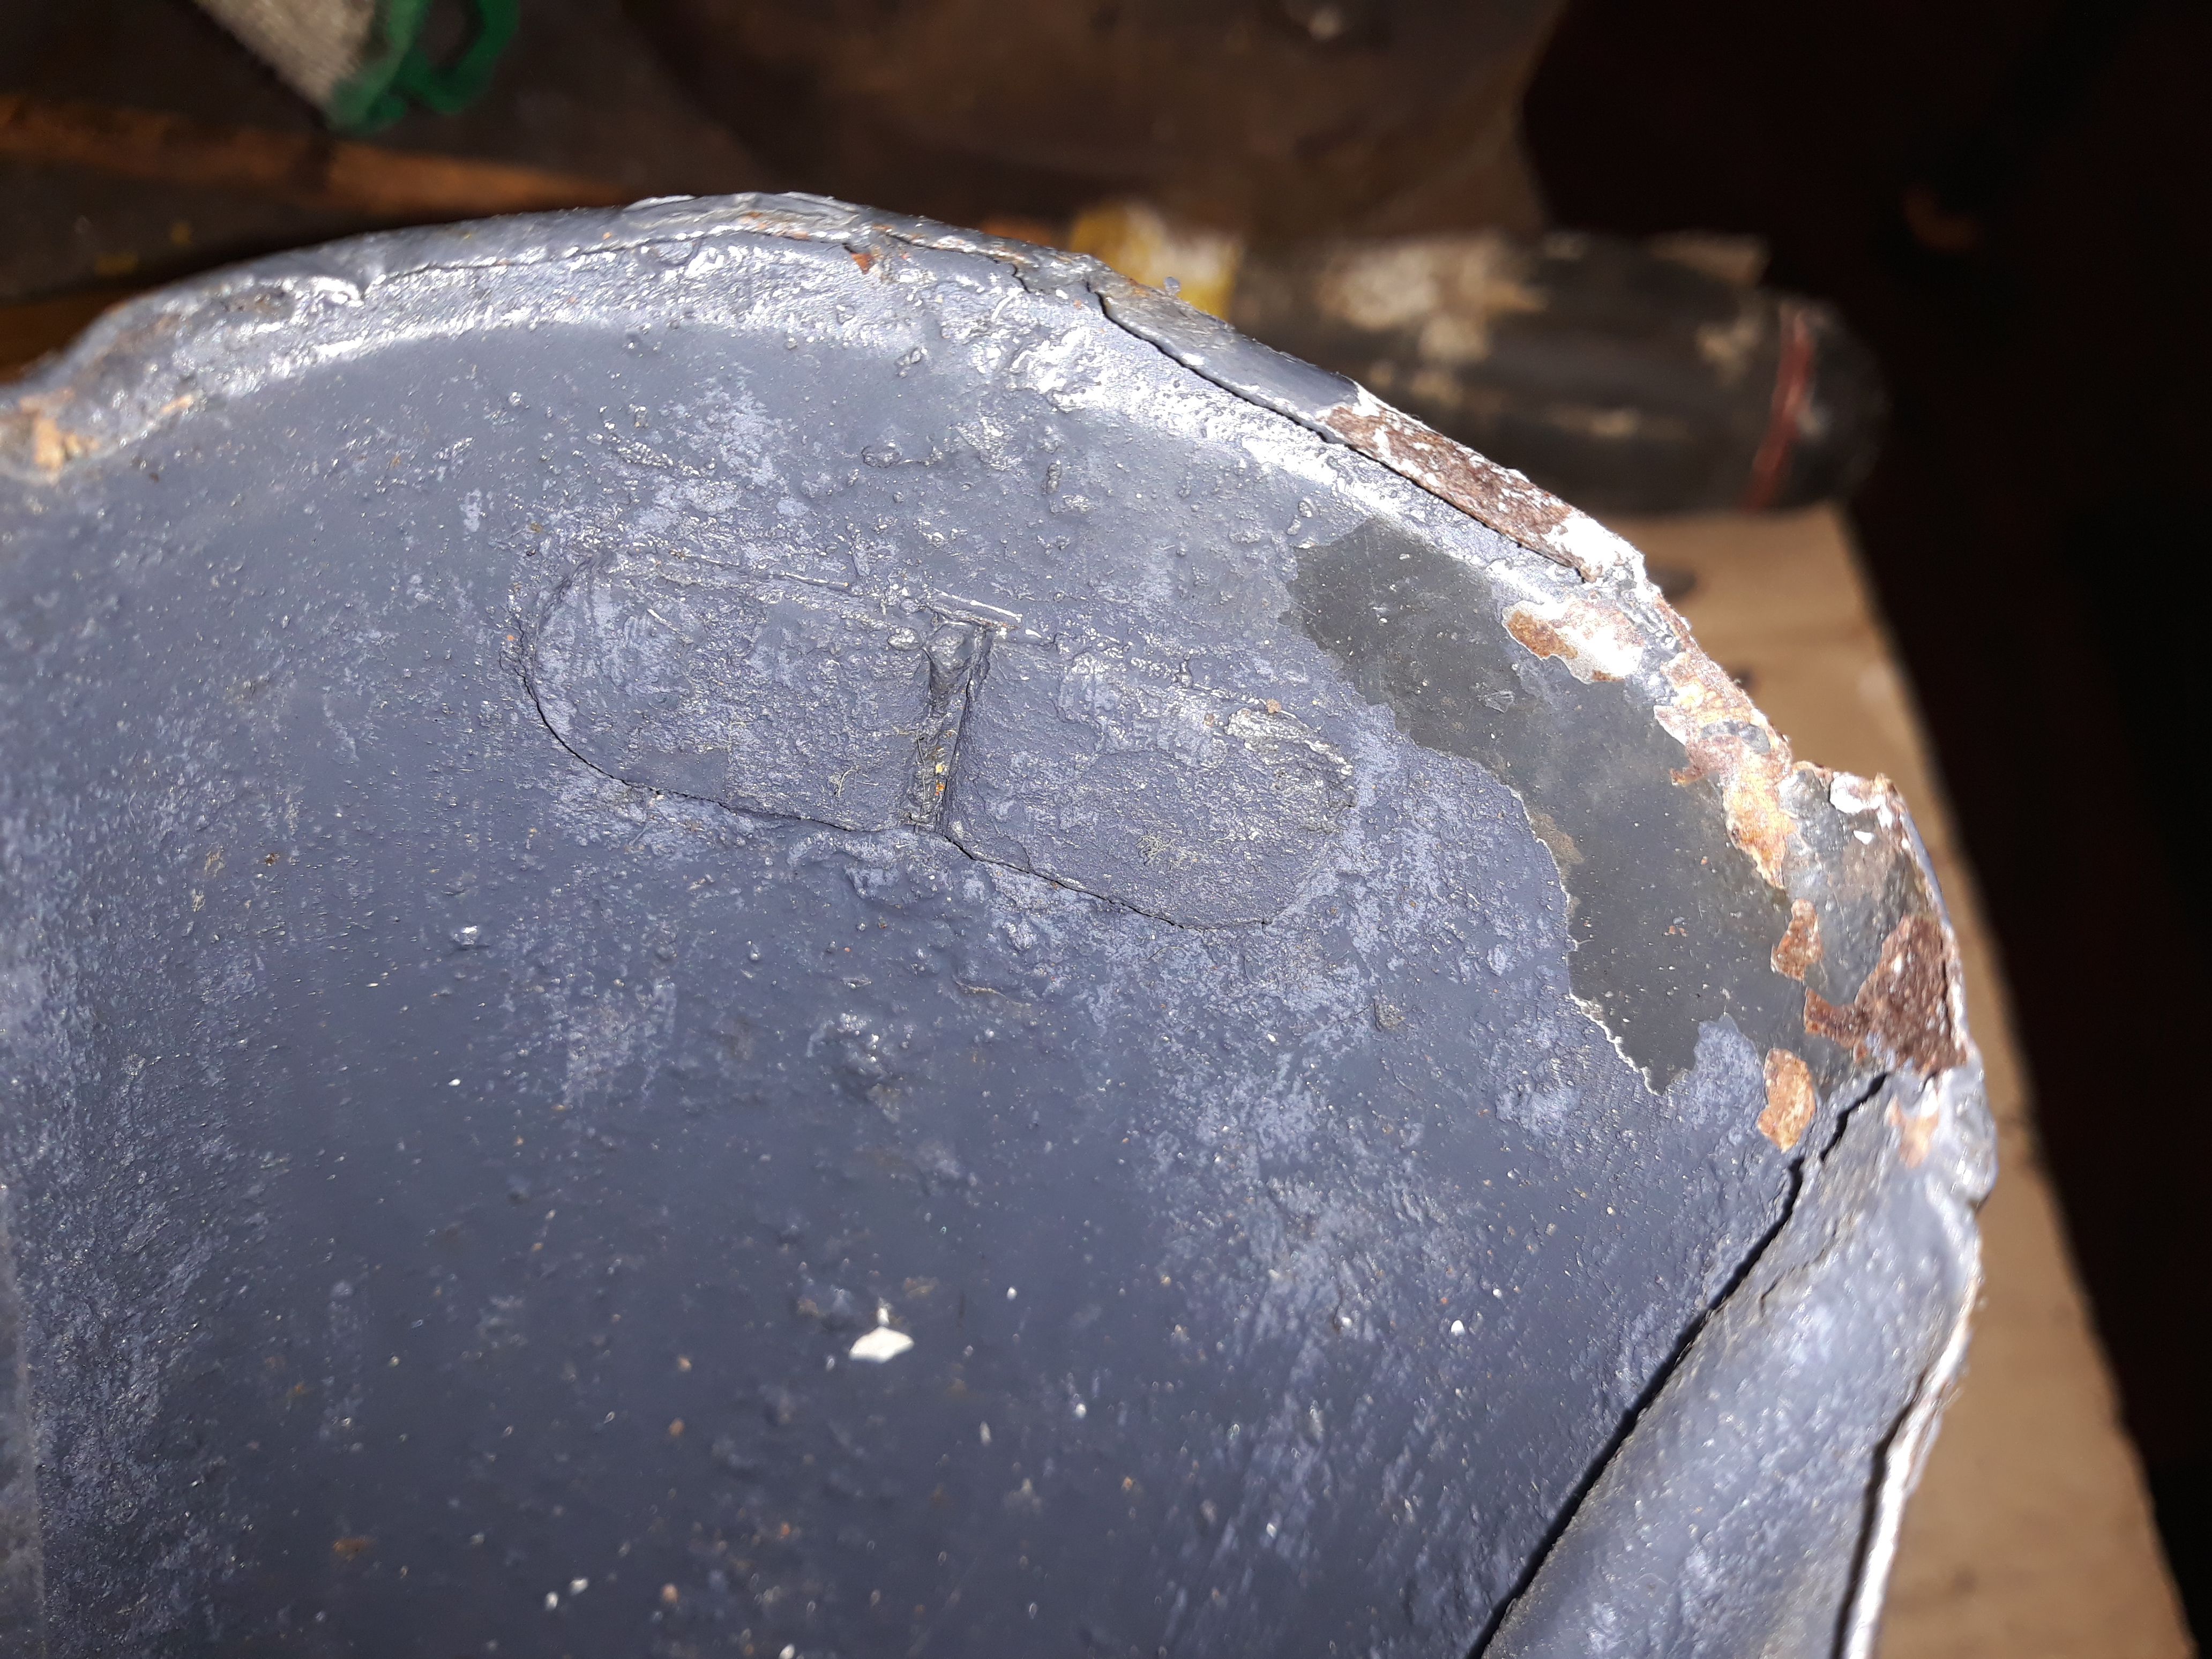
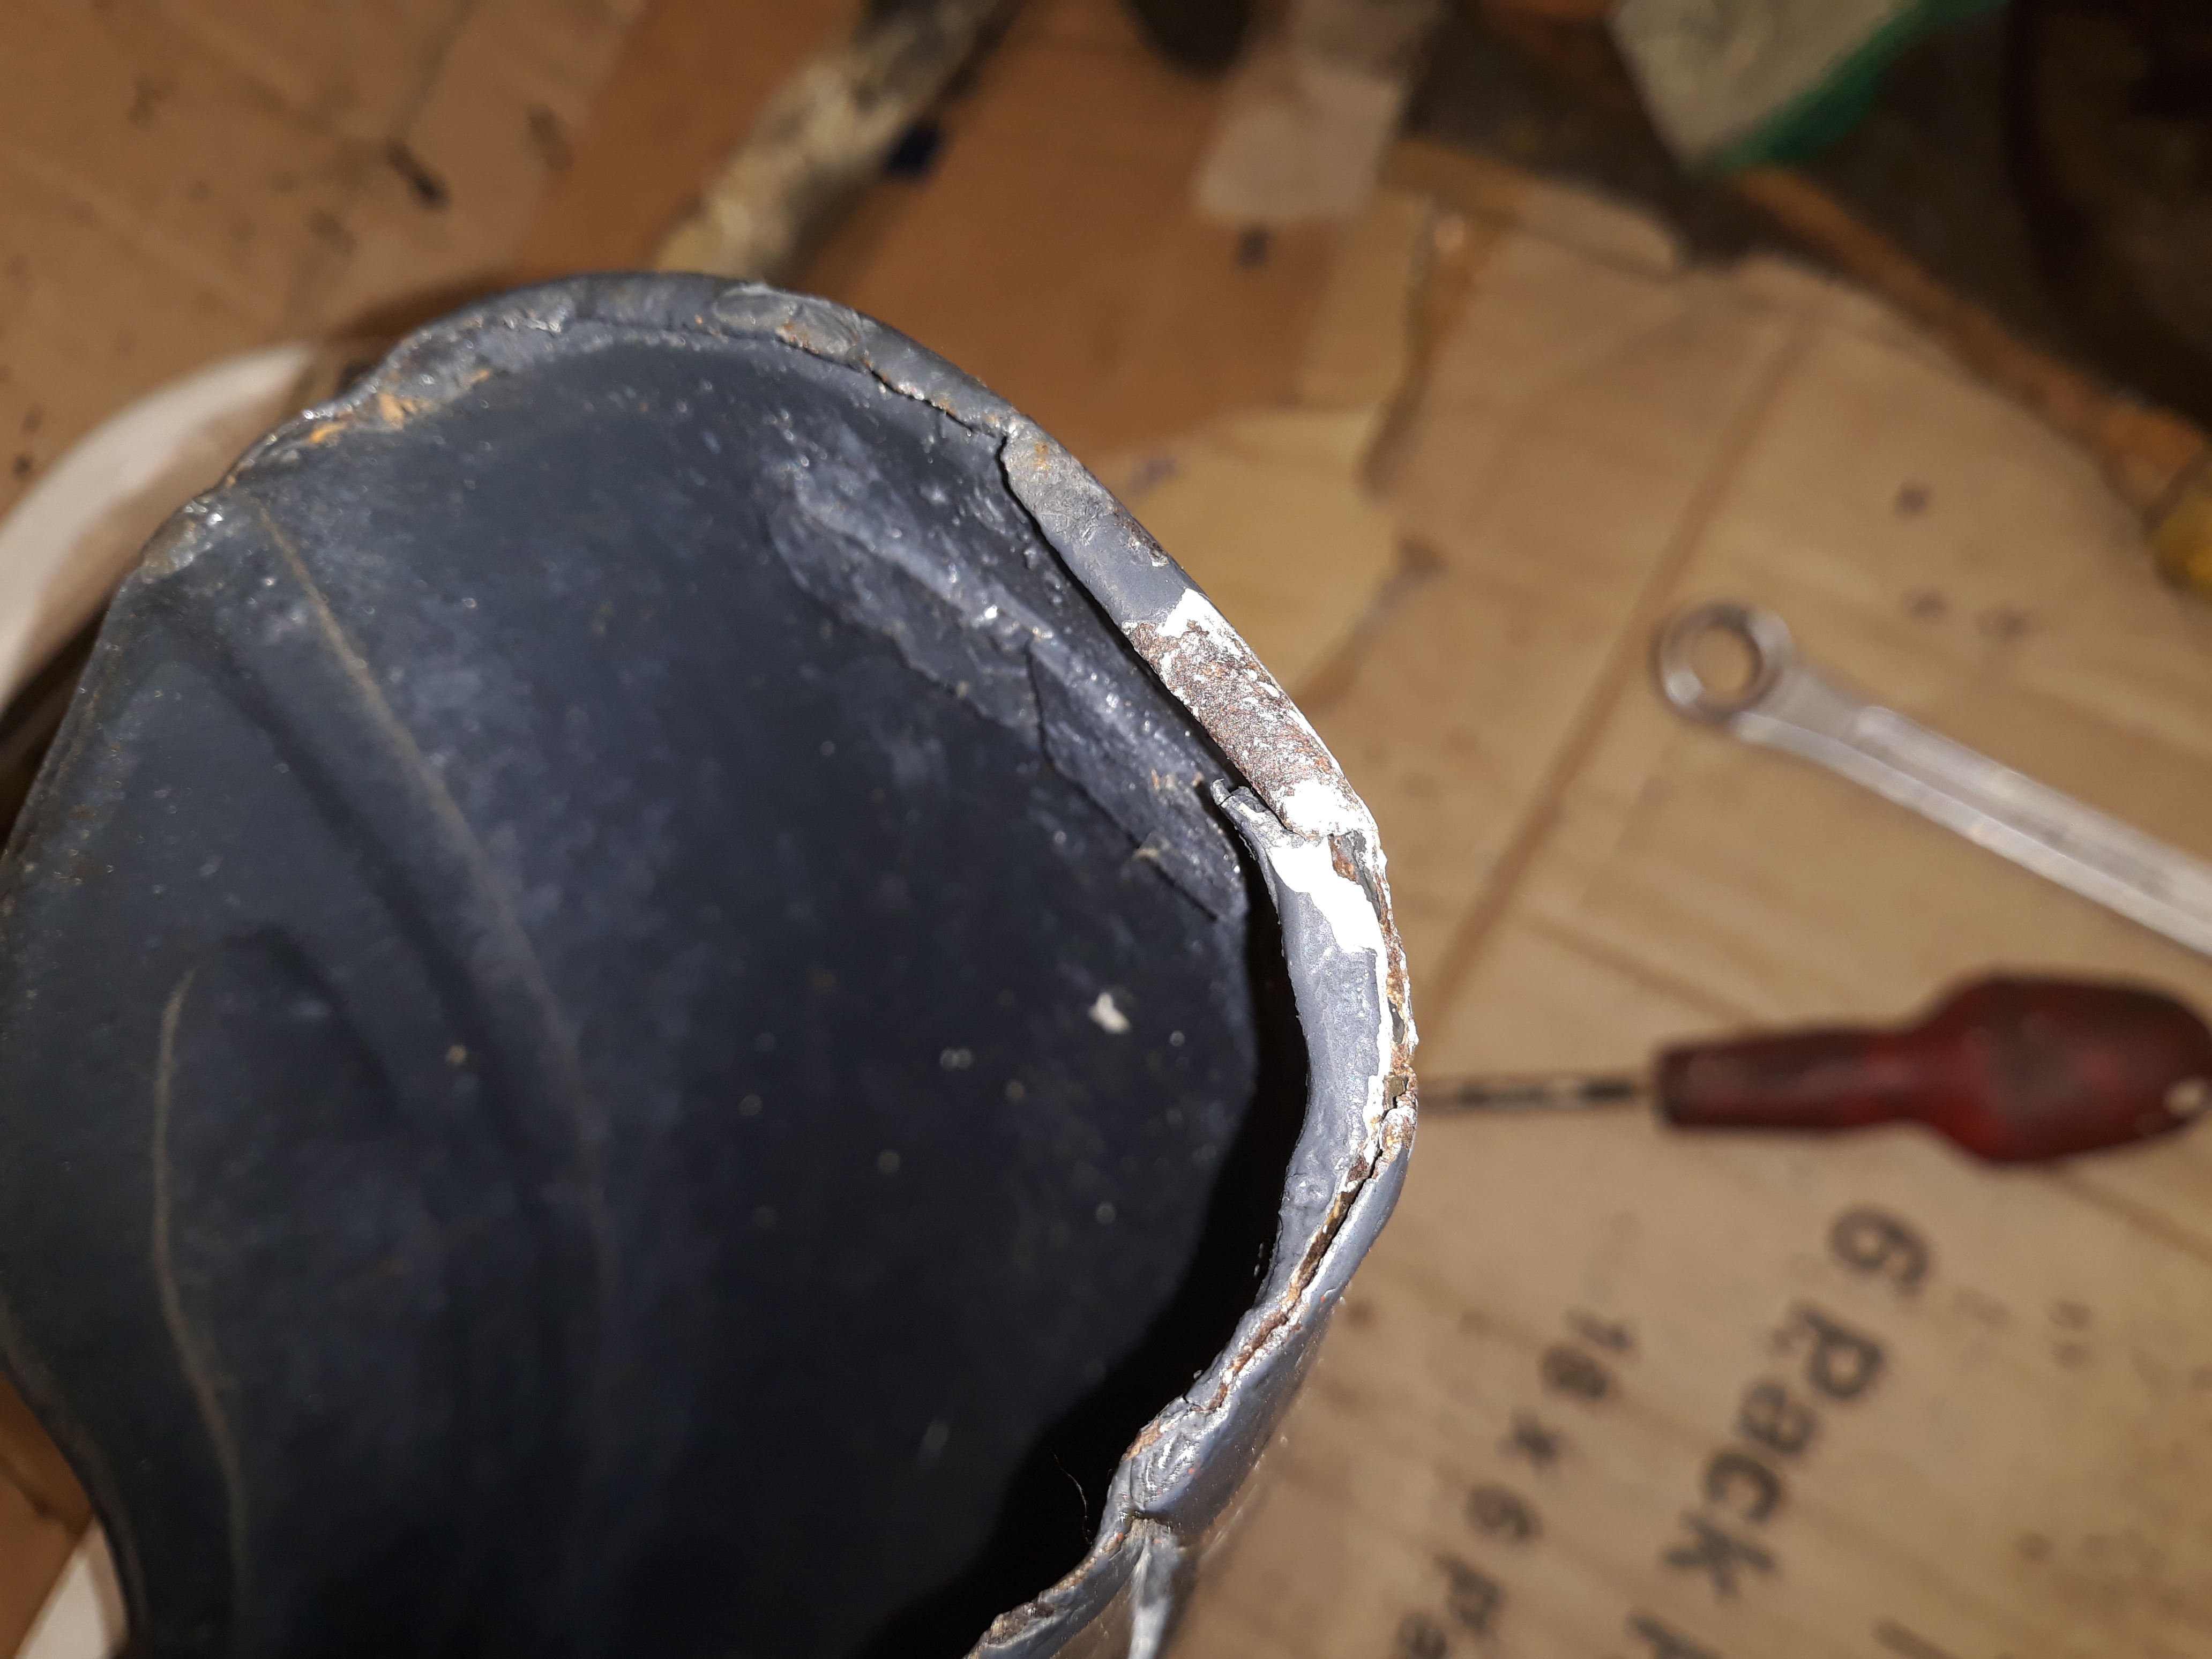
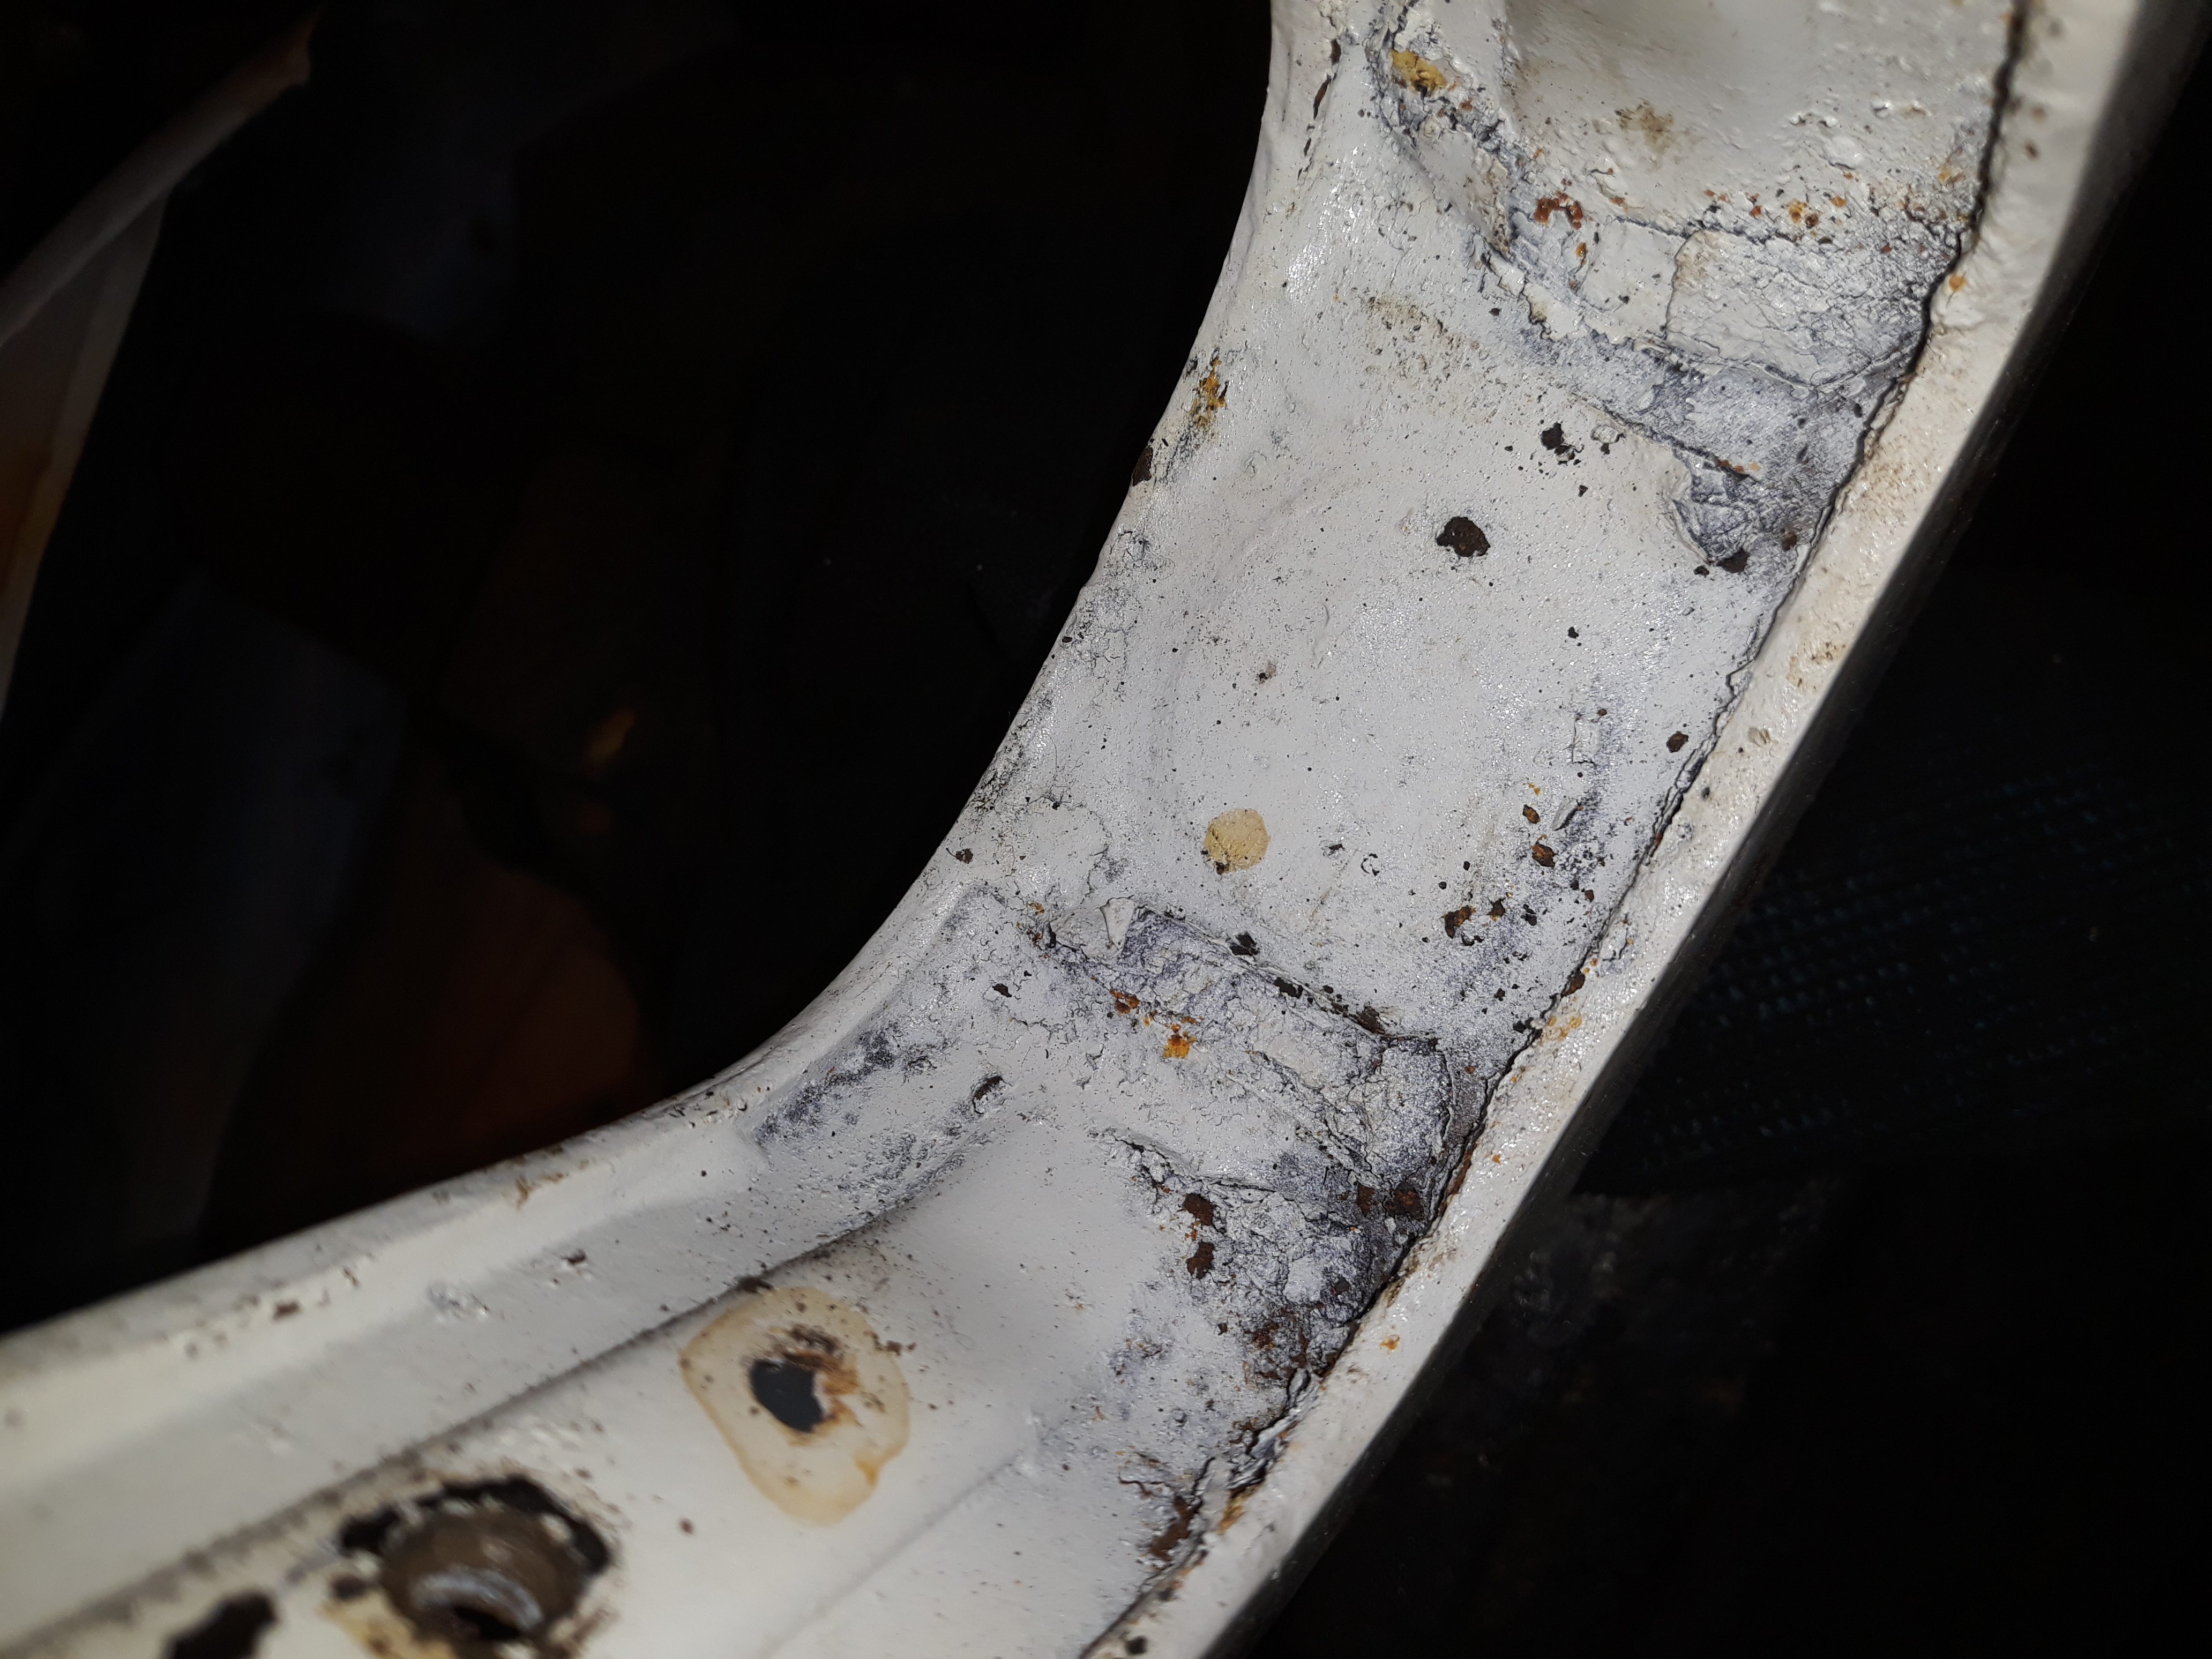
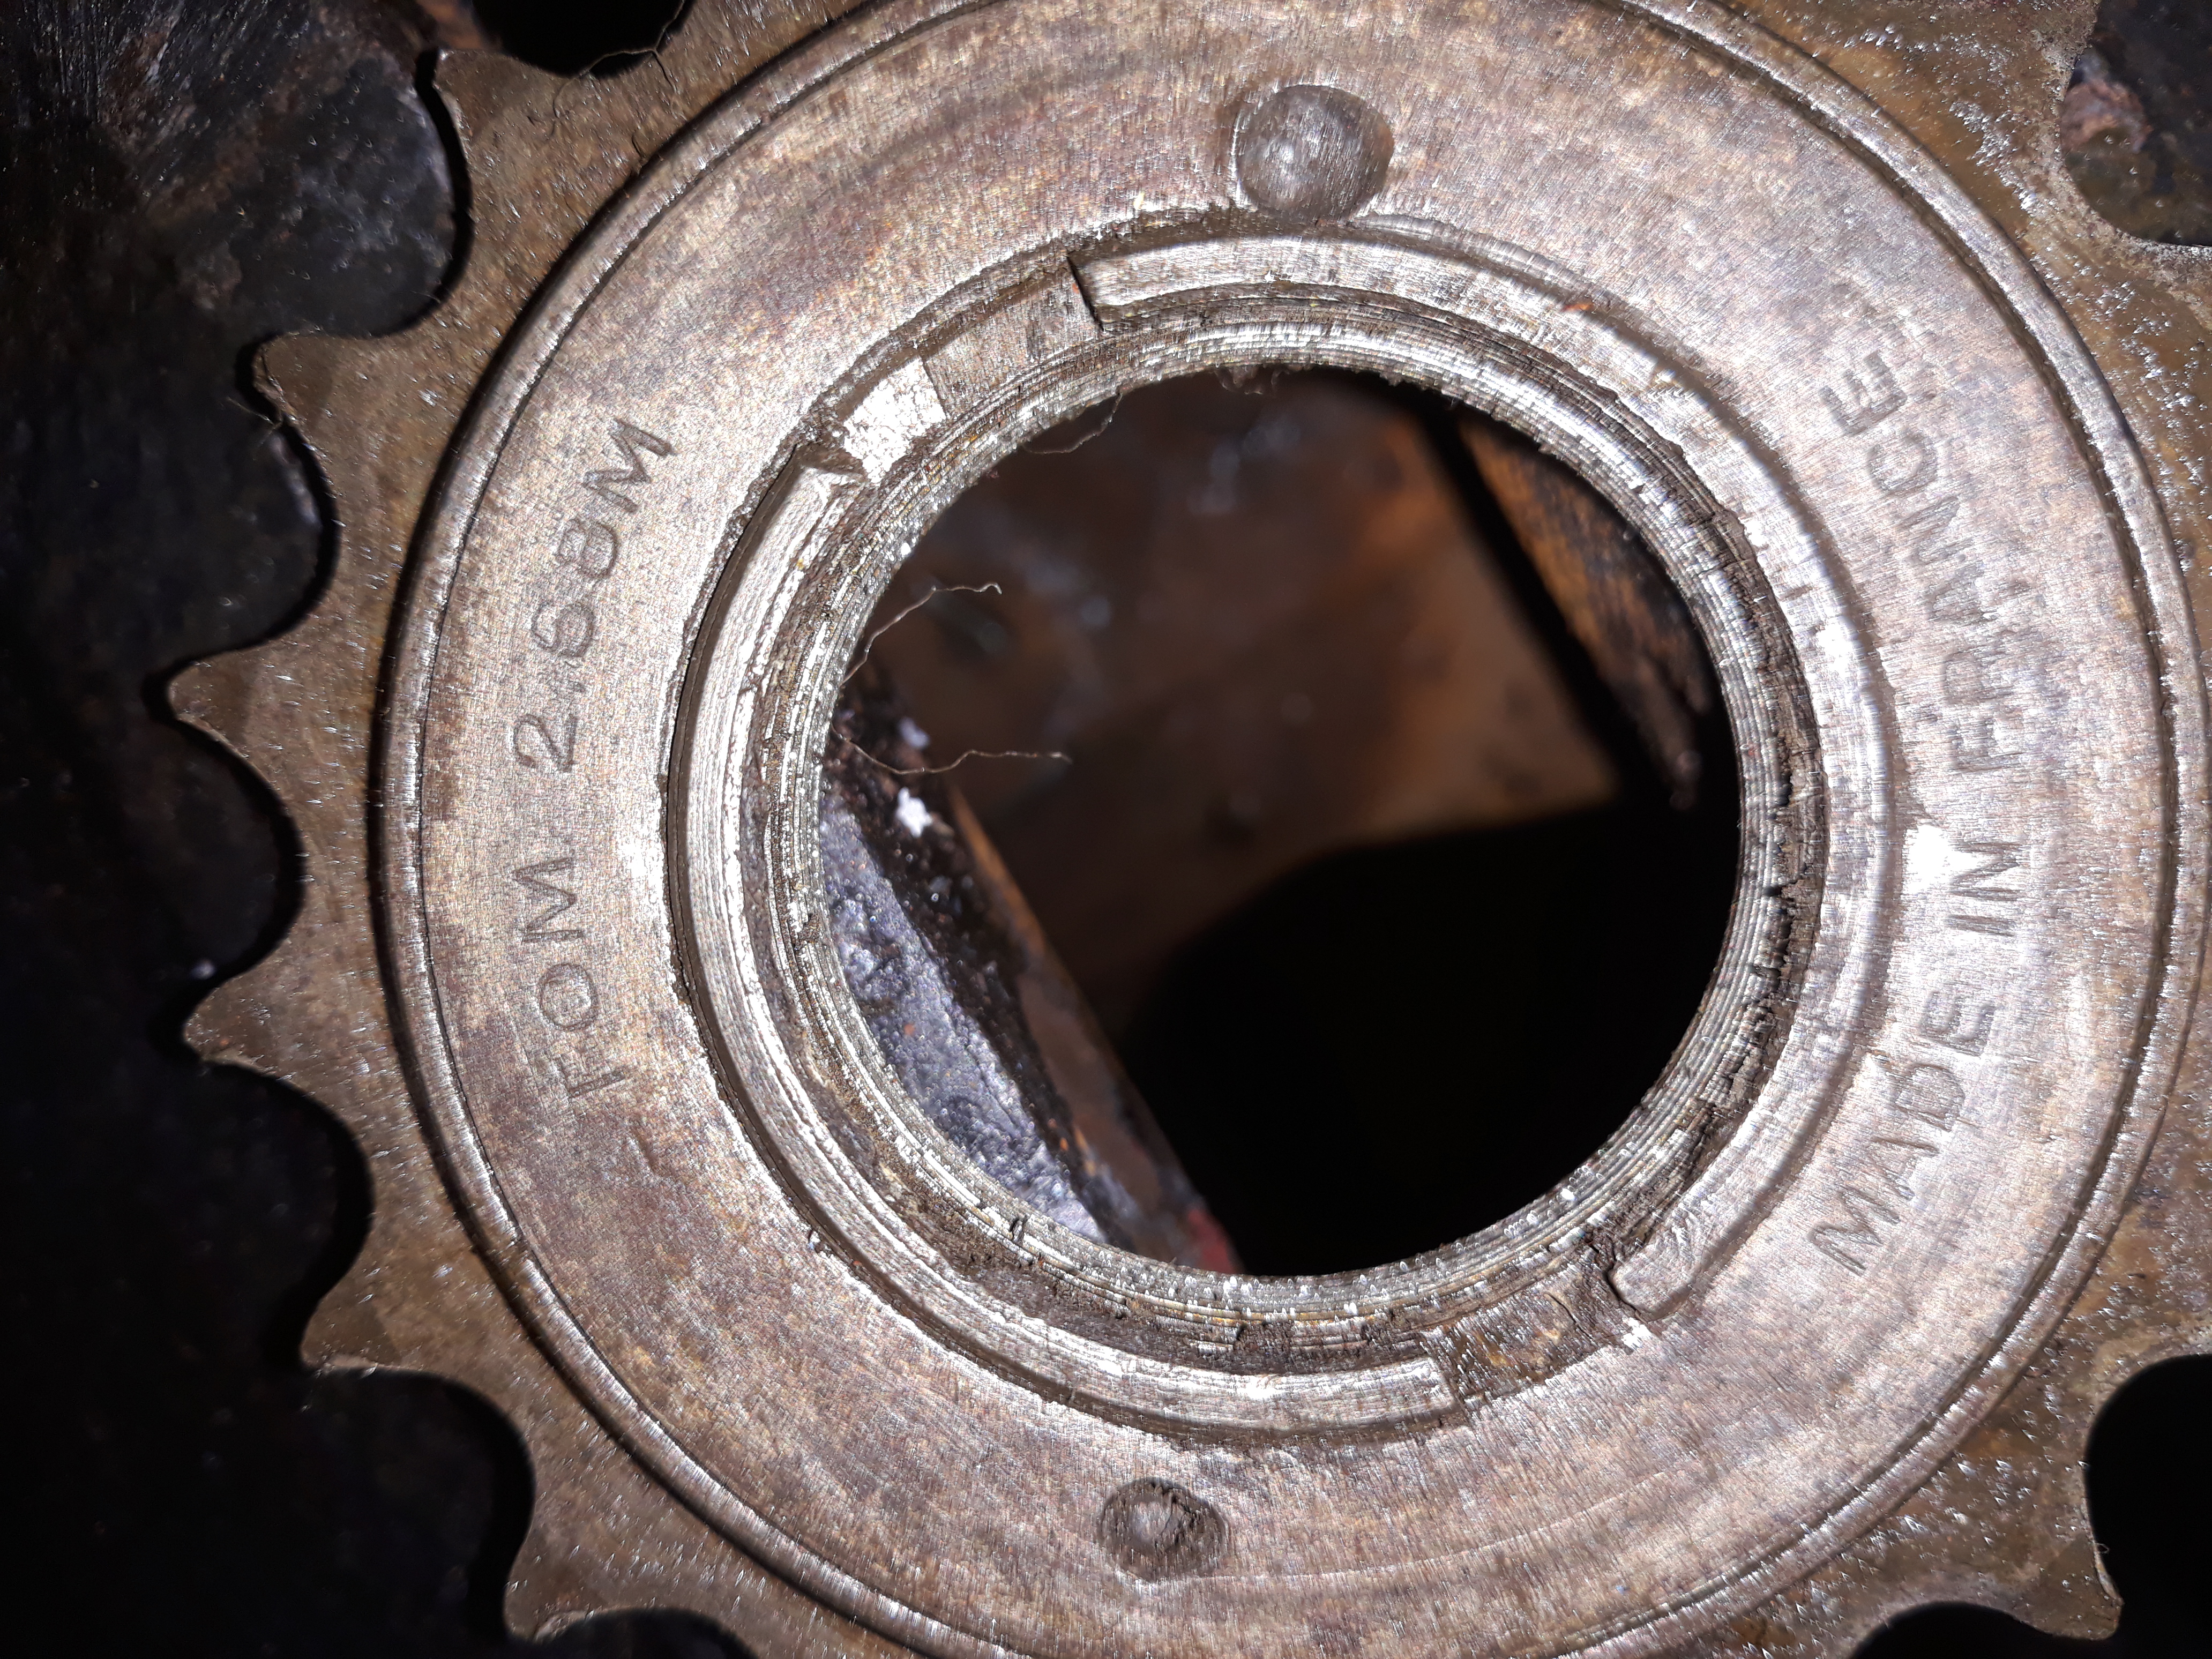
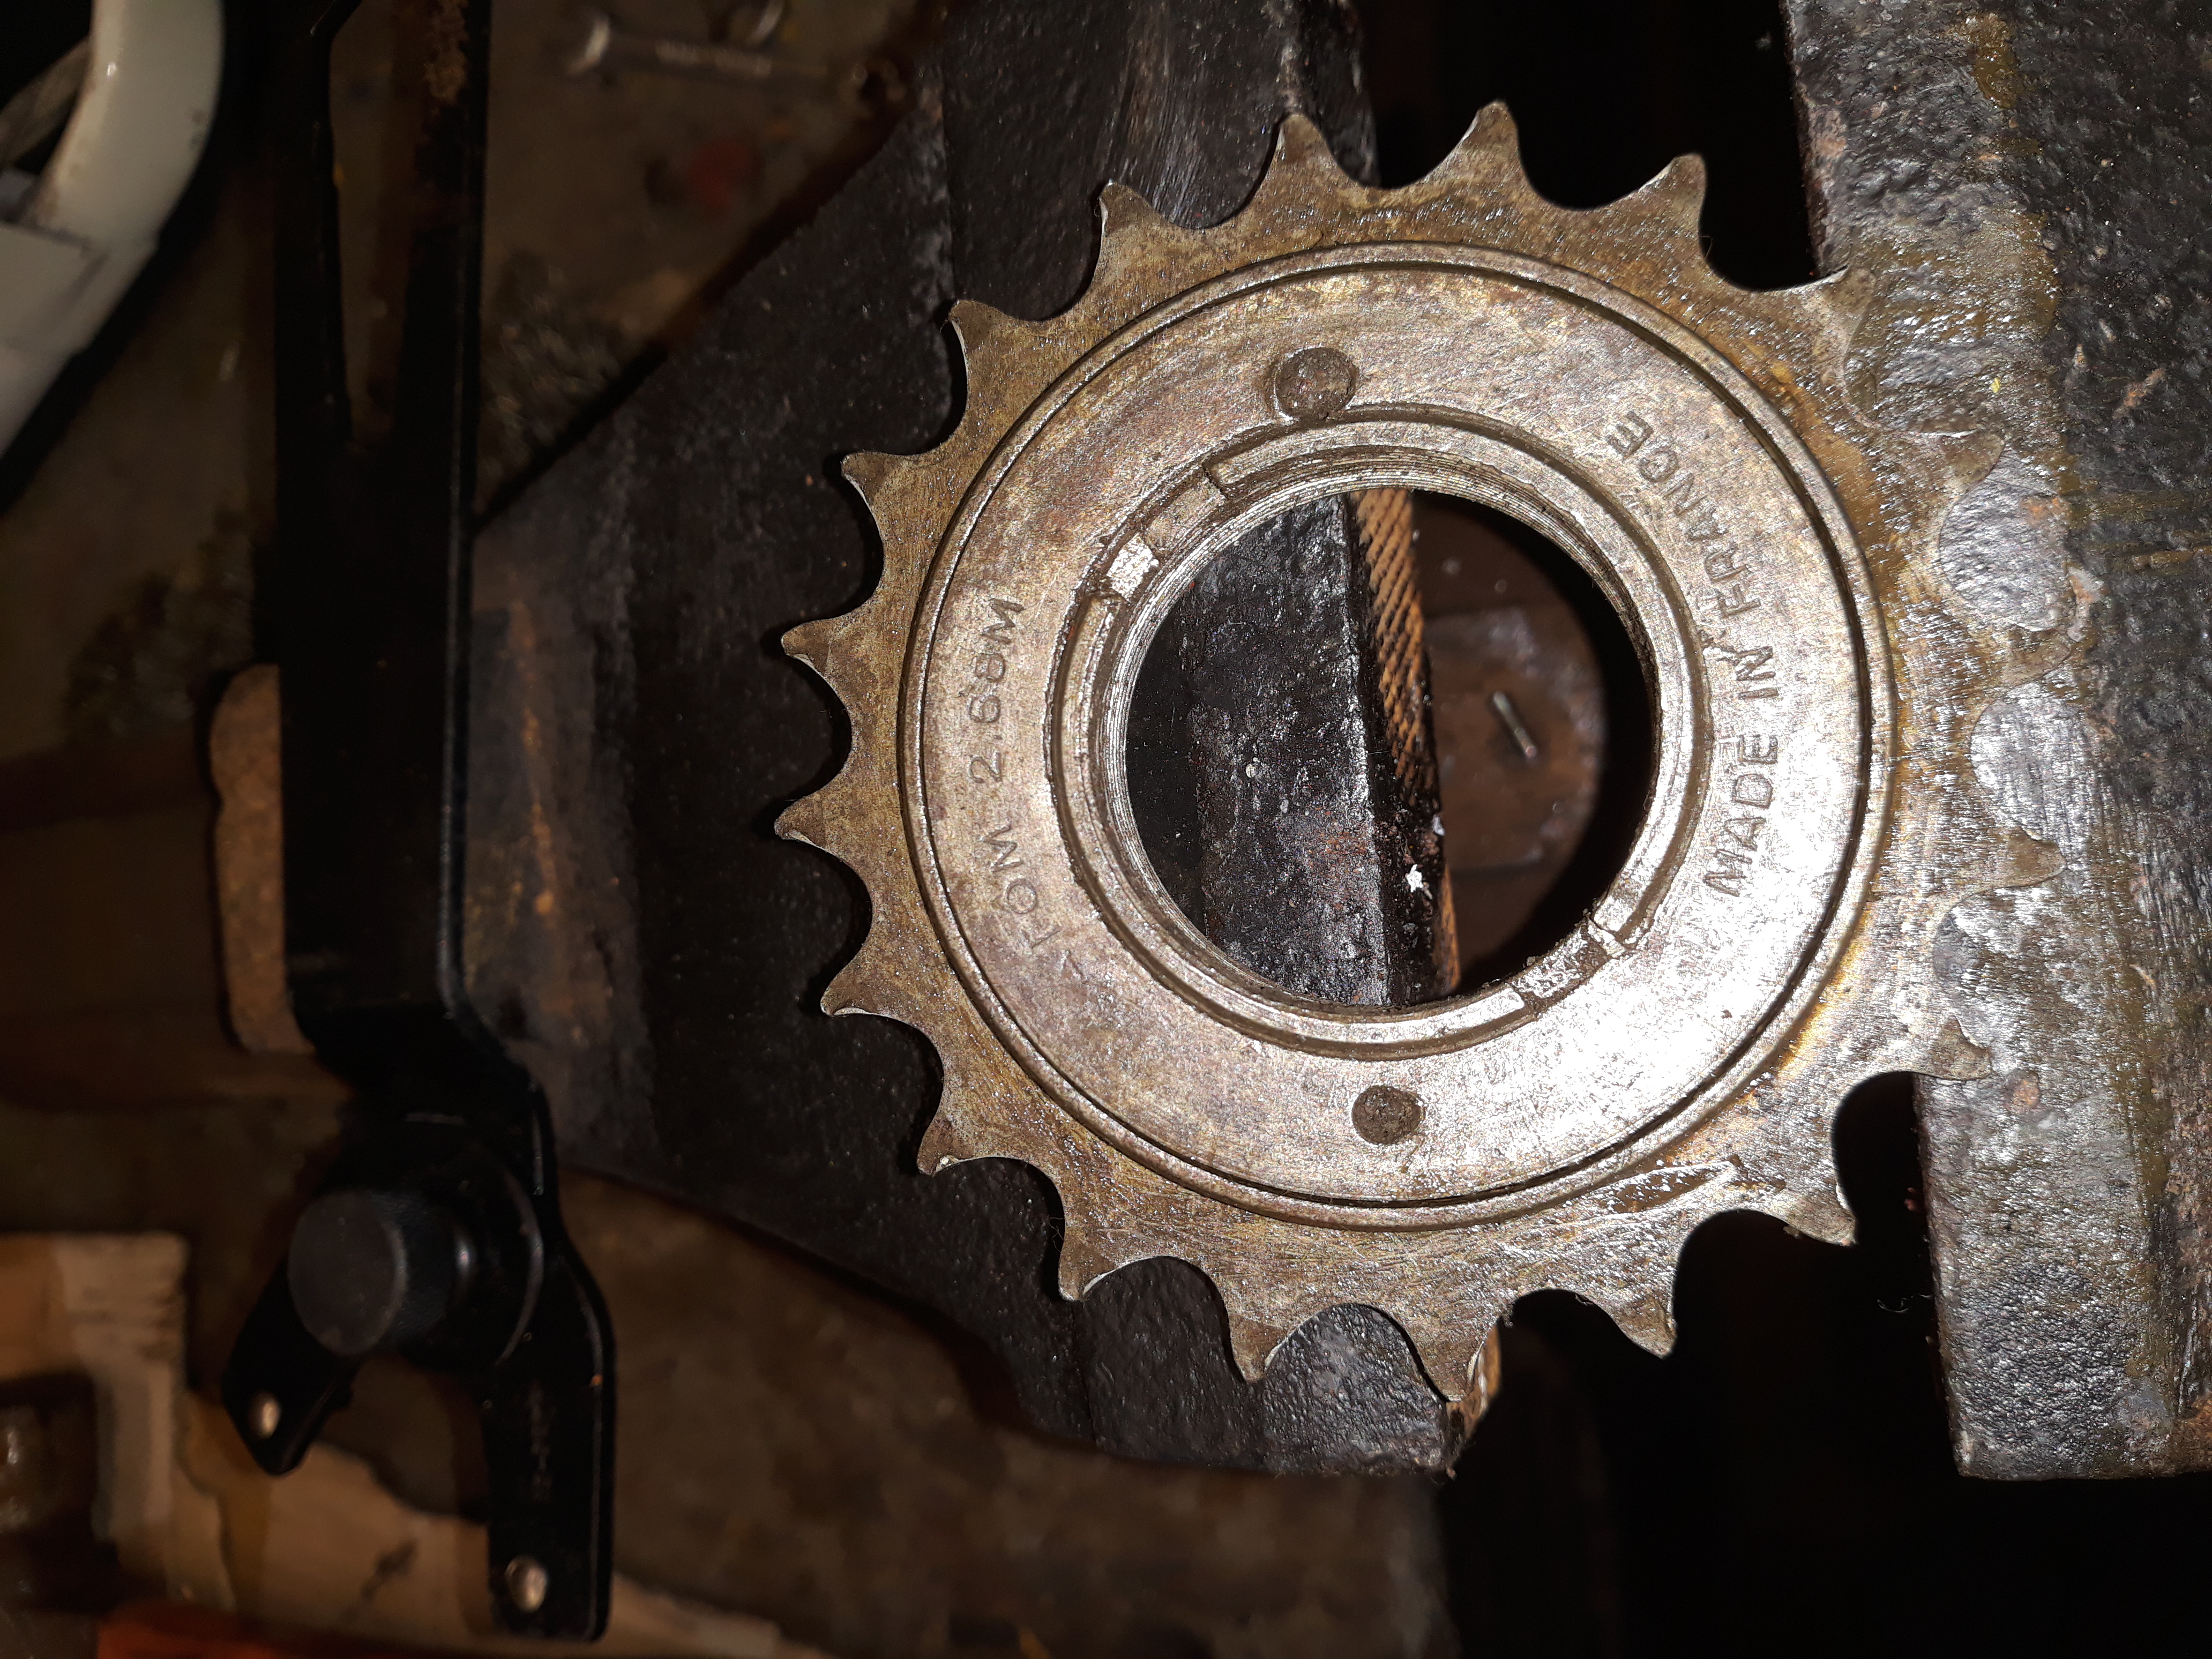
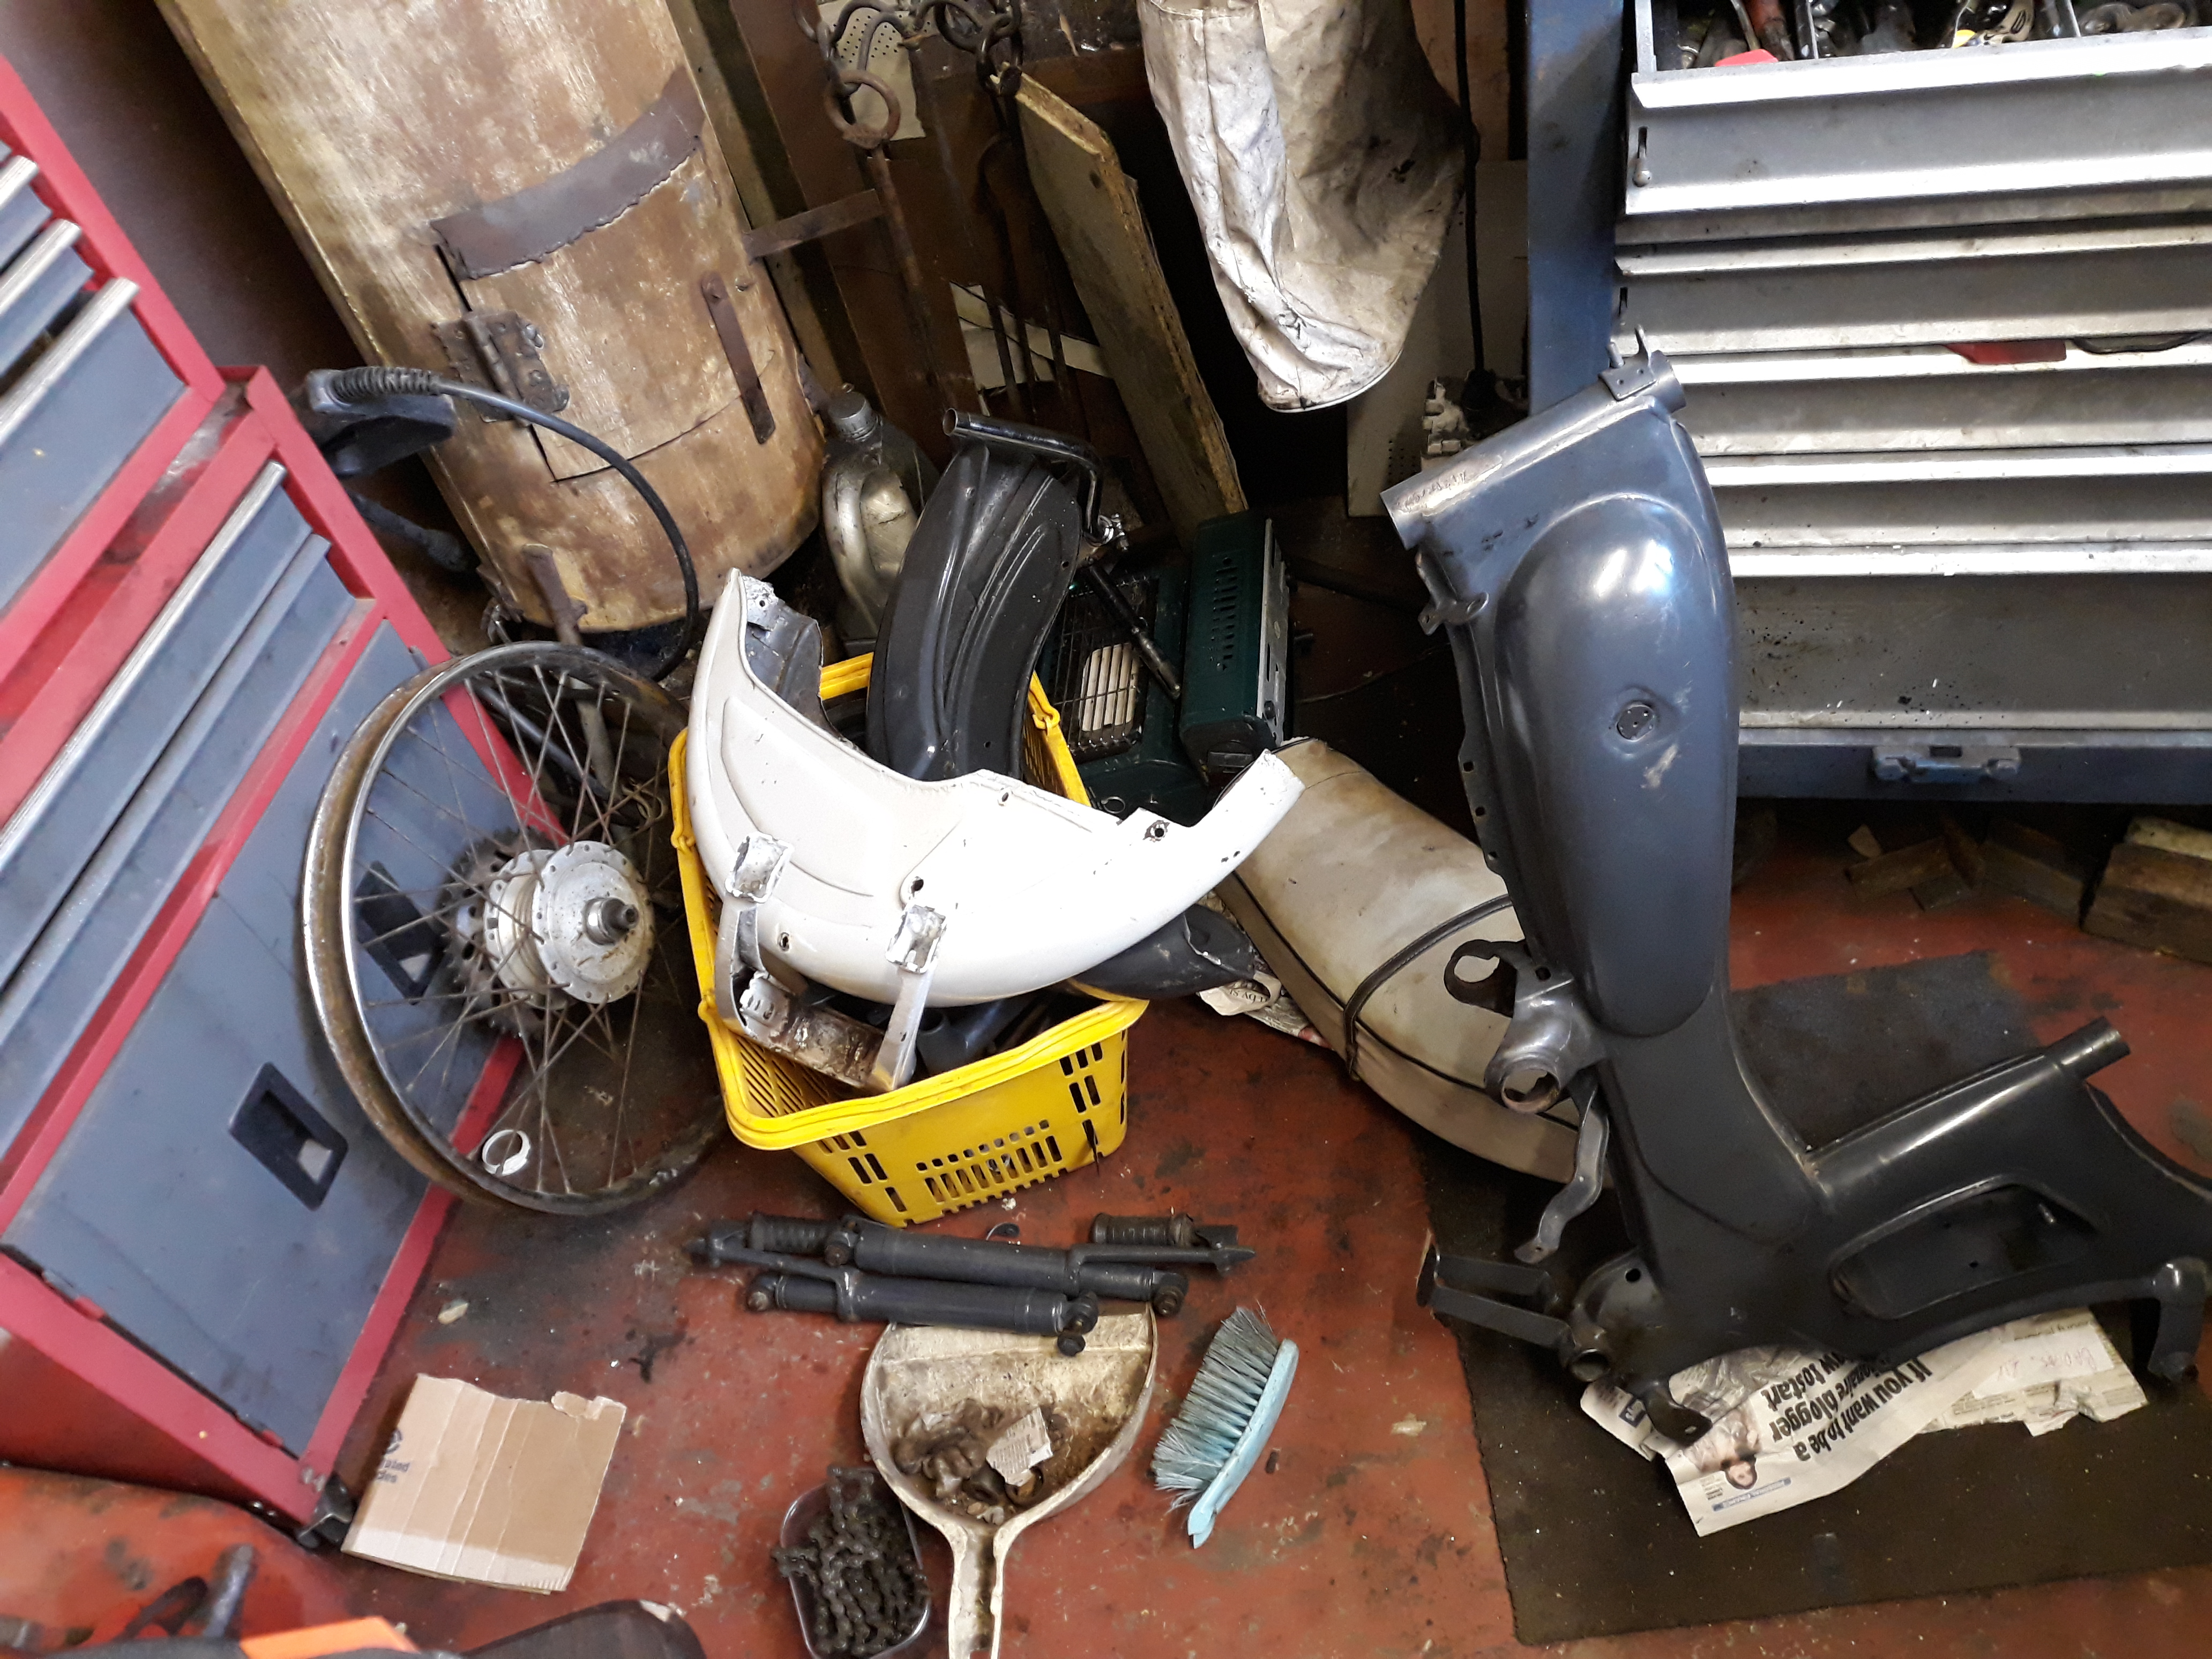
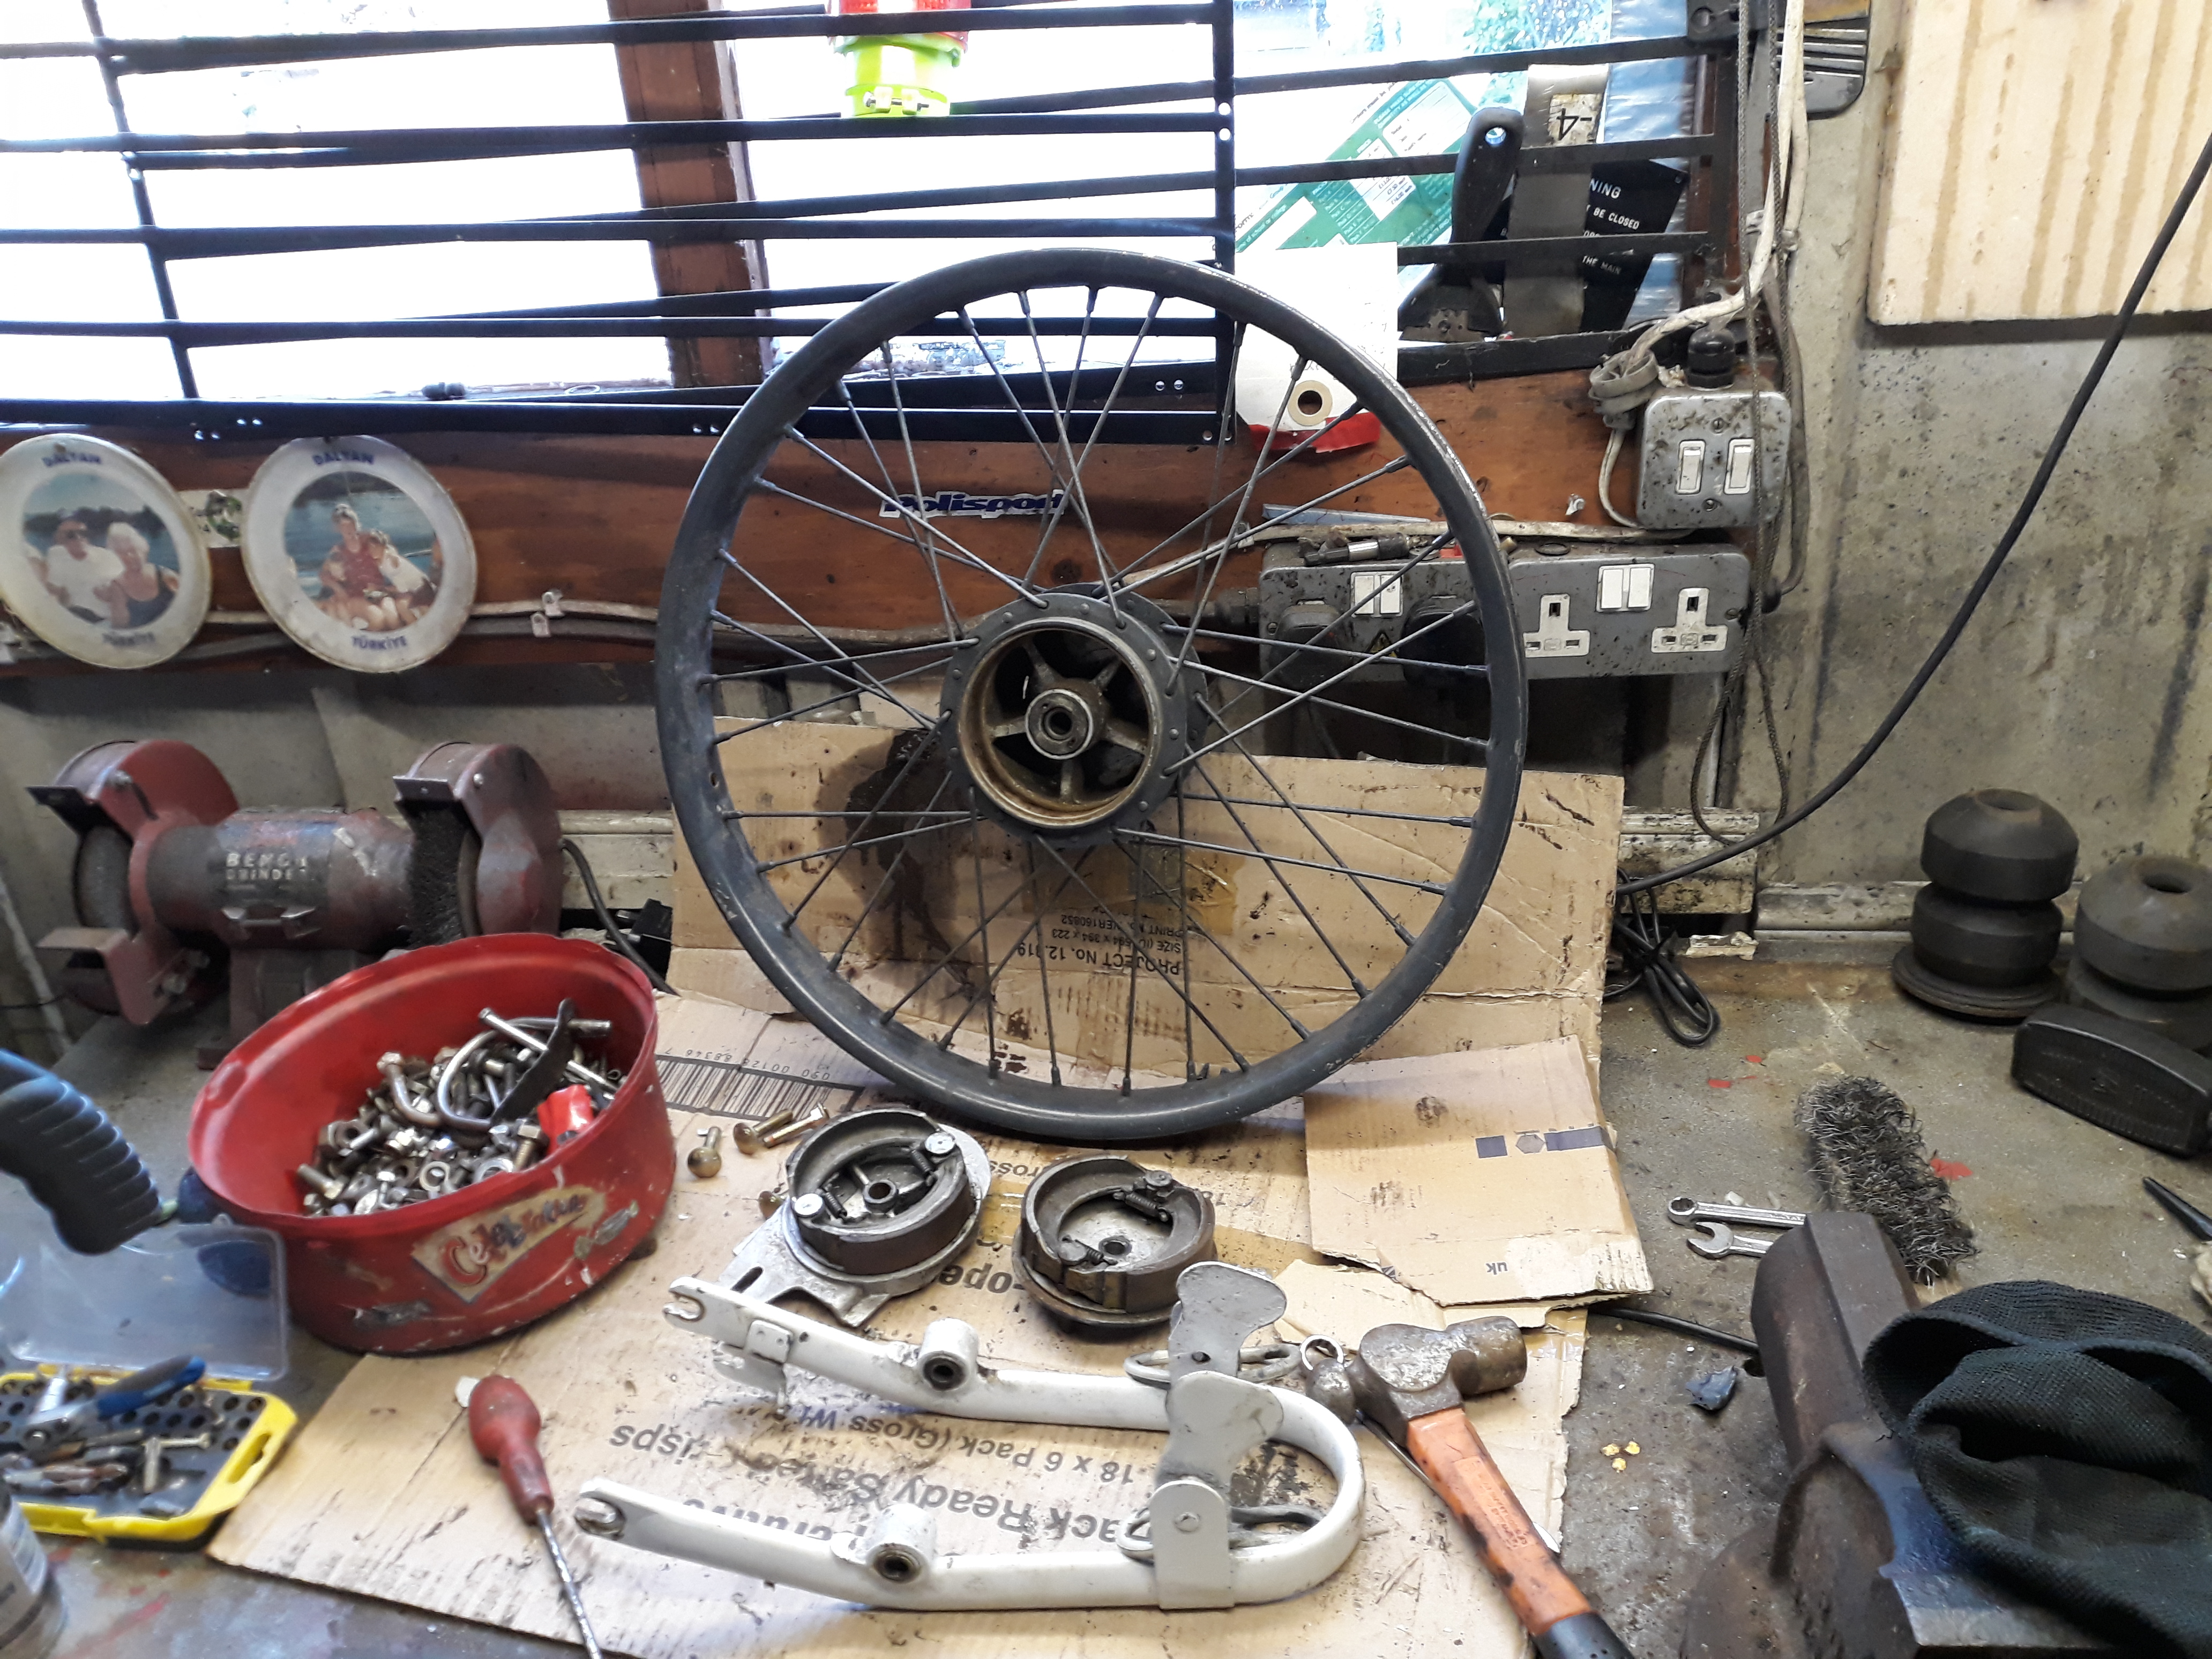
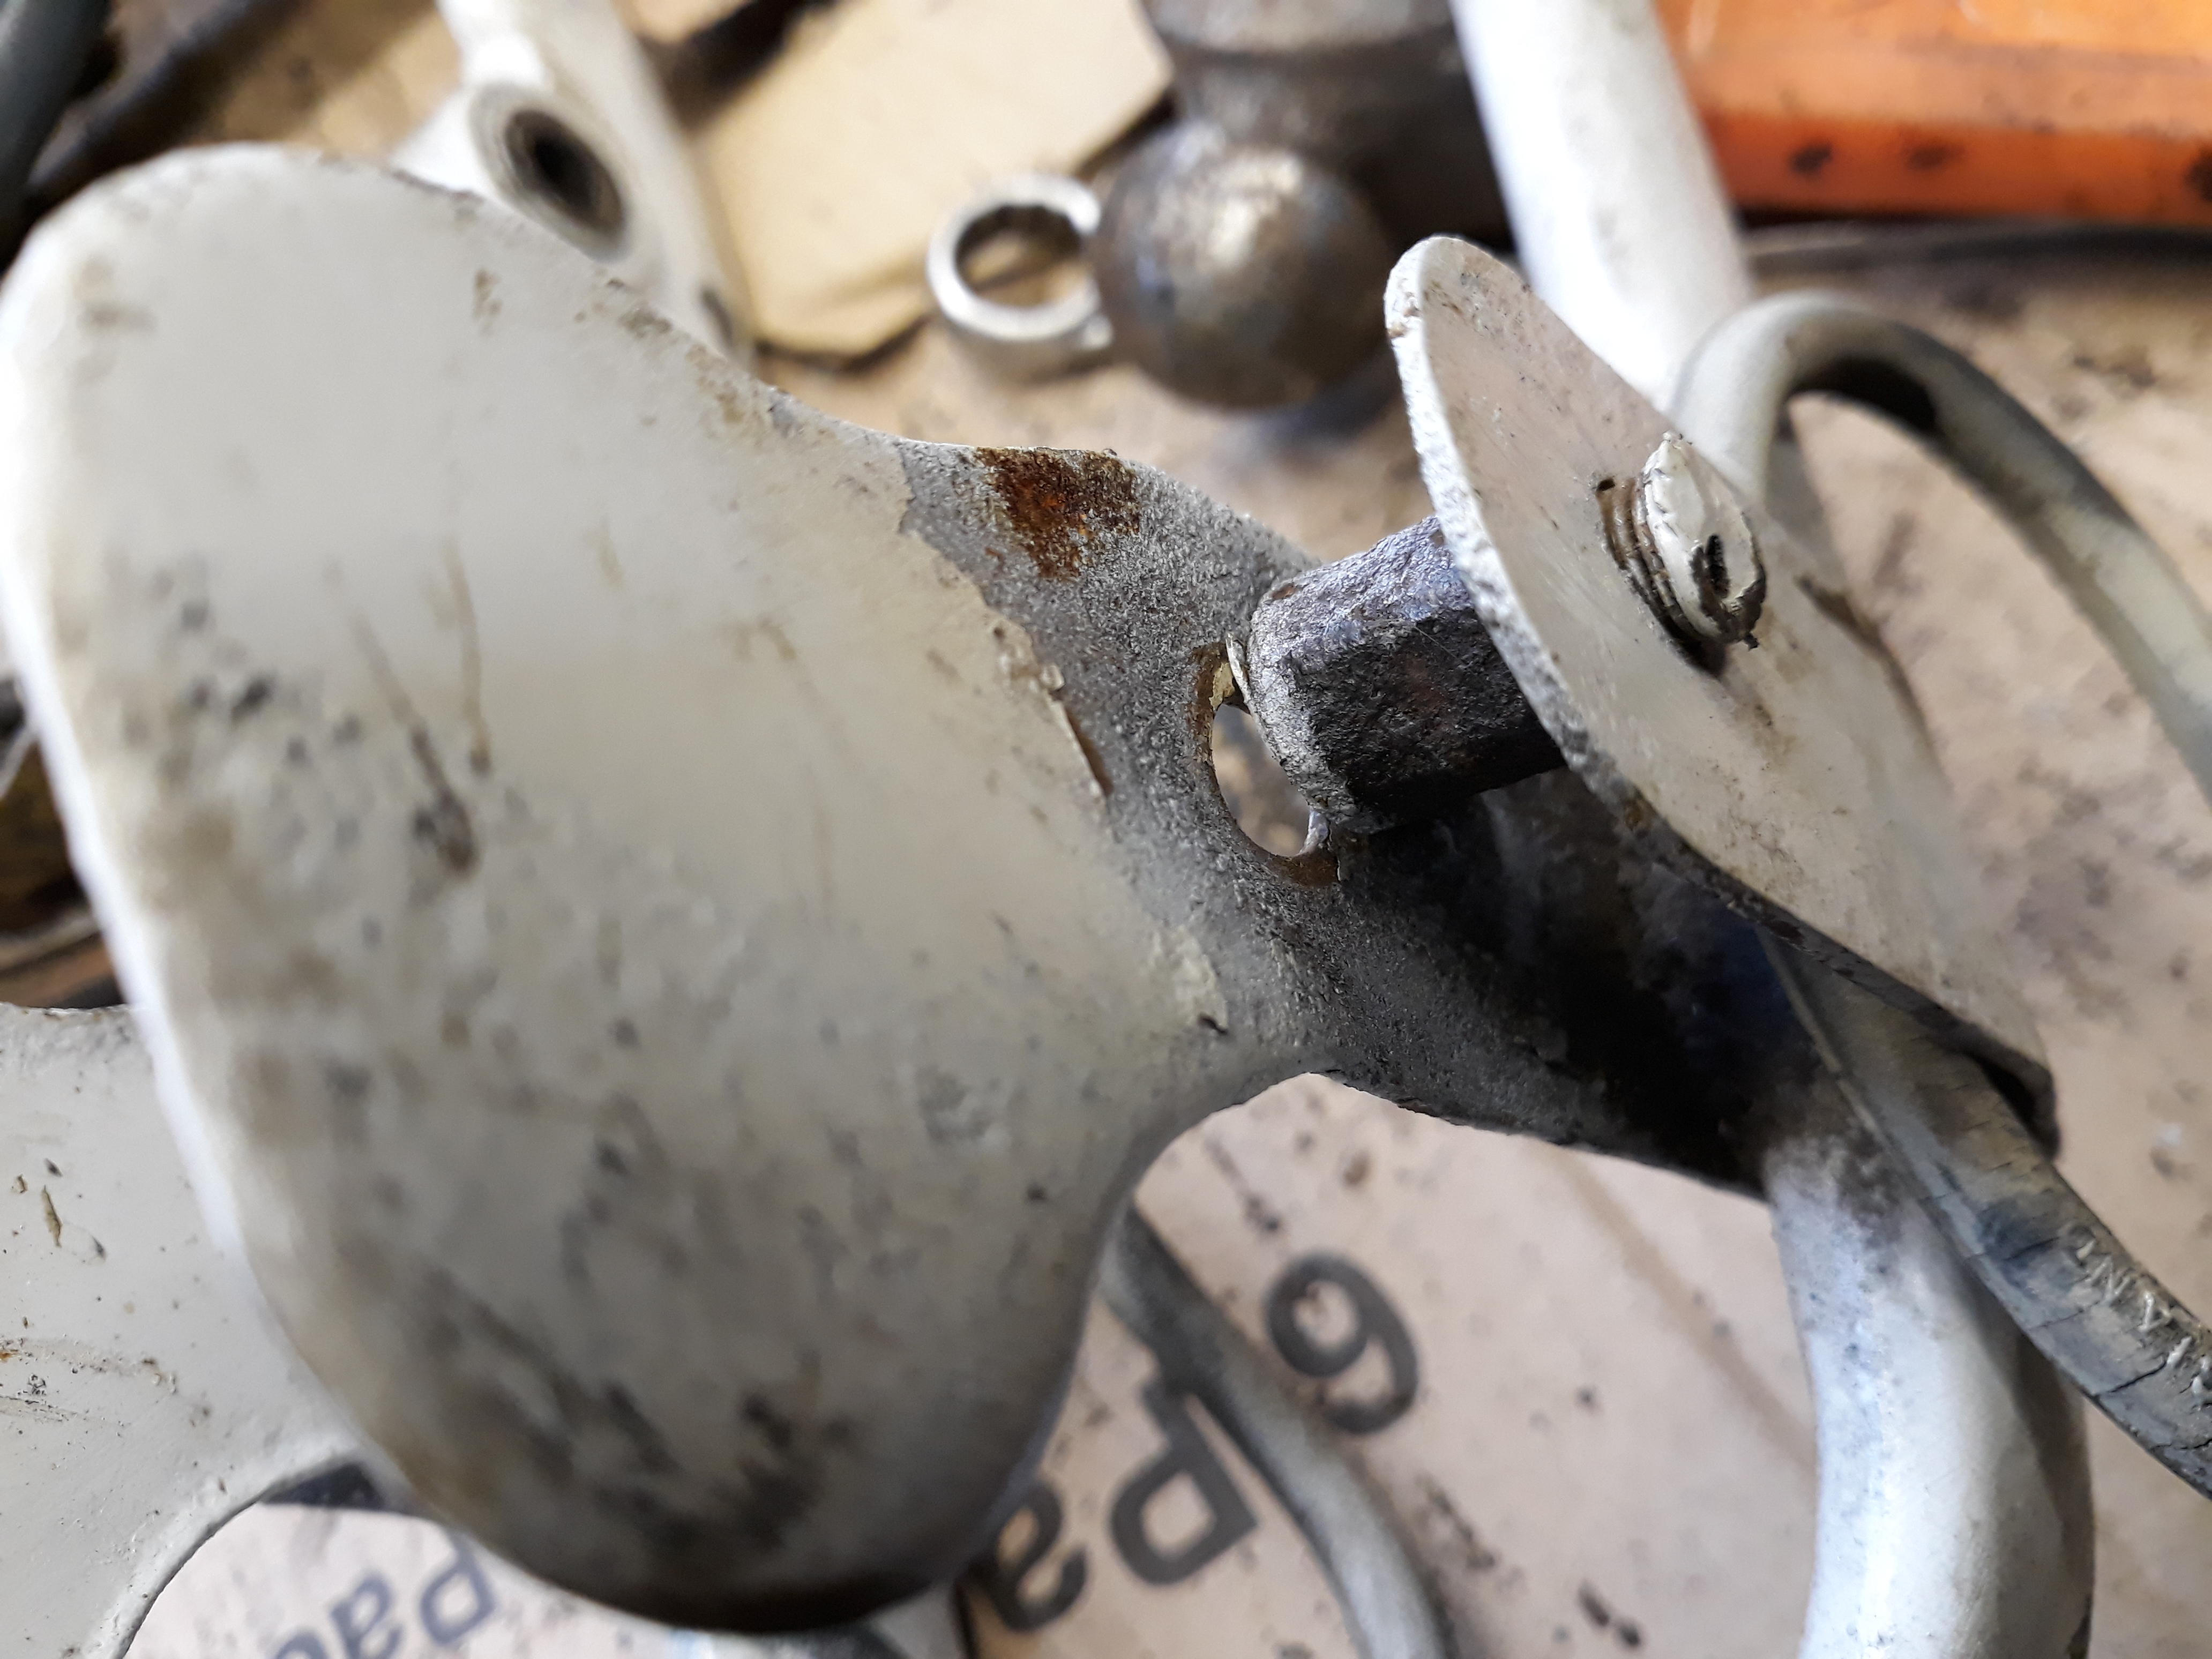
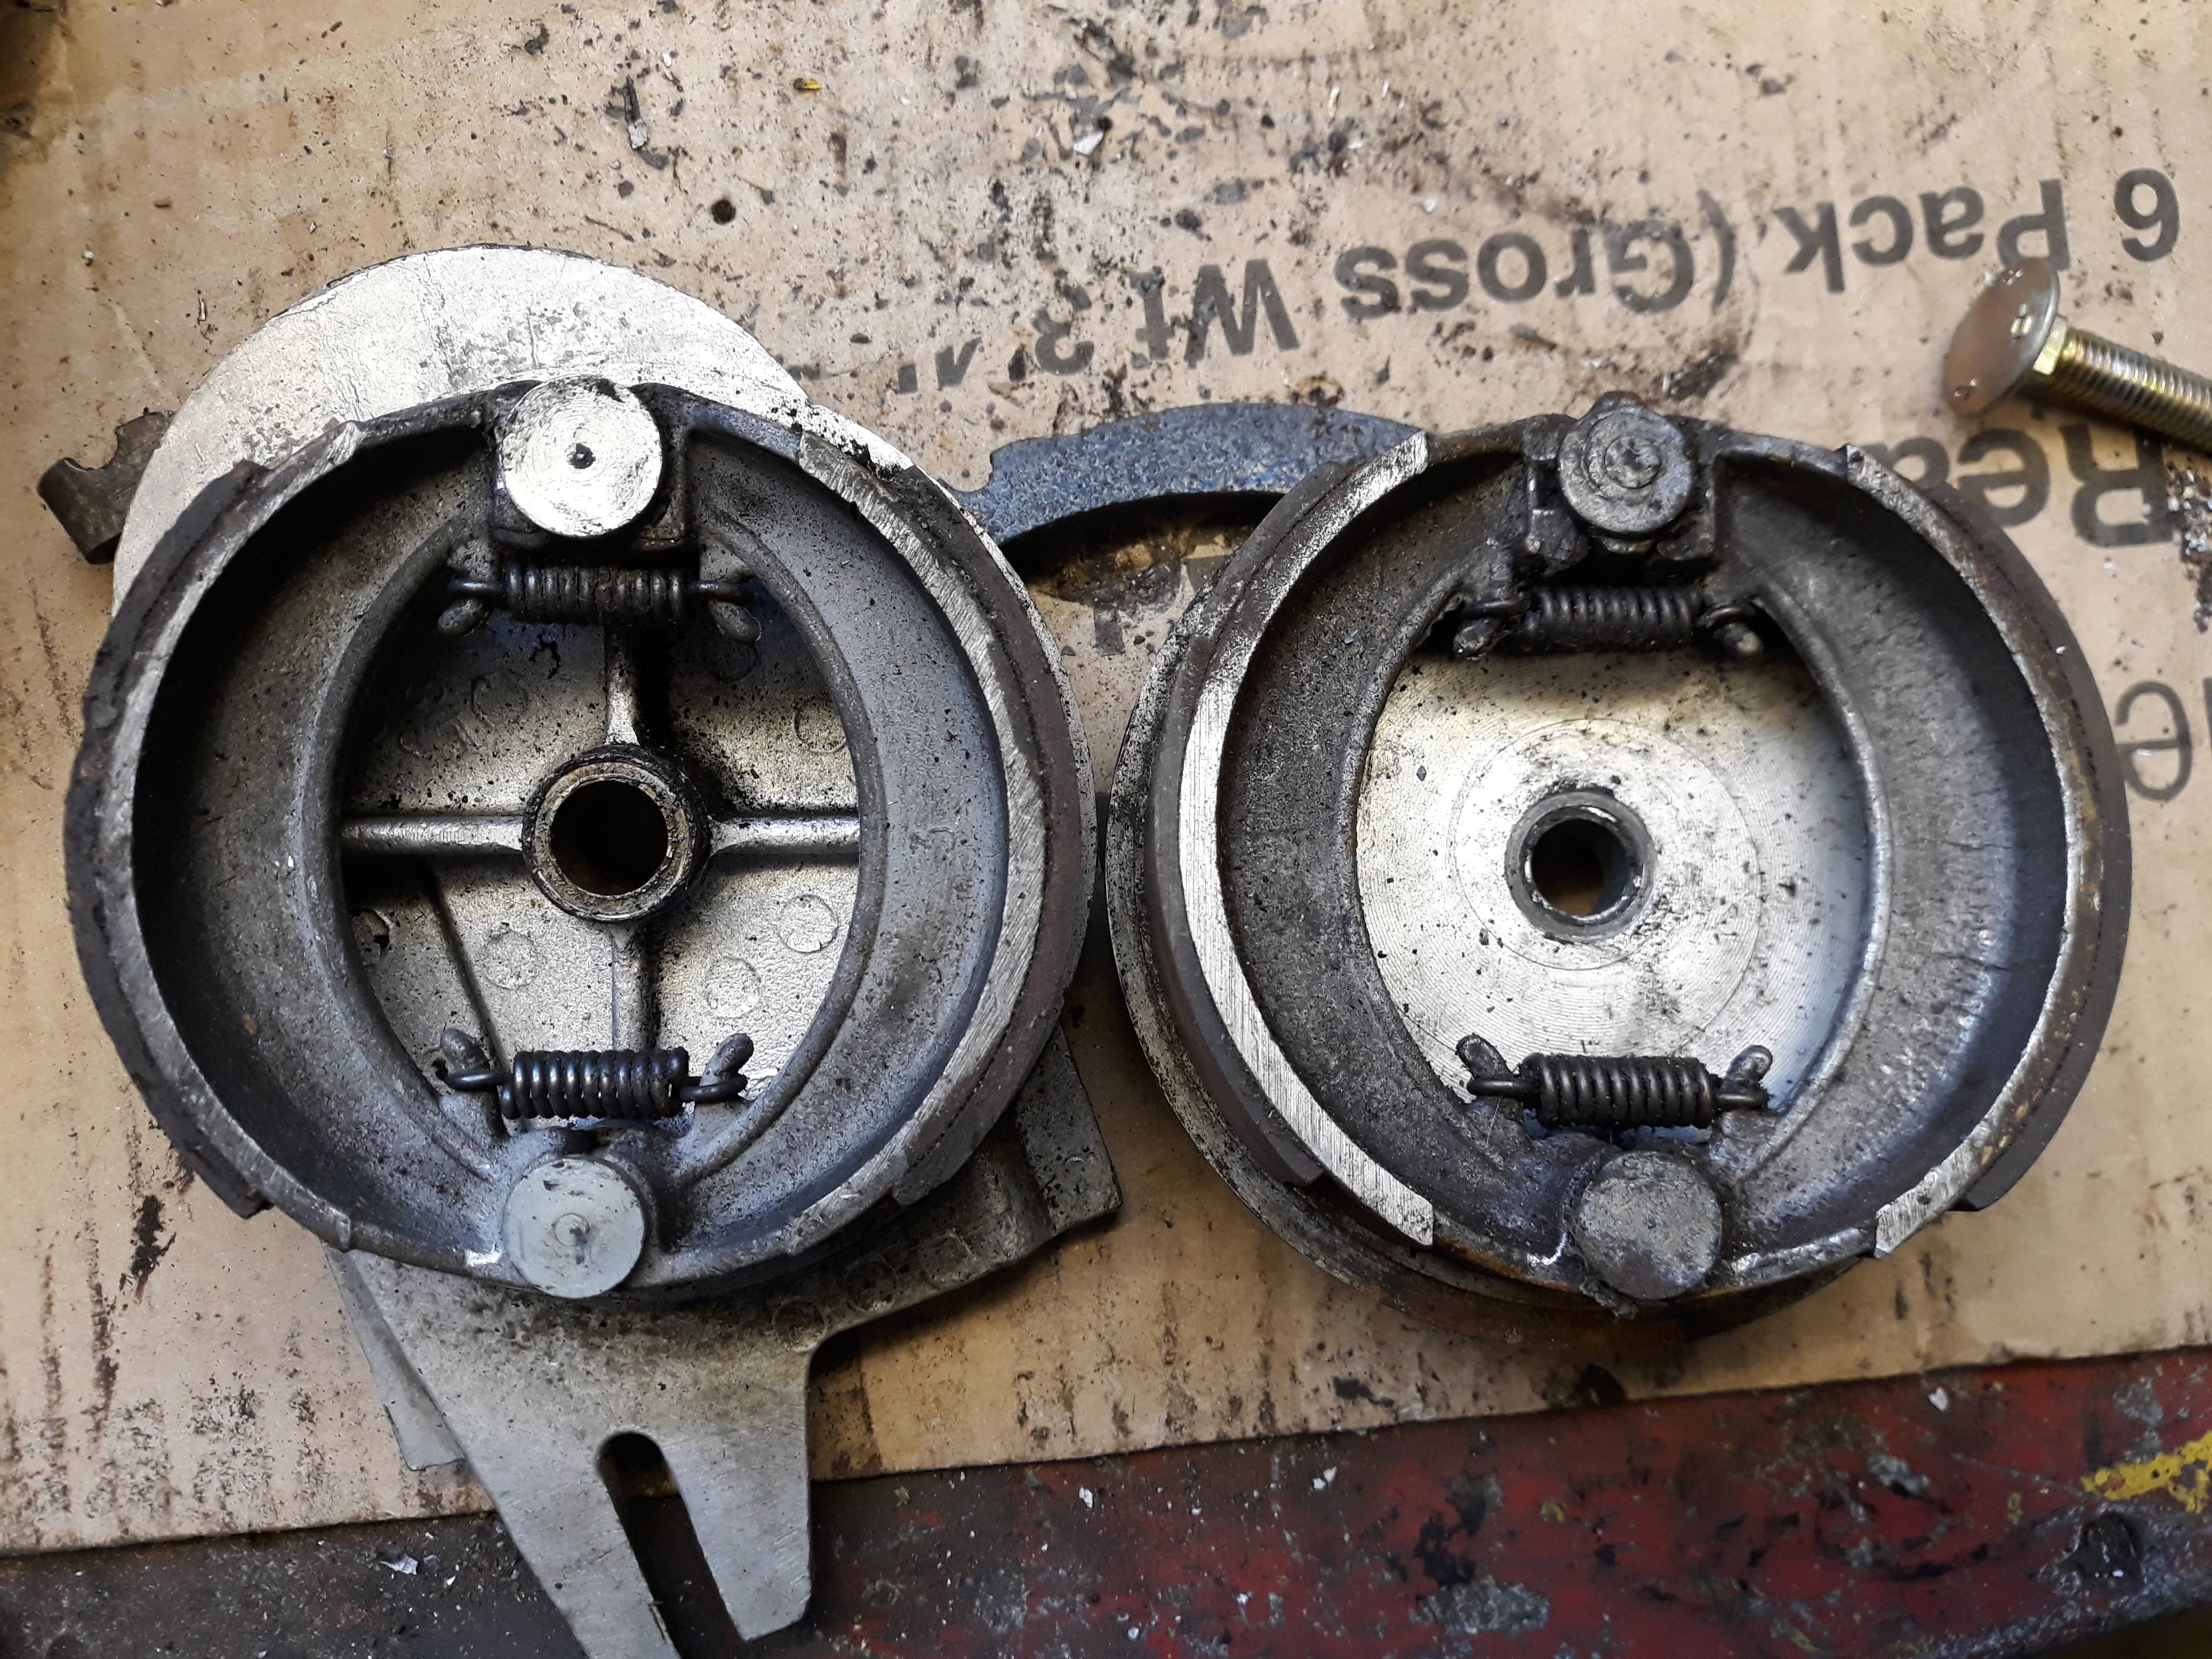
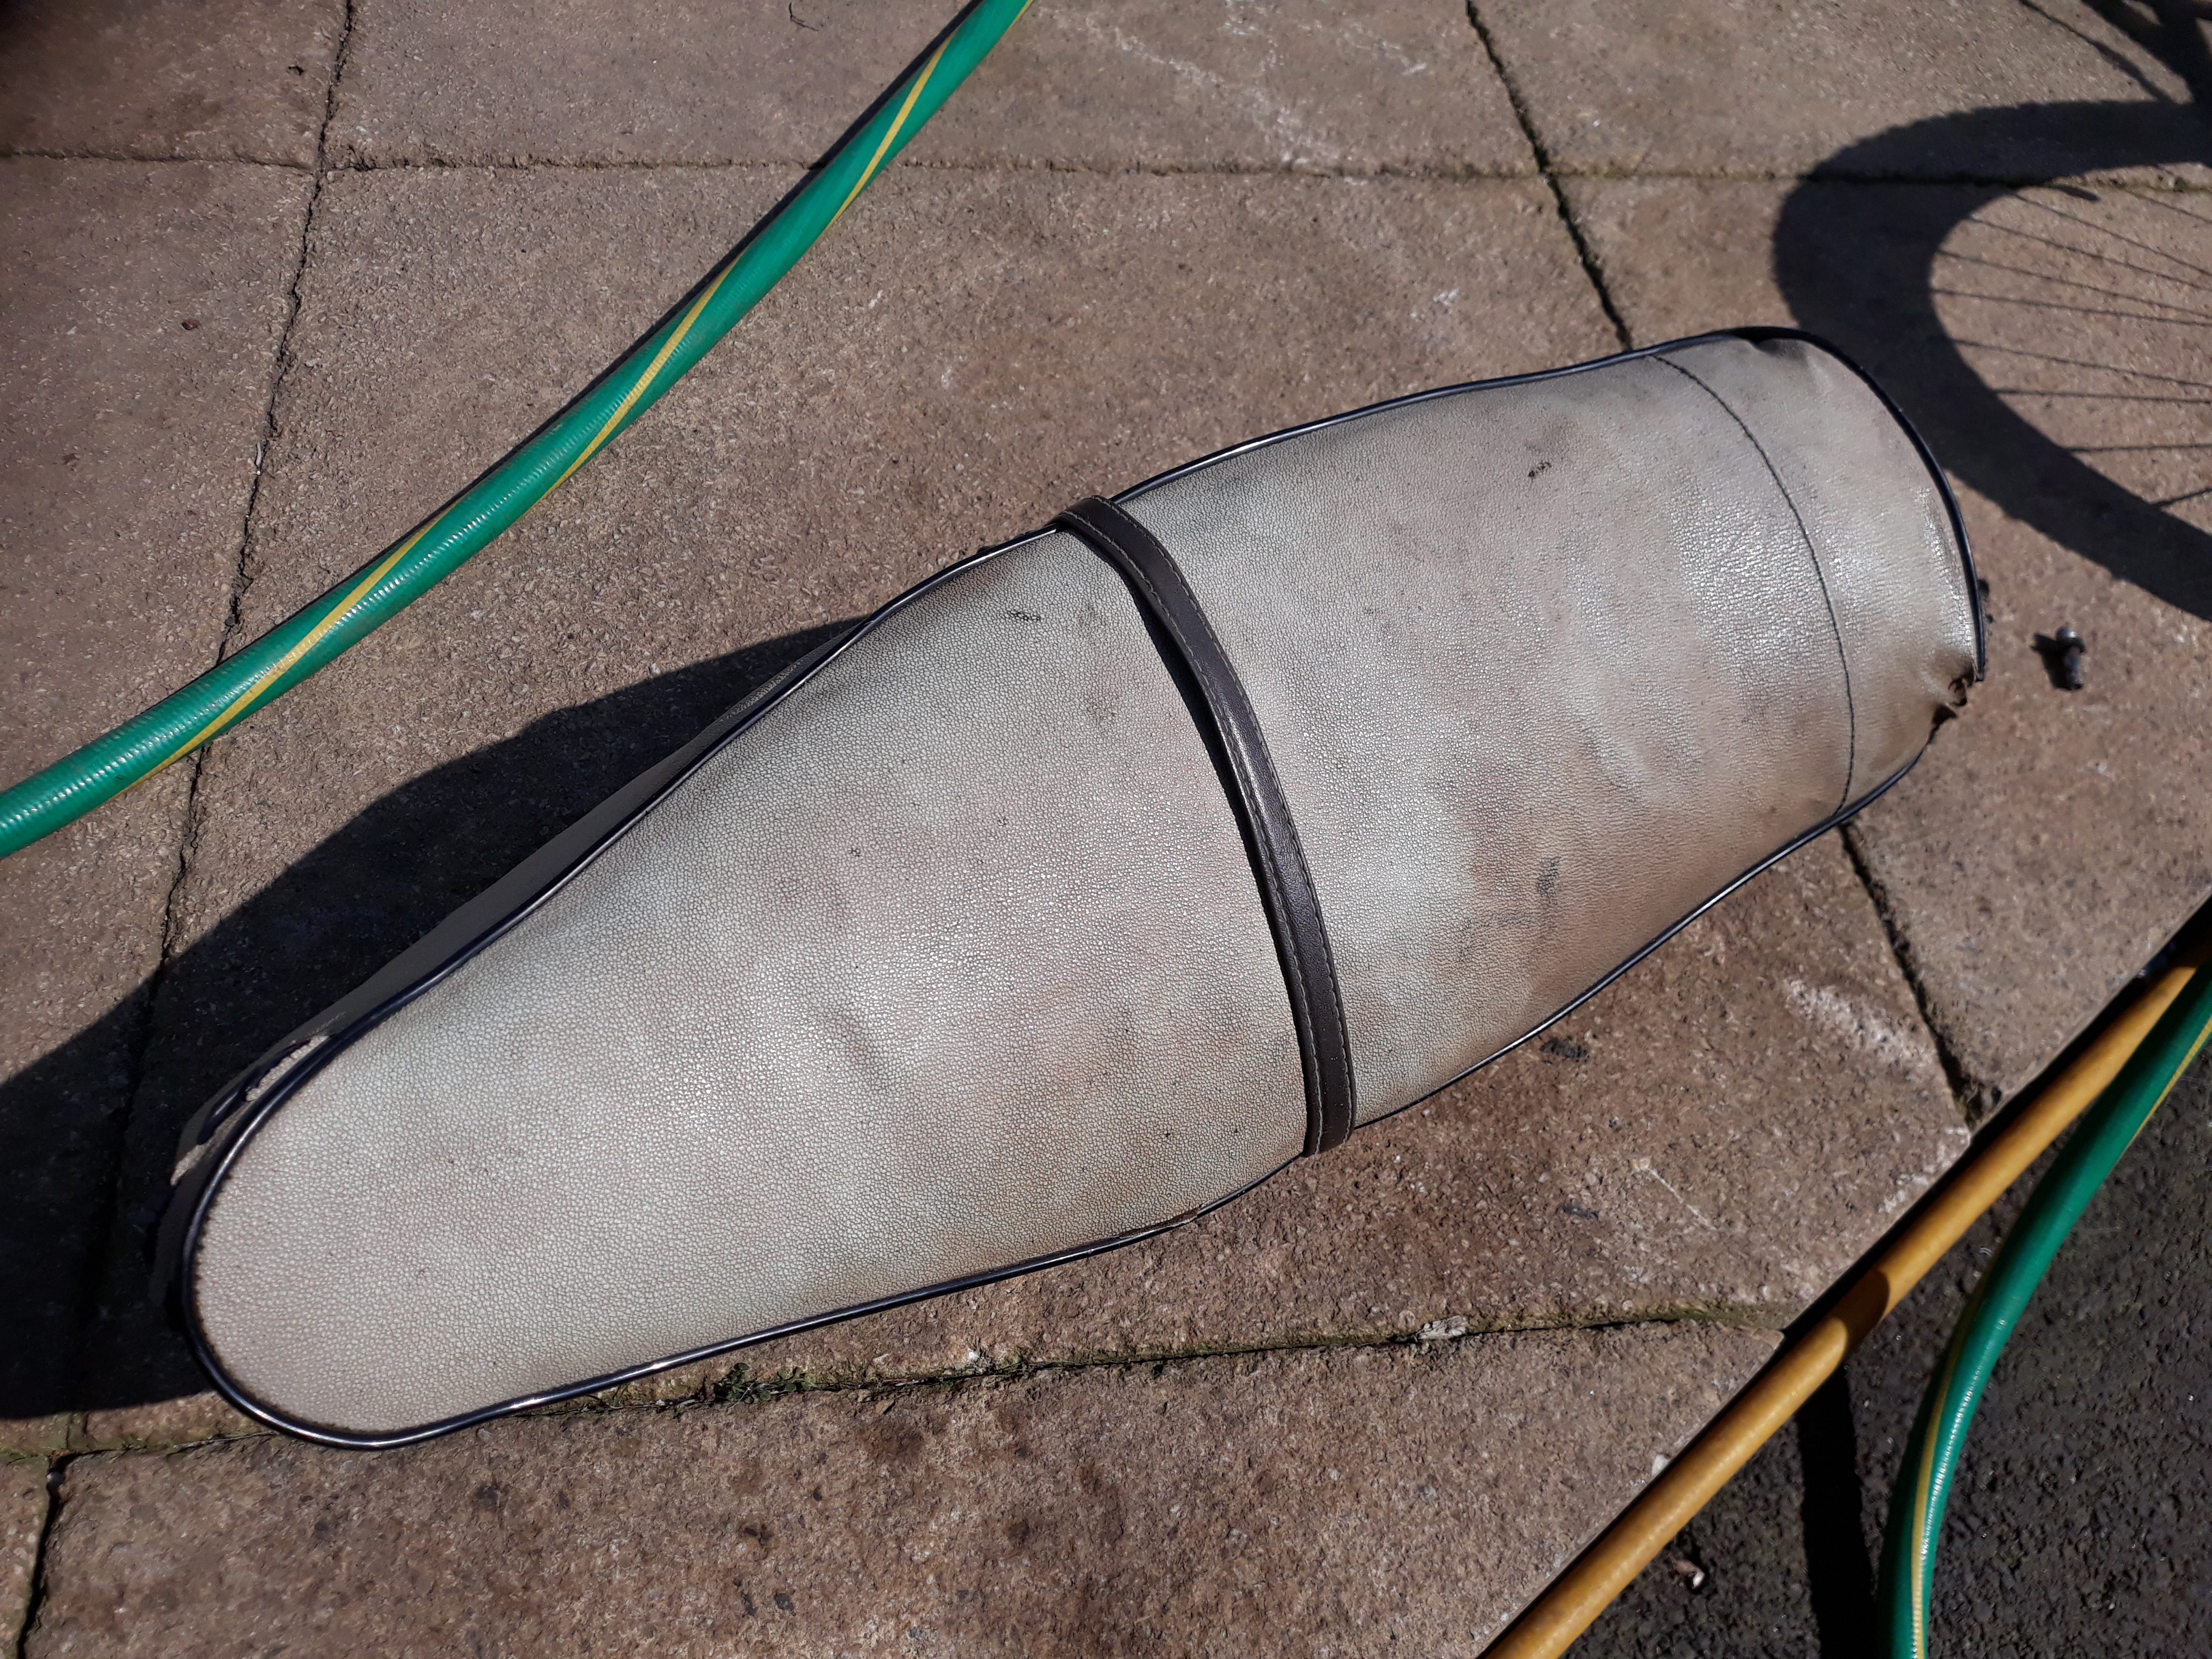
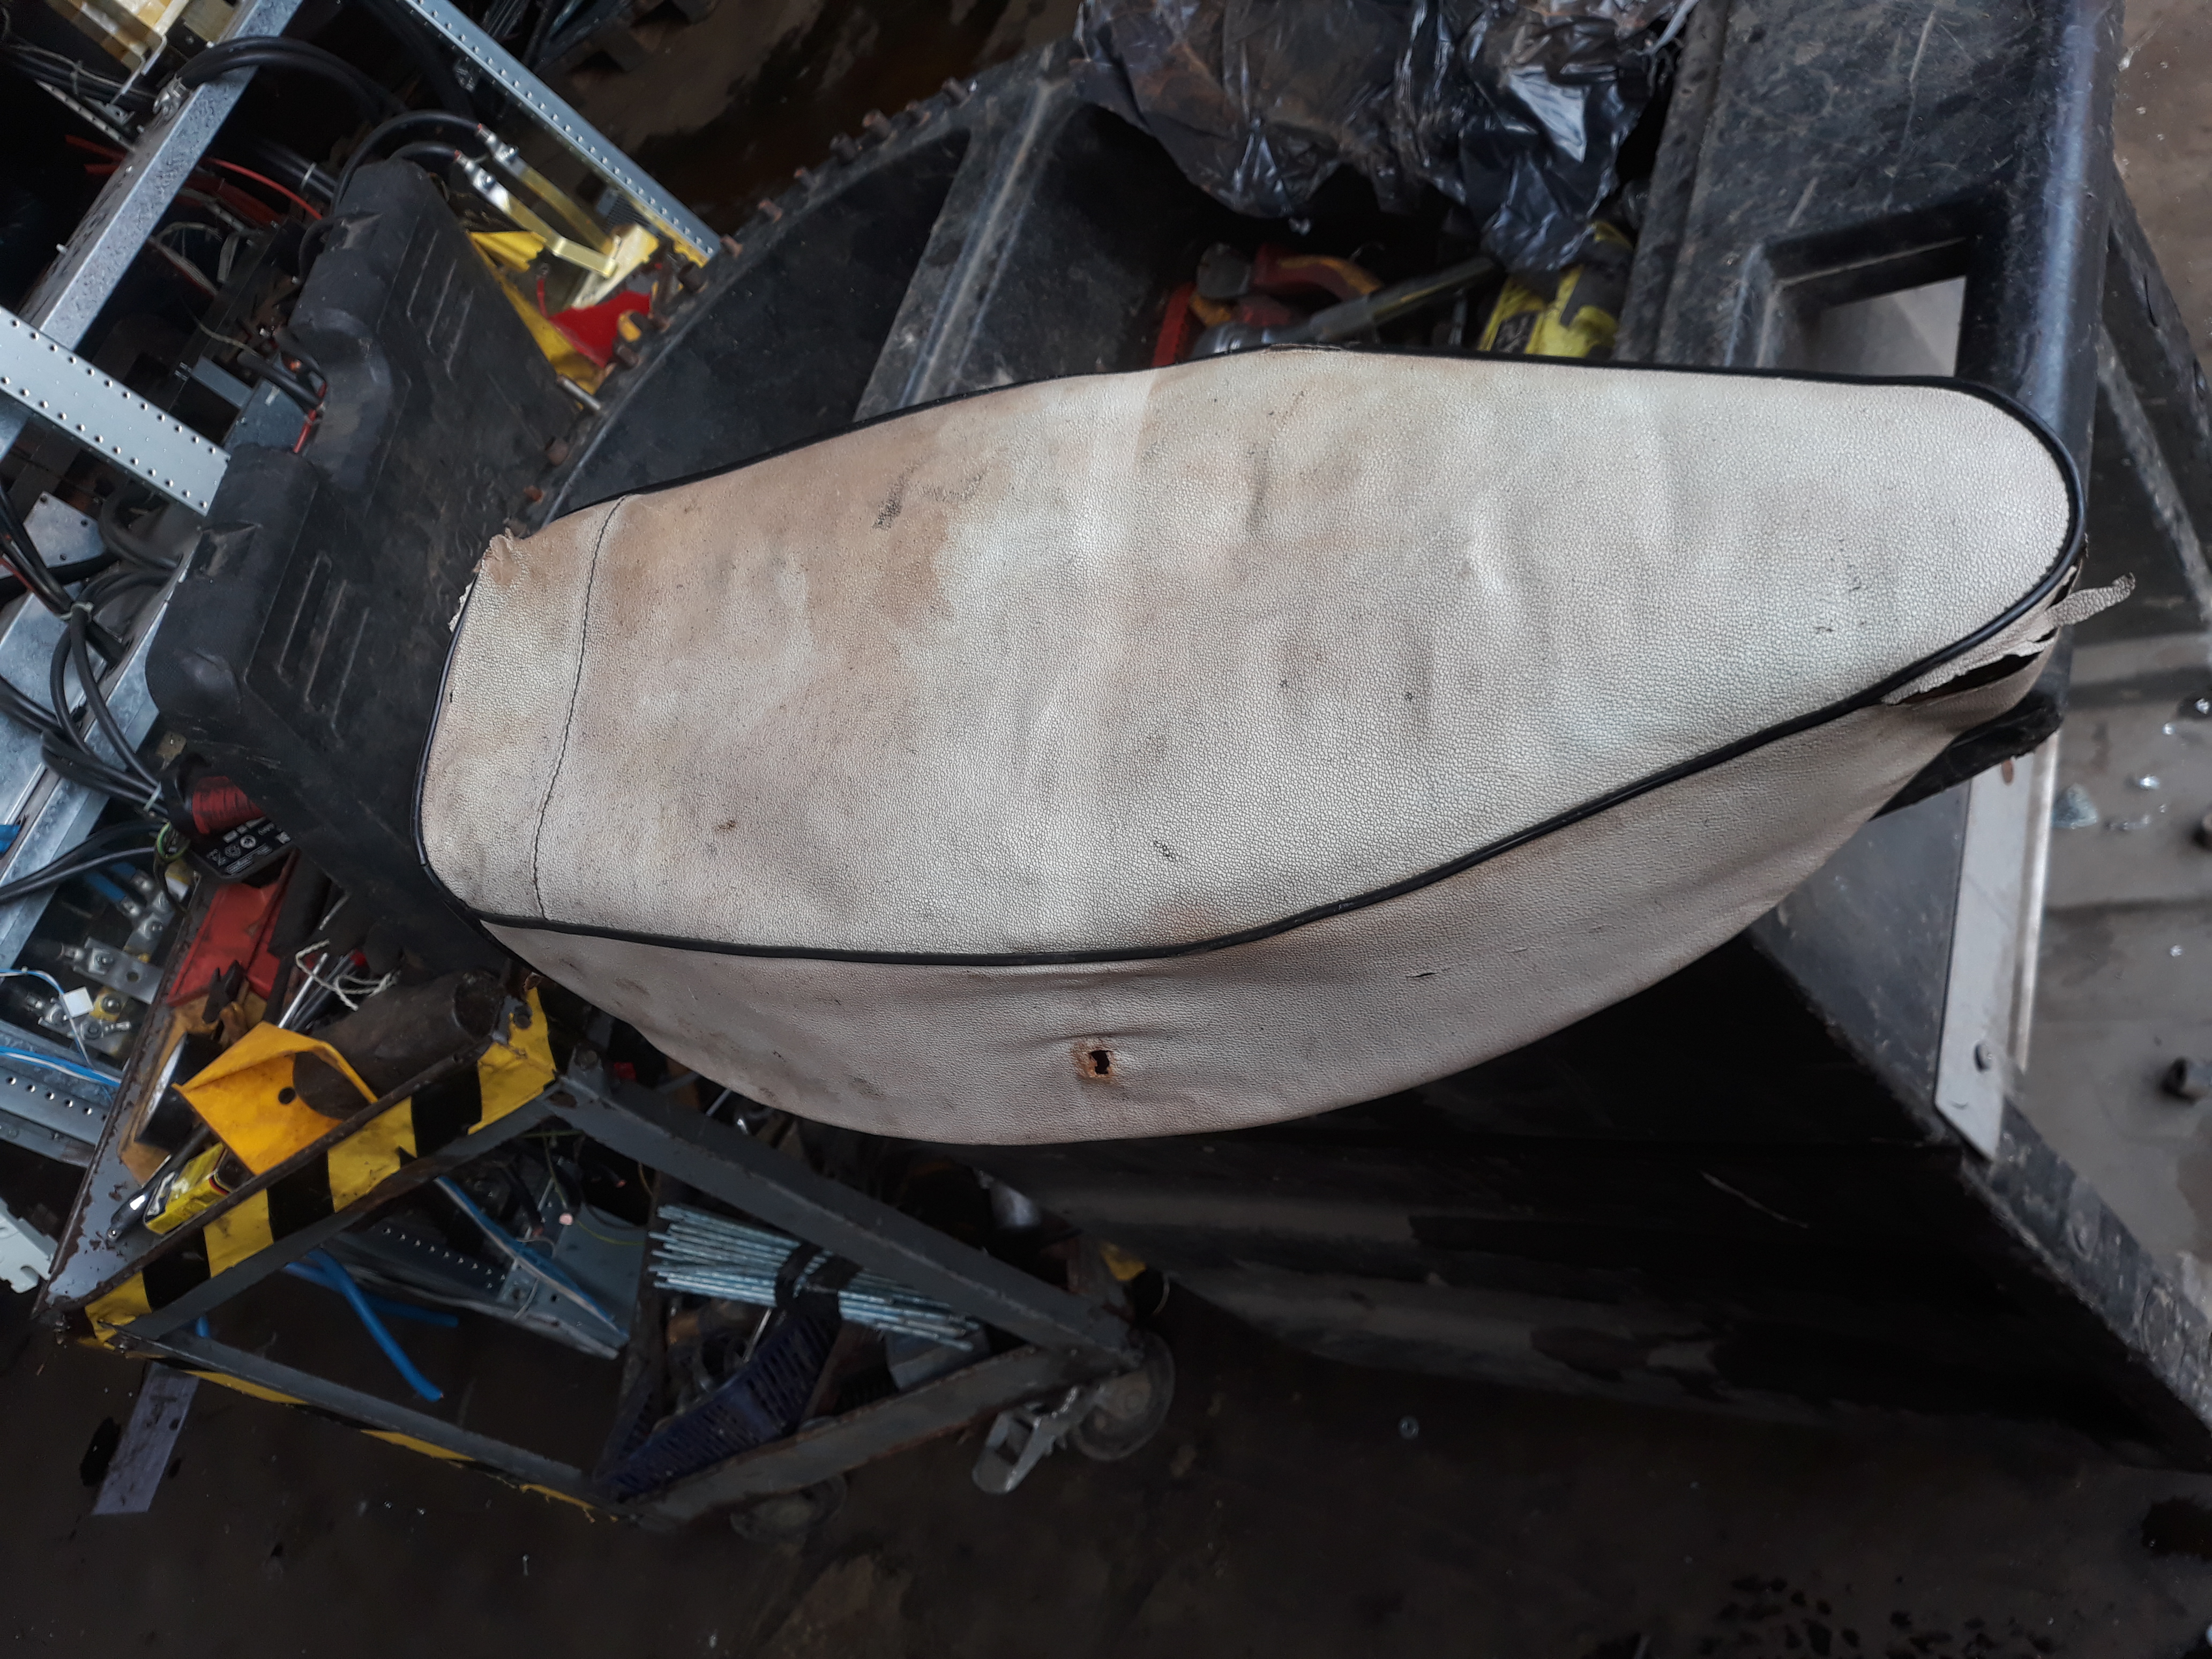
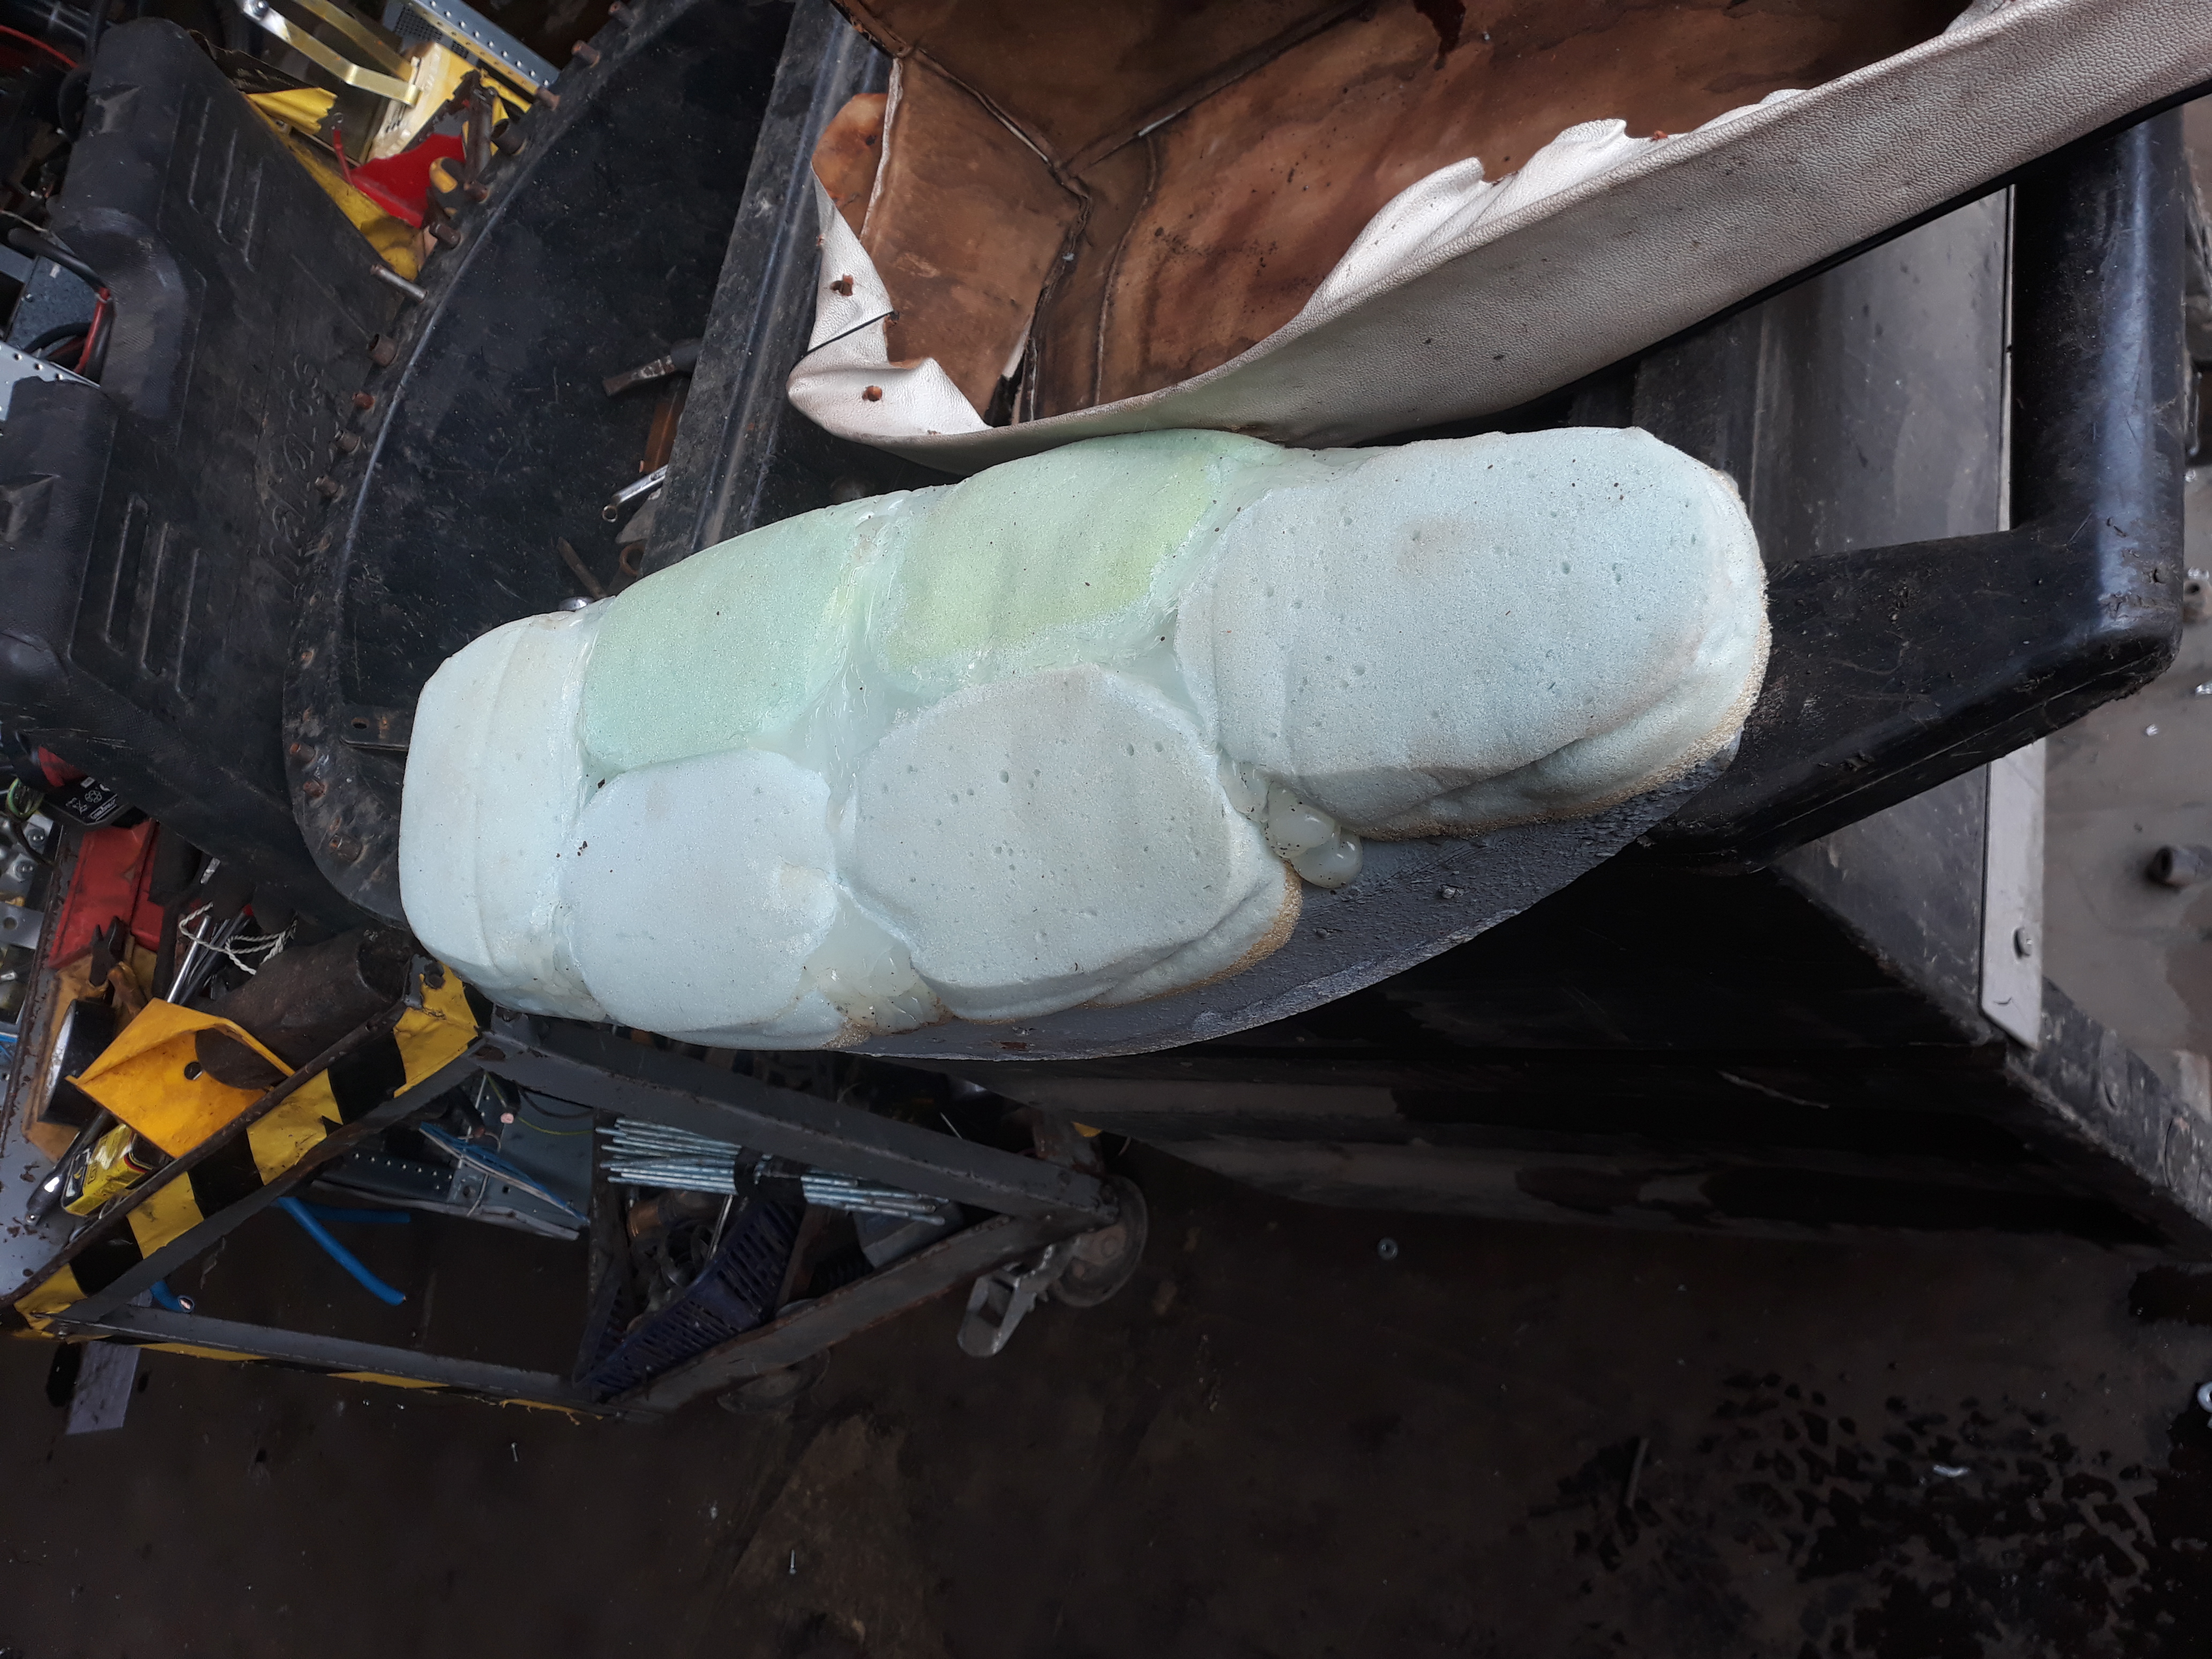
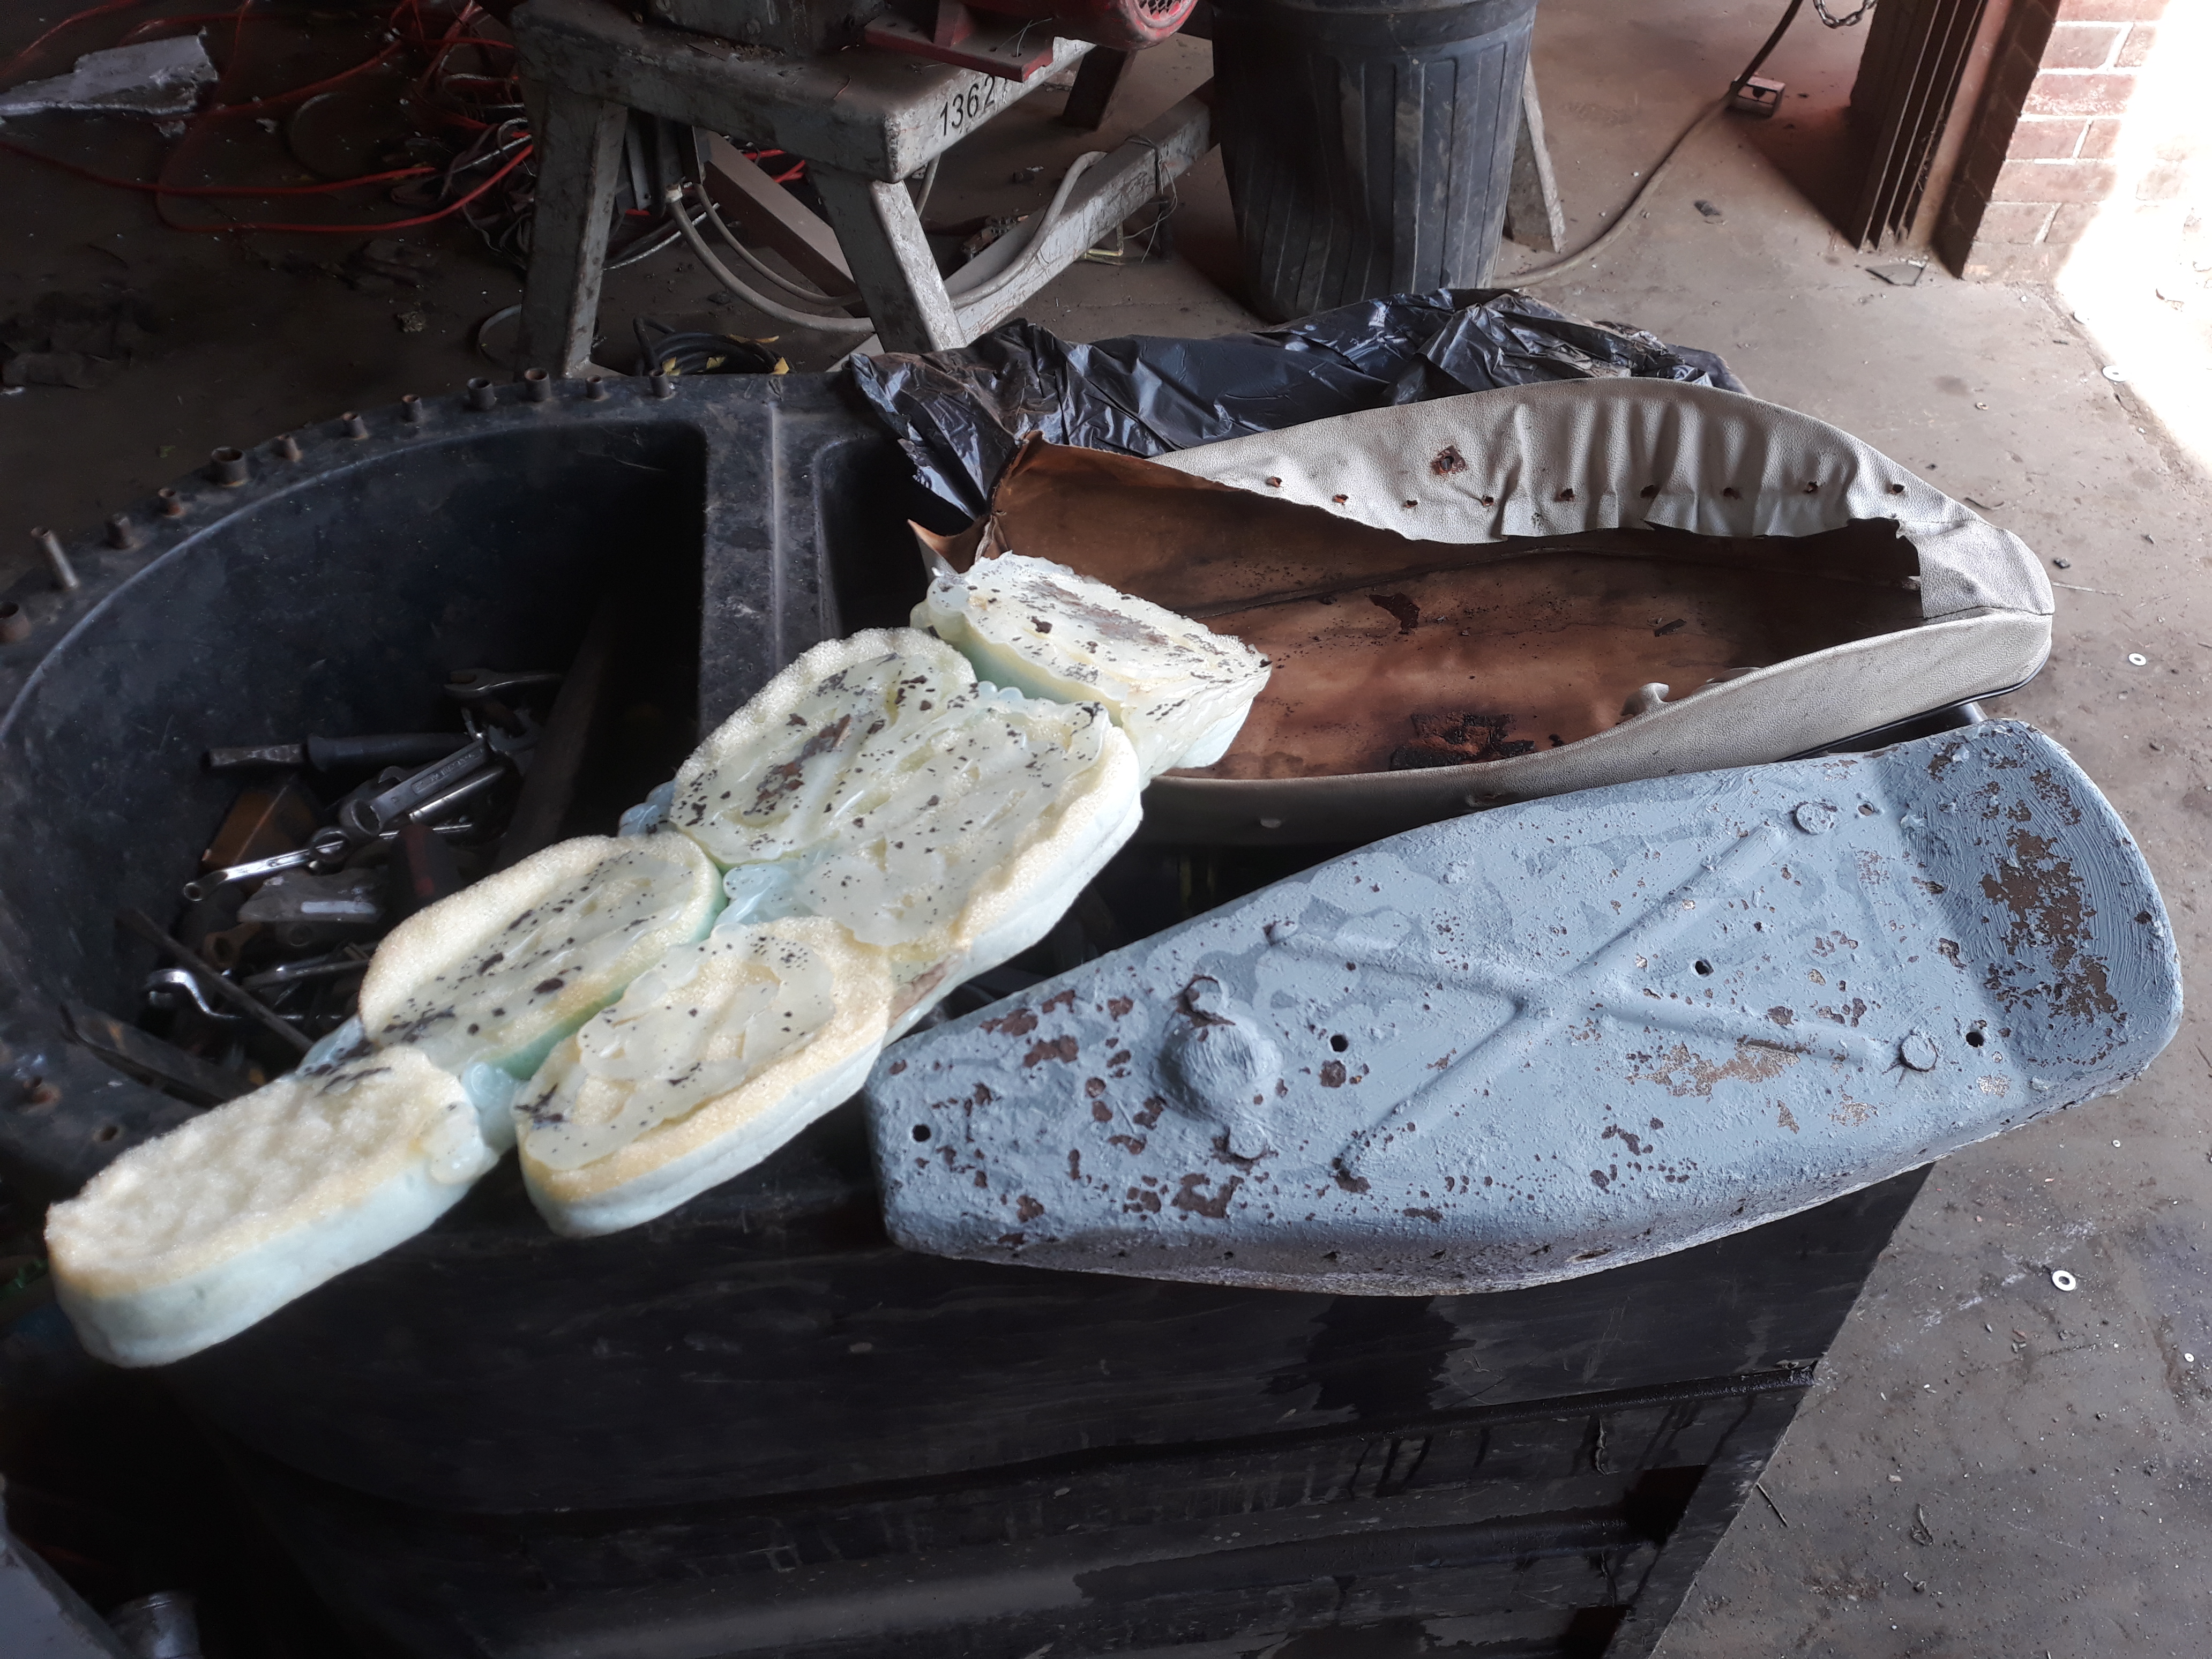
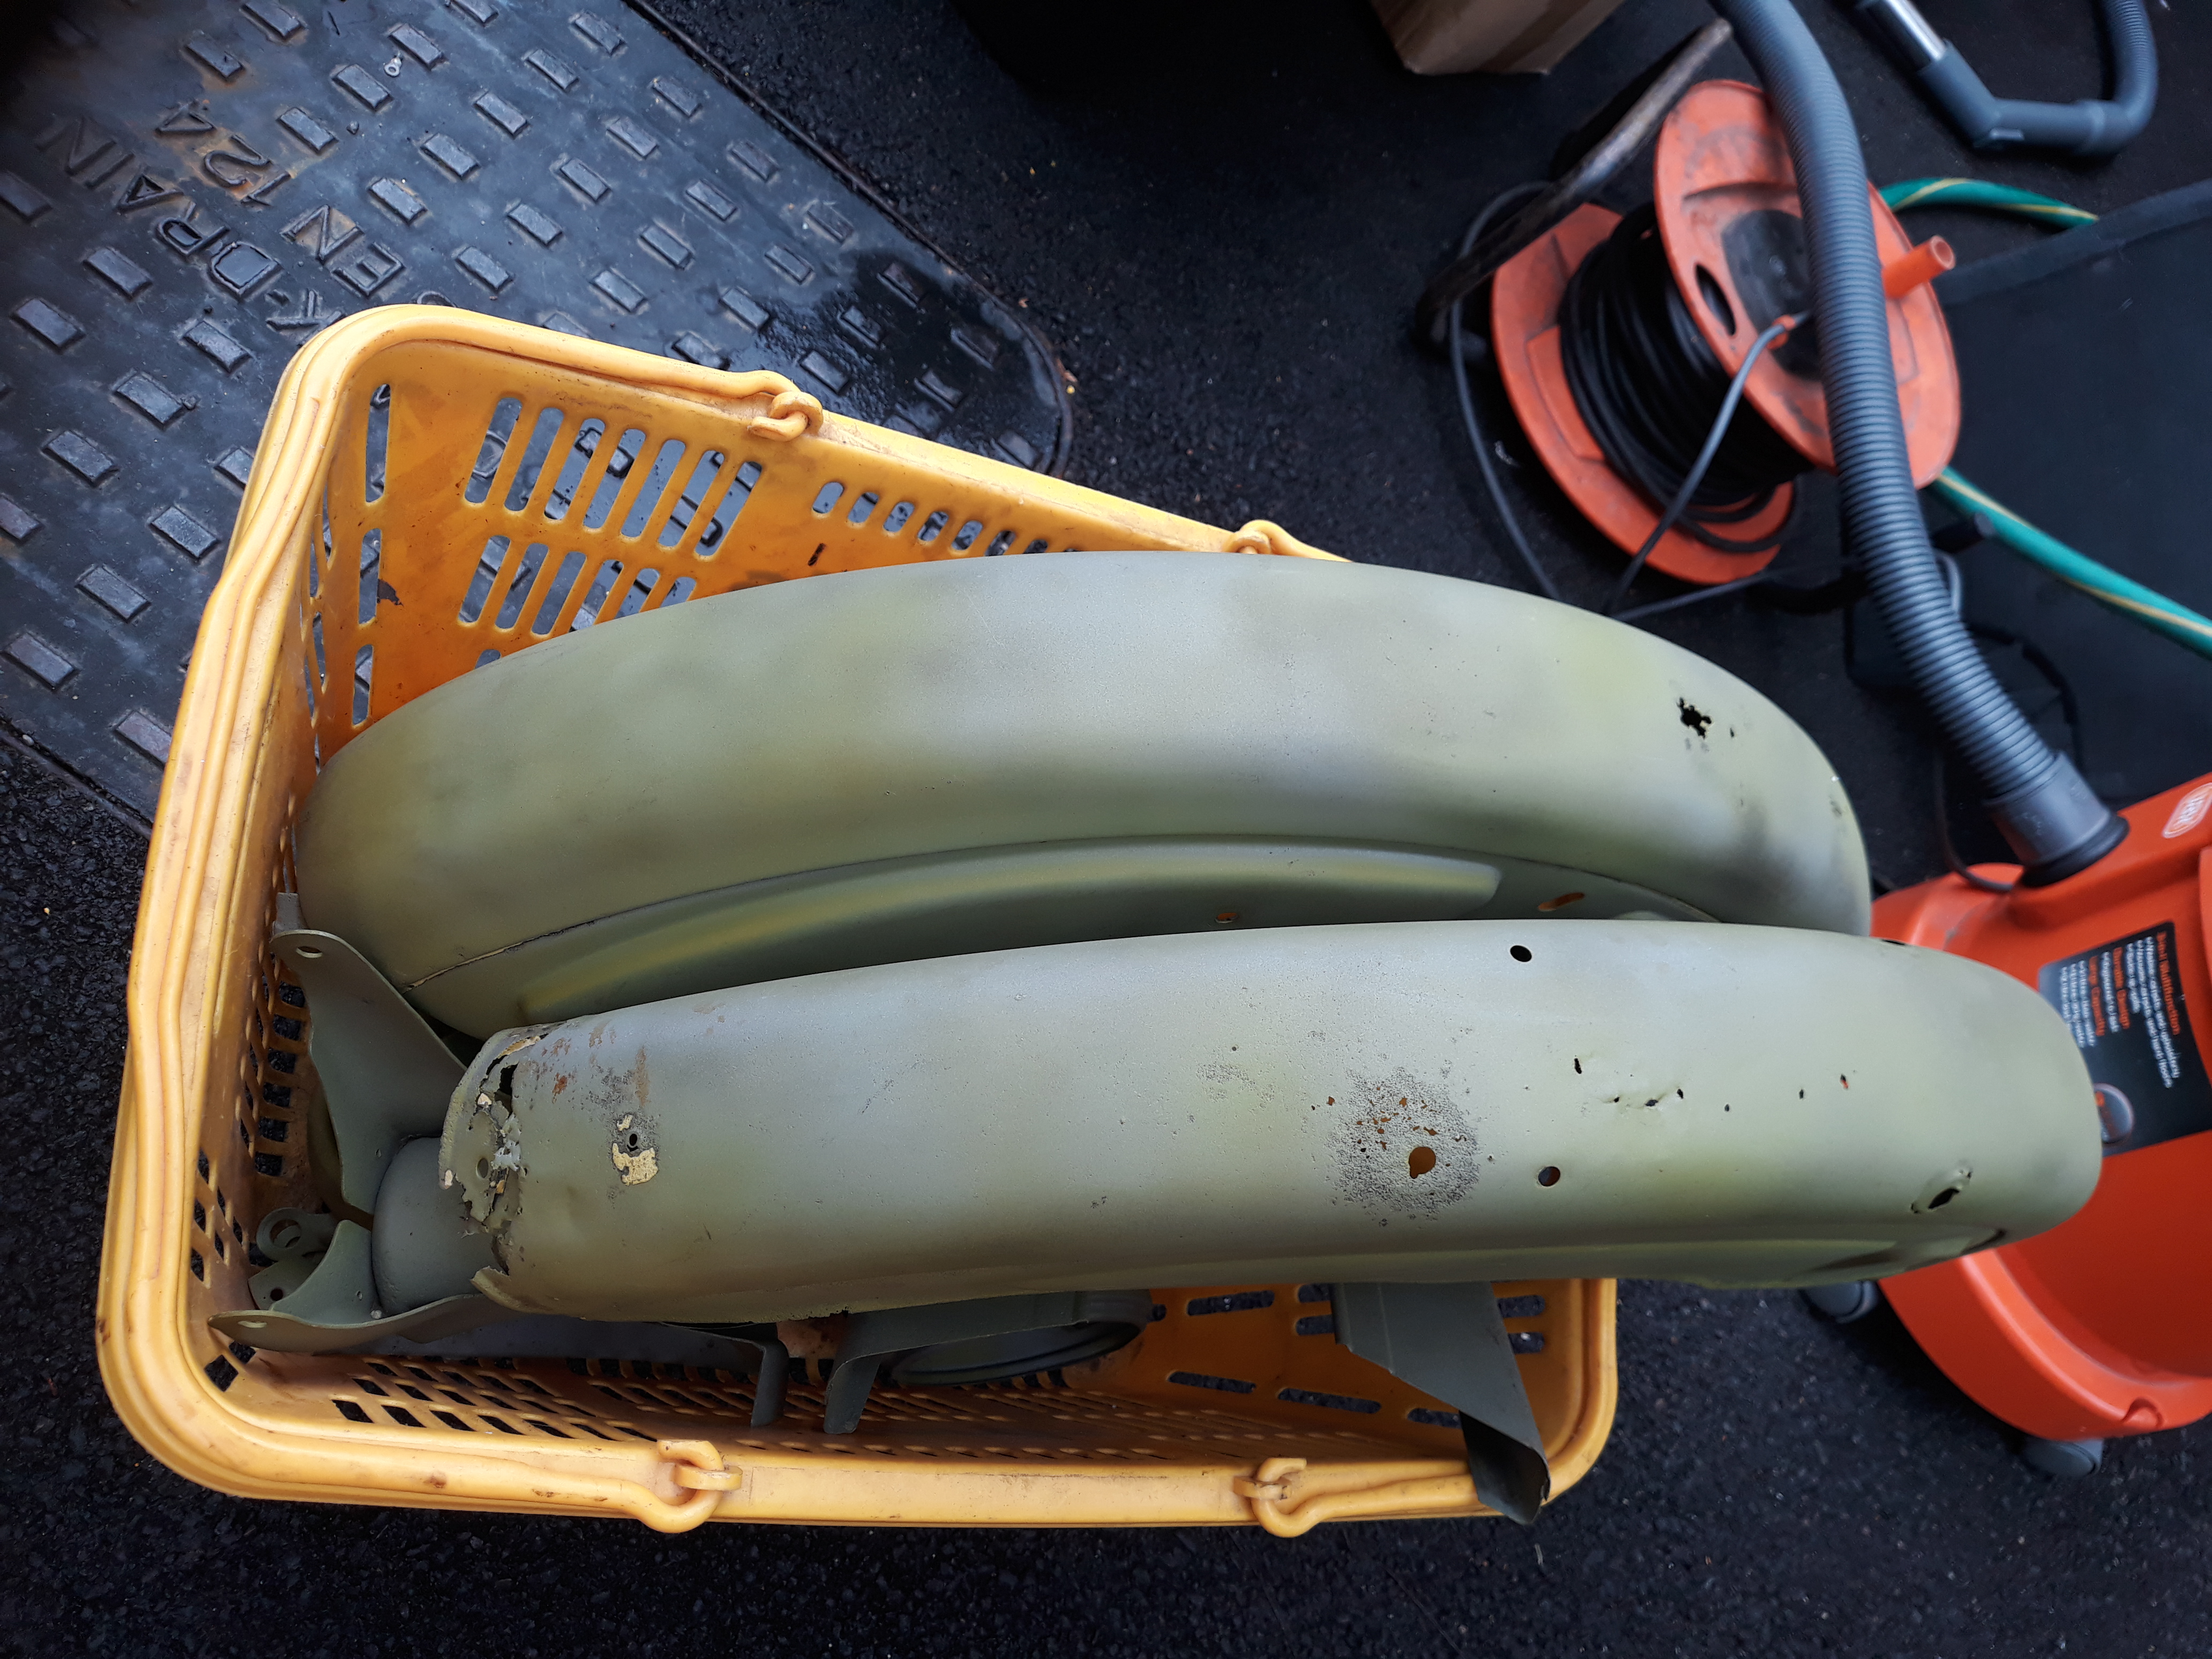
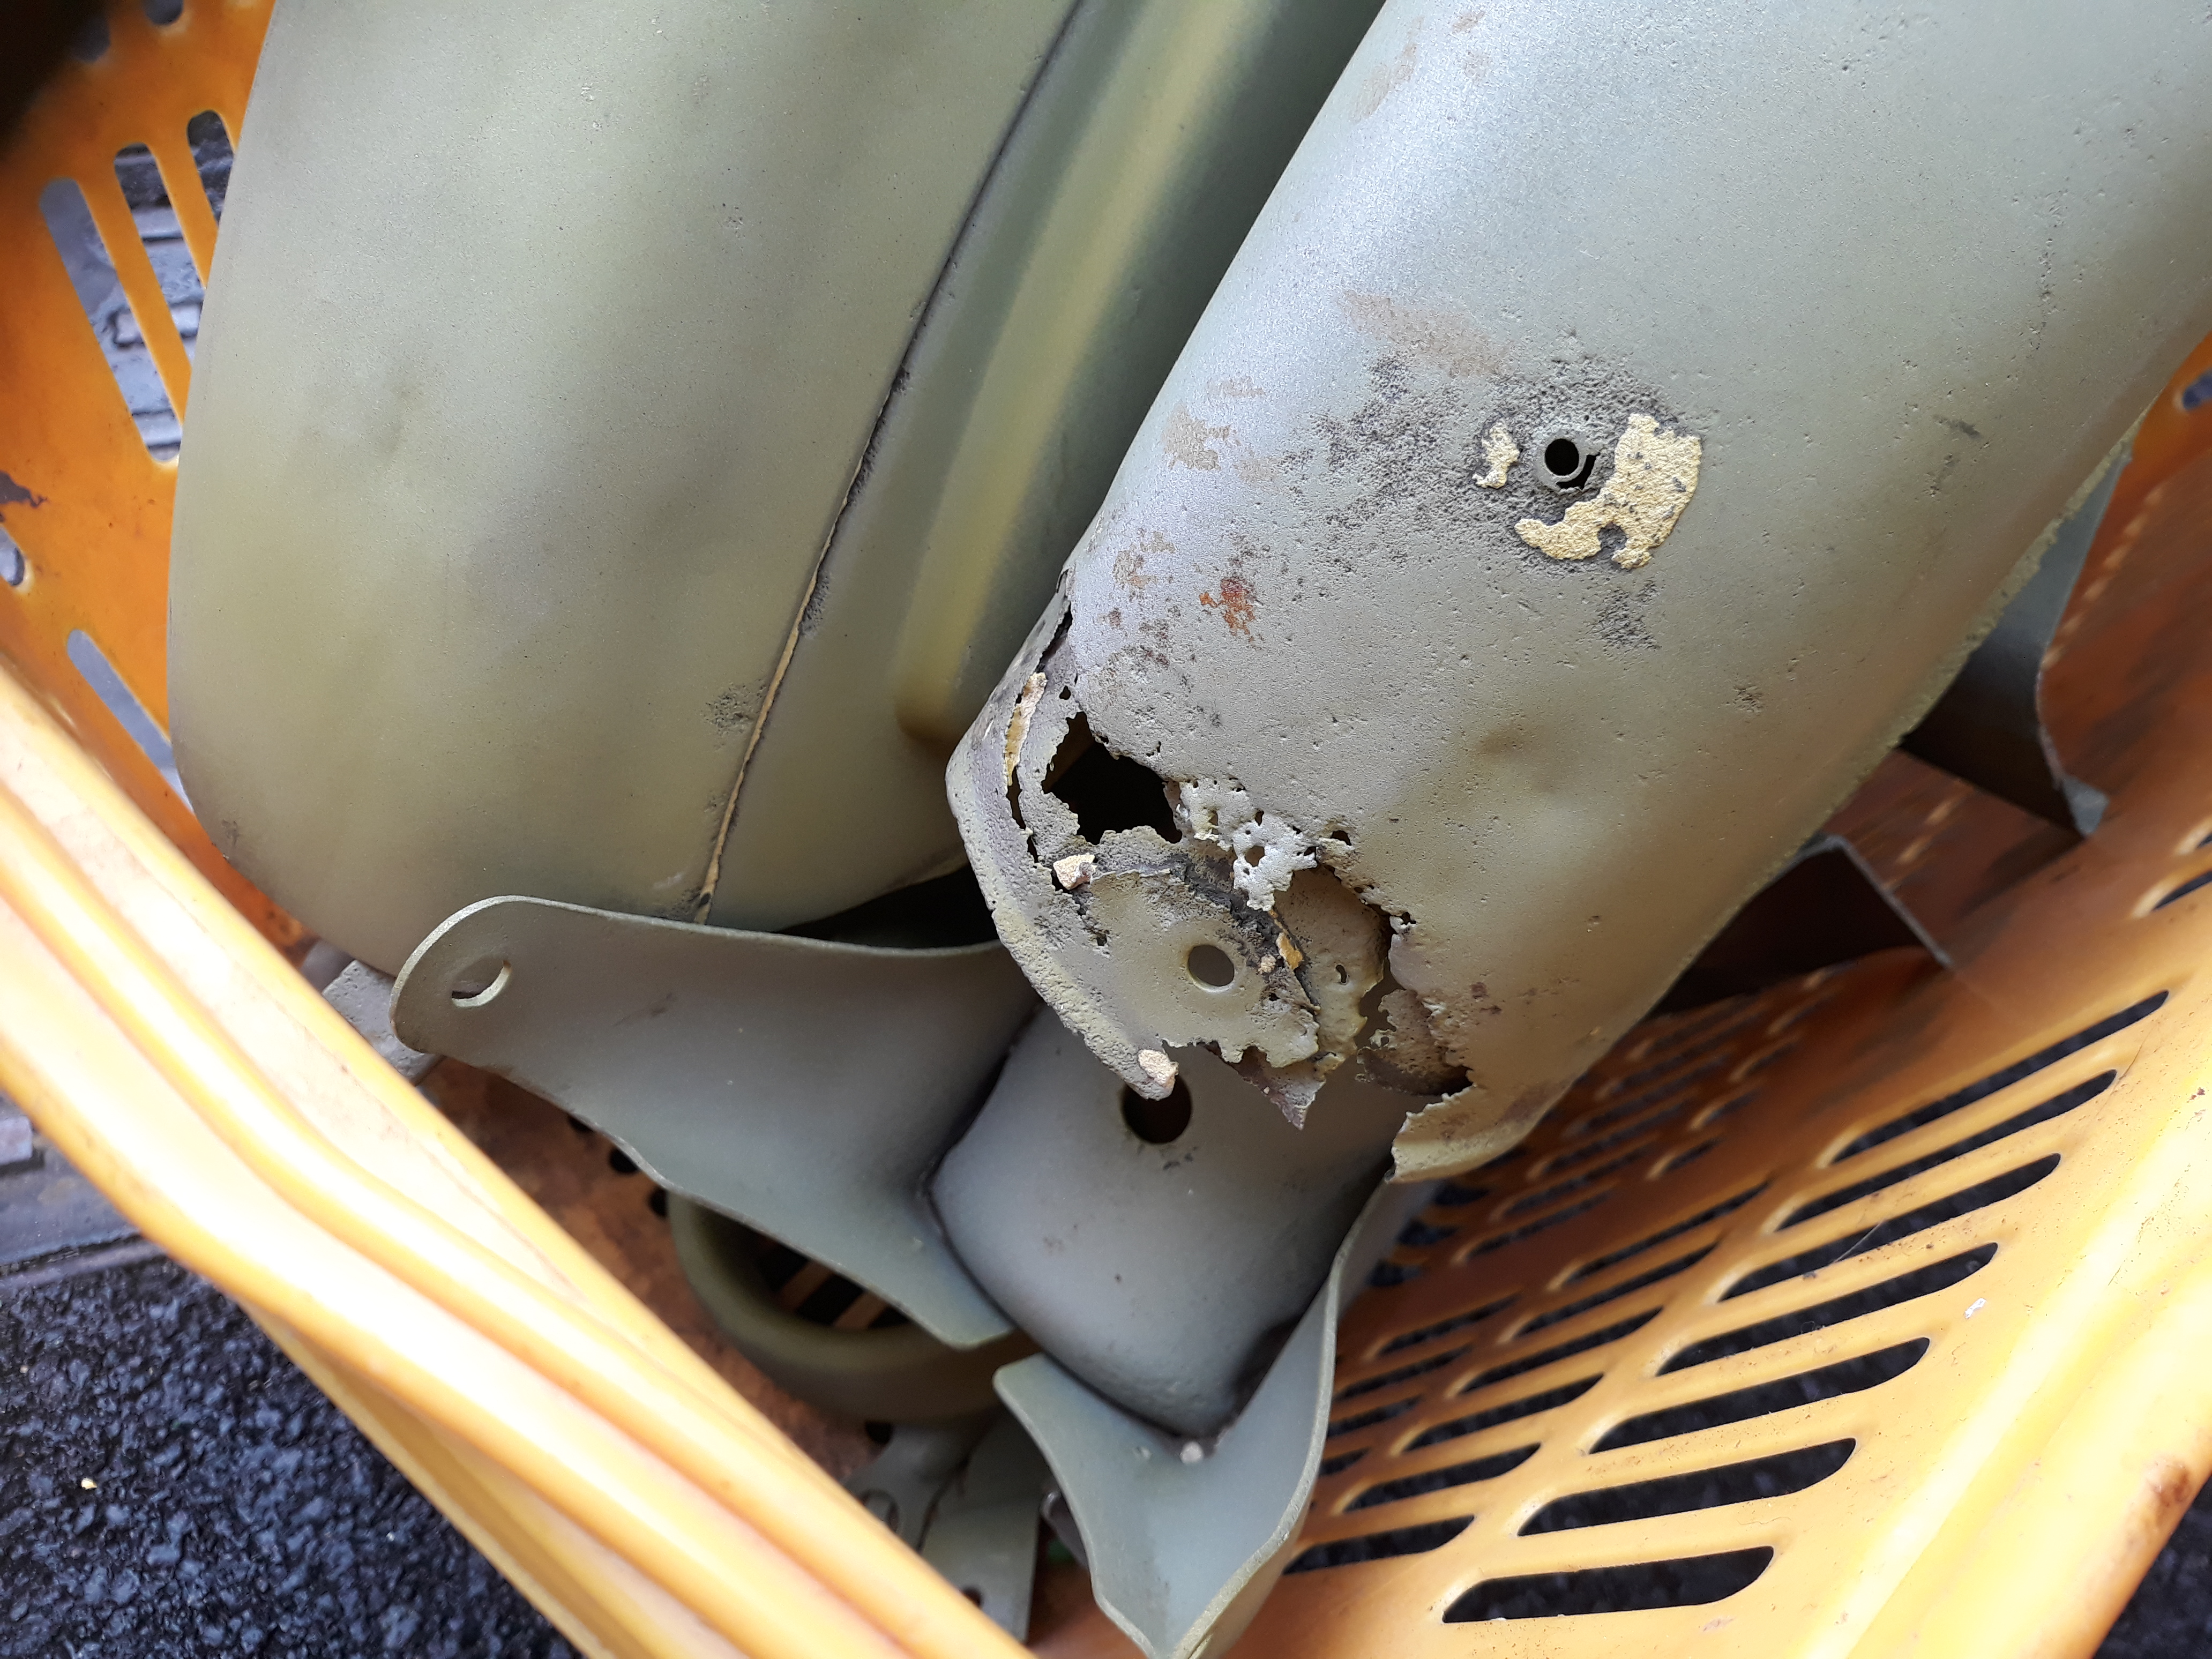
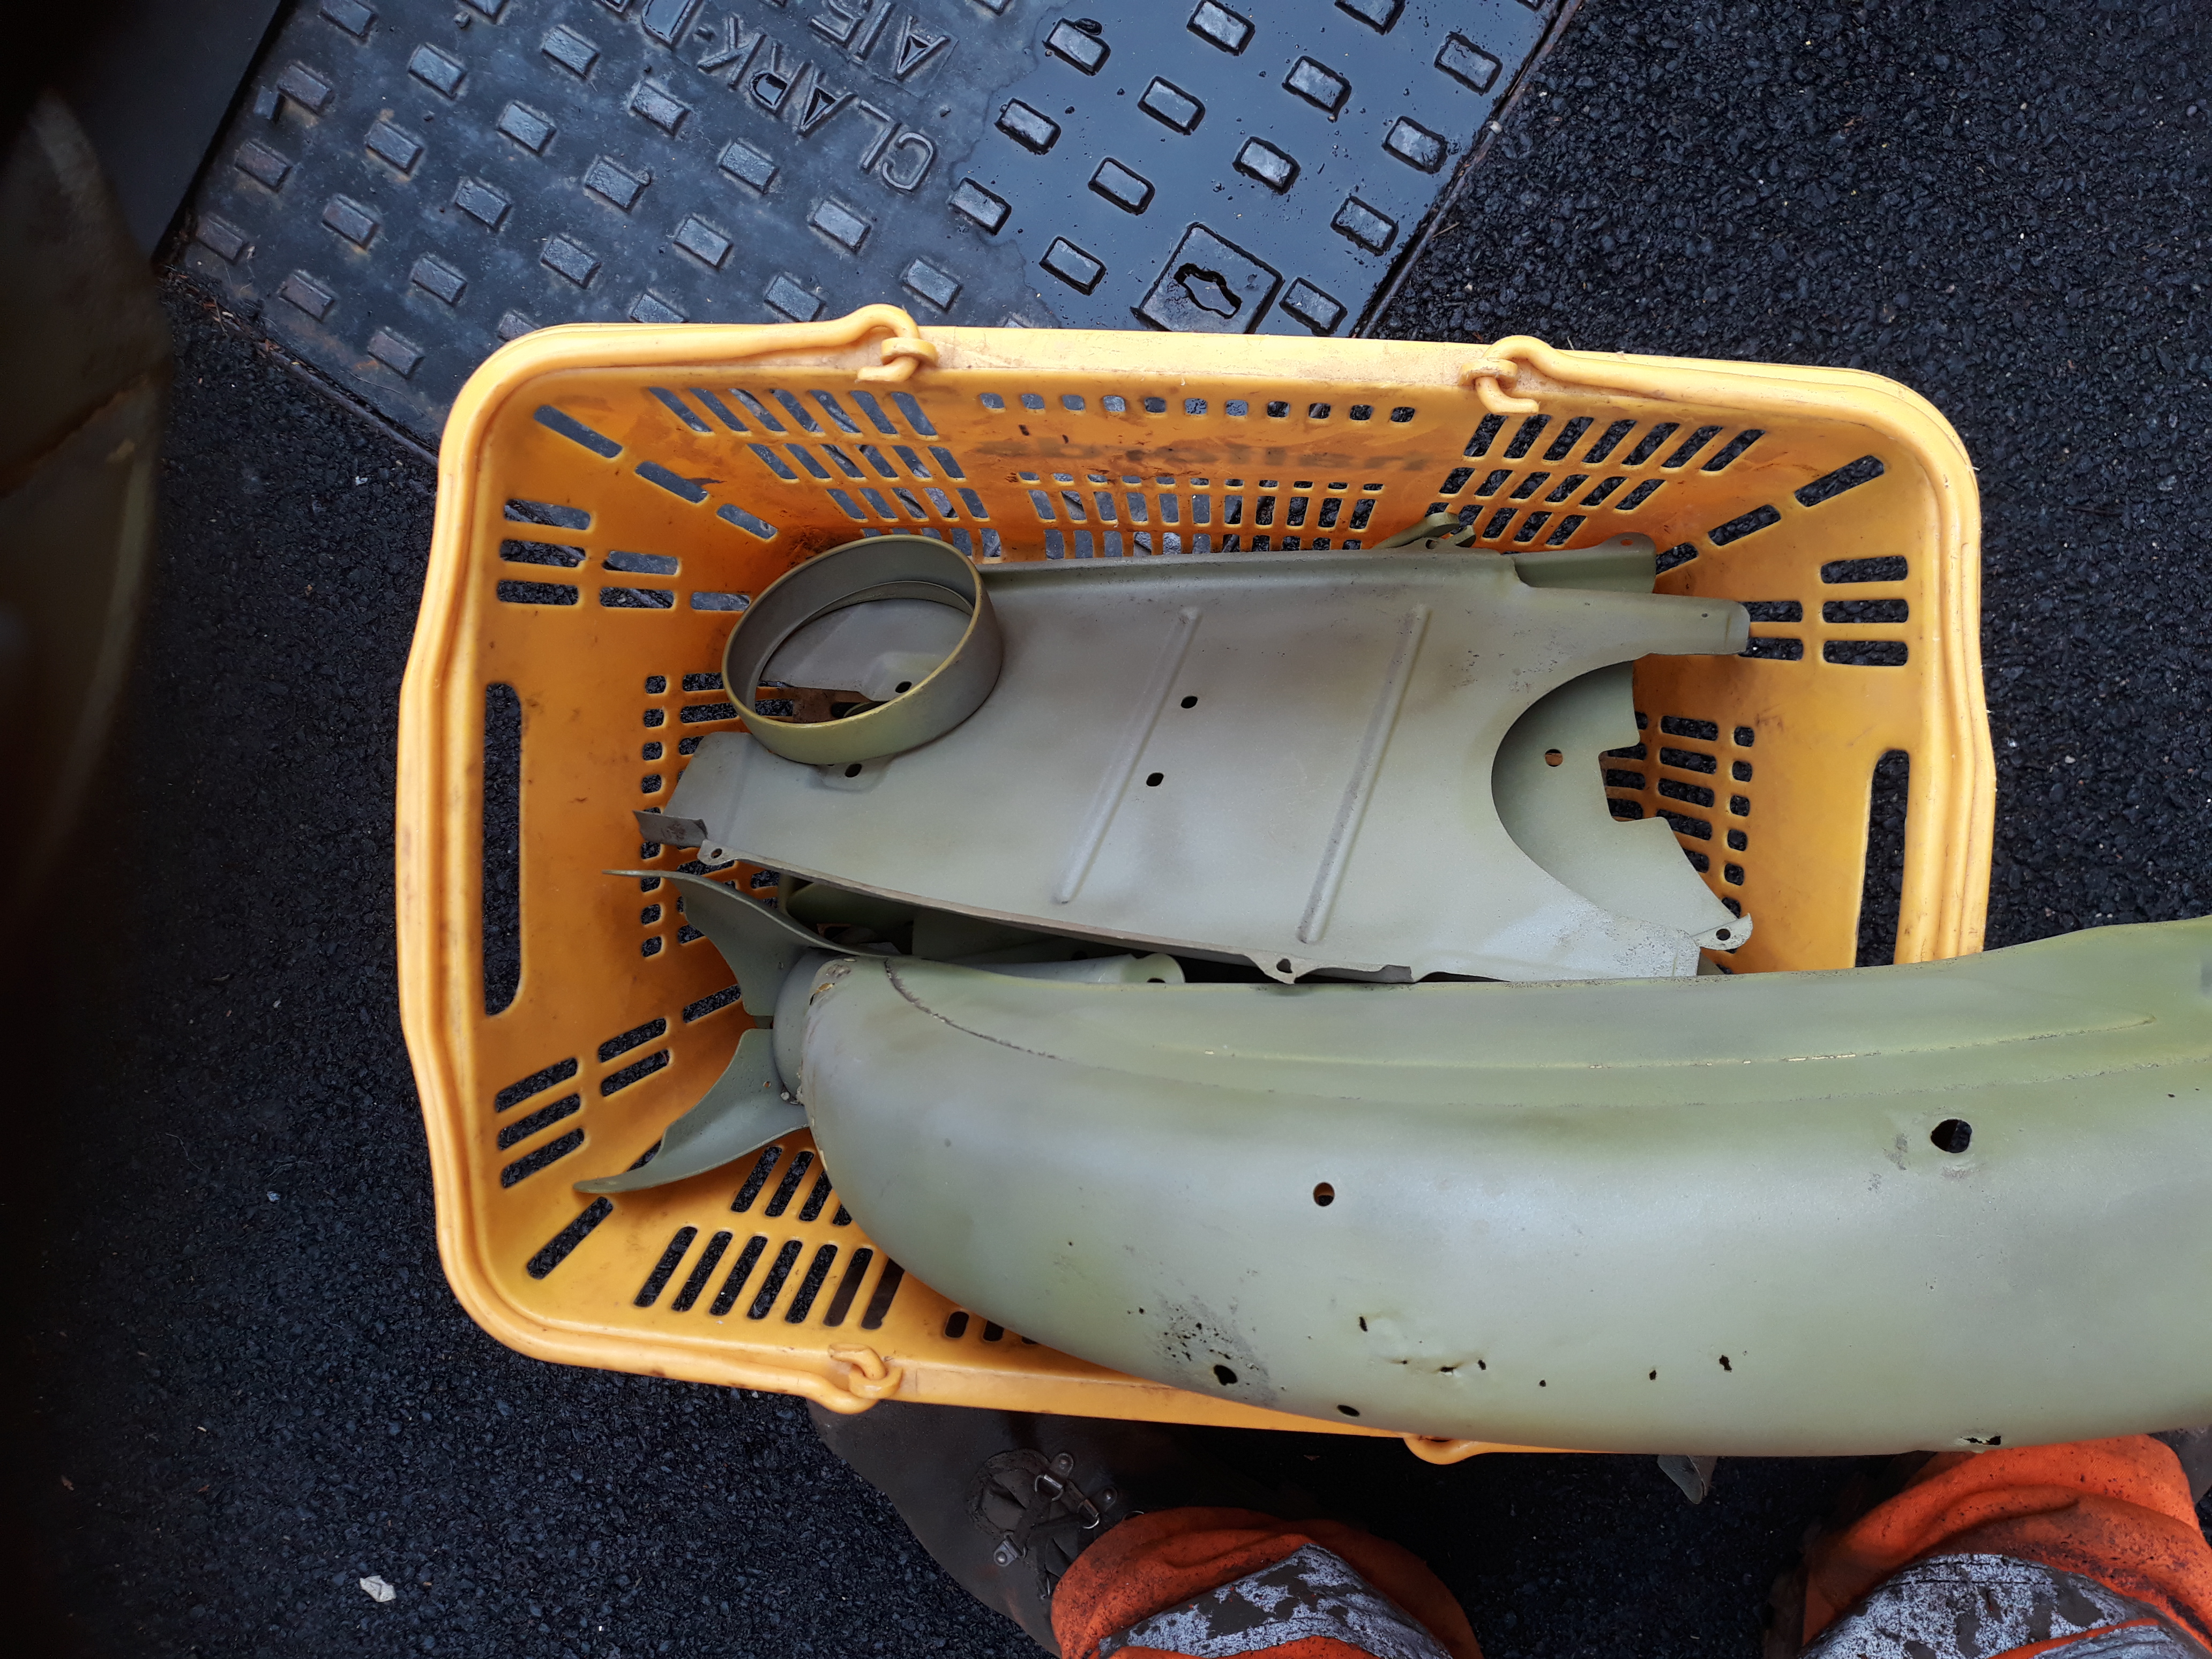
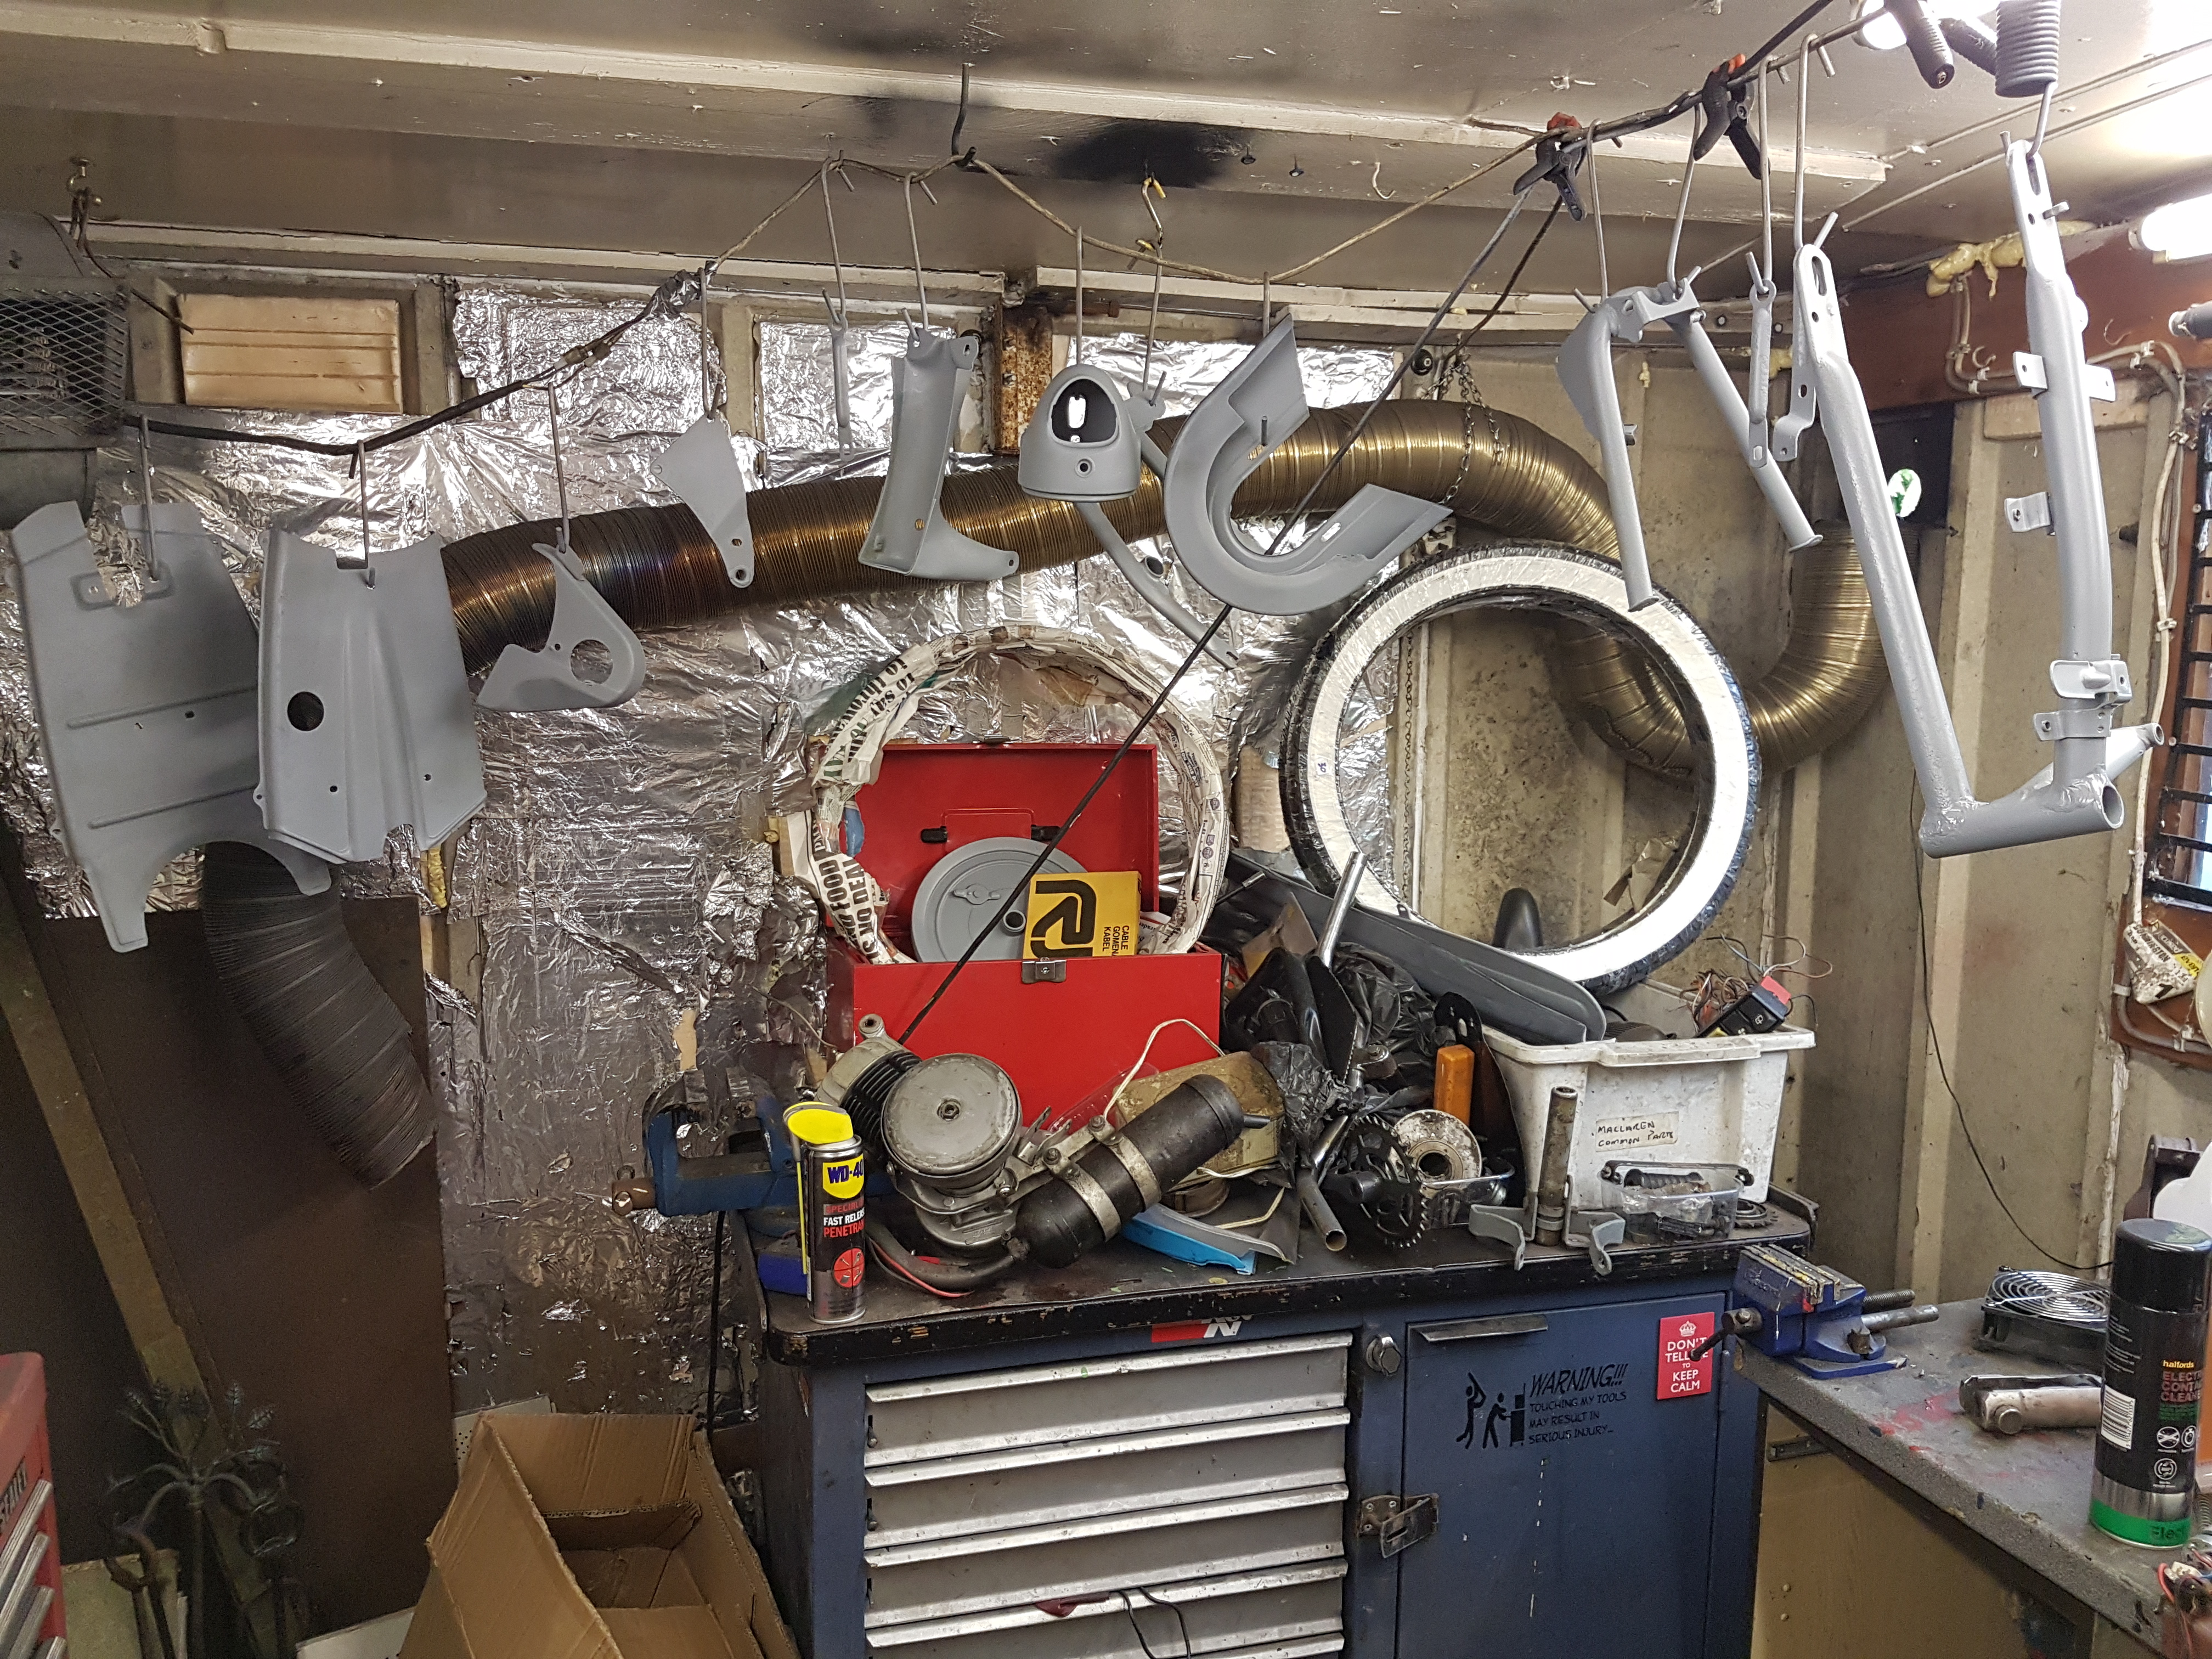
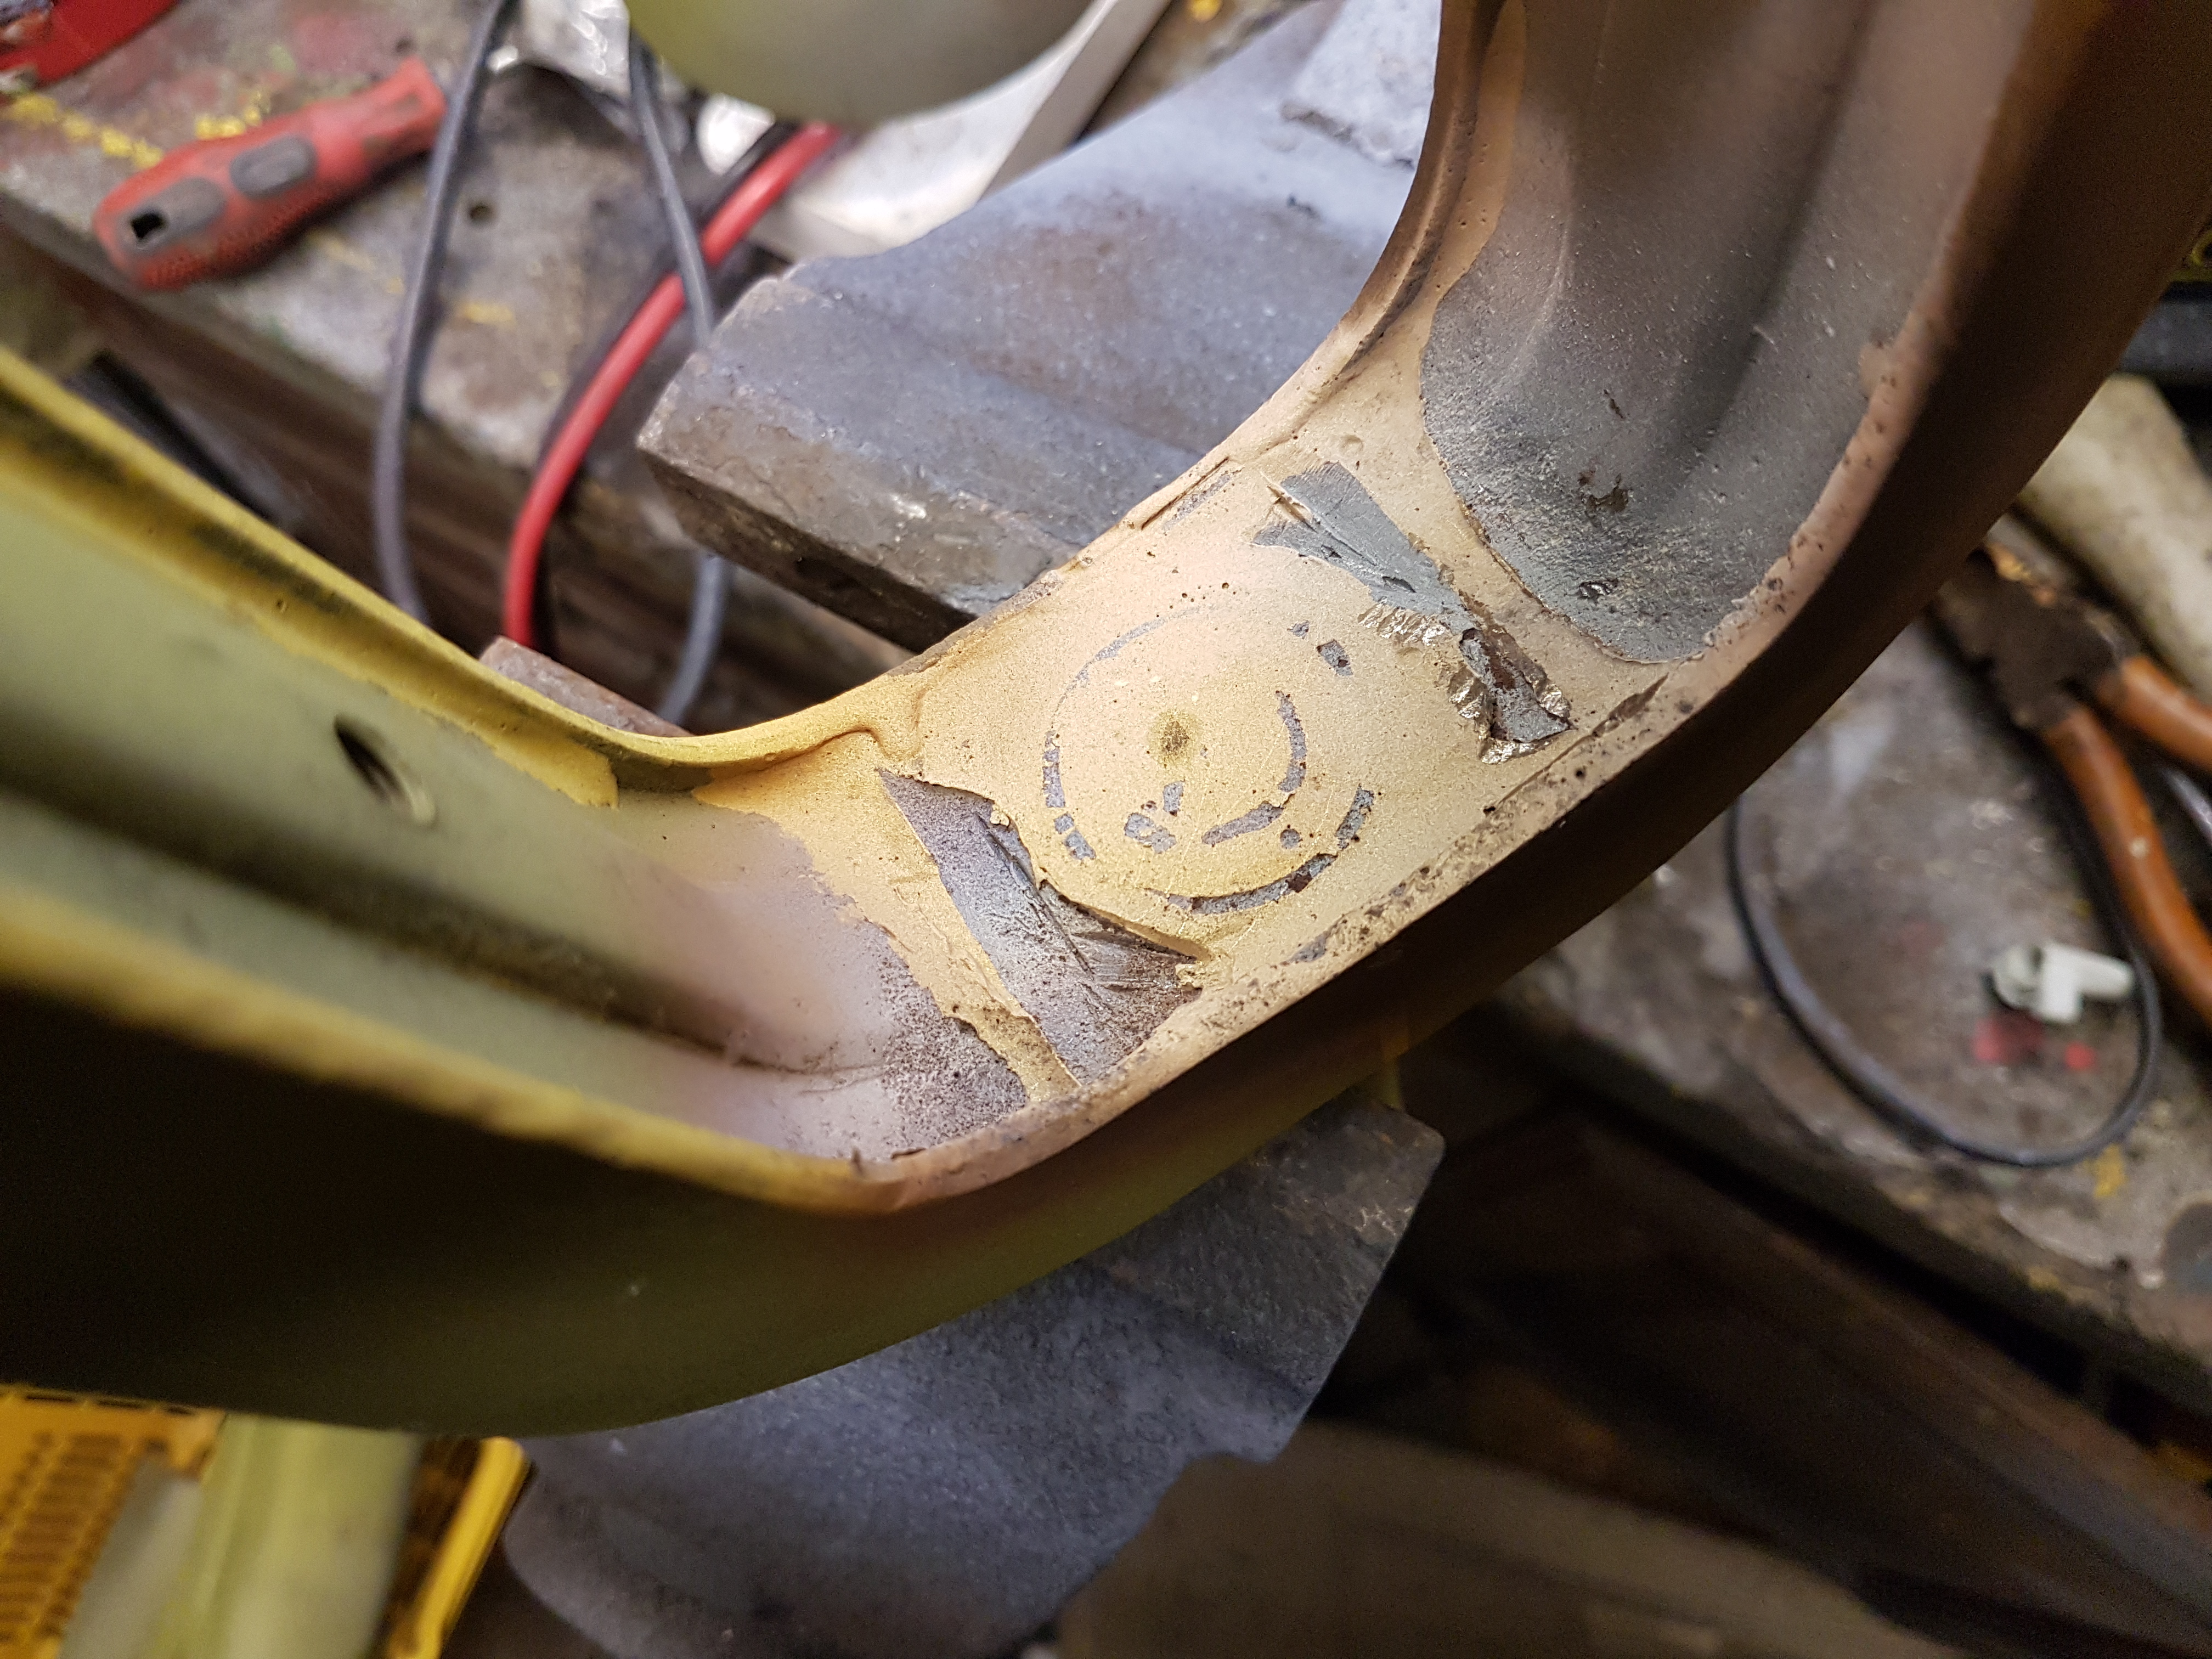
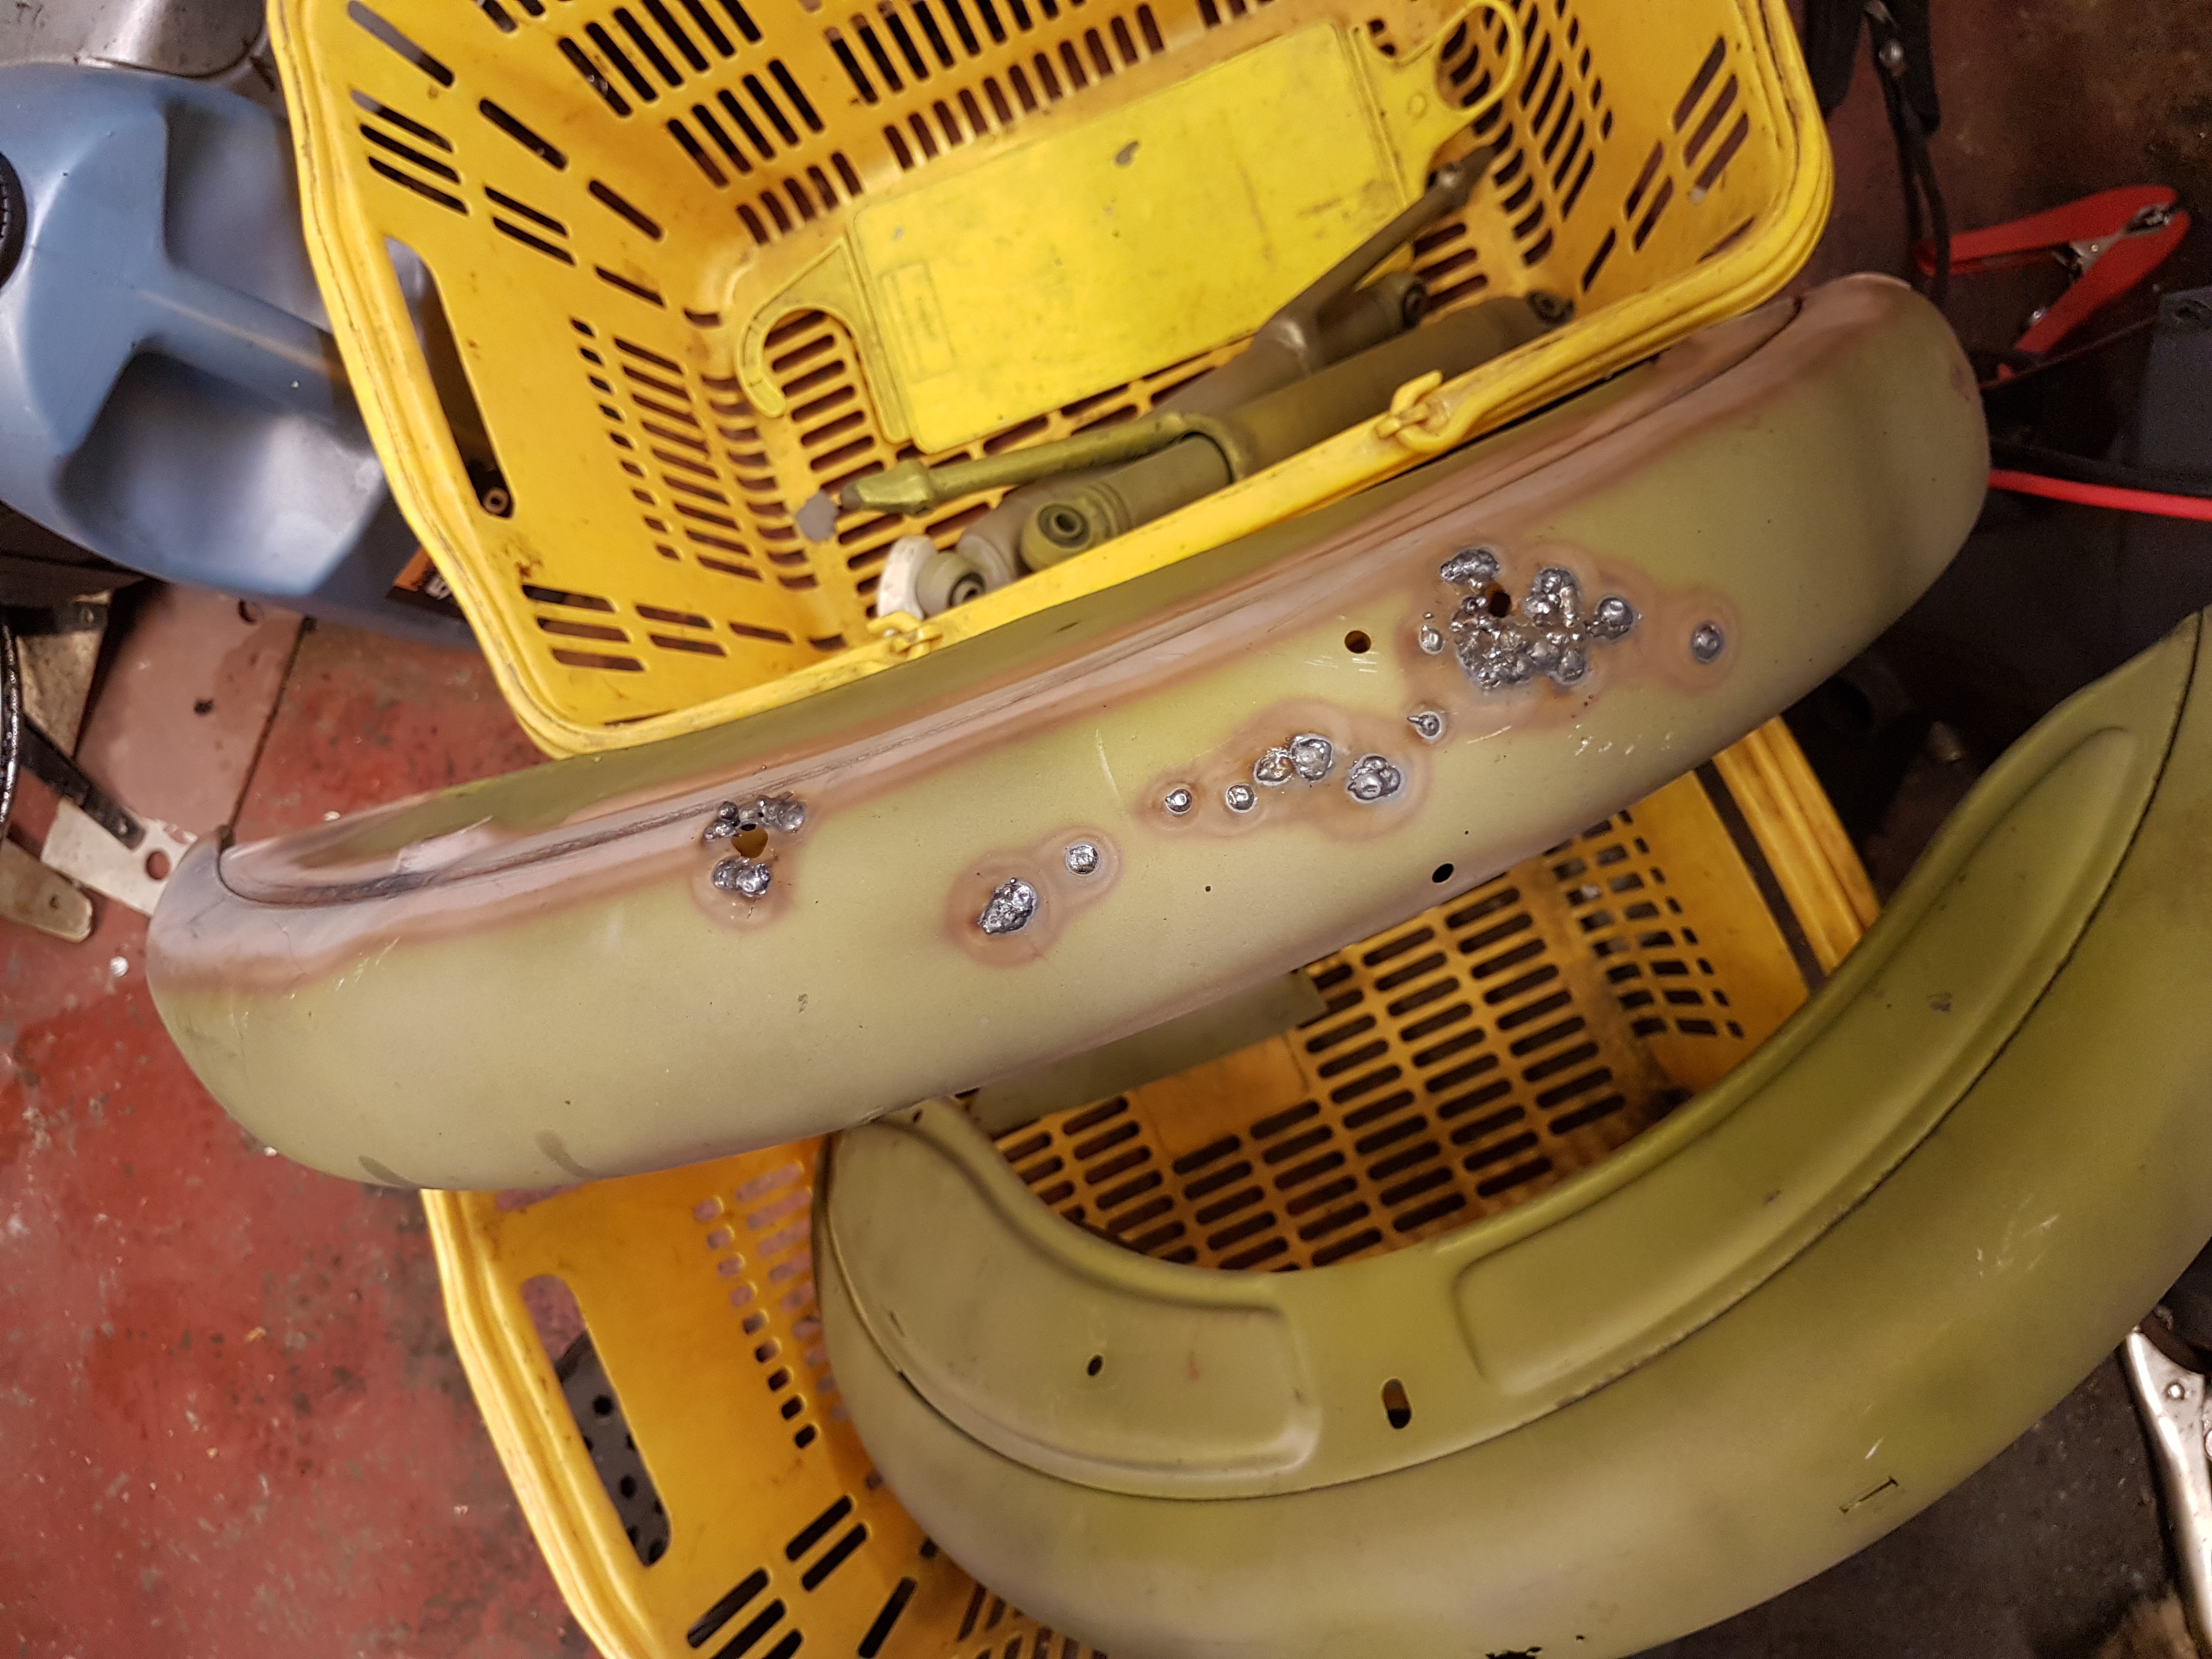
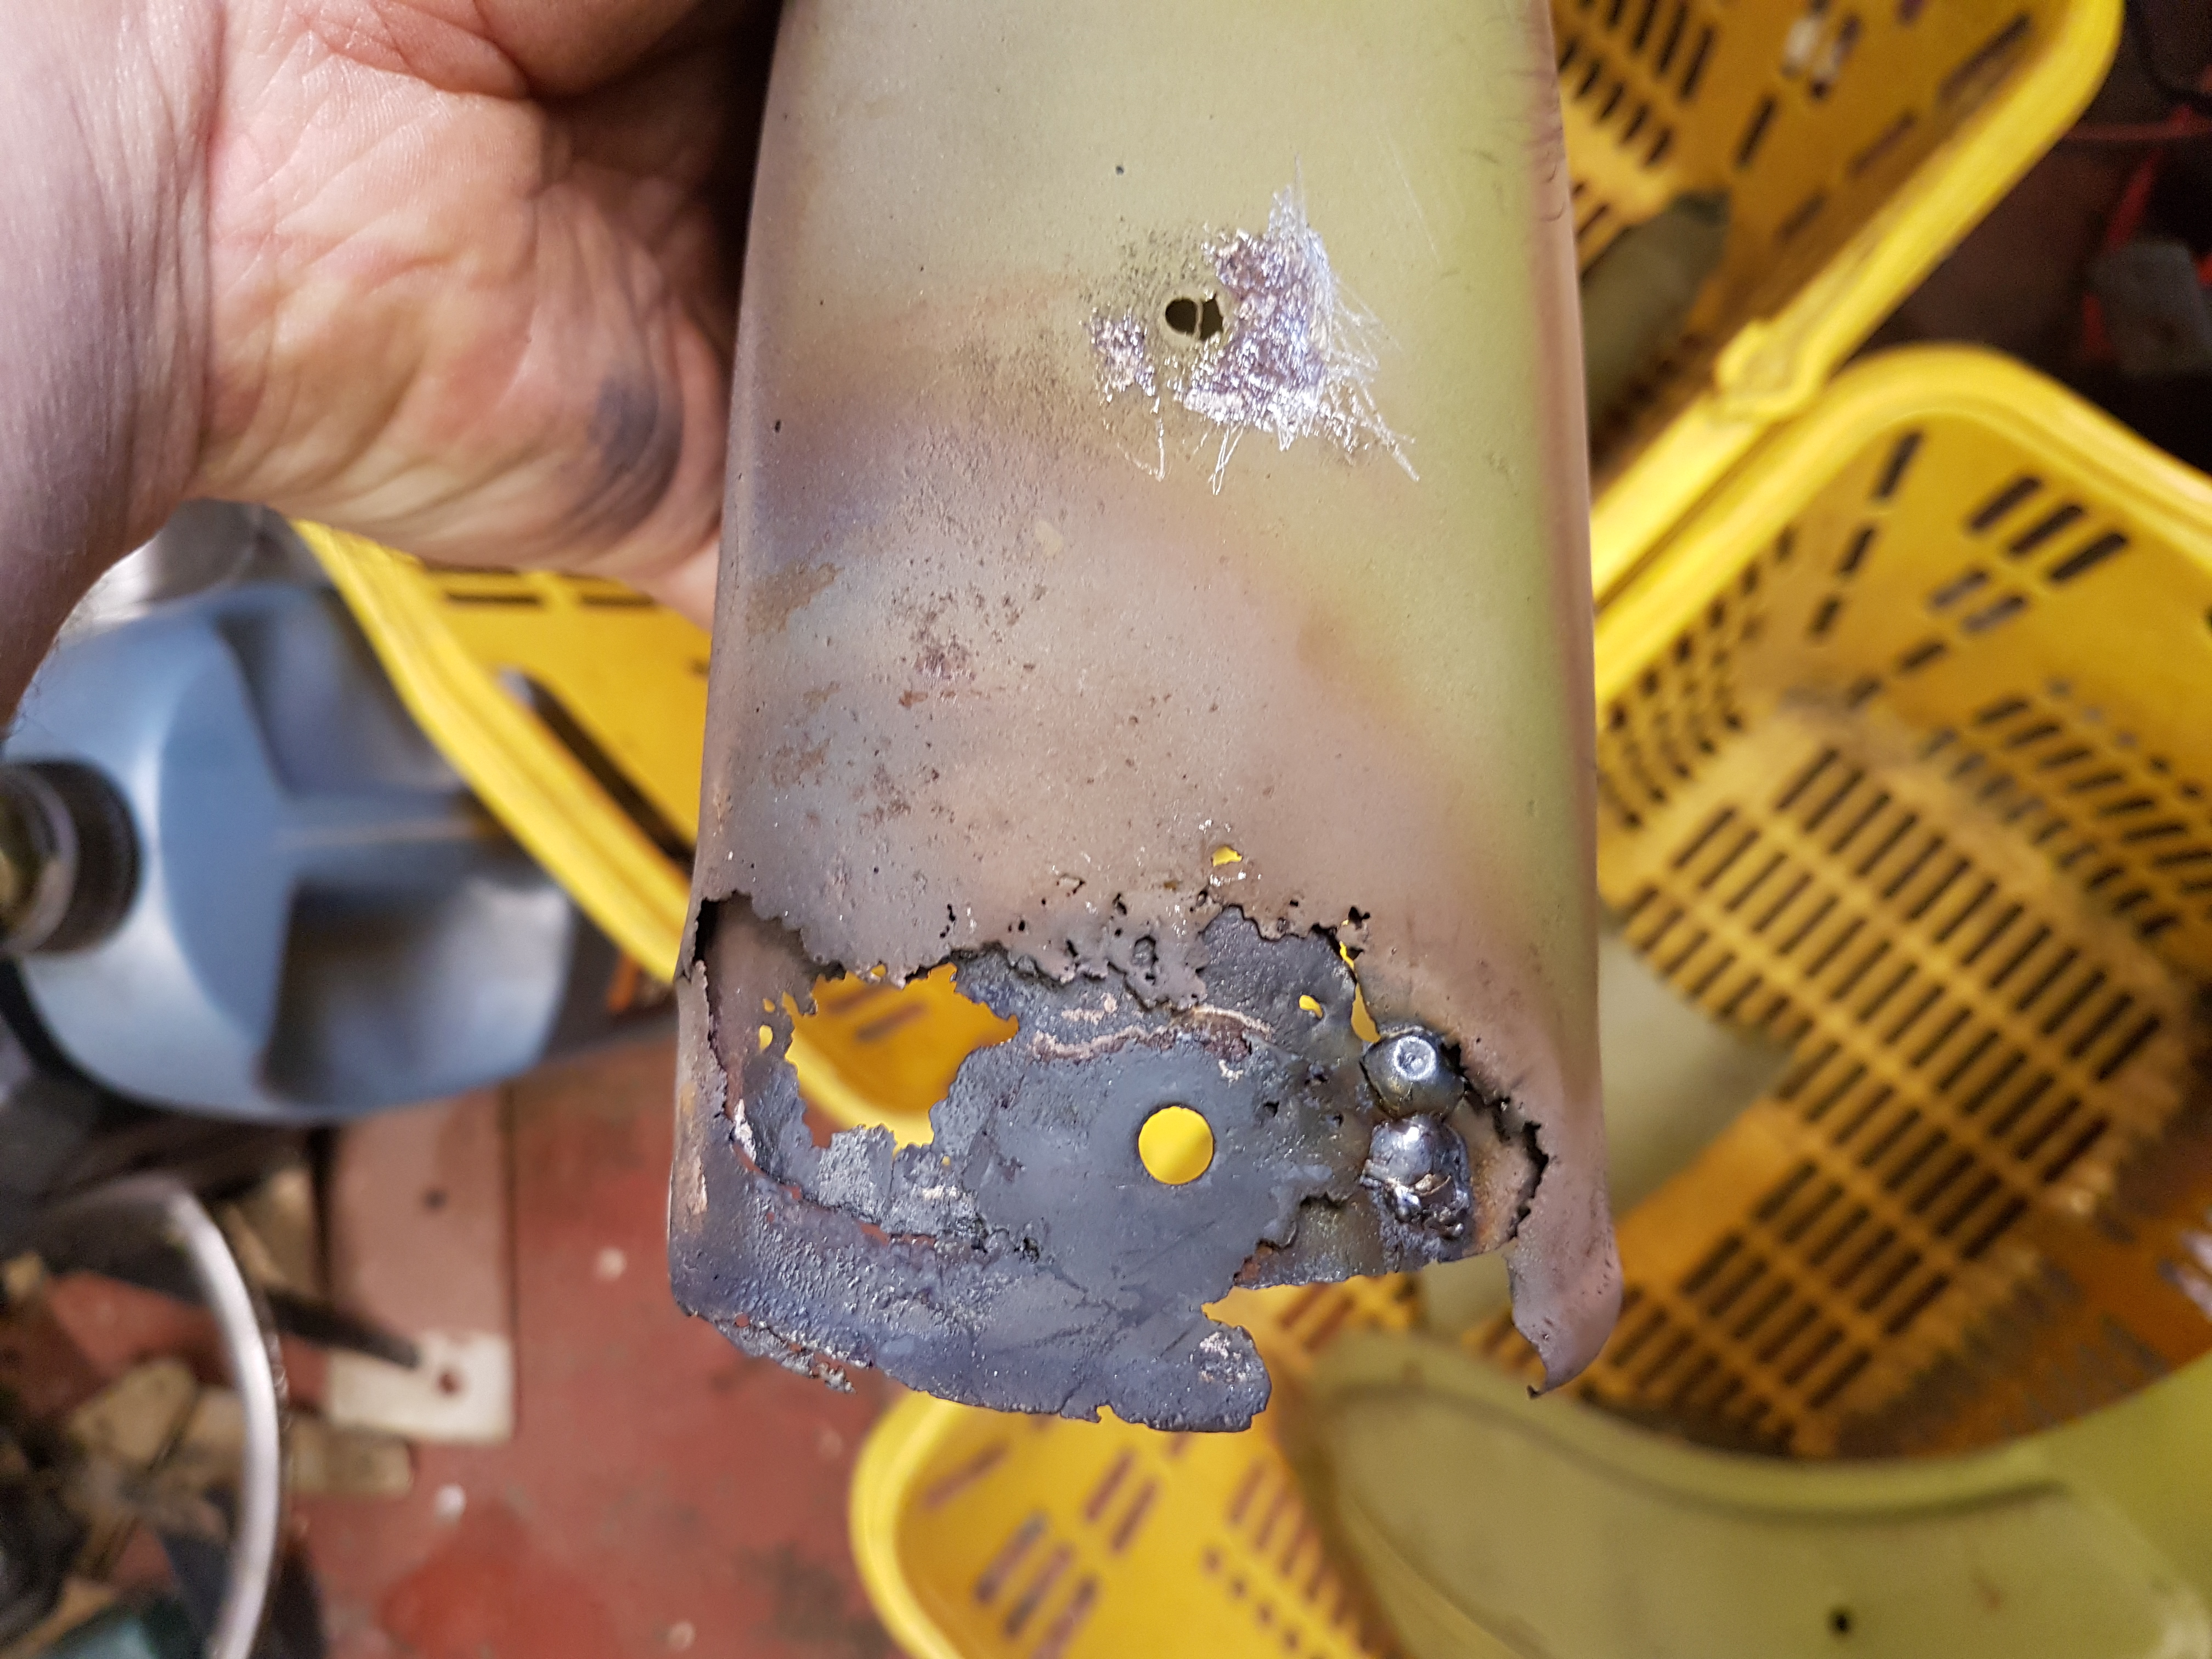
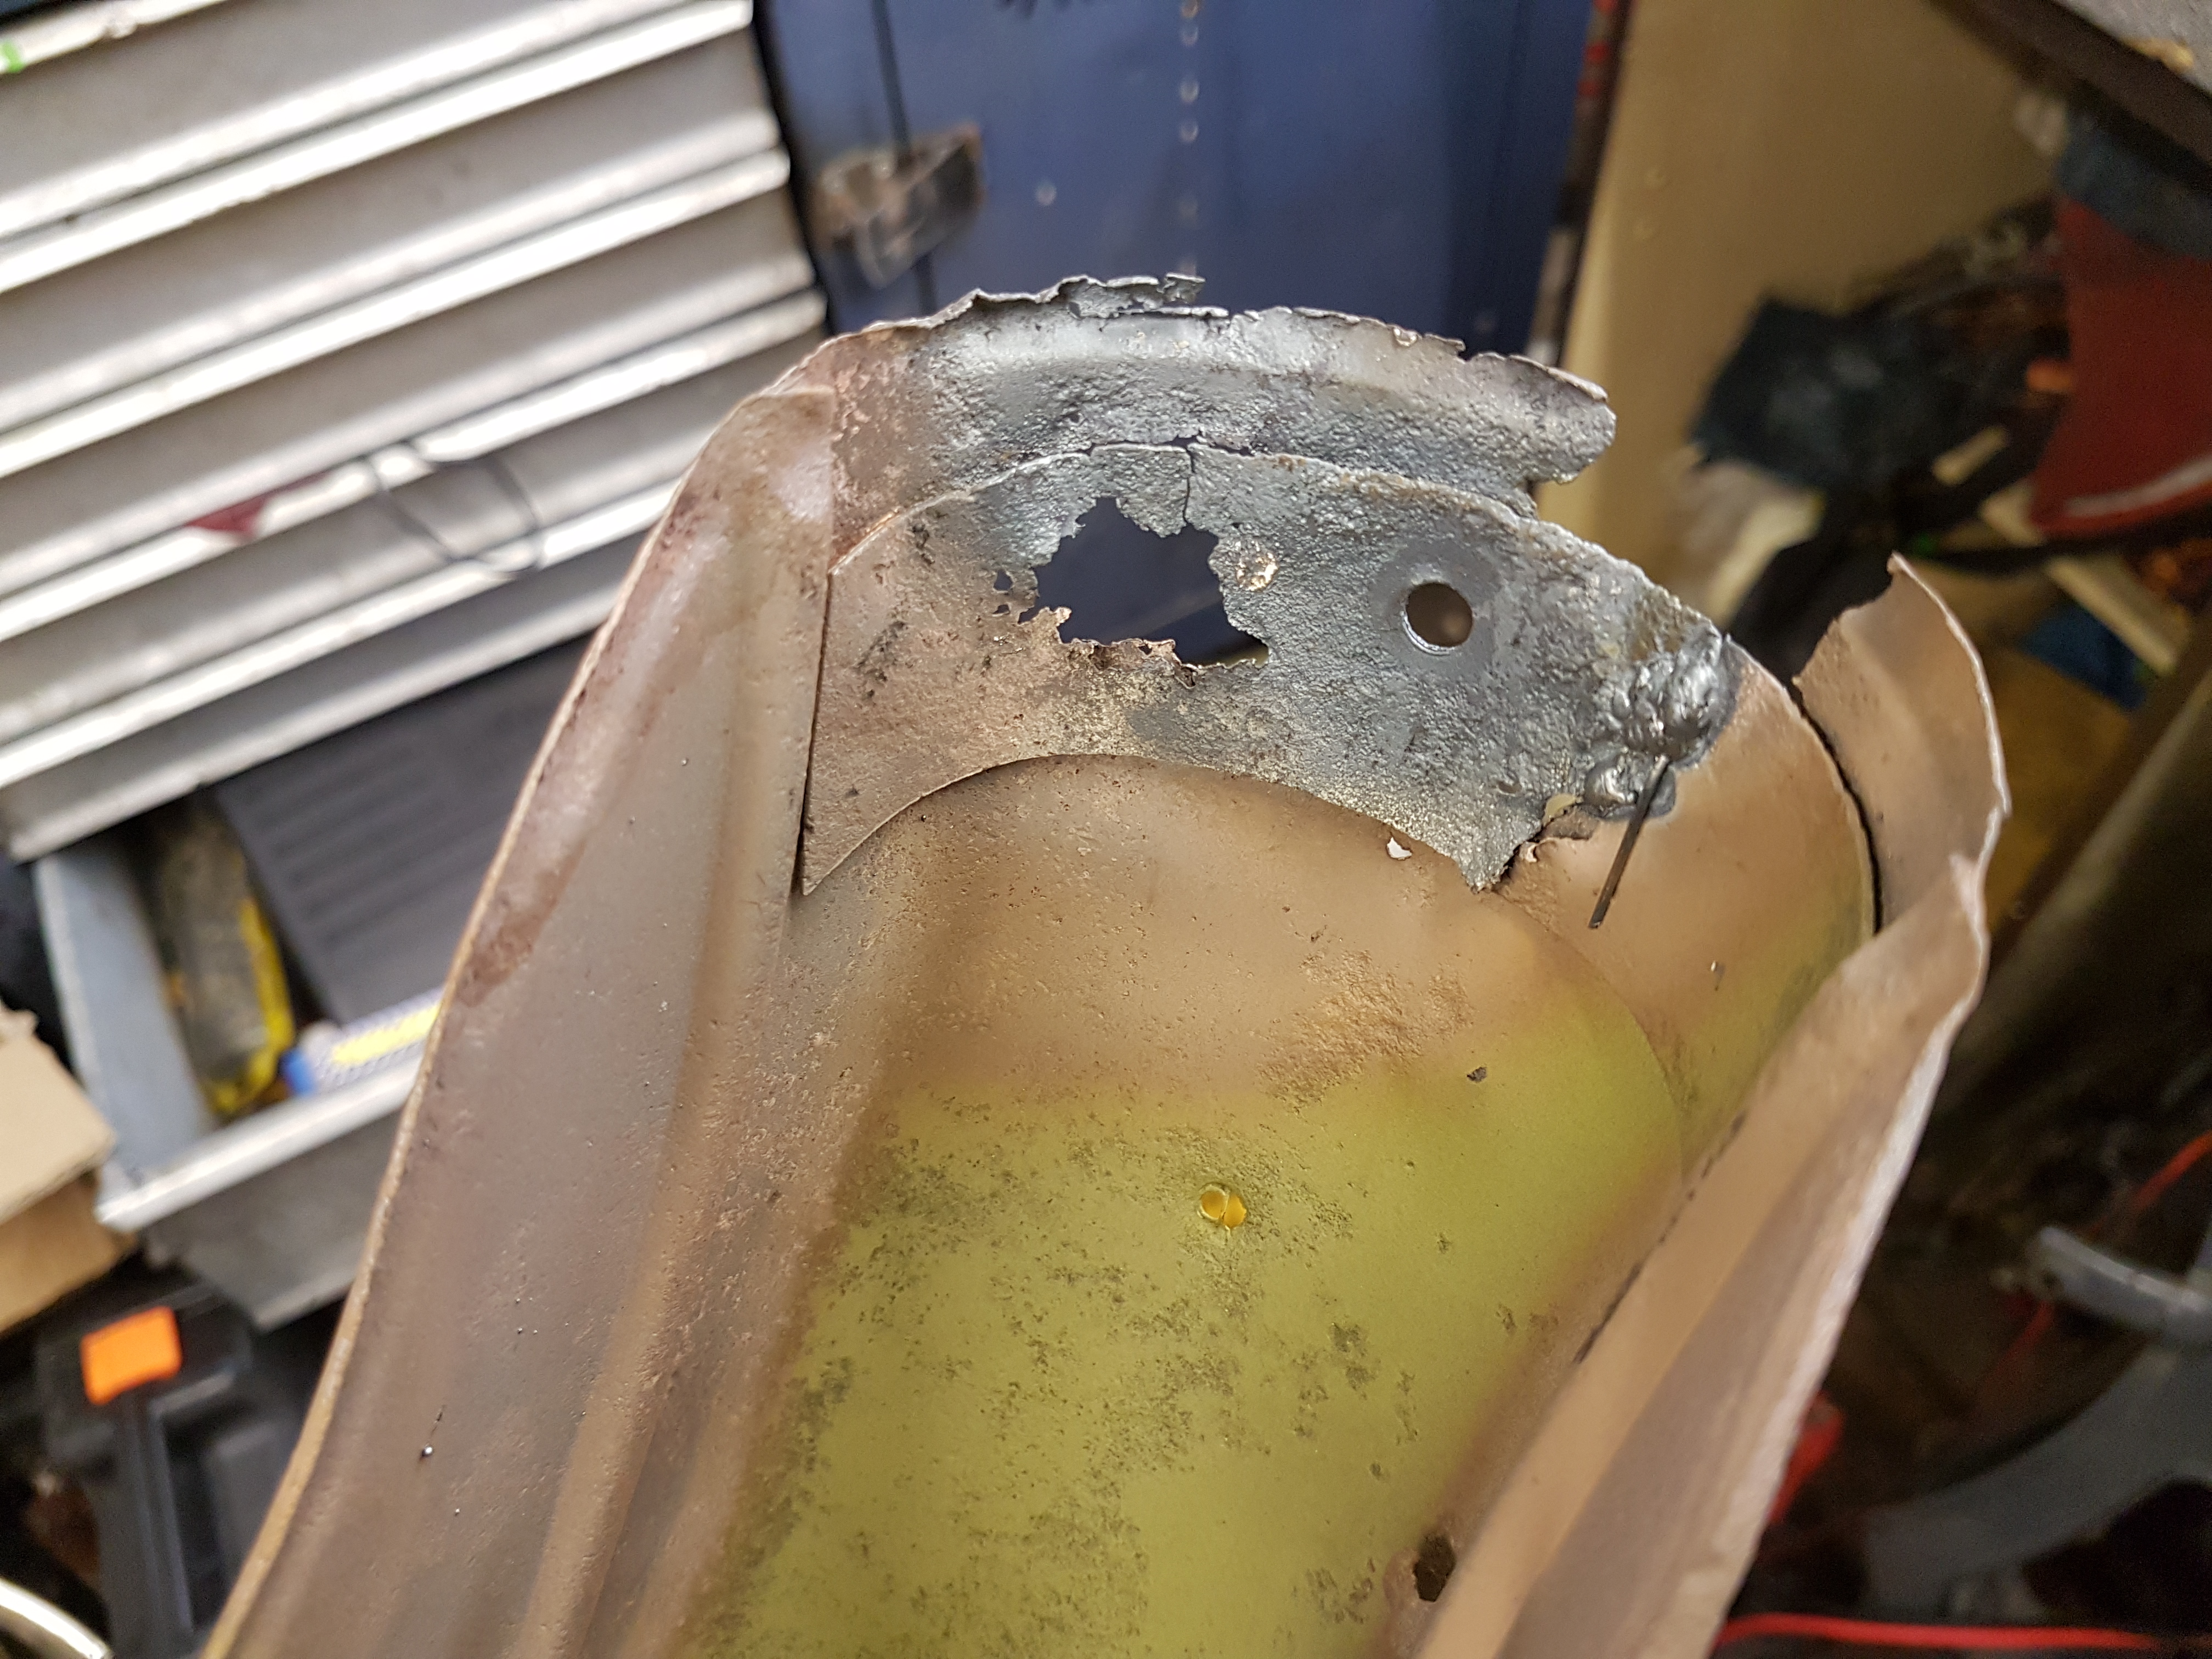
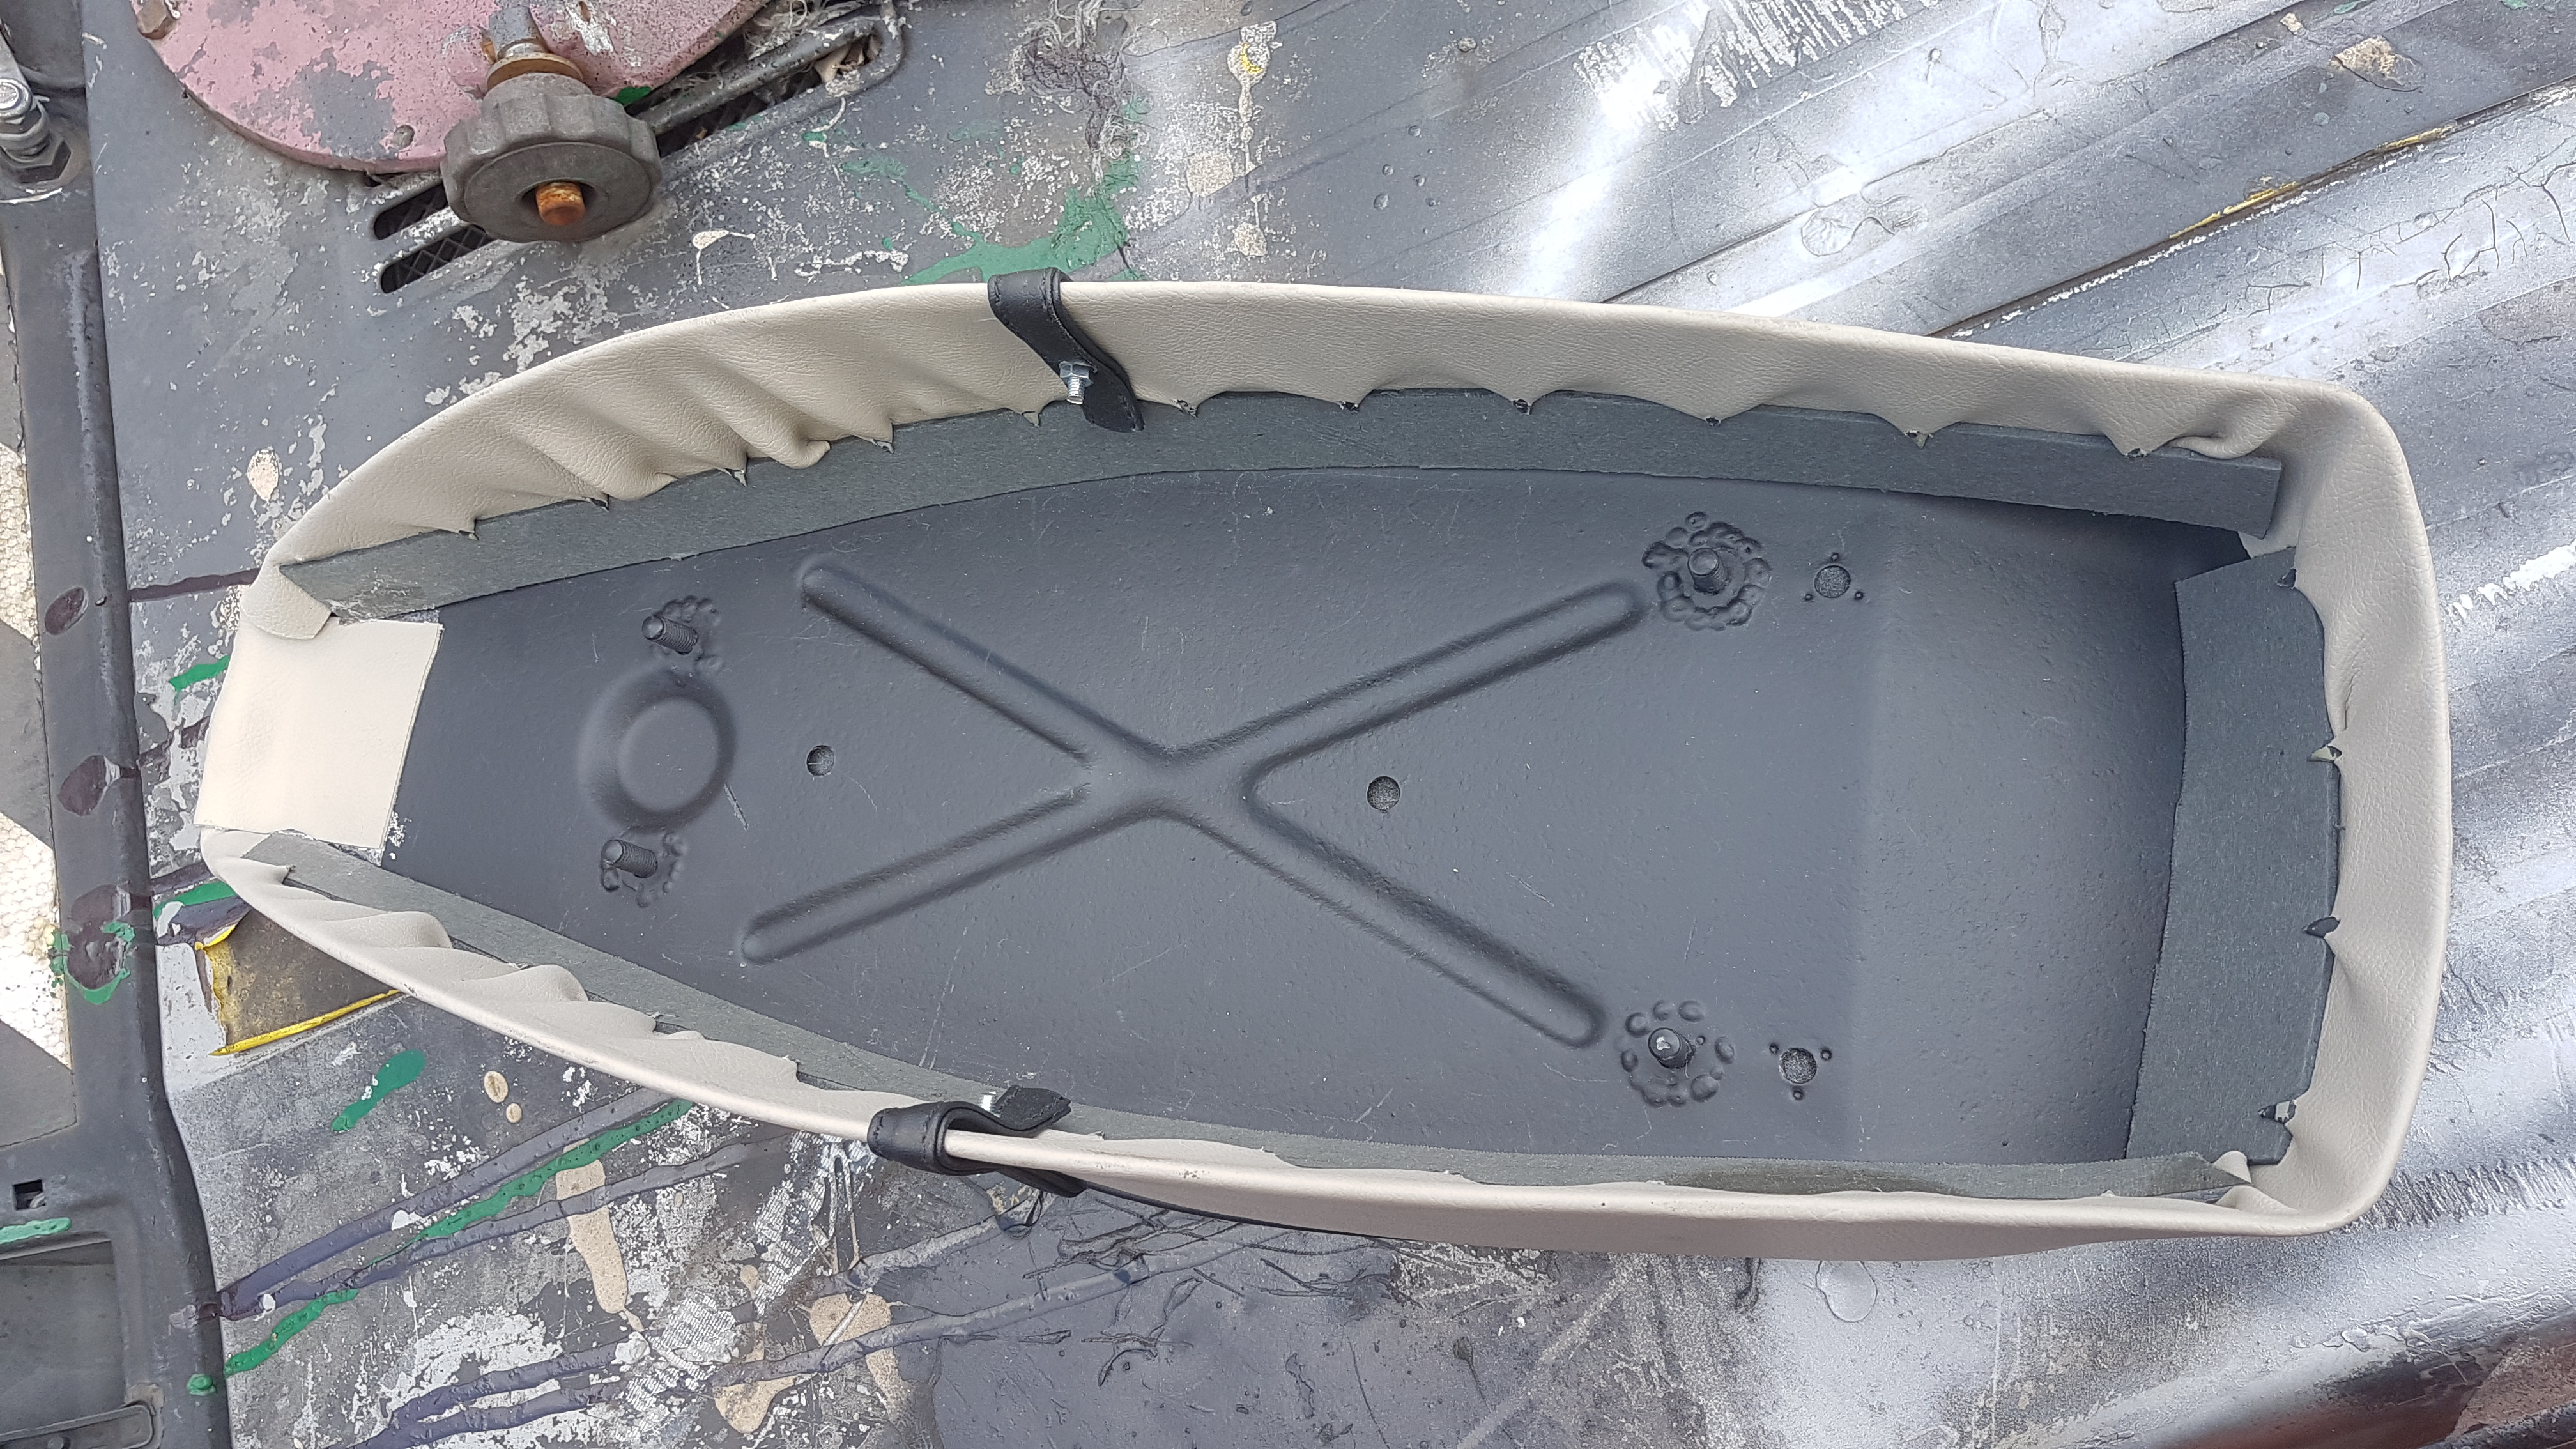
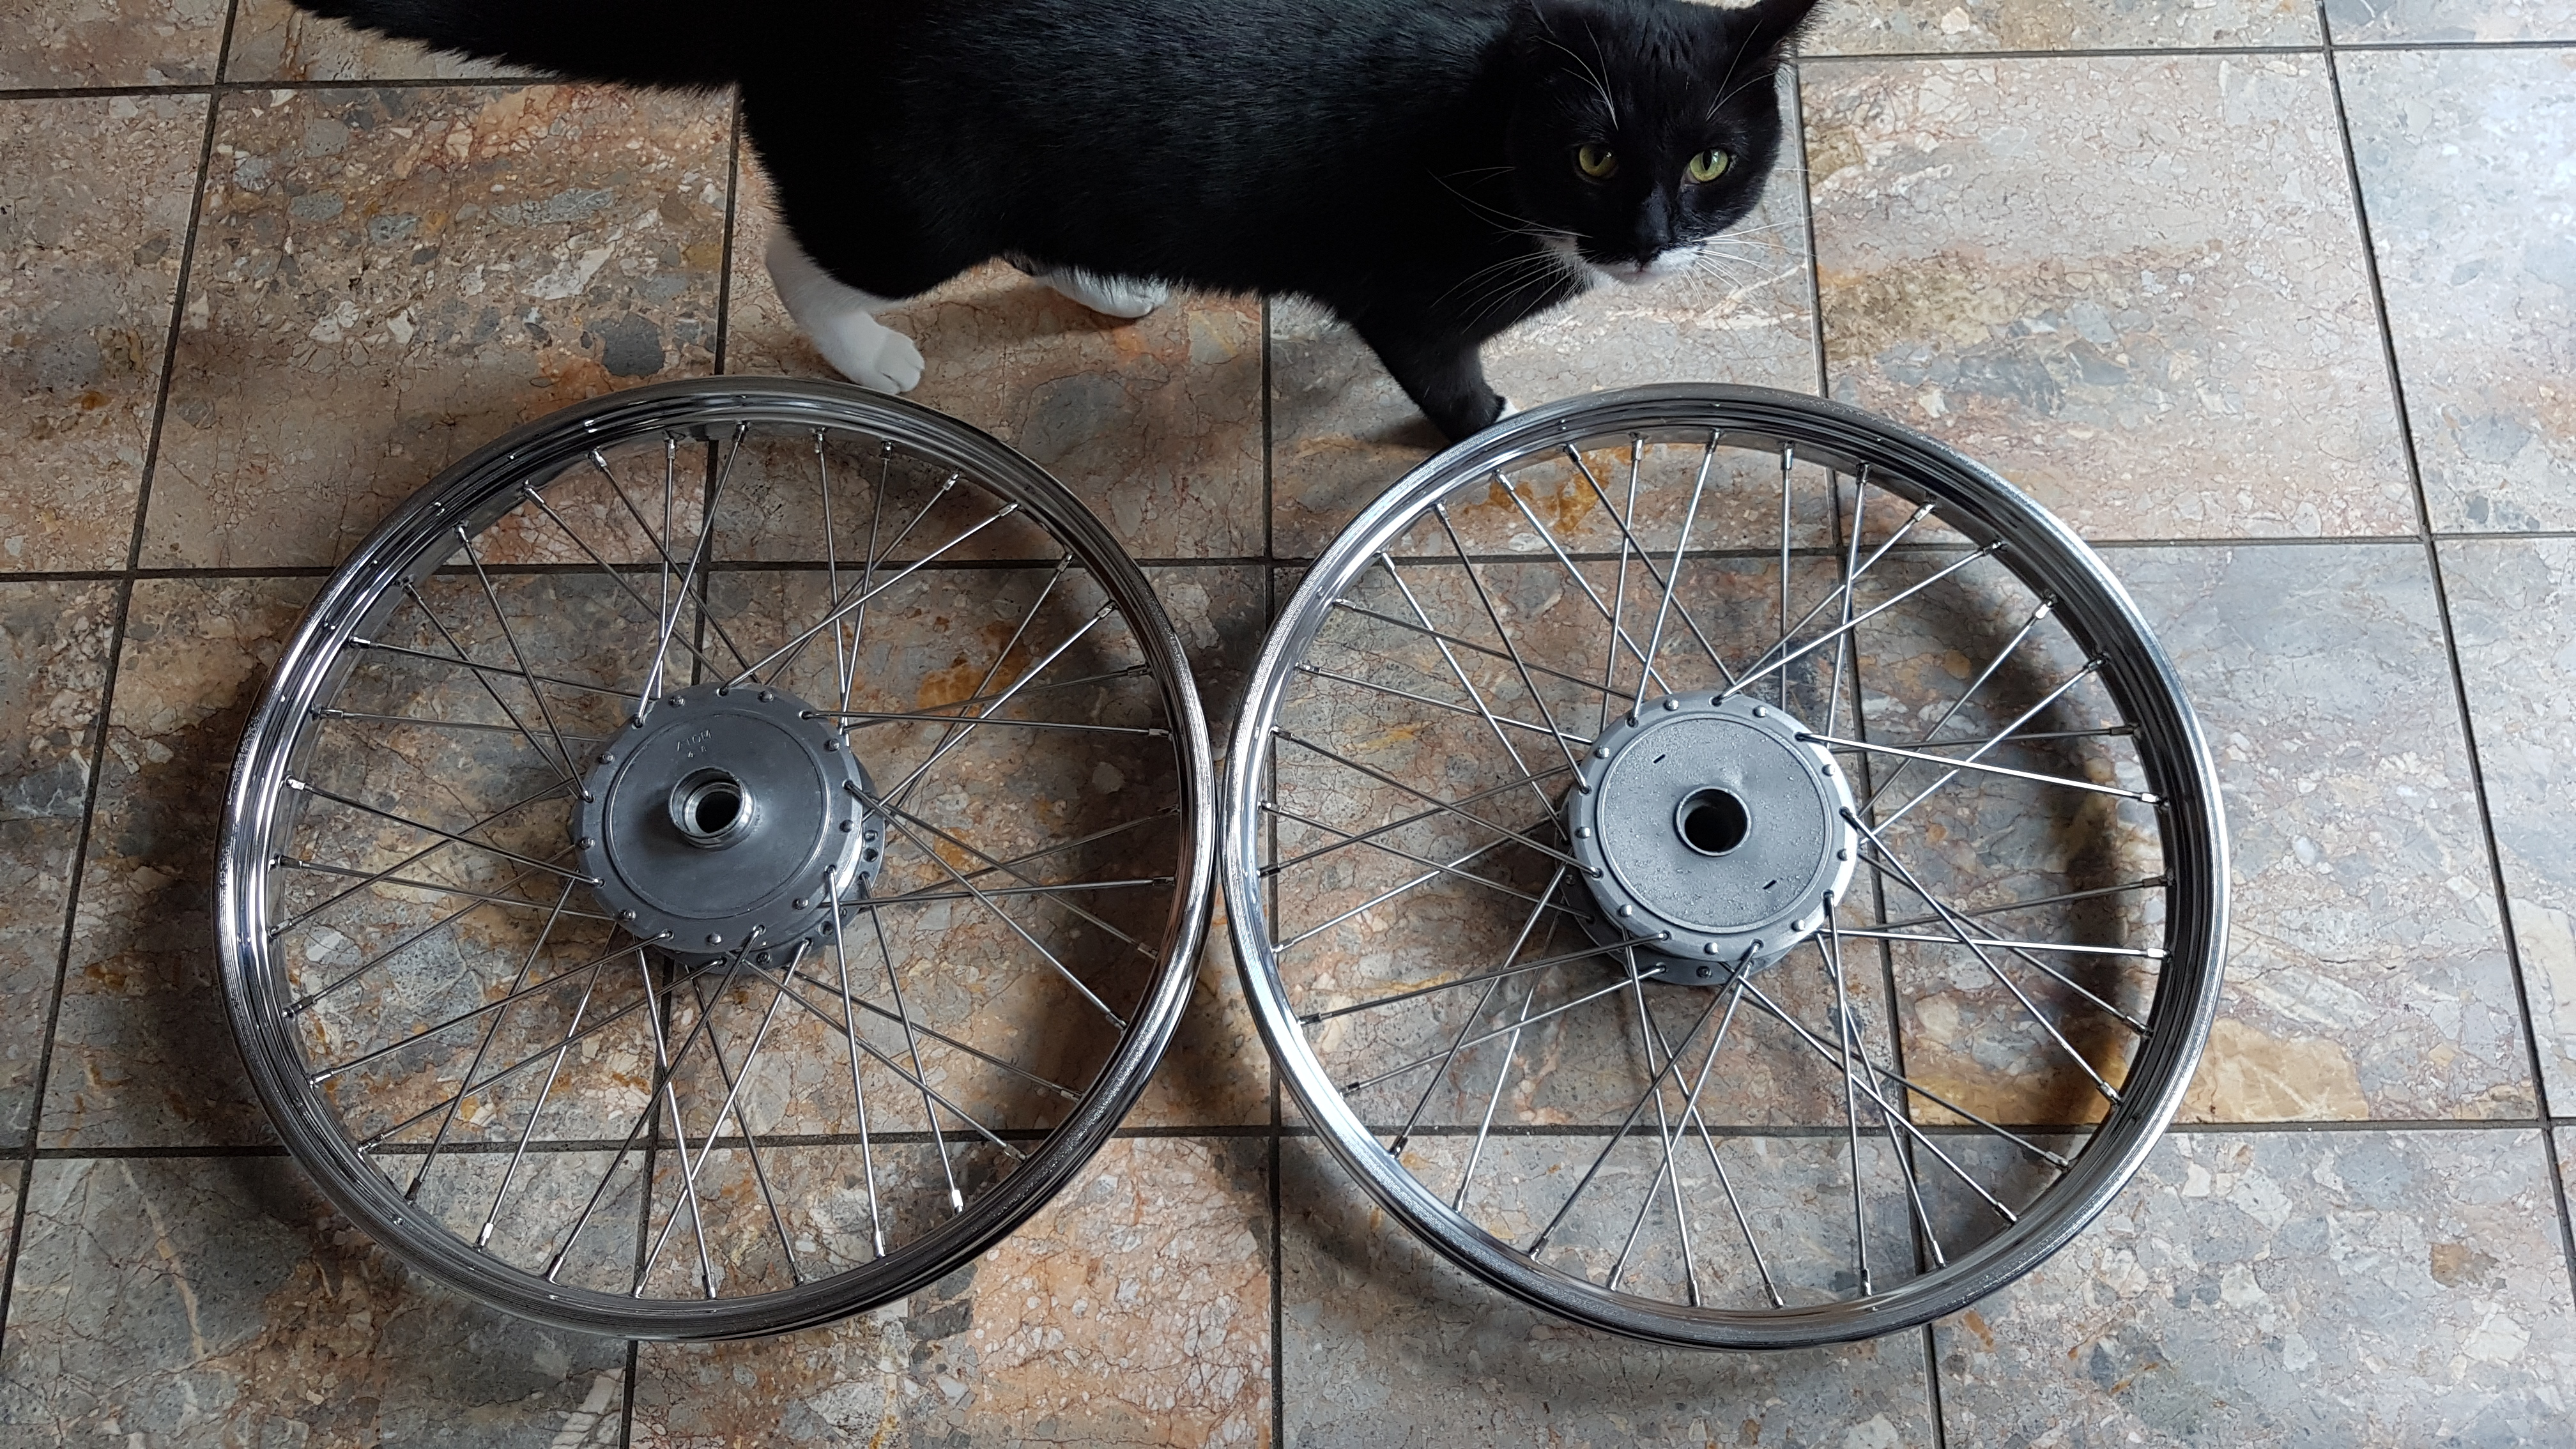
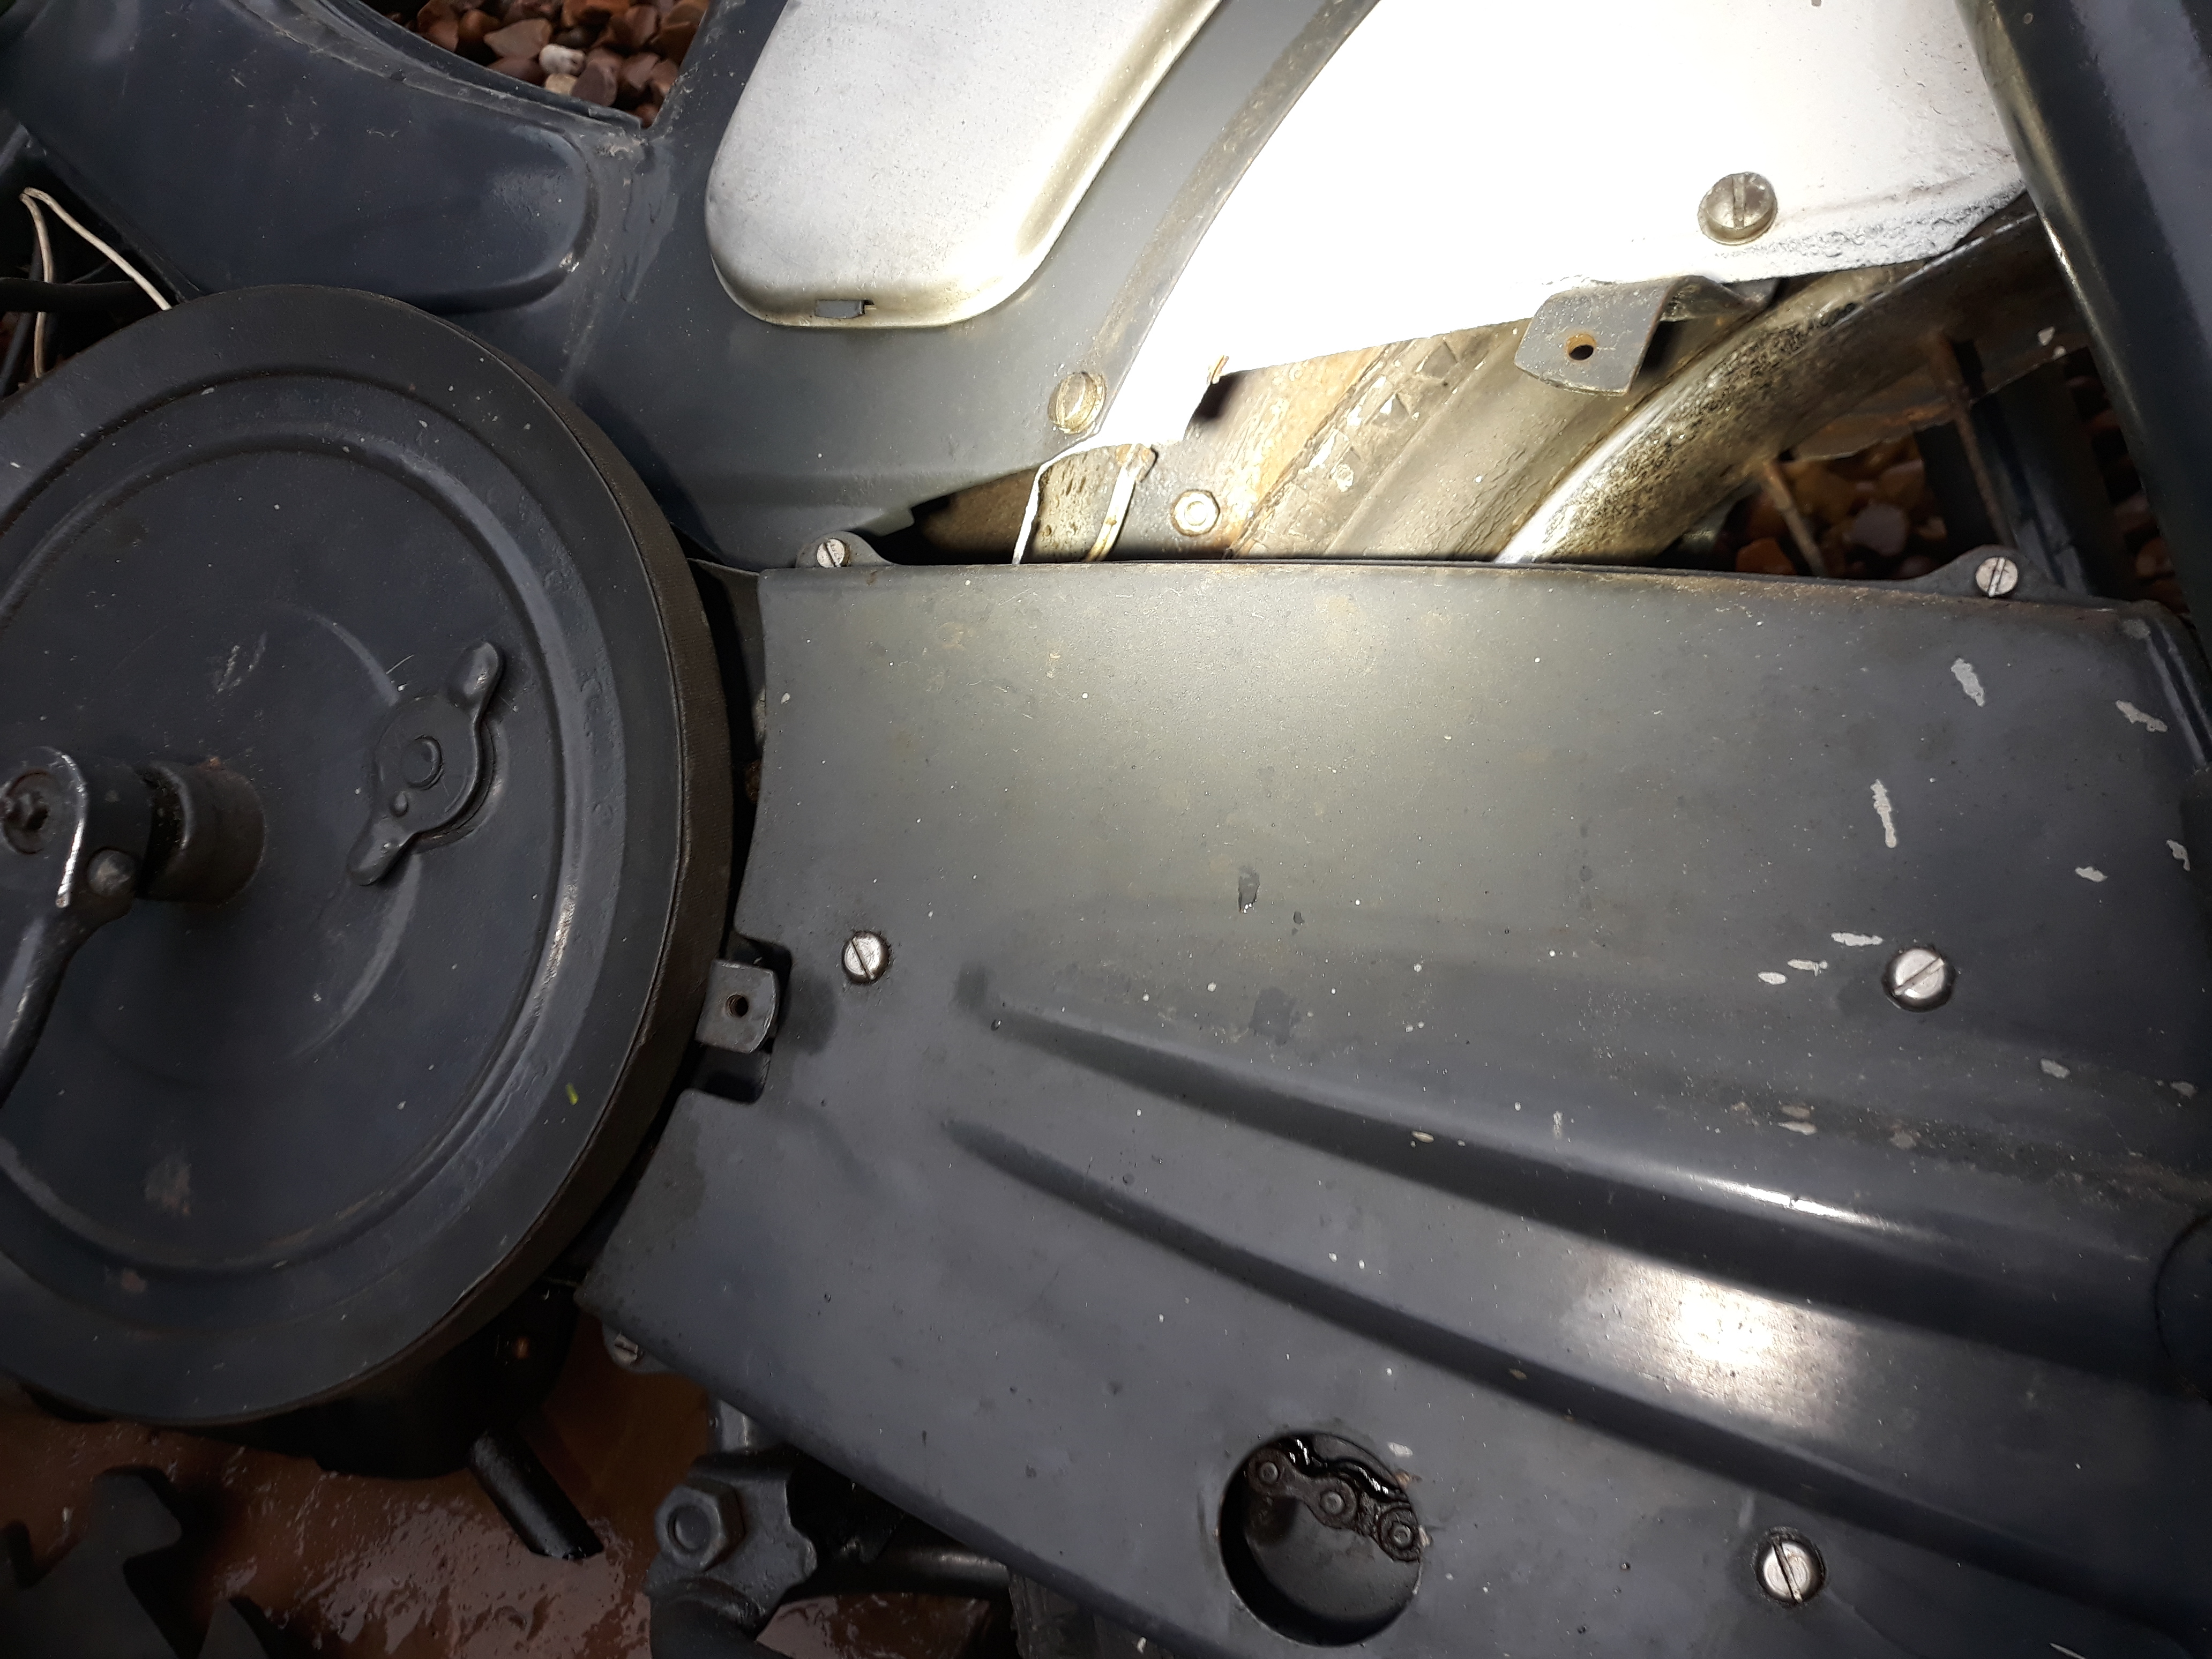
i noted that the starting chain and sprockets were very worn, along with a bit of rust on the back of the rear arch where the bottom number plate mount was. it looks like someone used filler on it at some point.
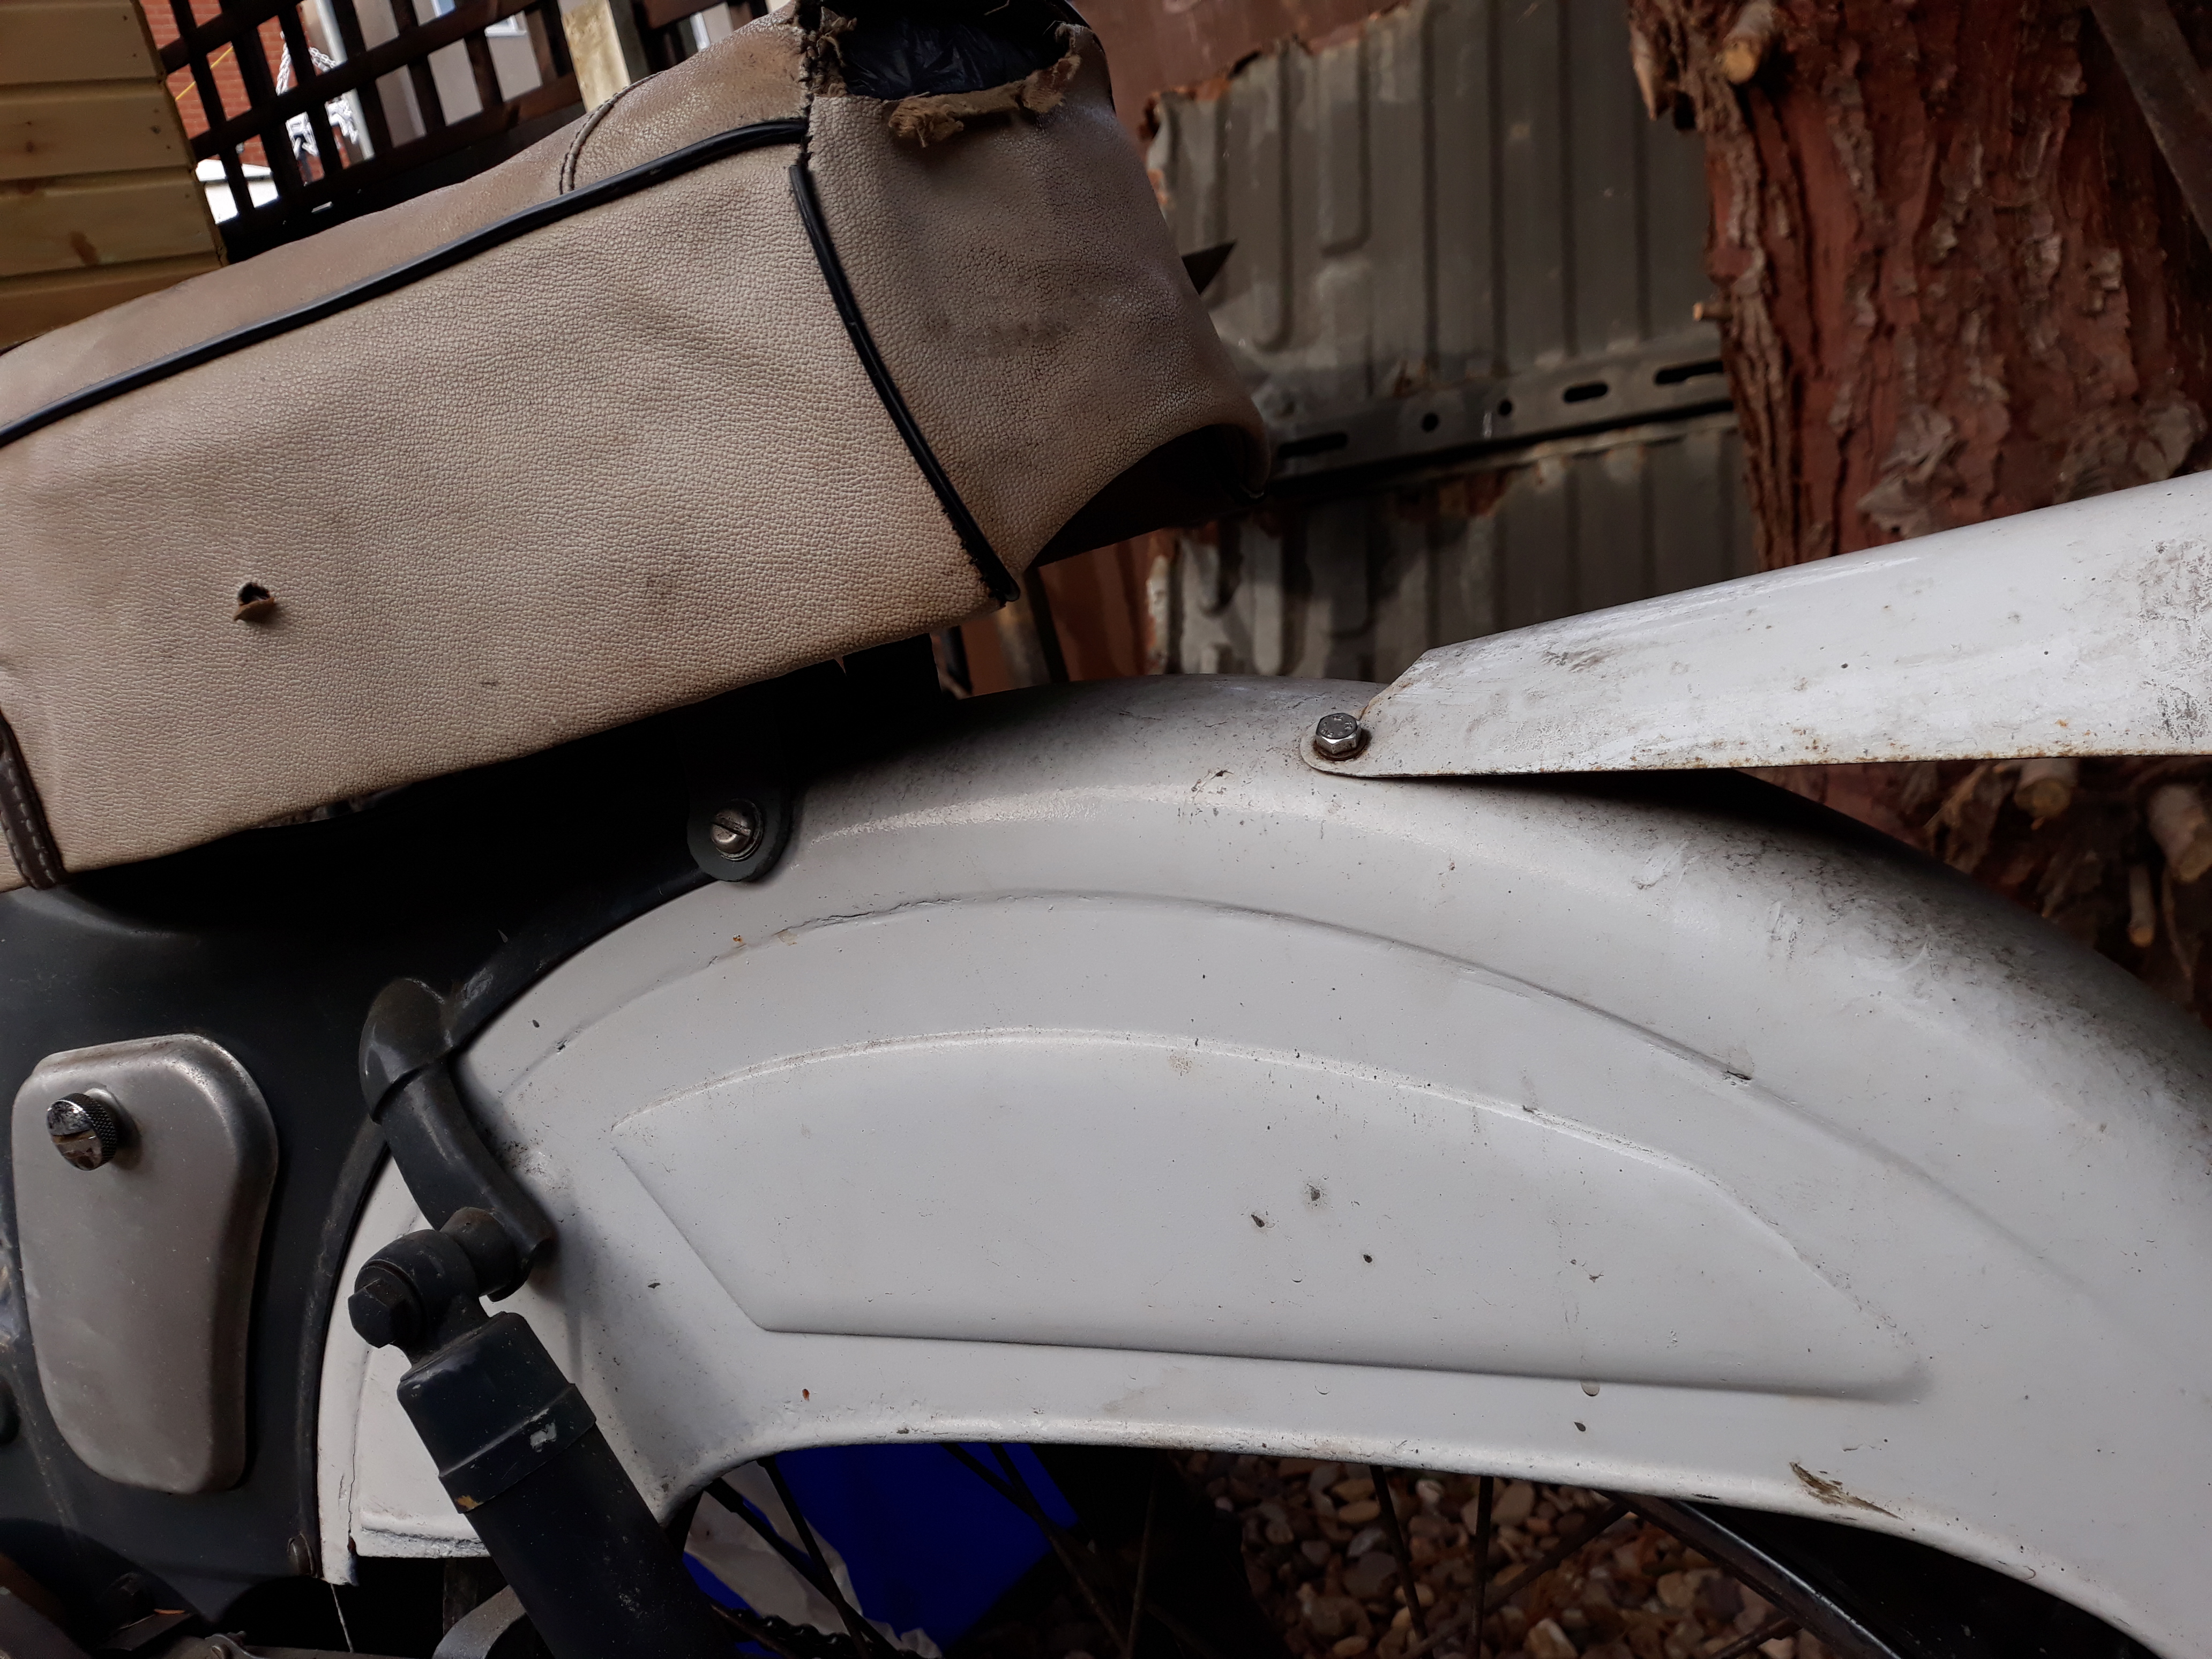
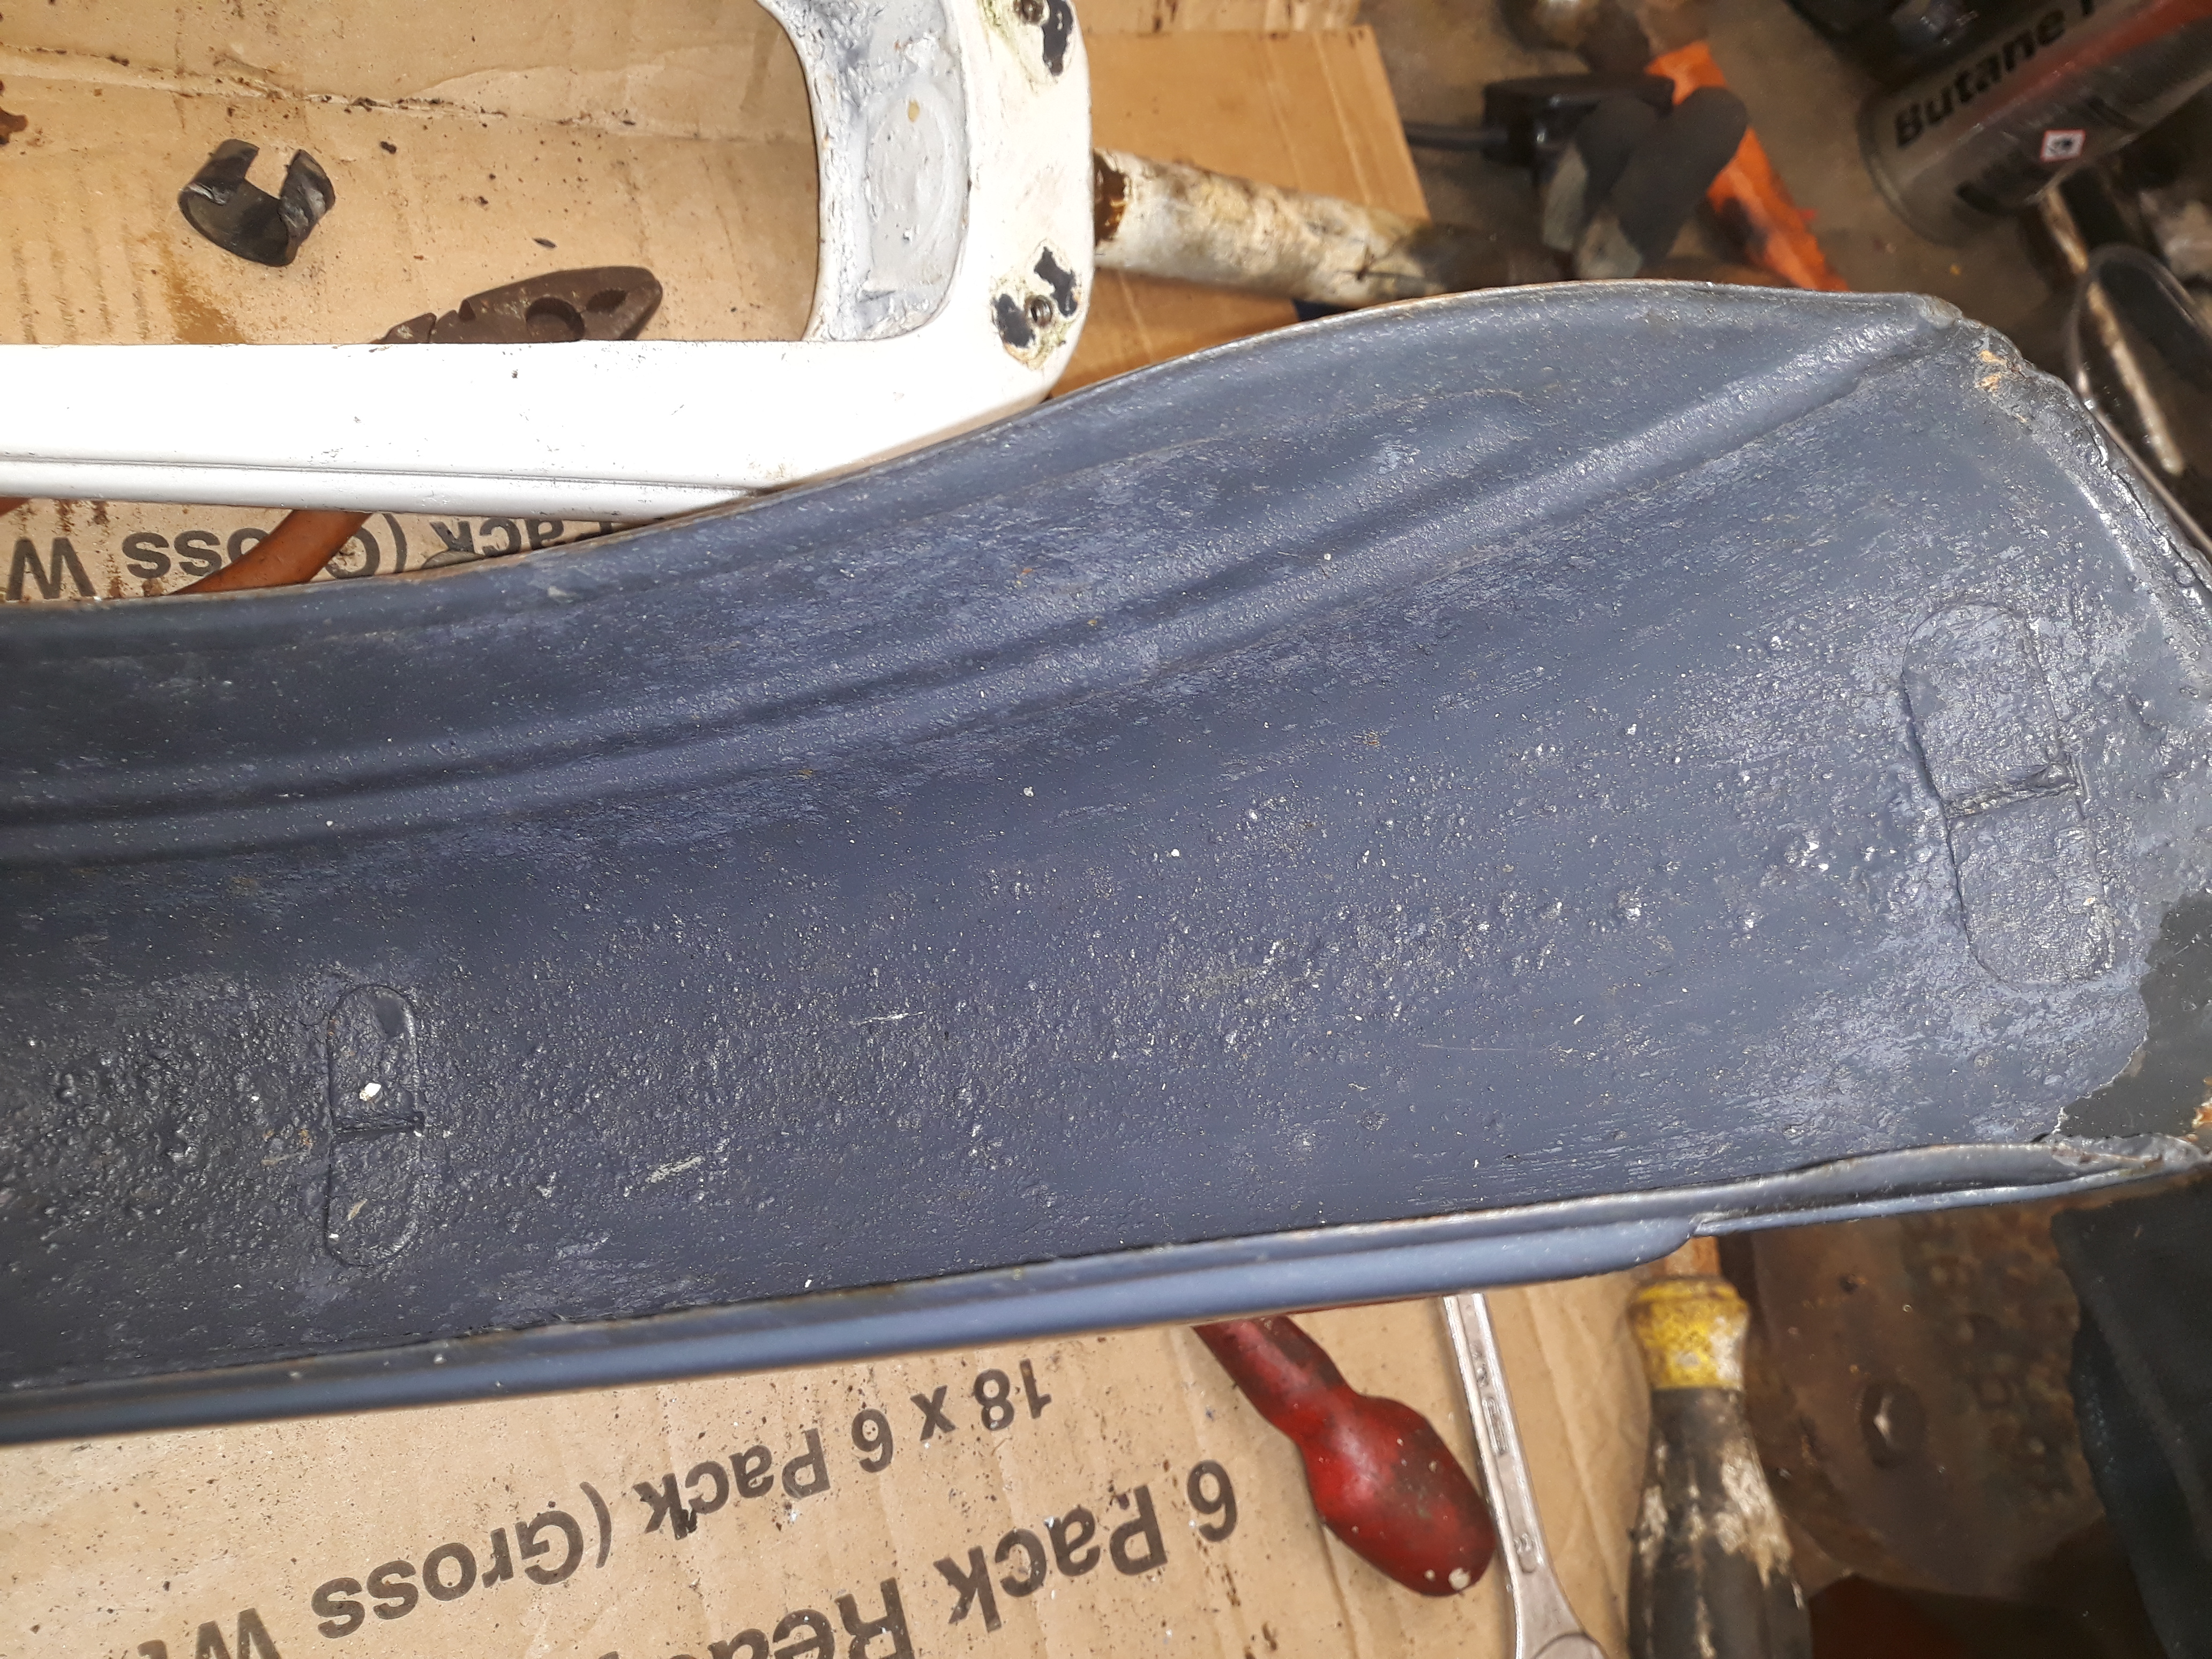
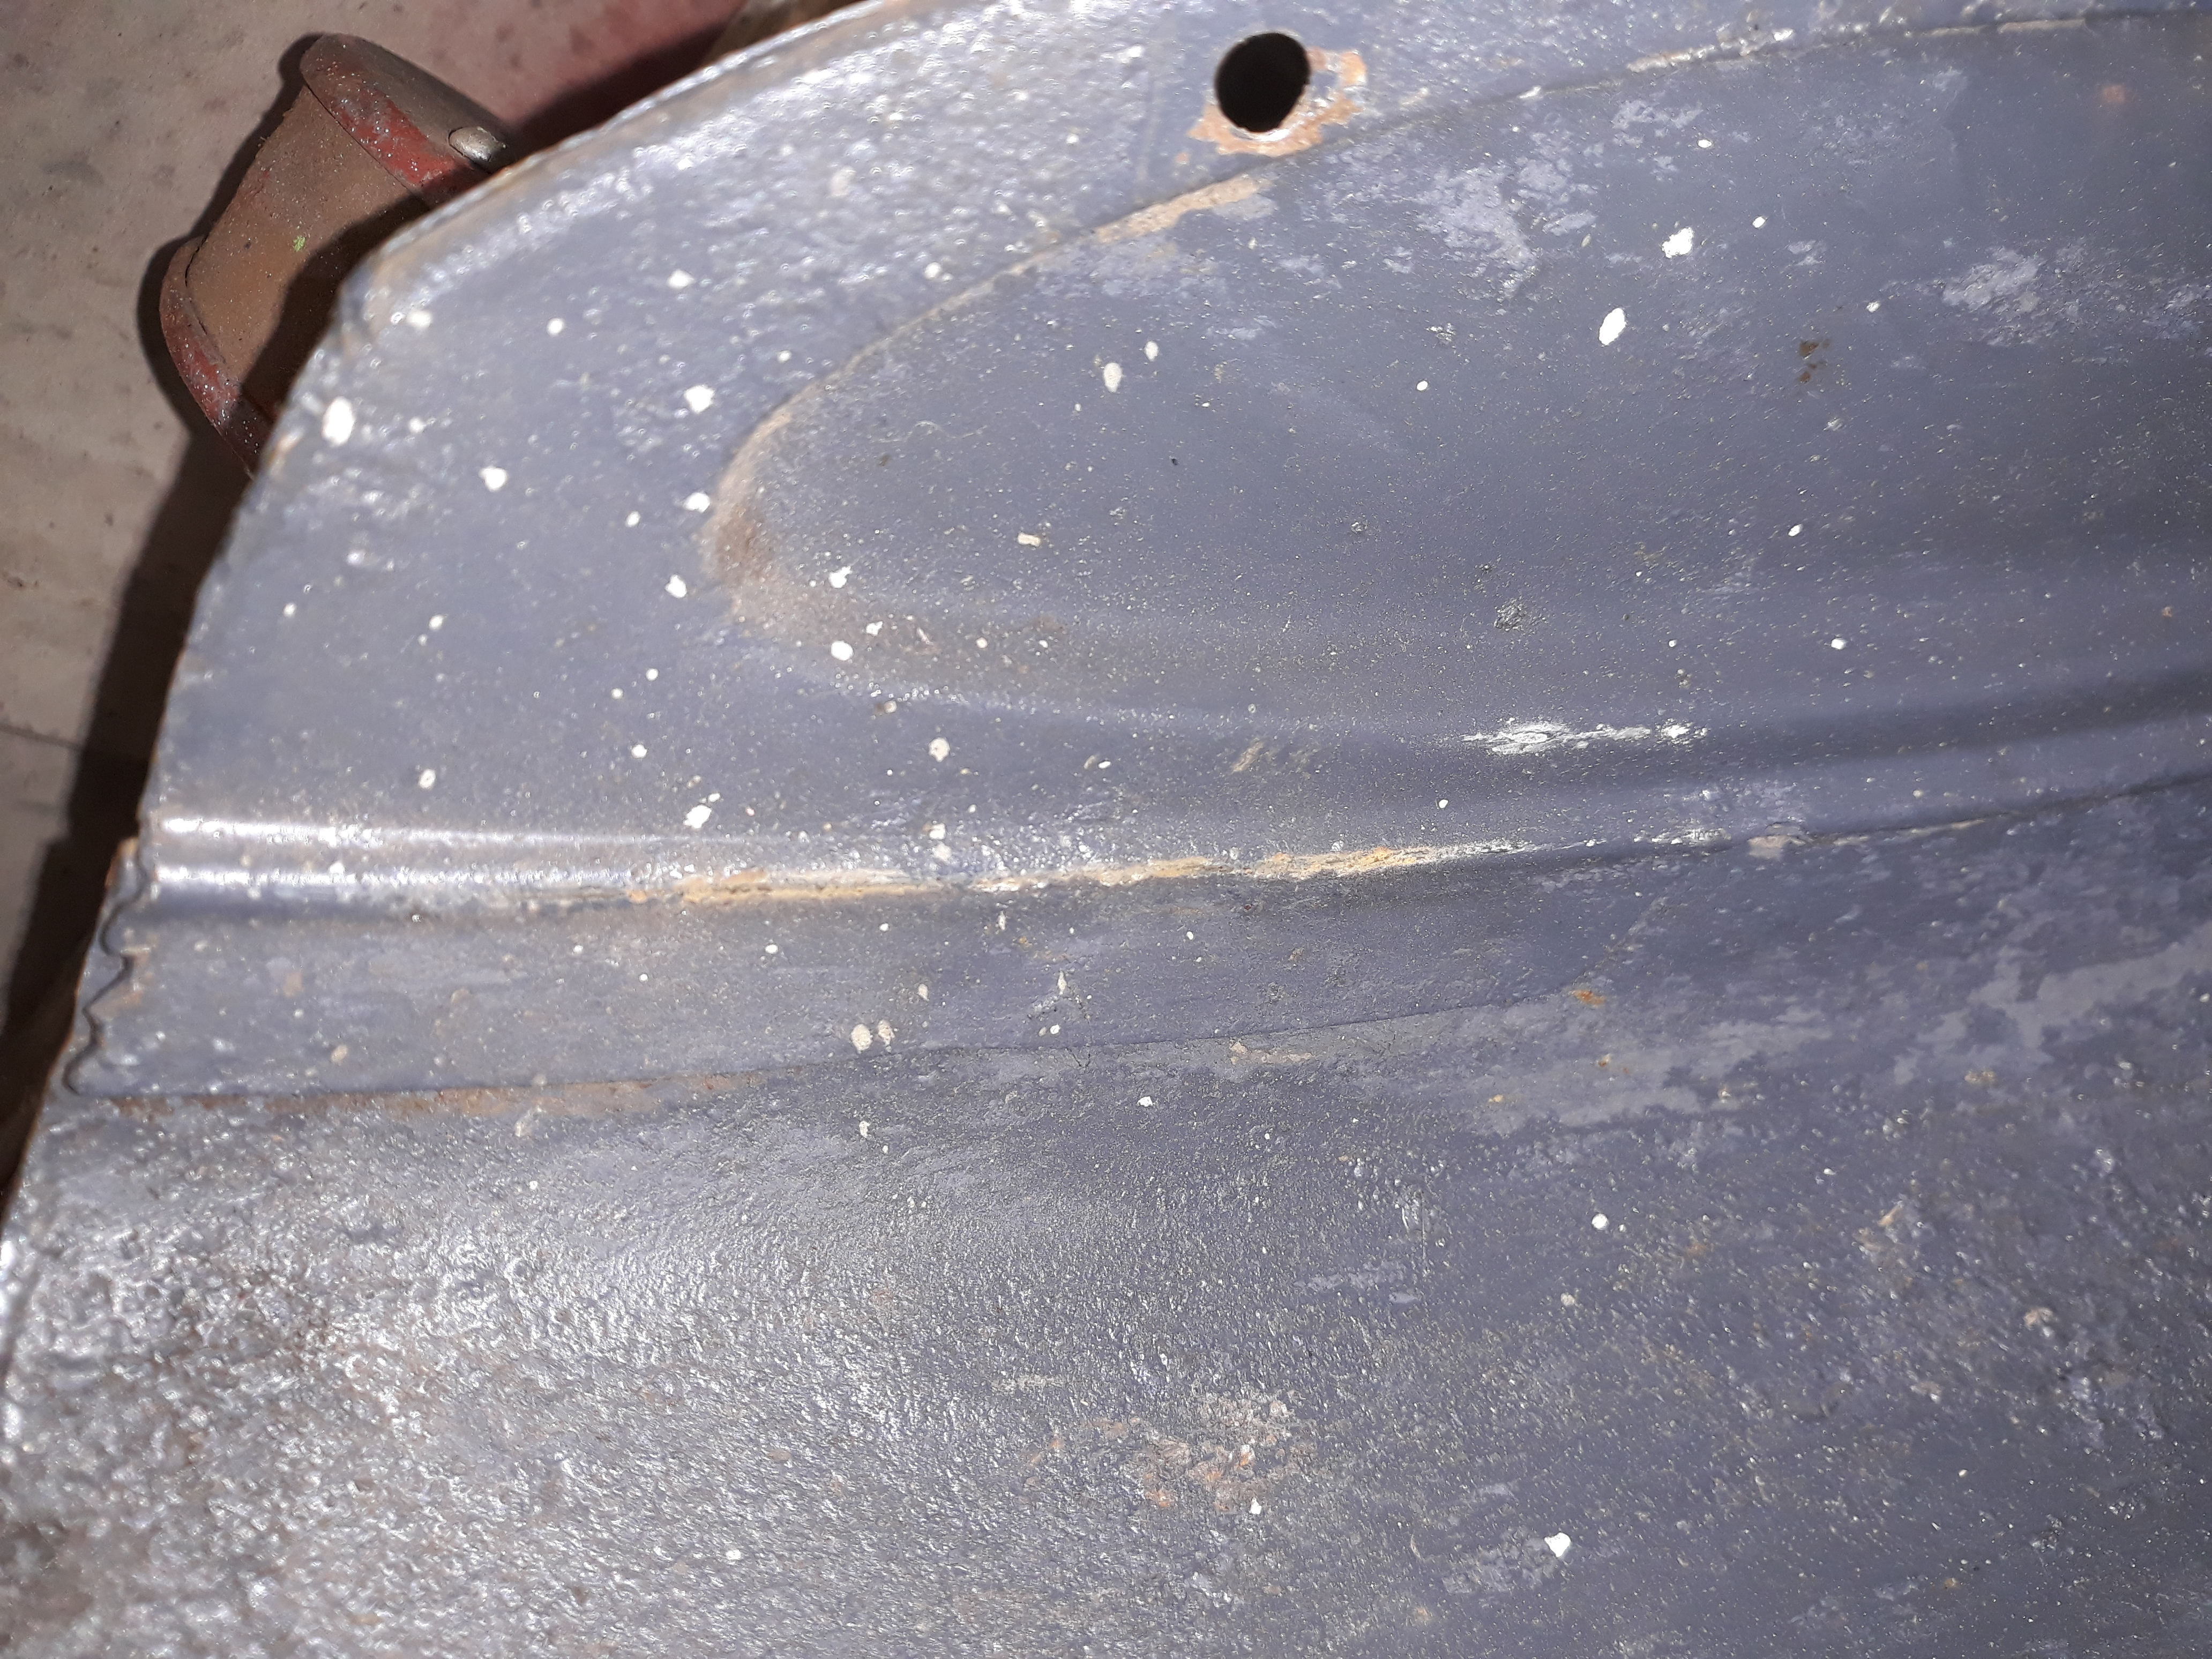
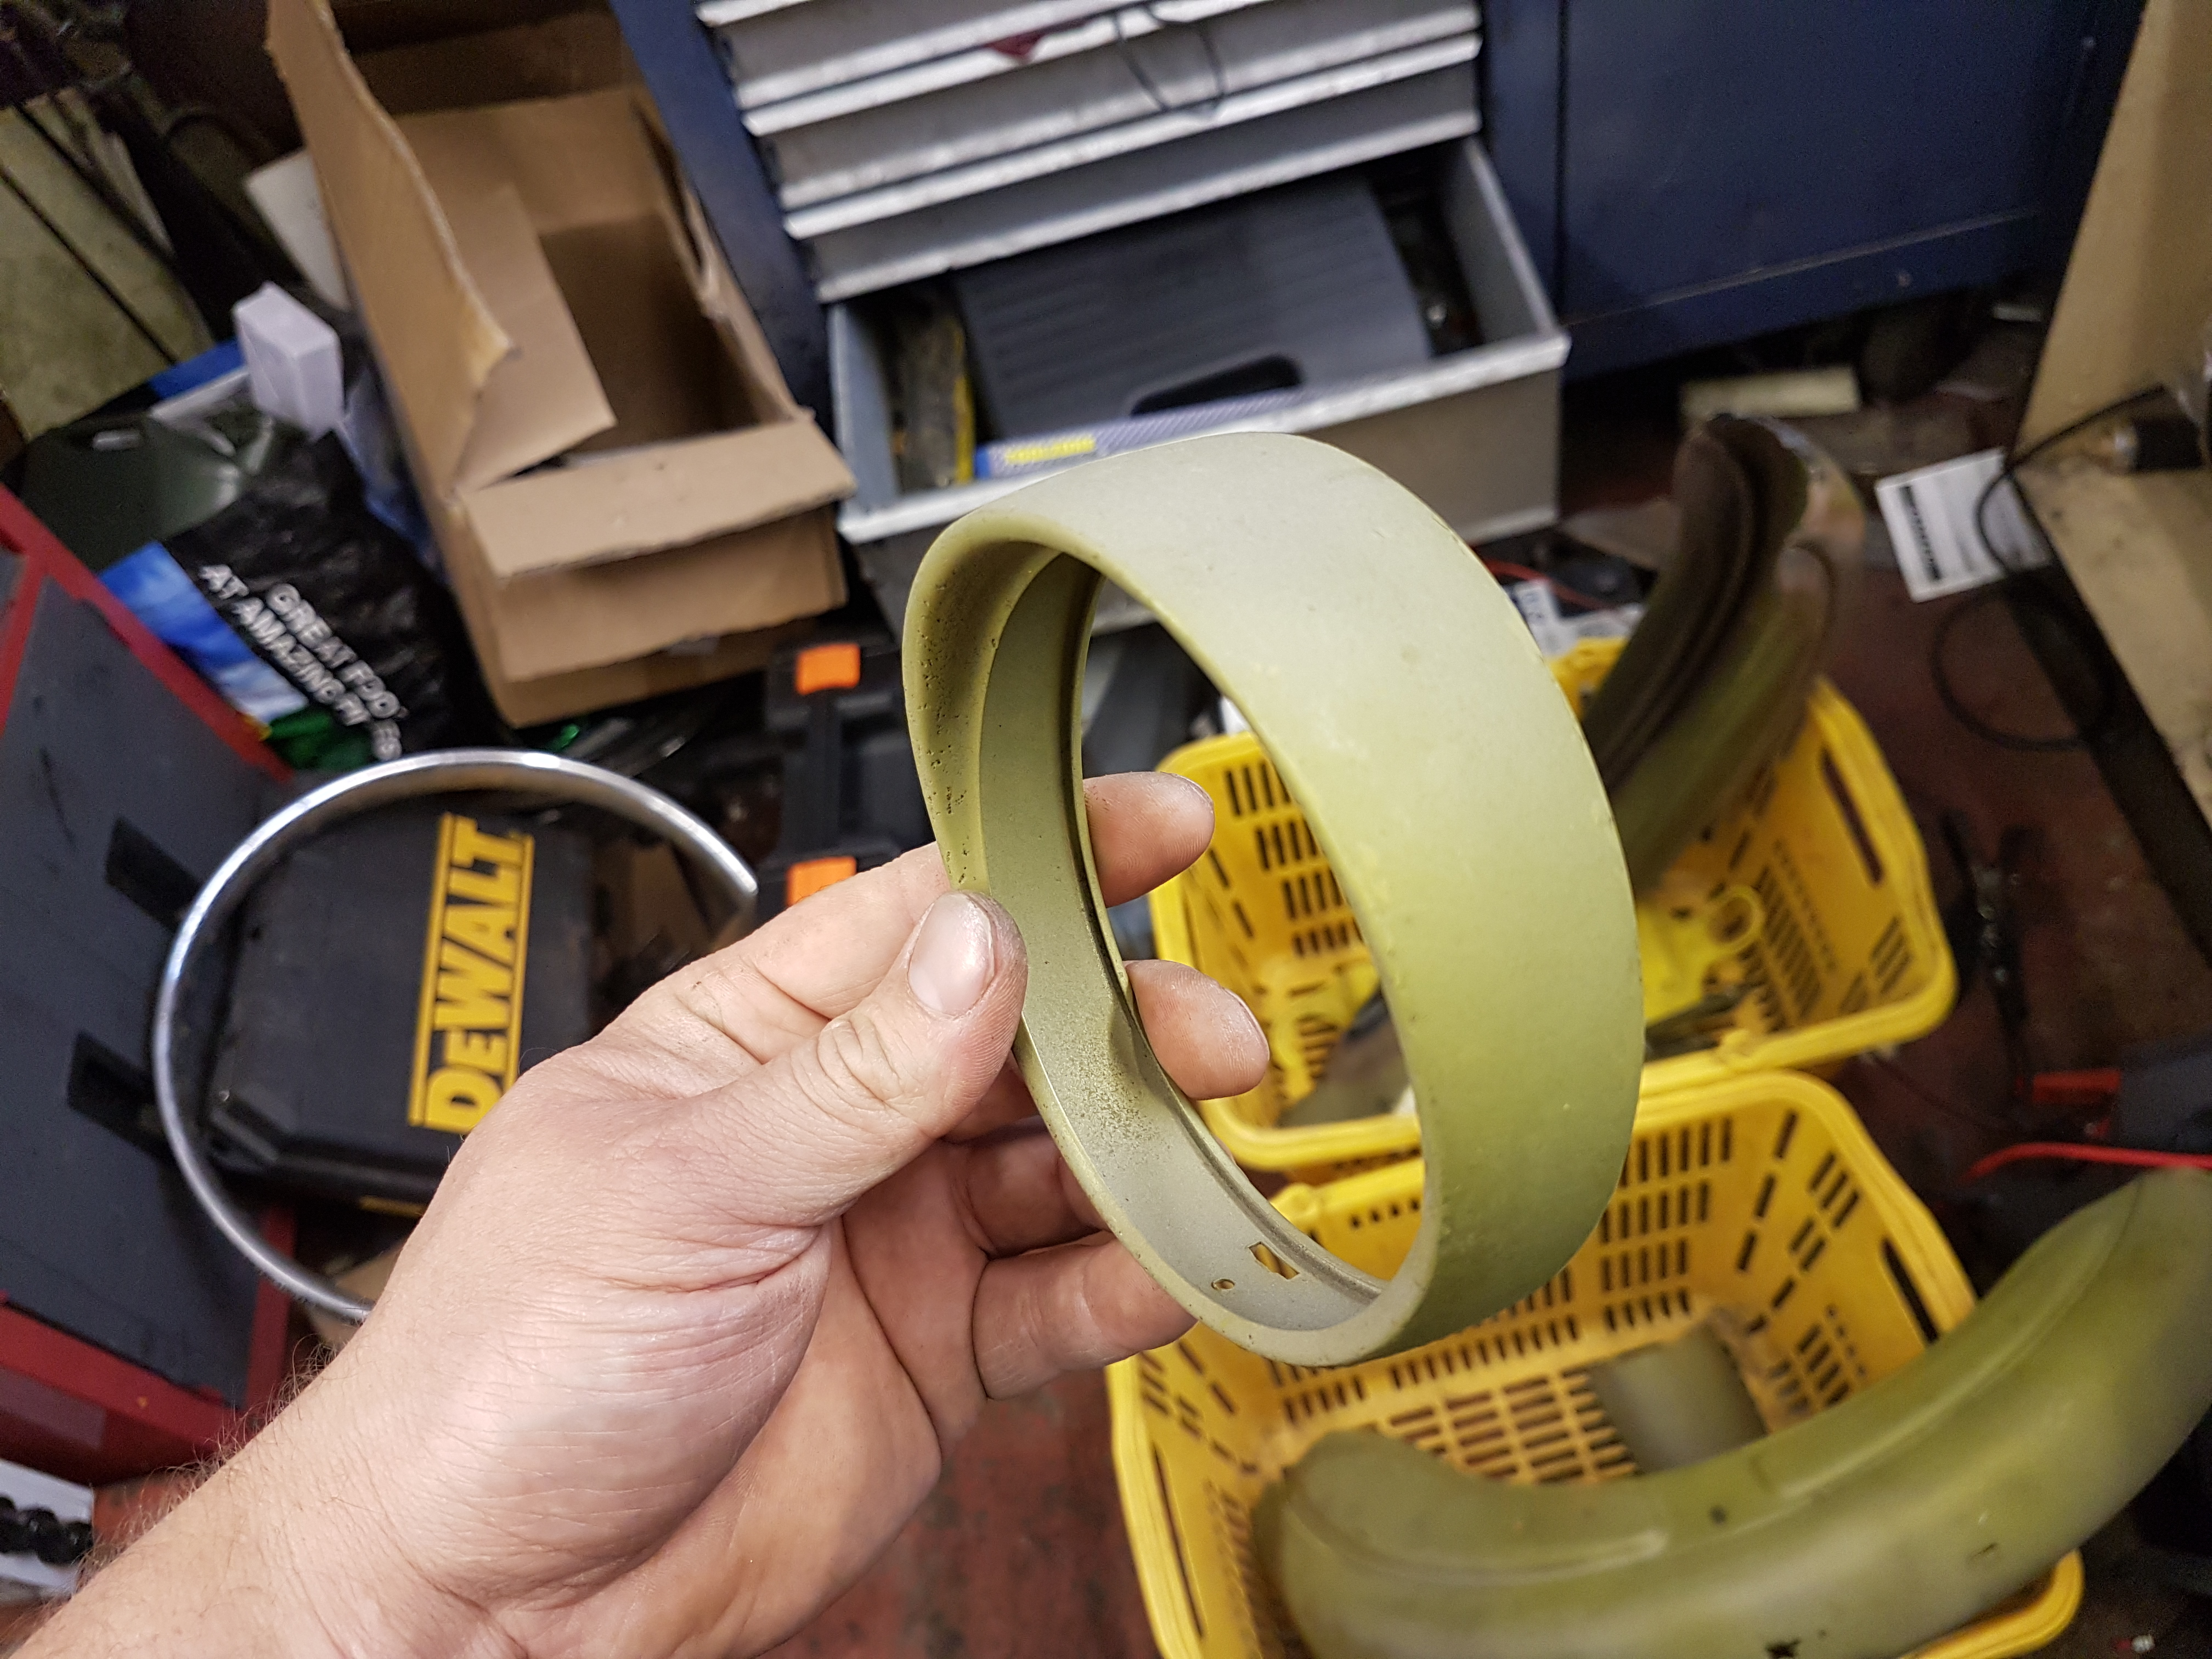
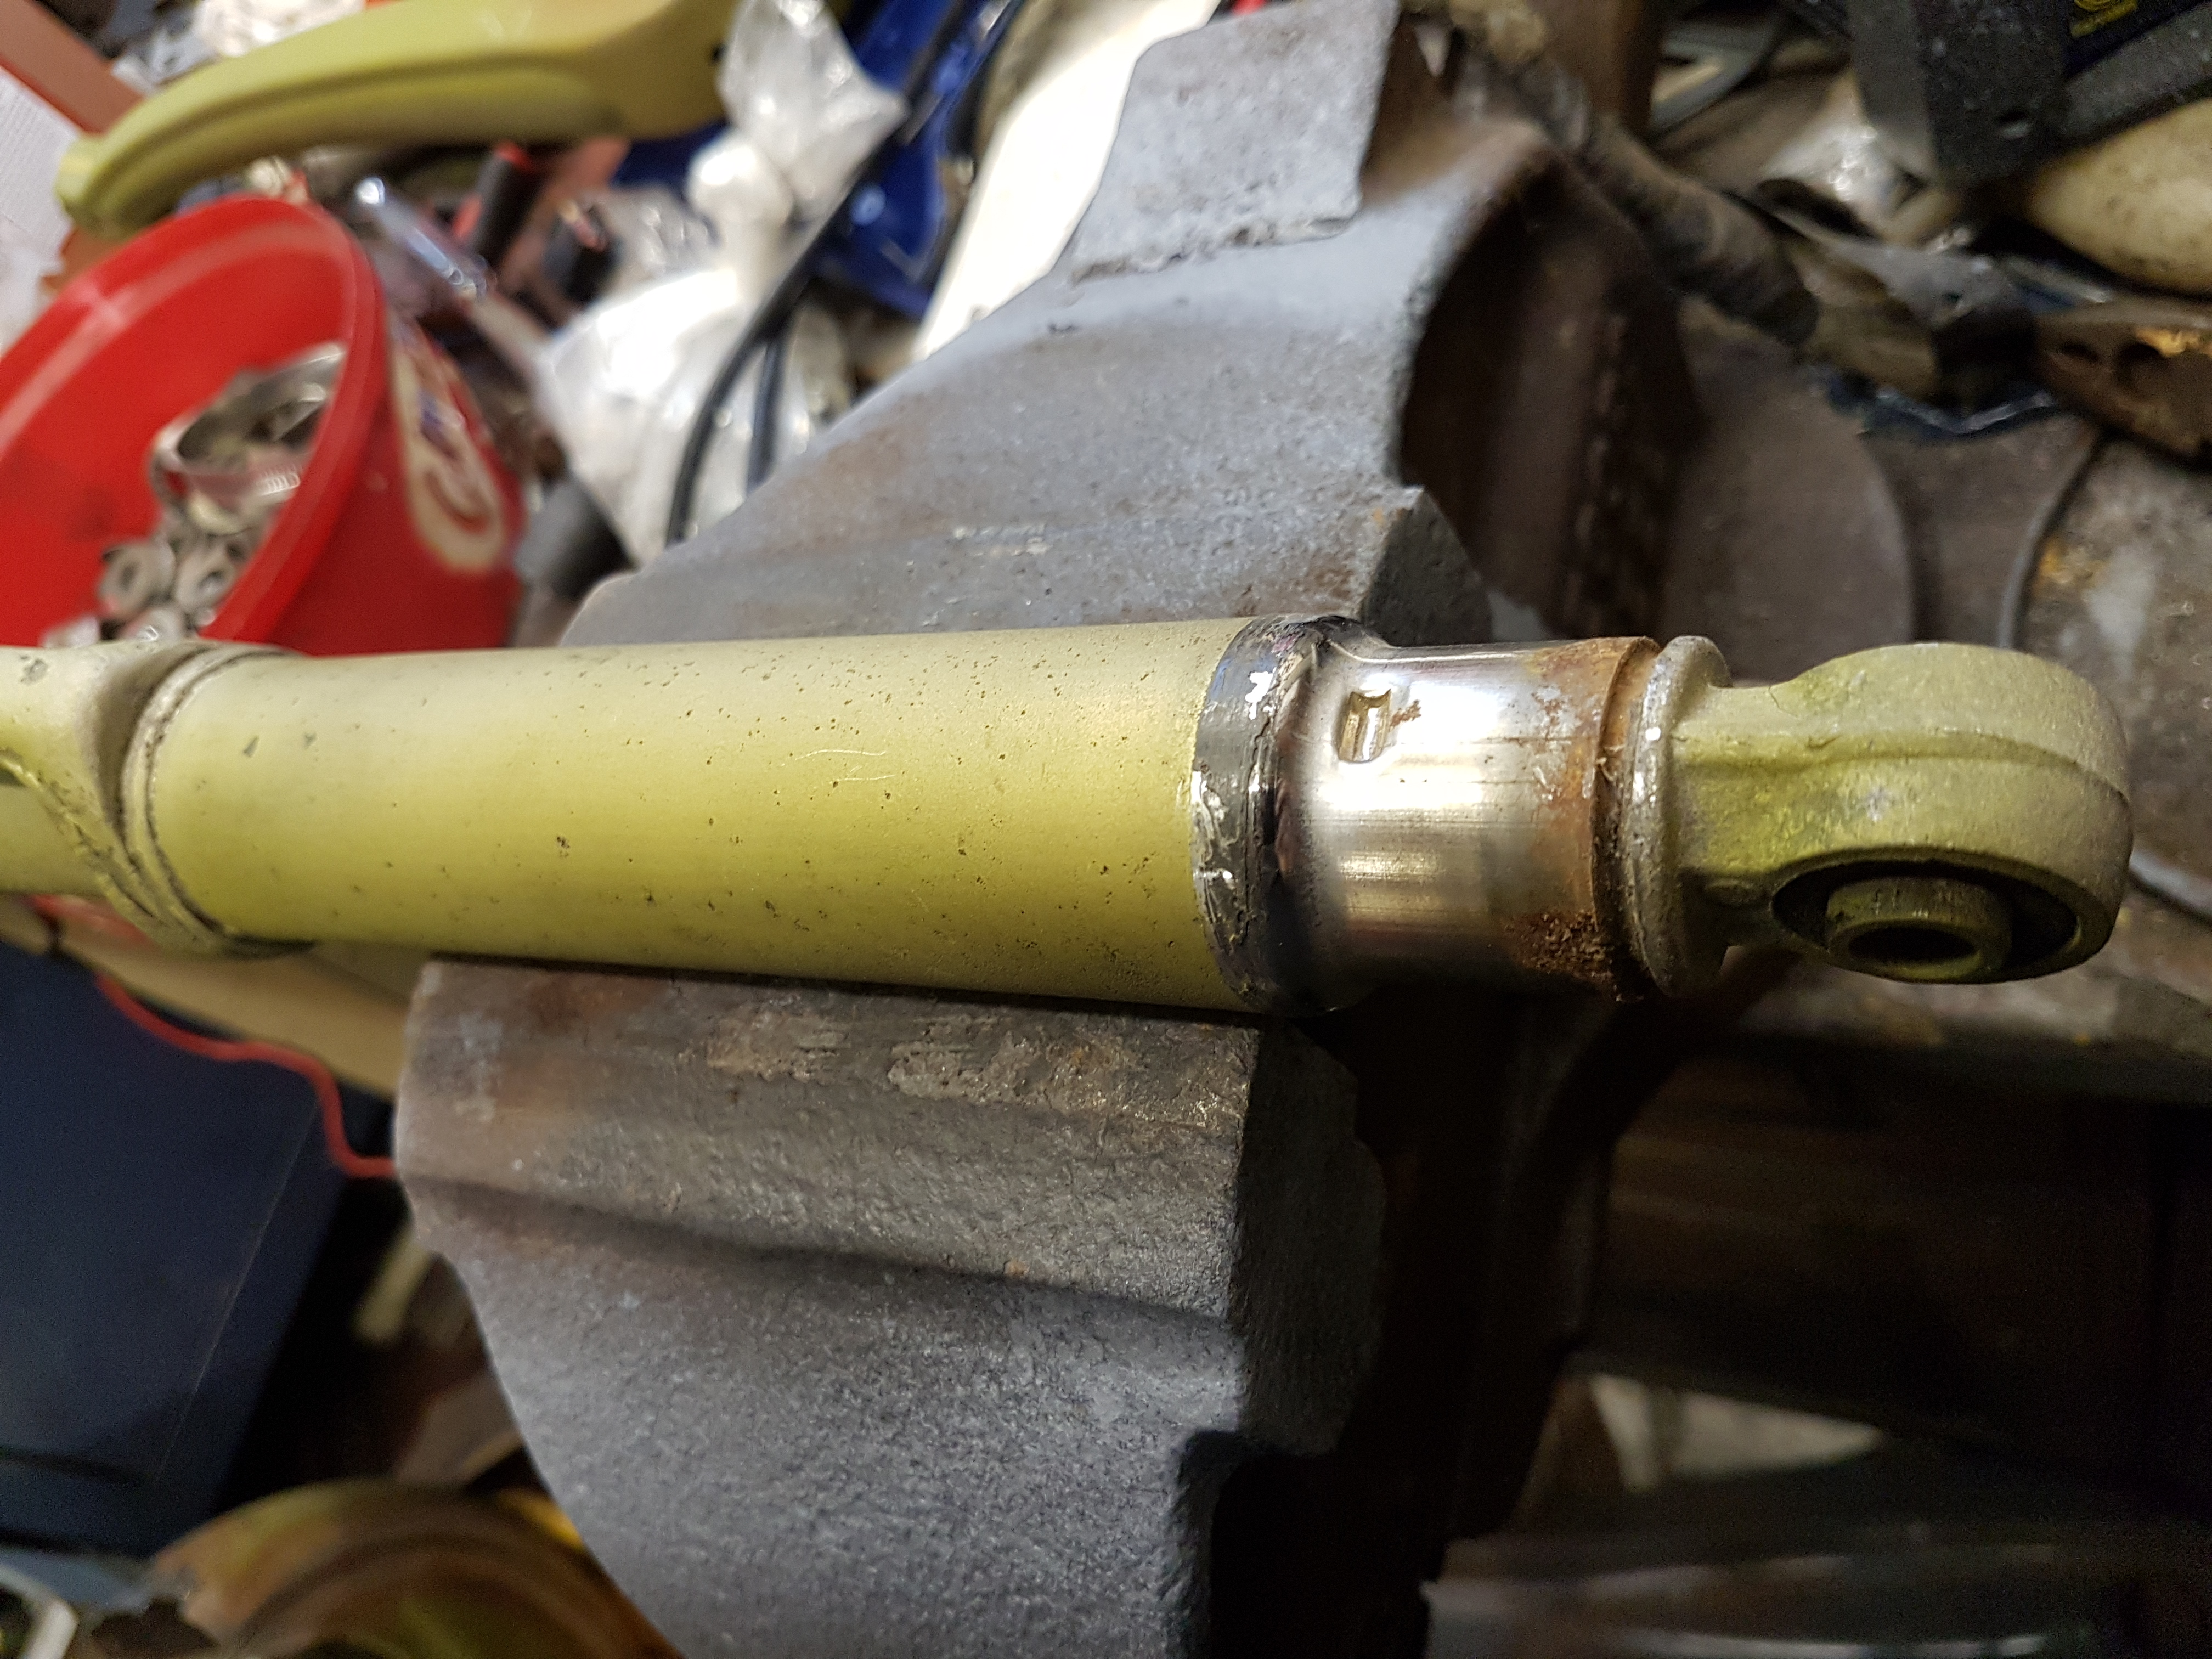
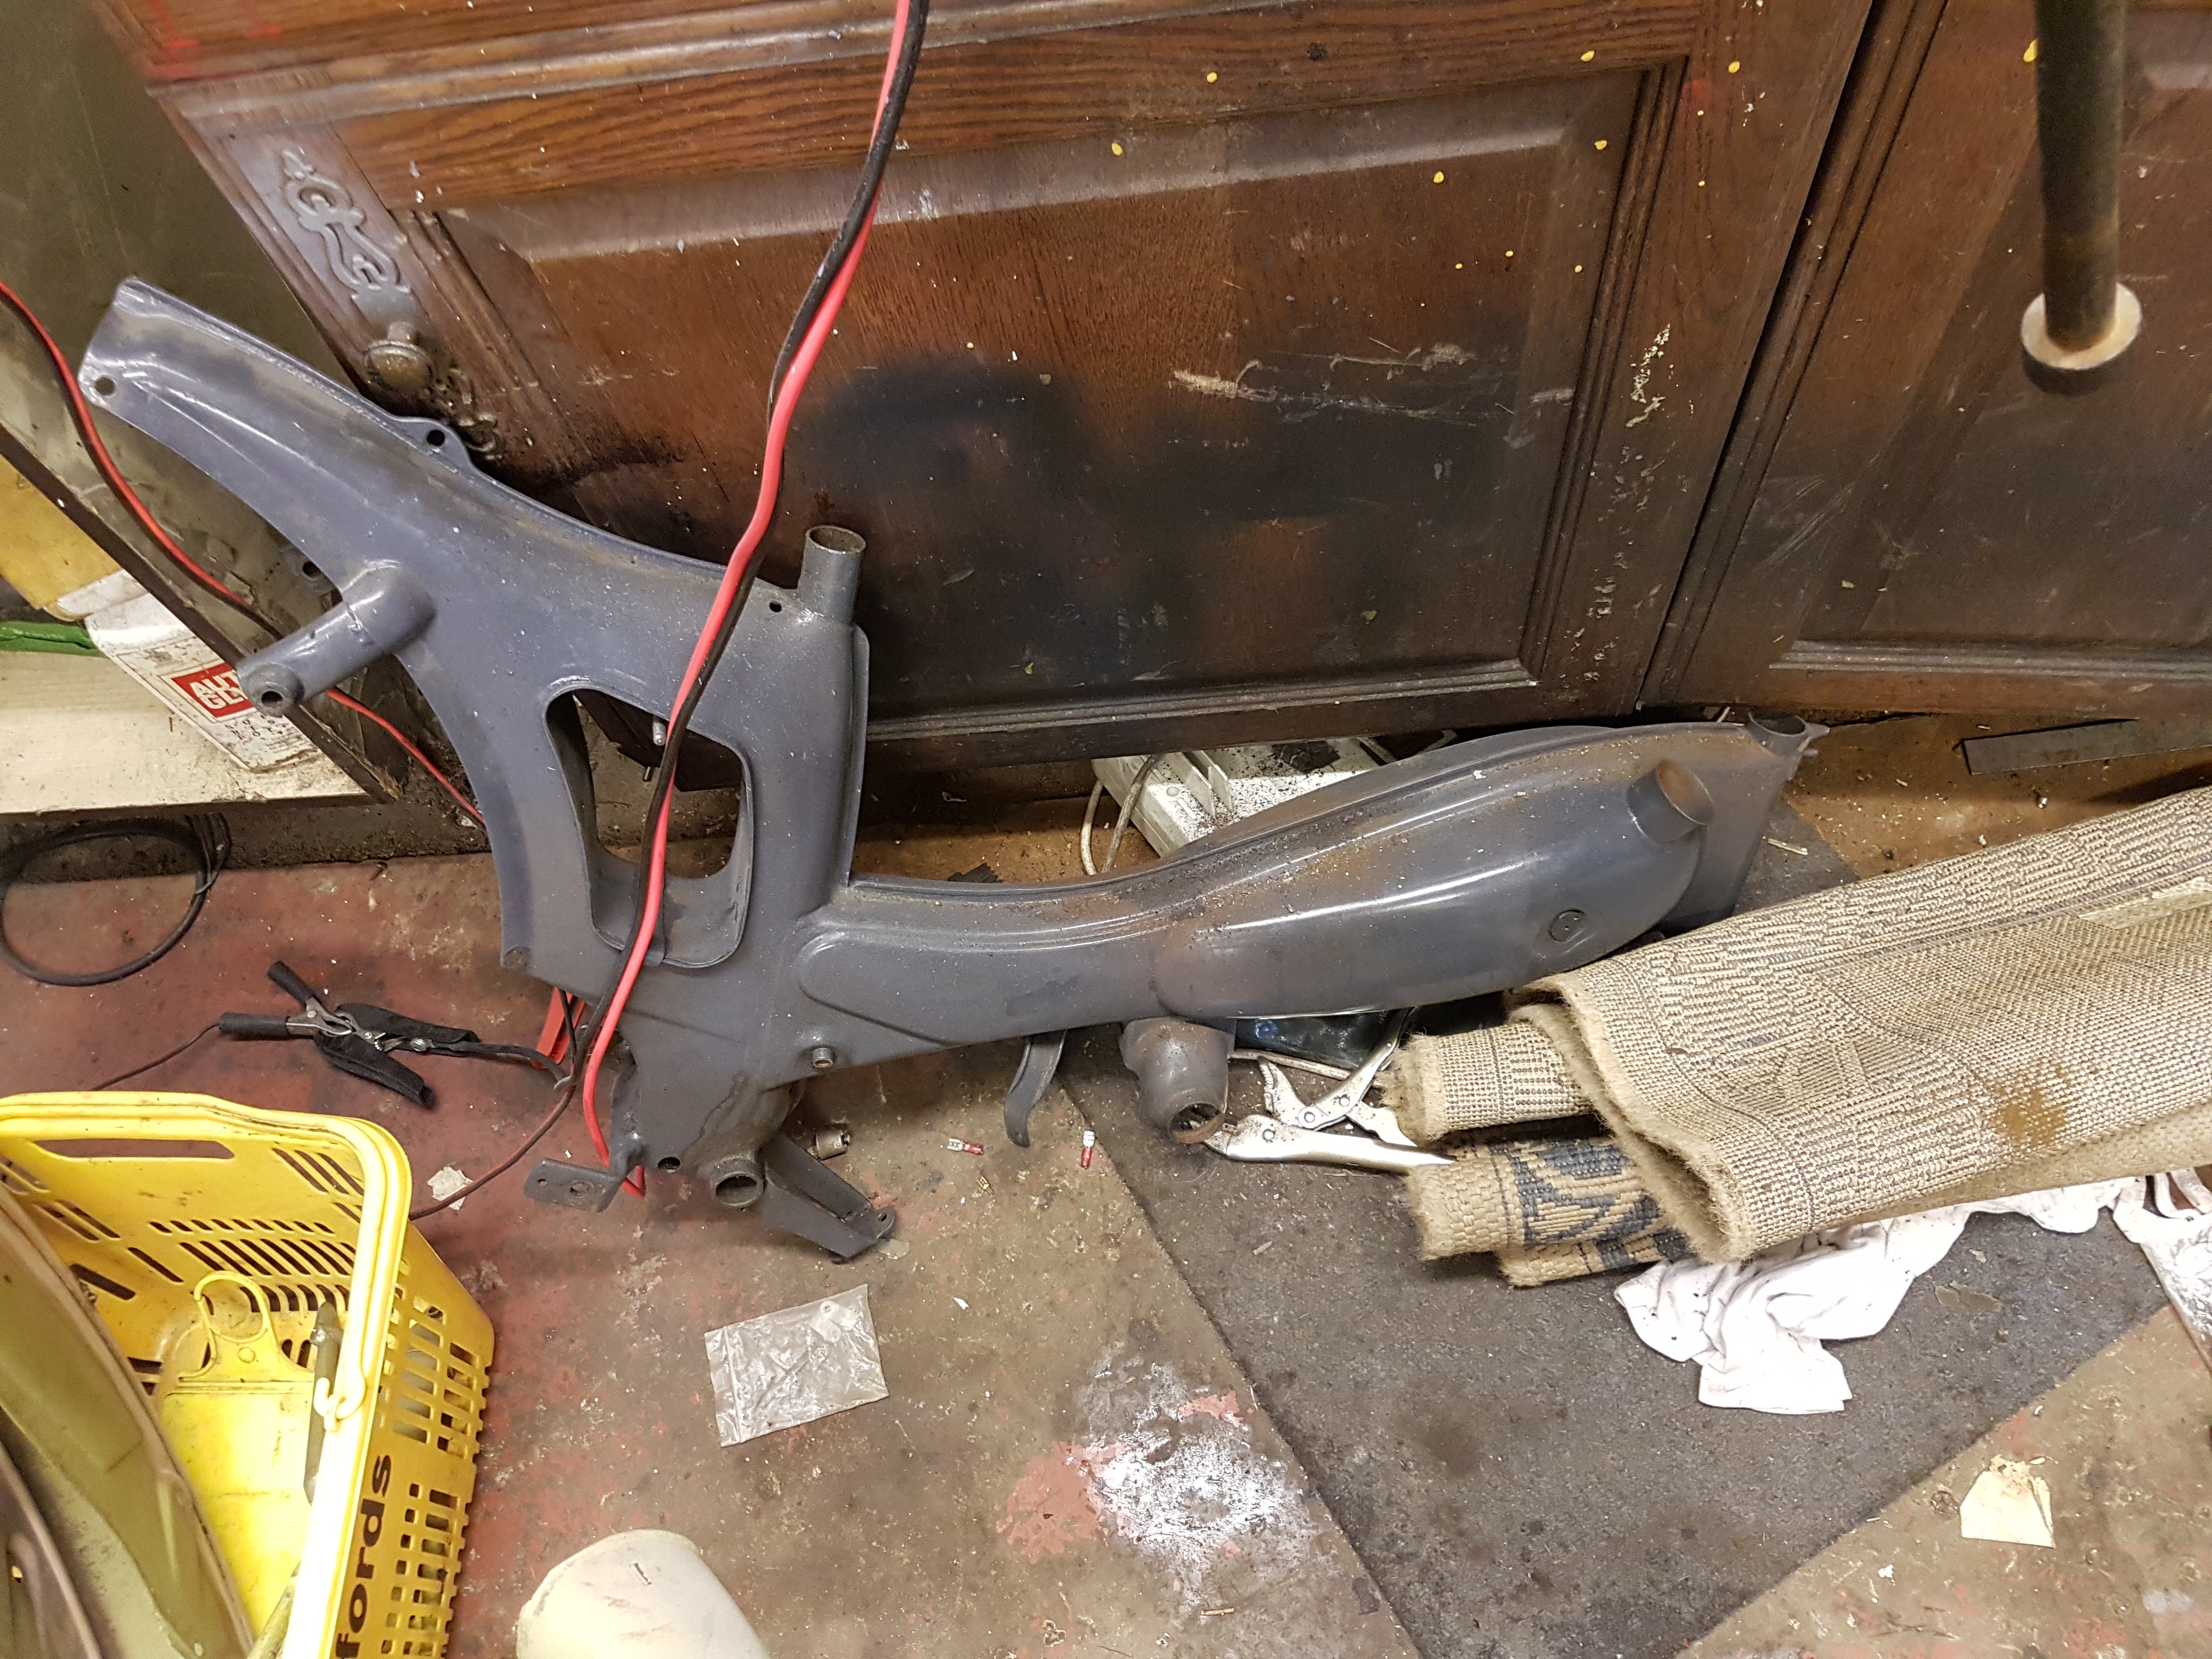
something i never use! The plan is to completely strip the bike to the frame and fully clean, repair and repaint replacing anything that needs it along the way.
keeping with original styles but a future modification will include a rear light upgrade. the 6v system is painful on these kinds of engines. i had a lot of success converting our old Honda MT50 to 12v with little to
no effort. it all depends how the coil is wound and taped from. though i never had to touch the points, i would also consider upgrading to electronic ignition. purely for any future reliability issues. had an old 1958
British seagull engine on a boat once, i was often "dead in the water" (pun intended) due to the points acting up. it was also one of the best upgrades i did on my old Fiat panda that i currently use as a daily.
Anyway, this will be a log of progress and work i do to the RM5... eventually as i currently have another project on the go, something that the moped will be used for. we have an Iveco Daily we are restoring and turning into a camper van
with a garage in the back which will be good for a few small mopeds of this size. thankfully my brother will be doing most of the caper conversion. i am just on rust repair and mechanics work, being Fiat based
i feel right at home.
stay tuned as i will not only be posting photos but also videos to my Youtube channel of the bike")
Thank you all for looking.
When i was young, we went as a family to Turkey, this is back in the late 90s. the locals back then used nothing but small pedal to start mopeds to go everywhere. well as soon as i saw one, i wanted one!
Now some 20 years later (at a grand age of 30) i finally decided to buy one. upon looking for one i found that they were made as far back as the 1940s. with me liking the older style of vehicles i decided to
go for an older bike.
looking around facebook, gumtree, and ebay i finally found one that i liked the look of. eventually winning the auction for £262.77. with me being Derby based and the bike being located in Lester it was only
a 36 minute trip to go and collect it. upon arrival and seeing the bike the tyres were down and front suspension seemed very weak i had no idea if it was normal, or what to expect.
we loaded it into the back of my friends transit connect and headed back home.
when we got to my place, we unloaded the bike and started off with checking the real condition of things. noting snapped rubber bands on the front forks (rubber bands?!) i thought it
was some kind of bodge for missing springs and thought nothing more of it, the engine its self turned free by hand and the compression seemed to be a lot more than i expected. i removed the plastic fuel
reclaiming intake box and spark plug then with the throttle wide open while turning the engine i gave it some good shots of WD-40 down the carb and in the spark plug hole (it may have not needed it, it is
just some thing i do to old stuff thats been stood). at the same time i checked the condition of the spark plug, and noted the impressive spark the coil generated while turning the engine over.
i drained all old fuel which had mostly all evaporated and just left behind the 2-stroke oil from the tank and lazily held the choke one with the throttle wide open and spun the engine over quickly to drain what
i could from the carburettor without removing it (plenty of that will be done at a later date)
whipped up a quick batch of fuel with a pretty rich mixture ratio of 15:1, just to be on the safe side. i hastily poured the mixture in the tank, forgetting that i still had the badly cracked but still fuel tight pipe
disconnected from the carburettor pouring some of the mixture strait into the slip on "Crocs" style suitable footwear i was wearing. noting that error i quickly hit the fuel tap and connected the pipe up to the
carb. i hopped on the bike, held the decompressor back waited for the engine to spool then hit the throttle and in huge bellows of white WD40 smoke the little engine burst into life. after a short warm up it very
easily sustained a smooth idle. both the lights seem to work fine and after a little shot of wd40 into the button switch, even the horn buzzed into life.
Very happy.
i noted that the starting chain and sprockets were very worn, along with a bit of rust on the back of the rear arch where the bottom number plate mount was. it looks like someone used filler on it at some point.
something i never use! The plan is to completely strip the bike to the frame and fully clean, repair and repaint replacing anything that needs it along the way.
keeping with original styles but a future modification will include a rear light upgrade. the 6v system is painful on these kinds of engines. i had a lot of success converting our old Honda MT50 to 12v with little to
no effort. it all depends how the coil is wound and taped from. though i never had to touch the points, i would also consider upgrading to electronic ignition. purely for any future reliability issues. had an old 1958
British seagull engine on a boat once, i was often "dead in the water" (pun intended) due to the points acting up. it was also one of the best upgrades i did on my old Fiat panda that i currently use as a daily.
Anyway, this will be a log of progress and work i do to the RM5... eventually as i currently have another project on the go, something that the moped will be used for. we have an Iveco Daily we are restoring and turning into a camper van
with a garage in the back which will be good for a few small mopeds of this size. thankfully my brother will be doing most of the caper conversion. i am just on rust repair and mechanics work, being Fiat based
i feel right at home.
stay tuned as i will not only be posting photos but also videos to my Youtube channel of the bike
Thank you all for looking.