Multiodd
New member
Hello,
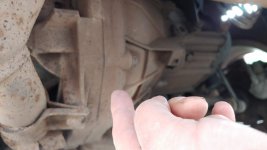
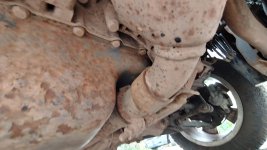
My sump is on its last legs being very rusty.
On having a look a simple replacement, looks less so.
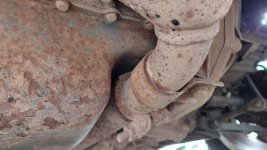
1/3 of it is within the clutch housing, I've read other notes saying to remove the lower housing but this doesn't seem possible without taking the whole gearbox off?
Has anyone done this task on the 1.3 diesel panda, is there a simpler way?
Thanks,
My sump is on its last legs being very rusty.
On having a look a simple replacement, looks less so.
1/3 of it is within the clutch housing, I've read other notes saying to remove the lower housing but this doesn't seem possible without taking the whole gearbox off?
Has anyone done this task on the 1.3 diesel panda, is there a simpler way?
Thanks,
")