- Joined
- Sep 14, 2009
- Messages
- 19,492
- Points
- 3,294
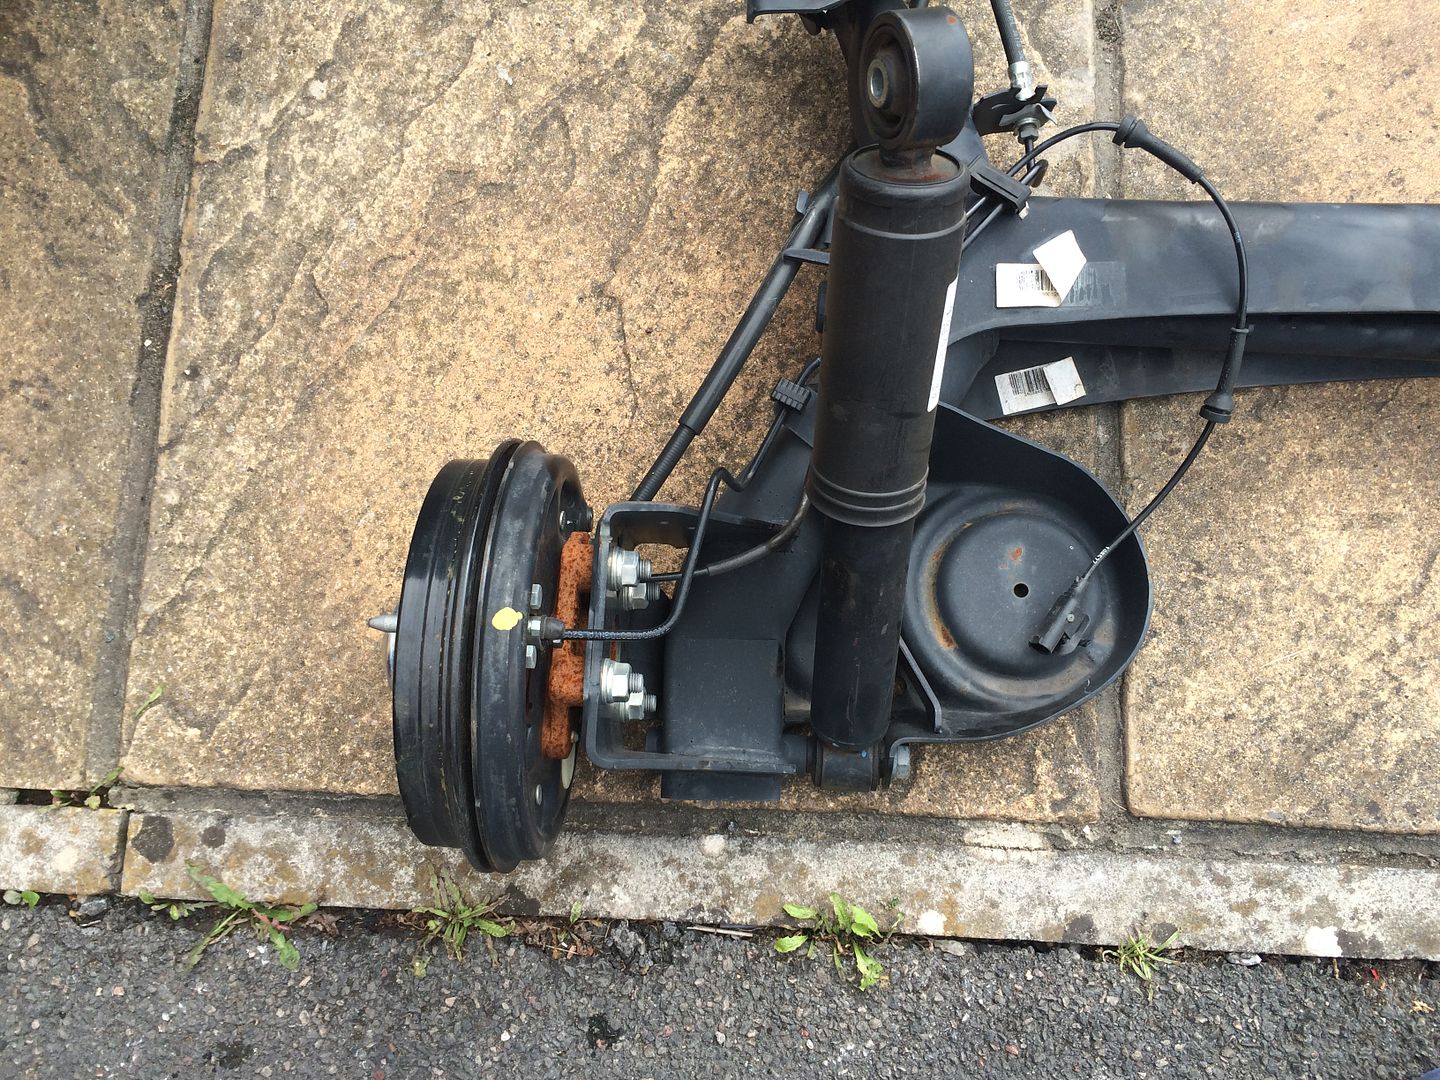
Look at my image of the hub spindles in my 500 rear axle thread. It sits on lugs about the size of a standard washer. There is no flat joint face.
These people sell shim washers. They have various thicknesses.
https://www.ebay.co.uk/itm/0-5mm-THICK-SHIM-WASHERS-HIGH-QUALITY-STEEL-DIN-988-ALL-SIZES/253287469547?hash=item3af91c11eb:m:mL7tYo9RonYTvbphx9unn2w
These look better but no M10
https://www.ebay.co.uk/itm/Flat-Metric-Steel-Shim-Washer-0-1mm-Thickness-DIN988/132407910887?var=431749054560&hash=item1ed42061e7:m:mpqQbVDm6gh_YpEyR3EoeVQ
Shim sheets allow you to make your own washers. Possibly easier to use as you can do them in pairs. 1mm = 40 thou, so 10 thou is 0.25mm (near enough).
https://www.ebay.co.uk/itm/STEEL-SHIM-ASSORTED-PACK-6-PIECES-002-003-004-005-008-010-thou/264100789800?hash=item3d7da23e28:g:~qcAAOSwgQ9VnUY6
But if you want it done properly accurately you will need a ground shim plate with the correct angle. It will be faff with thin shims but you can build up the correction layer by layer. The plate would have to be made by a machine shop on a surface grinder.
Edit - The easiest way to make holes in thin shims is with a punch. But try finding one to buy. Thin shims can be drilled if clamped between two metal plates. Drill holes then cut around with suitable shears.
Last edited:
This post contains affiliate links which may earn a commission at no additional cost to you.
")