Phiz
Member
A bucket load of lacquer and it'll be bomb proof. I guess the grille is a nice small panel to work on paint skills, not as much effort to redo and no large areas where imperfections would look terrible!
Chaz does sound like a sweet project for someone. Hopefully someone on here will get on to it. Know what you mean though, obviously I've got my 4x2 project, which in a way is a much better car for what I want but the 4x4's were what drew me to Panda's when I was a kid and would be a great car to work on! One day but one day along way from now!
I've not actually watched the wheeler dealers episode, the amount of abuse it's had on here I might well do though . What paint did they use which was so terrible??
Trouble with painting wheel nuts is they'll chip everytime you change a wheel? Chrome would look far too bling though... I guess for me this is so far down the list I'm not even on that page yet!
Re zinc primer I'm all over it, used about 3 cans on the axle, trouble is some can be mighty pricey and some have bugger all zinc in! I'm getting pretty well every removable part zinc electroplated and then powder coated, which is a better than factory finish, I got my rear bumper mounts back today and they look great and mighty durable! I'd not even begun to work out at what point I should apply stone chip, will sandwich between layers somewhere.
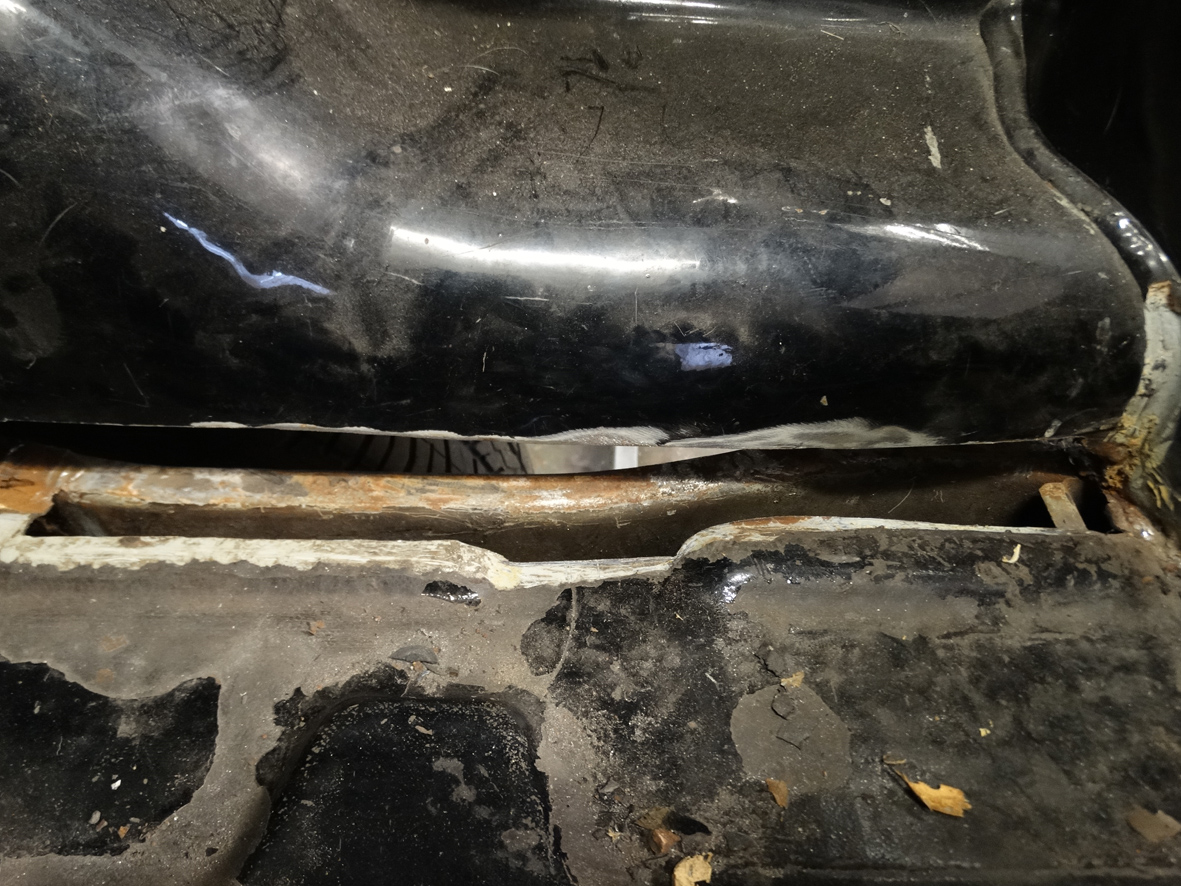
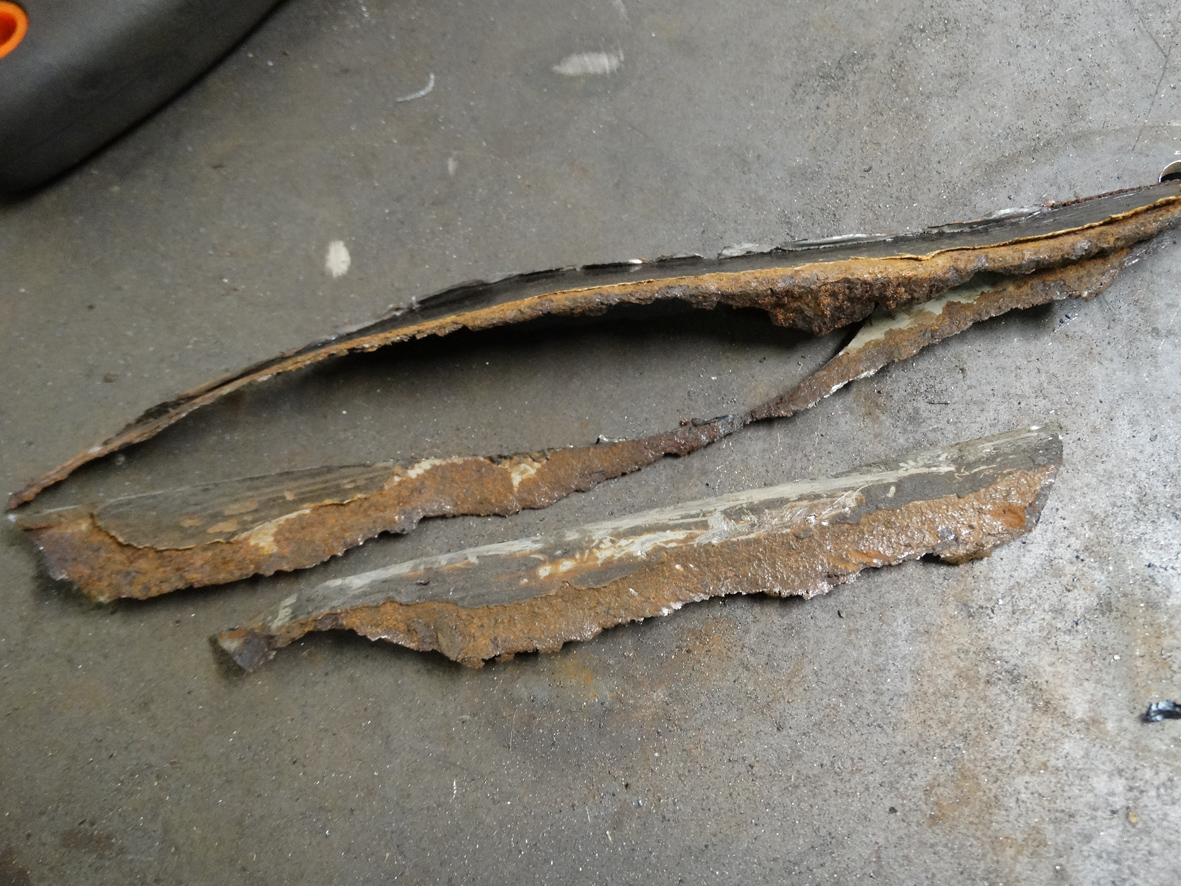
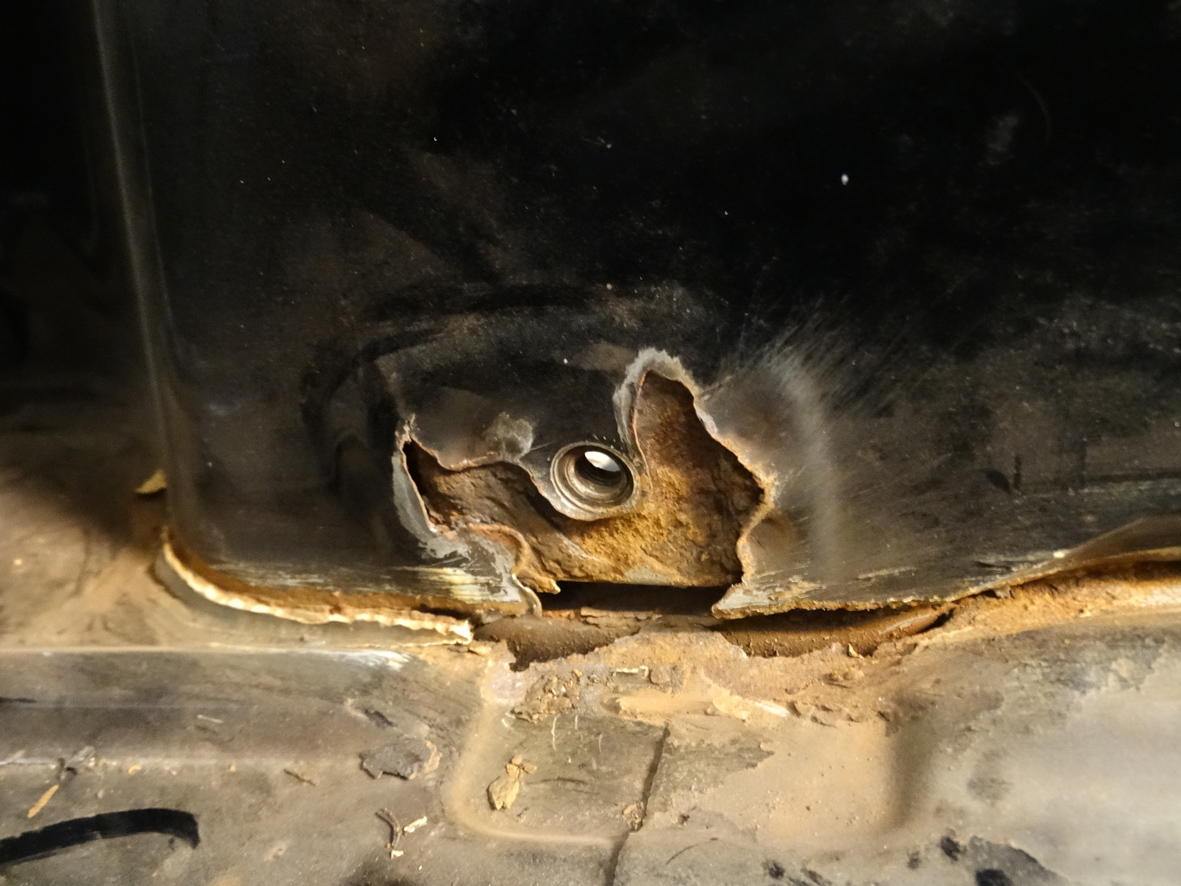
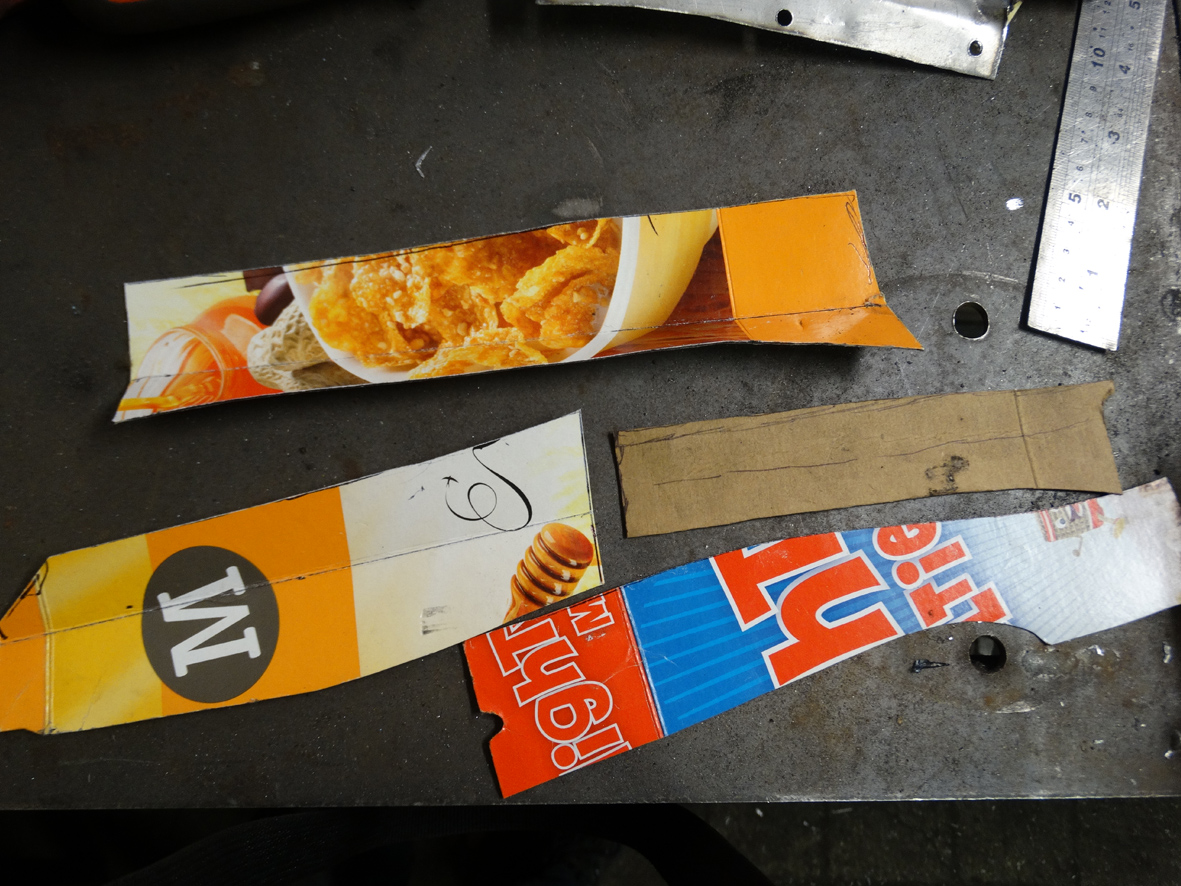
Got some photo's of the work I did on Sunday on the rust in the rear inner wheel arch but I've hit the limit on my photo space on the forum?? Any idea how else I can get pictures up on here, or how I can increase my limit??
Will put up what I have managed to uploaded soon, typically takes me to just before the welding!
Chaz does sound like a sweet project for someone. Hopefully someone on here will get on to it. Know what you mean though, obviously I've got my 4x2 project, which in a way is a much better car for what I want but the 4x4's were what drew me to Panda's when I was a kid and would be a great car to work on! One day but one day along way from now!
I've not actually watched the wheeler dealers episode, the amount of abuse it's had on here I might well do though
. What paint did they use which was so terrible??Trouble with painting wheel nuts is they'll chip everytime you change a wheel? Chrome would look far too bling though... I guess for me this is so far down the list I'm not even on that page yet!
Re zinc primer I'm all over it, used about 3 cans on the axle, trouble is some can be mighty pricey and some have bugger all zinc in! I'm getting pretty well every removable part zinc electroplated and then powder coated, which is a better than factory finish, I got my rear bumper mounts back today and they look great and mighty durable! I'd not even begun to work out at what point I should apply stone chip, will sandwich between layers somewhere
.Got some photo's of the work I did on Sunday on the rust in the rear inner wheel arch but I've hit the limit on my photo space on the forum?? Any idea how else I can get pictures up on here, or how I can increase my limit??
Will put up what I have managed to uploaded soon, typically takes me to just before the welding!