Technical 1960 Fiat 600 Jolly

Currently reading:
Technical 1960 Fiat 600 Jolly

As you can see, it was pretty rough, the floors were already cut out. We realized as we started to look close that both sides had to be removed and replaced. Since this is a "jolly" only area, we had to make the panels and weld them in just as before. We lead Soldered the seams like the factory did.


After blasting all interior parts to be clean and free of rust we coated it with POR 15 rust inhibitor.


Then we began replacing inner and outer areas, as well as cutting out other rusted parts to replaces, such as lower inner wheel house areas.


I made a tool to bend up the side parts to exact curve of original.


Then the lead work began.


Last edited:
The Rear quarter on the passenger side was a mess of dents, and smashed flat, so we cut it out and replaced, leaded, and moved on to skim work and blocking. I was so happy to get out of the sheet metal stage.


Next we treated the underneath to epoxy primer and then sprayed the two part truck bed liner, mixed with color. we then clear coat that to give it a nice shine and much easier to clean surface.


Next, more block sanding. The next stage is more primer and sanding so we will skip to the smallparts refinish...


We were able to save the original tin decal on air cleaner, looked like new after a good cleaning.


The color looks a little different in the pictures, but is an exact match to original on all small parts. Air Cleaner housing, oil filter housing, etc.


We broke down carb, soaked, cleaned and installed rebuild kit.


We carefully stripped the radiator and used POR 15 on areas that needed it, then cleaned it out inside, epoxy primed and painted.


Restored, with new points installed, new cap, rotor and plugs.


One thing I had to make was the lower chrome bars that go under the "wing", they were missing, I could have made some straight bars, like some Jolly's have but thats not as nice as the curved ones. I had nothing to go off but some pictures online. Did my best, first we had to bend up some pipe to the right angle. I then made the top fit with lead filler and worked it until it fit like a glove, then the bottom mount was ground away and polished. We sent them off for chrome.


Interior panels are made like last time, for custom covering later. Fiberglass is laid up.


Messy, takes some time to whip in to shape....


Skip ahead and its in paint! final fit on interior panels and figuring out the carpet.


I made patterns of all the pieces so I can make replacements.
 
Last edited:
At this point, I moved the car to my home shop for assembly. Needed a cleaner area to work, too much going on at the shop, also, I needed to put in some major hours to get it done, and my kids could hang out and help.


The instrument cluster lens was a mess, was scratched, hazed and even spray painted over the warning lights.


Wet sanded and polished it right up.


From here it was a mad dash to assemble...
 
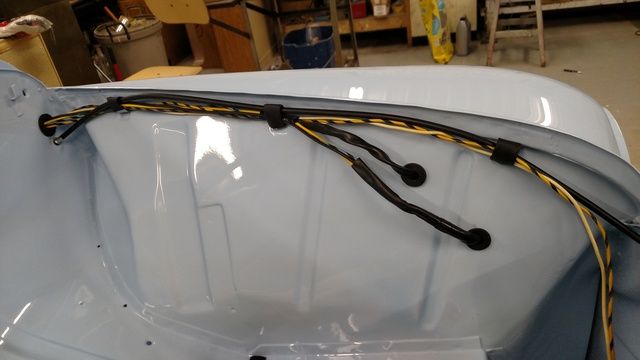
We took the center vents apart and sent them out for chrome...


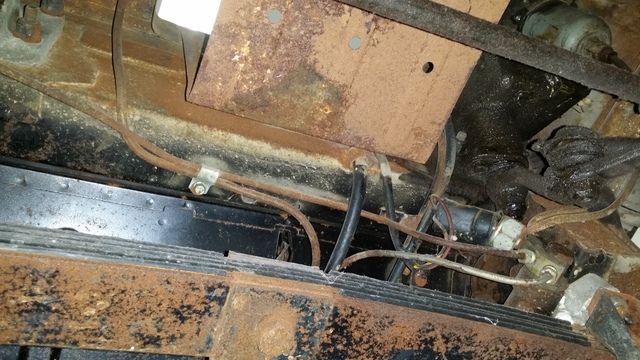
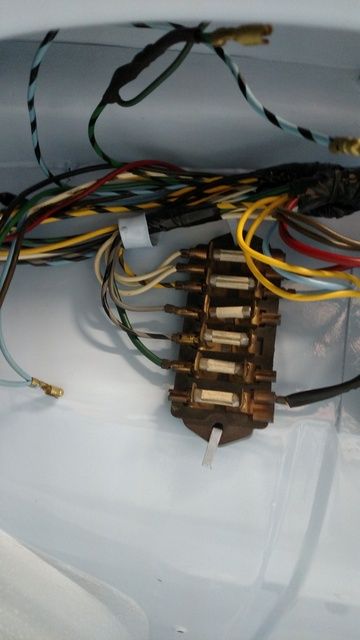
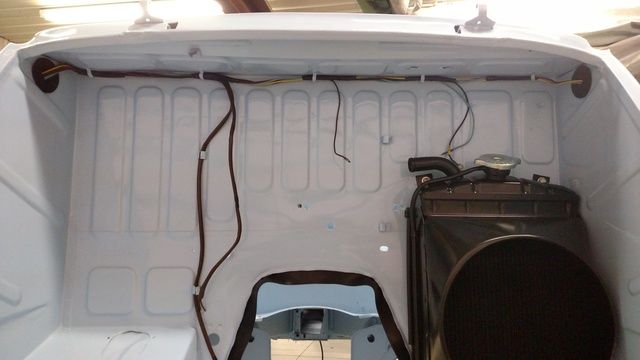
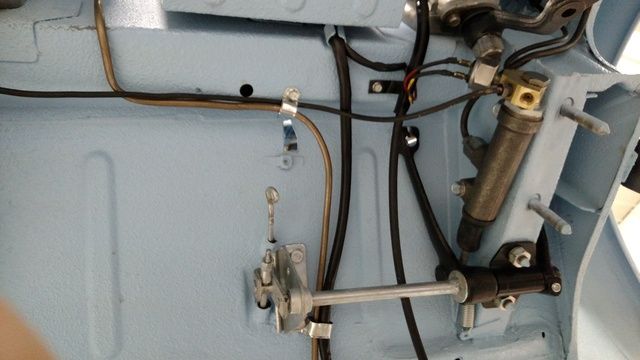
Every inch of wire is cleaned, inspected, repaired and wrapped again.
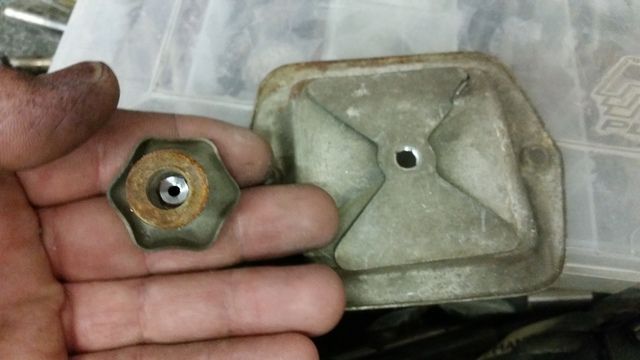
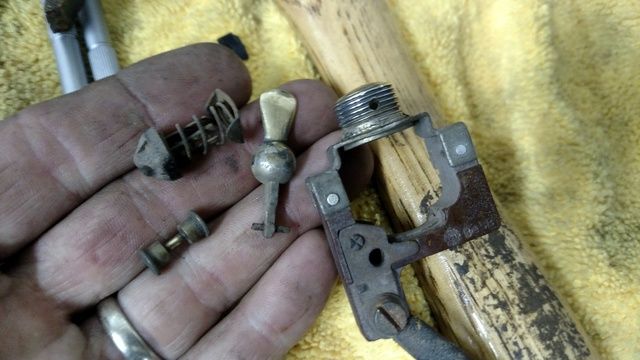
The dash switches were taken apart for cleaning and I sent out the bright parts for chrome.


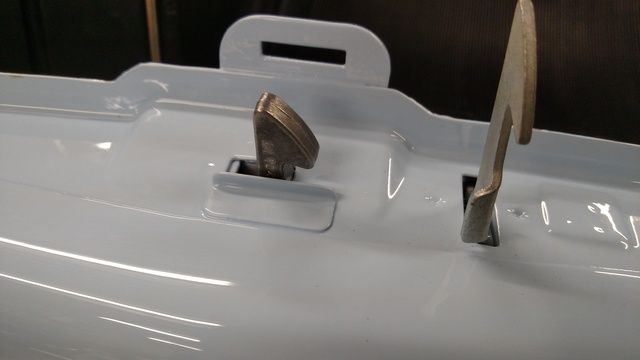
Instead of painting the latches, we remove them, and coat the safety in zinc and clean up the pull latch.


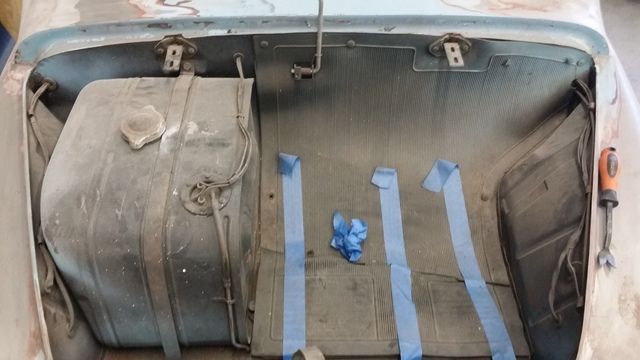
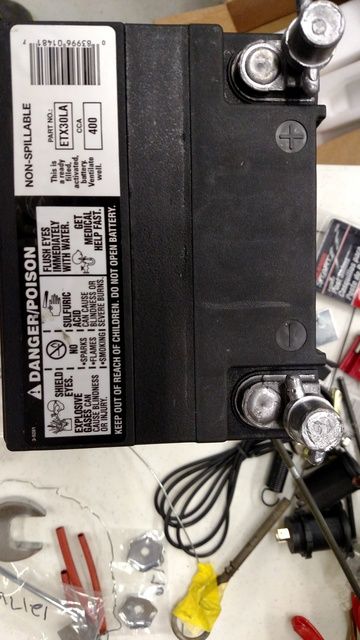
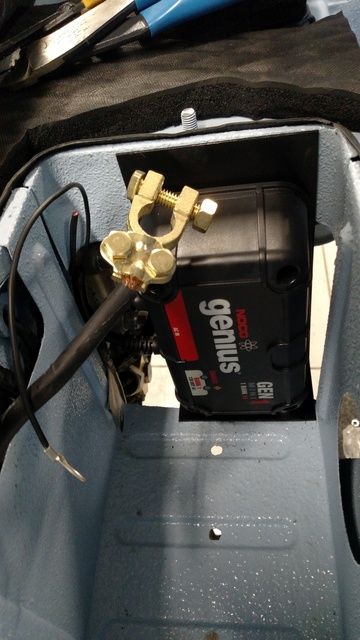
As you can see, we have the original battery cover. However, the batteries you buy for these are too tall, so we had to come up with a solution. The customer wanted a battery tender installed as well, so they could plug it in when they aren't using it for the winter season. My solution was to use a smaller battery, The one i finally purchased was for a motorcycle, it is smaller, but had the same cranking power and it was just small enough to allow me to install the battery tender in the battery box with it and the cover still fit!


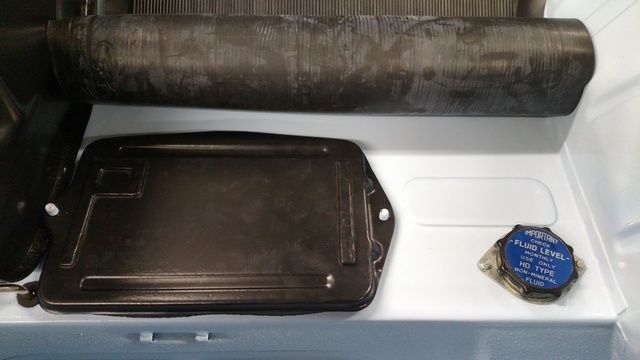
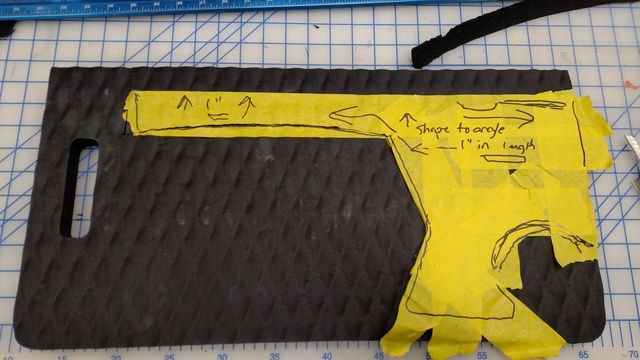
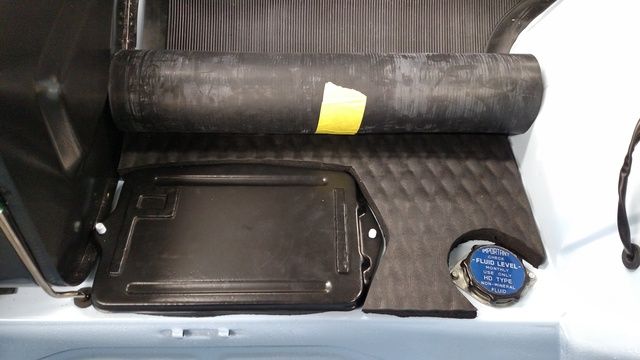
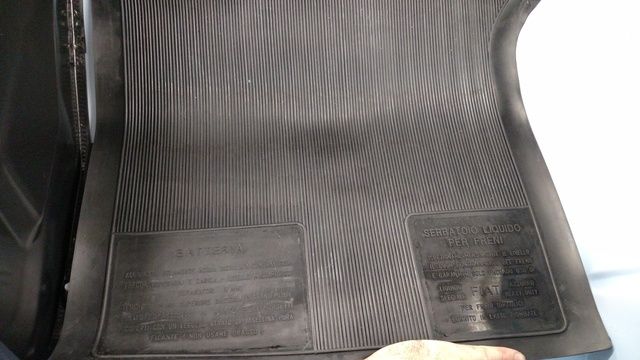
Another problem I had to solve was to make a riser pad in the front compartment around the
Battery tray and brake reservoir. This should have one, if I am not
mistaken, (going off of an original 600 I have here). This allows the mat
to lay flat and level with the battery cover.
To do this, I ordered a rubber knee pad and cut it to shape.


Last edited:
The engine and tranny work was completed, Engine was completely rebuilt with all new parts. Rebuilt generator, new water pump, the tranny was gone thru and all refinished correctly and installed in a nice new shiny compartment...


One hard lesson I learned was that the oil pumps are not all the same...I didn't install it, re-builder did. This engine has the oil relief valve in the side of the block and the new oil pump was for one that has a port for a tube in the bottom of it....anywhooo. I always make sure there is good oil pressure with a good quality gauge before I ever let spark hit the fuel. I turned it over and just couldn't get pressure...I spent a whole day trying to "prime" the pump with a pressurized oil tool I built. Nothing. Finally I had to take off the oil pan and see what was going on...I wasn't even sure the oil pump was on! Well as soon as I dropped the pan it was obvious...and the biggest pain was scraping off all the nice new sealer and making sure it was perfectly clean so it wouldn't spring a leak.
Here is the picture of the two pumps side by side.


I wish someone would have compared the two.


Last edited:
I usually like to get some good pictures of the finished paint. I get much better lighting in my shop. Here is one at my house shop.


Basically, you just sand until you can sand no more...then buff and polish.
its a little more complicated than that...but you get the idea.
 
My favorite part of any restoration is the part that I get to be creative. The customer wanted to really have a fun usable car and we discussed some ideas. I really didn't think it would come to fruition, be cause of the time involved.

So the theme was Nantucket! Nautical...so I picked stainless steel and teak as my materials. Two lovely materials to cut and drill...not.
We put a ton of work into the interior and it came out just as I had envisioned.
I hope to do it again.

So here are all the finished pics of the car and the extra! It also was great to have such a beautiful background for the pictures. Nantucket.


The center console has two cup holders, a phone slot in the front middle, a regular 12v power source, two usb power ports and an Auxiliary plug for your phone to play via the JBL marine Amp and Speakers.


The center console has two cup holders, a phone slot in the front middle, a regular 12v power source, two usb power ports and an Auxiliary plug for your phone to play via the JBL marine Amp and Speakers.


I purchased this cool wine glass holder/food tray...
We will be making a nice picnic basket to go on upper rear tray.


Back
Top