
Introduction
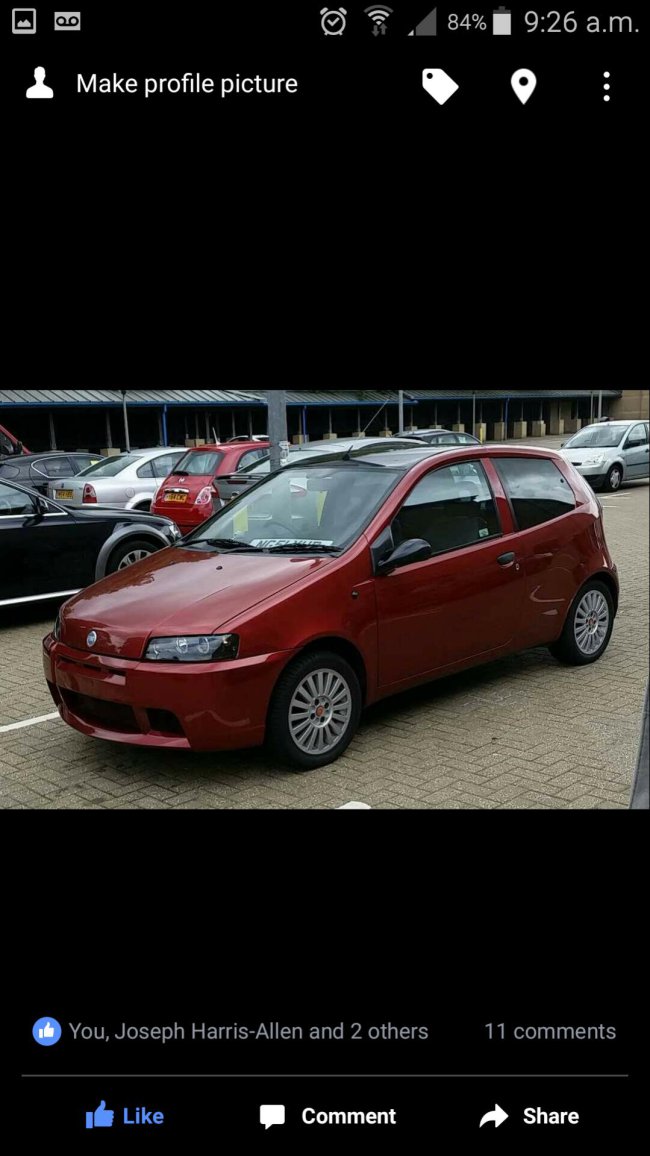
Hi so i thought I'd load up so pics of my punto mk2. This is my second punto after my first one died  I had to get another one thou and it's in the good colour of skilla red Also has a low millage of 57,000 miles.
Specs:
INTERIOR
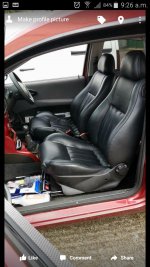
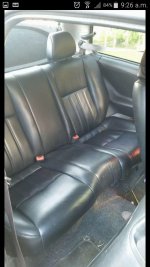
alfa 147 black leather seats, fitted myself
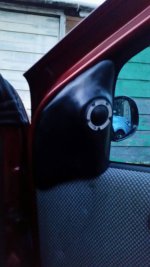
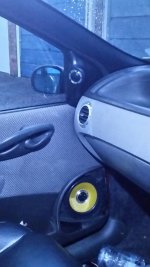
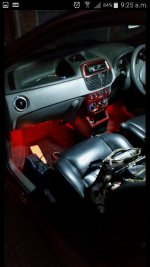
Audi tt side air vents
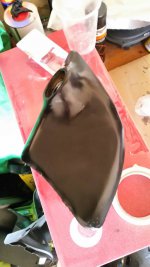
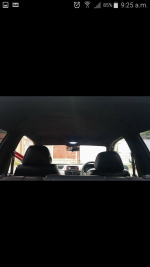
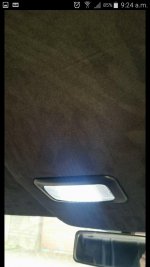
Faux suede roof lining and pillars
Took out the sunvisors and handles too on the roof for that cleaner smooth look.
Vibe black air front speakers
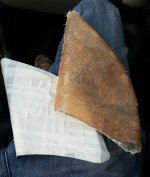
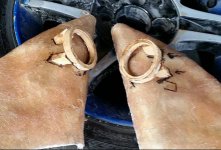
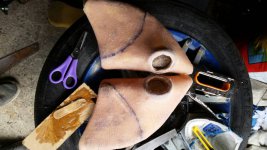
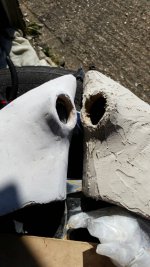
Custom tweeter housing made myself in location of wing mirror adjusters
White LED interior light
Red foot well LED lights
After market stereo
EXTERIOR
FK street coilovers
Abarth hgt bumpers painted
De-stripped side bars and the fiat badge of the rear
Angel eye headlights
Roof wrapped in gloss black vynal
BMW m3 wing mirrors, yet to be colour coded
Tinted side windows
Abarth alloys 15 inch
ENGINE
All stock for now (1.2 8v) but have some future plans to be done maybe a engine swap
FUTURE PLANS
Engine swap???
Colour code the door handles and wing mirrors
Fit some rear speakers
Smooth the dashboard and wrap/paint
I had to get another one thou and it's in the good colour of skilla red Also has a low millage of 57,000 miles.Specs:
INTERIOR
alfa 147 black leather seats, fitted myself
Audi tt side air vents
Faux suede roof lining and pillars
Took out the sunvisors and handles too on the roof for that cleaner smooth look.
Vibe black air front speakers
Custom tweeter housing made myself in location of wing mirror adjusters
White LED interior light
Red foot well LED lights
After market stereo
EXTERIOR
FK street coilovers
Abarth hgt bumpers painted
De-stripped side bars and the fiat badge of the rear
Angel eye headlights
Roof wrapped in gloss black vynal
BMW m3 wing mirrors, yet to be colour coded
Tinted side windows
Abarth alloys 15 inch
ENGINE
All stock for now (1.2 8v) but have some future plans to be done maybe a engine swap
FUTURE PLANS
Engine swap???
Colour code the door handles and wing mirrors
Fit some rear speakers
Smooth the dashboard and wrap/paint