Panda01.png

Panda (Classic) My Panda 4x4 by NorthernChap

Introduction

OK folks, it's the moment you've all been waiting for - I've finally got around to doing a members motors thread for my car. Exciting stuff, eh?

A quick recap then, for those who haven't been paying attention.

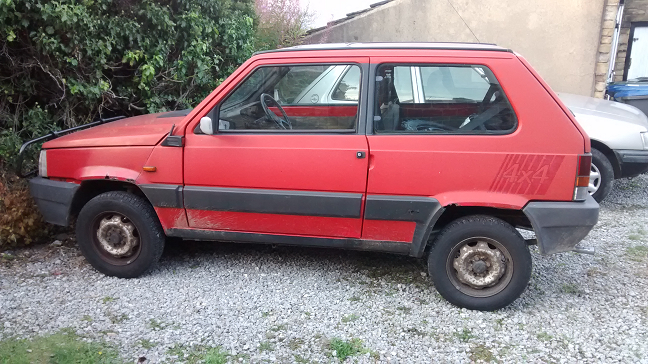
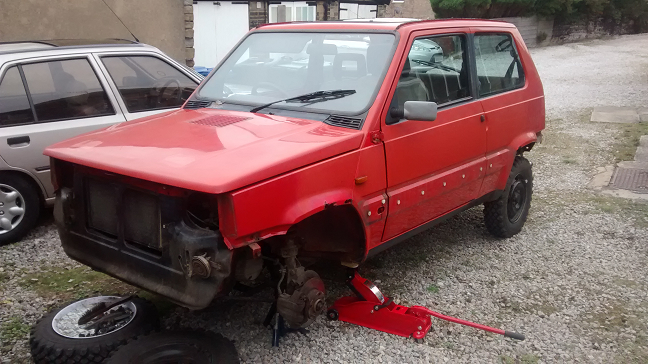
A few years back I went on holiday to Tuscany and while I was over there I loved seeing all the Pandas going up and down the hilly roads and I said that I'd get one when we got home. Of course, other things got in the way and I had to wait until August of this year to start living the dream! I got sick of watching Sisleys go for silly money, so I just did this instead:


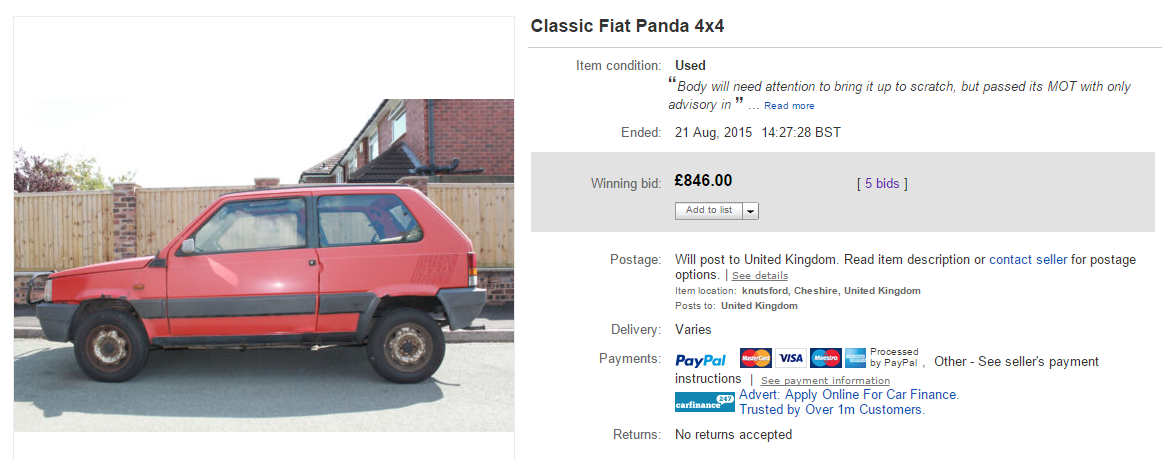
Slightly foolish some might say, but I was sick of waiting and it wasn't too far away. It came complete with a long MOT, a pretty solid underside which had a lot of work for the previous MOT, new rear shocks and a few bits of spares. The previous owner had been on this very forum, as evidenced here:

https://www.fiatforum.com/panda-classic/423231-4x4-1986-rear-bull-bar.html

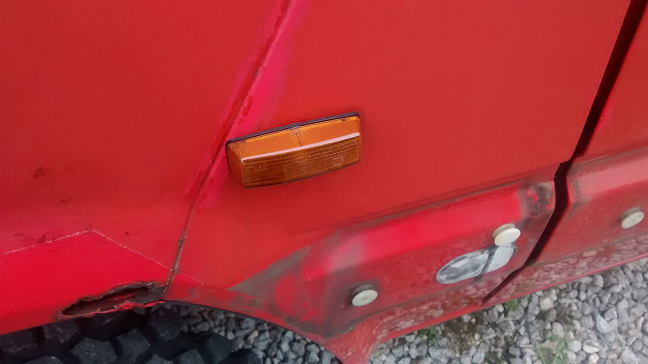
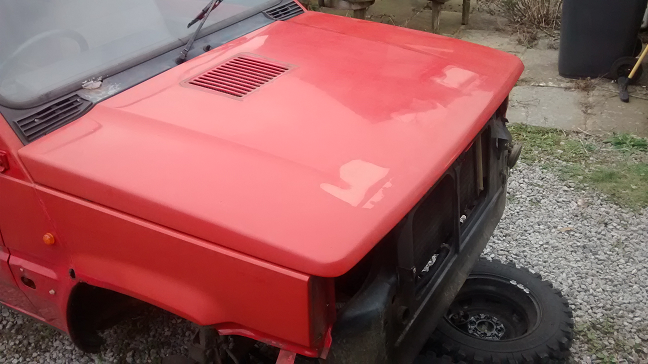
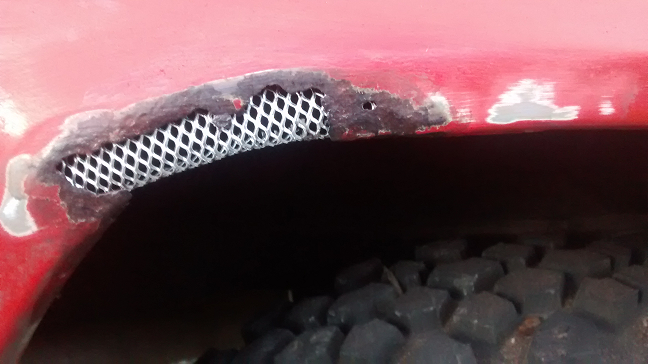
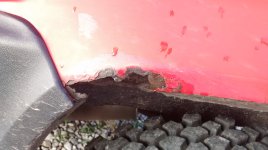
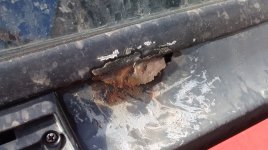
So, picked it up and got it home - it ran fine and once I got used to the space hopper-esque ride it was a lot of fun. Next job was to assess the damage:


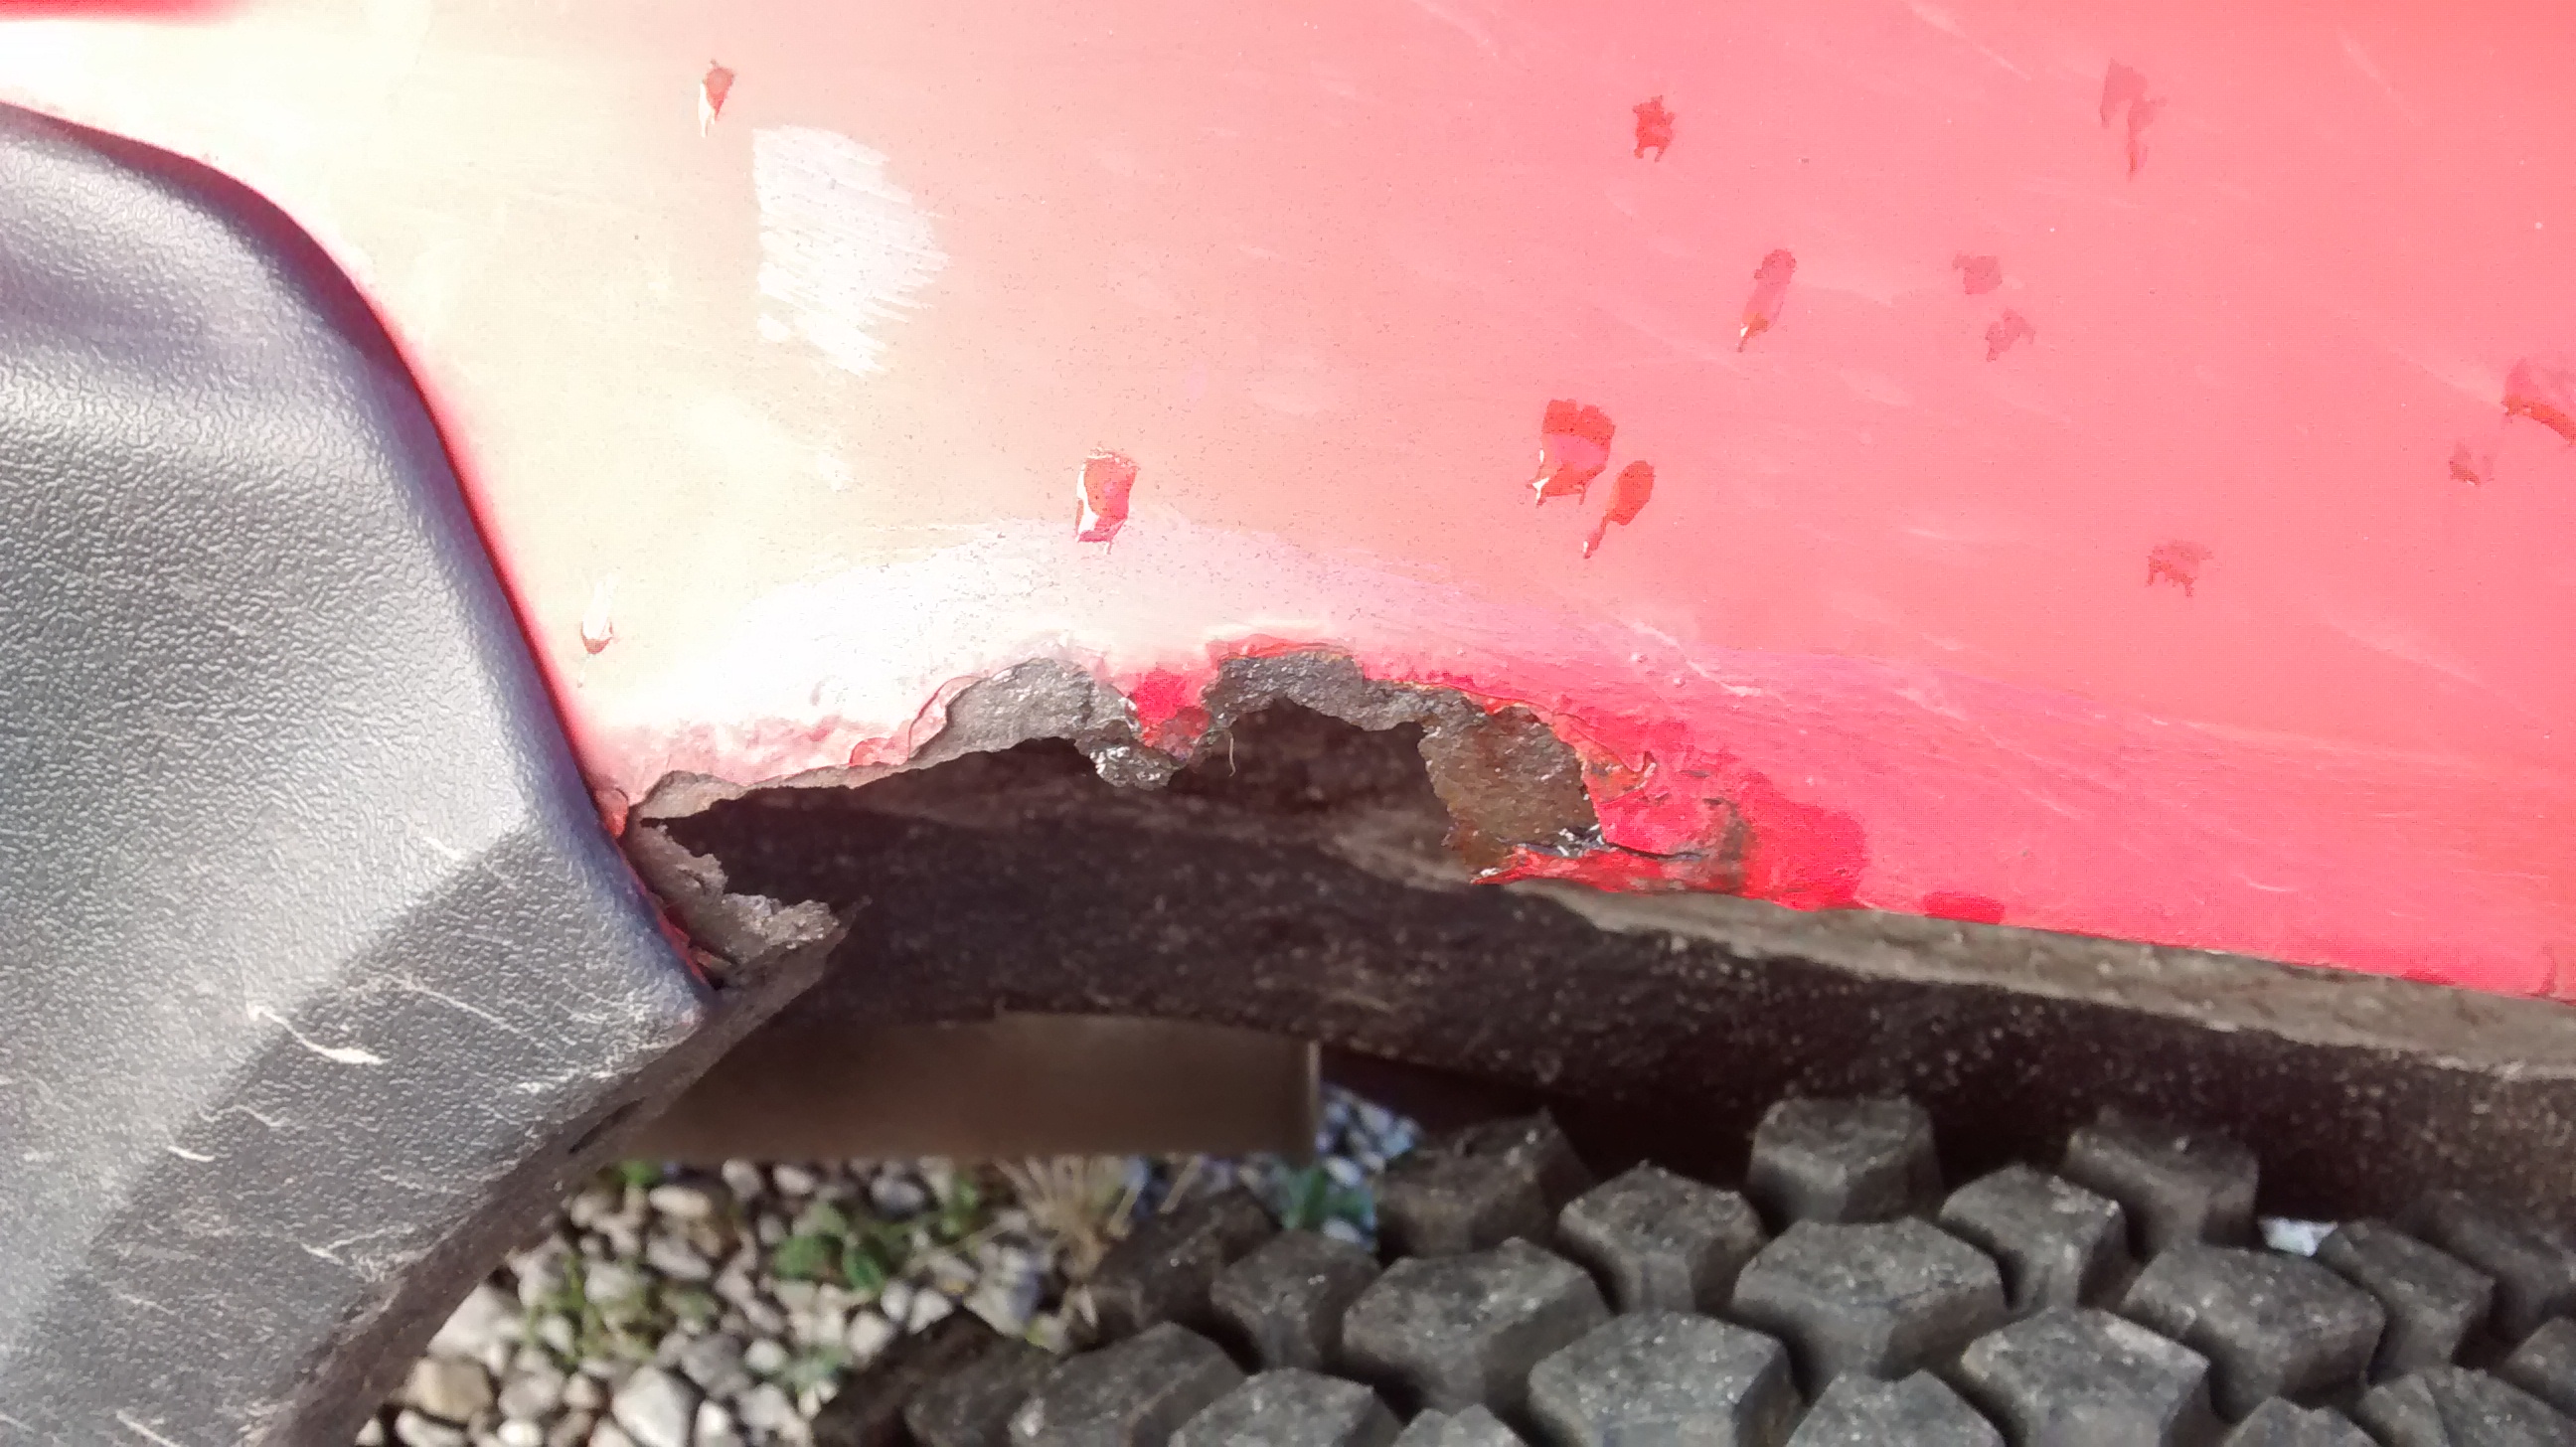
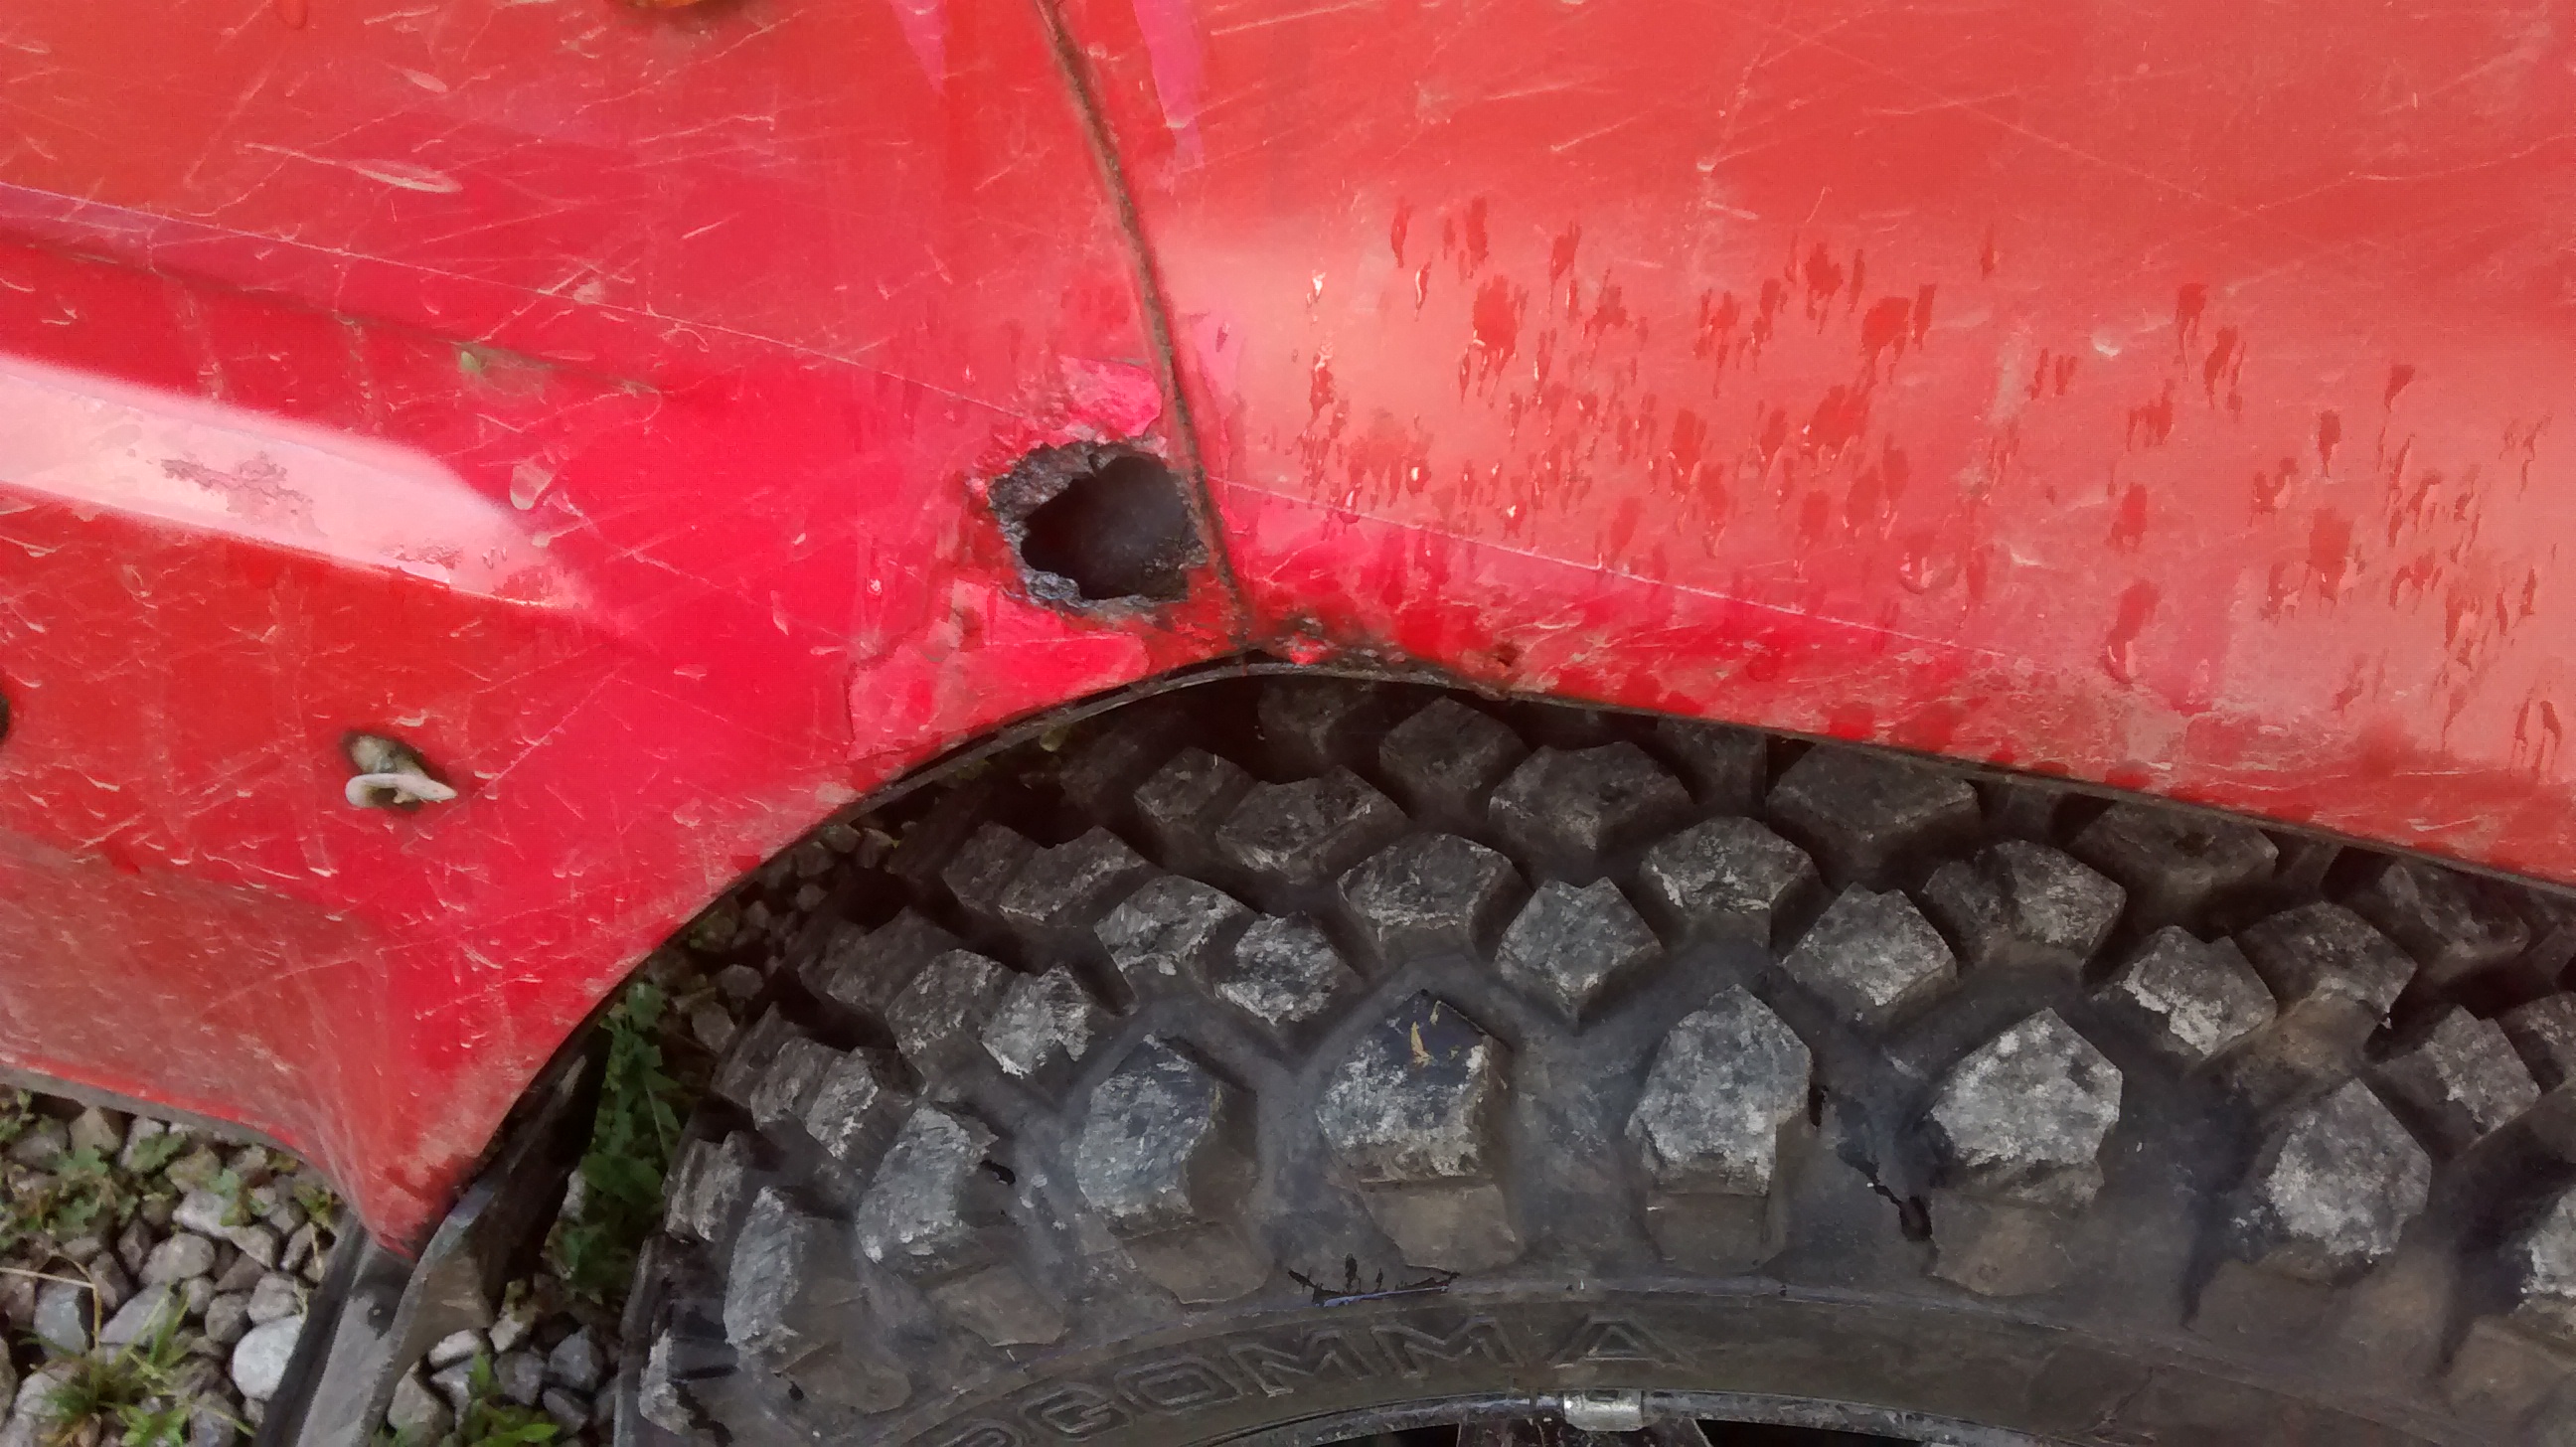
OK, I took those after I got my new tyres but the grot is the same! The drivers door is also rotten but I don't seem to have a picture of that to hand.

The car came with a new scuttle panel (in fact it came with two, one of which I gave to andyholli) so that part can get done at some point later.

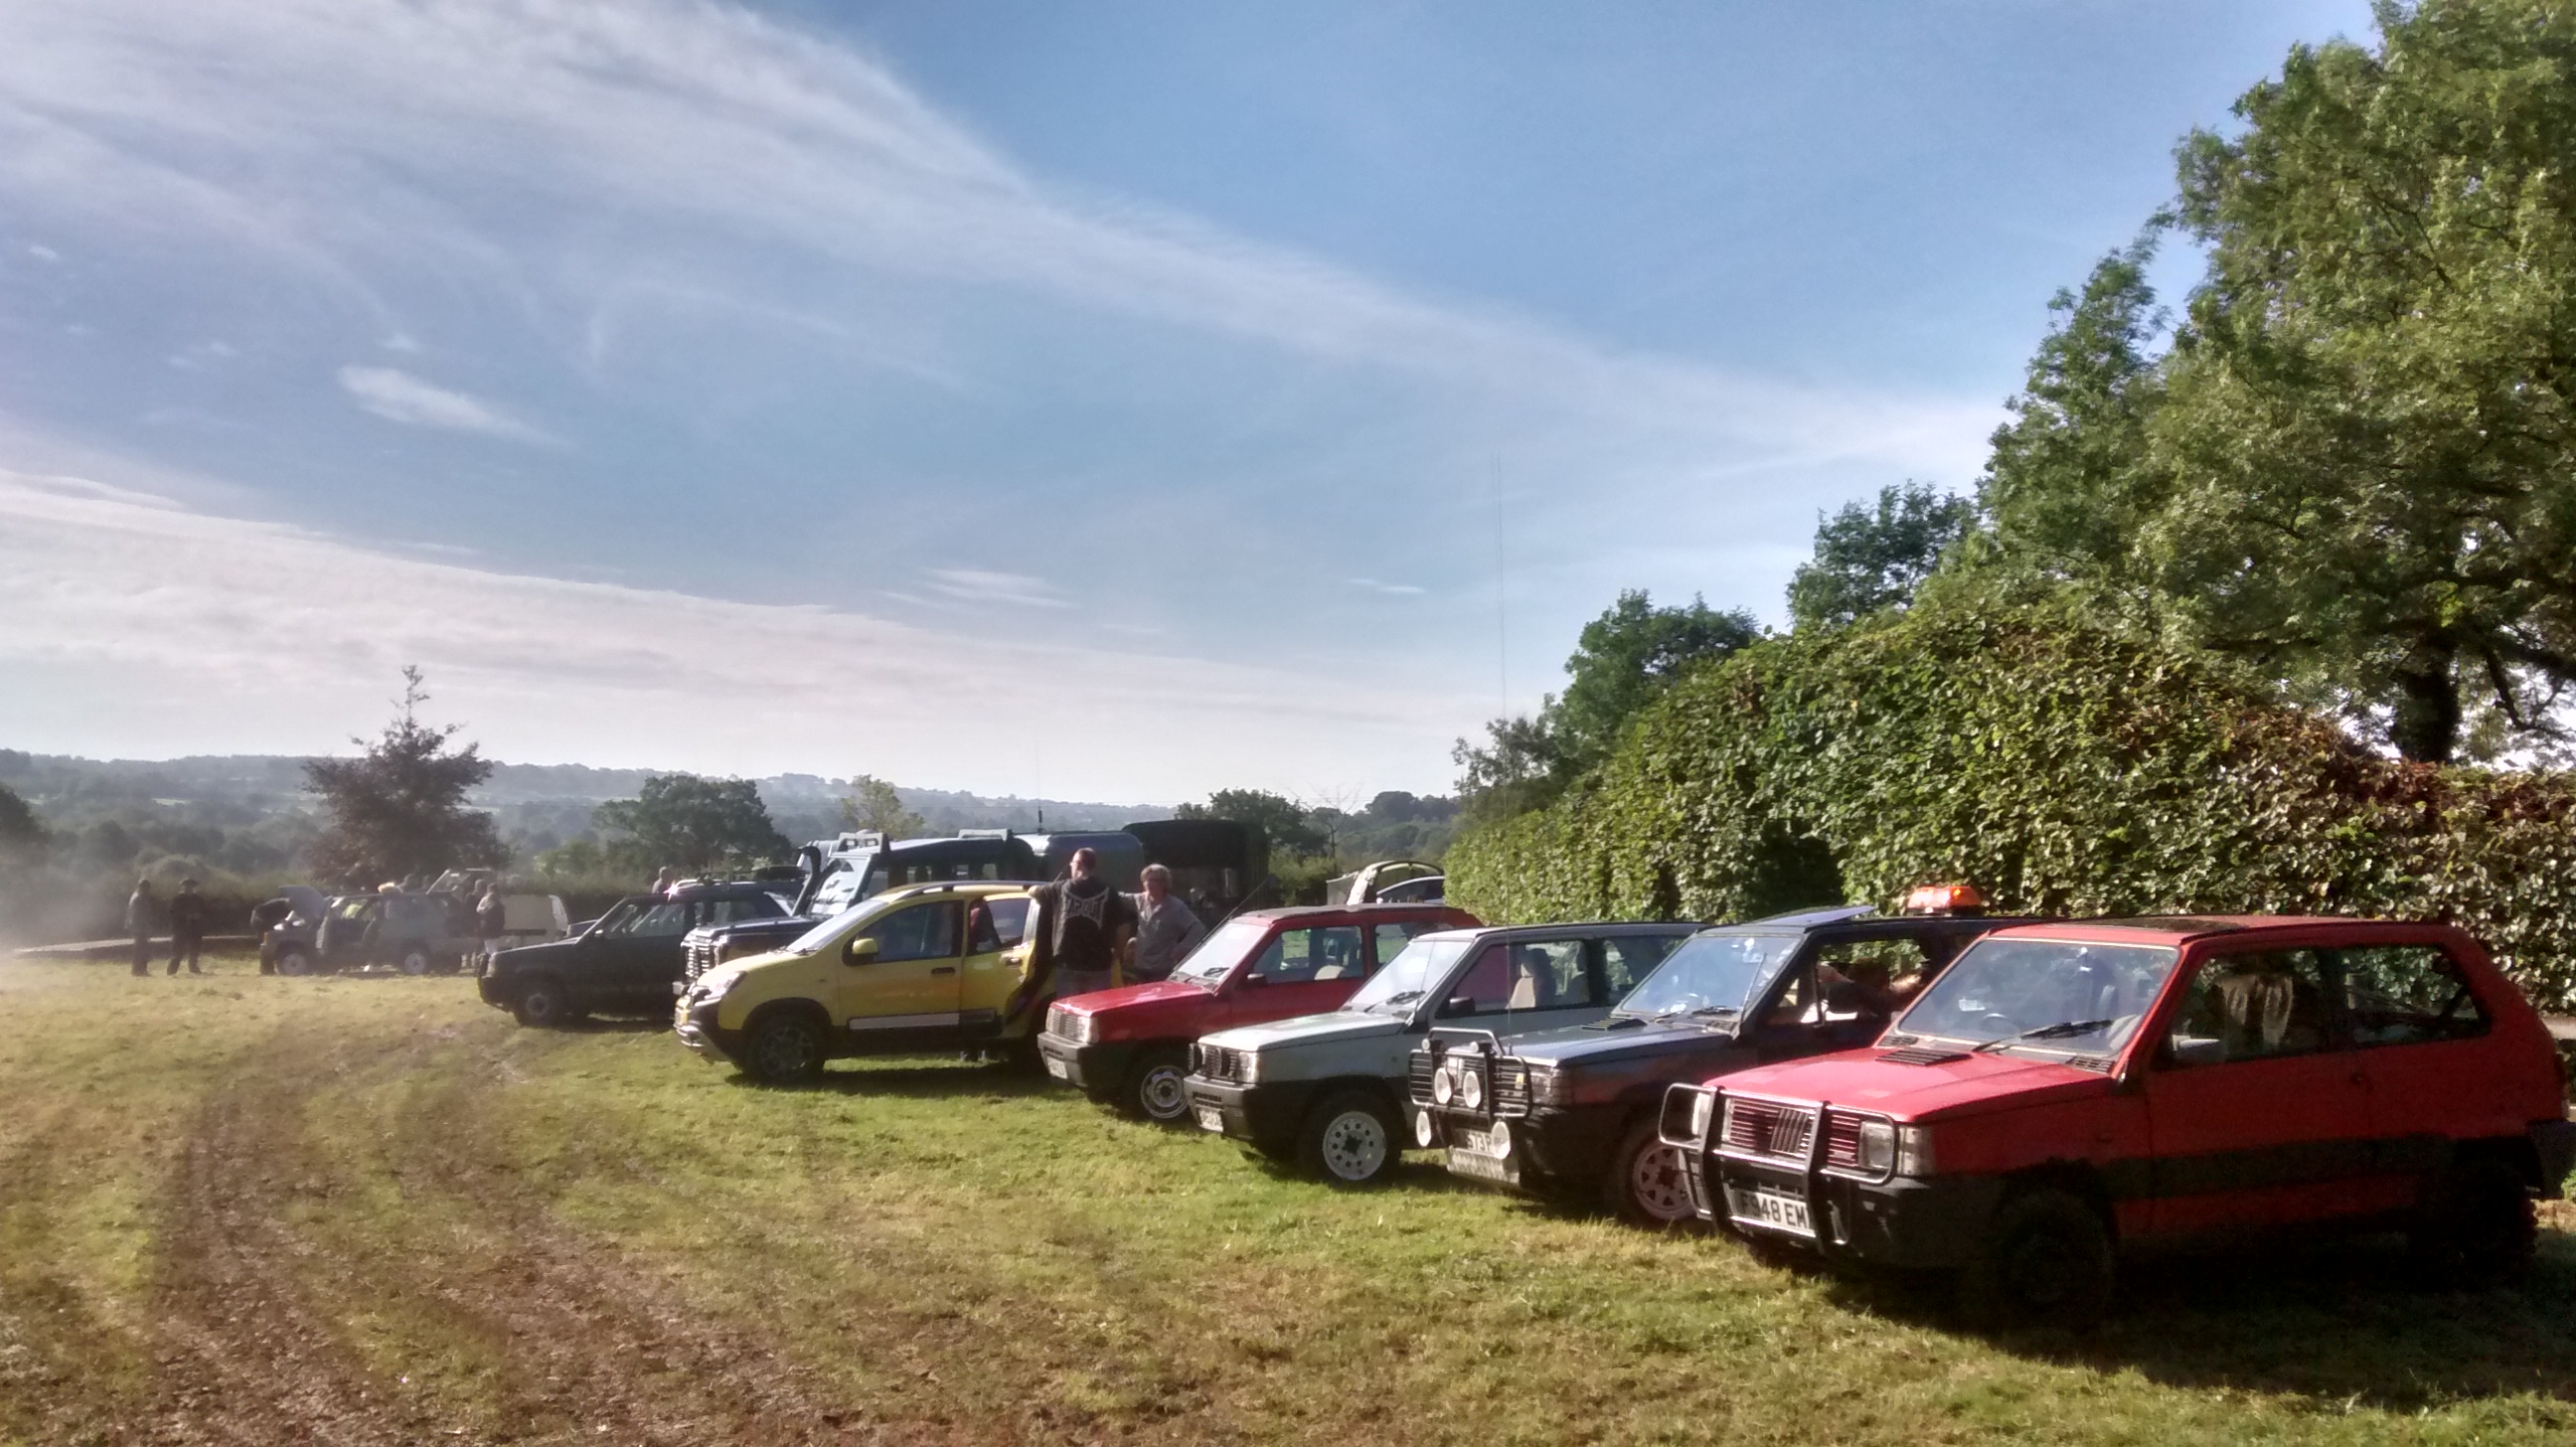
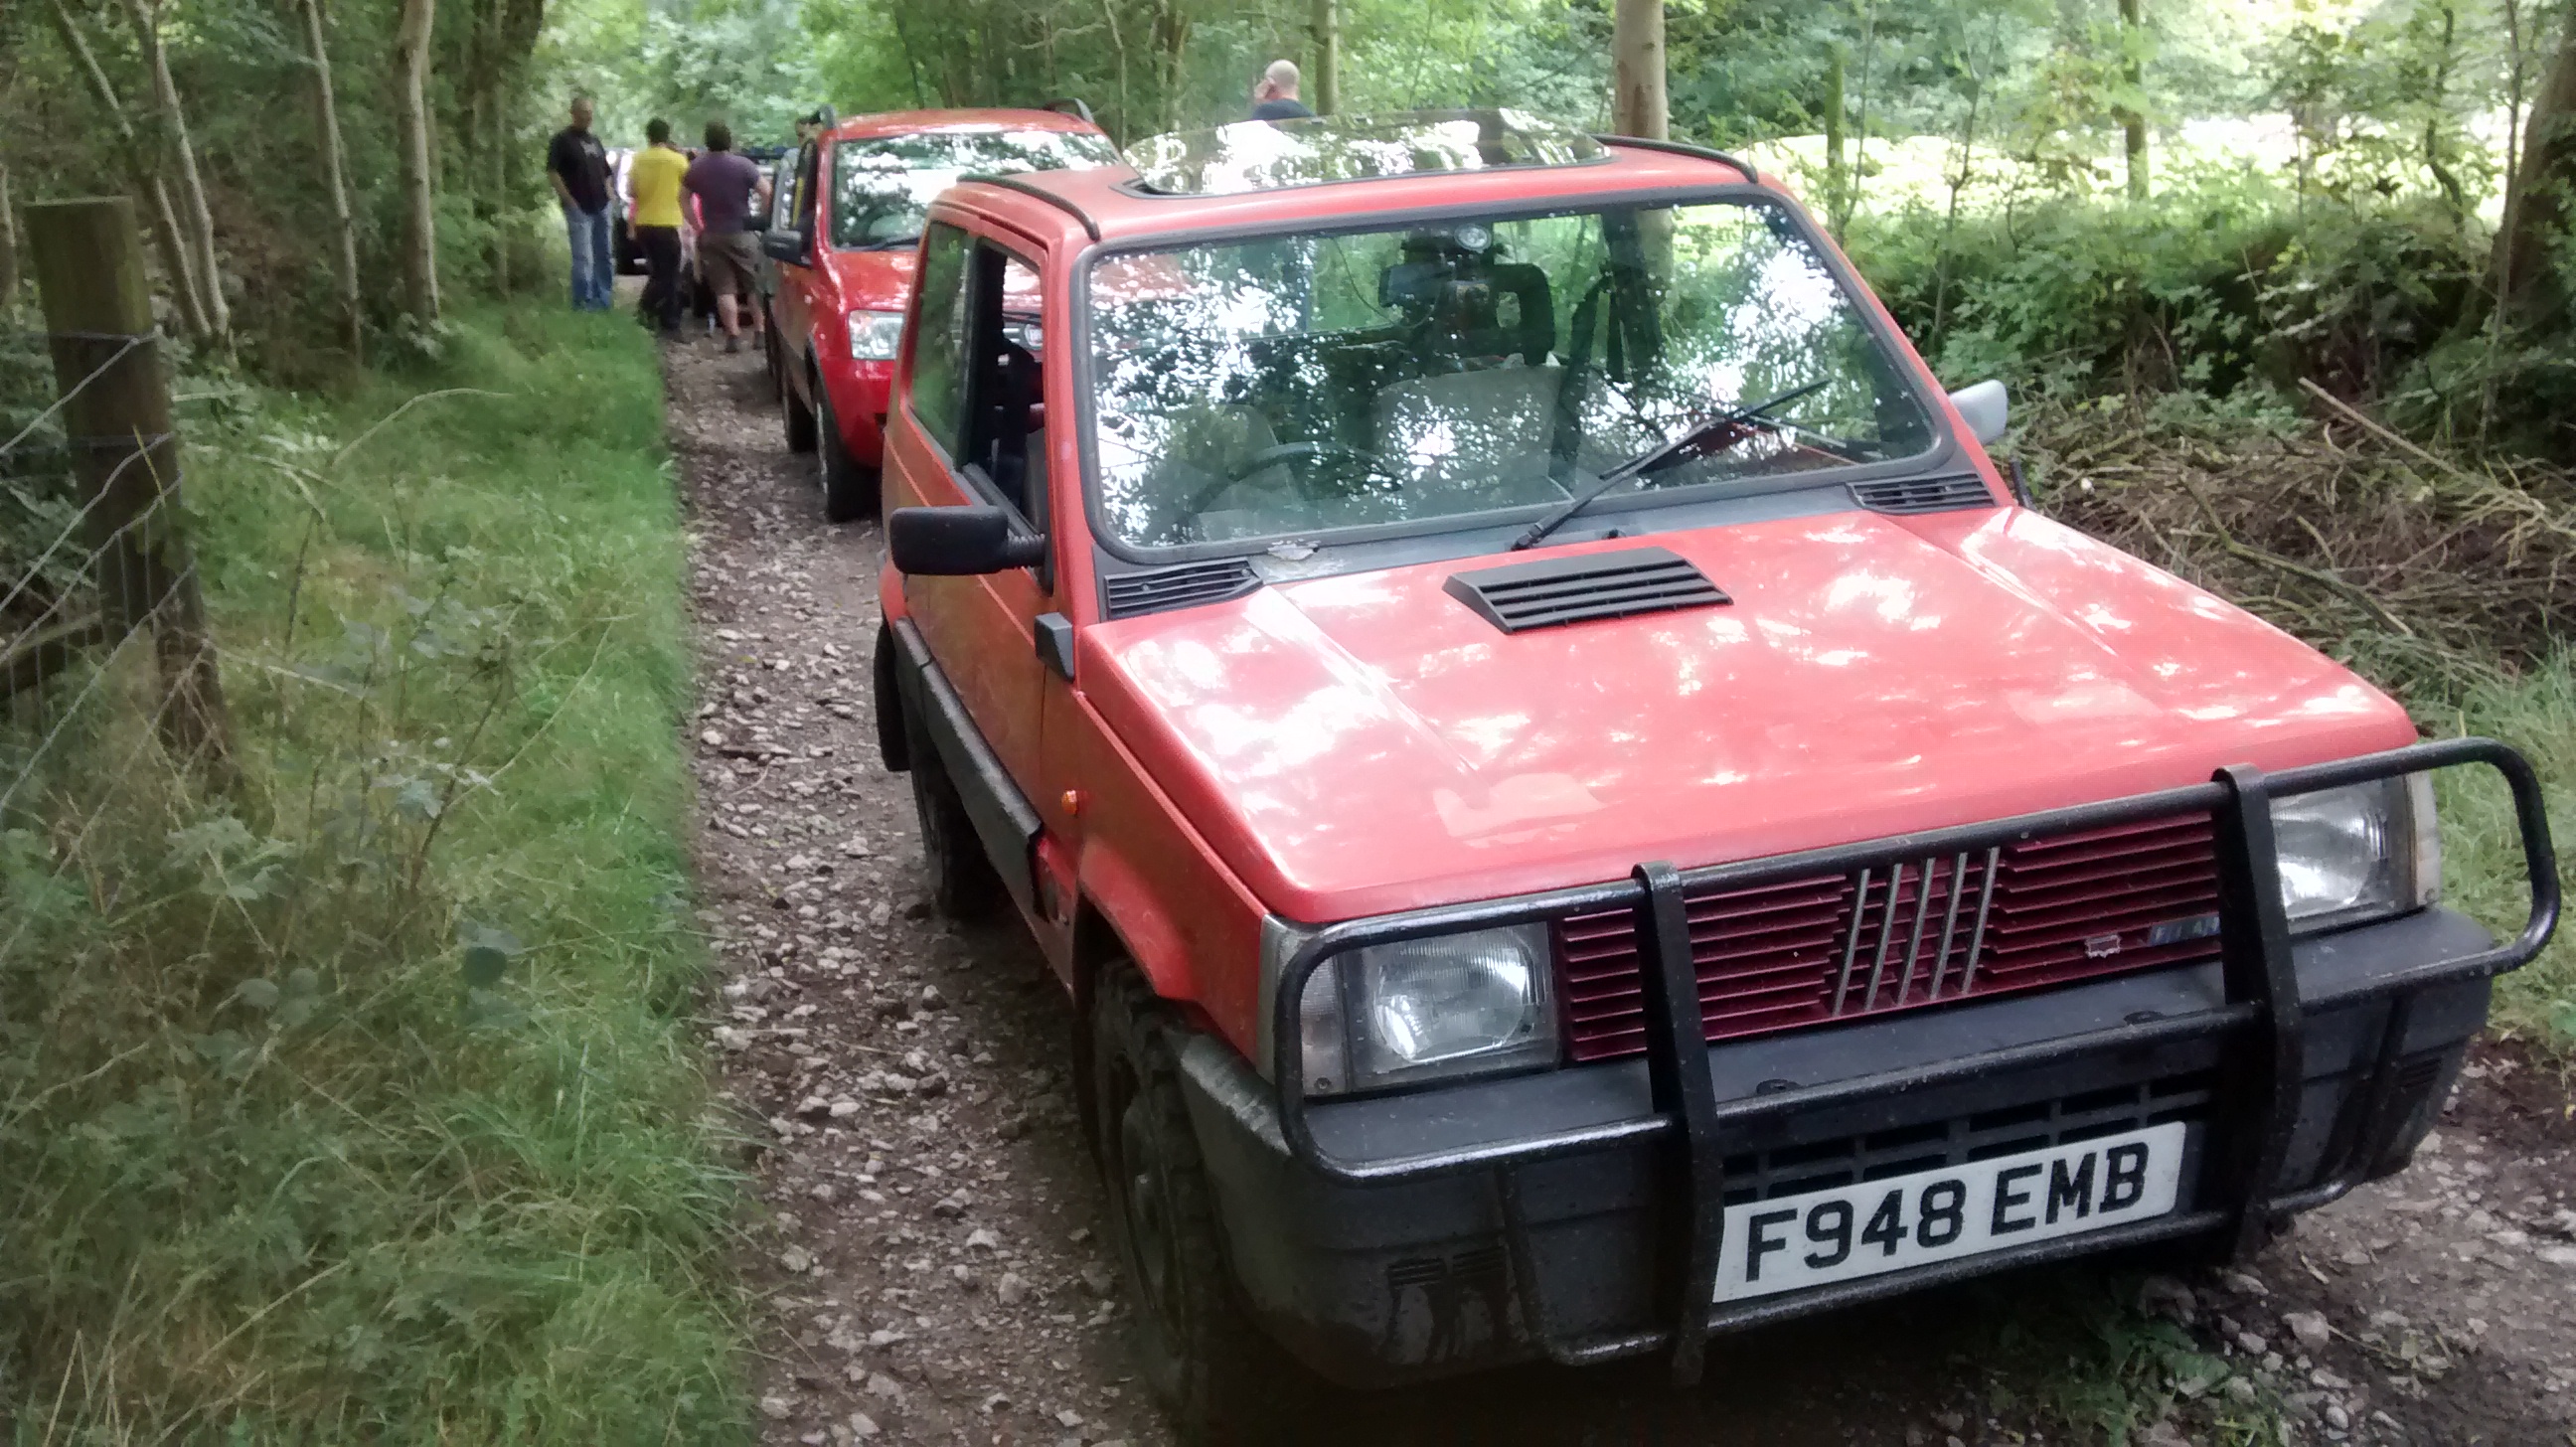
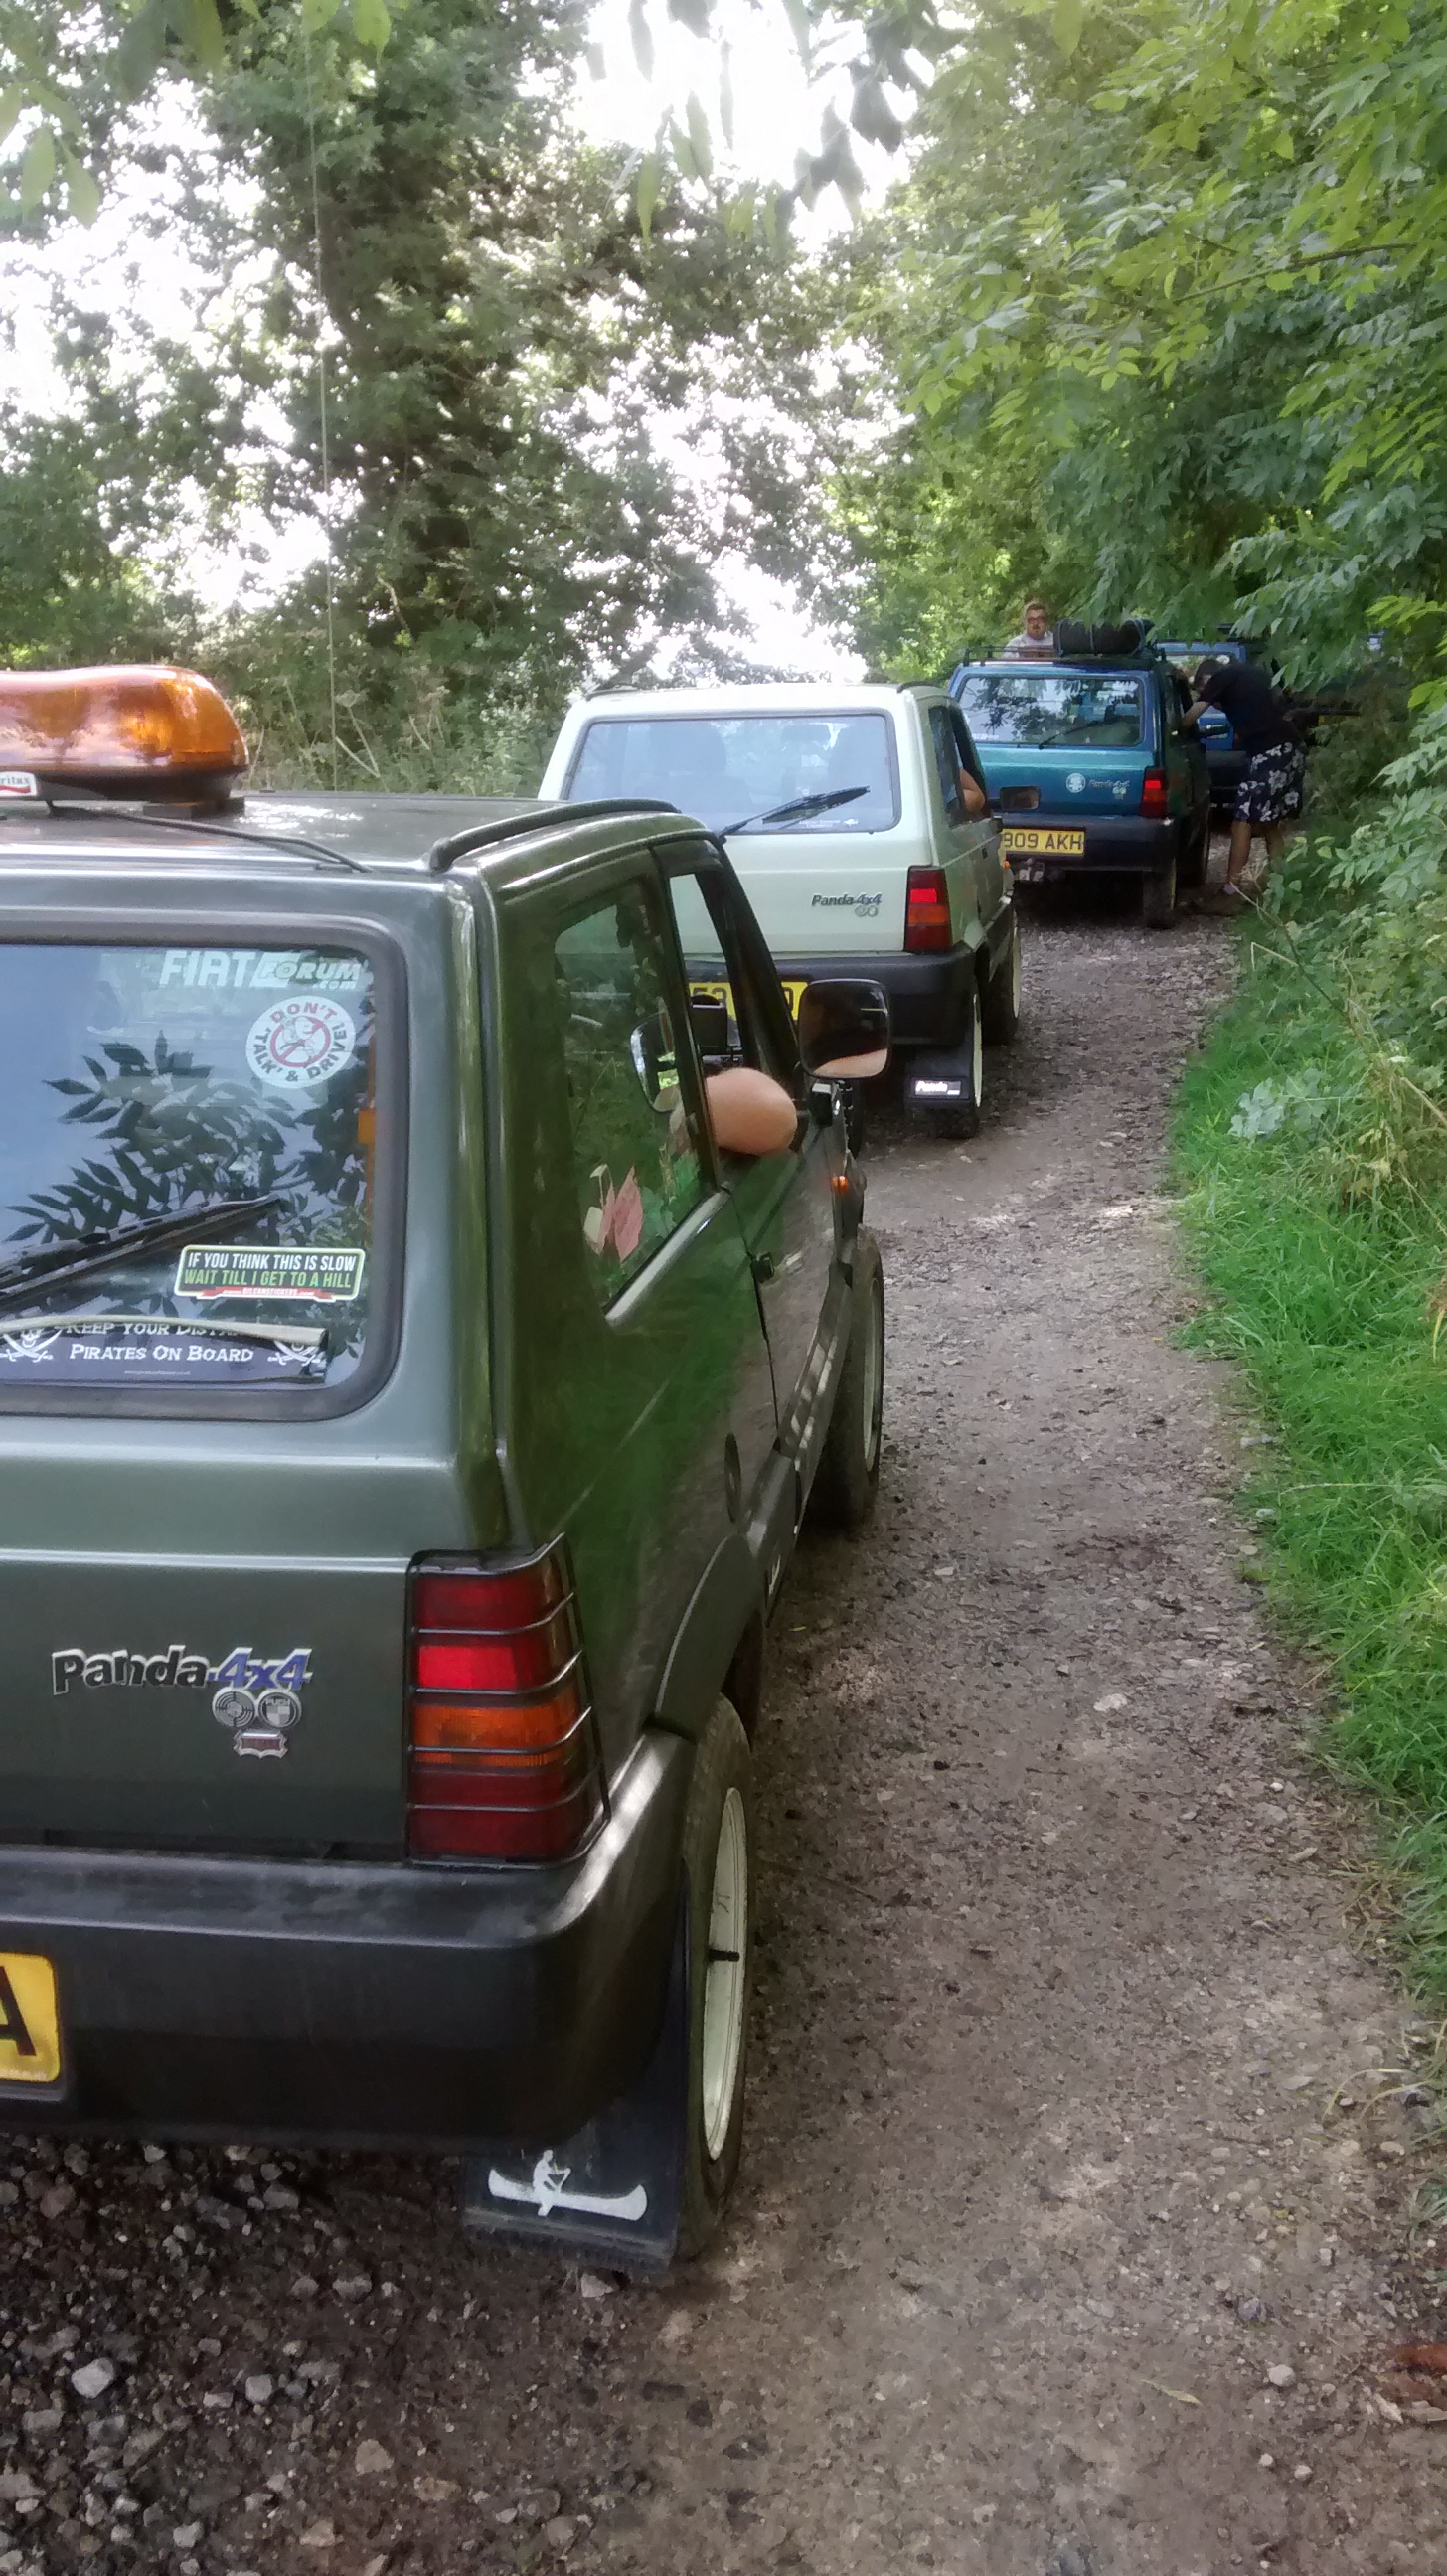
Getting ahead of myself now though... the next thing that happened was I found this forum and specifically the thread for the 1st National Panday which sounded like a good laugh. I did wonder if my other half would mind me dragging her off to a remote muddy field with a lot of other Panda oddballs but she was up for it so plans were made.

...to be continued! :)
OK, part two - the story continues!

I now had a Panda and an invite to some green laning fun in the Peak District, but the wheels and tyres on the car - although legal - weren't really up to the job of slinging mud about the place.

First step then - a new set of wheels. Step in kolza with an offer and one evening trip to Scarborough later I had 4 steel wheels in primer. I got onto eBay and via Tyres Direct I ordered a set of Malatesta Trac tyres. A quick cleanup, a bit more primer and a few cans of Smoothrite and I now had this:


Much better! And the car changed like this:


So, all ready for the Panday trip? Not quite - this happened:


Fairly common or so I'm told! Got a replacement Klarius back box from eBay and fitted it fairly easily (the tricky part was breaking the seal with the midsection as it was all quite loose under there - good twist with a pipe wrench got it off).

Not having been on a Panday before I didn't really know what to expect - also I'd not driven the Panda more than 5 miles since I'd taken it home and I had no idea what it'd be like on stupid knobbly tyres on the motorway! I therefore erred on the side of caution and filled the back with the four original wheels and tyres, my trolley jack, axle stands, both my toolkits... basically a shed load of weight which in the end I needed none of!

So the Panday happened, and it all went well - dragging all that weight up hills did tax the engine a little and there was the odd puff of smoke out of the back but no major drama. Here's some pics in case anyone missed it:


Got back from the trip in one piece, the front brakes are now squeaking quite a lot when they're not being pressed so need to look at that but otherwise unscathed. Other things to do are to fit a stereo (got one, plugged it in and it did nothing, then spent an hour angrily looking for my multimeter and then it was dark so I went in and sulked instead). Need to check some basics like the CV boots, gearbox oil, etc. The linkages are terrible so they need looking at.

Got a new drivers door online but it arrived damaged:


I was initially going to send it back but they offered me such a good discount in the end that it basically cost me 20 quid so I figured I'd bend it out as best I can, skim with filler and put up with it!

So onto this weekend's project - fibreglass the arches, fill and prime then roller paint the whole thing in matt NATO green.

Here is the car with bullbar and grille removed, looking somewhat derelict:


Watch this space...
 
Last edited:
Thanks Freebo, looks like it's fixed now!

So on to yesterday's update then. Started stripping down the car - funny the things you notice that have never caught your eye before...


Spot the difference!

The rest of the day was mostly taken up by stripping bits from the car:


It was mostly simple, apart from those bloody plastic rivets behind the 4x4 badges on the rear flanks. I had a genius plan of putting the lid from my tin of PlusGas on the inside so that the rivet would pop into it and be saved - both lid and rivet disappeared into the depths of the car, probably never to be seen again until the floor rots out and they fall onto the road!

Once that was all done, I could get to work on the grot. First I hit it with the rust removal disc on my drill, then a wire brush. Next I put on some FE123 rust converter and left that to get to work. Next I 'fabricated' (i.e. cut out with scissors and bent by hand) some repair sections out of aluminium mesh:


I smeared those in P40 fibreglass and stuck them to the back of the holes (if anyone else is intending to do similar, wear gloves or spend the rest of the evening chiselling fibreglass off your fingernails!). Once that had set I dolloped a bit more onto the front, making sure to leave an indent for the filler. By this point it was dark, so I went in for some grub!

This morning started out very damp and misty so I had to wait for it to brighten up before I could get started. Also Nic wanted me to go to and get 10 bags of stone chippings so that delayed matters somewhat...

Anyhow, there aren't many pictures from today but basically it consisted of using the Dremel to take down any 'stalagtites' of fibreglass that were hanging off (it's a bugger to work with) and then P38 filler into the indents. Once that was hard, I got the sanding block on there and shaped it to be vaguely wheelarch-like and then smoothed it out with some wet and dry before chucking on some zinc primer - thus:


I also went around and keyed all the other panels of the car with a scratchy pad thingy, to give the paint something to grip onto.

Then I got roped into helping with the gardening (if anyone ever says 'can you help me remove this pampas grass', say NO. Especially if there are three of them...) although in return Nic did wash all of the bumpers, wheel arch guards, etc that I'd stripped off the car yesterday so that was good.

I decided that I'd had enough for today as I need to wait for the primer to dry properly so I can hose down all the dust from the car. It's supposed to be nice weather this week so hopefully I can get back from work in good time and finally break out the tin of green paint!
 
Love to see some proper old school bodywork there instead of all these flash Harrys bleating on about their welding skills(y) (yes I'm just bitter because I can't weld for toffee) Decent results there though.
 
dont forget to rust proof it... REALLY well.
the front arches are easy to do.. the rear ones can be gotten to from inside, behind the rear trim.

you will sadly have to take out the windscreen to fix that bit of rust.. you can do it without breaking it or damaging the rubber seal. you just need strong fingers.

 
Lucky find on the lady front as well :)

I know! She drove the Panda once before the Panday and had a hard time of it because of the gear linkages, on the way home from the greenlaning she said 'we should probably get another one of these'... :)

The inner arches will be getting a large dose of underseal to go over the fibreglass (which is in turn on top of rust converted metal) so in terms of driveway bodgery it's about as good as it's going to get. It's not a perfect job but it's good enough and better than they were before!

As for the scuttle panel, that one can wait until the rest is done but I will be using your video to help get the screen out, cheers Dragon Man
 
Oh a cellar! how very Northern NorthernChap!

Do you have a Pantry, a parlour, a glory hole and coal shed too?

I was going to ask about a back passage too but the Southerners start giggling and making jokes....

North Westerly Yours, a displaced Yorkie.
 
You missed the chrome bits;)

Those &%&$^ chrome bits took an age to mask off because of the slant on them and they're also slightly curved and about 3mm wider than my masking tape!

Oh a cellar! how very Northern NorthernChap!

Do you have a Pantry, a parlour, a glory hole and coal shed too?

I was going to ask about a back passage too but the Southerners start giggling and making jokes....

North Westerly Yours, a displaced Yorkie.

The cellar is notable for having stone shelves in it which would have originally been used to store provisions. It's also around 1 inch shorter in headroom than I am so it's very annoying trying to do anything in there! Unlike the garage though, it does have electricity and lighting.

A glory hole, isn't that something for gentlemen who like other gentlemen? We've no pantry or parlour but there is a ginnel by t'side of t'house... well, it's more of a snicket really...
 
Back
Top