2015-03-28_11_32_47.jpg

Bravo (Classic) Fiat Bravo 155 HGT

Introduction

Hey folks,

Did a deal with Bushboy yesterday and now own his old Bravo 155 HGT :slayer:

You can read about it when he had it here: https://www.fiatforum.com/members-motors/337865-fiat-bravo-hgt-155-a.html

Nothing really to say yet but thought I would start up a thread to post updates to as and when they happen..

I don't really have a plan to make lots of changes to it at the moment but we will see how it goes. Right now I am thinking i might change the wheels but to what i am not sure, but think 16s would look better than the 15s. And tempted to try get the back a little lower to match the front.

Here is a few photo's, sorry my pics aren't as professional as Bushboy's, They are taken on my super old phone - In future i will try get some with a proper camera :eek:


So still nothing really to report, but realised I hadn't posted more new parts I got to fit..

New expansion tank to replace the grotty looking discoloured original.
View attachment 158339

And new badges, newer style fiat script as fitted to stilo/mk2 punto etc to go on the rear hatch. And coupe 20v b-pillar badges with yellow slash, gonna put one on the back where the bravo_hgt badge would normally go and one on ea h side of the car - undecided whether to stick them on the door pillars or on the front wings.
View attachment 158340

pericolo!
 
Cheers for that, I'm not 100% but I think it's my slave that's on its last legs gear selection is very difficult plus when I do find a gear the pedal vibrates as if it's just touching the gear cogs ever so slightly. So when I get chance to a have a proper look at the slave and even the gear selector in the car.
 
Well it could be a coincidence but I'm about to change the whole clutch on my 1.2... it was fine till this week but it catches / sticks halfway down the travel and then goes in OK, it's worse when the engine is off and you're not driving.

If you try the clutch with the engine running and listen from the outside I can hear a bearing-type noise whirring on and off as I press and release, plus I feel roughness through the pedal.

I think the release bearing is catching the forks on the plate, it seems dodgy and I think that's classic symptoms of a worn clutch assembly.

I think the main bits should be OK (was a LUK clutch 50K miles ago) but maybe the clutch arm has worn or something, so I'm changing the lot.

You may have just a dodgy slave cylinder but you should be able to detect fluid loss / leaks and improve it short-term with pumping or bleeding, if that's what yopur problem is.
 
And it came out in one piece? Mine dropped one of the inner races off during removal.
 
yep i got it out in one piece - only just by the looks of the thing though.. I used the washers from one of the old idler pulleys which fit in the hole to push the bearing perfectly with a 36mm socket behind them and then some washers on a bit of M8 threaded bar. Then on the side the bearing came out i cut a bit of steel pipe a bit bigger than the hole (72.6mm OD pipe with 3mm walls iirc) with part of the old engine mount cut up to use as a plate across the end of the pipe which a couple of bolts to hold it tight - then just tightened up the bolt to is pushed the bearing out..... I make it sound simple, but it was fiddly as hell and i snapped the M8 threaded bar twice, thankfully there was enough left to still put it all back together and try again. I think if i had sat there wailing on it with a hammer it would have just fallen apart.
 
100 miles done, everything is good. Mad how refined and plush it feels compared to the little Suzuki Ignis!

Few bits still to do, got a new glass lens for one of the fogs as one is cracked, the badges, the new stiffened gearbox mount and the gear selector bushes.. oh and the rear mudflaps. Lots of little things I have amassed - will get some new pics once its cleaned and has the new badges fitted. Not going to be this weekend though as off to a meet in the Suzuki in Coventry and then upto Yorkshire to get my engine crane back off Eklipze3k.
 
Good to see that all your updates are coming to an end, this should be one hell of a car when finished considering that the "original" owner spent a fair bit on it and it has since been through the hands of 3 enthusiastic FF members. (y)

When will it meet up with Adrian's similarly cossetted 1.8 for a comparison? Time for a Top Gear "which is best?" challenge...

Hopefully the standard wheels etc are now officially going to stay on! :worship:

Actually it's funny you are putting new badges on it, after someone previously de-badged it...
 
I don't think updates ever come to an end - cars are never 'finished' lol. Plus I like to keep my threads upto date with just general servicing and maintenance too as its if nothing else a good record for mew to refer to without pulling out all the millions bits of paper in the history (y)

To be honest I think when it comes down to the details that Adrian's is probably a cleaner car but I confidently say its one of the best HGTs left. I'd love to get them together though for some pics!

Debadging is so 2000's haha. And yes, wheels are staying now, they have grown on me.

Sadly not sure how much longer I will be able to keep it as I am, after what seems forever, getting my Alfa back which has been on loan to a few family members and not sure I really have the space or money to keep all 3 cars. Time will tell, for now I just continue to enjoy it and make improvements where i can.
 
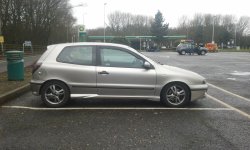
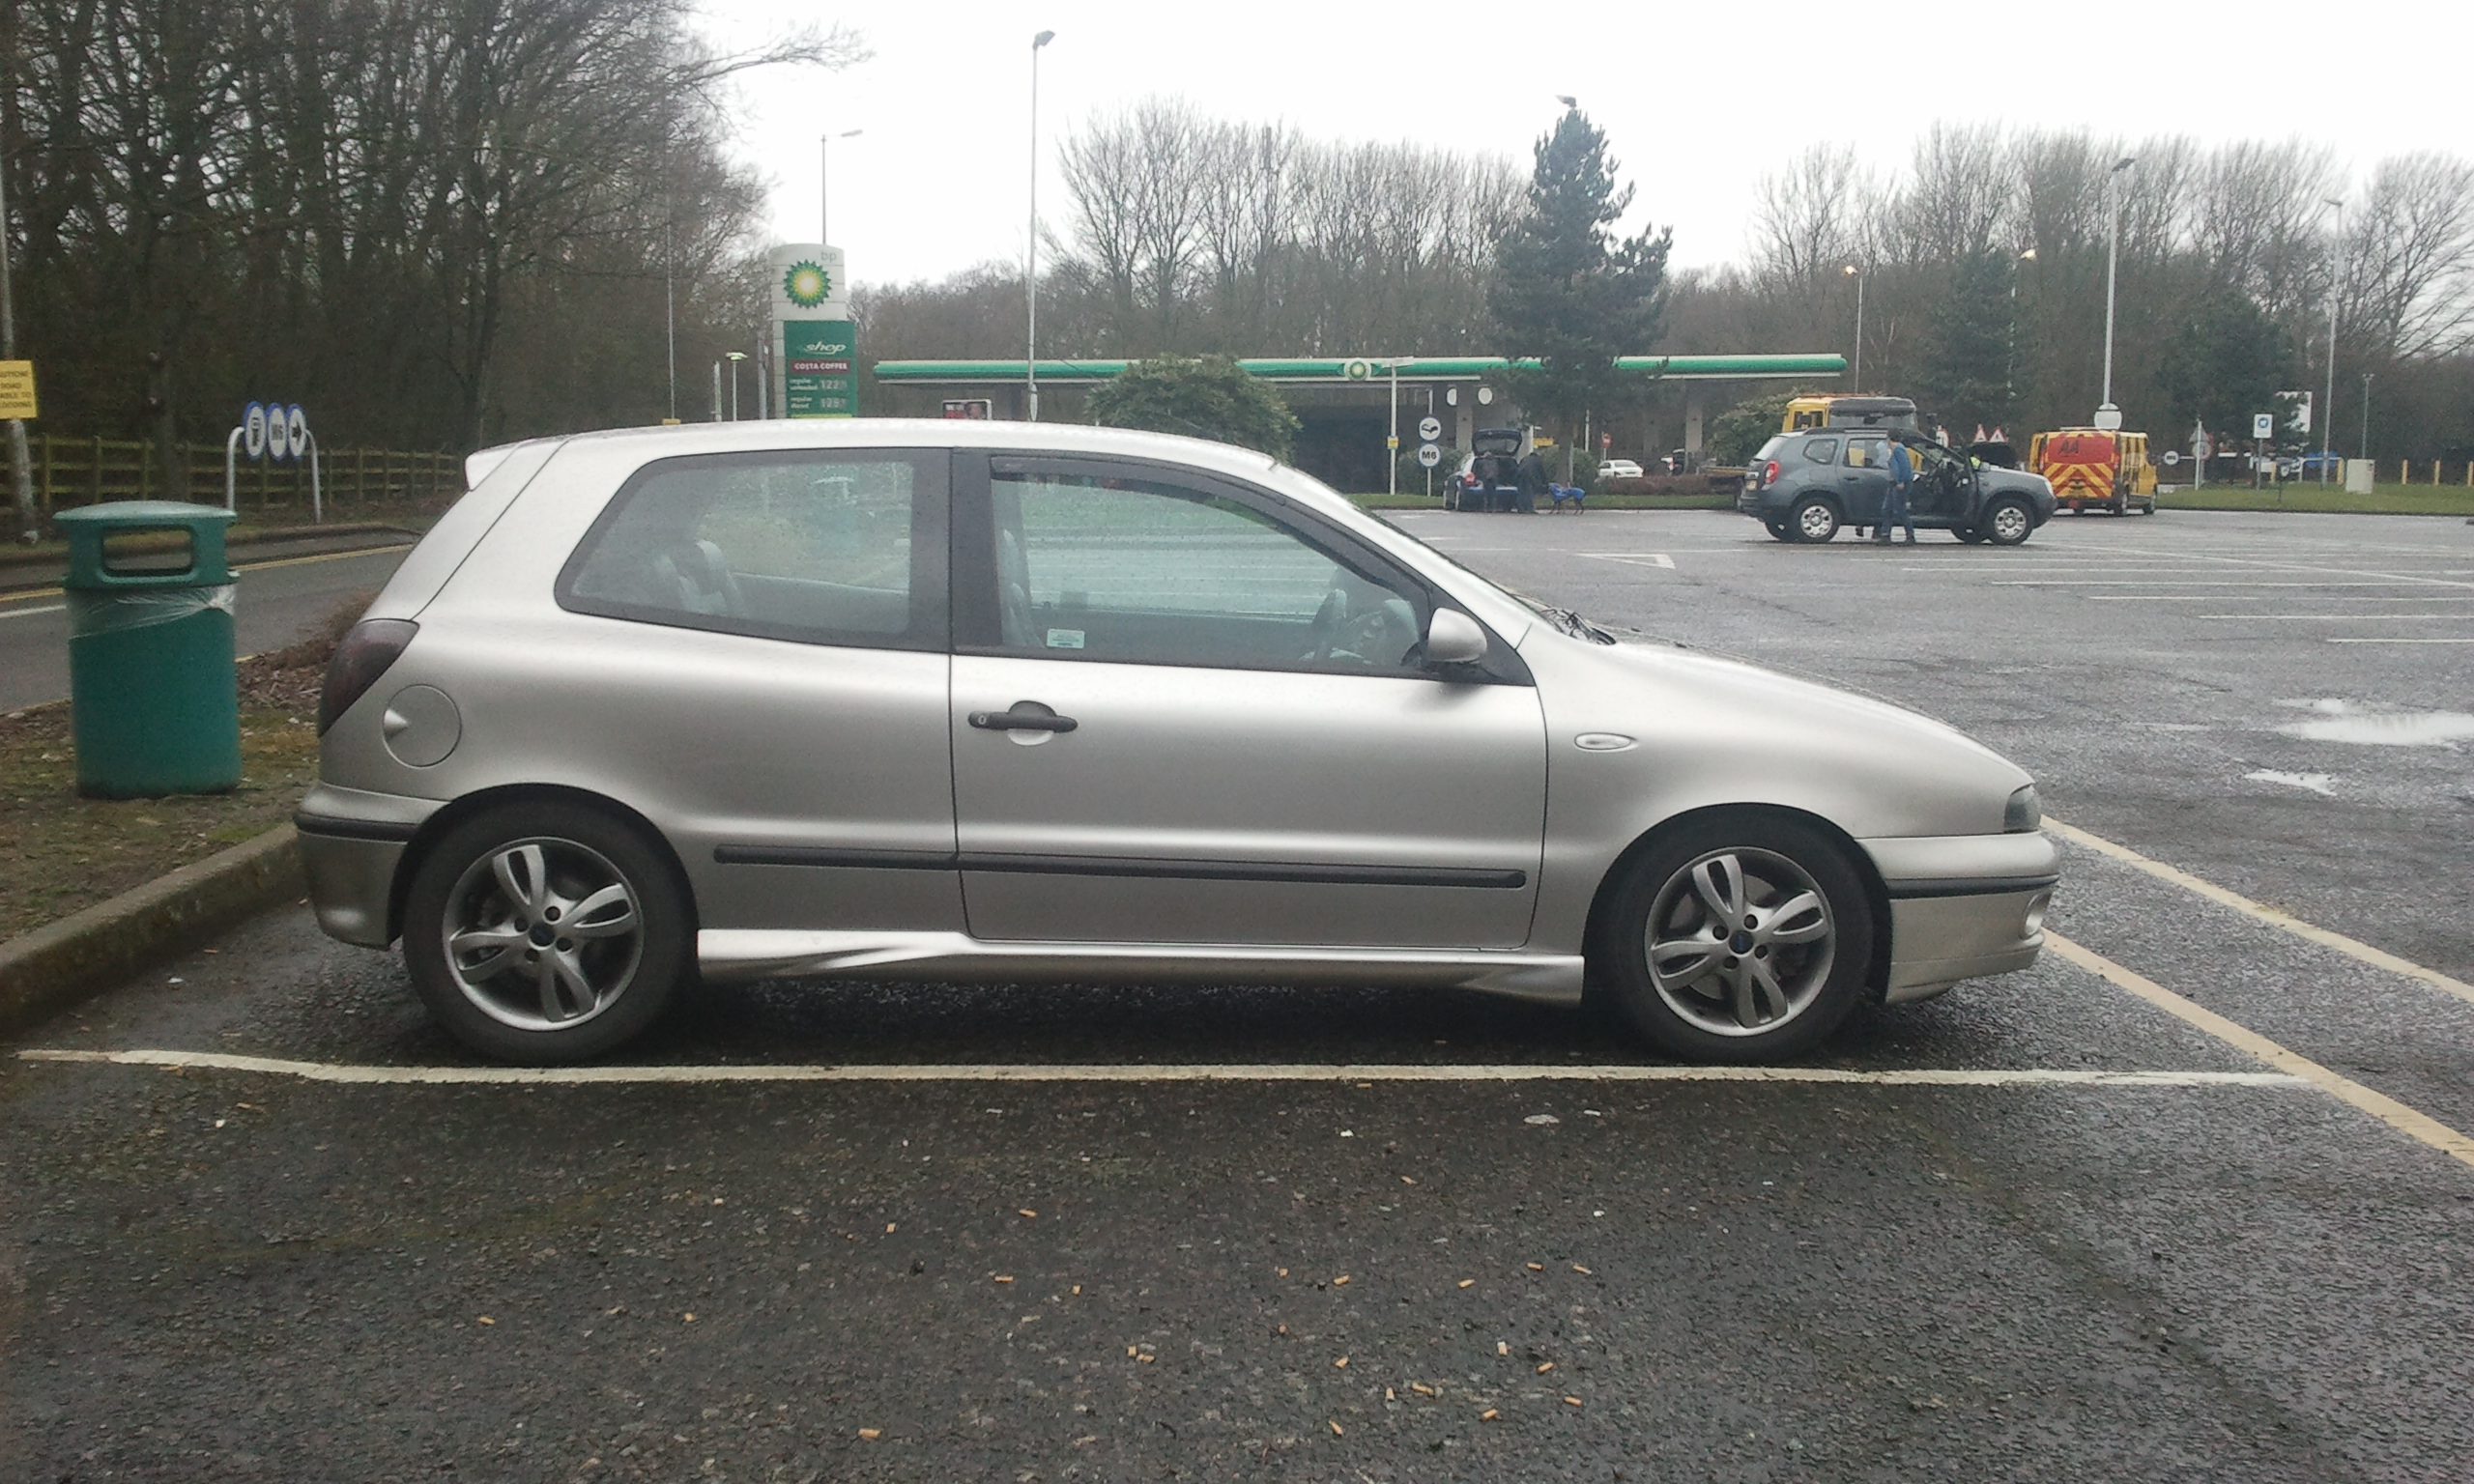
Right well time to change these crusty old droplinks then.. Was a good lad today and took pics as i went along (well of one side anyway, same job each side so no point taking pics of both) so anyone wanting to do this can see it step by step
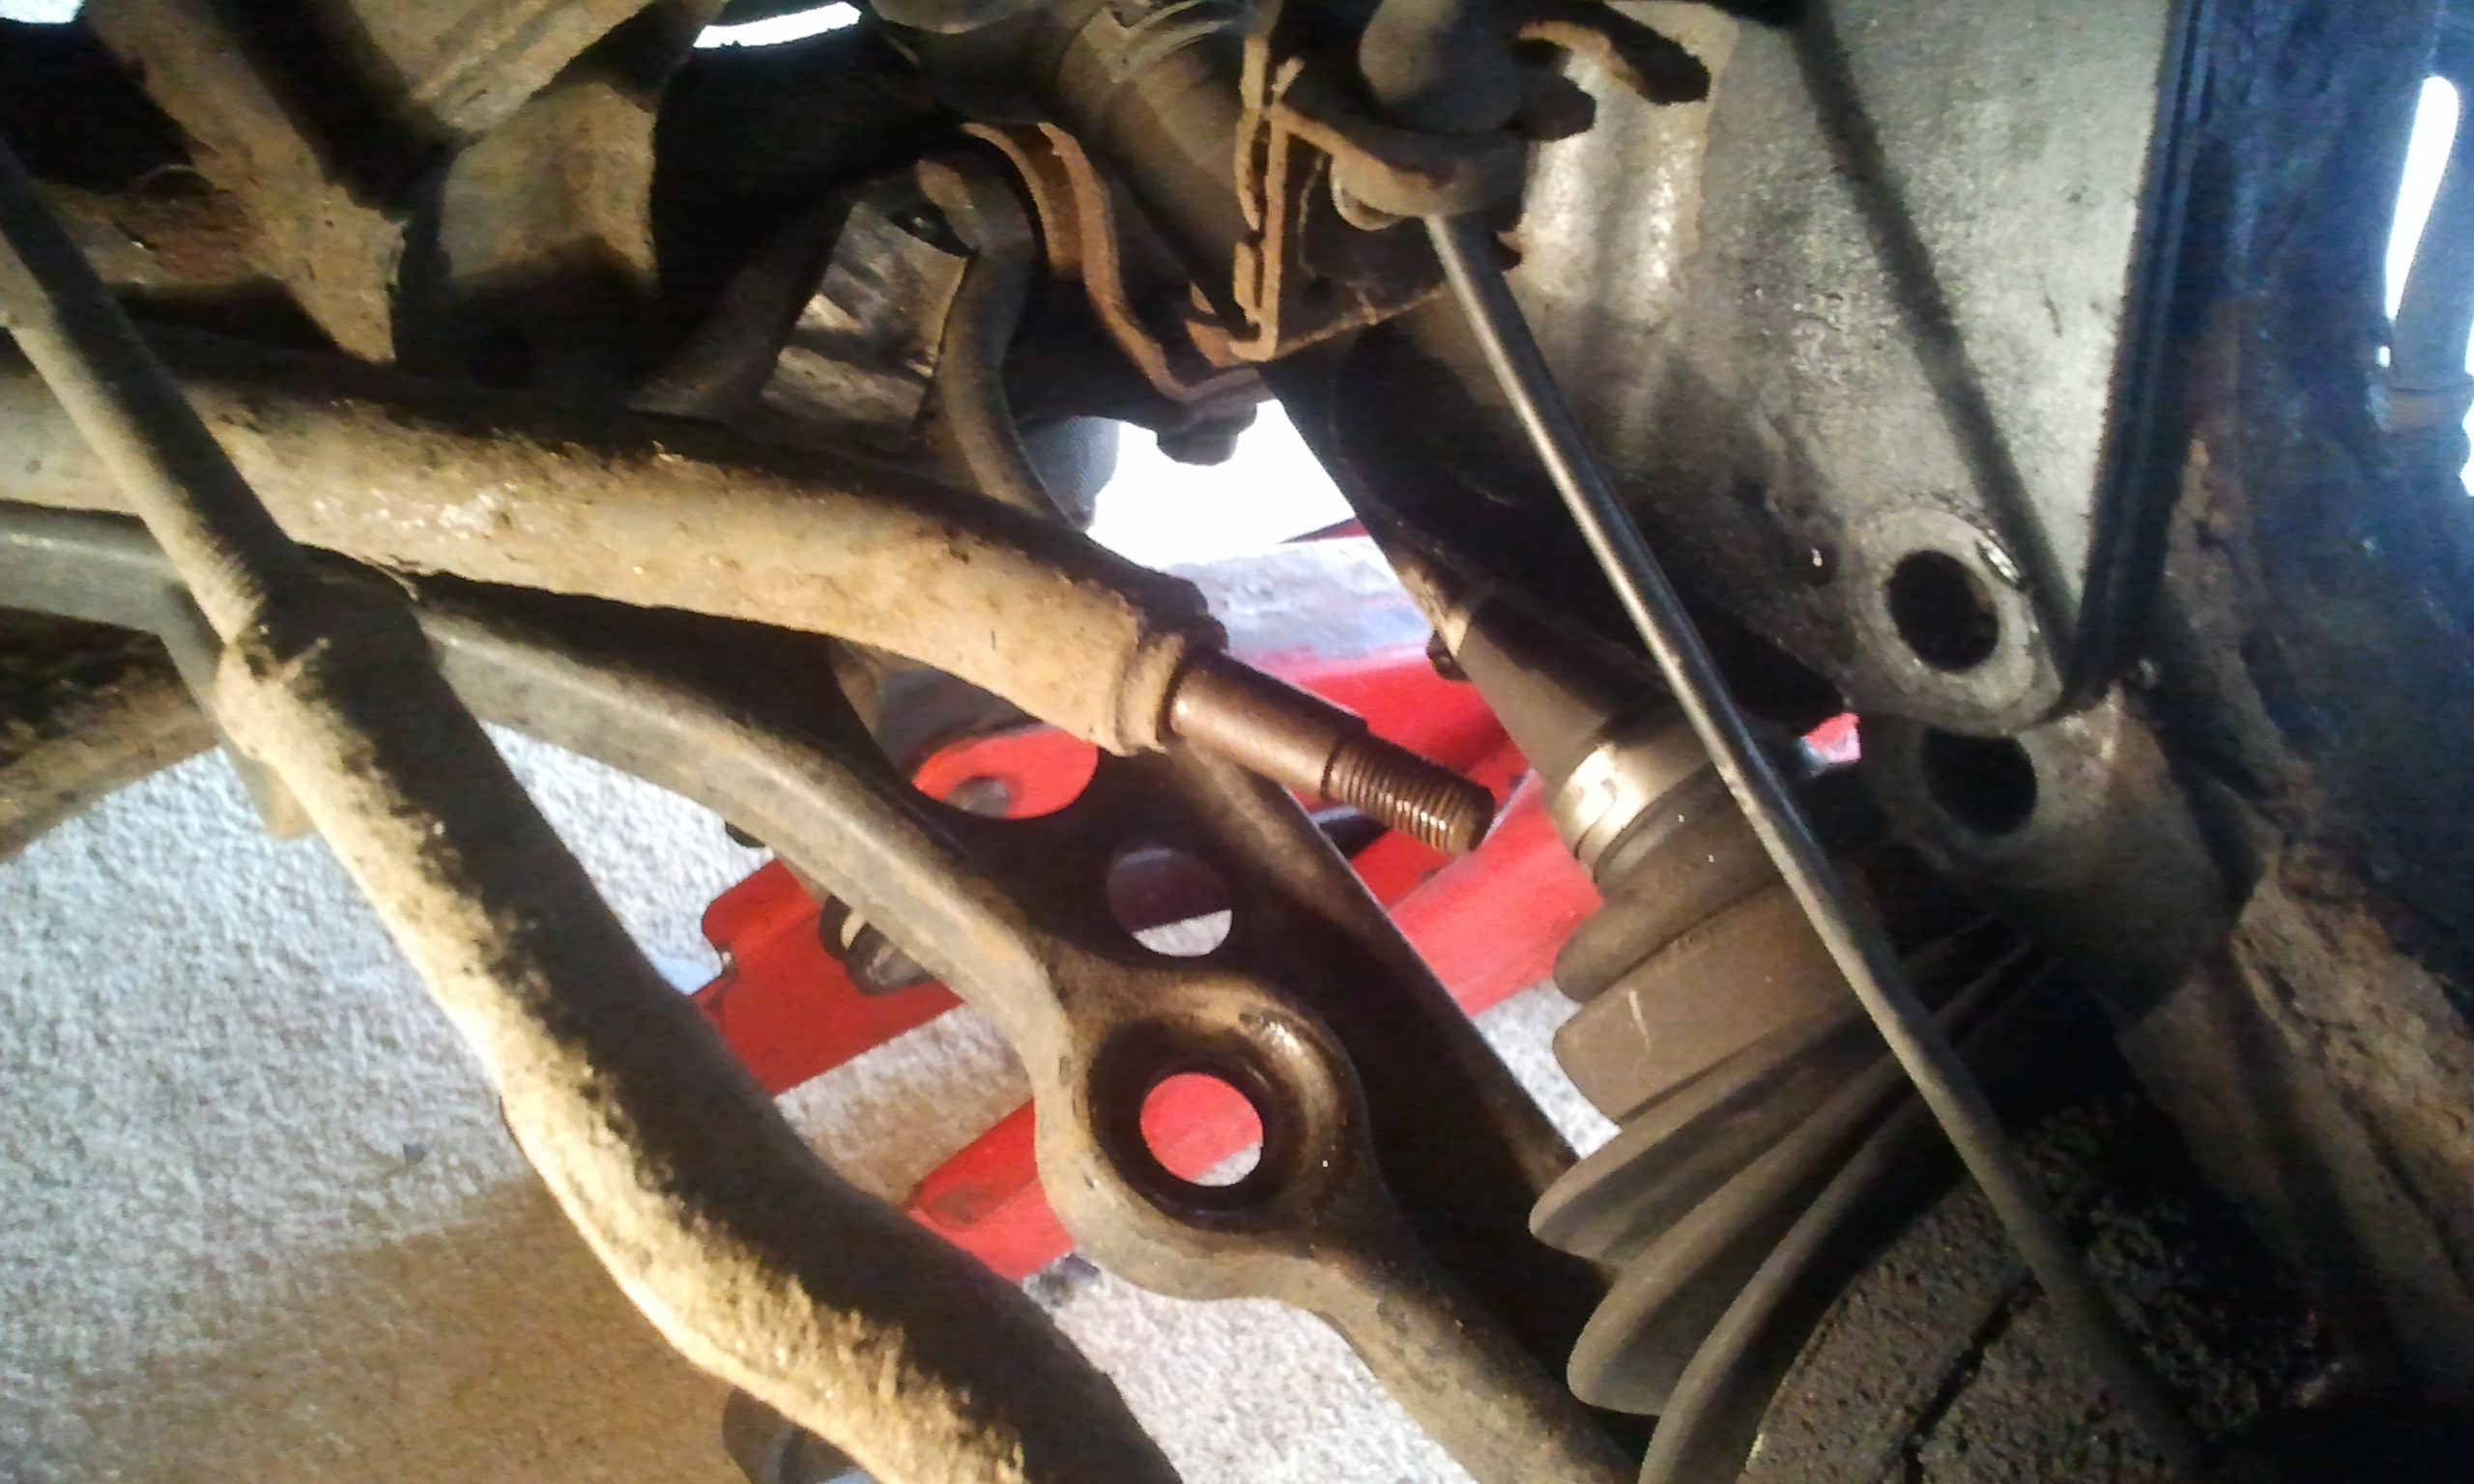
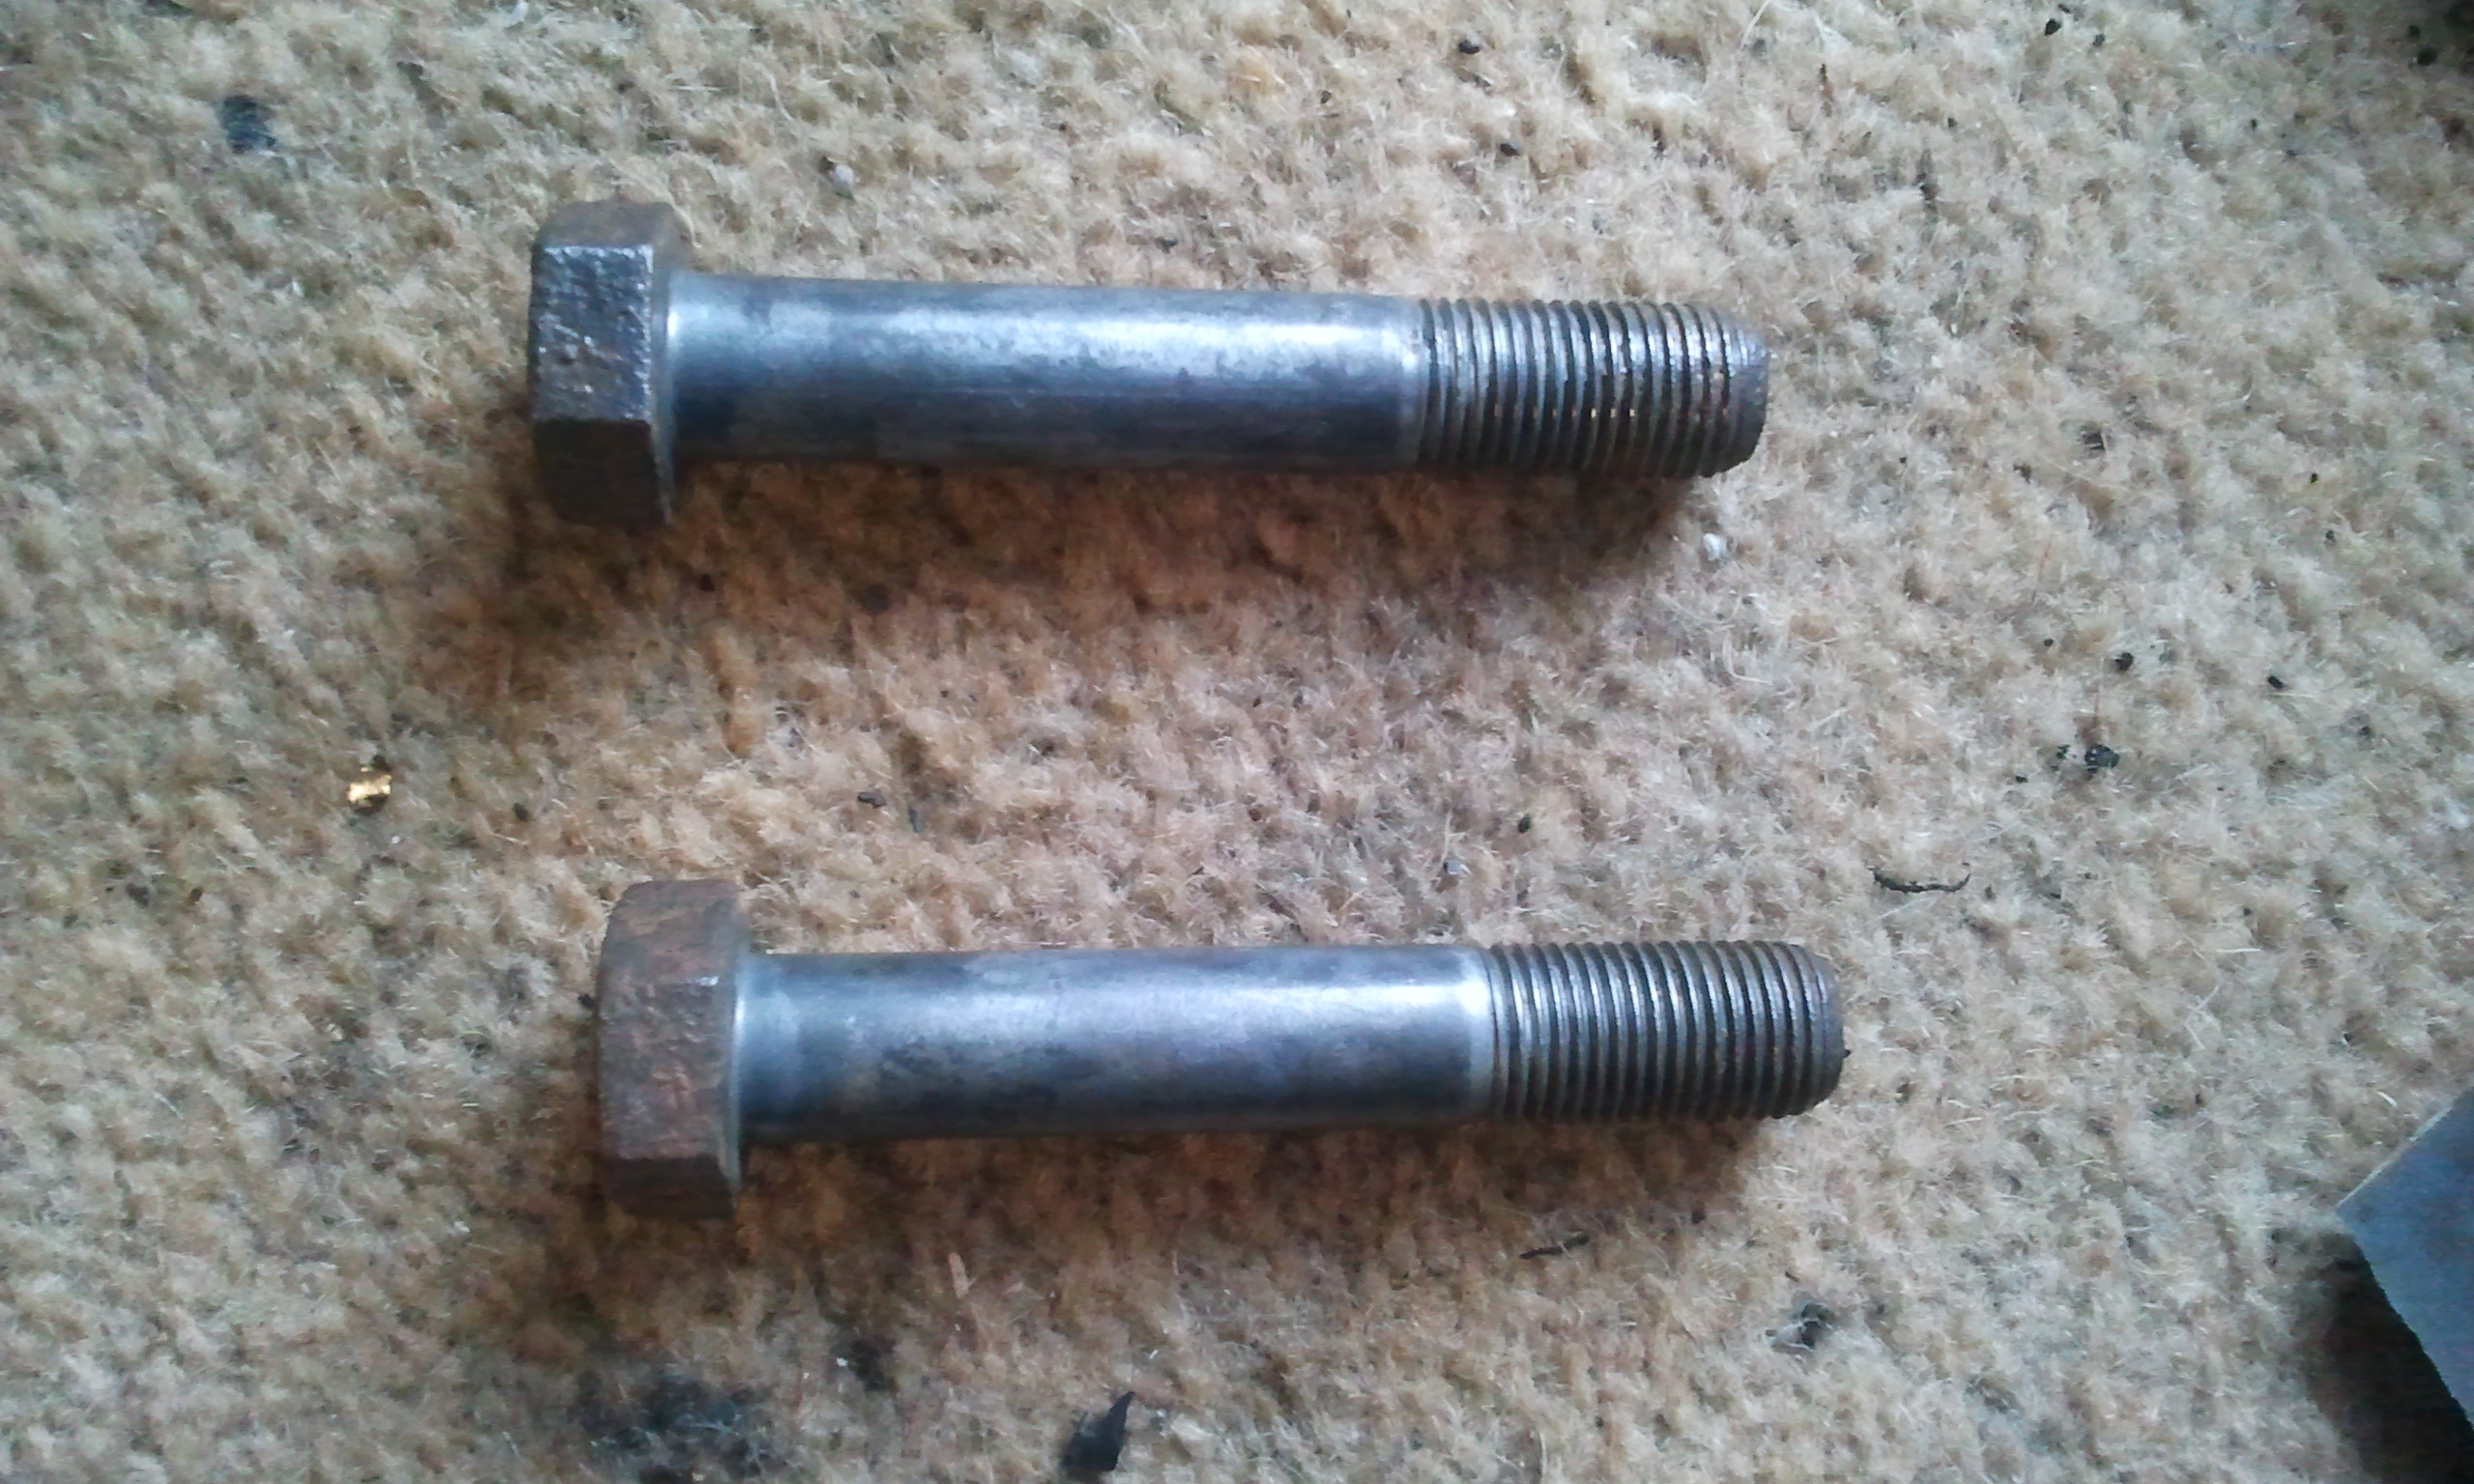
The offending item
2015-09-03_10_11_45.jpg


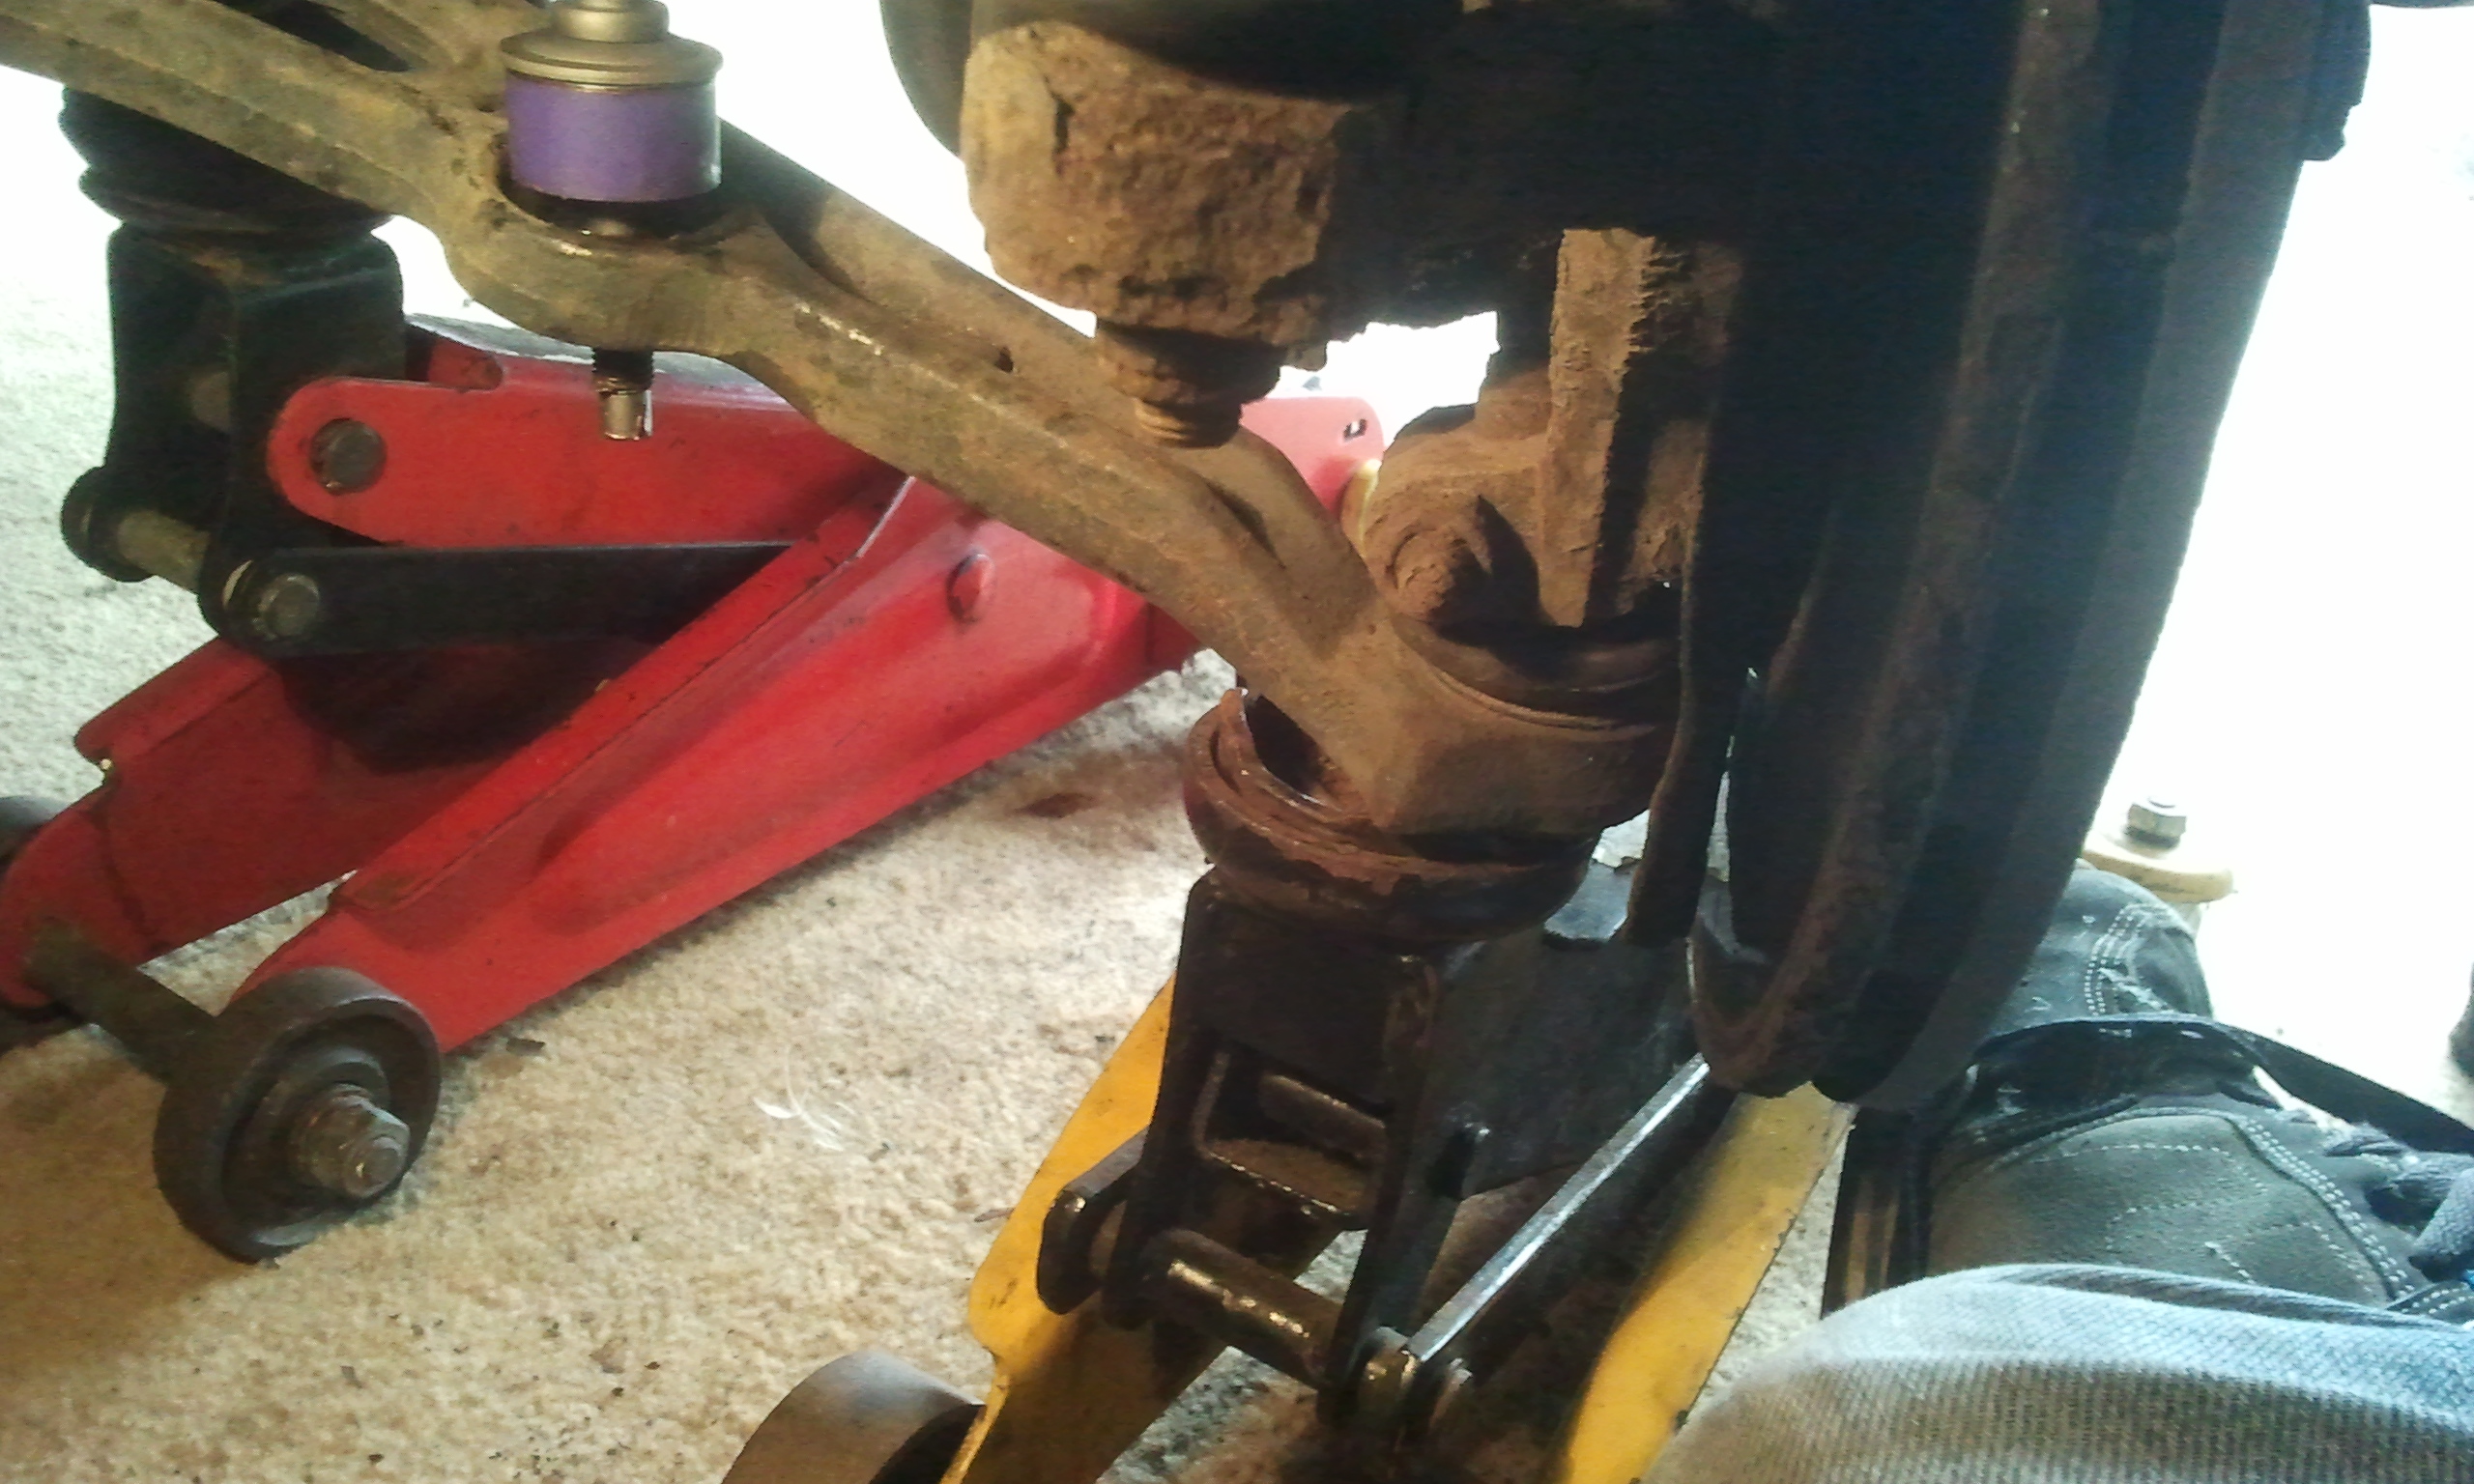
Thankfully they have been off recently (well a year or so ago) when the bottom arms were changed so were not too hard to get off but i did spray liberally with penetrating fluid anyway. Remove both nuts. It won't come out cause the arm doesn't drop far enough with gravity alone - so undo both spindle to shock bolts and push the arm down a bit more, I stuck a bolt back in to it didn't spring back up like so.
2015-09-03_10_41_08.jpg


This alone isn't quite enough to get the drop link out so stick a bar in-between the arm and the ARB
2015-09-03_10_41_29.jpg

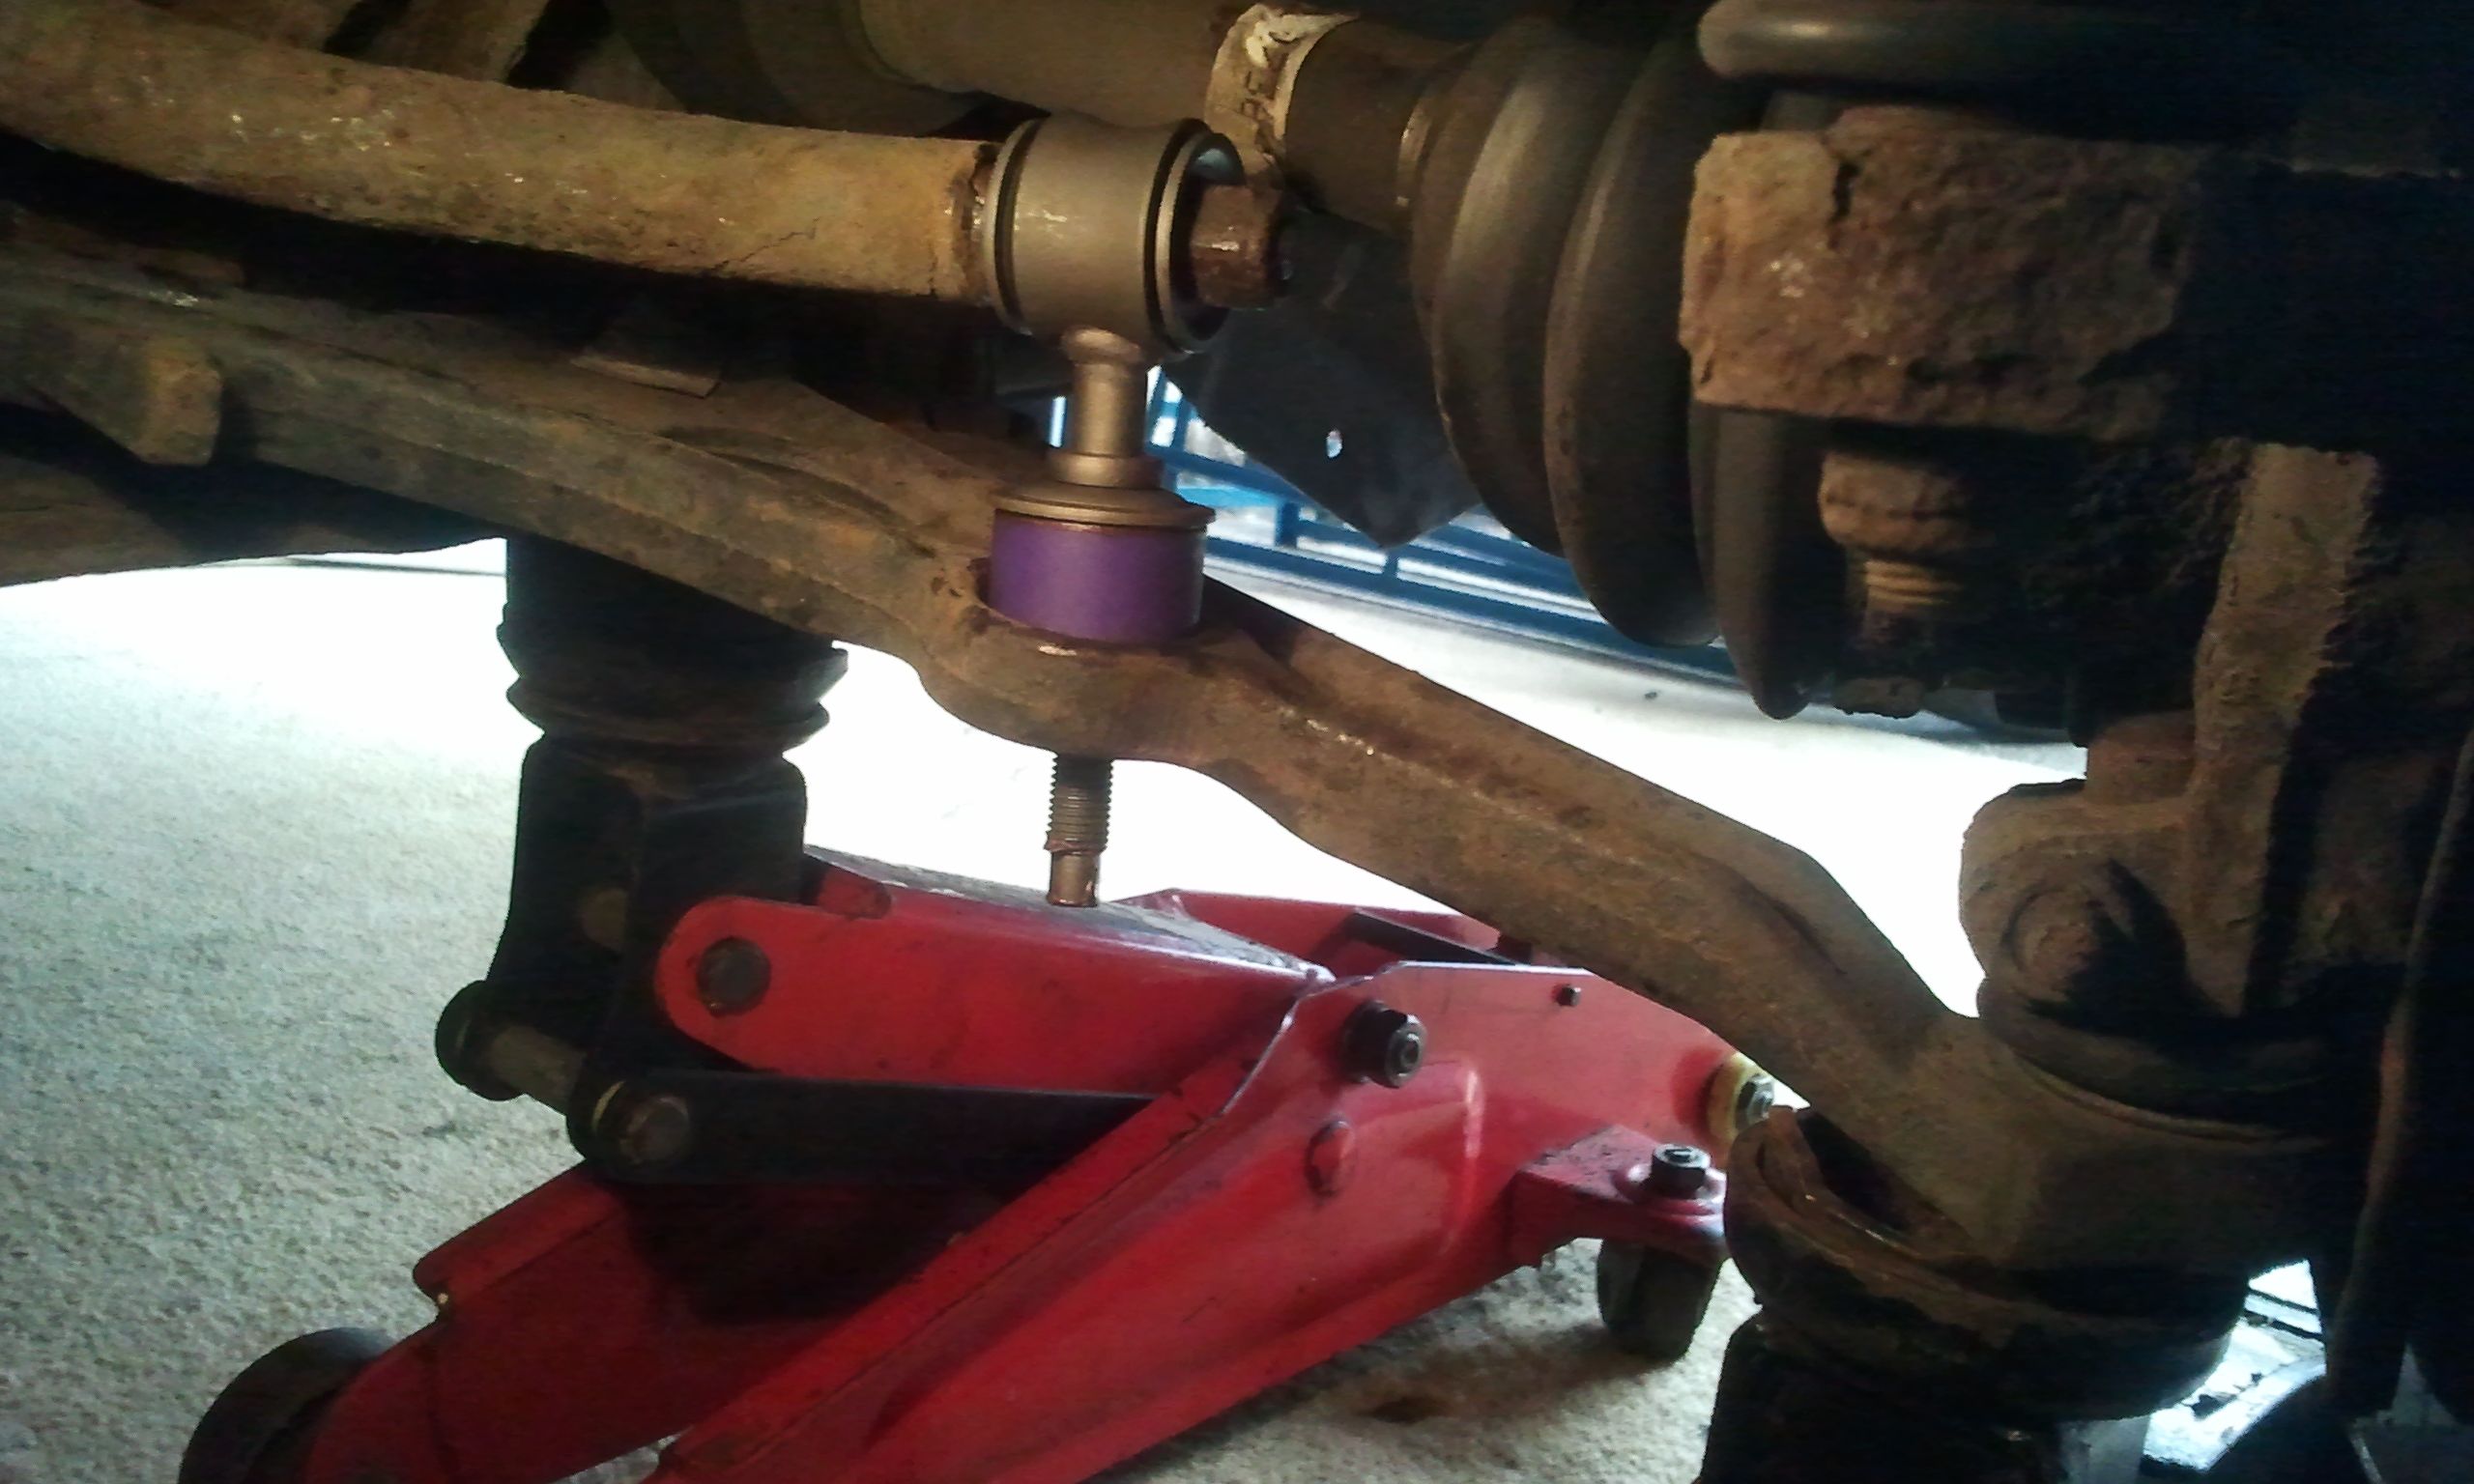
I found and used my actual crowbar on the other side and it required much less effort than using the jack handle as in that pic..

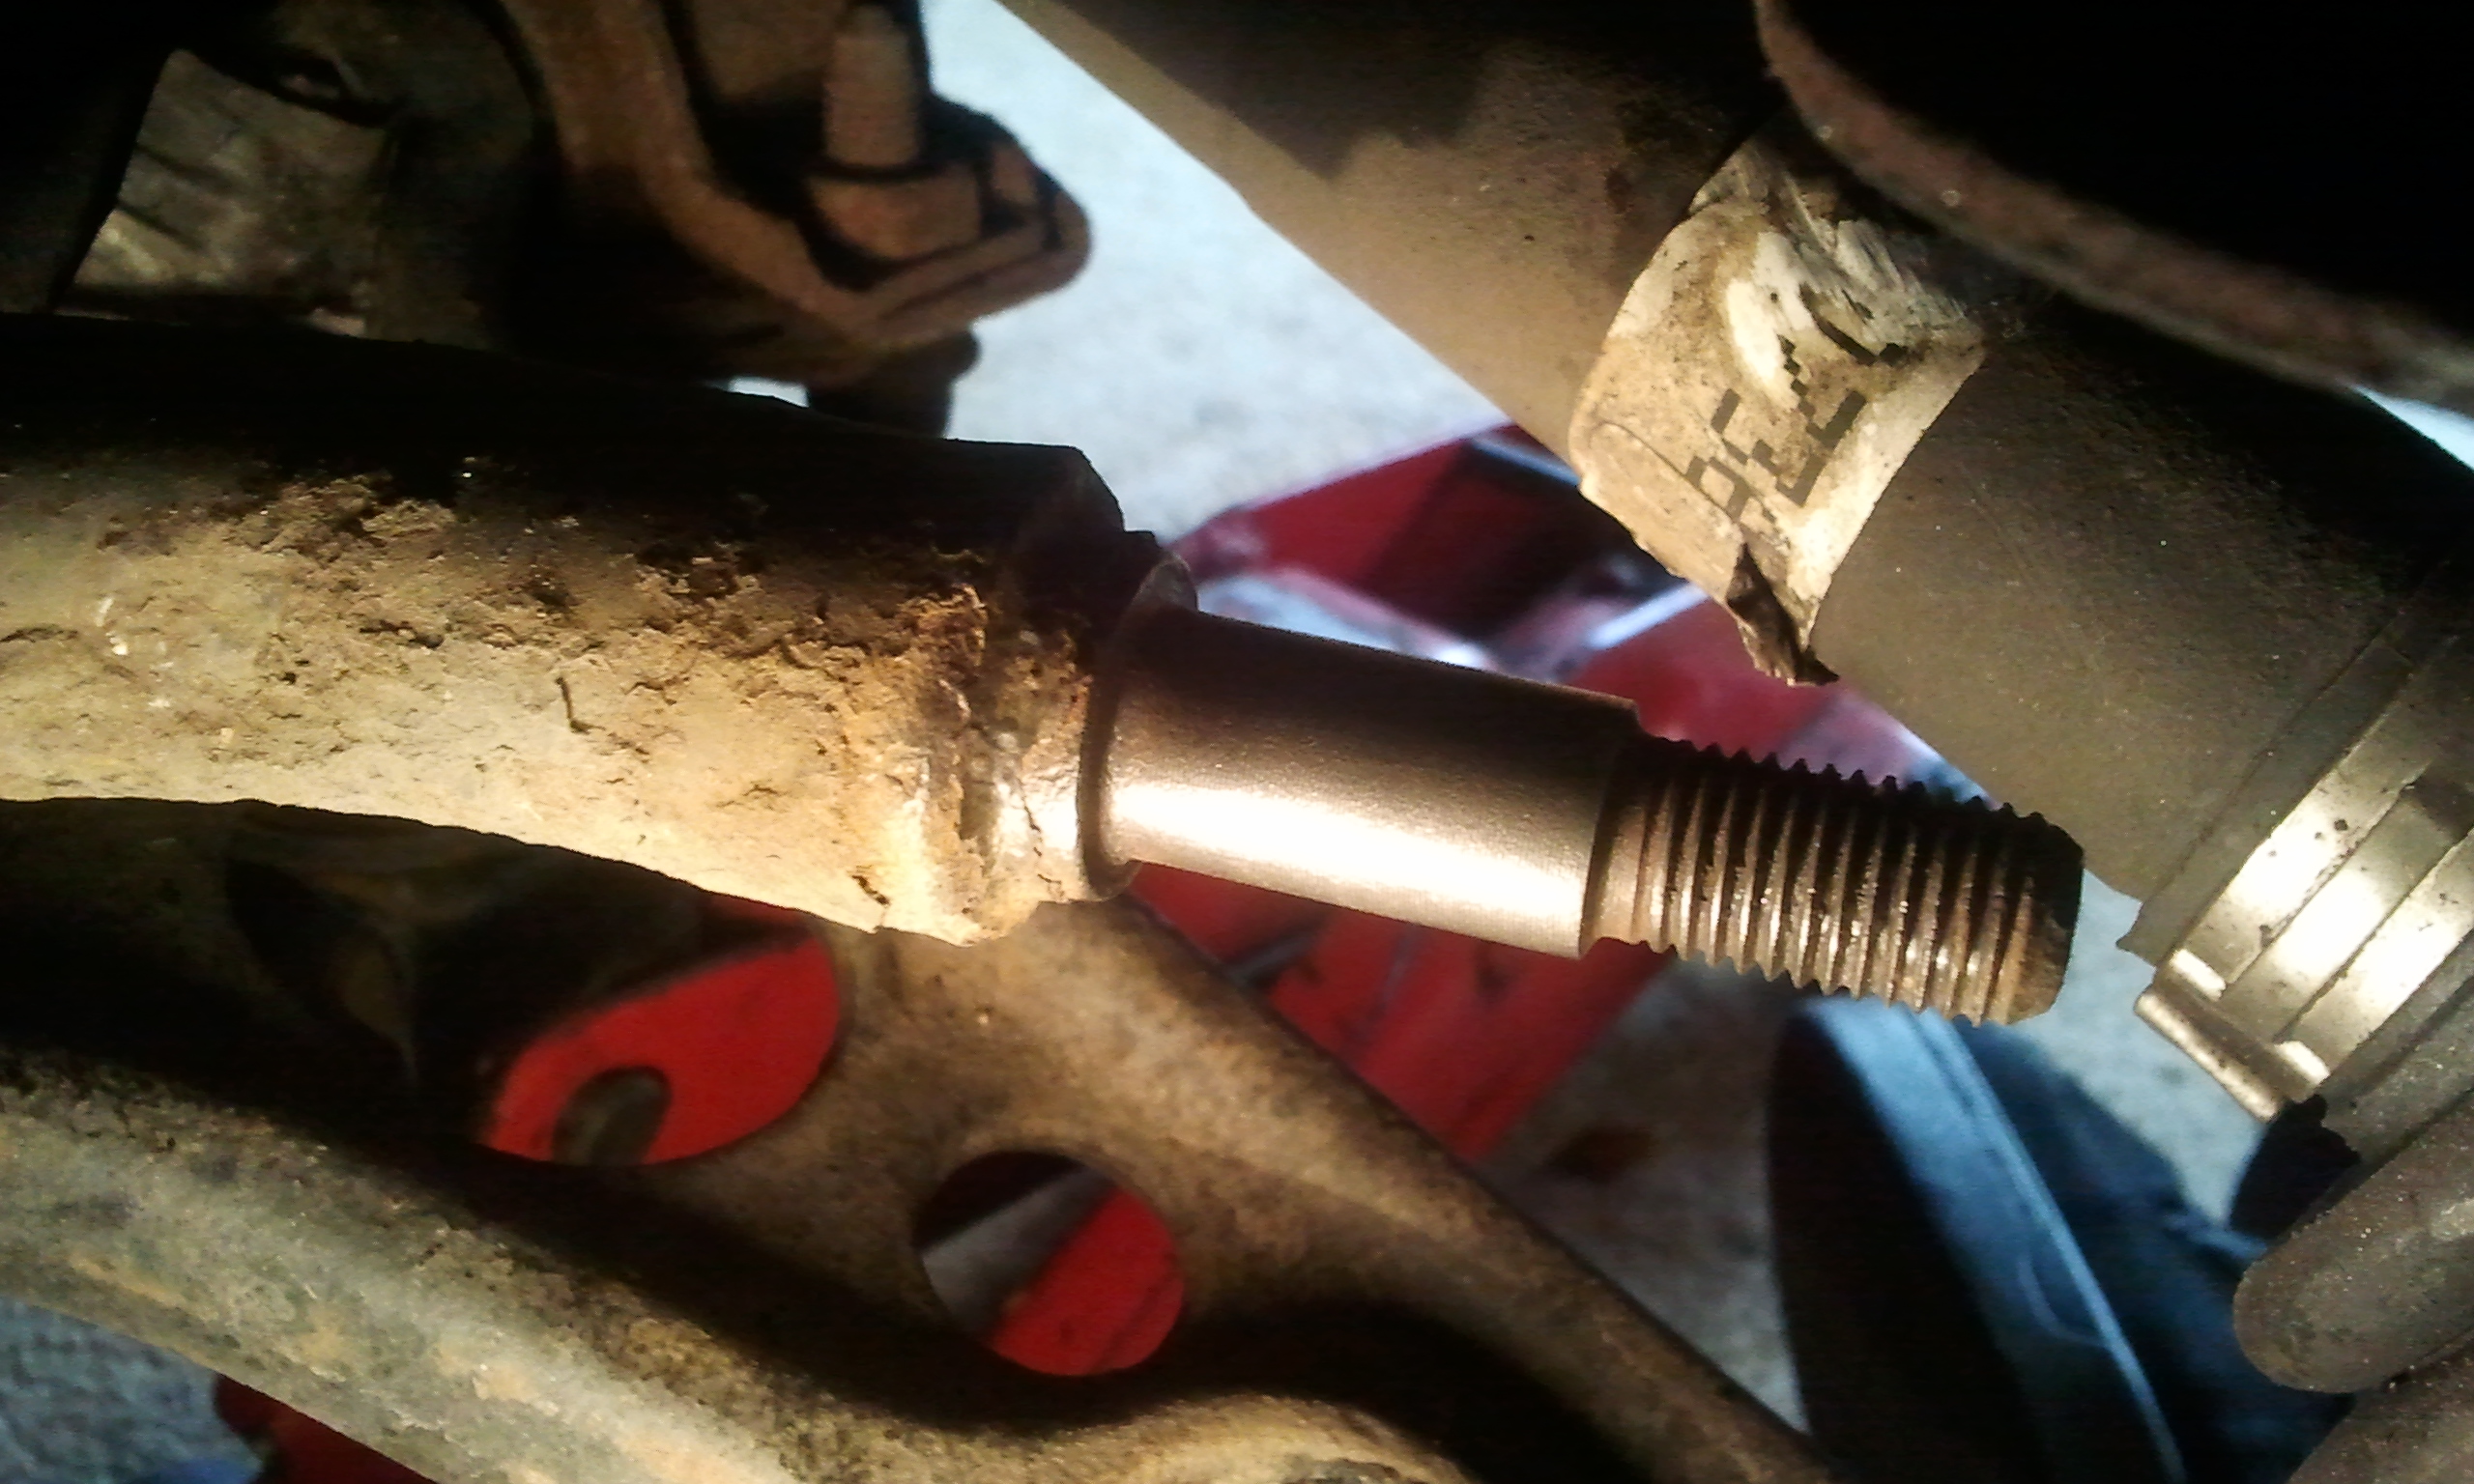
Now lever the ARB upwards until you can get the droplink thread to come up through the hole, twist it out of the hole so you can let go of the lever and then pull it off the ARB. You should now have this....
2015-09-03_10_41_46.jpg


Clean up the end of the ARB - not the best pic here but i used my dremel with wire brush attachment and this is in reality all shiny and silver, i cleaned the threads as best i could as well.
2015-09-03_10_53_23.jpg


Then liberally apply copper slip
2015-09-03_10_55_11.jpg


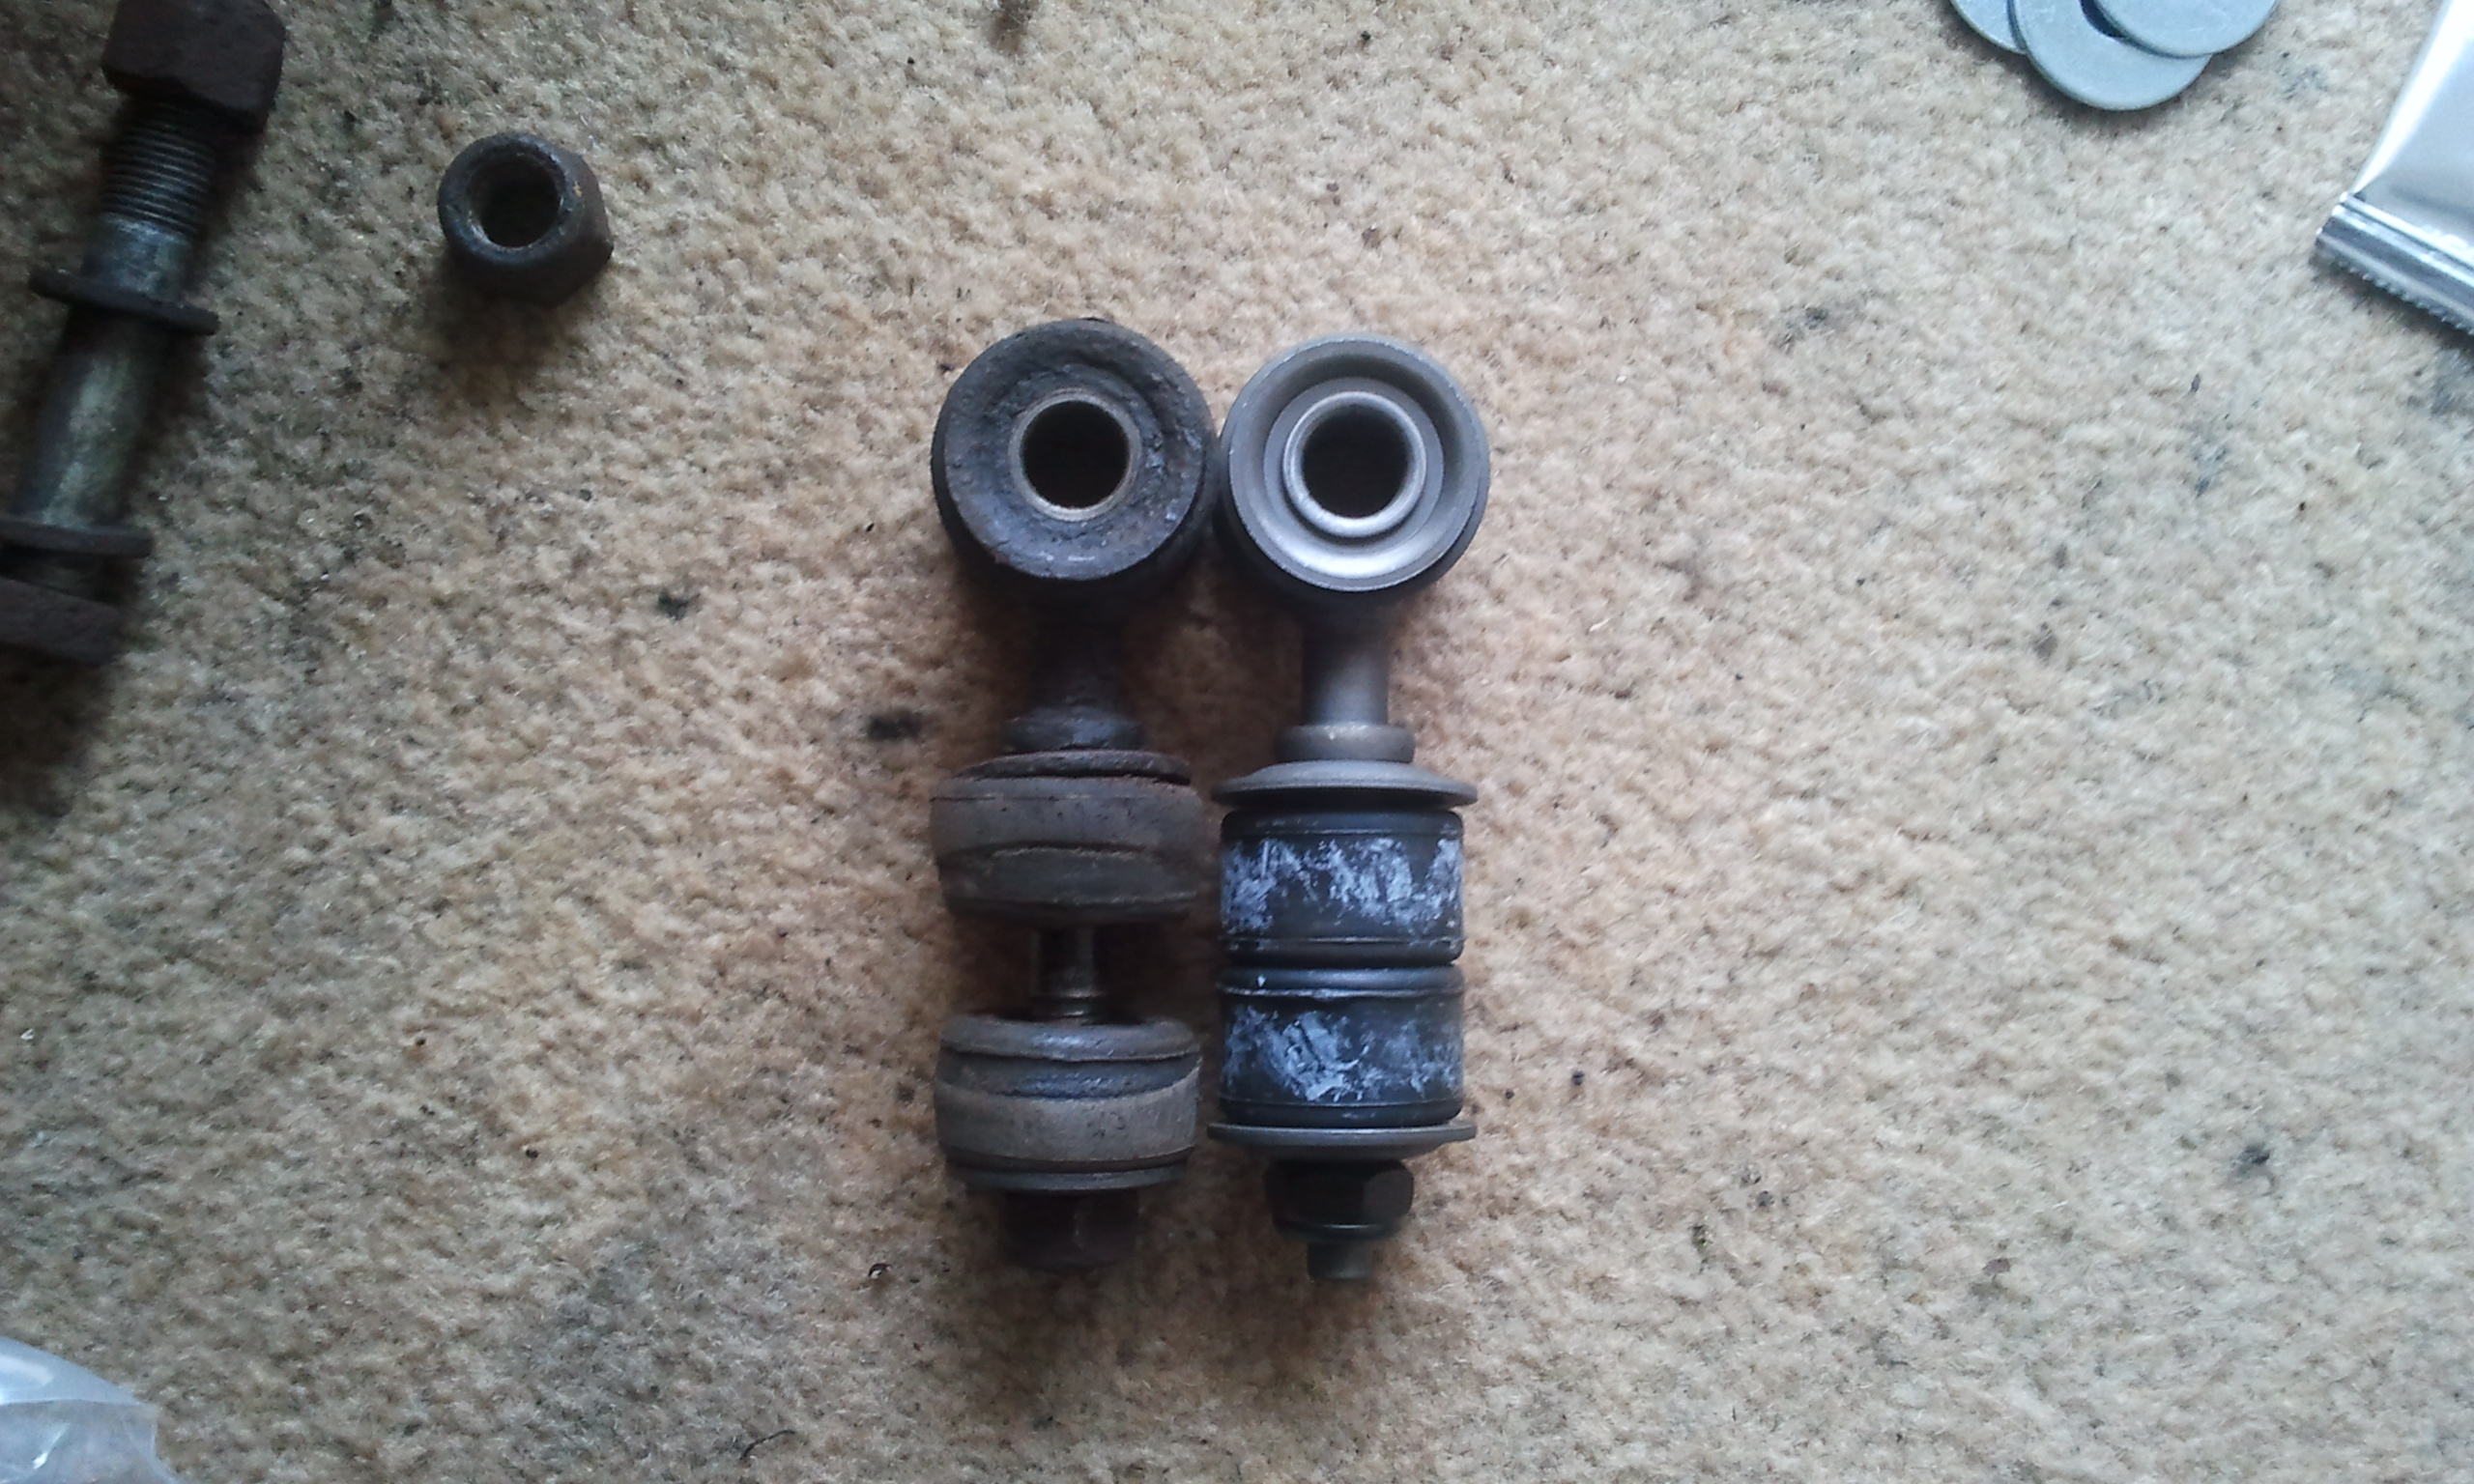
Now grab your new drop link - here is old next to new, I have got febi-bilstein ones.
2015-09-03_10_44_21.jpg


OPTIONAL STEP - Grab your Powerflex poly bushes and lube
2015-09-03_10_45_21.jpg


Slide the drop link onto the ARB without any bushes on it at first, put the nut back on but just loosely. Then grab a bush and smear both sides with the provided grease - i was expecting this to be like silicone/lithium grease like red axle grease but it was like copper slip stuff - I guess it could still be silicone based grease though so i stuck to the stuff from powerflex on the bushings. Also stick some along the bar of the drop link.
2015-09-03_10_56_51.jpg


Slide the bush onto the drop link, if using poly bushes don't forget the provided washer as well as the one that comes with the drop link.
2015-09-03_11_01_16.jpg


Now you need to lever the ARB up again to get the drop link through the hole in the arm, i needed both hands so no pic of this but here is the result
2015-09-03_11_02_48.jpg

2015-09-03_11_02_55.jpg


Right now getting the bottom one on is a little bit trickier but first off you don't need the arm down anymore so reattach the shock to spindle bolts. Because I am a bit anal i cleaned them up with the dremel
2015-09-03_11_15_27.jpg


More copper slip - my favourite stuff copper slip!
2015-09-03_11_17_05.jpg


Stick them in and you can go ahead and tighten them up straight away. Now stick a jack up under the arm under the ball joint (the yellow jack, the red one is supporting the car, and yes there is also a stand holding it out of shot, safety first people ;) )
2015-09-03_11_23_29.jpg


Now jack up the arm as far as it will go, i went further after this photo, go up as far as you can before it starts to take the weight of the car from whatever you have holding it up.
2015-09-03_11_24_24.jpg


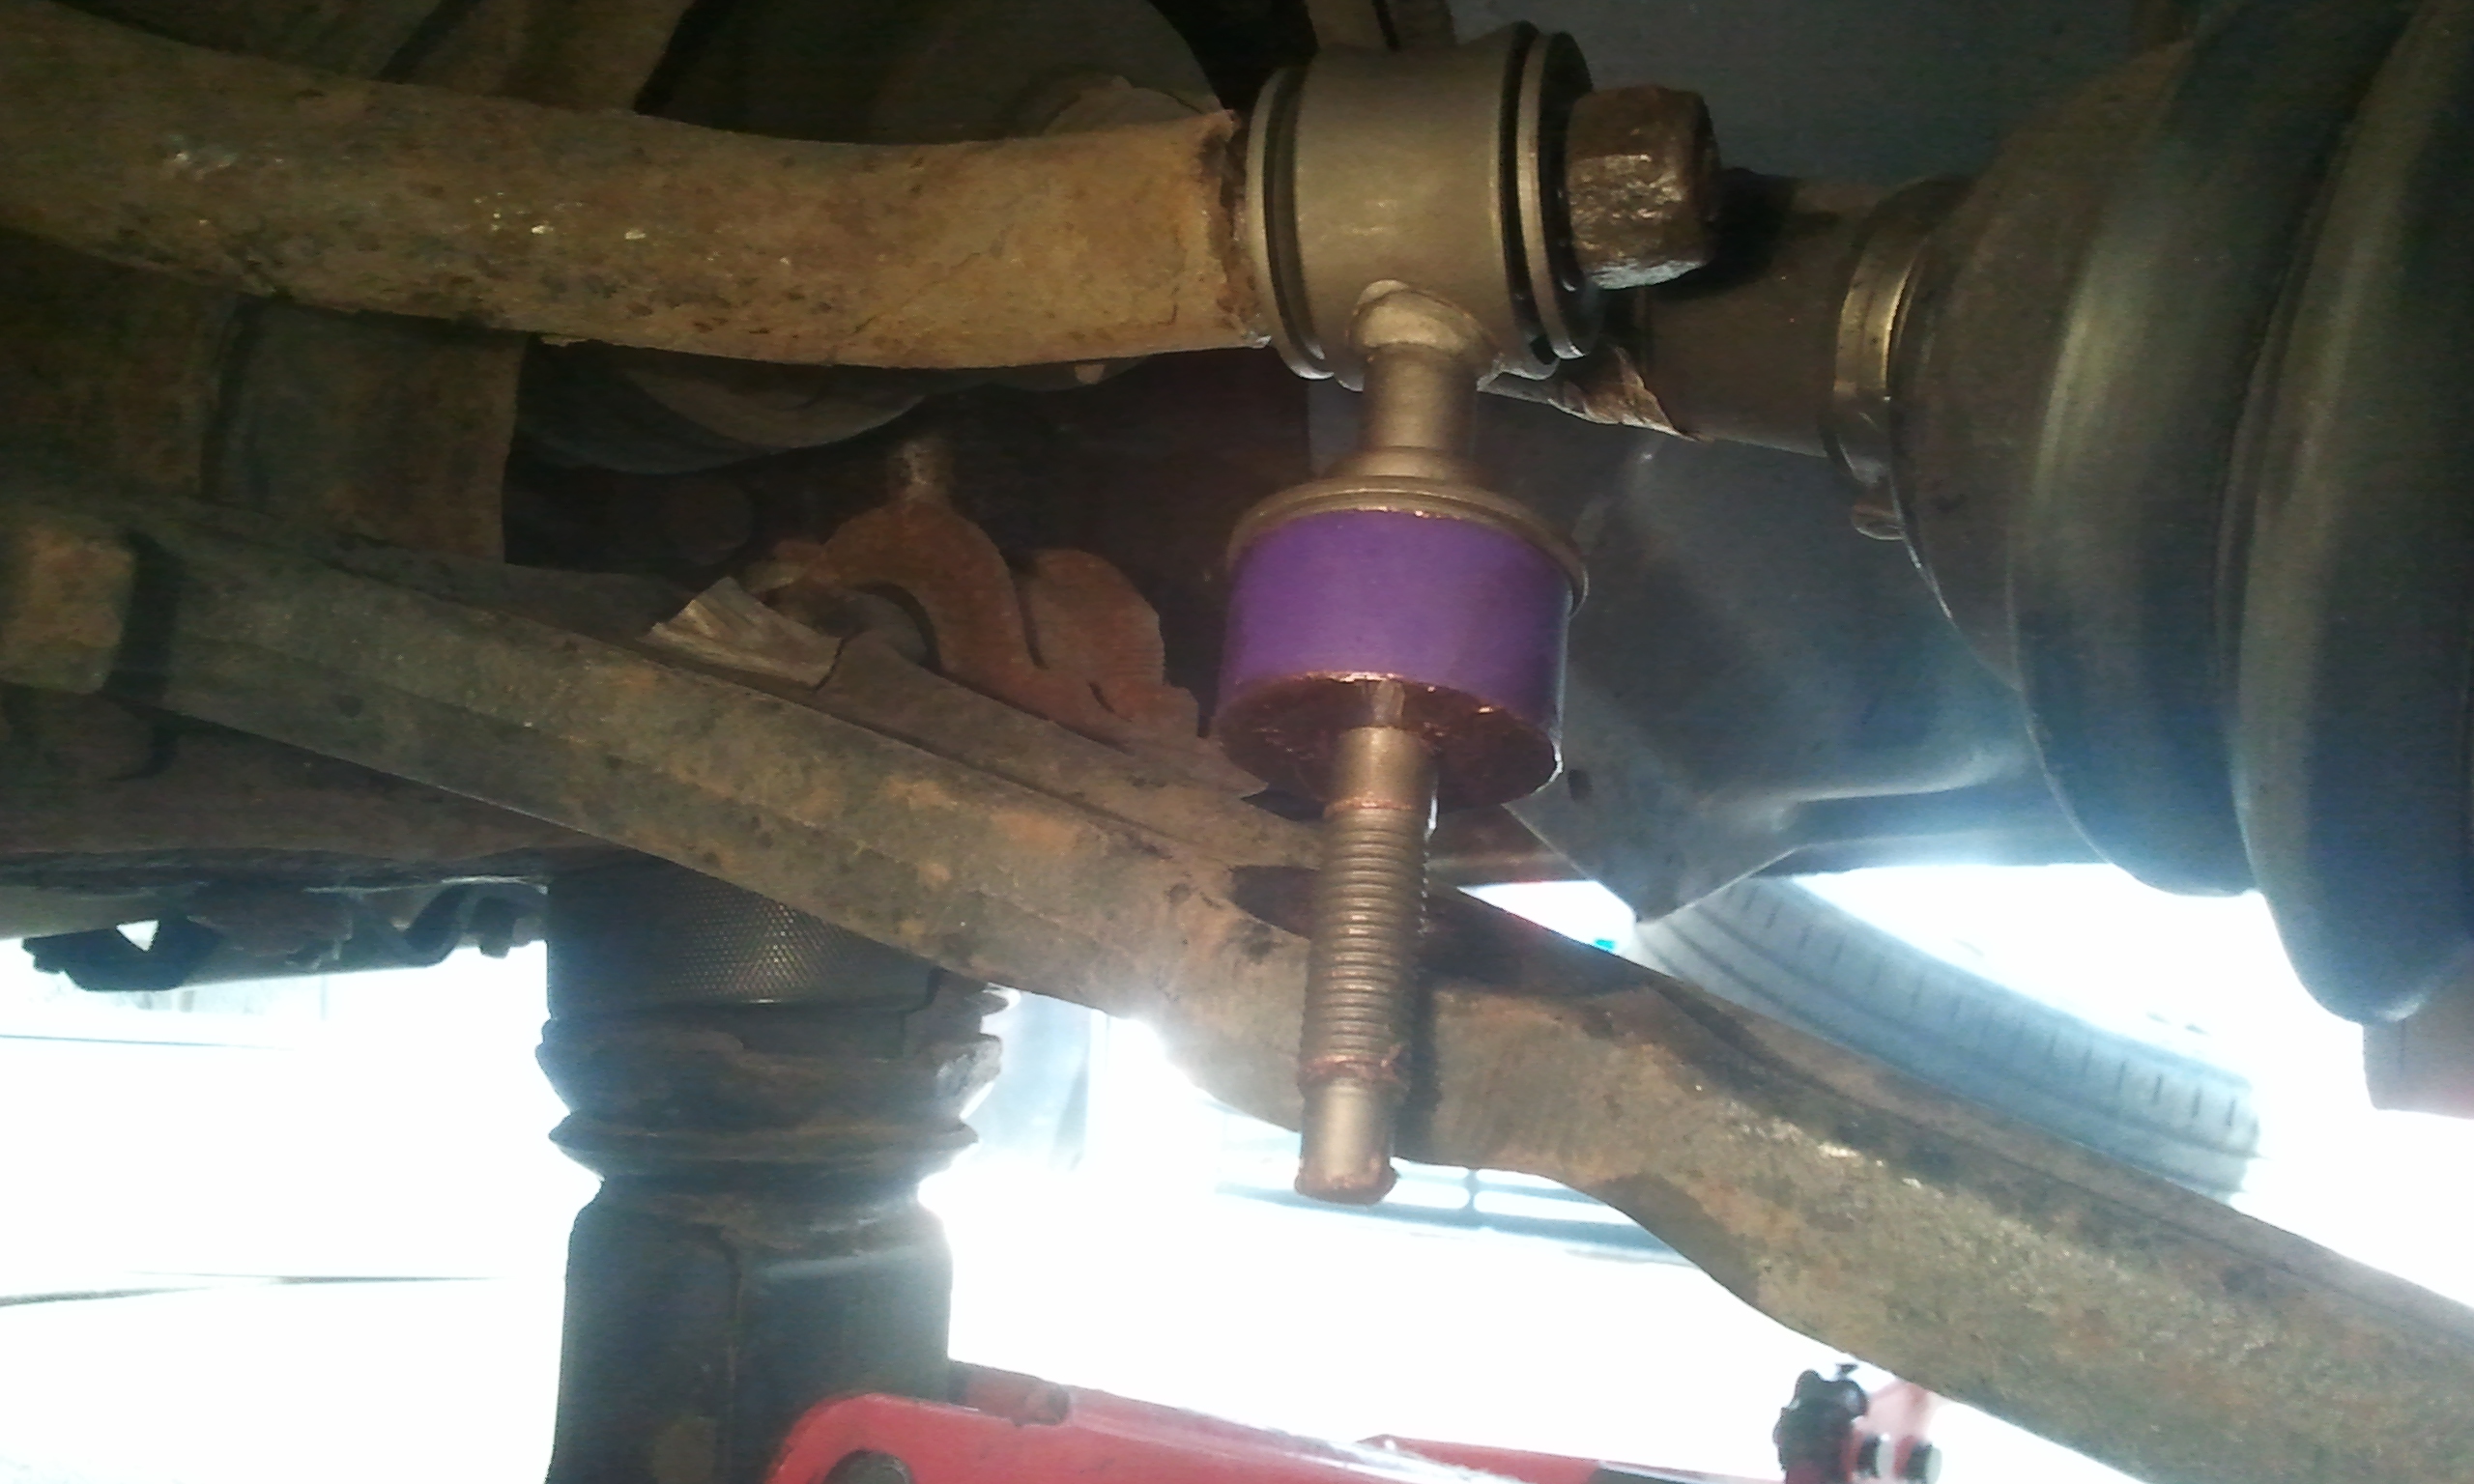
Now this is the awkward part, you need to get the lower bush (greased) then the washers on and then get the nut on, i had to wiggle the bush to get it to seat right and use a lever to push the ARB down a bit so there was enough thread showing to catch the nut - having 3 or even 4 arms would be great here but just struggle on, its doable. Once the nut is on, grab a 17mm deep socket or ratchet spanner and tighten it up (just normal spanner will do but far more annoying), then nip up the nut on the ARB too. And you should now have this.
2015-09-03_11_34_41.jpg


Right thats one side done, remember to have a look around all the other components while your there if you not had the wheel off for a while, brake lines, rubber boots, bushings etc. Then Stick the wheel back on and move round the other side and repeat.

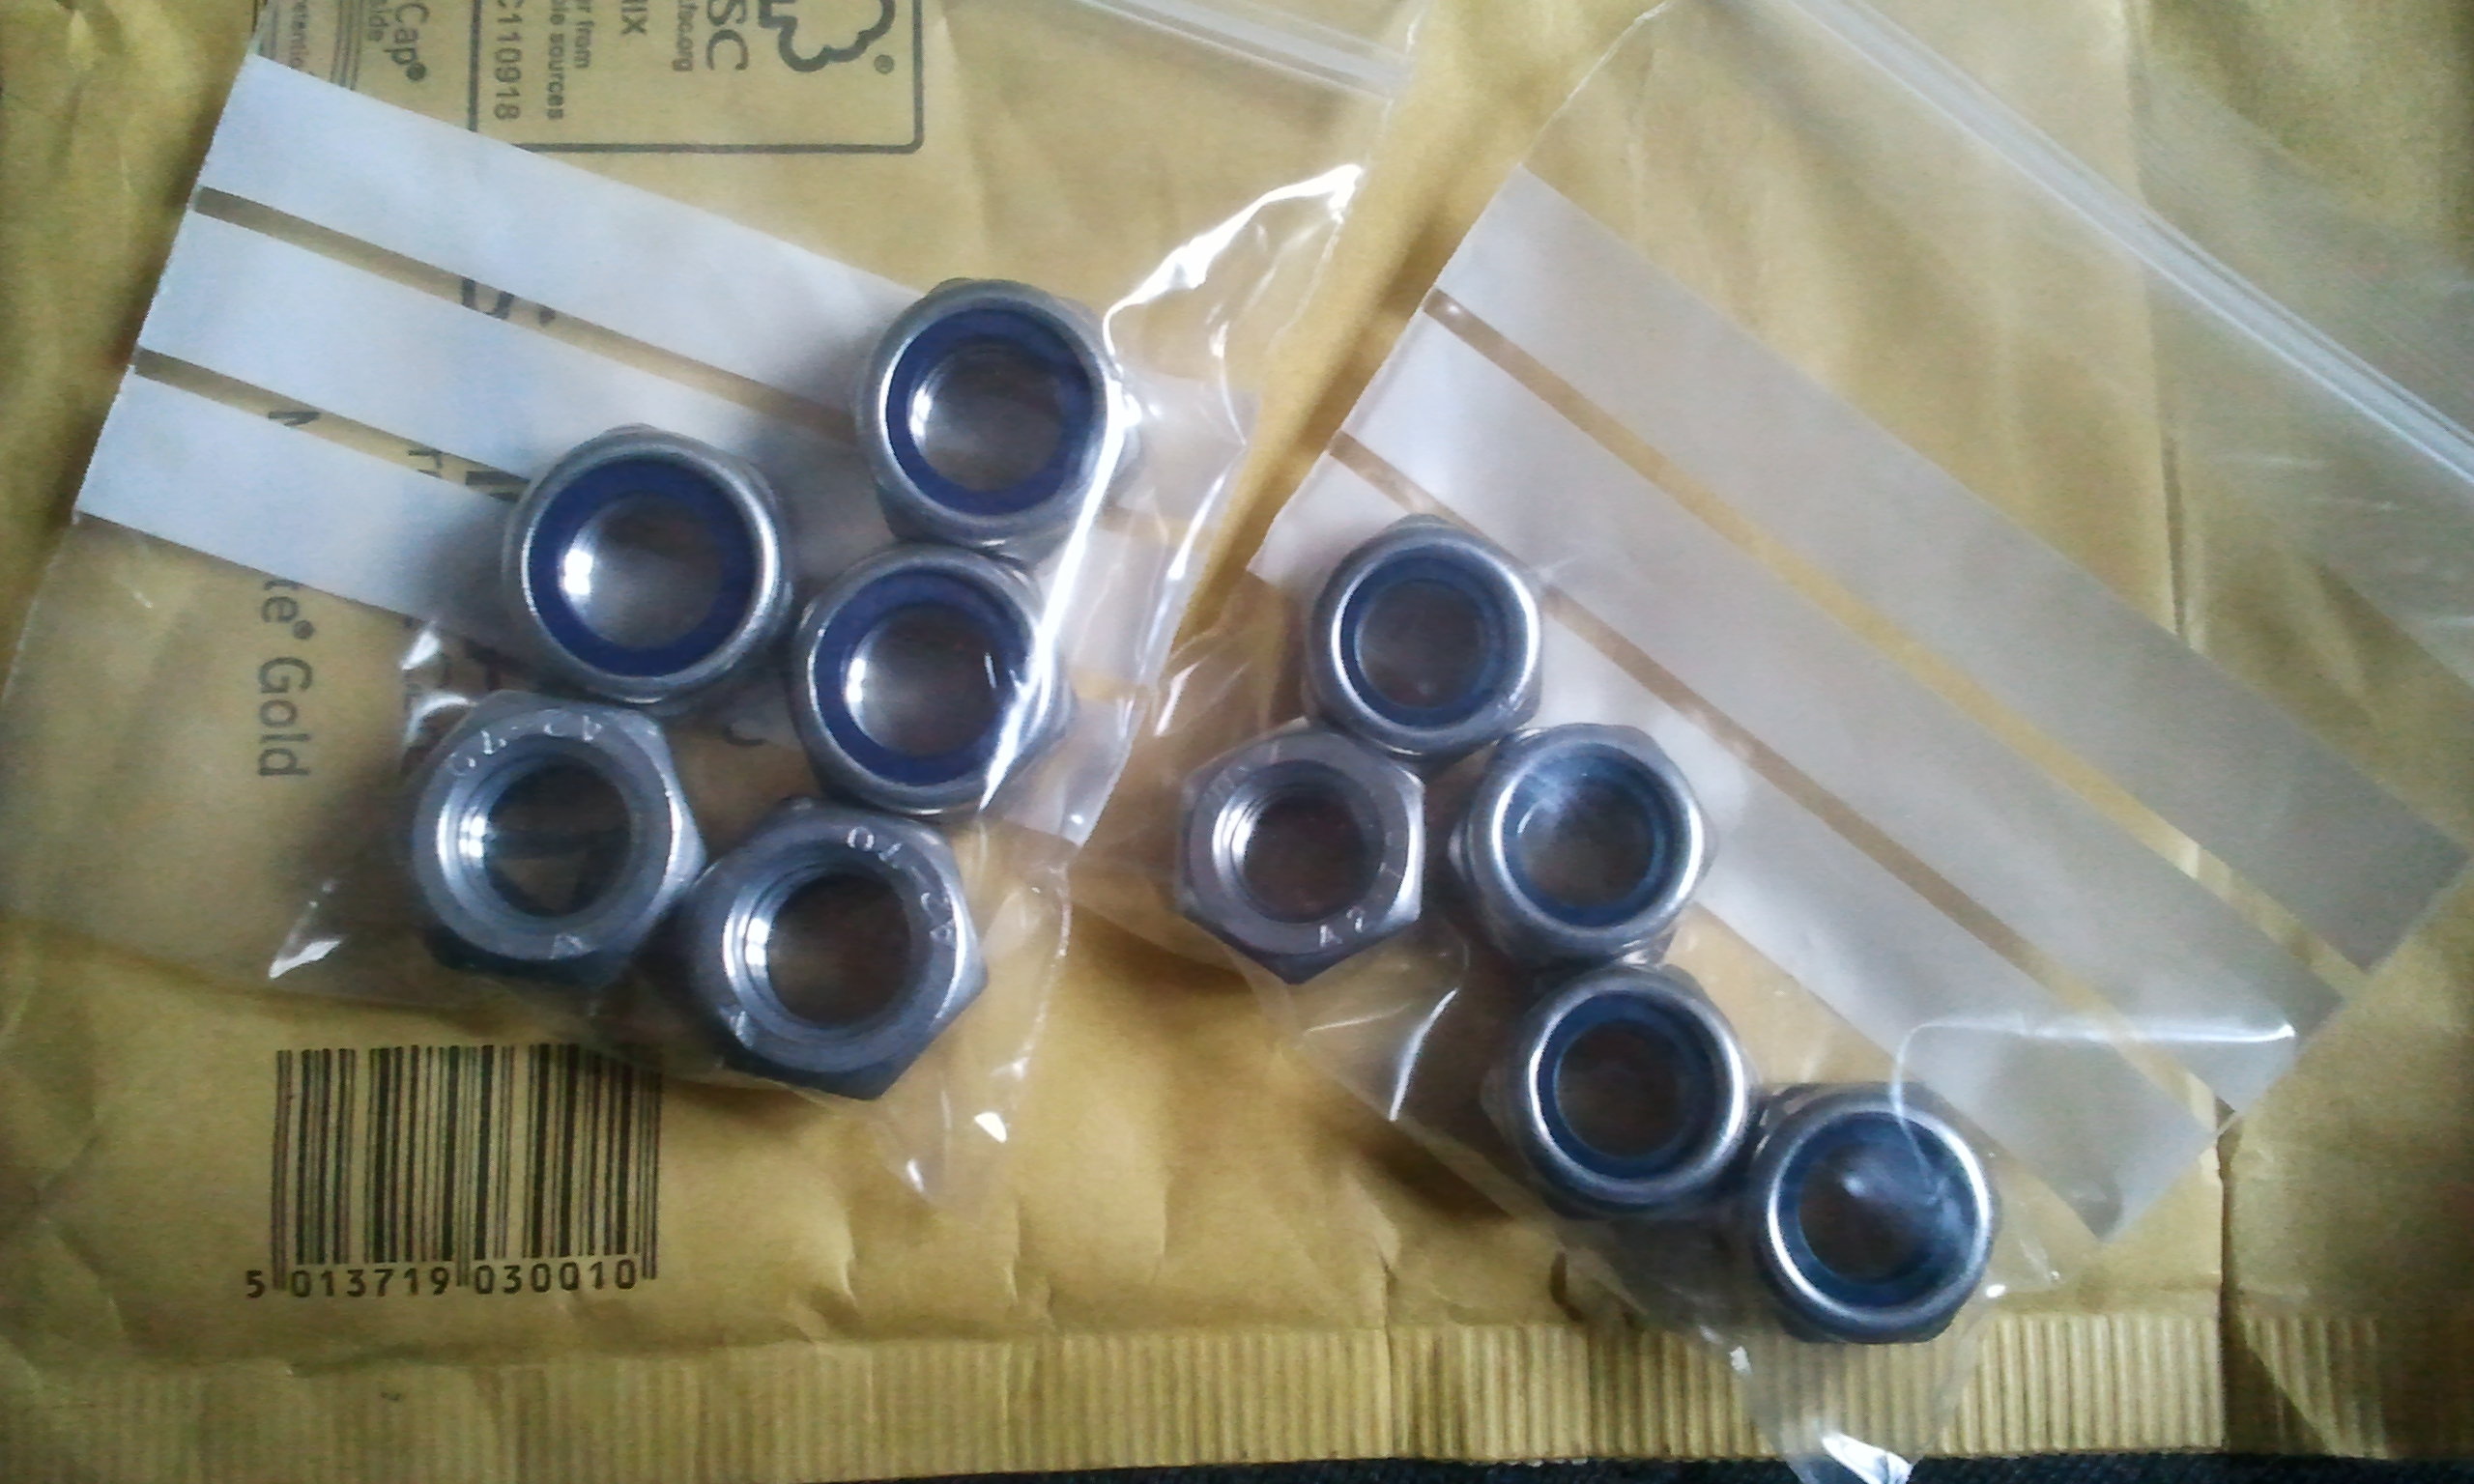
One thing i would say is the drop link came with a new lower nut but not upper - i used the old nuts for that and also the spindle/shock nuts i re-used but you really should get new nylock nuts for them. I will try remember to get some the right size ordered as my box had everything but the right size :rolleyes:
 
It was tricky I'll admit - but tbh the hardest part i found was to get the bottom bush on and up far enough to get the nut on the bottom. The first one took me about an hour and half start to finish, but then having done it and having all the tools and stuff right there the other side only took about 20mins.

And as promised....

Shiny stainless nylock nuts - although that will prob have to wait as i drank too much cider last night to face getting off the sofa today.
 
Last edited:
Back
Top